... Don't knock yourself out, sounds like a lot of trouble. I tried web search and Pocket Mags, after many false leads I ran outta gas!look at the covers

... Don't knock yourself out, sounds like a lot of trouble. I tried web search and Pocket Mags, after many false leads I ran outta gas!look at the covers
You called it!I guess I'll have to revisit my first thought of a quick OOB build
uh huh


Well thanks for checking... I found some too, were they all in Military Modelling Magazine?Military Modelling

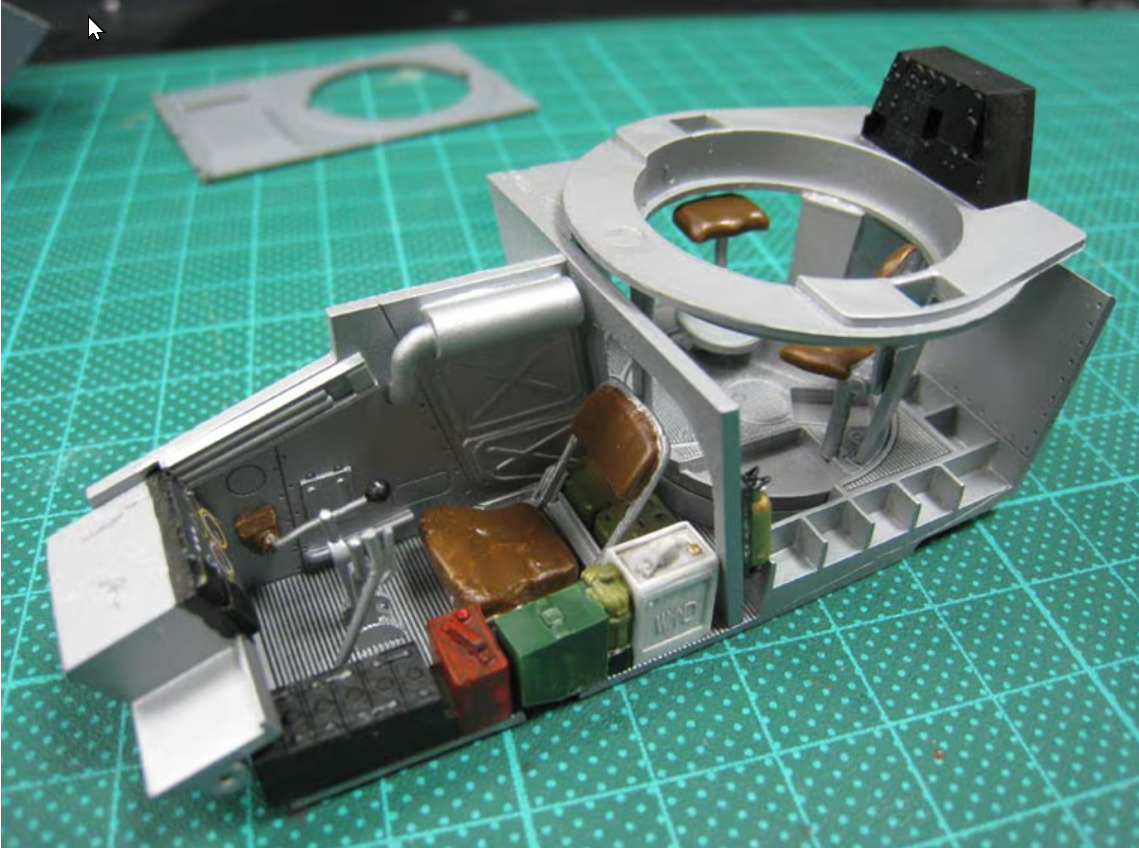
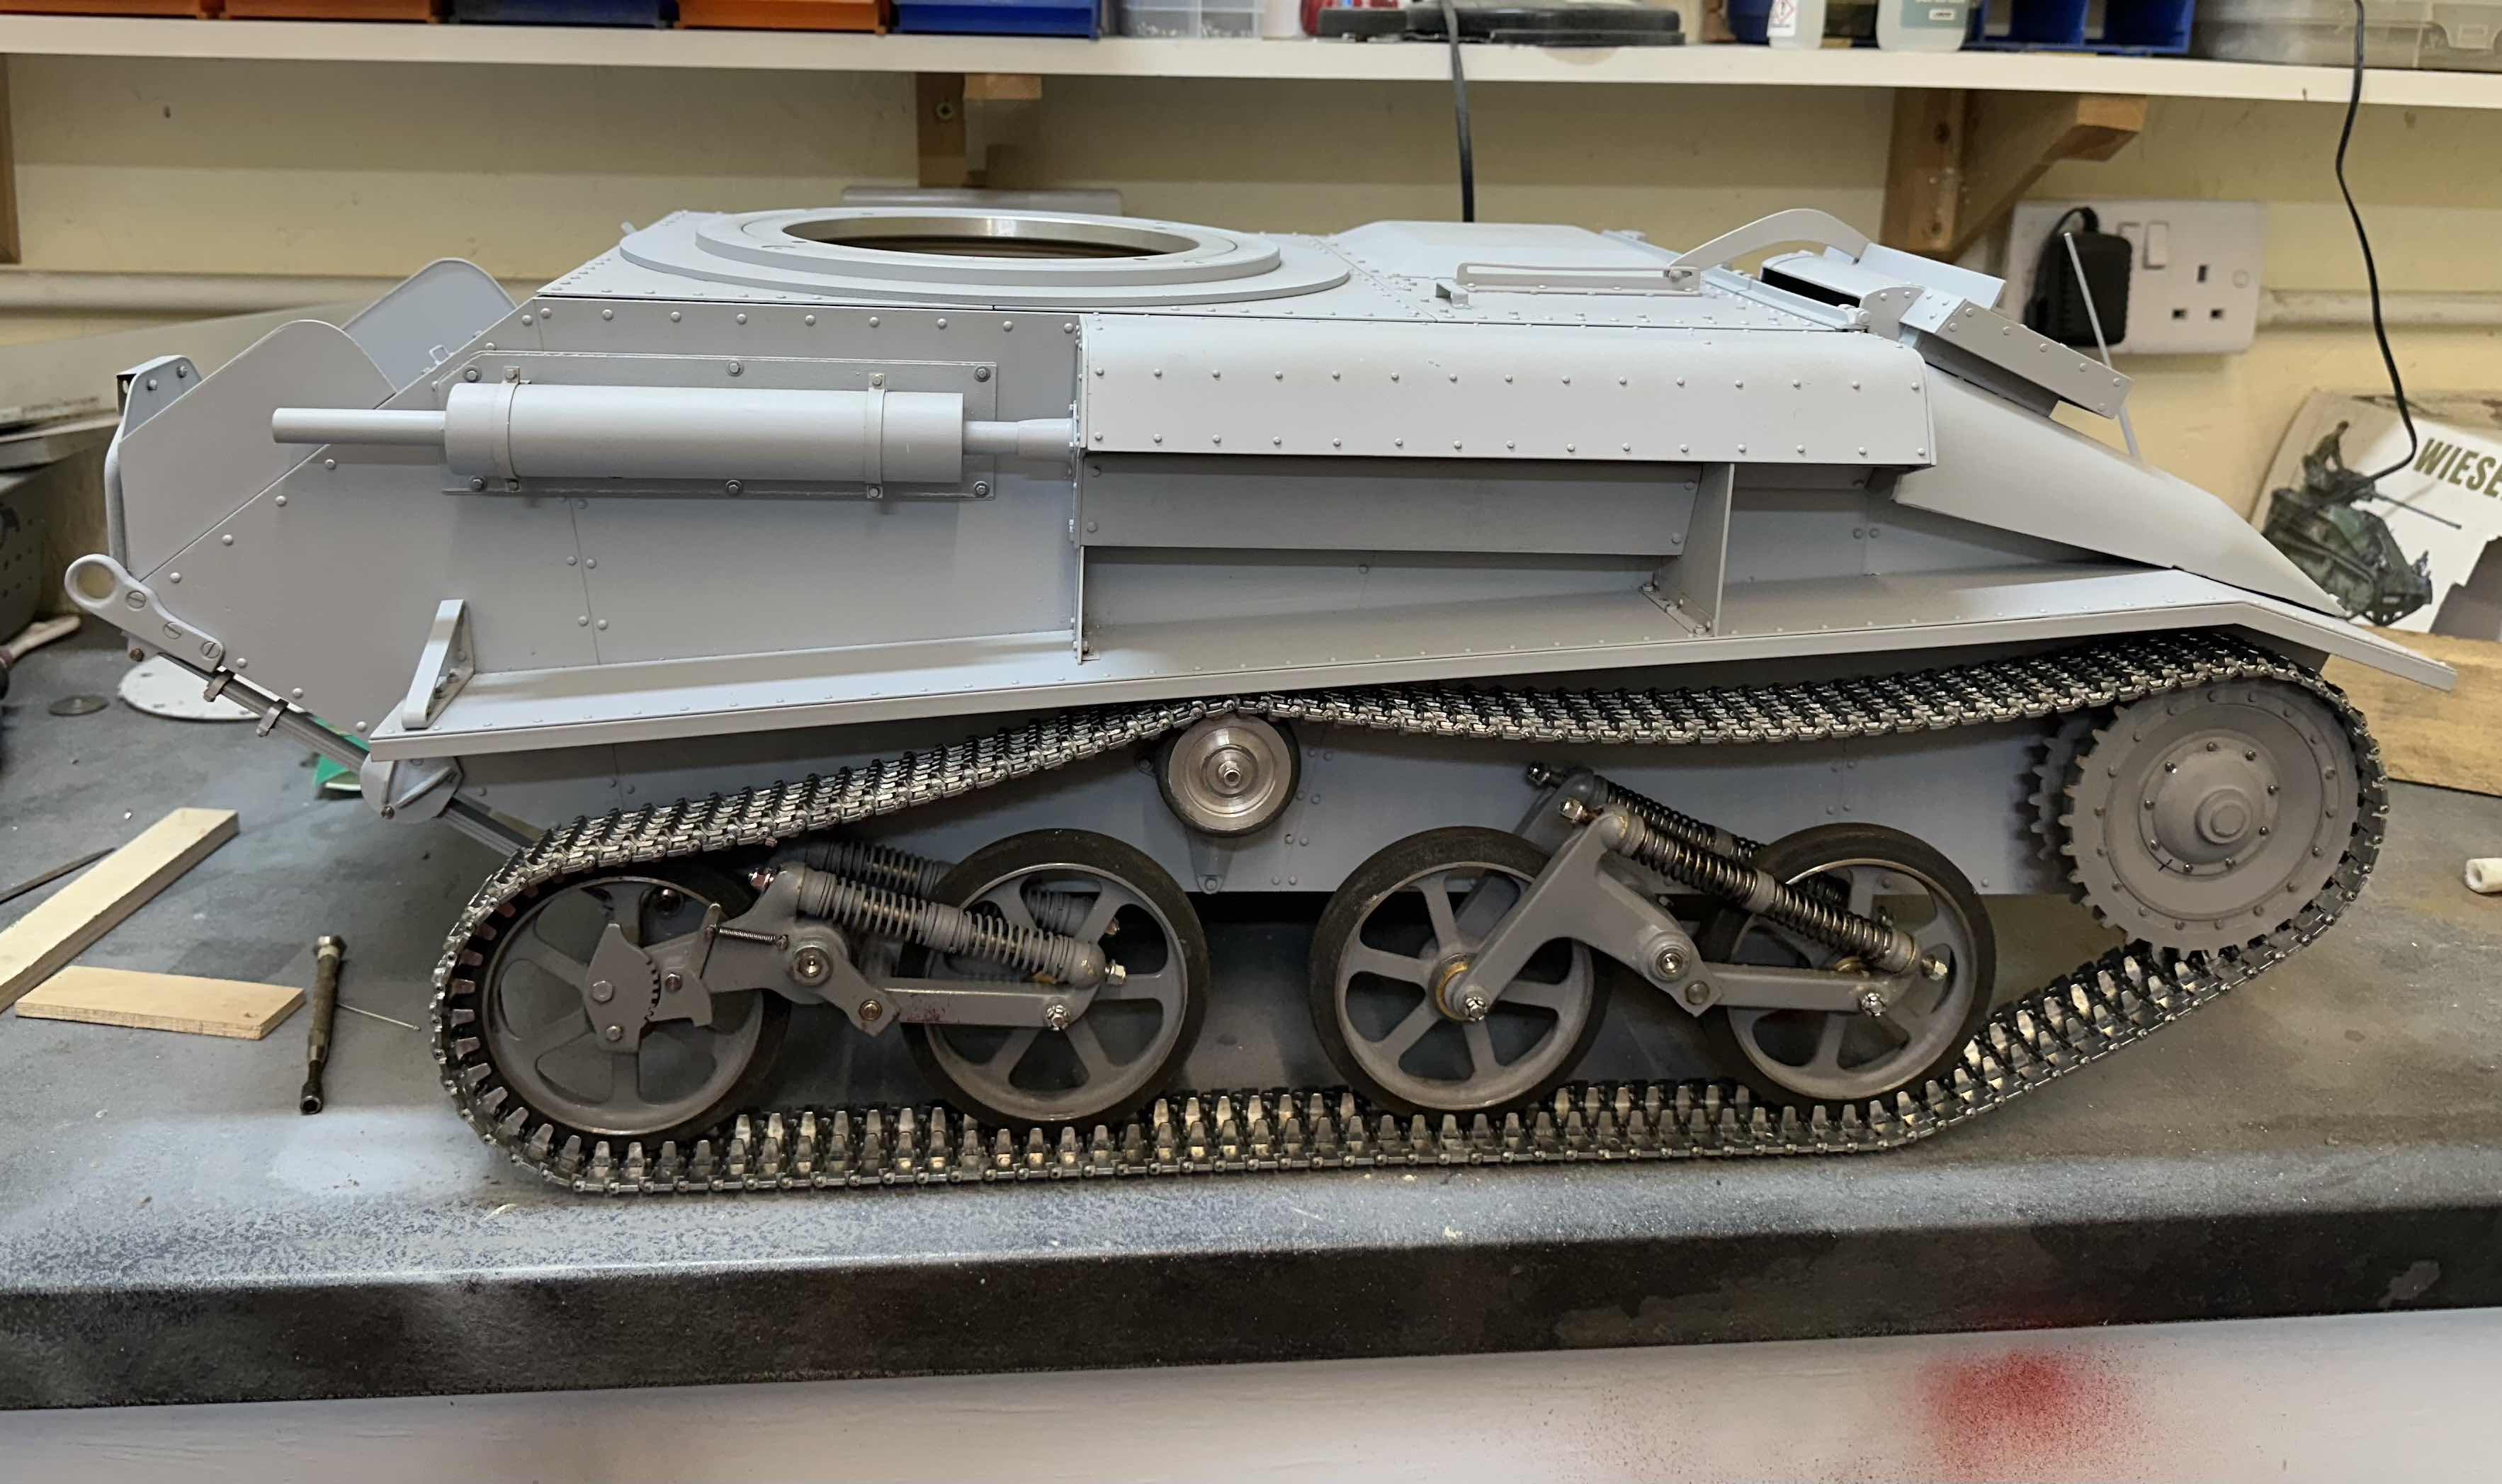
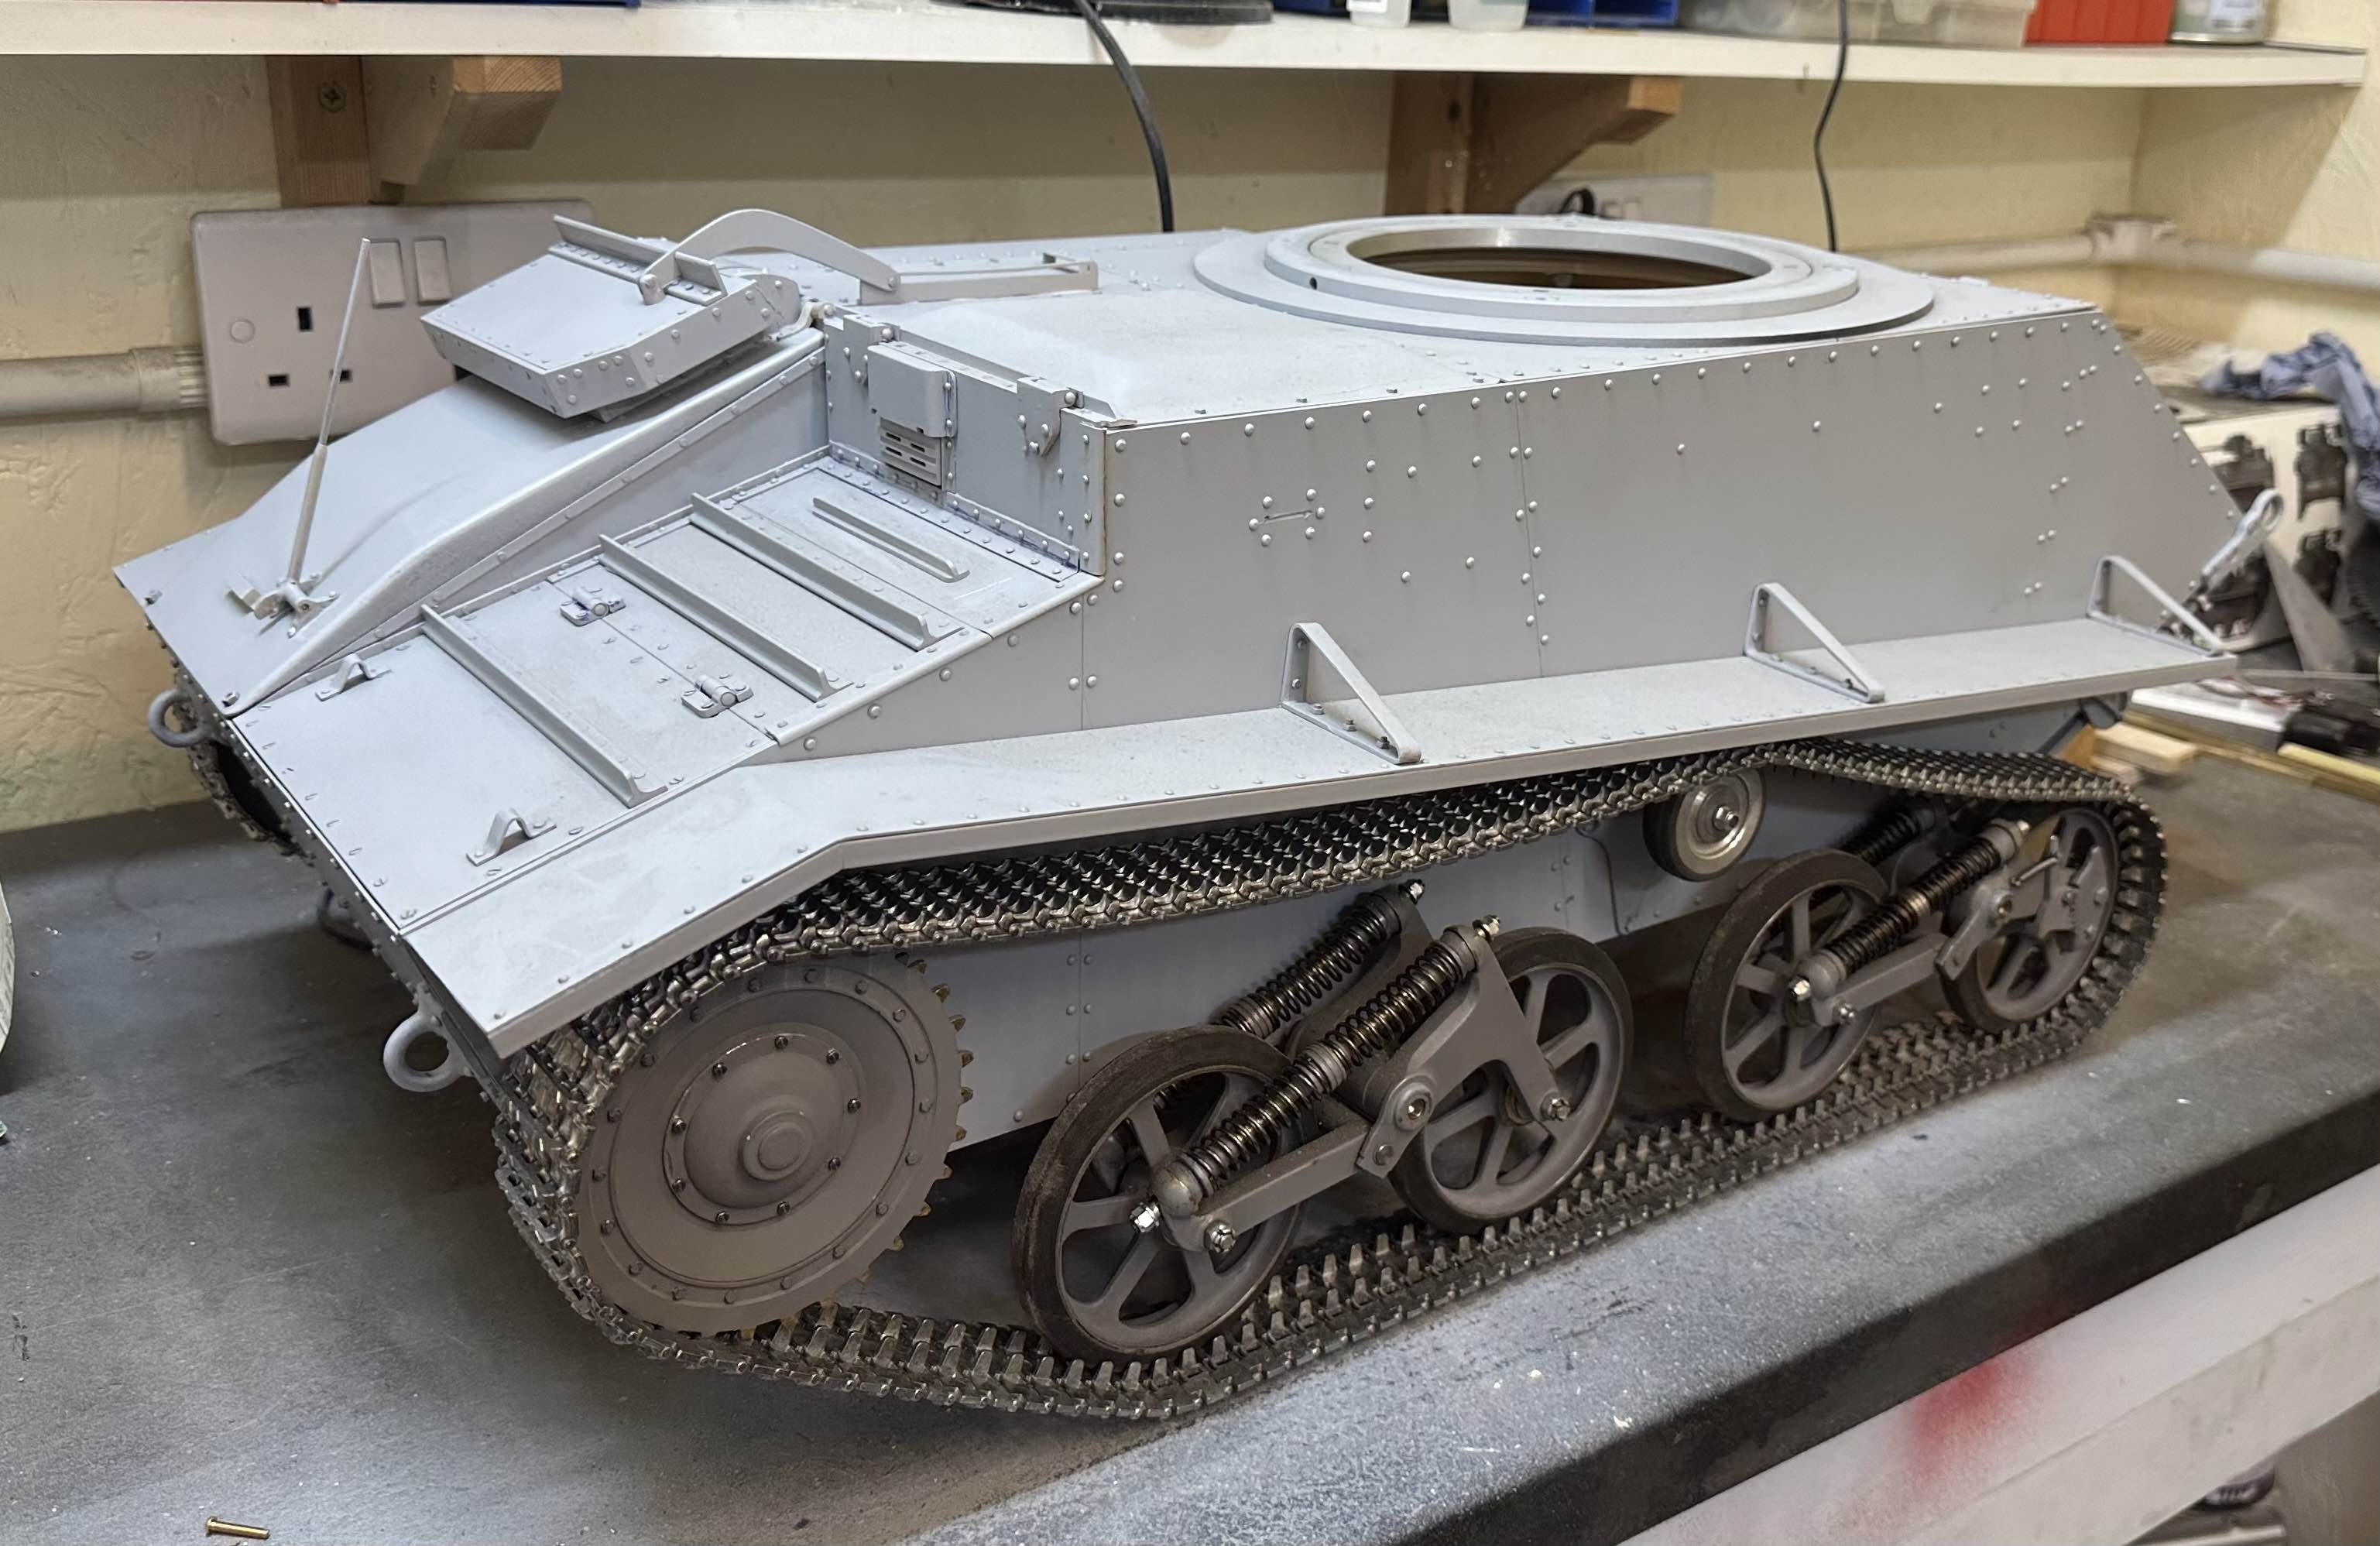
... so more photos at different angles have solved that one!It is getting the compartment below the turret lined up properly, and the placement of the bulkhead behind the driver so that it doesn't interfere with the turret ring that will be tricky.
Yep, that's one of the issues I was referring to
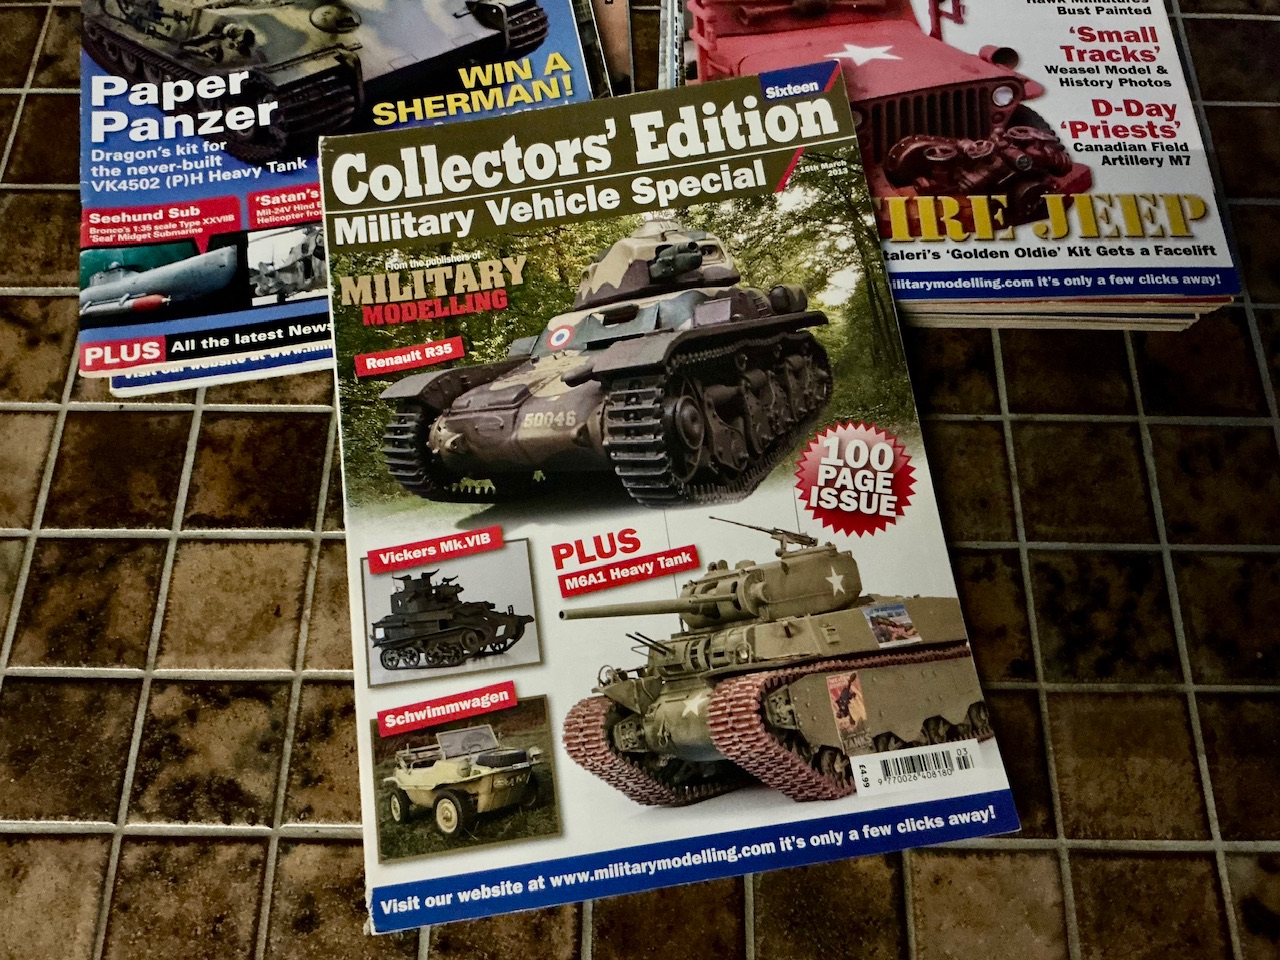
The ones I found, yes, because my collection of MilMods is all I looked atwere they all in Military Modelling Magazine?
I've got about 25 years' worth of issues of it from the late 1980s through the early 2010s, plus a bunch I bought second-hand from the mid-80s.
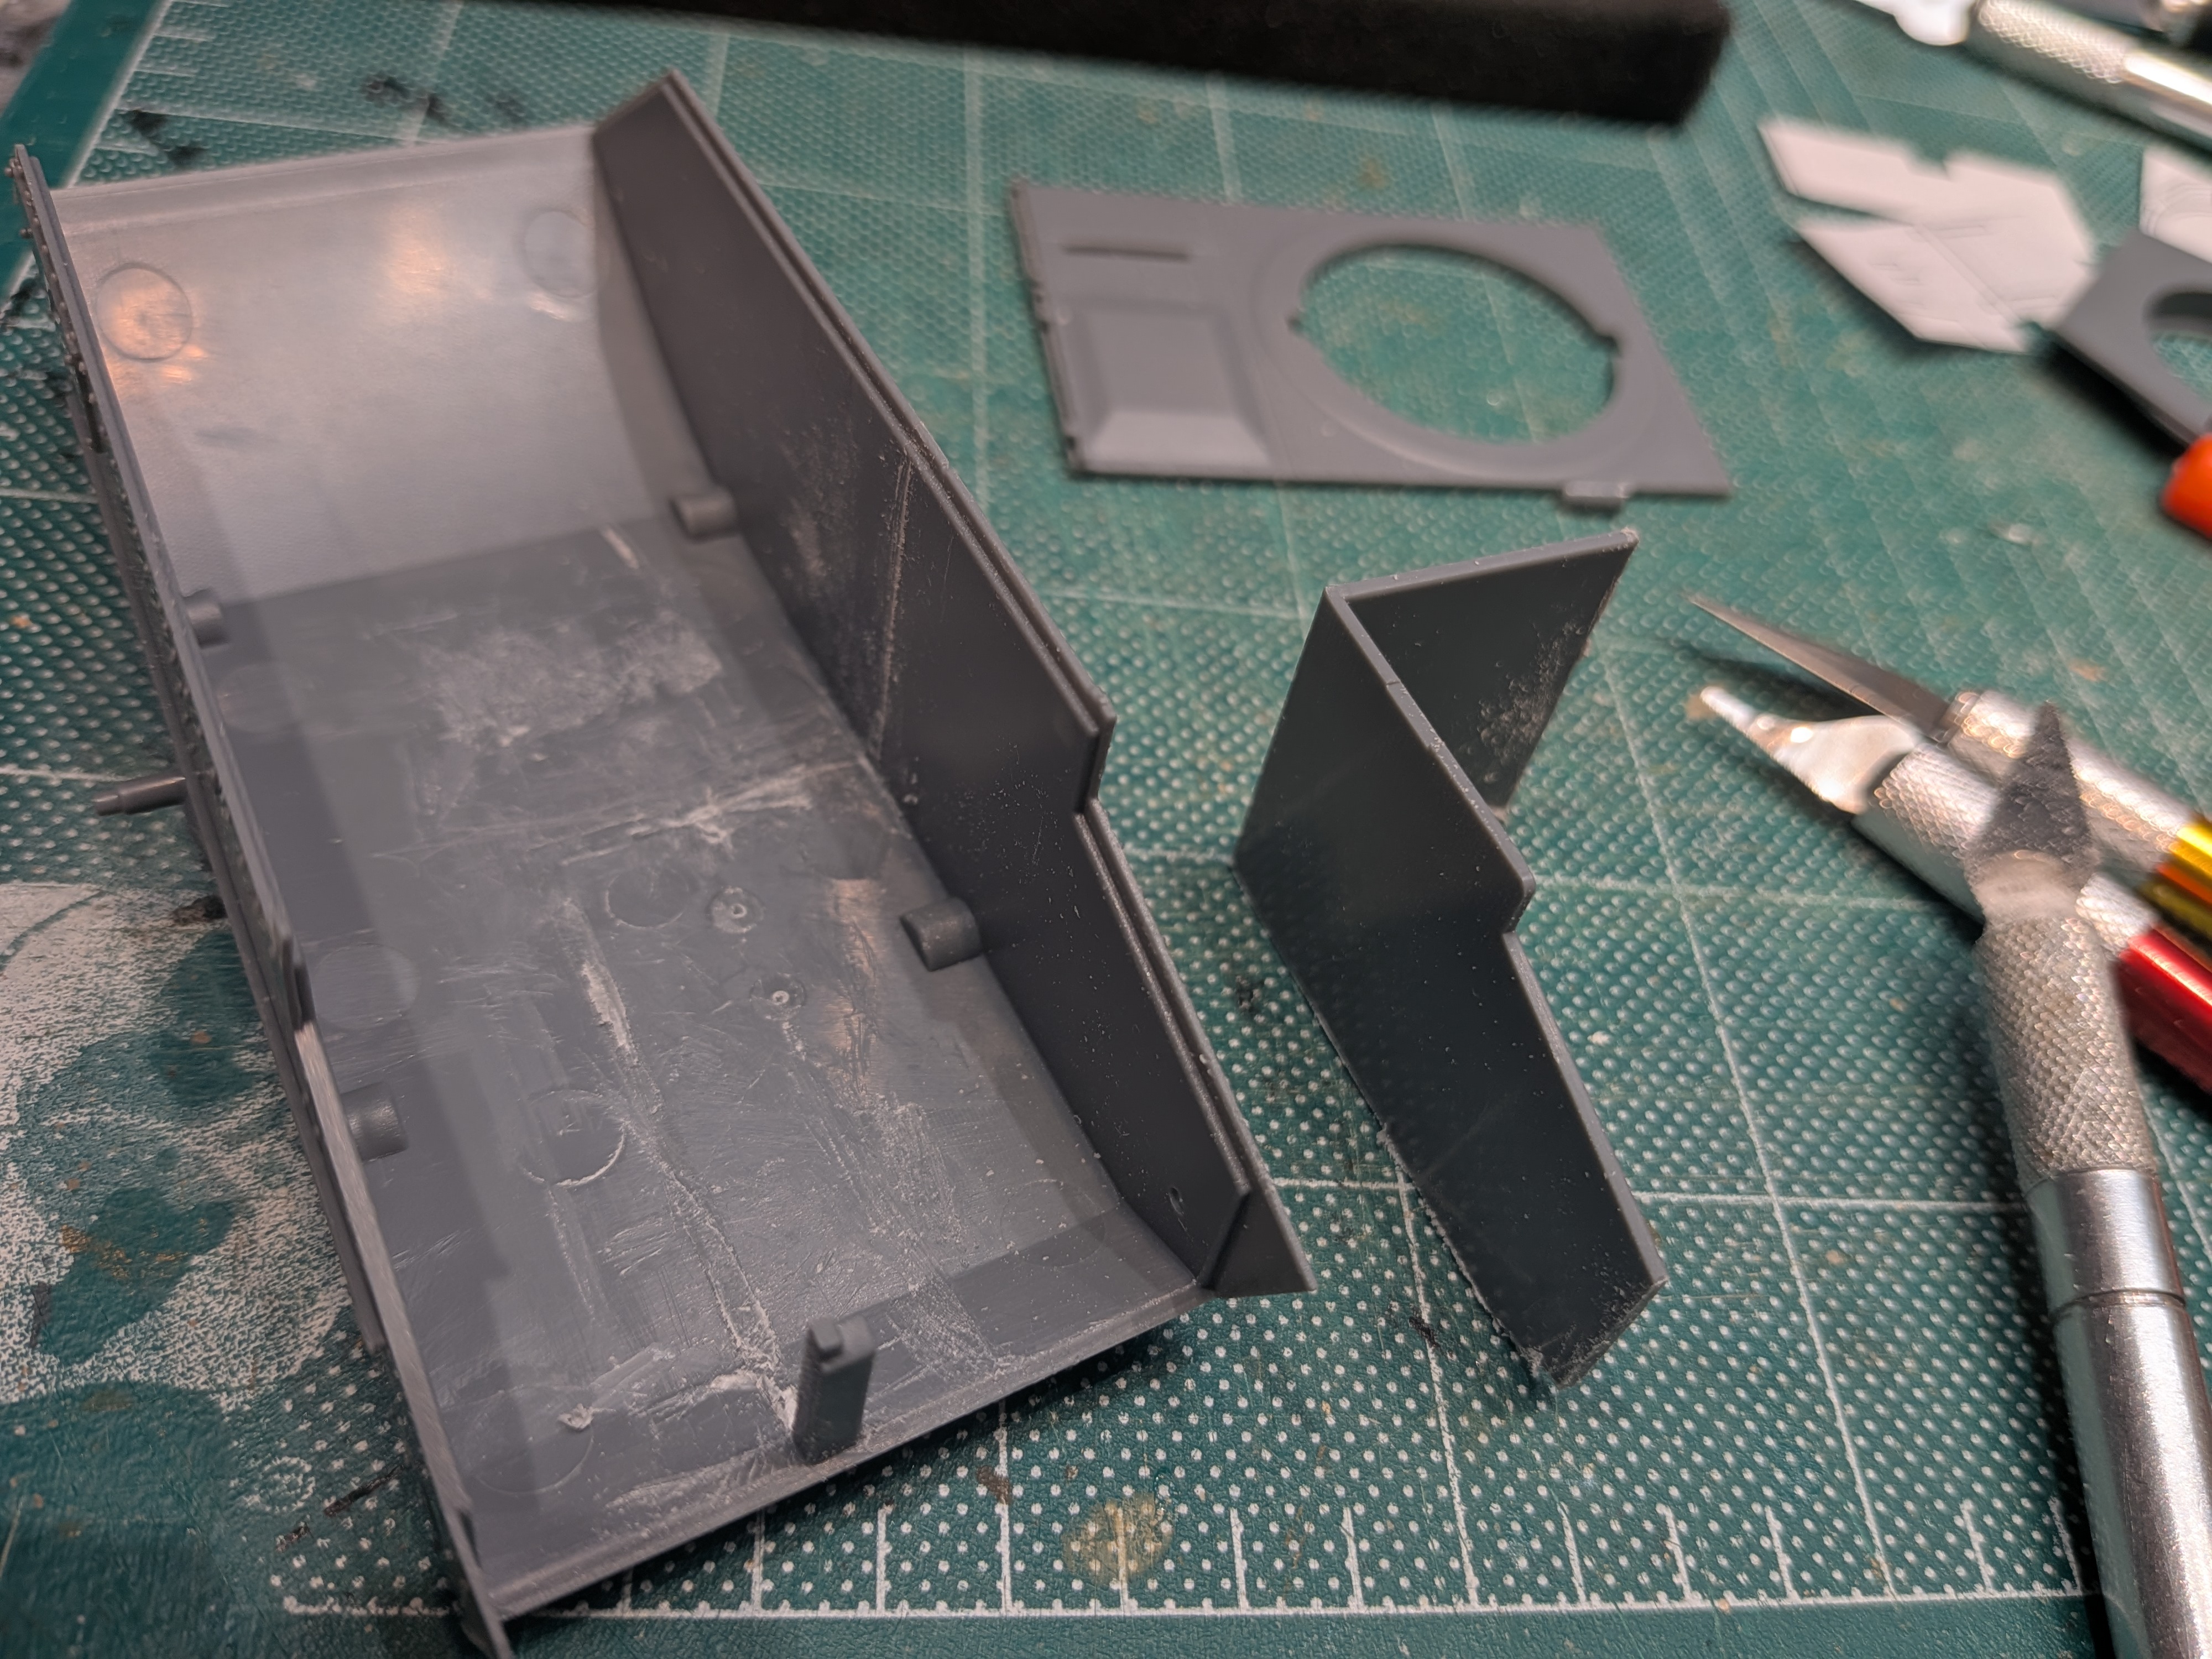

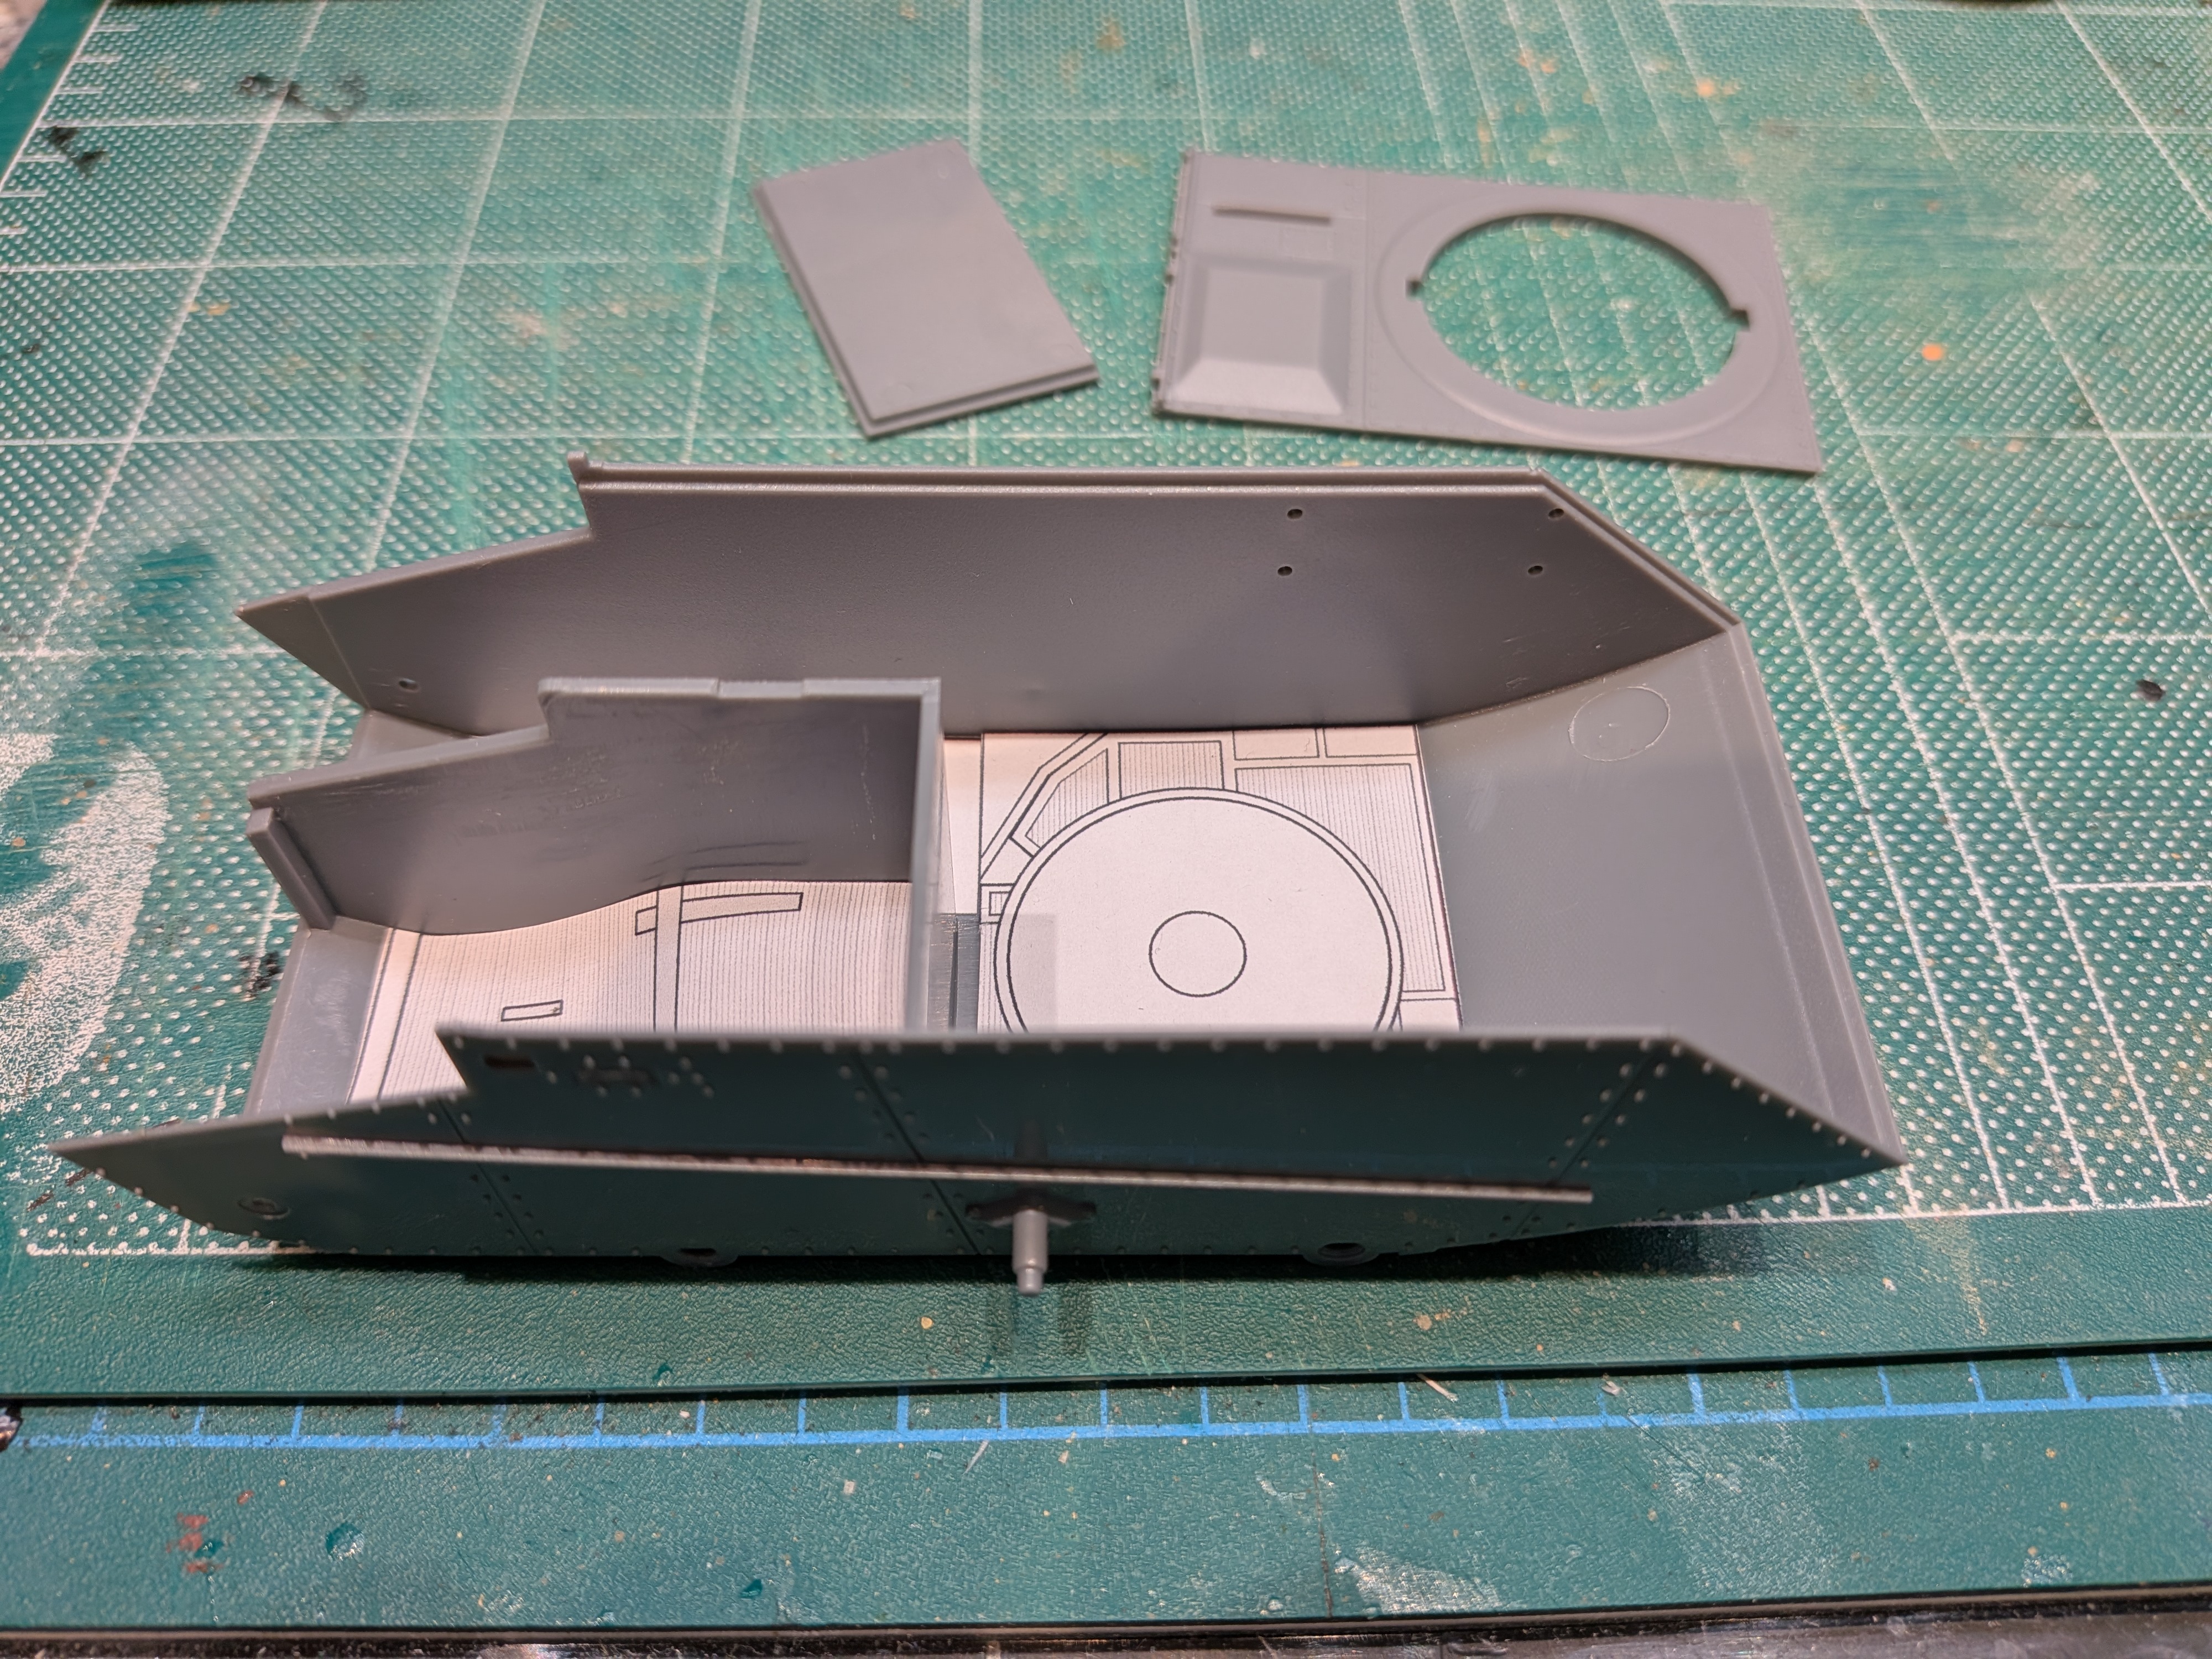
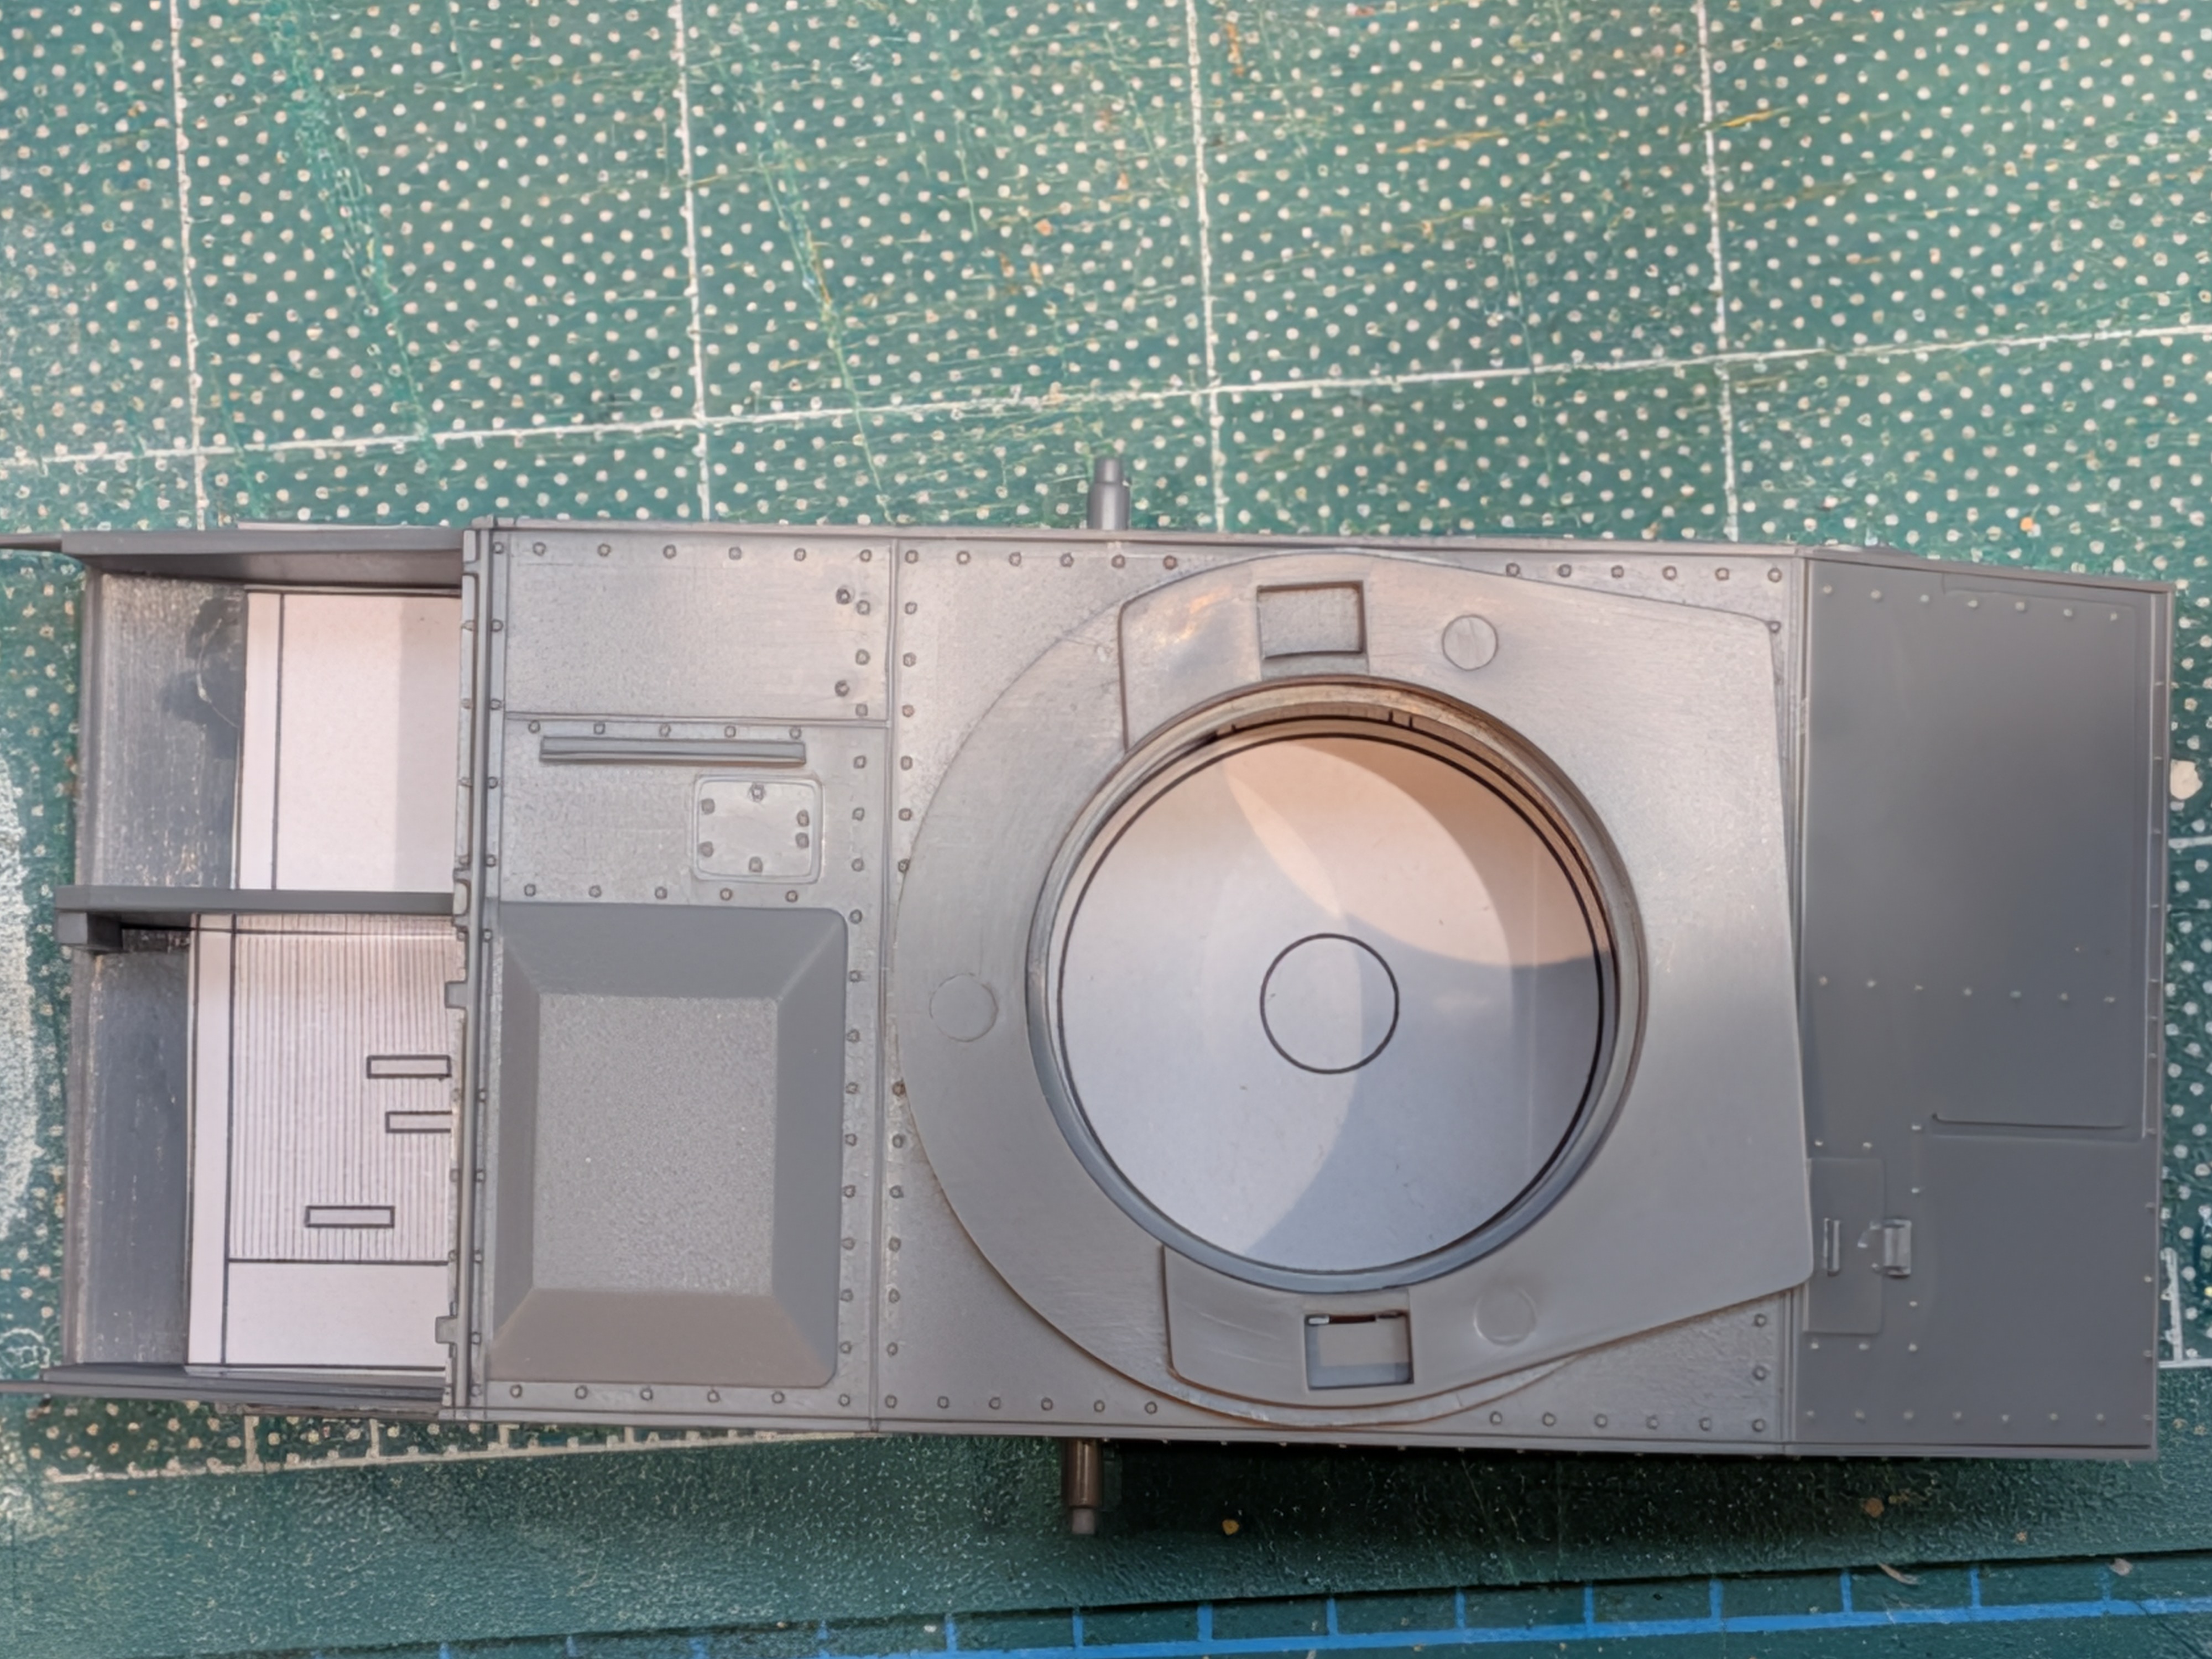
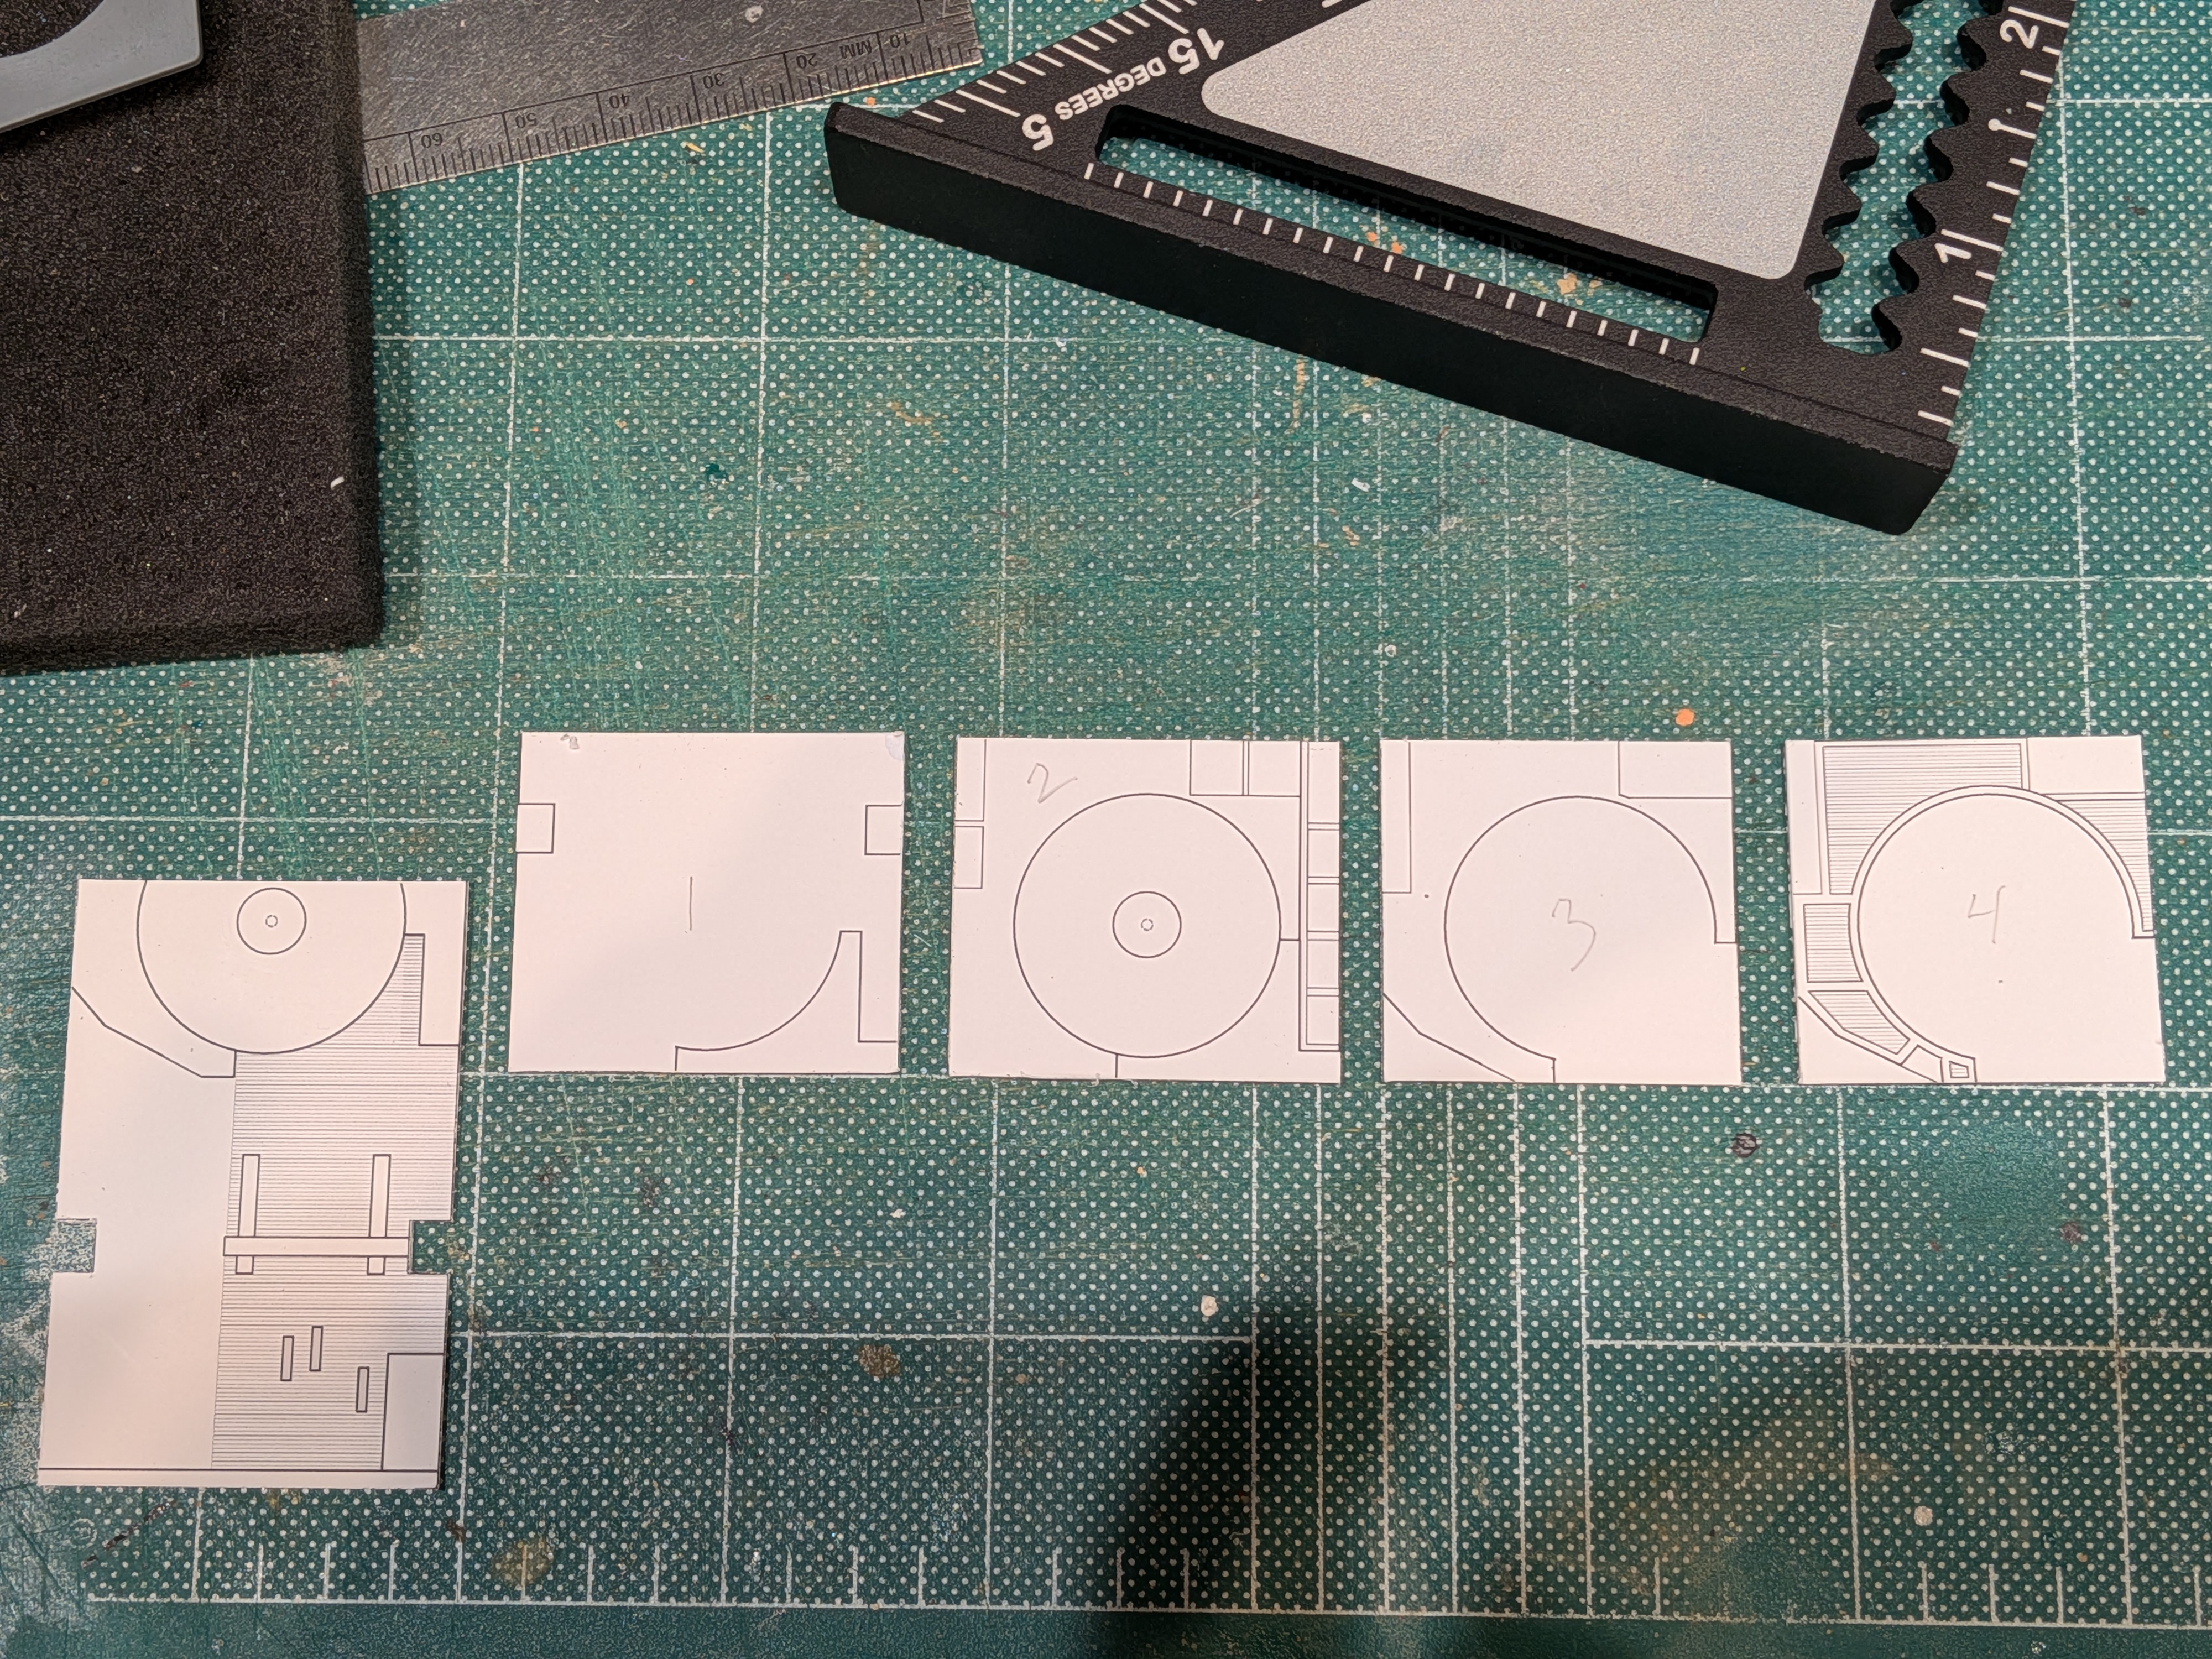
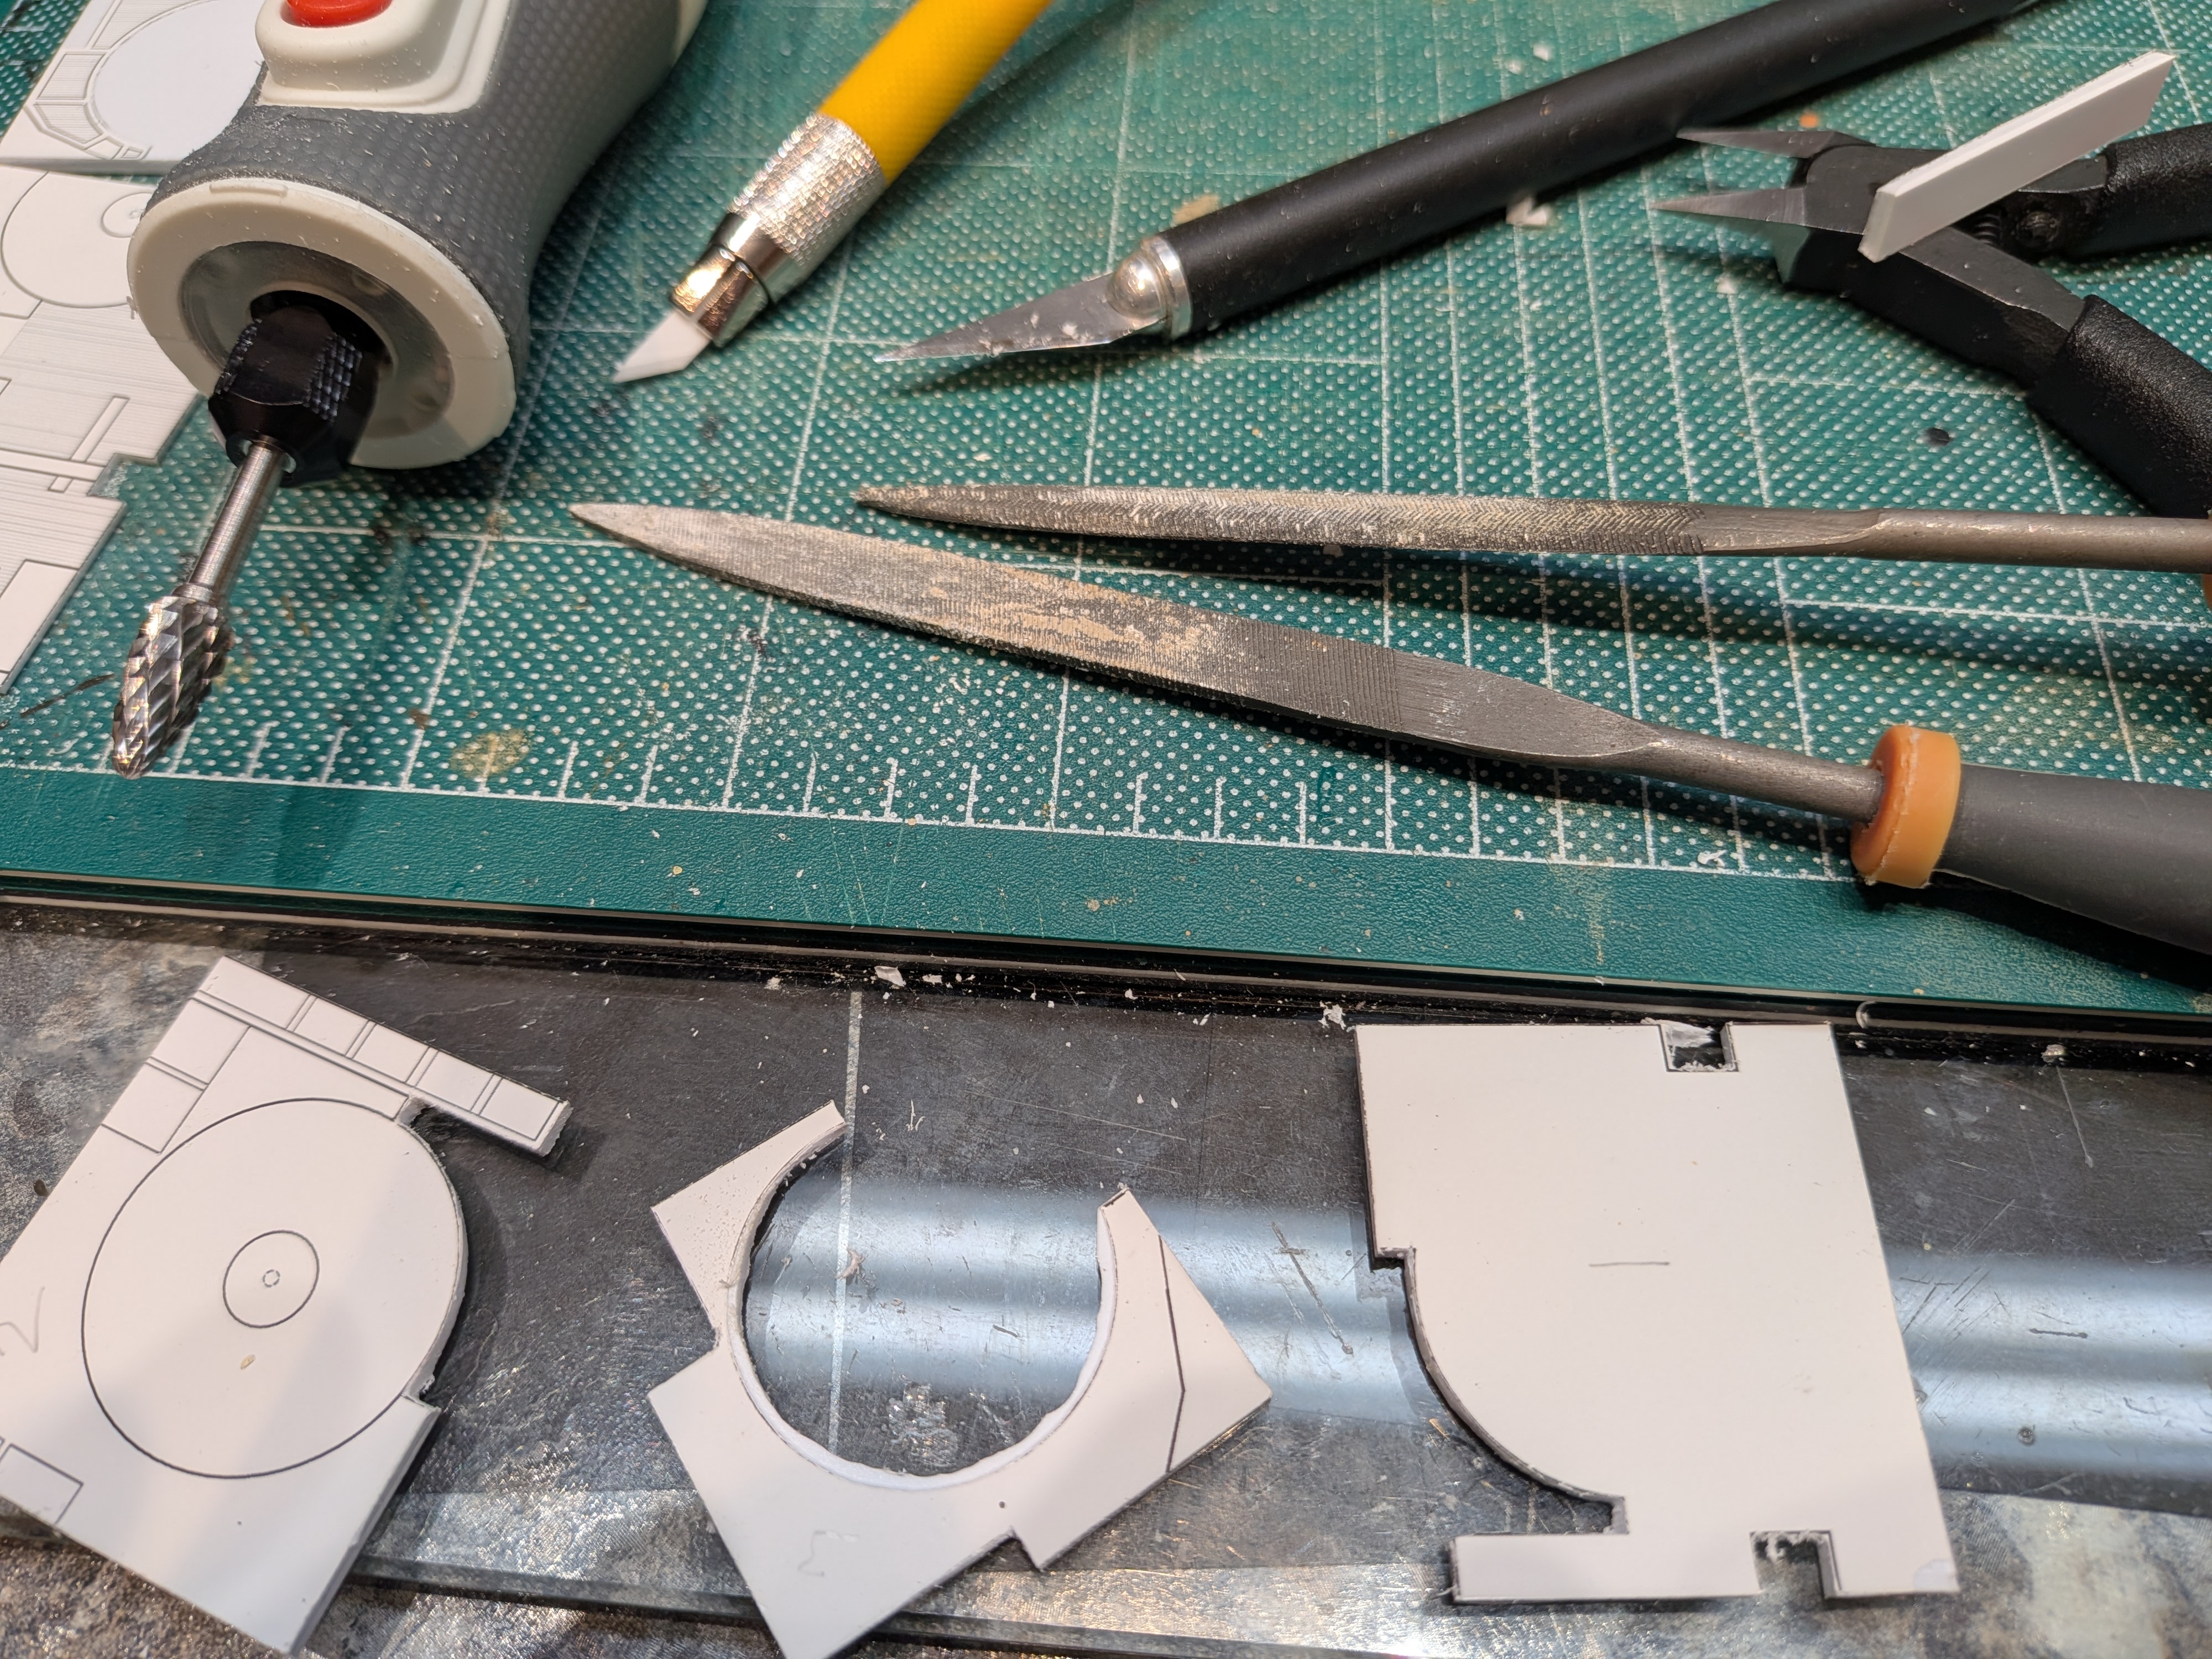
Very interesting! There will be an interior! Will You make small interior details with 3D printing?So here is the body, test fitted, and the first of what will likely be many iterations of an interior floor plan.
I suppose 3D printing would be the way to go these days, but I am not so equipped!Very interesting! There will be an interior! Will You make small interior details with 3D printing?
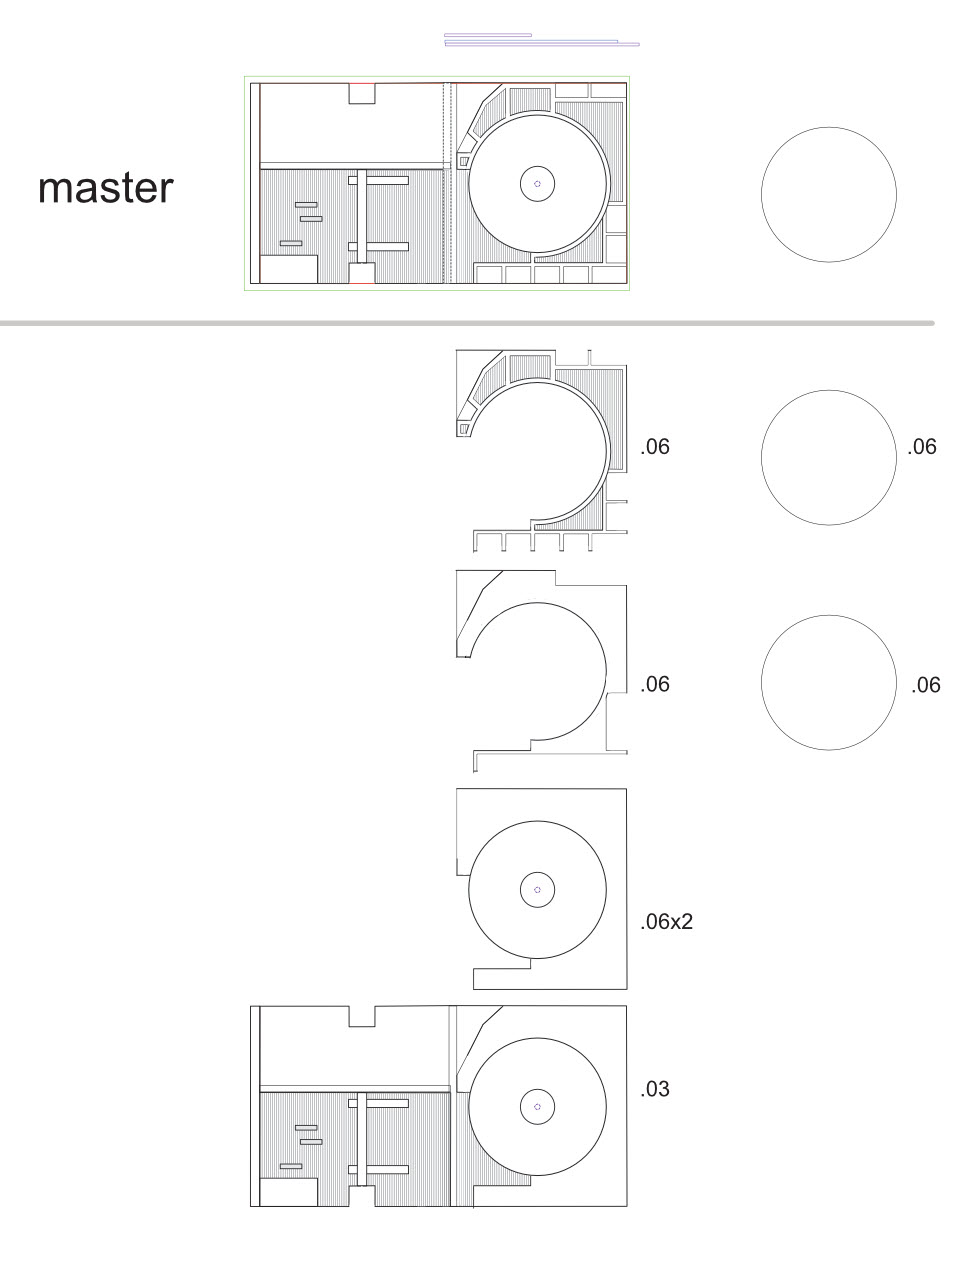
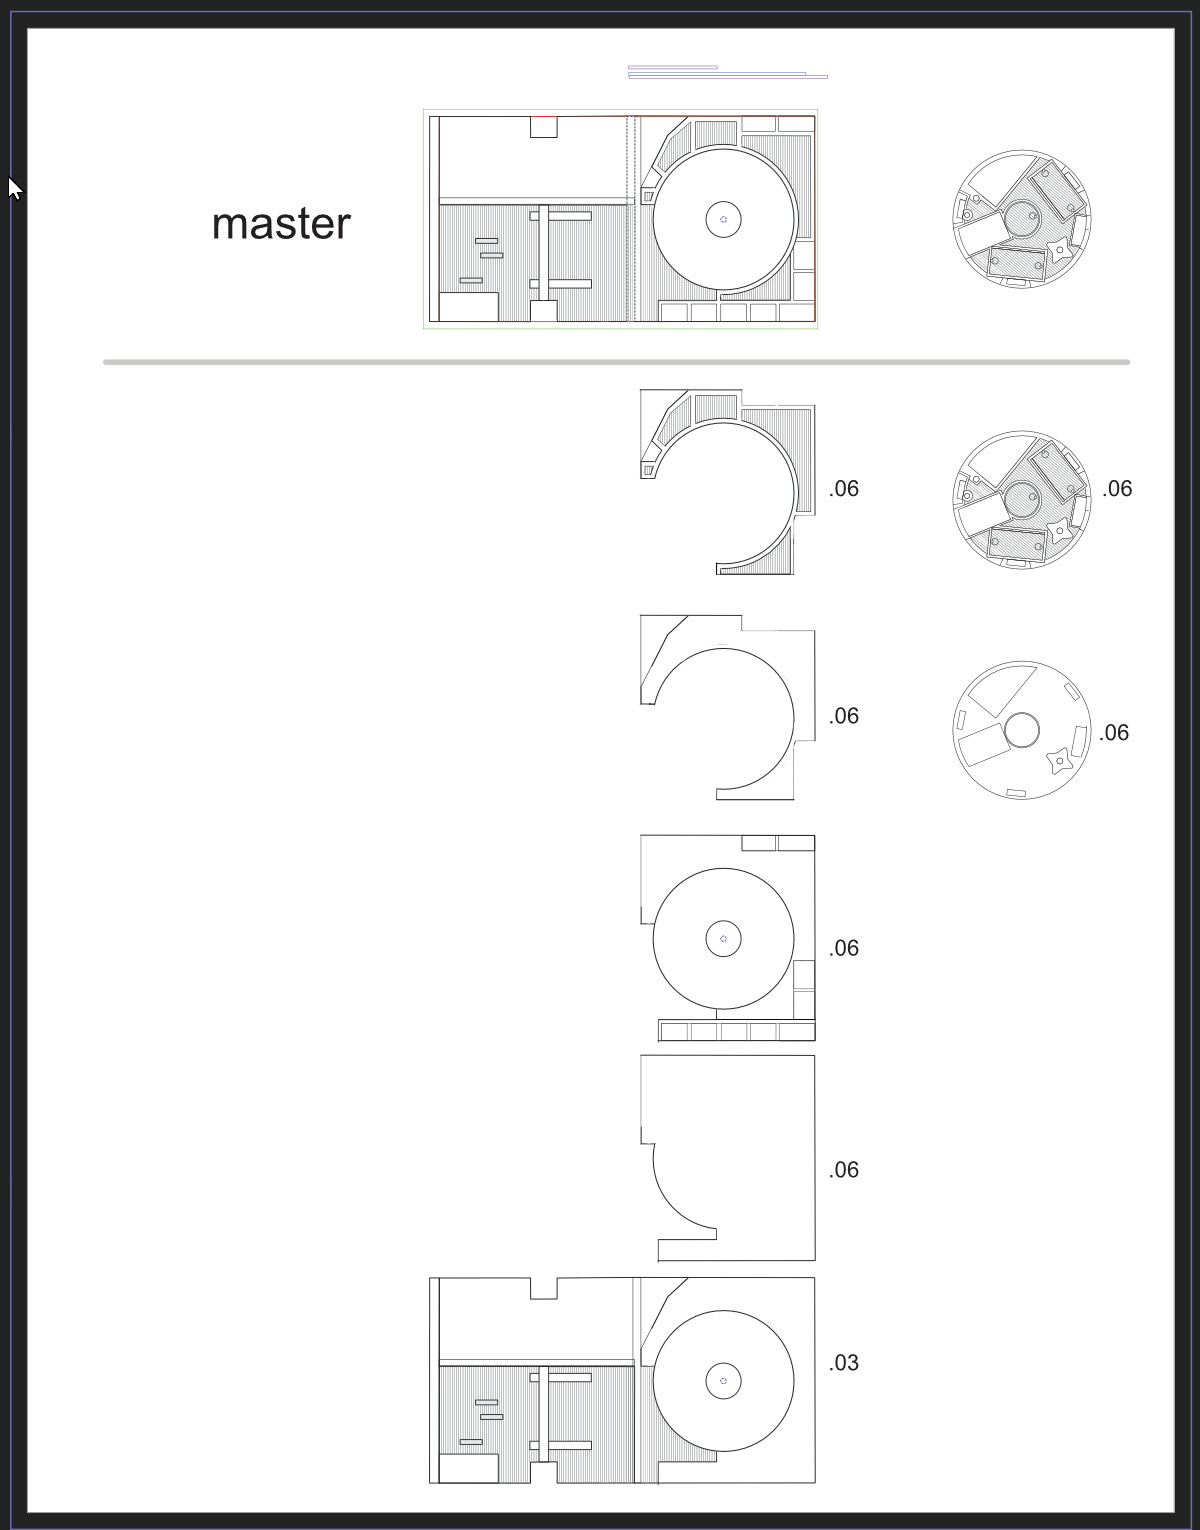
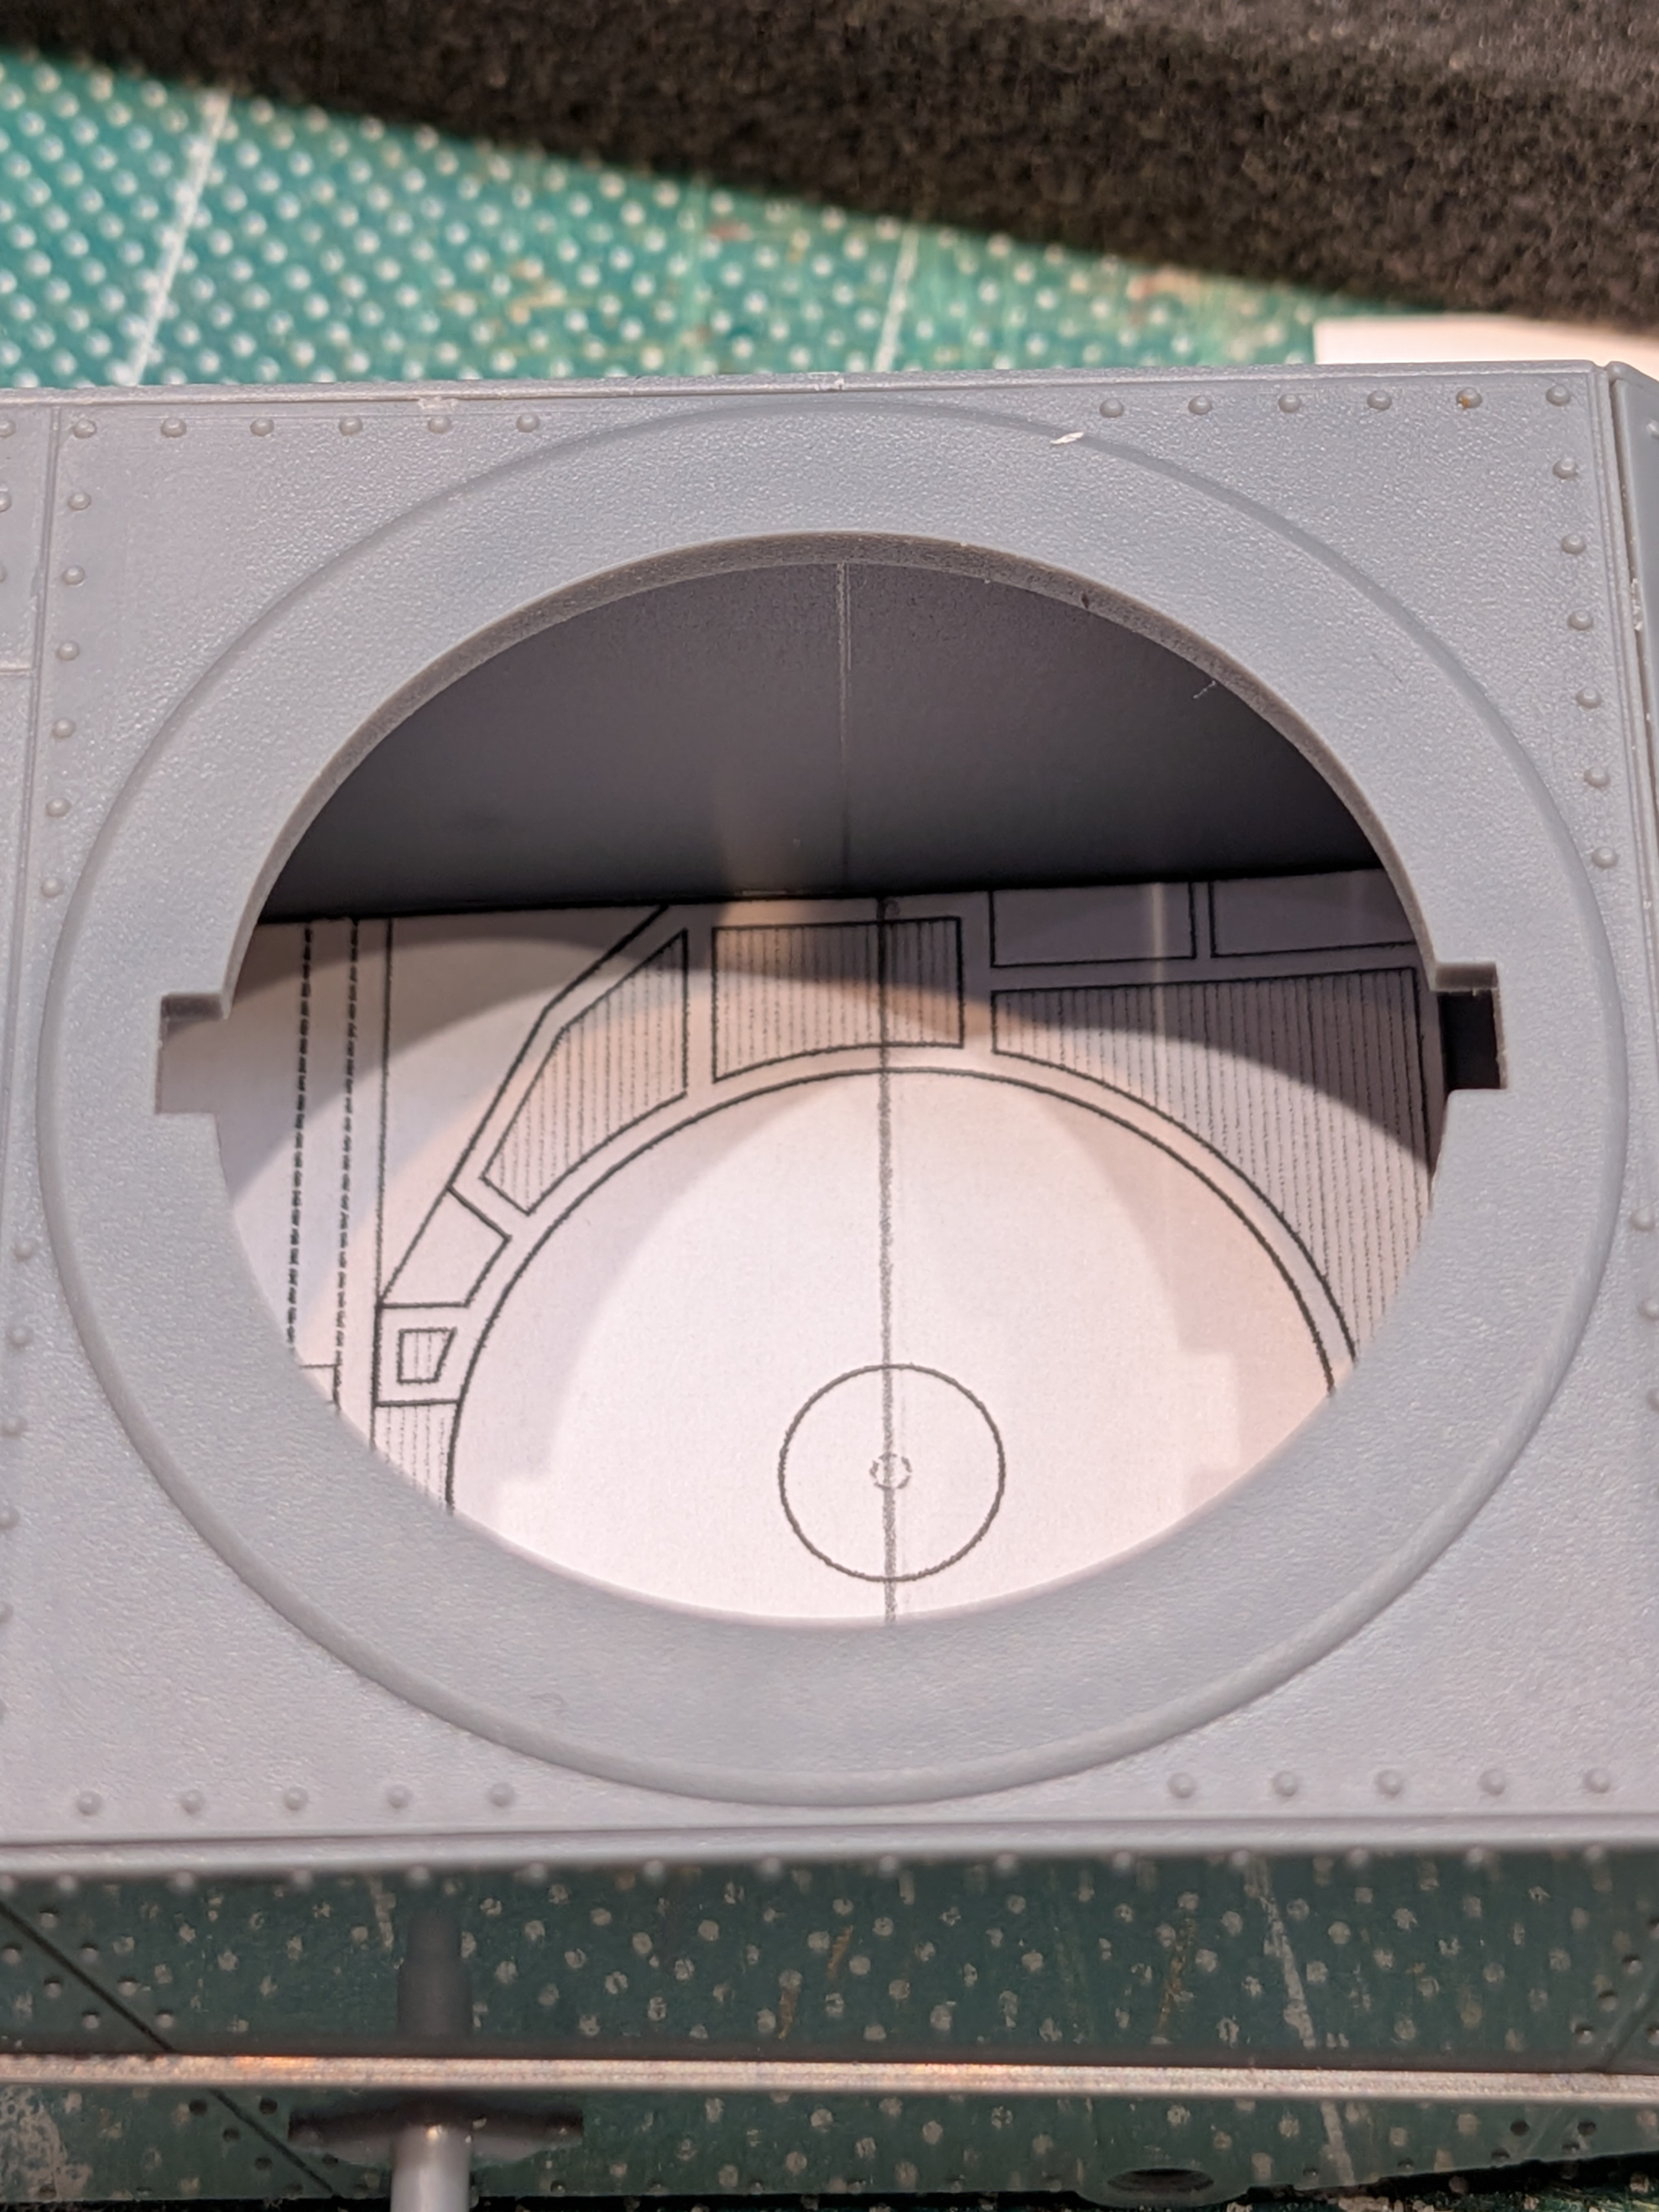 My solution would be like yours: move the important part over to where it fits the kit and then adjust the rest as necessary to fit. It's not like you will be able to see much under the roof anyway.
... All smoke and calipers... I used photos of the long lost interior set as templates, scaled them in a drawing program to fit with my tank kit, and adjusted for skew and perspective by eye.Where are your drawings
Yup, I only realized how rare the kit was once I opened the box, and seeing as I might not get a second chance at it, decided to try and get some of the interior in there.able to see much under the roof anyway.
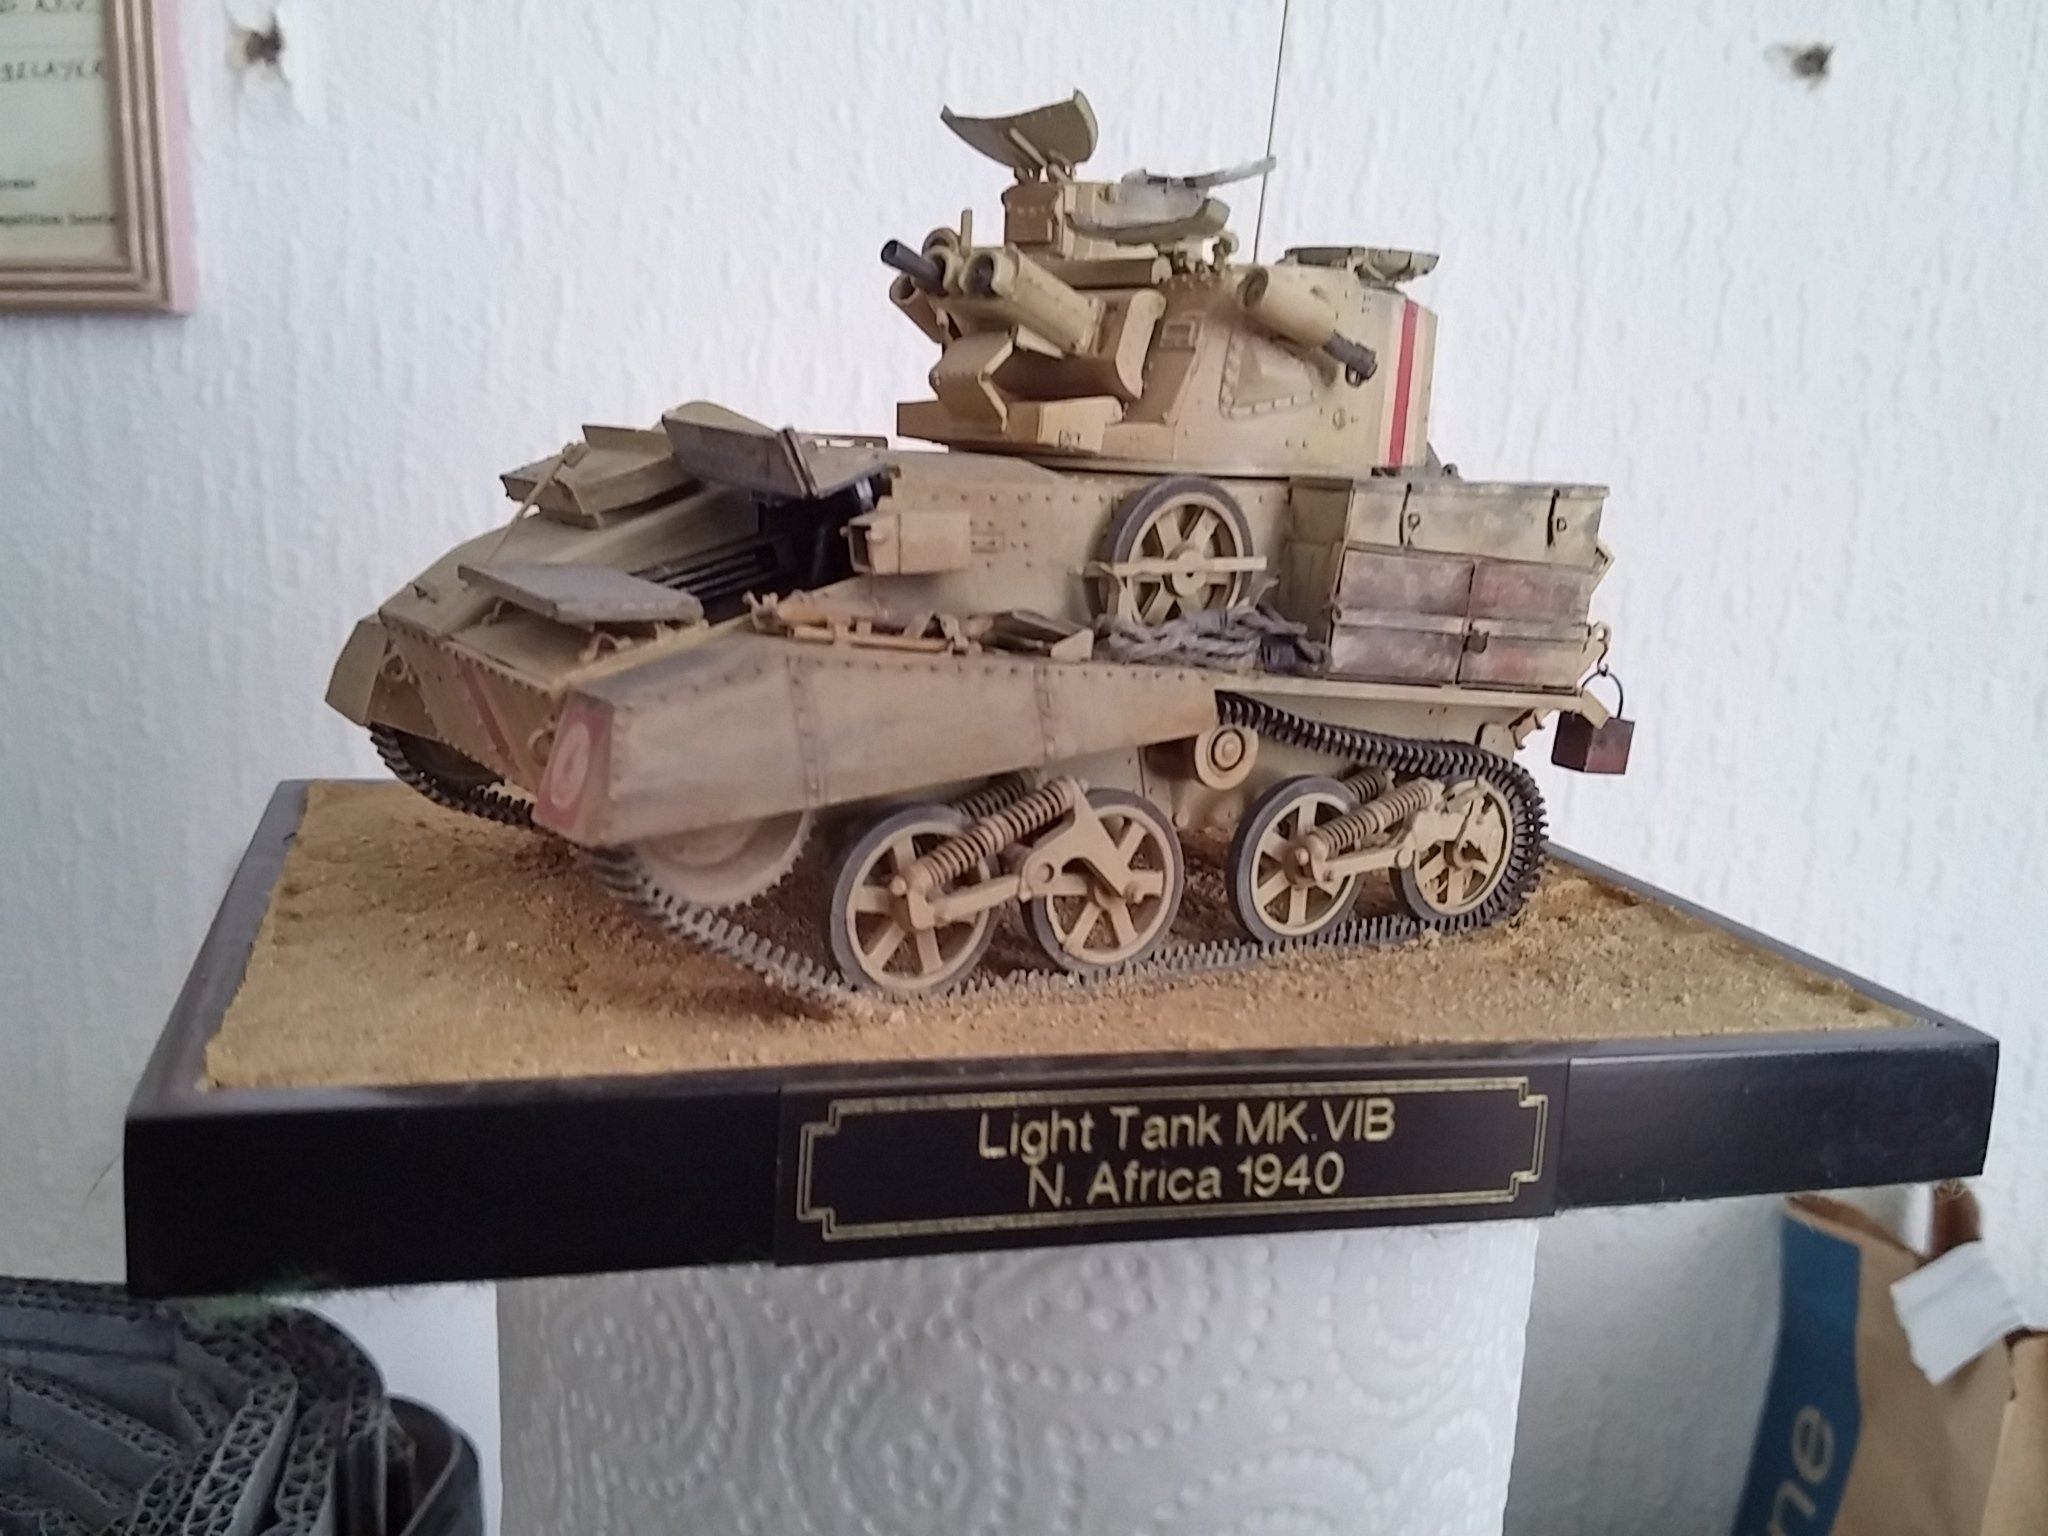
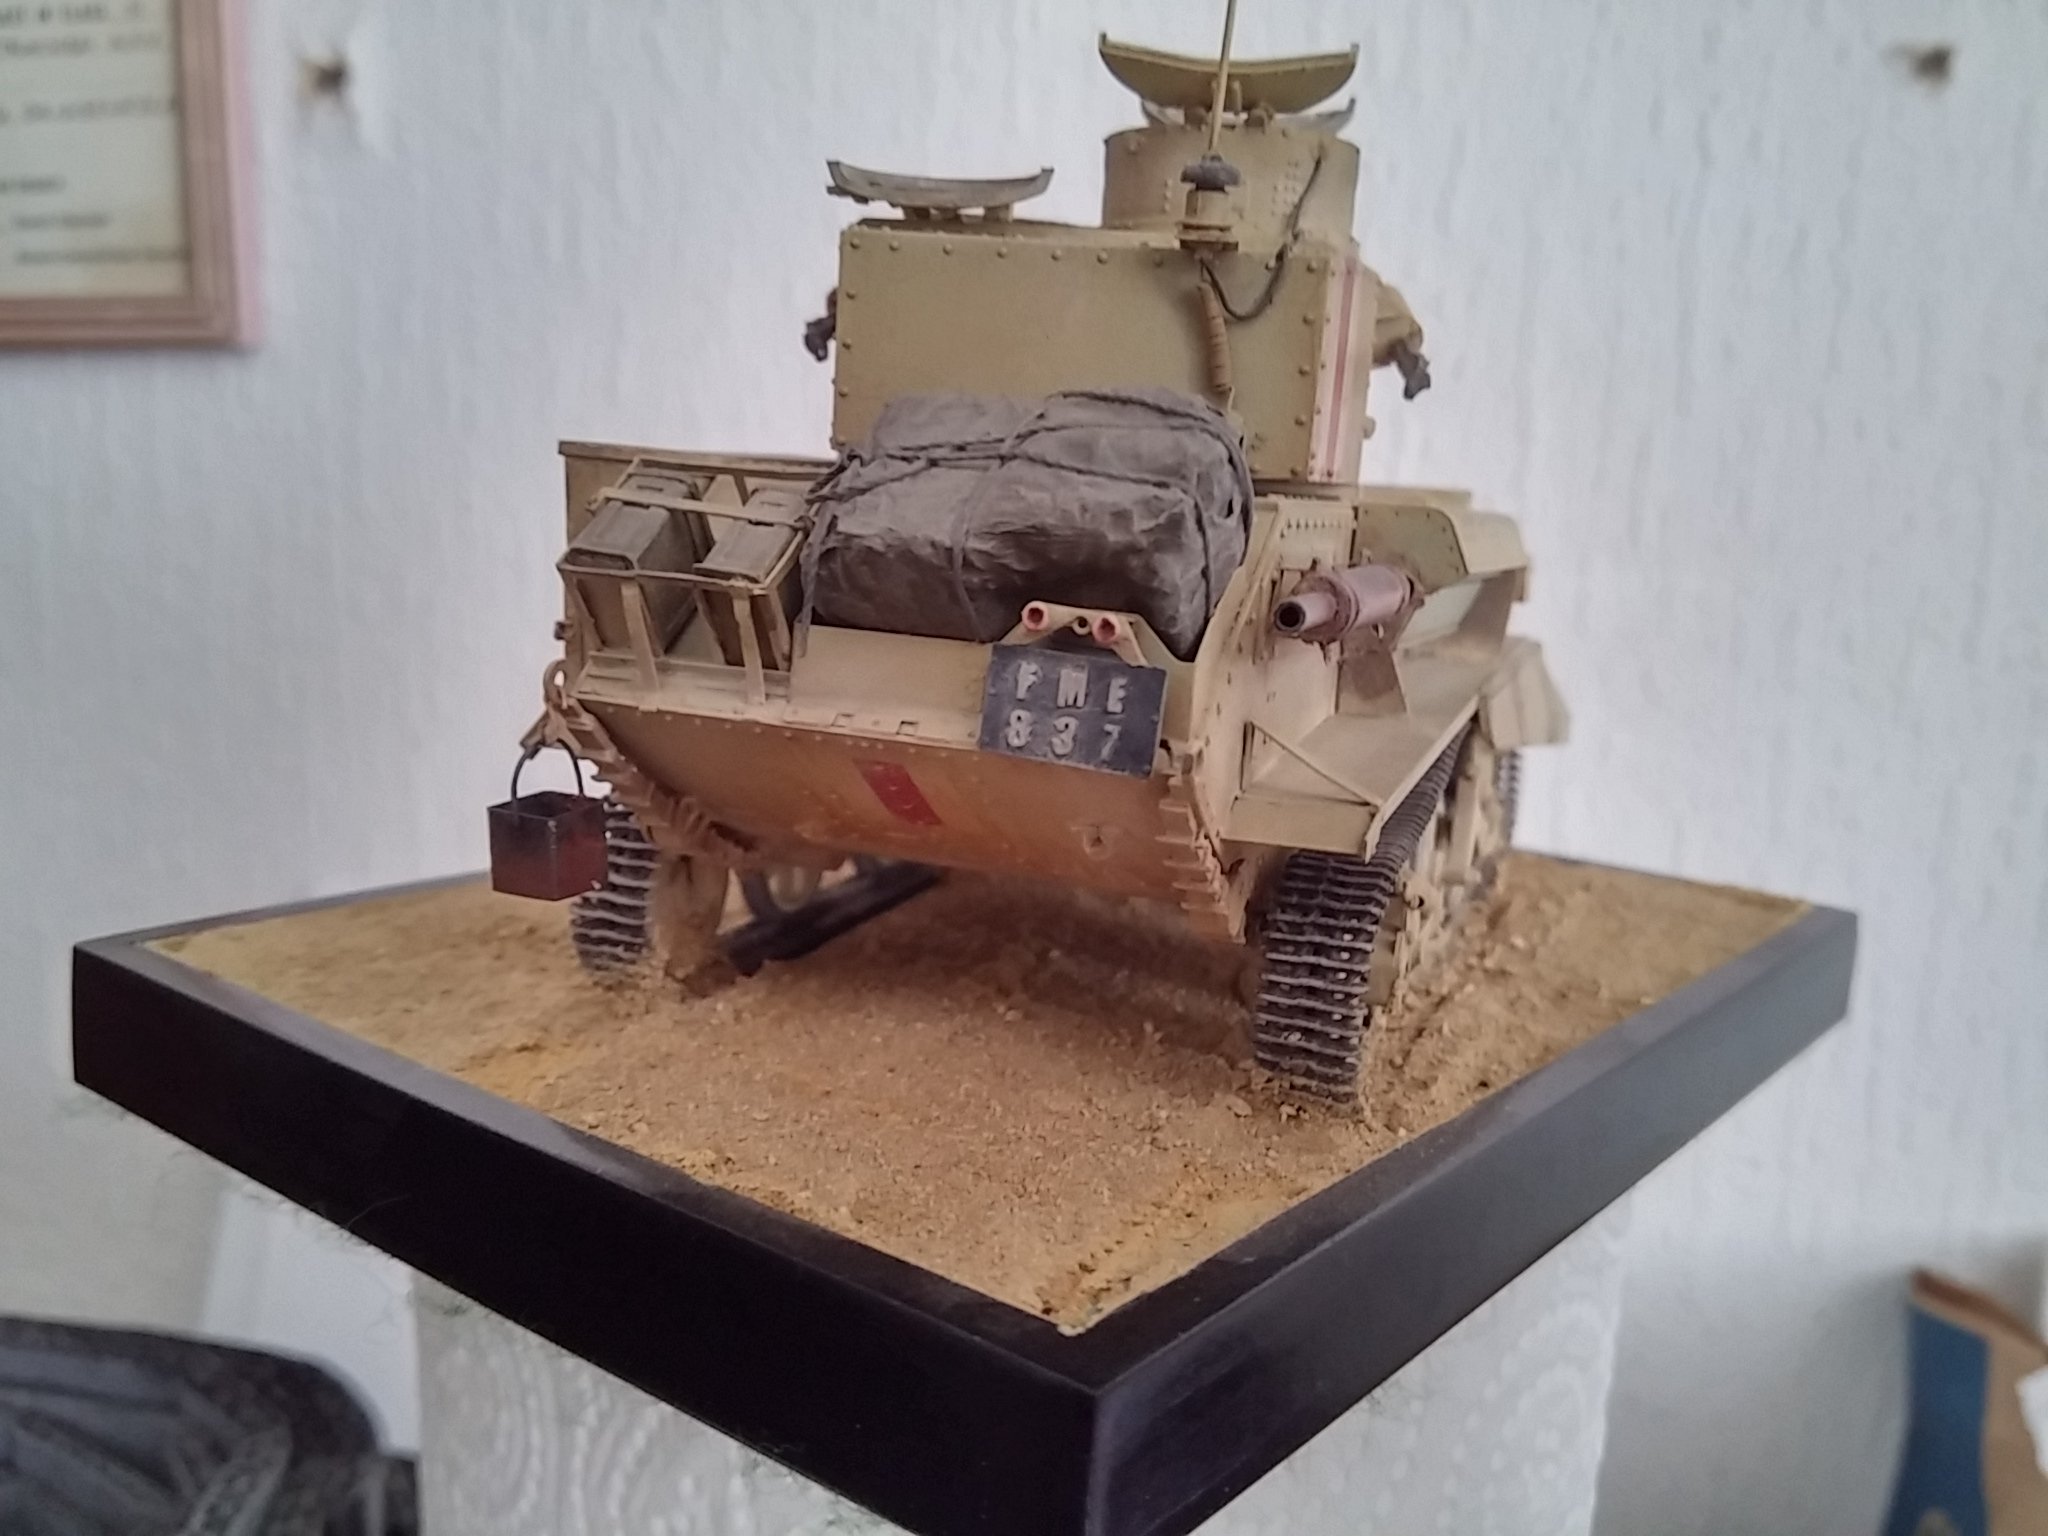
Beautiful build.Model Asia
 ) went under sometime last year — their site appears to have simply disappeared from one day to the next. Too bad, as they had some interesting kits and conversions that I was kind of interested in.
AFAIK these are all only exterior drawings, no interior detail.plans from George Bradford in 1/35 scale
| B42 | Light Tank Mark VIB (in Africa) |
| B75 | Light Tank Mk.VIA |

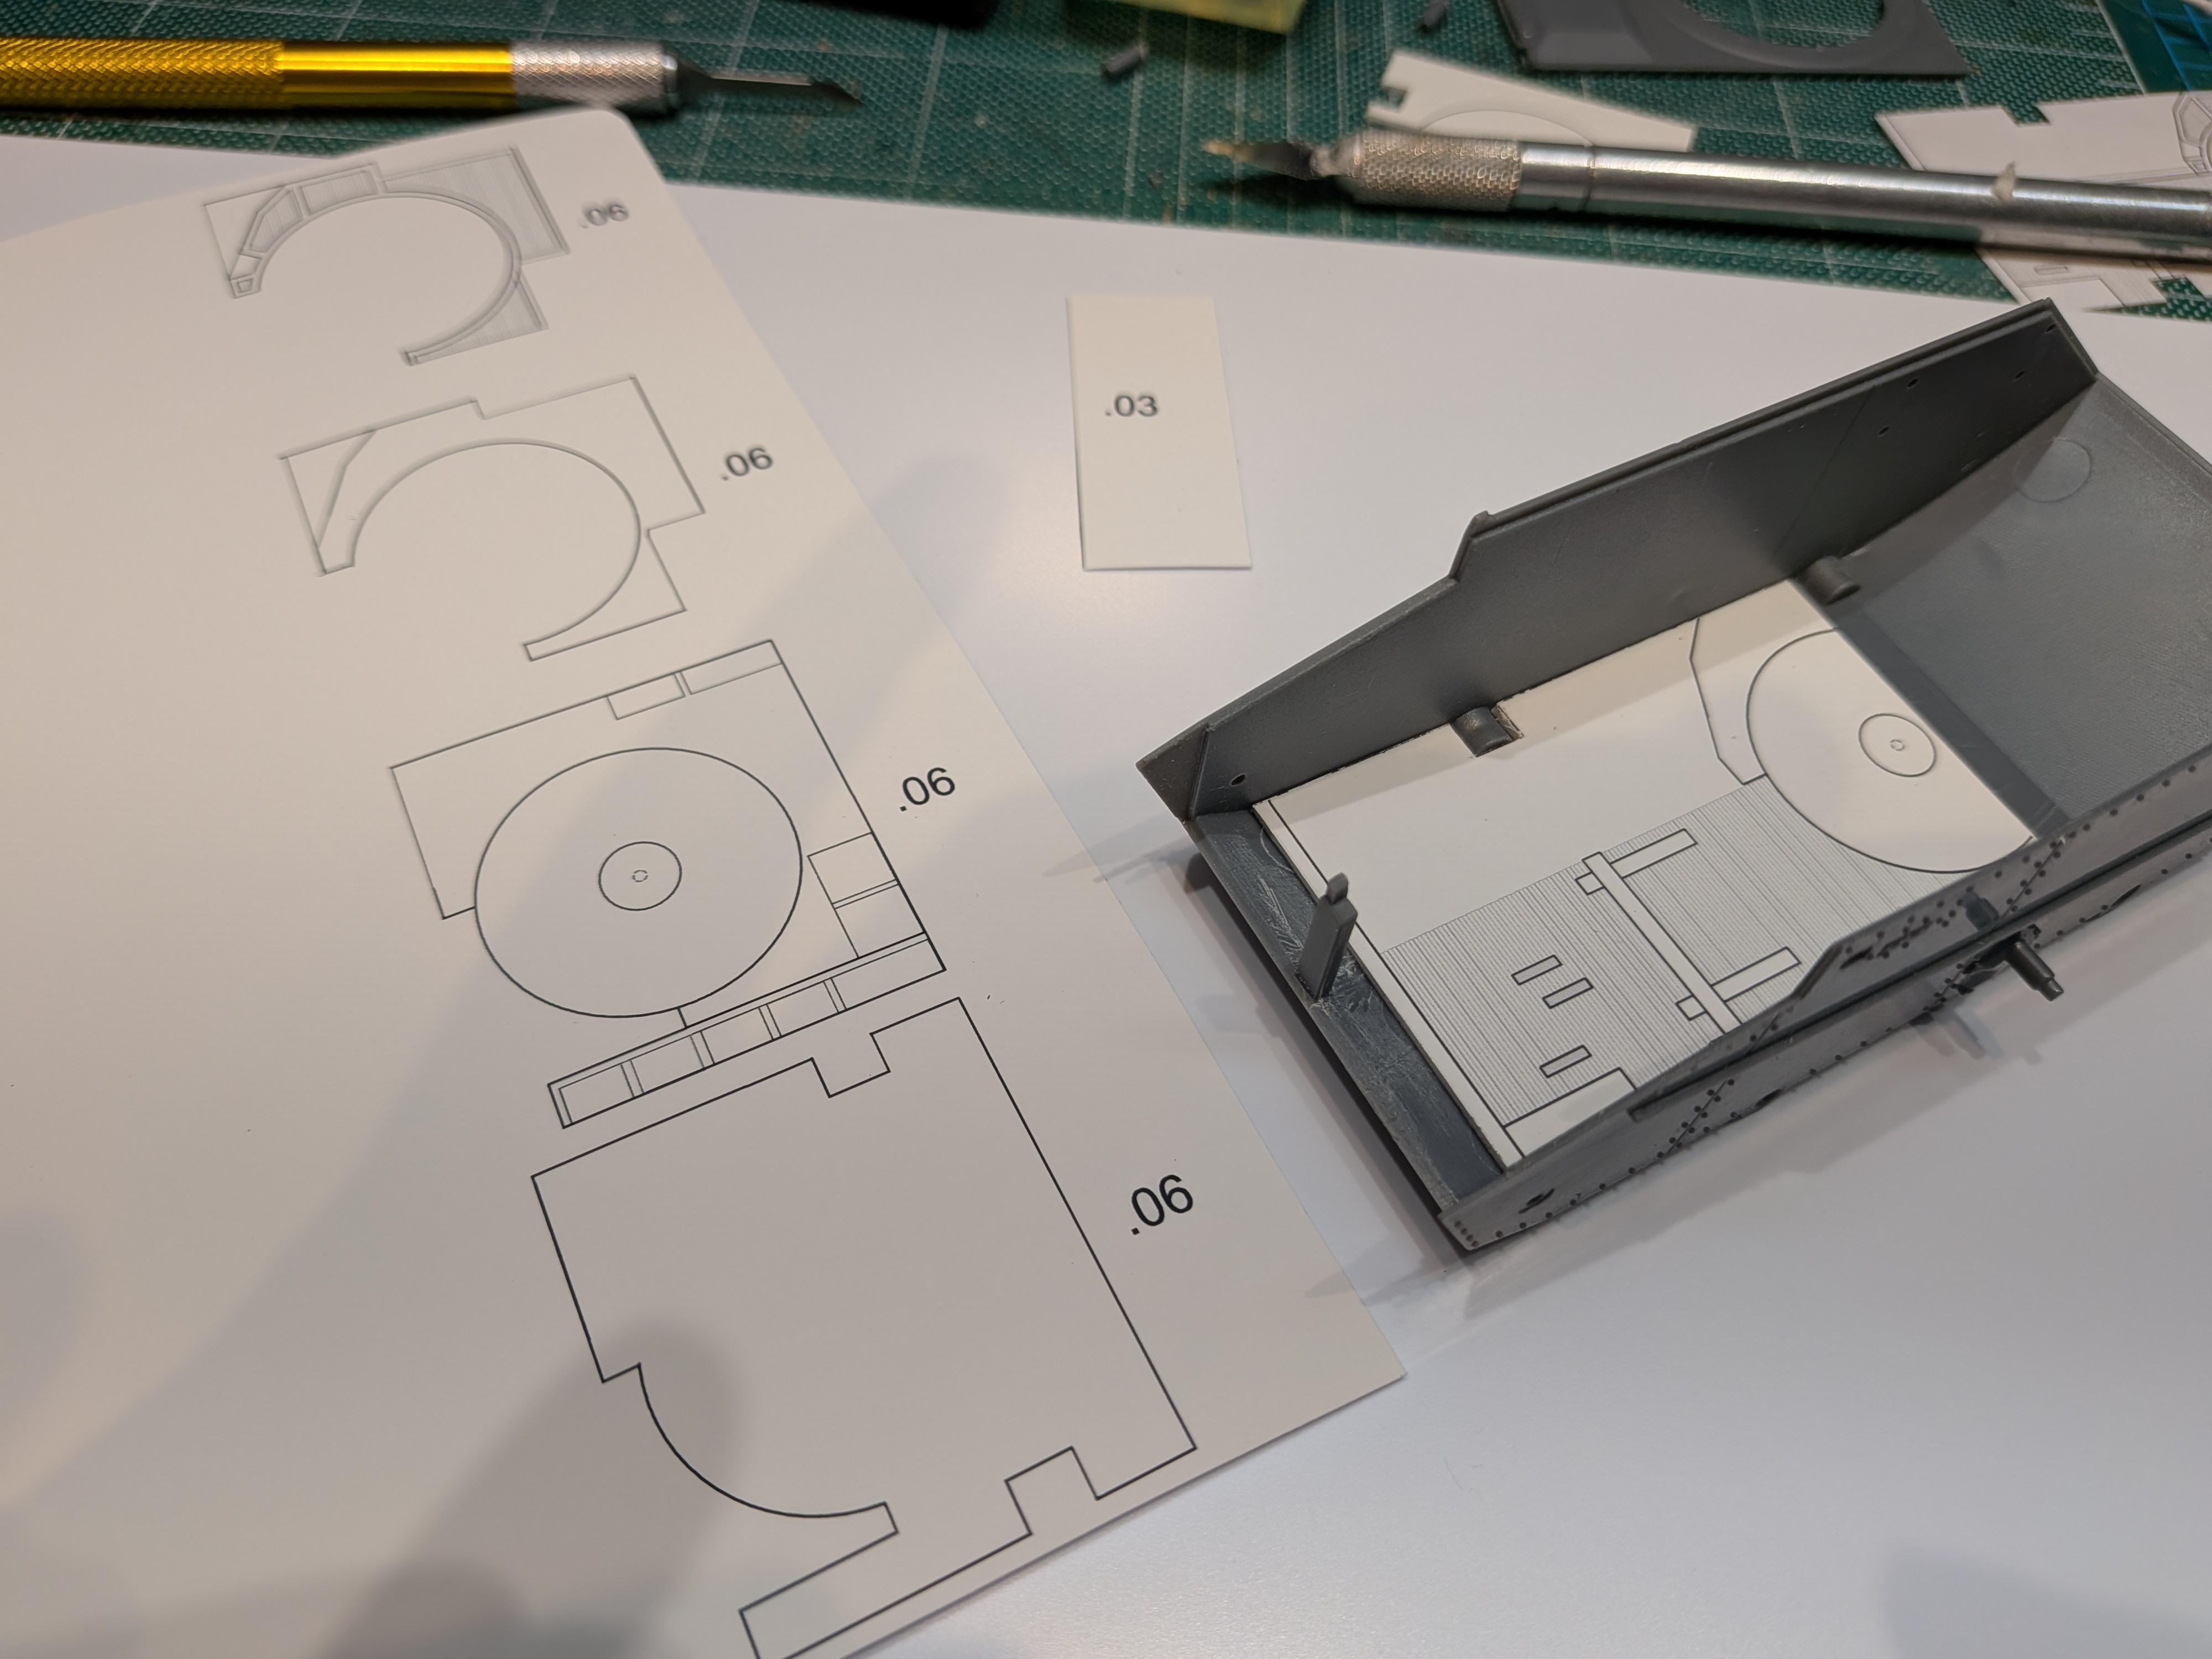
 , I will have to decide how to transfer printed registration marks from the drawing to the styrene before gluing.
That could do it, especially in central positions, though if they are 'edge' demarcations, simple knife scoring should be sufficient.Prick through the paper with a needle?
I haven't used it yet, but pretty sure there is a rear direct feed... Yes, up to 1.3 mm thick... Just shy of the 1.5 mm styrene in this case.printing straight



Those interwar wehicles are super-cool!nobody else makes British light tanks in 1:35
I kinda figured you'd also like the Malta connection.super-cool


![Miuyhji Wide Mouth Mason Jars 16 oz with Lids [6 Pack], Canning Jars with Metal Airtight Lids and Bands, 16 oz Glass Jars for Fermenting, Pickling, Freezing, Preserving, Meal Prep, Jar Décor](https://m.media-amazon.com/images/I/510FstuWZHL._SL500_.jpg)