Jakko
Well-Known Member
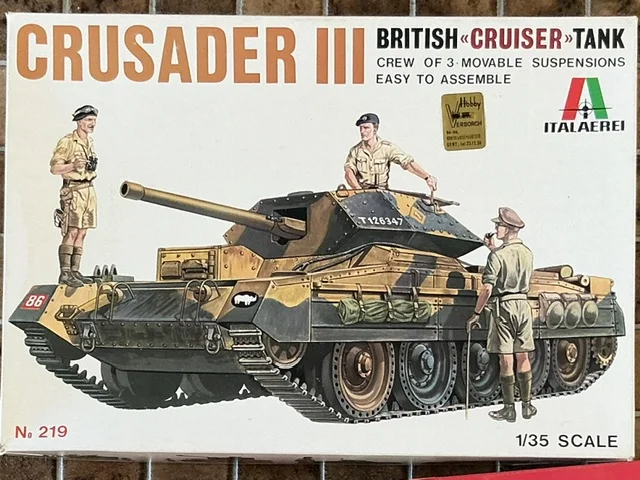
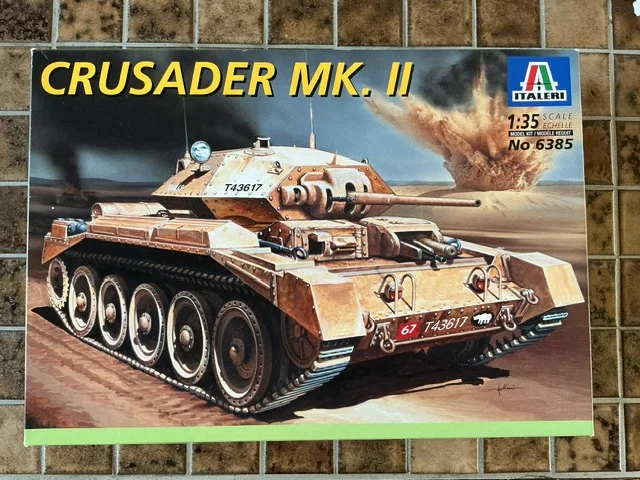
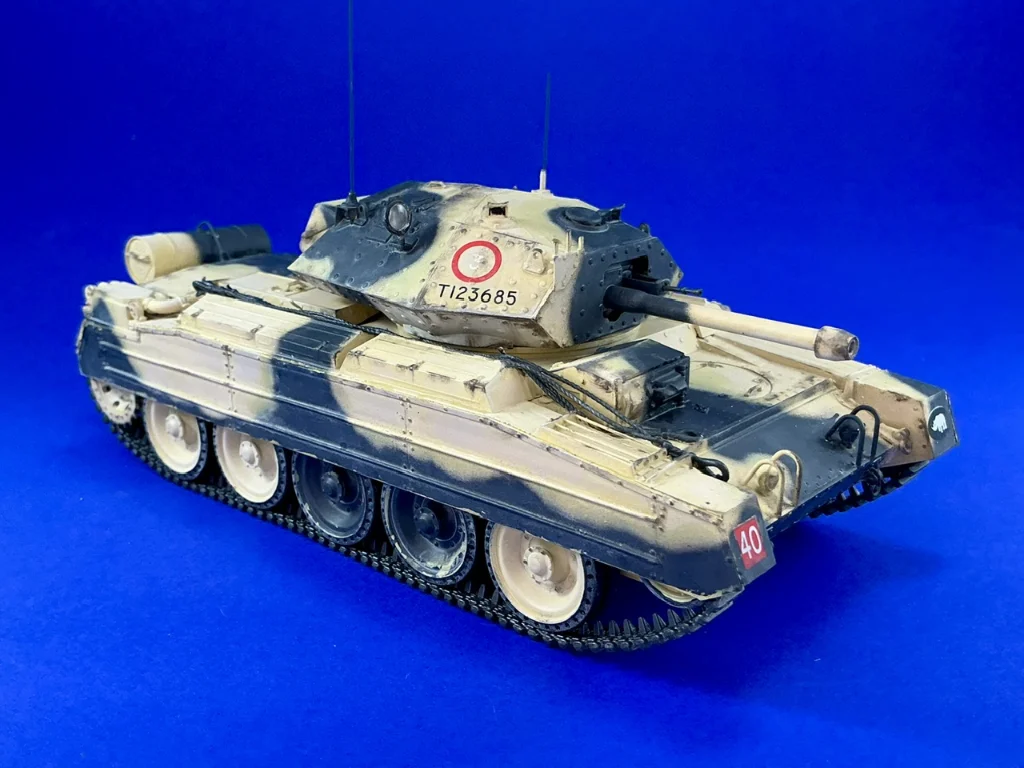
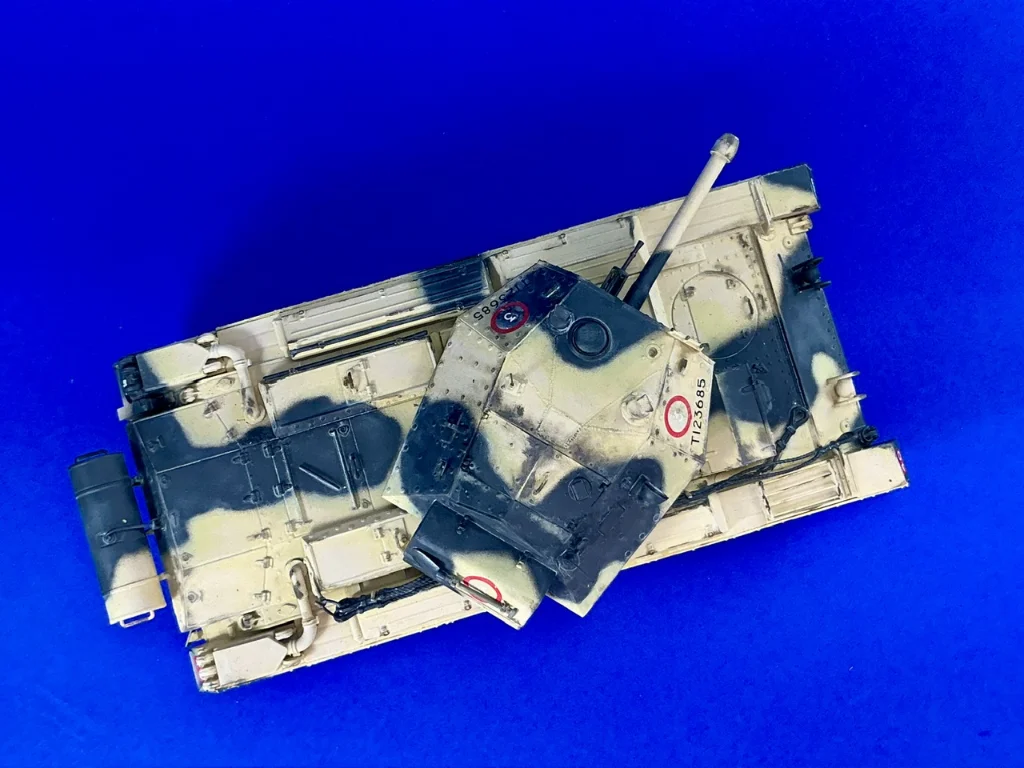
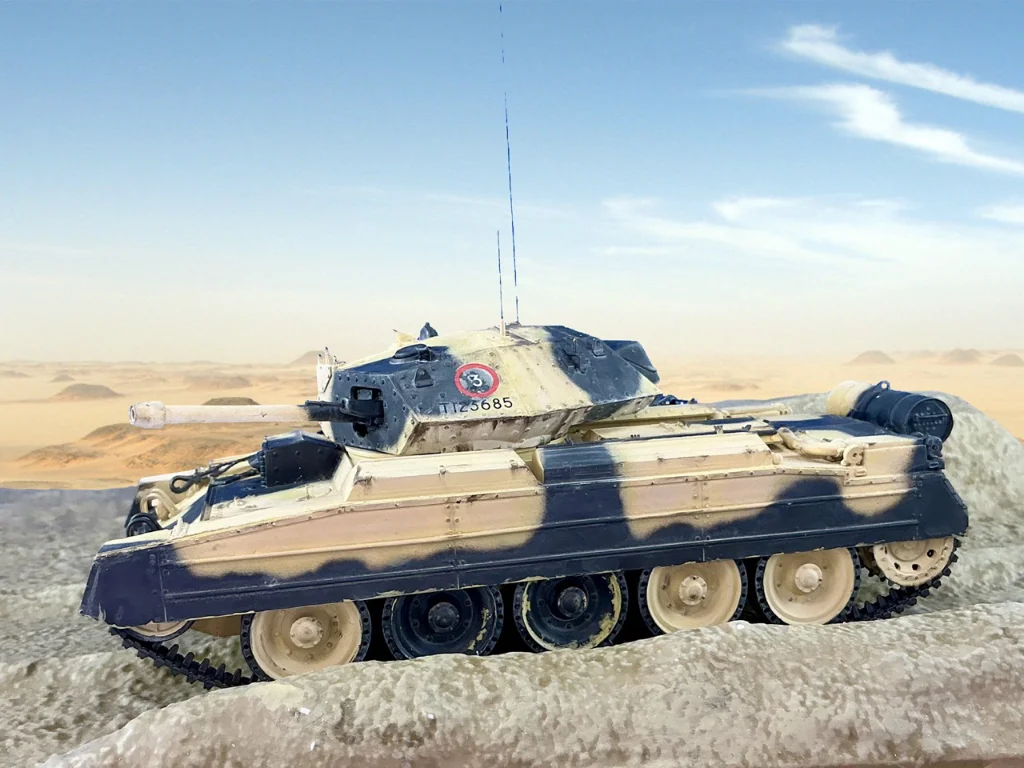
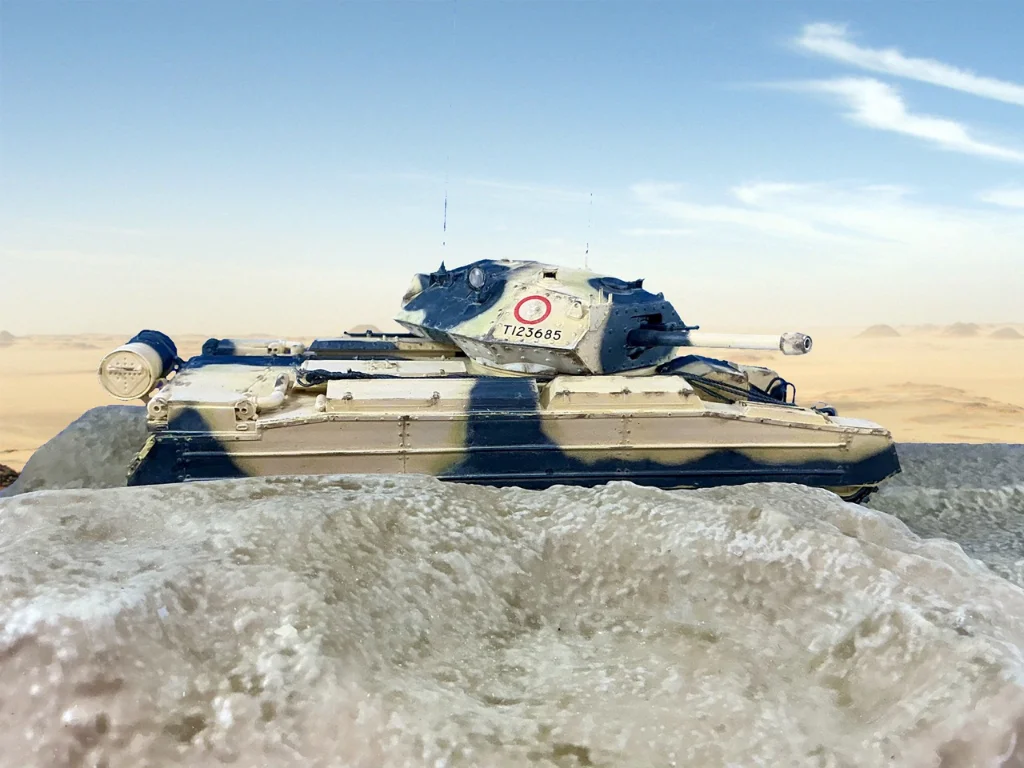
One of the few 1:35 scale Italeri tank kits I never built is the Crusader. Thirty-five years ago my best friend at the time, Micha, did have one and I always thought it was a good-looking tank. A few months ago, therefore, I bought this kit for an Old-School Italeri group build on the TWENOT forum:
But because this is an original issue from nineteenseventysomething, I couldn't let myself open the plastic bag with the sprues, let alone remove parts from those Therefore, I bought this one as well:
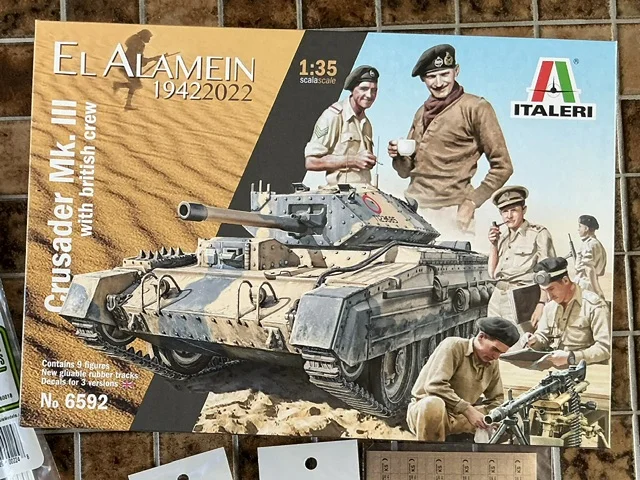
The same kit, but with a few small corrections to problems that modellers have complained about for decades. It also includes a set of six figures of British Tank Troops, but don't be fooled by the text on the box that it comes with nine figures. Yes, that's technically true, but three of those figures are also included on the Crusader sprues … Regardless, I didn't intend to build a diorama with the kit, nor to use any of the figures.
The build started with the lower hull:
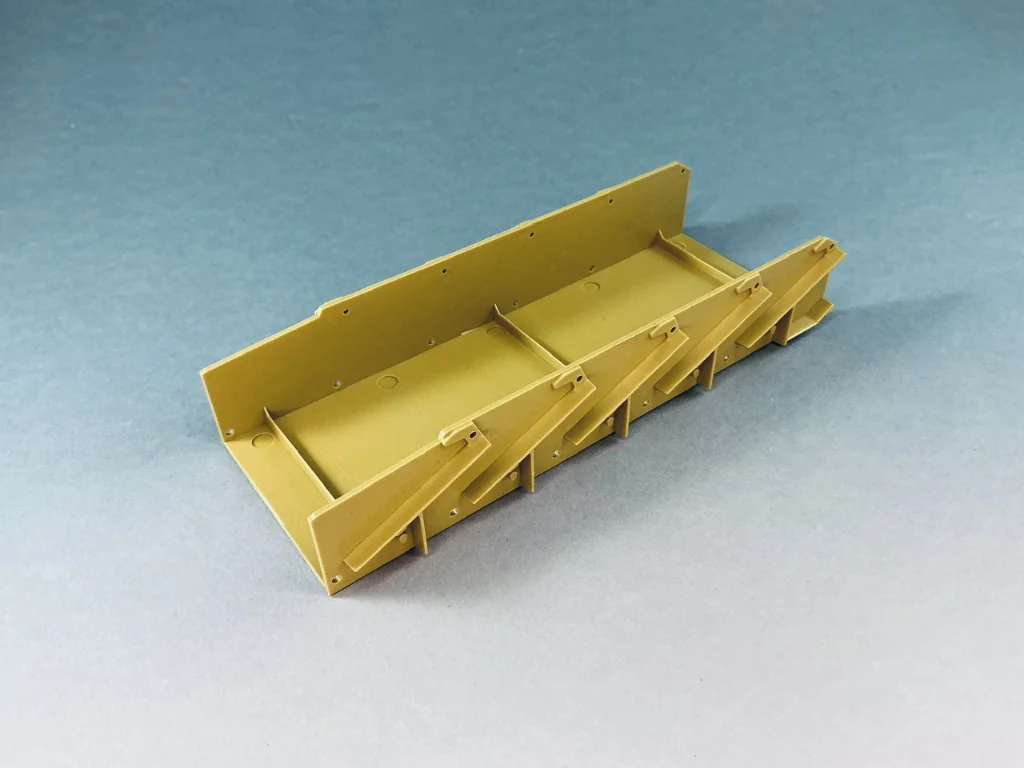
Nothing has been glued to it here yet, but I'm showing it because of late I've been seeing comments on forums that hold that a model is "old school" if its hull is made up from flat plates. This is a model from 1976, and everything in this photo is a single part. Where do they get the idea that flat plates are old-fashioned?
Anyway, despite the fact that you won't see anything of them later, the kit provides a full set of springs:
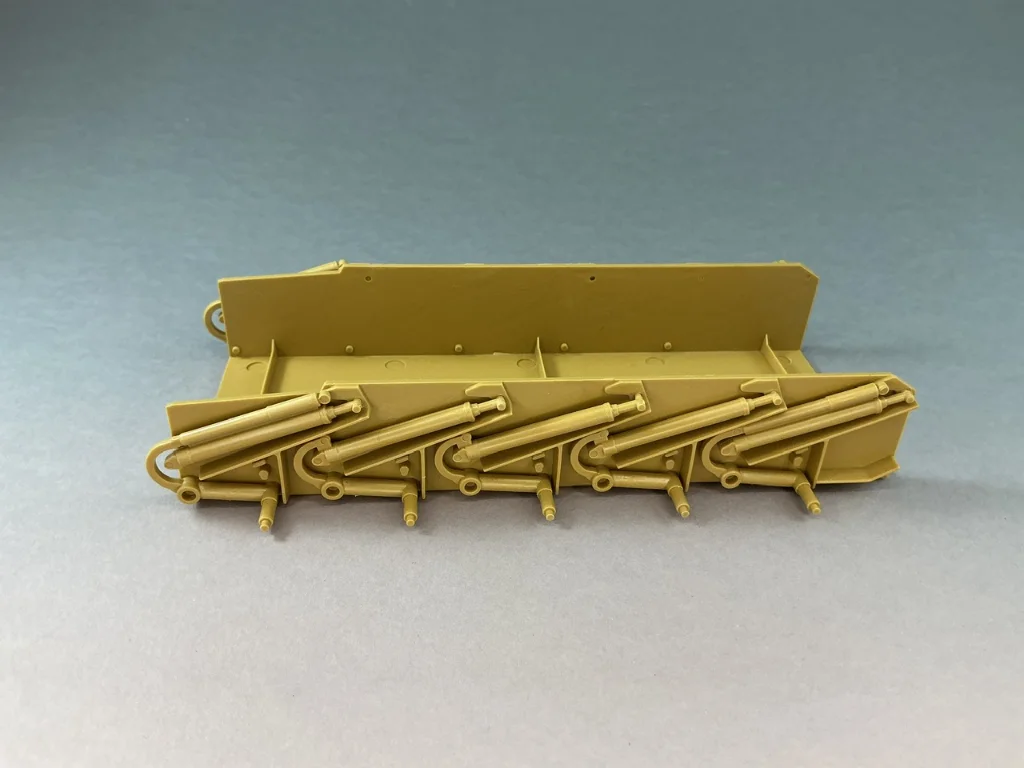
And if you don't put any glue on the lower locating pins, the suspension even works. I think Italeri was ahead of its time with this kit
But like I said, you won't see a thing of it:
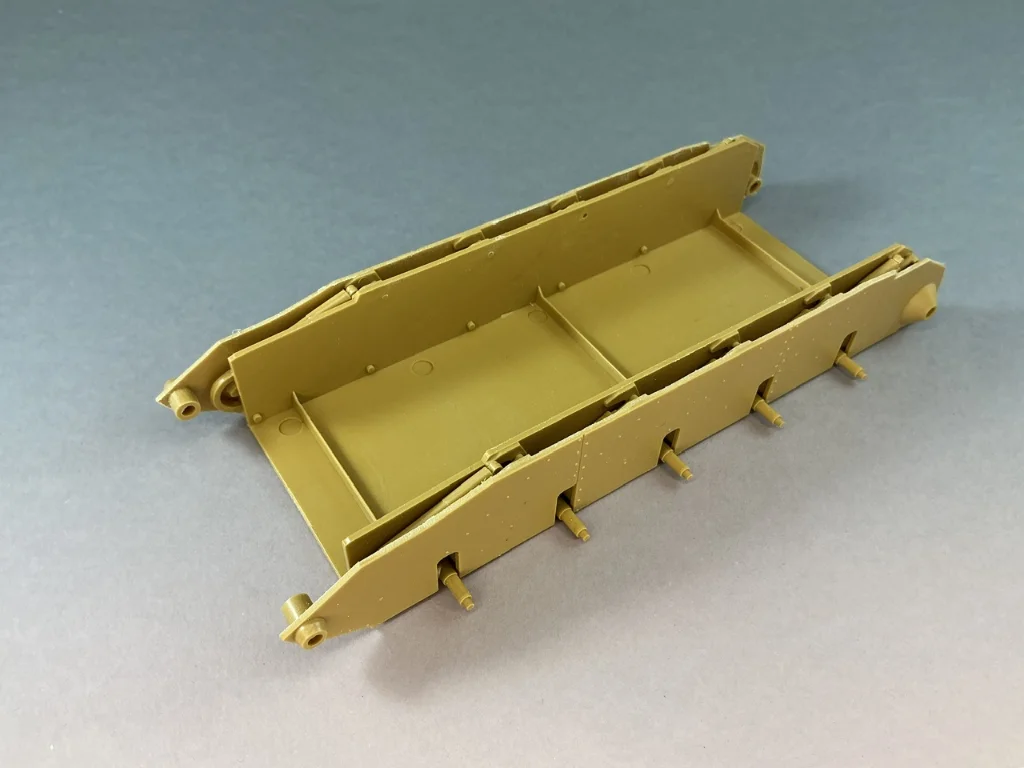
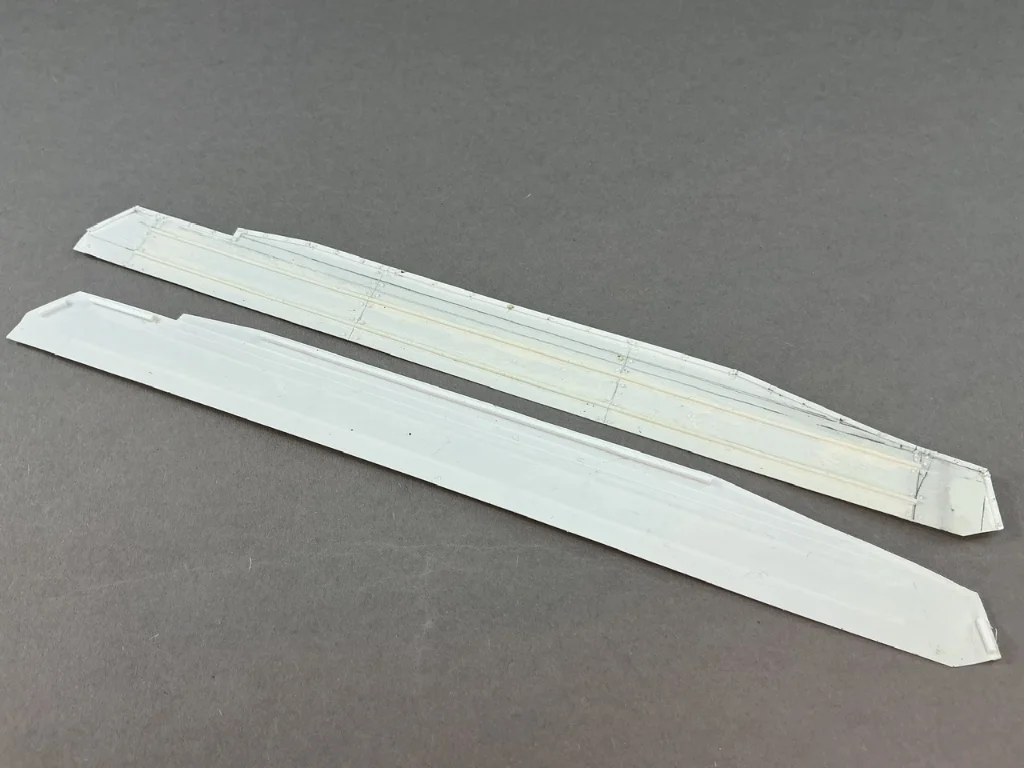
… because all British tanks with Christie suspension, from the A13 through the A34 Comet, have additional plates over most of it. No idea why Italeri bothered to put the springs and shock absorbers in. But they're not in the way and you don't have the really clean up the parts, so I just let them be.
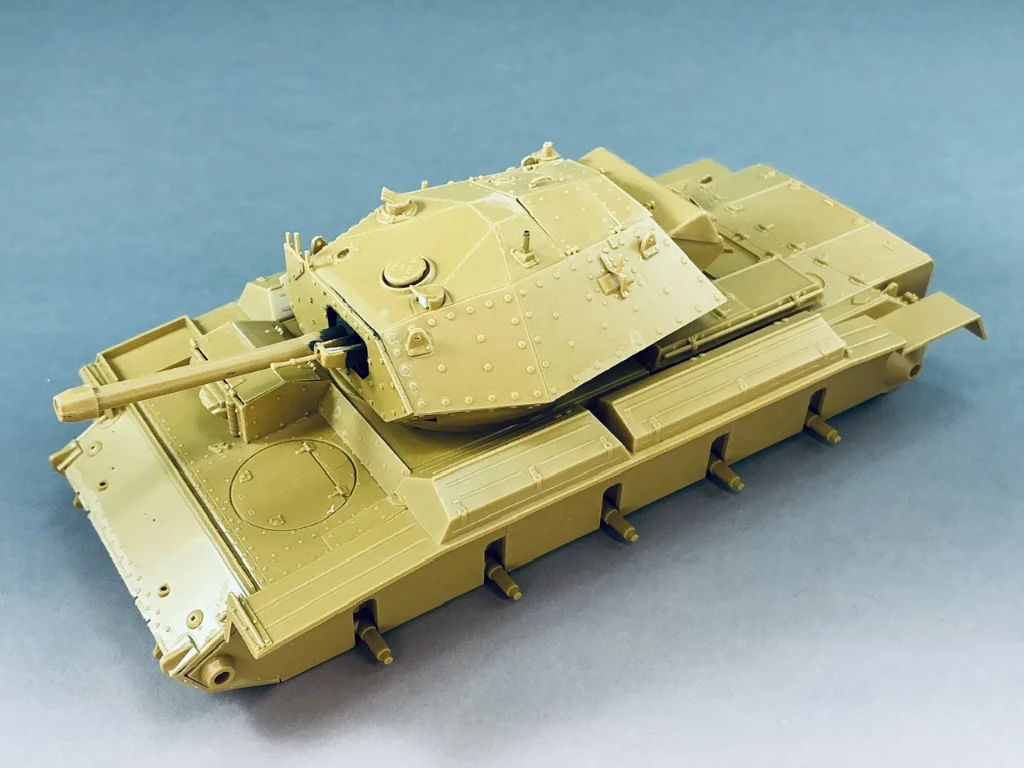
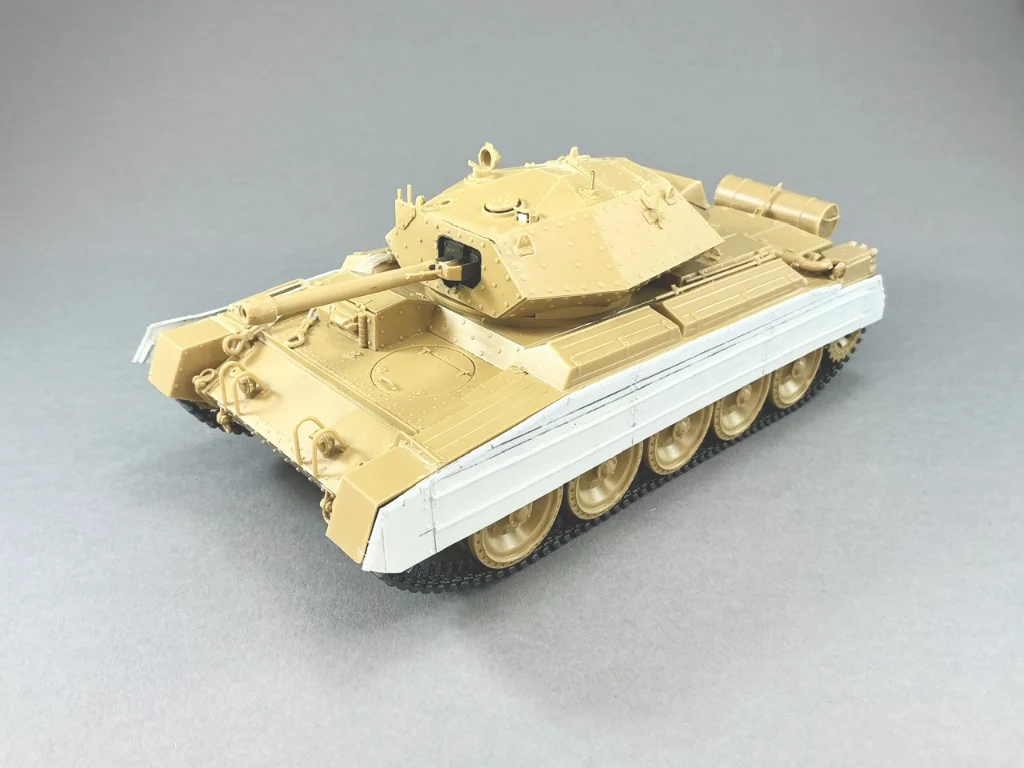
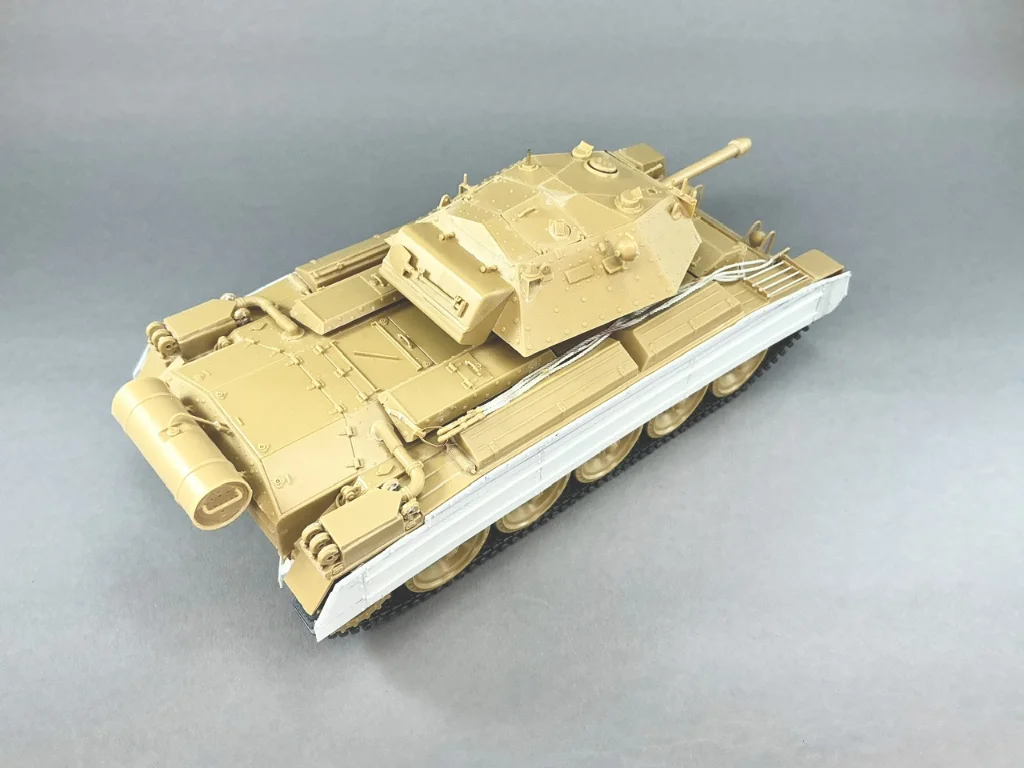
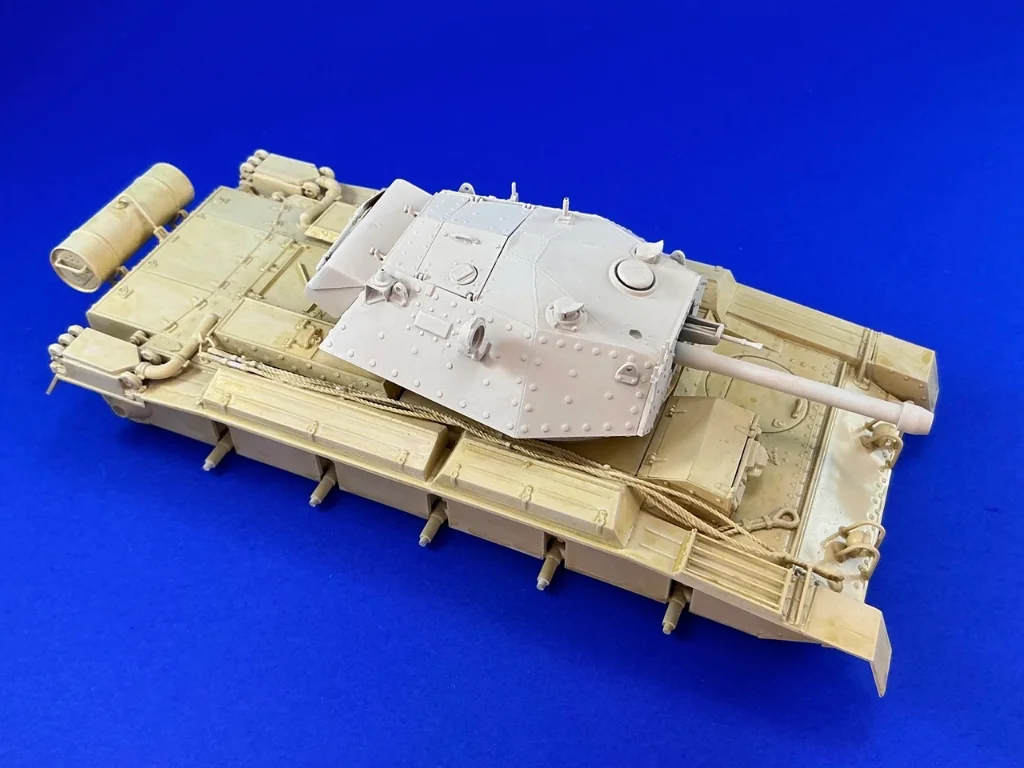
After building this, though, I do think it will be easier to leave off the side plates until later, after putting on the upper hull instead of before like the instructions tell you to. If you only add the upper hull after the side plates, you can only glue it to the outer plates for most of its length. By leaving the plates off you can glue the upper hull to the lower properly.
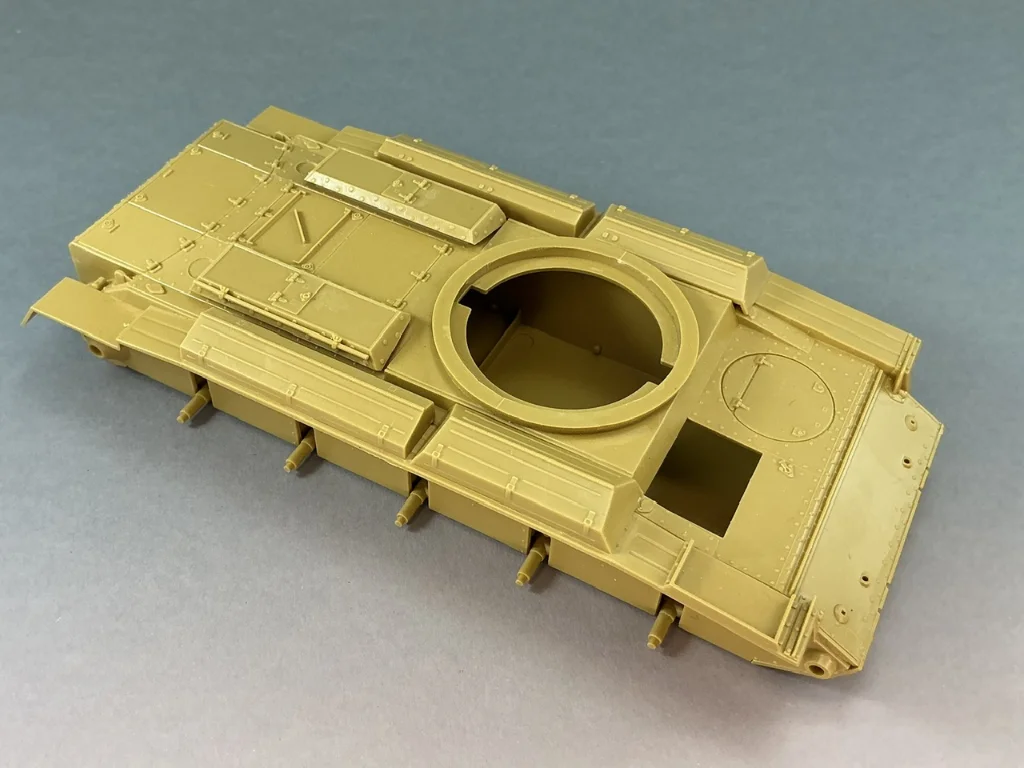
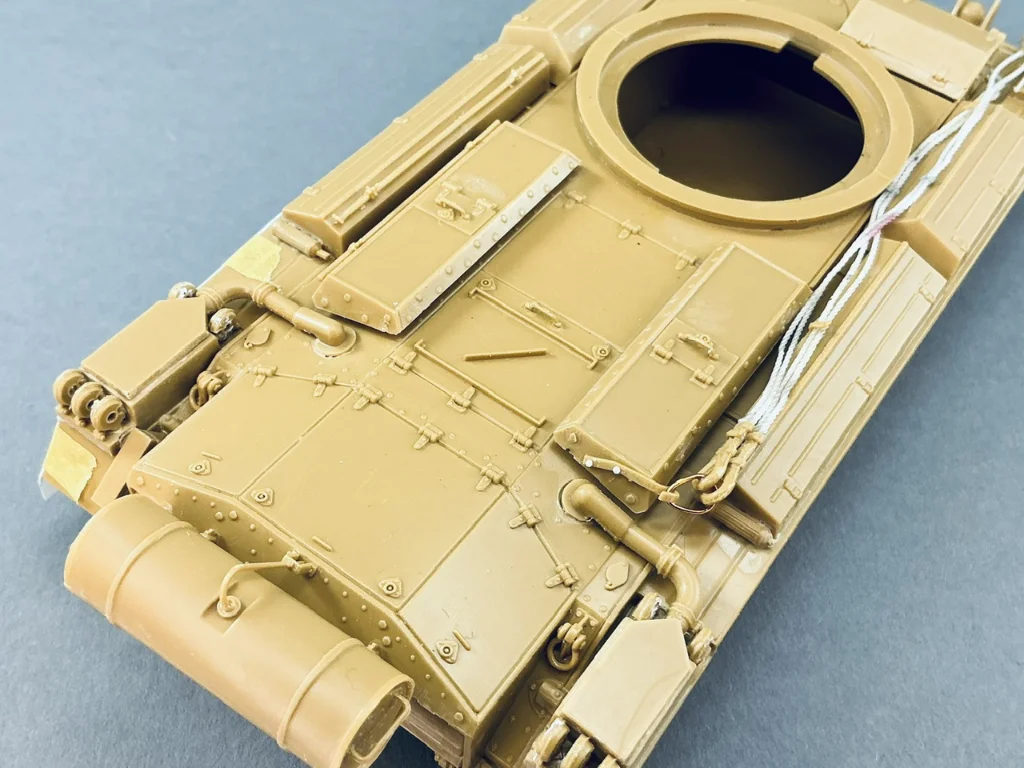
Talking about the upper hull:
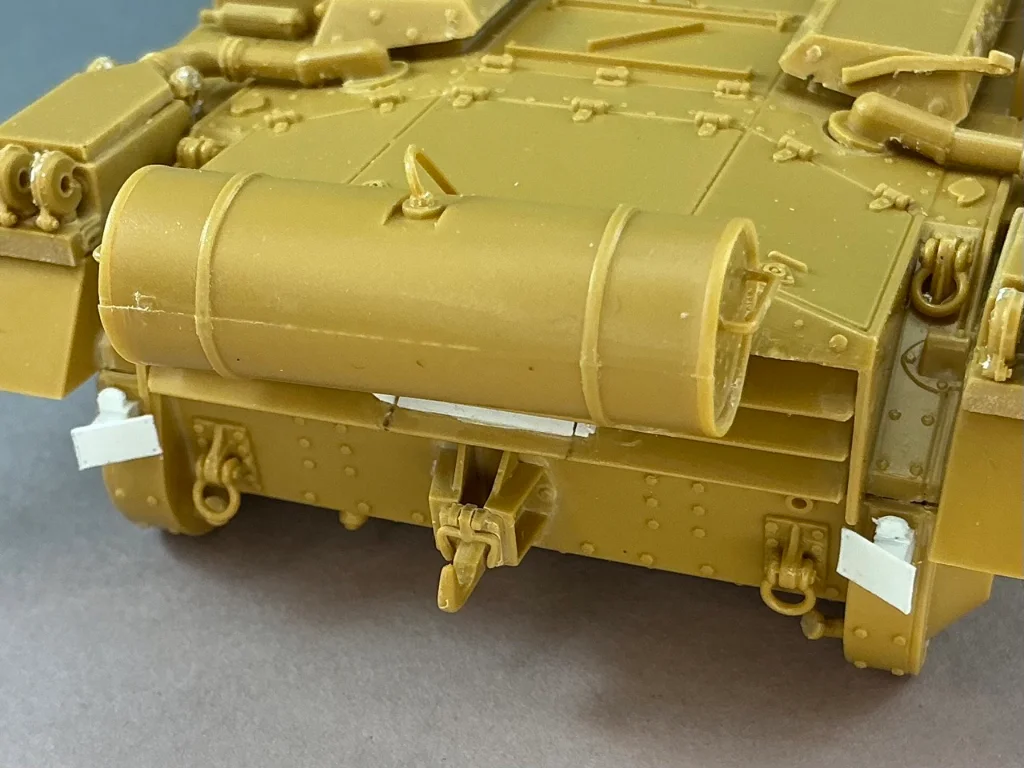
At the rear, I added some missing details:
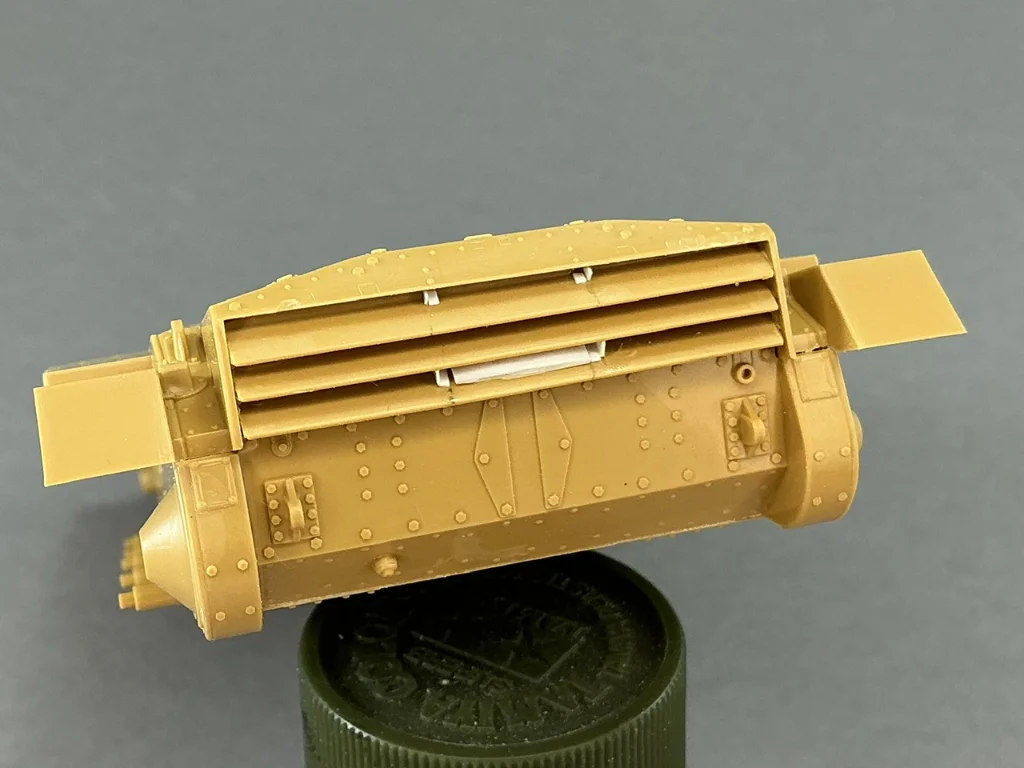
Bottom centre is the exhaust, made form a piece of plastic card 1 mm tick and 12 mm wide, which I filed down to a very flat oval shape. Also some supports from plastic strip that sat between the louvres on the real tank. The upper ones can really only be added once you glue the grille to the tank, but the lower ones and the exhaust are best fitted while it's still loose.
There were also small brackets on the sides to attach the louvres to the hull plates, but I didn't add those because they'll be barely visible on the finished model.
Oh yeah, and here's a good book that's about as old as this kit:
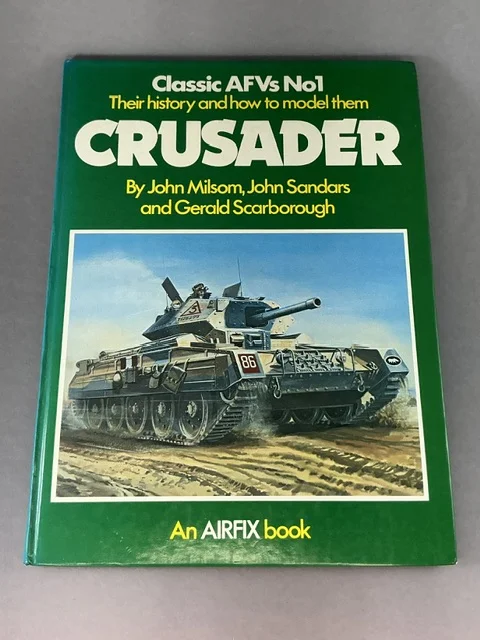
This has a good description of the development and combat use of the Crusader, followed by a chapter on modelling it. That, of course, is aimed at the 1:32 scale Airfix kit, but it definitely also comes in handy for the Italeri one in 1:35. If you want to add an interior to a Crusader I would also recommend it, because one of the projects in the book is just that.
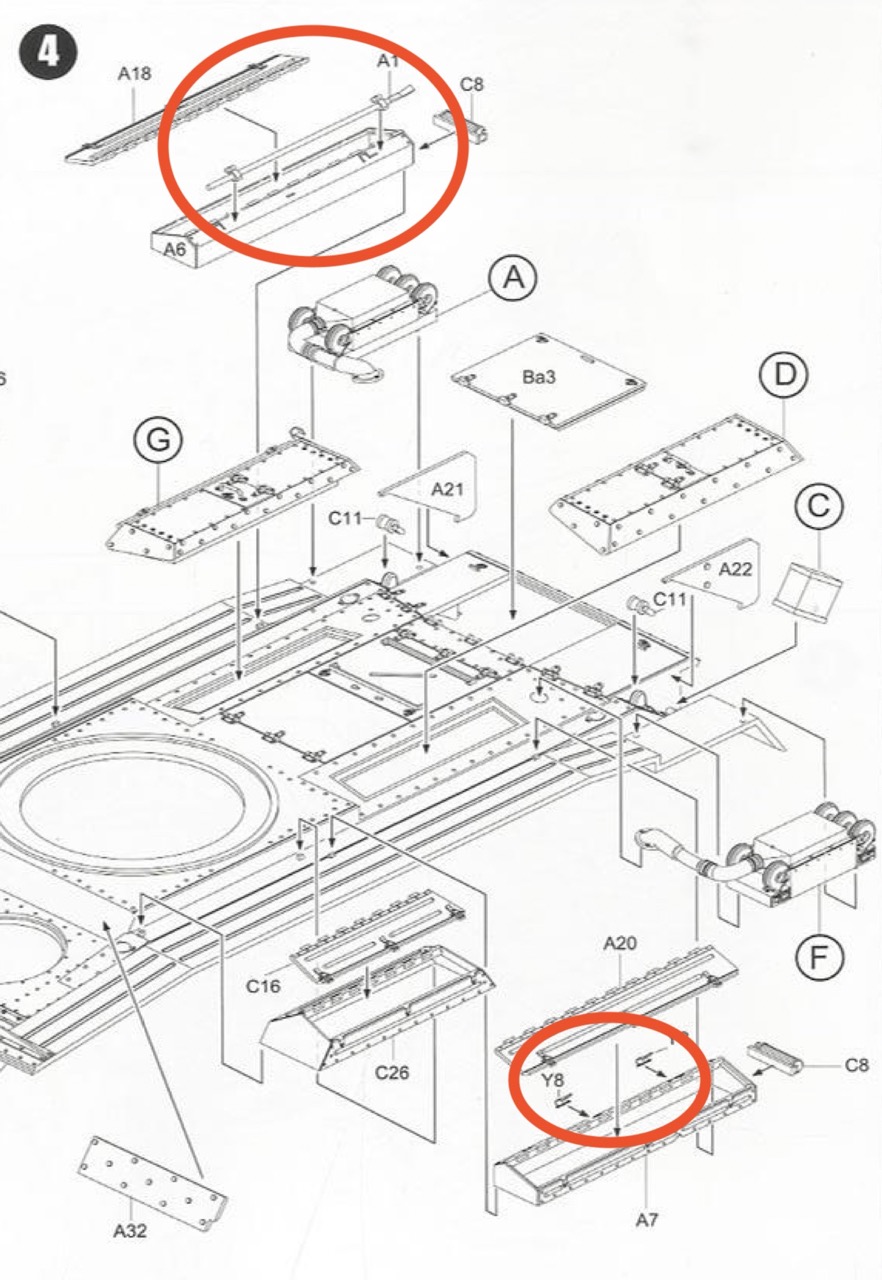
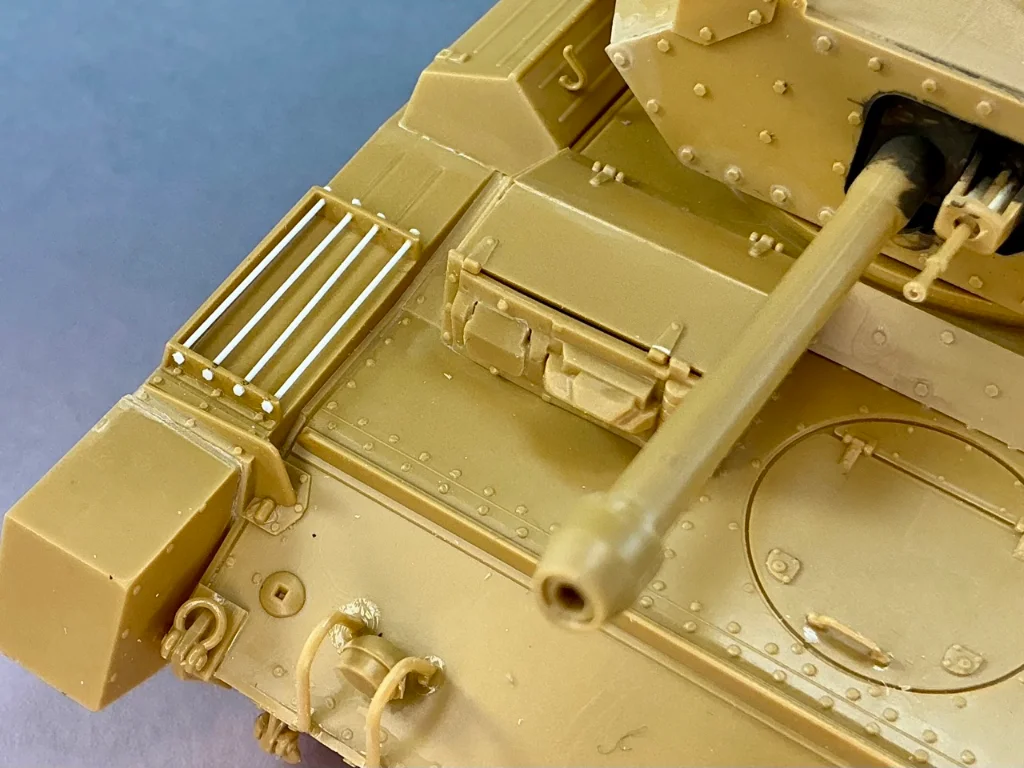
Italeri made a bit of a mistake with the stowage bins:
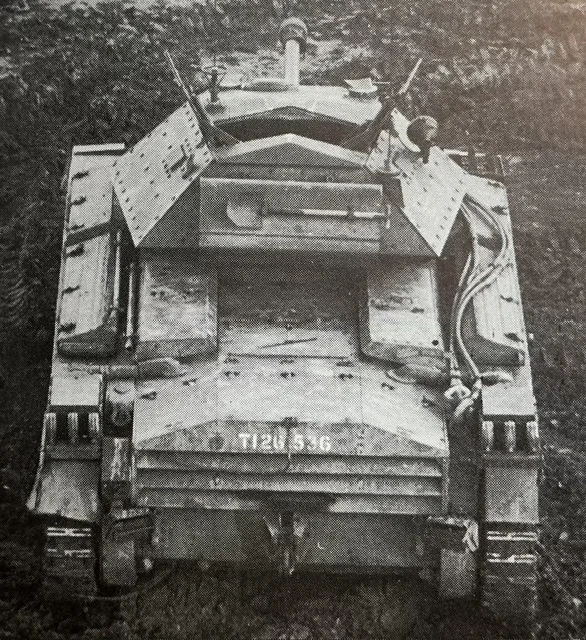
The instructions tell you to put the pry bar (?) on the right (on the outer face of the air intake cover), but it should be on the left in that same position. I had put it in per the instructions, but moved it when I discovered this.
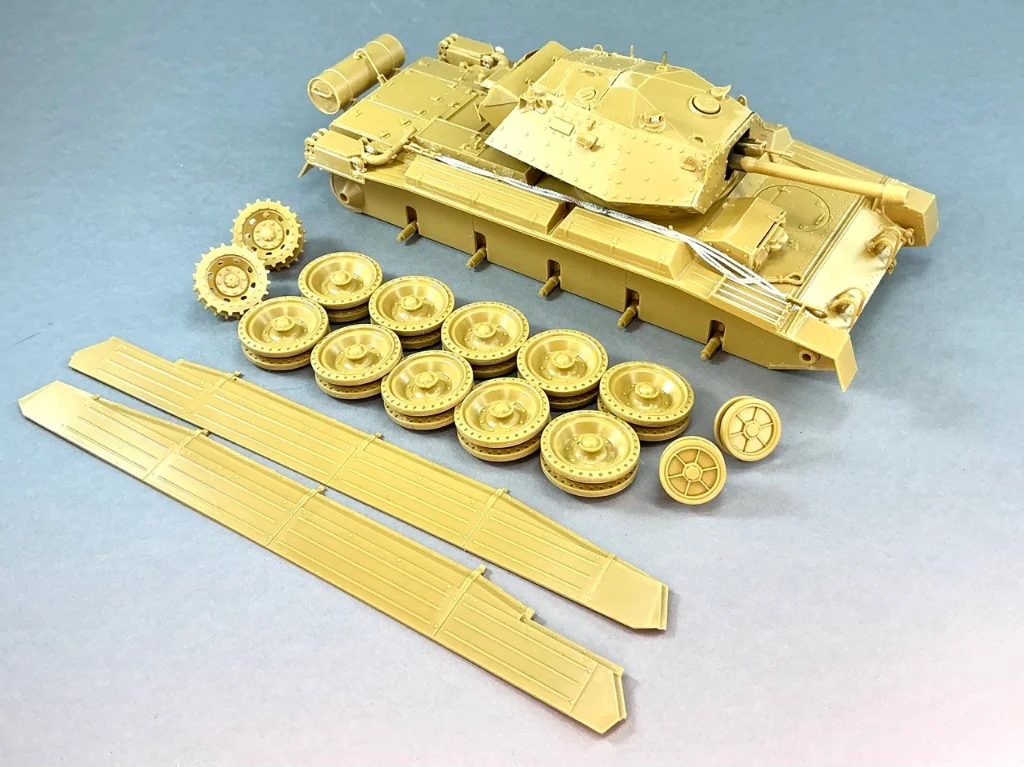
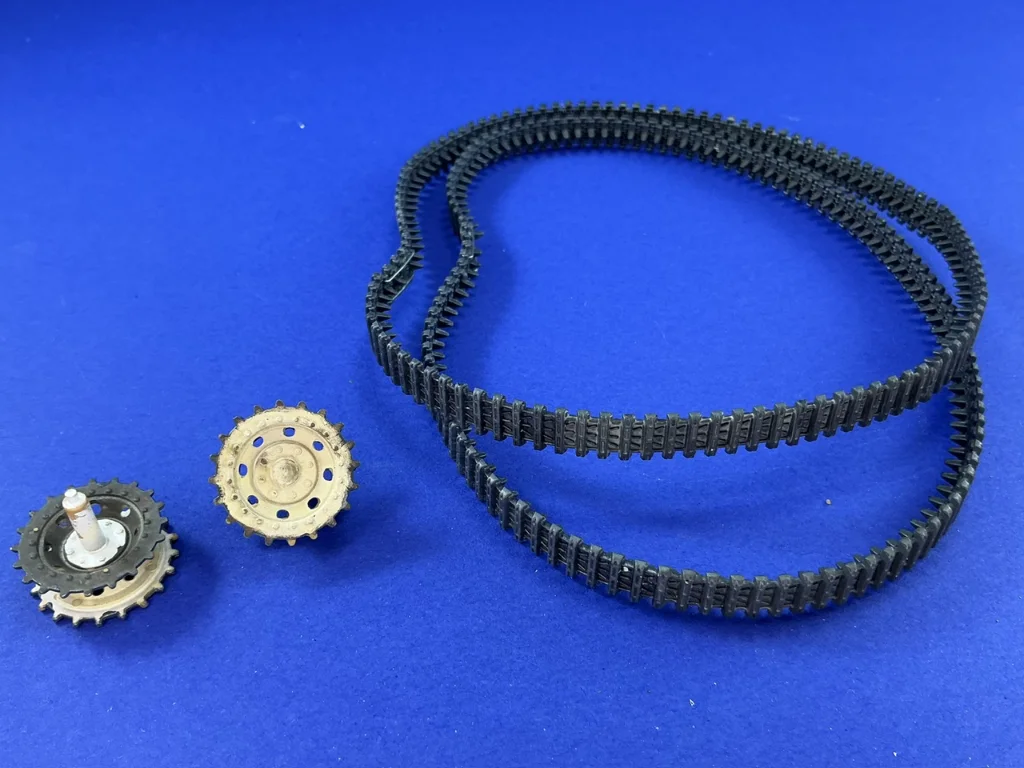
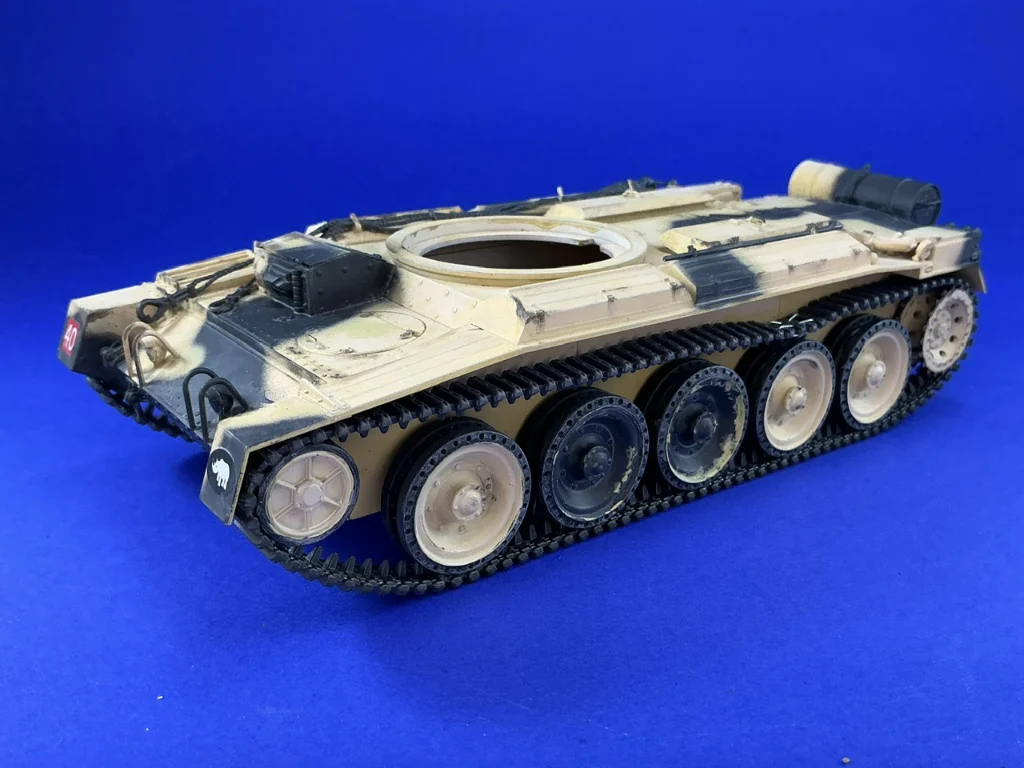
I then put together the wheels:
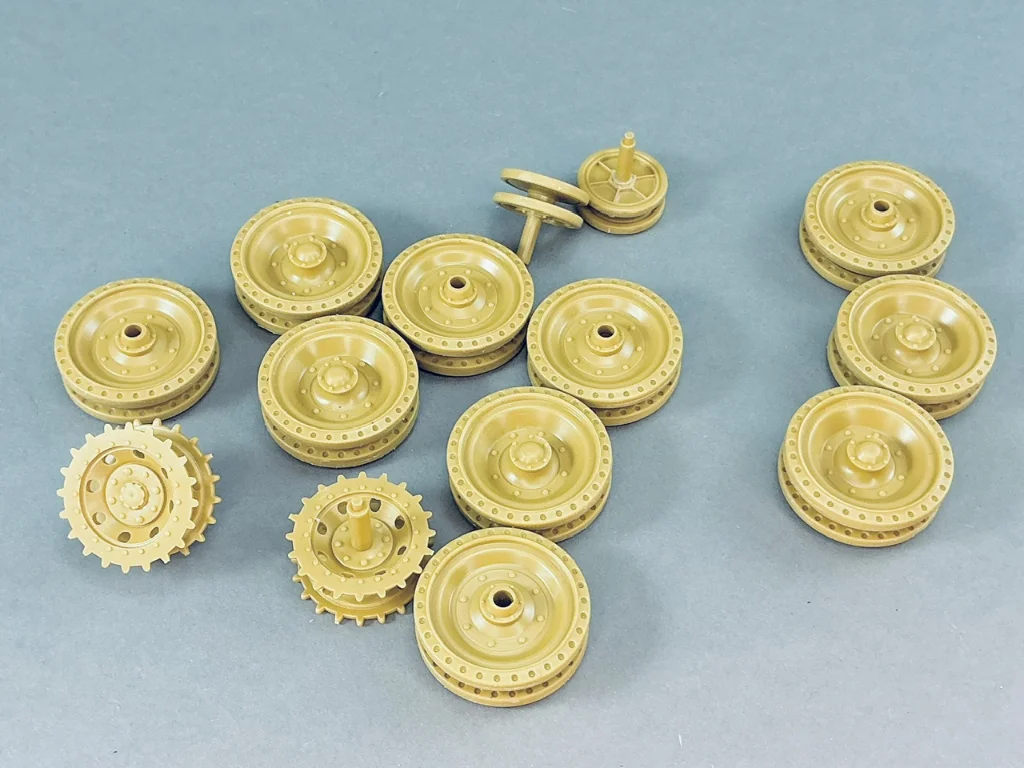
But because this is an original issue from nineteenseventysomething, I couldn't let myself open the plastic bag with the sprues, let alone remove parts from those
Therefore, I bought this one as well:
The same kit, but with a few small corrections to problems that modellers have complained about for decades. It also includes a set of six figures of British Tank Troops, but don't be fooled by the text on the box that it comes with nine figures. Yes, that's technically true, but three of those figures are also included on the Crusader sprues … Regardless, I didn't intend to build a diorama with the kit, nor to use any of the figures.
The build started with the lower hull:
Nothing has been glued to it here yet, but I'm showing it because of late I've been seeing comments on forums that hold that a model is "old school" if its hull is made up from flat plates. This is a model from 1976, and everything in this photo is a single part. Where do they get the idea that flat plates are old-fashioned?
Anyway, despite the fact that you won't see anything of them later, the kit provides a full set of springs:
And if you don't put any glue on the lower locating pins, the suspension even works. I think Italeri was ahead of its time with this kit
But like I said, you won't see a thing of it:
… because all British tanks with Christie suspension, from the A13 through the A34 Comet, have additional plates over most of it. No idea why Italeri bothered to put the springs and shock absorbers in. But they're not in the way and you don't have the really clean up the parts, so I just let them be.
After building this, though, I do think it will be easier to leave off the side plates until later, after putting on the upper hull instead of before like the instructions tell you to. If you only add the upper hull after the side plates, you can only glue it to the outer plates for most of its length. By leaving the plates off you can glue the upper hull to the lower properly.
Talking about the upper hull:
At the rear, I added some missing details:
Bottom centre is the exhaust, made form a piece of plastic card 1 mm tick and 12 mm wide, which I filed down to a very flat oval shape. Also some supports from plastic strip that sat between the louvres on the real tank. The upper ones can really only be added once you glue the grille to the tank, but the lower ones and the exhaust are best fitted while it's still loose.
There were also small brackets on the sides to attach the louvres to the hull plates, but I didn't add those because they'll be barely visible on the finished model.
Oh yeah, and here's a good book that's about as old as this kit:
This has a good description of the development and combat use of the Crusader, followed by a chapter on modelling it. That, of course, is aimed at the 1:32 scale Airfix kit, but it definitely also comes in handy for the Italeri one in 1:35. If you want to add an interior to a Crusader I would also recommend it, because one of the projects in the book is just that.
Italeri made a bit of a mistake with the stowage bins:
The instructions tell you to put the pry bar (?) on the right (on the outer face of the air intake cover), but it should be on the left in that same position. I had put it in per the instructions, but moved it when I discovered this.
I then put together the wheels:
Last edited:



![Pampers Sensitive Baby Wipes, Clinically Proven, Fragrance Free, Unscented, Water Based, Hypoallergenic, Multi-Use, Hand Wipes 336 Wipes Total (6X Flip-Top Packs) [Packaging May Vary]](https://m.media-amazon.com/images/I/41KLBHu9CAL._SL500_.jpg)