John Waller
Active Member
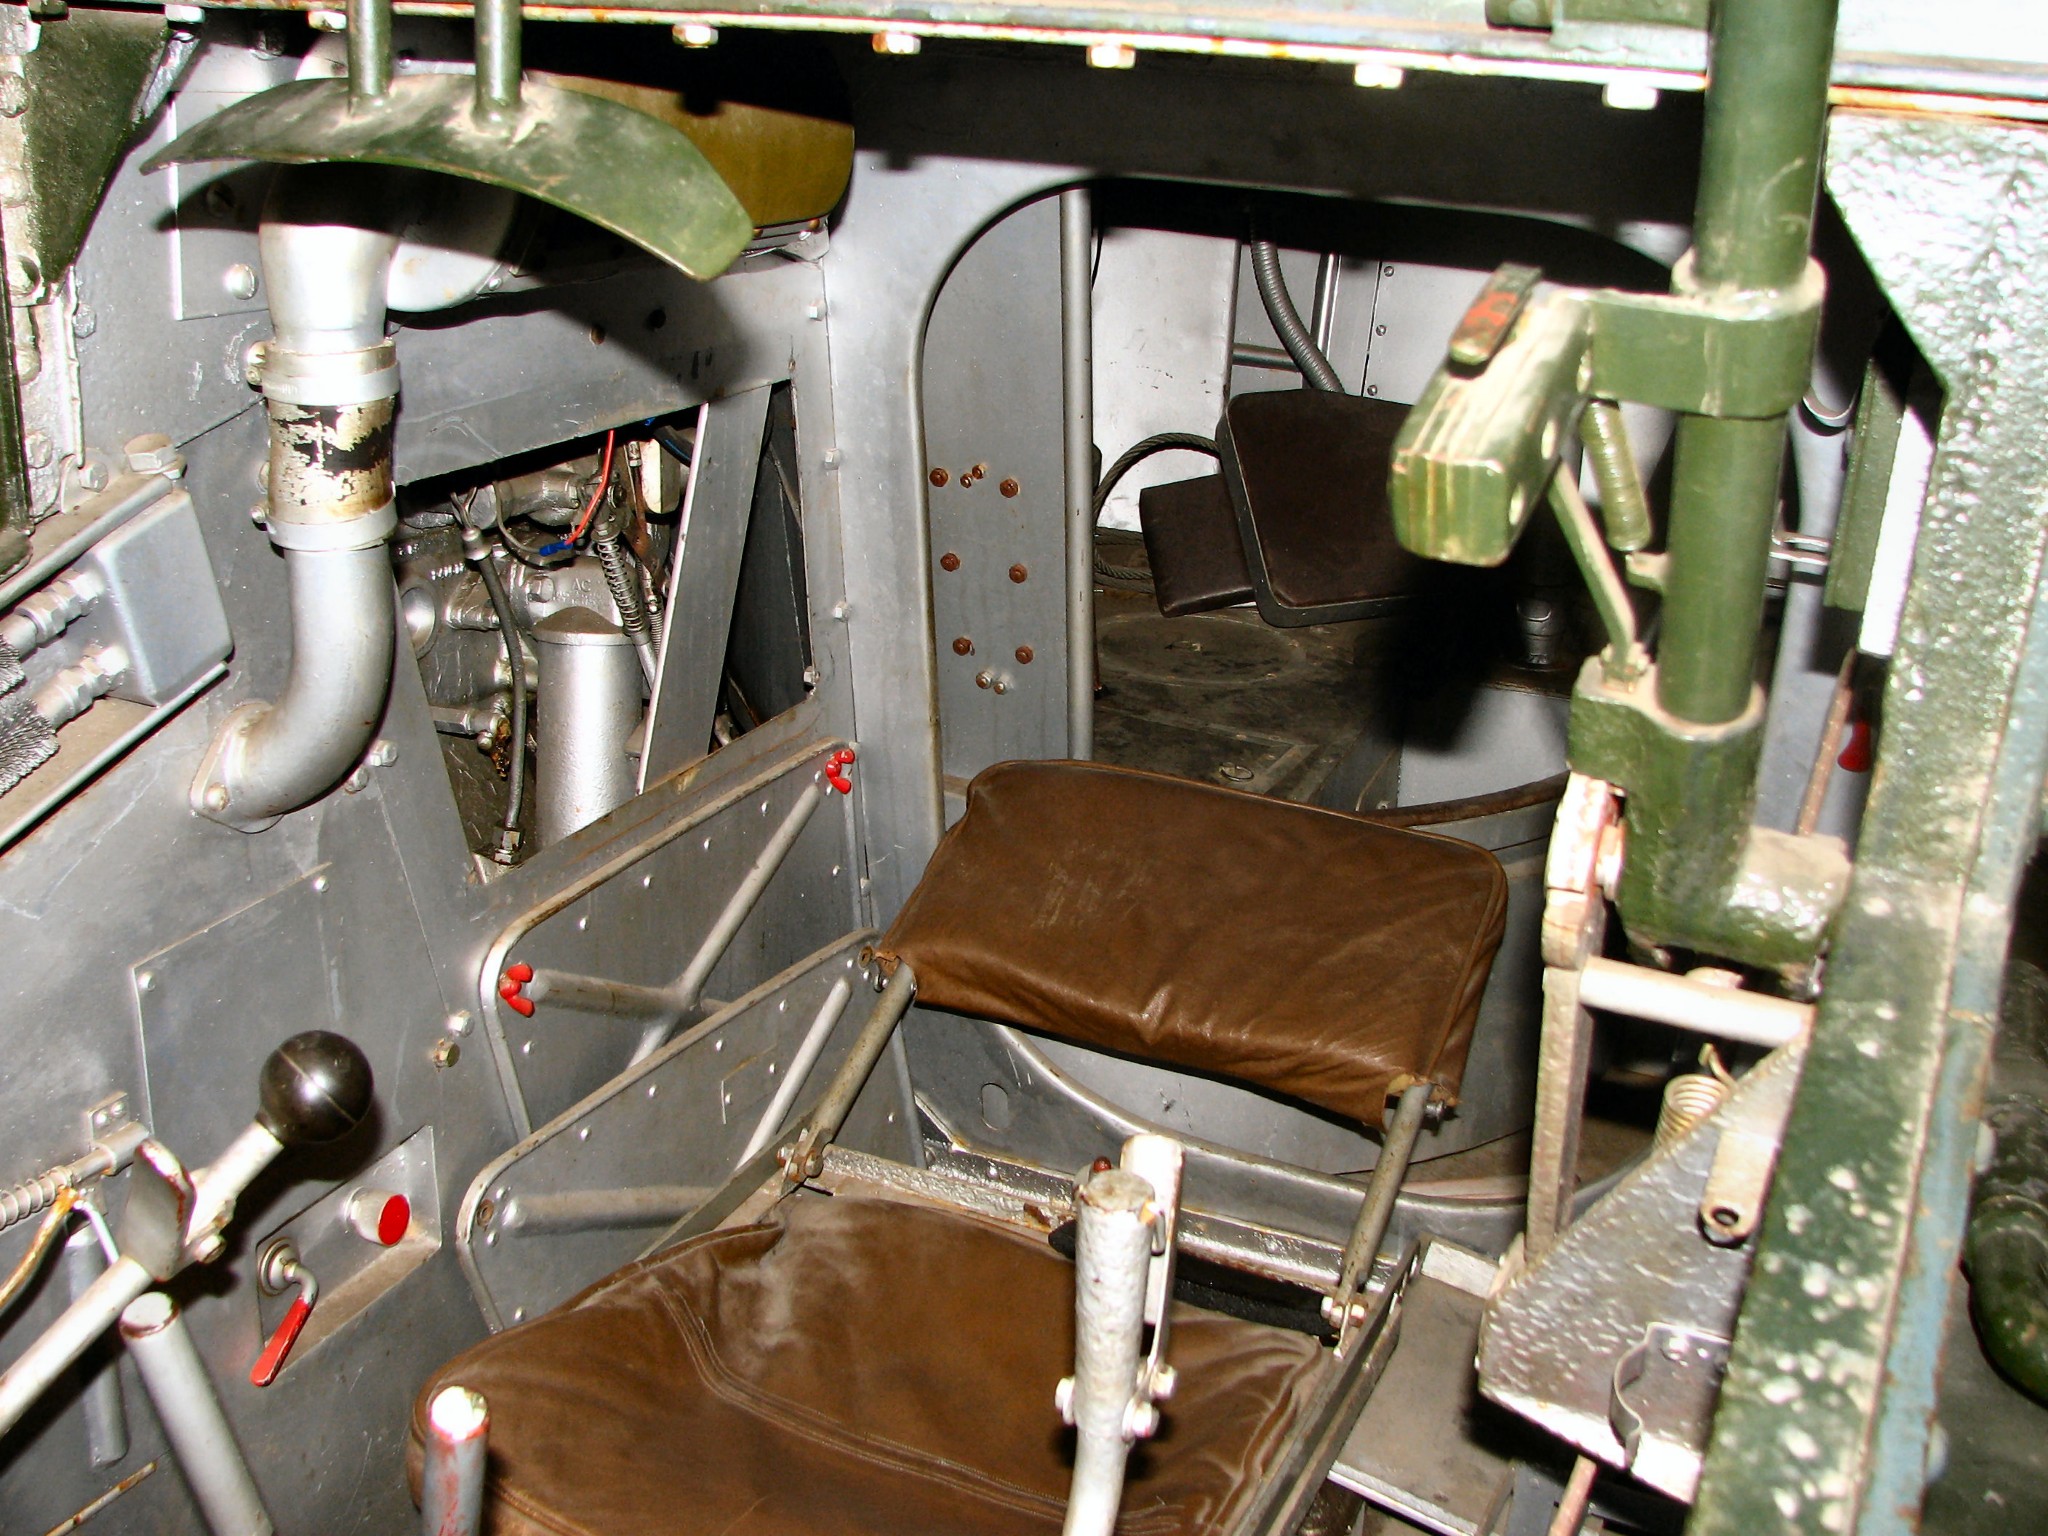
Those wingnuts are something else BB! Love the clear shift lever knob too 


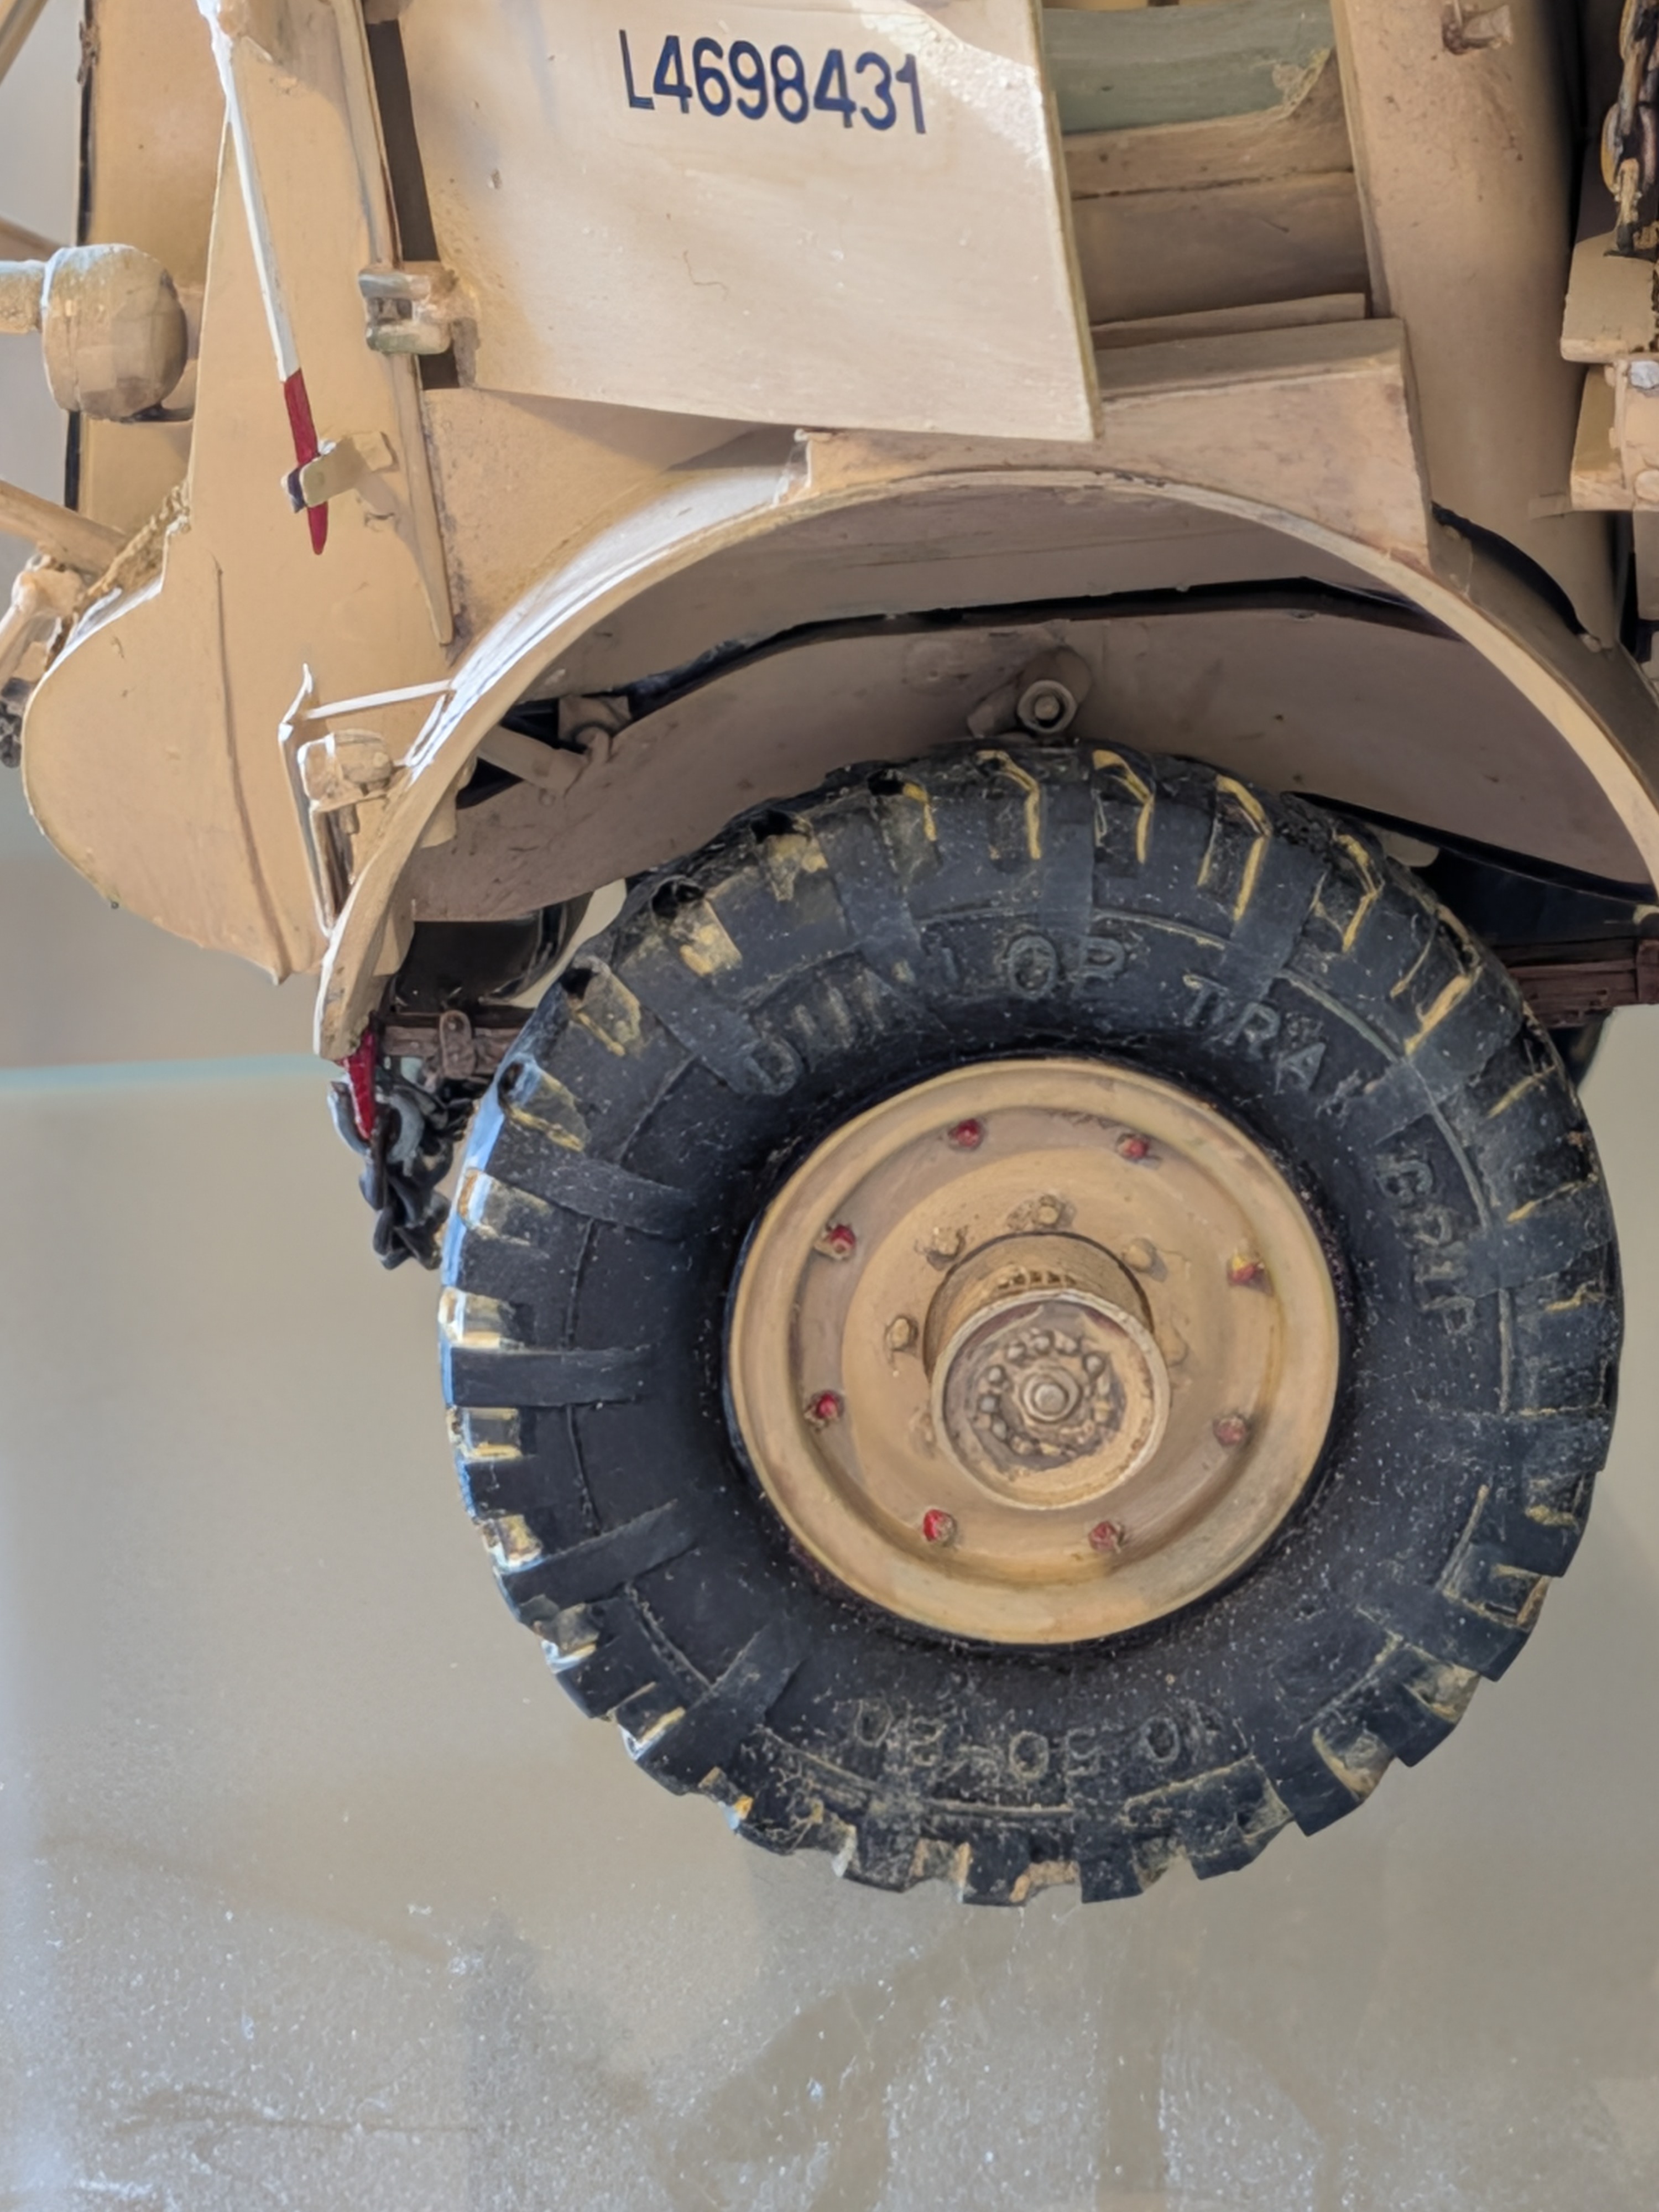
Haha, speaking of those, a reference photo of a restoration has them in red... Along with some other 'actionable' items in the compartment. I wonder how likely it is that the originals in the field were painted that way?wingnuts

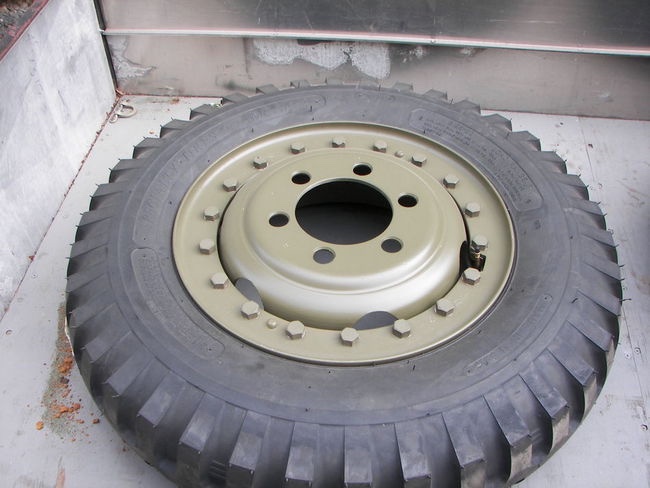
Yup, knew that about the rims, from reference books.painted red.
That's been a lot of work and your attention to details shows!
I was riding my bike on I80/94 in Indiana when the semi tire blew on the truck in the lane next to me. I about crapped myself. Luckily I didn't get hit with any debris, still don't understand how any of it missed me, my first thought was someone had shot at me. Even at 80mph with a helmet on the sound was loud! I can believe the force of those tires exploding would send a split rim flying with a lot of force.Yup, knew that about the rims, from reference books.
From an early Bedford portee build...
View attachment 192422
Knew a guy, dunno if it was a tall tale, who worked roadside tire assistance for semi trailers. He said that in the shop, a young fella leaned over a wheel he was working on, and the split rim essentially flew off straight up to the ceiling. The young fella didn't survive his mistake.
I think of that every time I pass one of those big rigs and wonder if a wheel rim is going to blast through my car.
About the red, I was referring to the photo @John Waller a posted earlier...
View attachment 192419
Think that was common practice, or restoration license?


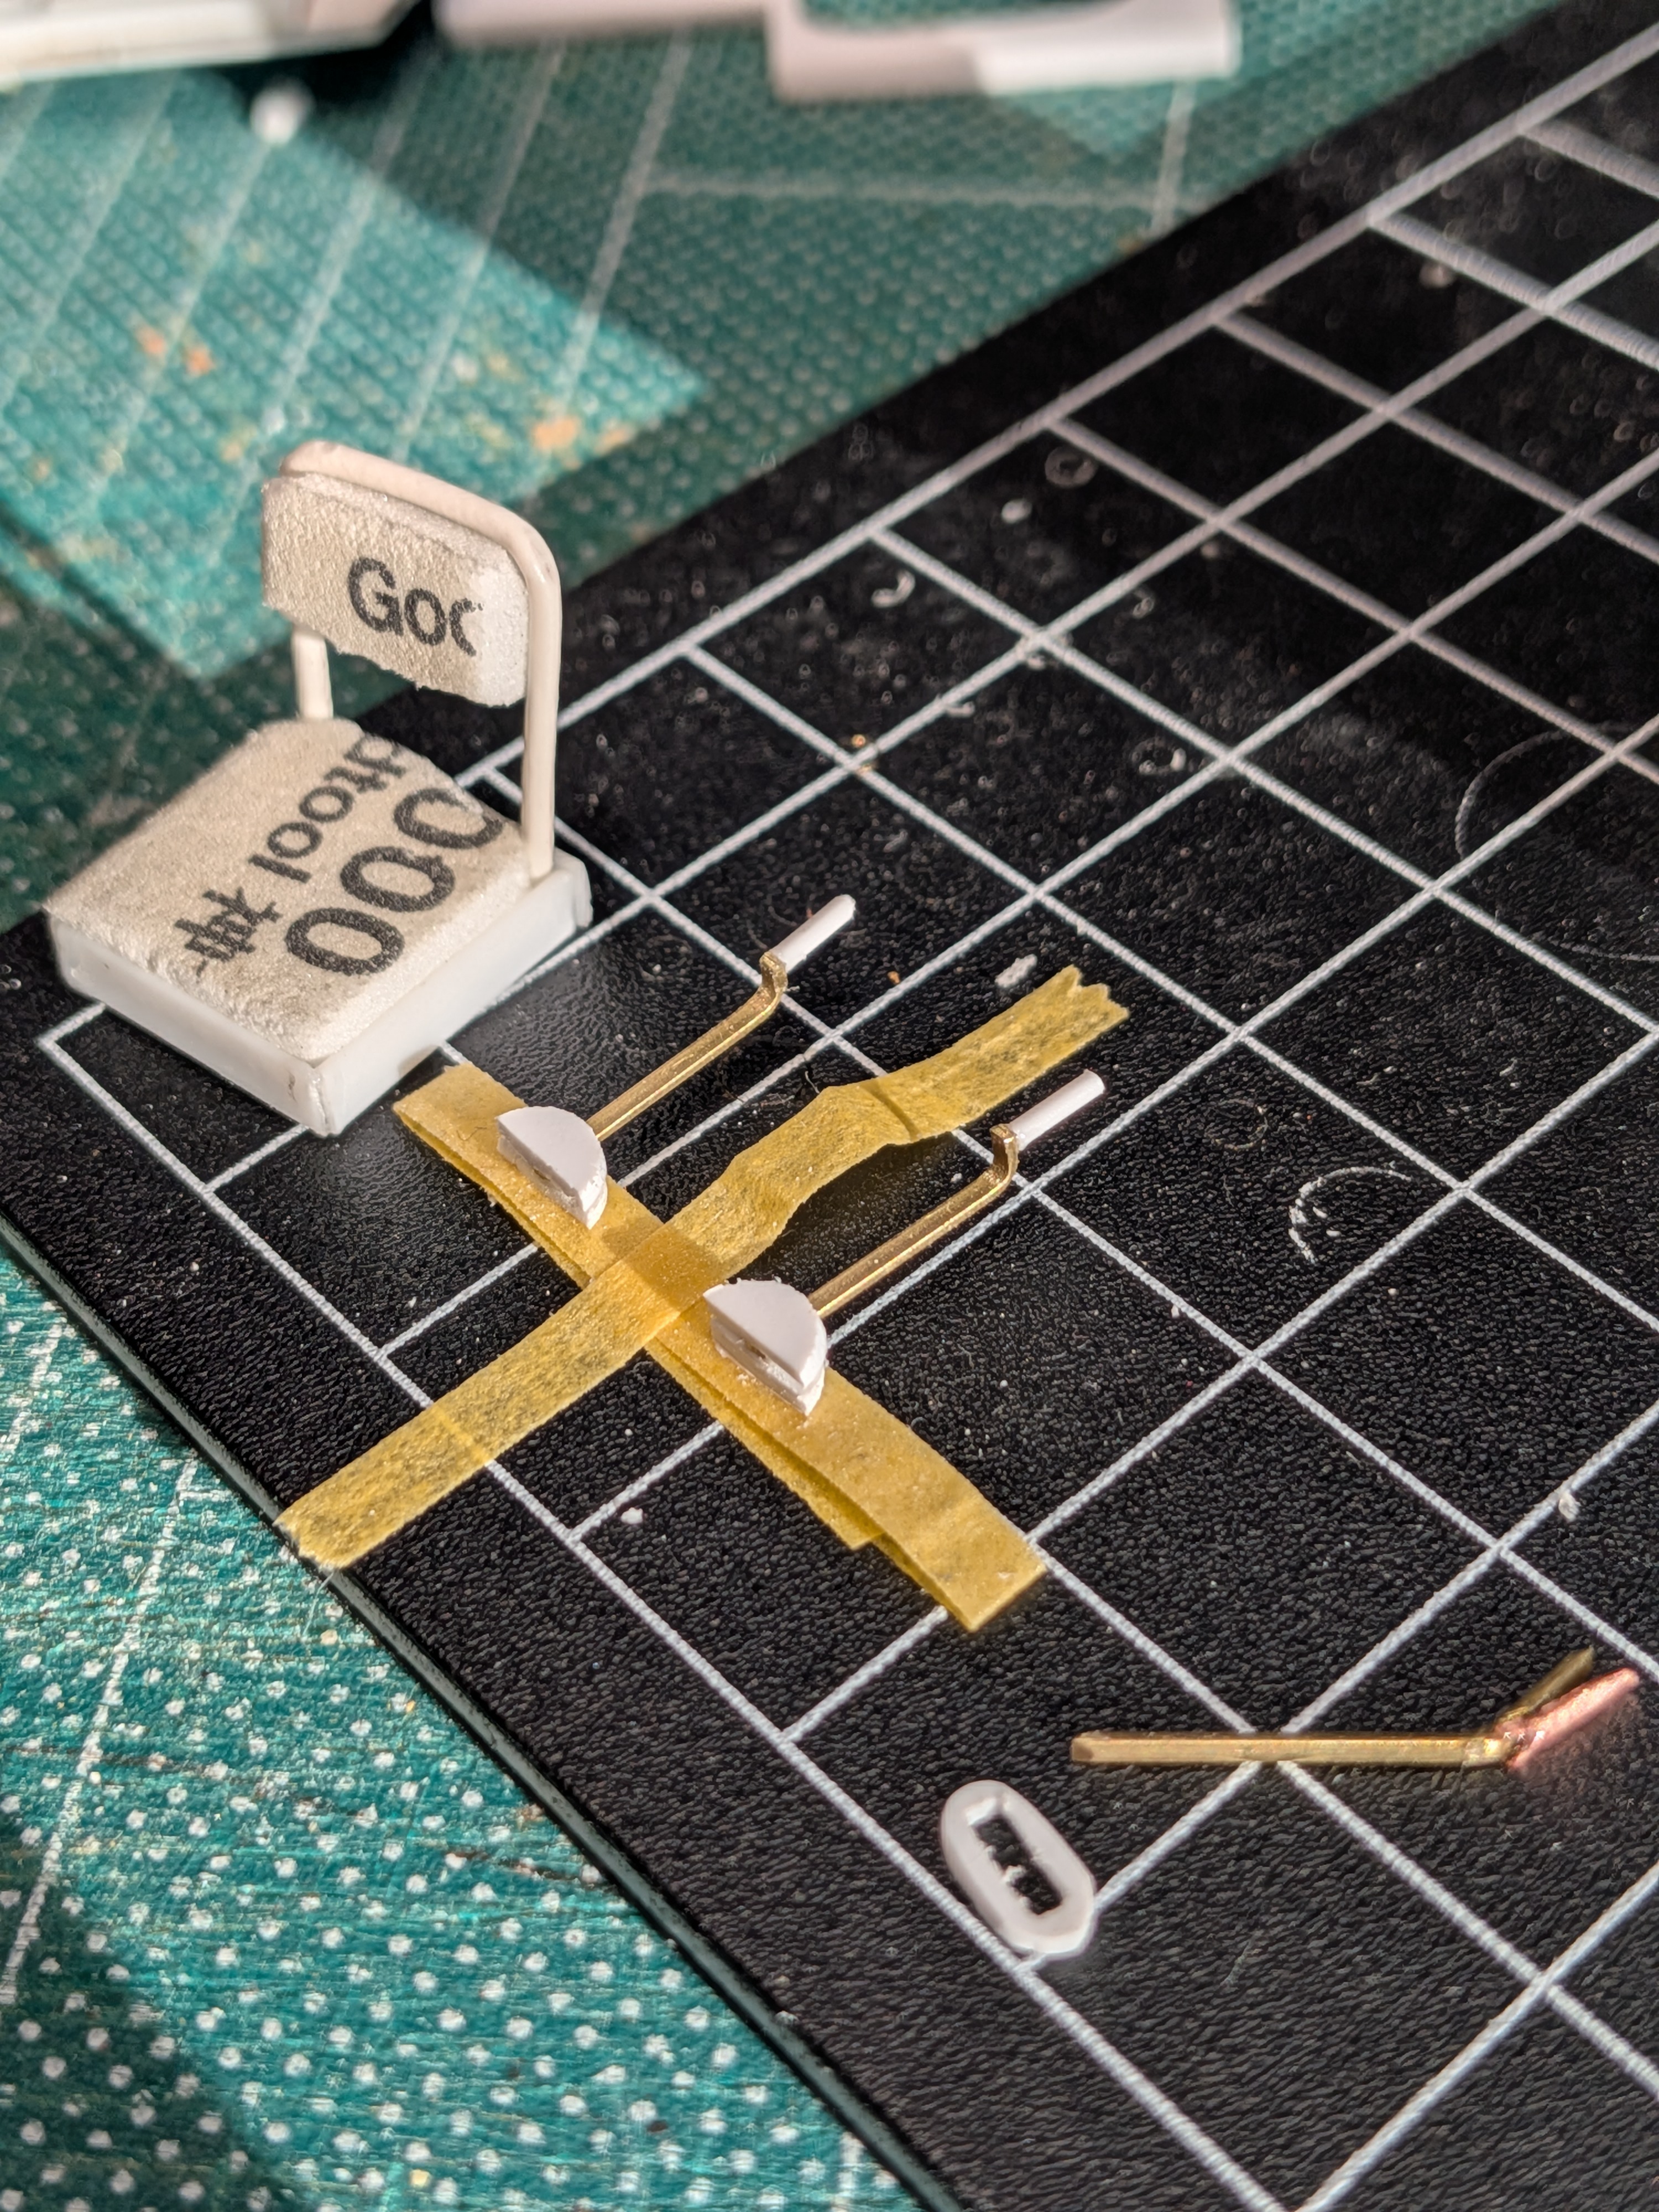
I will try to remember this!What do you do when your sanding sponge is done?
Why, see to the comfort of your crew!
And scratch some levers while you're at it...
View attachment 192541
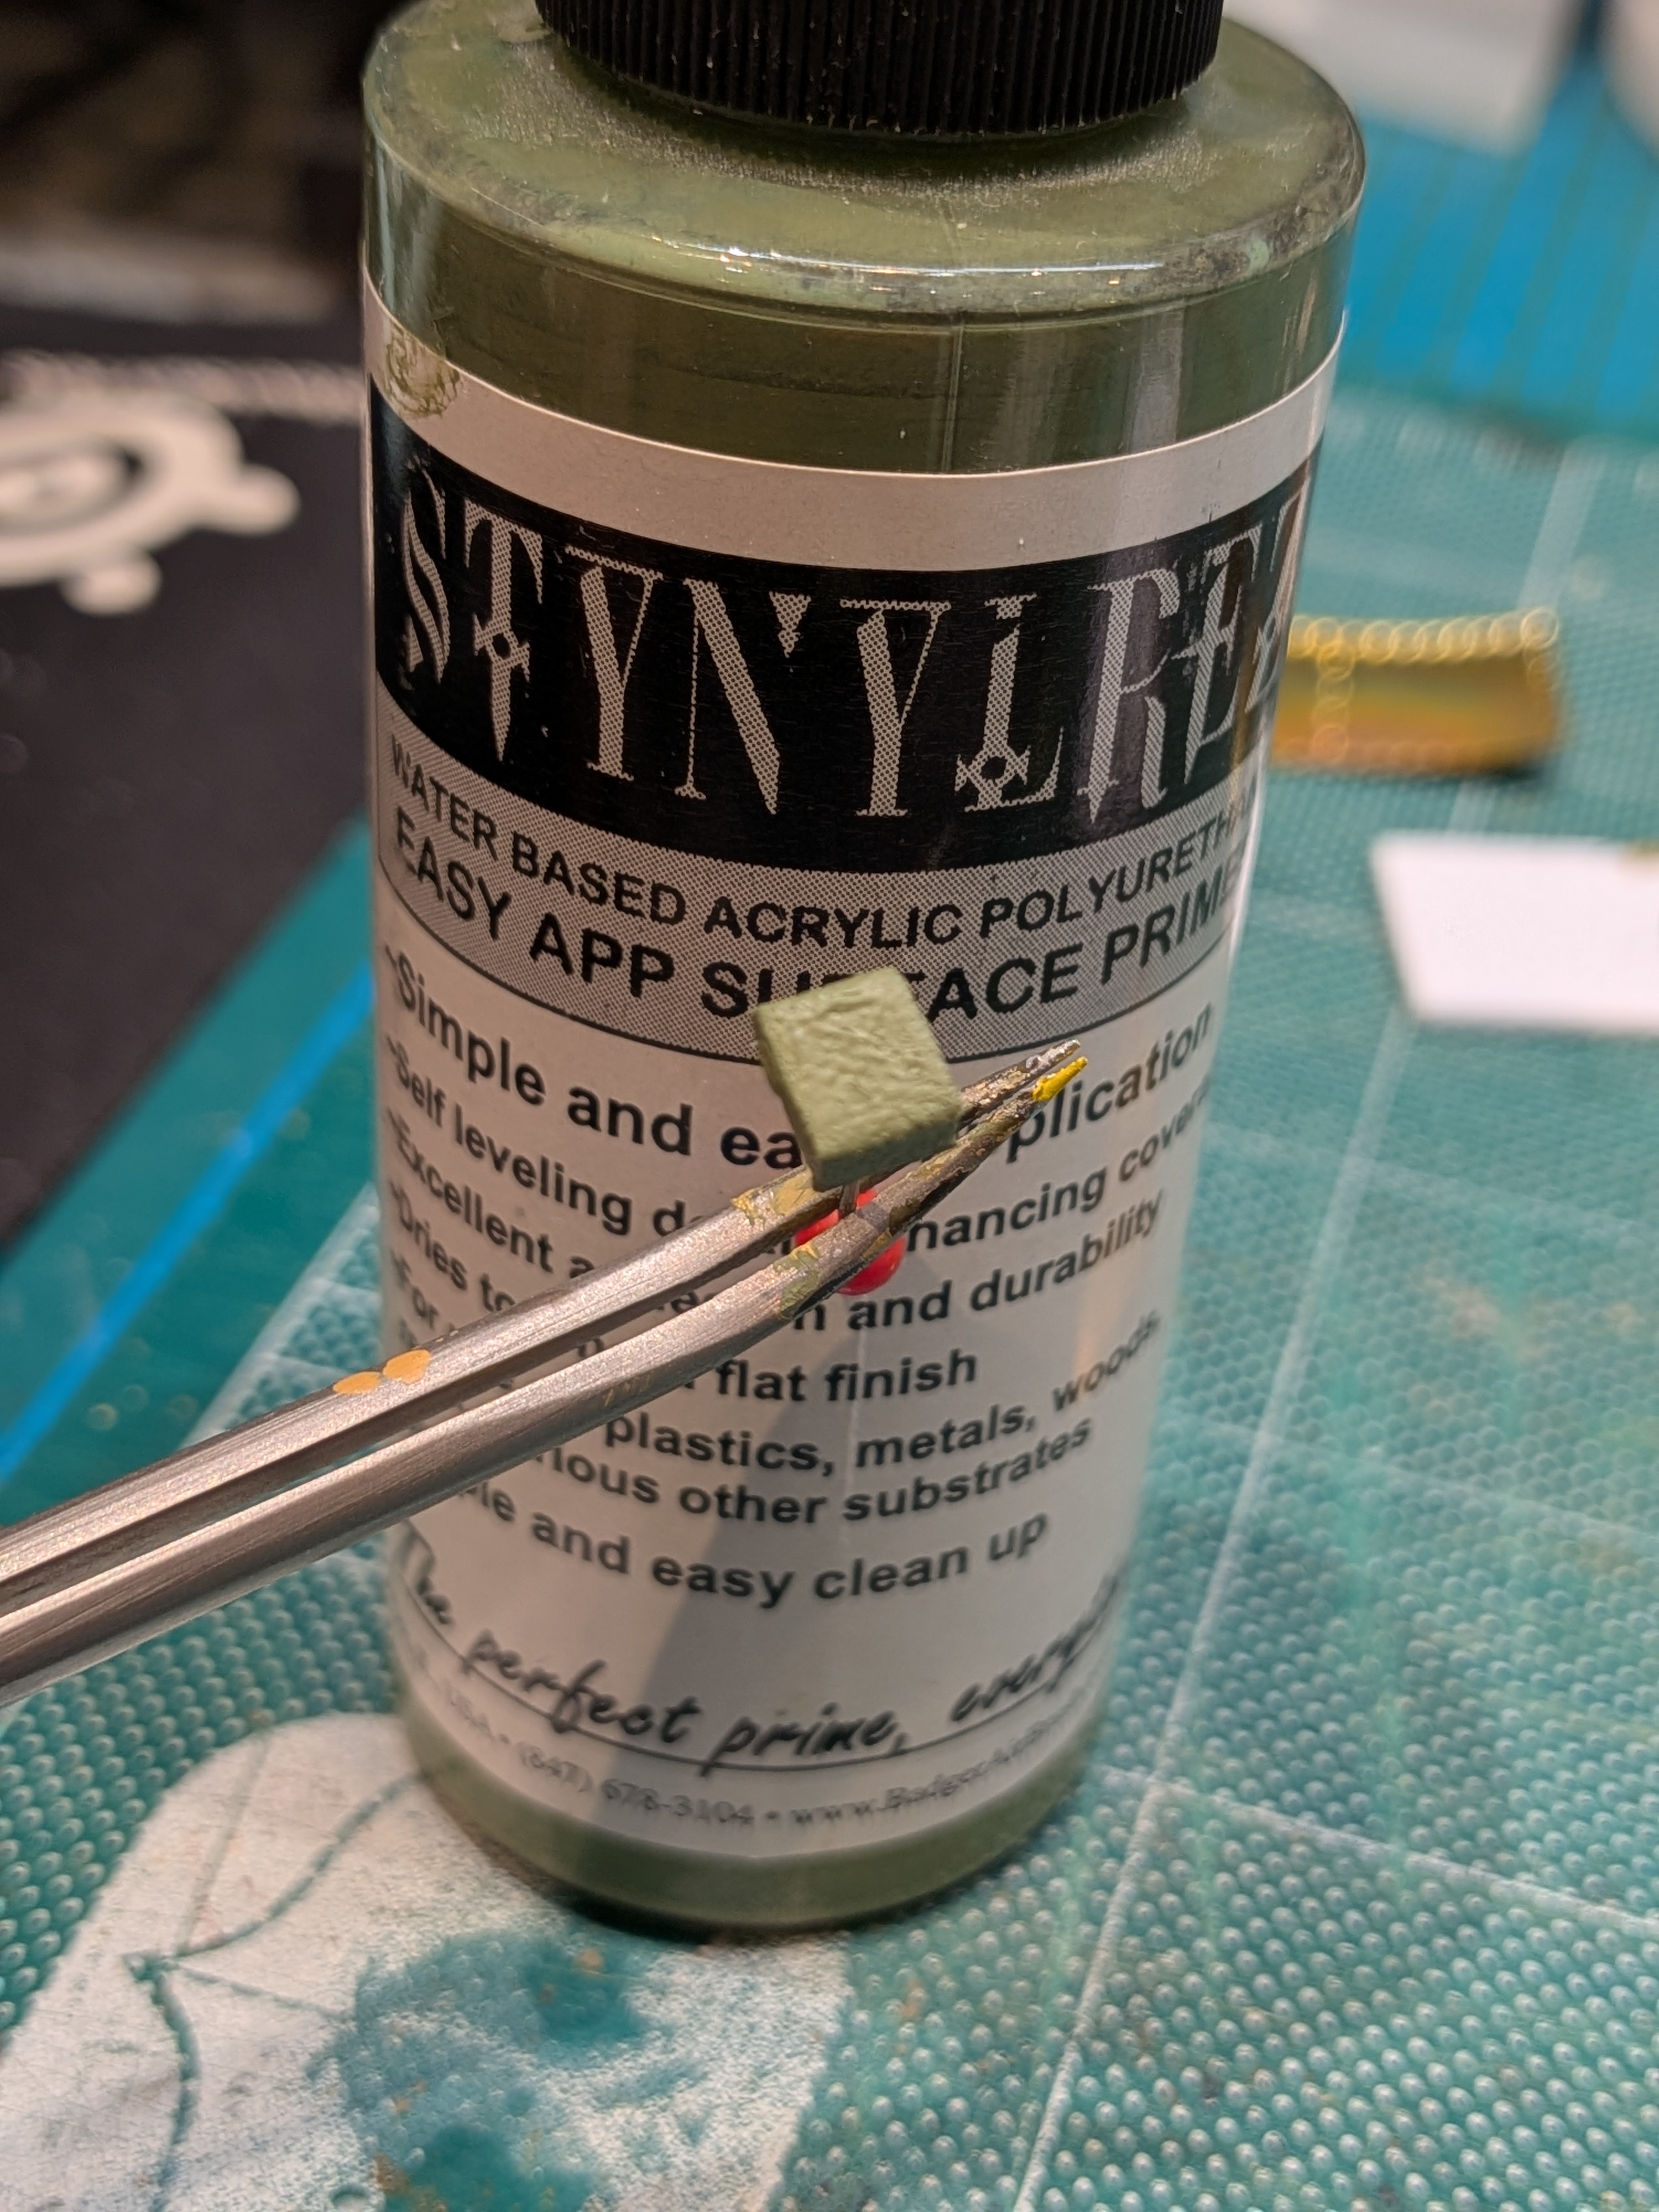
If I can't paint it, you'll wanna forget it! We'll soon find out!I will try to remember this!

I was going to say the same.Maybe layer it with tissue paper soaked with water and white glue, if you can't paint on it directly.
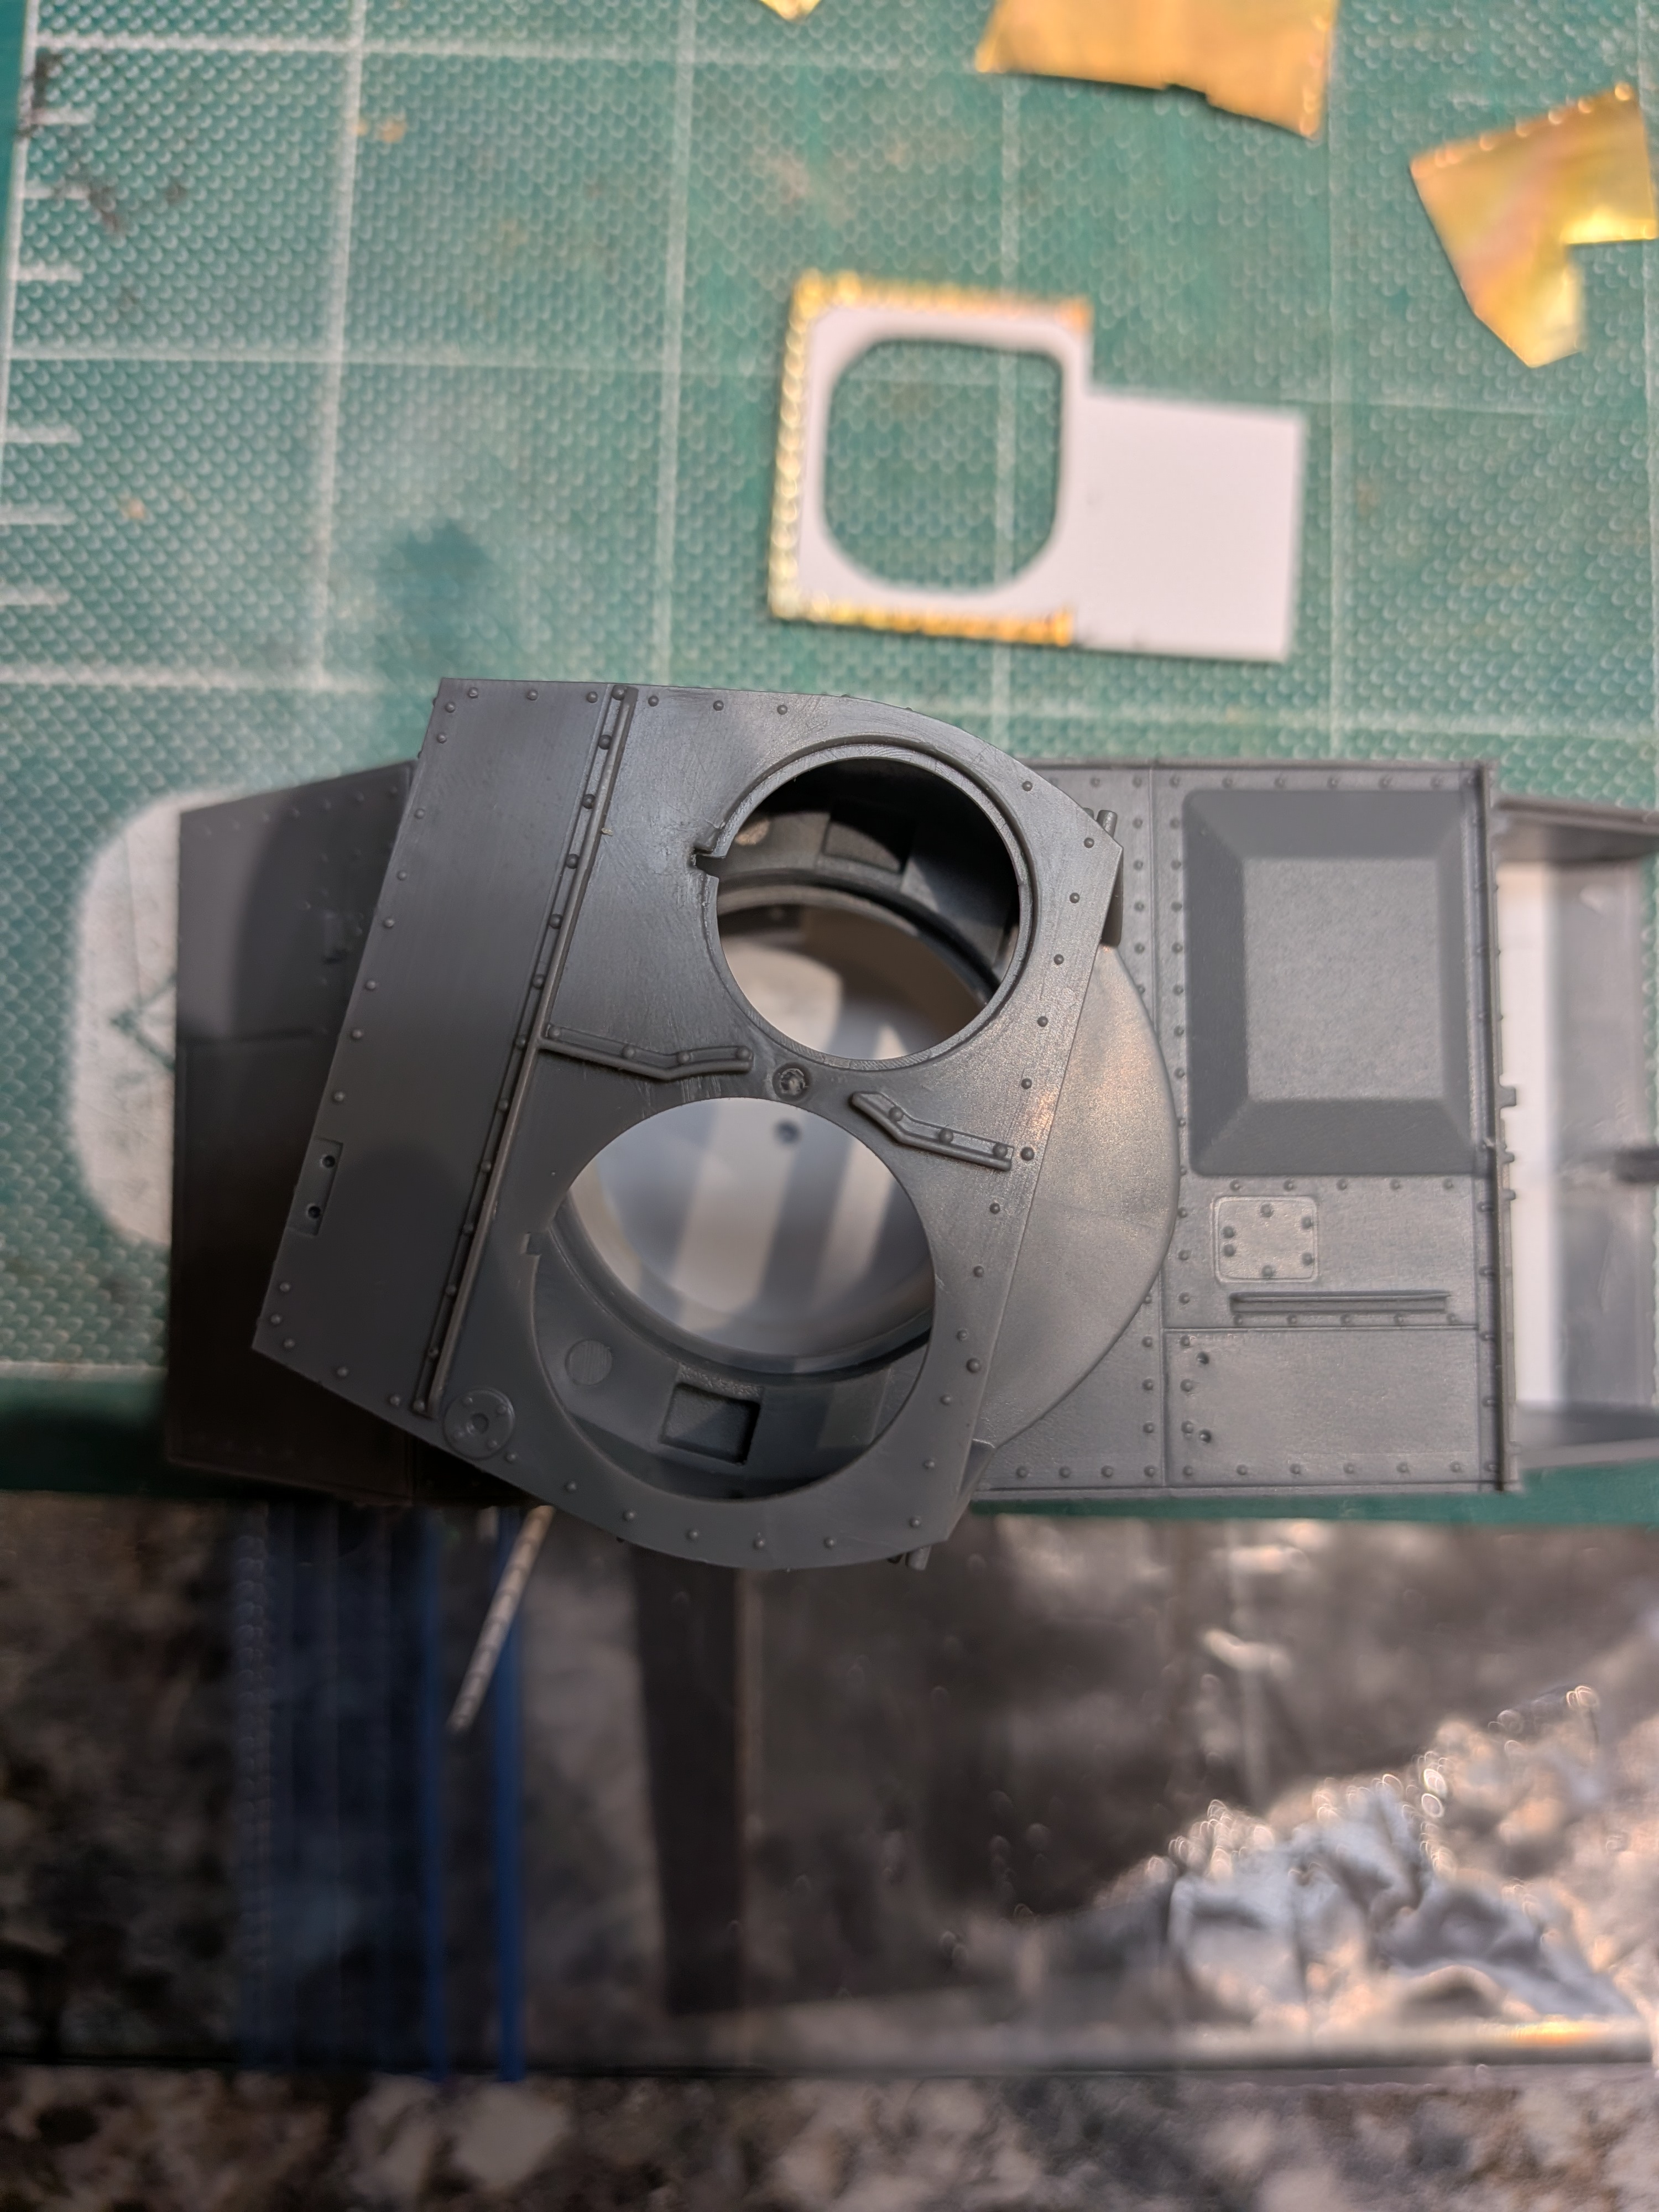
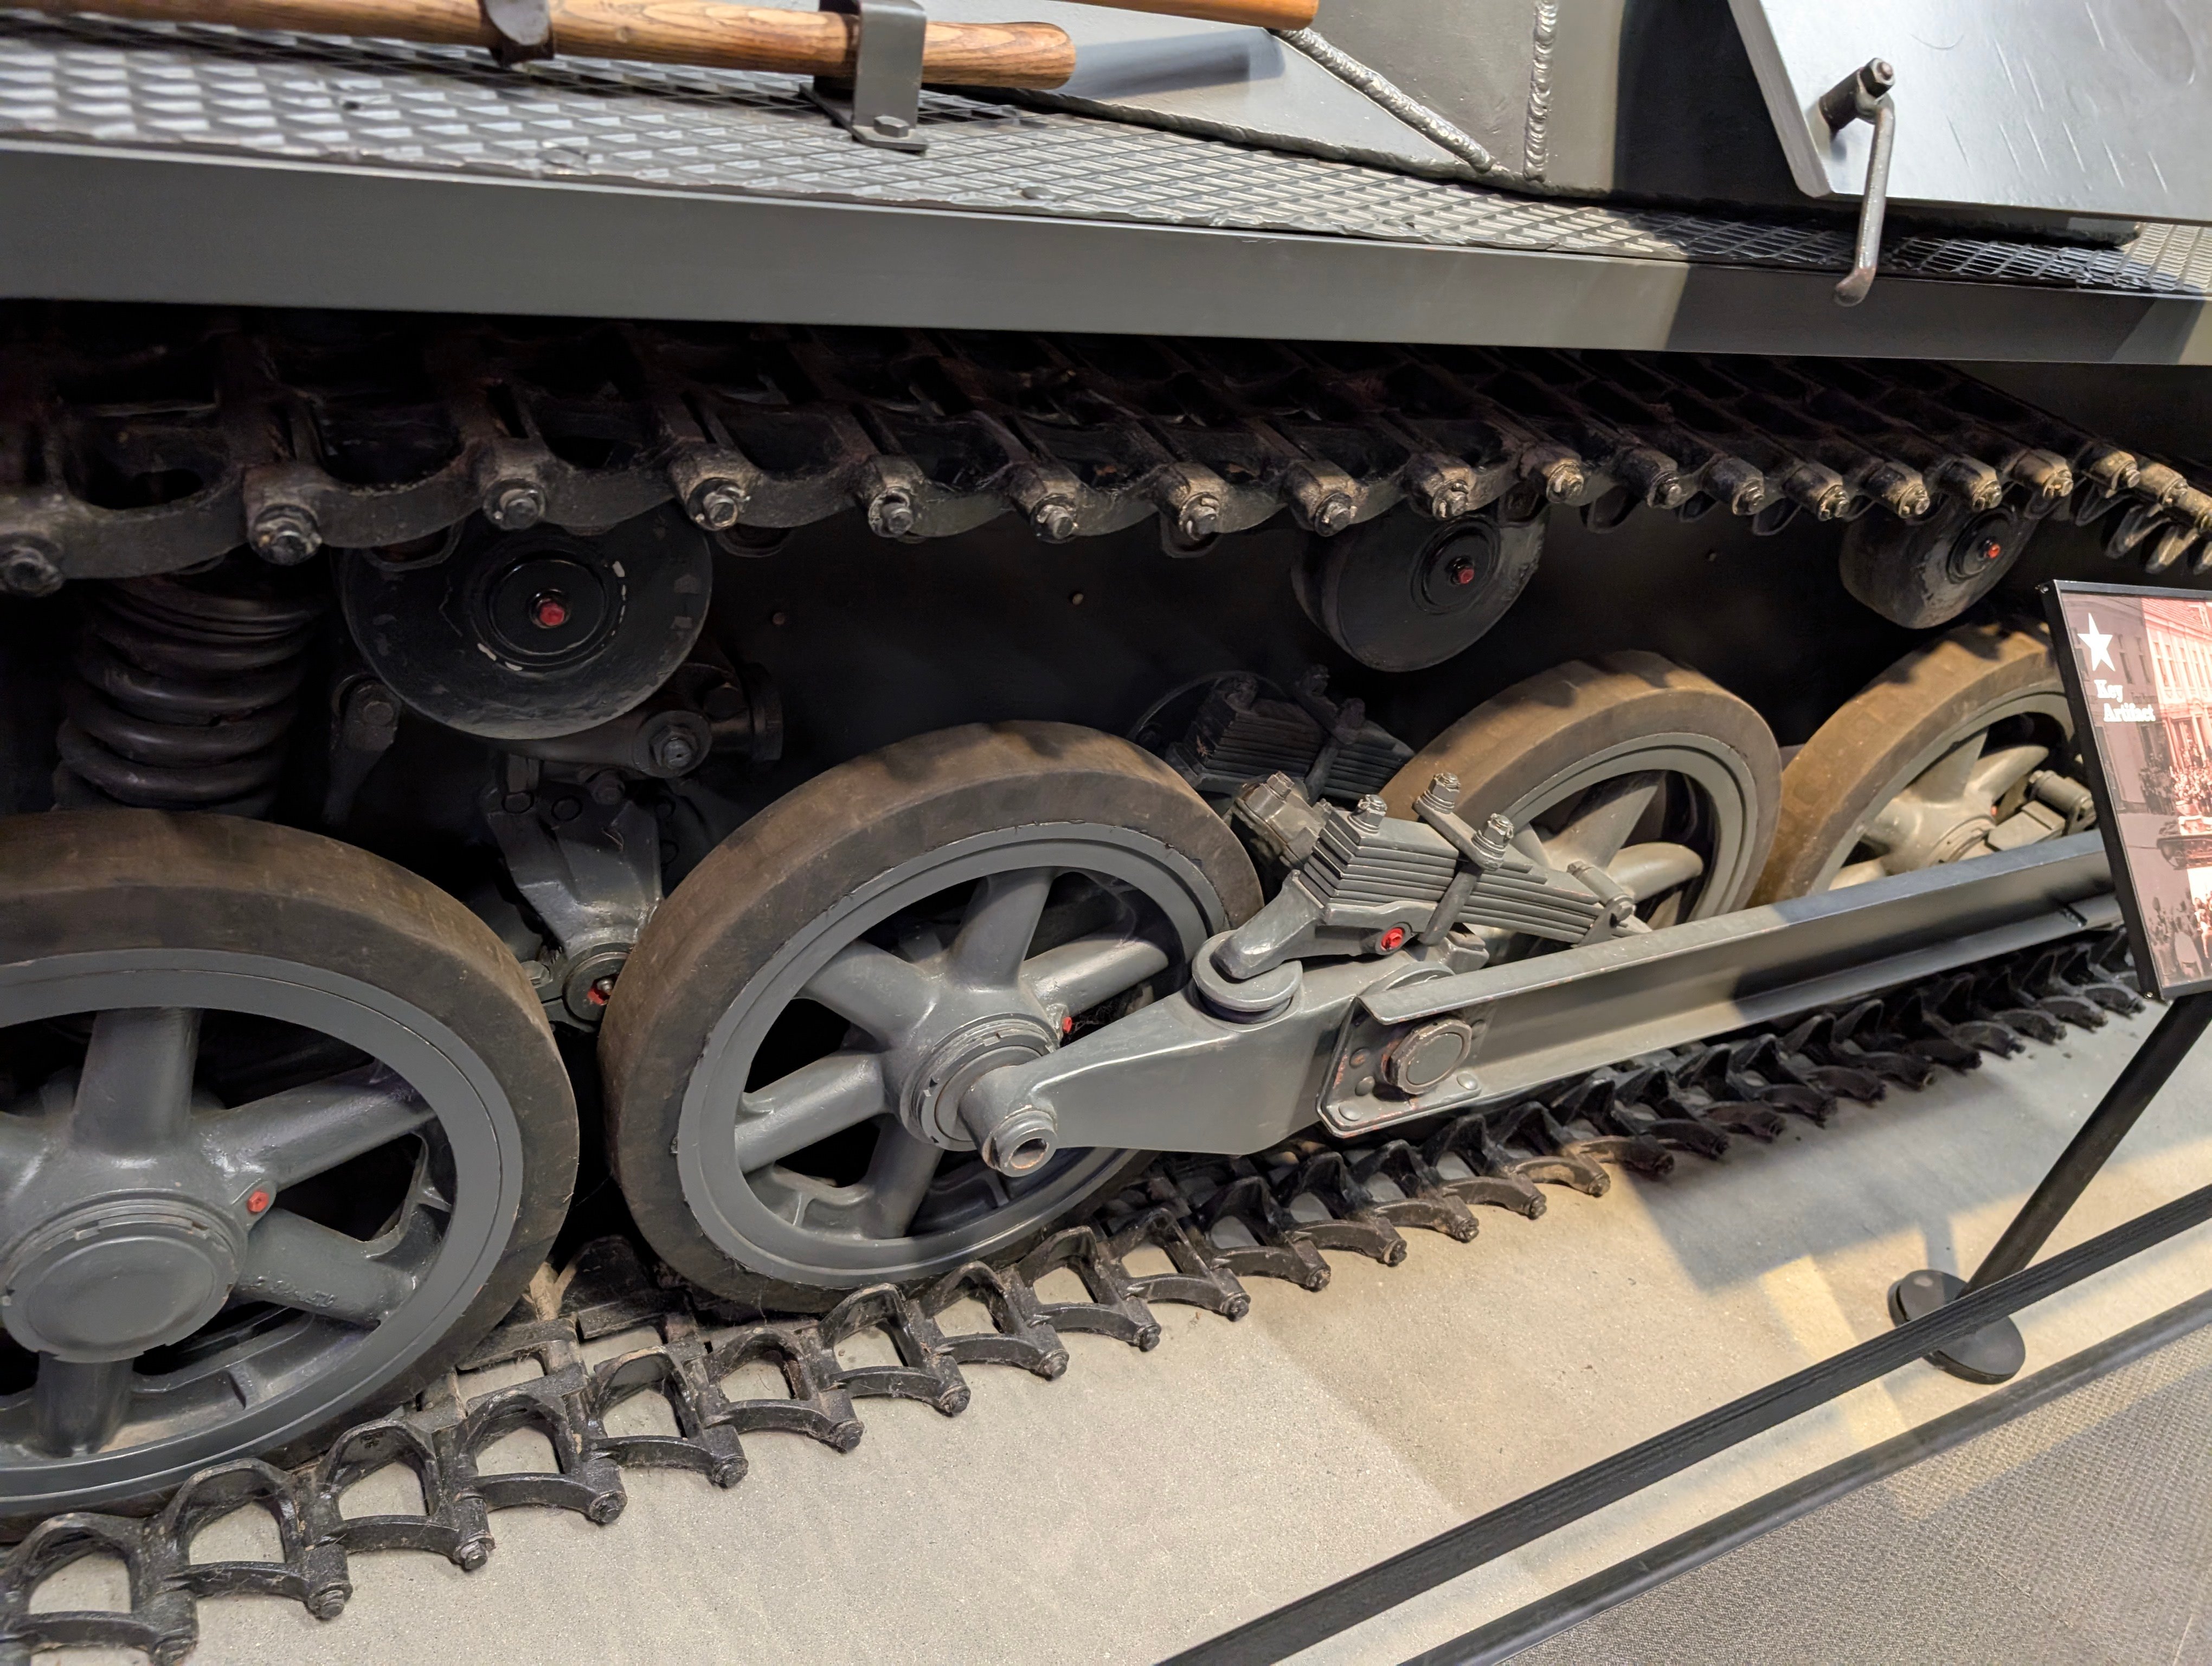
German AFVs had lubrication points like grease nipples highlighted in "Lipstick Pink"Haha, speaking of those, a reference photo of a restoration has them in red... Along with some other 'actionable' items in the compartment. I wonder how likely it is that the originals in the field were painted that way?
I've seen things like wheel nuts painted red 'on parade', and don't have enough knowledge to know one way or the other.
Try explaining that down at the LHS!Lipstick Pink

I think that would be a mix-it-yourself colourTry explaining that down at the LHS!

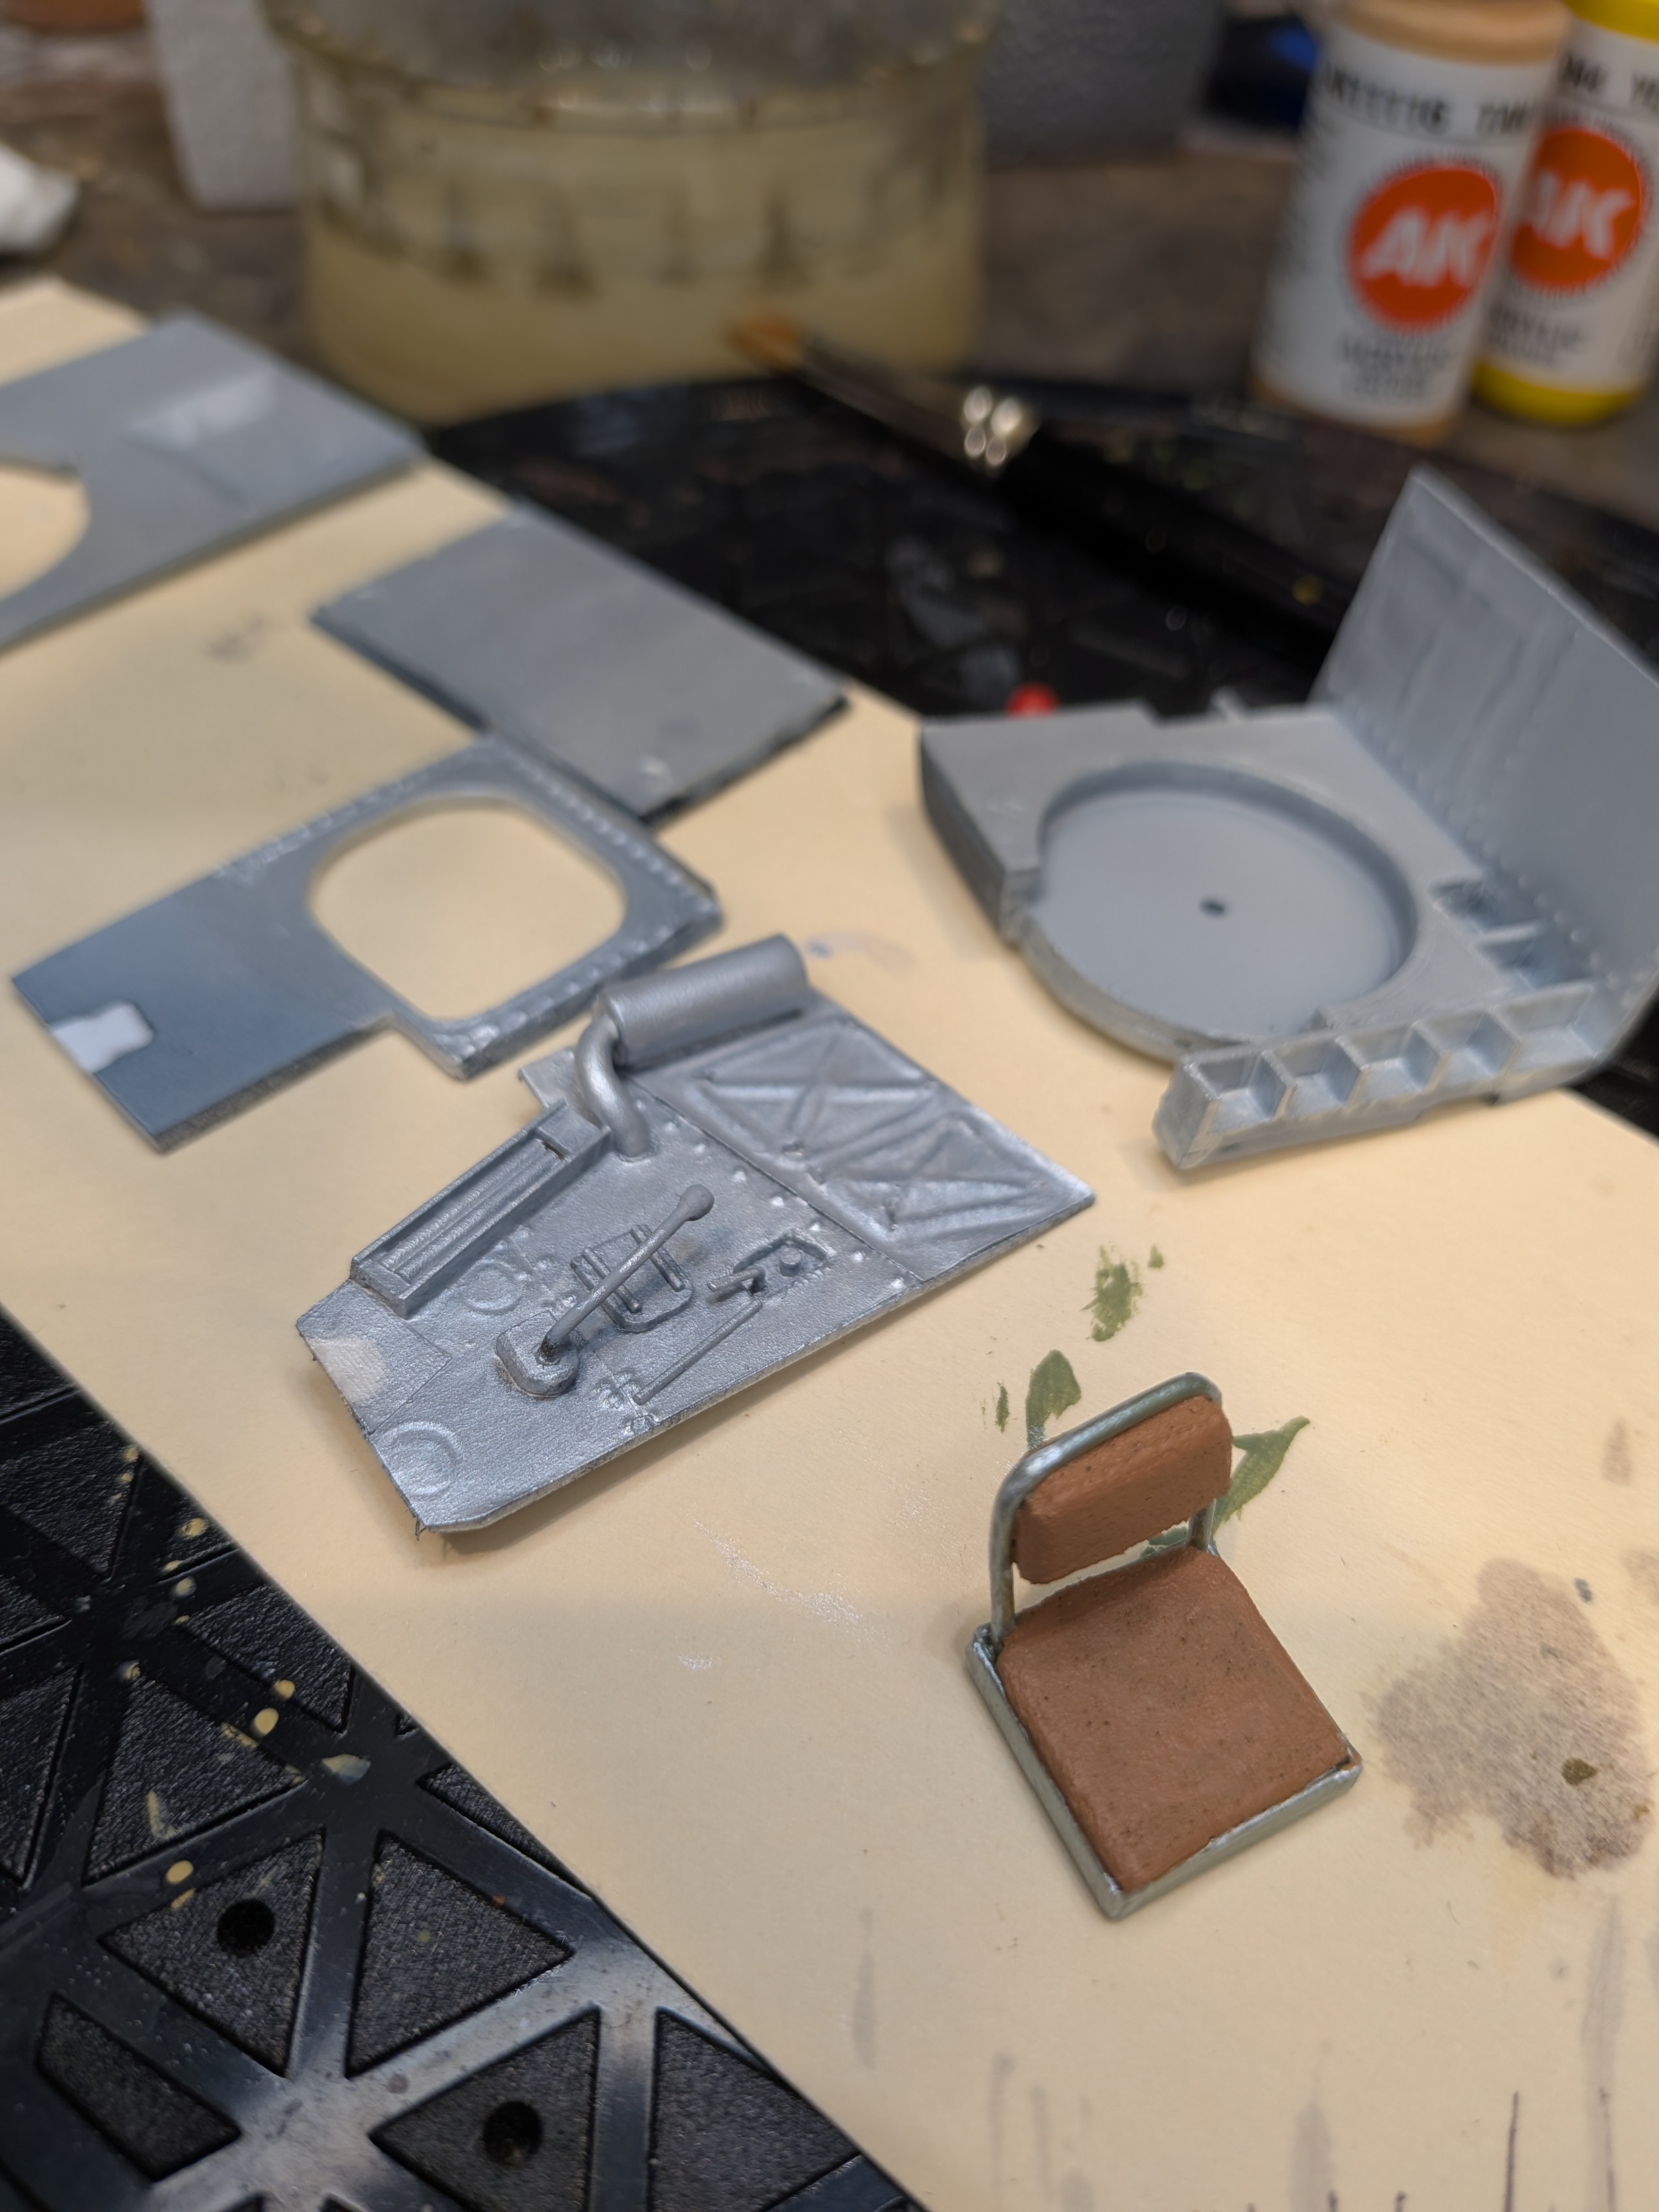
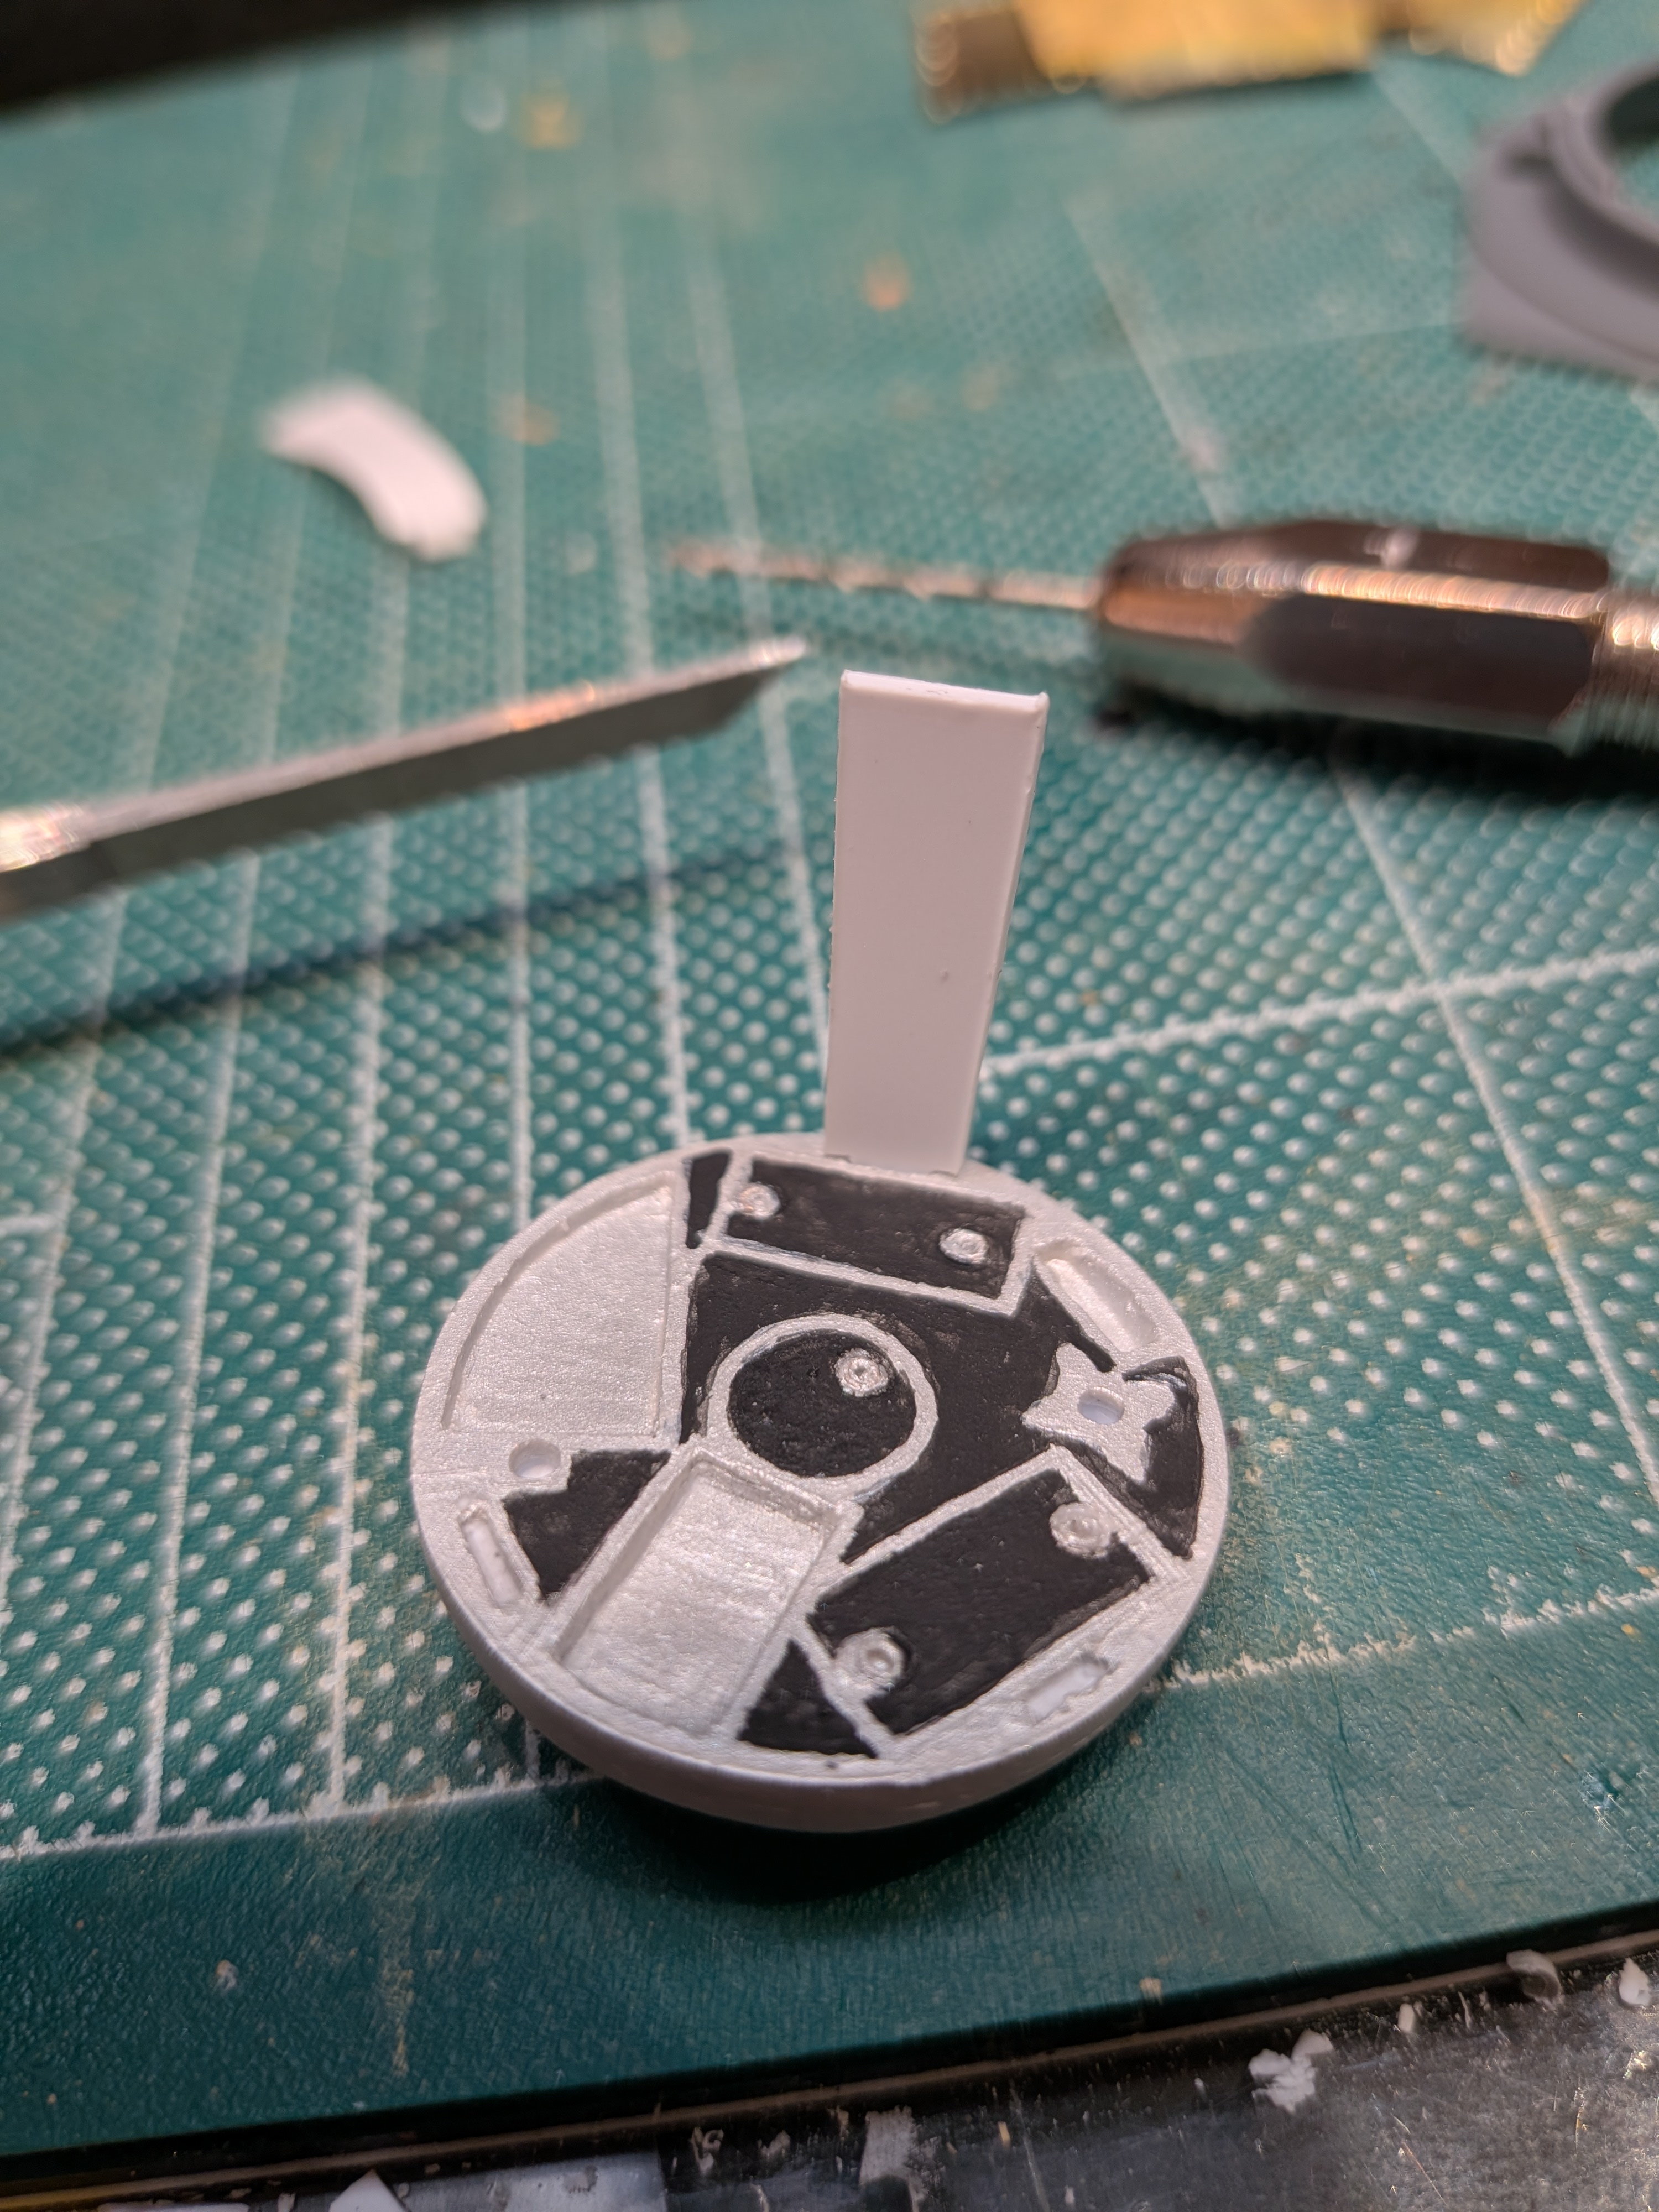
Seat came out nice!First brushed coat of dark aluminium showing up detail pretty well, even without shading or panel lines.
View attachment 192661
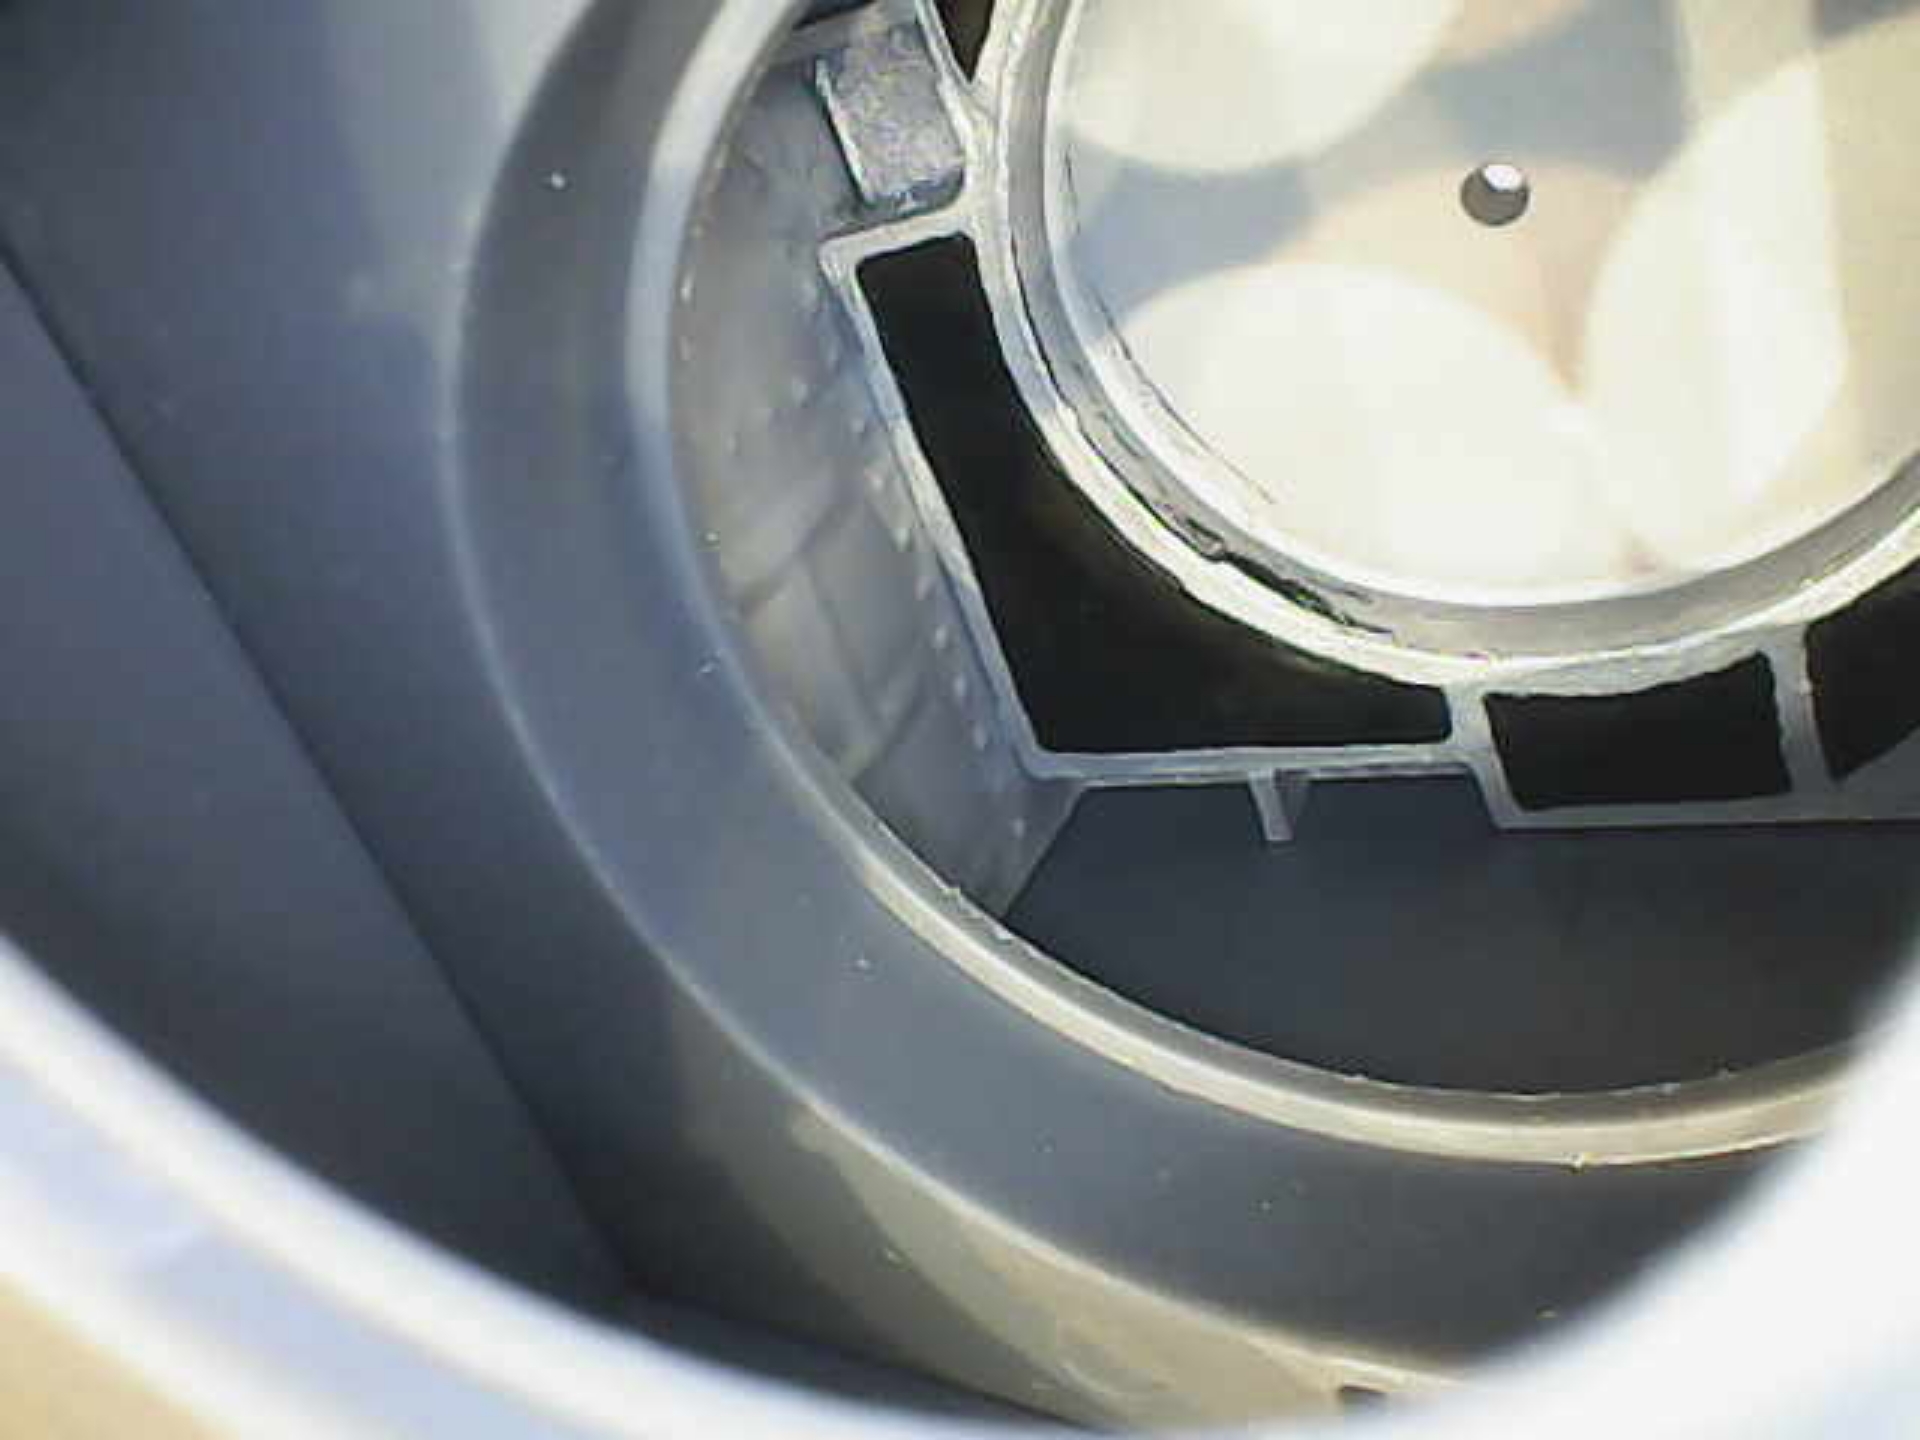
 )
)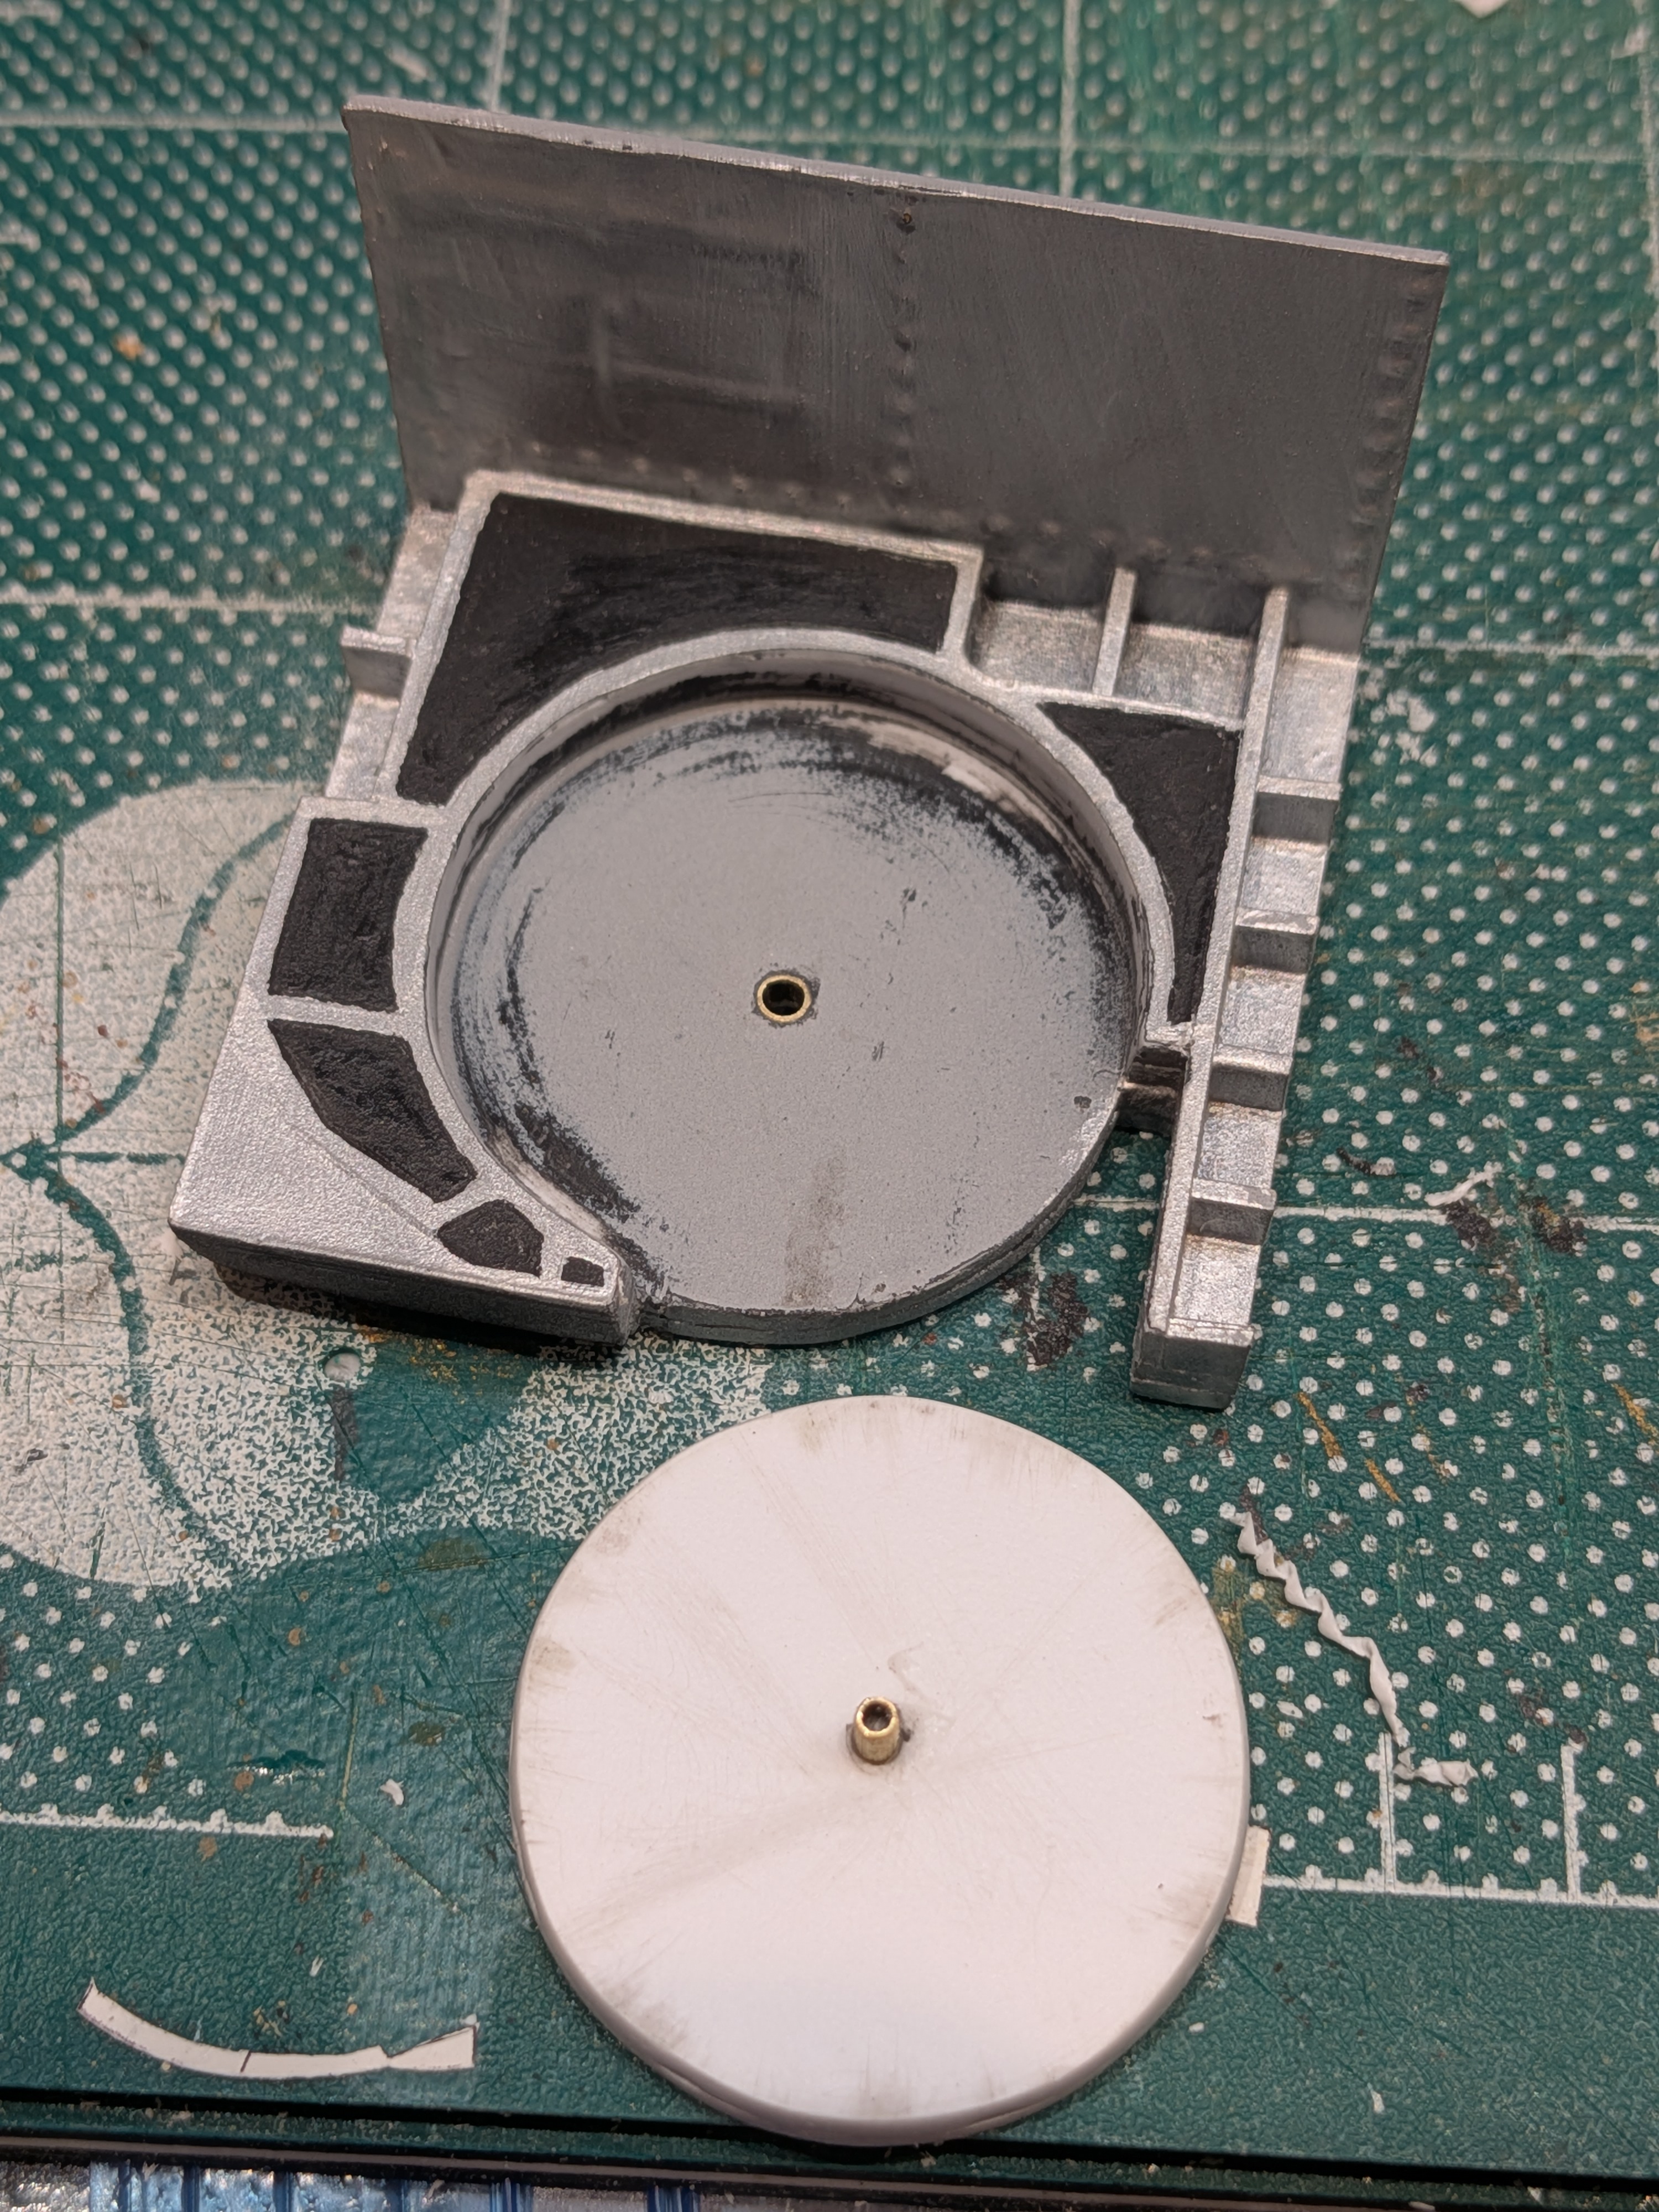
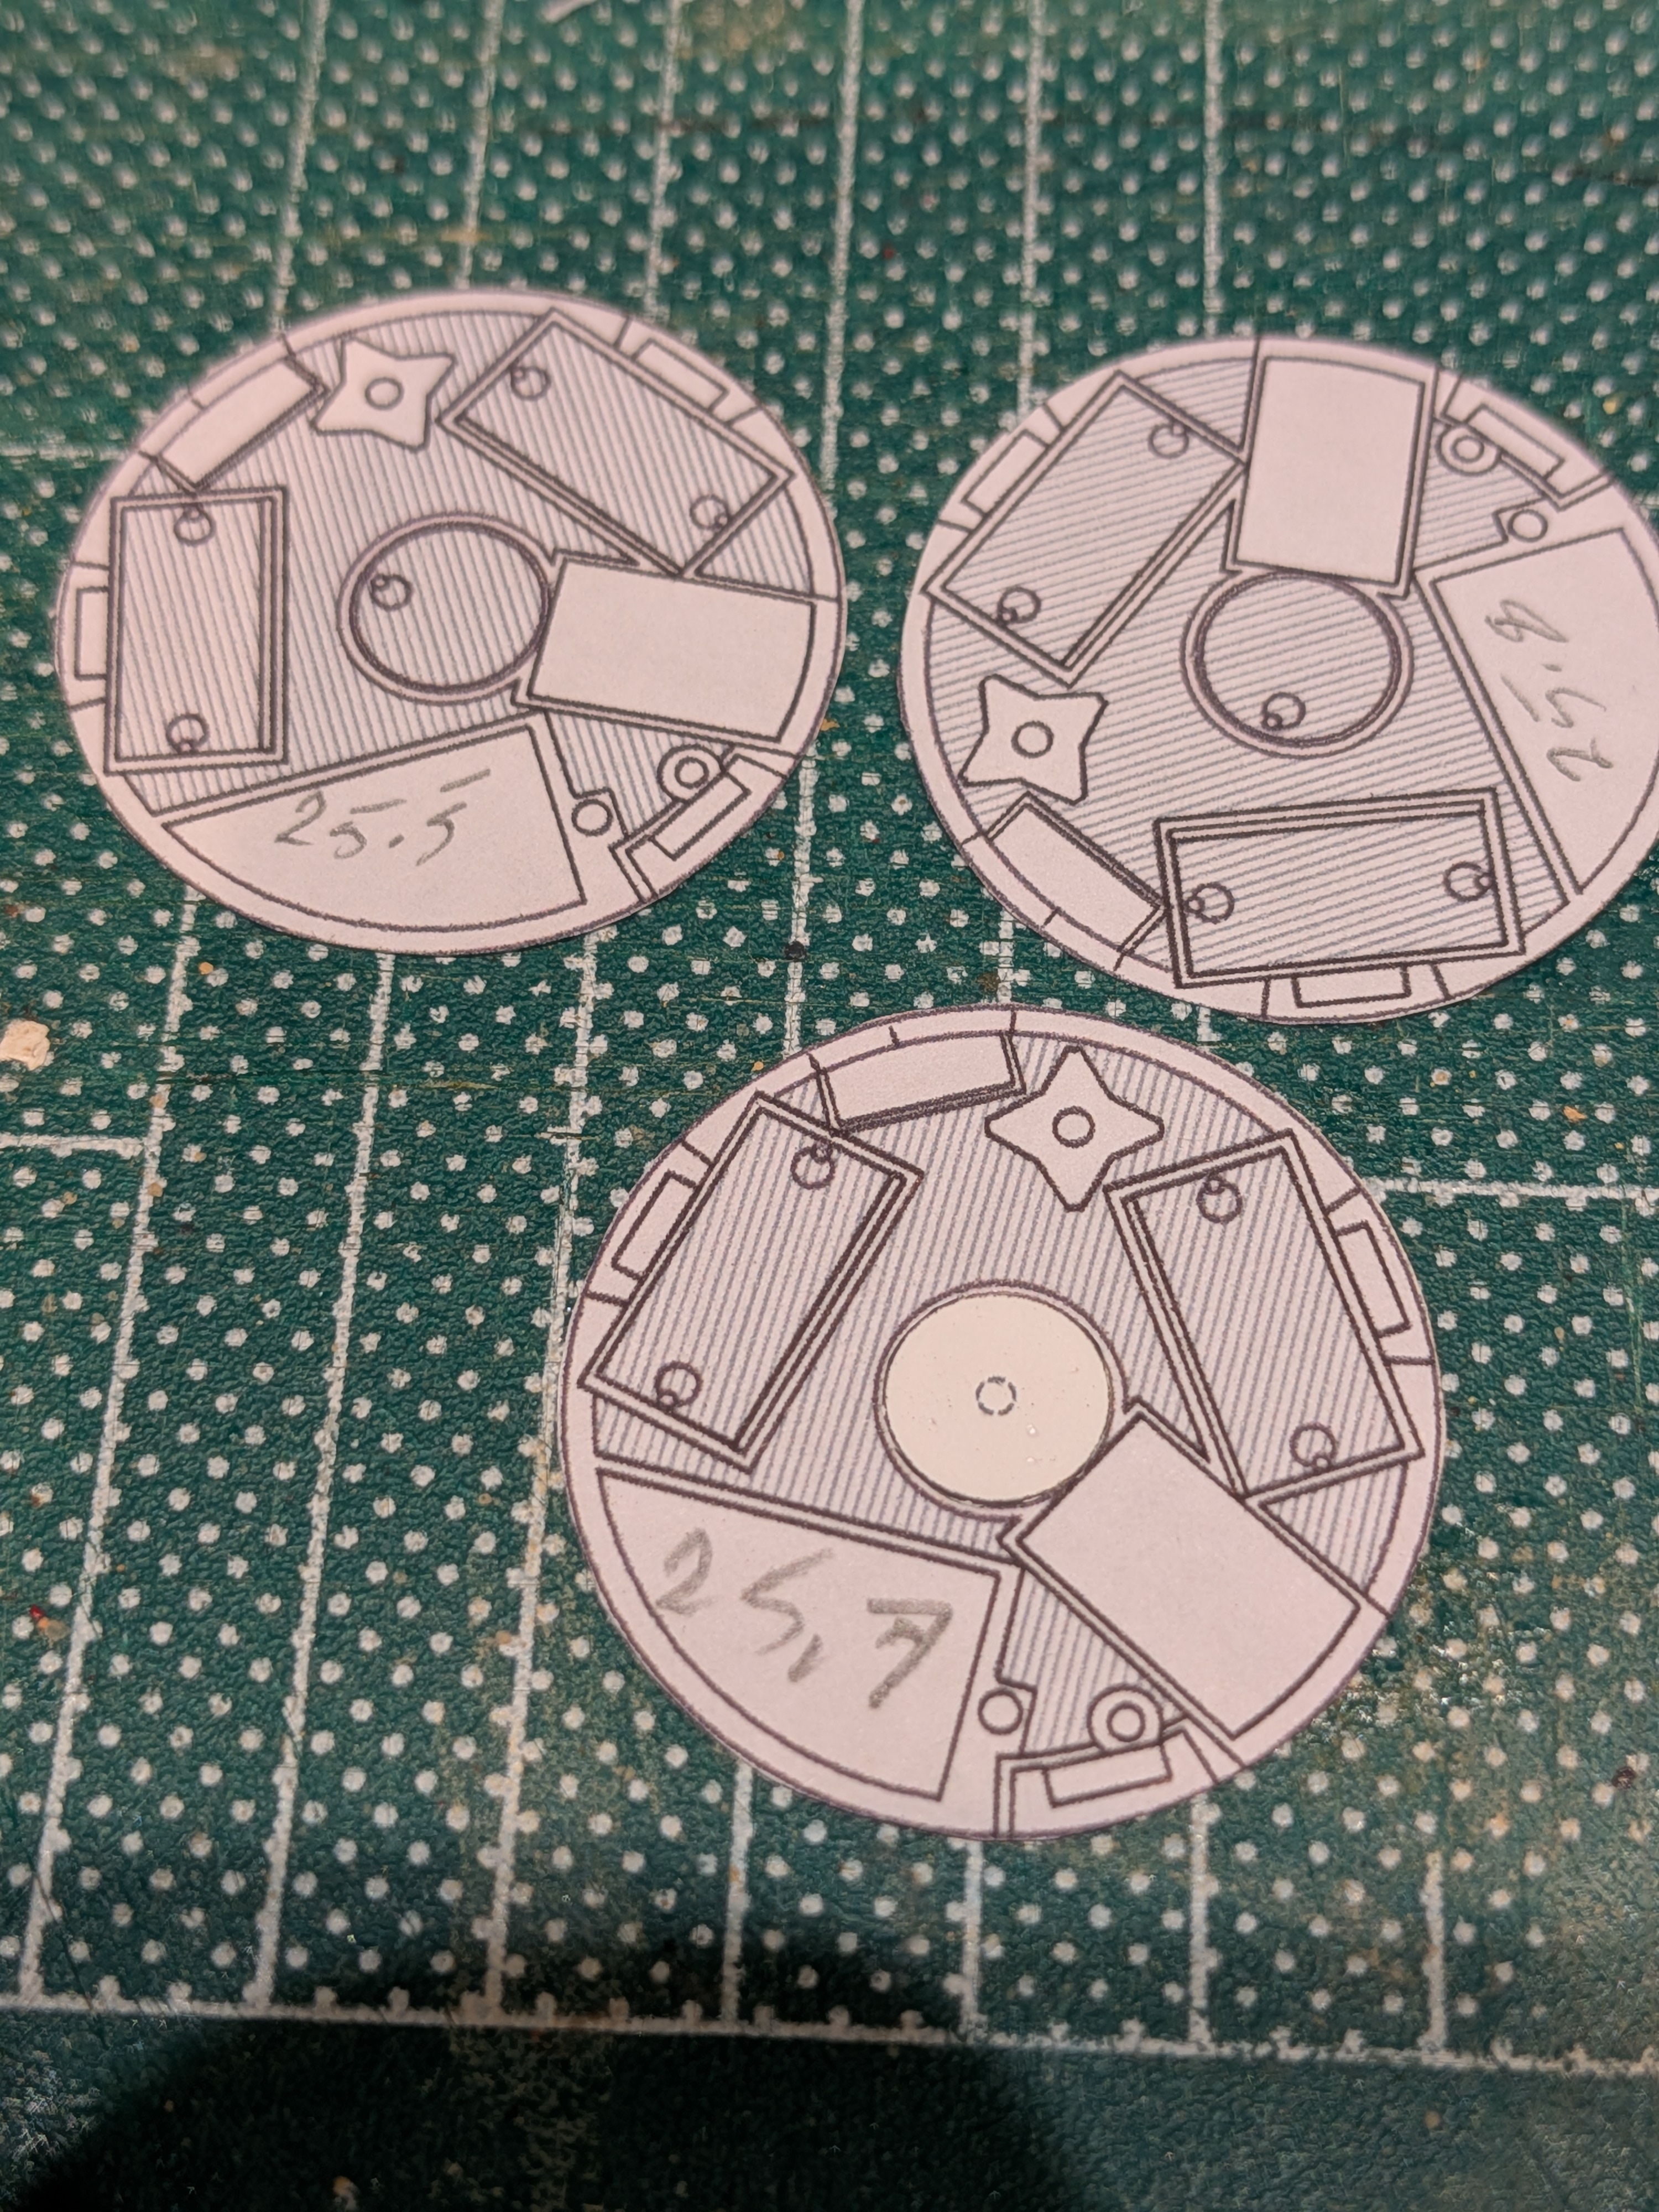
Or 1.012 inches?I printed and cut out slightly different diameter turret floors, and test fit.
Will use the 25.7mm one.
View attachment 192820
... So I may be over rotating on this (see what I did there?
But I really want the turret to spin freely without jamming.
So a brass collar in the fighting compartment floor, and pin to fit the turret floor.
View attachment 192819

Hmmm, there may be something to this metric crapYup, 1 and ³/250 ths of an inch.
Just right!
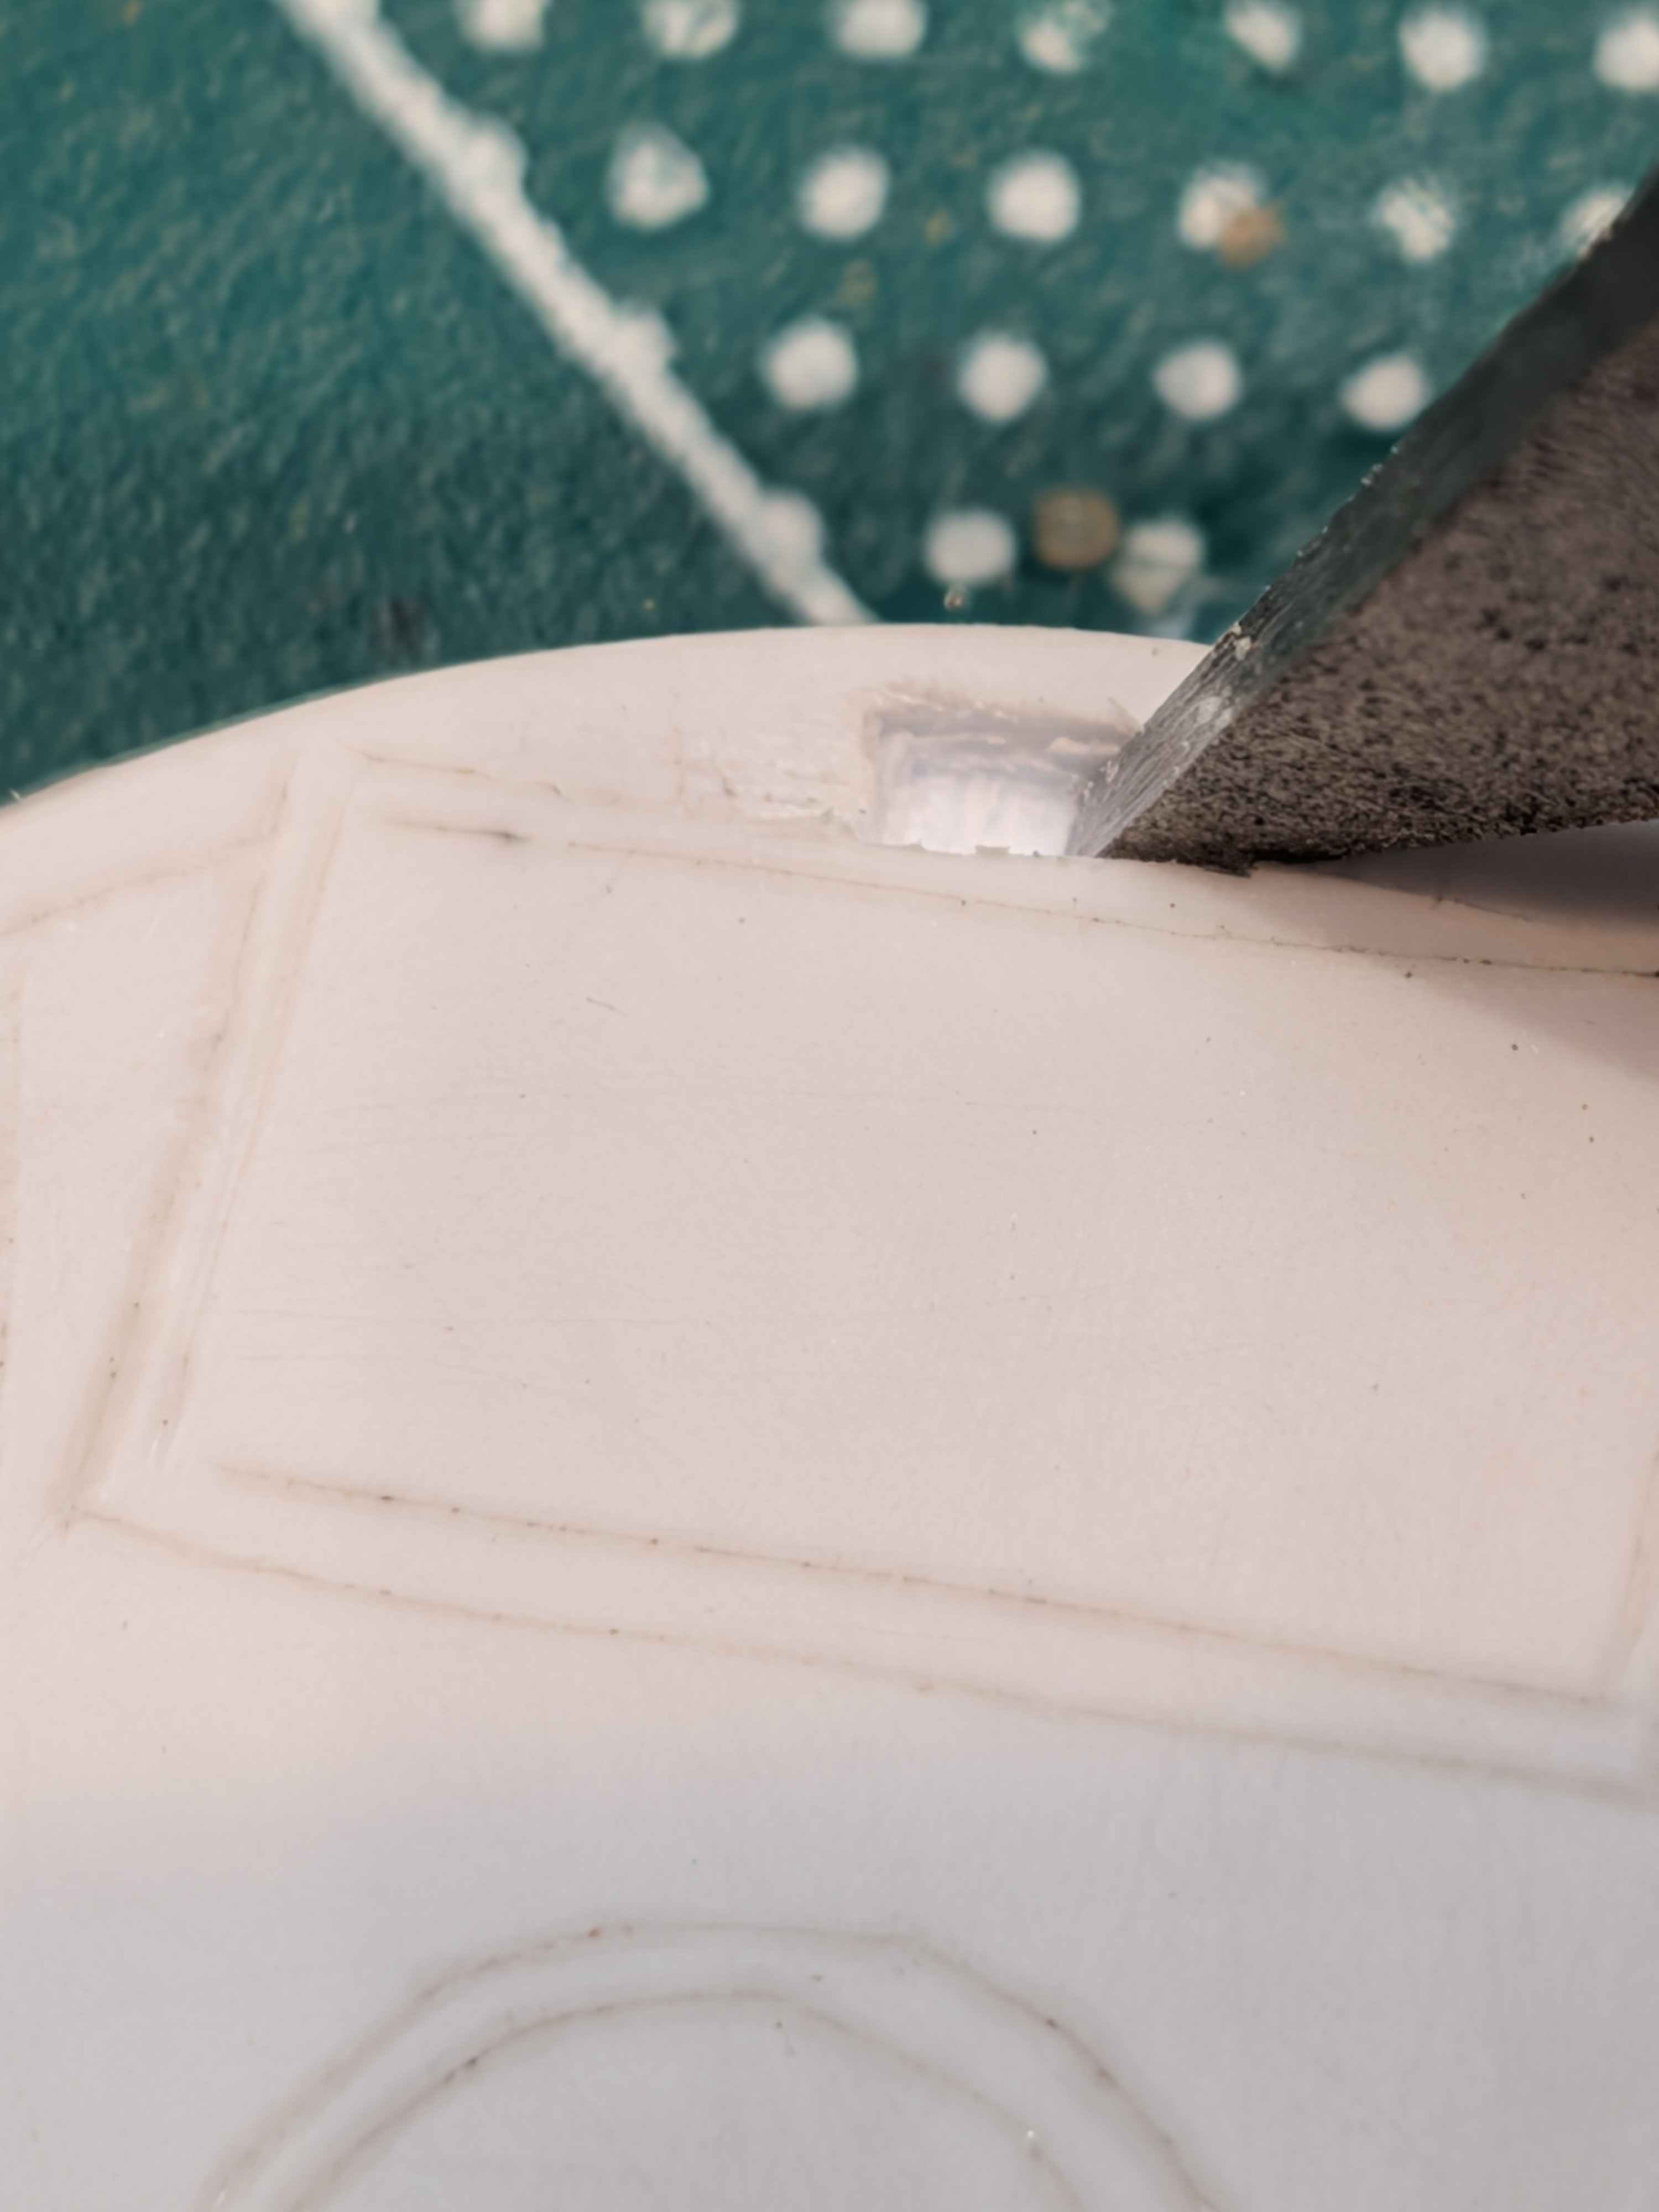
I had to get rid of an old dresser that needed quite a bit of work. Hurt so bad because it had those joints.... Always been fascinated with mortise and tenon construction (starting in my early twenties with dreams of building a post and beam home in the Gatineau hills), whether local barns, New England salt box, Japanese traditional architecture and shoji screens.
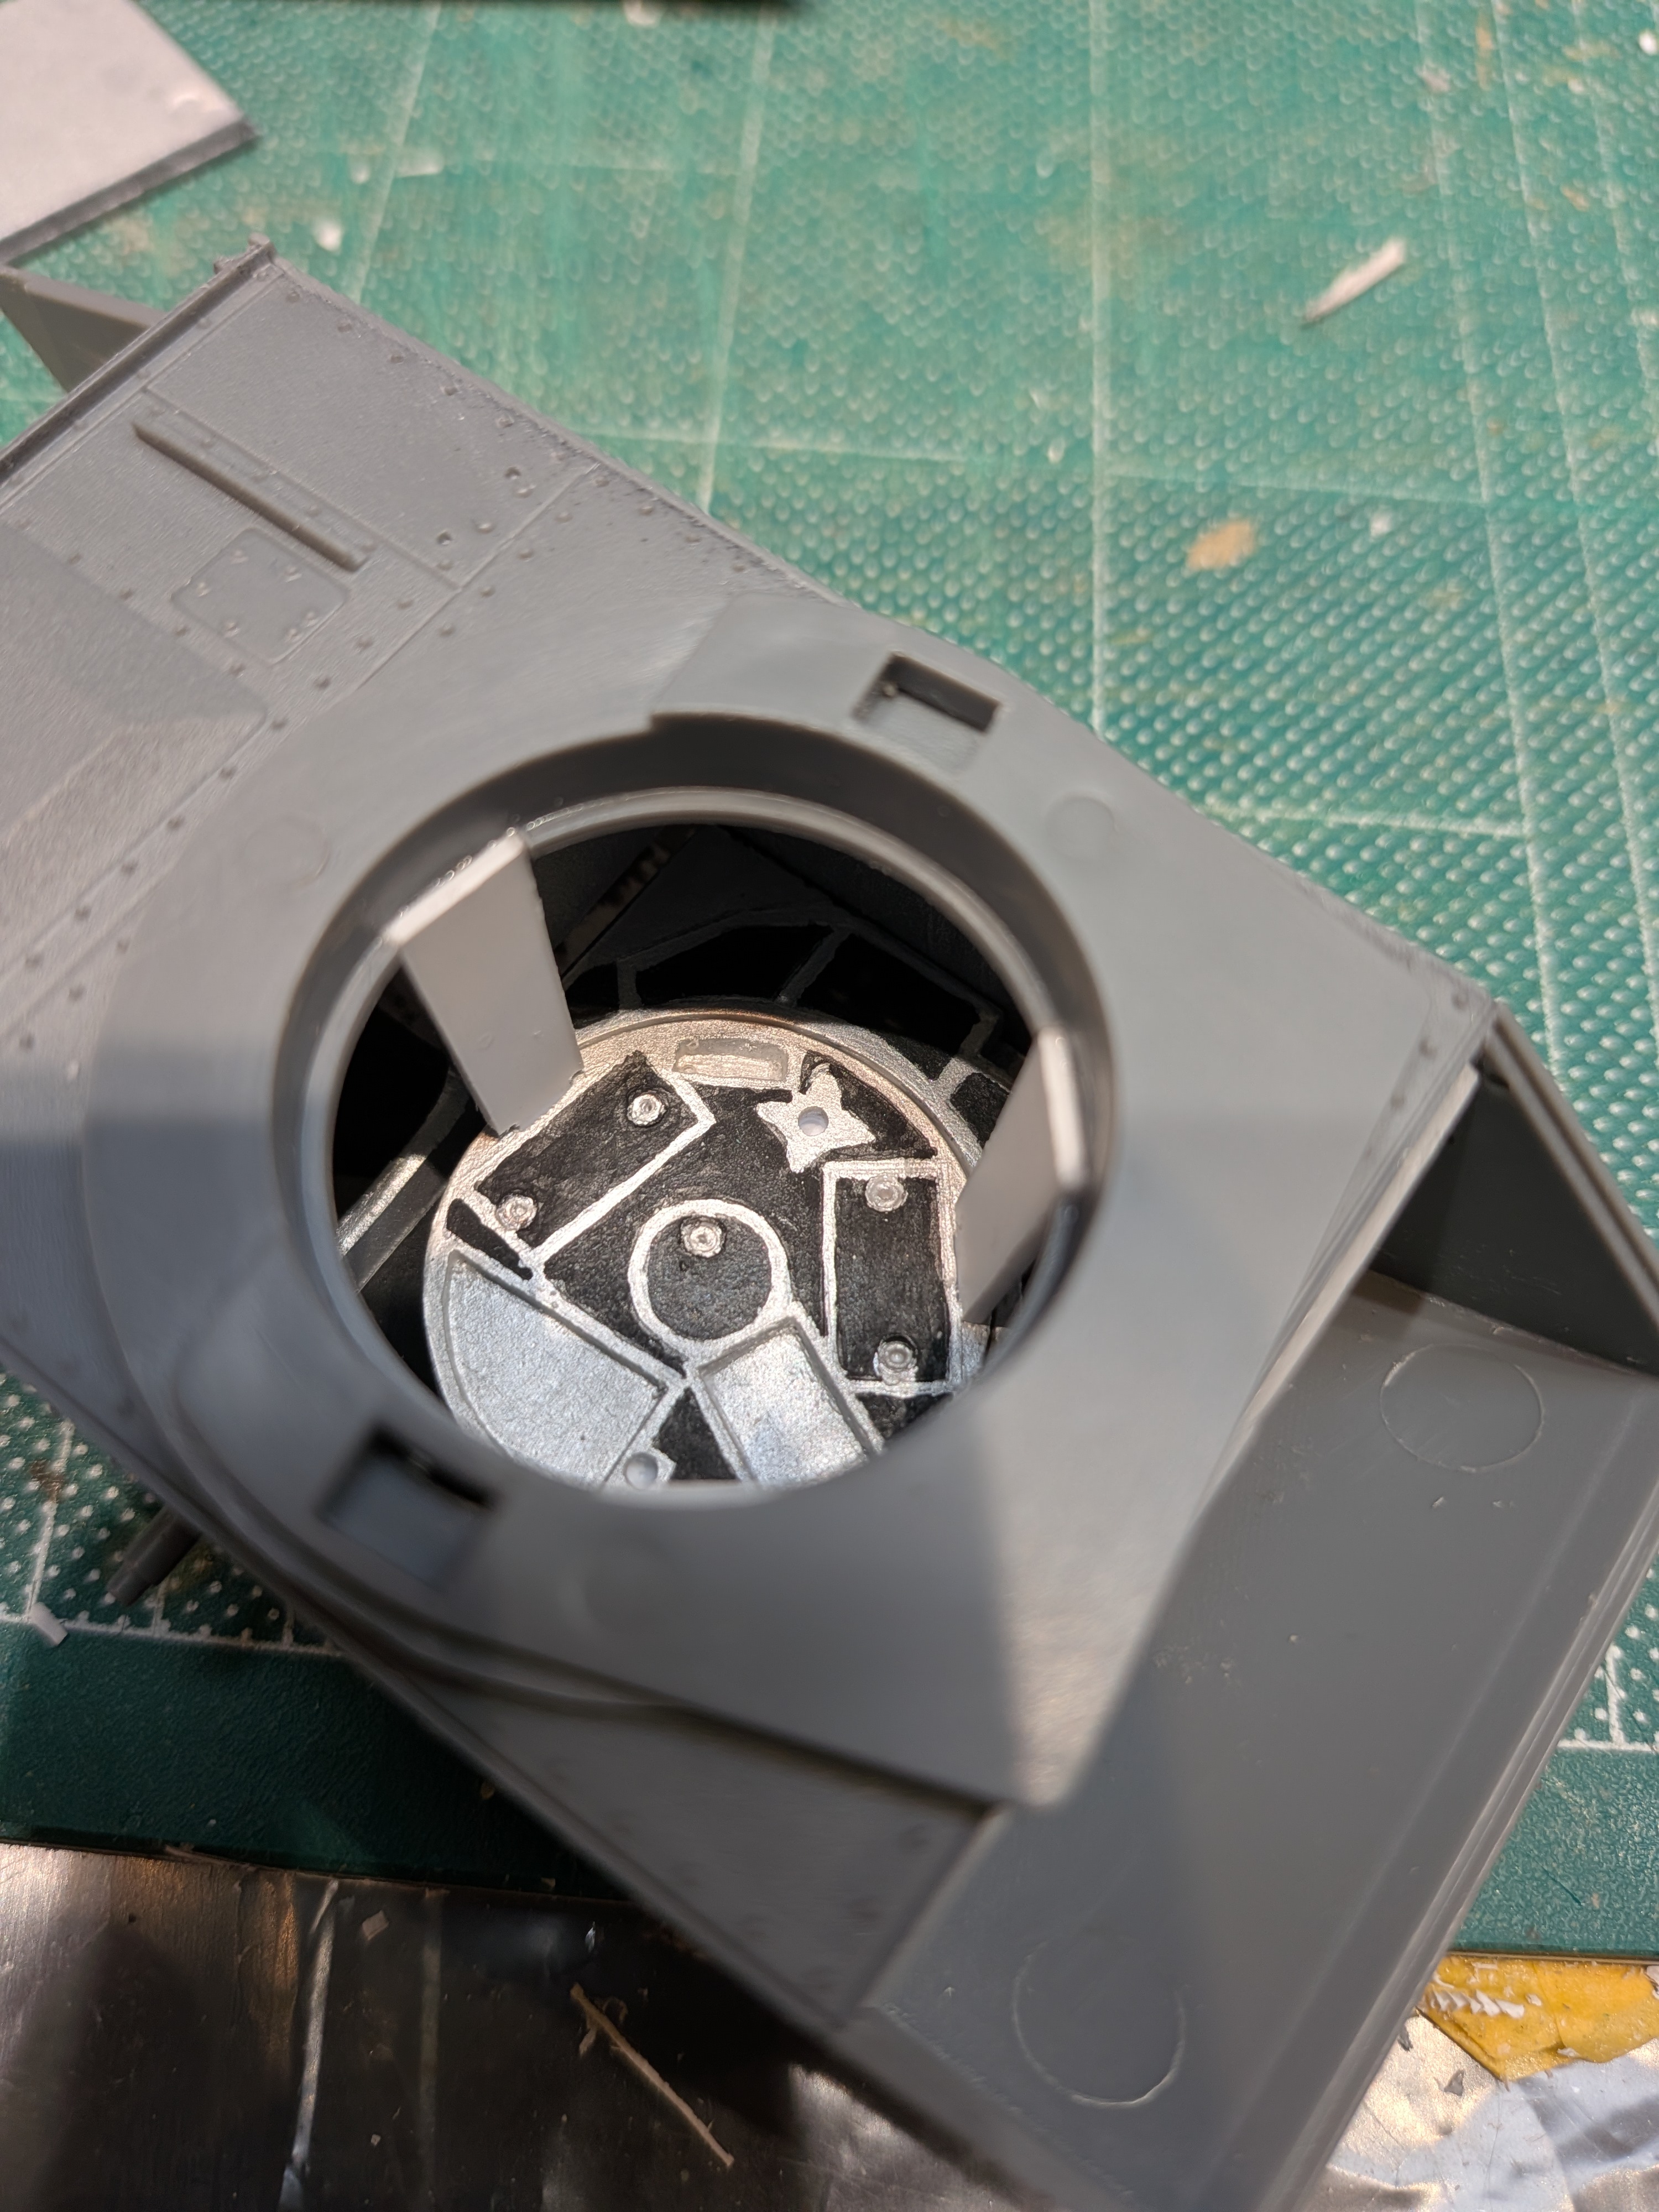
So here I am at 68 cutting .03 inch mortises in styrene! Watch those shoulders!
If only I had mini versions of my Japanese mortise scrapers !
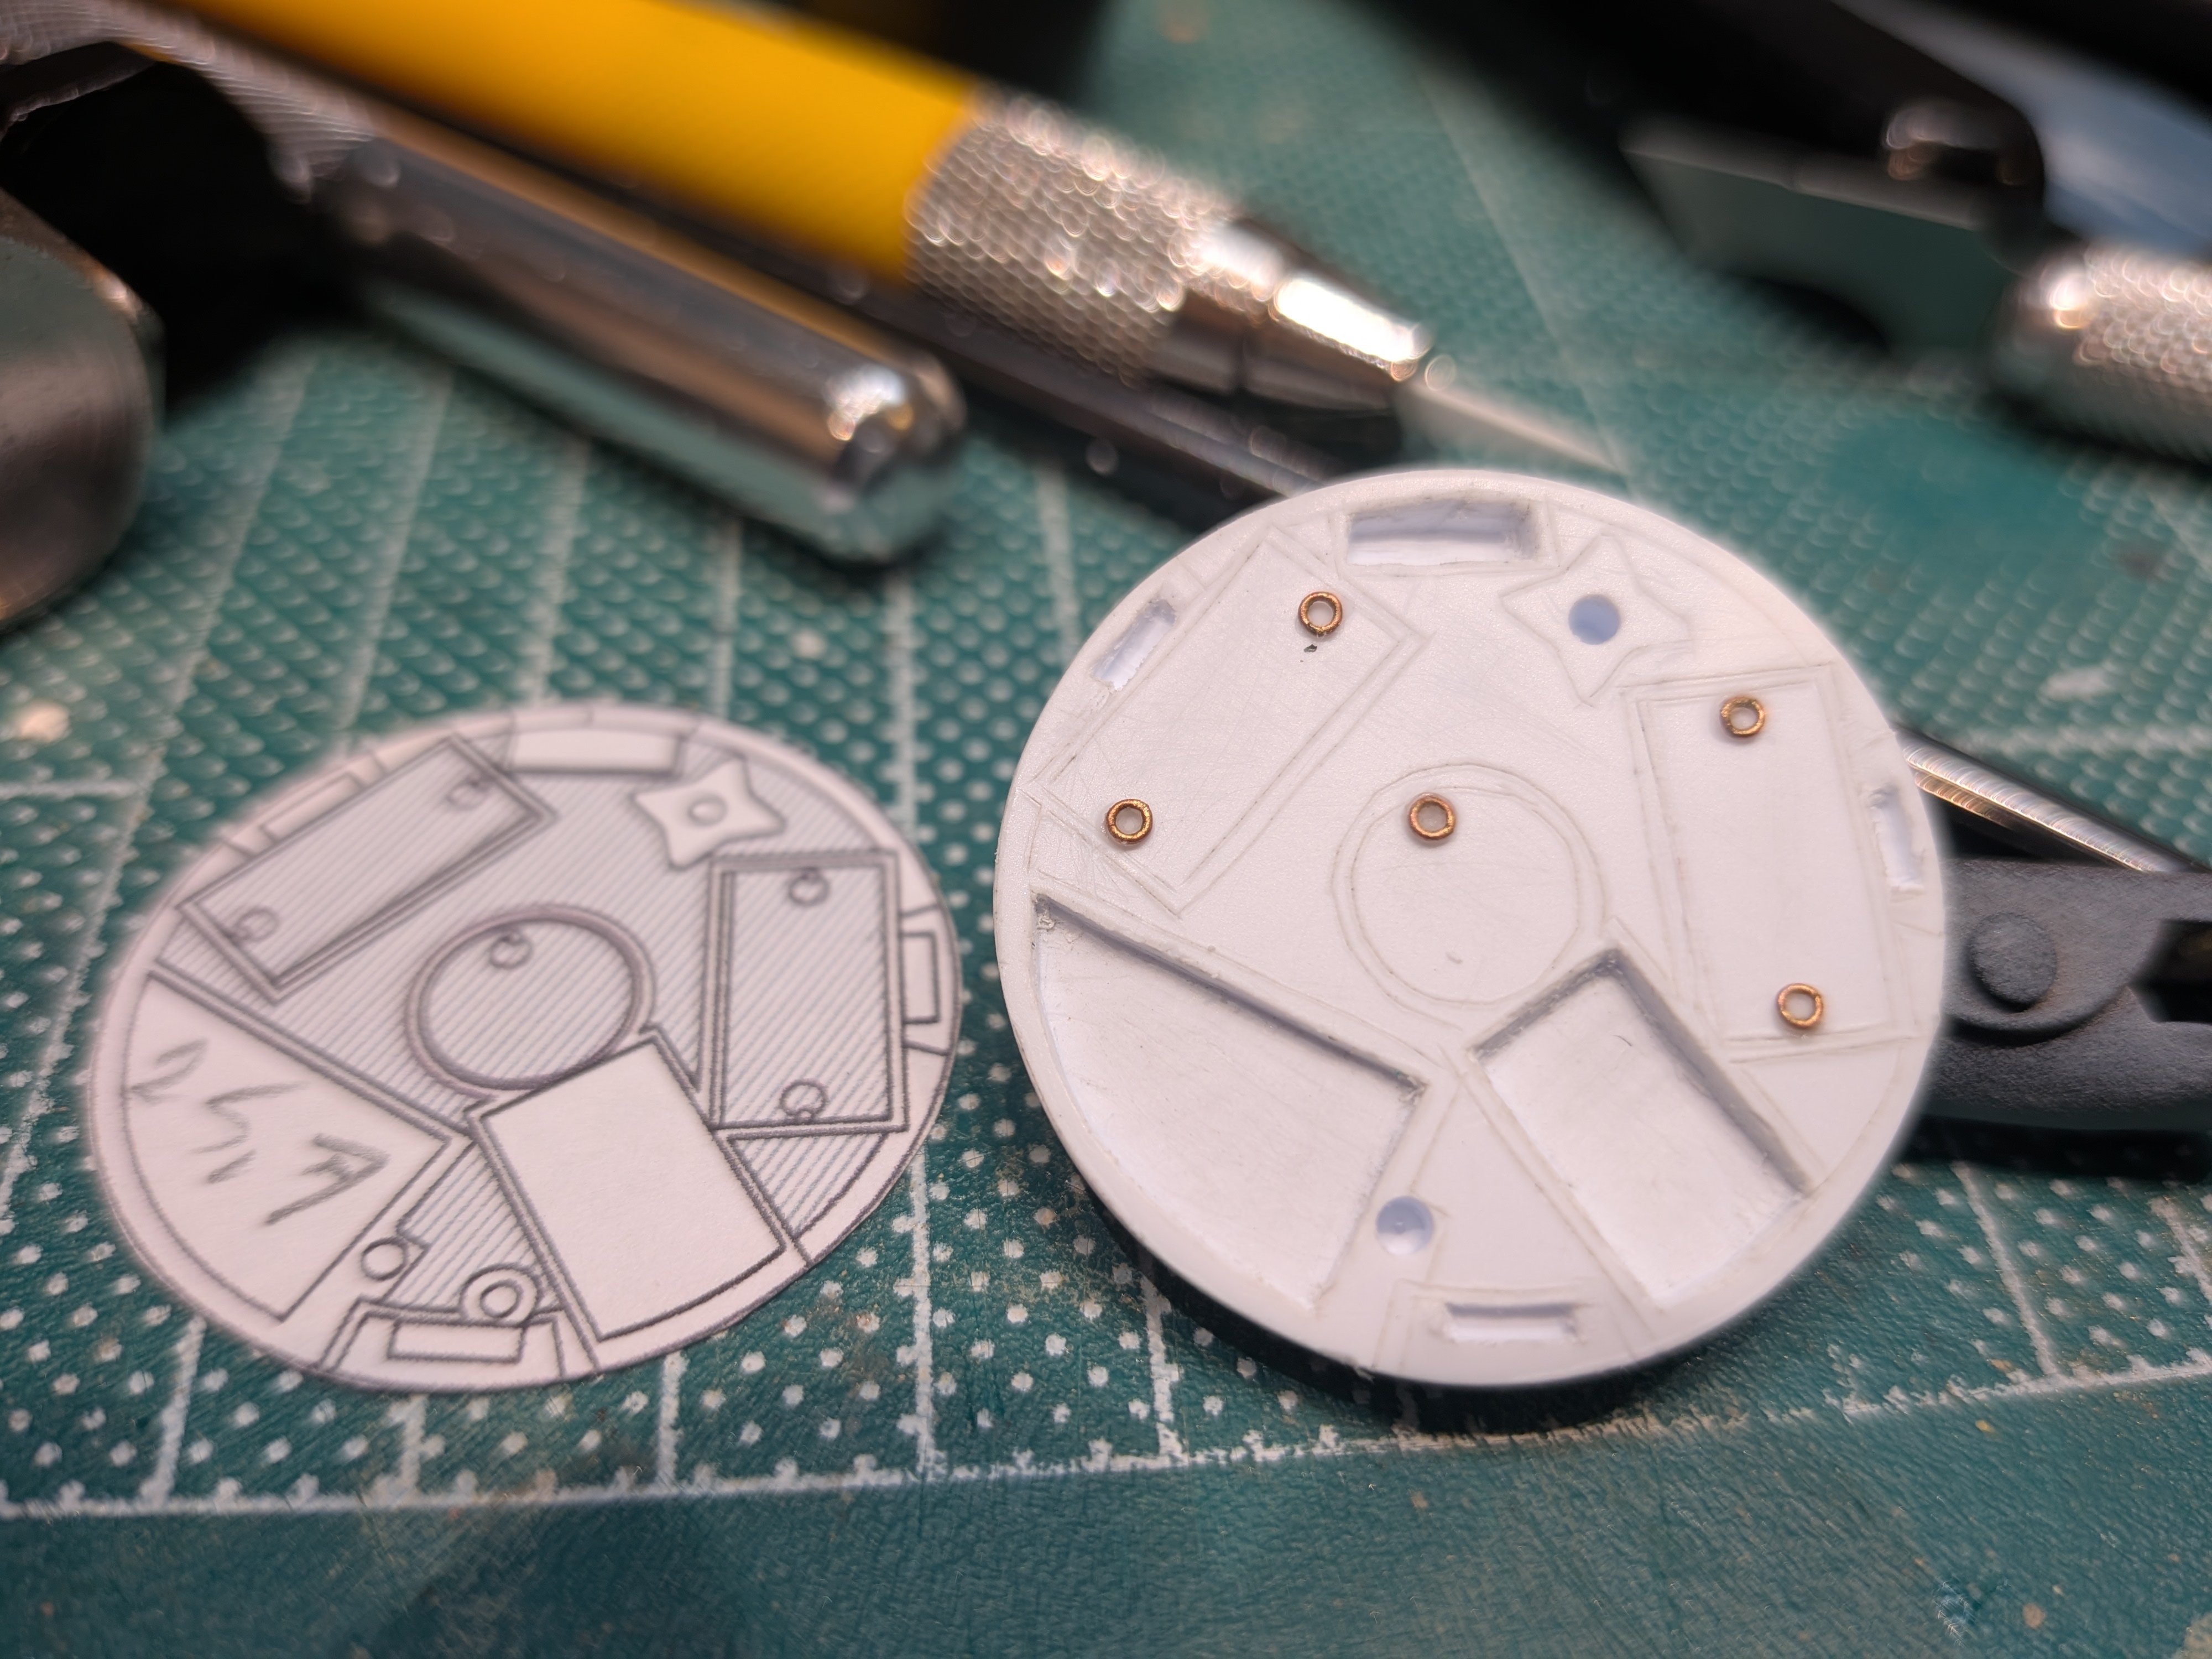
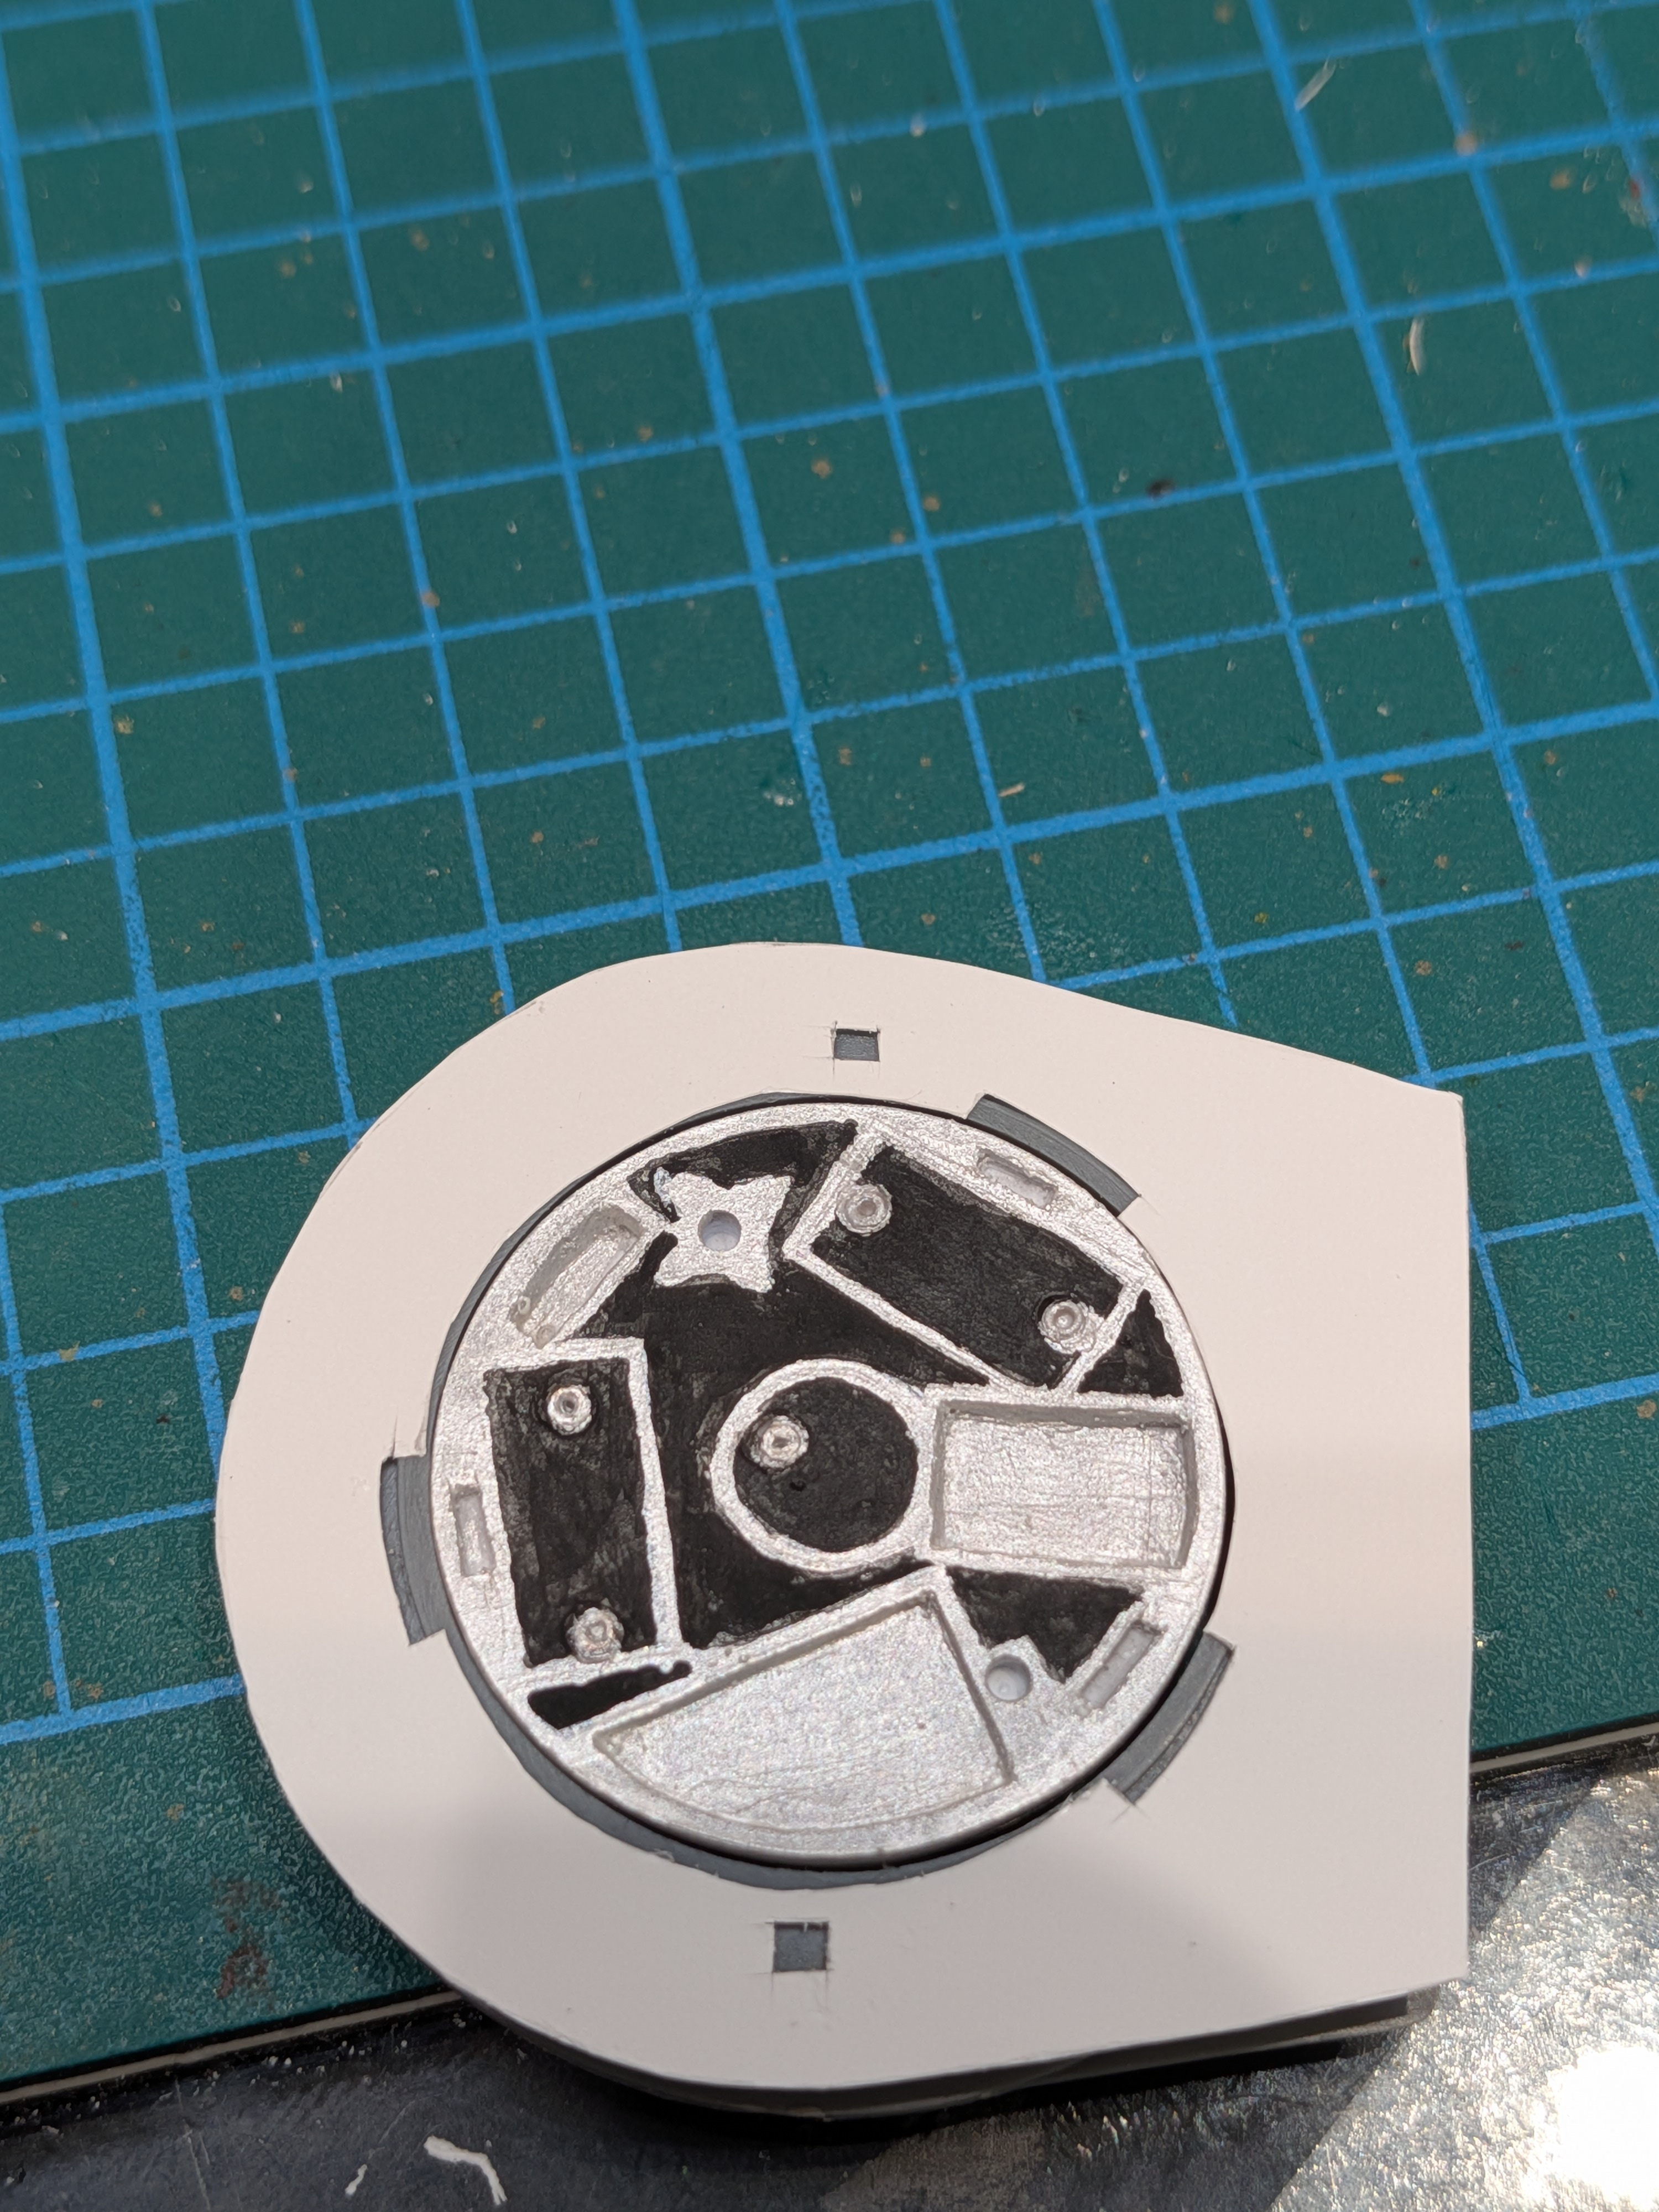
The 'tenons' will be securing posts joining the turret to the floor.
View attachment 192959


![Pampers Sensitive Baby Wipes, Clinically Proven, Fragrance Free, Unscented, Water Based, Hypoallergenic, Multi-Use, Hand Wipes 336 Wipes Total (6X Flip-Top Packs) [Packaging May Vary]](https://m.media-amazon.com/images/I/41KLBHu9CAL._SL500_.jpg)