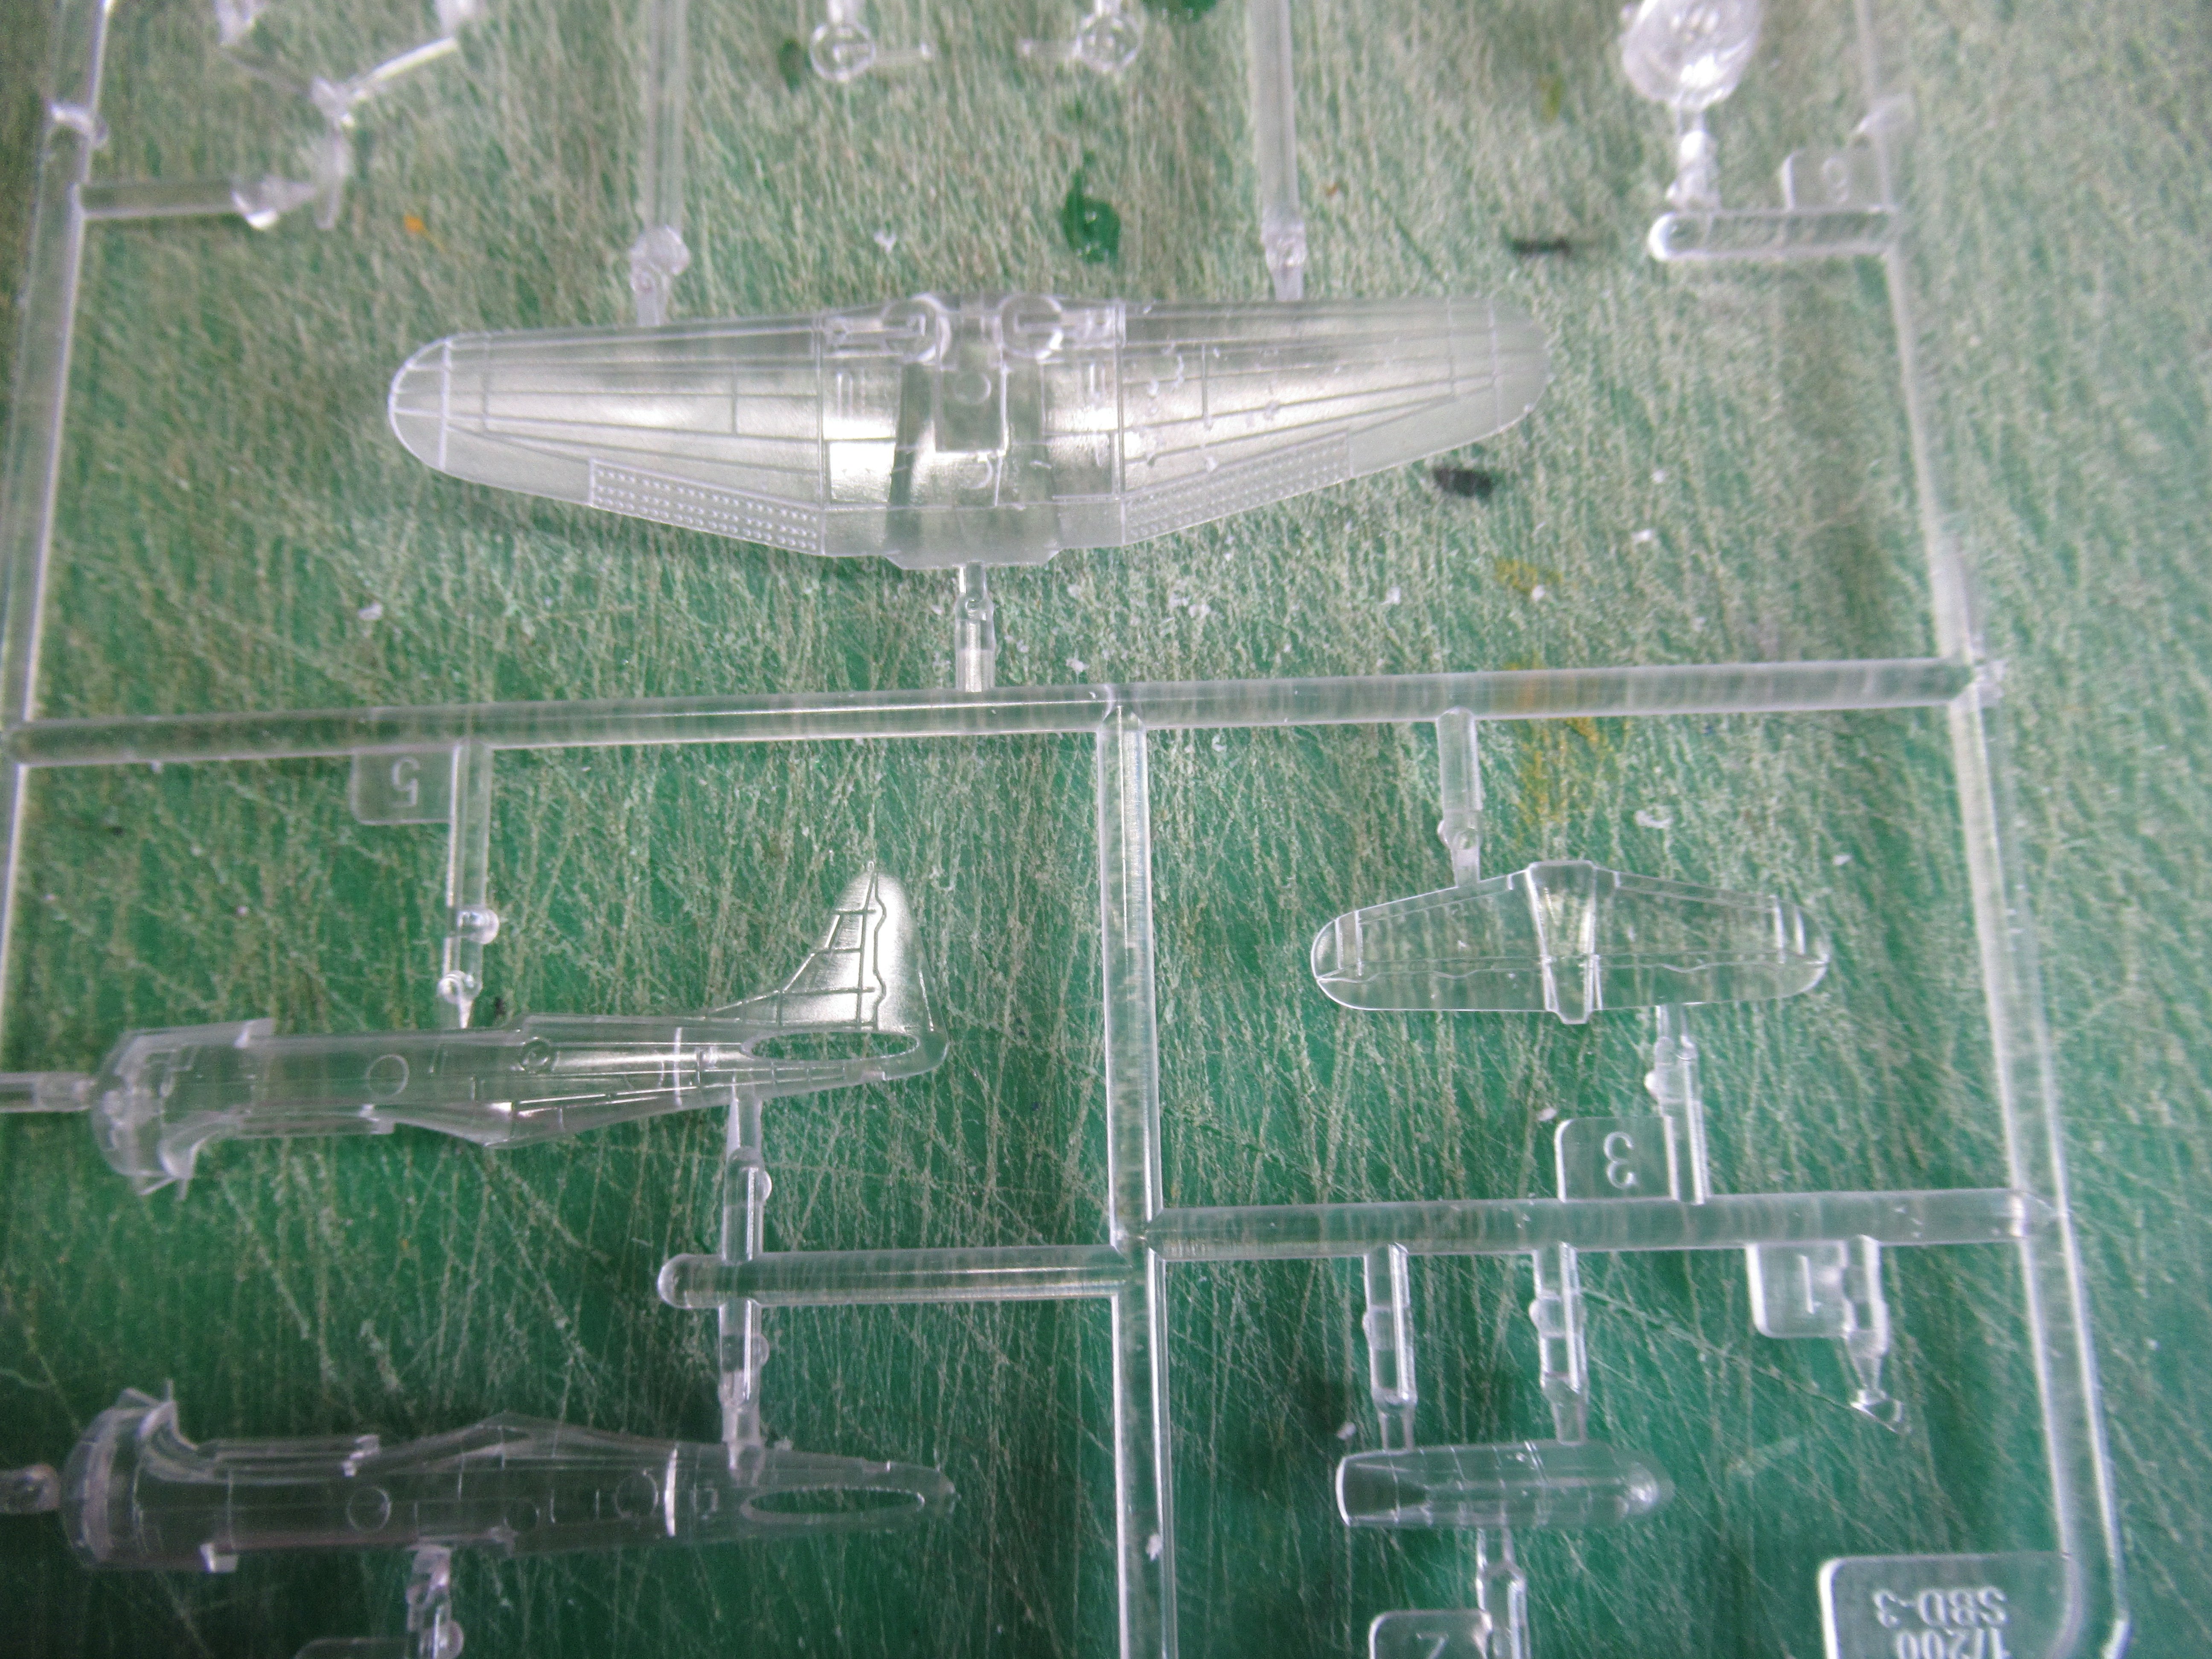
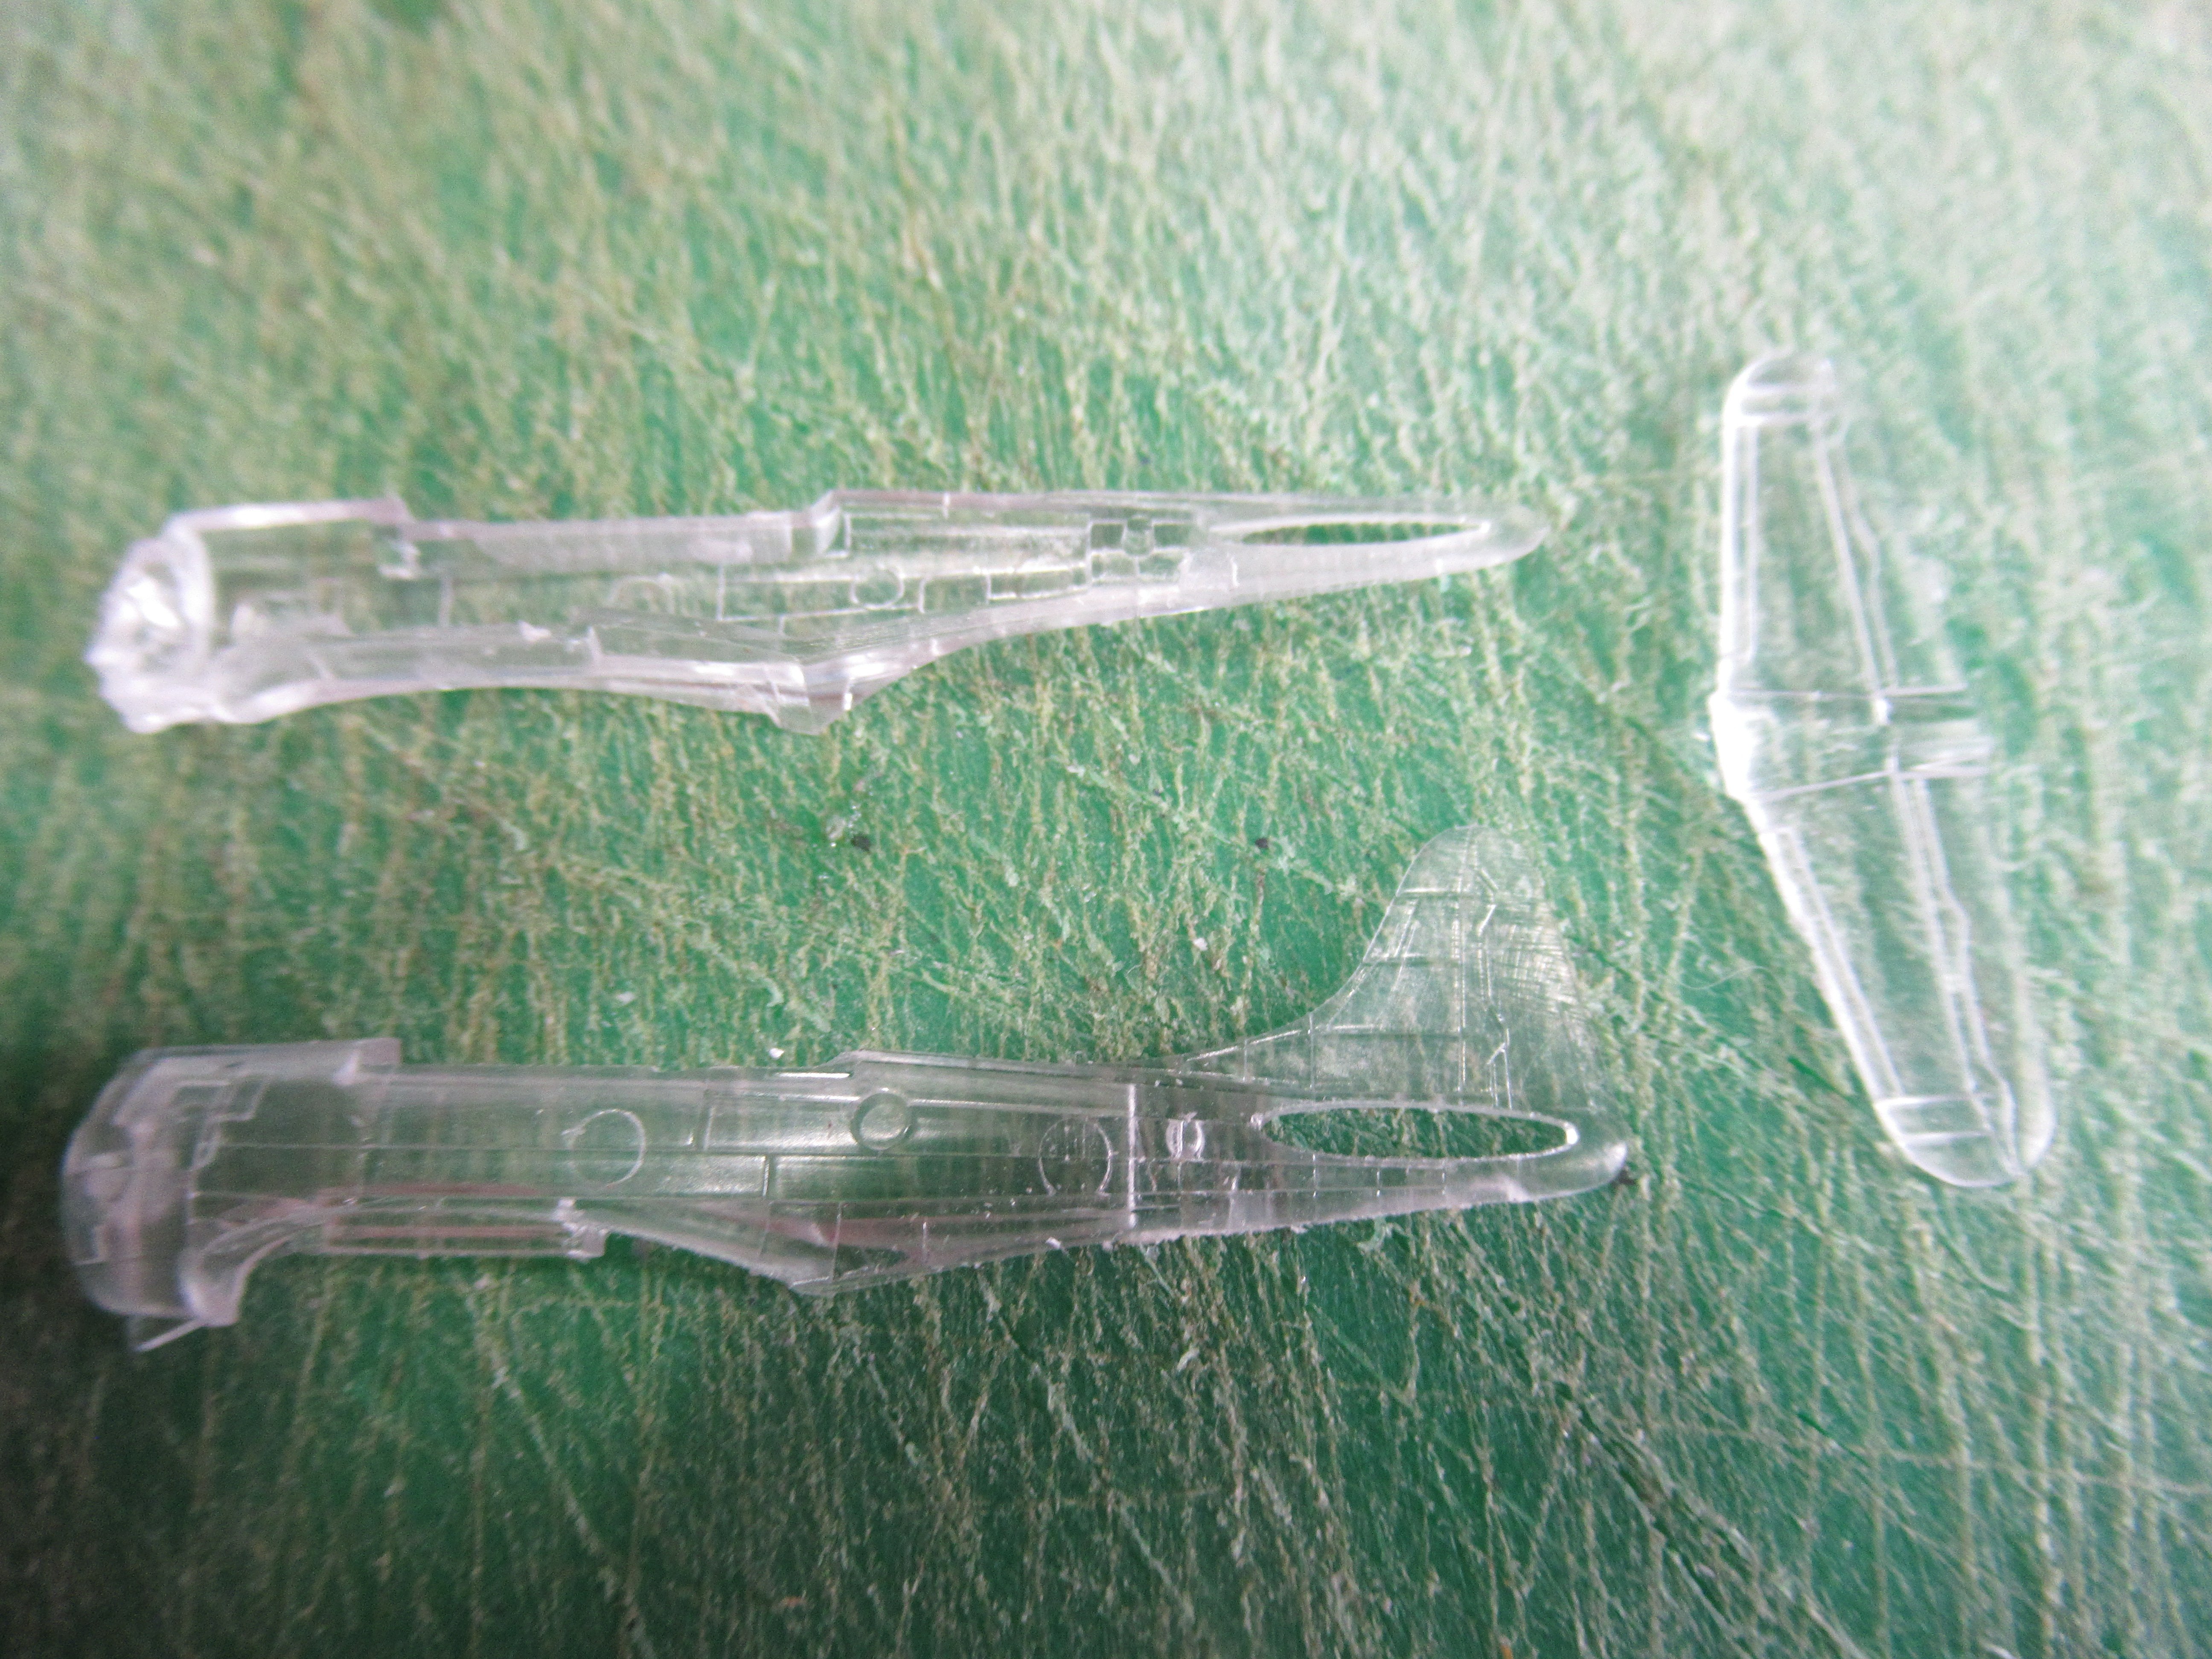
Boatmans 1/200 scale USS HORNET CV8 BUILD AN LIGHTS for the Doolittle raid on japan

Scale Model Addict - Model Tips, Guides, Tools & Tech, Tutorials, and Community

Help Support Scale Model Addict:

I wonder if he meant that perhaps painting the parts with something, first, would help? They wouldn't be clear parts anymore.
Best regards,
Kurt
HI Kurt well ive got fairly good eyesight so no probs on painting an the planes are so tiny so build the plane an one quick swish with a rattle can as not got a A/B an they are done my problem was i just dint look or follow the instructions as ive built models for over 50 odd yrs so i thought these tiny planes would be a brezze to build but i got it wrong bein overconfident that was my mistake an today im restarting the tiny plane build properly like i should have done in the first place
ATB SIR
chrisb
 
HI Kurt well ive got fairly good eyesight so no probs on painting an the planes are so tiny so build the plane an one quick swish with a rattle can as not got a A/B an they are done my problem was i just dint look or follow the instructions as ive built models for over 50 odd yrs so i thought these tiny planes would be a brezze to build but i got it wrong bein overconfident that was my mistake an today im restarting the tiny plane build properly like i should have done in the first place
ATB SIR
chrisb
Ohhh, OK. In my case, my eyesight has been getting worse, not correctable, and so I'm not too good with the tiniest of parts anymore. I'd benefit from priming or painting the clear parts before trying to assemble them!

By the way, I do think you did a great job on that one -- The artist is always his own worst critic!
Best regards,
Kurt
 
Ohhh, OK. In my case, my eyesight has been getting worse, not correctable, and so I'm not too good with the tiniest of parts anymore. I'd benefit from priming or painting the clear parts before trying to assemble them!

By the way, I do think you did a great job on that one -- The artist is always his own worst critic!
Best regards,
Kurt
HI Kurt yes ive had to have a new lens fitted in my left eye but my right is good so now i can read even the tinyiest writeing like on aircraft decals an such so not bein nosey but cant you have new lens fitted in your eyes as my new lens is great an now both eyes i can see miles an close up as well as havin mine was goin to be a bit of a wait but right out of the blue the hopital phoned up on chritmas eve an said they have a cannccellaion an would i like to have a new lens fitted so i said yes an it was done as i dint think they would do it on that day but it happened an yes you sir maybe right about painting the parts before i assemble the planes but they are very fragile an im worrided that if i do paint them they would not fit in their slots so im leavn them clear till built an ive built another 3 planes so far not compleate as no canopy yet or prop or undercart will do them after ive sprayed the planes an by gum they have given me a right pain as one of the tails fell off the fusealarge an onto the carpet monster so had over an hr today hunting for it but found it when i was near to giveing up OH BOY
will post some pics soon of what ive done thank you sir for your kind comment on my work of that first plane an yes i suppoce we are but i cant stand not getting it acceptable
ATB SIR
Chrisb
 
HI AGAIN GUYS
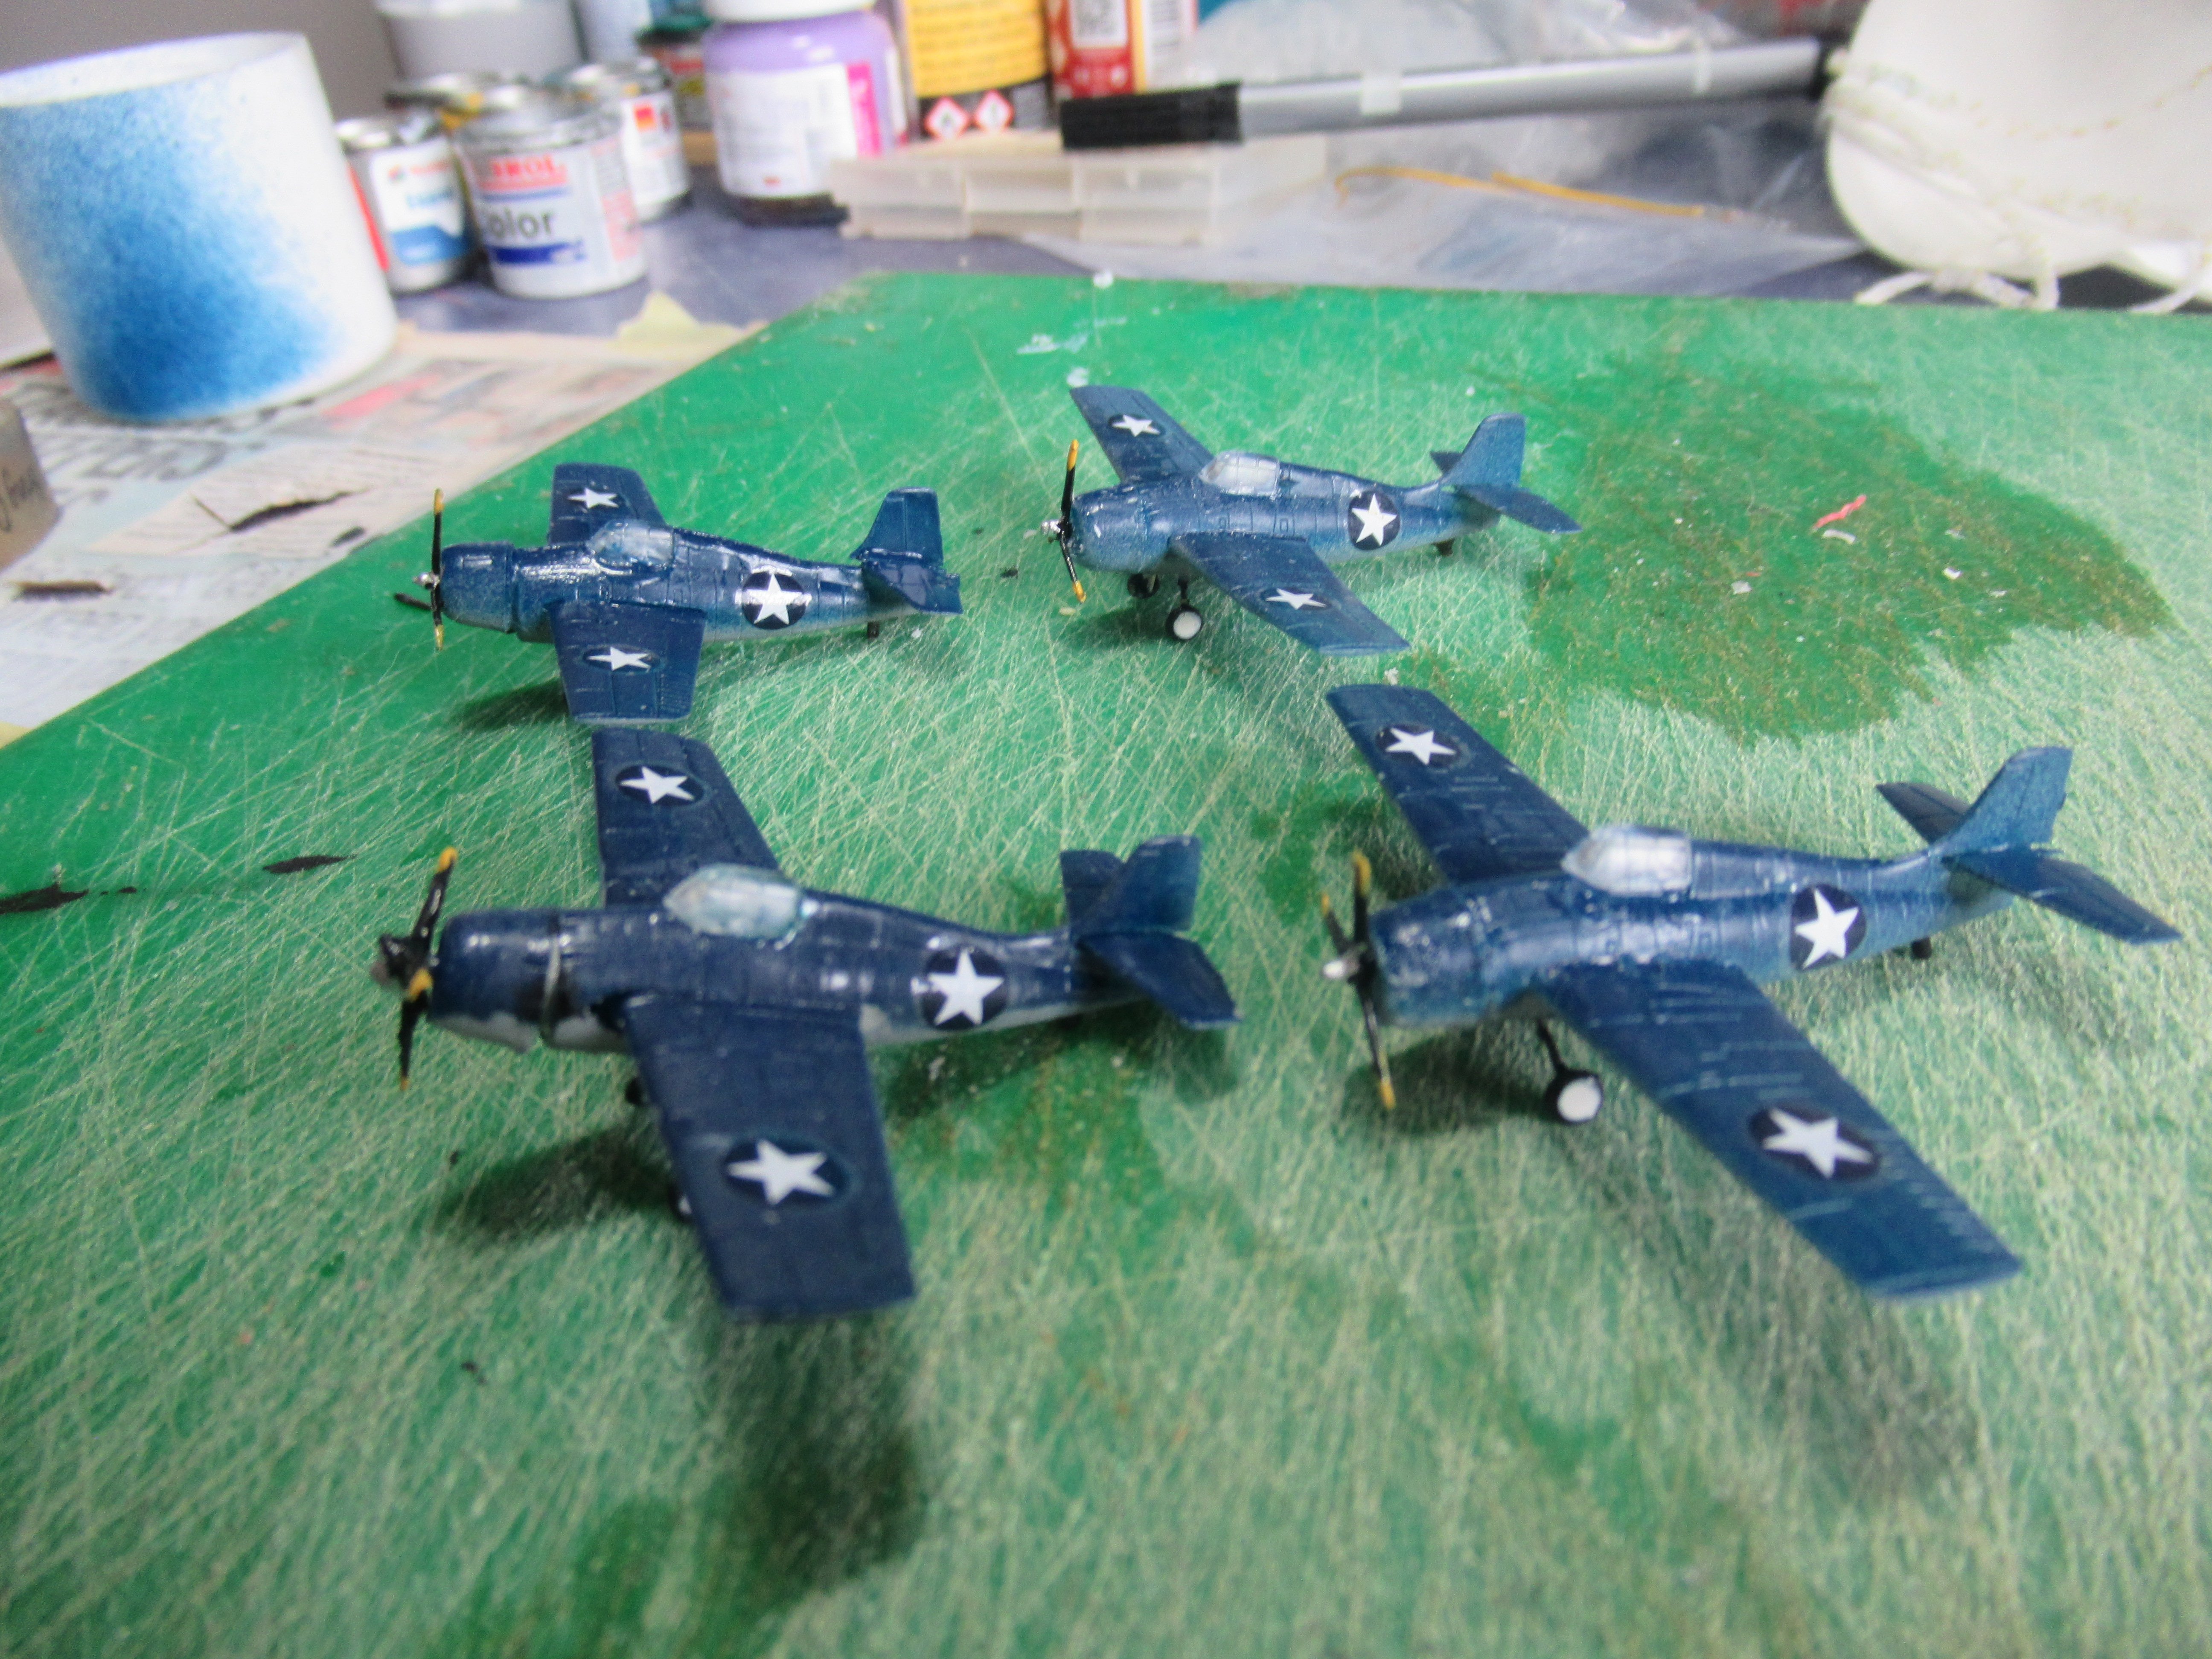
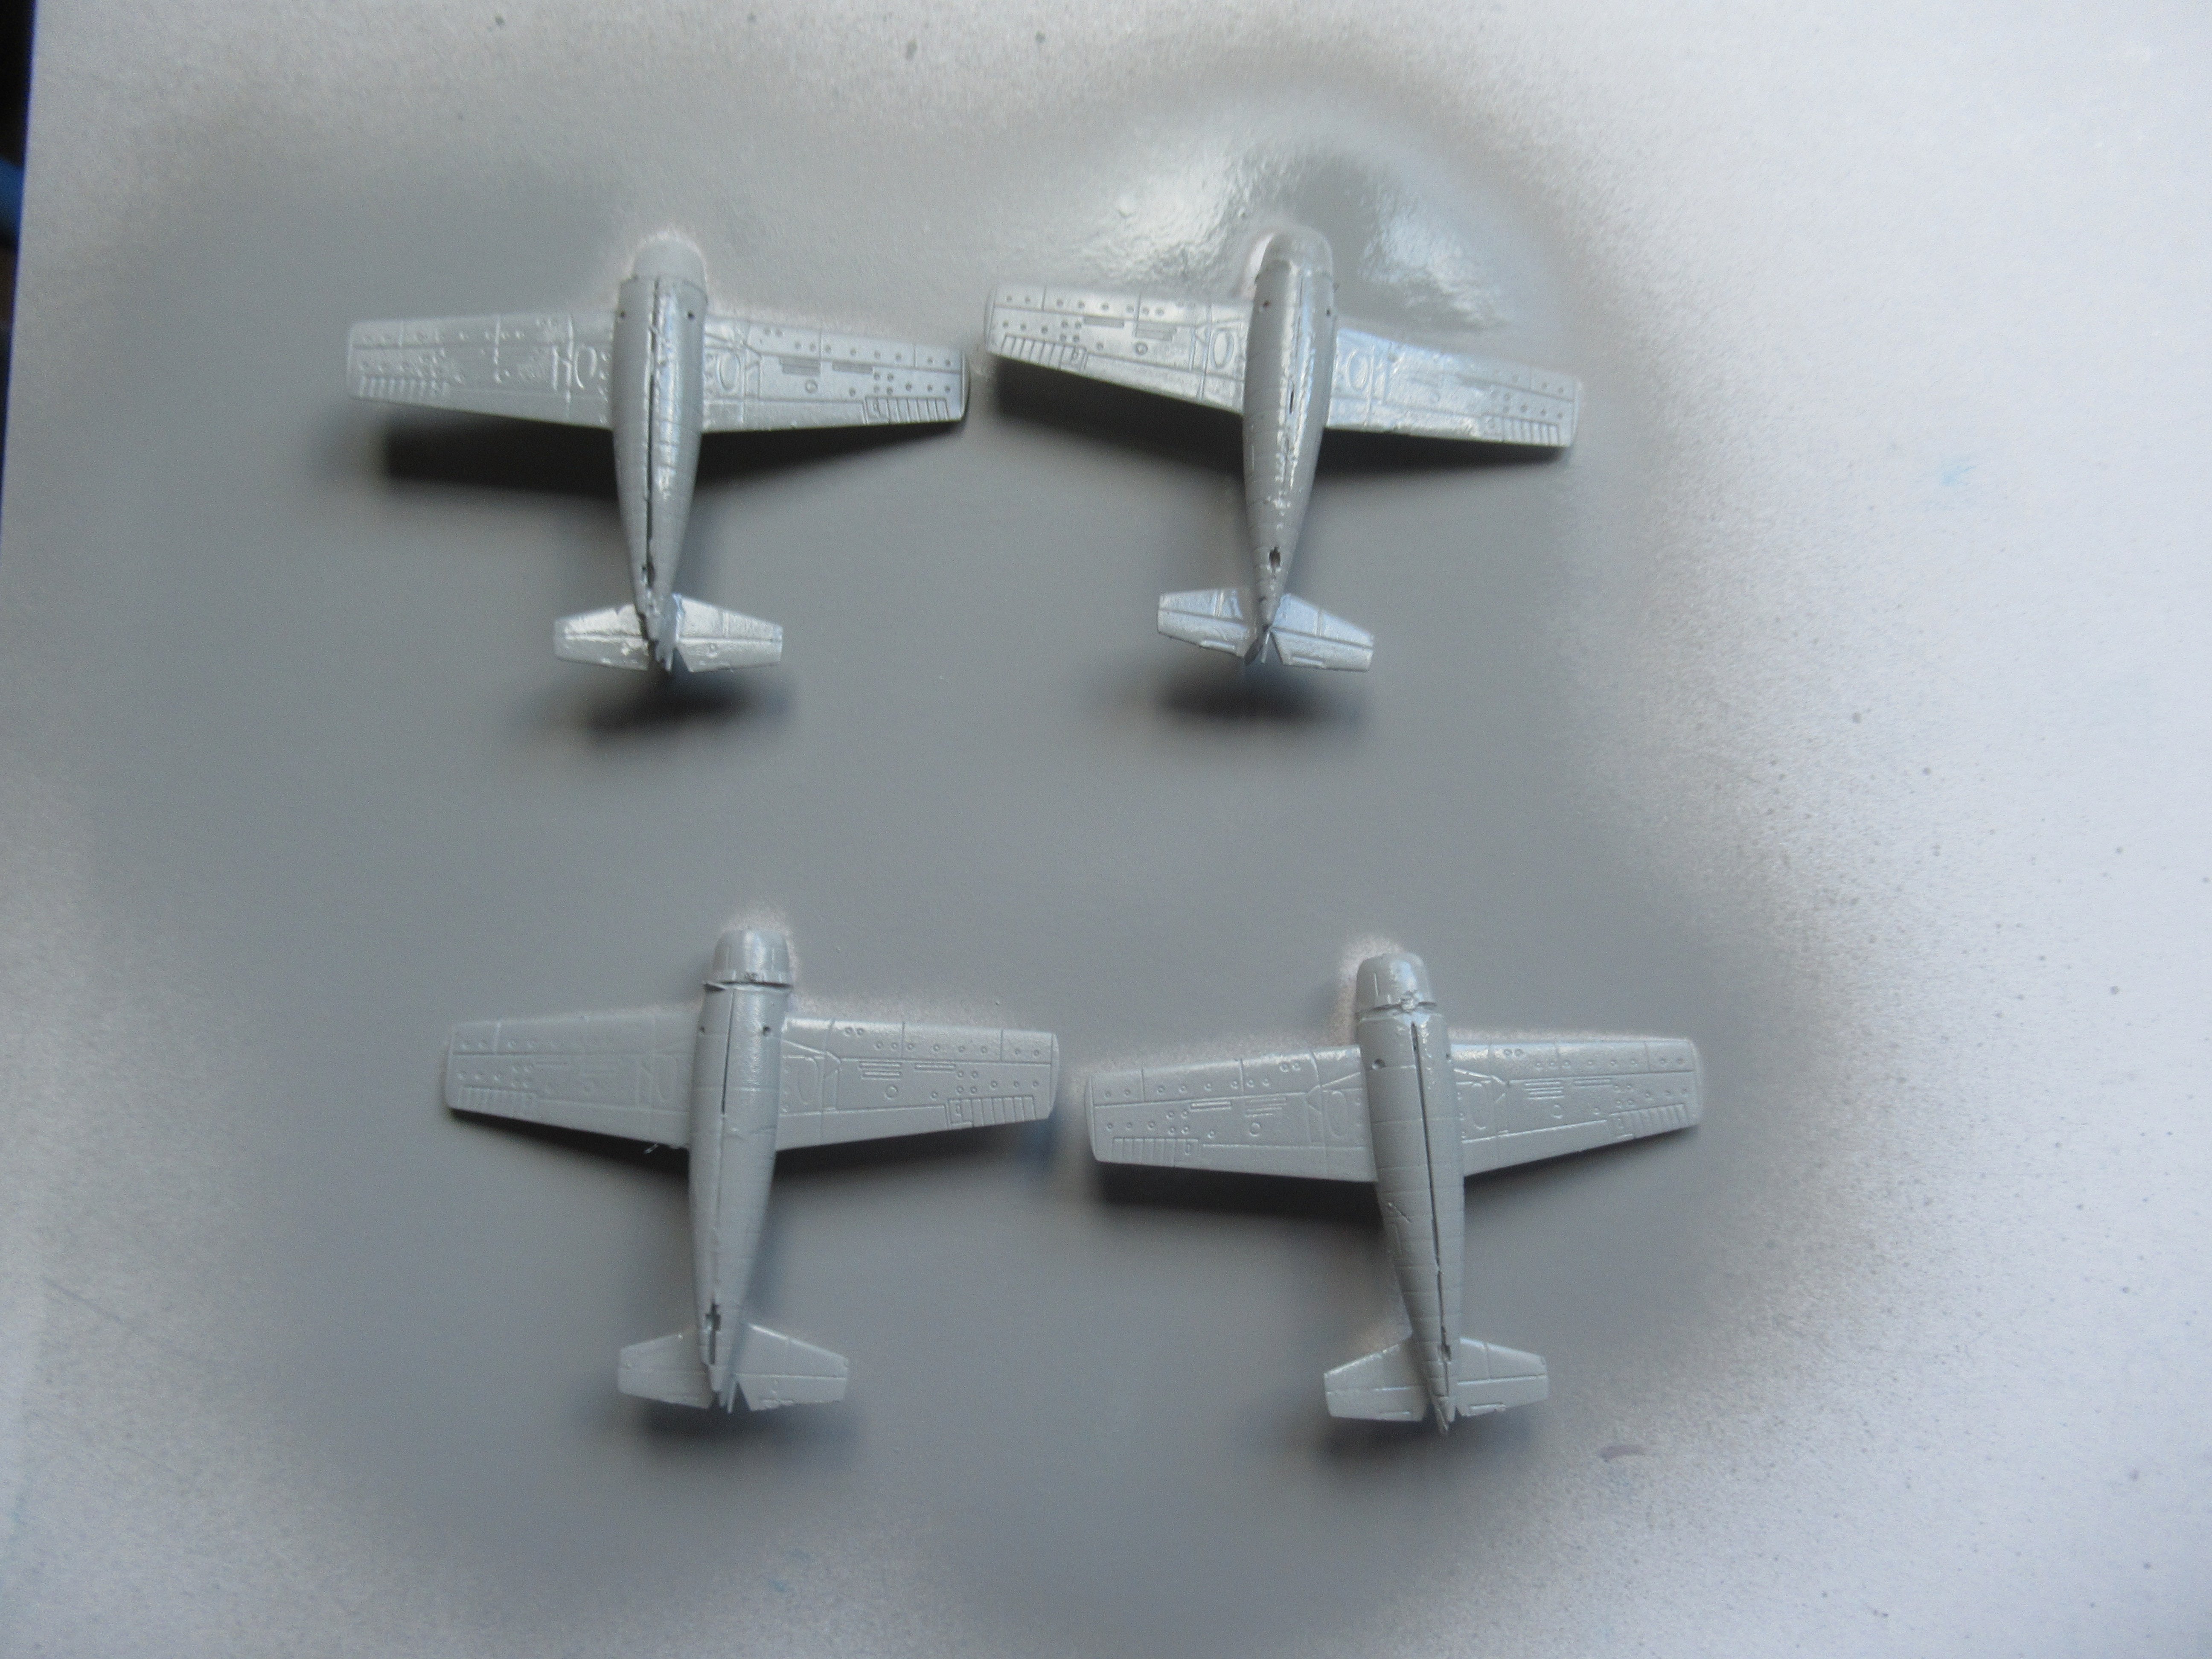
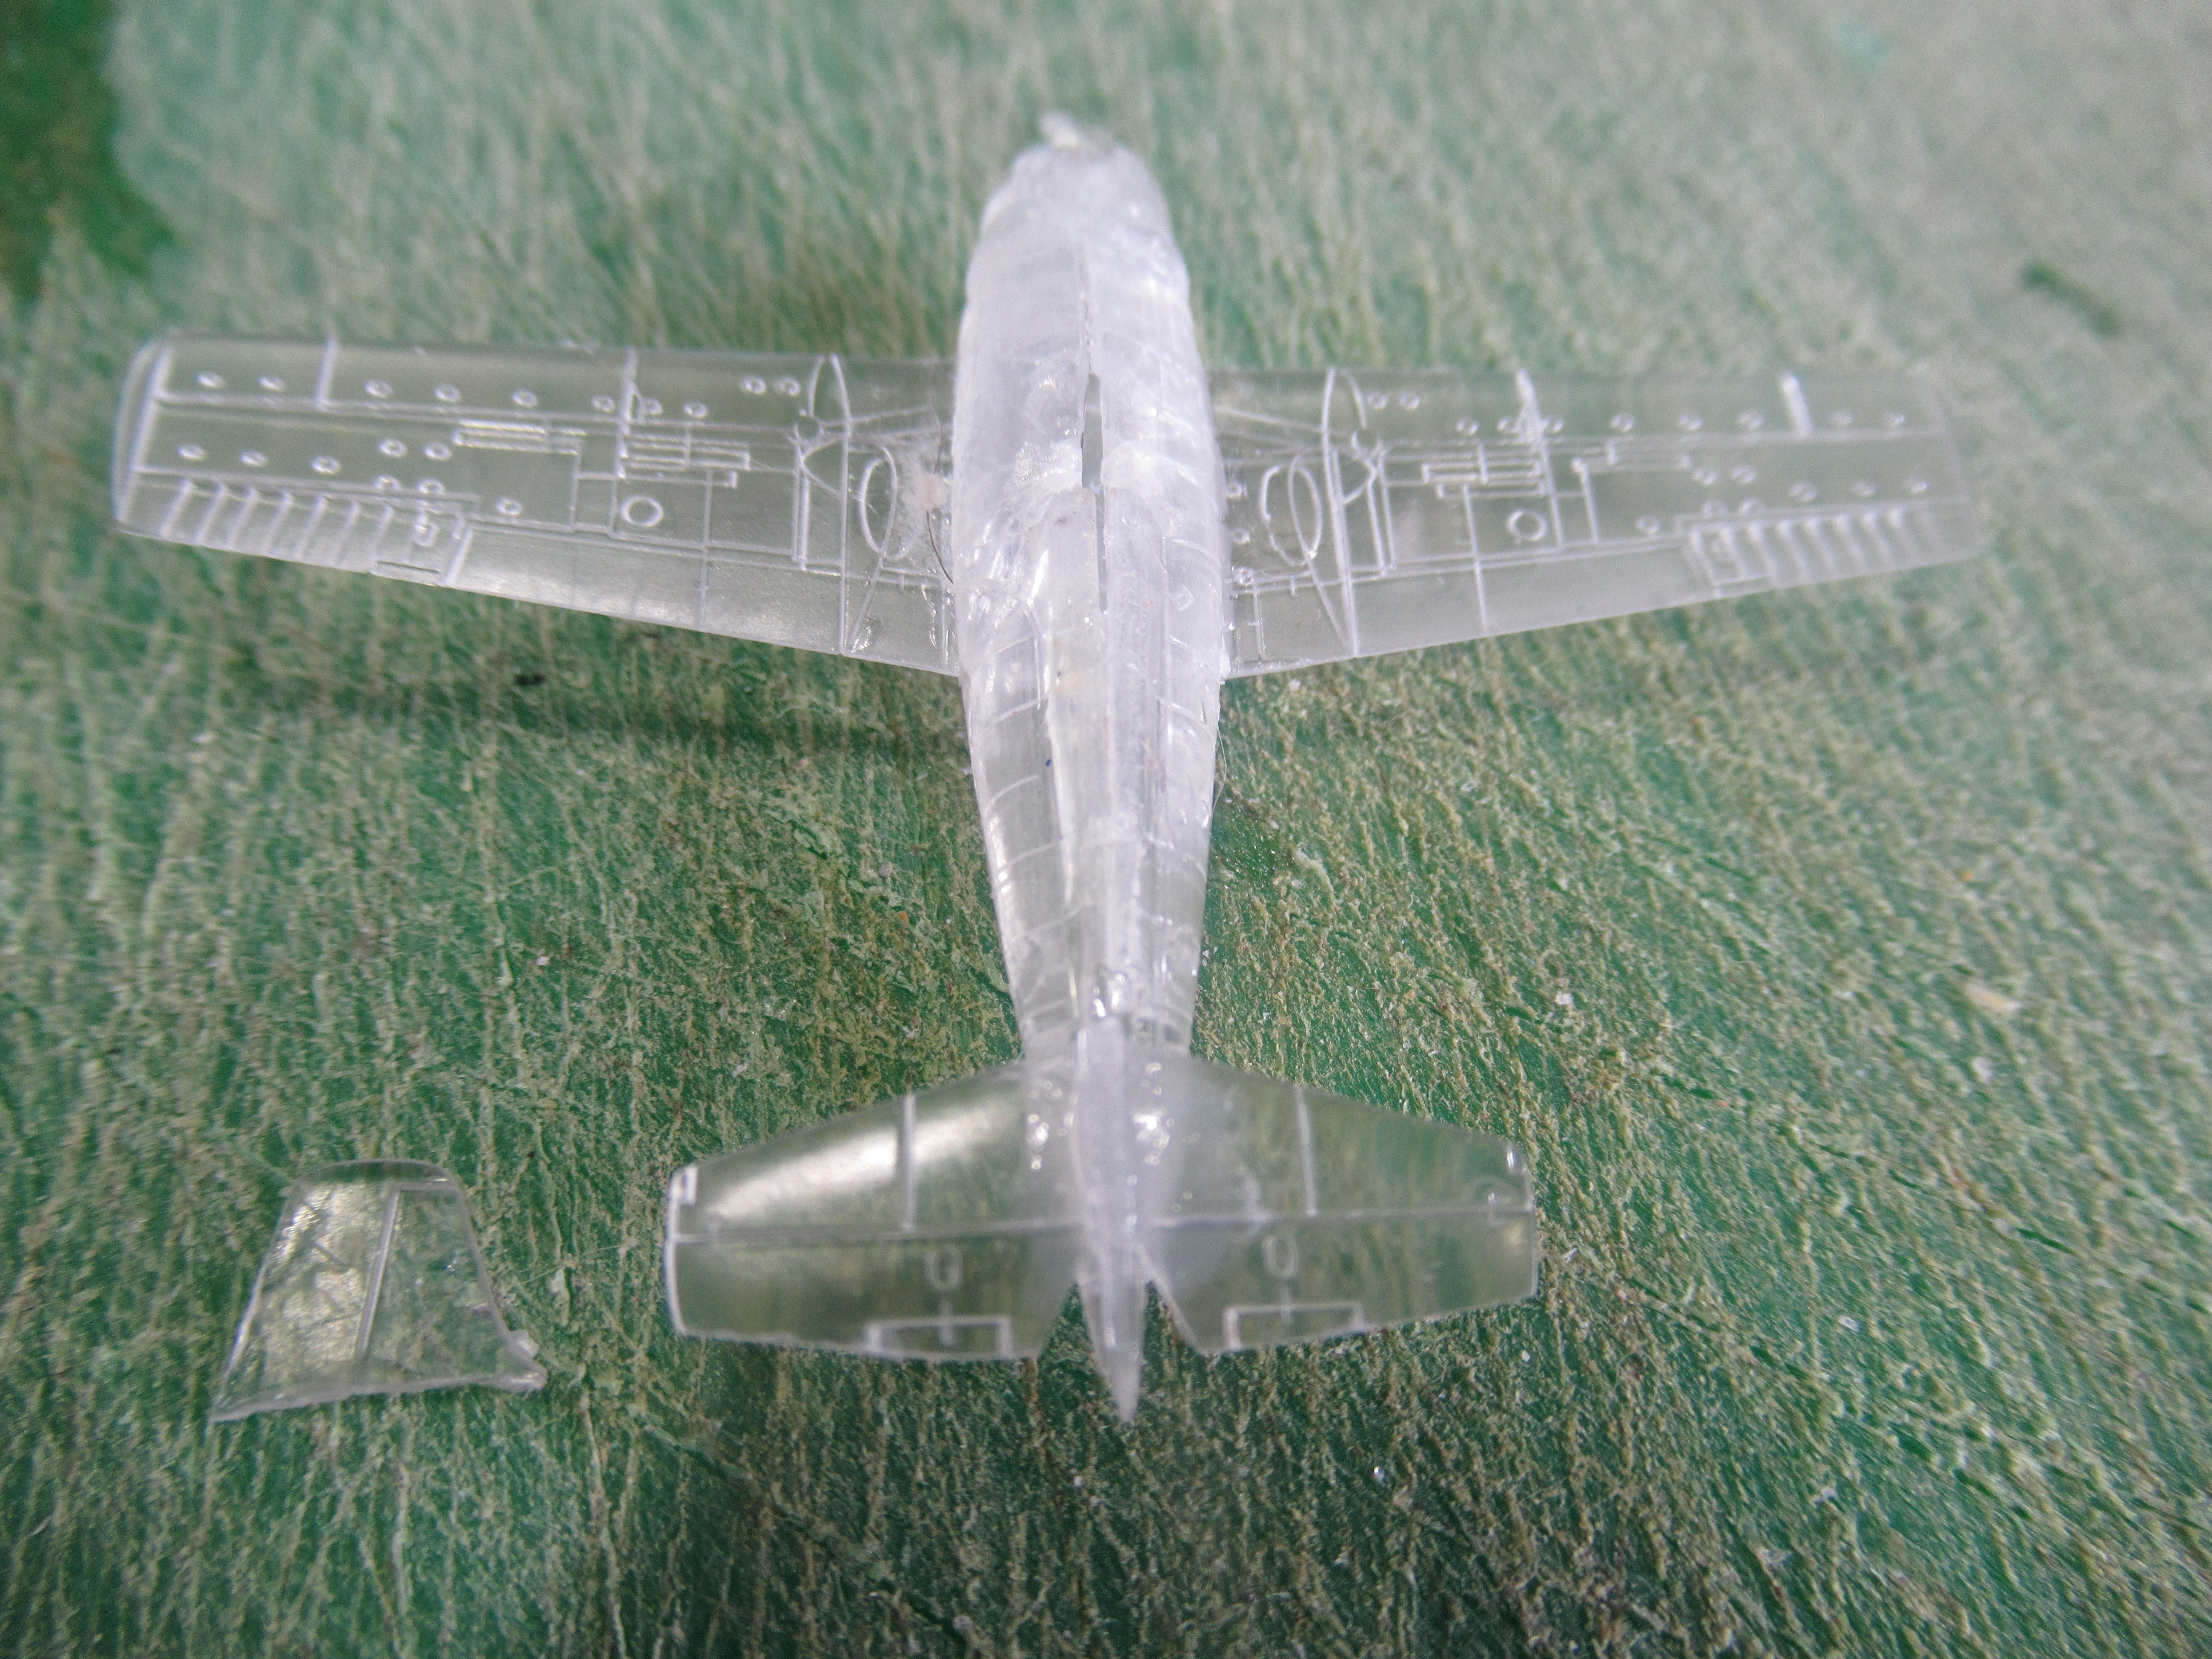
WELL ive built 4 more wildcats an i think im getting better at building them as im finding out all the pitfalls that got me on the first plane but my fault on that an these bloomin planes are so brittle as one of the tails fell off onto the carpet monster but i beat him an got it back shot of the very tiny tail in the left bottom of pic an managded to refit it on the plane but ive not fitted on the canopyies yet or the props or the undercart so there is still some trails to come but i will be glad when i get these ole wildcats done as hopefully the other planes look a bit easyier
IMG_1524.JPG
 
As an Amazon Associate we earn from qualifying purchases. Product prices and availability are accurate as of the date/time indicated and are subject to change.
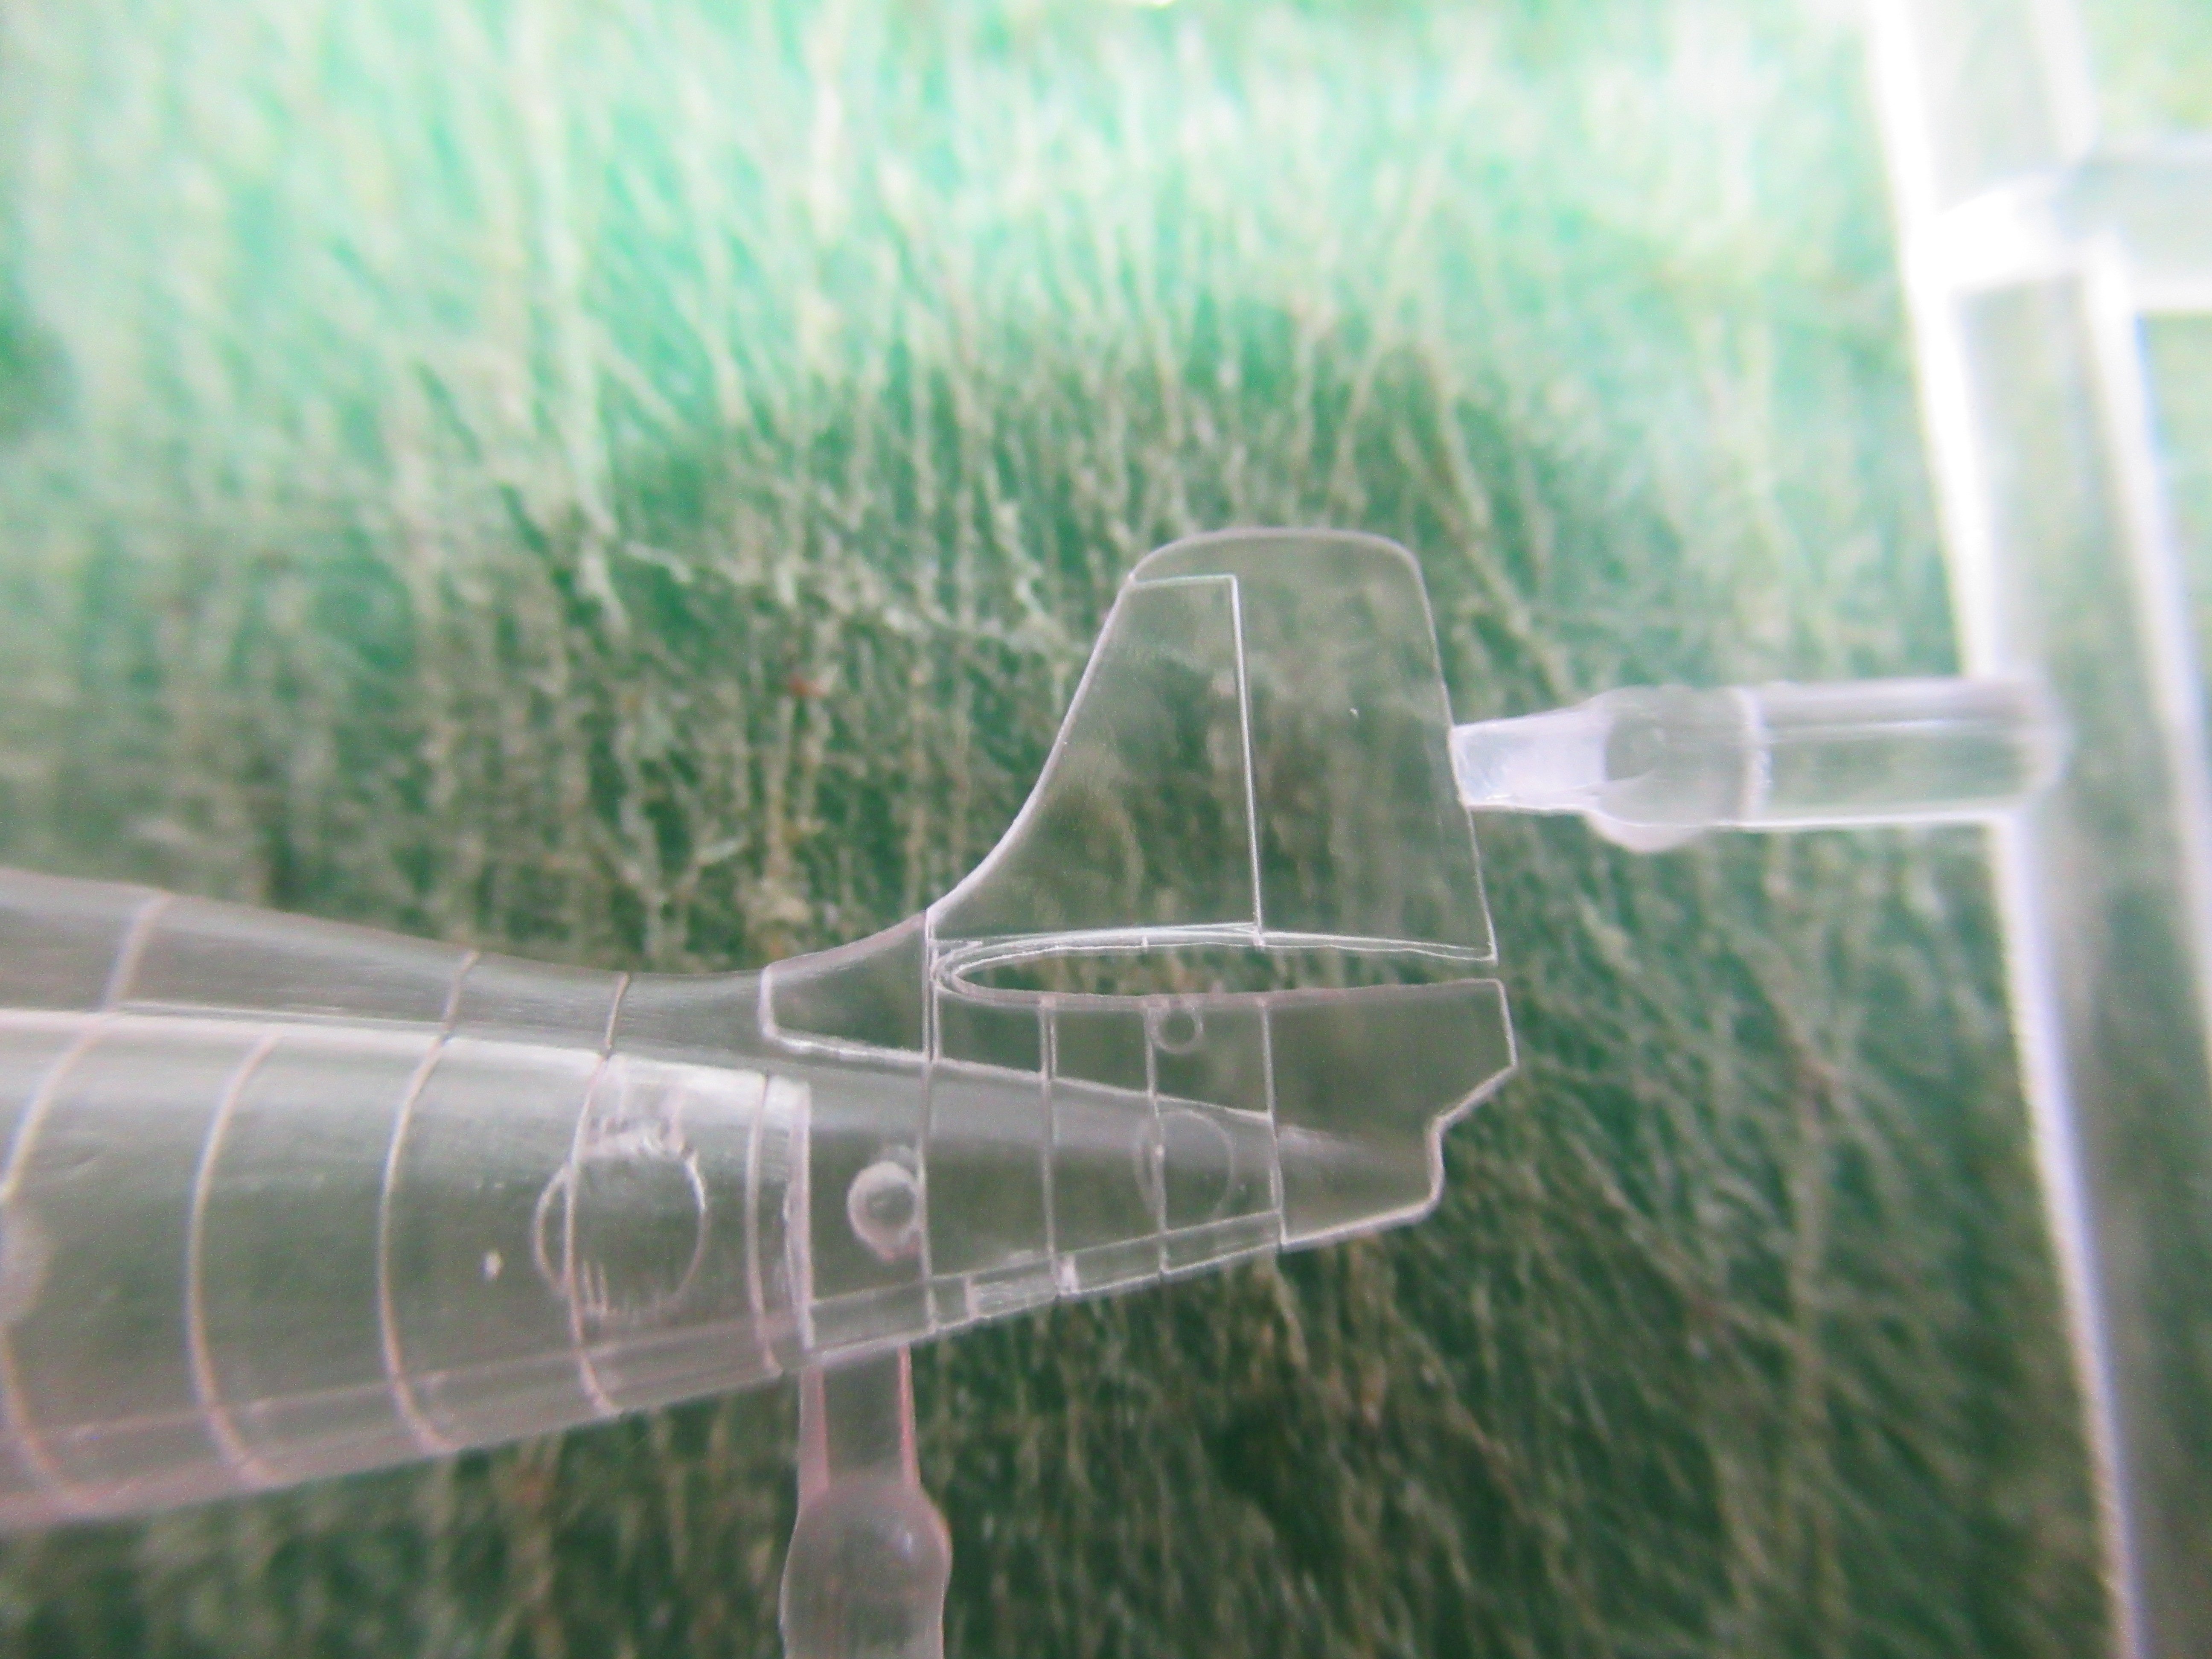
an in this shot you can see how tiny the part of the tail is held onto the fusealage an its about 1 mm of plastic as from there its cut open right to the tail end to allow the tail plane to fit in OH BOY
IMG_1527.JPG
 
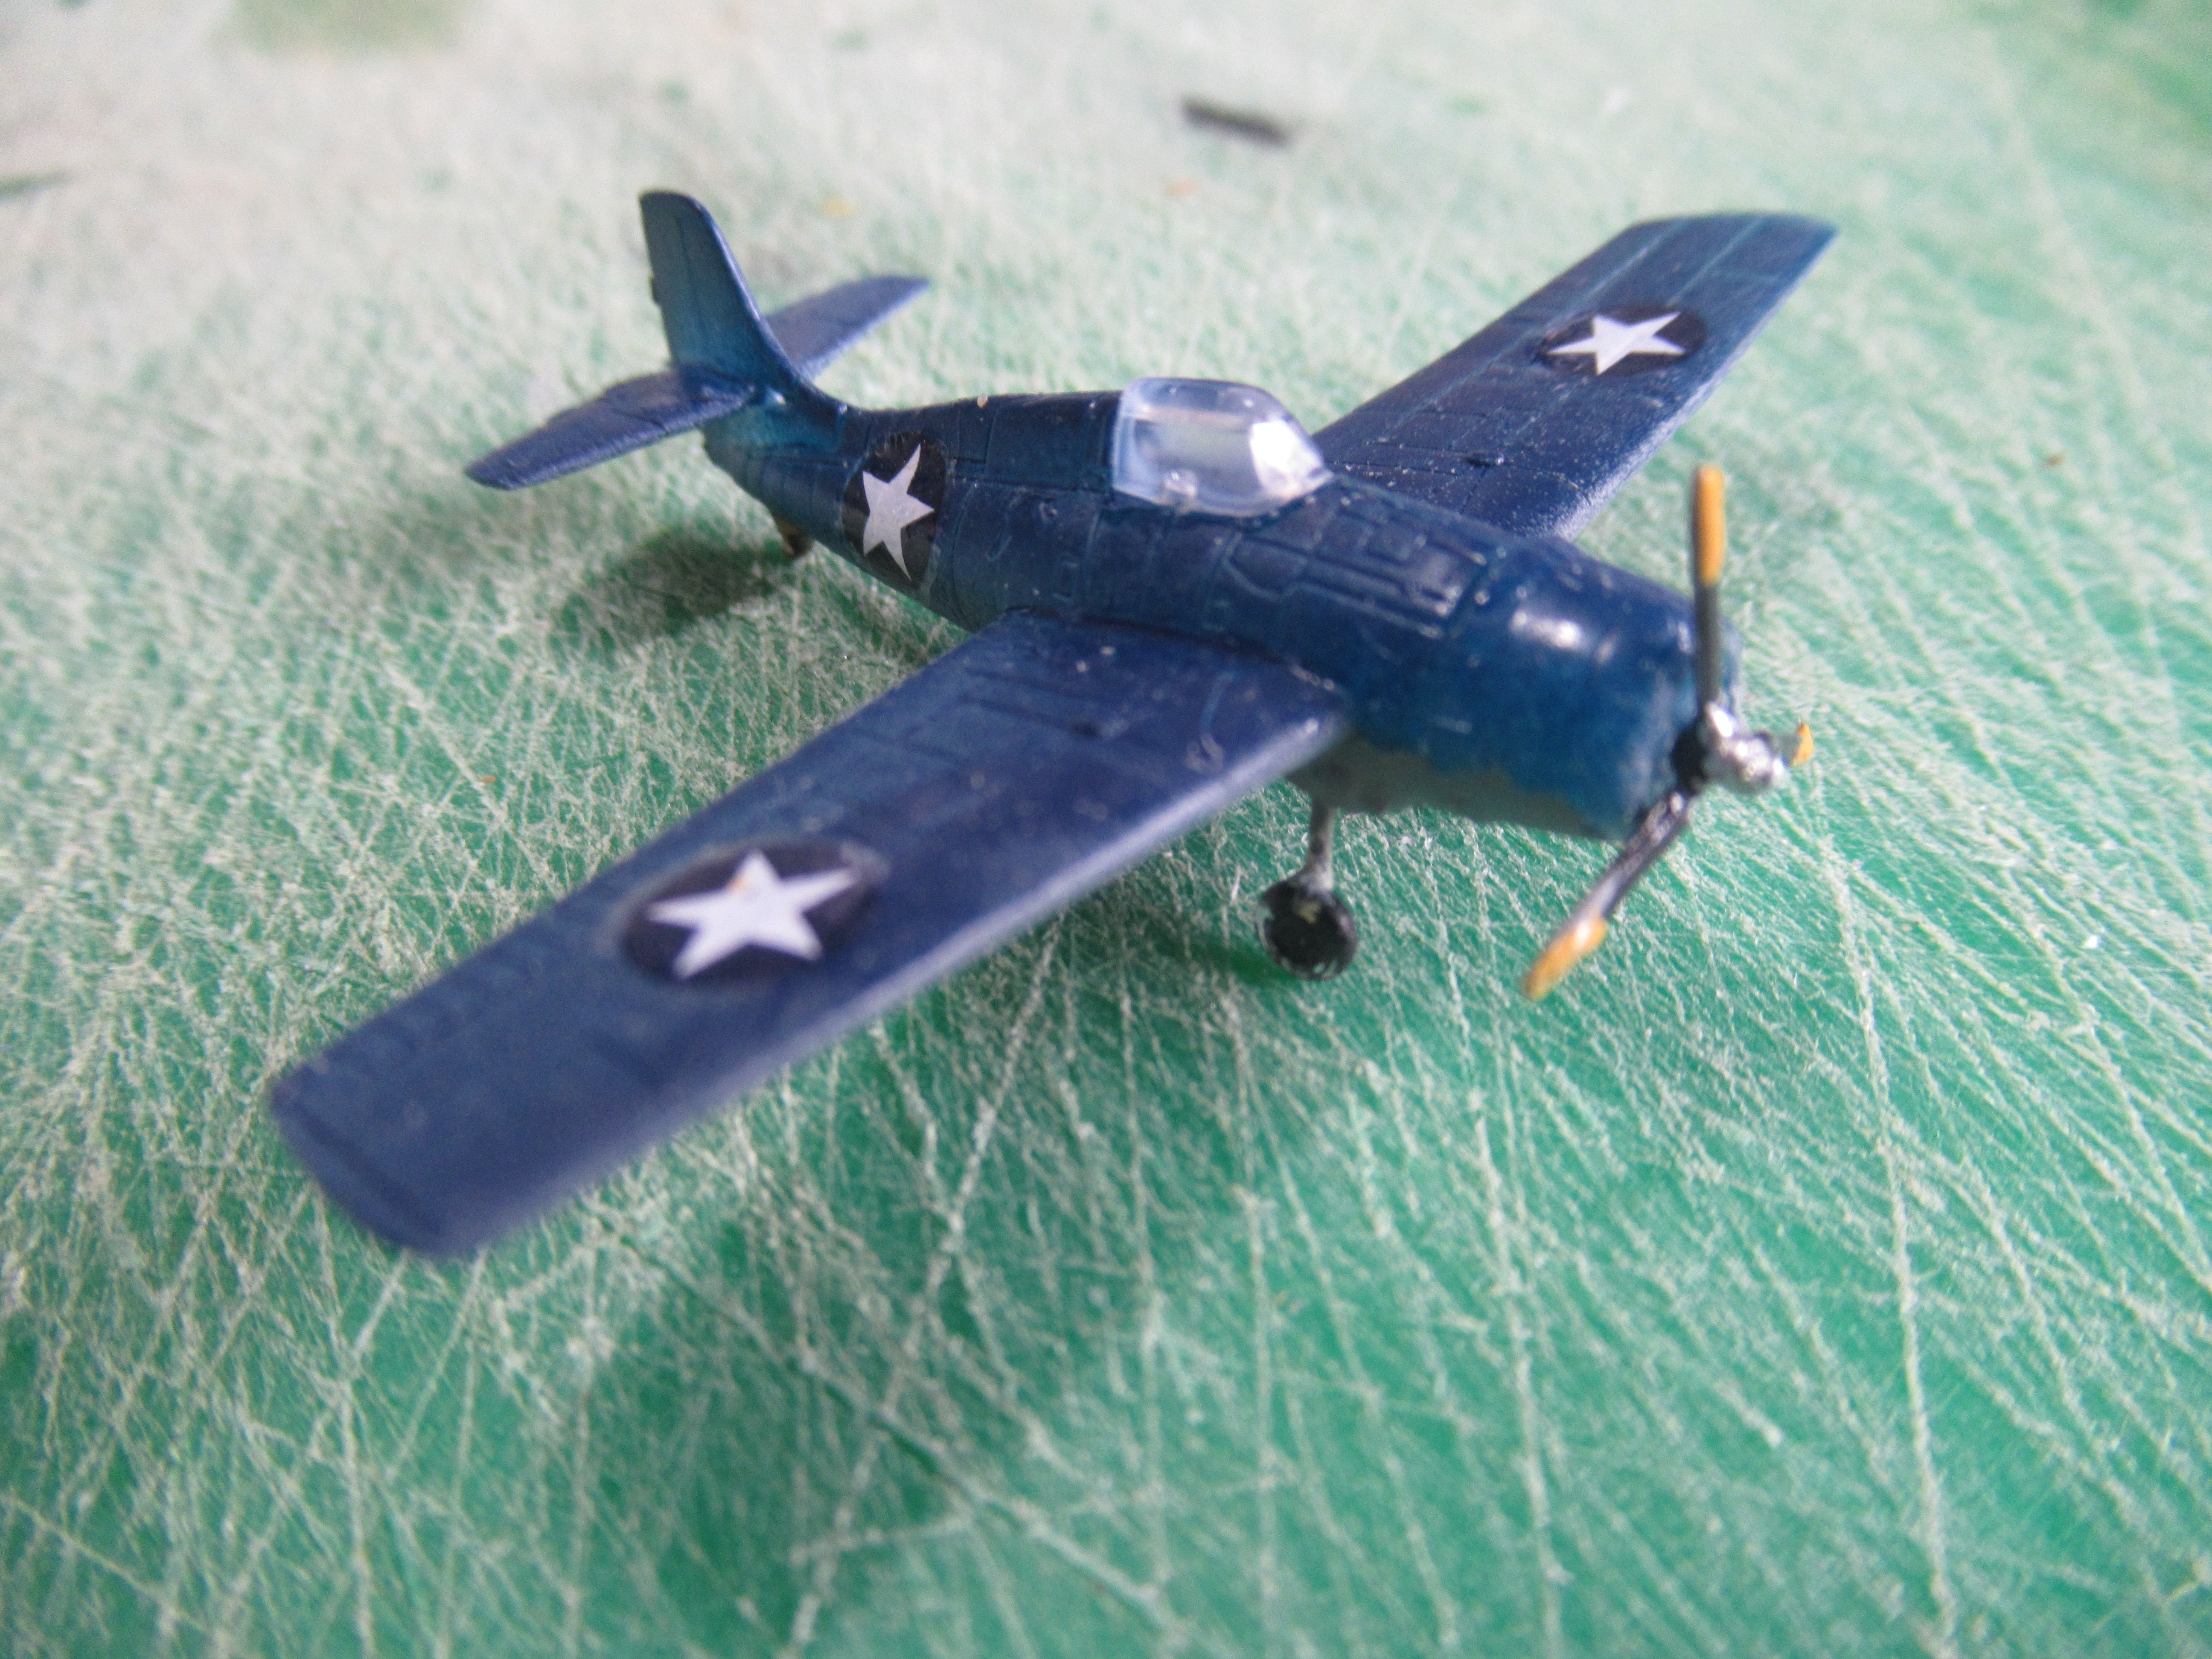
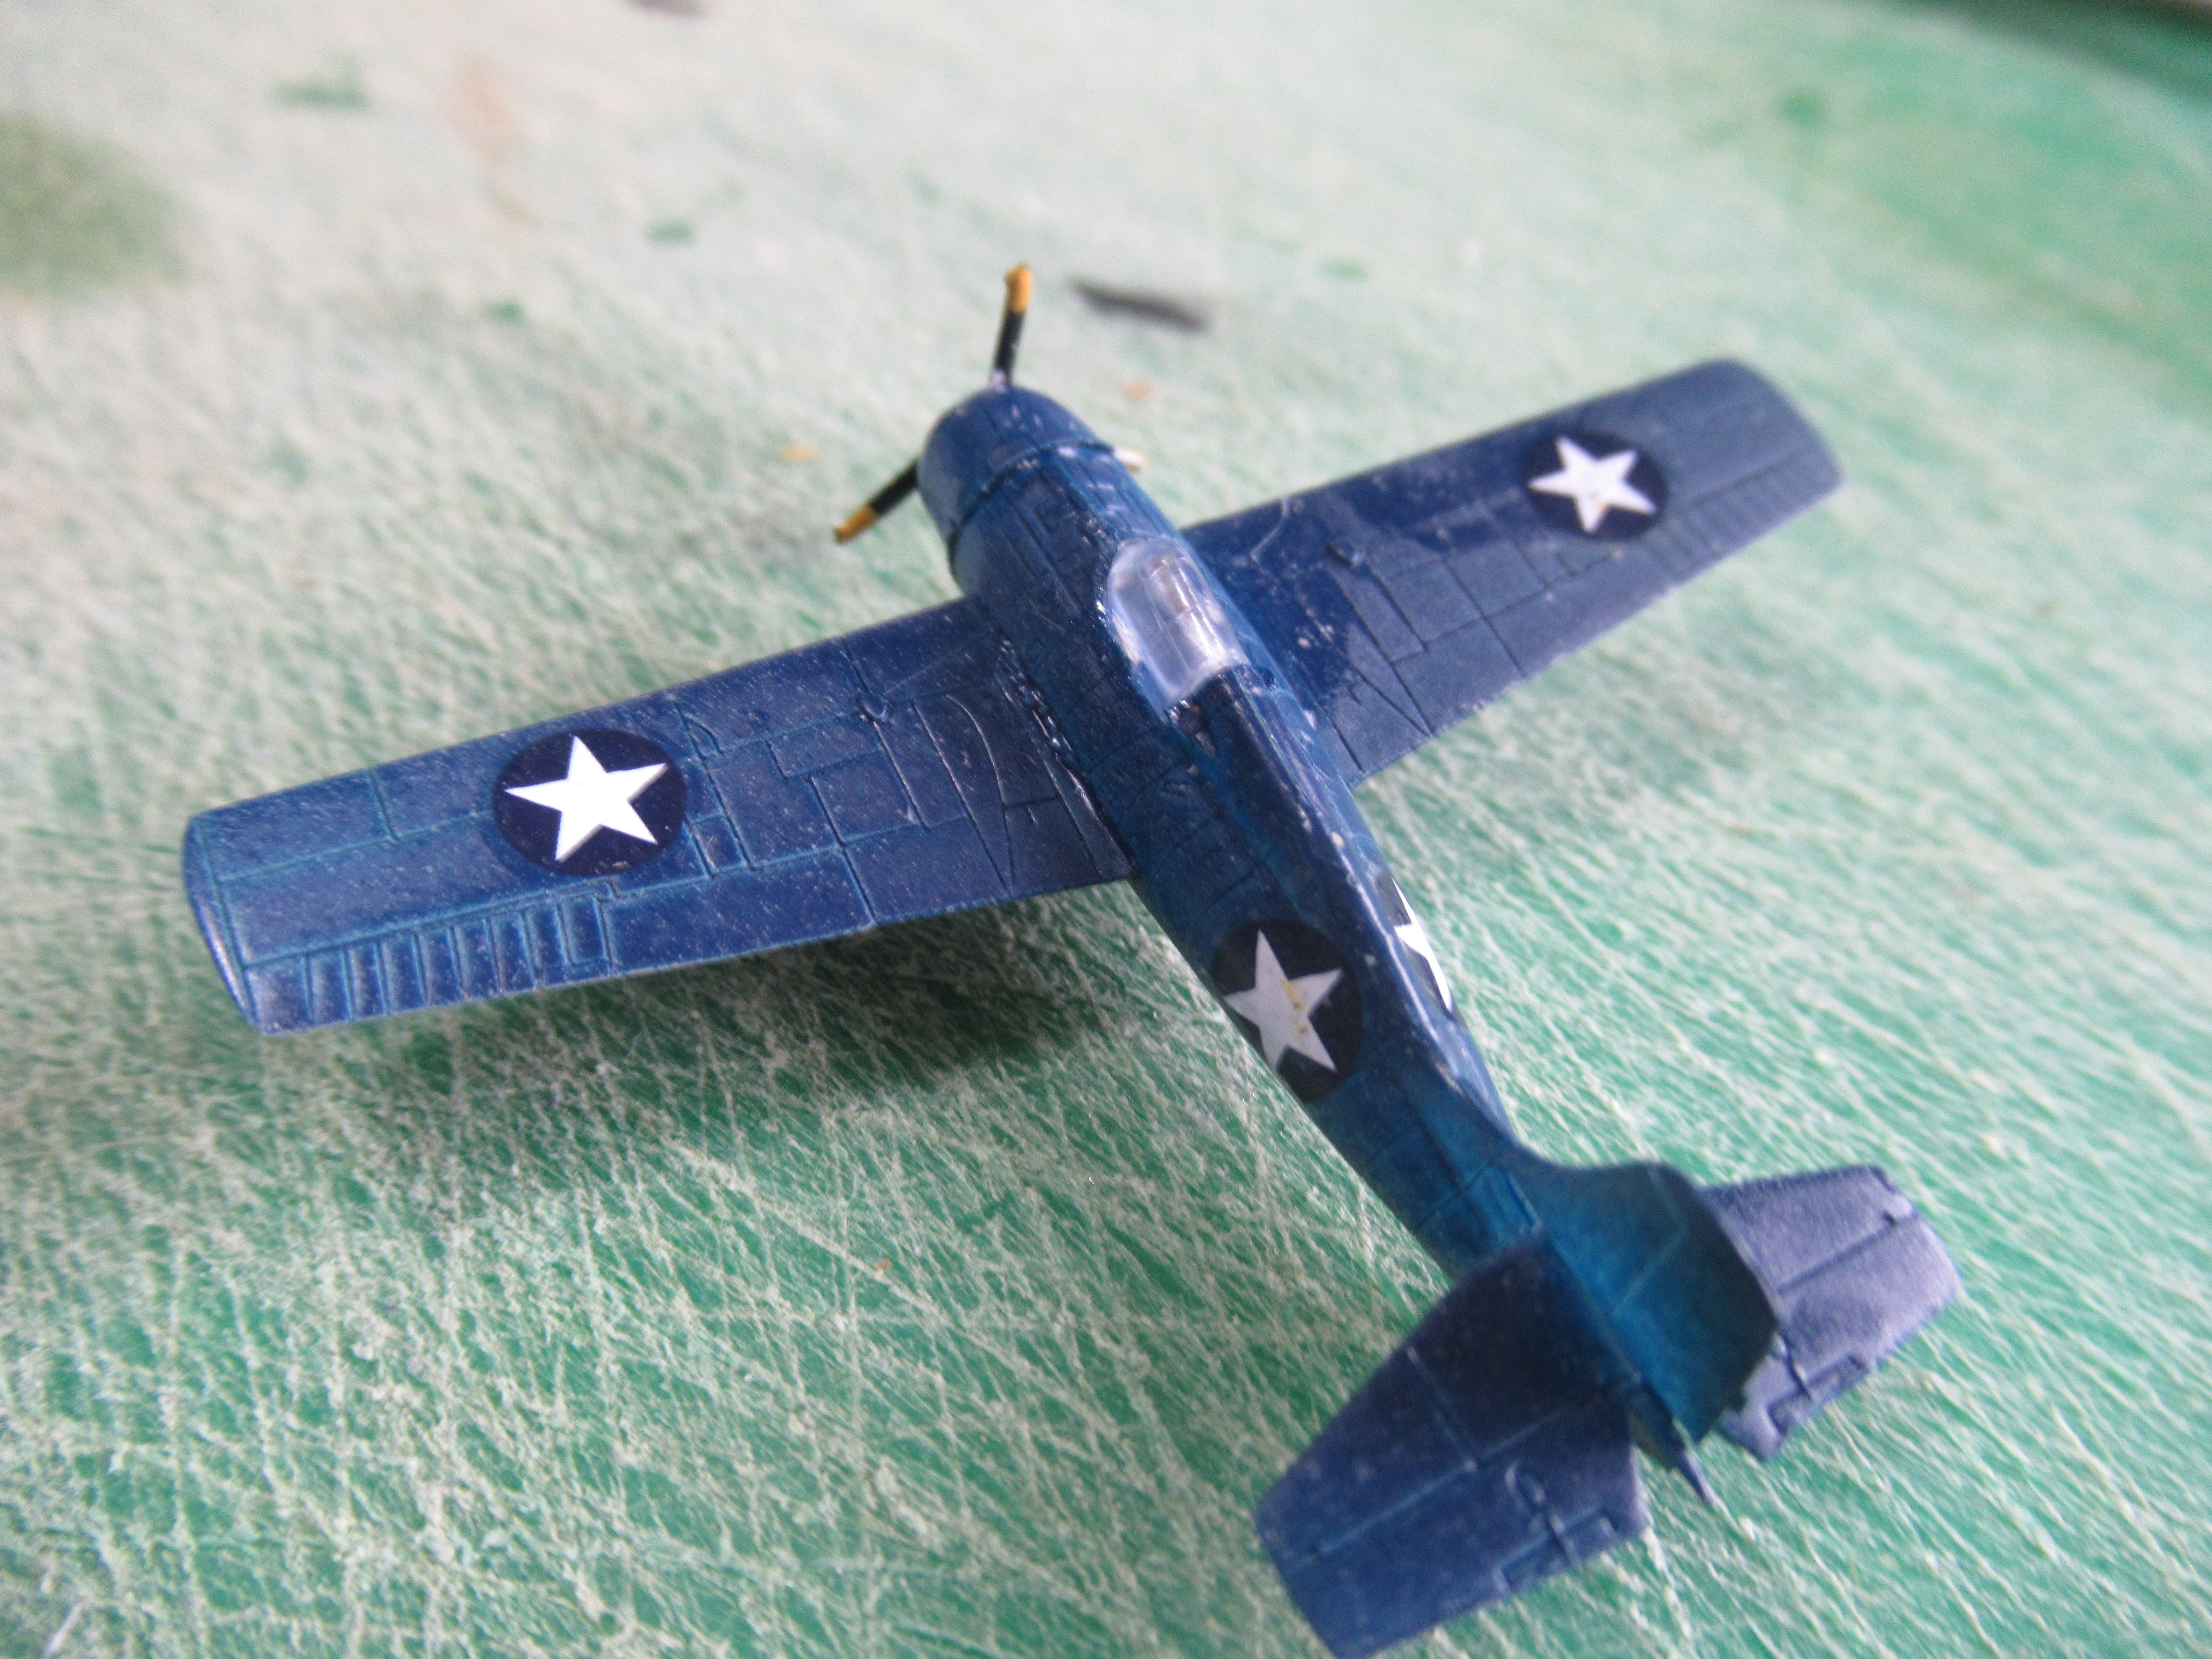
HI GUYS well ive done one wild cat an fitted the decals an yes more probs the bloomin decals are pulling the trick on me of splintering AAAAAARRRRCCCCHHHHHHHHHHHHH
WHAT NEXT !!! anyway some pics of the one ive done as cant do any more today as got freinds comin an just as well as my nerves are shot oh dear
IMG_1531.JPG
 
AN i would have liked to have painted the white undercart an the centre hubs on the wheels but ive not got a brush small enough so they will have to stay black oh dear
chrisb
 
What I do for painting the whit undercarriage is actually spray the whole thing the base color, the after dry hold it up in the air and spray the top color. No need for masking as long as you only spray from the top direction and since you're holding it up in the air no splash back from a surface either. I typically hold it by one wing and when dry enough to touch after a few minutes do the other wing

For the small wheels I also find it easier to have the painted hub color down first and the you could run a brush or even sharpie marker around just the edge
 
Looks pretty good from here, like painting a smile on a fly!
HI B/B YES it is an these kits have given me so many probs partly my fault as for parts failling off the plane an the decals playin up its enough to send me over the edge urgh an i have found out how not to build them planes lol but ive learnt a lot on these so im fore warned on the next lot an i just hope they will build better
chrisb
 
What I do for painting the whit undercarriage is actually spray the whole thing the base color, the after dry hold it up in the air and spray the top color. No need for masking as long as you only spray from the top direction and since you're holding it up in the air no splash back from a surface either. I typically hold it by one wing and when dry enough to touch after a few minutes do the other wing

For the small wheels I also find it easier to have the painted hub color down first and the you could run a brush or even sharpie marker around just the edge
HI blakeh1 many thanks for your advise on how to build planes but are yours this small ? but at least ive got one built not brilliant but will do as they wont be seen much inside the hangar bay but i will have a couple up on the flight deck mixed in with the B25 an one prop fell apart completey when gently cutting it off the sprue so in thinking of fittin a clear rond bit of plastic an painting it up so it looks like the engine is running
cheers sir
chrisb
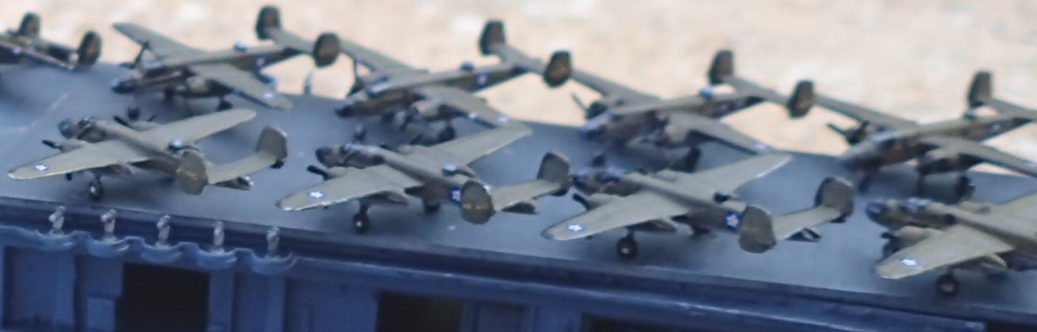
 
HI blakeh1 many thanks for your advise on how to build planes but are yours this small ? but at least ive got one built not brilliant but will do as they wont be seen much inside the hangar bay but i will have a couple up on the flight deck mixed in with the B25 an one prop fell apart completey when gently cutting it off the sprue so in thinking of fittin a clear rond bit of plastic an painting it up so it looks like the engine is running
cheers sir
chrisb
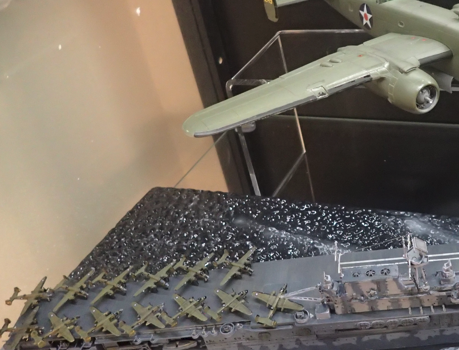
Actually mine are even smaller, about little over half the size I think since I typically do 1/700, although I have started on 1/350 recently

As far as gluing them together, I find the clear plastic is actually a nightmare to glue together compared to the regular plastic. It is really hard sometimes to actually find the proper places to glue things in as the transparency feels much more difficult to parse than opaque plastic. Also, at least with Trumpeter stuff, the clear plastic does not seem to weld together as well as regular stuff. Couple that with smaller parts that barely touch each other and have to be glued, I have run into issues with parts falling off later

In regard to painting the wheels, I have also done the opposite, and painted them black, then just dab one white/grey dot on for the wheel hub. It is much easier than one might think and you don't really need one of those tiny 3 hair brushes or whatever, something like a typical size 1 or 2 brush will work.

In the case below, I just did one quick dab right on the wheel. It it was too big, or too oval shaped or big, I went back round the edge with black

1774890775557.png
 
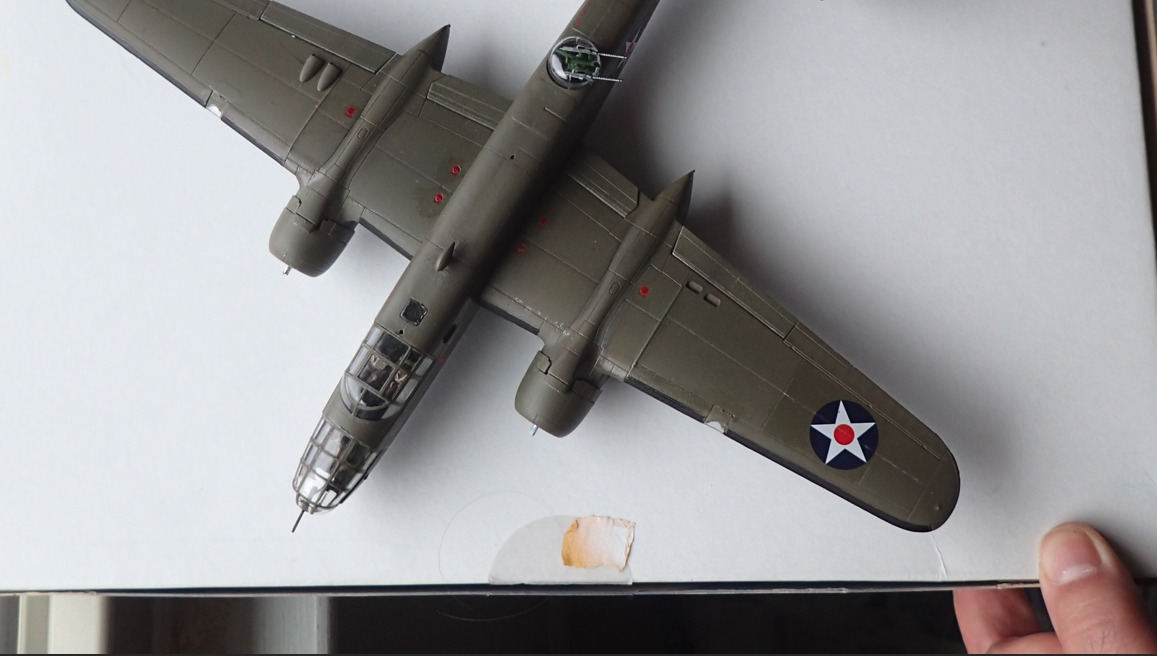
HI blakeh1 VERY well done on your B25 my freind i would not even attemp them at that scale as ive got hand shakes an a question what coluor are your B25 ? AS it show in my kit they are sort of a light tan brown an othe colour pics ive seen they look like they are a sort of dark green so ive got both colours but yours look brilliant

ATB SIR
Chrisb
 
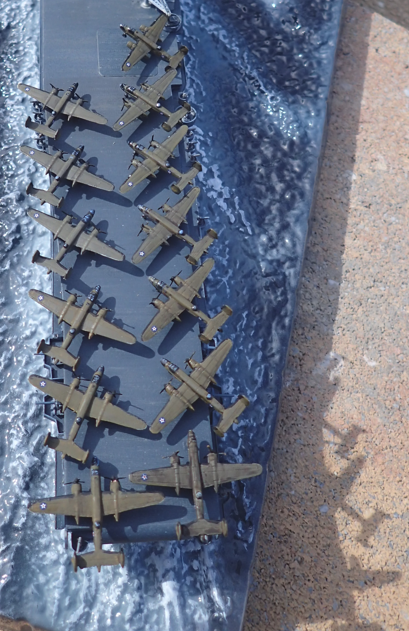
I had the same dilemma when trying to figure out a color for them in both my larger model and the smaller ones.

as you mentioned, it was really hard using the refs I had to figure out green vs brown or what the right color would look like

In the end I went with Vallejo Model Air US Olive Drab 71.043 (aka FS 34087)
online color swatches show it as a more brownish look, but in person it definitely is more greenish

also, despite being listed as model air, you can paint it on with a regular paint brush, you might just have to do several coats since it is so thin
in fact some of these were airbrushed and other painted with a paint brush and I can't tell now which were which

and of course depending on the lighting, they can look more brown or green

like in my cabinet with bright light I feel captures the color closest,
1774907336949.png


but outside in sun they look more brown, especially against the blues that are brought out by the sunlight

1774907530928.png


or in low light or overcast conditions they look even more brown

this is the same exact paint as the smaller ones, but shows the "overcast day" color where it almost looks brown

1774907910306.png
 
HI

blakeh1 MANY thanks for your info on them B25 AS yes it is a delima isnt it but oh hell i' try out both my colours on a spare bit of cardboad an see which looks the best an go with that as them rattle cans are 10 quid each so cant waste em
cheers sir
atb
chrisb
 
Last edited:
WELL
IMG_1536.JPG
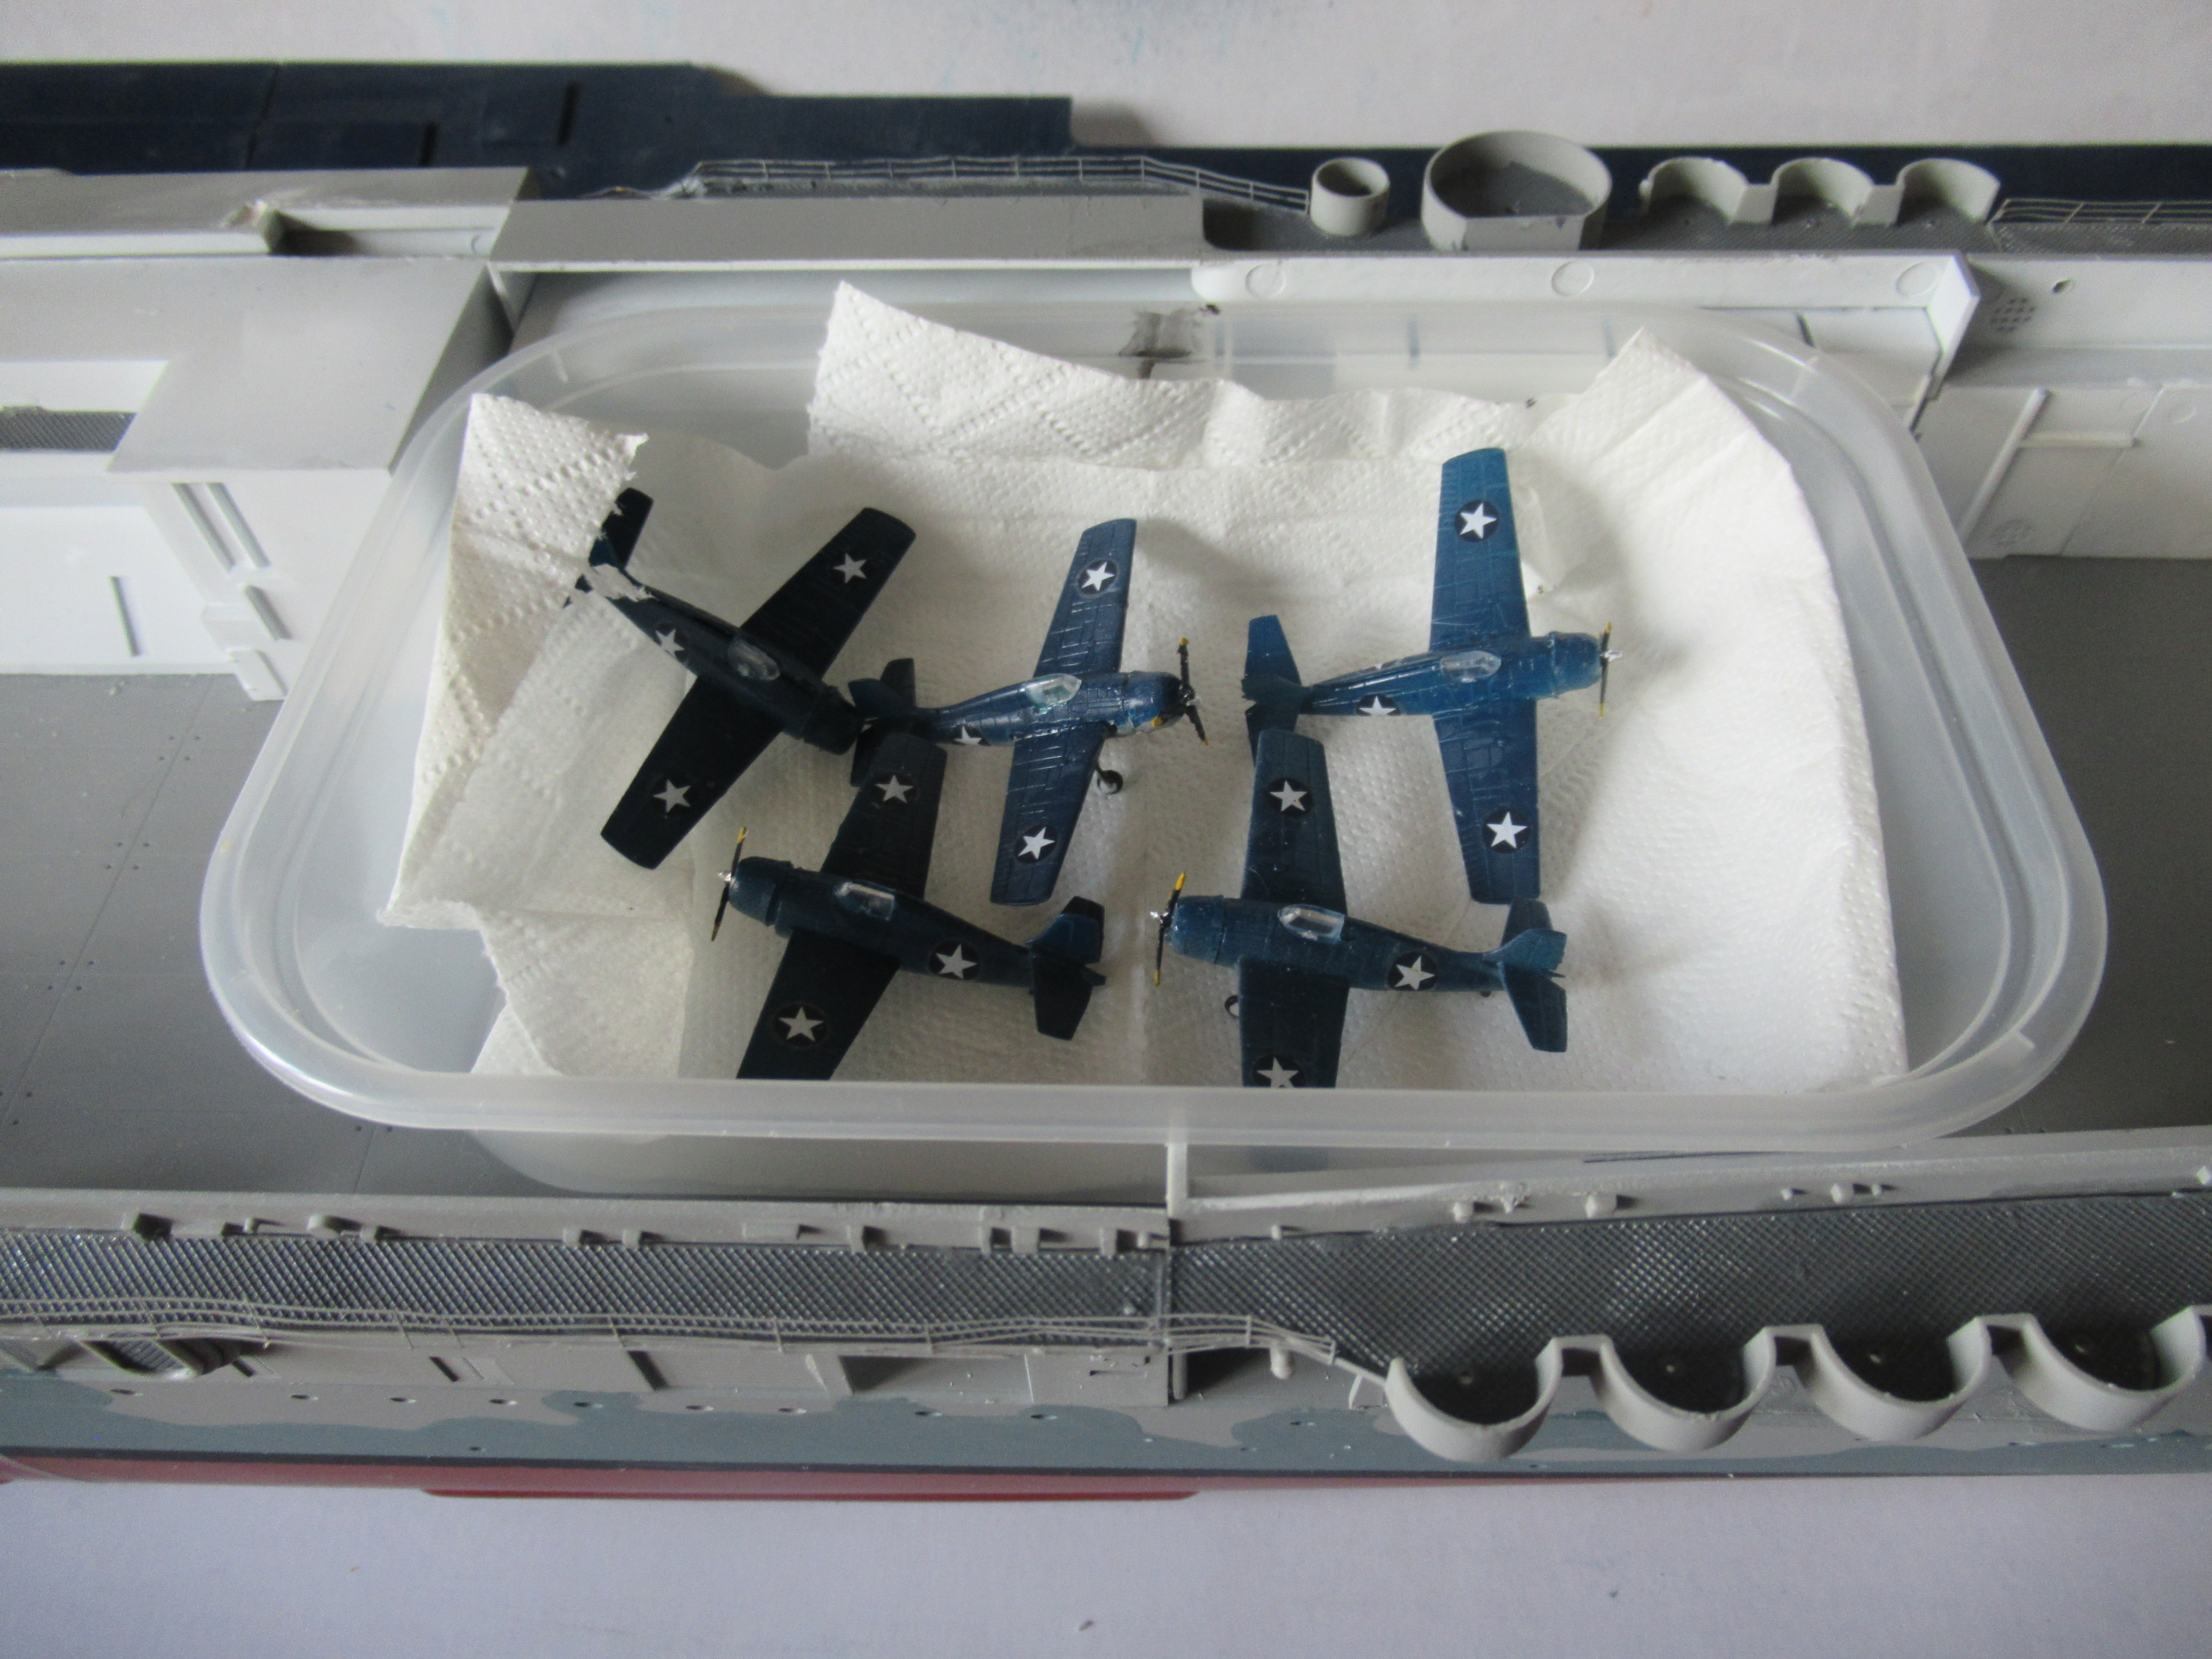
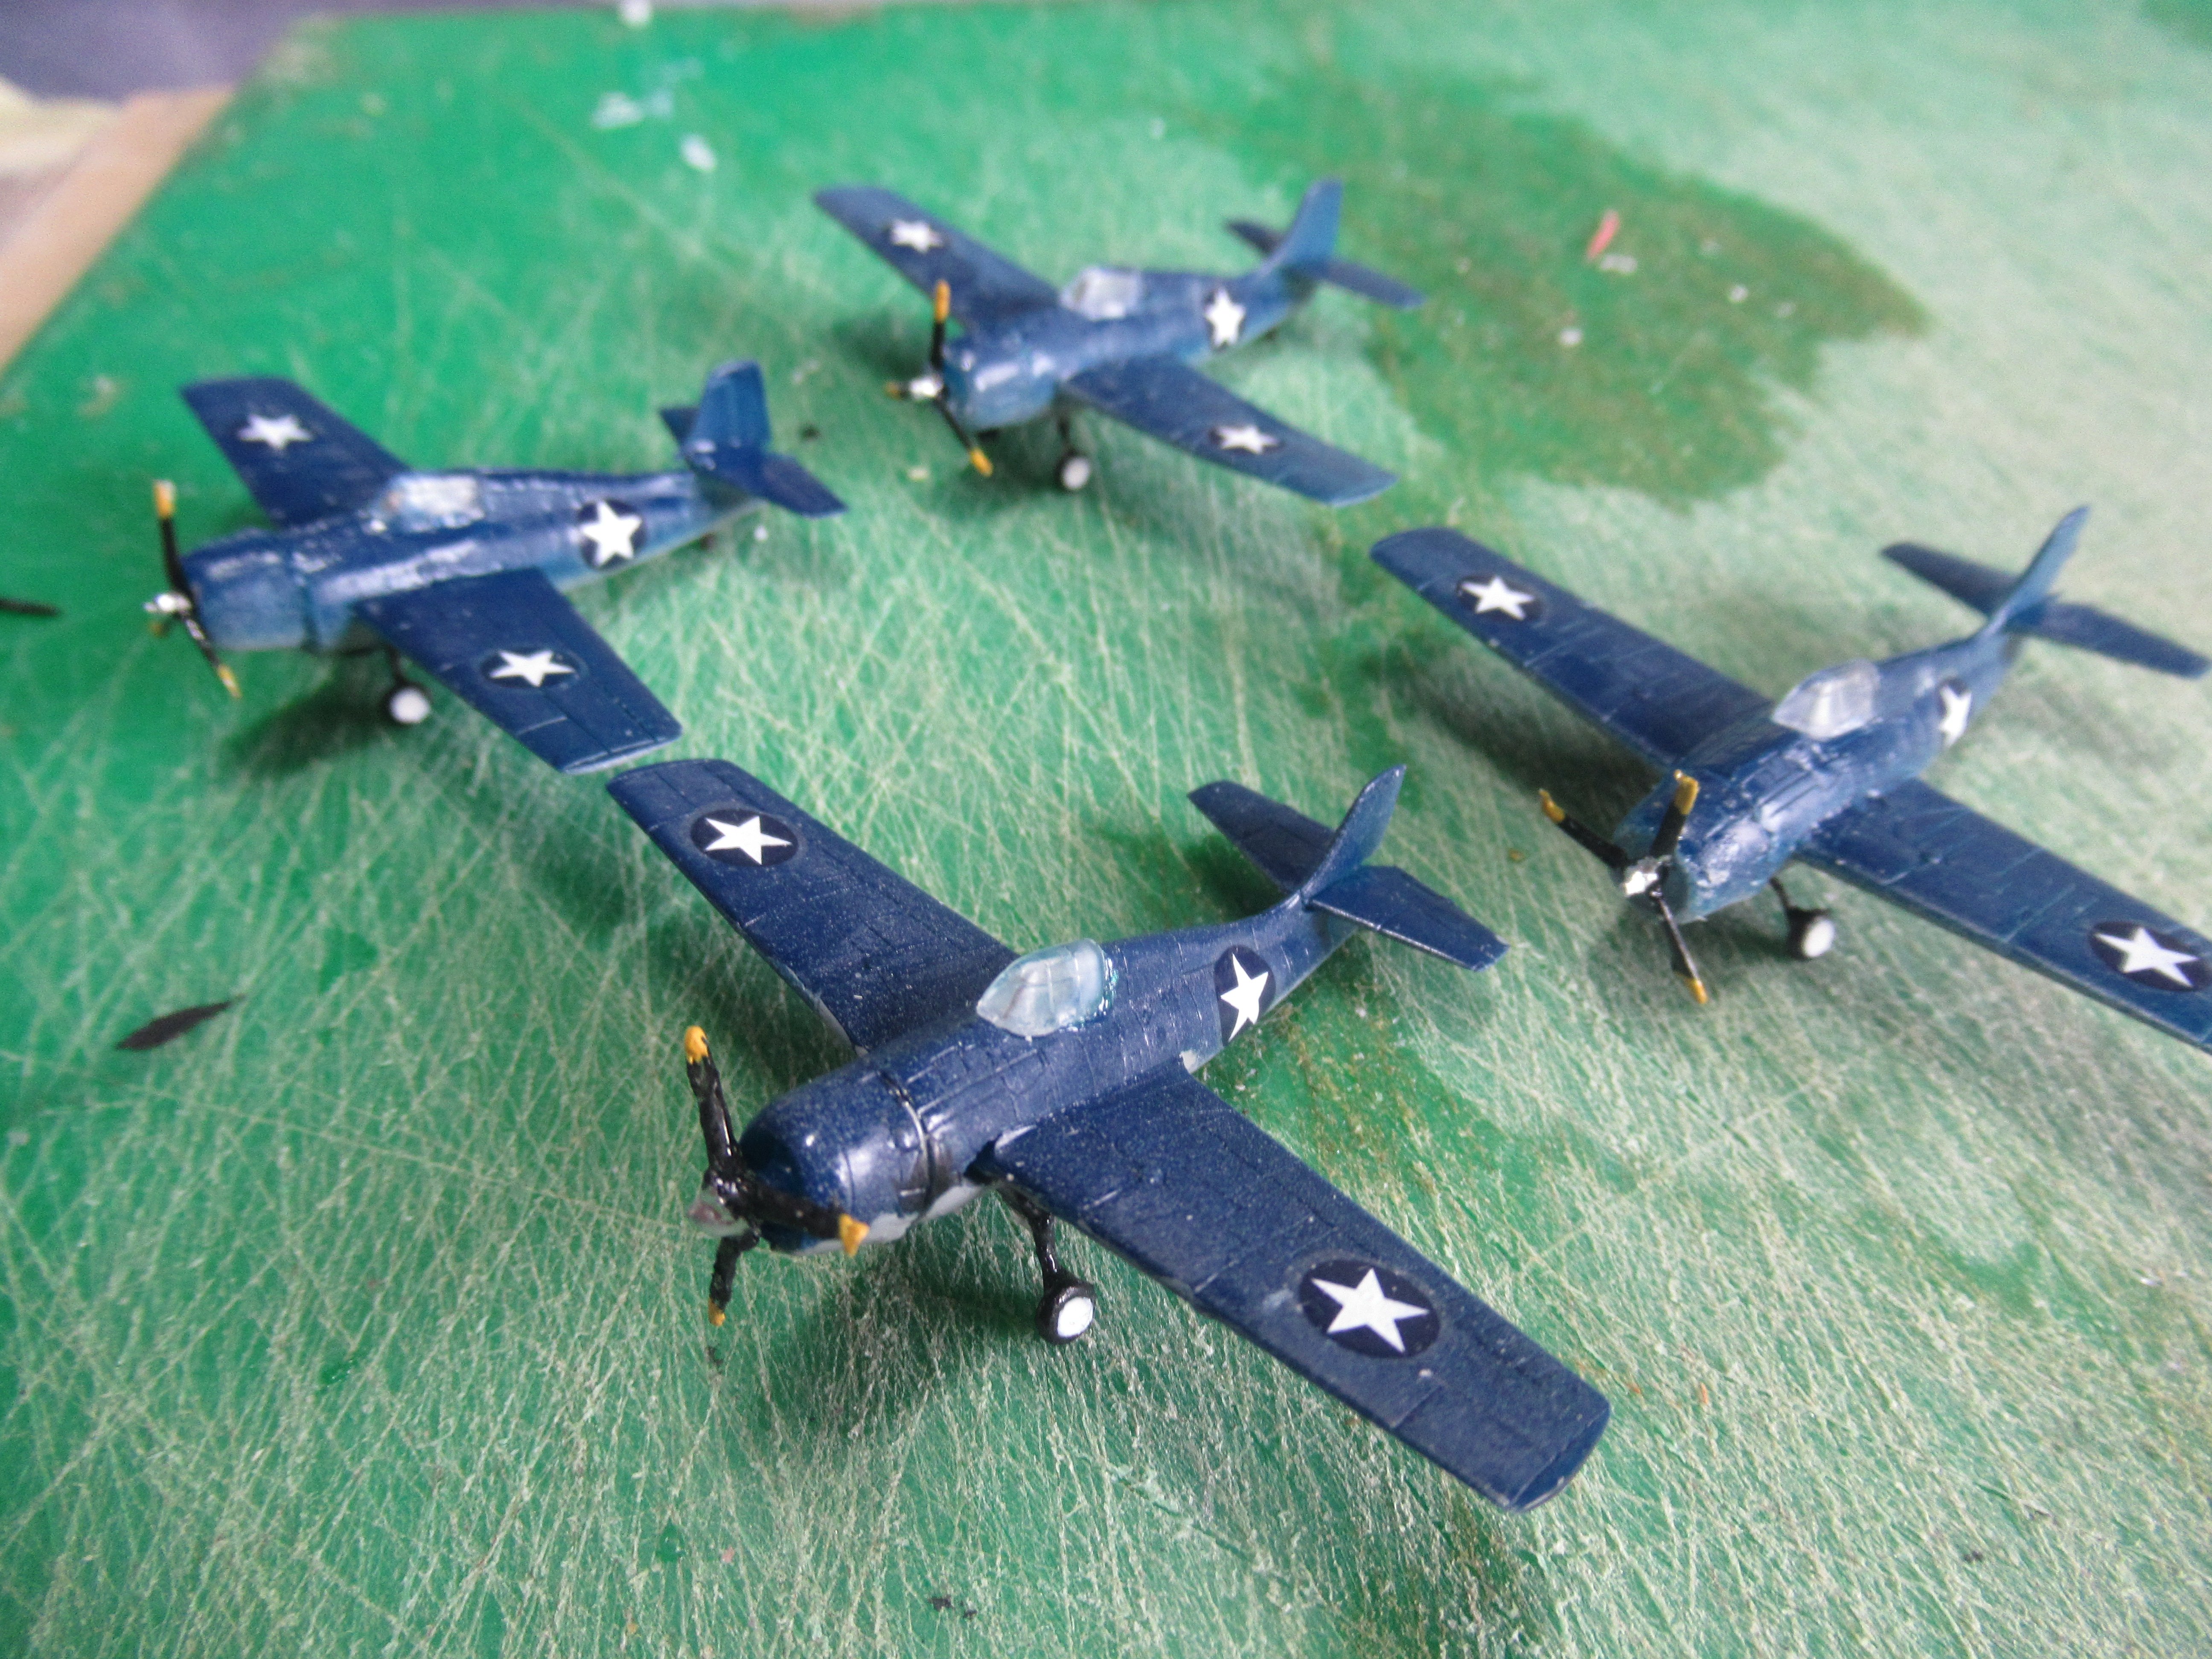
SO guys after a lot of curseing an swearing i manged to get 4 wildcats built ok as jen heard me cussing an came up an told me off saying we dont use languge like that in this house as i was very angry as one of the undercart legs just dropped off the plane onto the carpet montster an i spent a whole hr looking for it an found it an picked it up in the tweezzers only for it to go pinnging off in to space proberly near pluto by now lol so that plane will be in the hangar where it cant be seen very well so now for some pics
 
Well here they are now just laid in this plasic tub in the carrier so they dont get broke
IMG_1539.JPG
SO What next well ive picked out a plane kit a SBD3 so im not sure if its the deverstater or the dauntless only hope they will build ok an some pics
 
Those planes look great

nice job on the wheels and working in that bottom color

It can be frustrating working with stuff that small, but in the end it will all come together and they do not have to be perfect at that scale to still be impressive

Absolutely not necessary at this scale, but the real challenge is the cockpit frames if you want to go to the next level of detailing

I been using Micron archival ink pens for those on smaller scale stuff and once dry the ink is permanent so getting it wet with water won't make them run, Extremely fine point sharpies could also work, and both have dark clue colors available
 
Those planes look great

nice job on the wheels and working in that bottom color

It can be frustrating working with stuff that small, but in the end it will all come together and they do not have to be perfect at that scale to still be impressive

Absolutely not necessary at this scale, but the real challenge is the cockpit frames if you want to go to the next level of detailing

I been using Micron archival ink pens for those on smaller scale stuff and once dry the ink is permanent so getting it wet with water won't make them run, Extremely fine point sharpies could also work, and both have dark clue colors available
HI Blakeh1 thanks for sayin the planes look good as ive near lost it building these little devils but if you think they are good then all is not lost an cockpit framein wow the cockpits are only 2mm wide by 3mm long so cockpit fremein i dont think so it took me all my time to build the planes as im used to 1/32nd scale planes so these planes are not my fortie but thank you sir for your reply
nice to know someone is looking in on the build
ATB chrisb
 
It is hard to see the tree for the forest....or however the saying goes.

One thing I learned on the 1/200 USS IOWA is that all the little problems that drove me nuts because they weren't perfect seemed to fade away as the build progressed, there is just so much to look at on the finished build.
Keep up the good work.
 

Latest posts

Back
Top