Bandai AT-ST

Scale Model Addict - Model Tips, Guides, Tools & Tech, Tutorials, and Community

Help Support Scale Model Addict:

Thanks guys. A bit of progress on this which is nothing more than sanding down all the areas that I puttied and put the legs back together. It is now fully pose-able.

4782.jpg


4783.jpg


As you can see it will stand on it's own two feet.
4784.jpg


I accidently broke a 'tensioner' and have to glue it tight to the back of the leg. I can either replace these both or simply choose a stance that will work with what I have here.
4785.jpg


And finally, just because you can doesn't mean you should.
4786.jpg


I'd appreciate any comments on what I should do about the tensioners. Unreality did a great job with brass - I don't have any onhand...maybe just some strip styrene? Thanks for watching.
 
Great update Scott. The two Bandai ATST builds are pretty awesome. Looks like a really fun kit.

Scott Girvan said:
And finally, just because you can doesn't mean you should.
4786.jpg
LOL ;D Looks like it's pulling a move out of a '70s disco movie...
 
Thanks guys. It's a fun little project for sure.

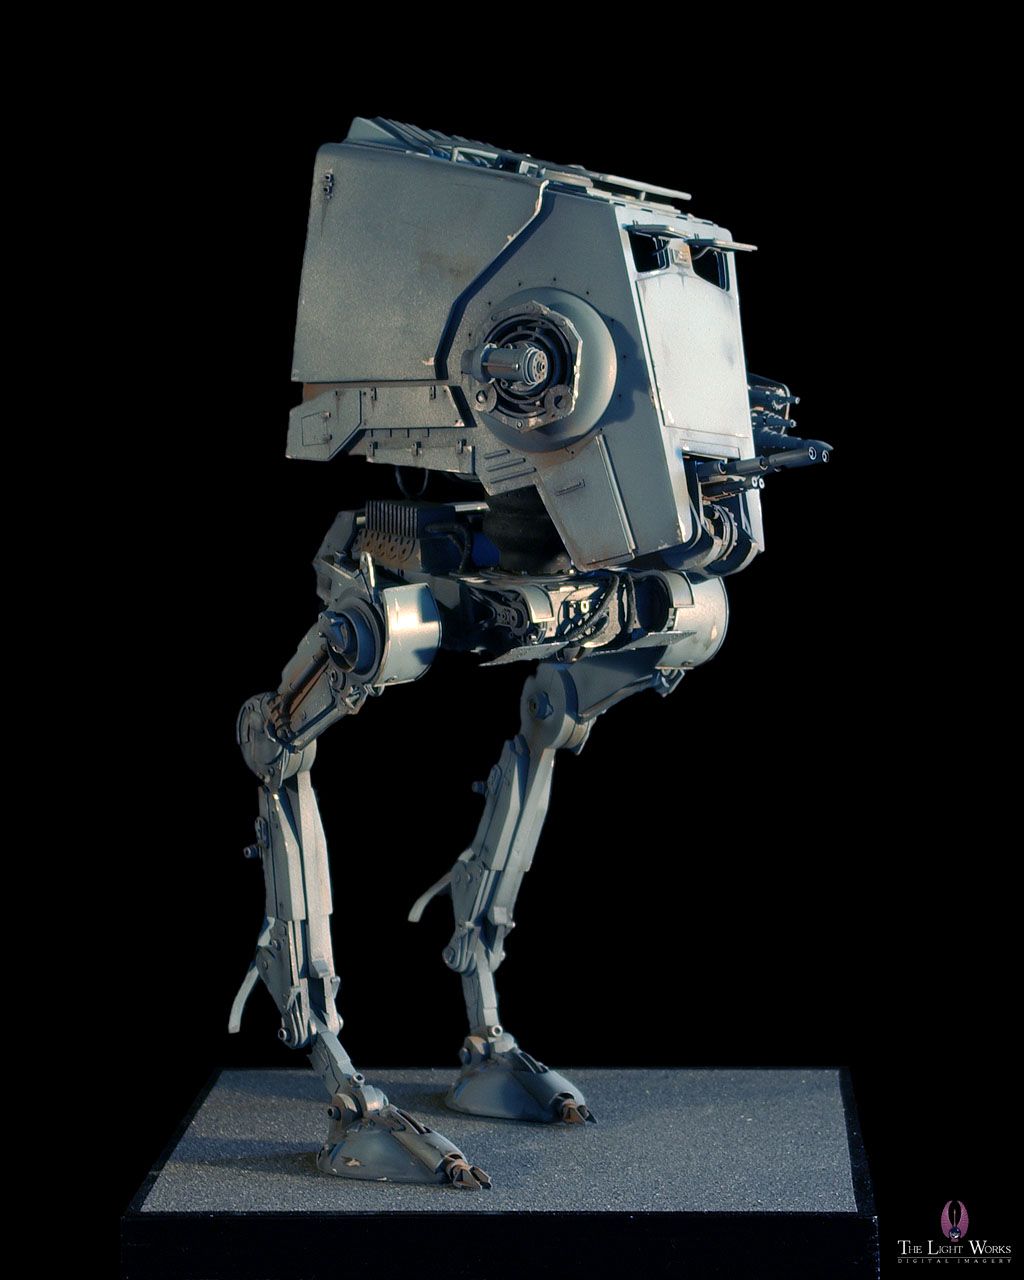
If this is accurate than the kit tensioners are much too short.
atst_ss_01.jpg
 
Scott it's looking good. That LightWorks ref isn't quite right...some of the proportions are off, too.

Check these out
http://www.modelermagic.com/?p=12419
http://www.modelermagic.com/?p=7403
 
As an Amazon Associate we earn from qualifying purchases. Product prices and availability are accurate as of the date/time indicated and are subject to change.
JMac said:
Great update Scott. The two Bandai ATST builds are pretty awesome. Looks like a really fun kit.

Scott Girvan said:
And finally, just because you can doesn't mean you should.
4786.jpg
LOL ;D Looks like it's pulling a move out of a '70s disco movie...

Or getting ready to jump ;D

Nice job Scott!

Your first pic would be a great pose! ;)
 
Very cool. I believe the smart money is to have an Imperial Driver out of the hatch like that...very cool - wish I had though of it actually.

I on the other hand have the cabin painted and the head completely closed up. I didn't spend much time on the interior because it will never be seen...again.
4788.jpg

4789.jpg


When attaching the top of the head I had a rather craptastic seam (indicated by the orange line). I thinned some Mr. Dissolved Putty with Laquer Thinner and flowed a tiny amount into the seam. Fixed.
4790.jpg


More Mr. Dissolved Putty added to the legs, I'll let this dry overnight. (Jaitea's wheel fix looks much better than this method IMO).
4791.jpg


And parts that are 100% ready for primer.
4792.jpg
 
Oh man that's looking great!!!

The more you guys do the more you inspire me. I'm even thinking some red lights in the cabin would be cool....

Hahaha OR a Fury/AT-ST mashup!!!
 
That does look cool . Tempted to try something like this ...sometime :)
 
Chris + Chaos, did you see the mini-contest announcement about a BEST AT-ST vote?? Winner gets a Bandai AT-ST :)
 
nicholassagan said:
Chris + Chaos, did you see the mini-contest announcement about a BEST AT-ST vote?? Winner gets a Bandai AT-ST :)
Yes I have seen, but I have no AT ST kit because it + too little time at the moment.
 
Thanks for the comments guys. This one will simmer on the back burner while I build the Apache but I'll be back to it soon enough.
 
Well done so far Scott!! Still dig this stuff....even though I have not had the chance to have a go yet!! I would just end up "wrecking it" anyway...LOL!! Dig seeing the primer on brotha!! Looking forward to your return to this!! ;D
 
Back
Top