British Vickers Light Tank Mk VI C 2026-04

Scale Model Addict - Model Tips, Guides, Tools & Tech, Tutorials, and Community

Help Support Scale Model Addict:

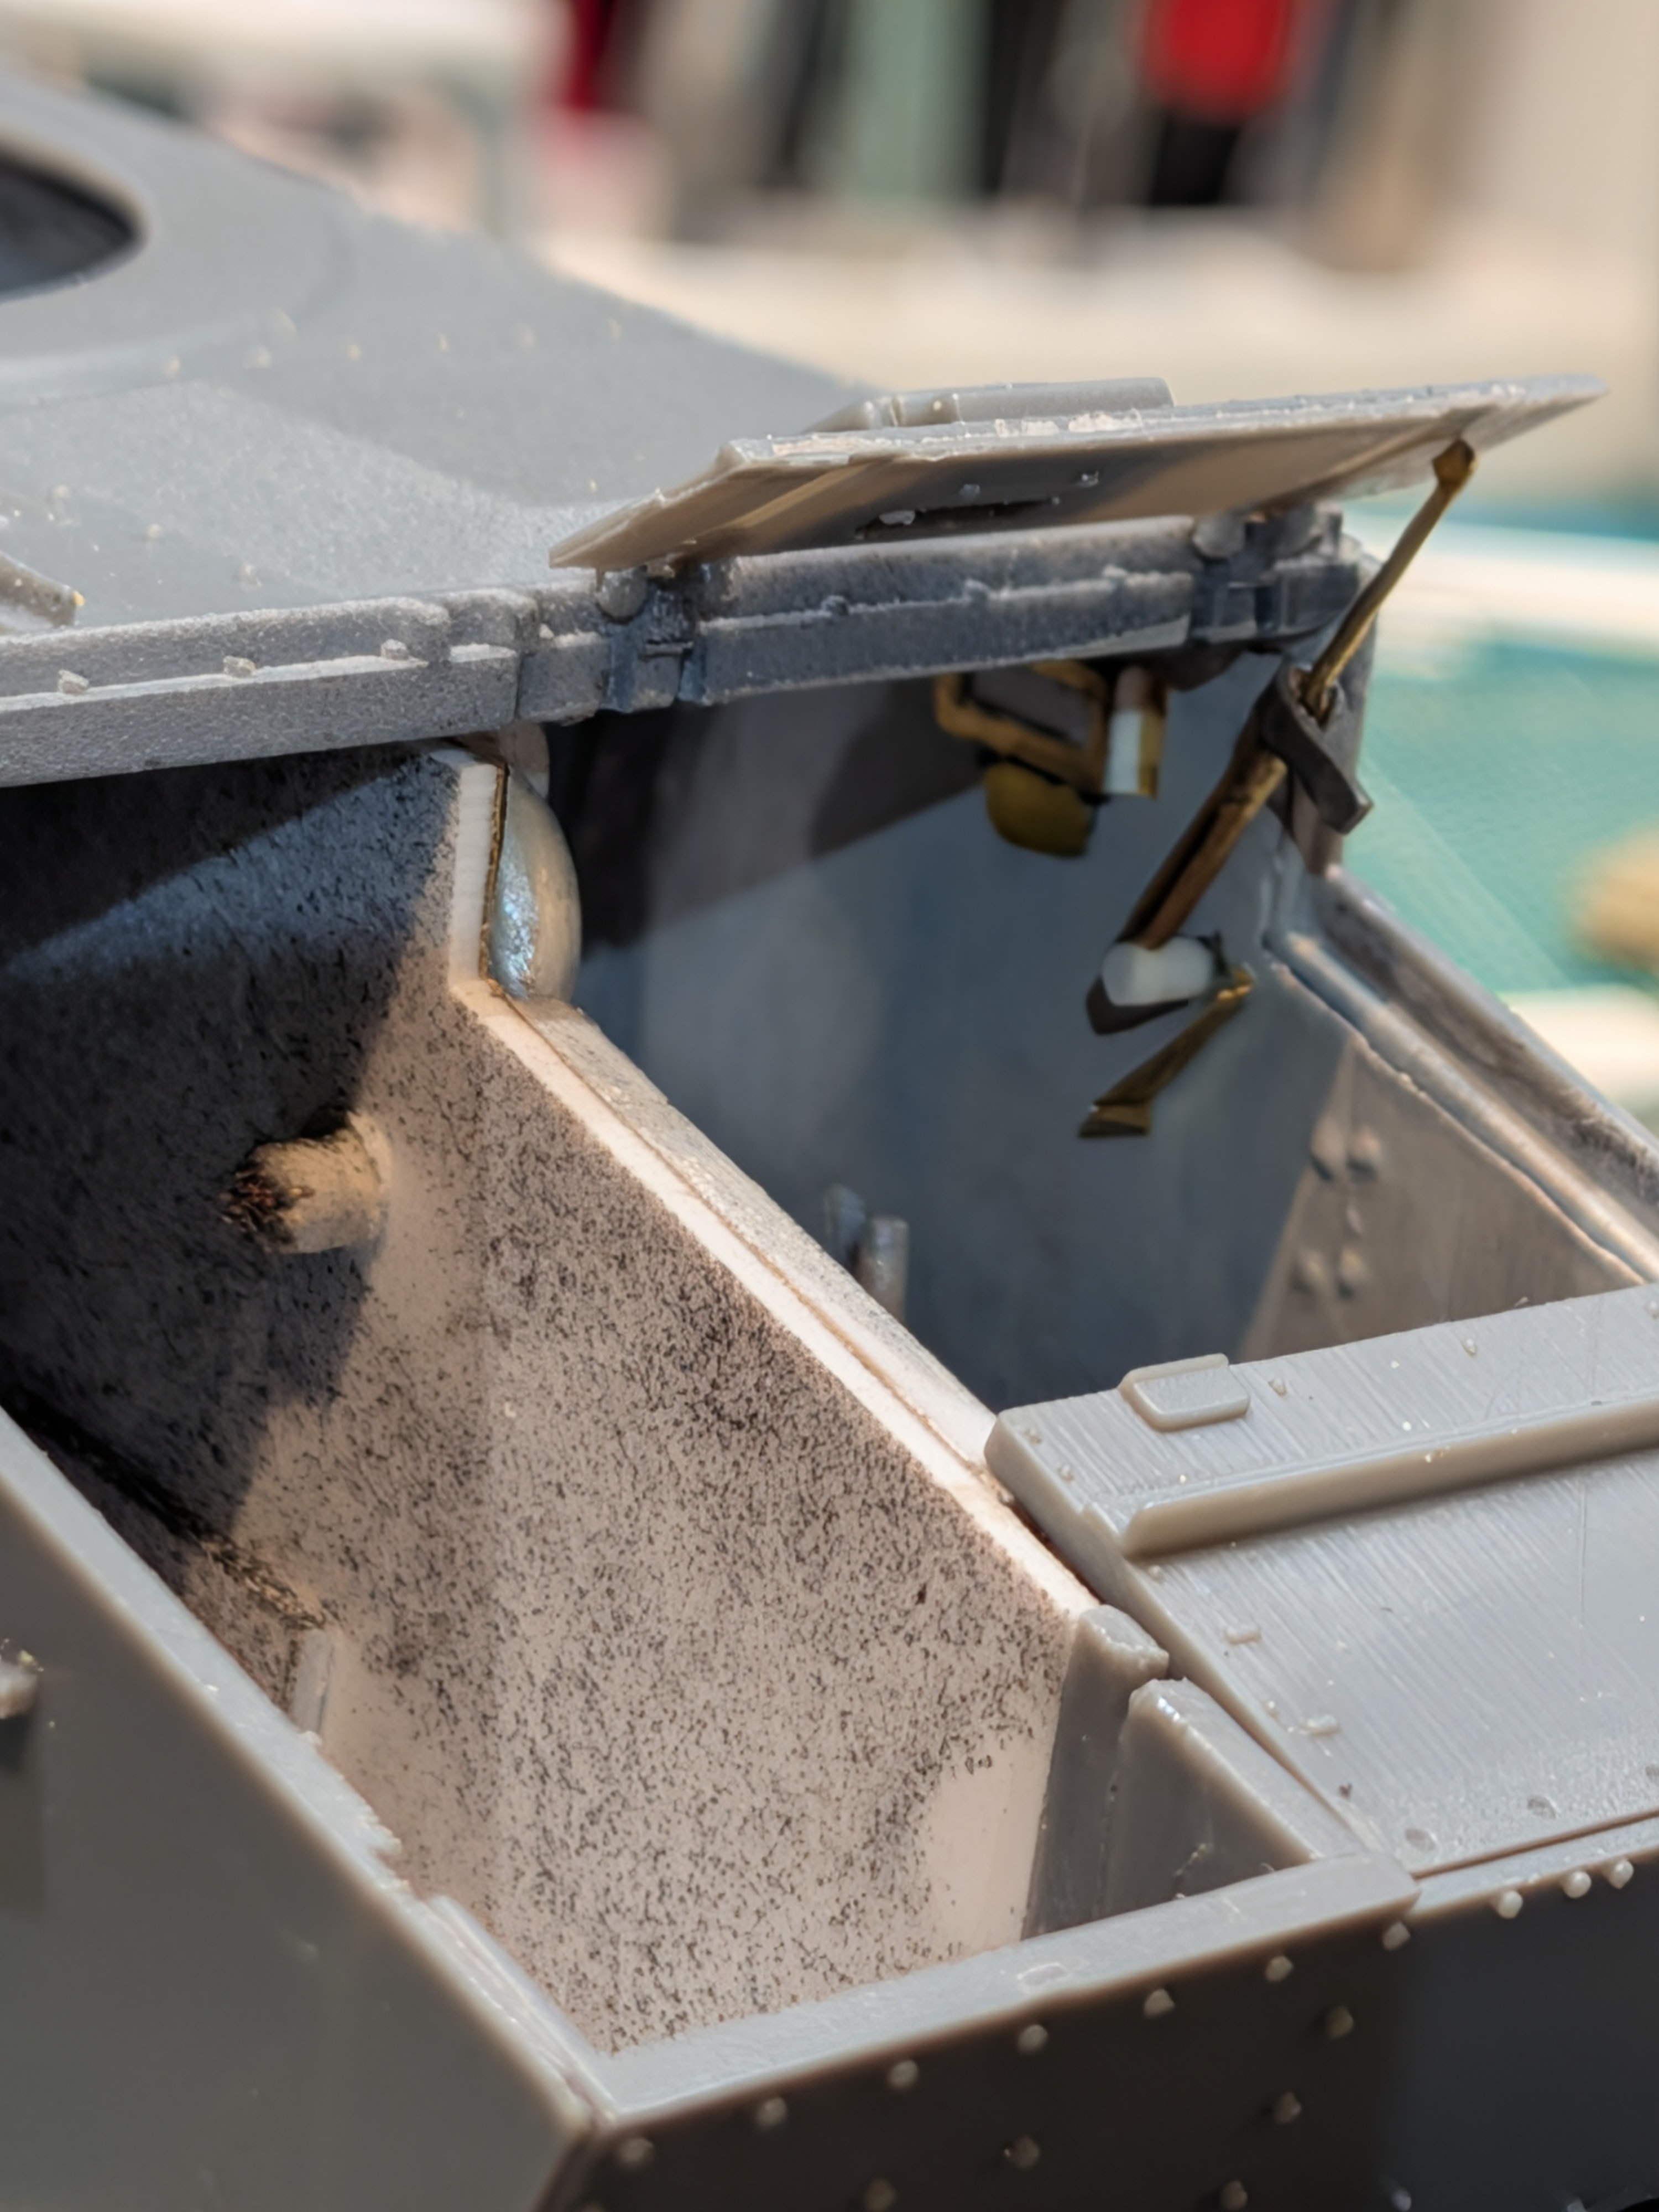
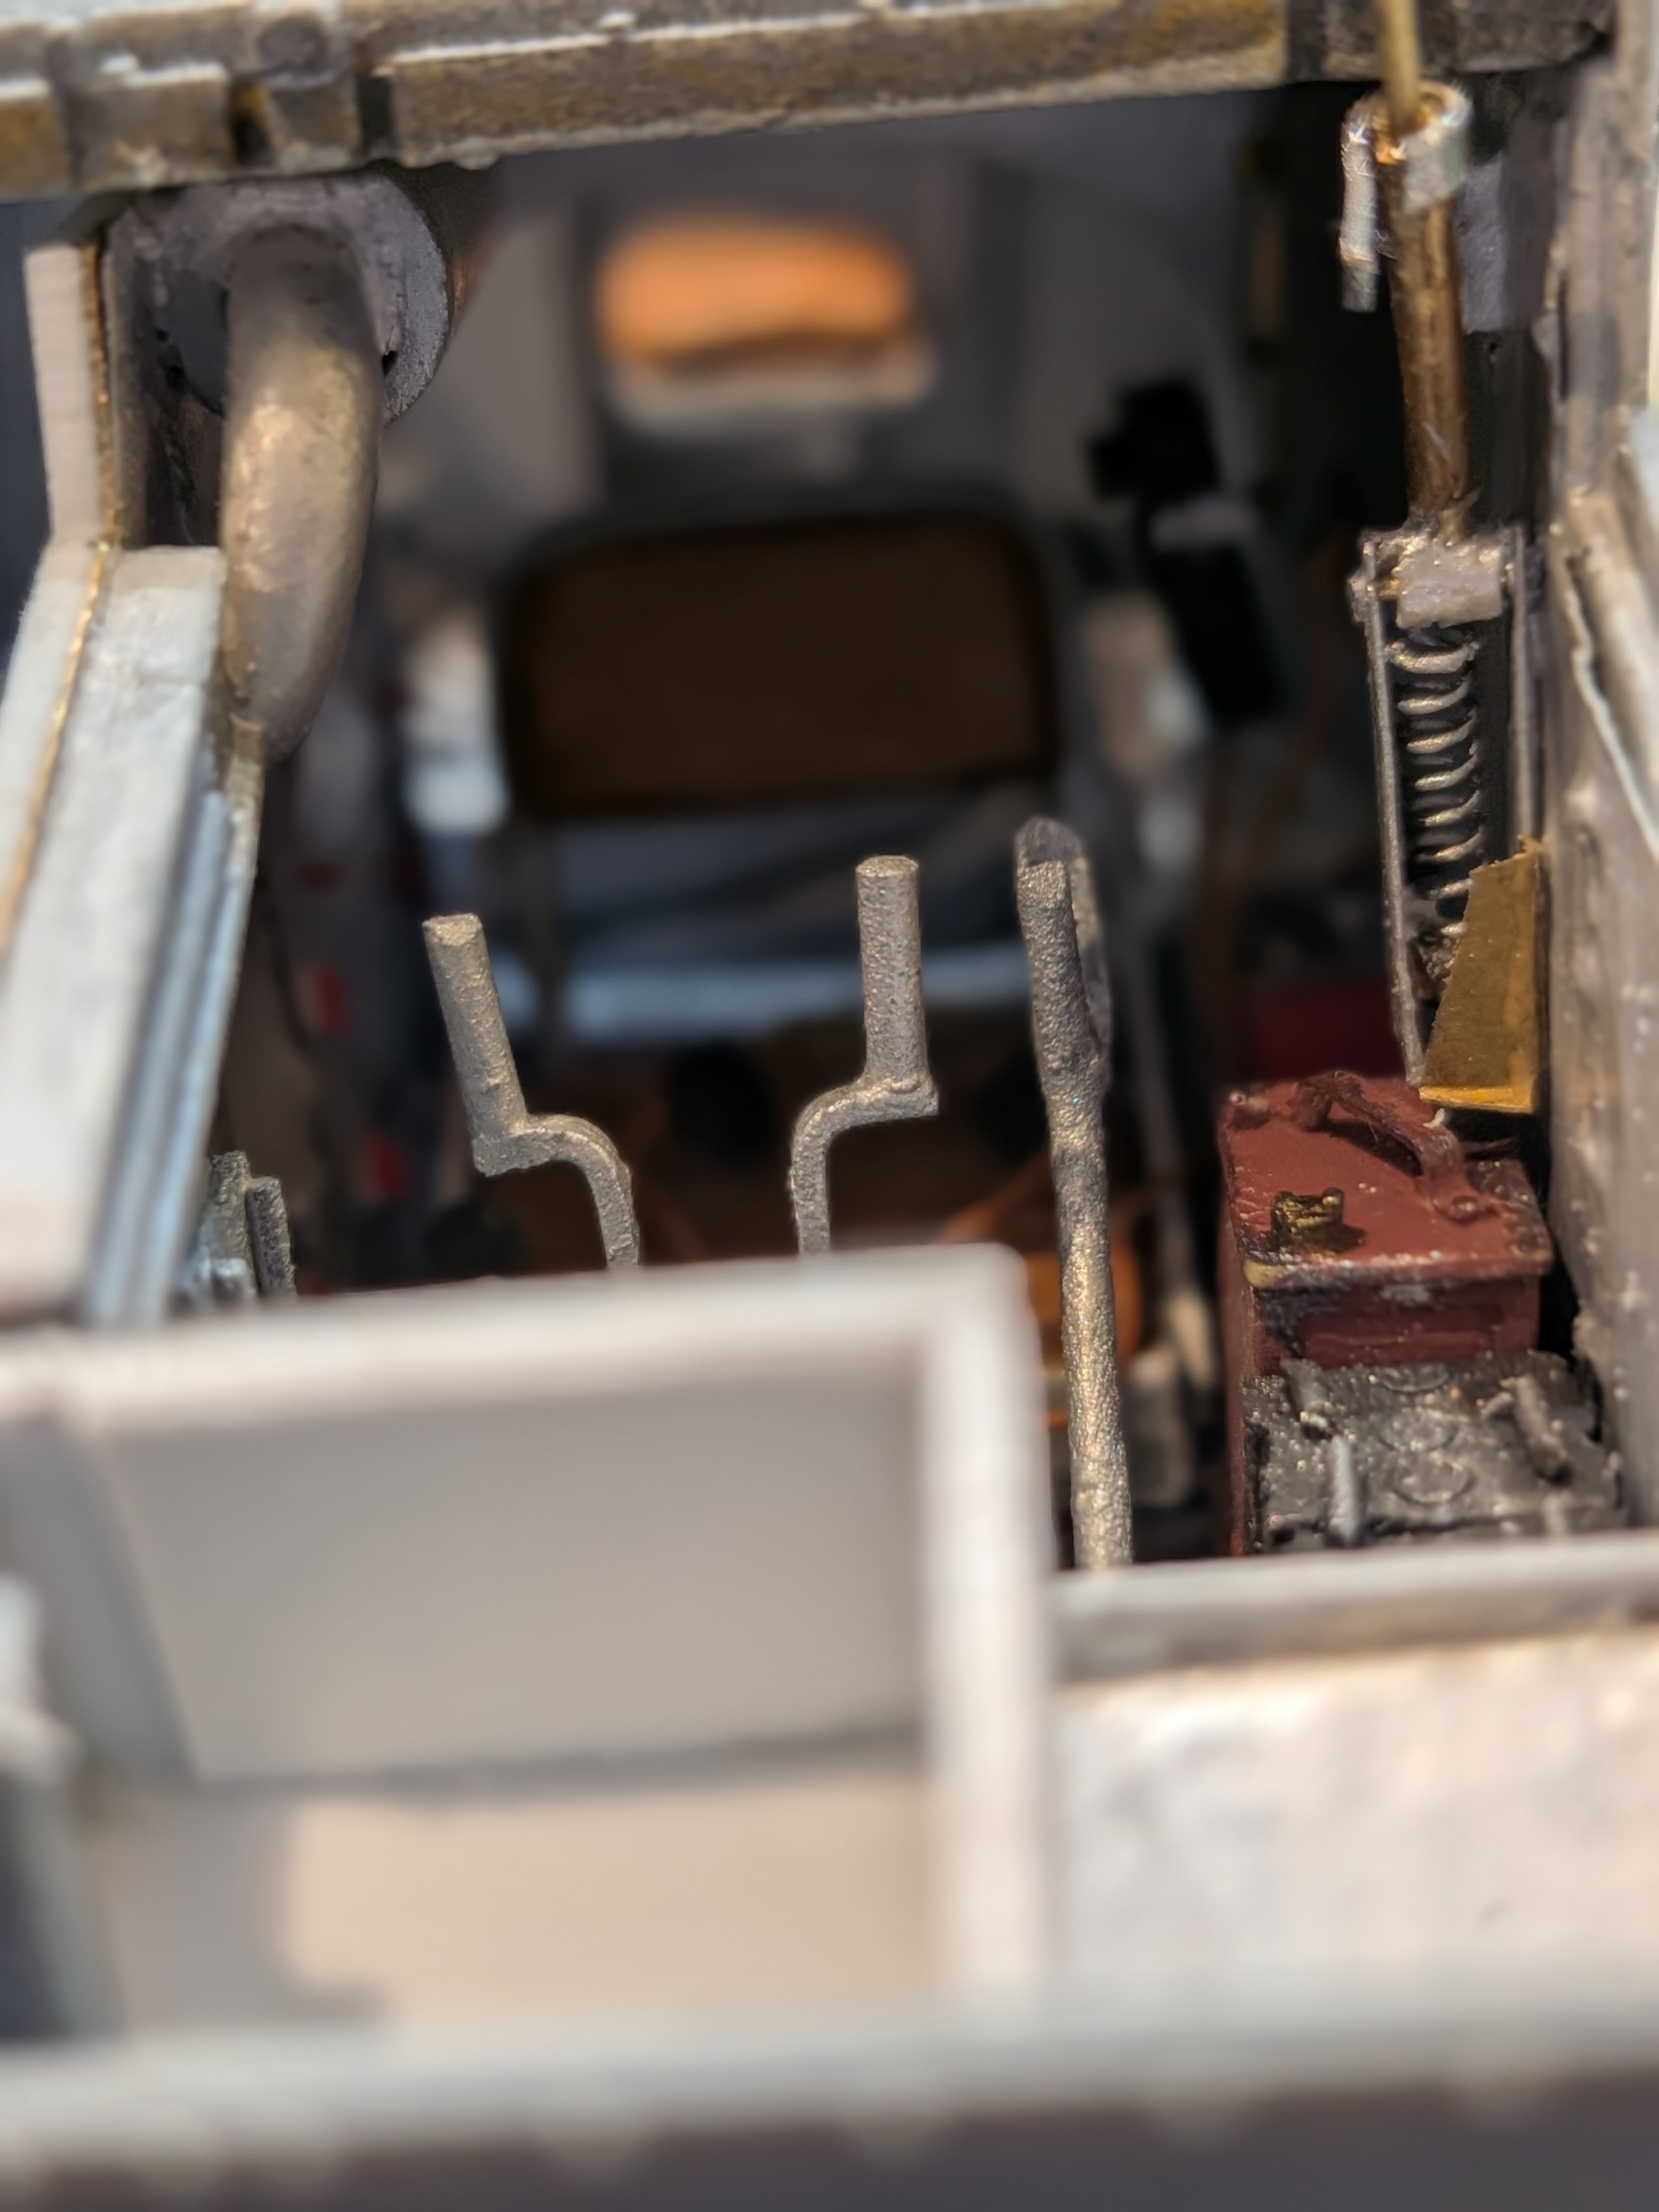
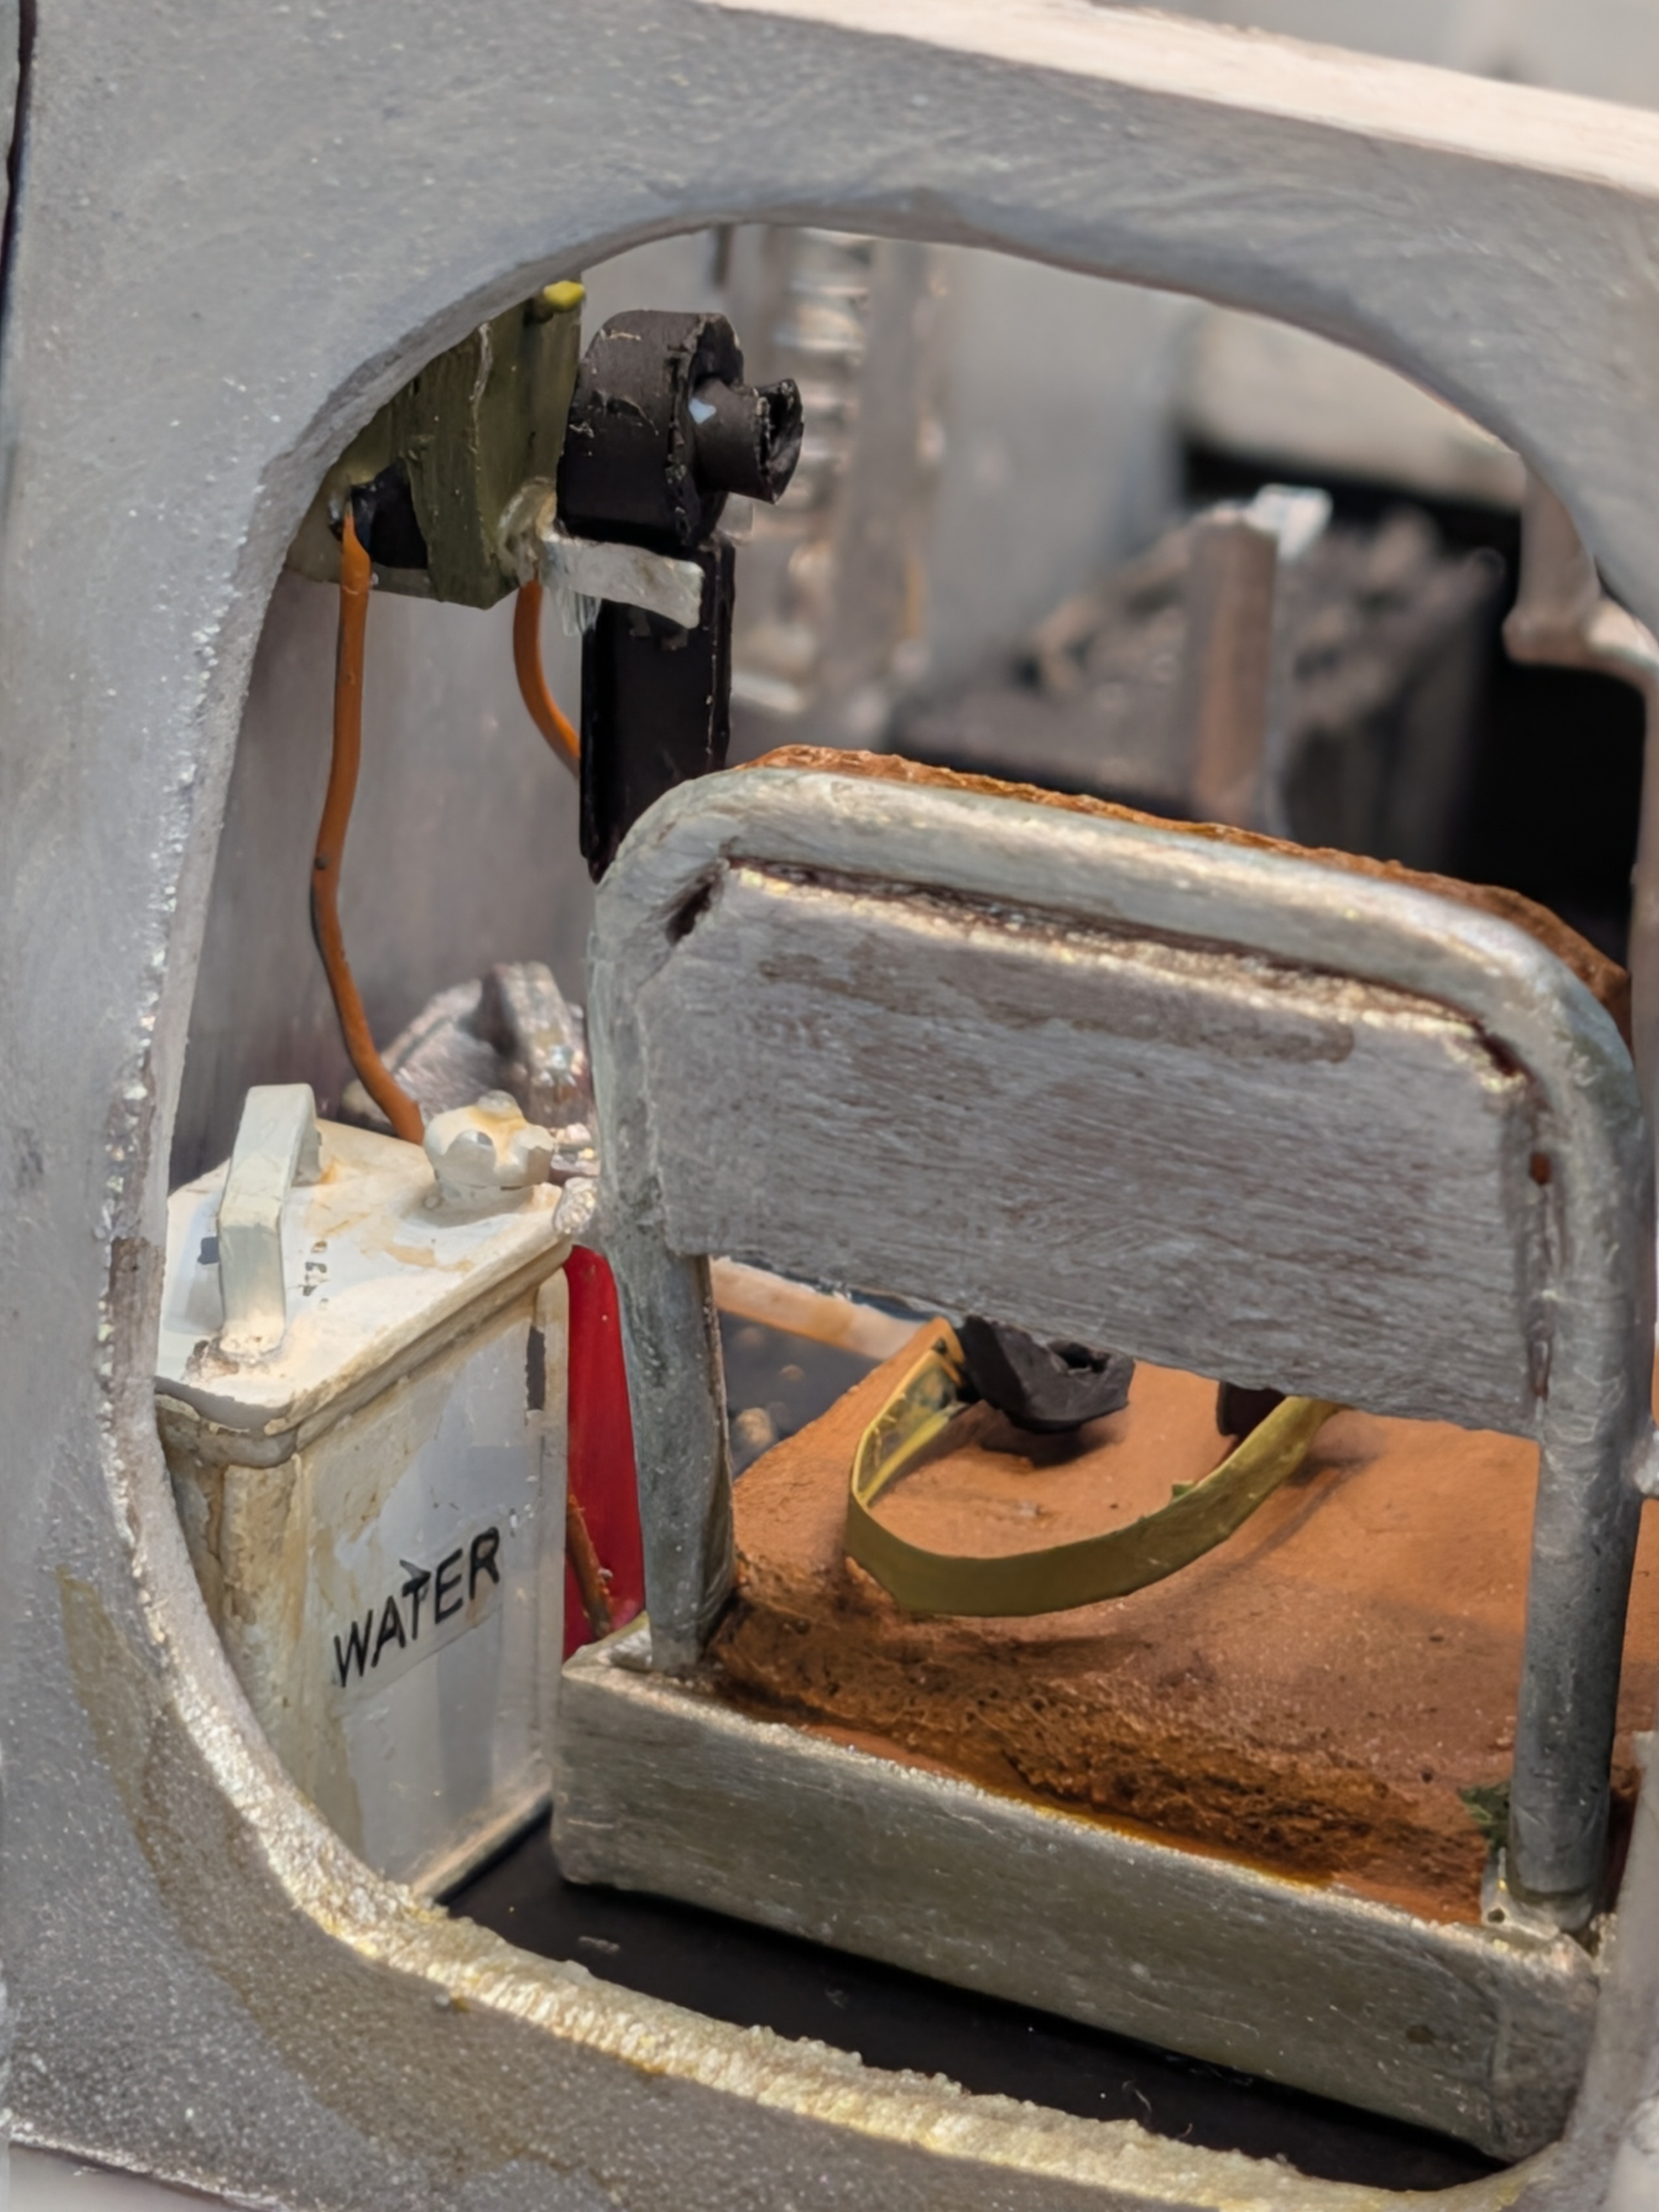
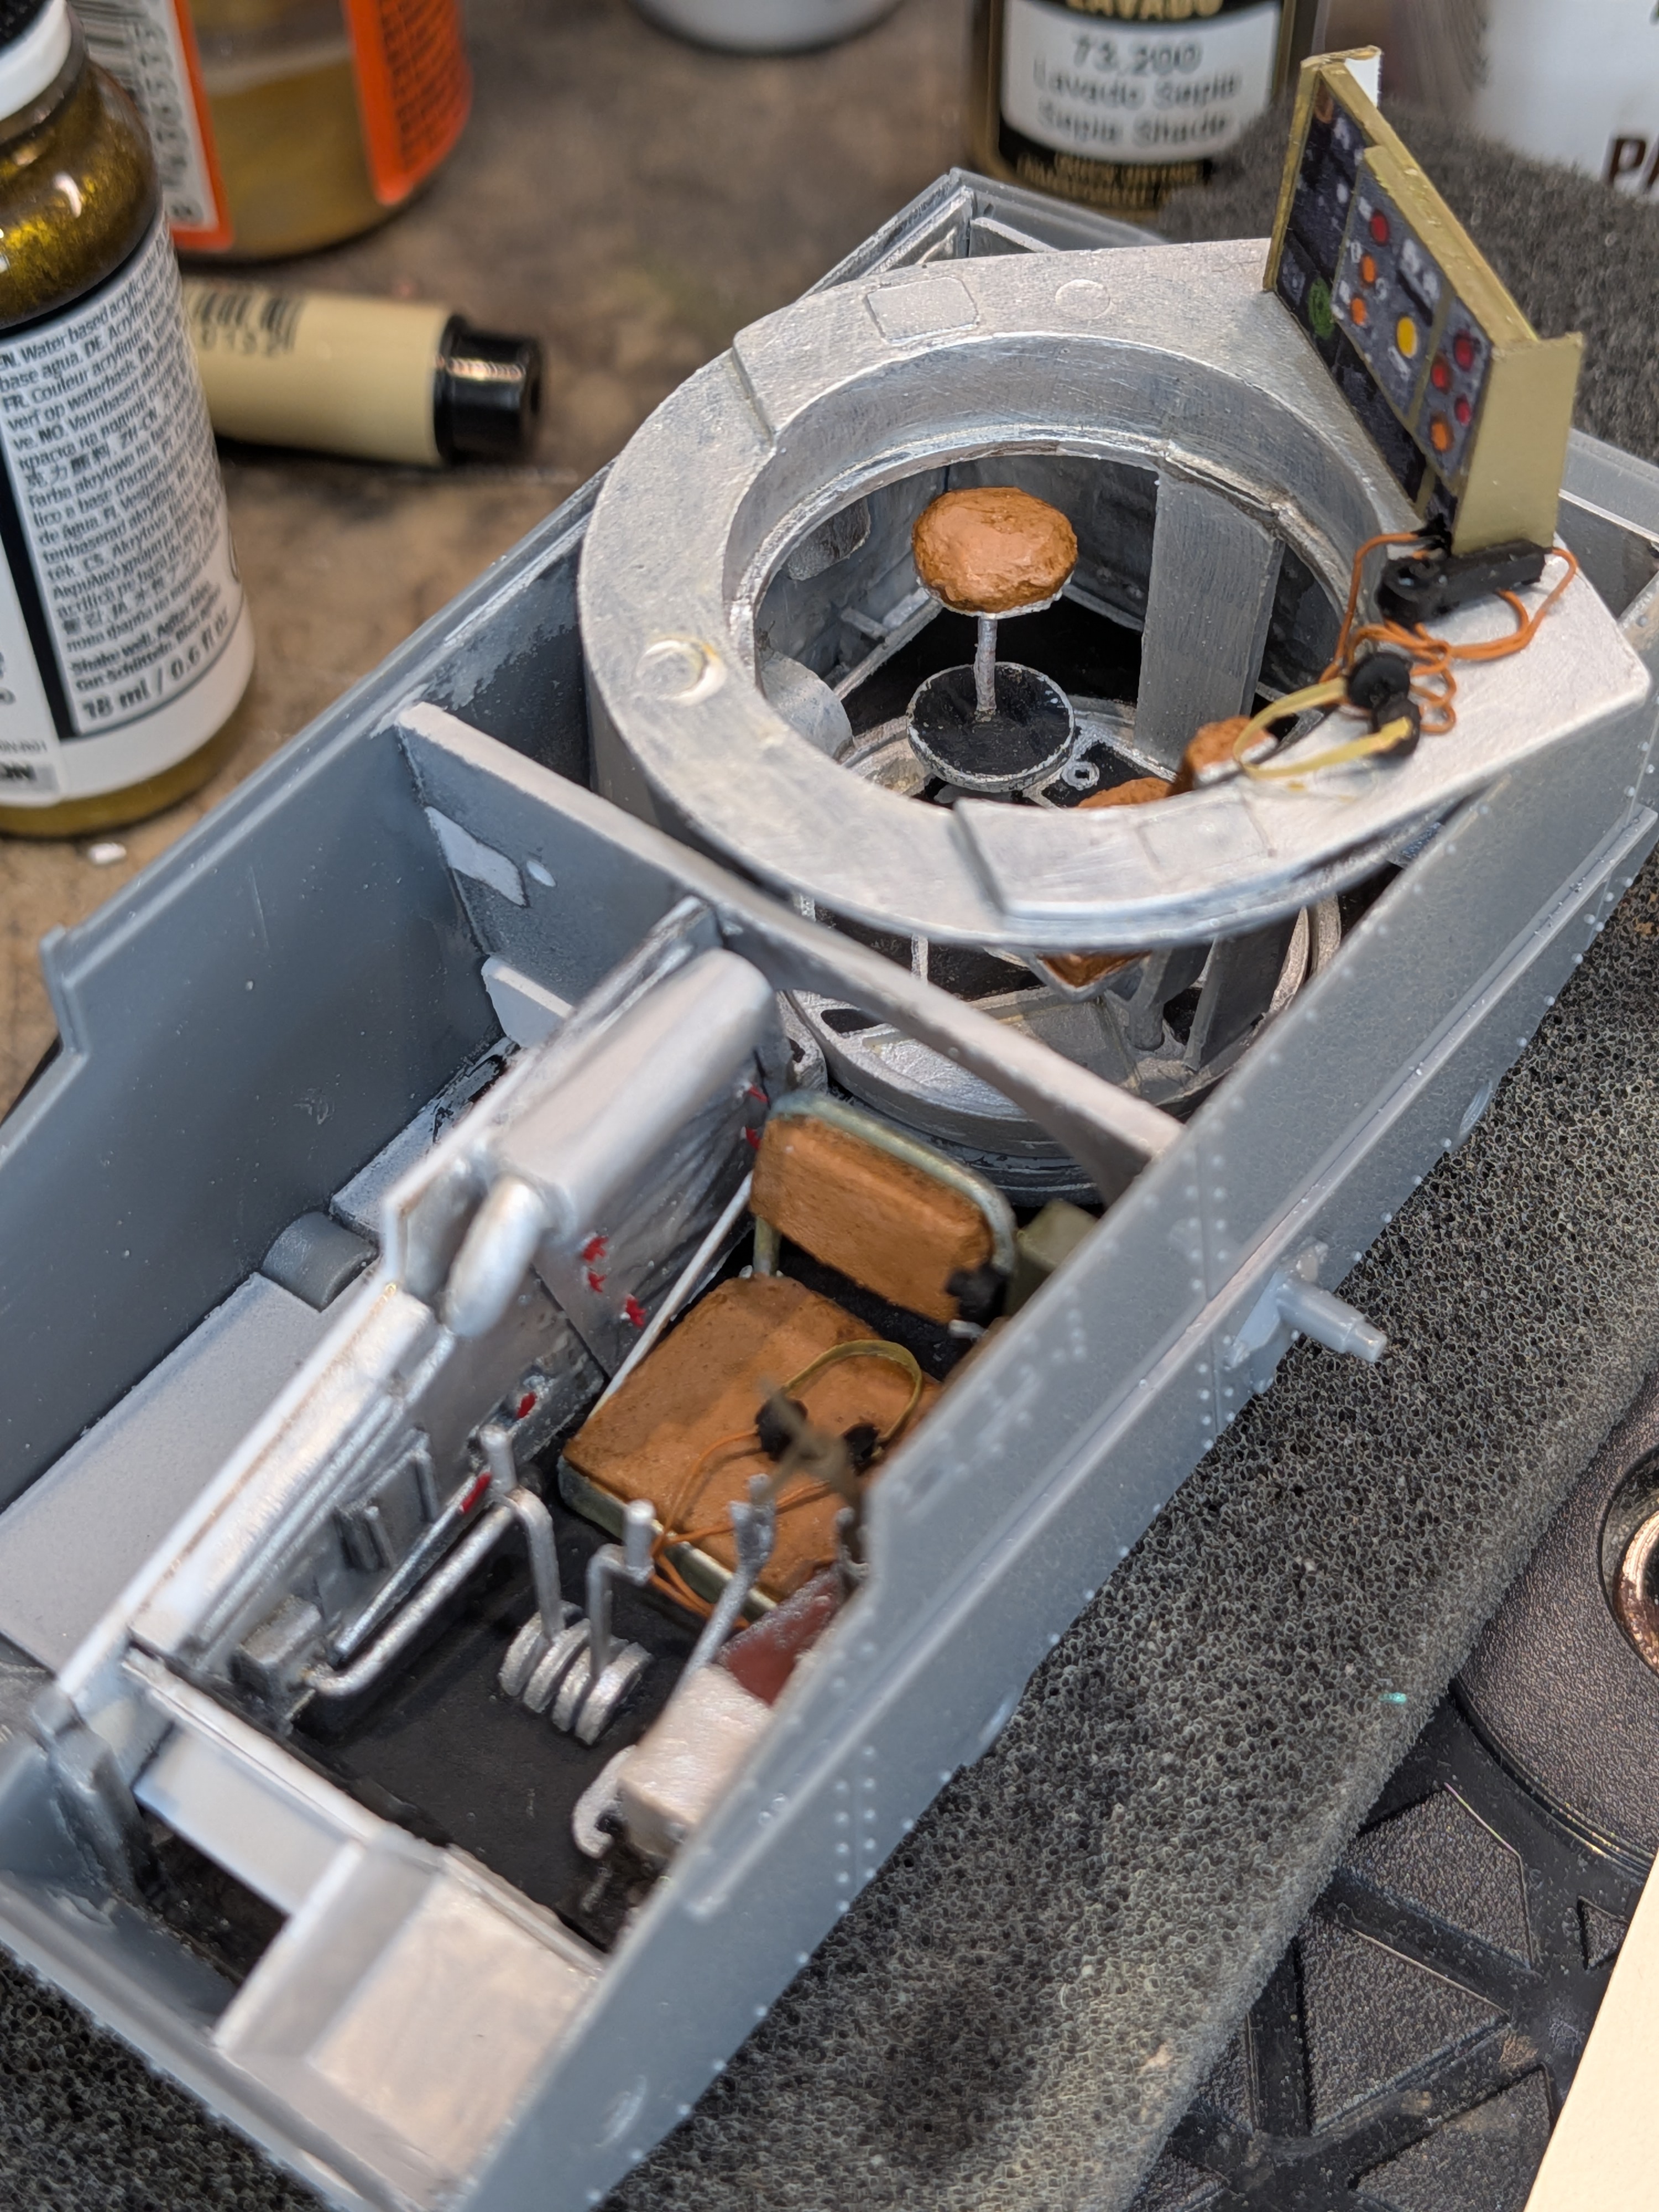
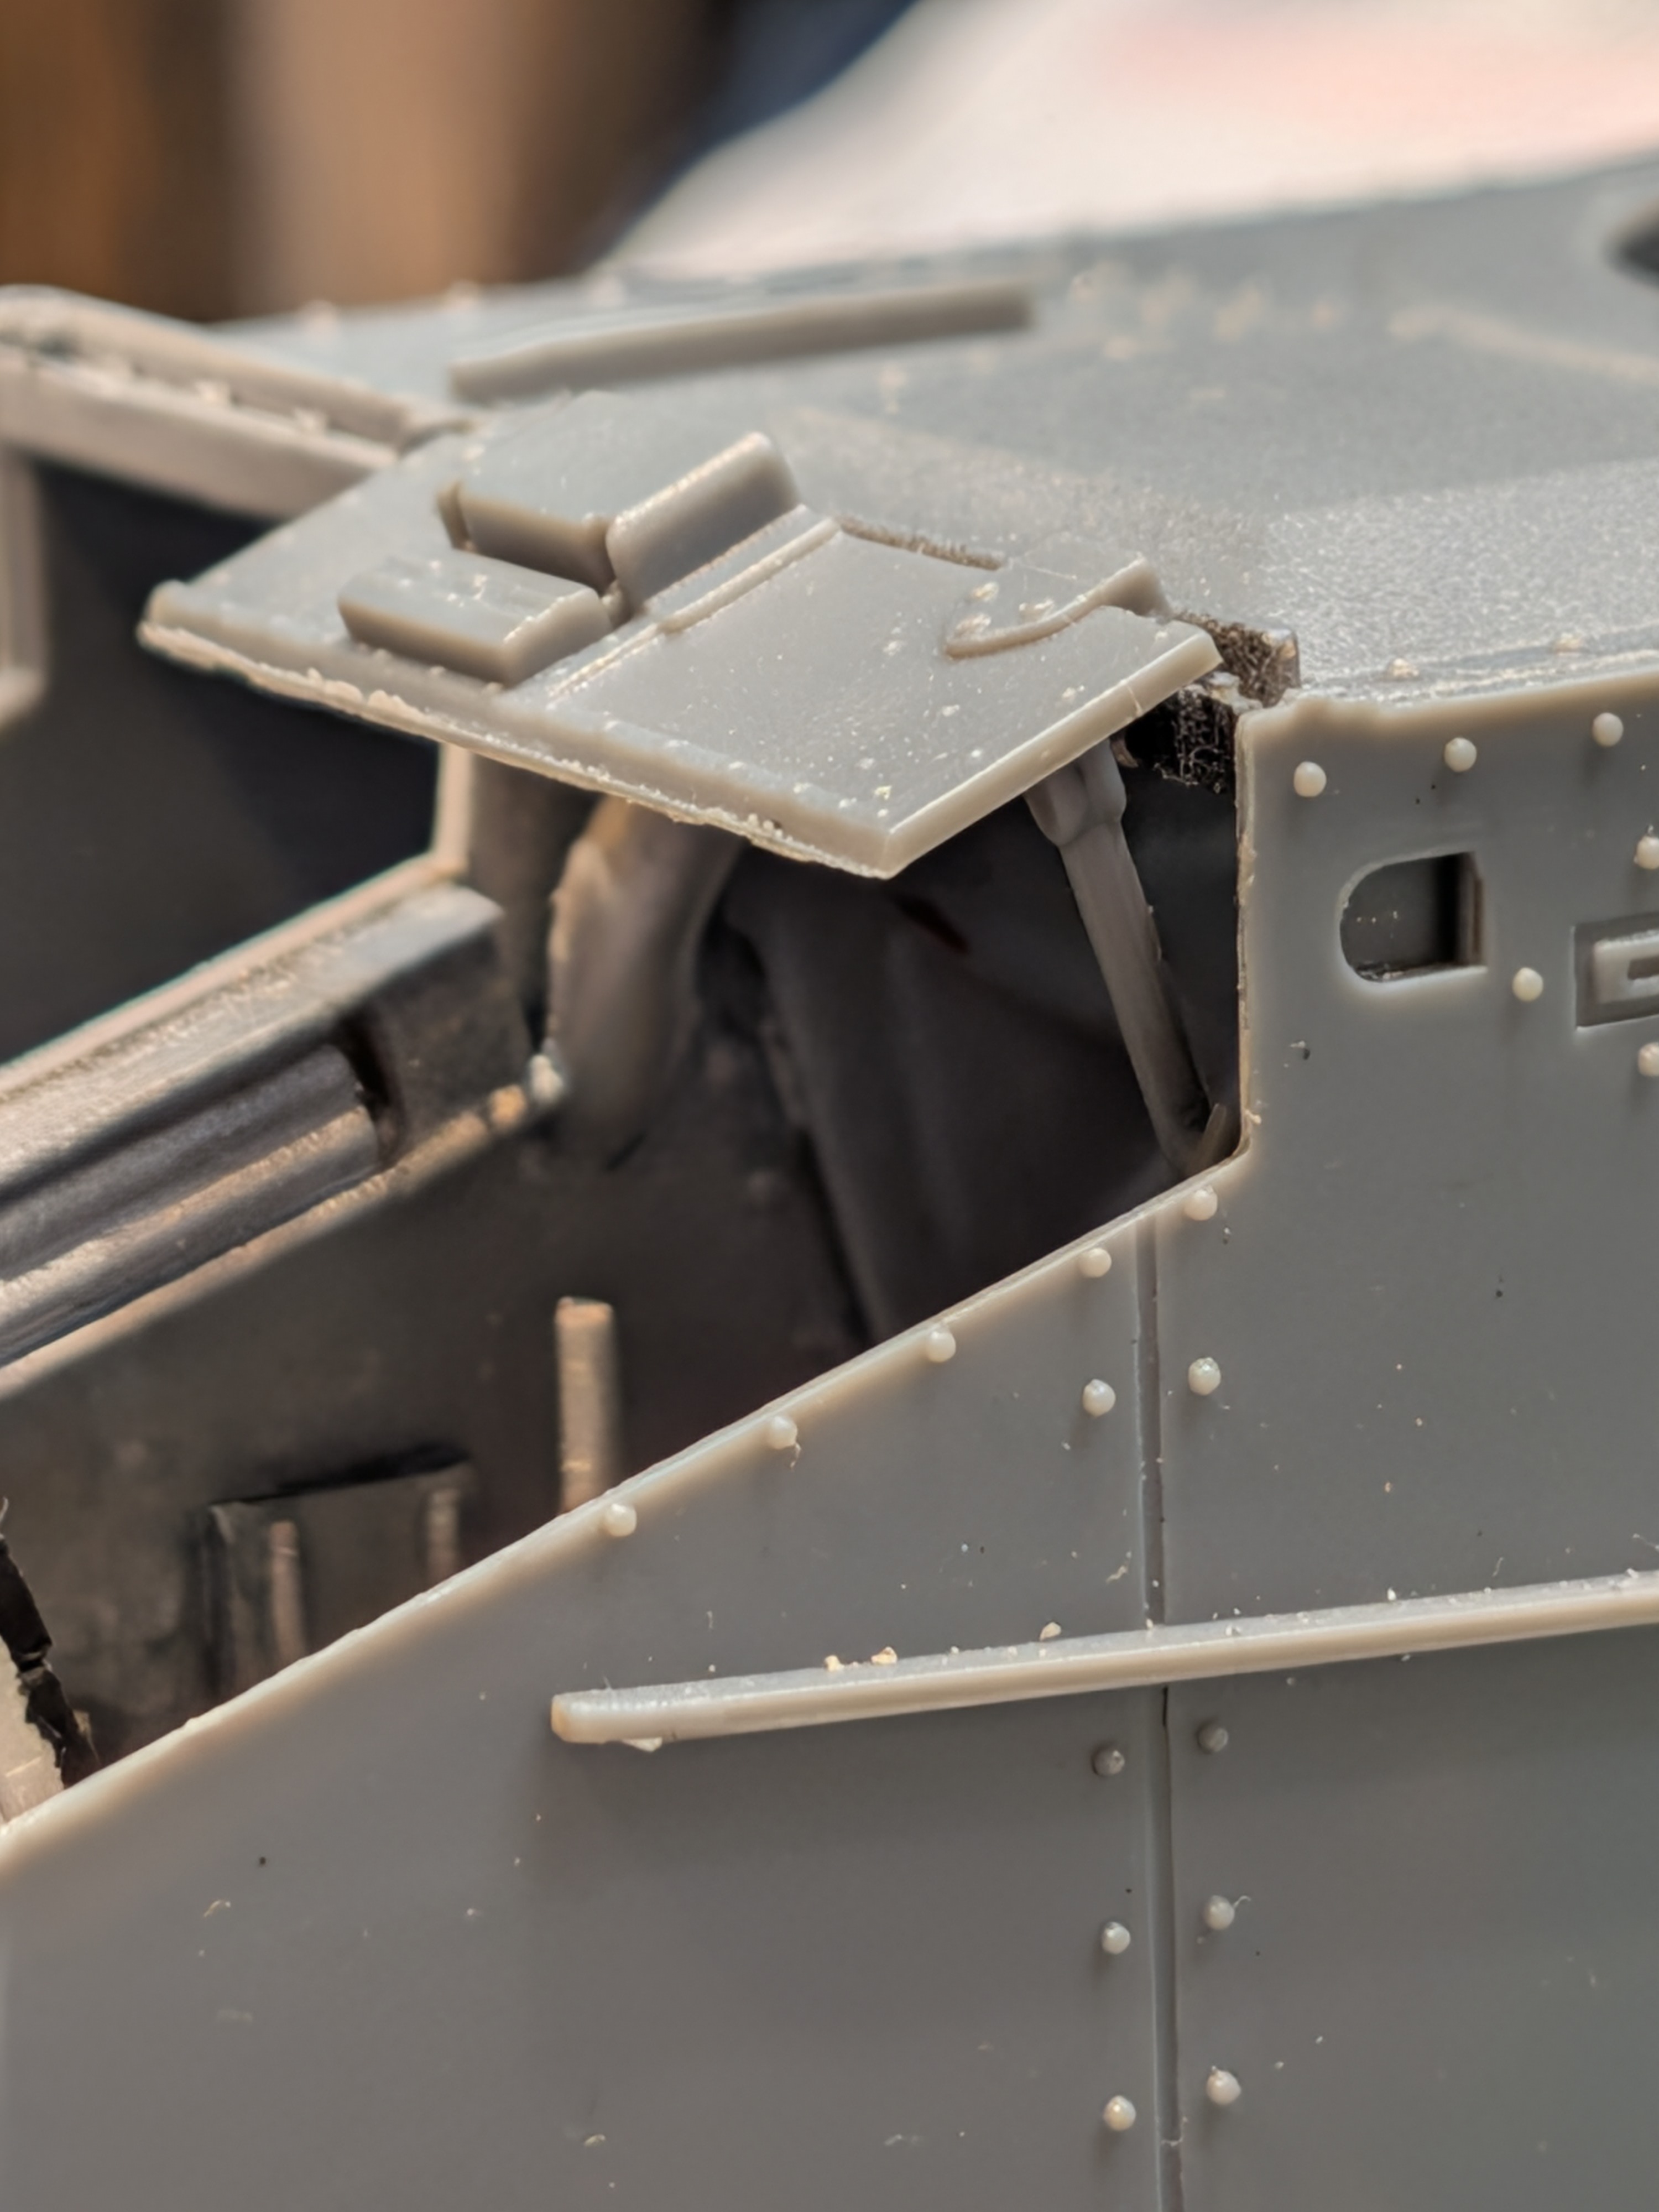
So. Building to kit specs, this is the maximum the driver's hatch can be opened.
3466.jpg

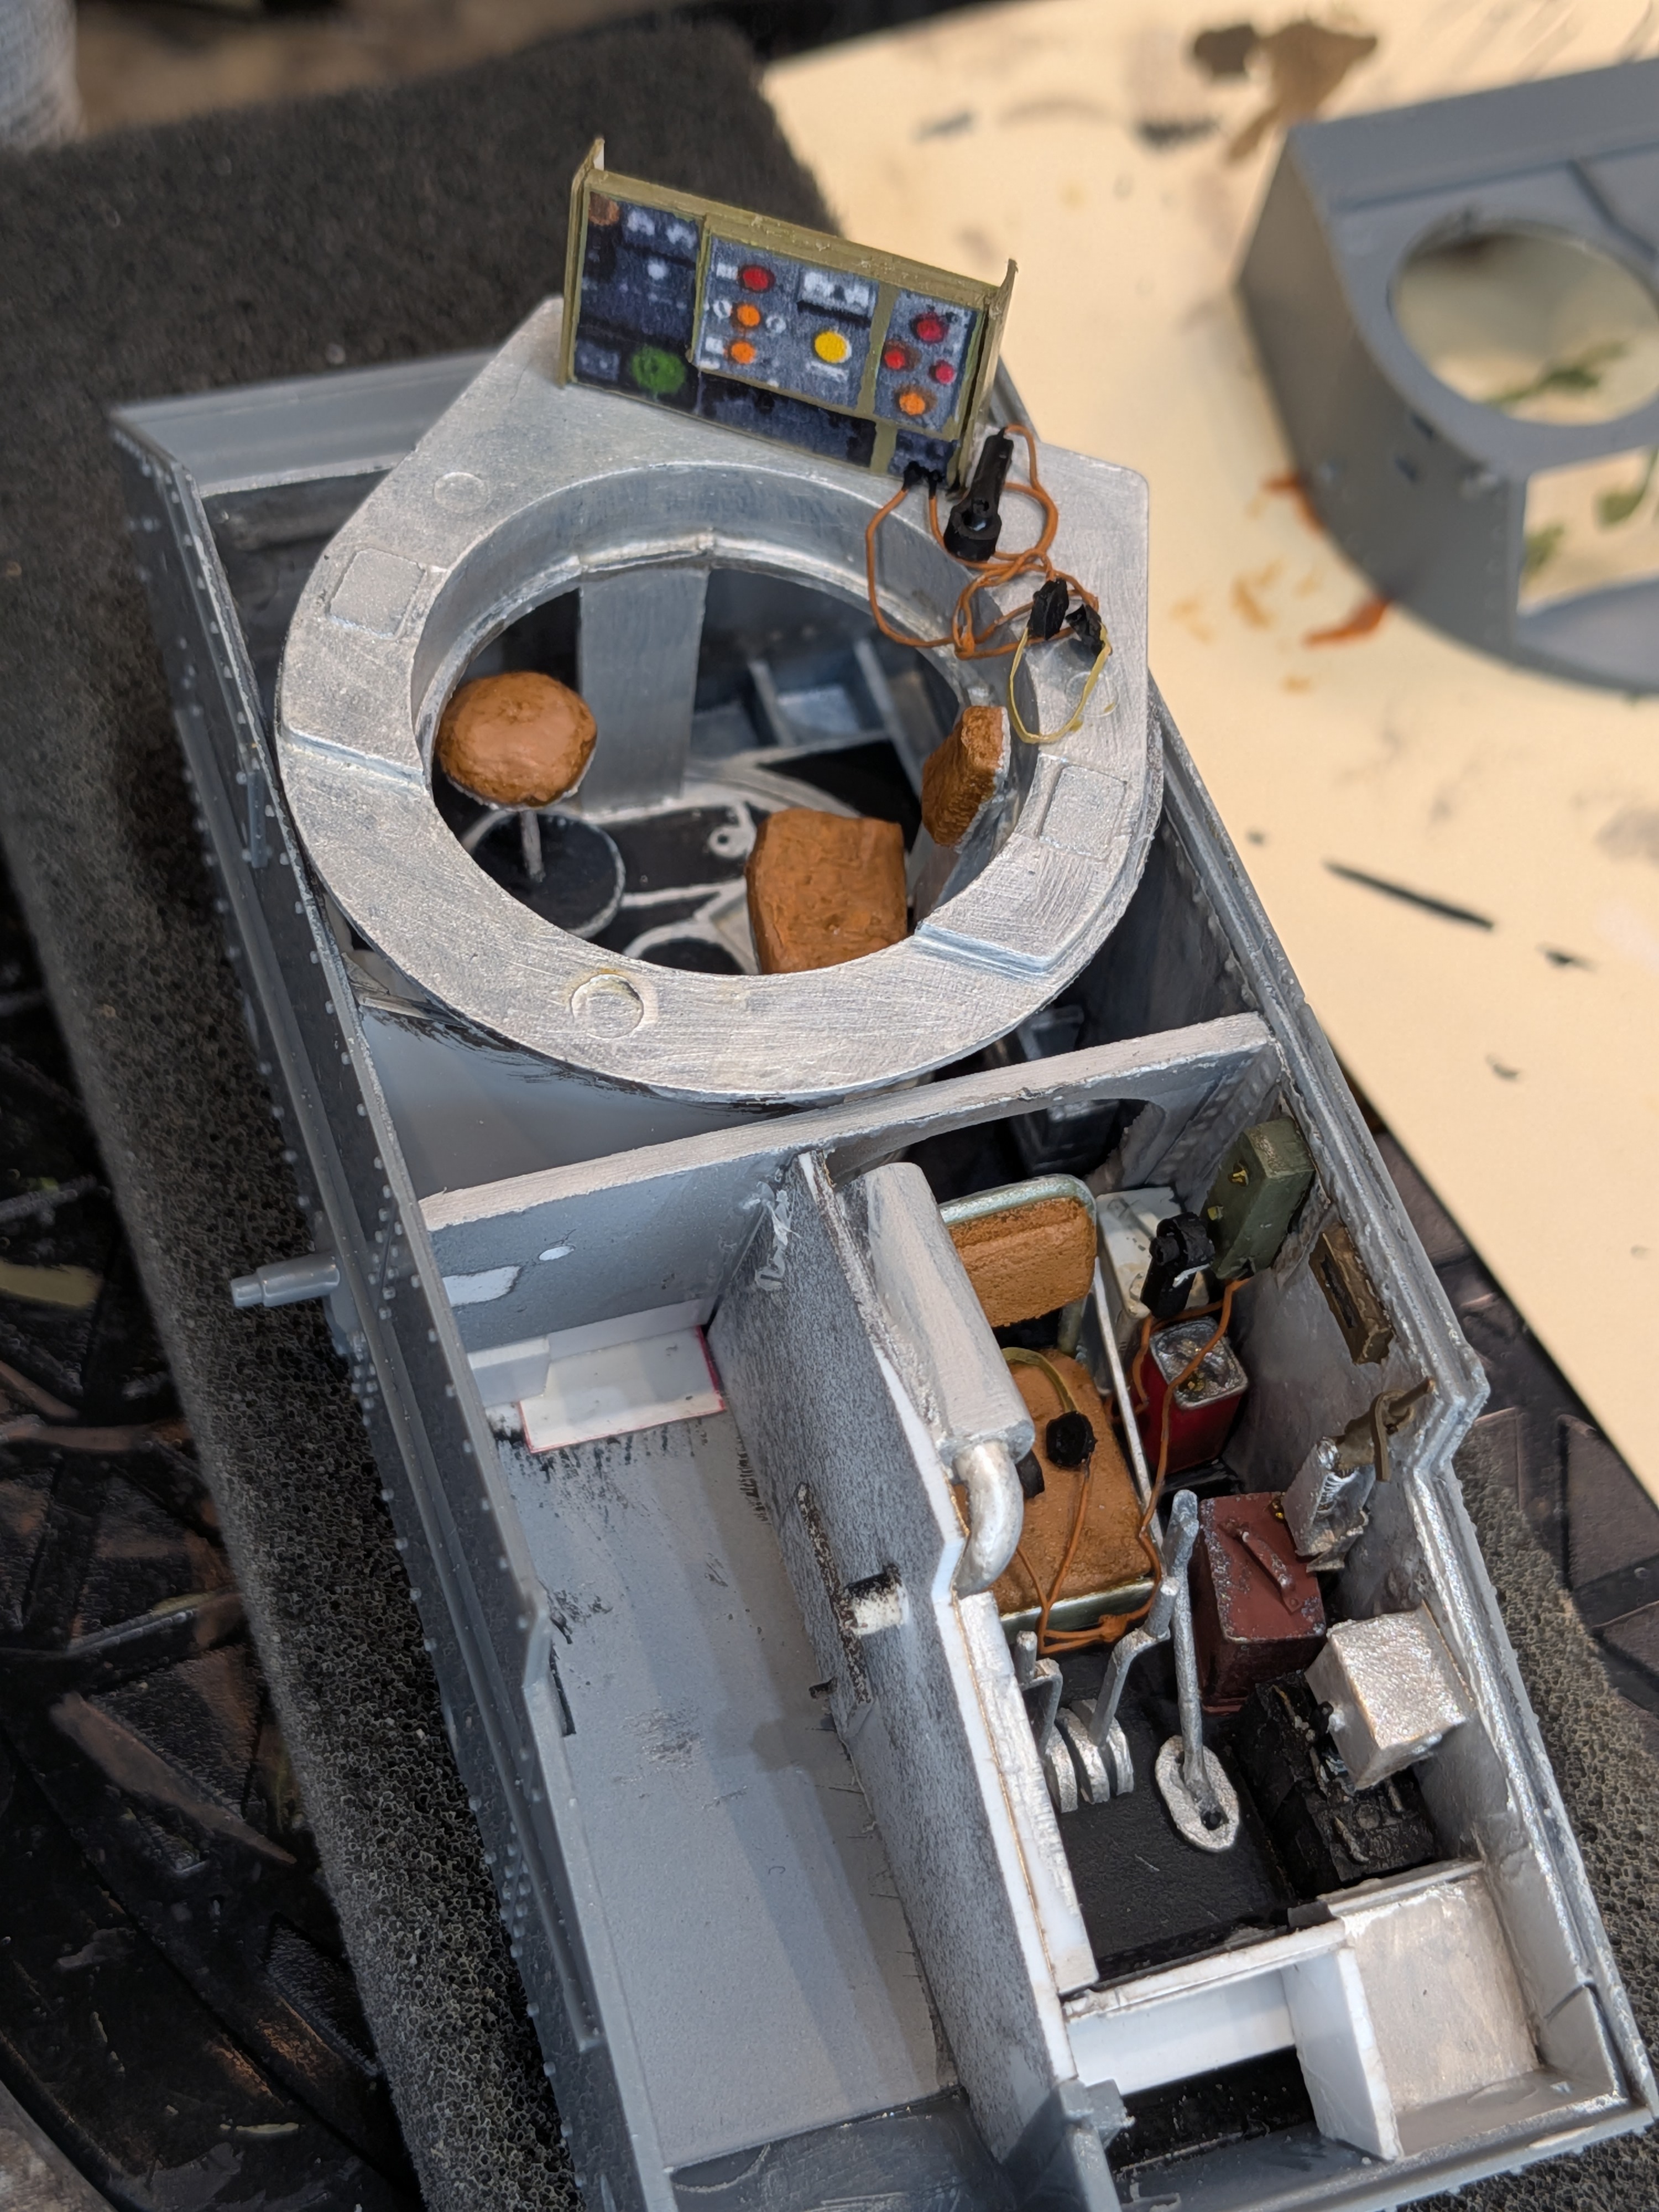
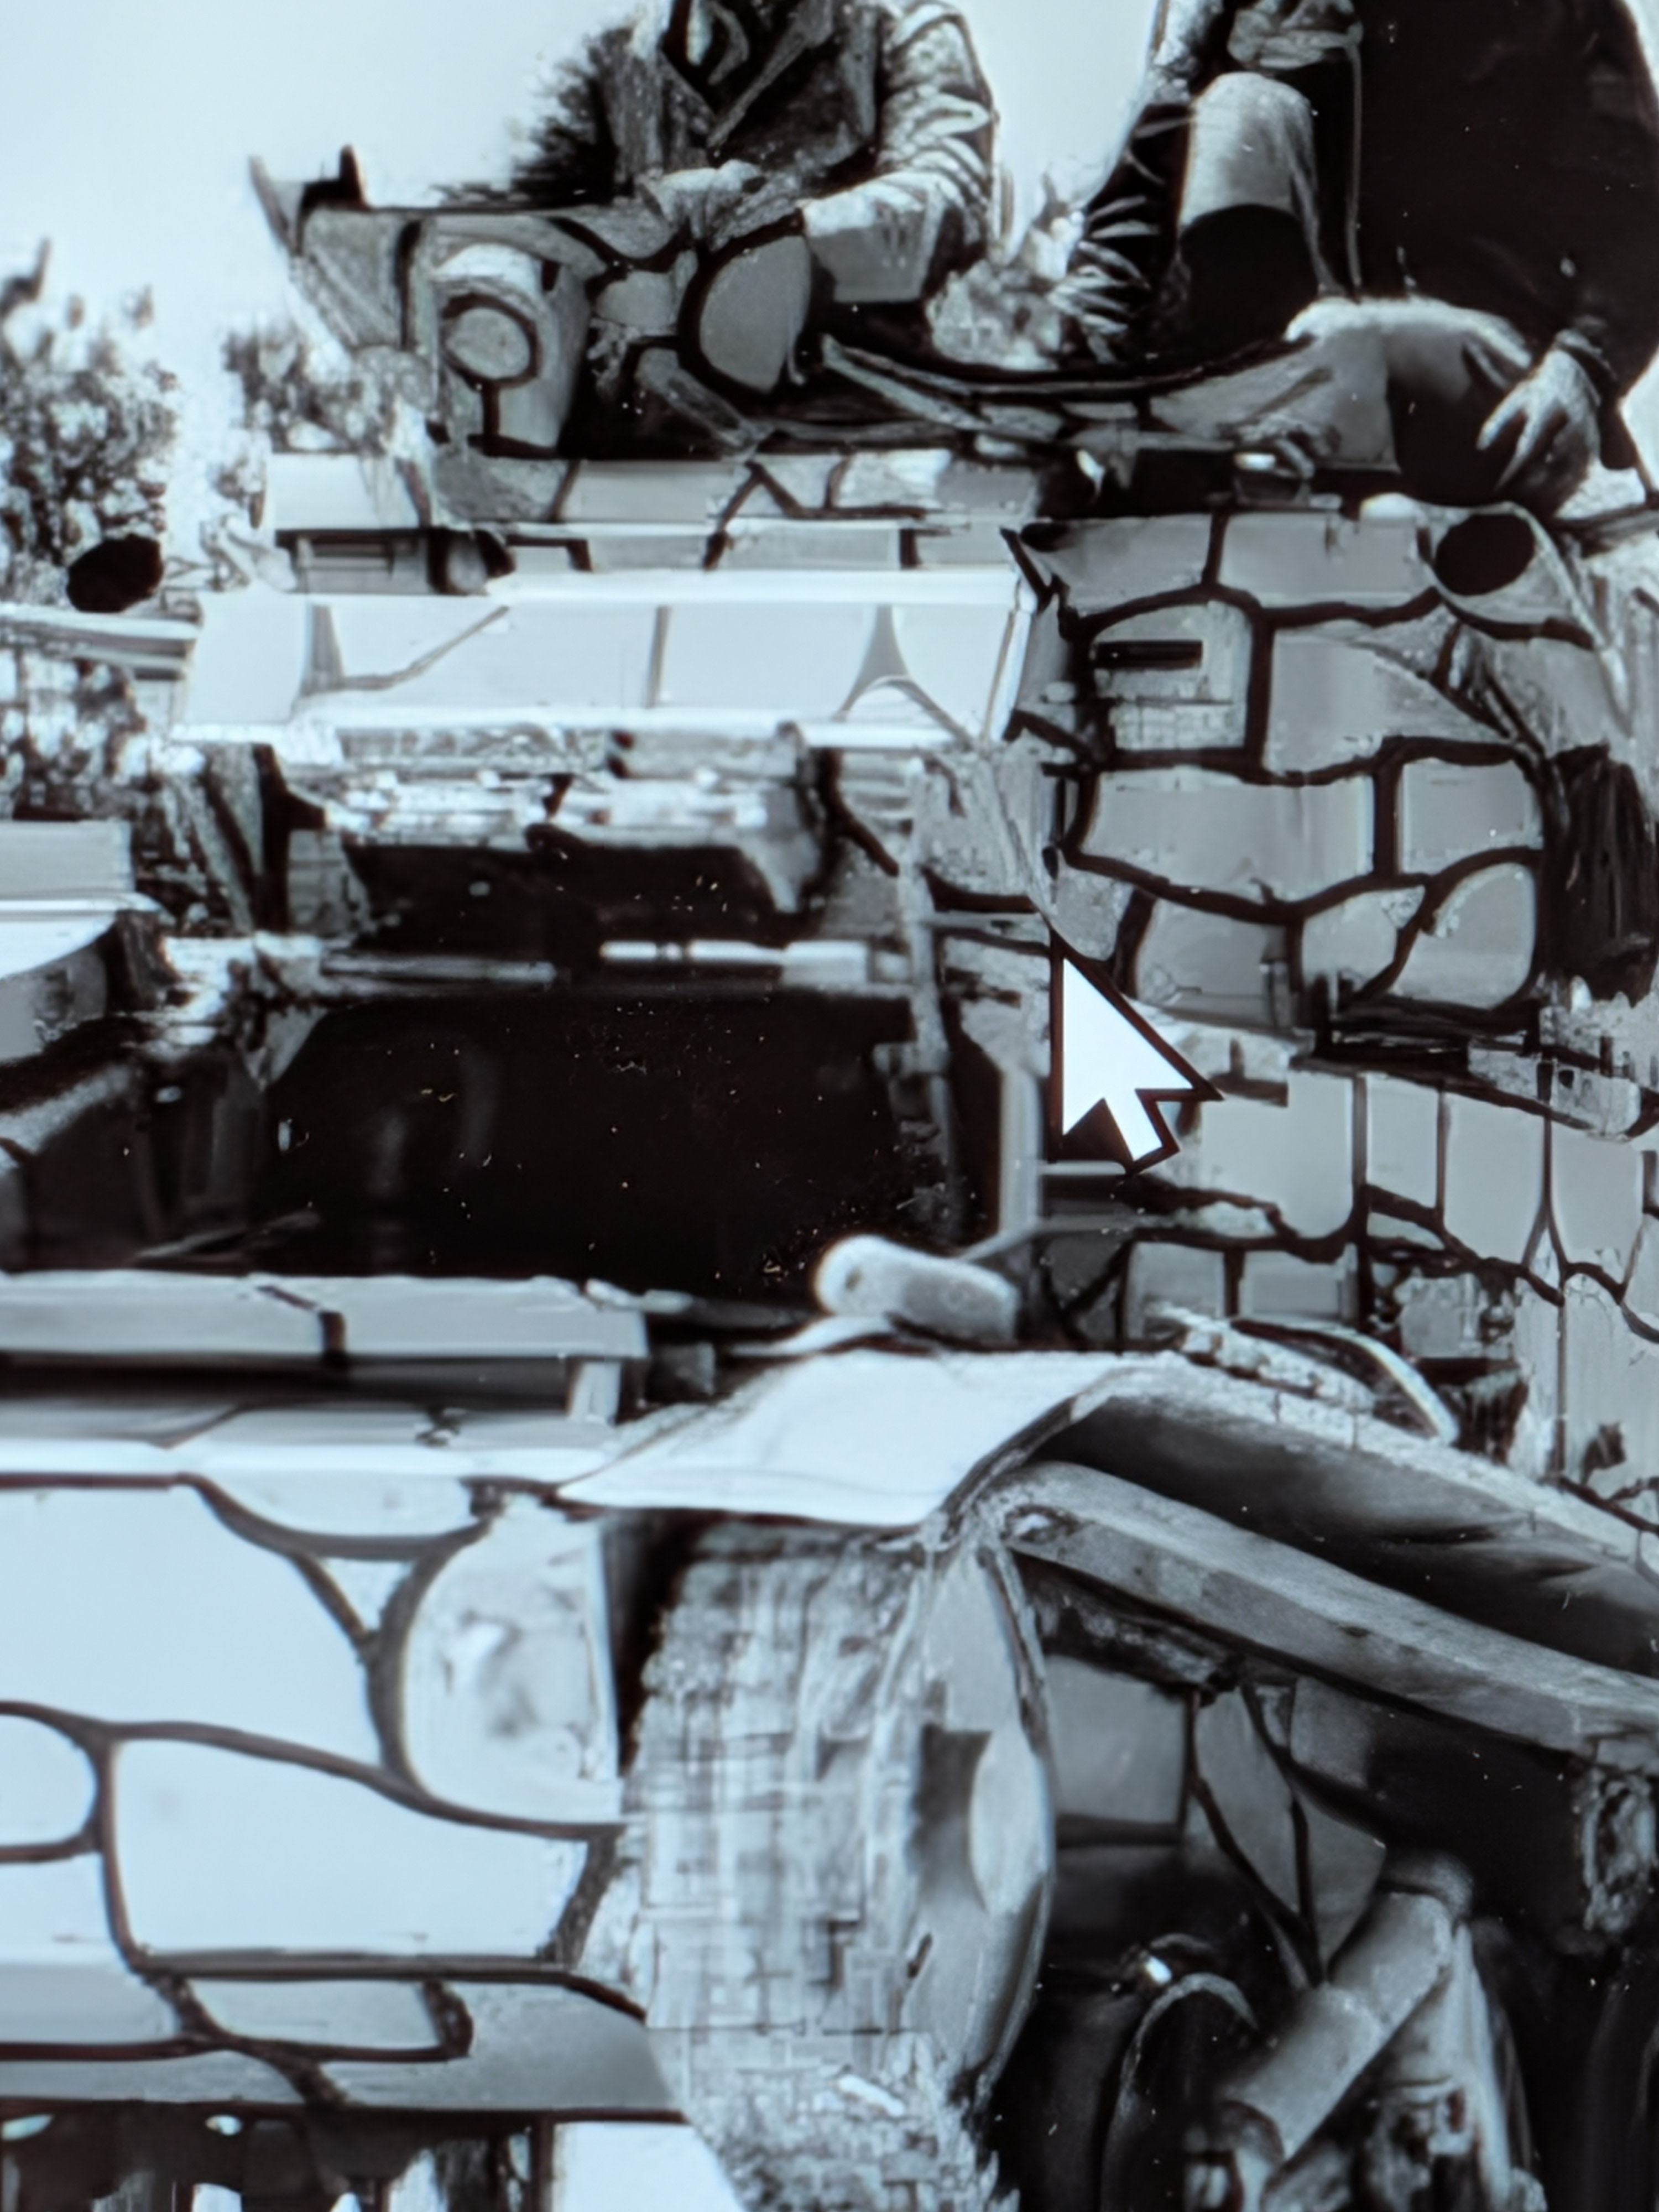
Now that I've put so much effort into the interior, what I really want is this:
3468.jpg

Almost a full 90° more arc in the upward swing.
Note the camo painted on inside of hatch panels!
 
So. Building to kit specs, this is the maximum the driver's hatch can be opened.

View attachment 194170
Now that I've put so much effort into the interior, what I really want is this:

View attachment 194192
Almost a full 90° more arc in the upward swing.
Note the camo painted on inside of hatch panels!
I keep wanting to do a winter camo but don't.
 
As an Amazon Associate we earn from qualifying purchases. Product prices and availability are accurate as of the date/time indicated and are subject to change.
There's a blurred preview of that. It has Churchill Tank, Chaffee, MMG Carrier (the Universal Carrier variant, not the original MMG Carrier) and Loyd Carrier. Unfortunately, it doesn't seem to say anywhere how much it costs to get access to the patron-only areas.
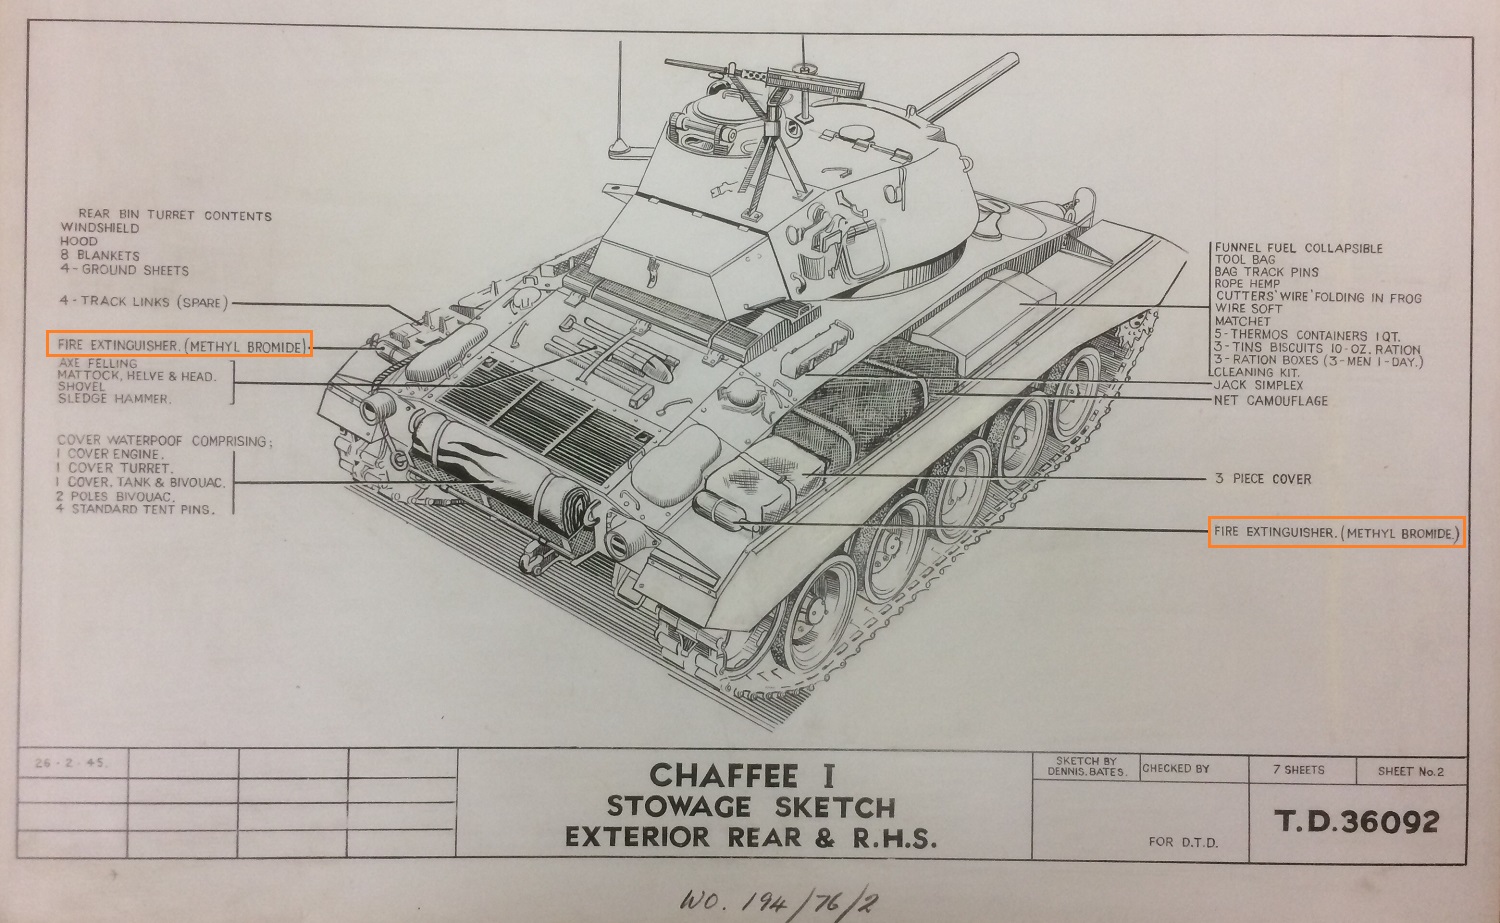
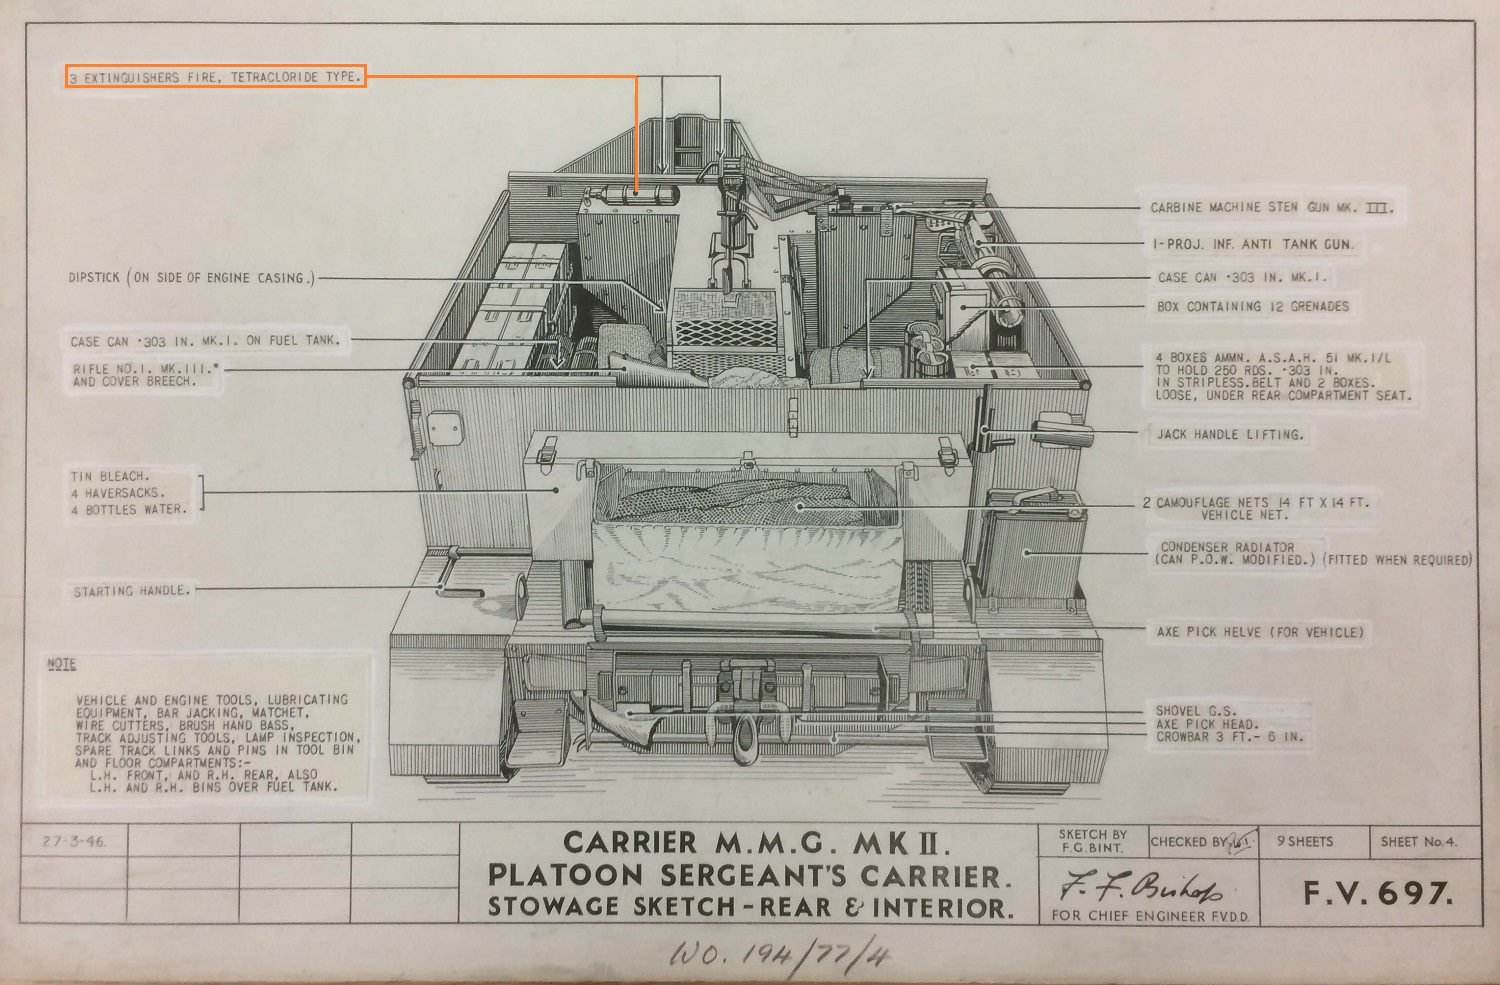
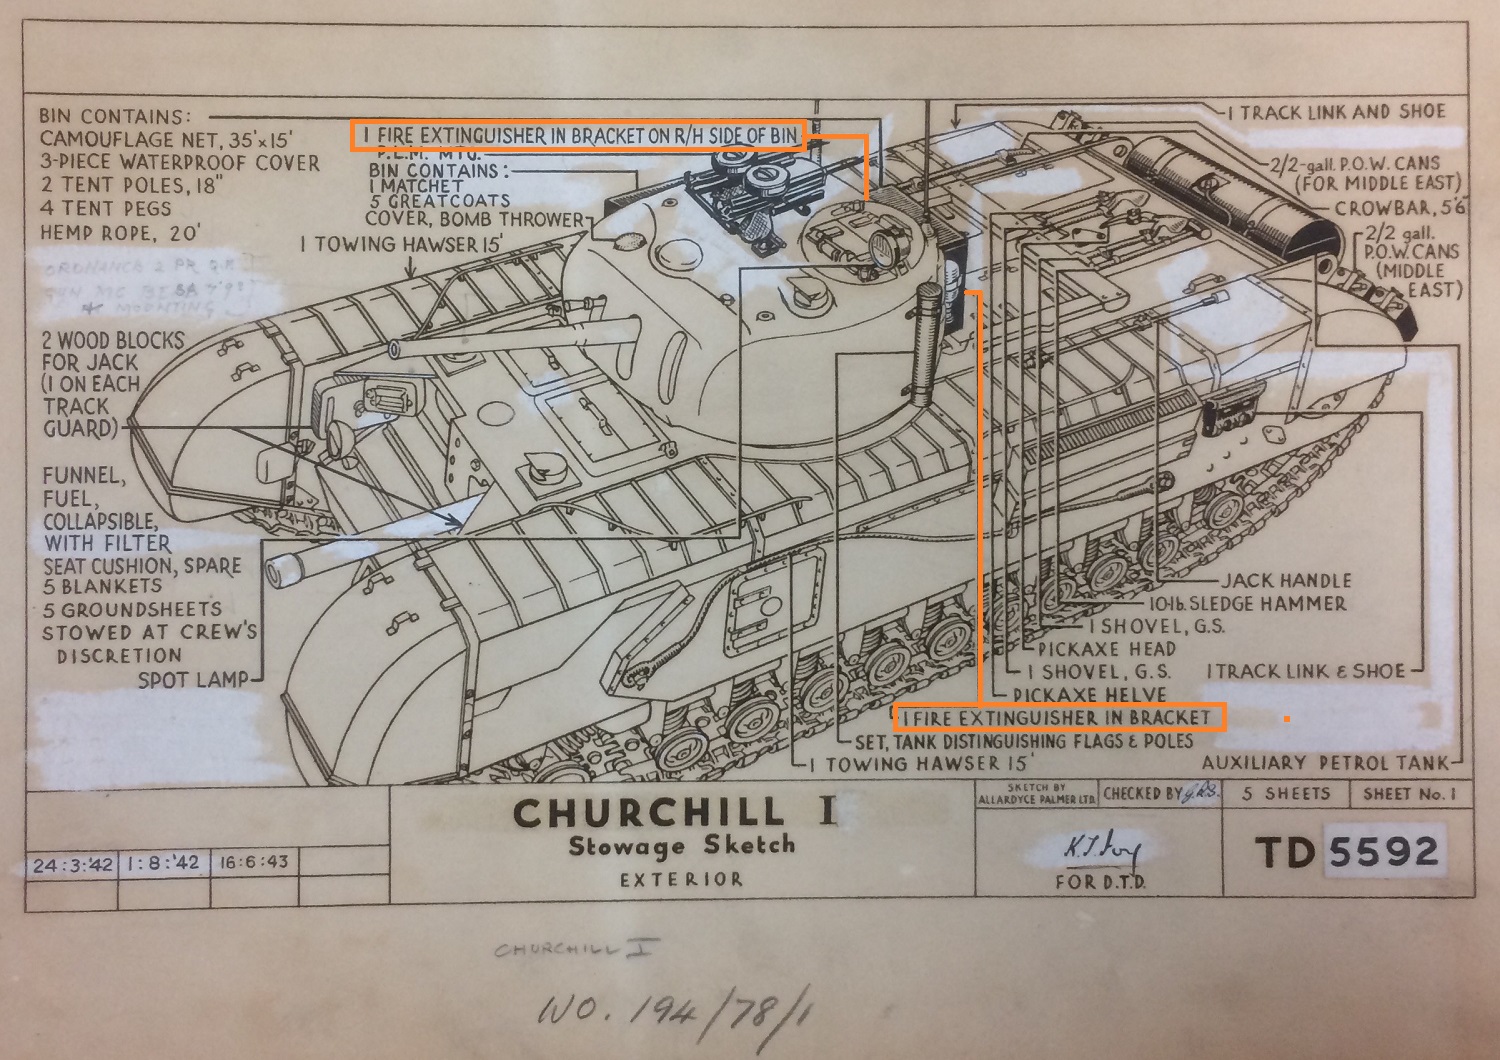
$11 AUD a month, so I signed on and there is a trove of great stuff in the manuals section. On the FE topic I came across these diagrams, showing early and late types.
TD 36092-Chaffee I-stowage sketch-Exterior Rear & RHS-IMG_5939-ed.jpg
F.V. 697-Carrier MMG-Mk.II-Stowage sketch-Platoon Sergeant's Carrier-Rear & Interior-IMG_5946-ed.jpg
TD 5592-Churchill I-stowage sketch-Exterior-IMG_5934-ed.jpg
 
I seem to have lost all images??? No image links seem to work?:(

This XML file does not appear to have any style information associated with it. The document tree is shown below.

<Error>
<Code>AccessDenied</Code>
<Message>Access Denied</Message>
</Error>
 
Last edited:
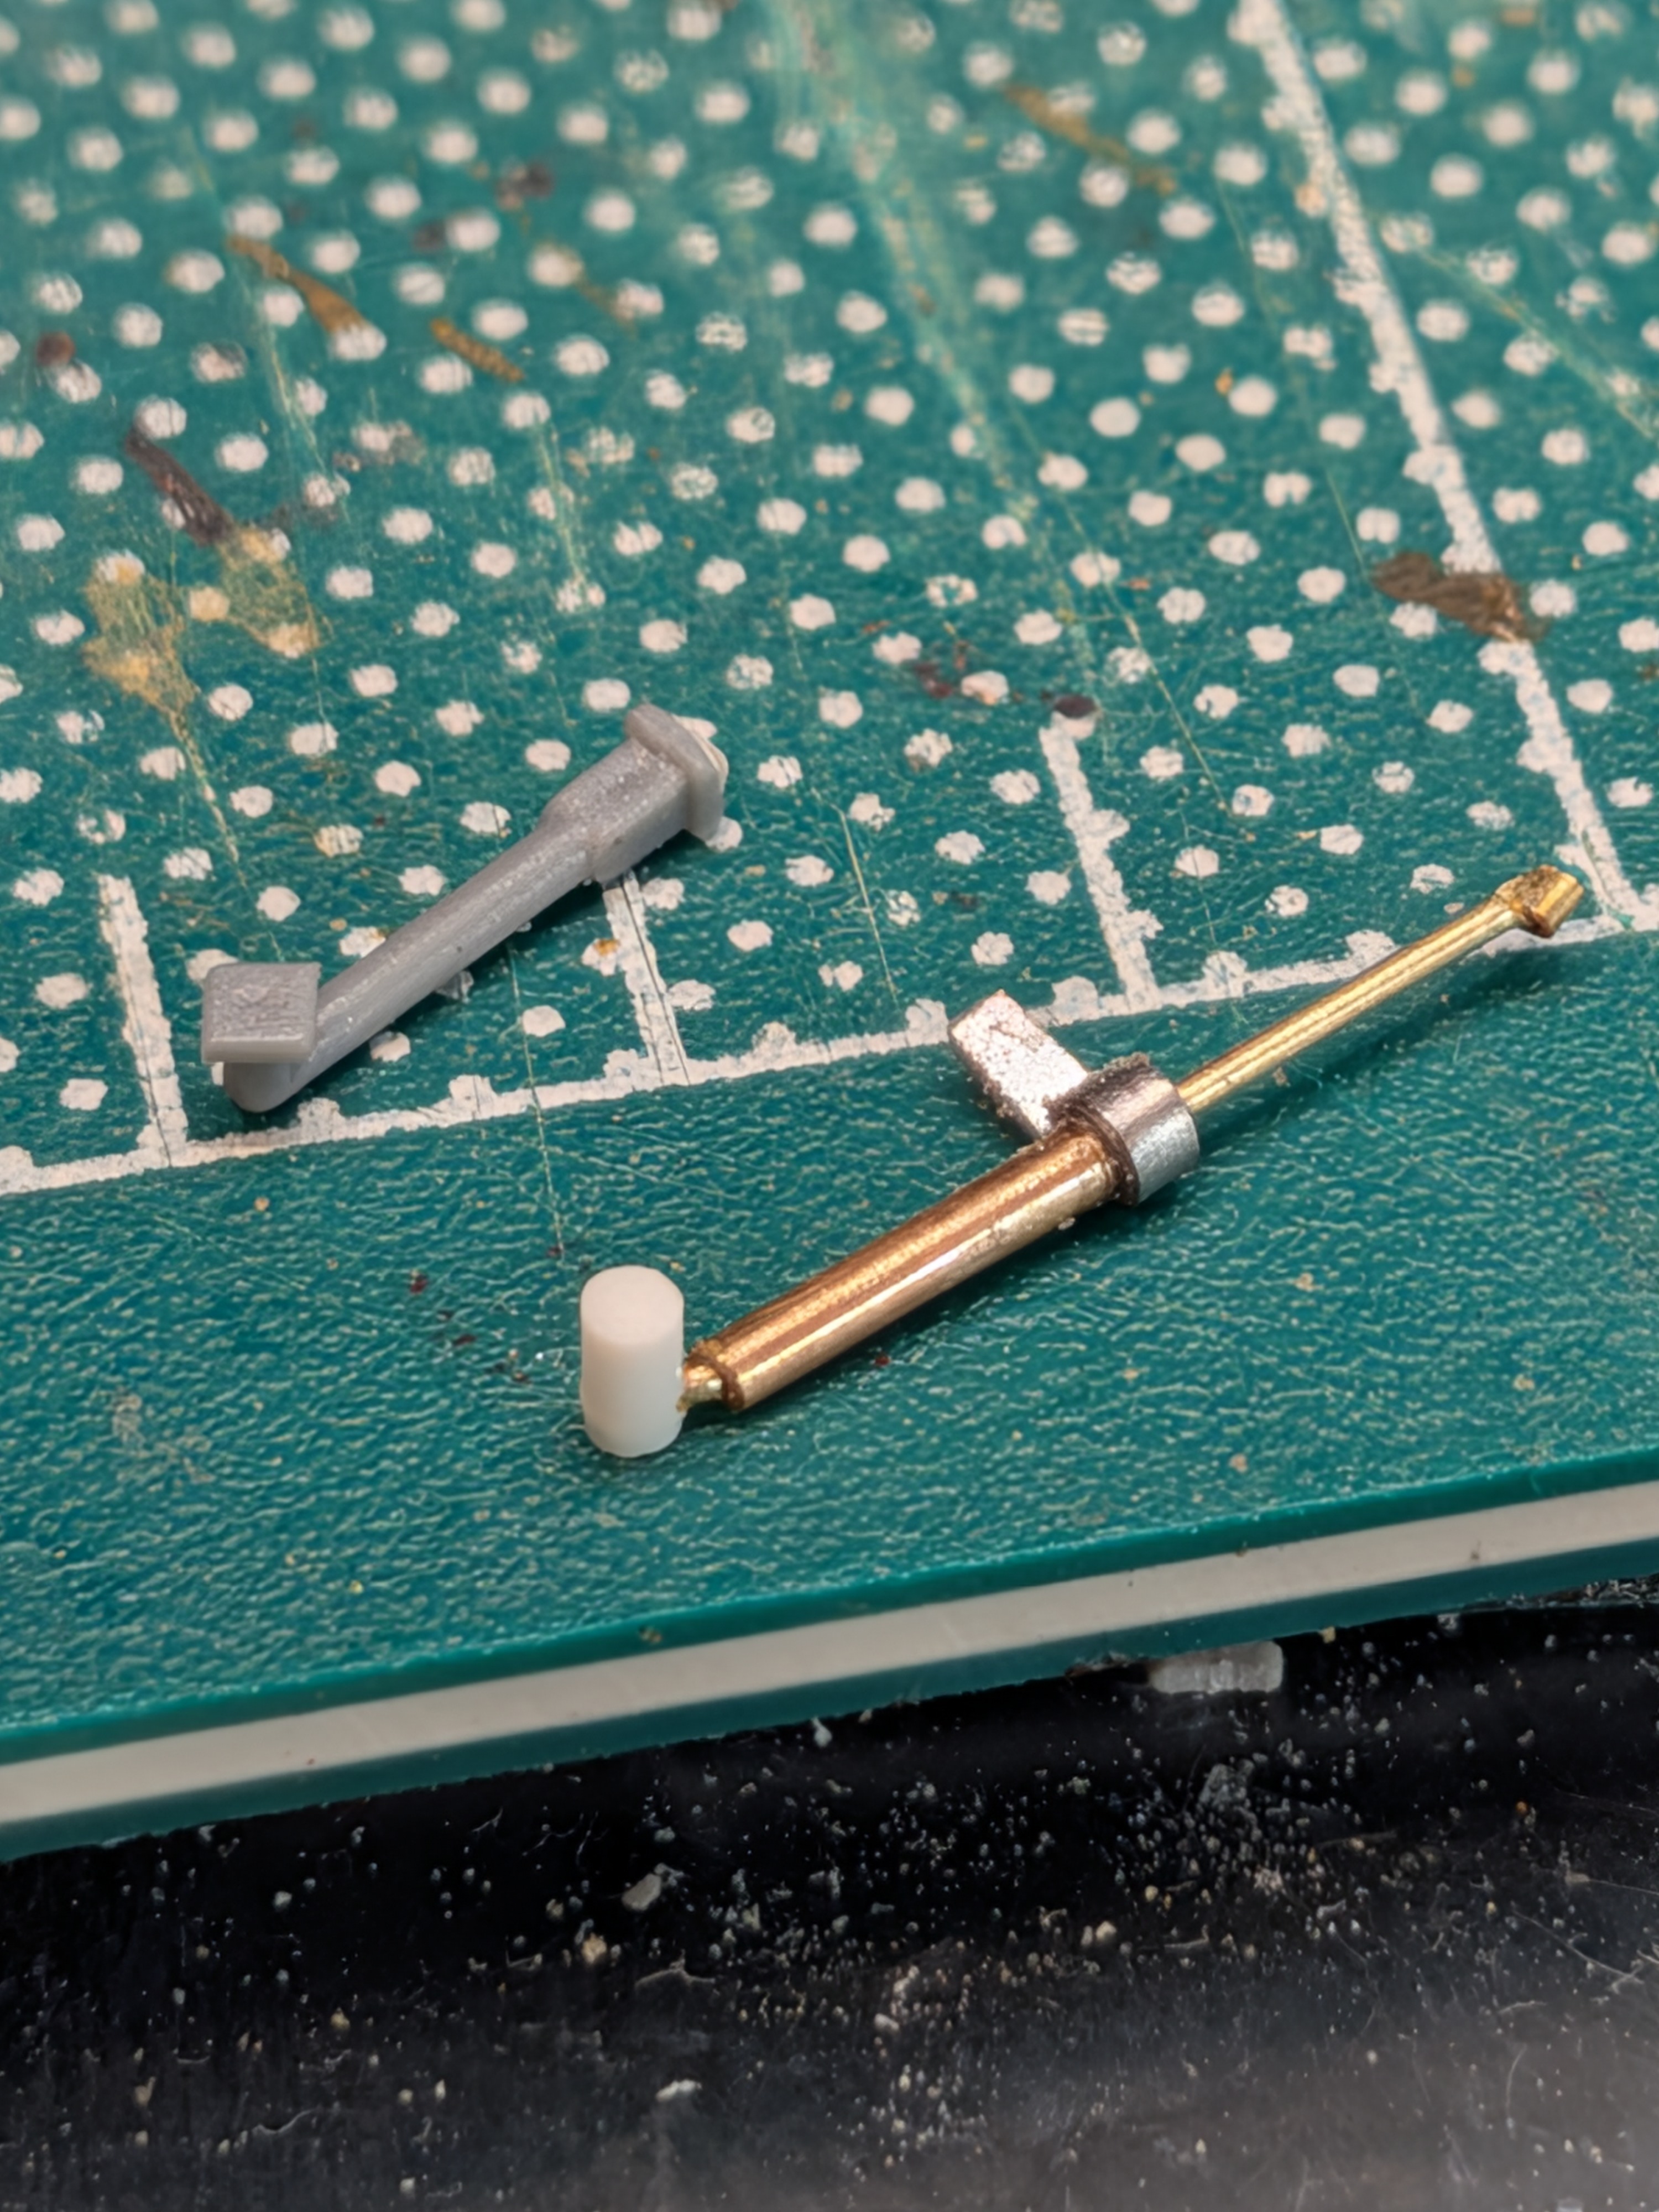
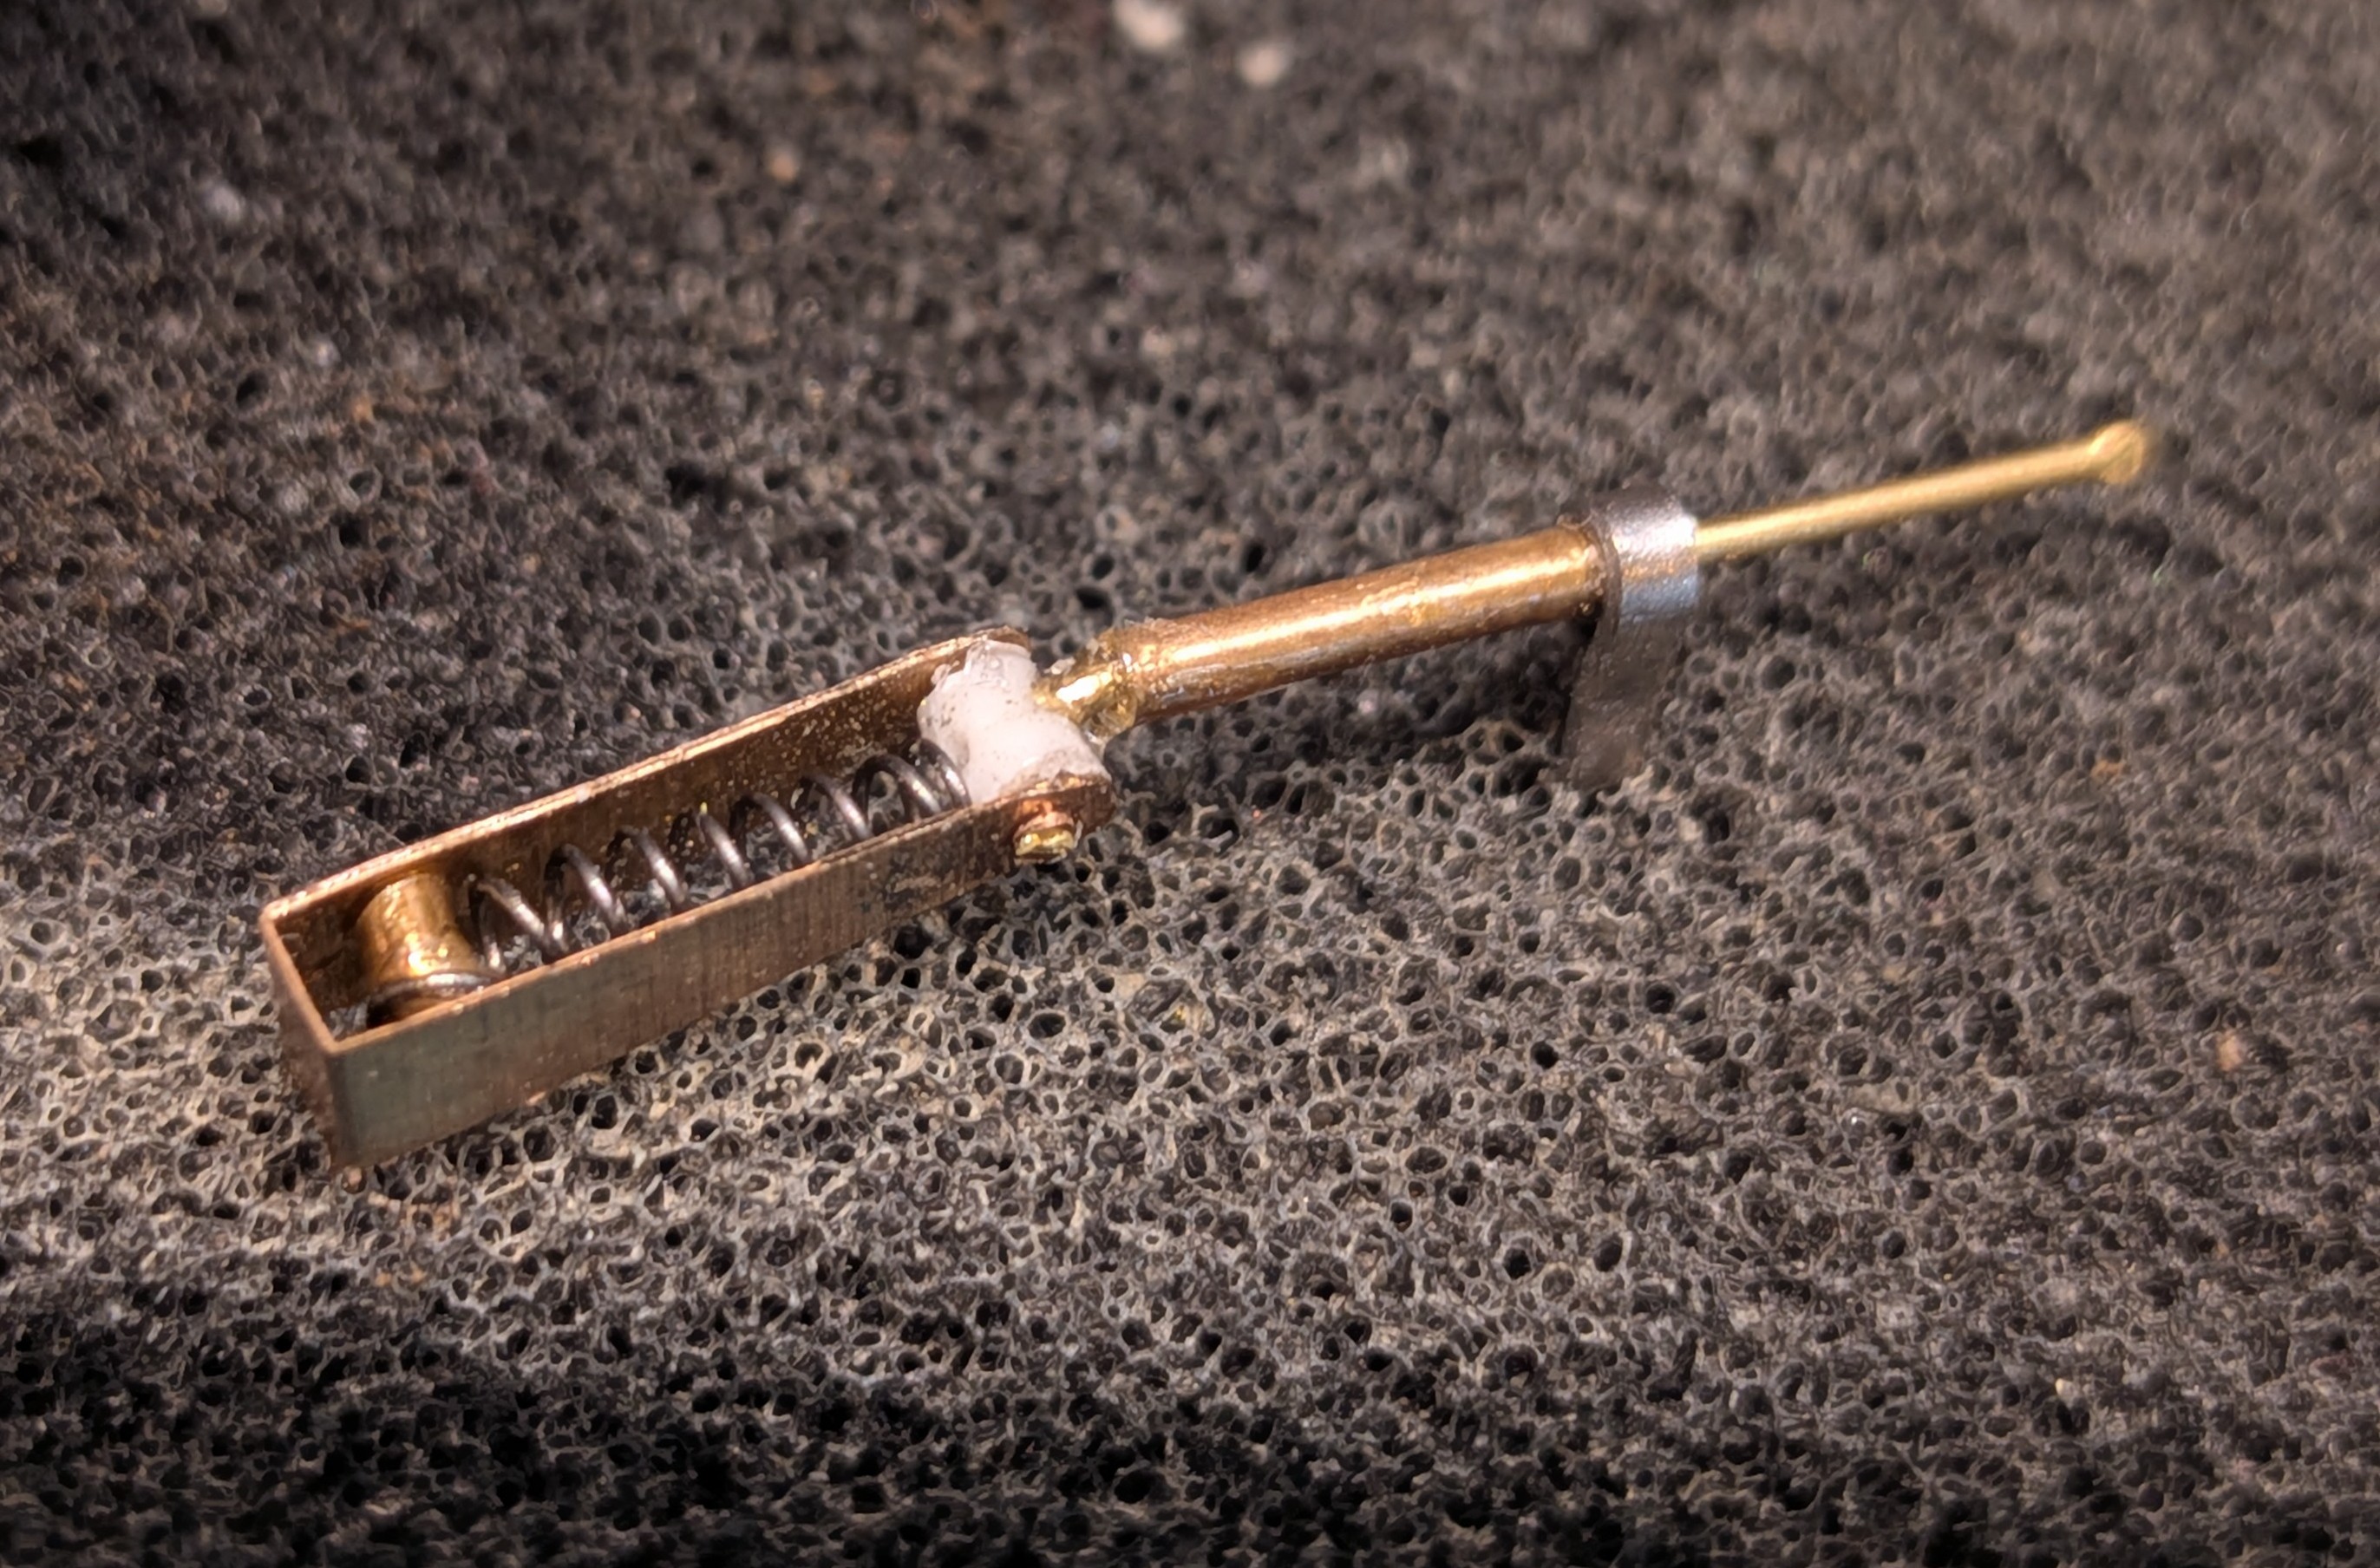
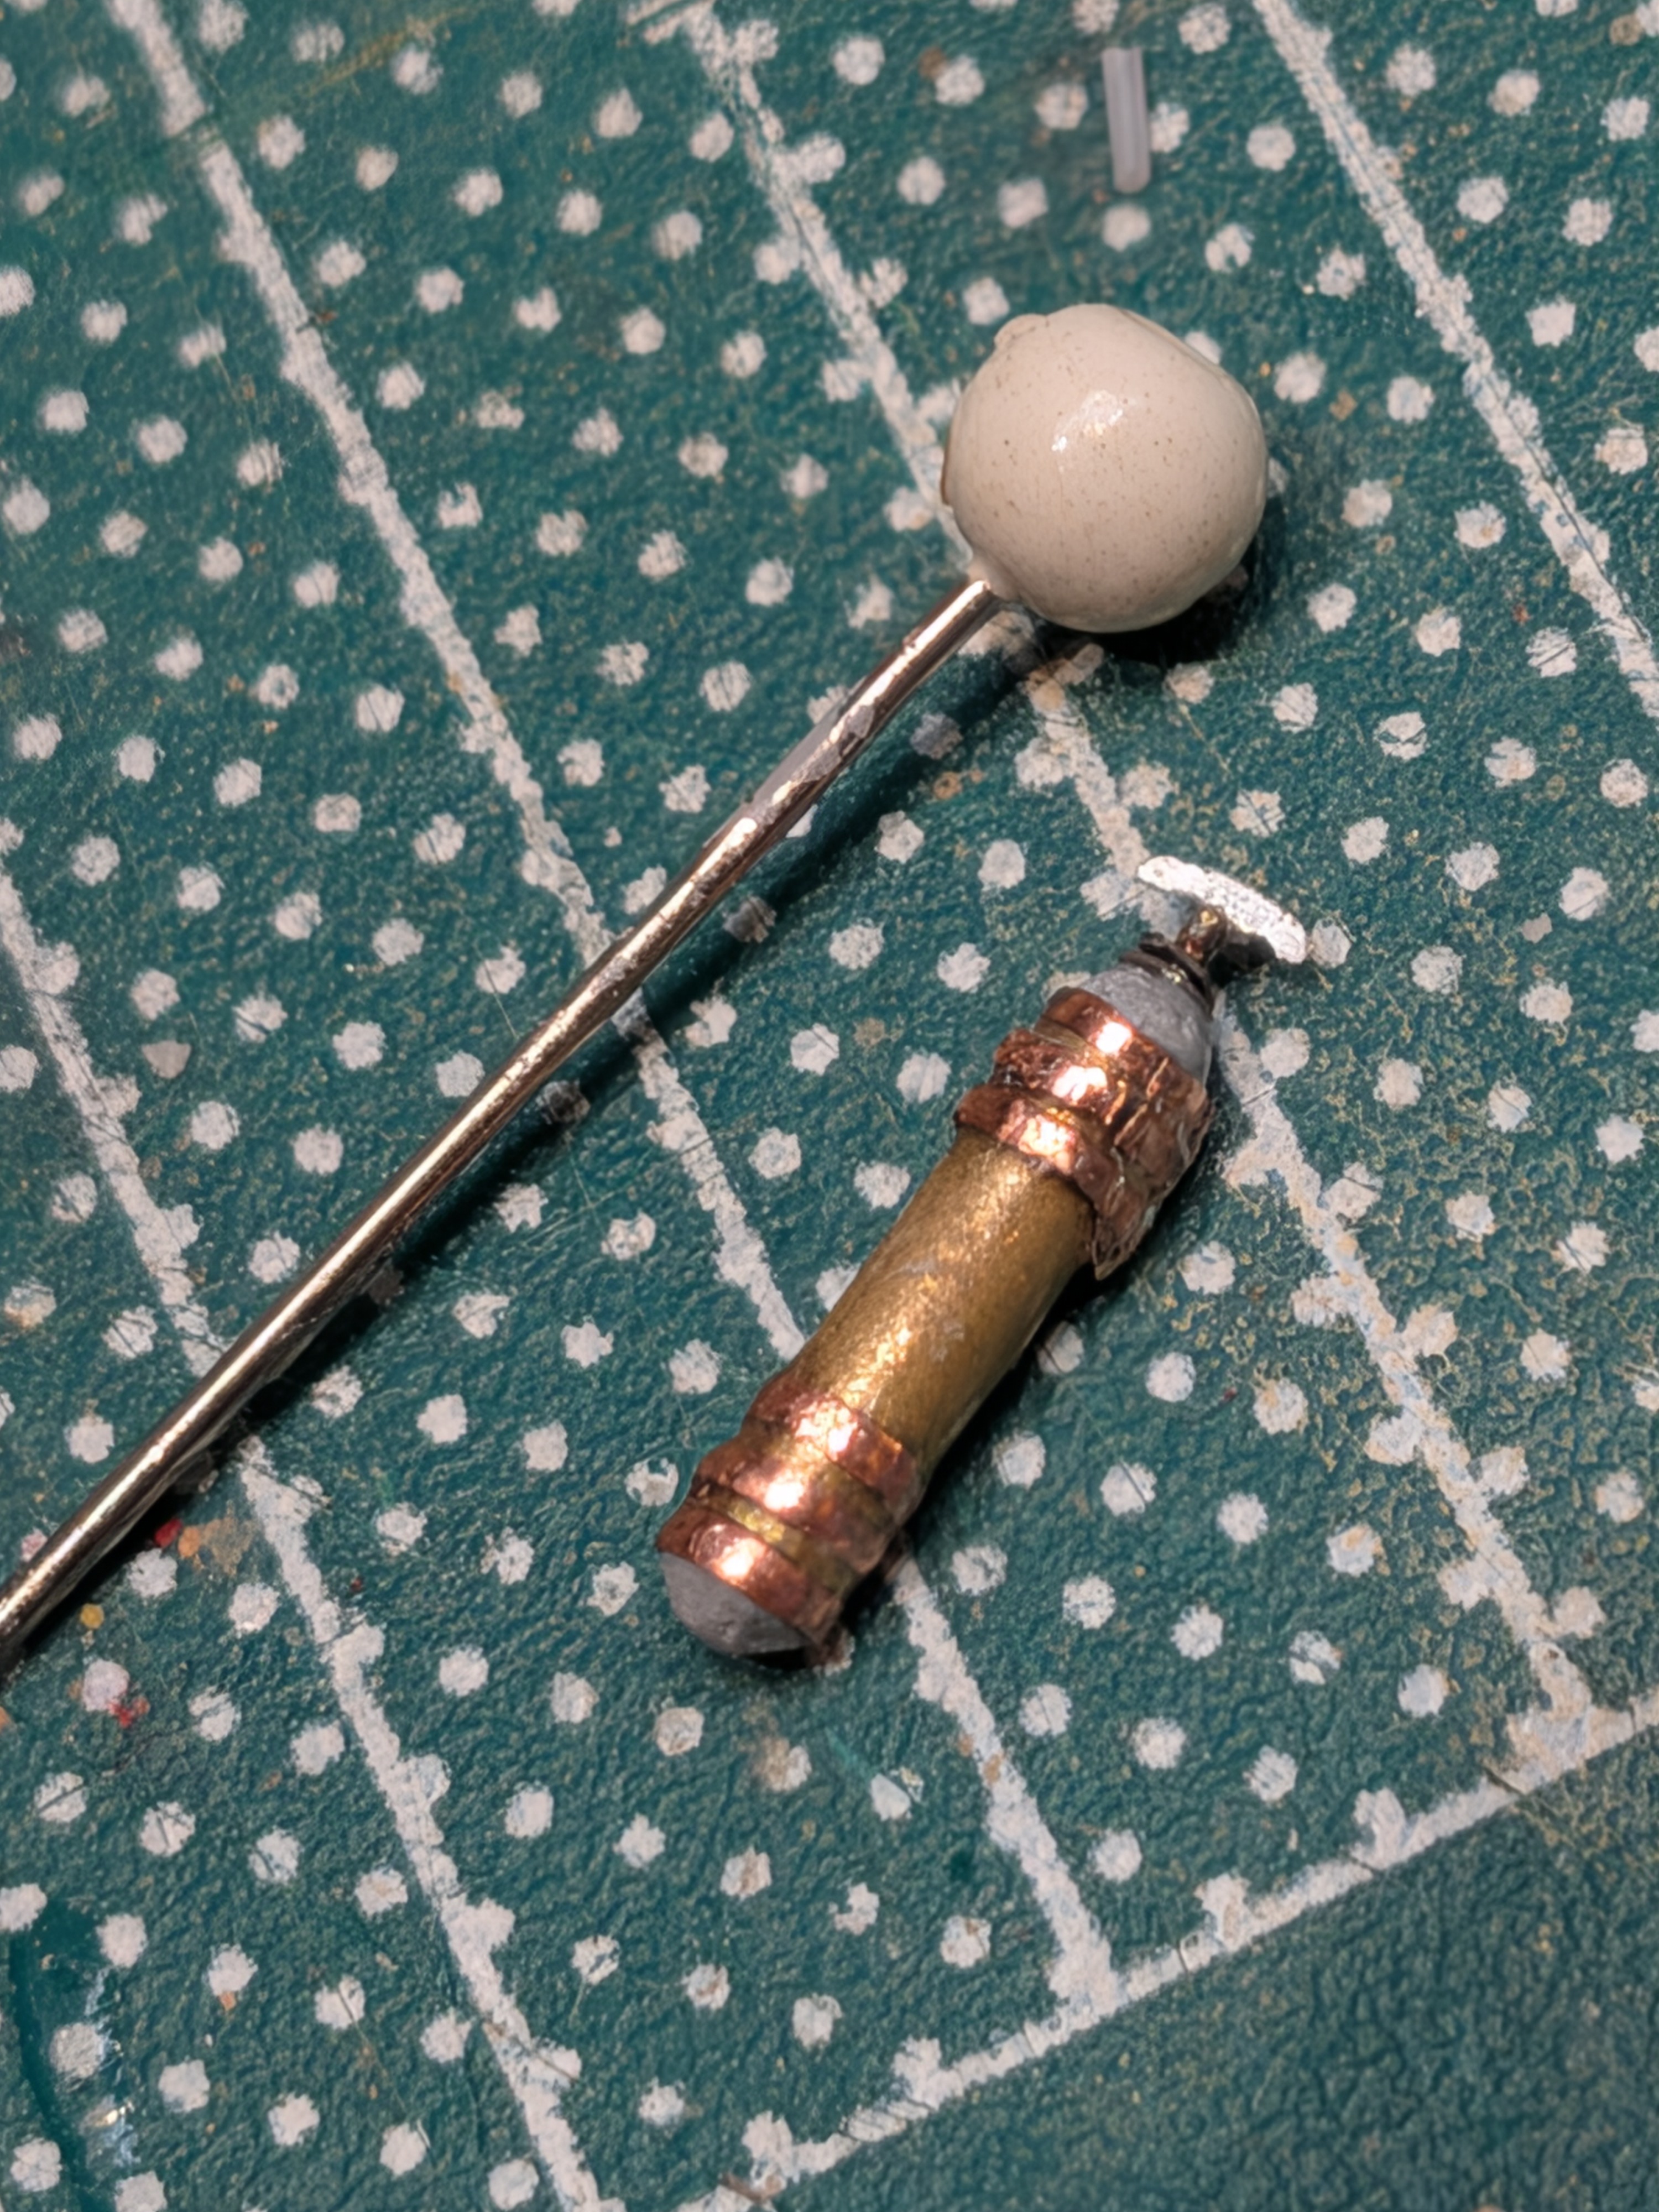
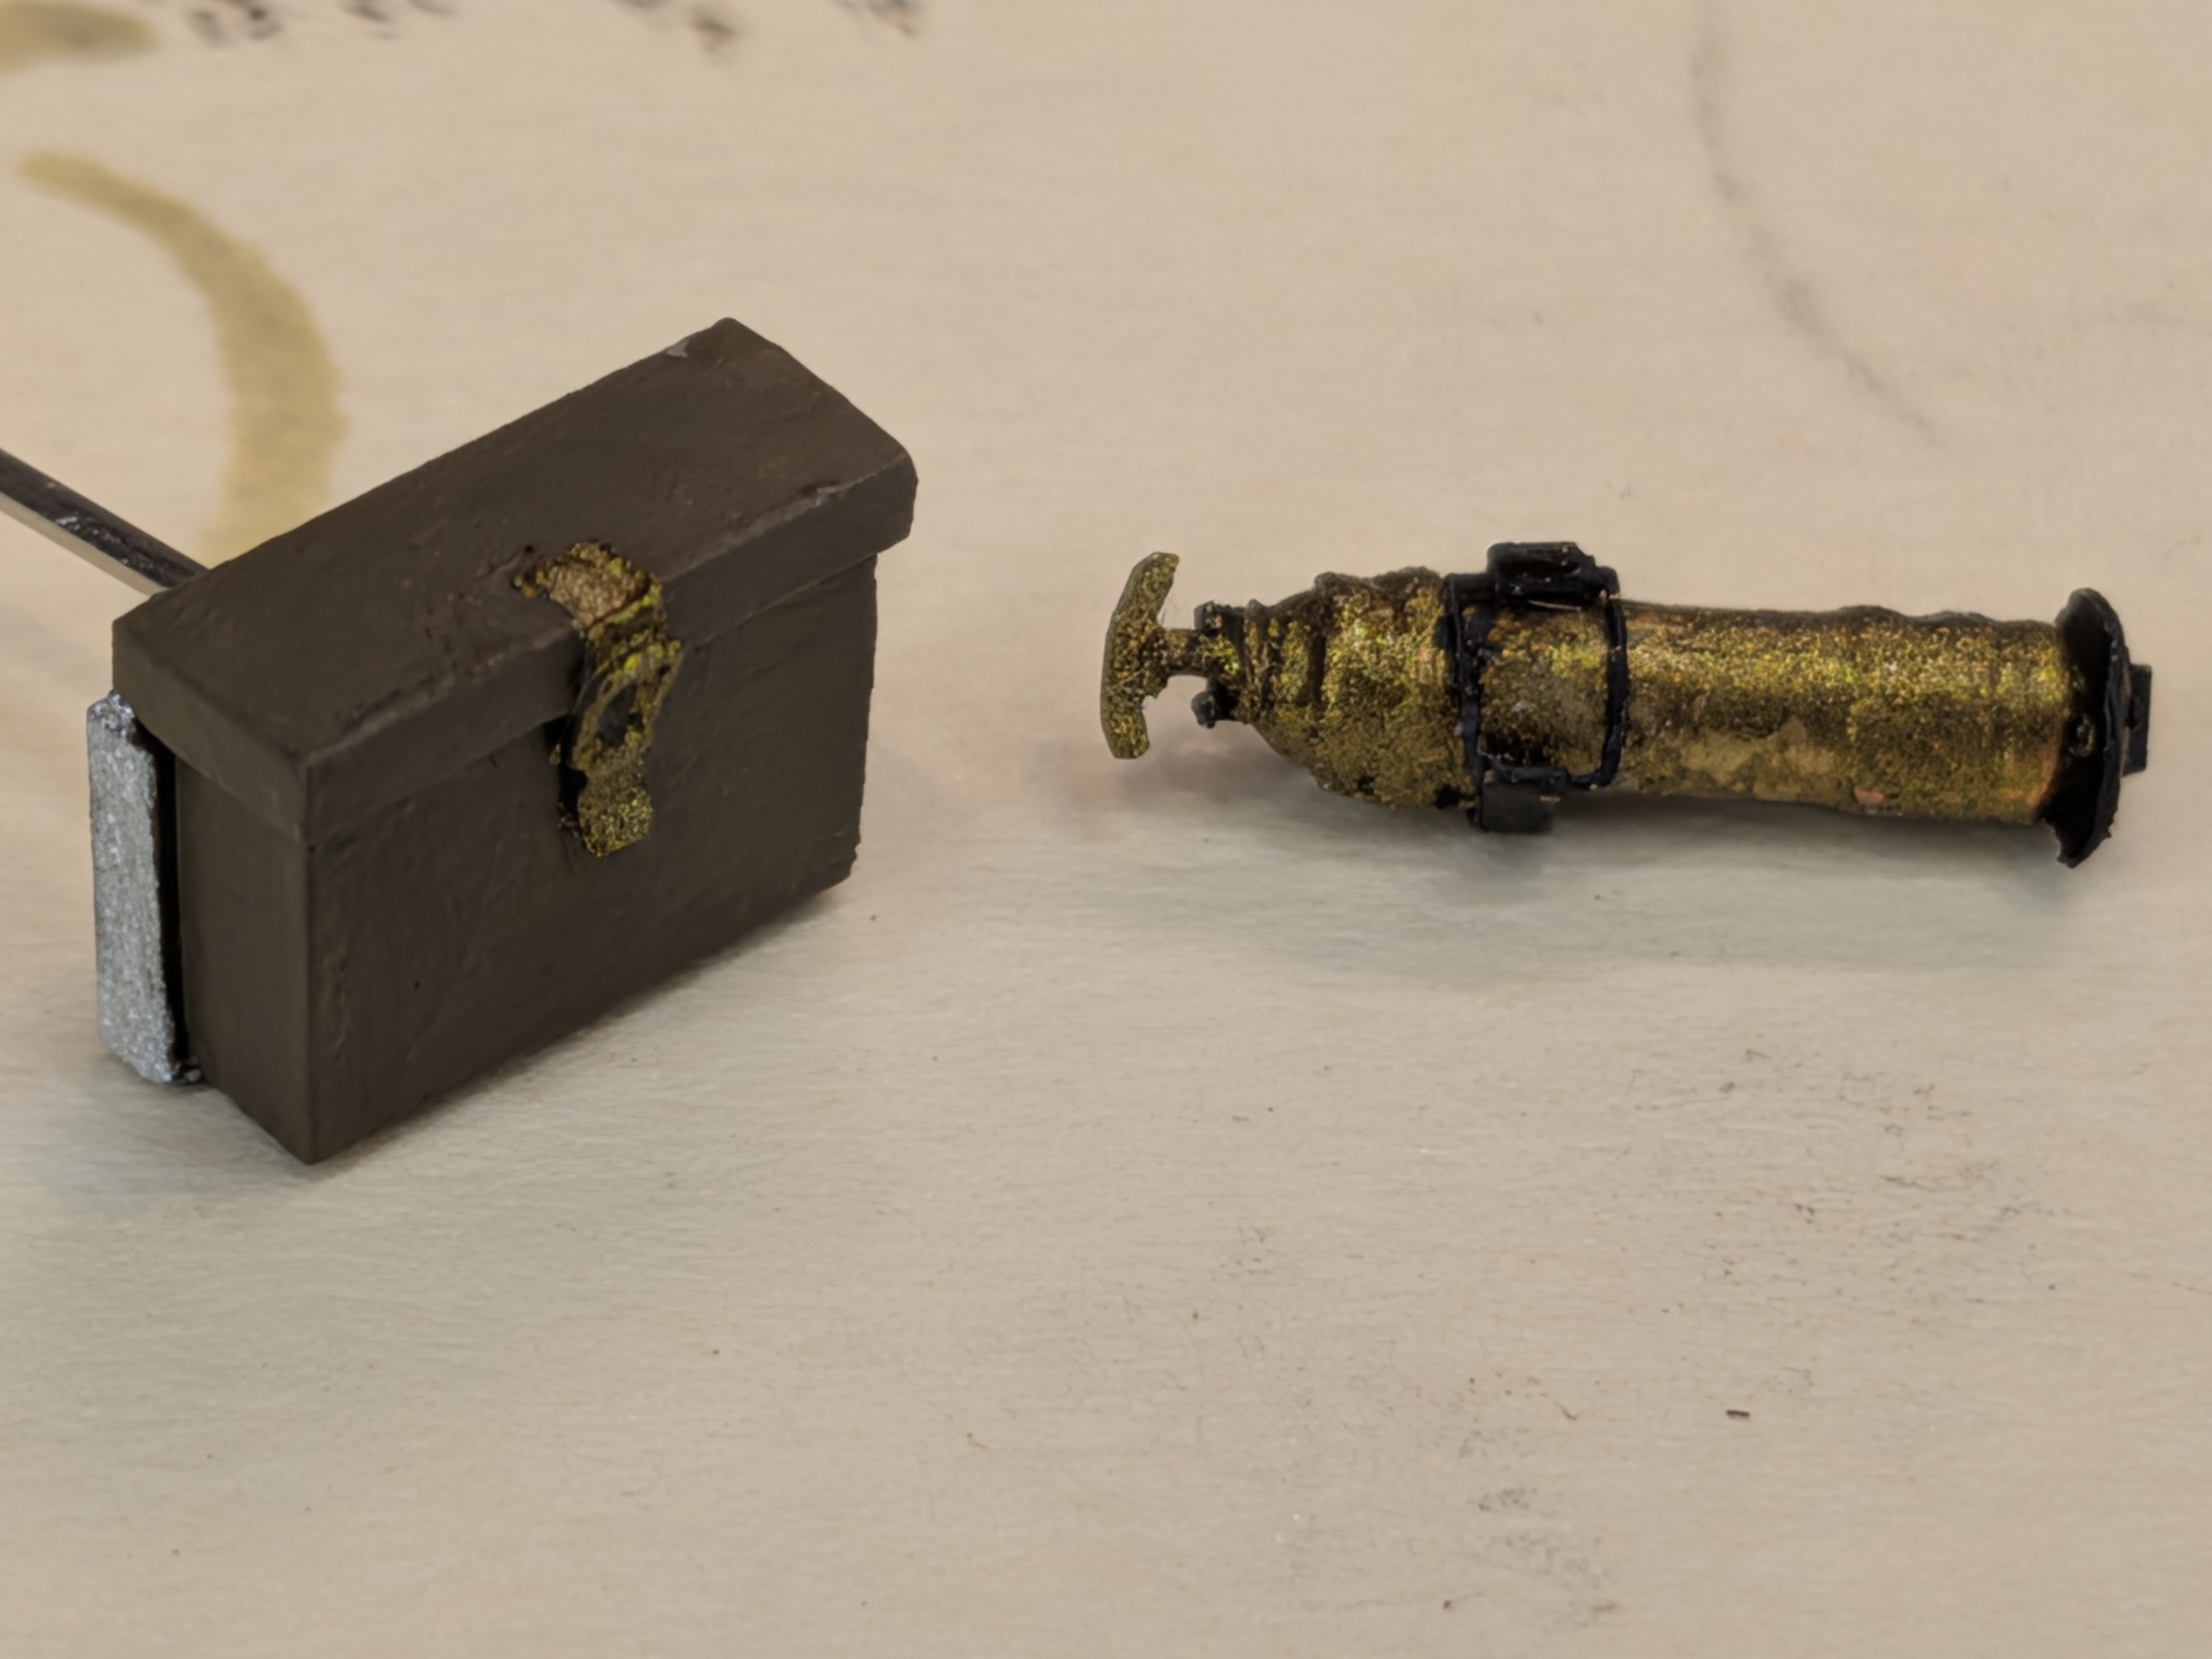
Still have to fabricate a mount for it and paint before installing.
But here goes!
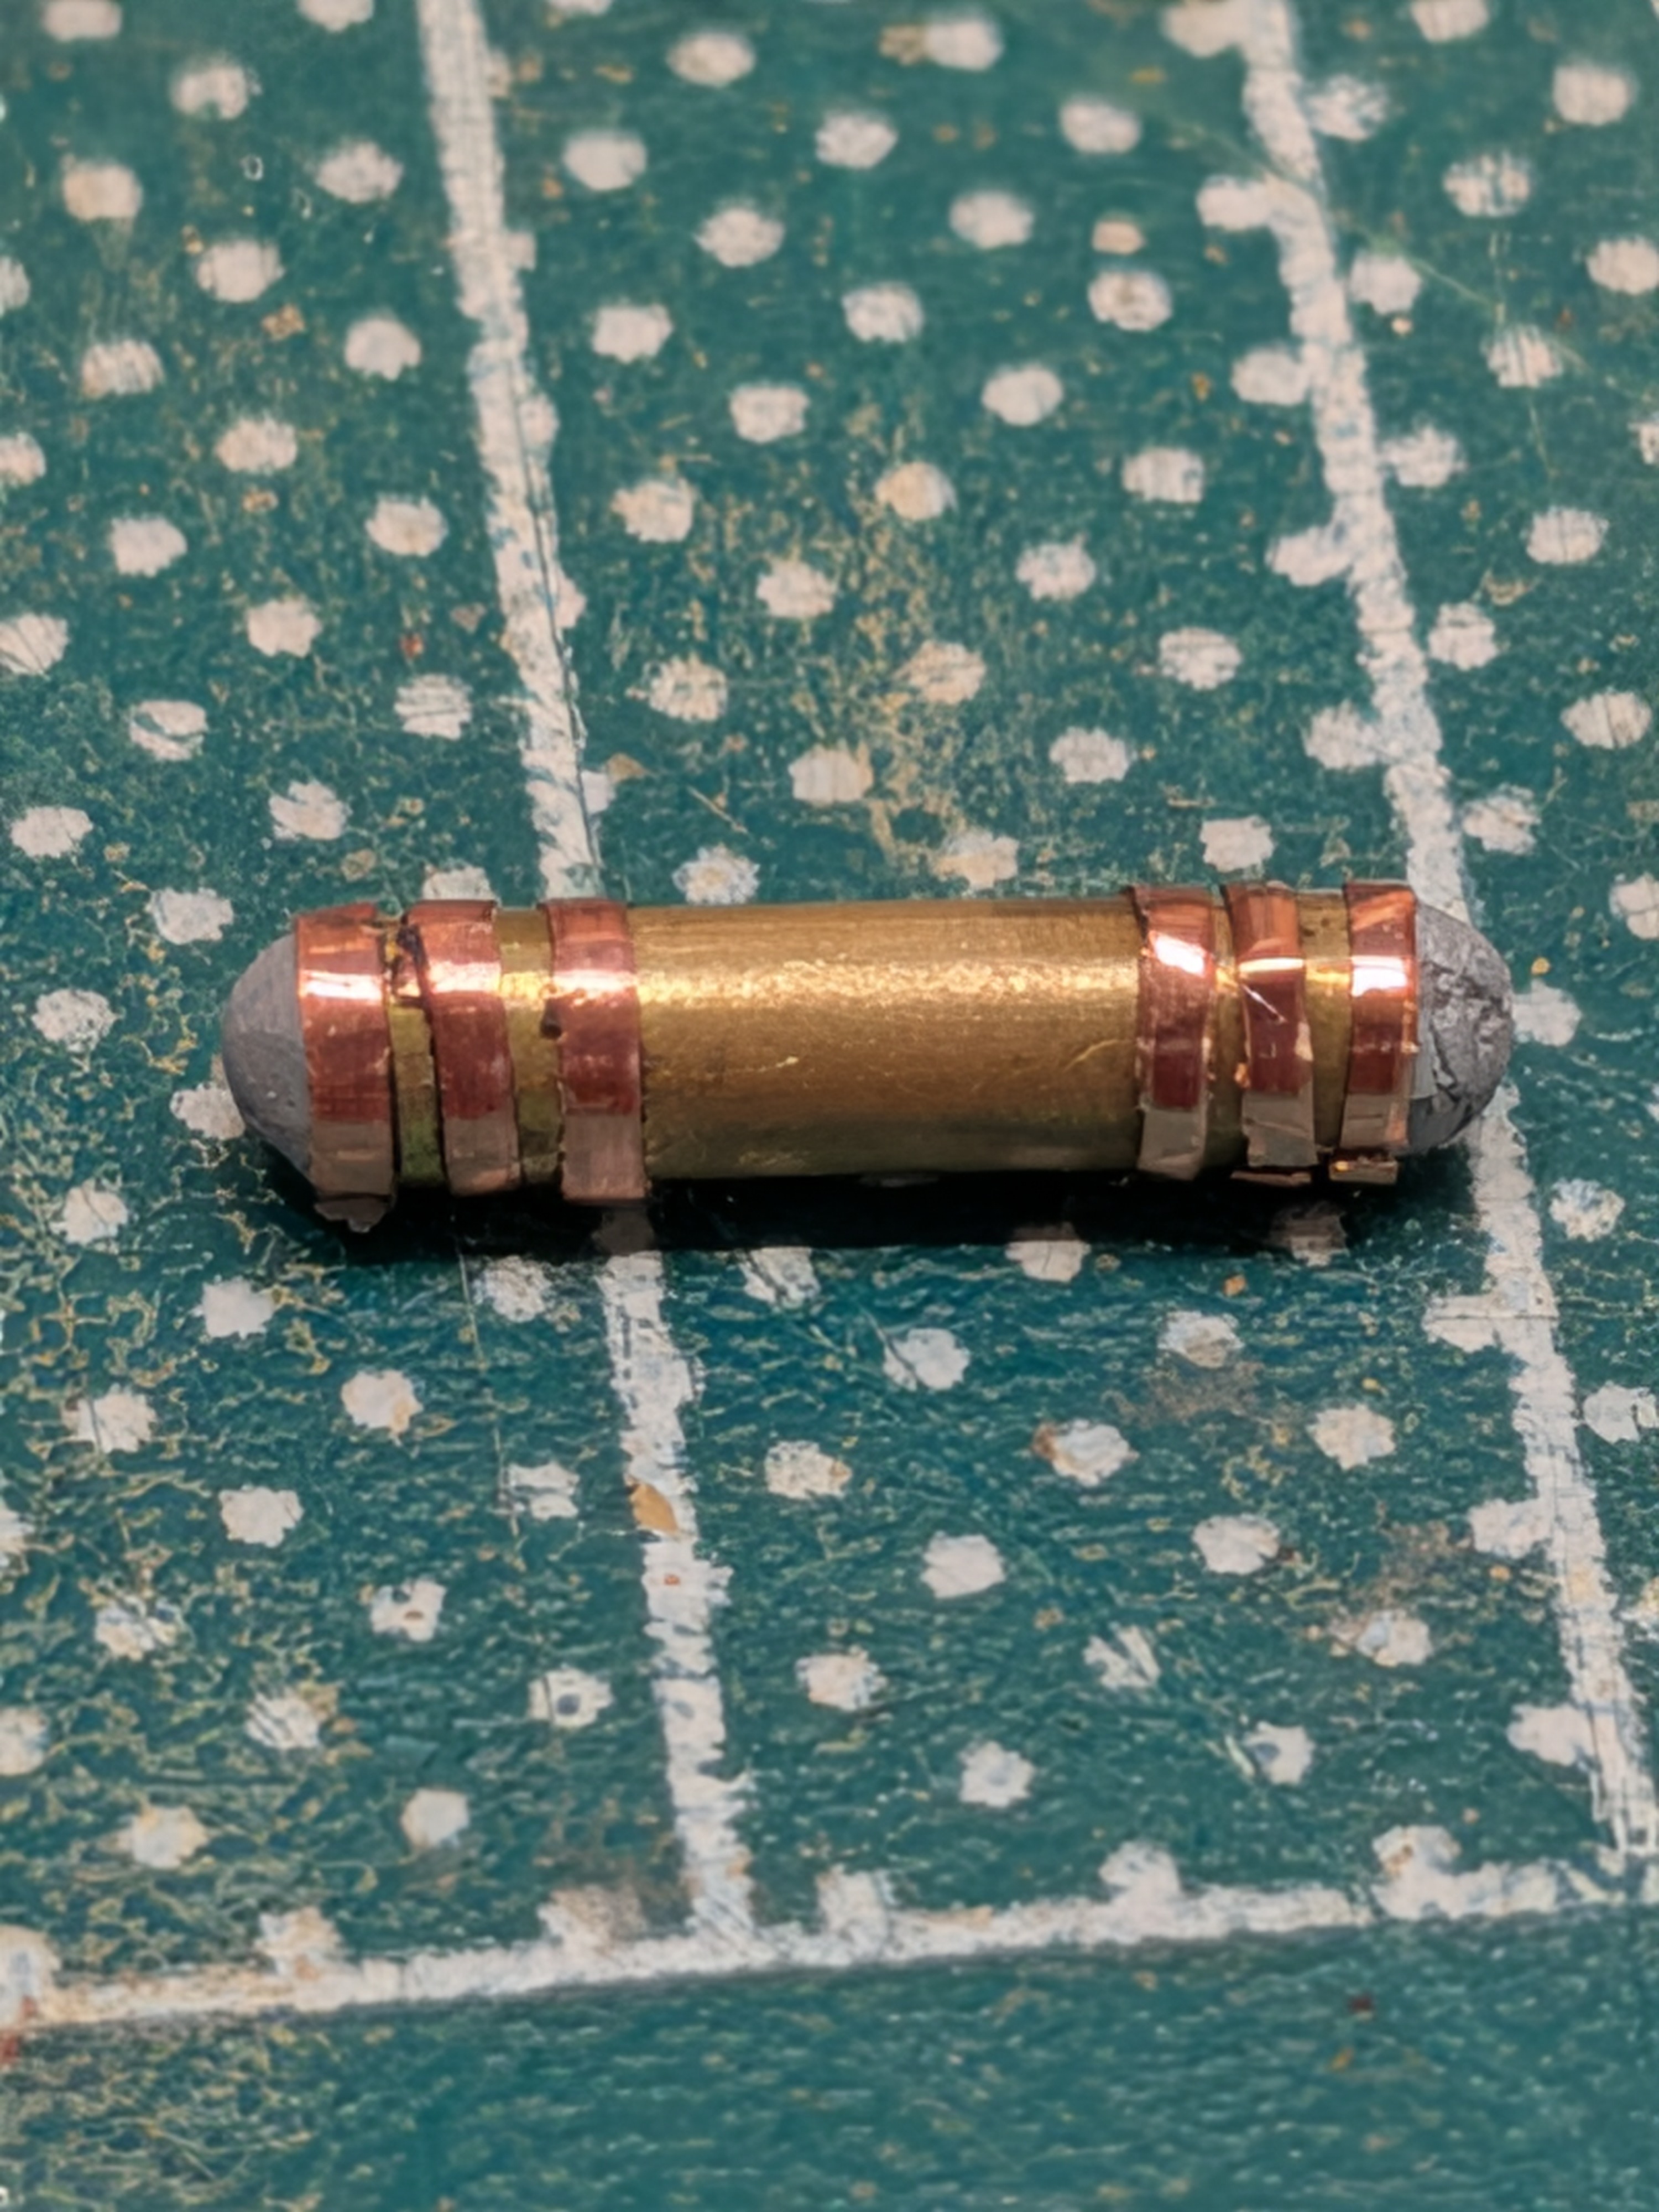
  • Straightened the ridges.
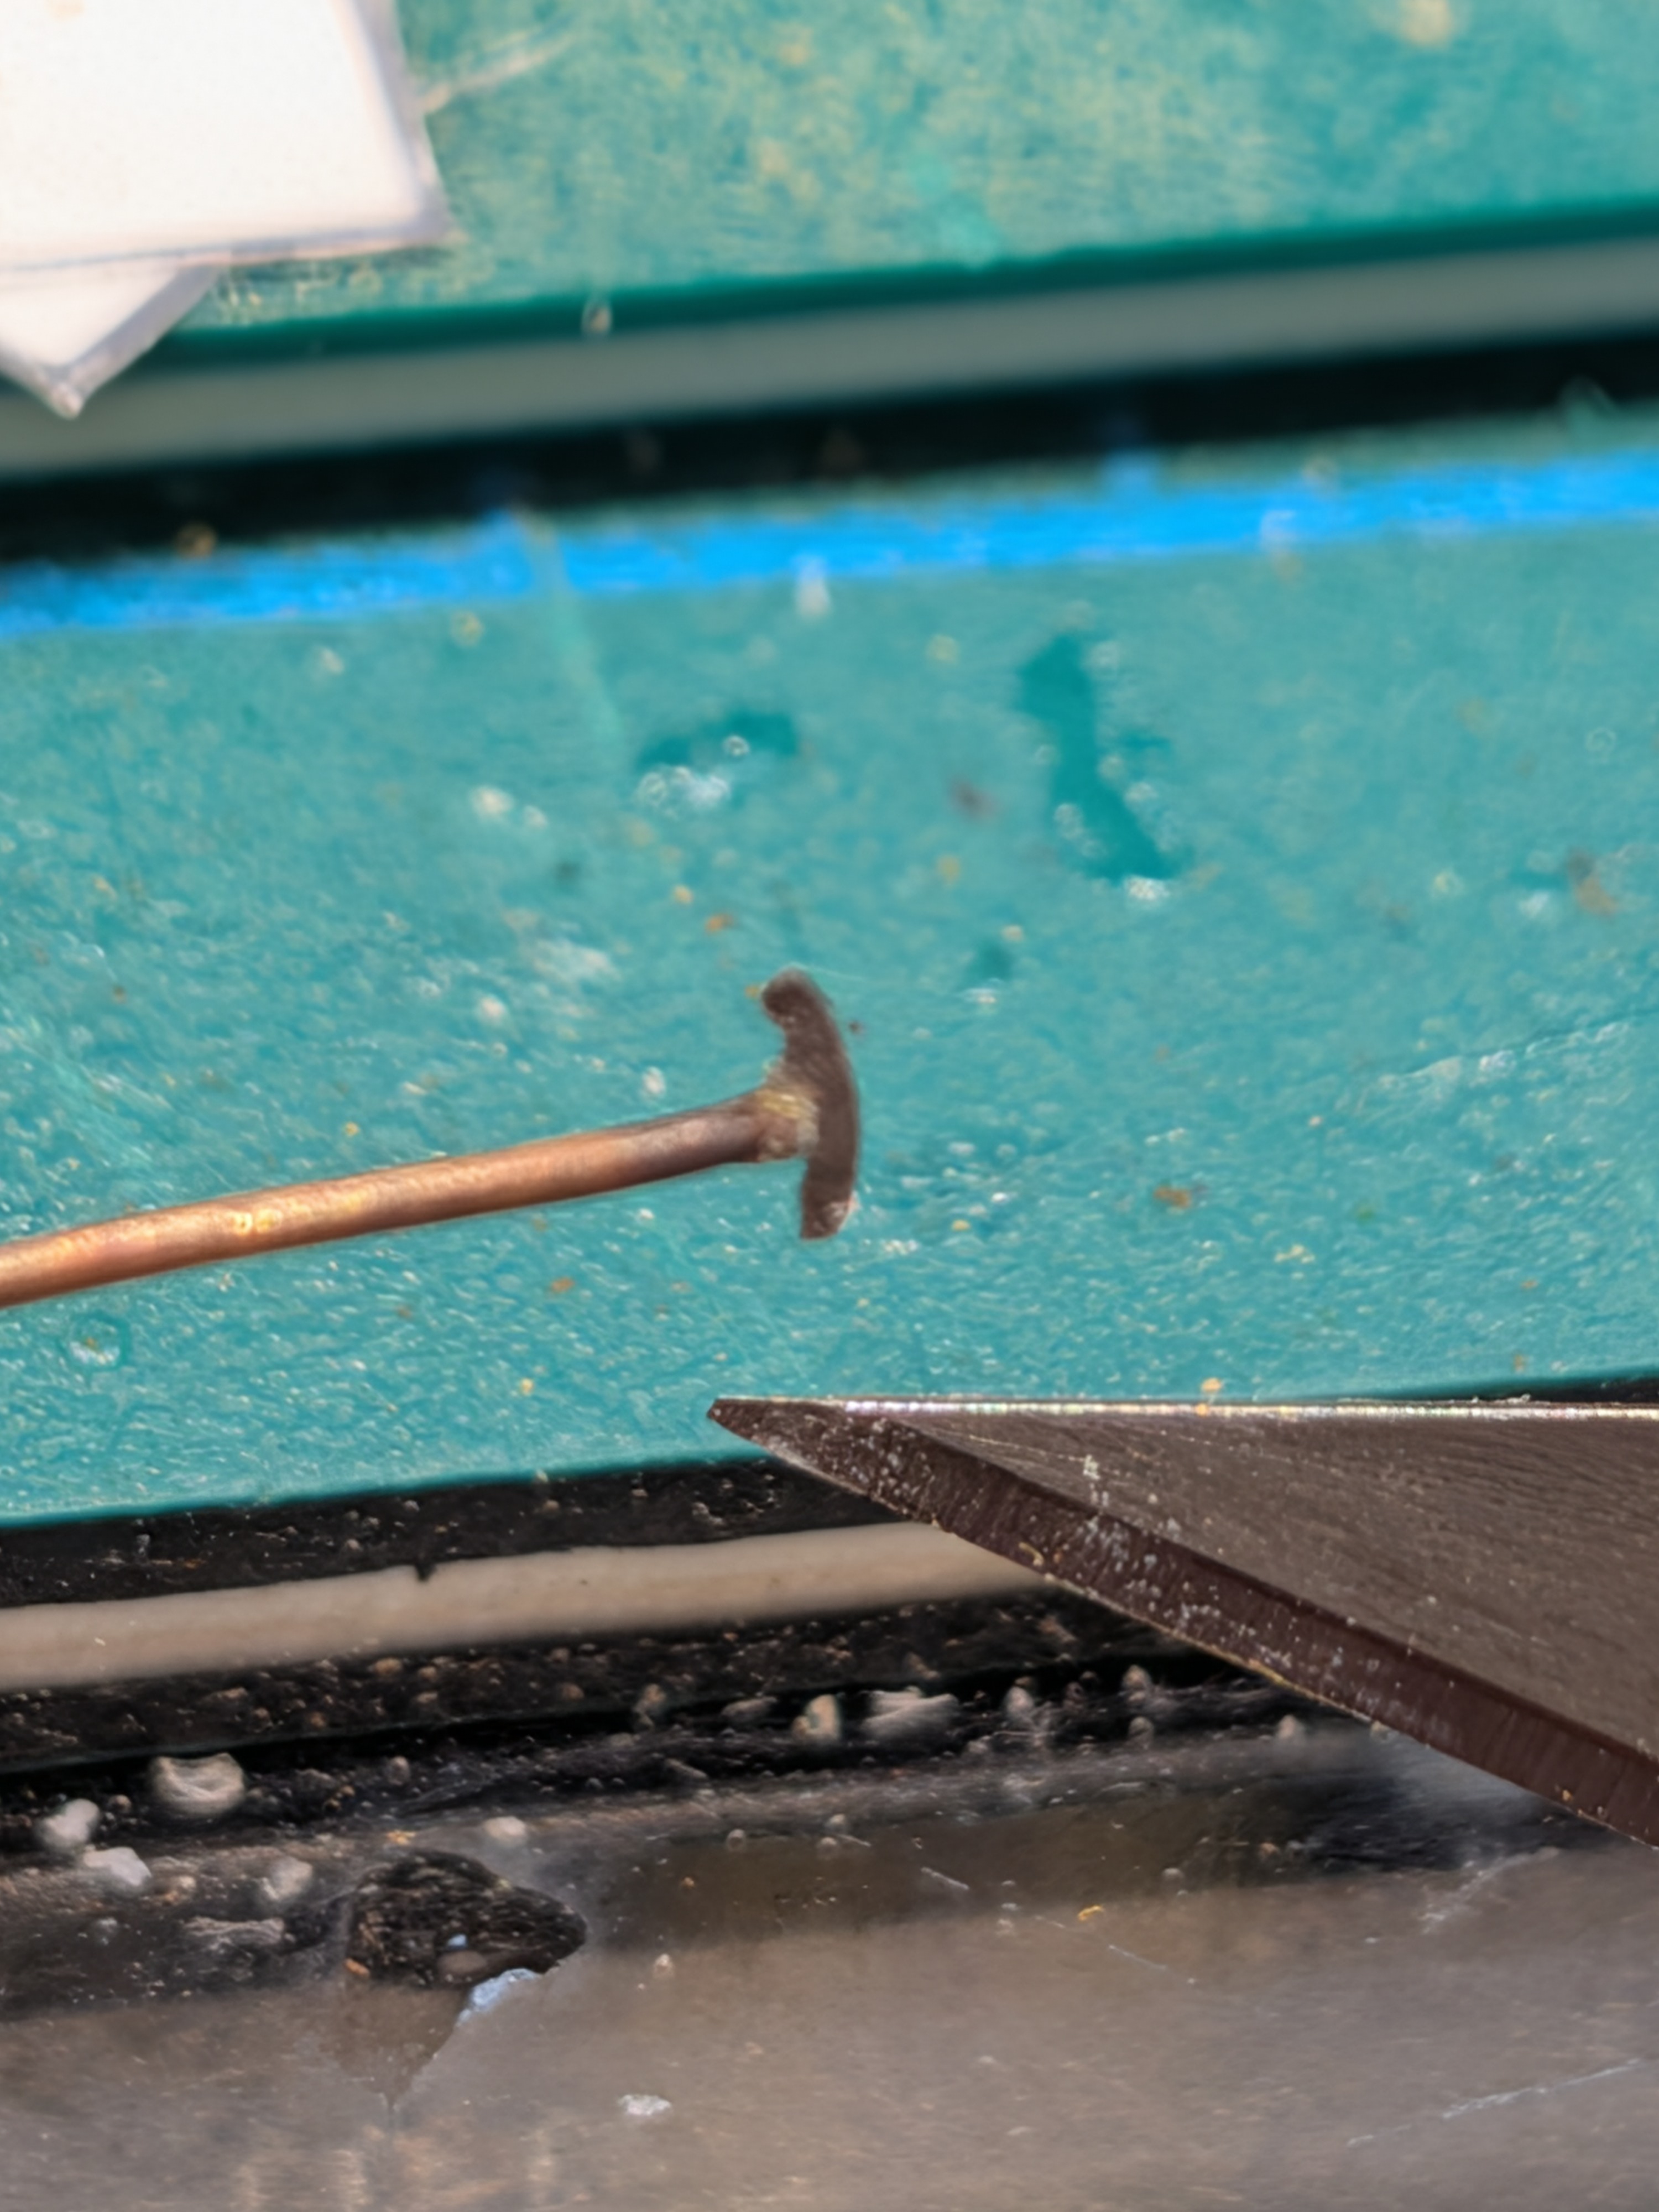
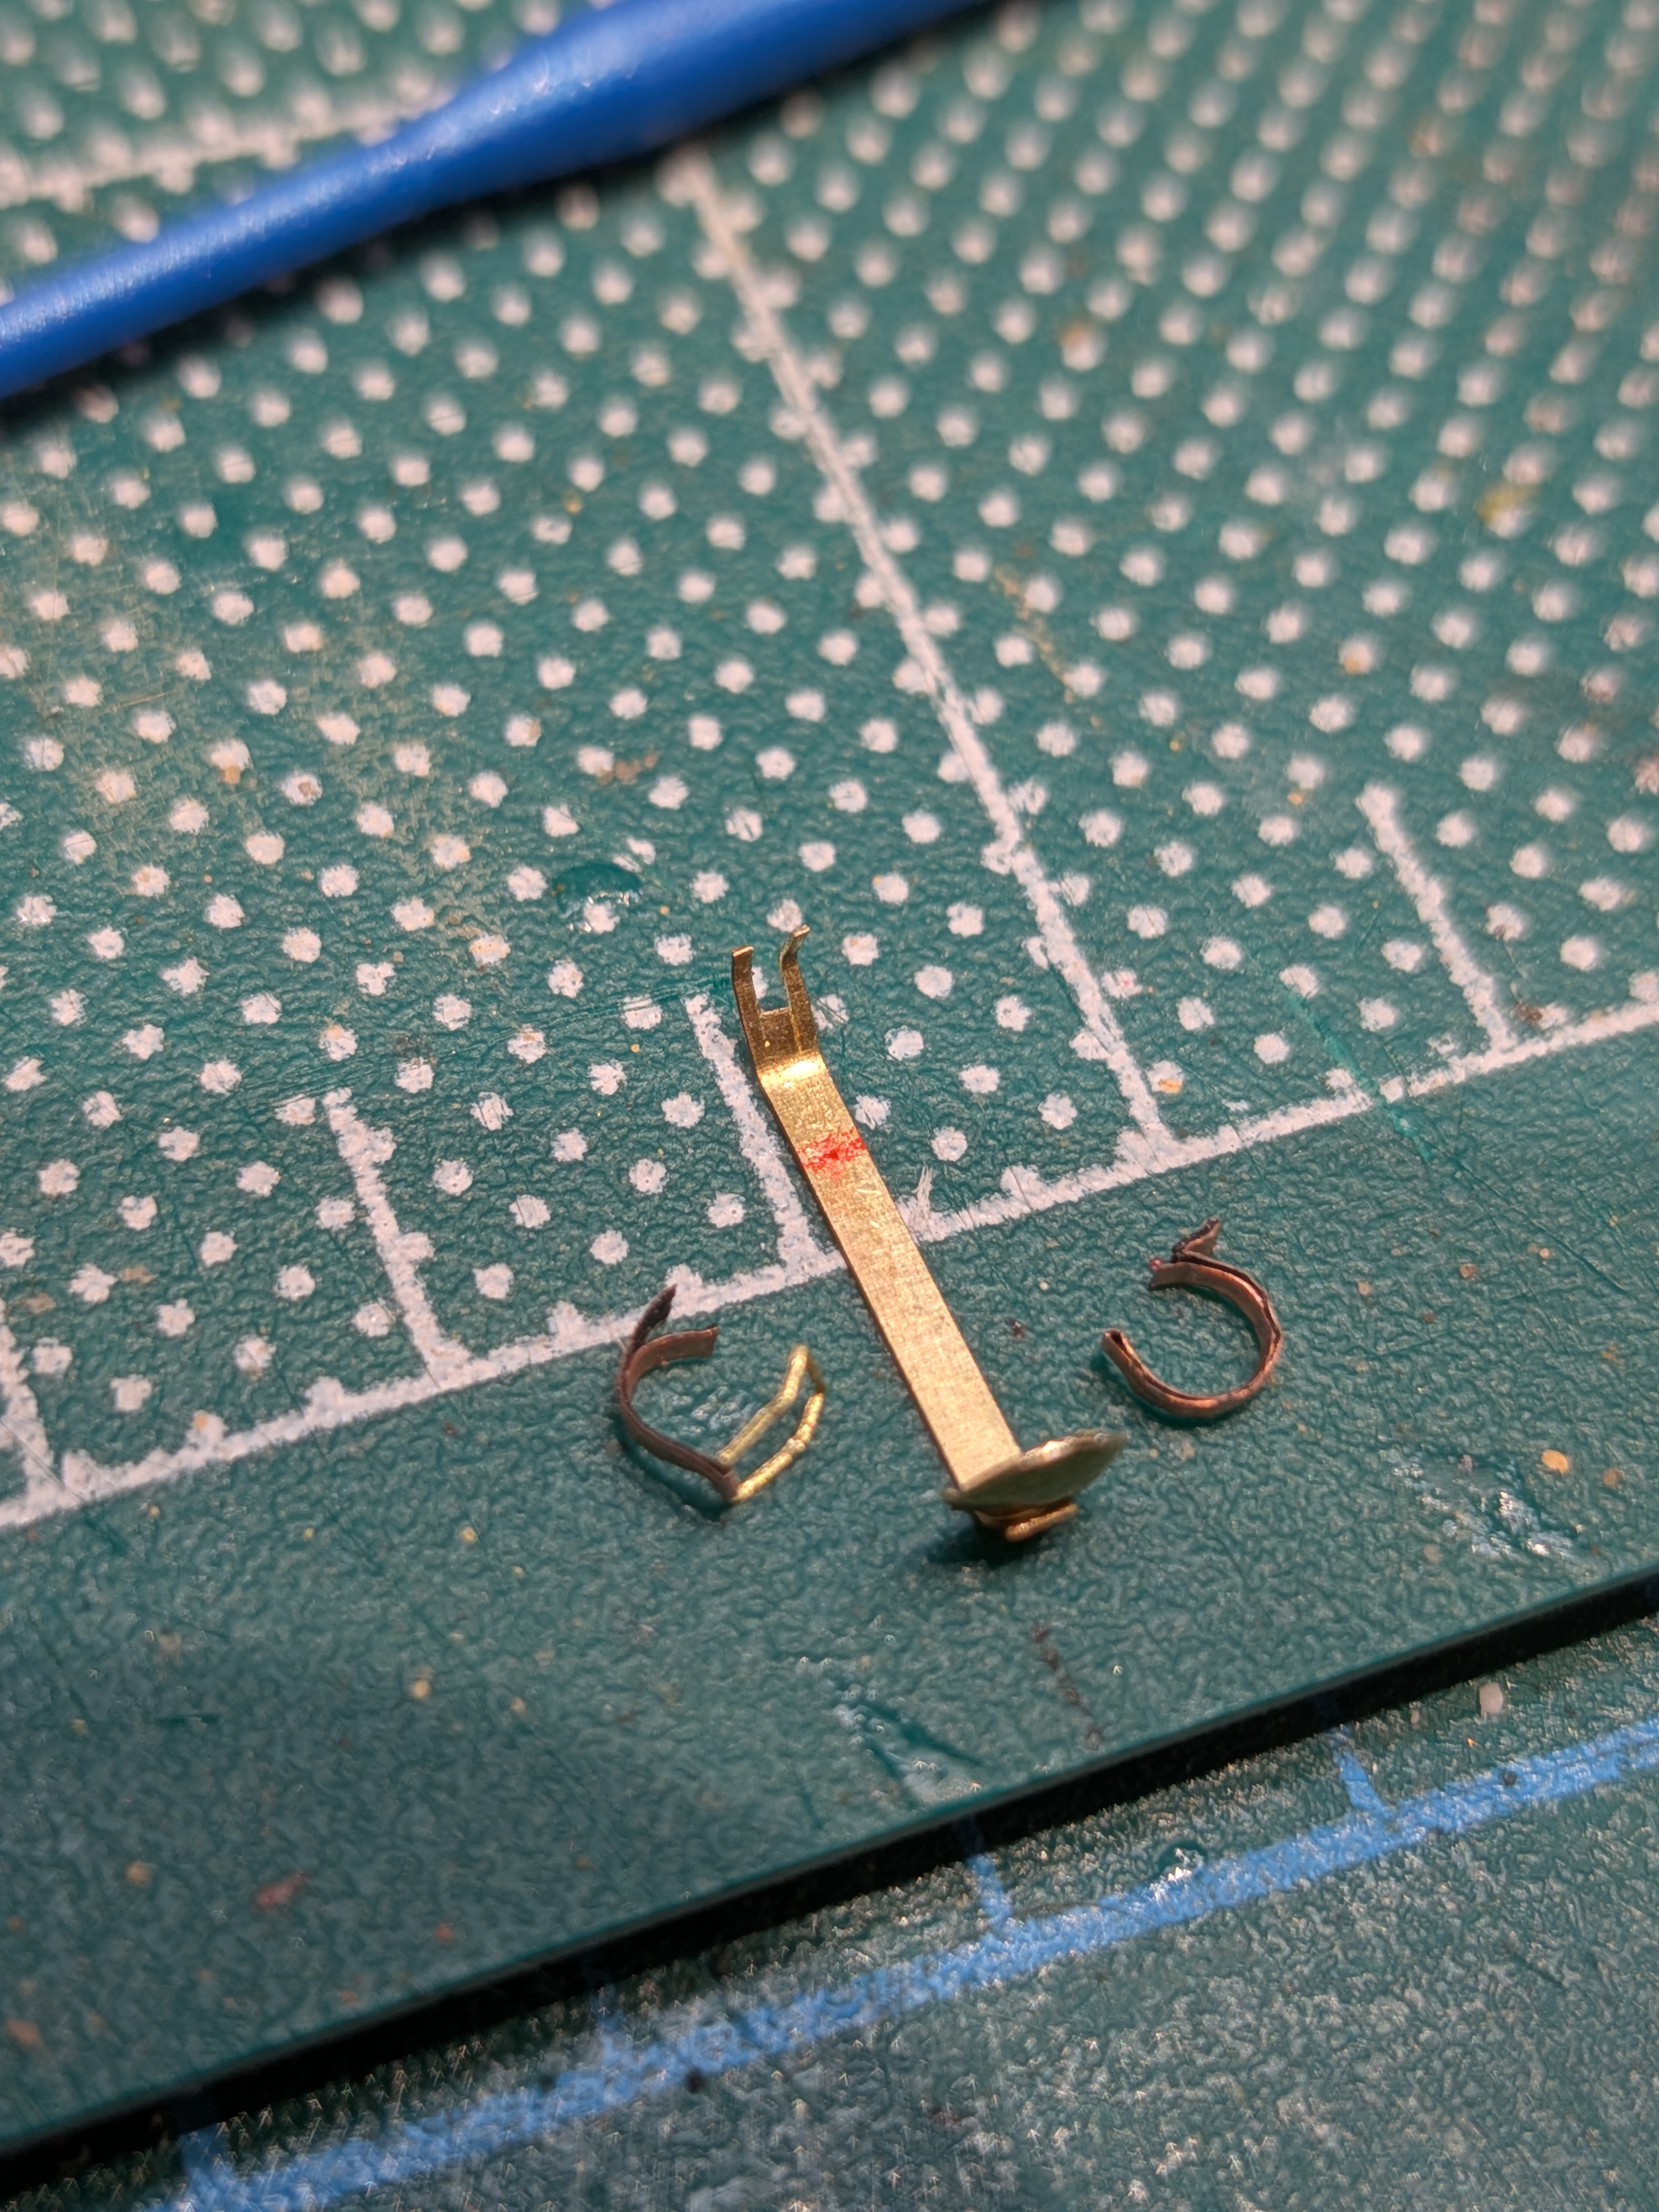
  • Fashioned a pump handle from a cut and filed PE 'T' sprue.
  • Split the end of some brass rod for better hold on the handle
  • Added some PE 'Detail Master' 1/24th fuel line fittings. Bought these in rummage bin at LHS years ago!
  • Inserted and glued the assembly into the canister.
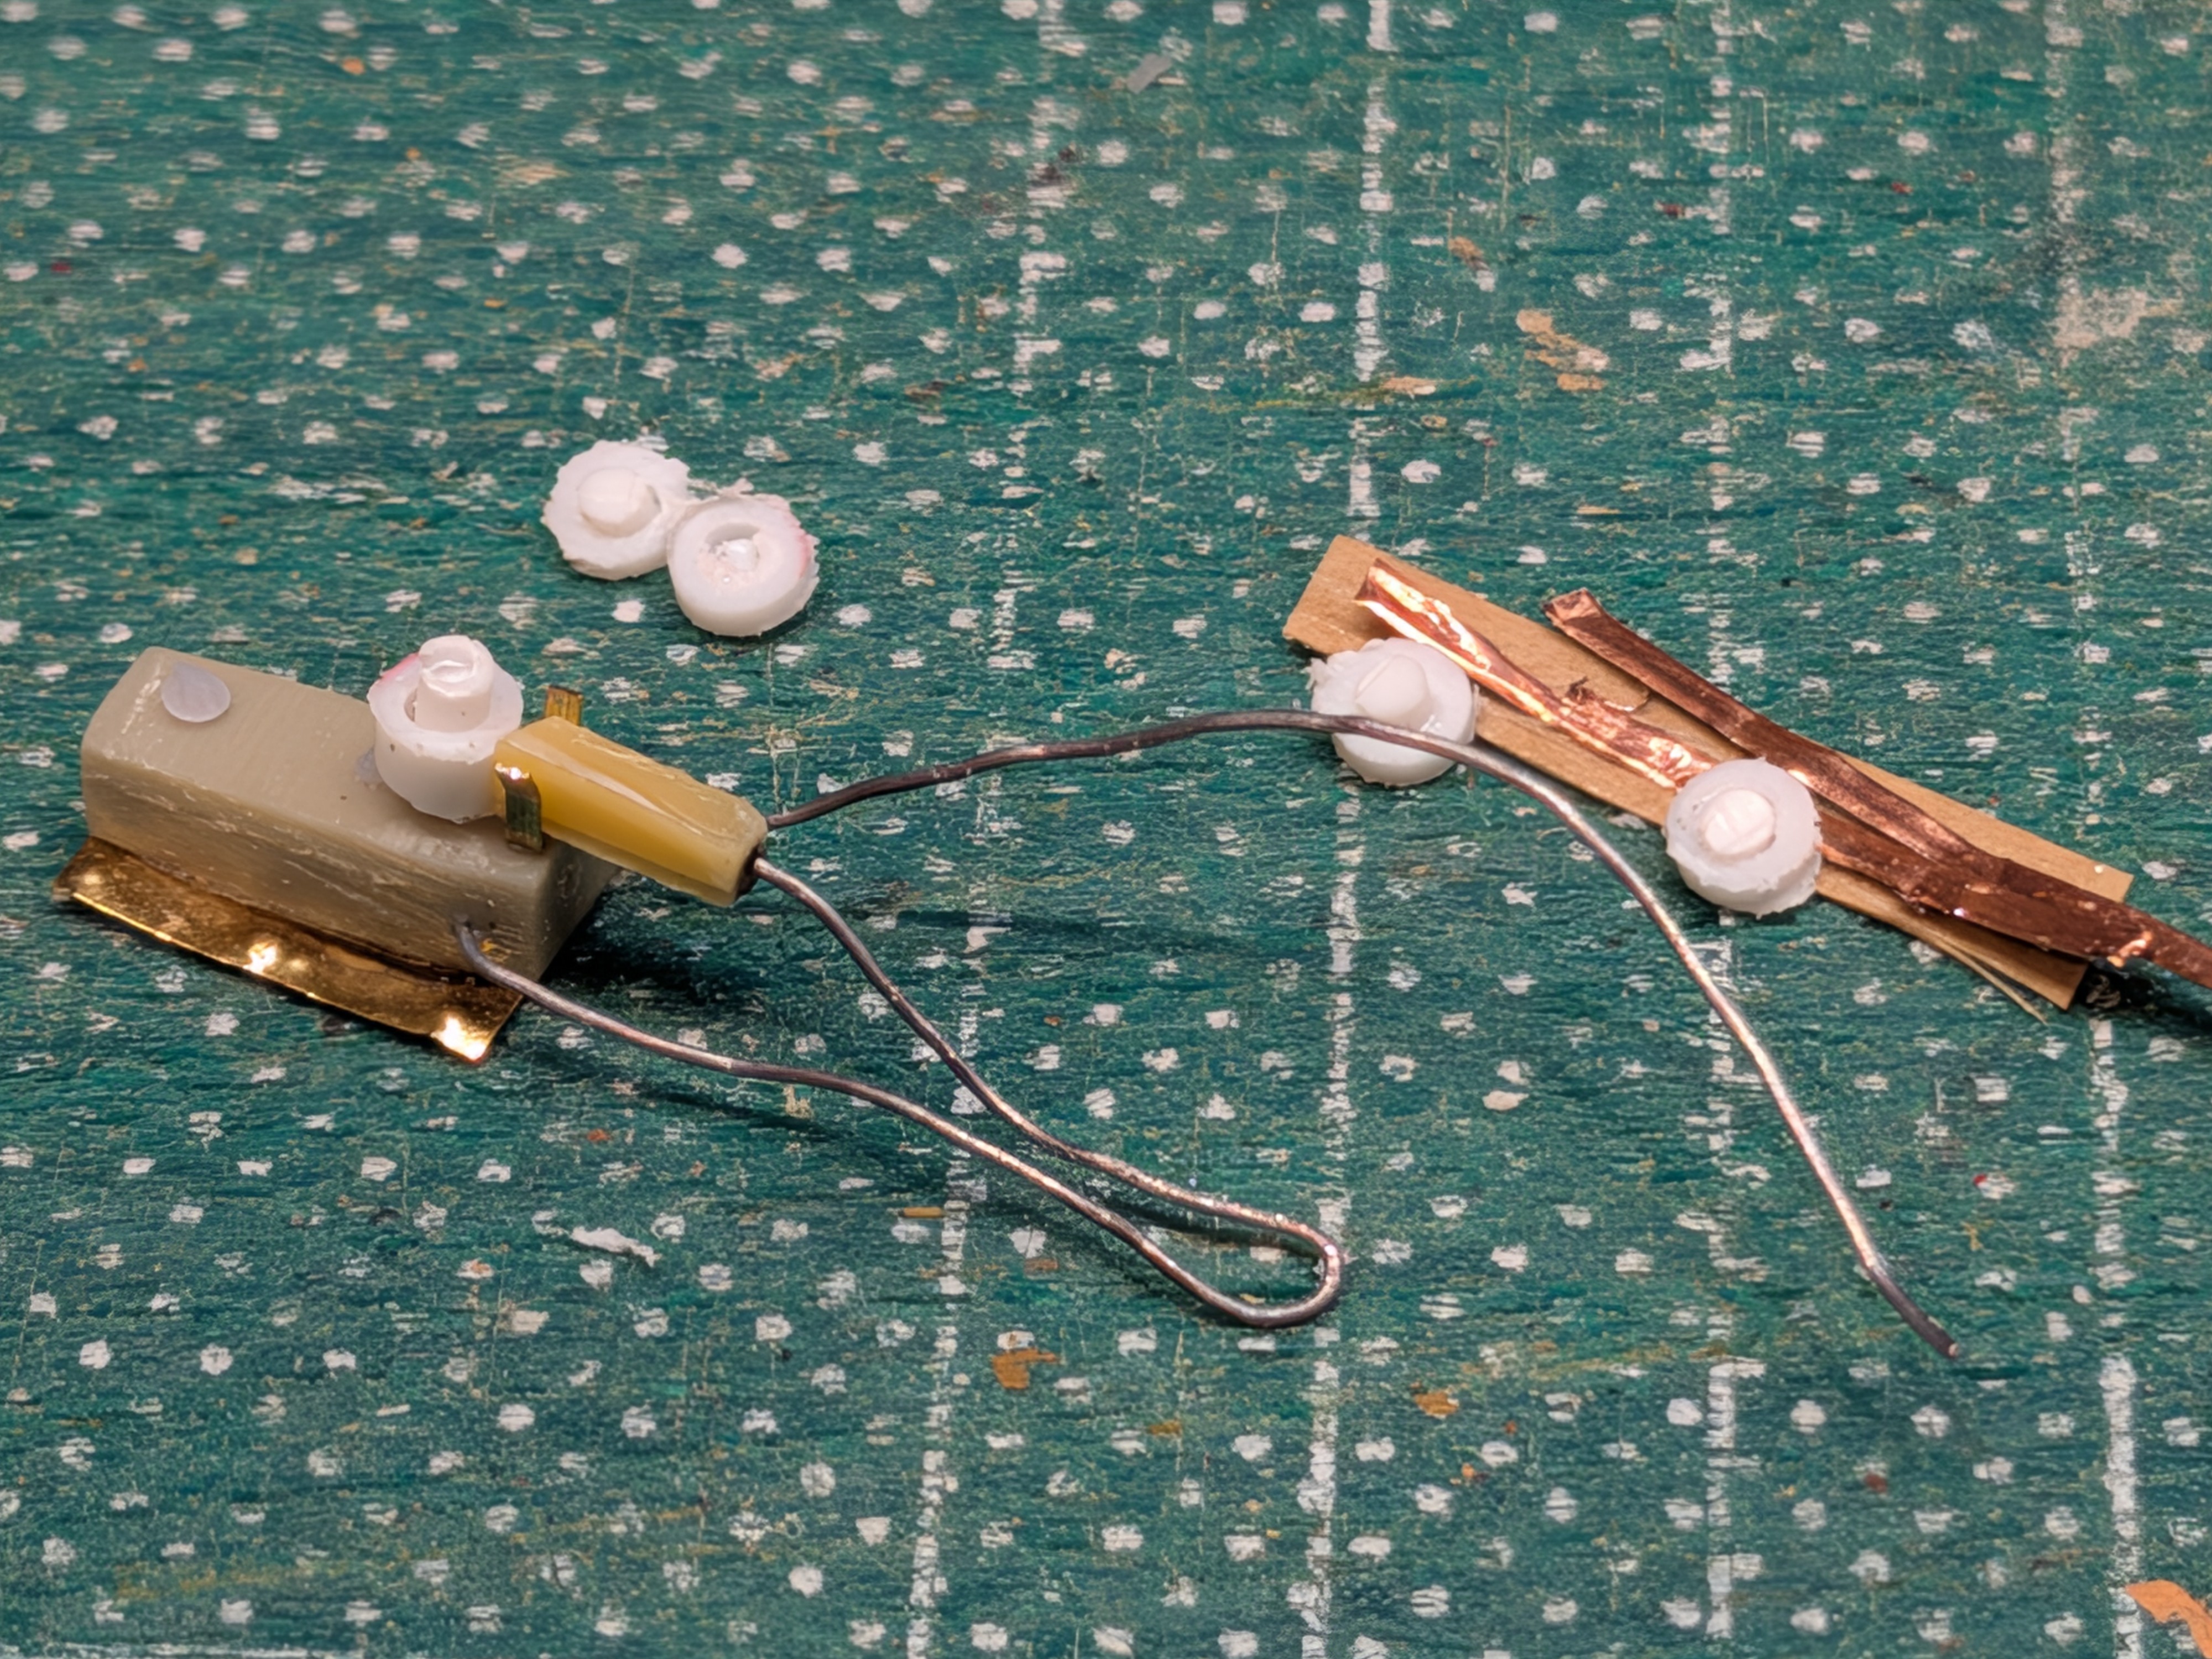
3503.jpg

3504.jpg

Like most of my scratch attempts, a little large for scale, but I'll take it!
Now to clean it up a bit before painting.
 
There's something I need to remember: filing a T-section of etched fret into a rounded shape :) Scratchbuilding one of these extinguishers isn't too difficult, as it's basically a cylinder with some detail, but I couldn't think of a good way to make the handle.
 

Latest posts

Back
Top