British Vickers Light Tank Mk VI C 2026-04

Scale Model Addict - Model Tips, Guides, Tools & Tech, Tutorials, and Community

Help Support Scale Model Addict:

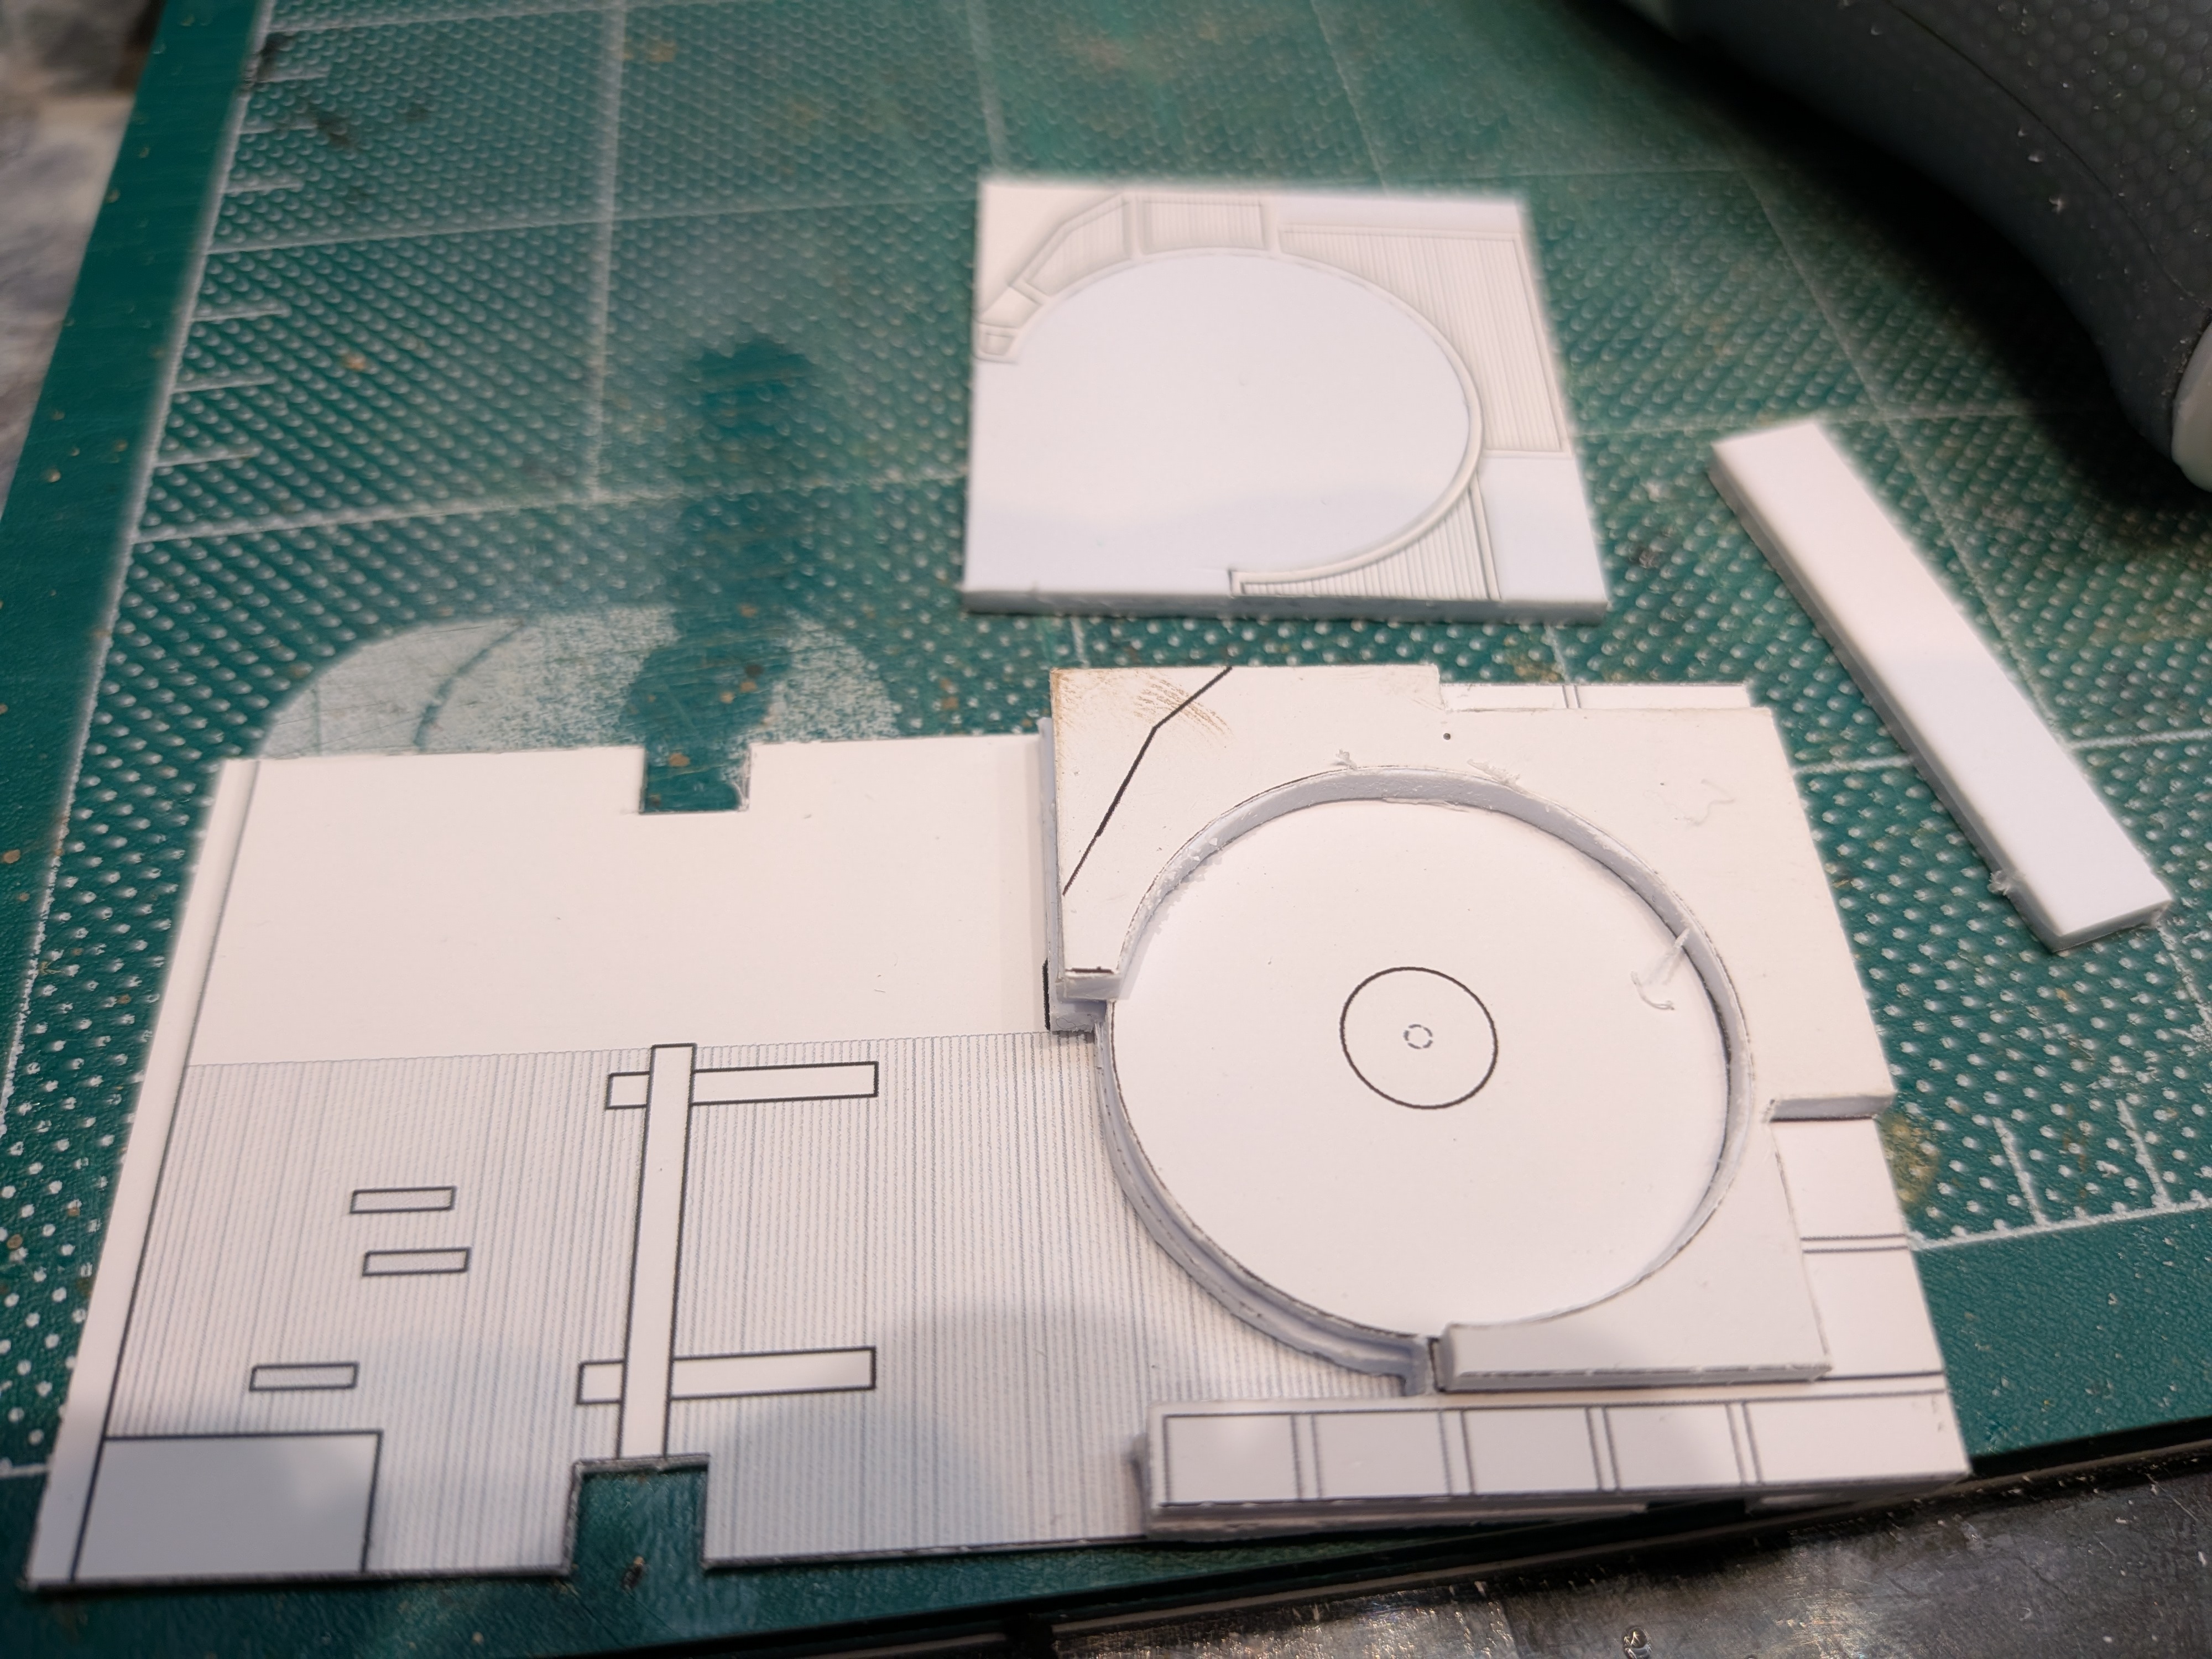
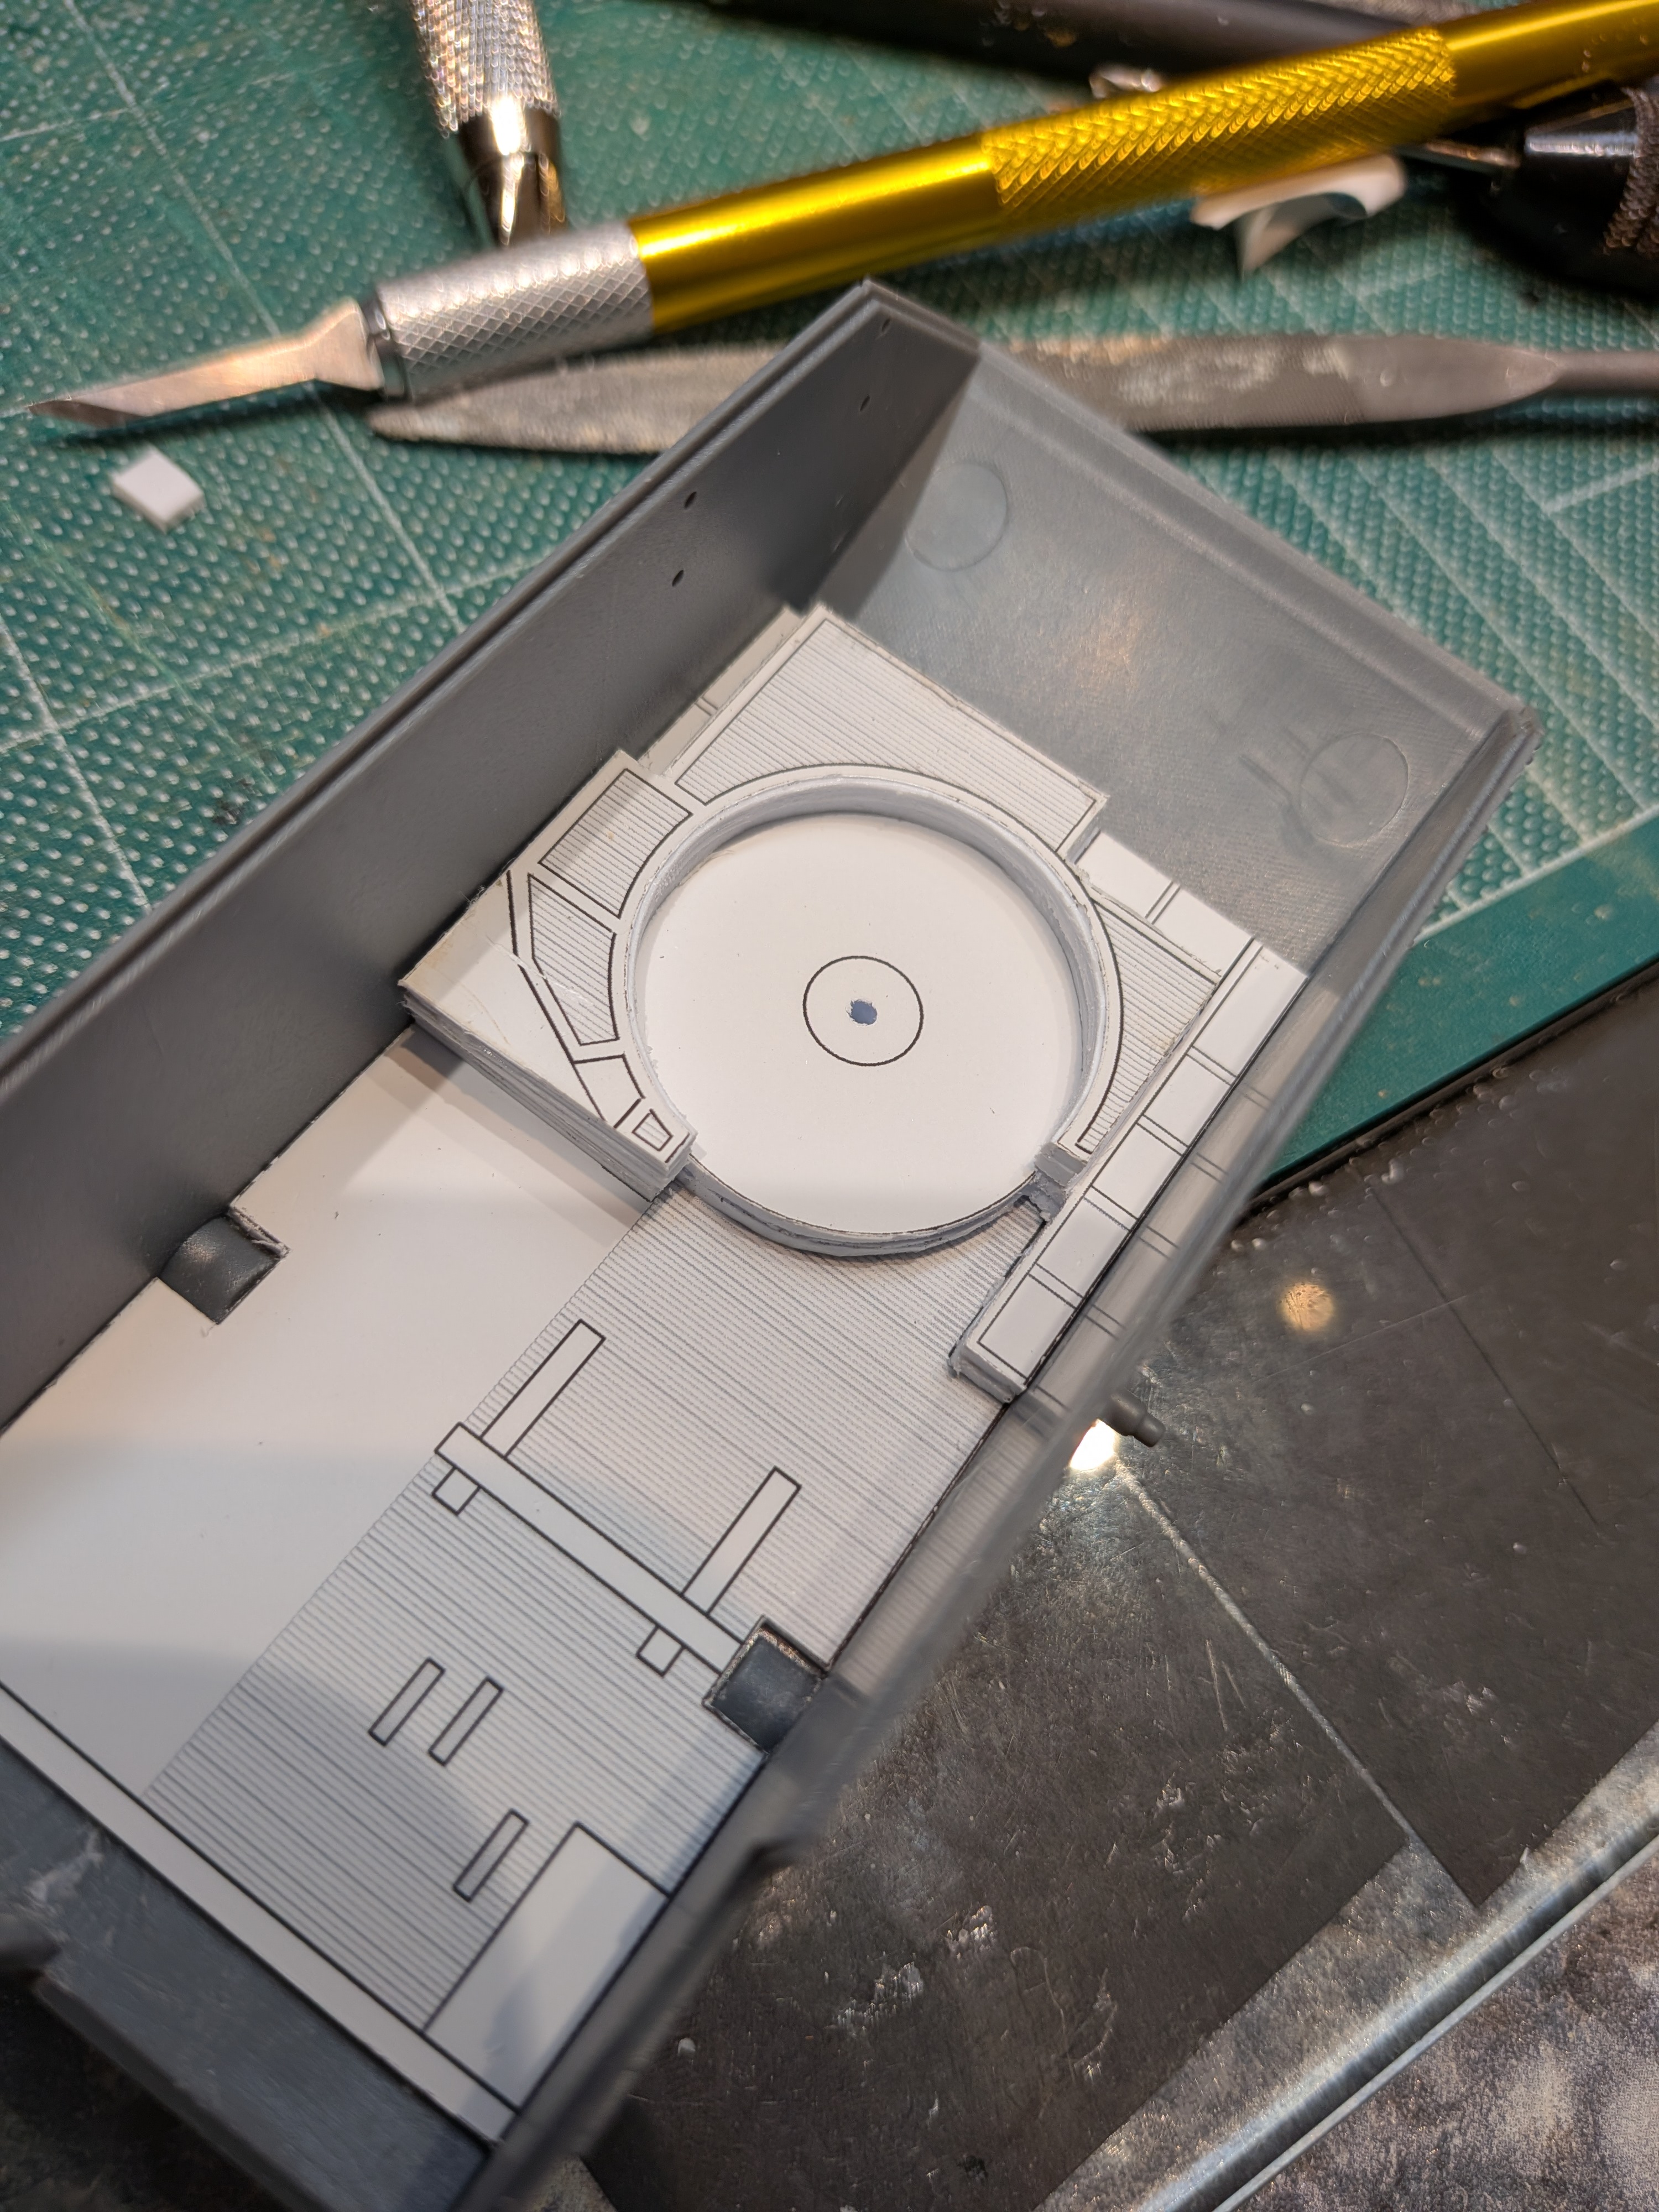
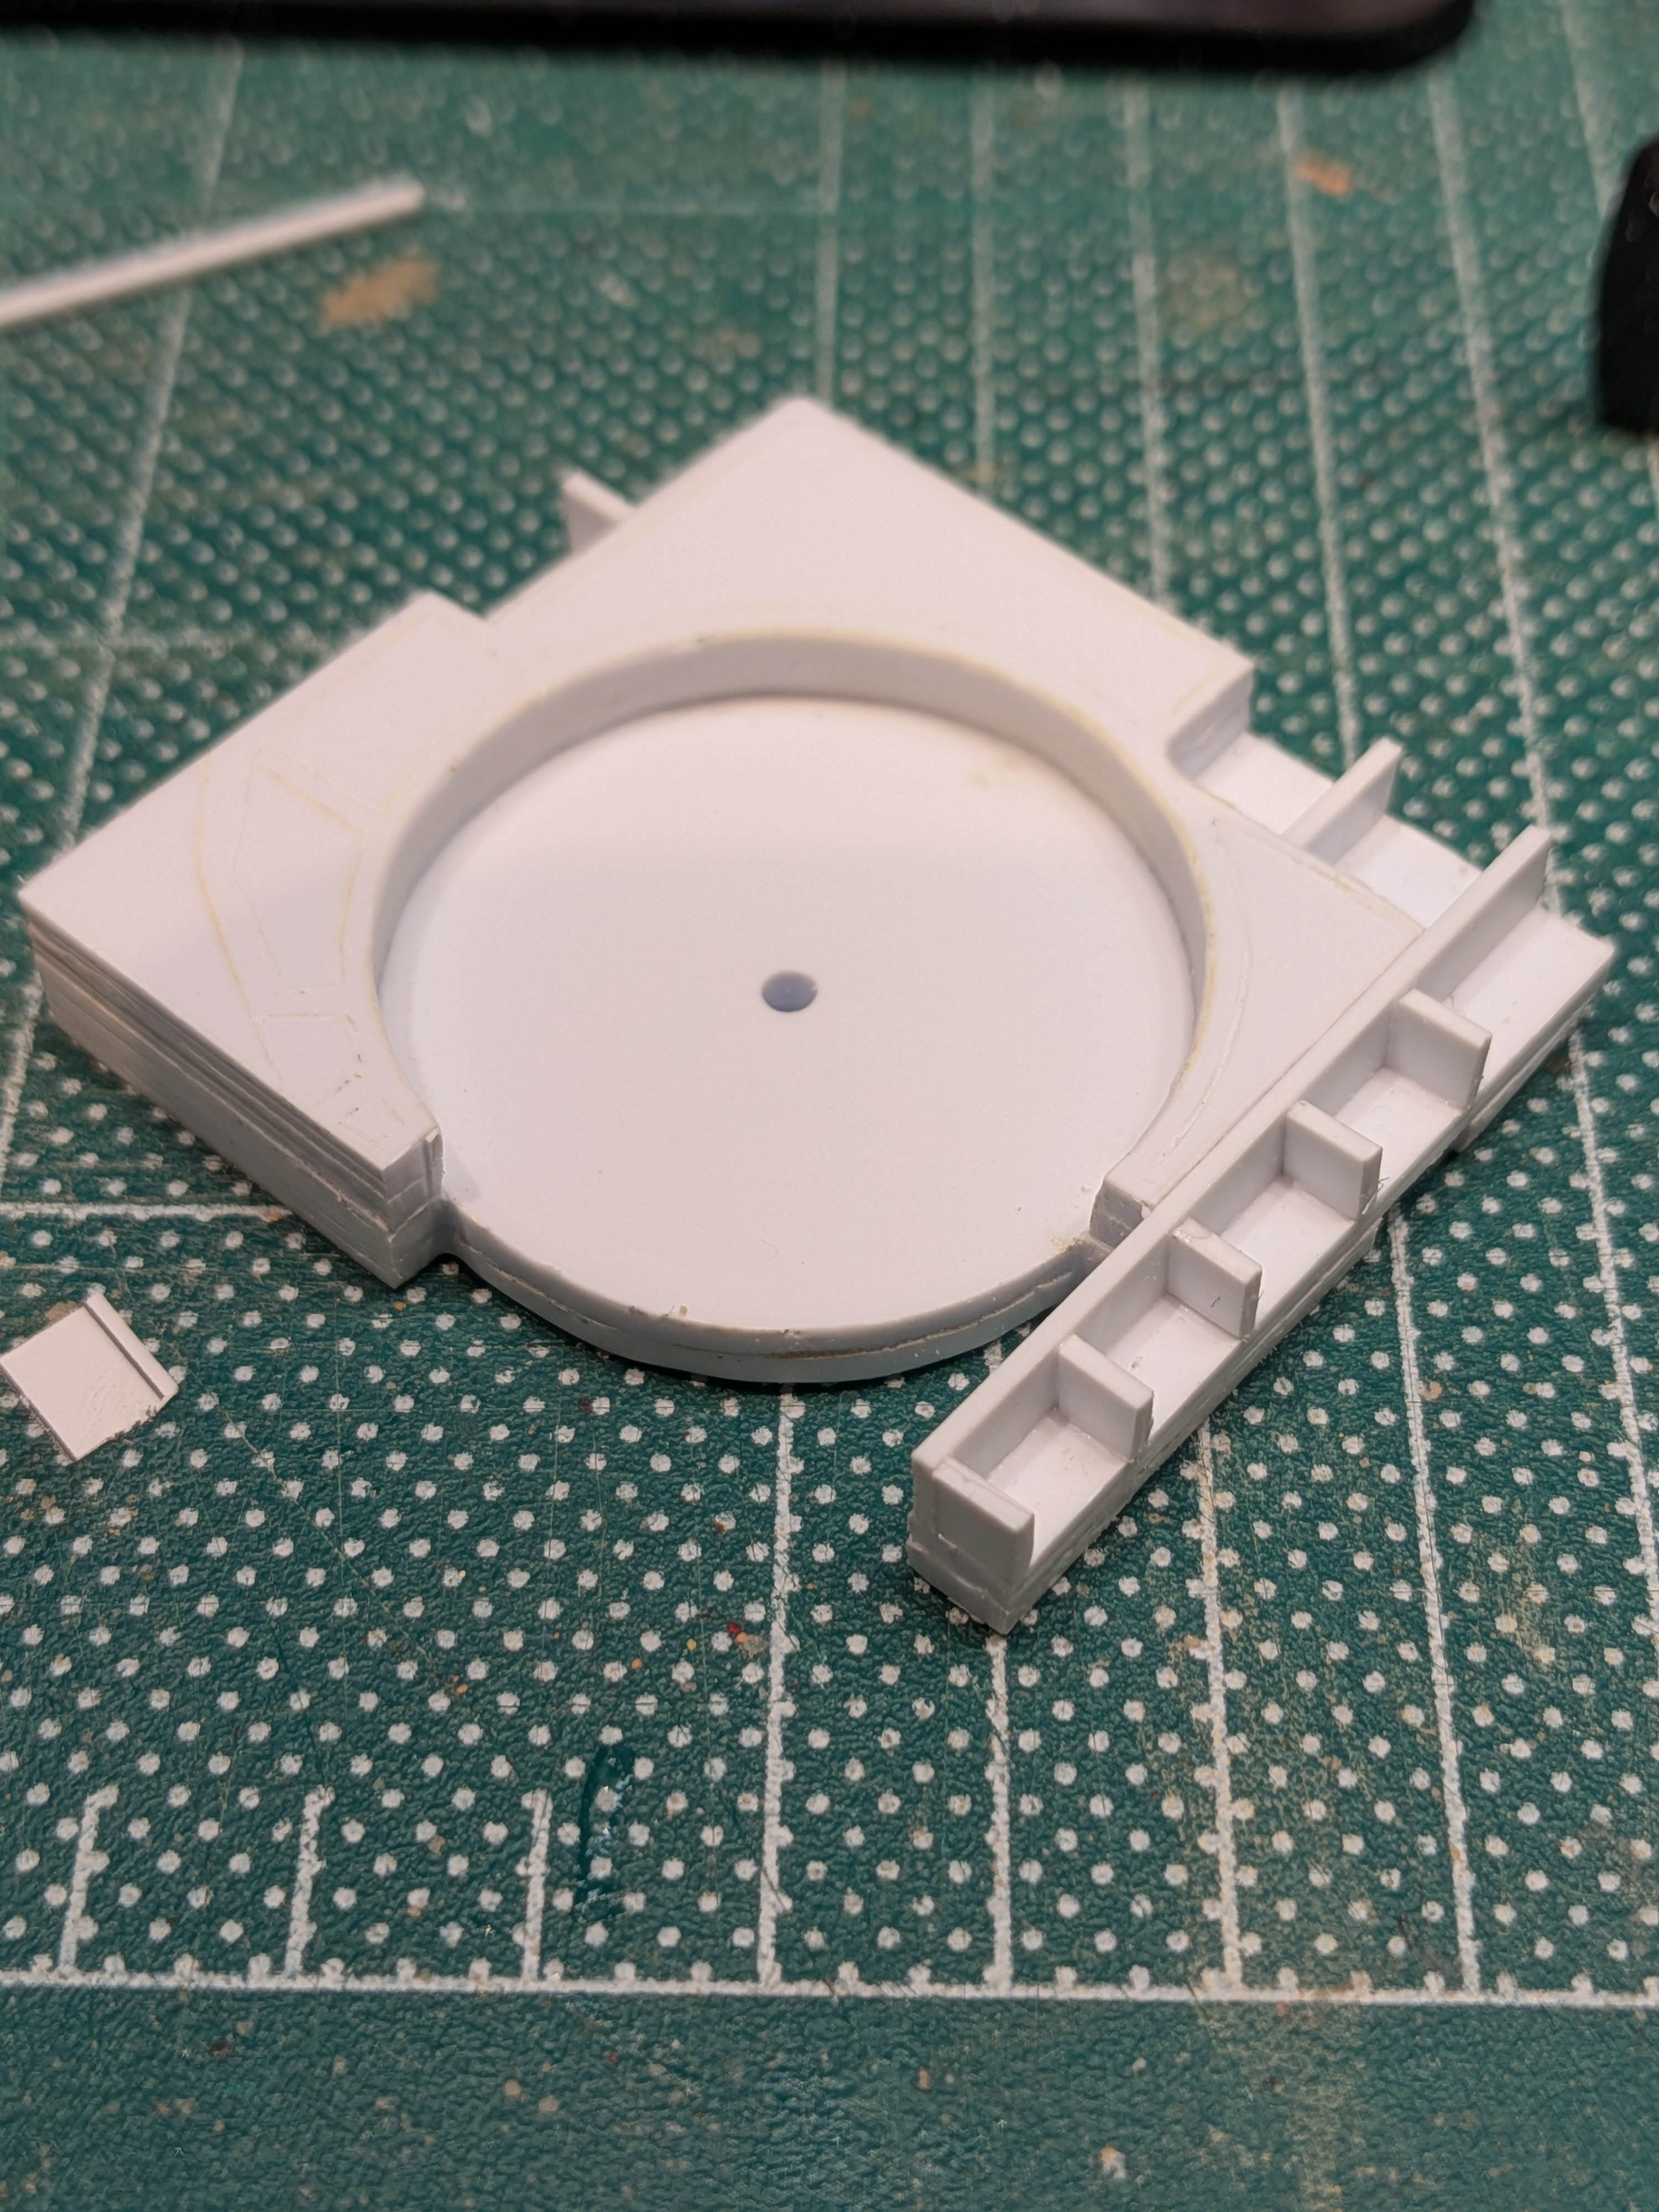
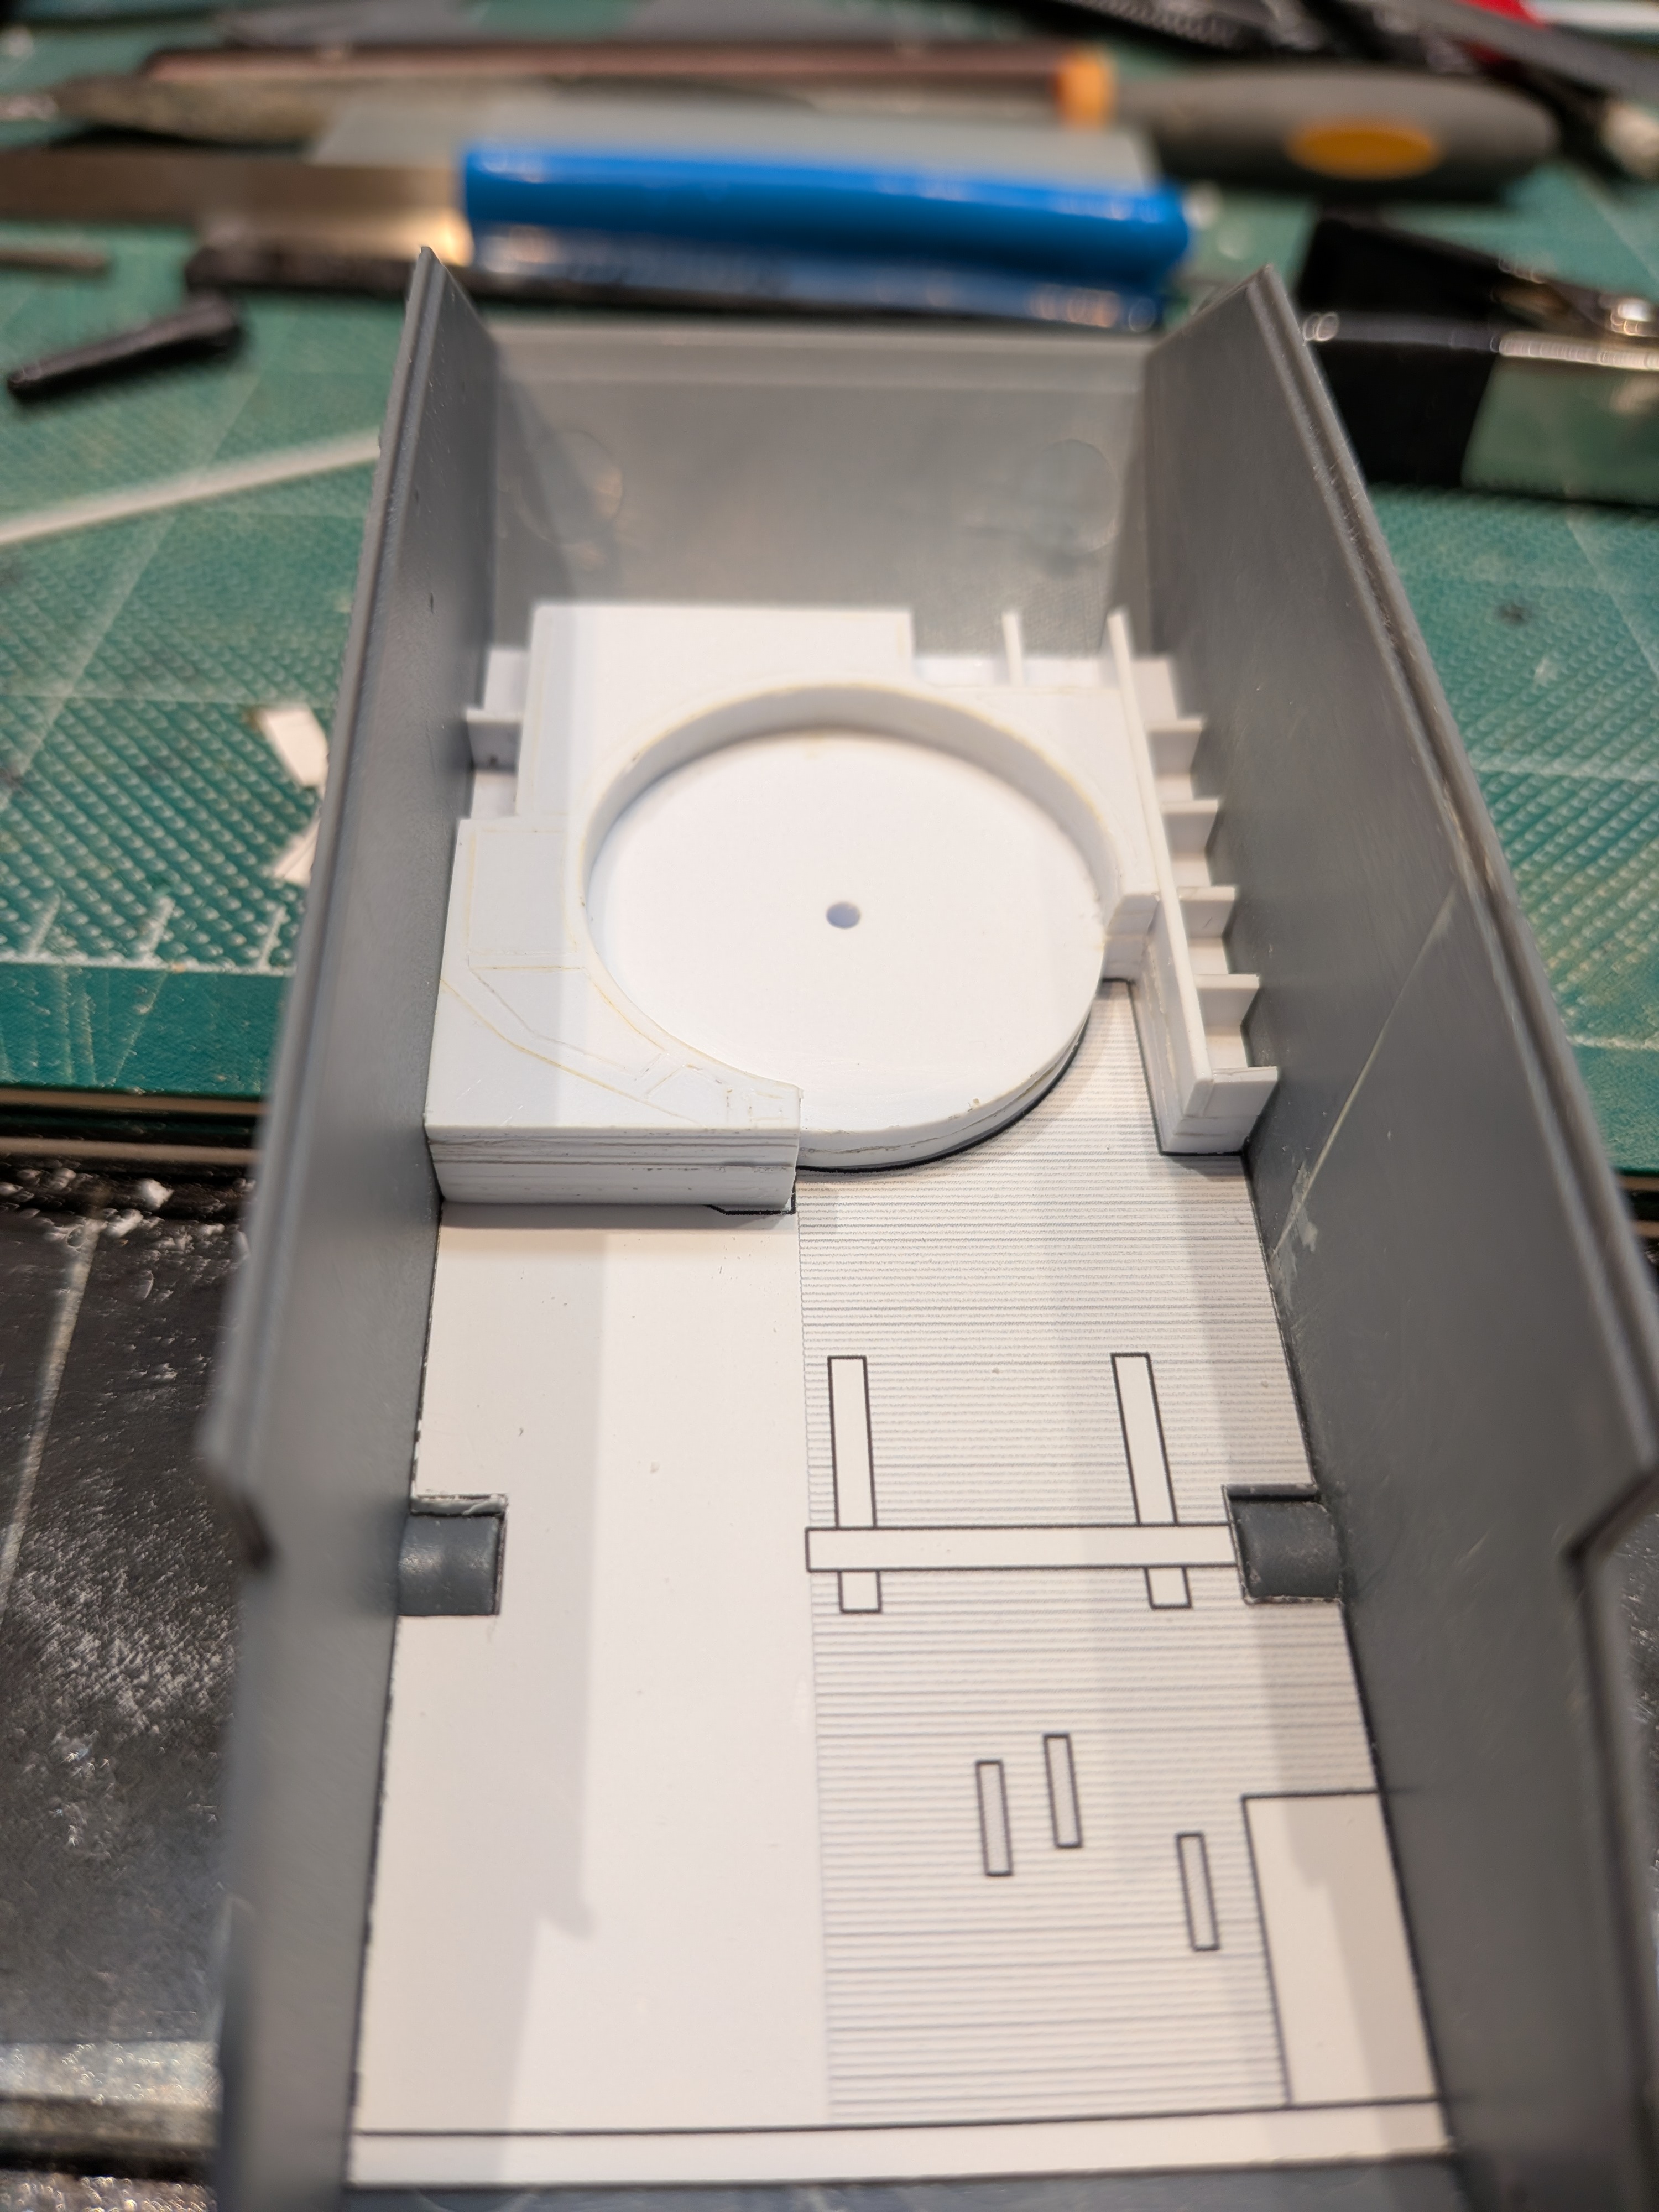
... Will wait for another day when I'm fresh to cut the top layer; but in case you are wondering where I'm going with this, here is the sandwich, roughly stacked.(Minus top layer)
Lots of refining yet to do!

2892.jpg
 
As an Amazon Associate we earn from qualifying purchases. Product prices and availability are accurate as of the date/time indicated and are subject to change.
I'm going to try and stay cool with the interior (not glue it too early), build it of a piece, so that I can adjust it forwards or backwards to perfectly align with the turret.

Still a ways to go!

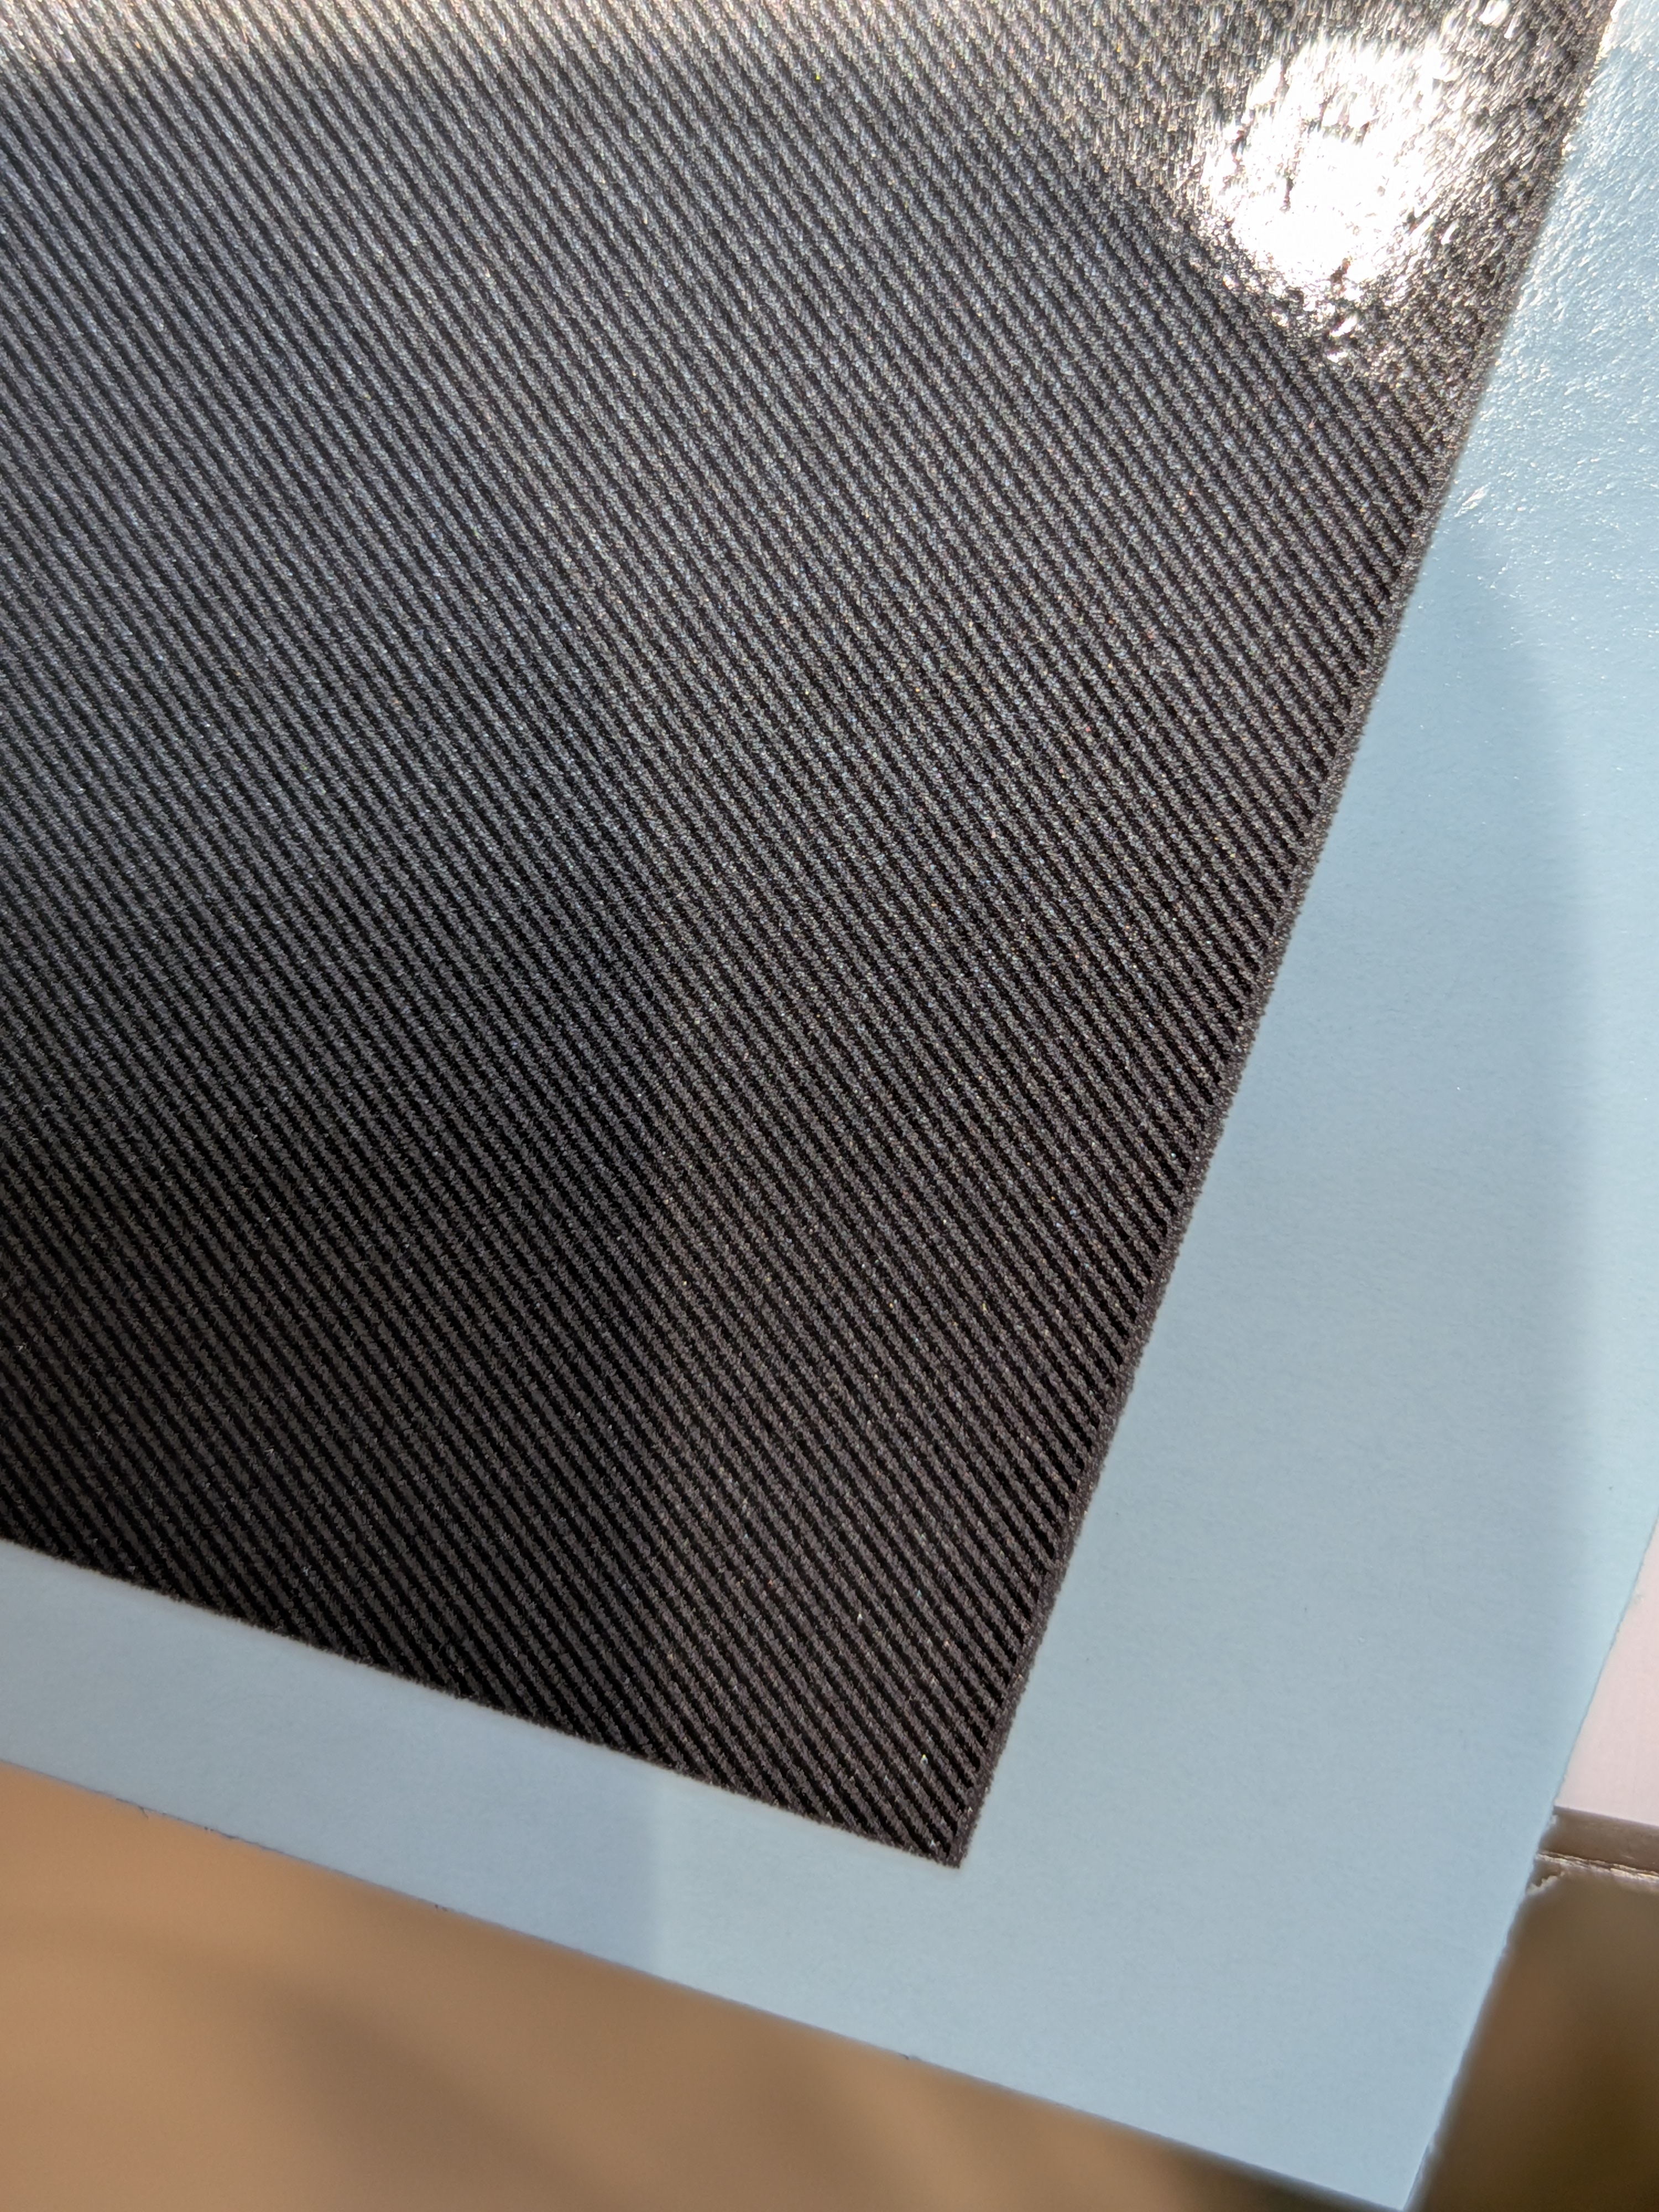
I'm going to try this carbon pattern decal for the floor areas, the interior being painted aluminium.
Yup, more tests!

2901.jpg
 
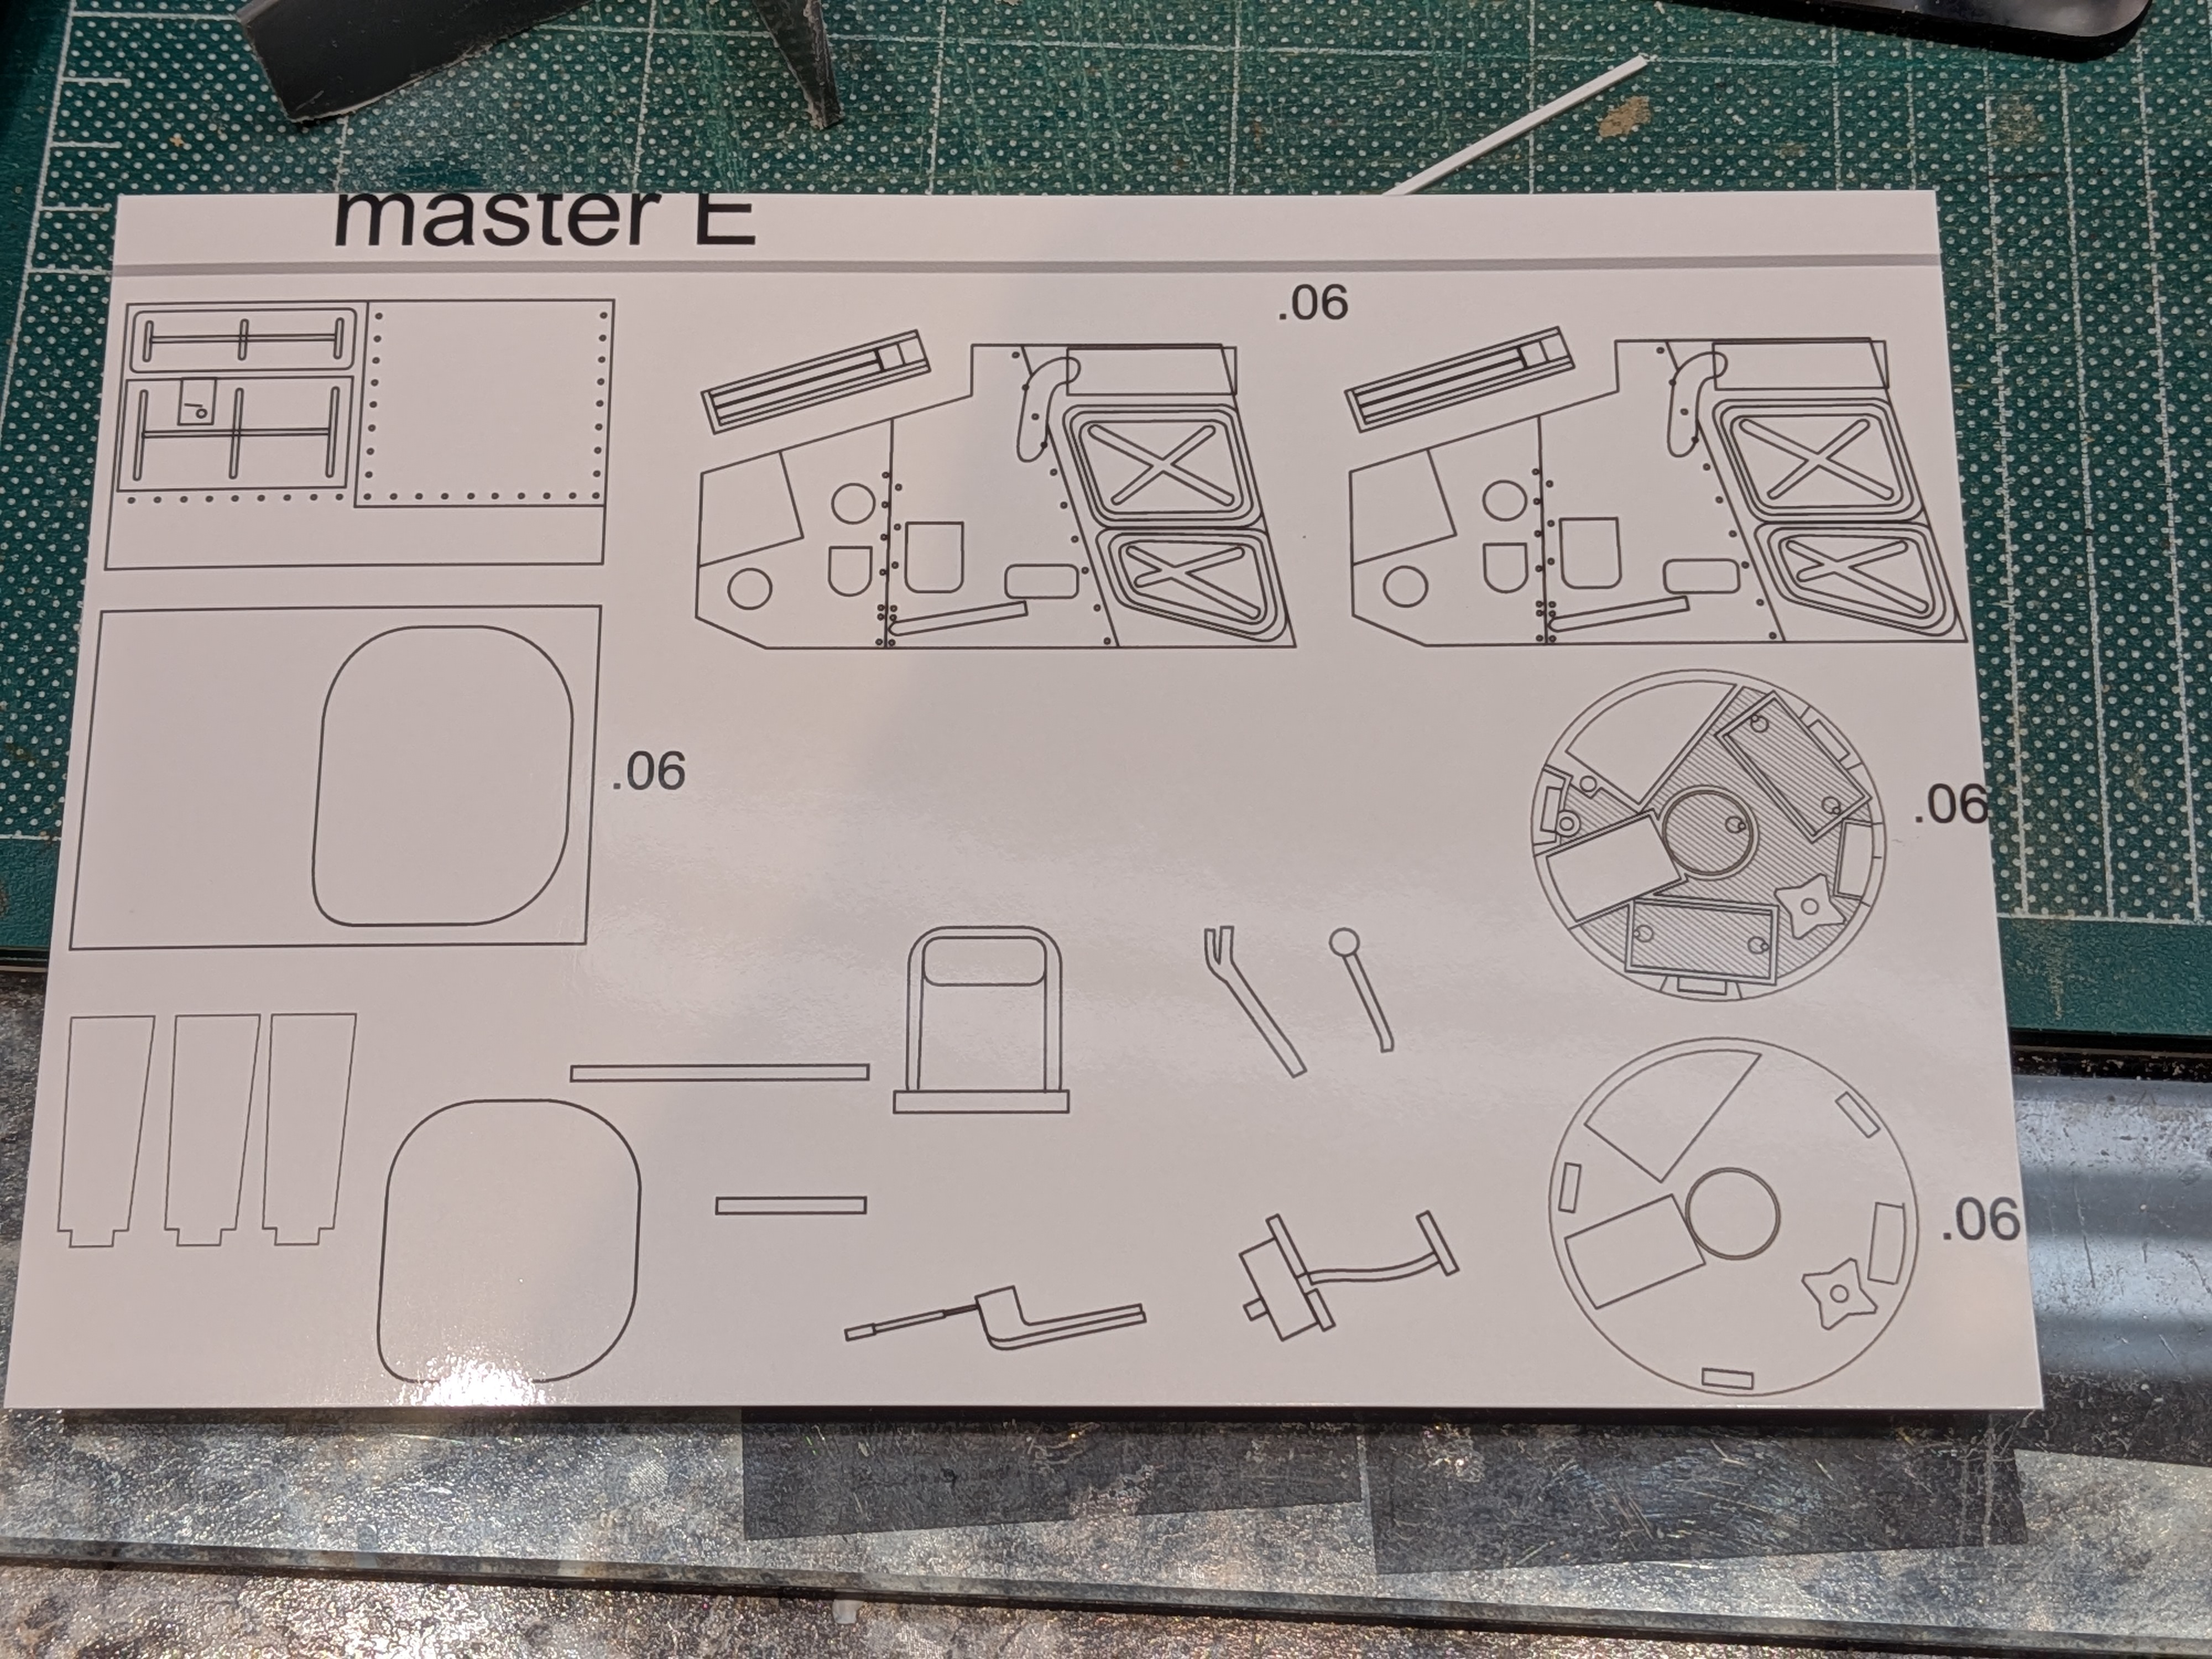
More measuring, resizing and adjusting for angled pieces. Trickier than flat parts, so printing on 4x6 in photo stock which I've had for years.

2927.jpg


I can cut out, test fit and make any further adjustments before printing on label to stick on styrene sheet.
 
Well that was a bust ... Something went wonky in the printer page set up, somewhere, and the measurements are off.
Rather than futzing with the printer, I'll just go back to letter size... That worked fine for the first run.
I have to say that the photo paper print is crisp, and stiff enough for testing, even if iit does lack thickness.
 
... So the return to letter size print fixed my sizing issue, and I've been able to adjust part sizes based on measurements of the kit body with my floor added.

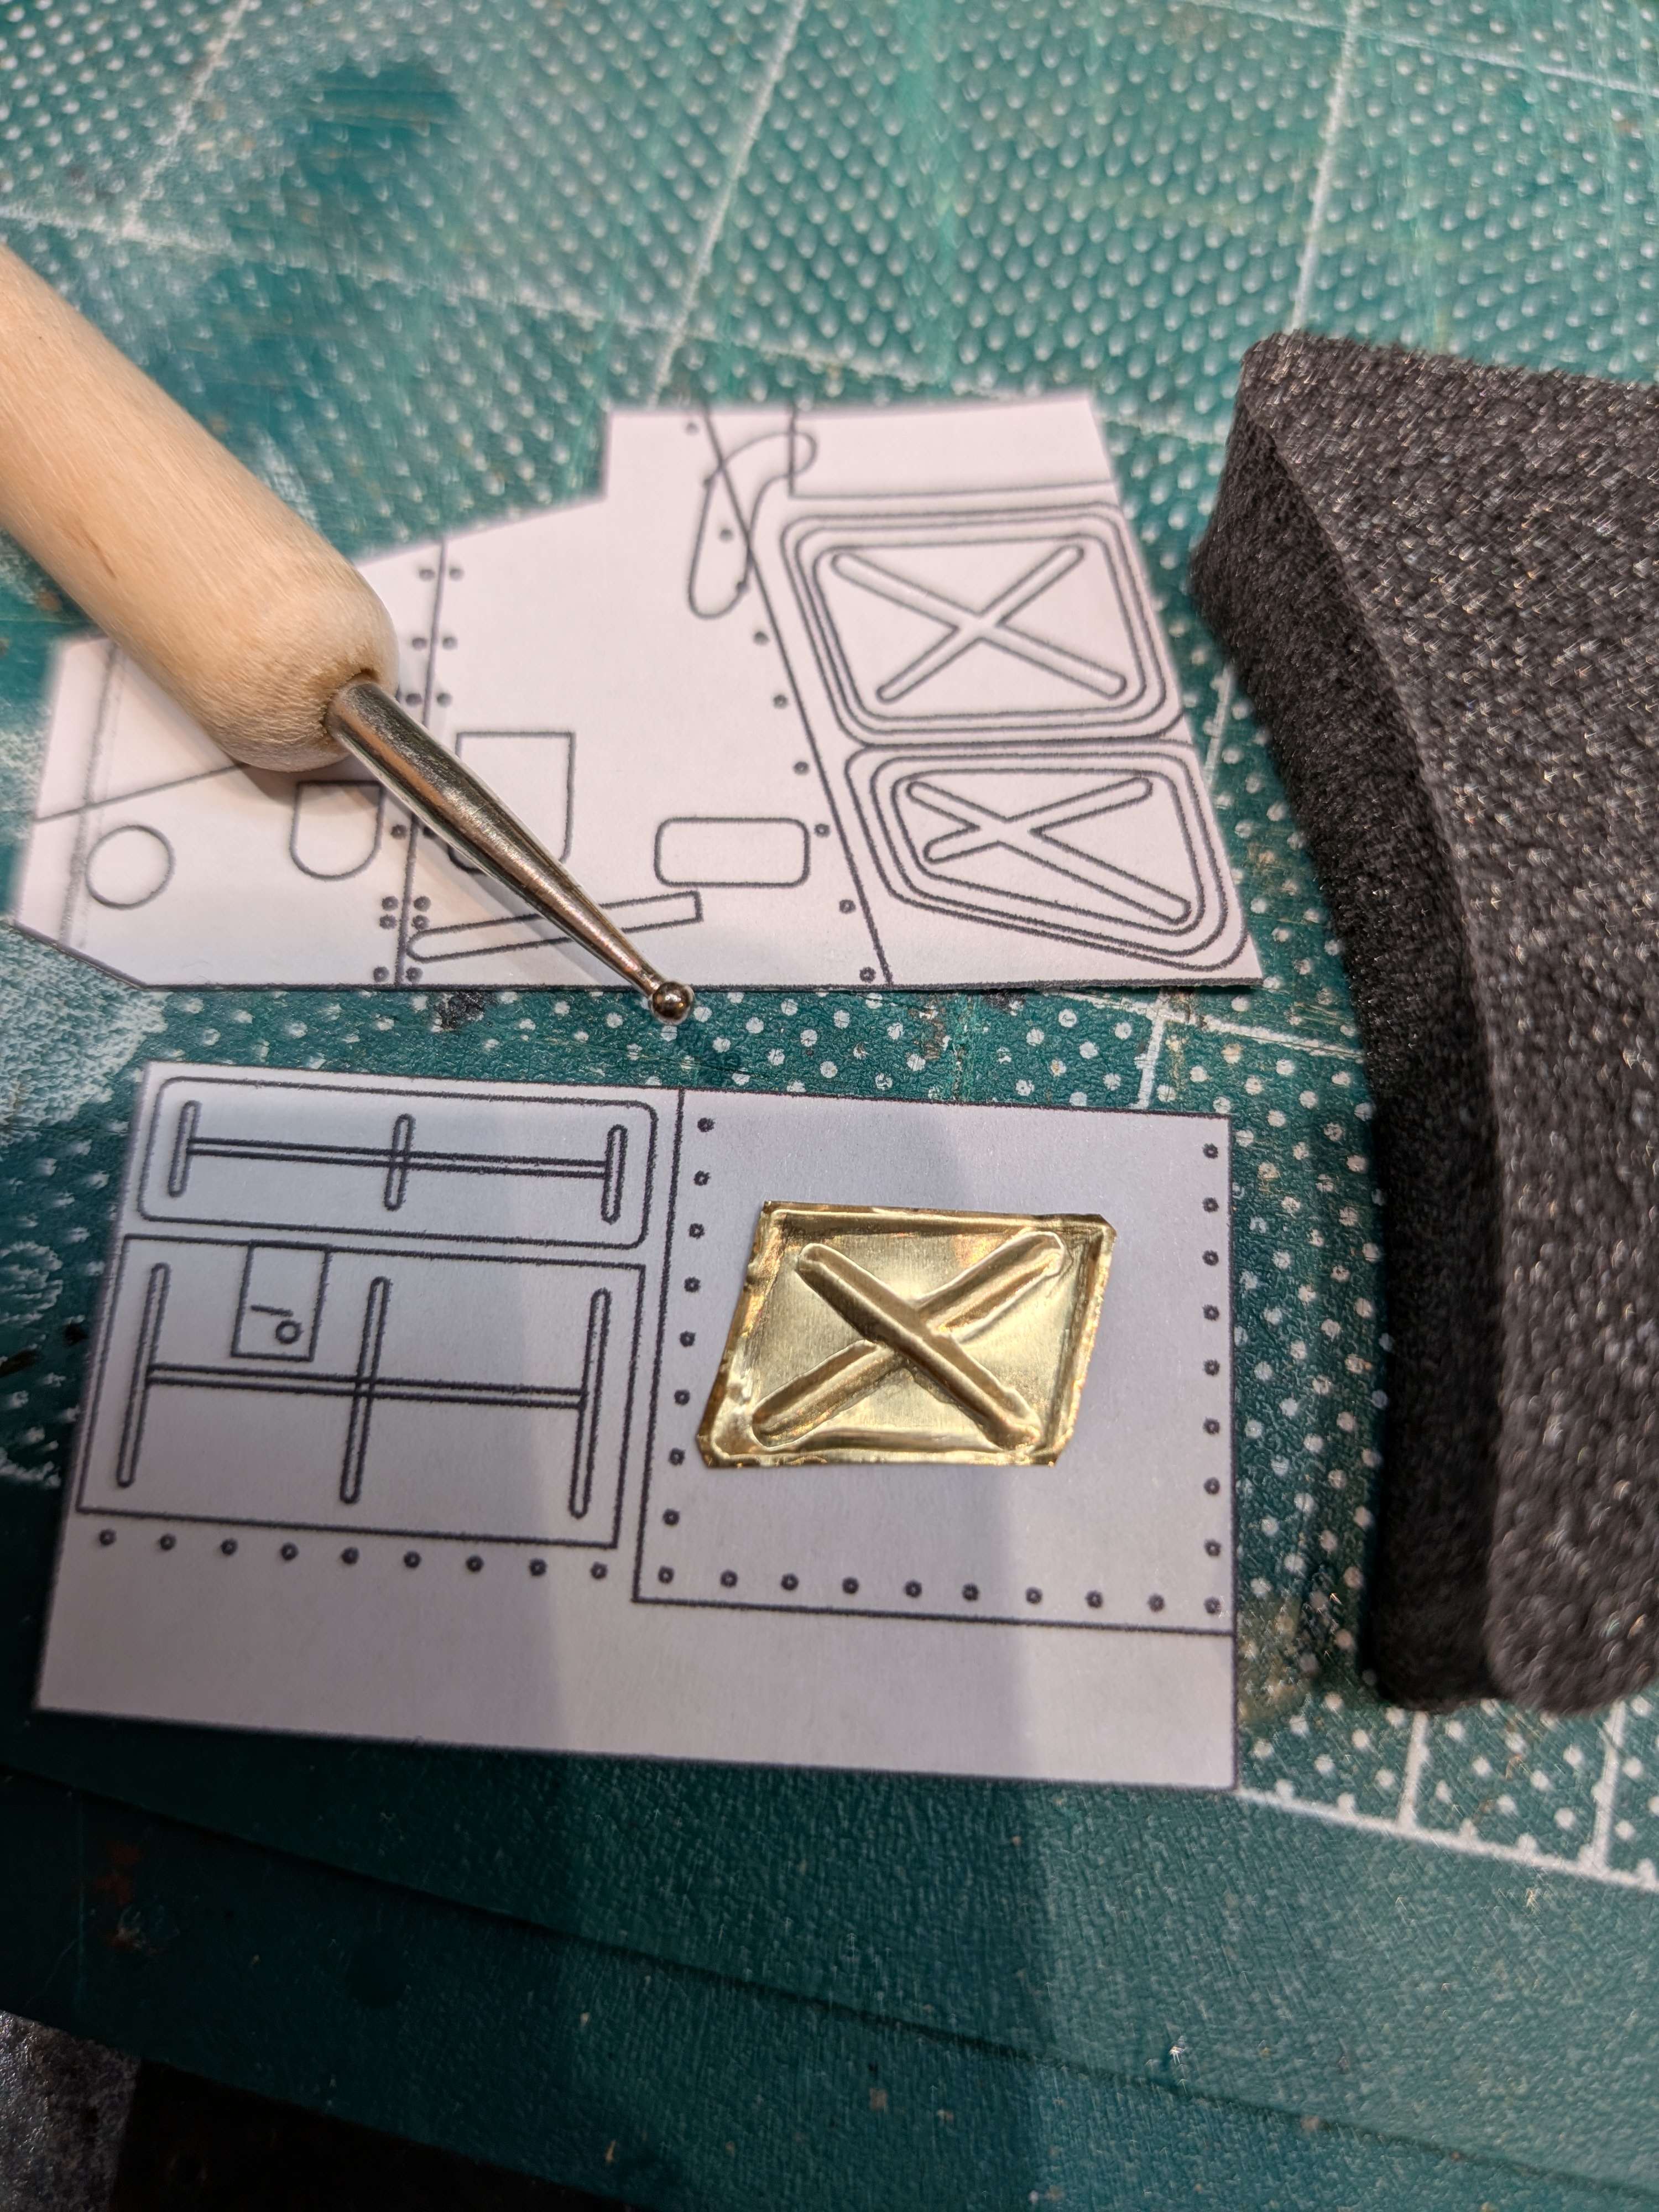
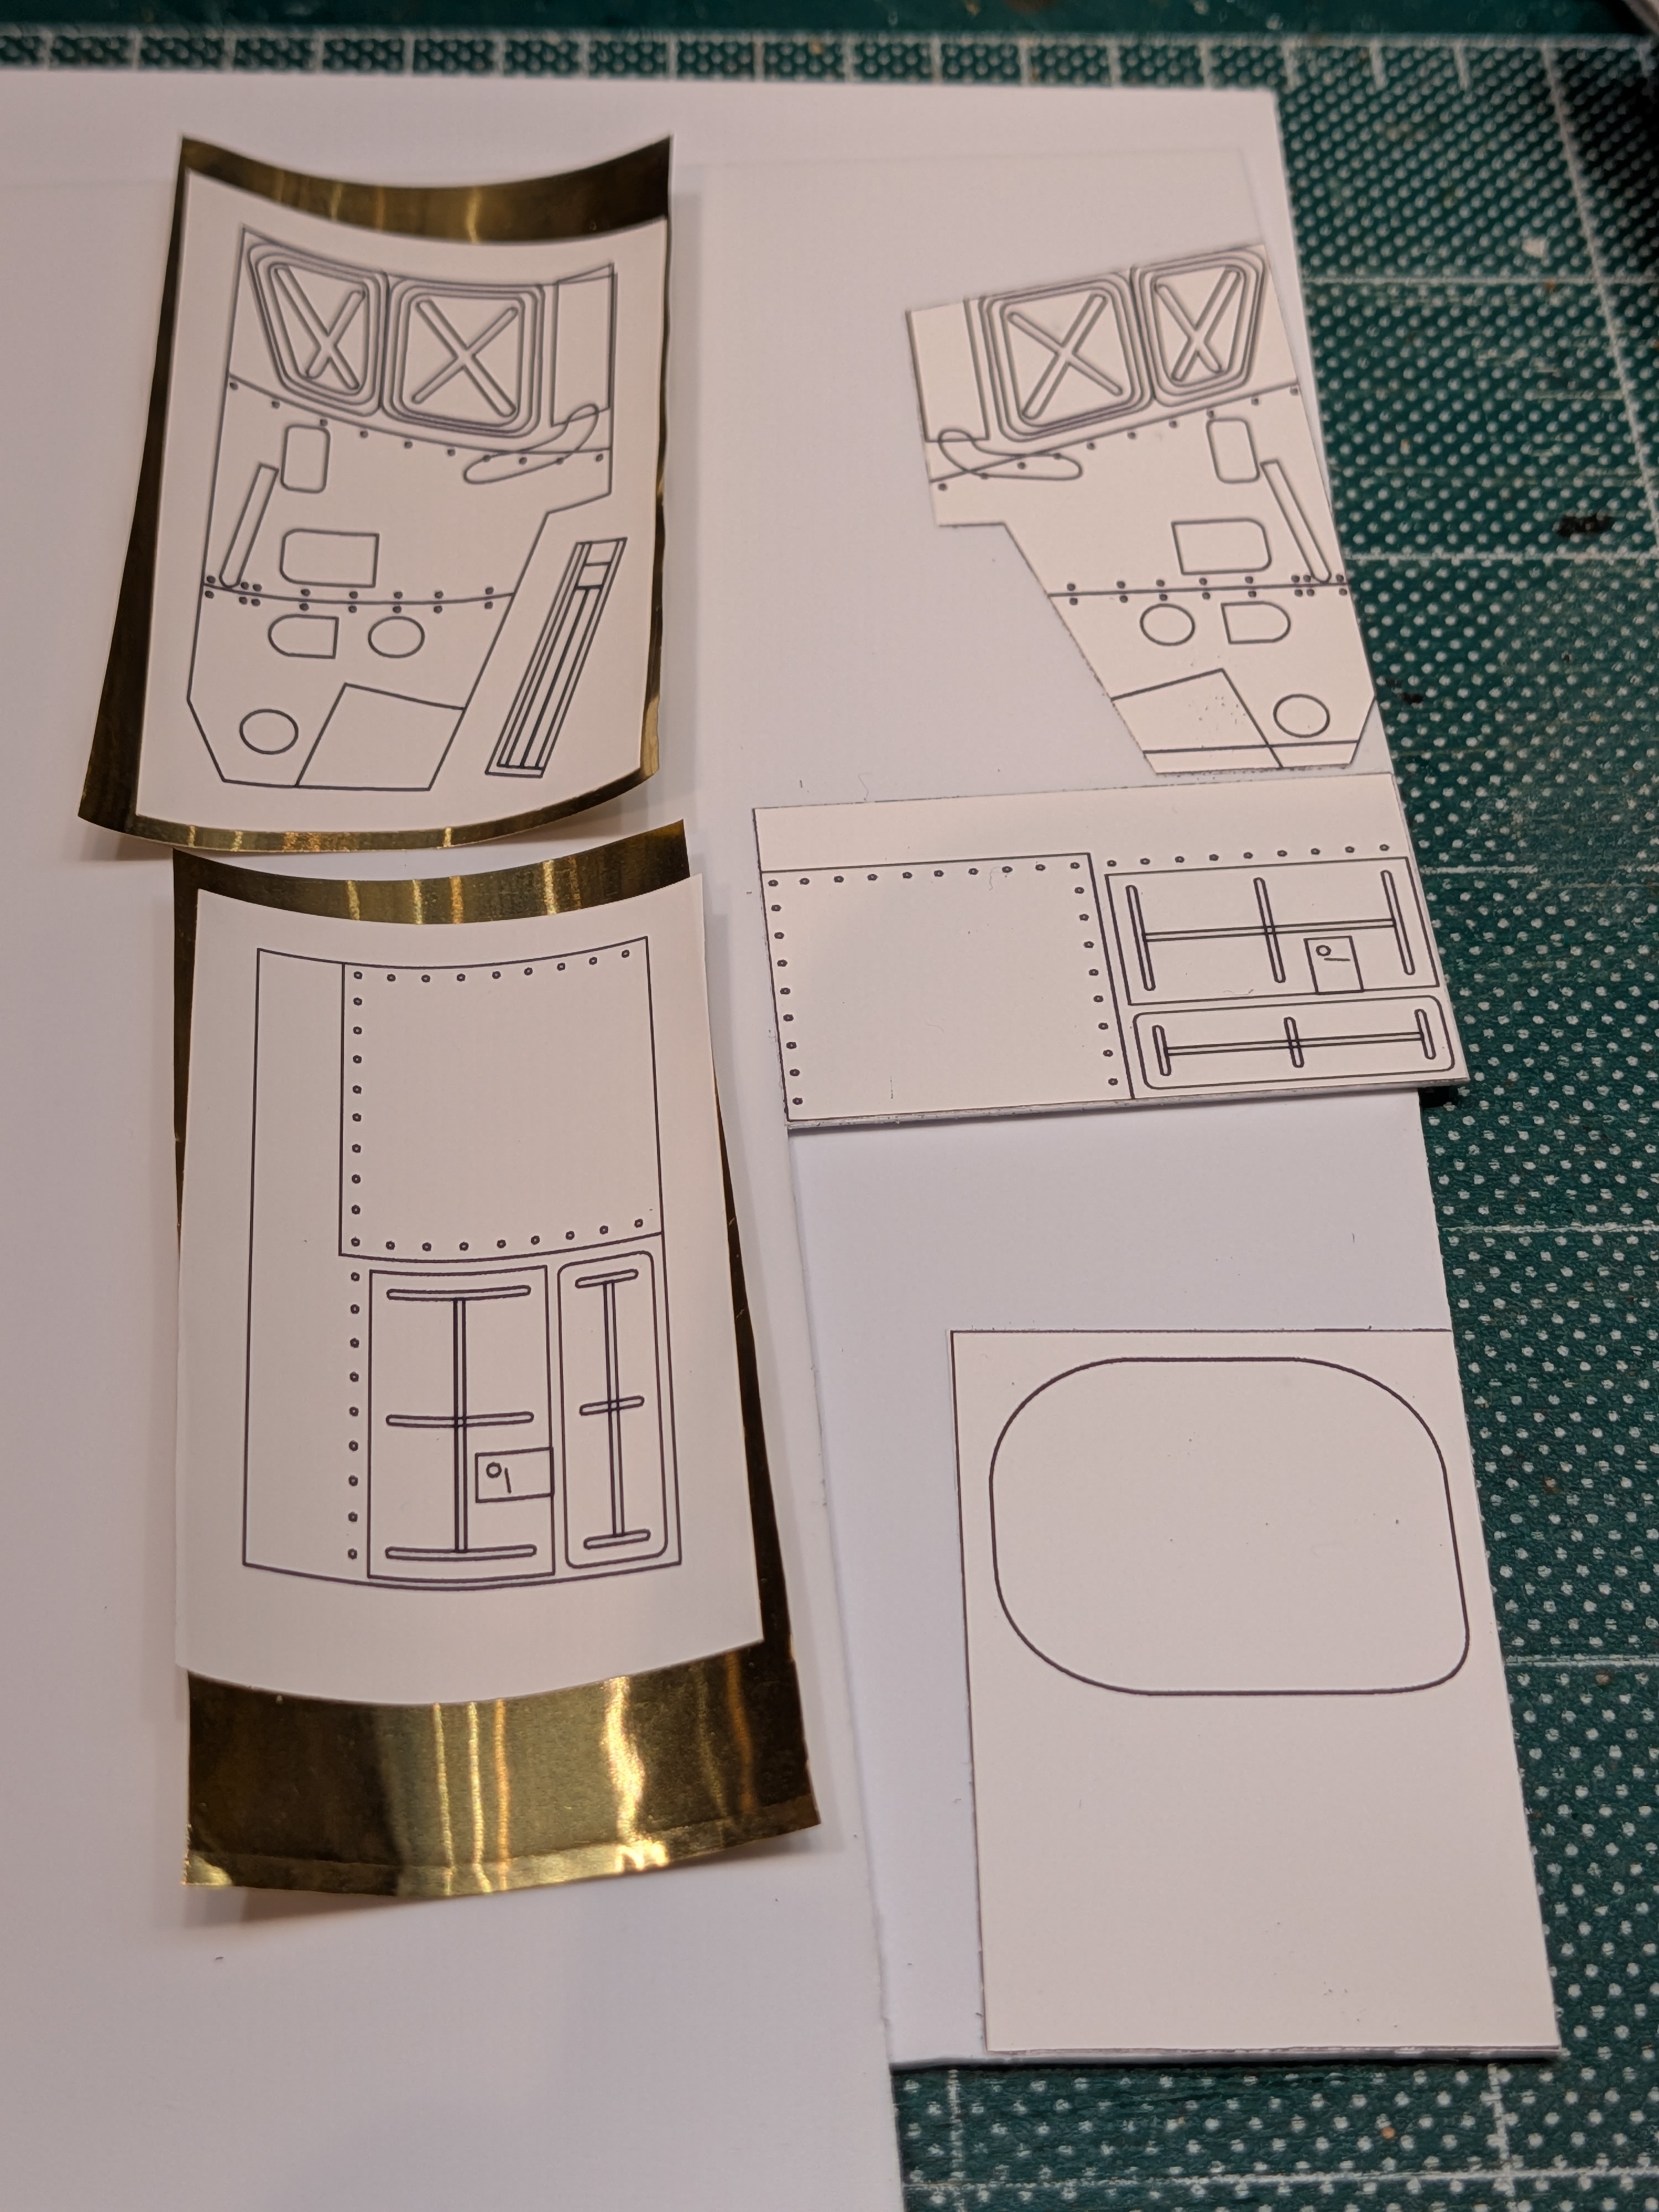
Before calling it a night, I pulled out some brass foil... A little 'repoussage', anyone? The last time I did this was in that same grade 7 shop class I learned how to polish plastic with toothpaste!

Merci, M. Gignac!

2932.jpg

Yup, looks like it will work! I'll have to print out some panels in reverse, so I've already adjusted my drawing. 😎

"Bonne nuit, les gars!"
 
Last edited:
... So the return to letter size print fixed my sizing issue, and I've been able to adjust part sizes based on measurements of the kit body with my floor added.

Before calling it a night, I pulled out some brass foil... A little 'repoussage', anyone? The last time I did this was in that same grade 7 shop class I learned how to polish plastic with toothpaste!

Merci, M. Gignac!

View attachment 191639

Yup, looks like it will work! I'll have to print out some panels in reverse, so I've already adjusted my drawing. 😎

"Bonne nuit, les gars!"
I've been doing this for years with foil from empty toothpaste tubes. Is that where you get your heavy foil?
 
I've been doing this for years with foil from empty toothpaste tubes. Is that where you get your heavy foil?
Nice... Never thought of that.
I actually bought a couple of small rolls in different thicknesses online a few years ago. This one is .03mm thick.
They come out of the tickle trunk every so often, a great raw material to have on hand.

After sleeping on it, I'm thinking it may even be worth trying to do the whole panel for the surface detail, rivets and all! 🤔
 
Last edited:
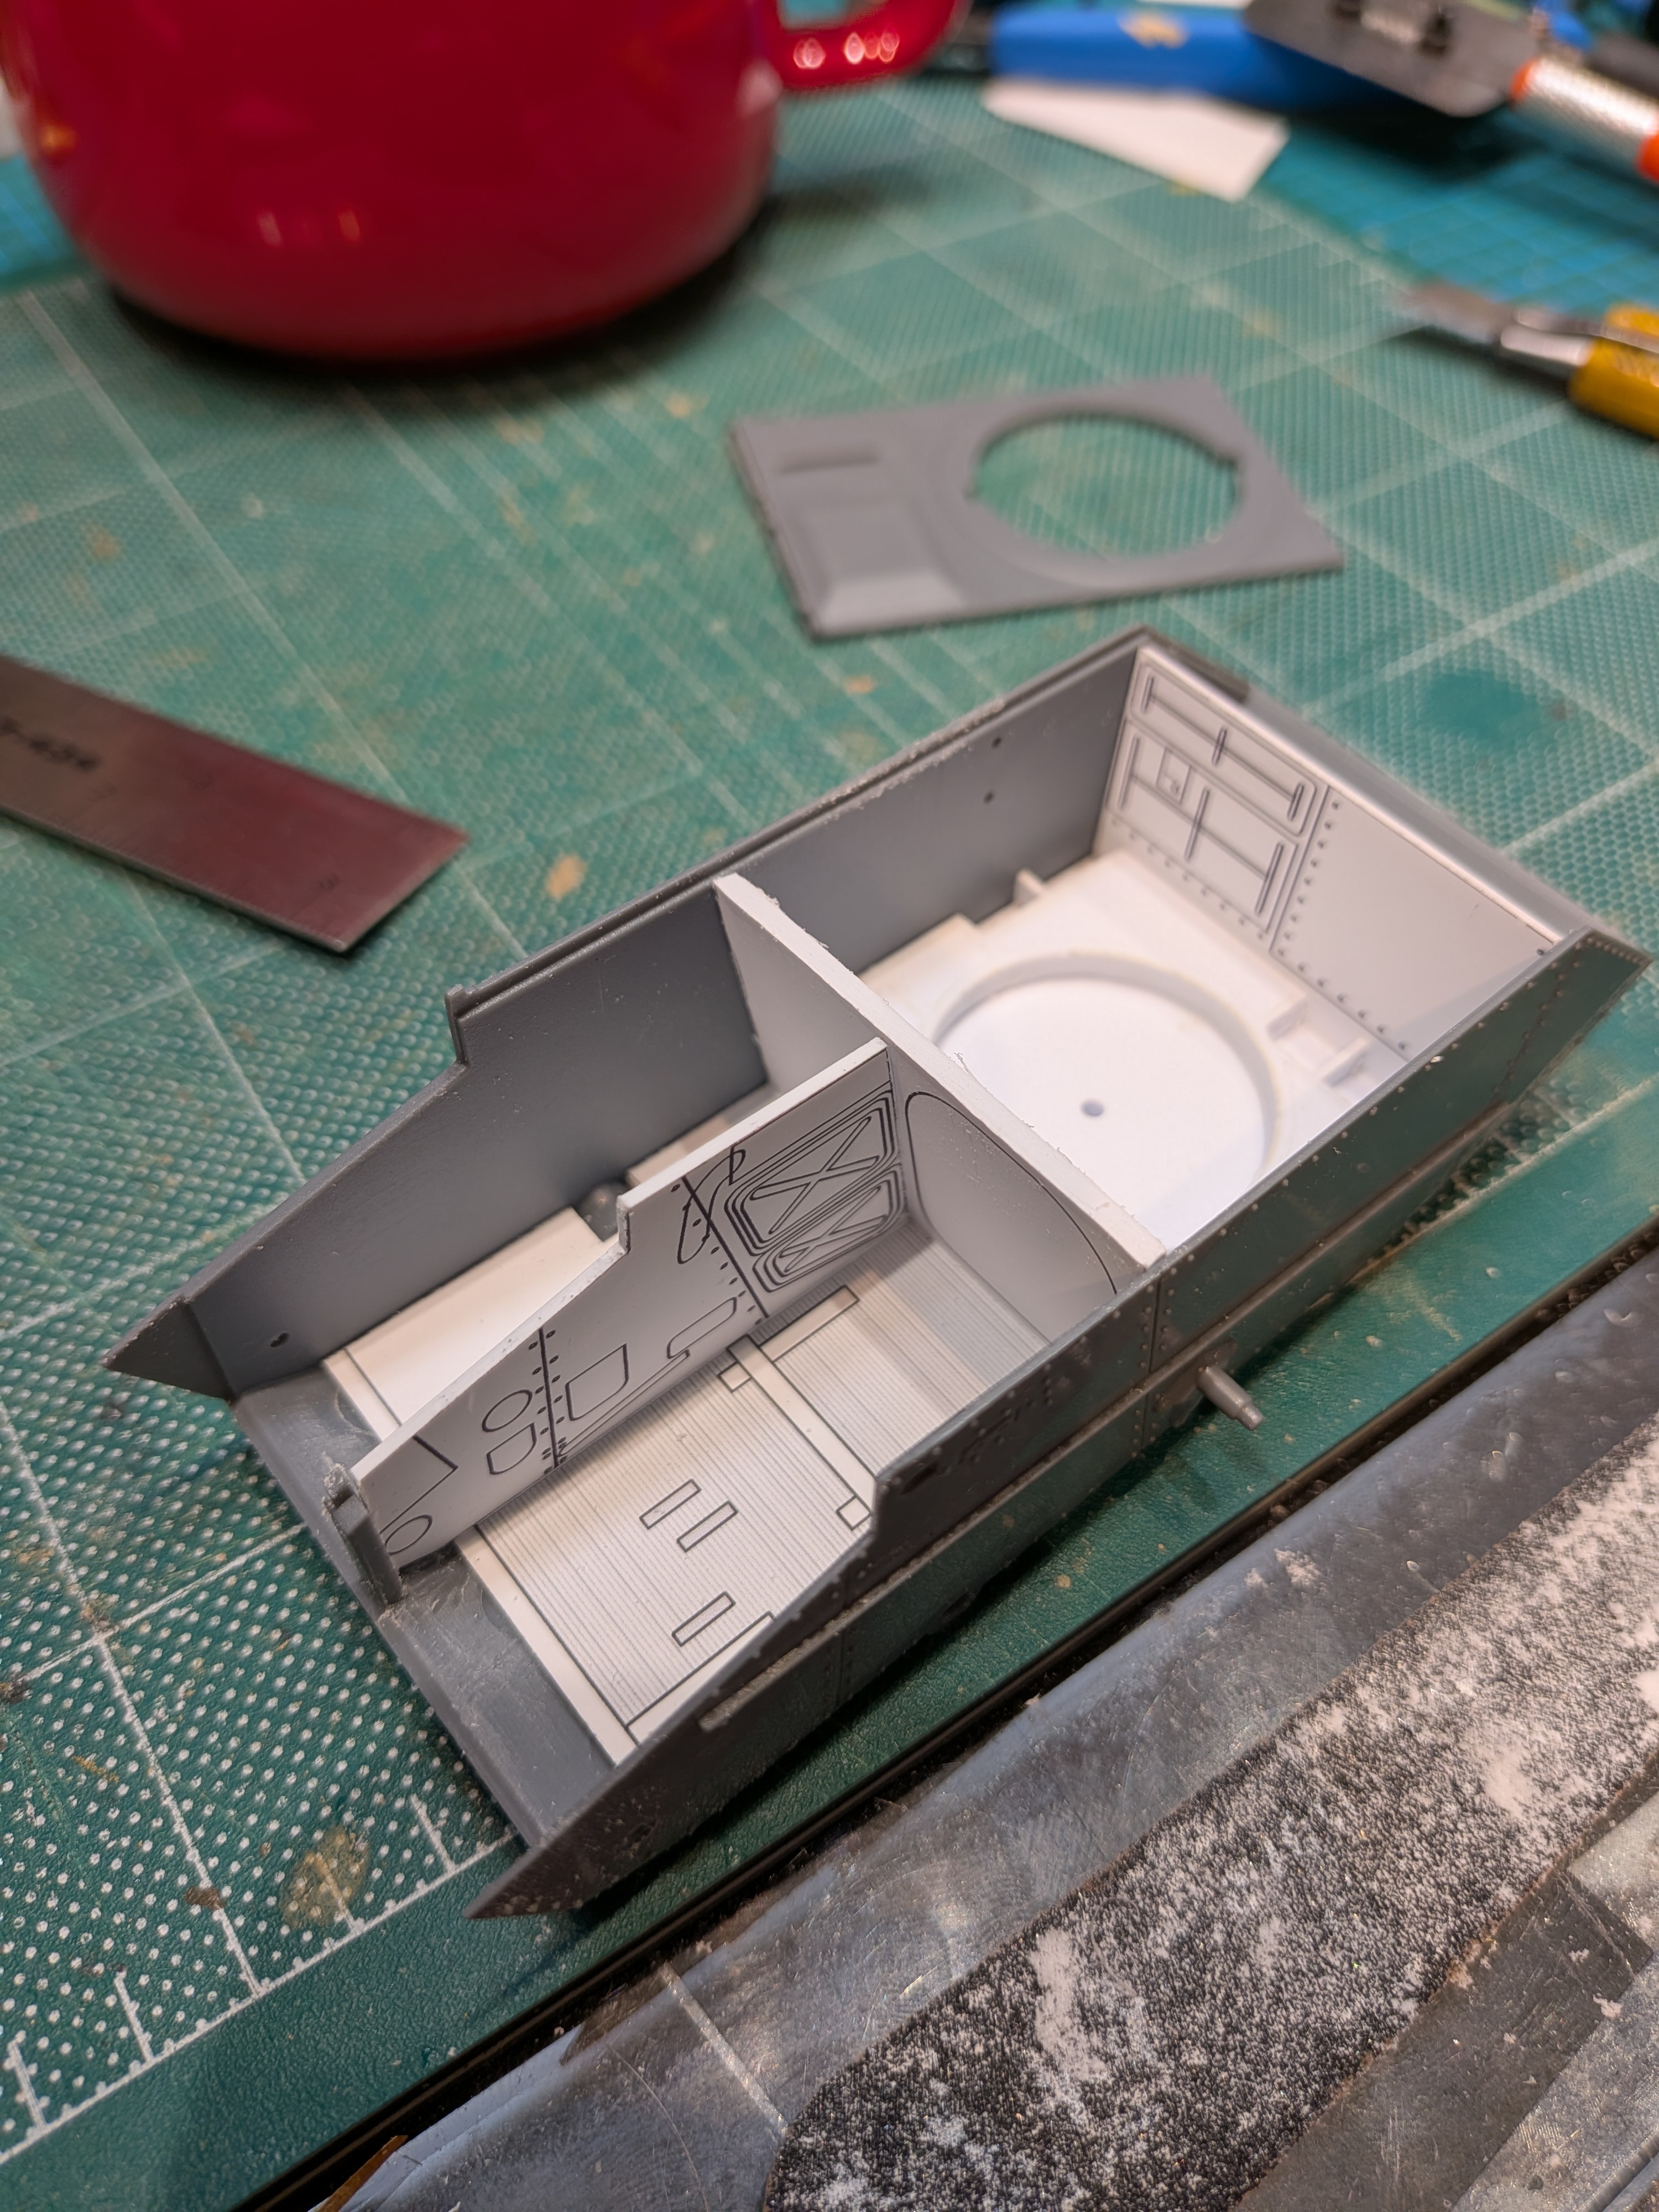
Pretty pleased with fit so far!
The back wall will be glued to the fighting compartment floor, the mid wall to the wall separating the driver from engine area.
I will cut a notch in the mid wall so that the fighting compartment floor can be adjusted forward when time comes to align the turret.
I can see that I will need to shave a bit off the tops of the walls to allow for the thickness of the tank deck which drops down a bit! (After I remove the label paper templates... At this scale, even paper thickness makes a difference!)

2963.jpg

Once I'm happy with that mid wall separating the fighting compartment from the front, I'll cut the access doorway behind the driver.
 
Another one bites the dust.
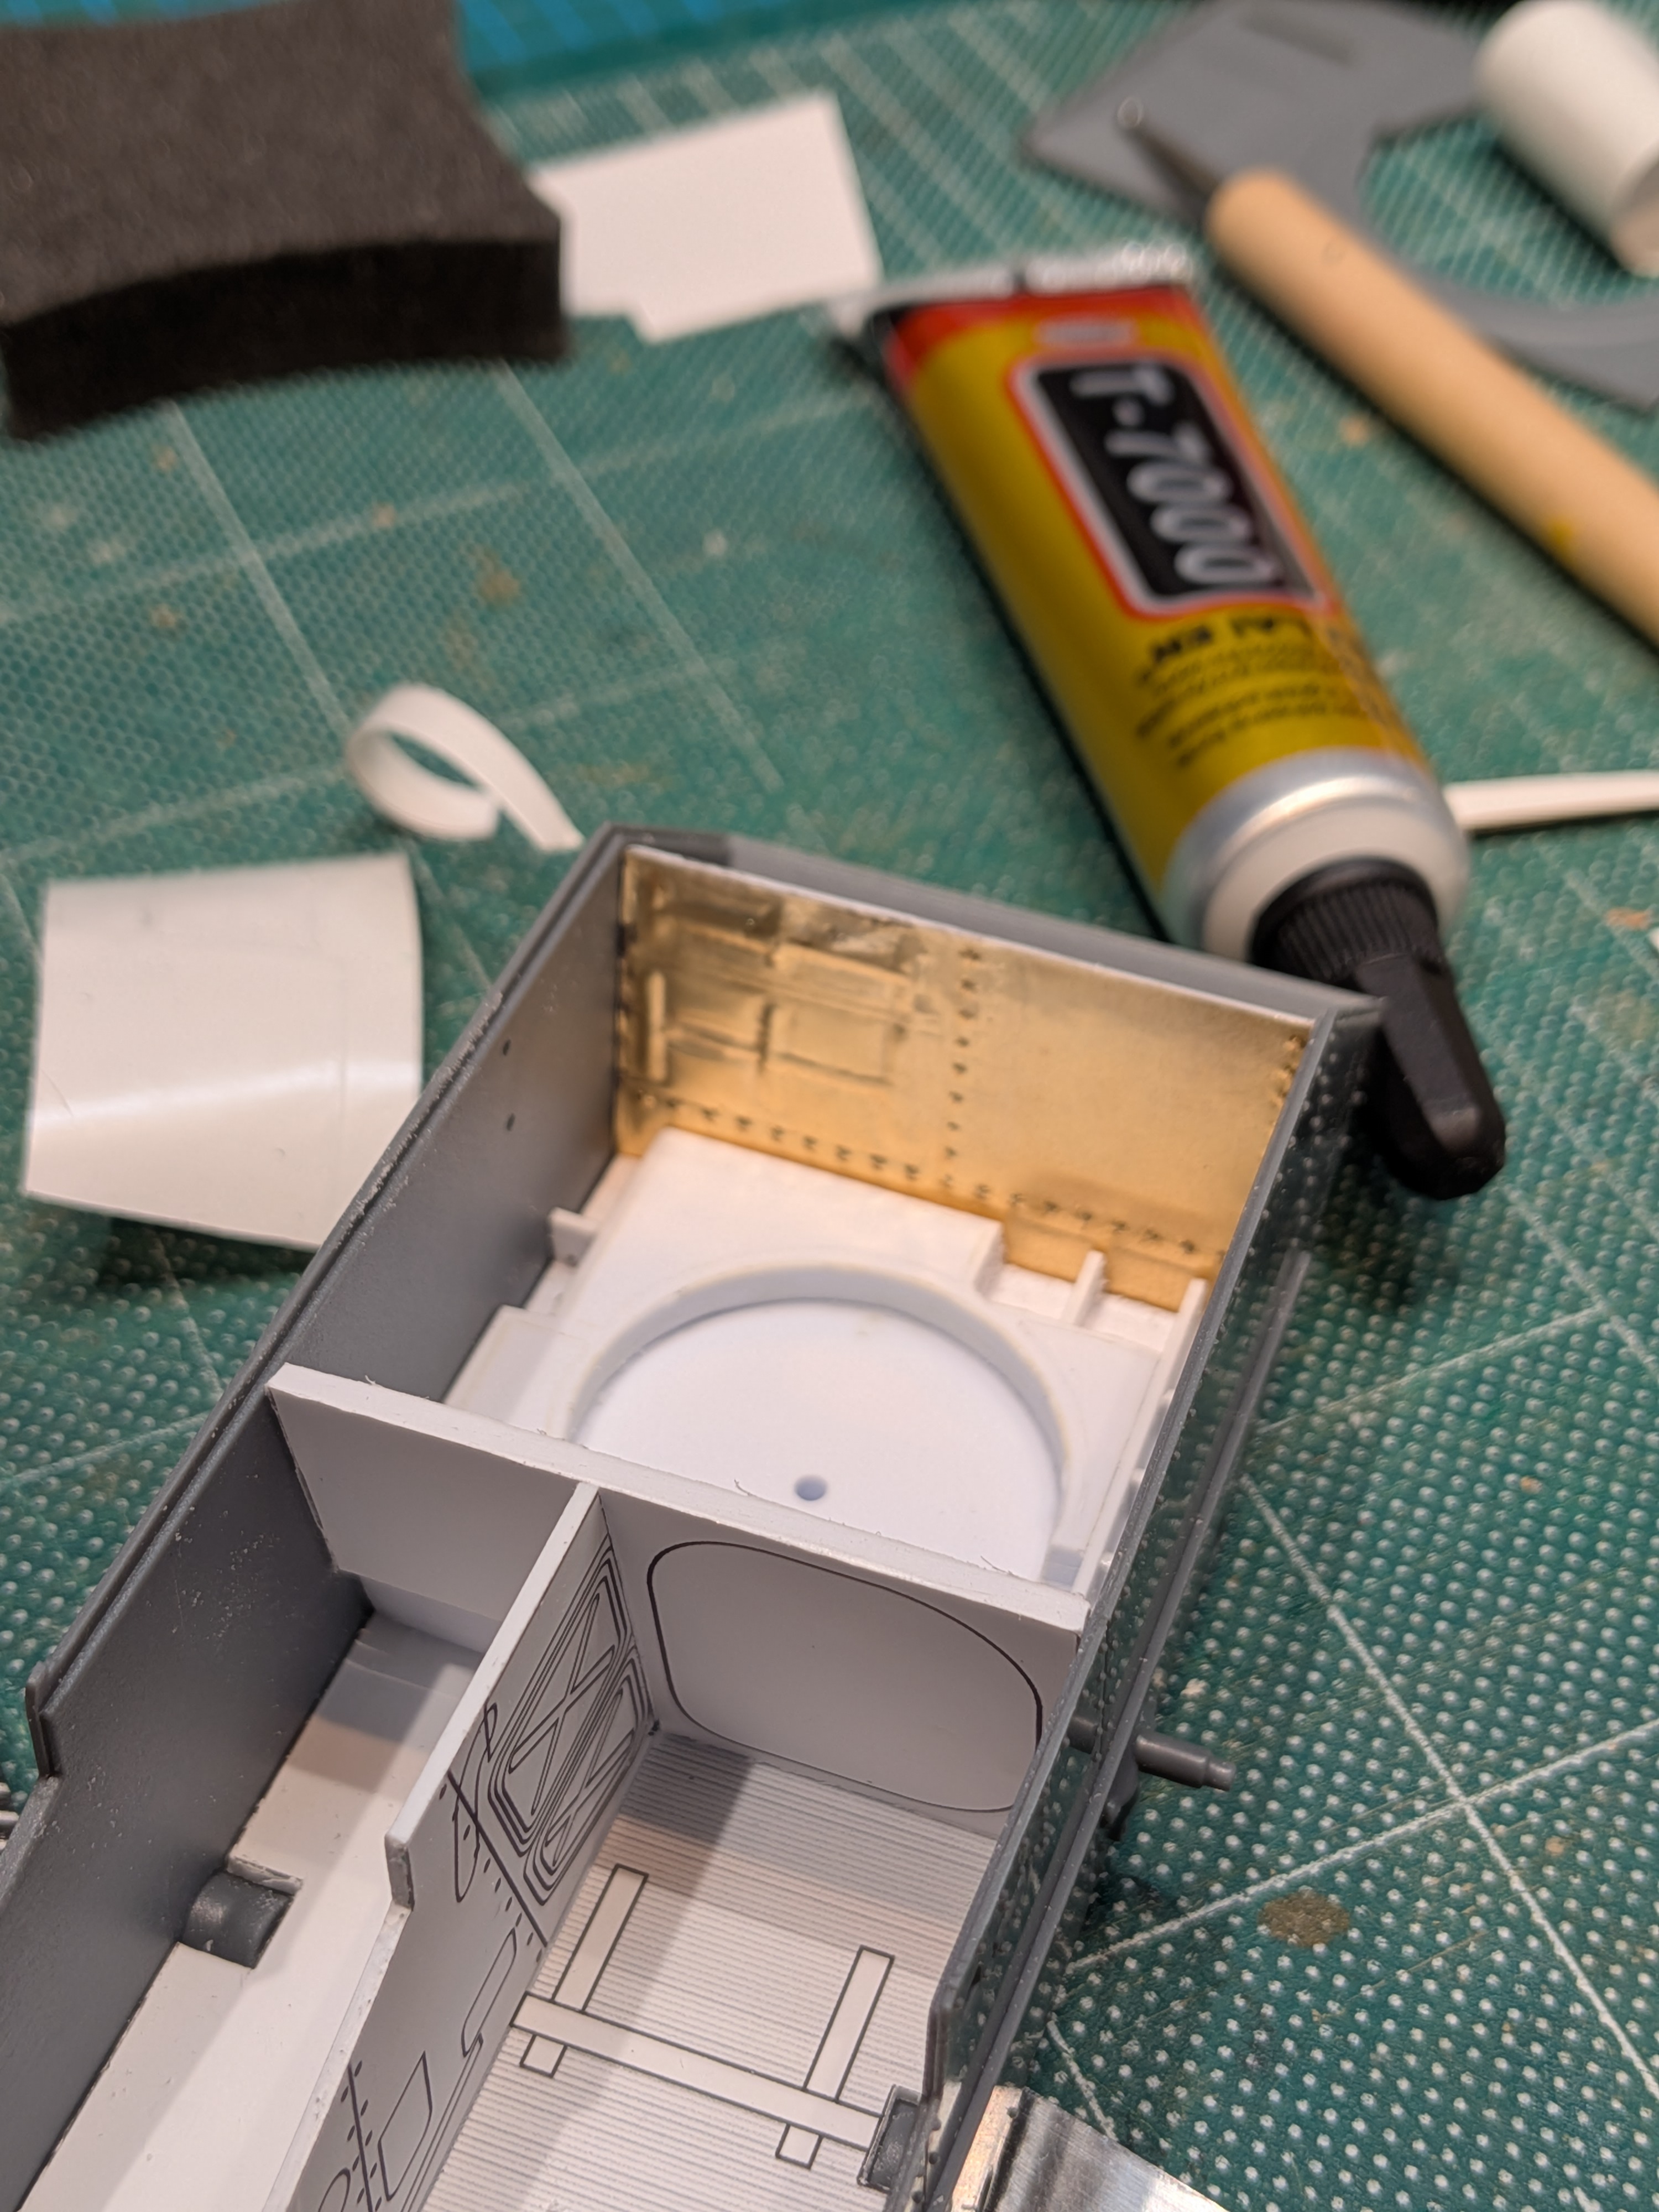
Walls just test fitted.
2968.jpg

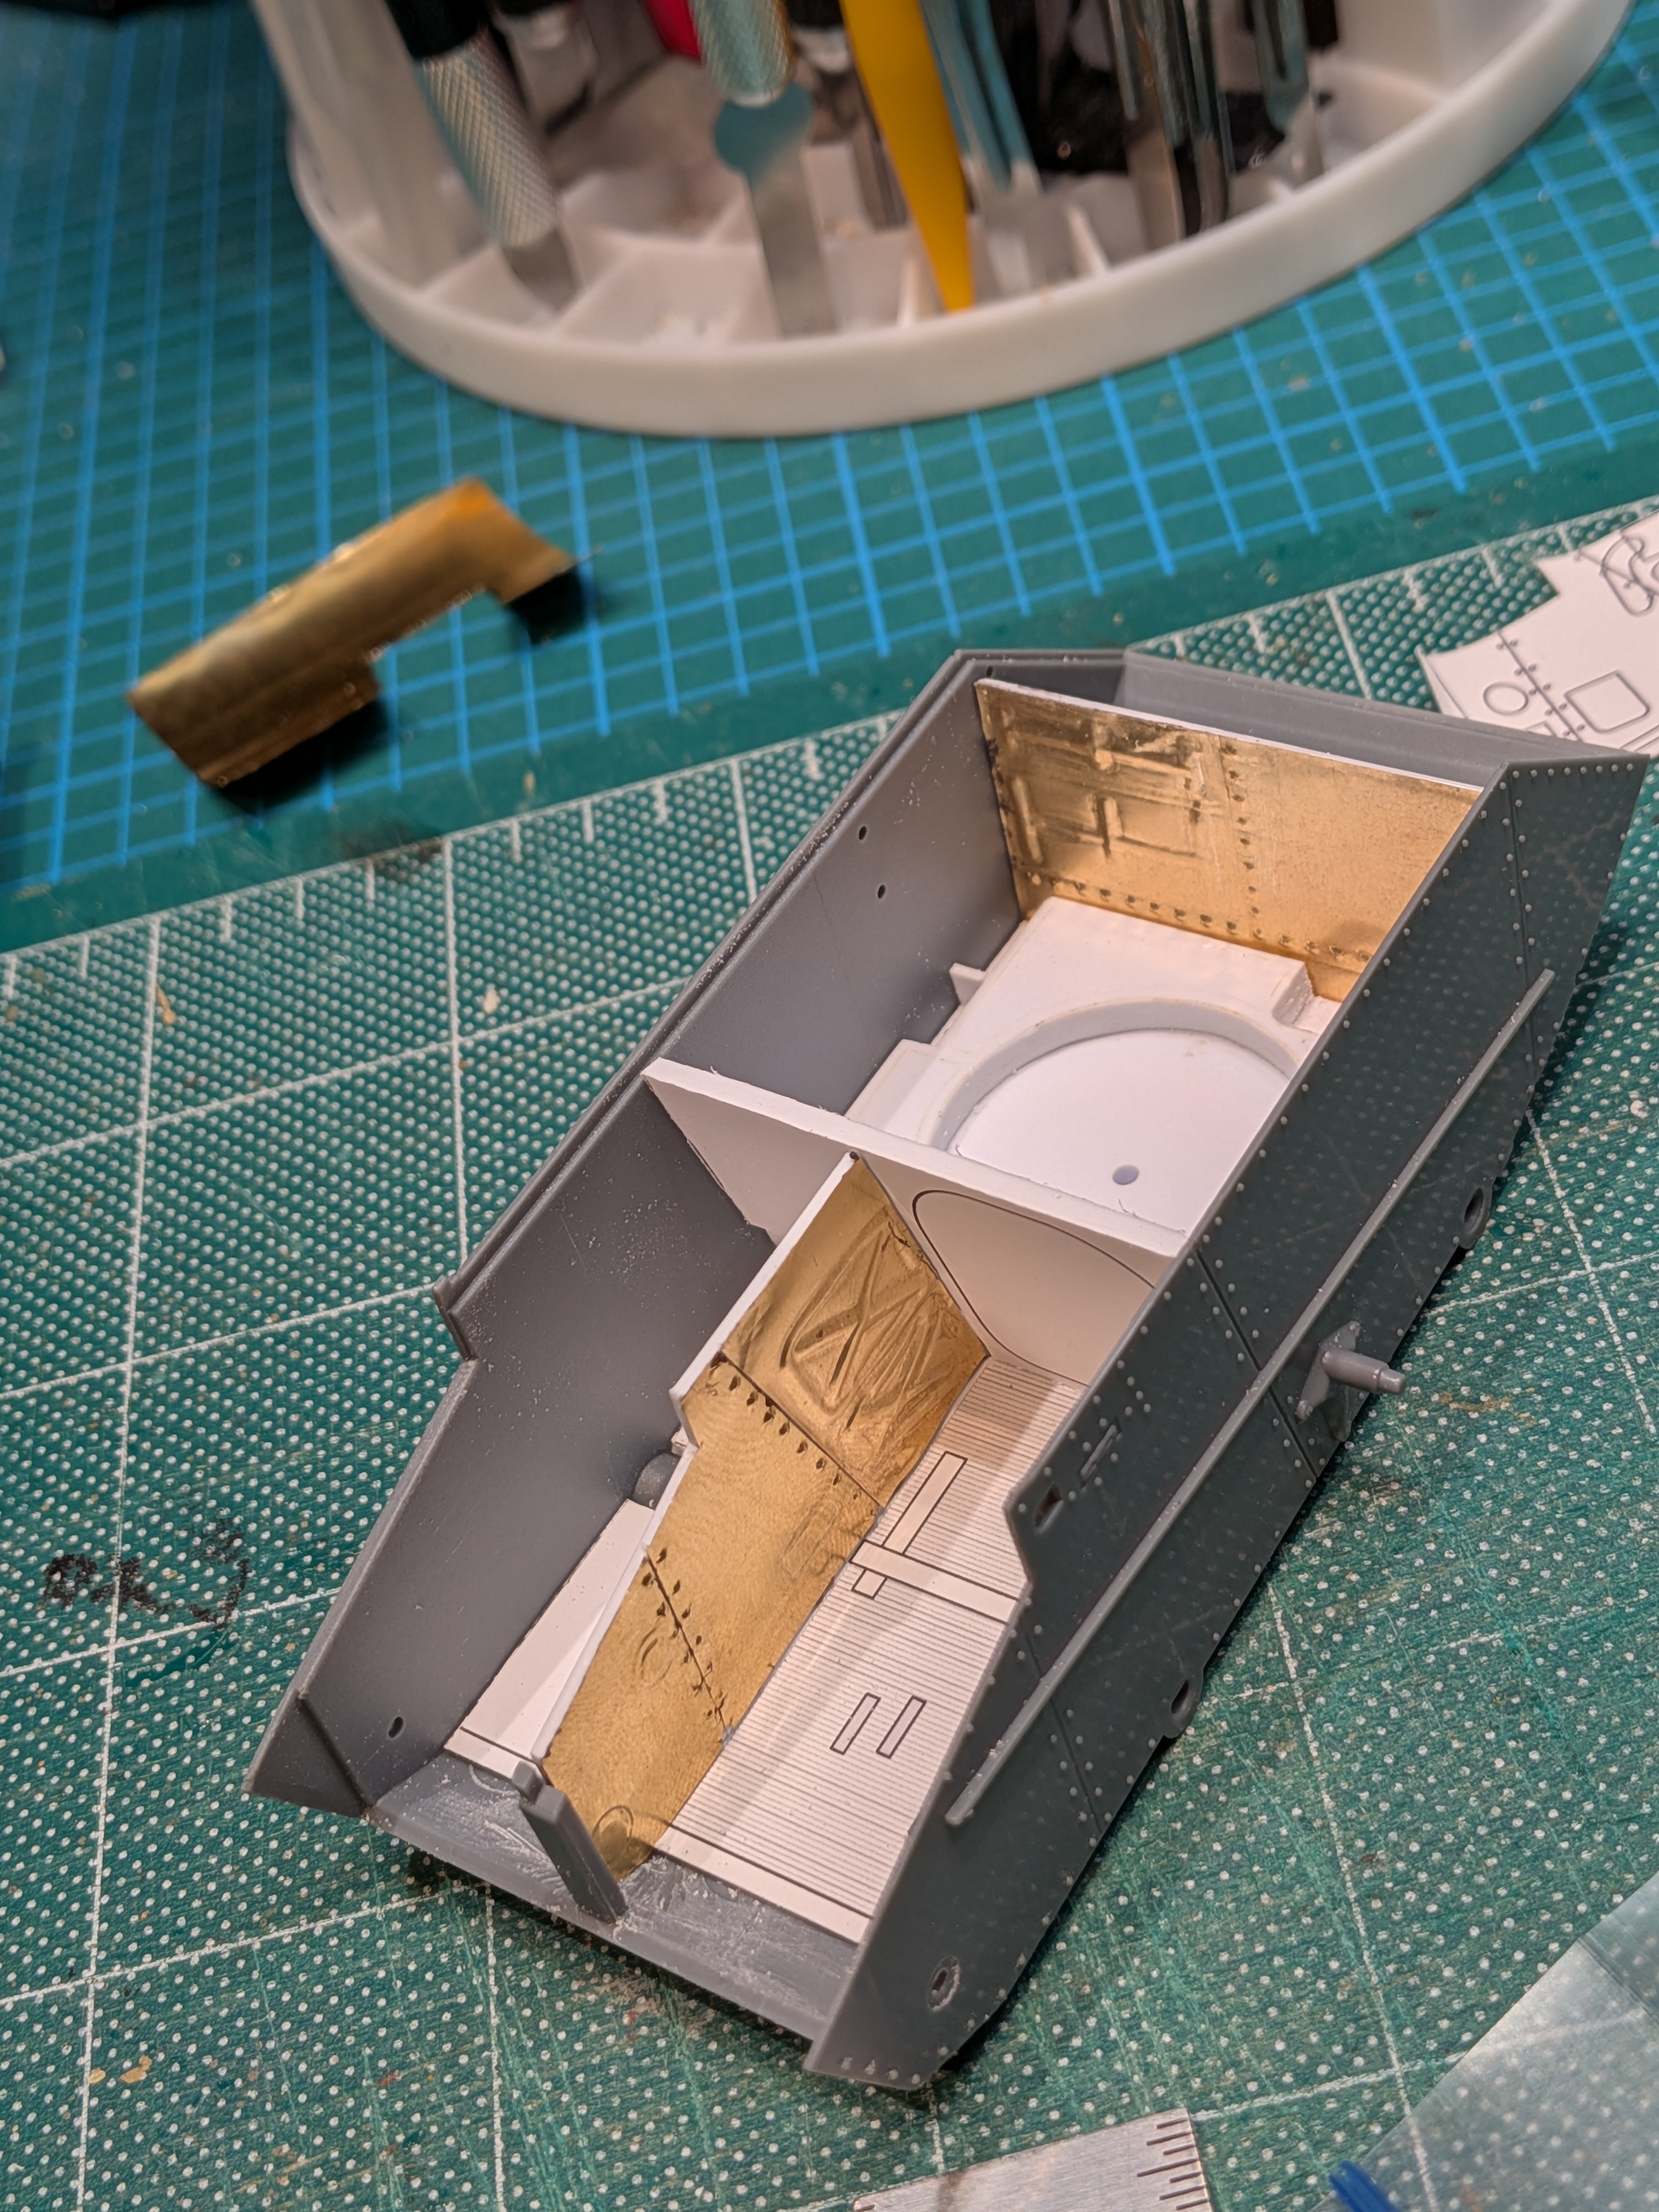
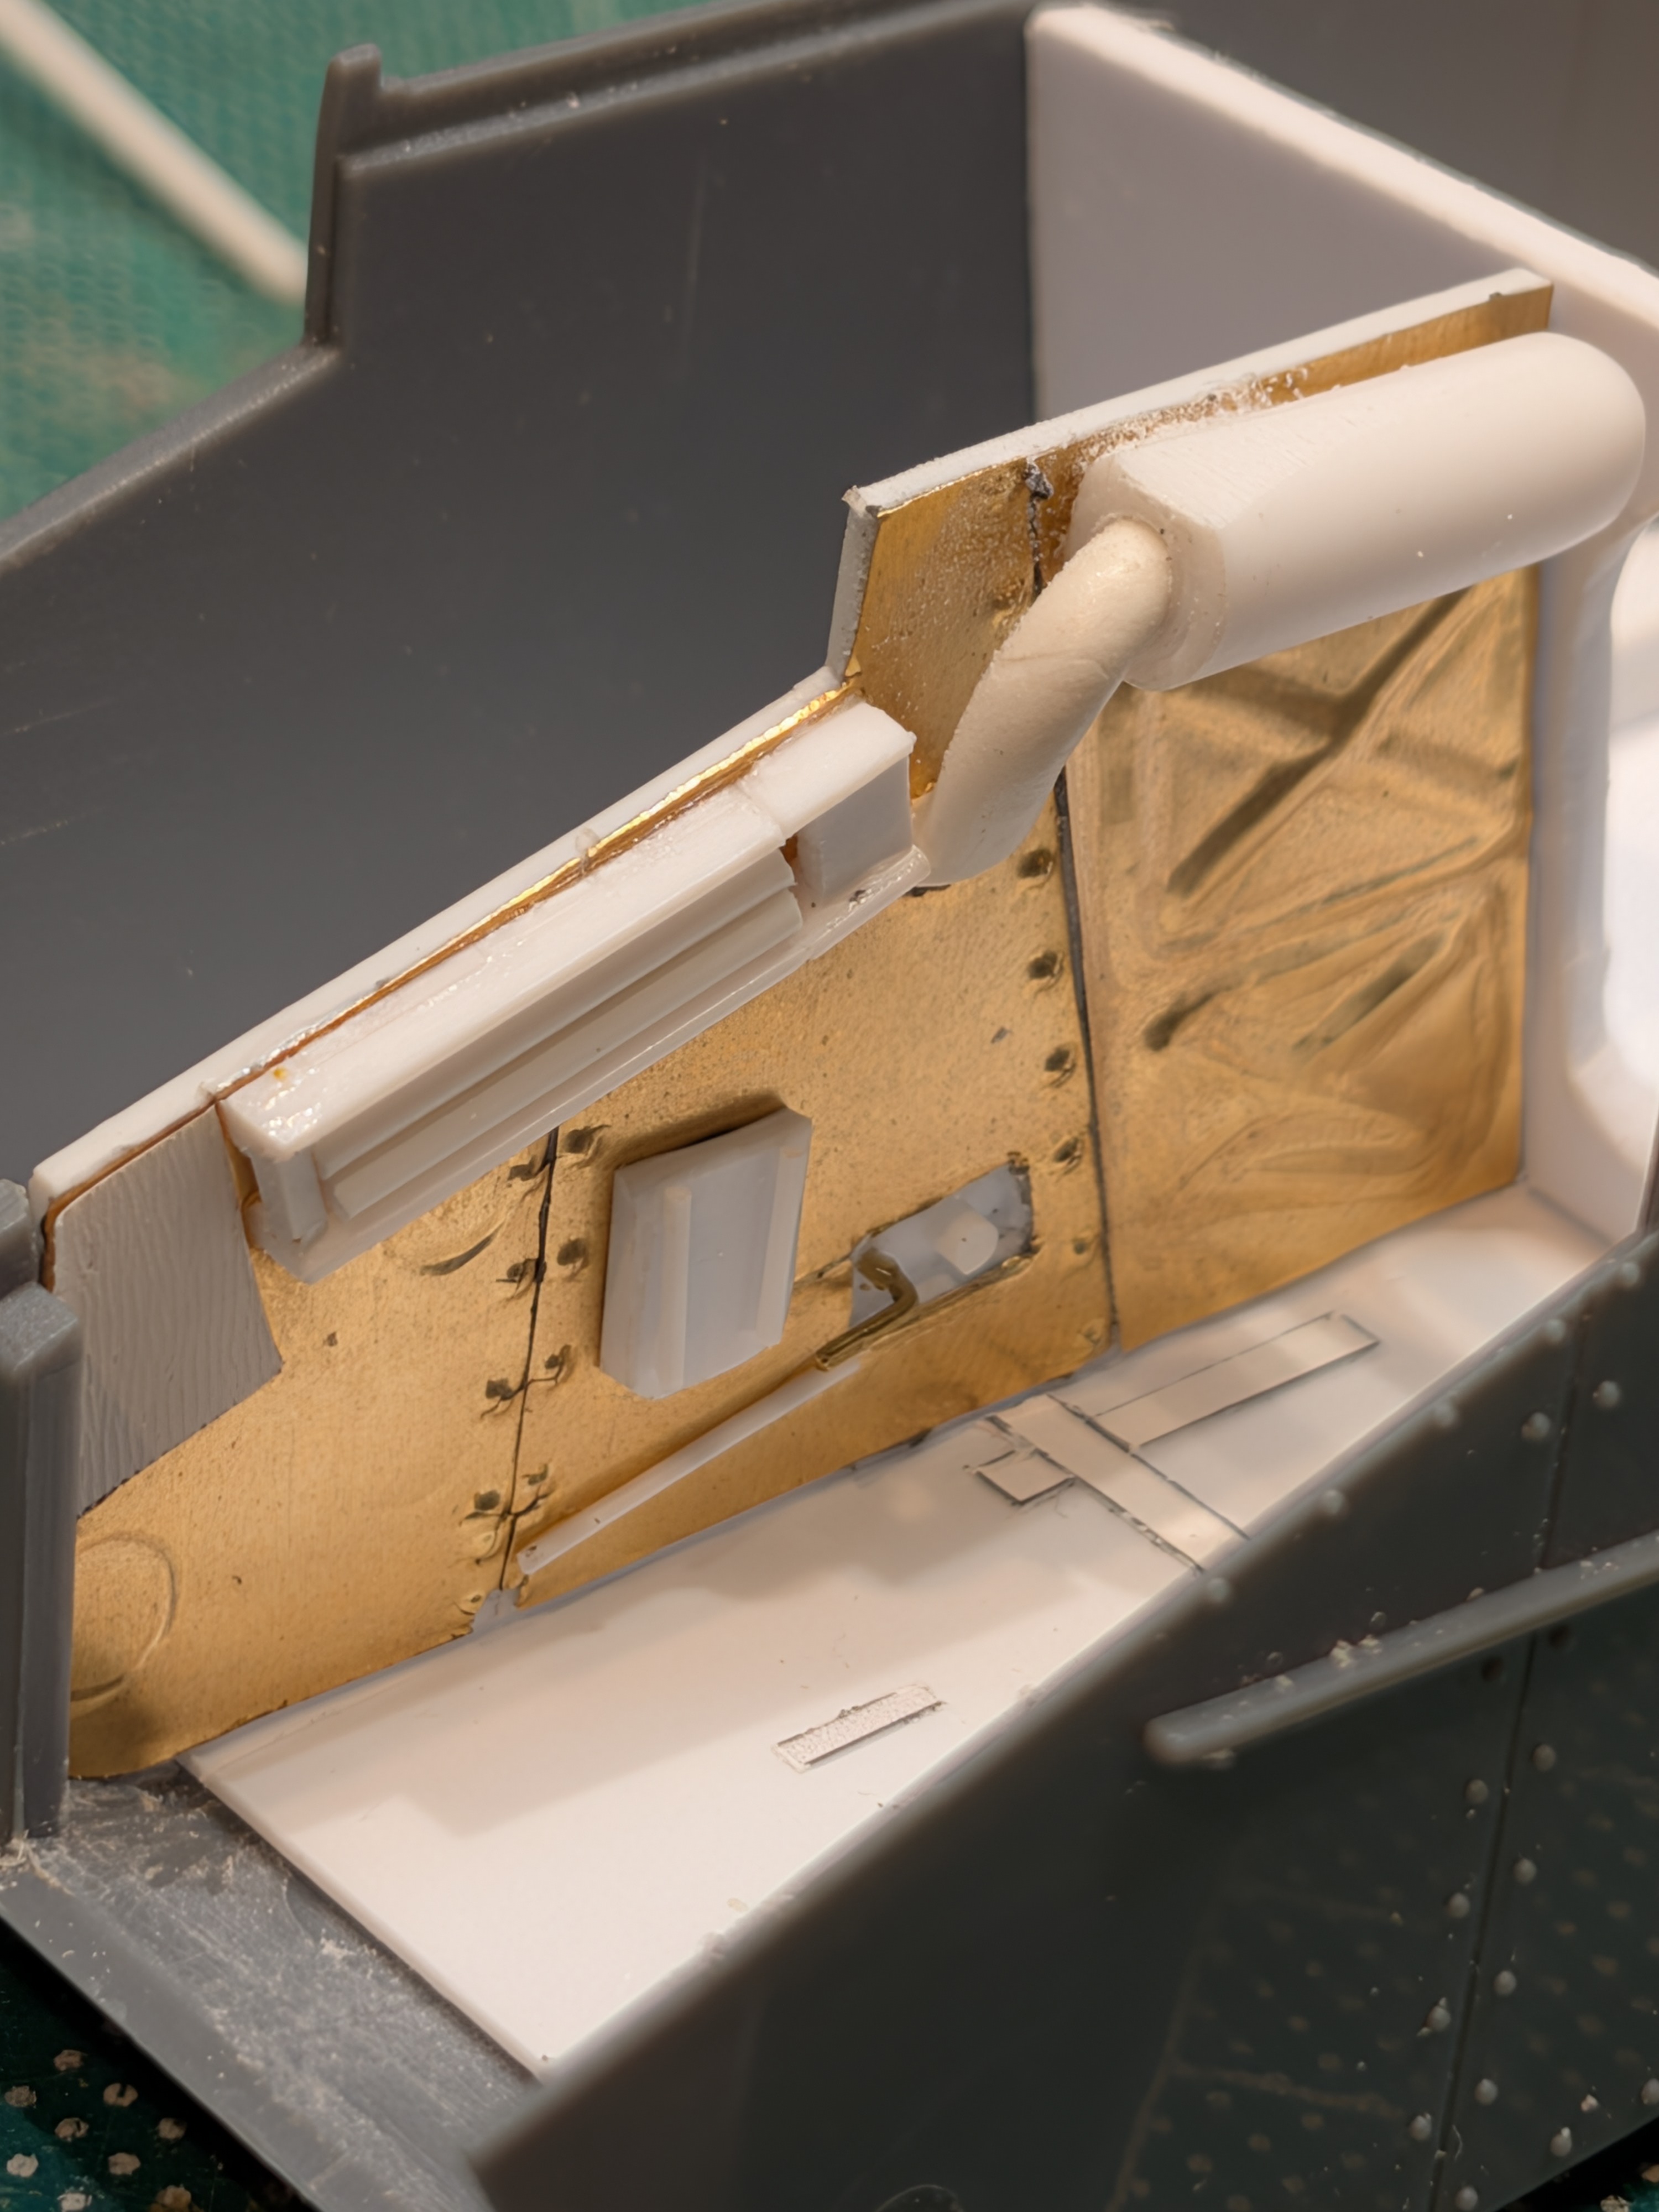
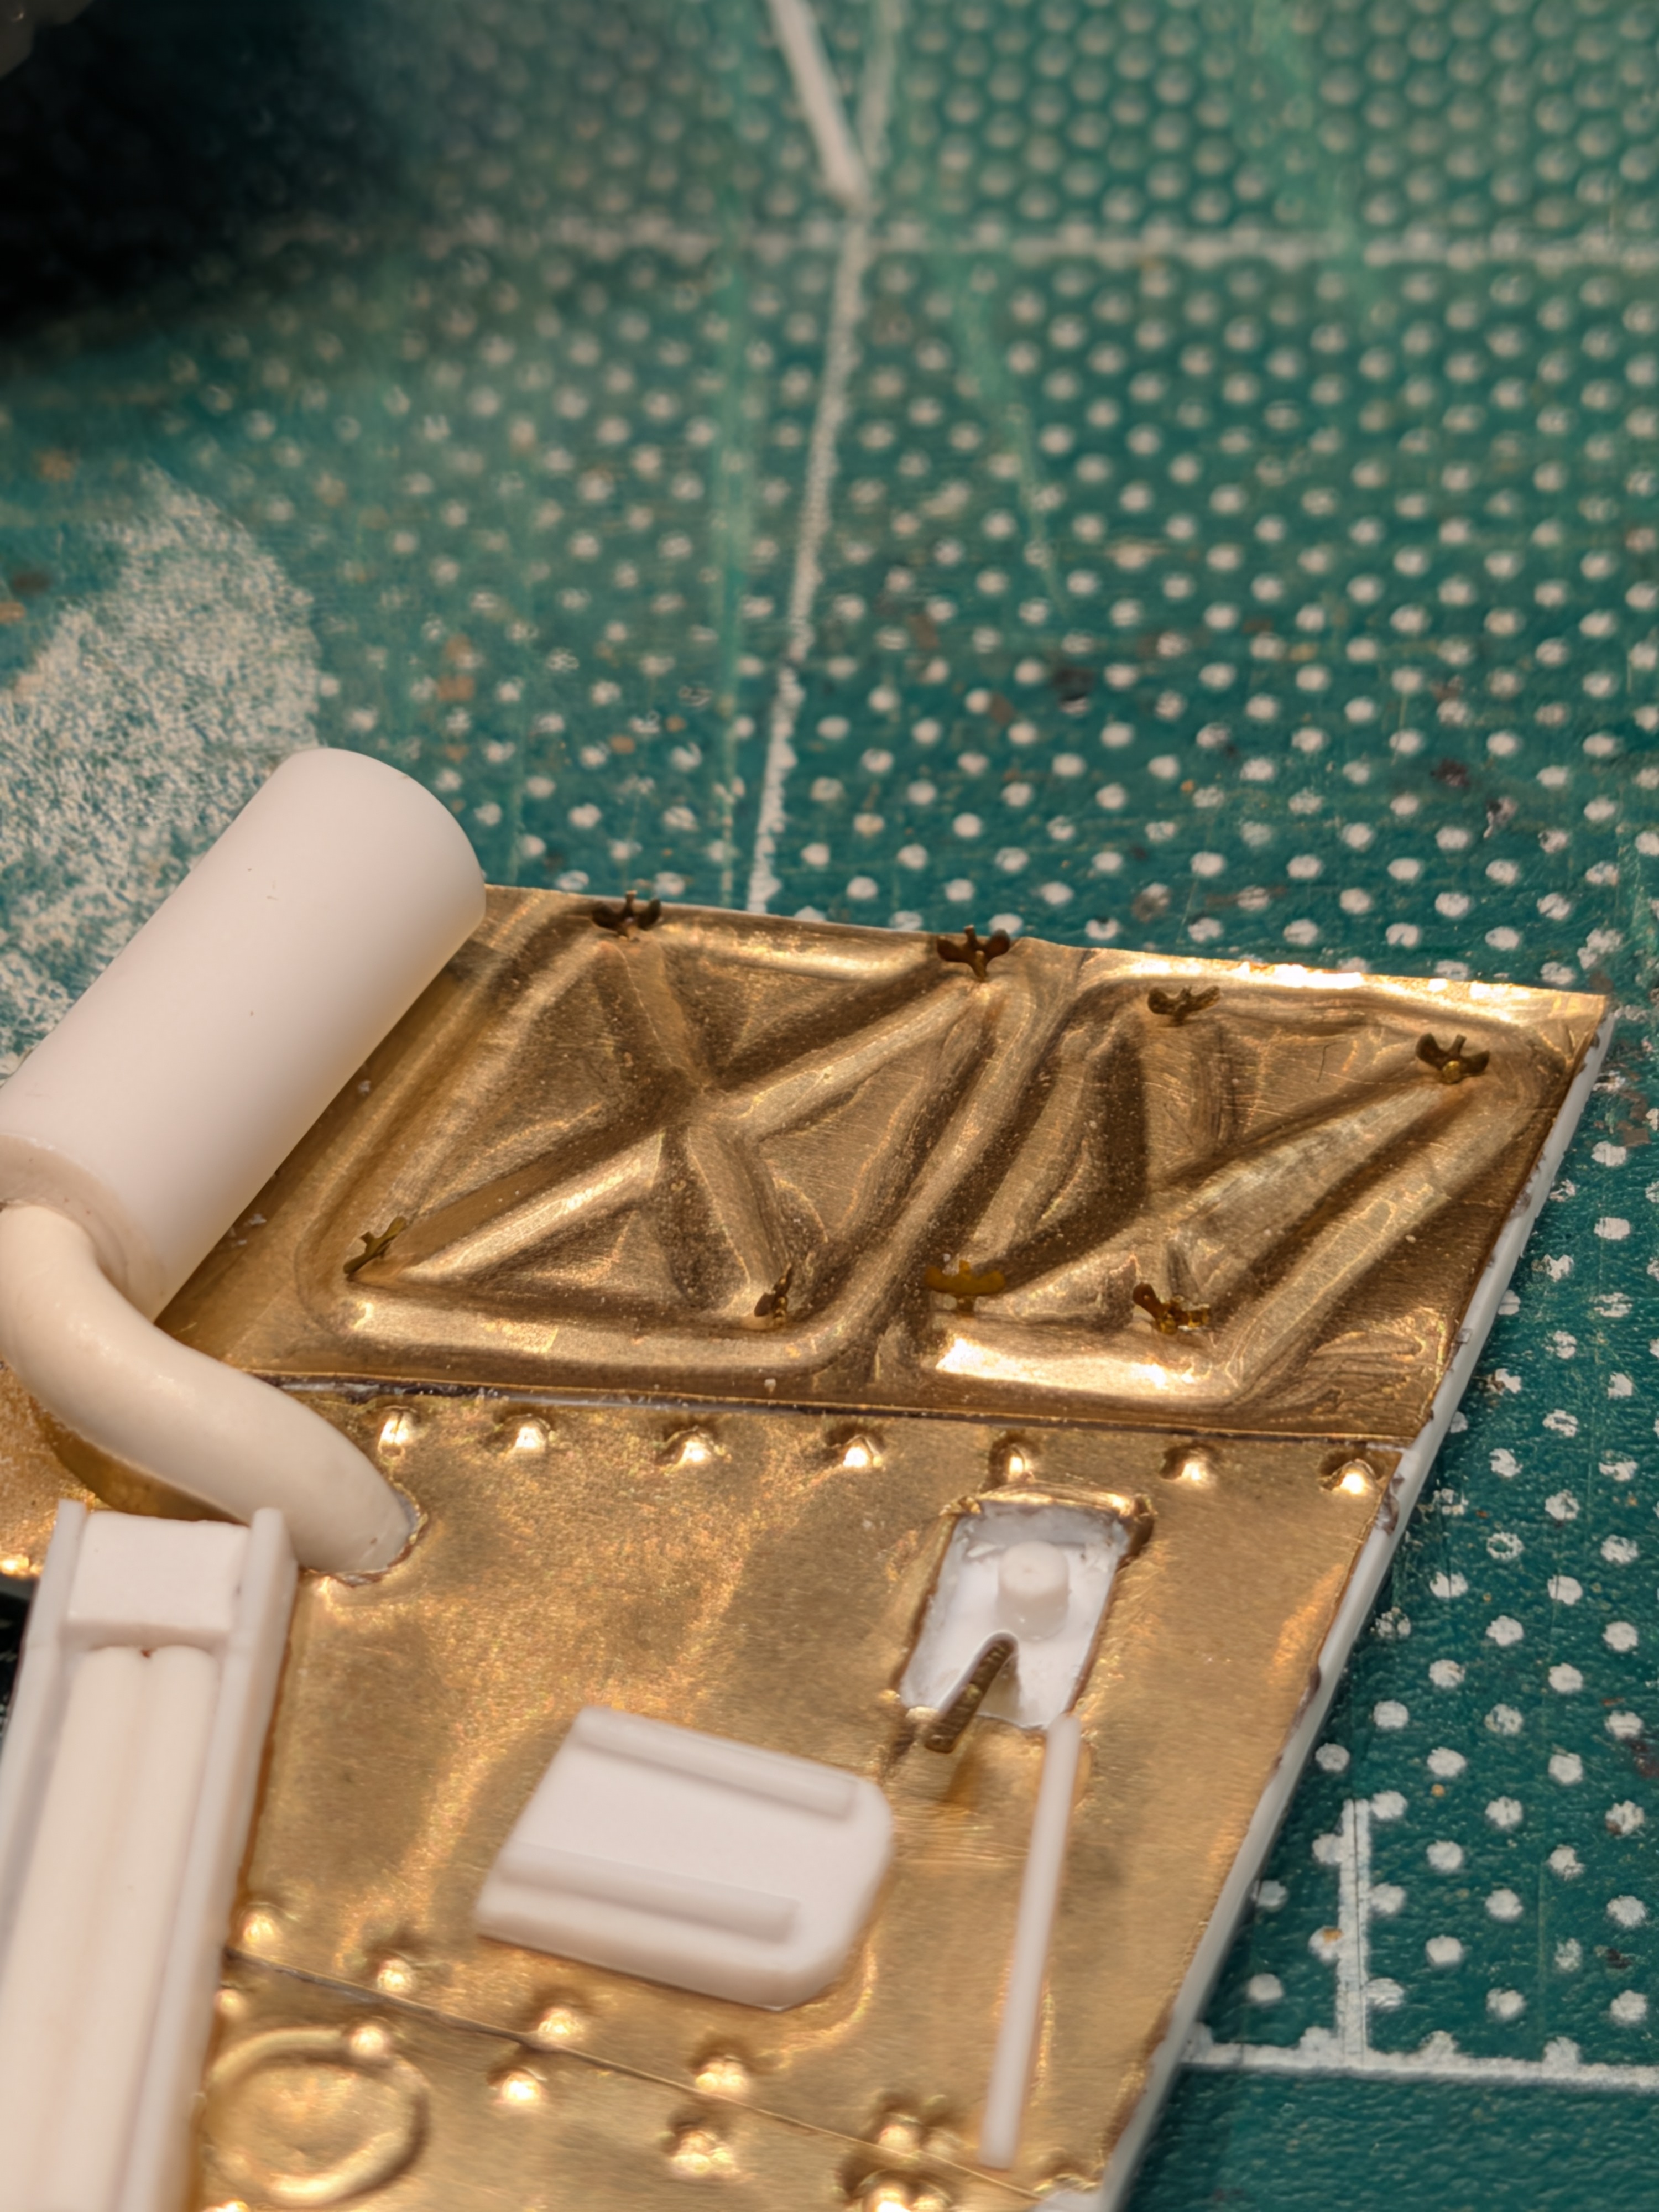
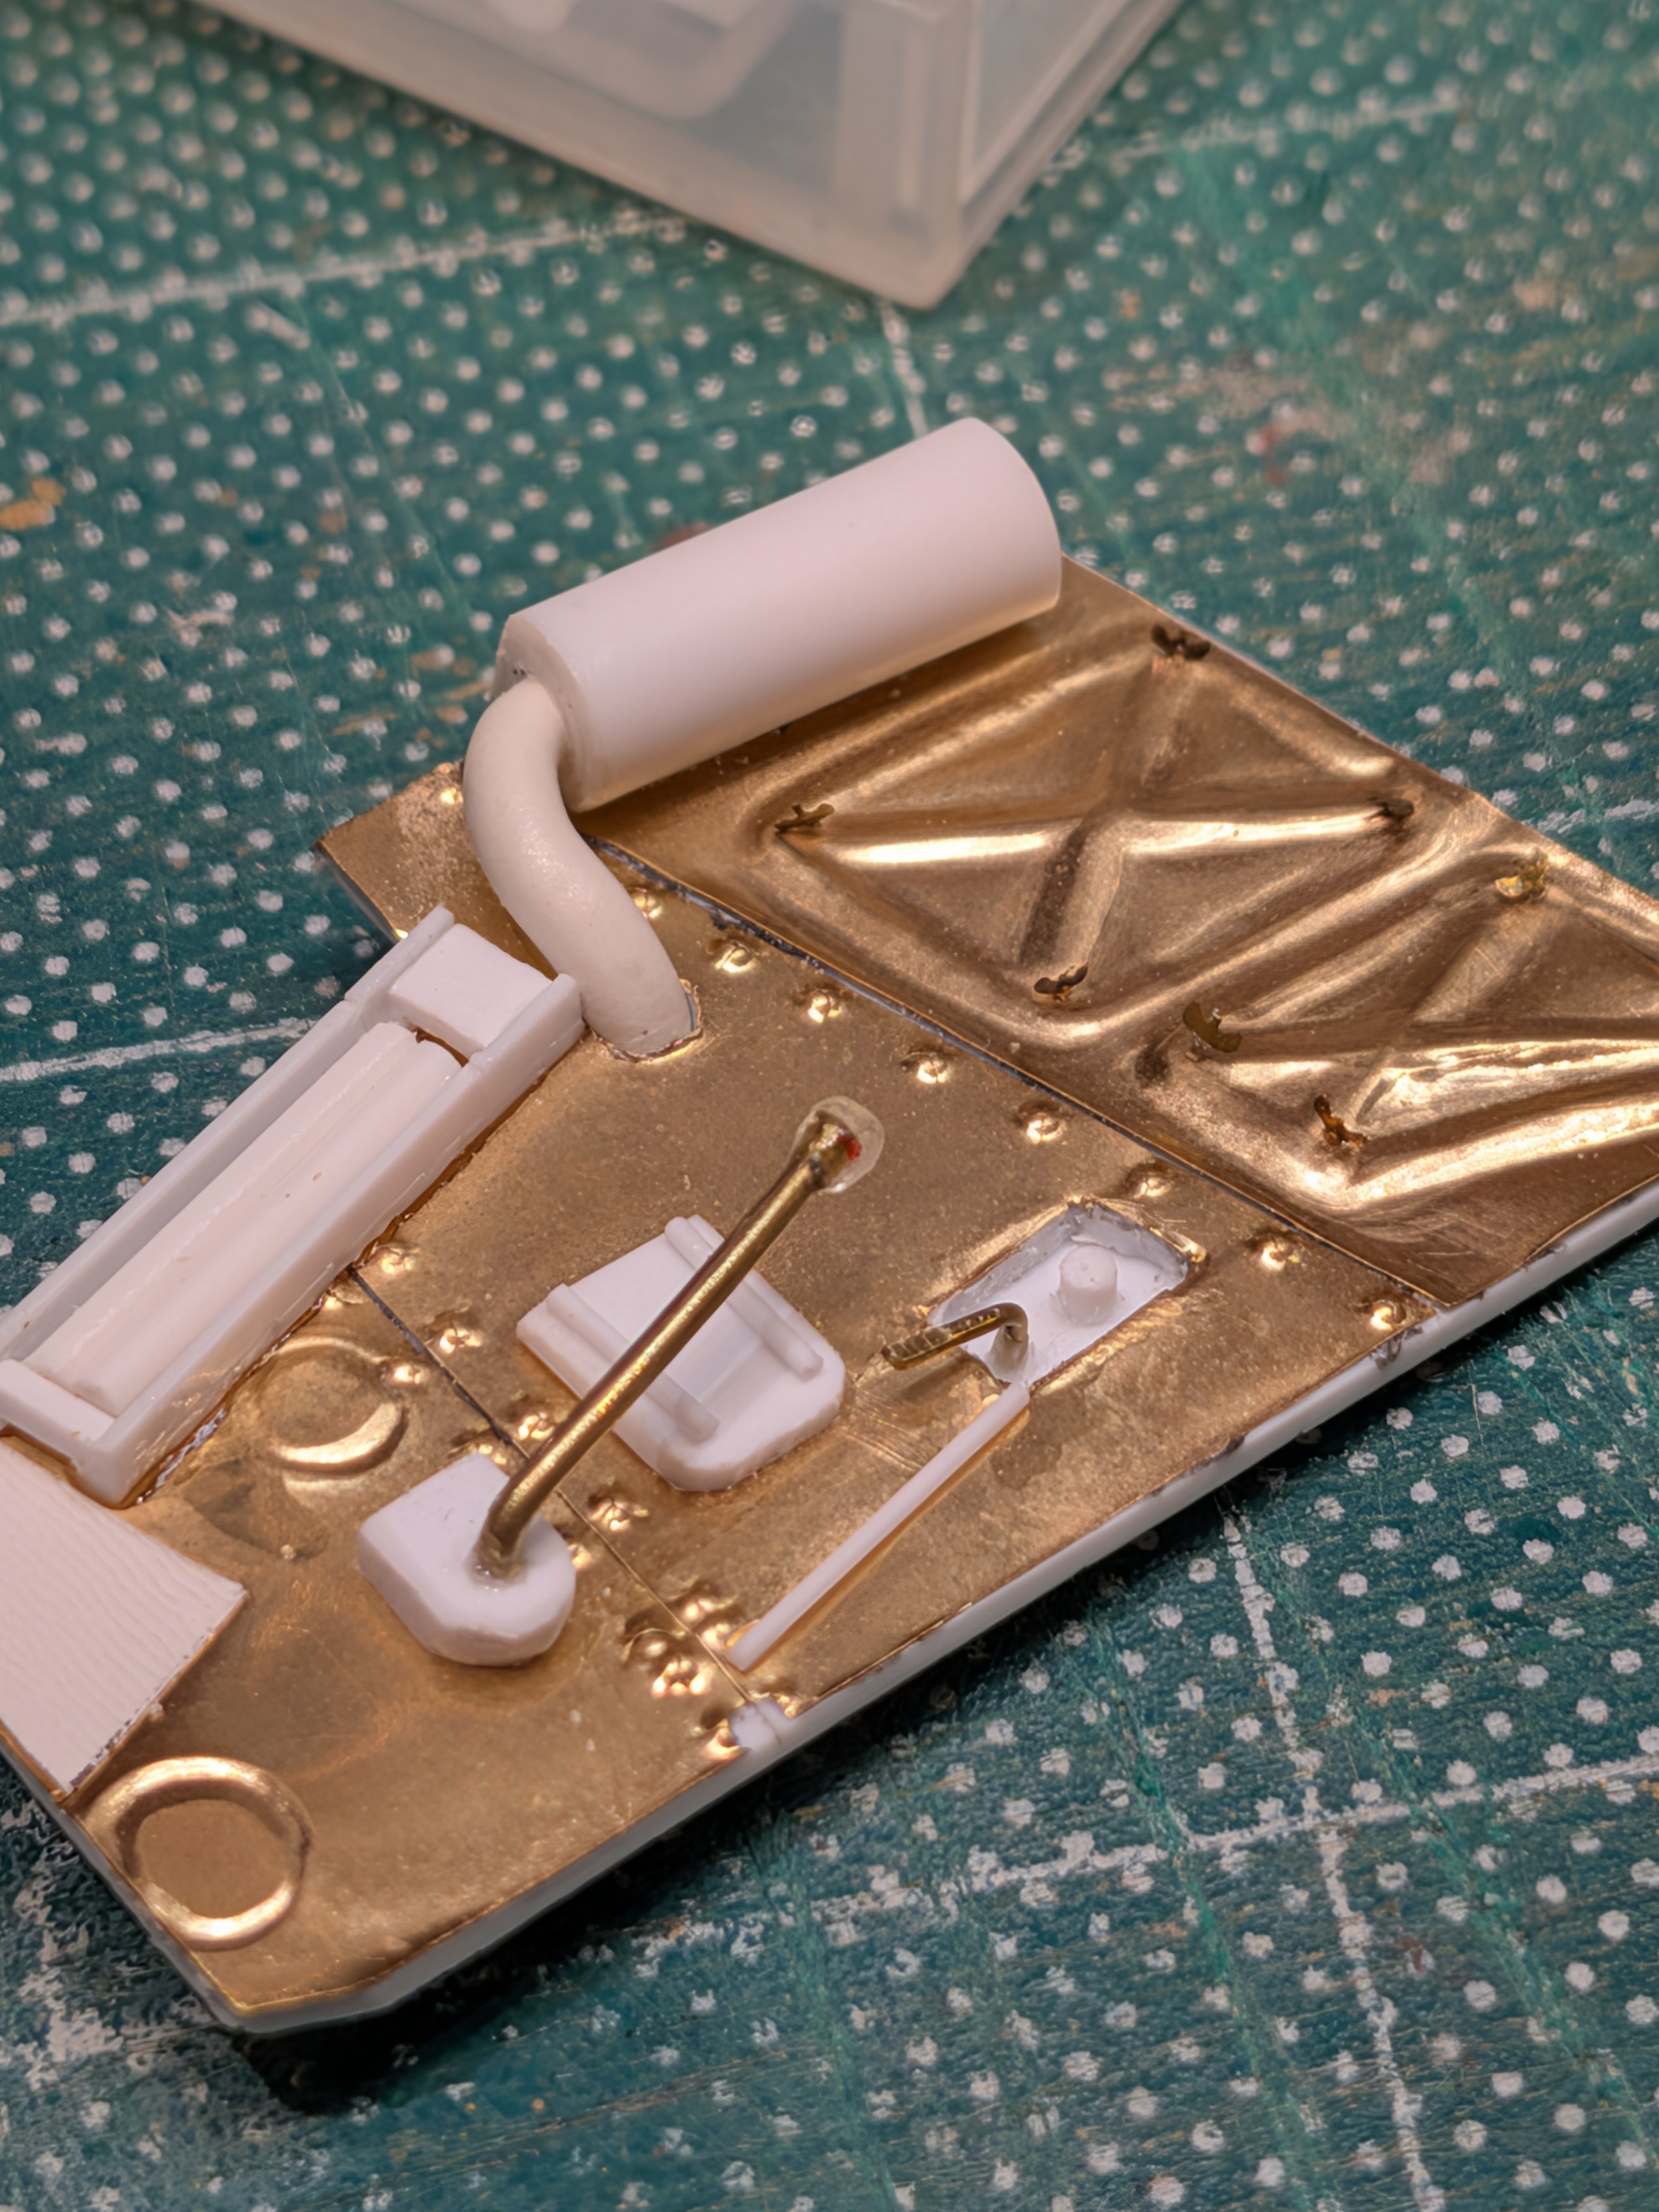
The rivets turned out quite well.
The raised panel doors not so much, but I'll take it.
For this wall, I cut it into its separate panels, then glued separately, rather than trying to score the panel lines like I did on the back panel, which didn't work out.
Tomorrow, cut out the opening into the fighting compartment, and start building the parts for the driver compartment.

All this work and I haven't even assembled anything from the actual kit yet! :oops:

But I'm learning lots, especially for future kits where raised details will be much more visible!
 

Latest posts

Back
Top