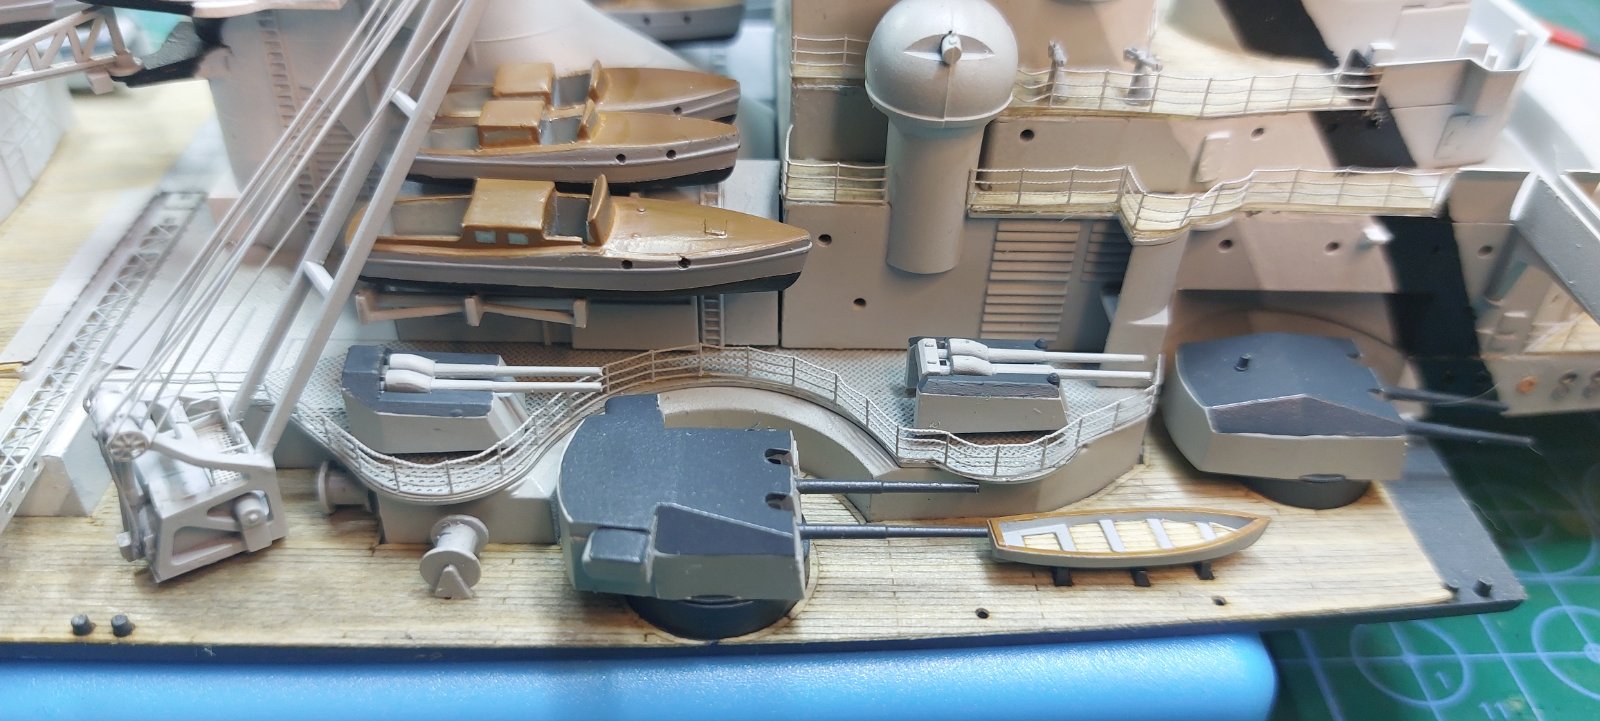
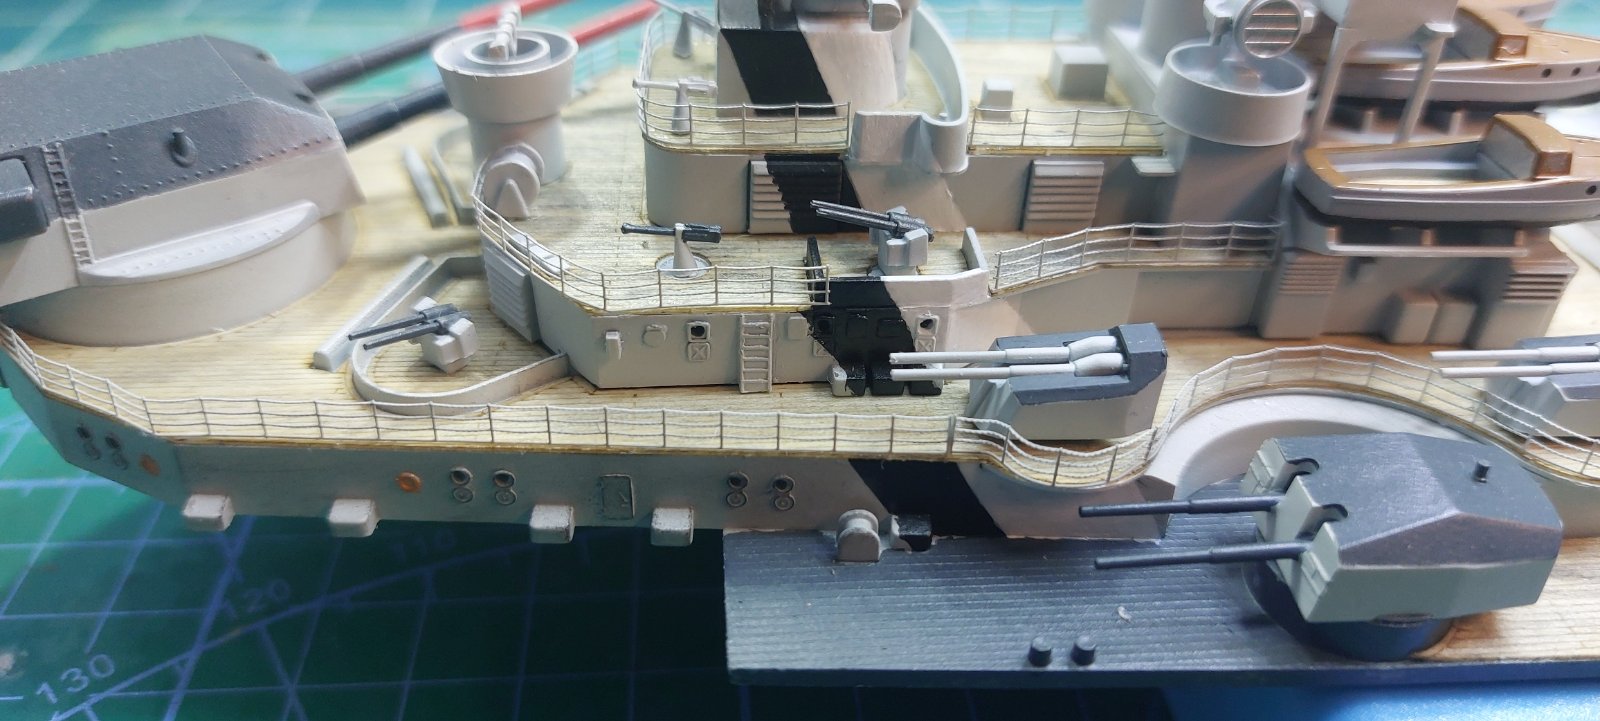
Tamiya bismarck 1/350 with upgrade kit

Scale Model Addict - Model Tips, Guides, Tools & Tech, Tutorials, and Community

Help Support Scale Model Addict:

YES he certainly has P/M BUT tomorrow im gonna try out a home made looper by darning needle an see how i get on with this p/e bet i get the shakes oh dear always happens when i try to hard will have to get jen to steady my wrist so no shakes oh dear this gettin old is no fun
chrisb an jen
I find if I don't set my sights too high, I don't get disappointed with progress. PM
 
HI P/M nice work on your P/E looks very good an how will you paint it now its on the model brush paint ? or A/B ?
chrisb
 
HI P/M nice work on your P/E looks very good an how will you paint it now its on the model brush paint ? or A/B ?
chrisb
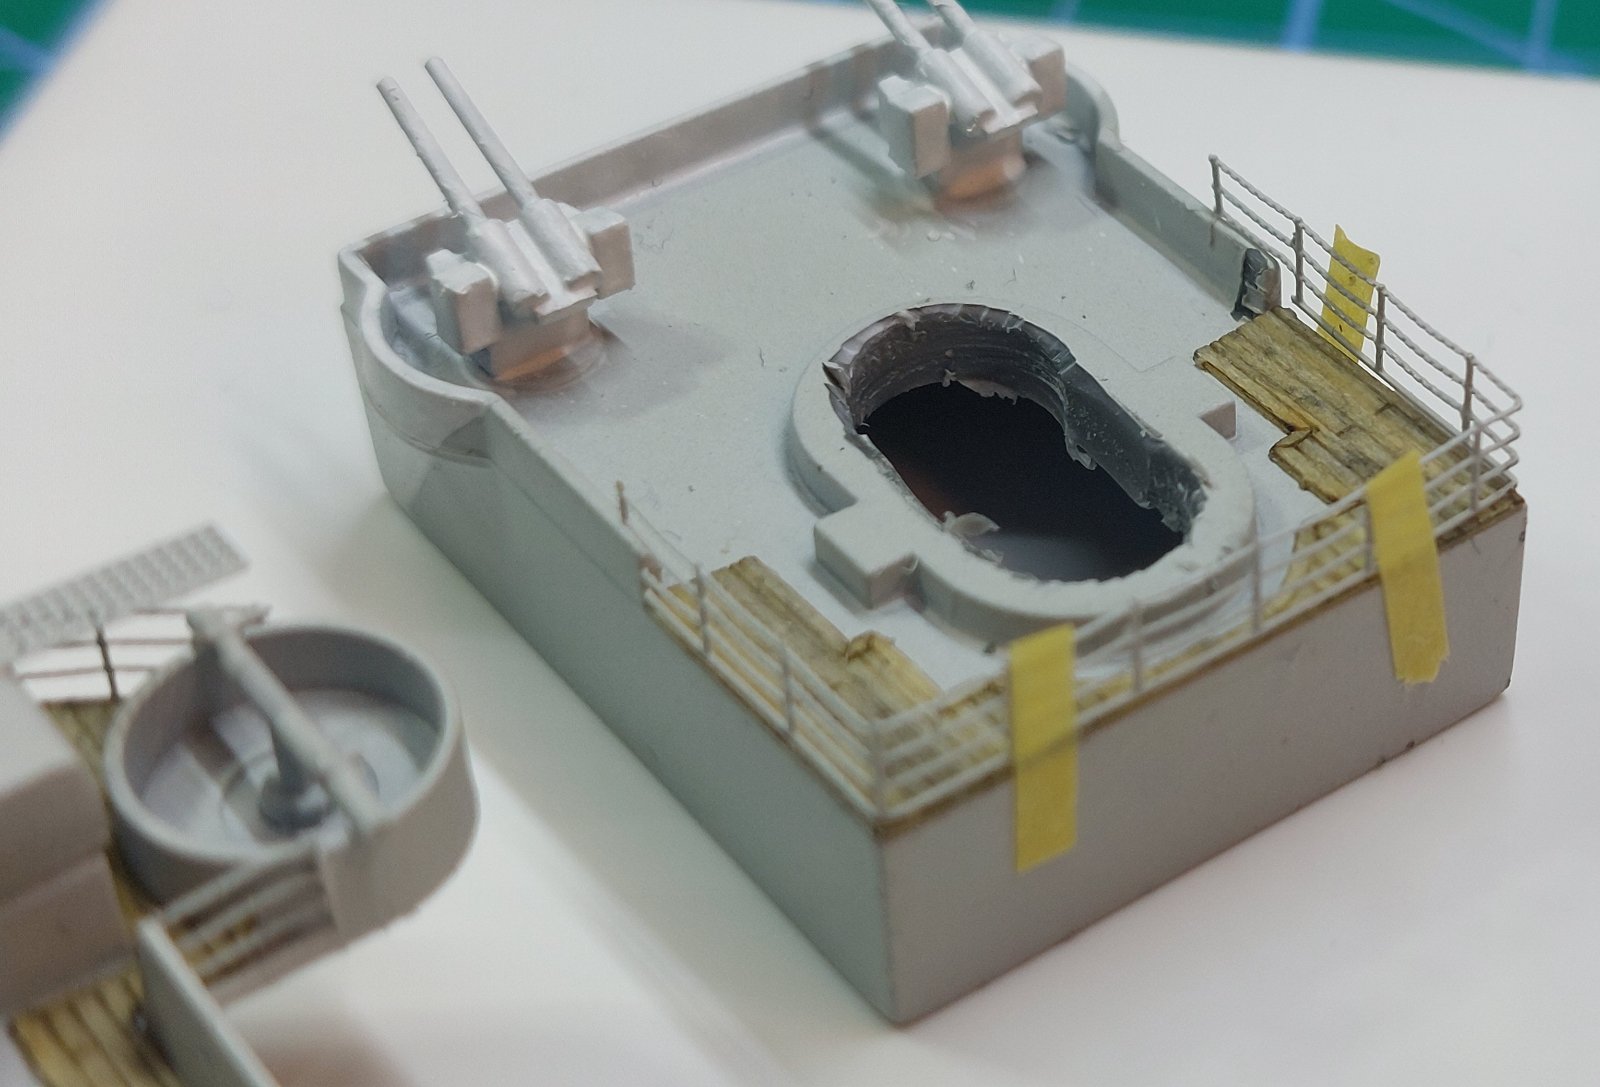
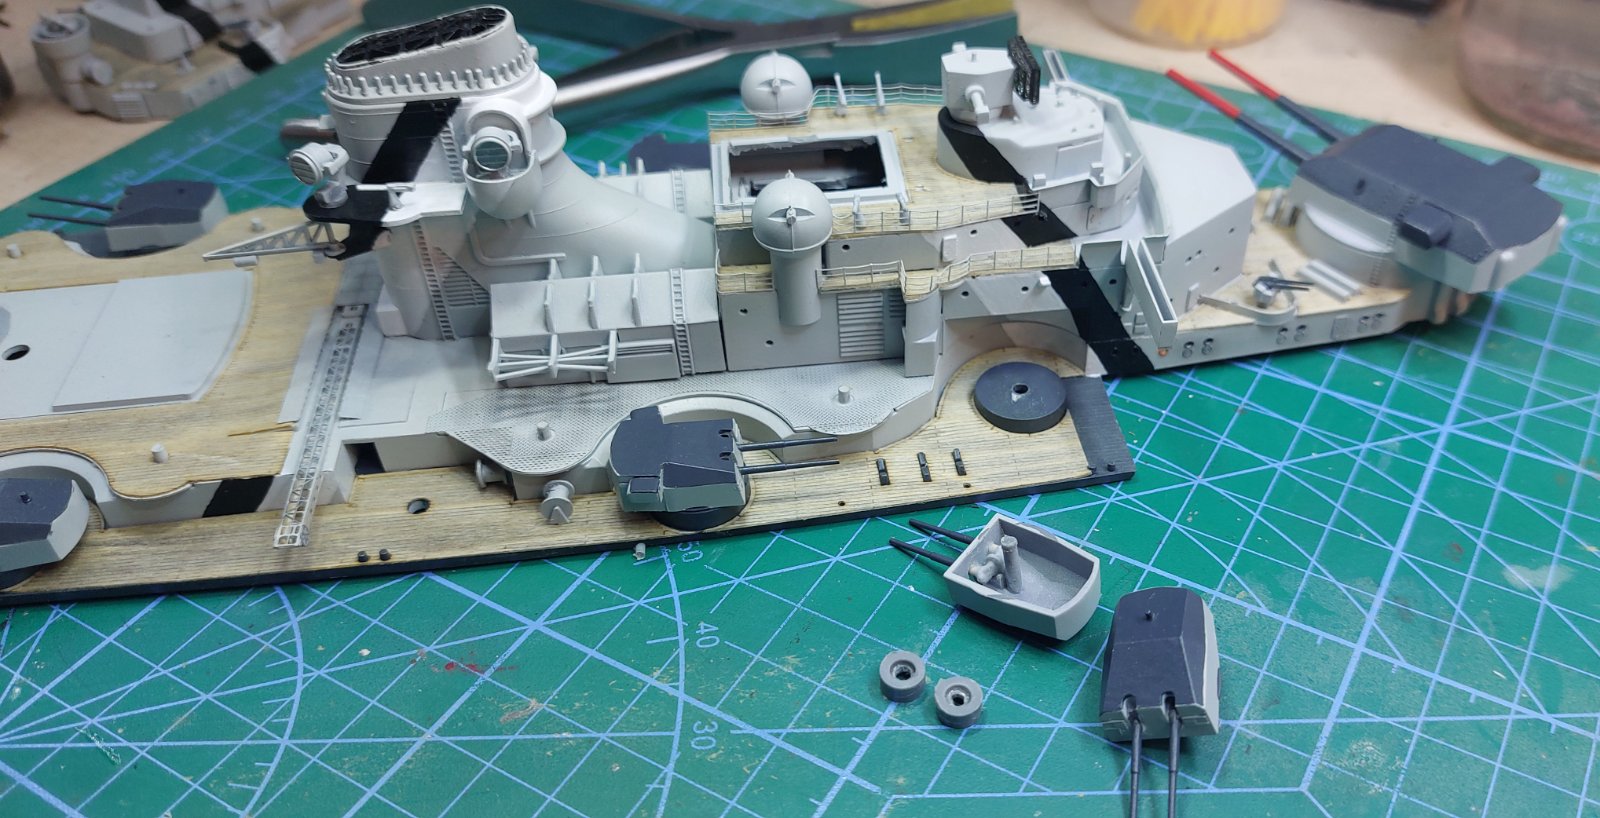
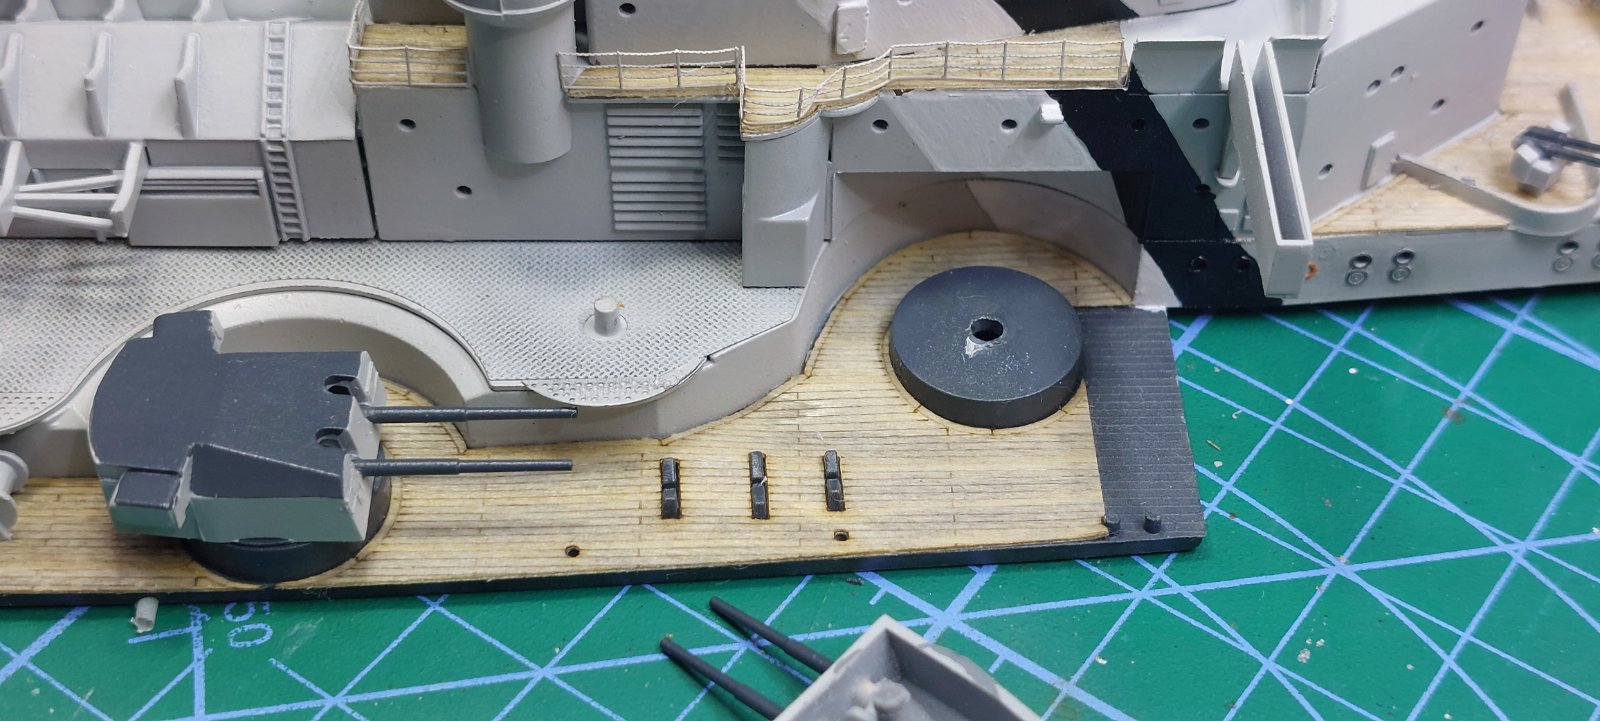
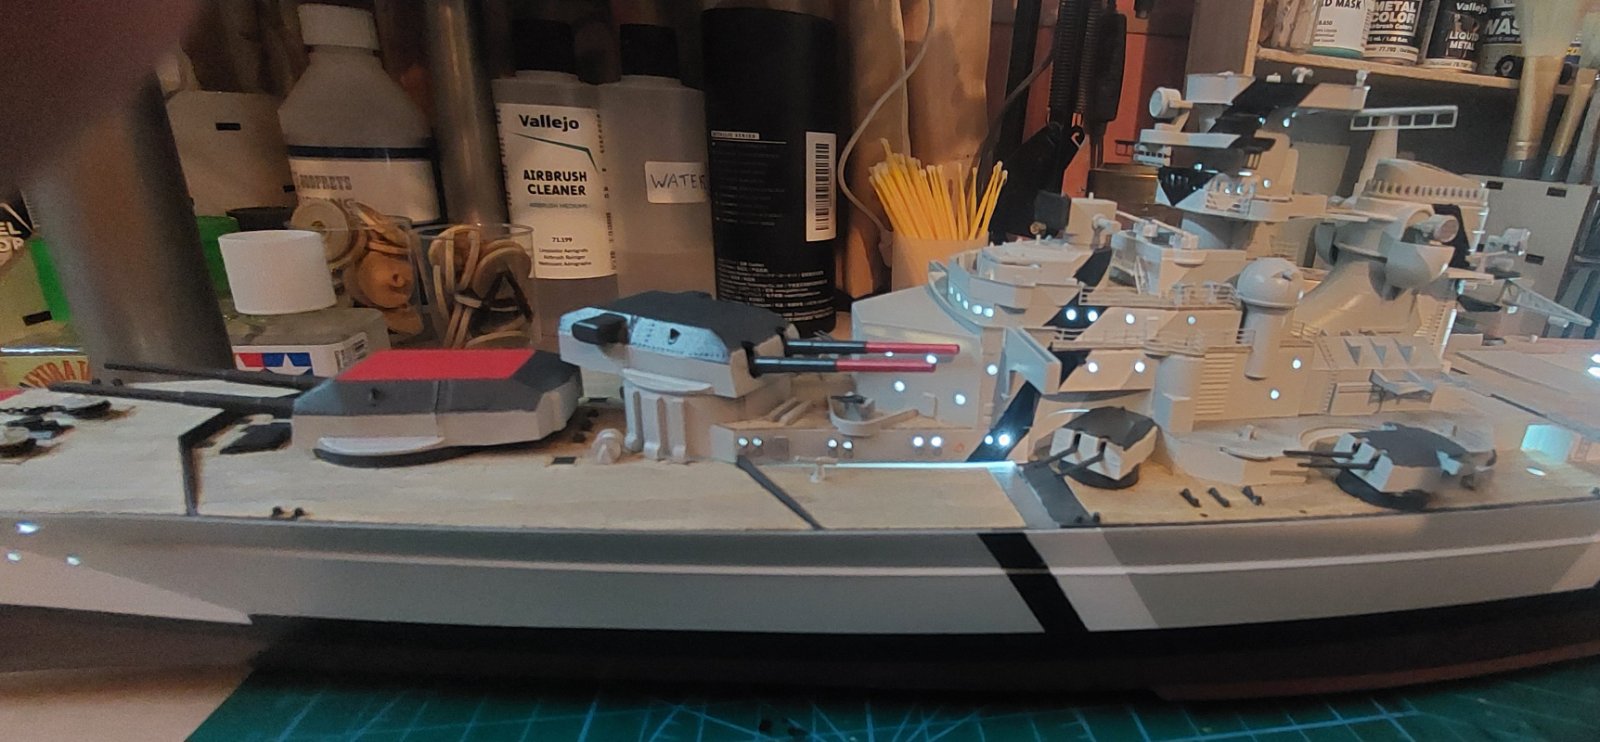
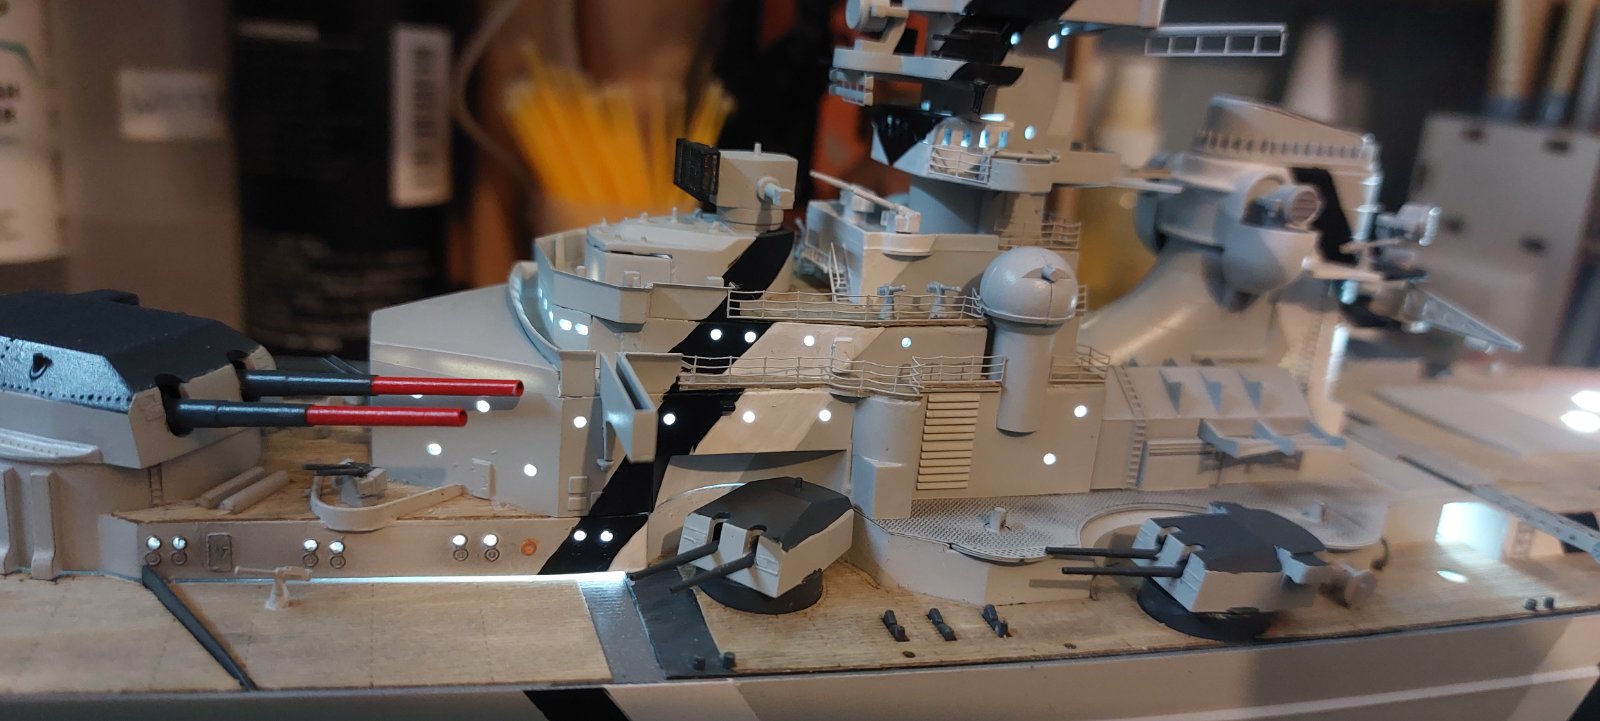
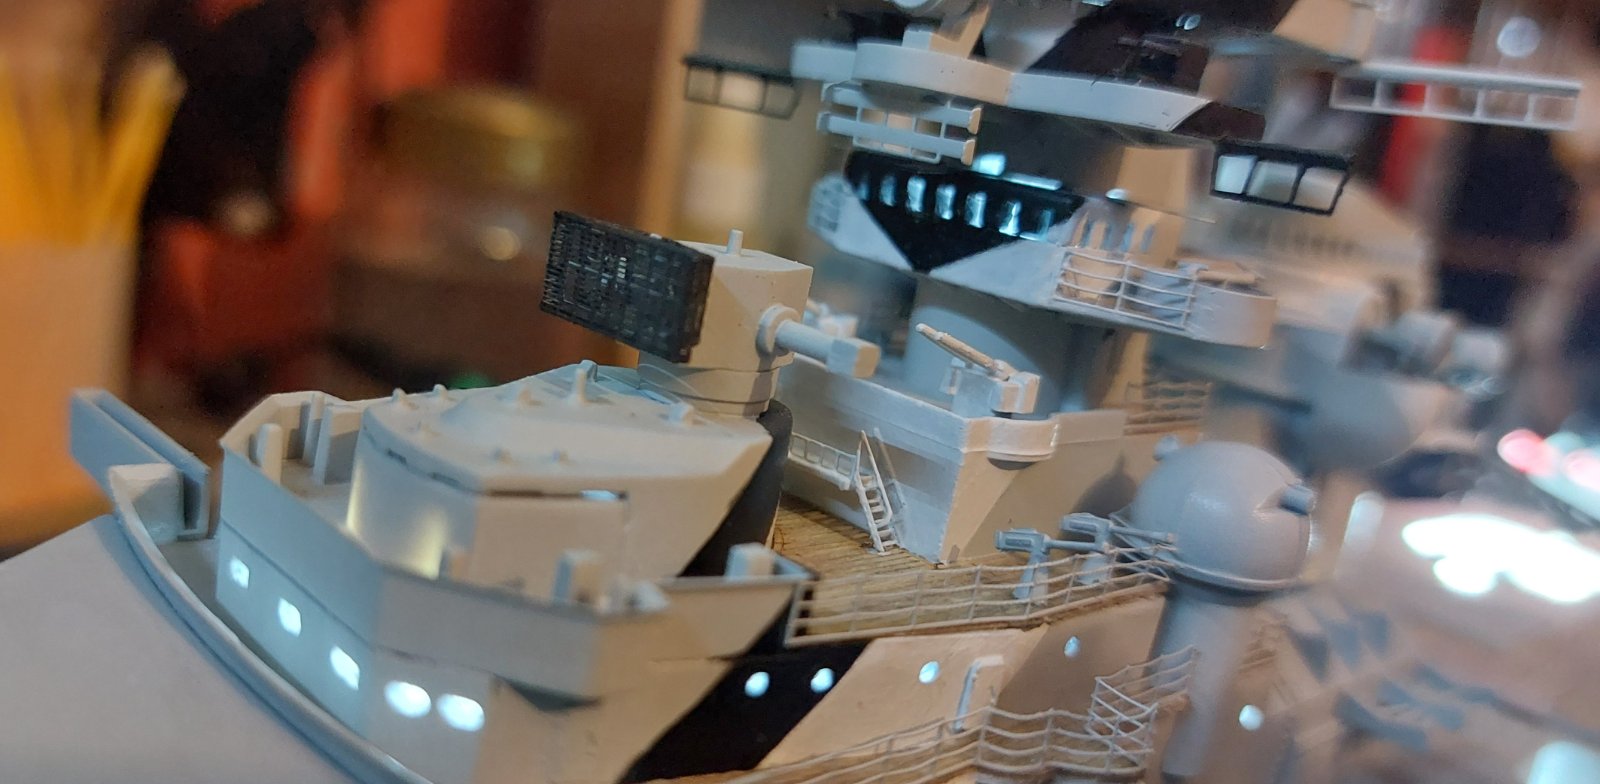
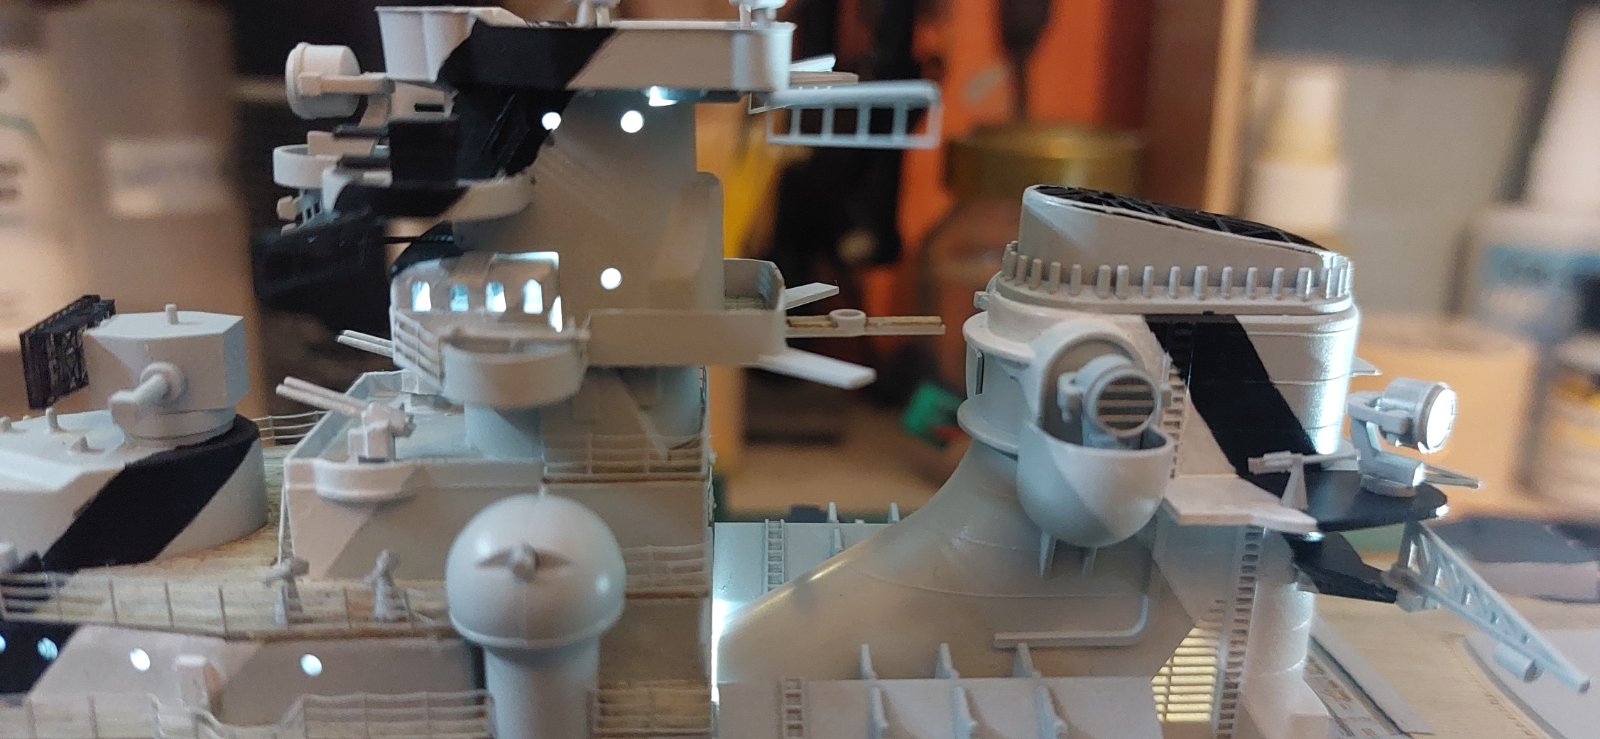
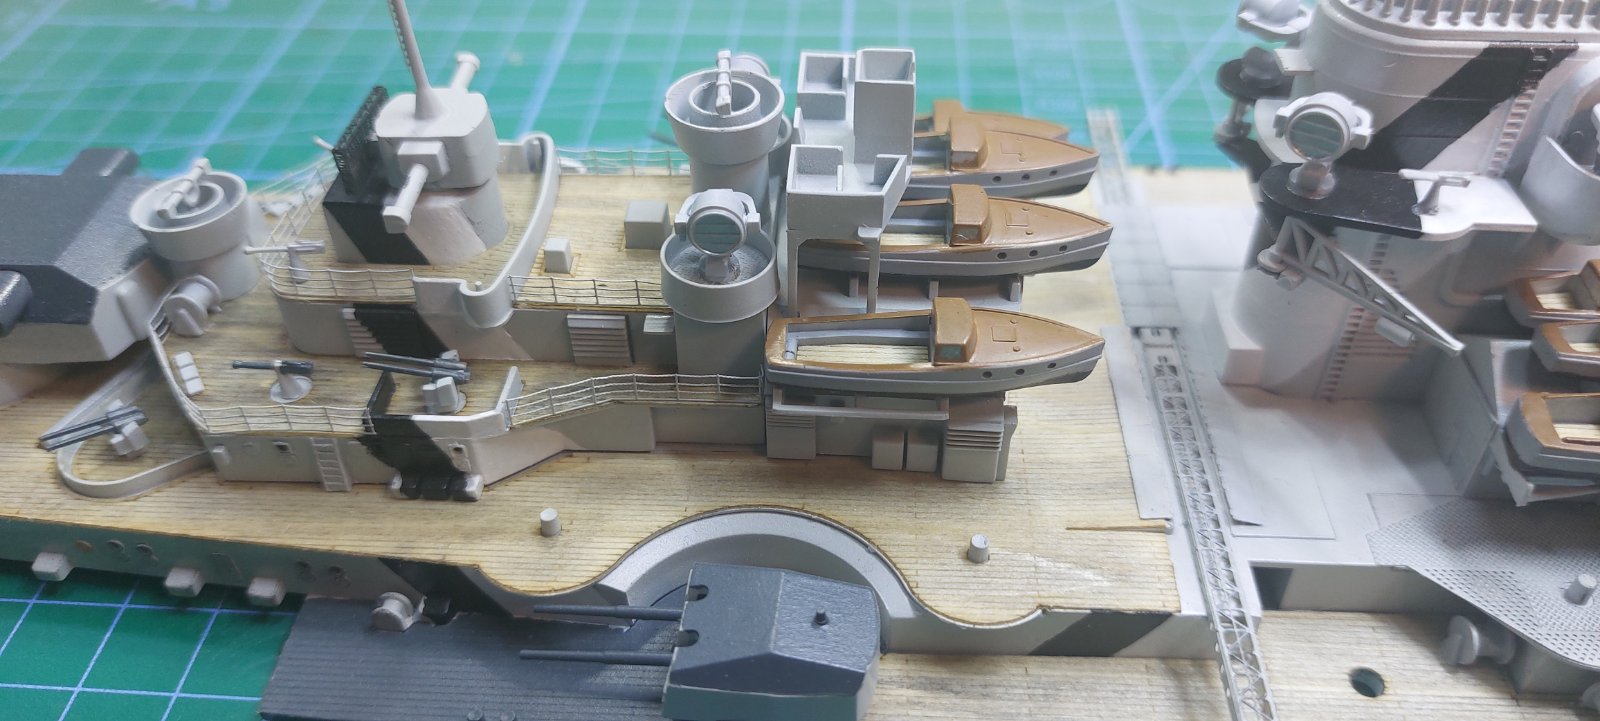
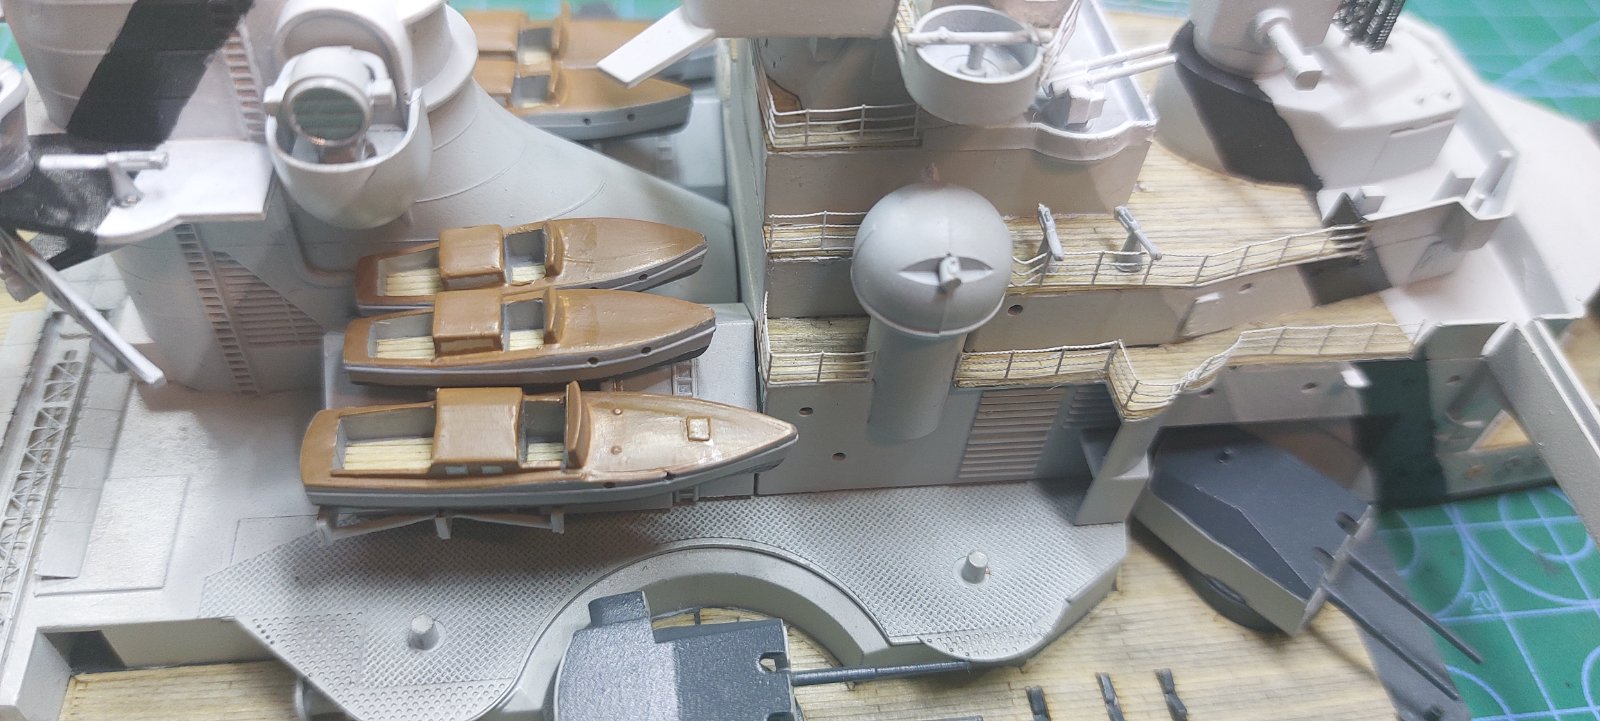
Hi Chris, I primed and sprayed the railing sheet before I cut any away. I found a great way of getting the railing in place before applying the extra thin CA.

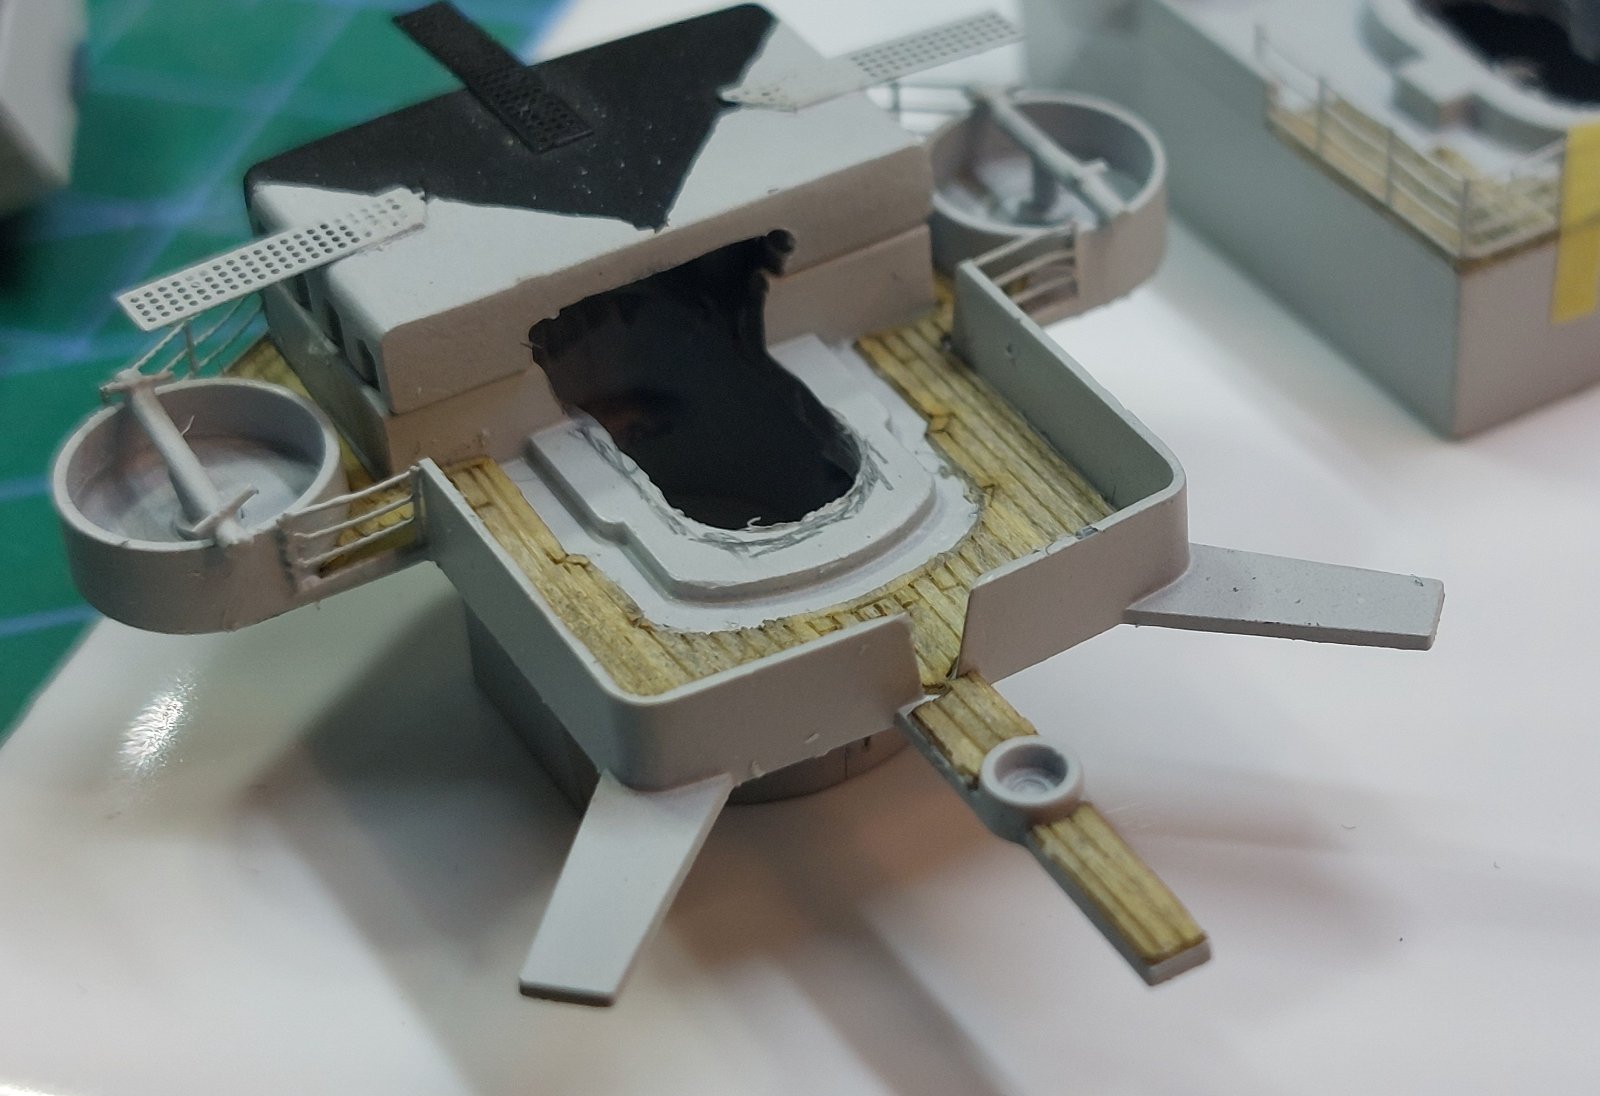
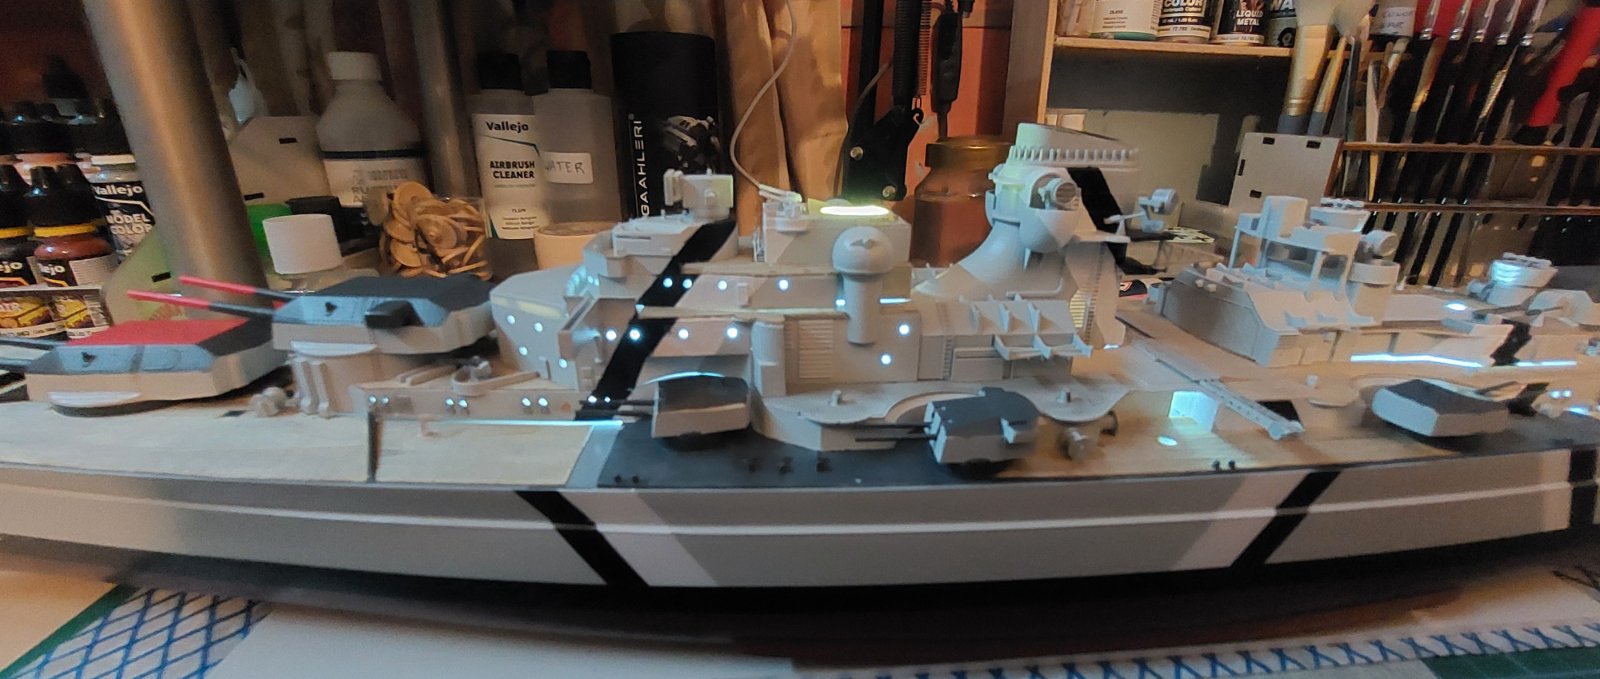
I also have cut away alot of the interior so hopefully the hull lighting will show through the main bridge windows. Pantherman
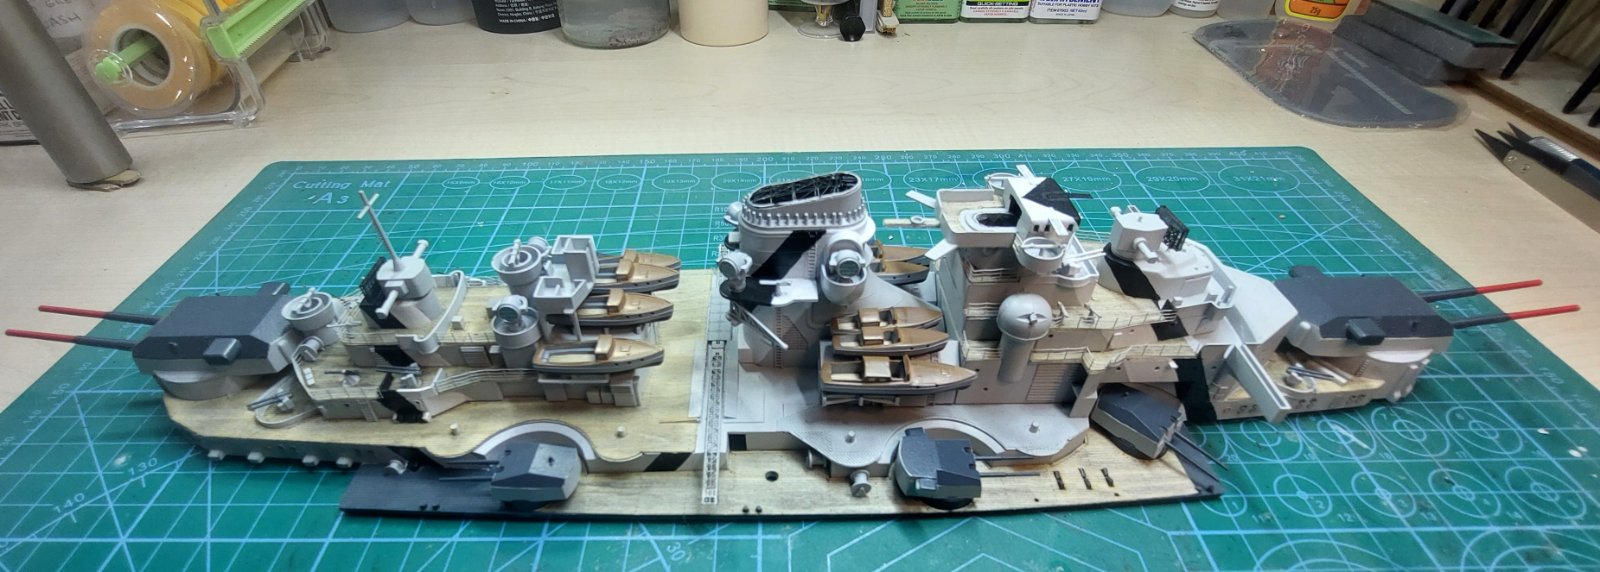
20260125_113734.jpg
20260125_113740.jpg
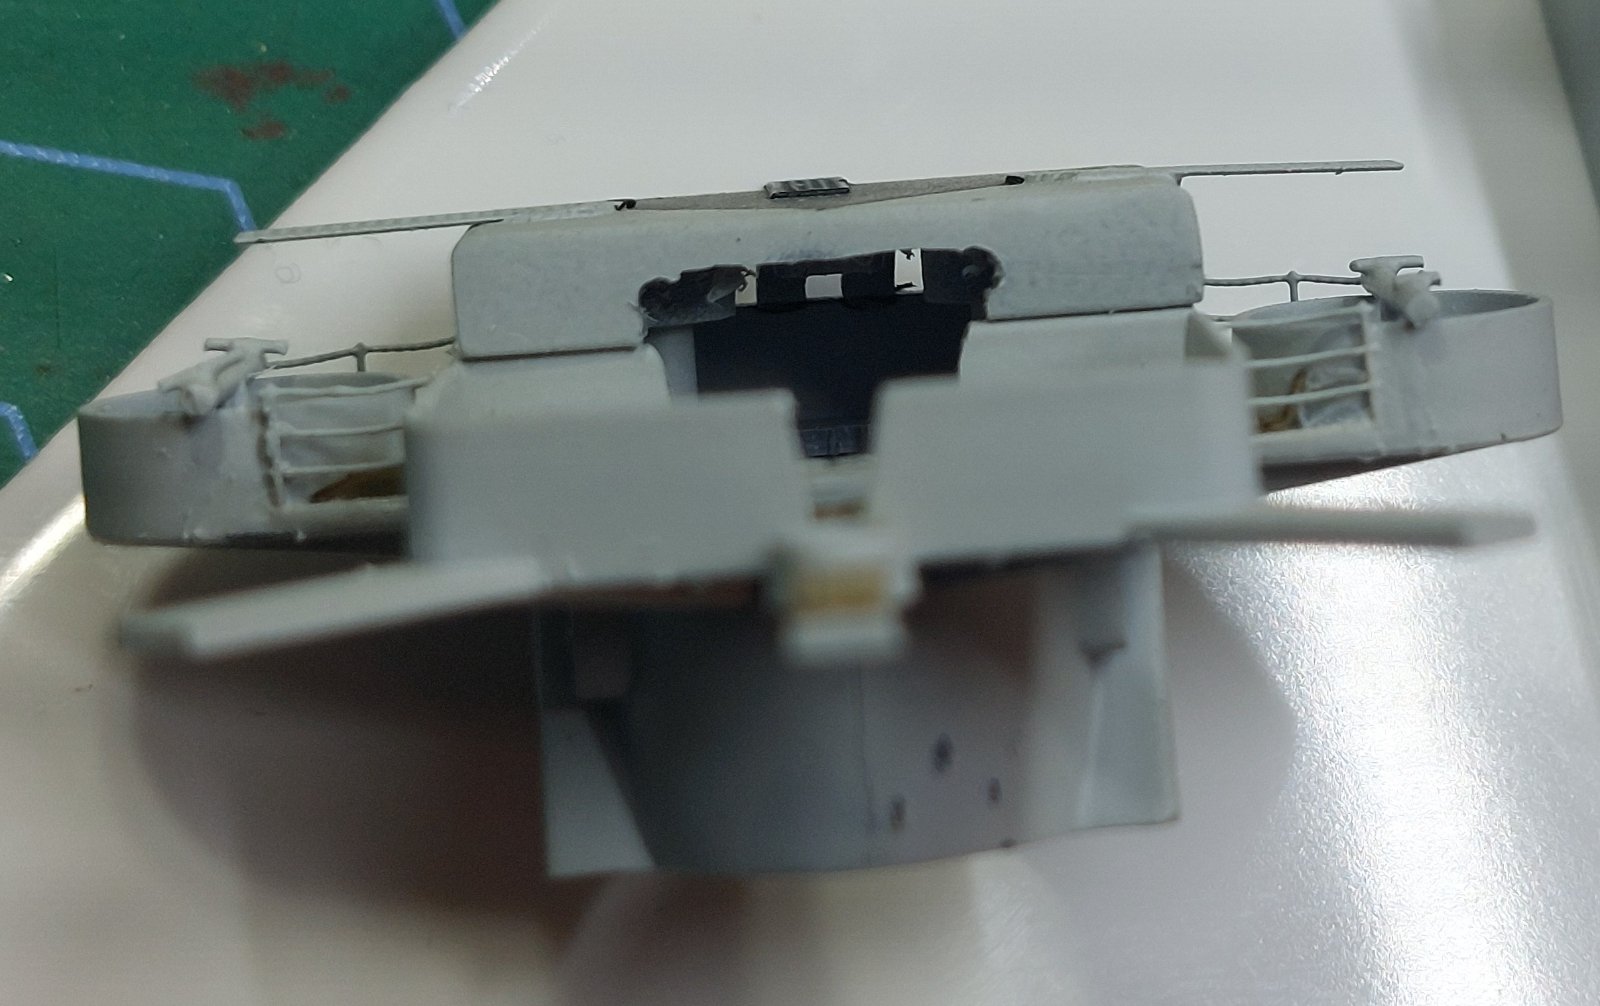
20260125_113811.jpg
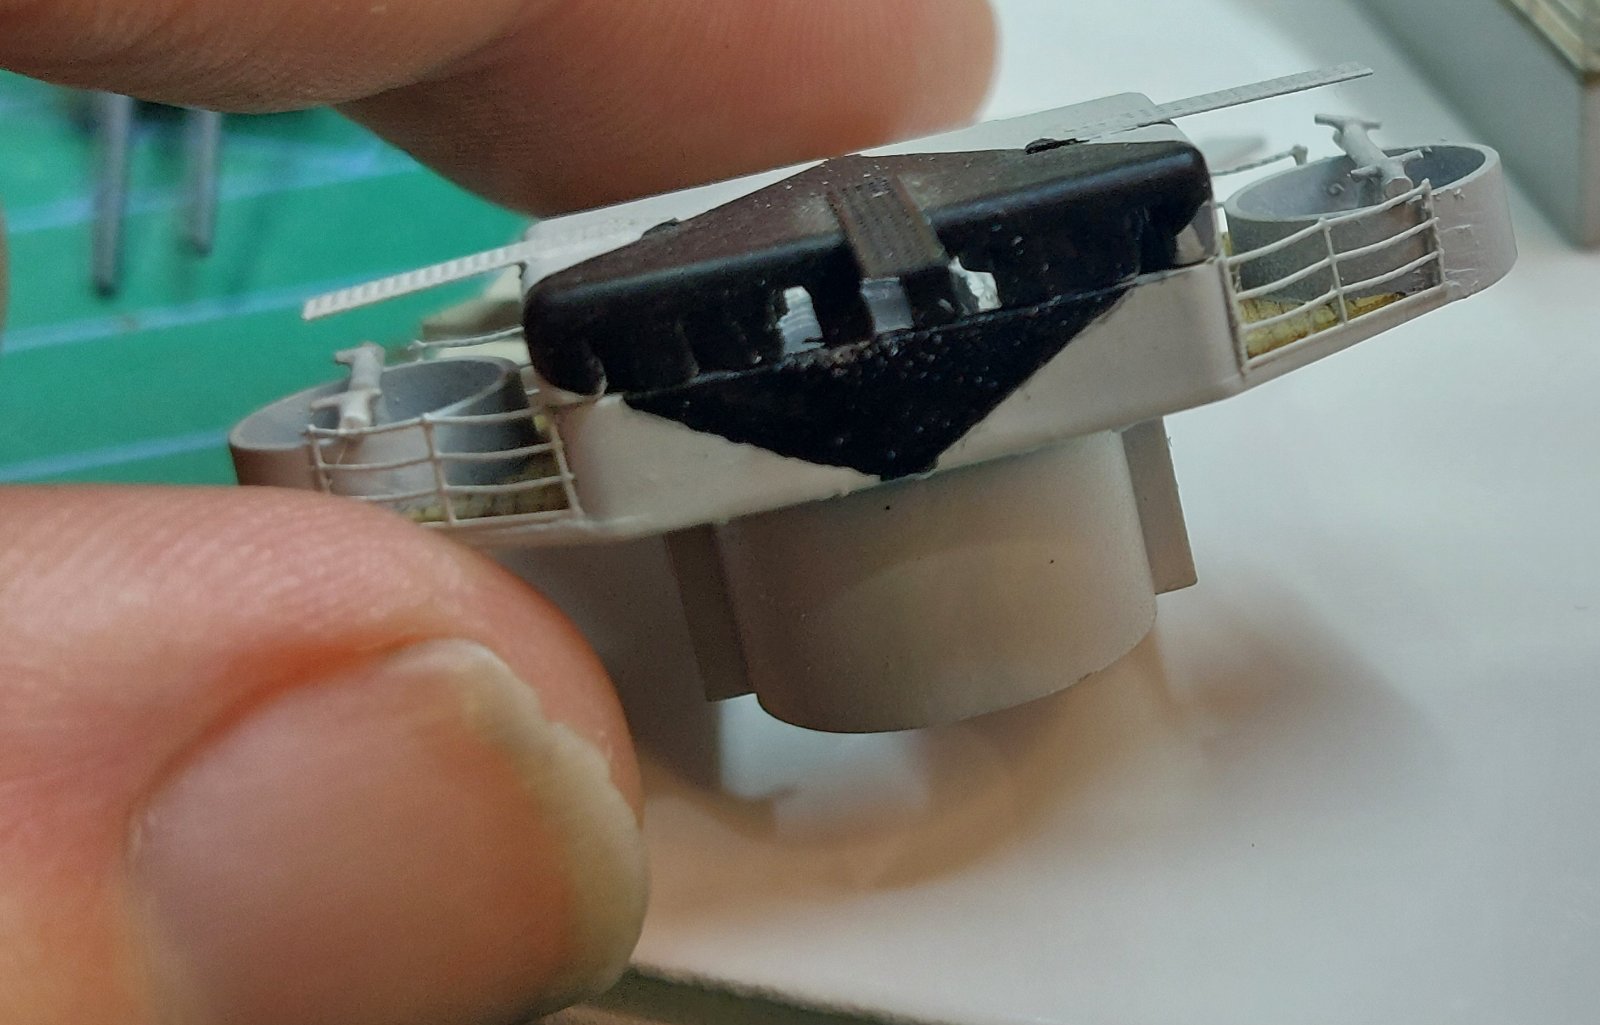
20260125_113841.jpg
 
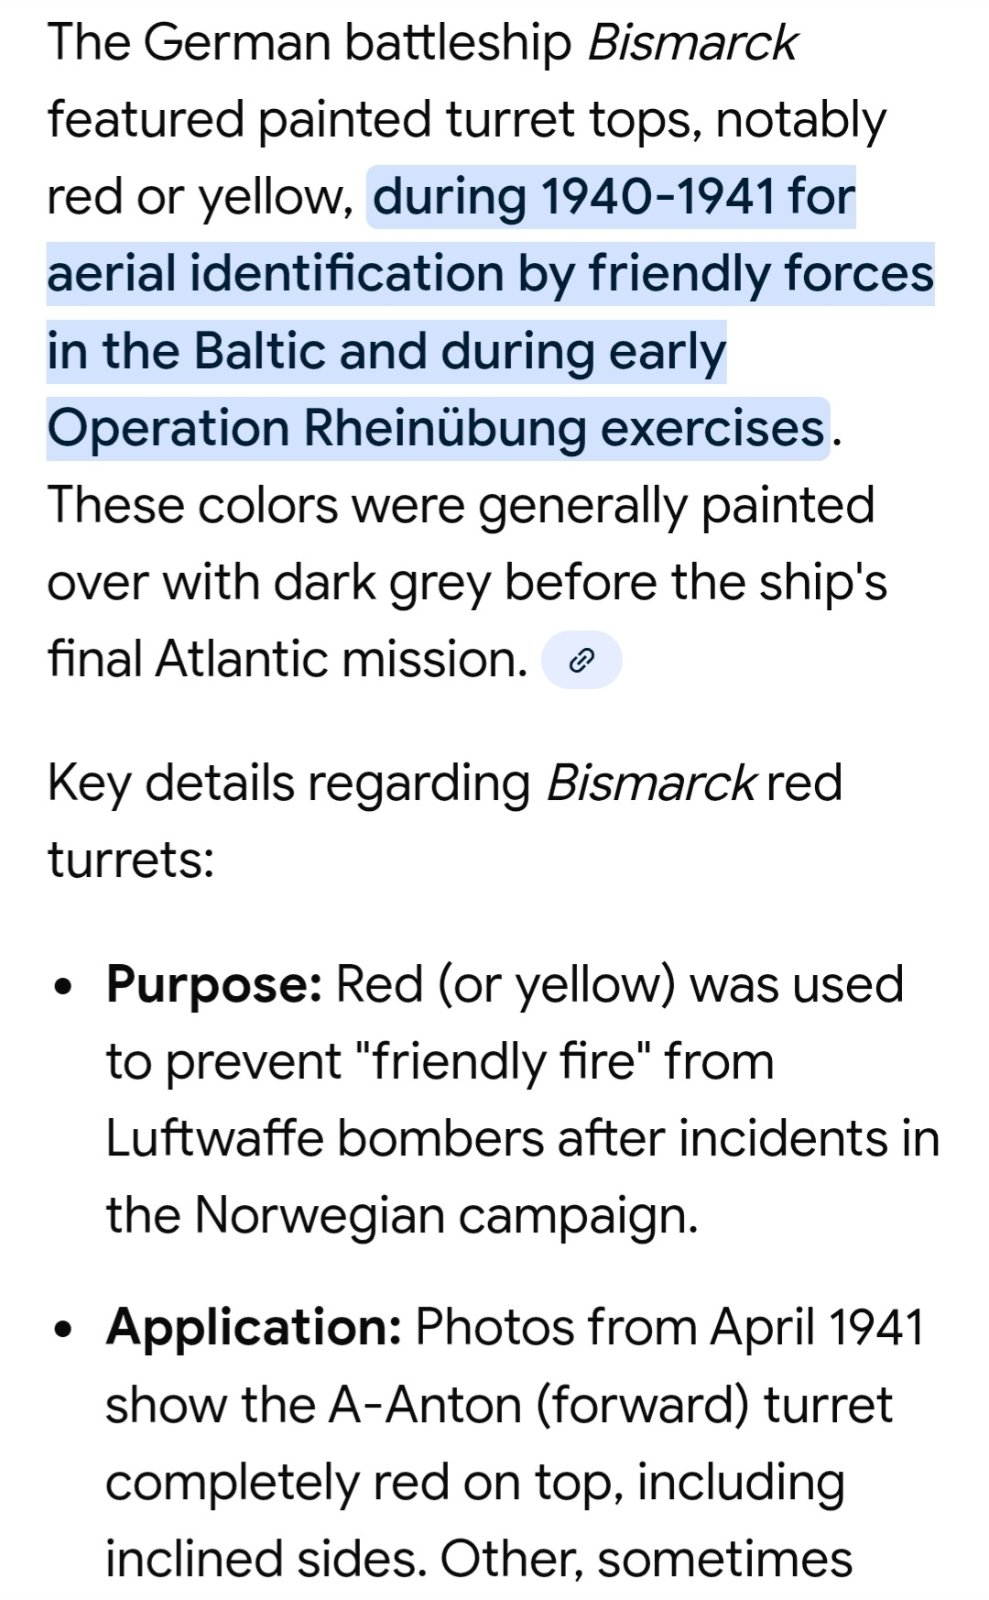
Brilliant work my freind an hopefully the light should show up in the bridge area an why did they paint the turret tops in bright red or yellow ?
atb sir
chrisb
 
As an Amazon Associate we earn from qualifying purchases. Product prices and availability are accurate as of the date/time indicated and are subject to change.
P/M cant hardly read it but i do see it says the colours were painted over when she went on a mission but i just wondered why i will have to have a look in my bismark book an see if it says anthing about this
chrisb
 
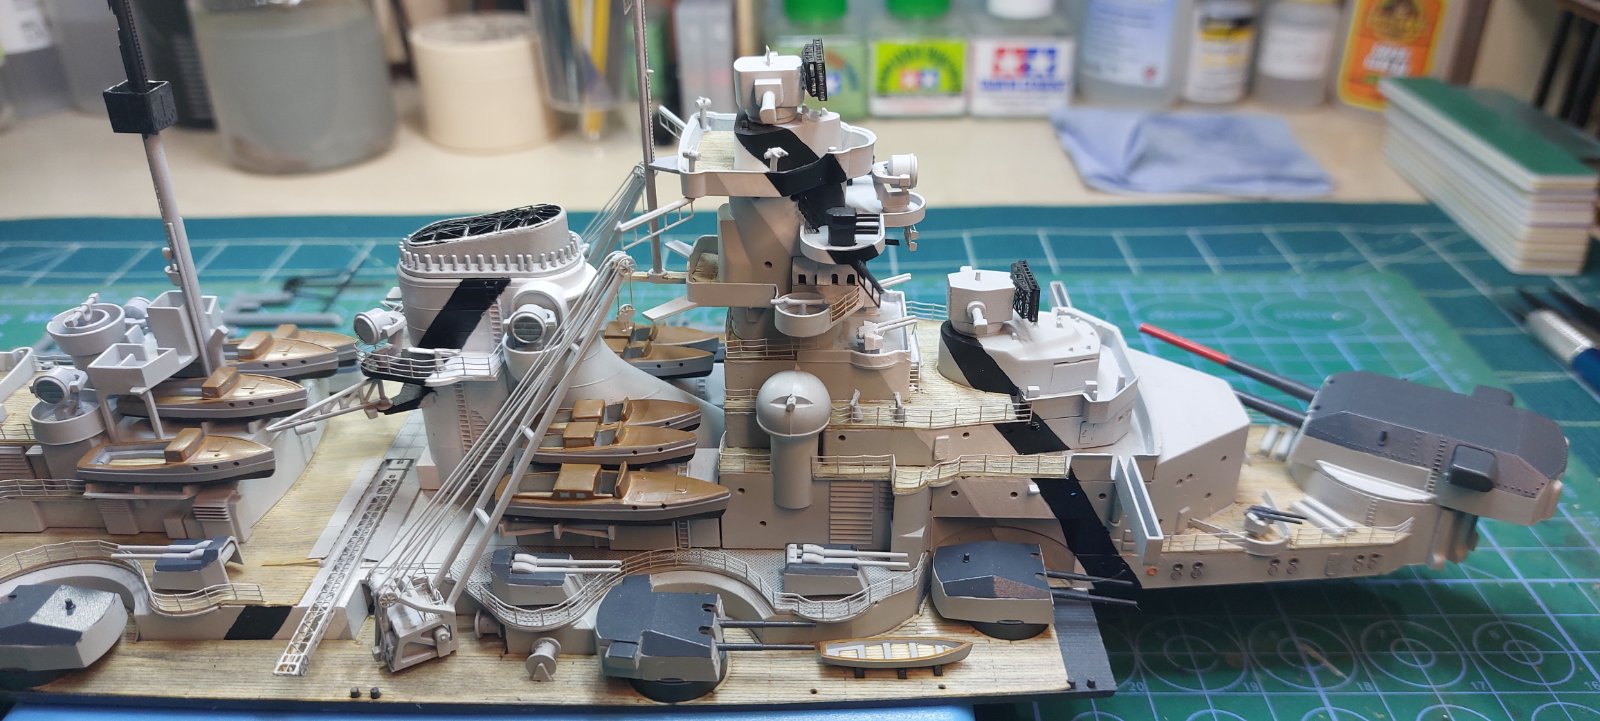
Looking like the main bridge lighting was successful, haven't fixed the top deck yet as needs some more painting.

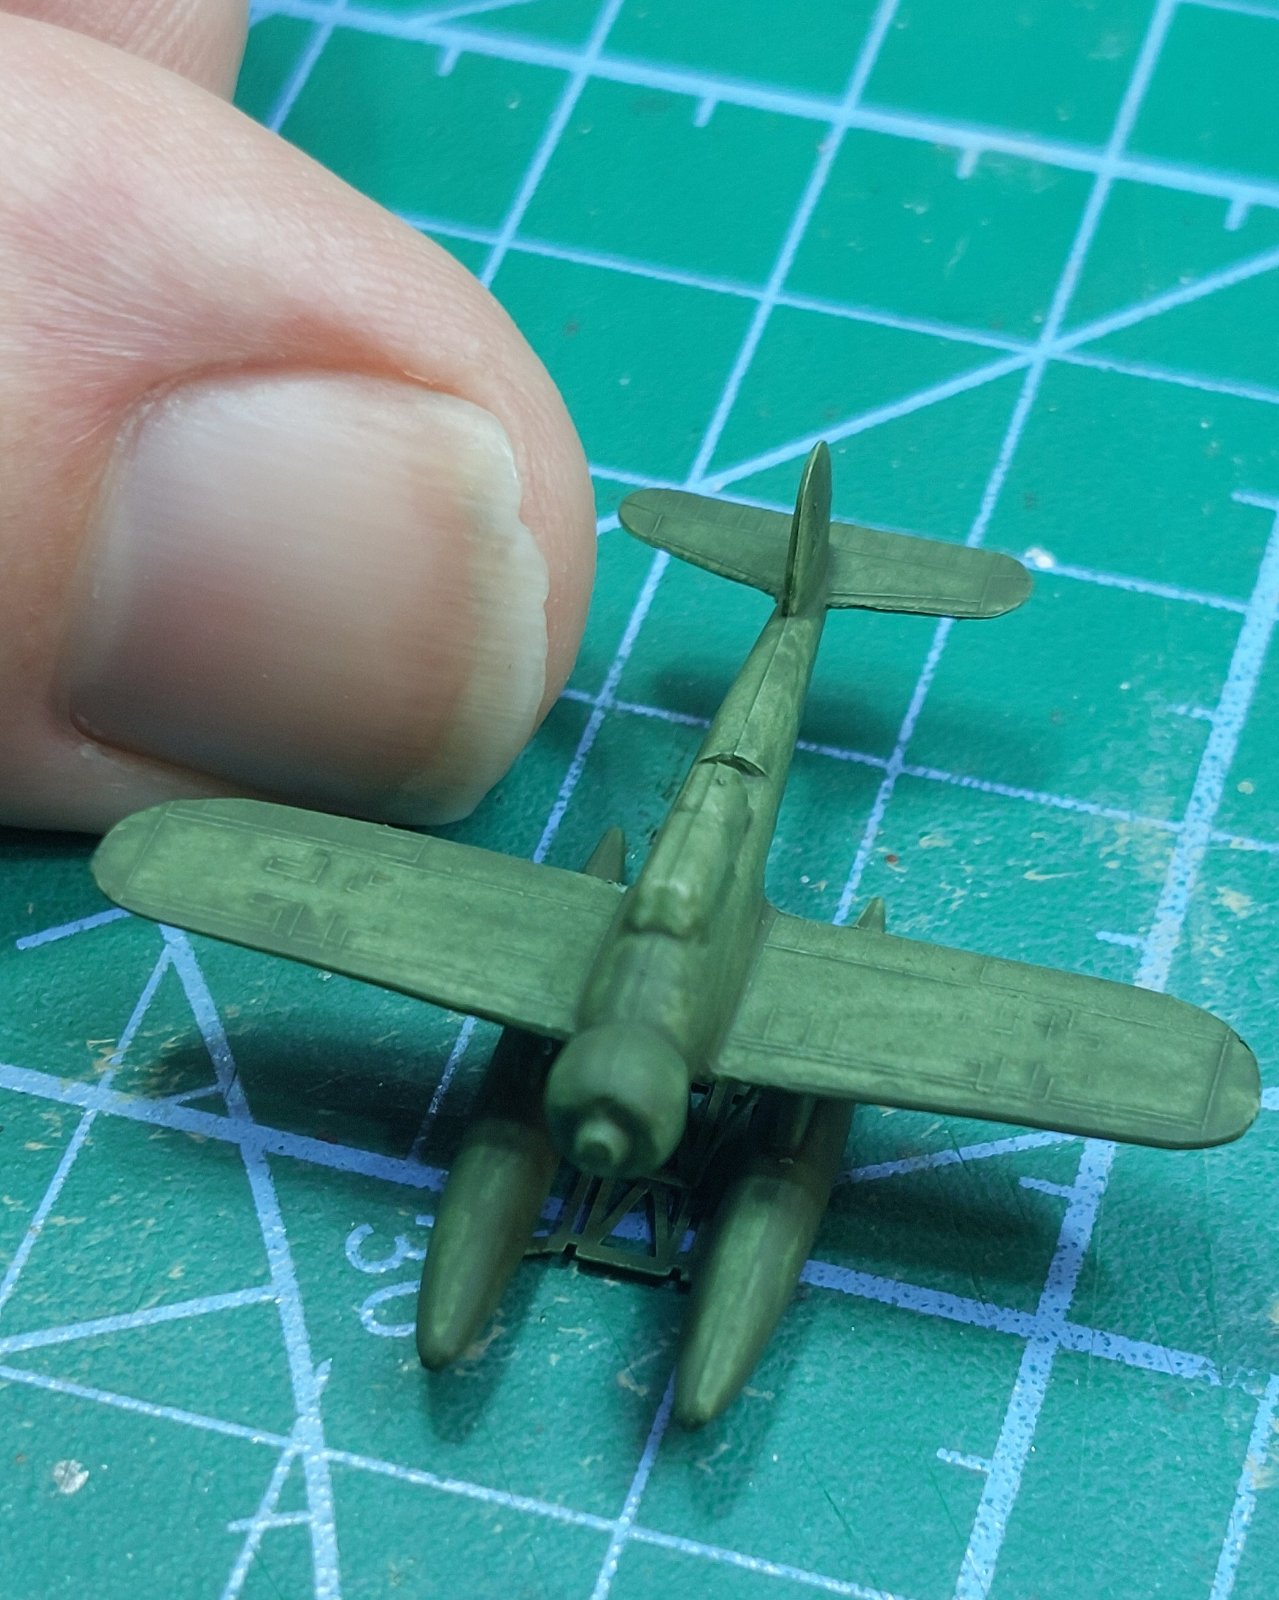
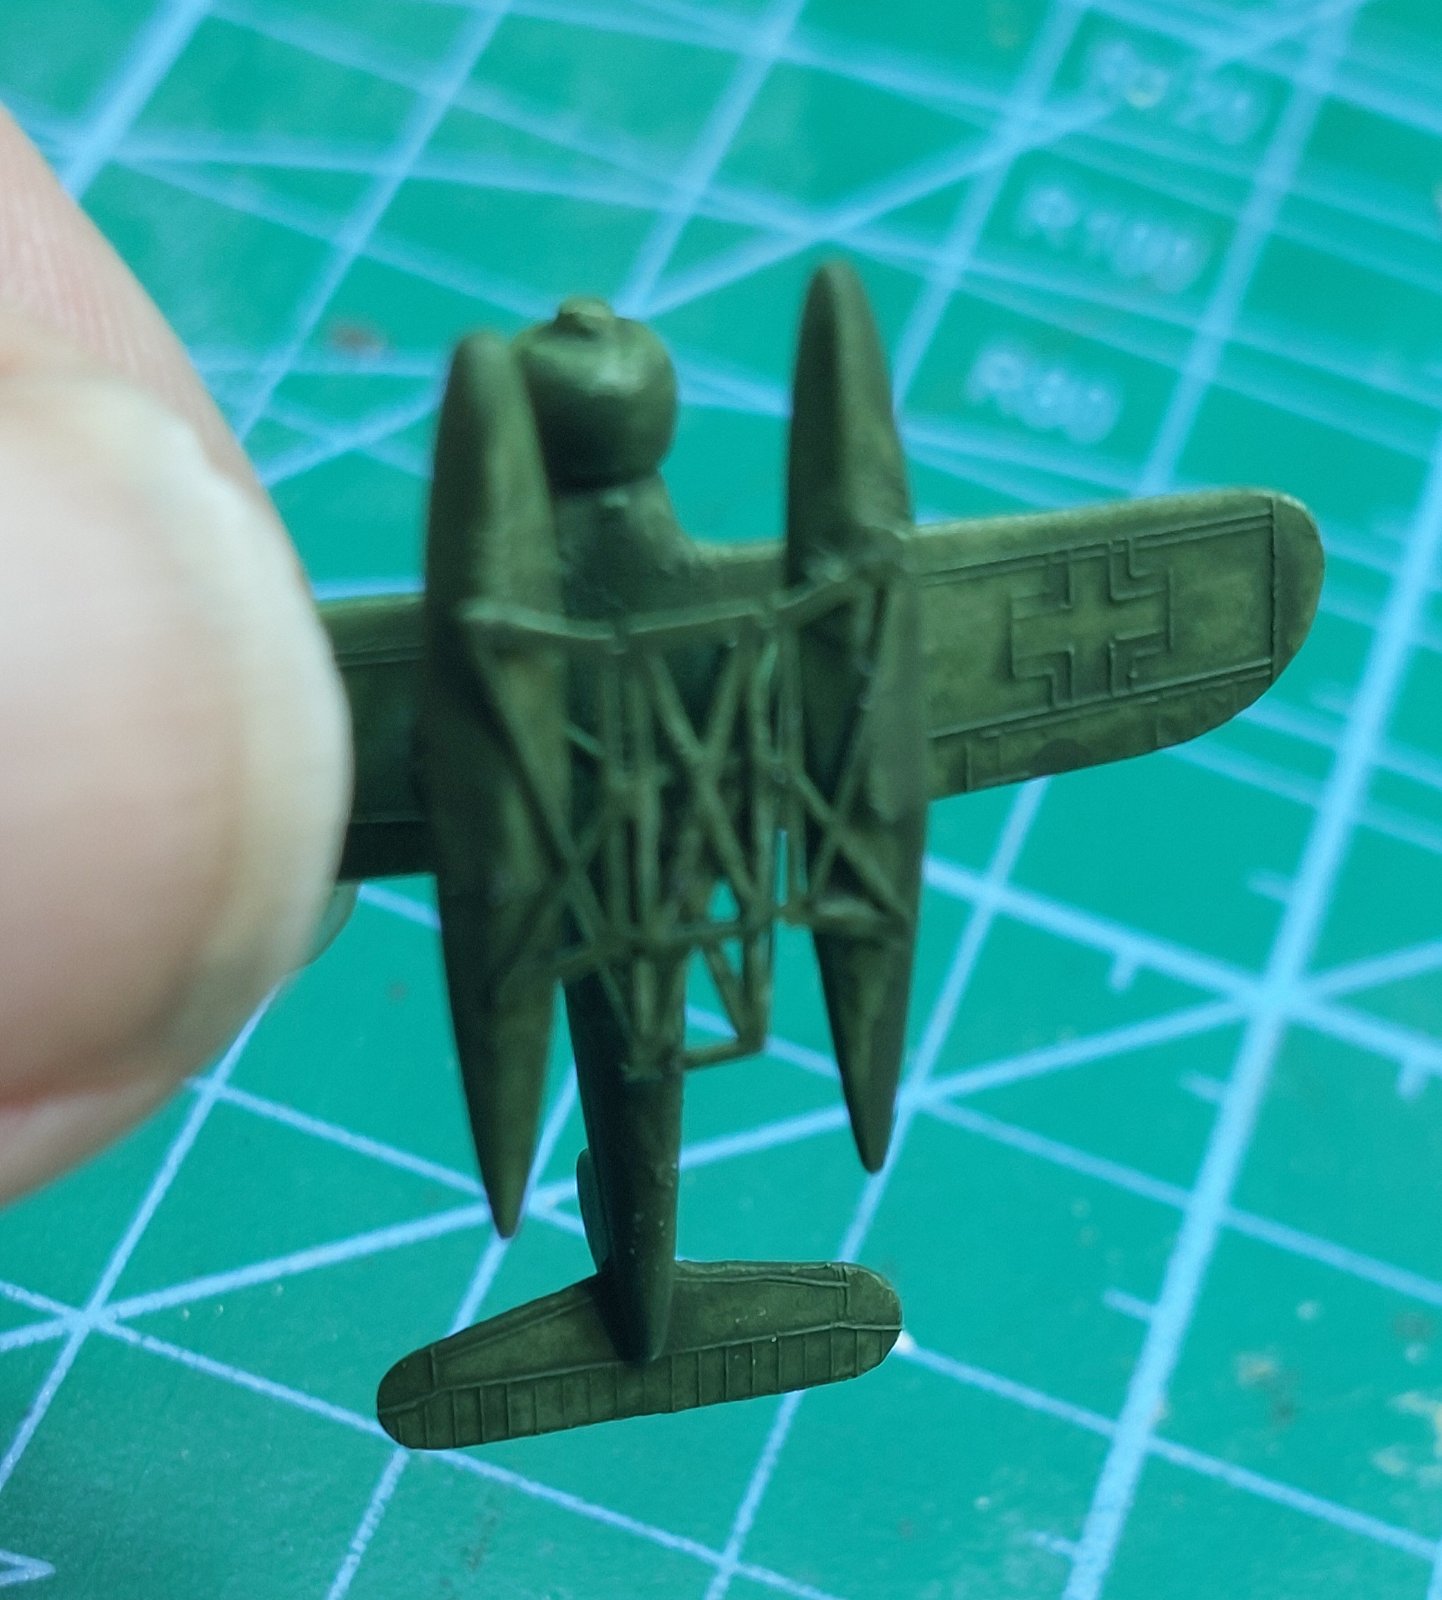
Made a start on the aircraft, just going to show one of the two supplied with the kit. Pantherman
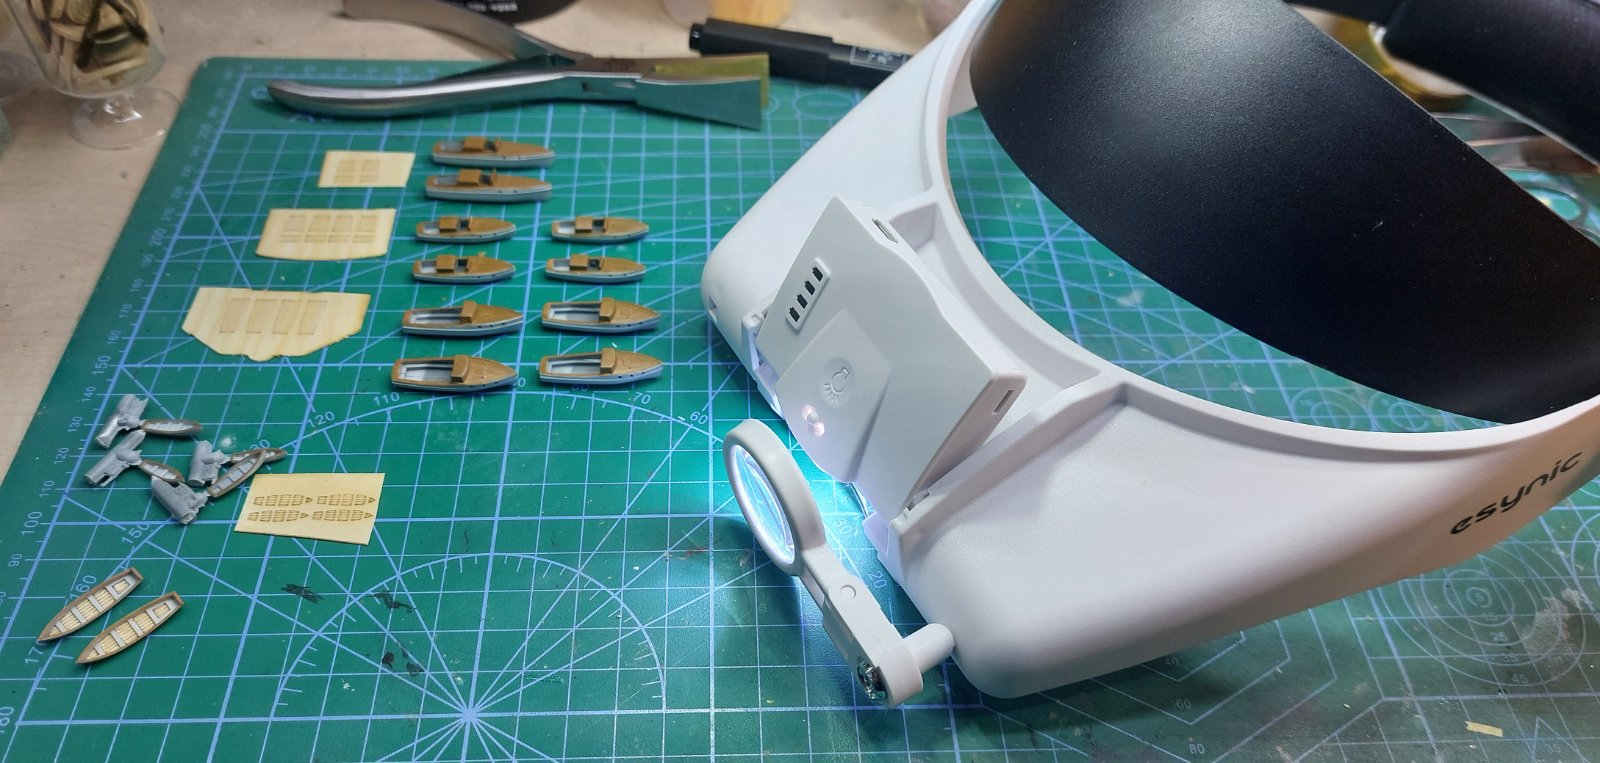
View attachment 177603View attachment 177604View attachment 177605View attachment 177606View attachment 177607View attachment 177608
Before anyone points it out, the underside should be light grey. It was late last night and my brain went to bed about an hour before my body. Pantherman
 
Got the forward deck glued down and put the anchors on. The bow anchor was just stuck on the front according to the instructions so added a brass rod and chain to make it look a little better. Still got some touching in to do but I will wait until I'm ready to do all the main deck railings for that. PanthermanView attachment 177020View attachment 177021View attachment 177022View attachment 177023View attachment 177024
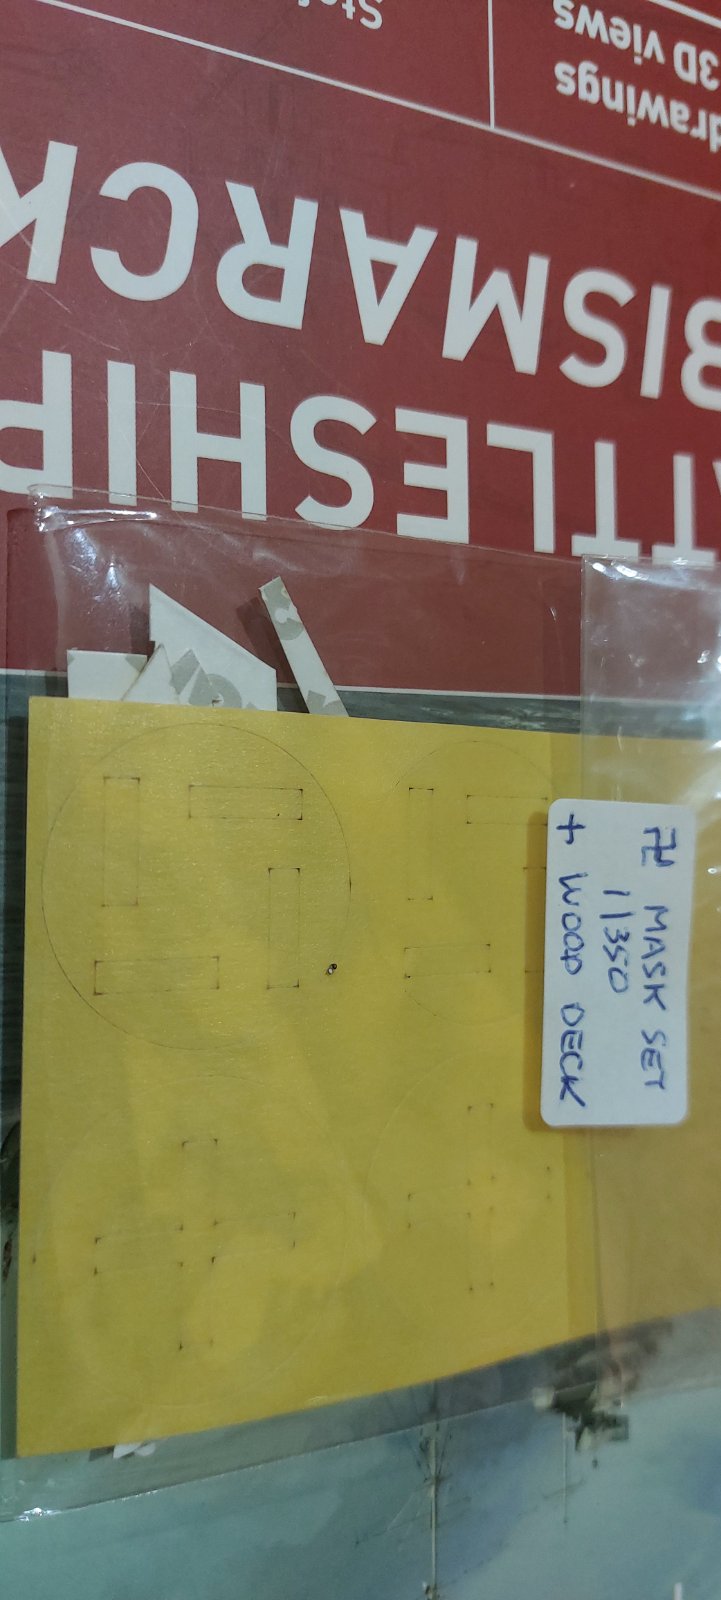
Having spent hours cutting up black invasion stripe decals from a previous build to get the bow and stern flags I find the upgrade masking set......... Pantherman
 

Attachments

  • 20260125_211949.jpg
    20260125_211949.jpg
    130.8 KB
HI P/M do you get the shakes at all tryin to fit this p/e ? as mine is so fragile any shakes an ive bent the p/e an its a devil of a job to try an staighten out again isnt it lookin forward to meeting you on the 22nd of feb sir
chrisb
 
HI P/M do you get the shakes at all tryin to fit this p/e ? as mine is so fragile any shakes an ive bent the p/e an its a devil of a job to try an staighten out again isnt it lookin forward to meeting you on the 22nd of feb sir
chrisb
I only get the shakes if I spend too long at the PE. I tend to do little and often. The placement tape tabs help alot. Pantherman
 
YES P/M your work is lookin great an the detail really stands out very well done my freind
hope i can do it half as good an i'll be pleased great modeling sir
chrisb
 
Getting there! And great model.
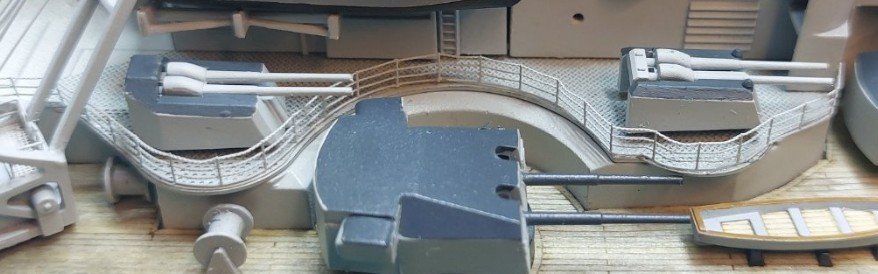
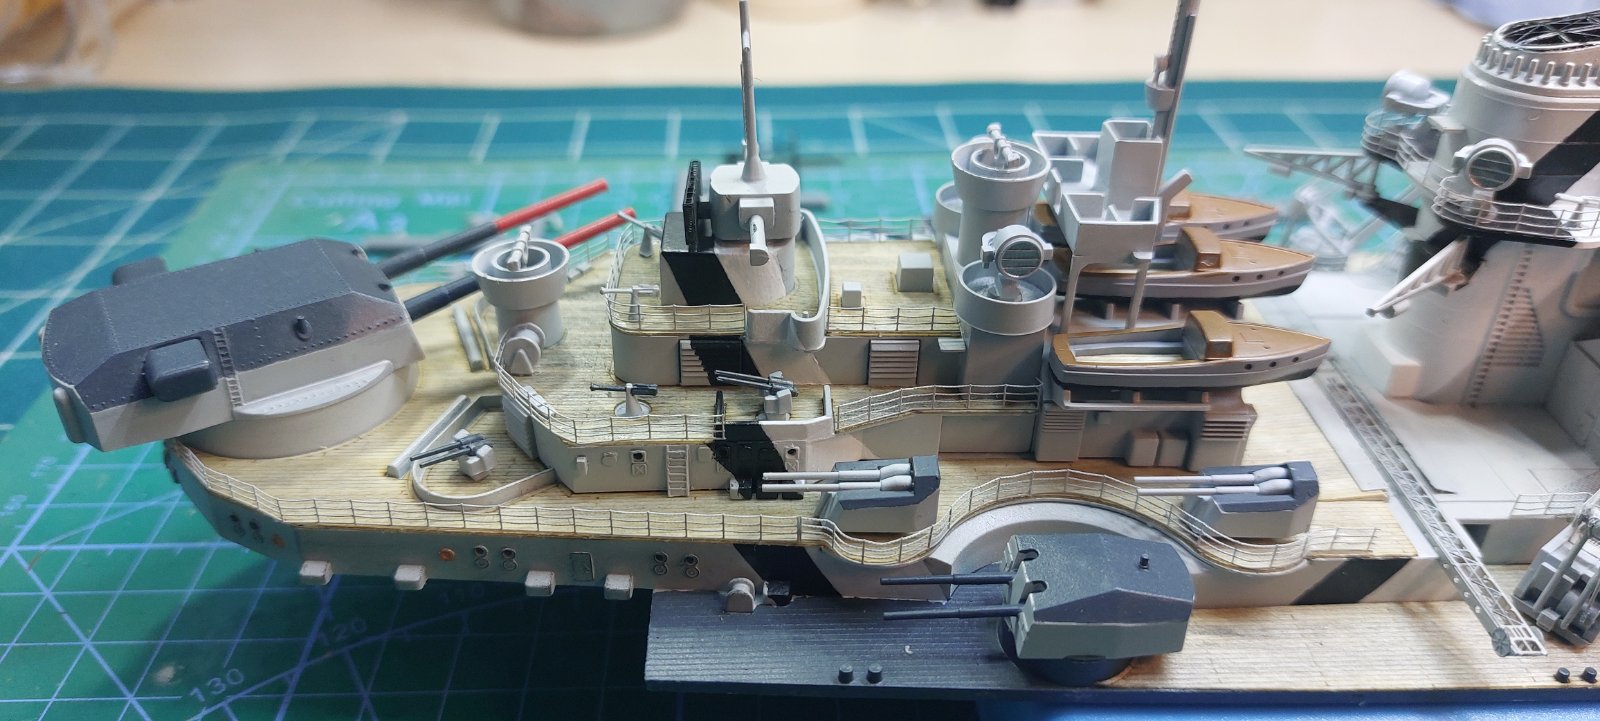
Question: how did you do the circular bend for those handrails?
View attachment 178984
The smaller bend was around a paintbrush handle and the bigger bend was around the CA glue bottle. Tacked the end with thin CA and then just Tacked each section, let it set, then tacked the next bit. When all in place I ran some extra thin CA to fix the entire railing. Pantherman
 

Latest posts

Back
Top