

...if you can laugh about it, you're more than halfway to the fix!upside down

...if you can laugh about it, you're more than halfway to the fix!upside down
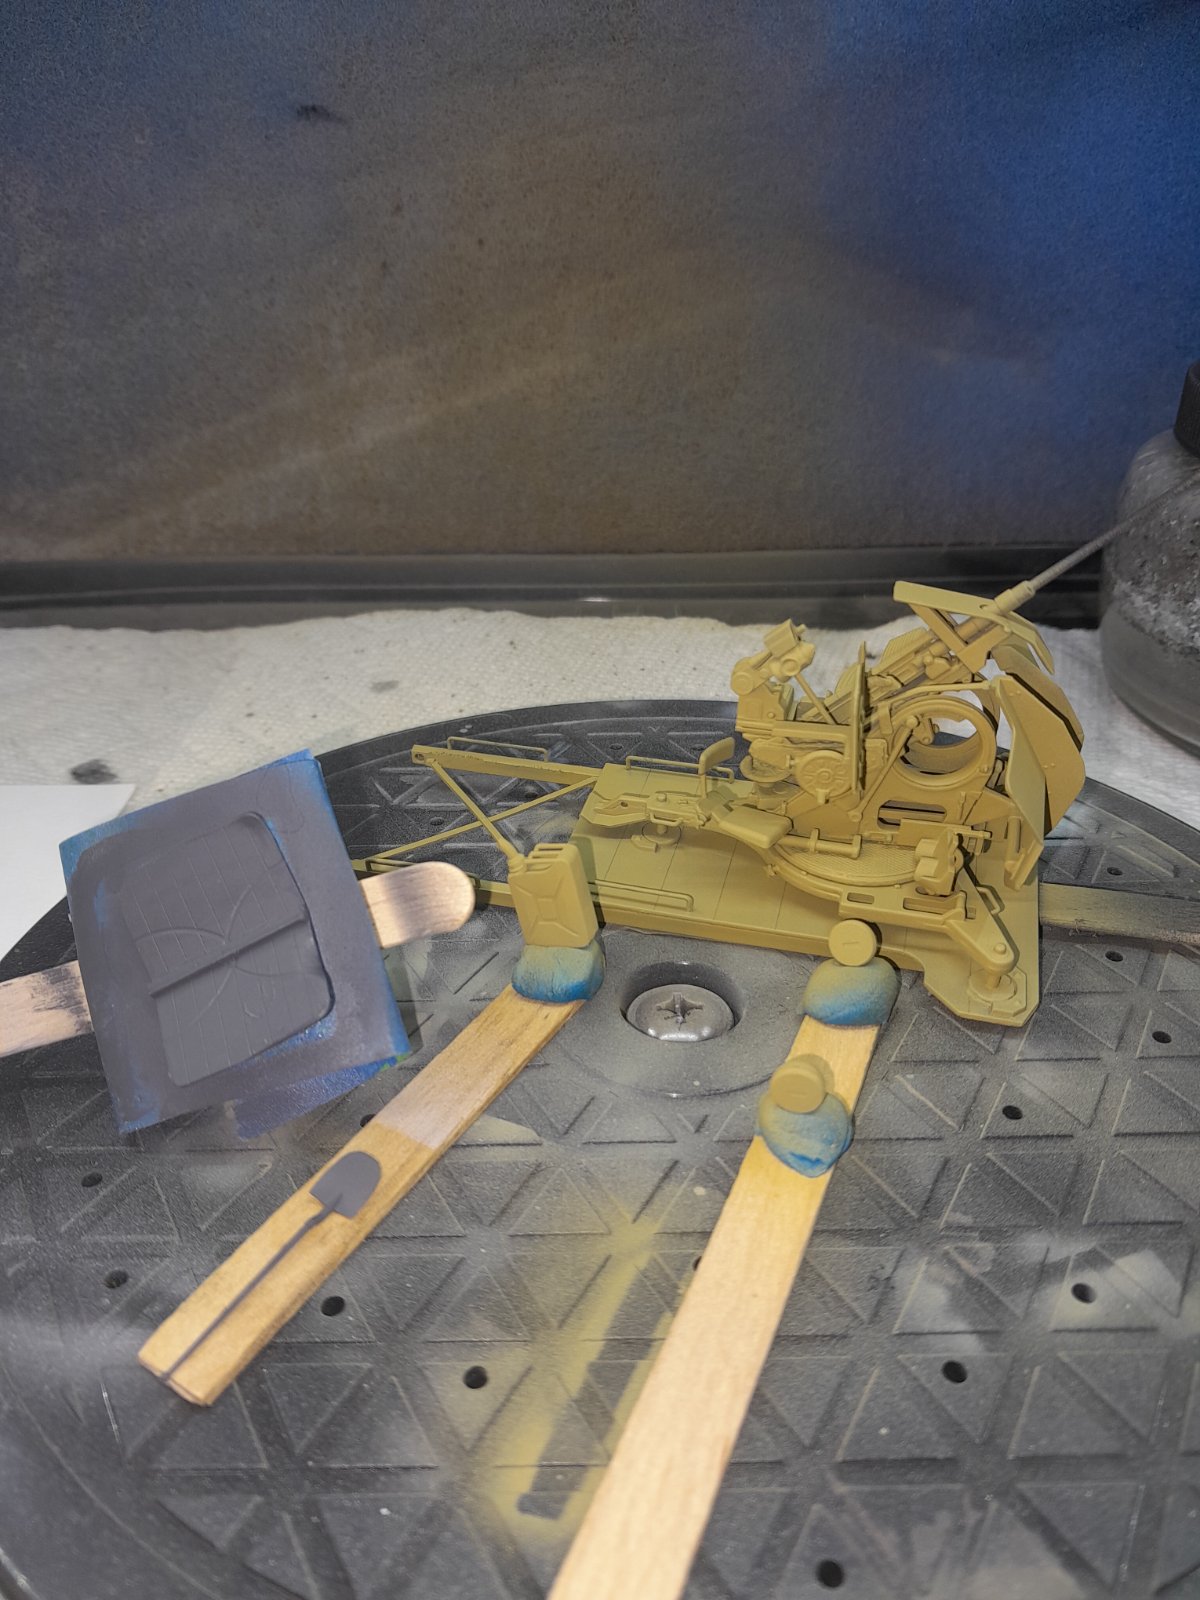
That sucks... Hope you recover, that's a cool model and defo deserves the workApparently, one of my cardboard sheets I use to control overspray, decided to fall over last night.
It landed on the primed parts, causing significant damage.
Both mirrors mangled, drive shaft snapped off, gonna take a little time and effort to fix...Sigh.
View attachment 172966
View attachment 172967

people add to much
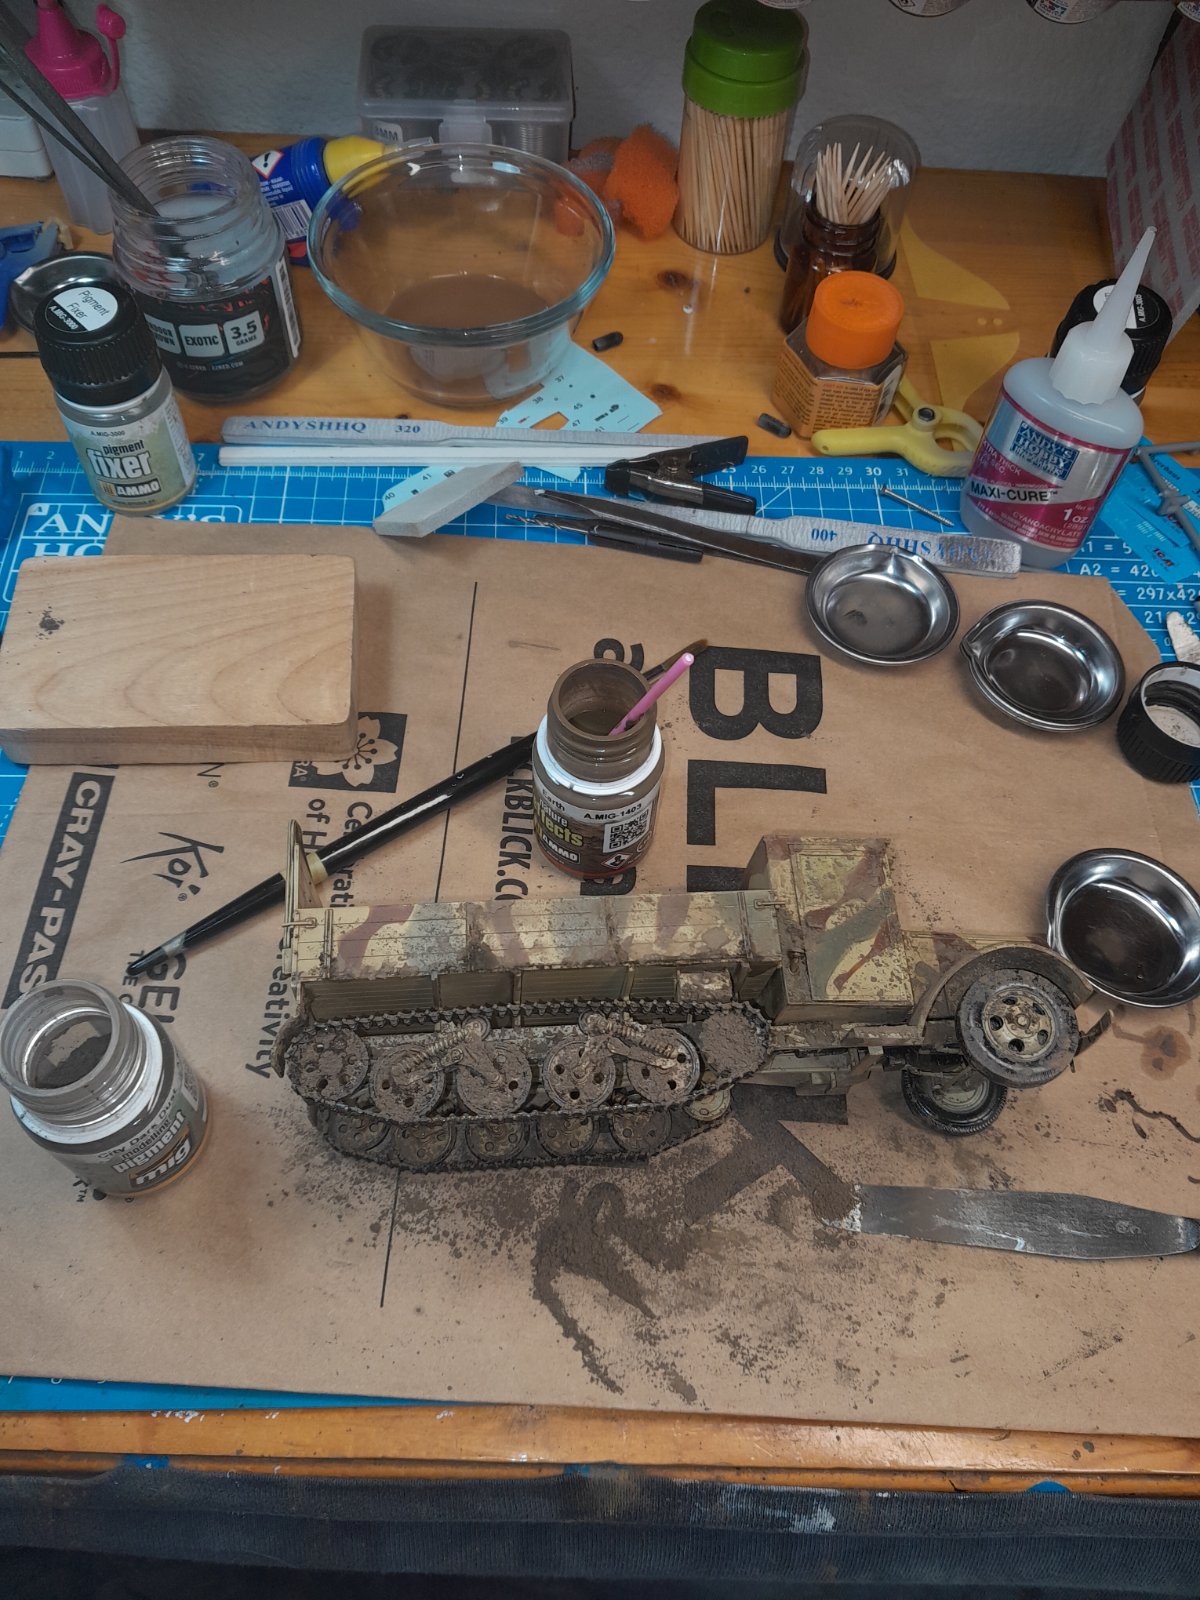
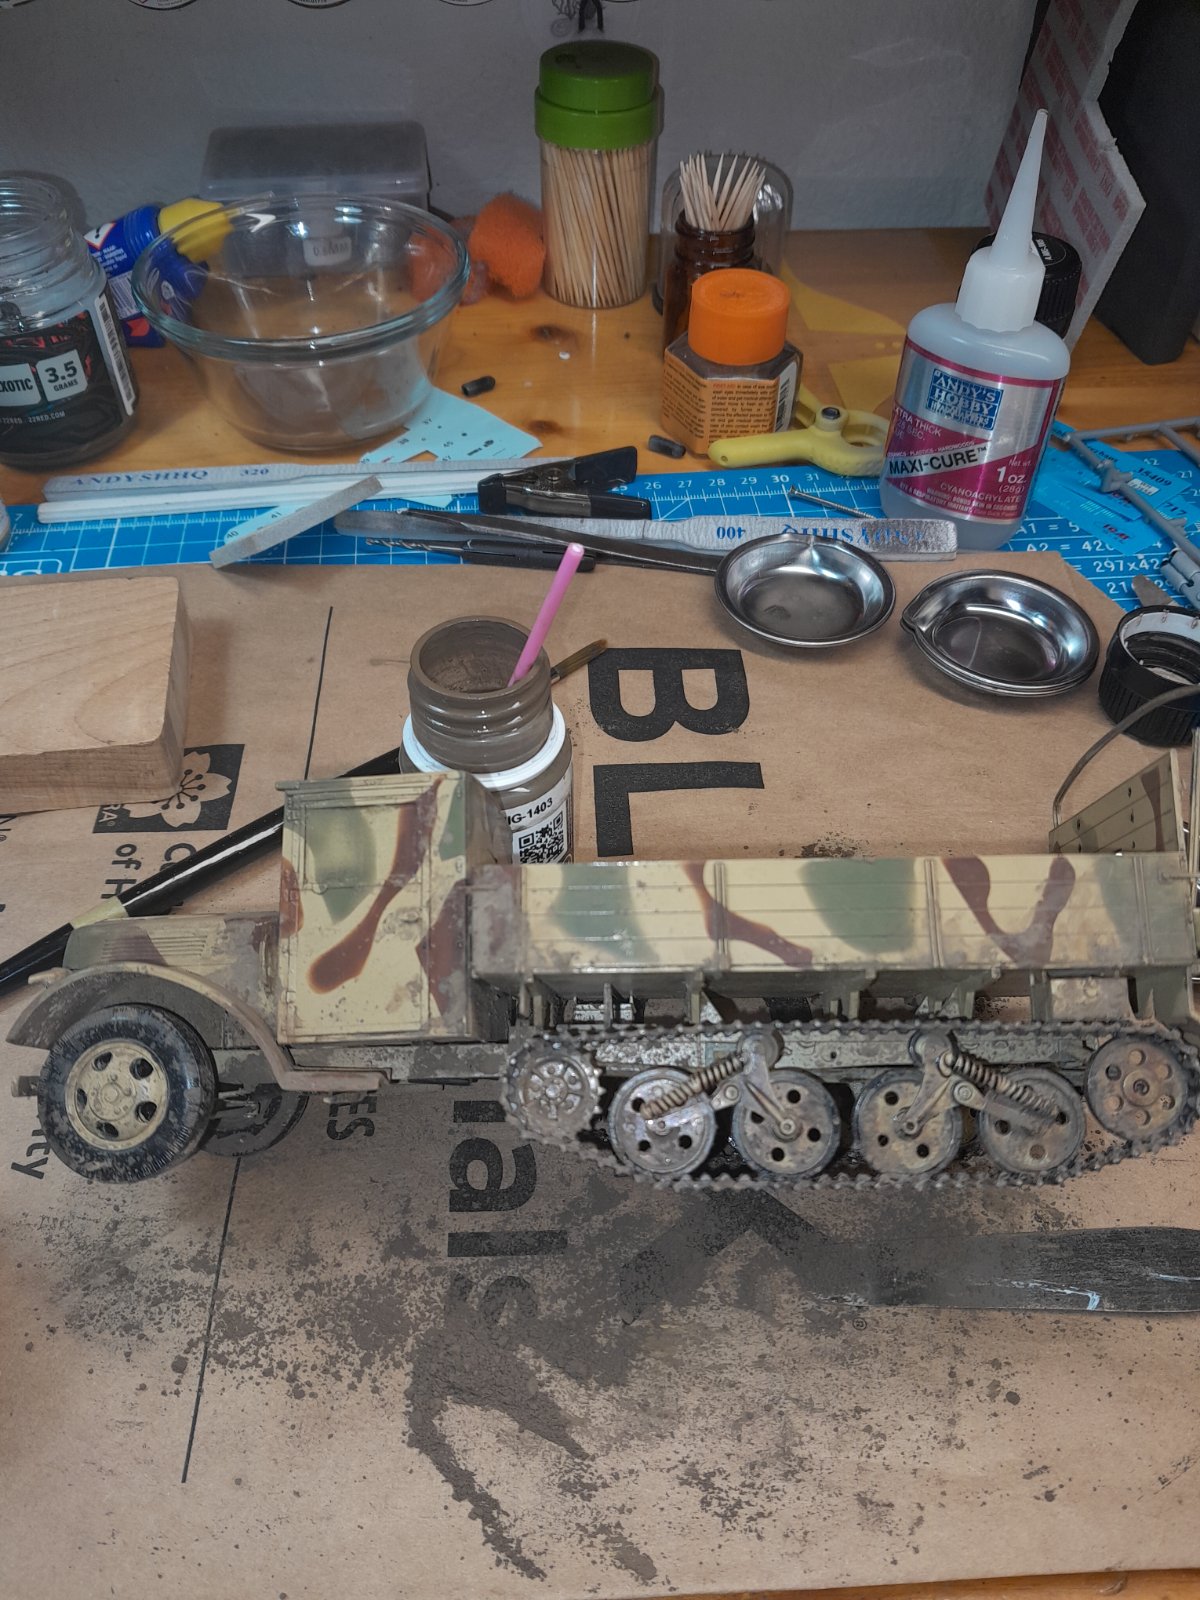
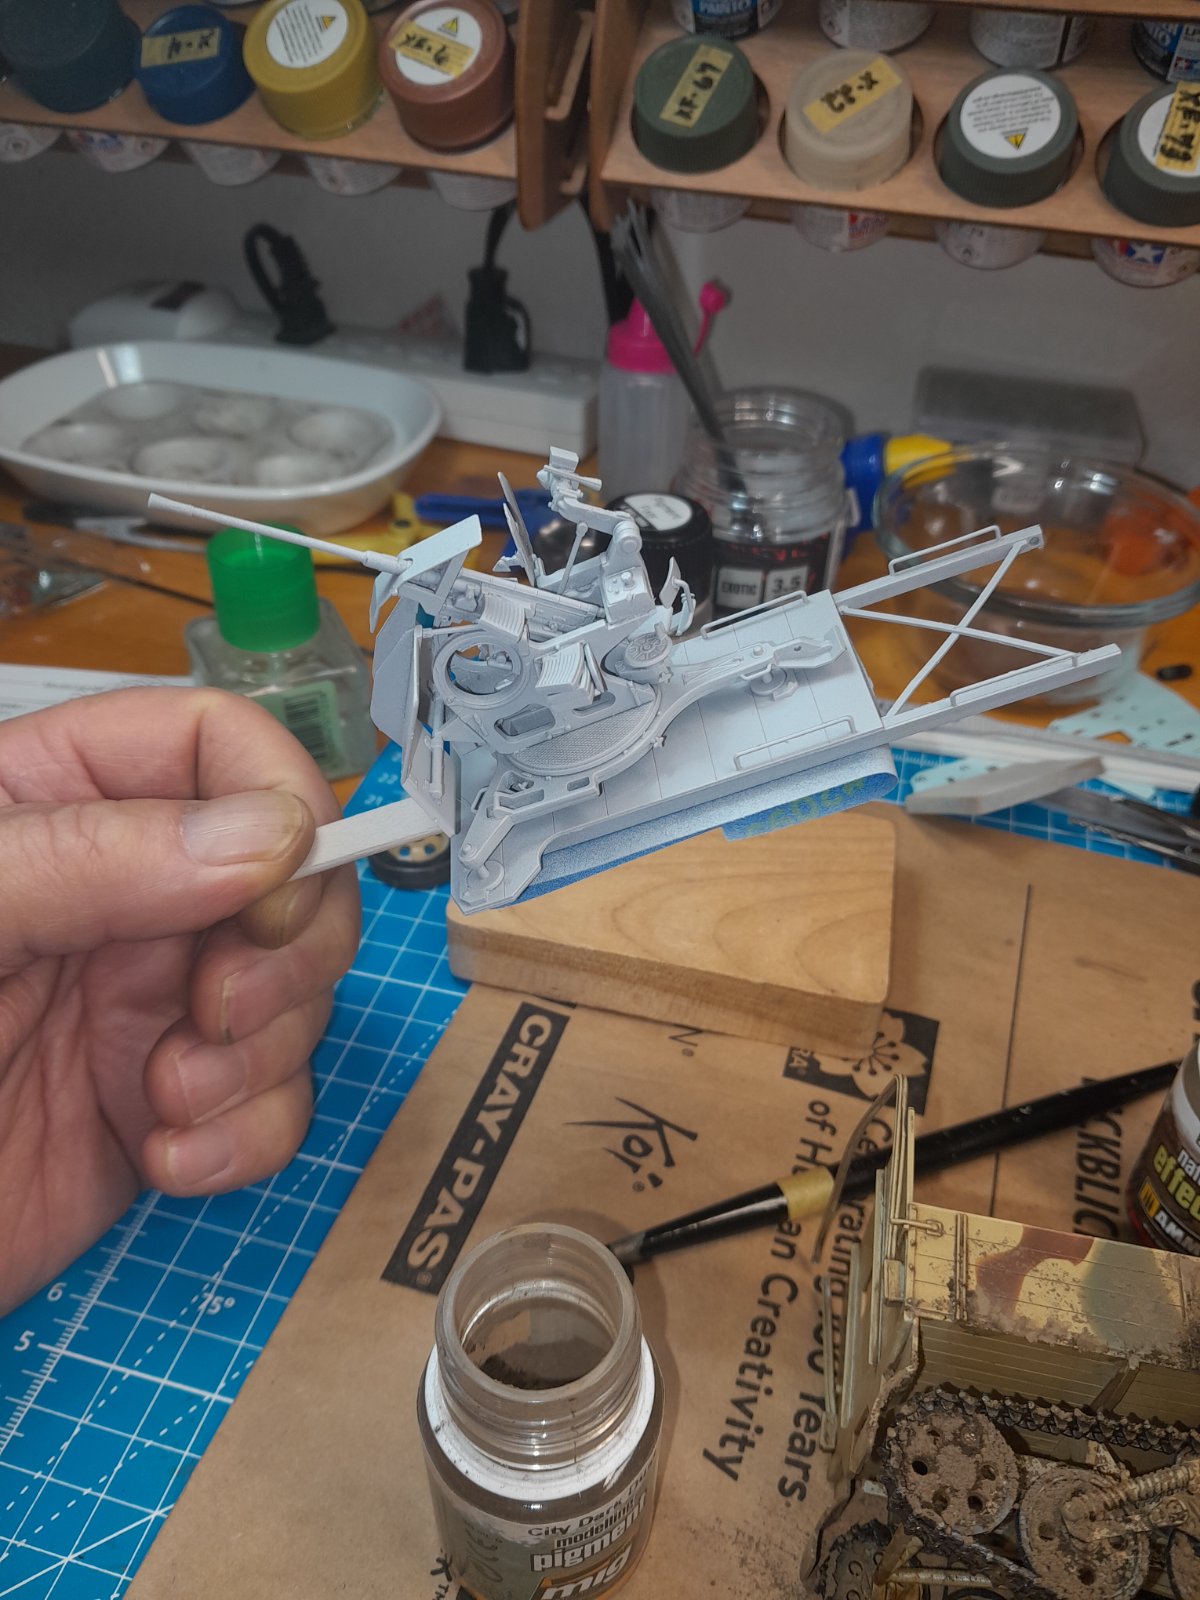

Nothing screams fun more than slinging mud everywhere.... PMI don't know what the hell I'm doing, but it sure is fun playing in the mud..
View attachment 173078
View attachment 173079
View attachment 173080
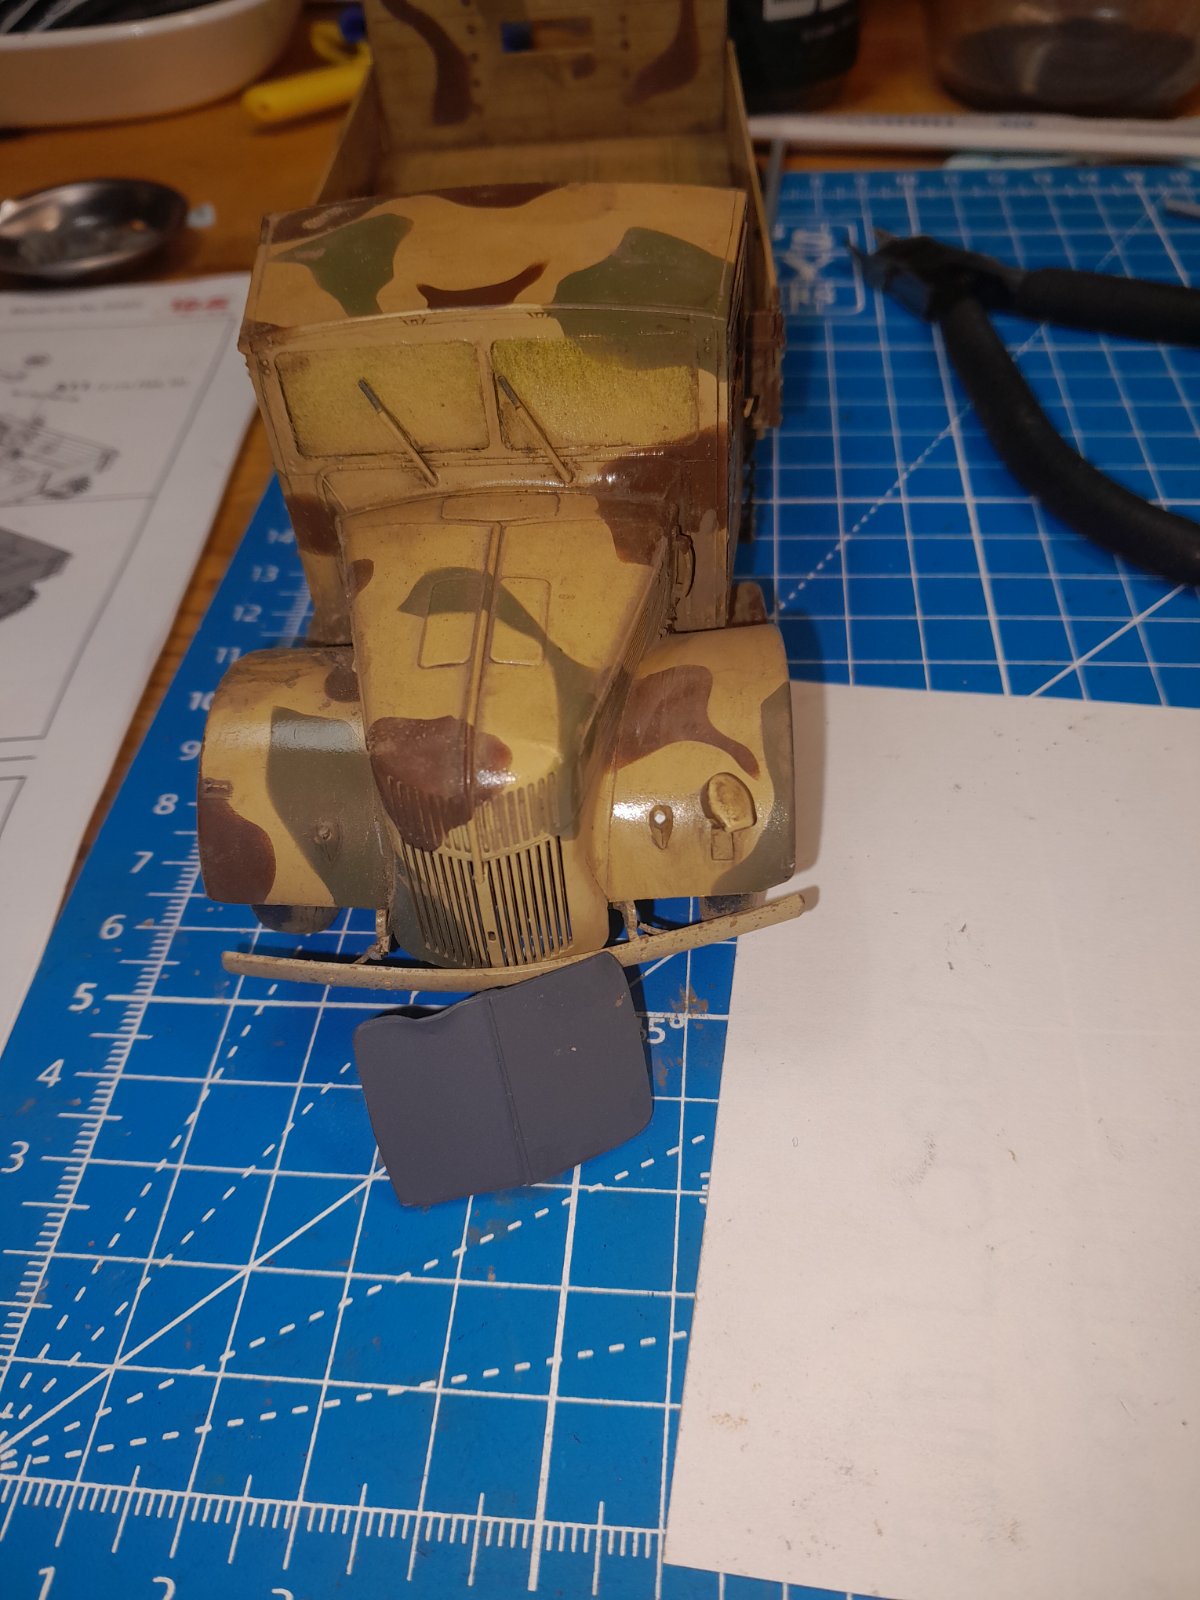
Ah yes, the old "headboard of the truck is on the tailgate and the tailgate is next to the cab trick!"headboard of the truck is on the tailgate

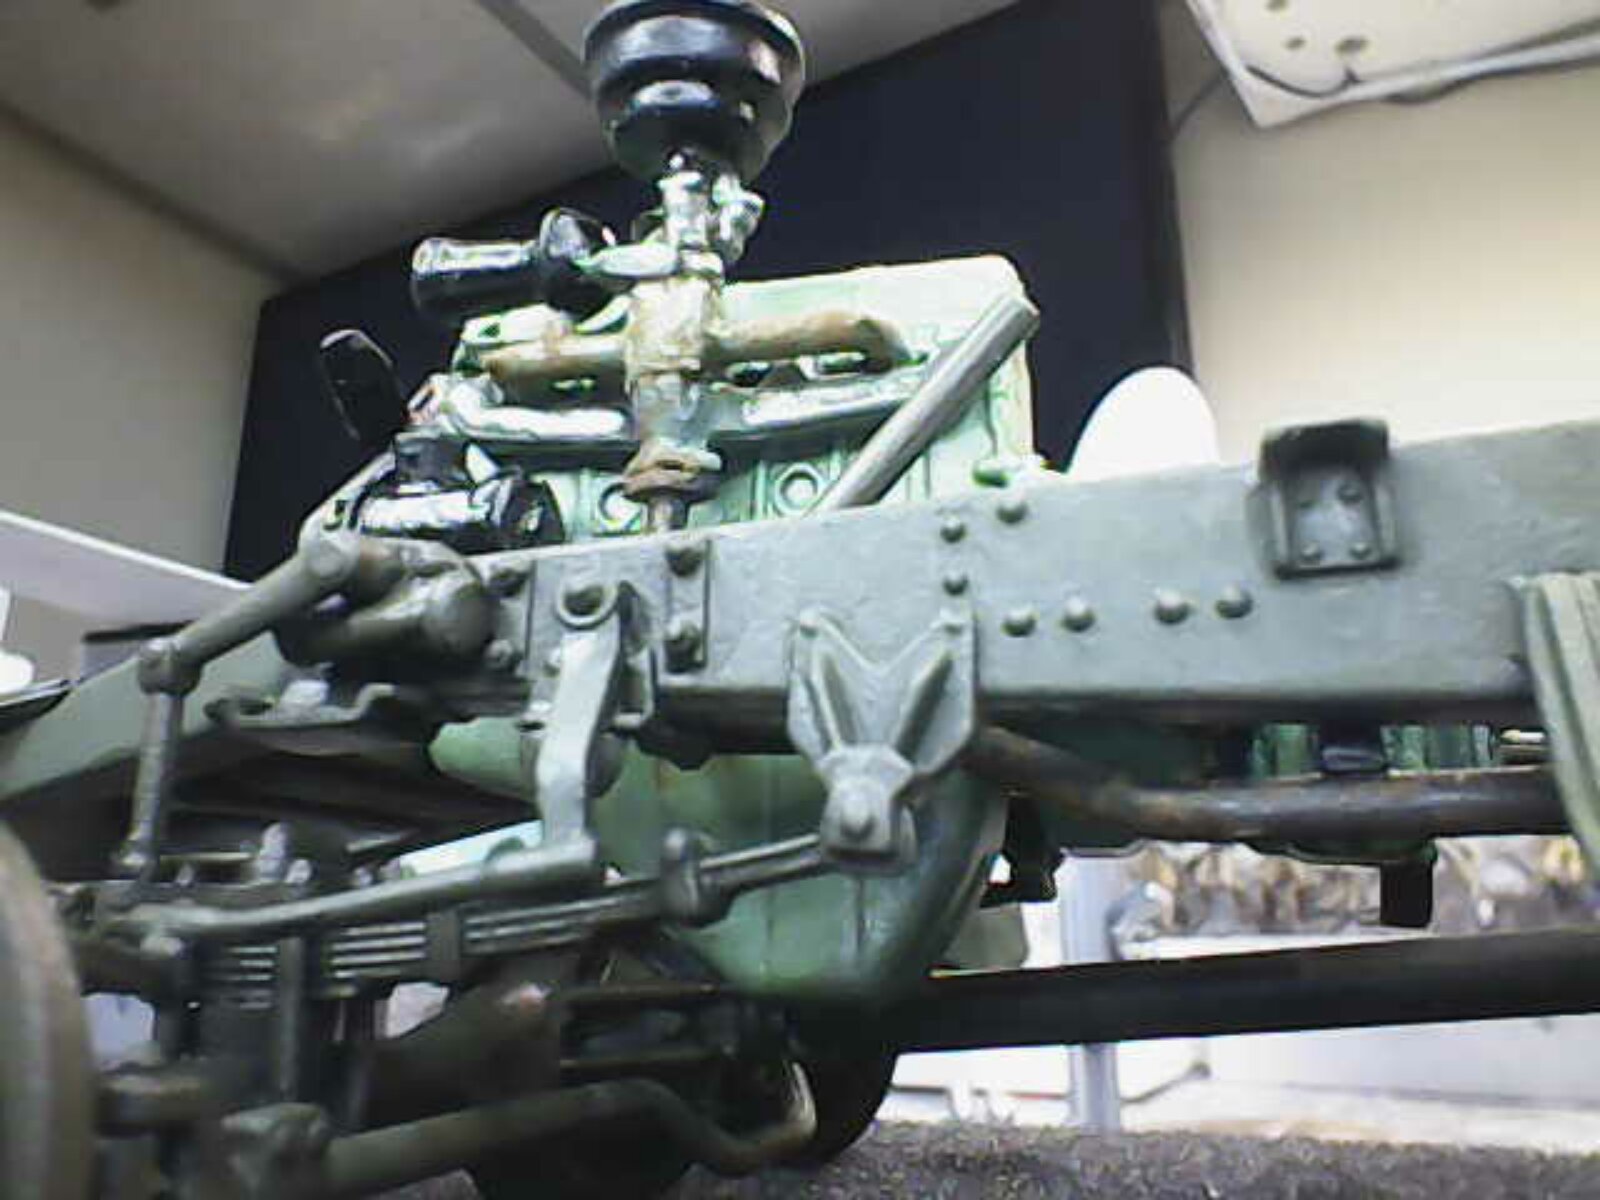
done done that too...glued it the wrong way on the chassis

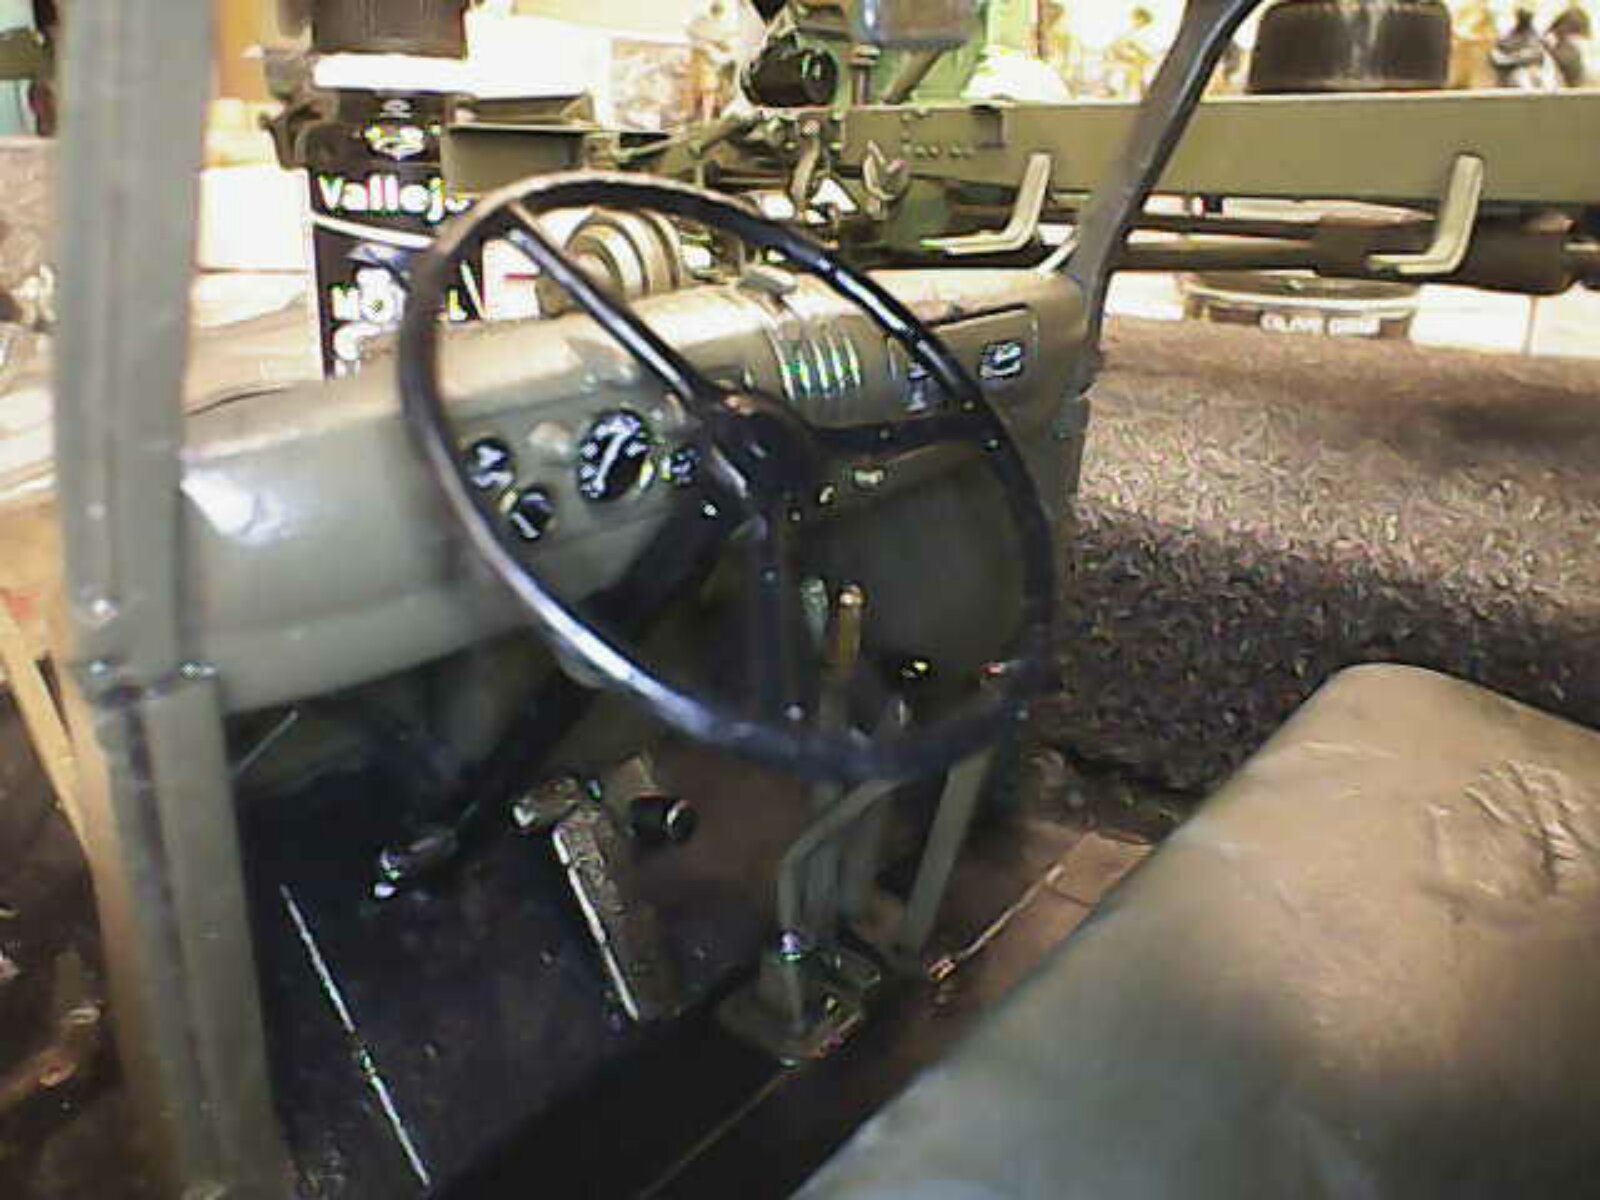
You can sure tell you've done truck cabs once or twiceStarting to look like a cab!
View attachment 173124
The pics aren't very high resolution, but they do have that real life walk-around feel.
I like it!
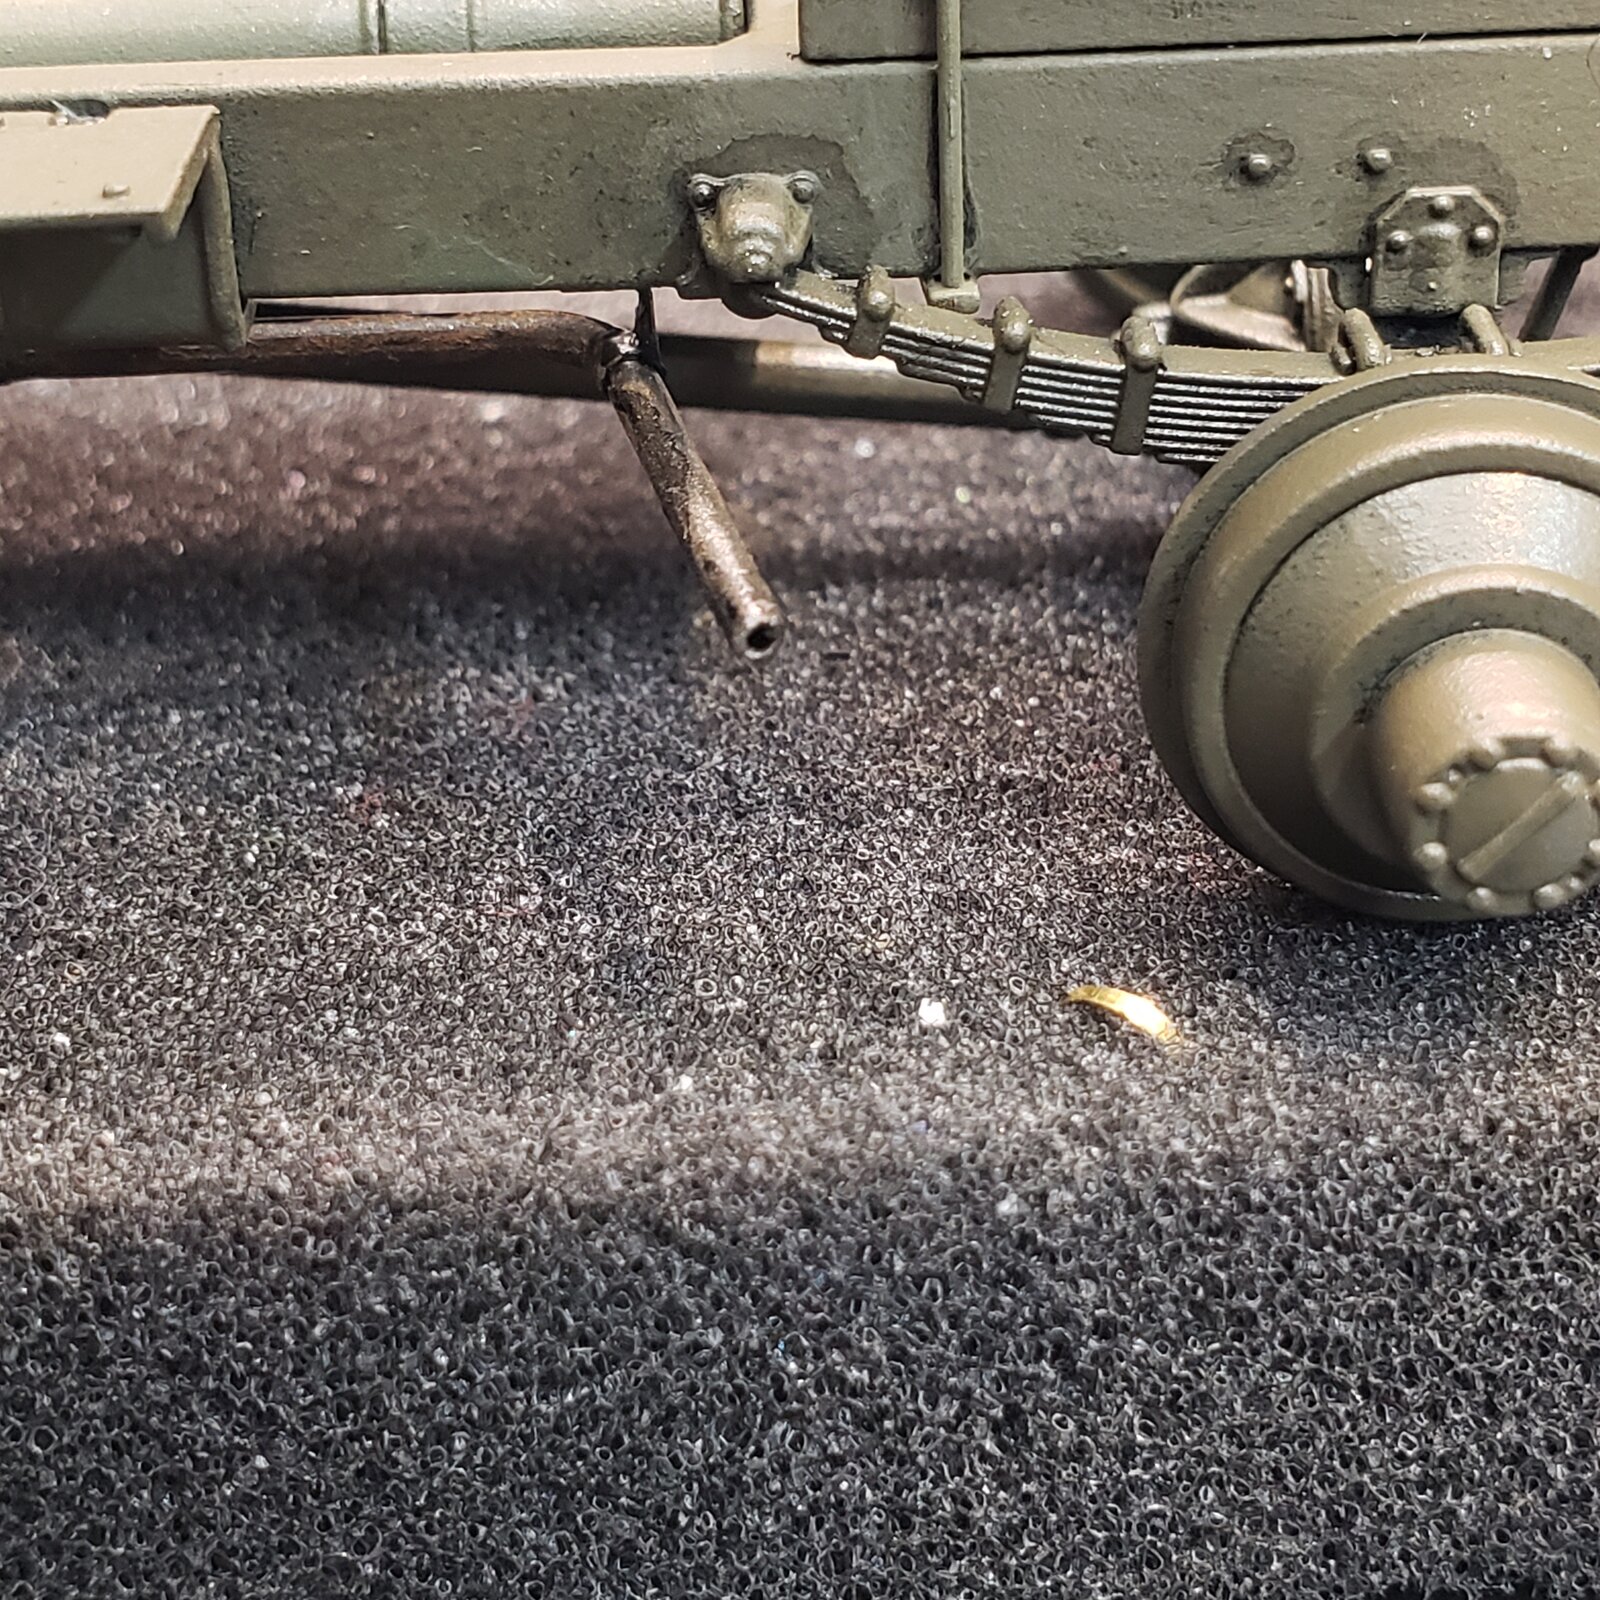
...don't you hate that double jeopardy, nailed for doing it wrong, and for doing it right!glued too darn good


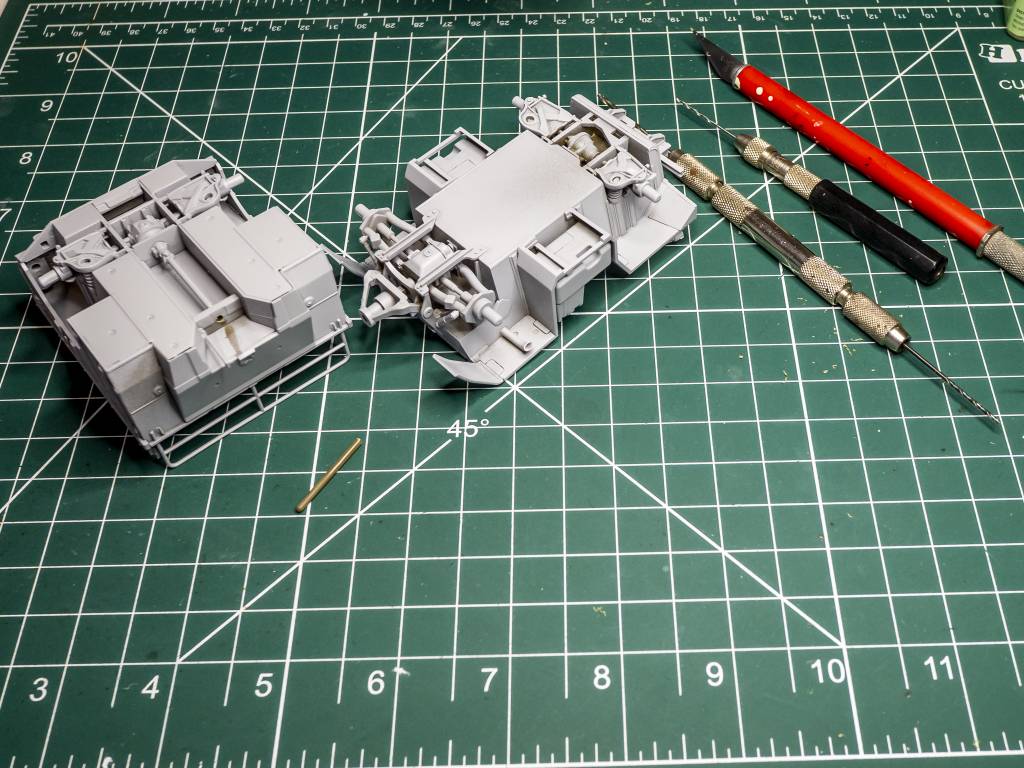
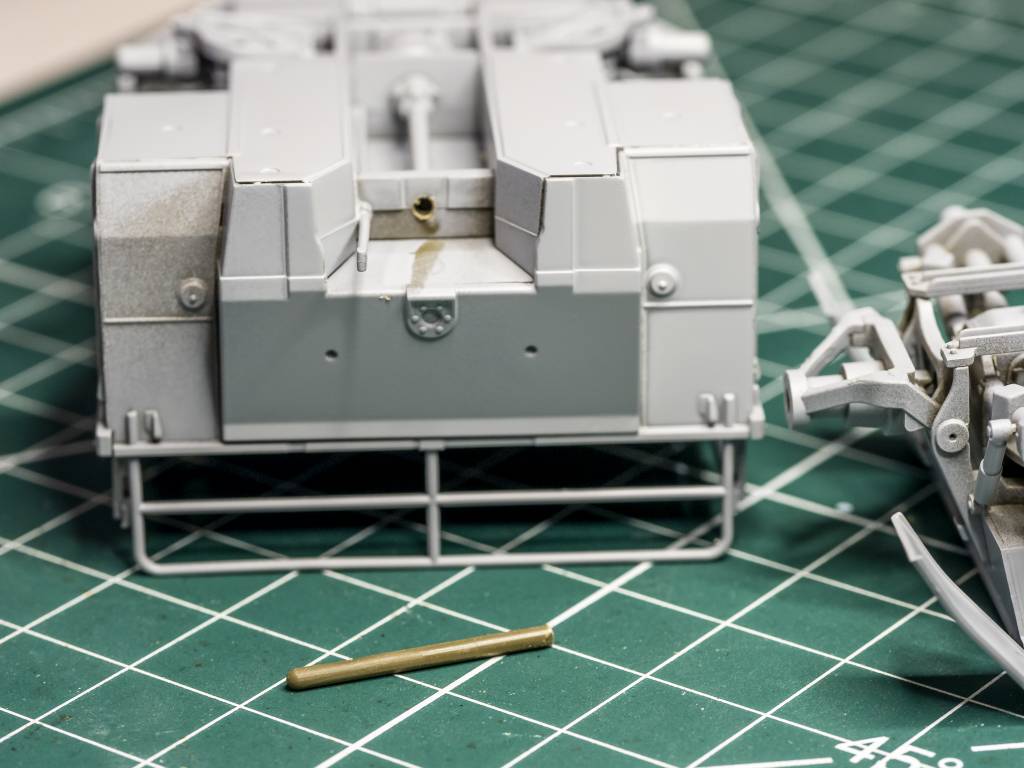
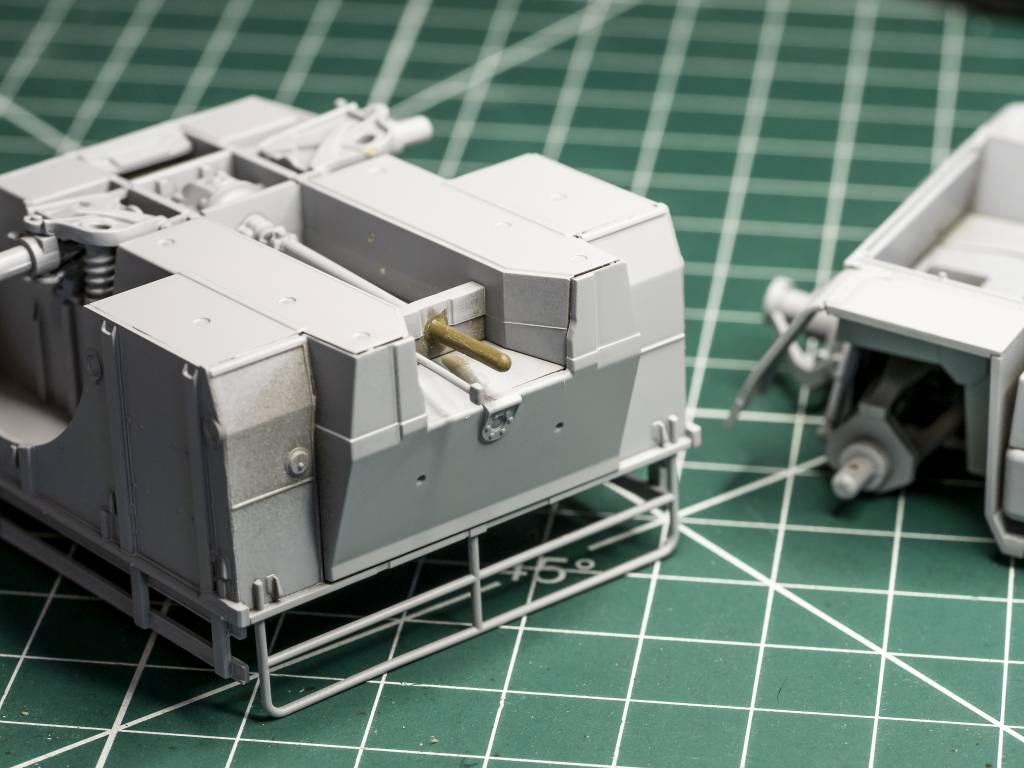

Nice save!Very solid
The worst part is I had to tell everyone that I screwed up. It's not like I cut off the Pilot's legs to fit him in the cockpit. Sorry Doug Bader, but you're going to fit in the cockpit so the other legs got to go....don't you hate that double jeopardy, nailed for doing it wrong, and for doing it right!
With the cargo attracting eyes, the bed will go unnoticed.
 . Don't worry. No one will see it
I've done that with tape. Sorry late response. It looks good.I like it. Especially the mud on the windshield because it gave me an idea. I might make mine look like I tried to use the windshield wipers to clear the mud
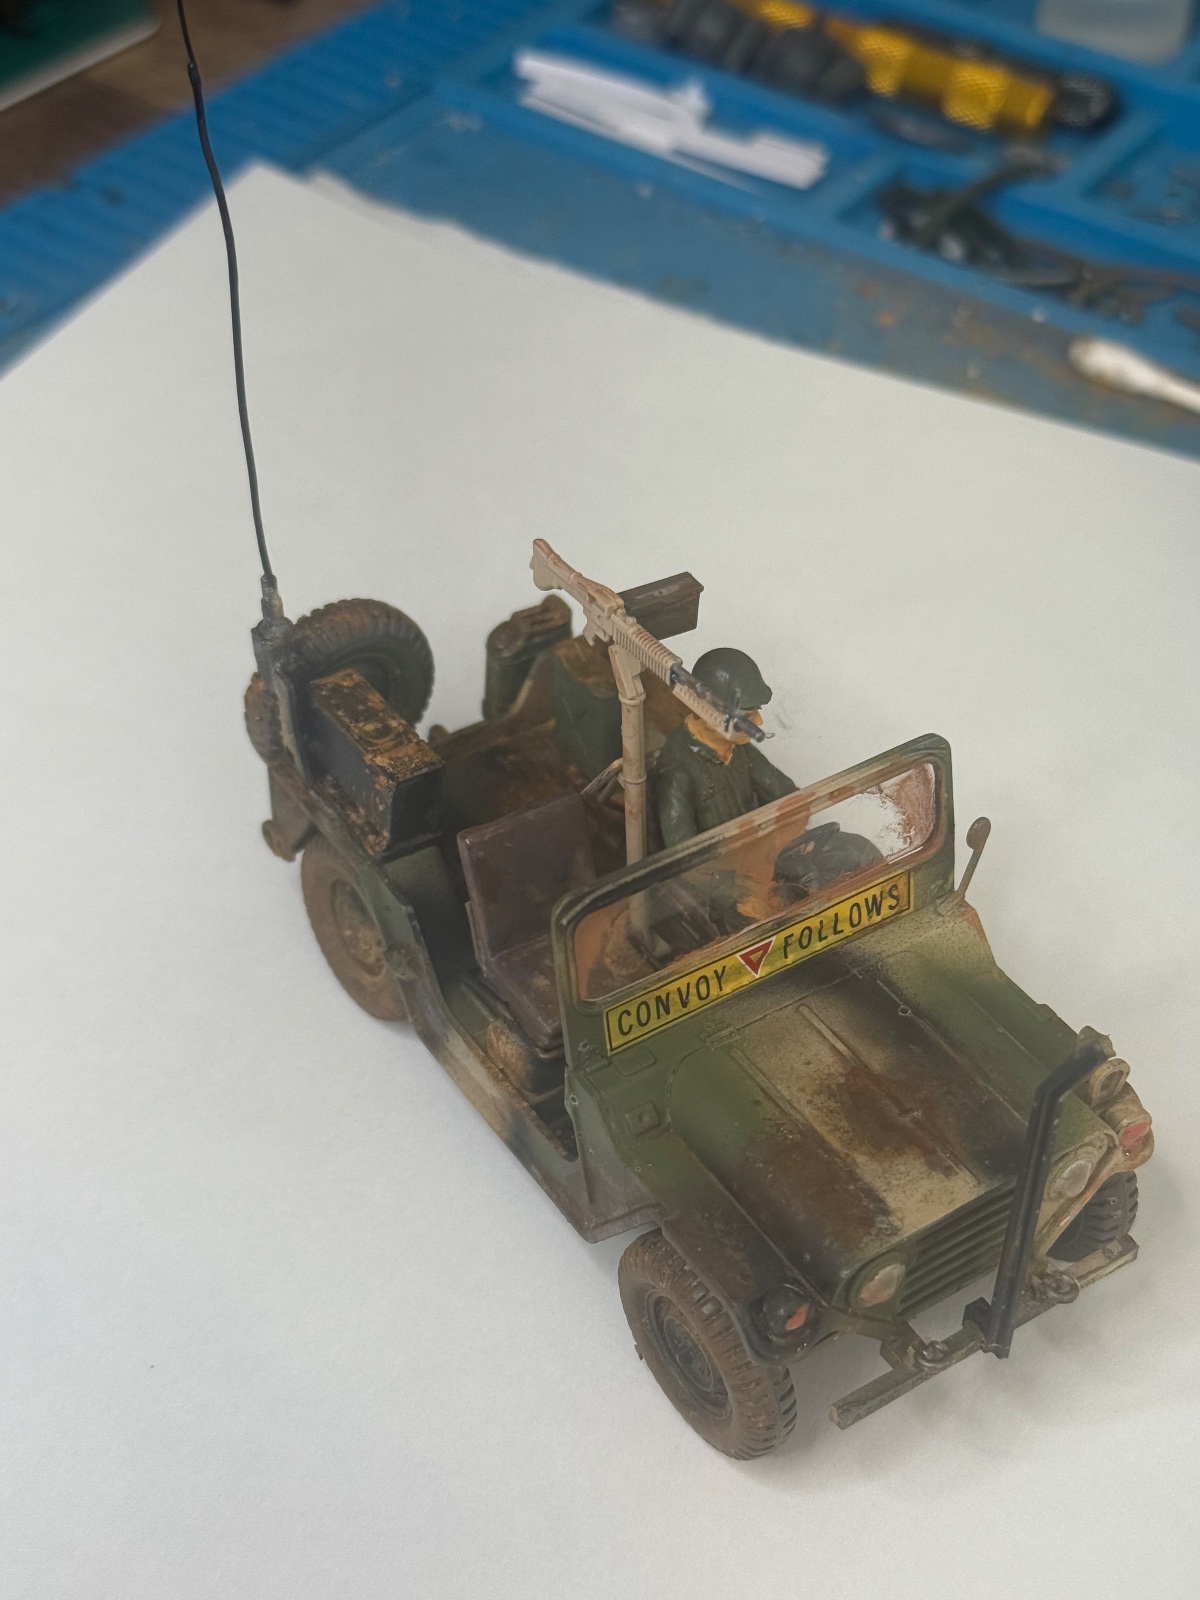
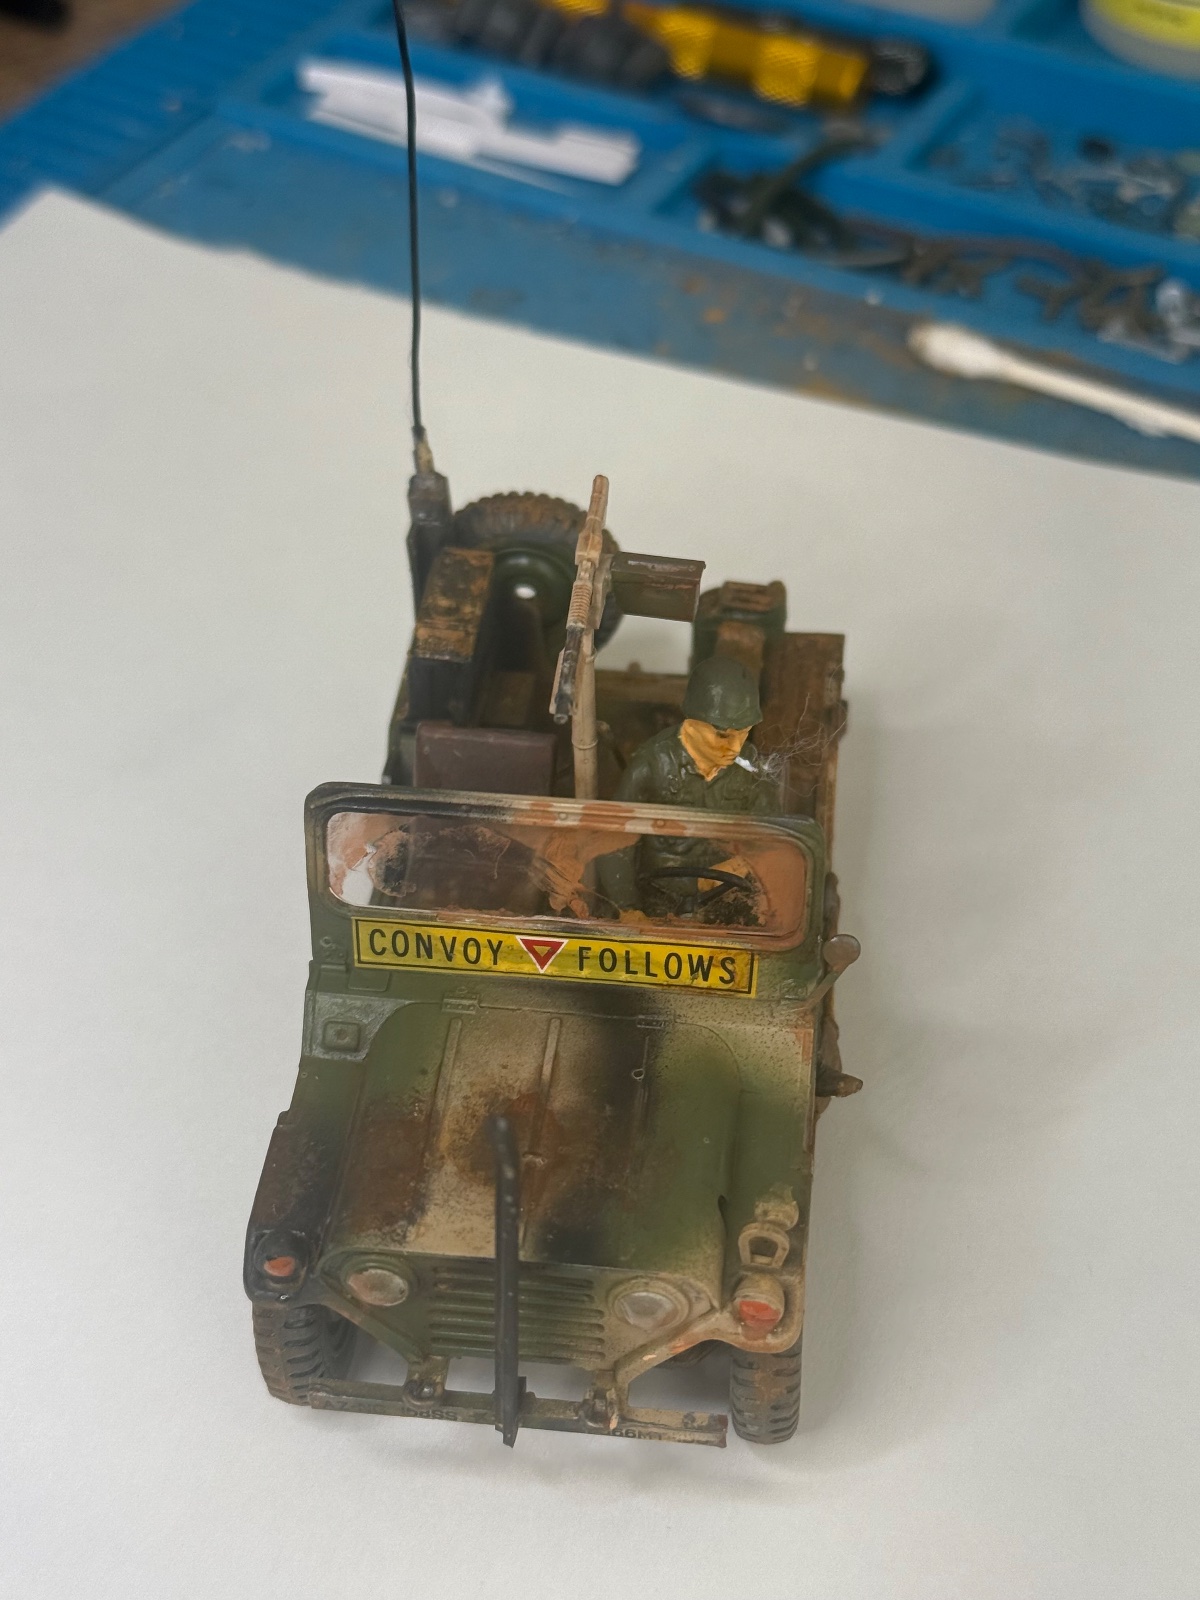
Looks good!Well I am pretty much done. I tried a new way of doing my mud, I did not want to overwhelm the model but wanted realistic looks. I think turned out ok.
I ran into an issue with the guy so need a different head. For some reason no matter what I do I cannot get paint to adhere to it.
I may do a few more small things but I think overall done here. What you guys think? Ok? View attachment 172901View attachment 172902View attachment 172903View attachment 172904
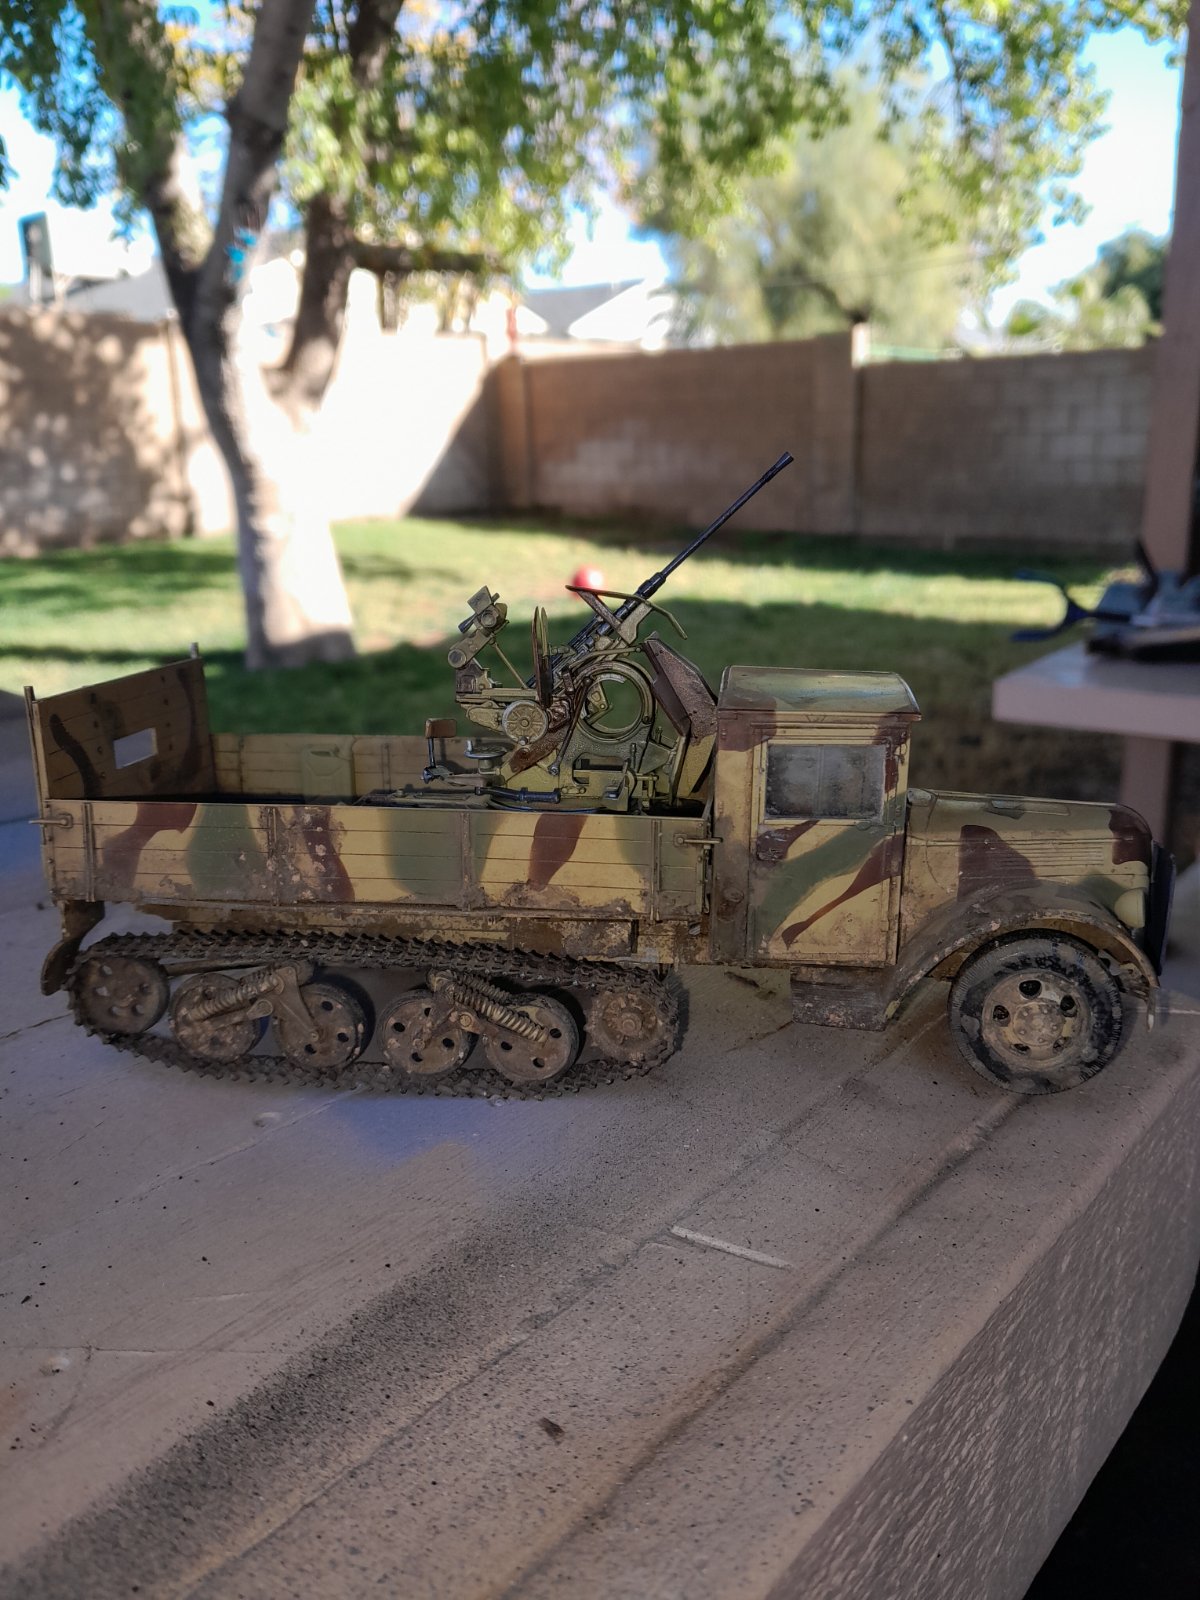
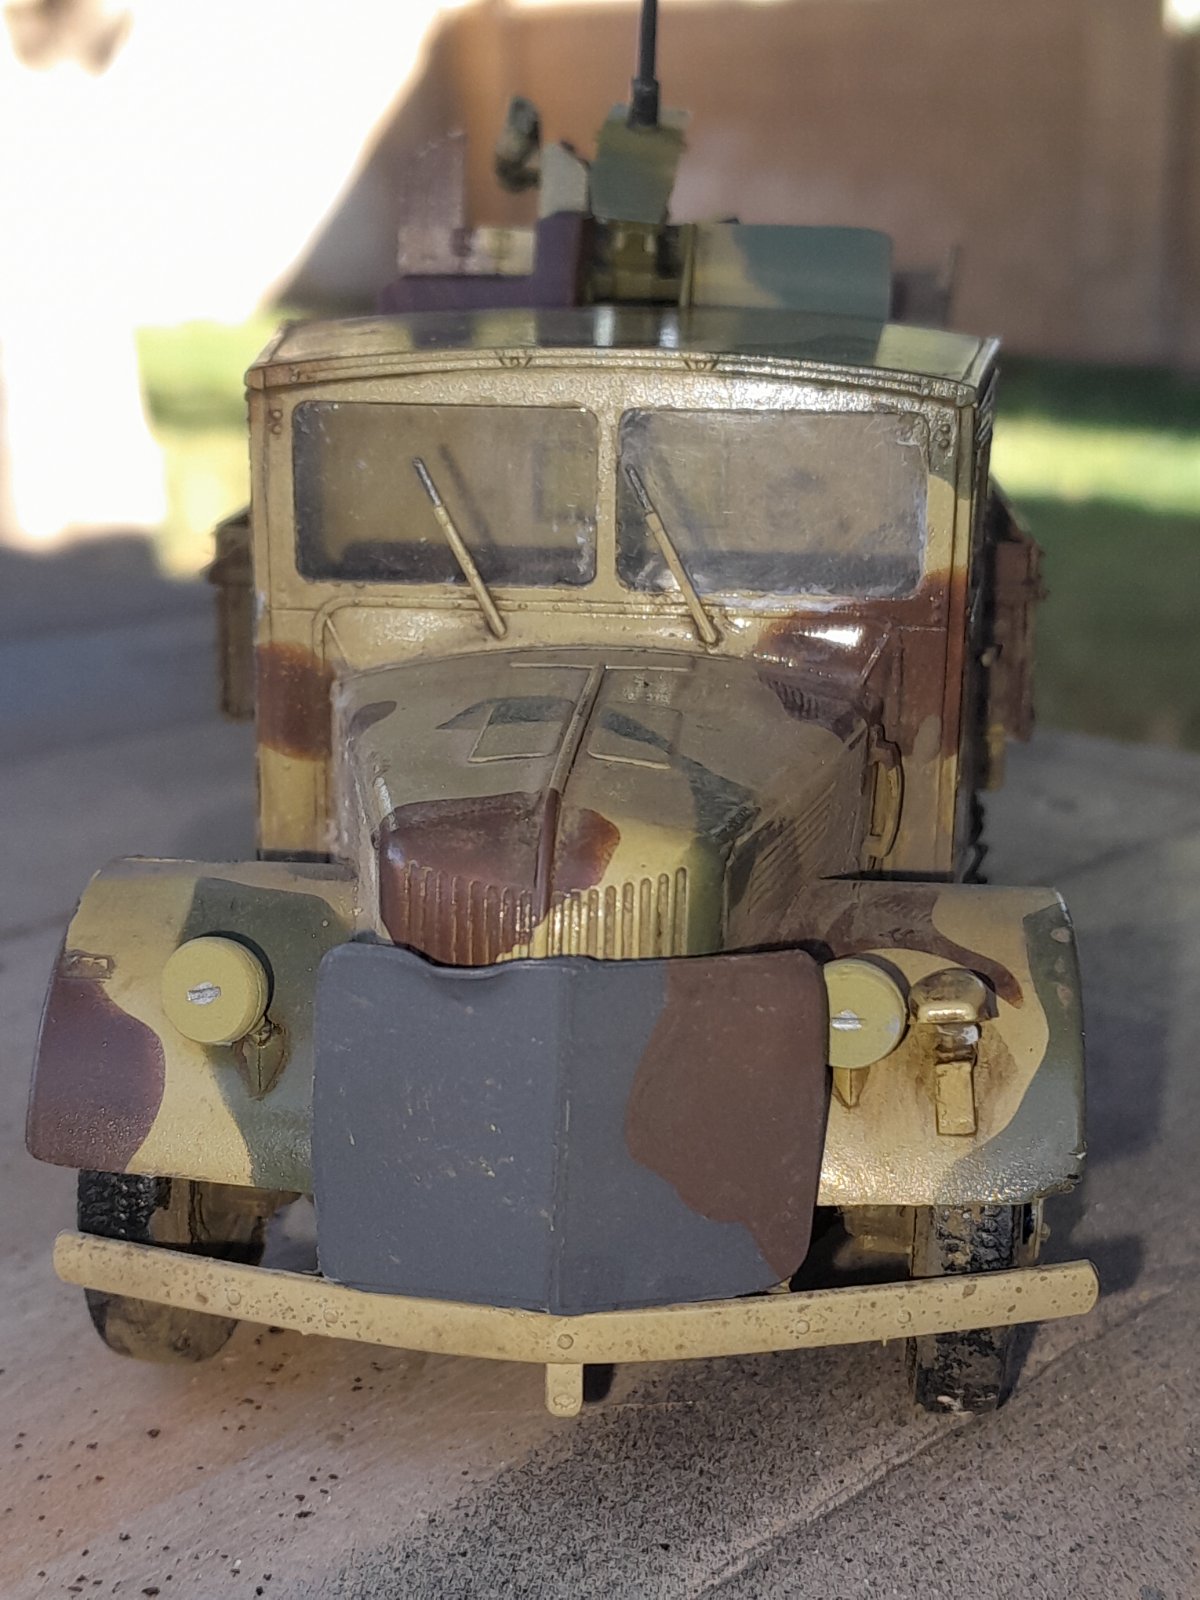
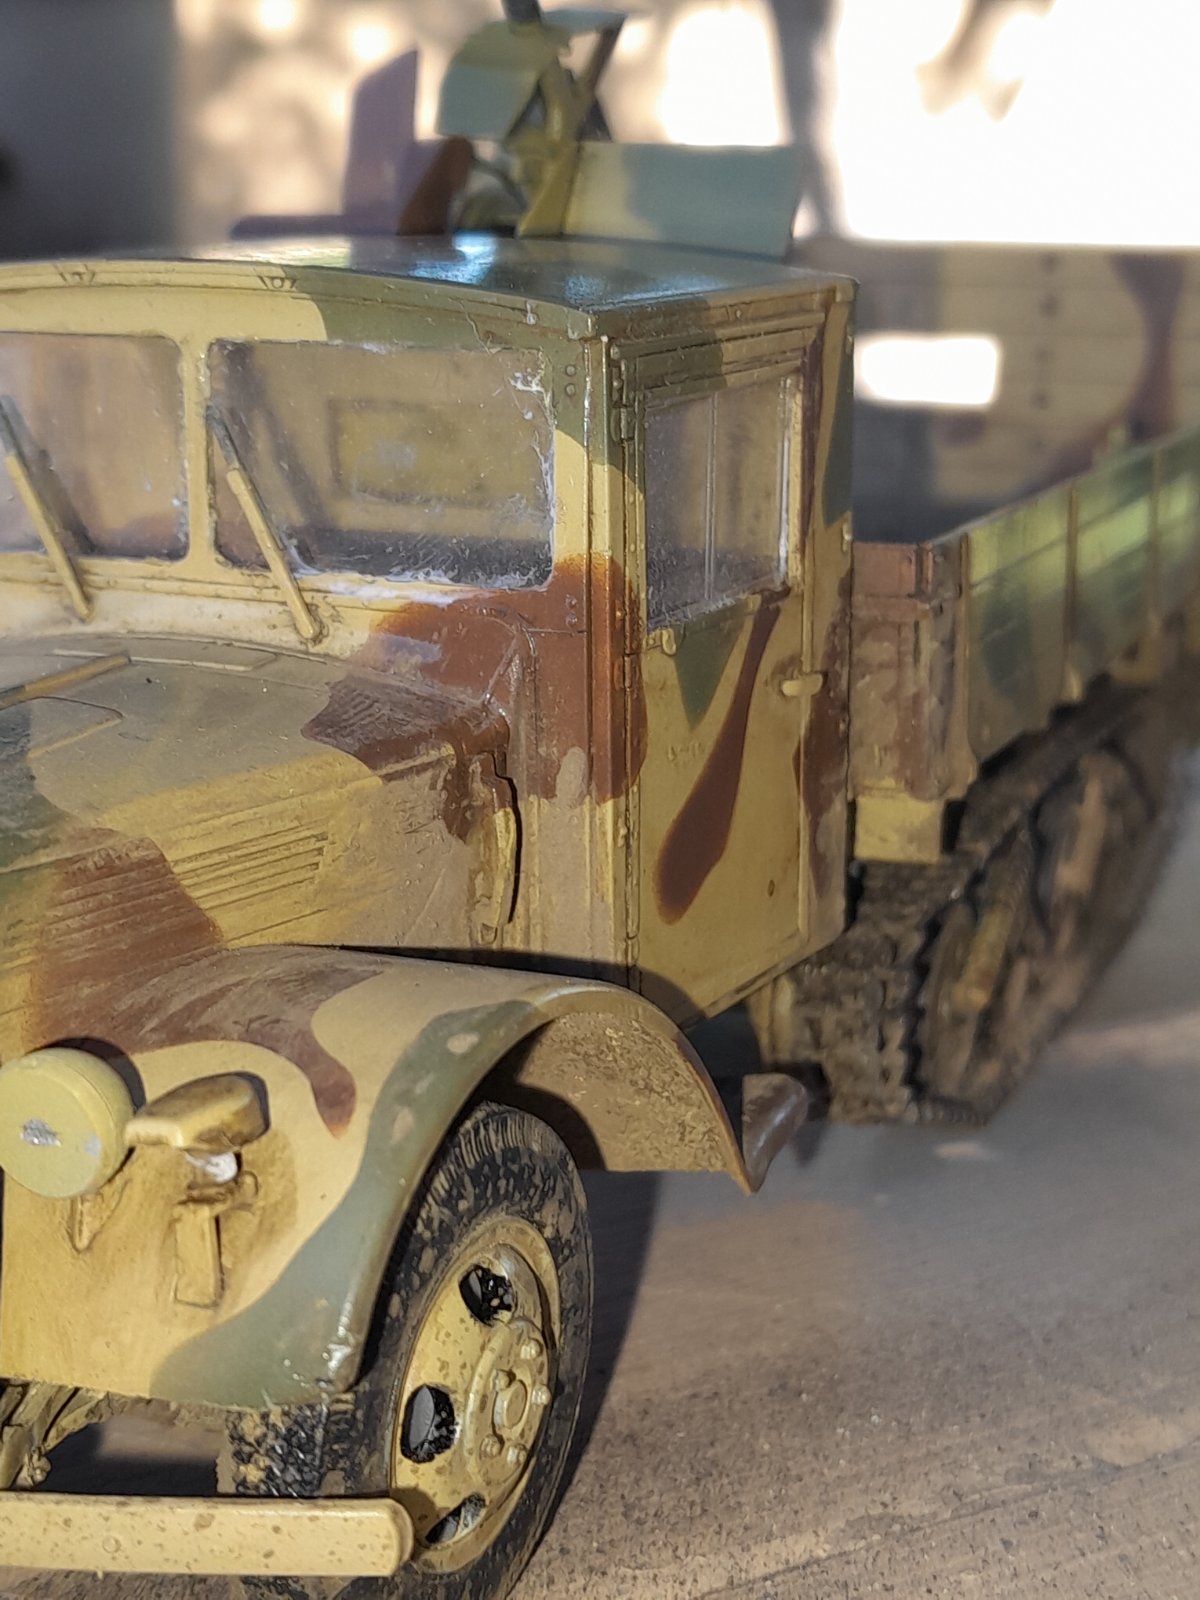
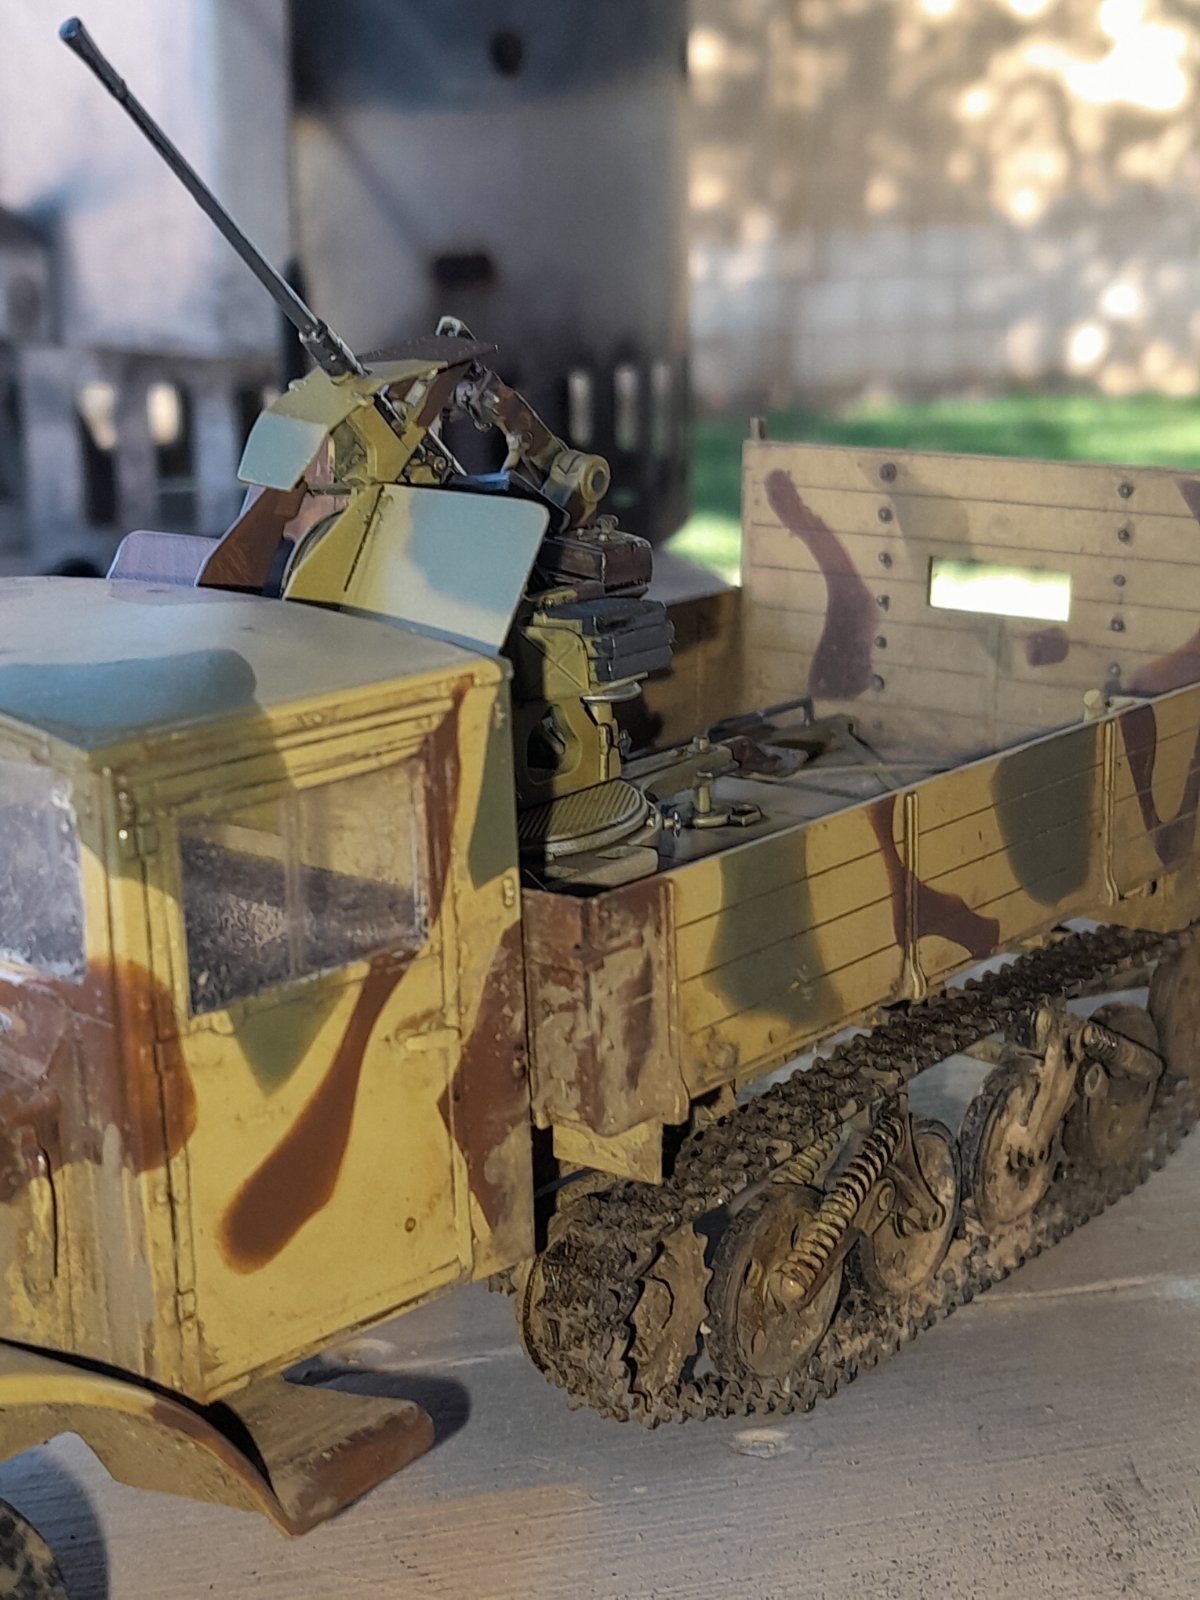
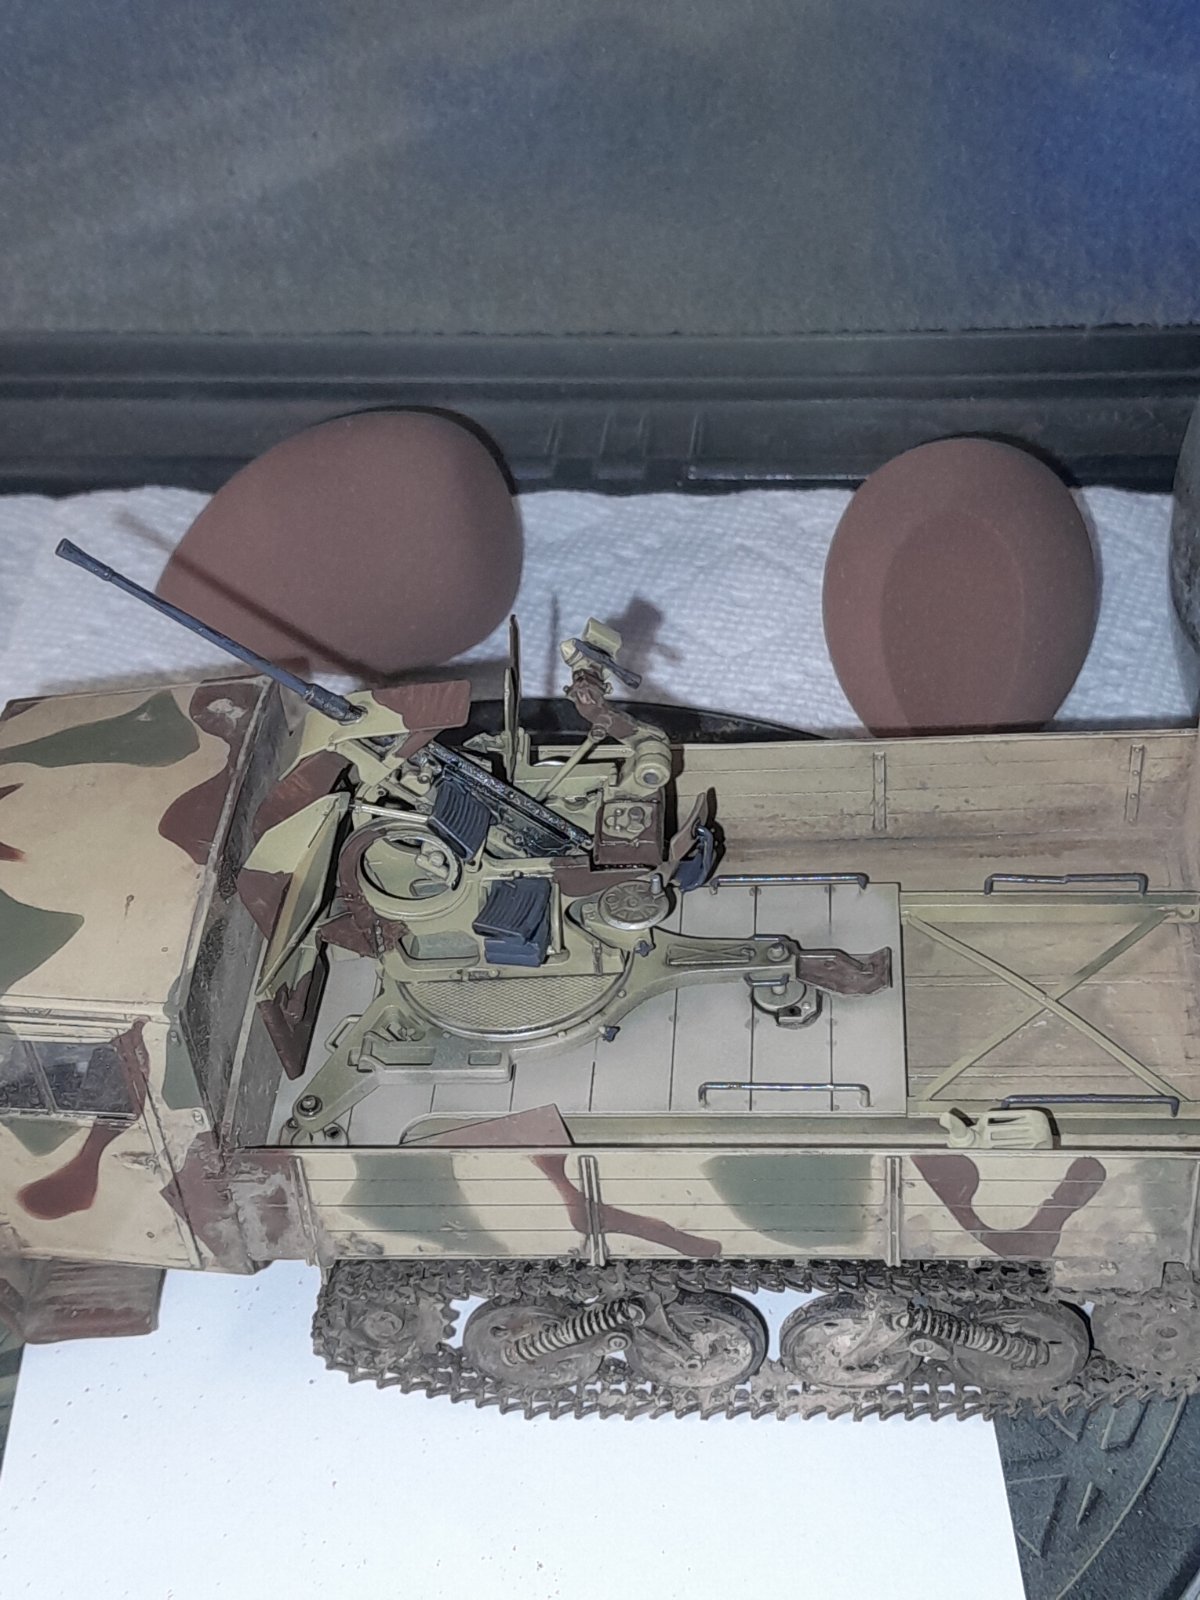
Great build, looks good in the sunshine. Did you airbrush the camo or hand paint? PanthermanJeep looks great! Here's mine. I'm done. Lots of mistakes. Windows look like crap, the headboard is on the tailgate. I am kind of happy with the Flak Hammer. I didn't really dirty it up but I found that the more I do this modeling the more I can handle the small bits. I'm not a great photographer so forewarned
View attachment 173357
View attachment 173358
View attachment 173359
View attachment 173360
View attachment 173361
Nice! Gotta love a halftrack, and the weathering looks great. The flak gun gives 'cargo' teeth!I'm done
Nice. PMThanks Panther man. The camo is all airbrush except the weapon. On the weapon I airbrushed the base coat and then brushed the brown which I shouldn't have because you can see the stroke marks in it because I didn't give it a second coat. The green on the weapon is airbrushed


![Pampers Sensitive Baby Wipes, Clinically Proven, Fragrance Free, Unscented, Water Based, Hypoallergenic, Multi-Use, Hand Wipes 336 Wipes Total (6X Flip-Top Packs) [Packaging May Vary]](https://m.media-amazon.com/images/I/41KLBHu9CAL._SL500_.jpg)








