You are using an out of date browser. It may not display this or other websites correctly.
You should upgrade or use an alternative browser.
You should upgrade or use an alternative browser.
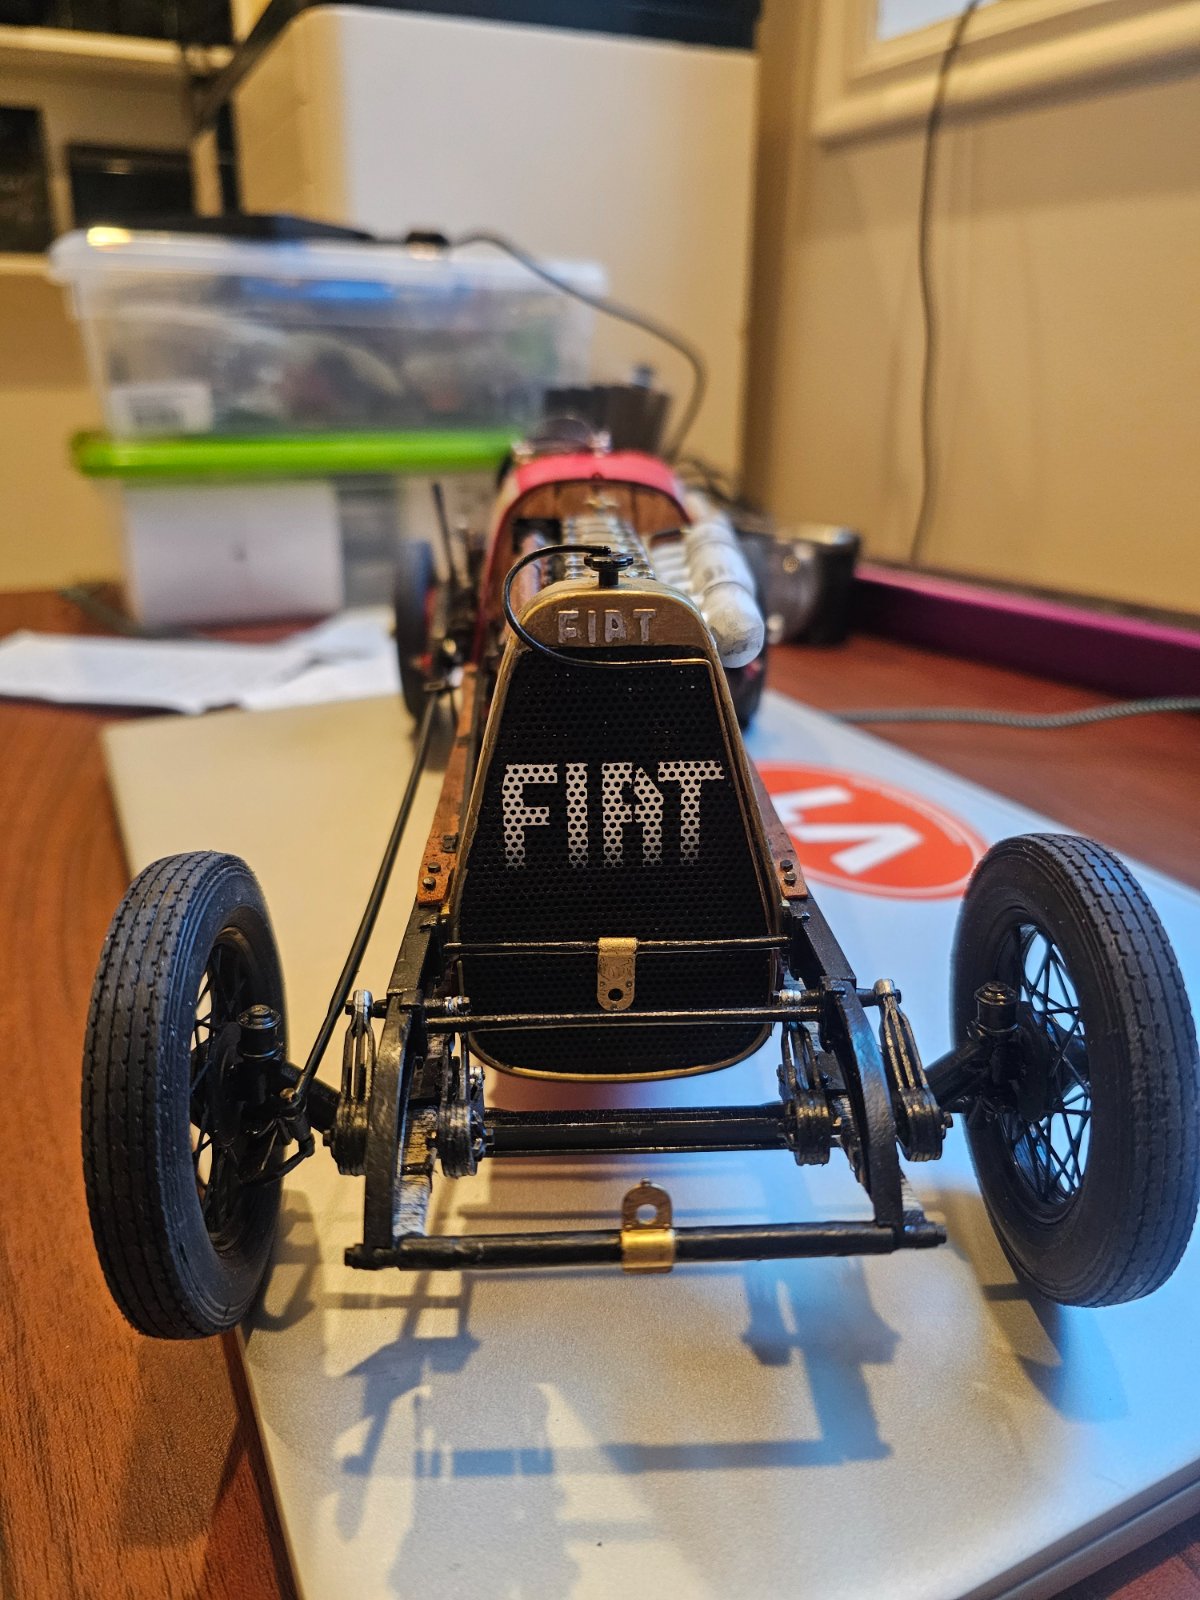
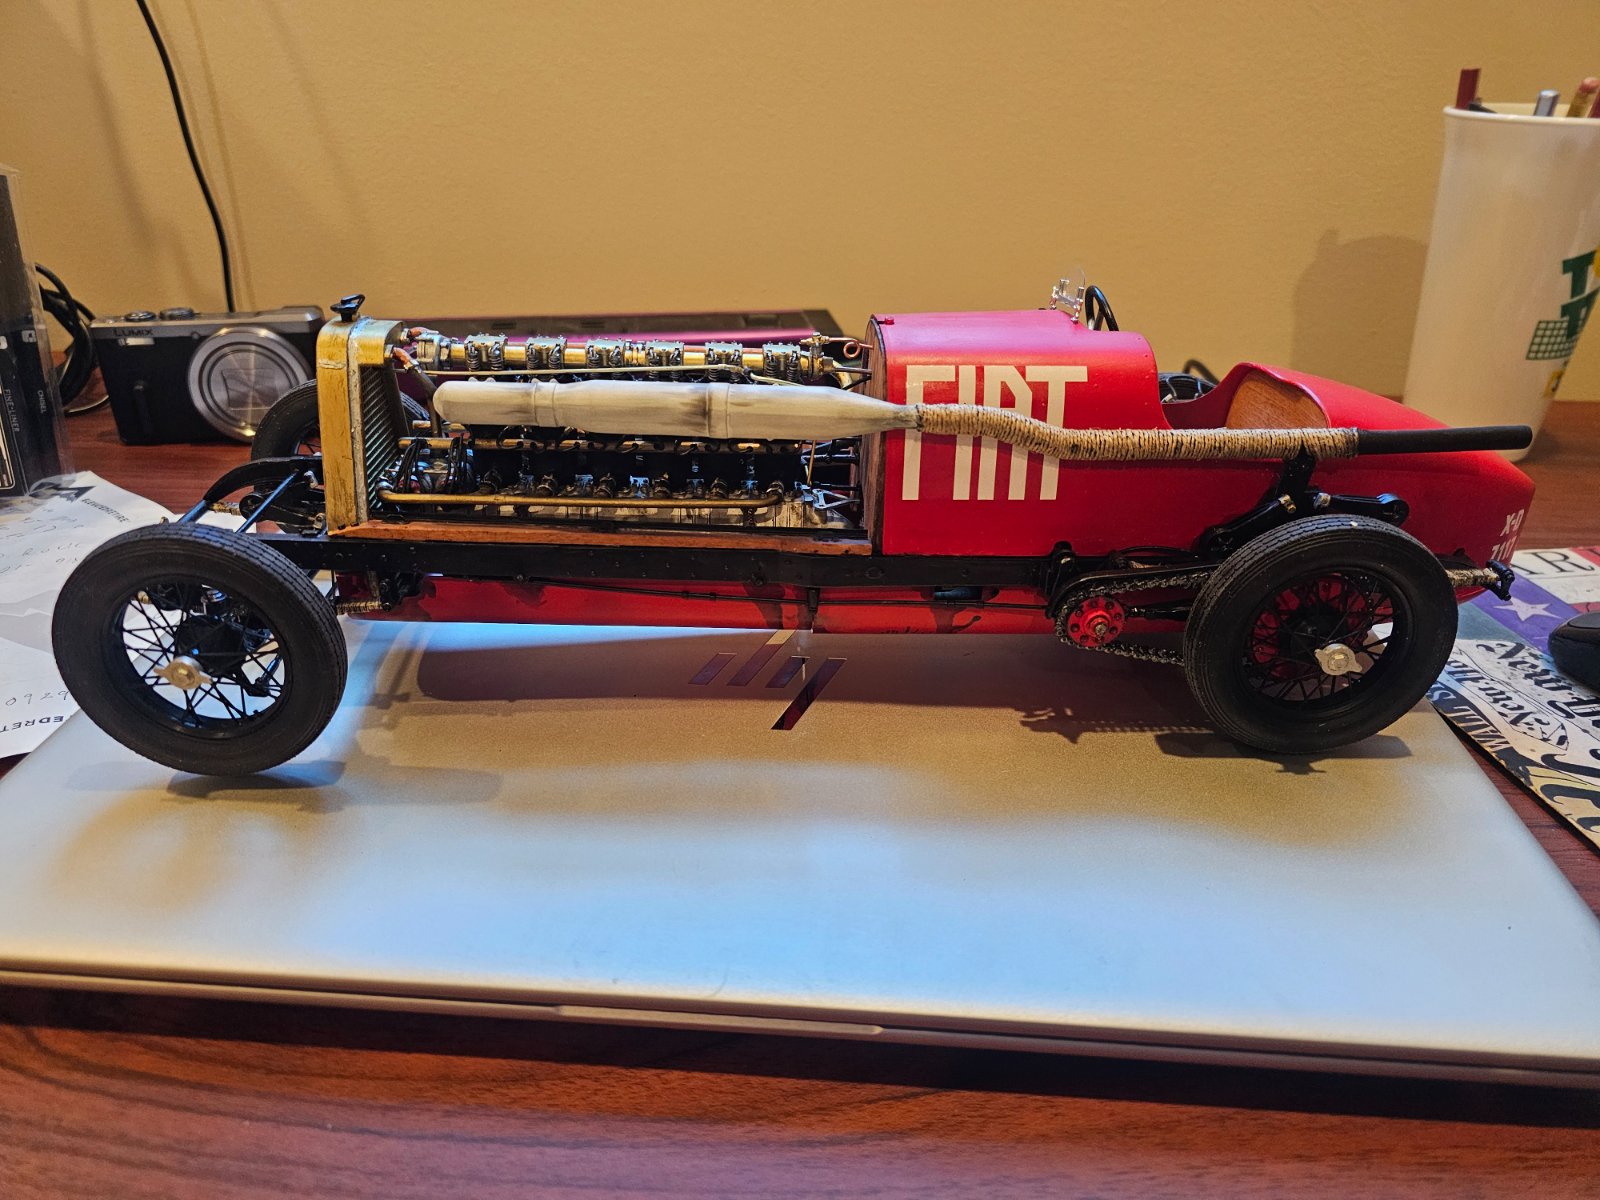
Back to building this monster
- Thread starter KINGSLUG
- Start date



mustang1989
Well-Known Member
- Joined
- Aug 6, 2022
- Messages
- 552
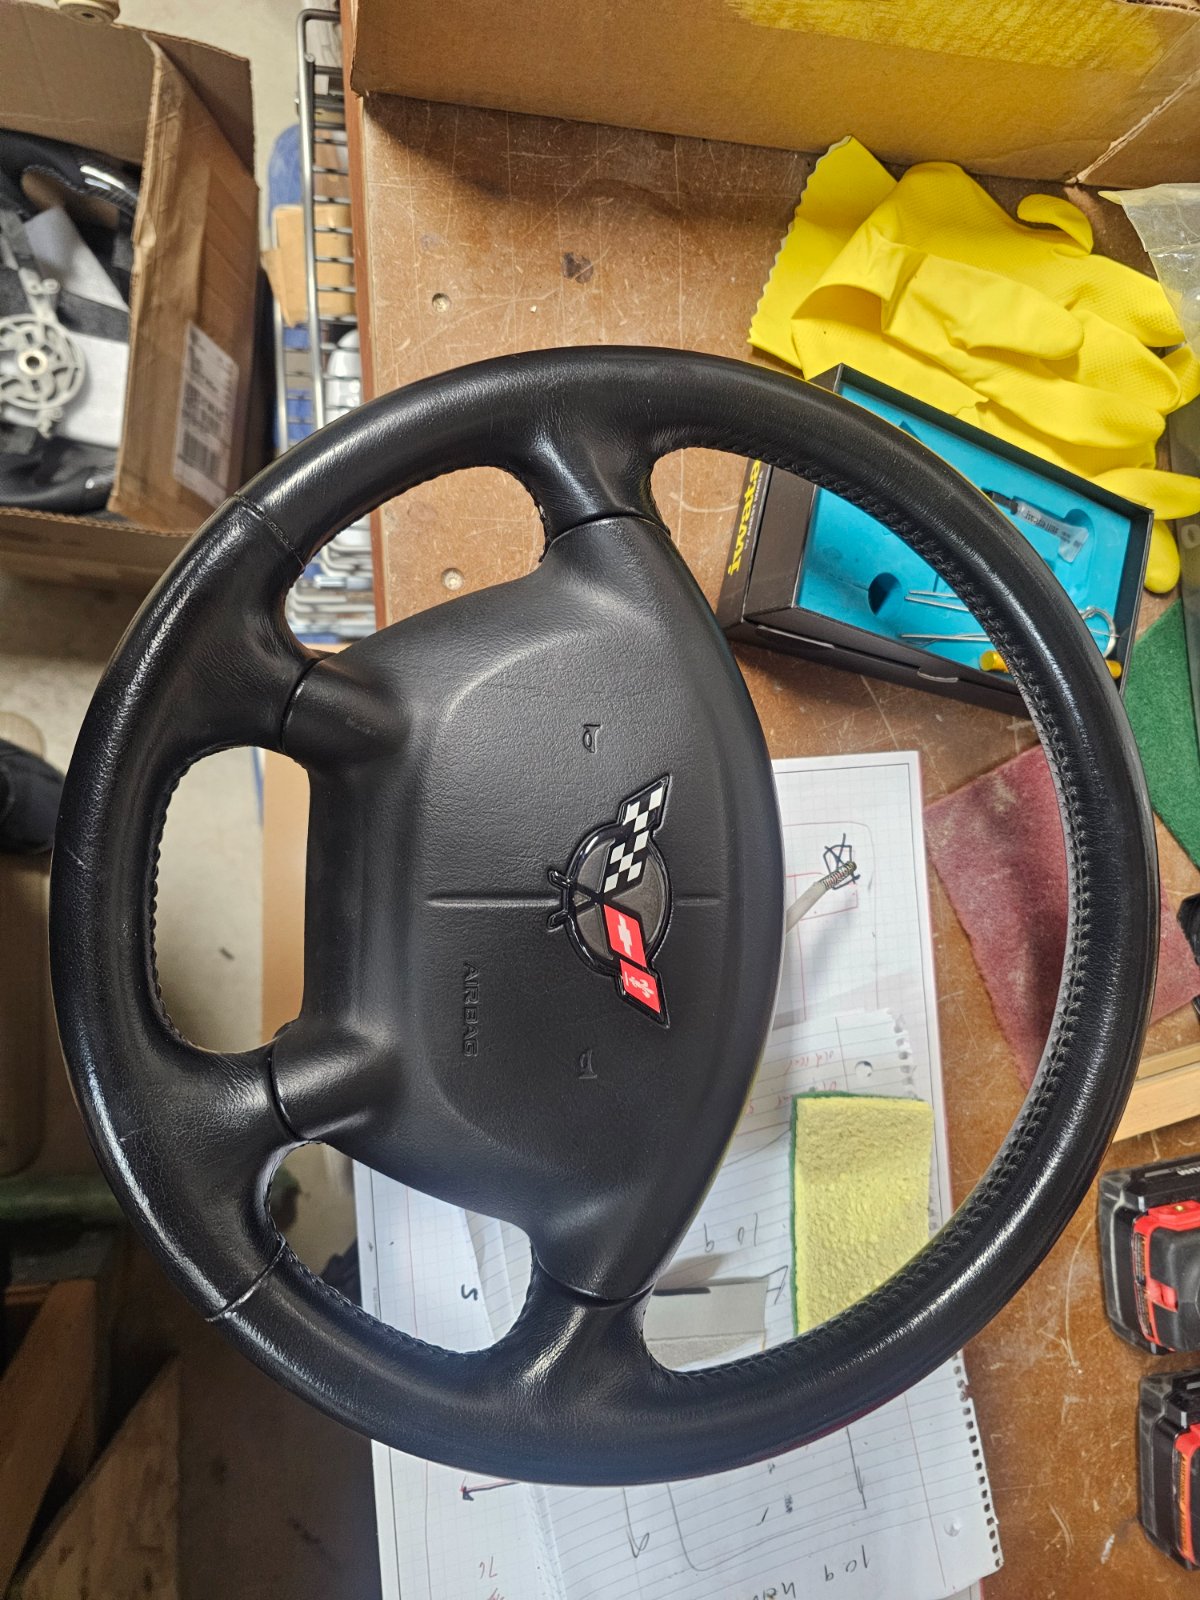
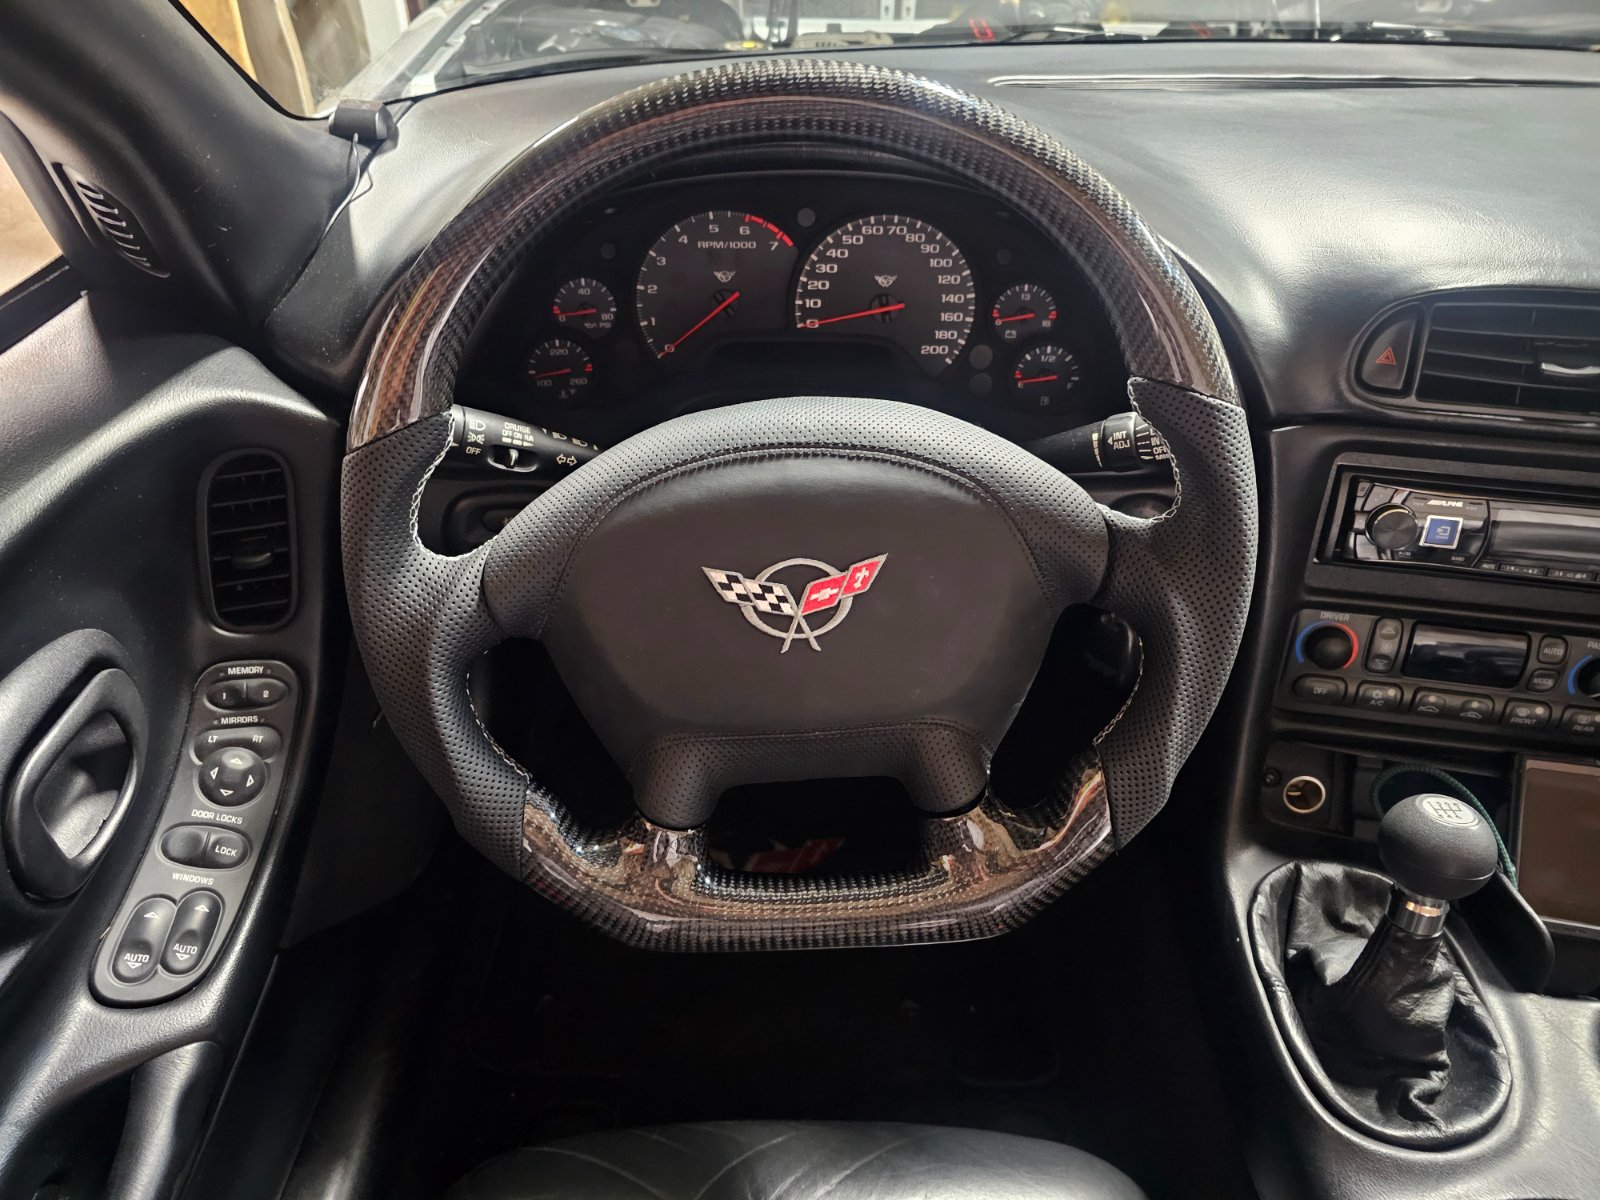
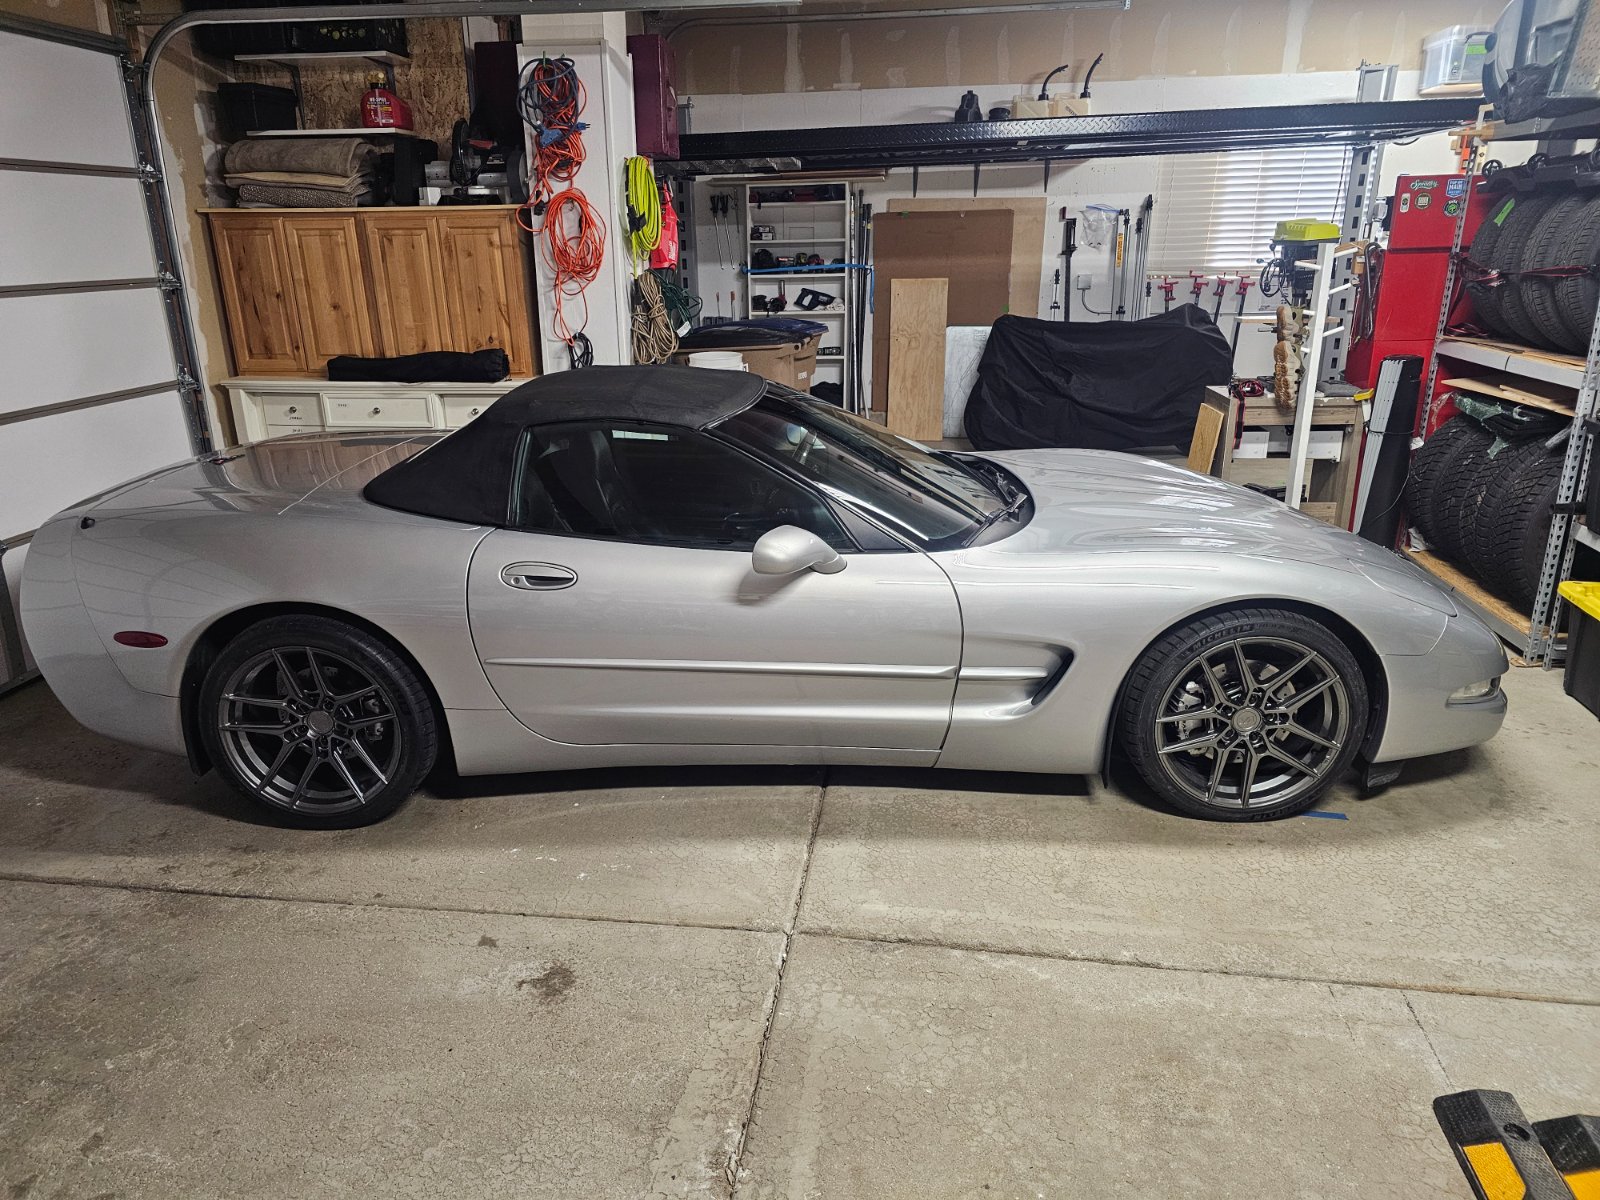
You got any other pictures of that C5? That new steering wheel looks killer!!
mustang1989
Well-Known Member
- Joined
- Aug 6, 2022
- Messages
- 552
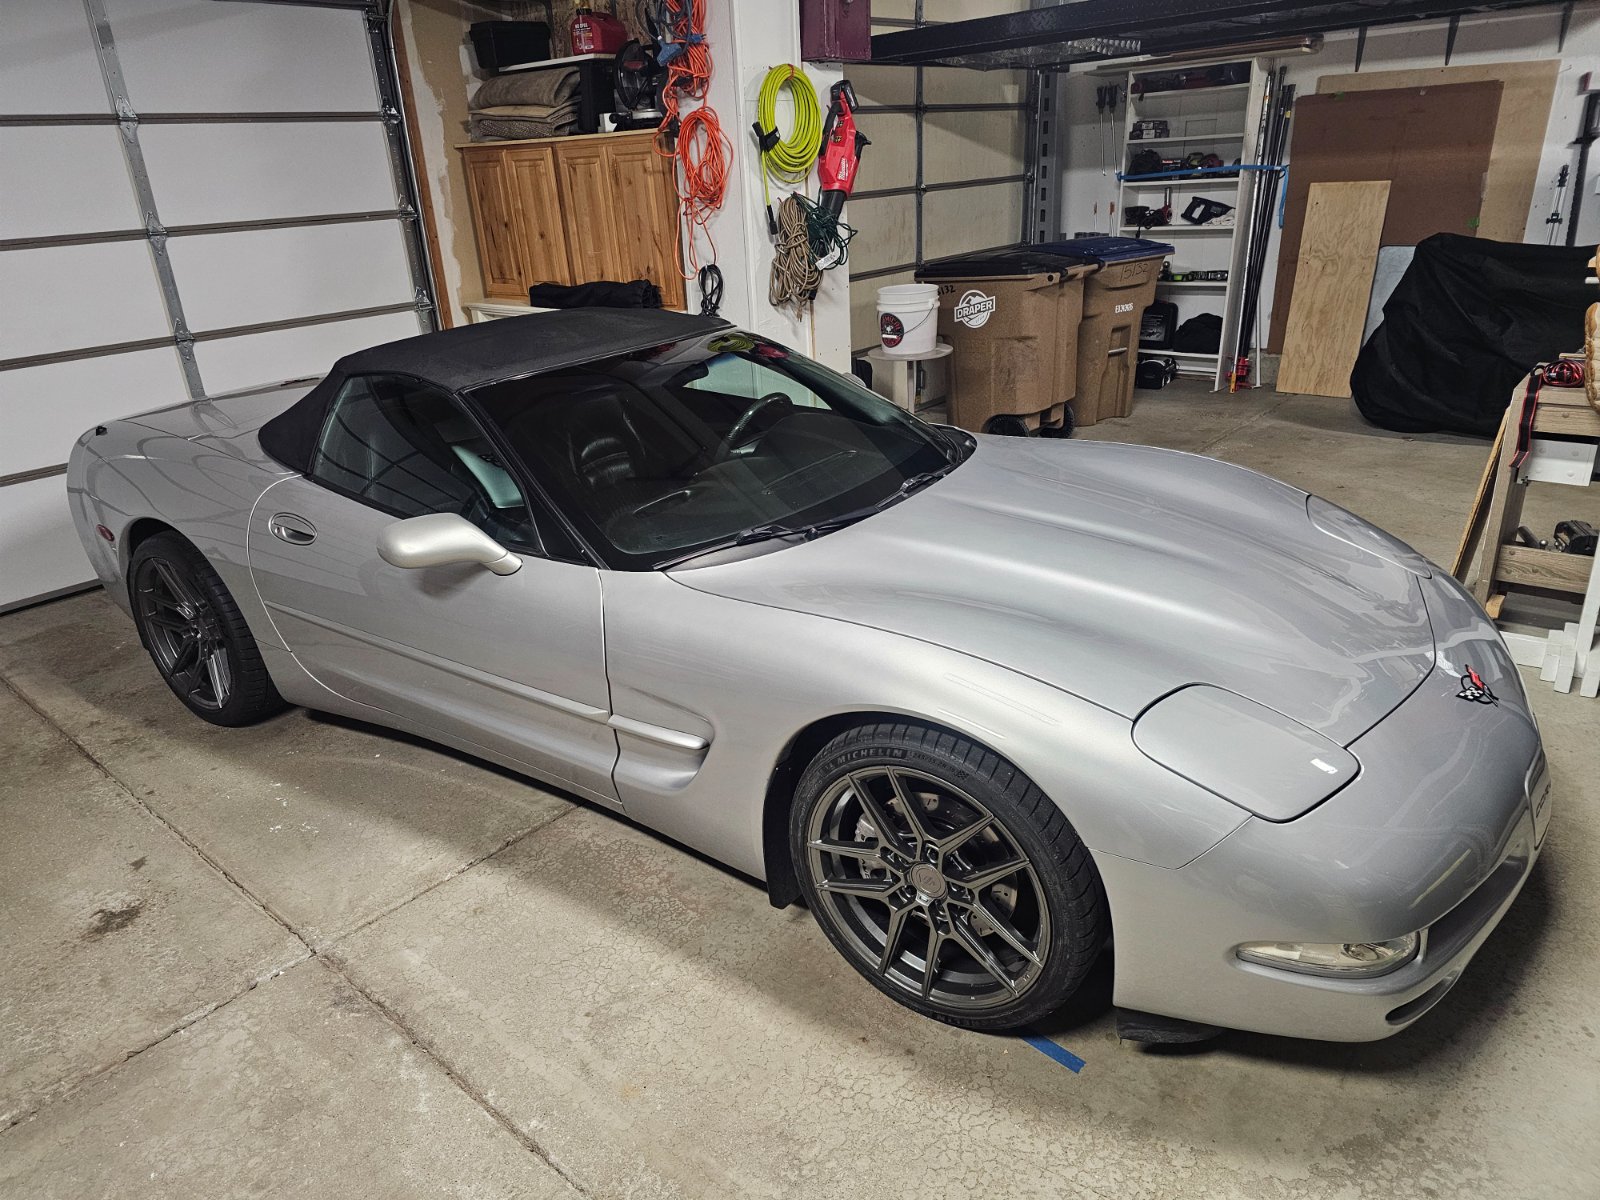
What year is it? Looks like around 2000-2003 model? Good looking car!!


![Pampers Sensitive Baby Wipes, Clinically Proven, Fragrance Free, Unscented, Water Based, Hypoallergenic, Multi-Use, Hand Wipes 336 Wipes Total (6X Flip-Top Packs) [Packaging May Vary]](https://m.media-amazon.com/images/I/41KLBHu9CAL._SL500_.jpg)






As an Amazon Associate we earn from qualifying purchases. Product prices and availability are accurate as of the date/time indicated and are subject to change.
mustang1989
Well-Known Member
- Joined
- Aug 6, 2022
- Messages
- 552
I worked on those things when they were brand new. Had an engine out of a few of 'em which is fun. You've gotta strap the front of the car to the lift to keep it from falling off of it once the engine is out. lol99...48 k miles..
Fun cars to drive for sure but definitely not on my list of faves to work on.

mustang1989
Well-Known Member
- Joined
- Aug 6, 2022
- Messages
- 552
LOL!! Looks like you've got a nice set up there. Always helps when you've got a spot to work on your vehicles inside. I've done 3 engine swaps and around 4 transmission swaps on the ground outside in my driveway. After working for years in a dealership and having a lift, working on the ground do DO sum suckin' !!So far not too bad...easier than this thing I'm building...at least the parts are big enough to see without an electron microscope
So...been working on these parts for days..they give you 2 plain plastic pieces that..don't look very good. The real ones are made of wood with iron fittings and a long iron angle running the length of them.. The real thing will be the first 2 pics.
Made them out of Sappele wood, brass and plastic stock..
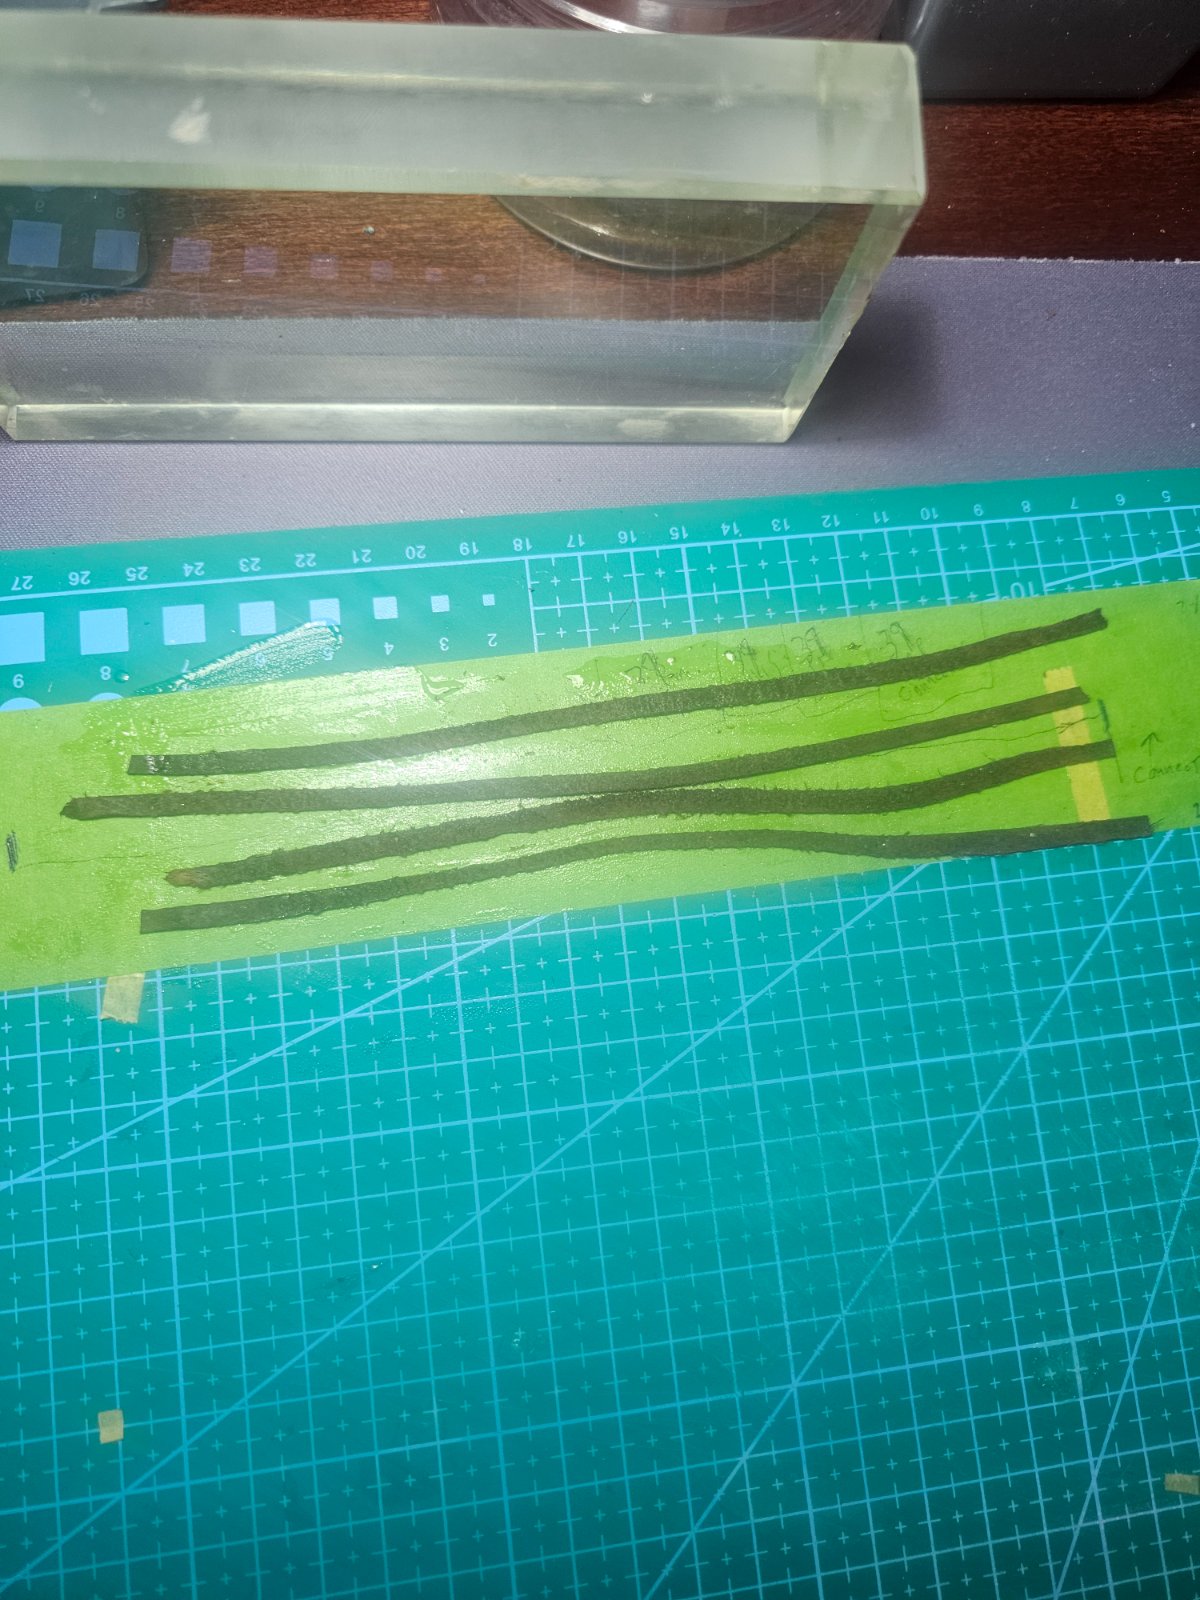
Also working on the leather straps. They give you some fake material which looks exactly like..fake material. Thinned out some leather but also waiting on some I bought..see which one is better.
Painting up the hub spinners now..
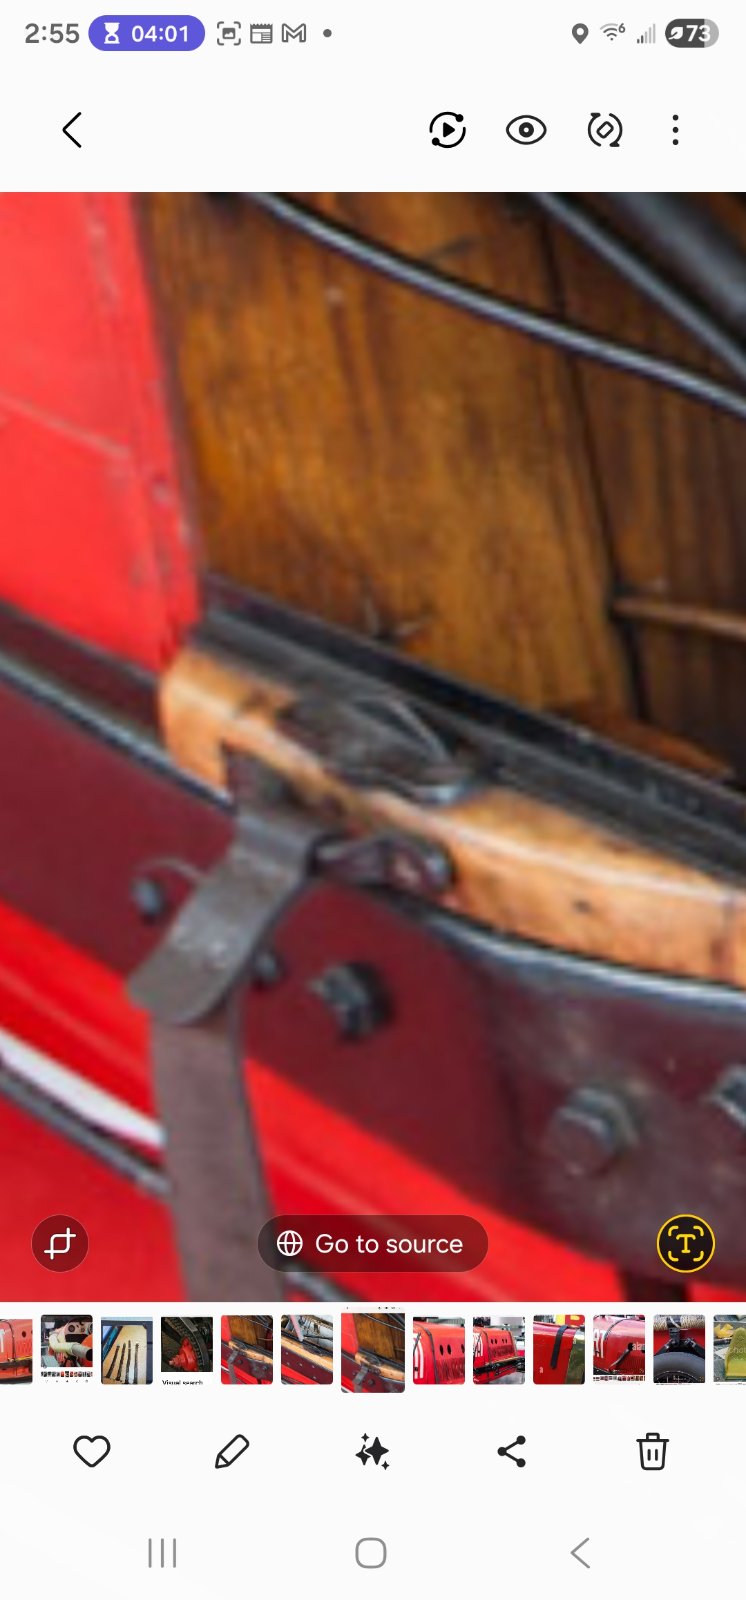
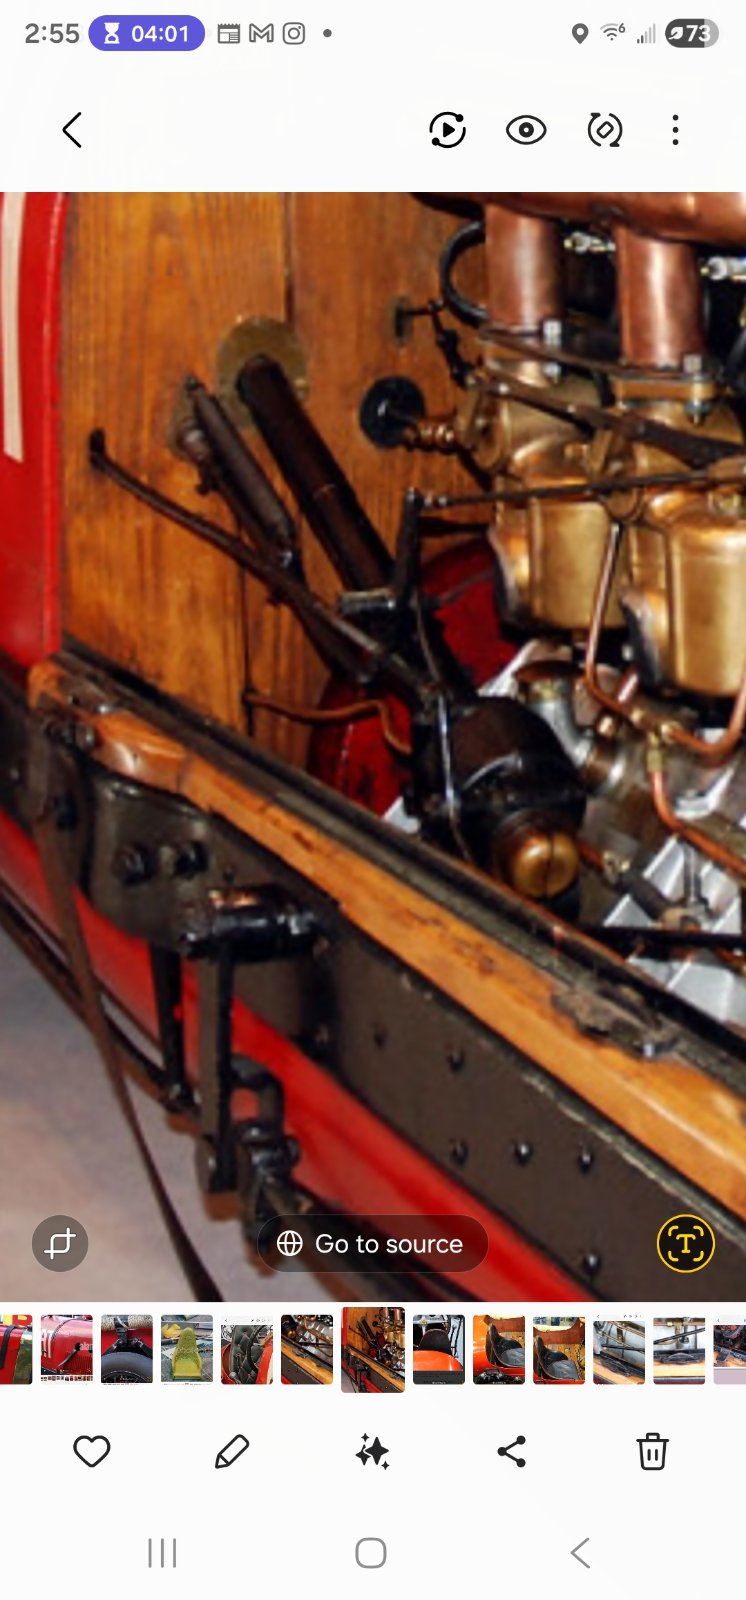
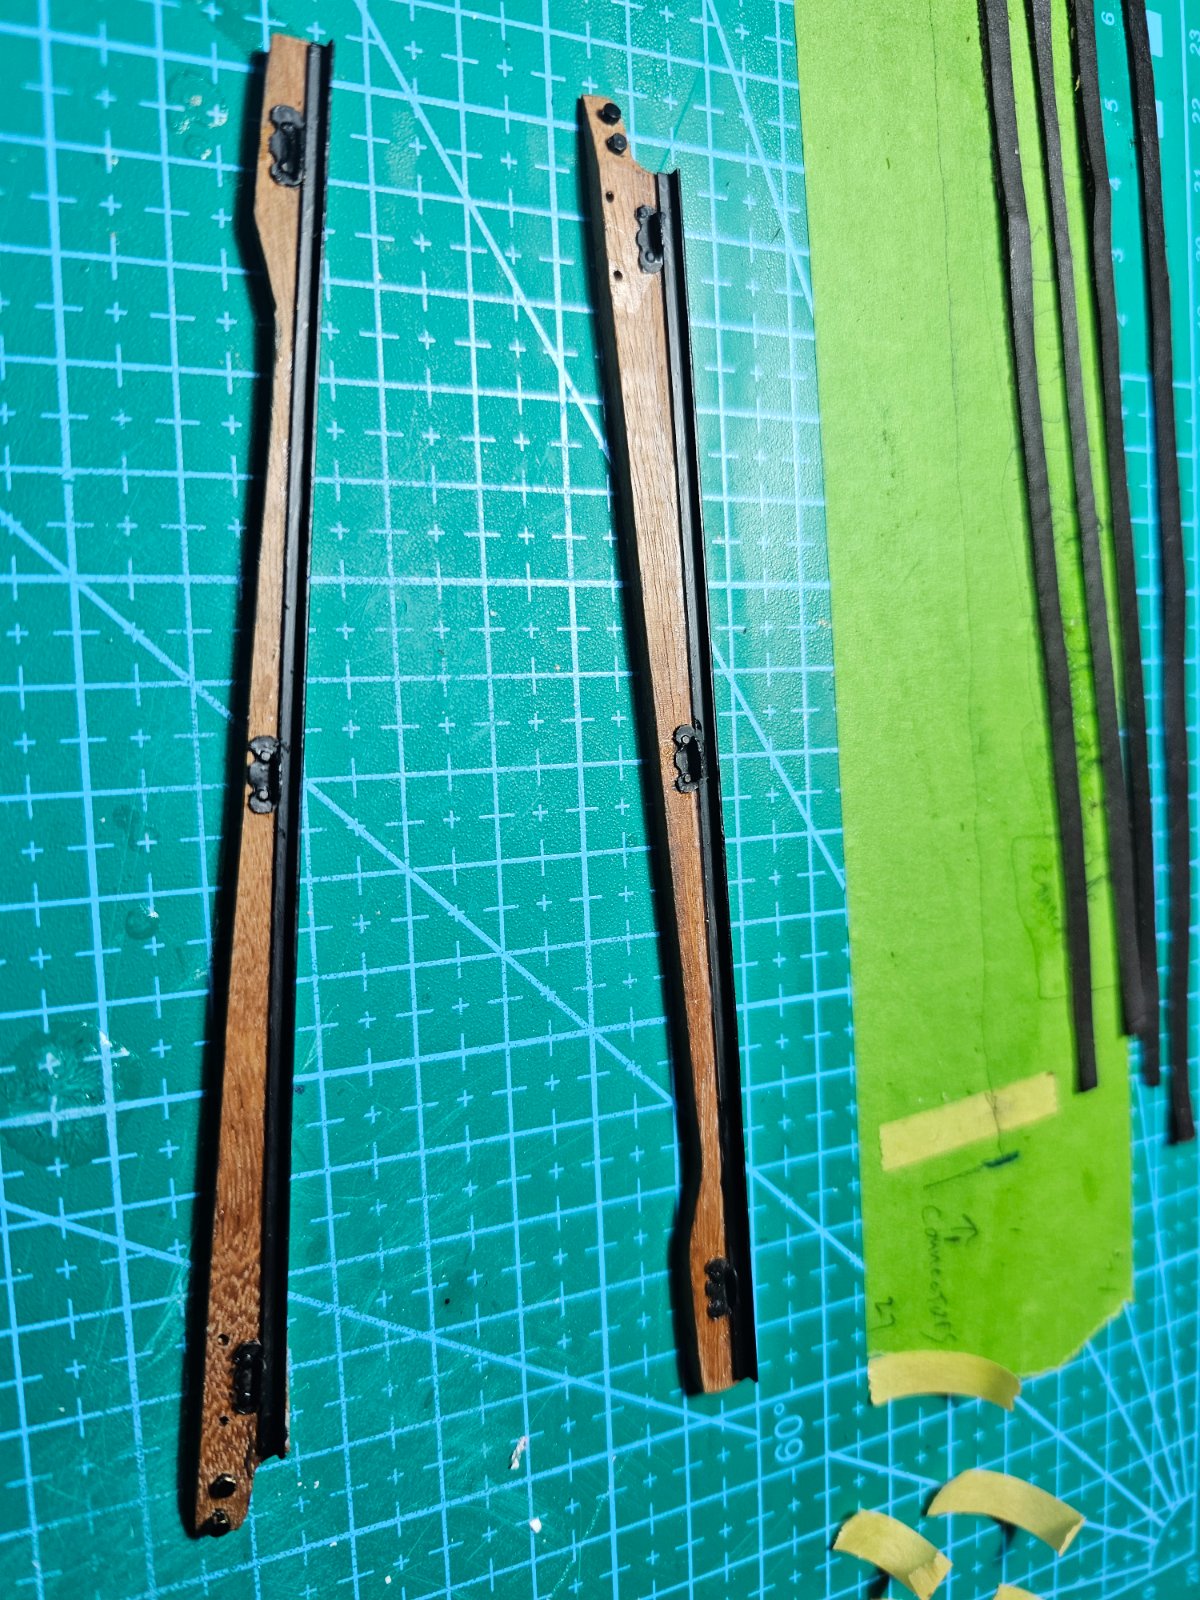
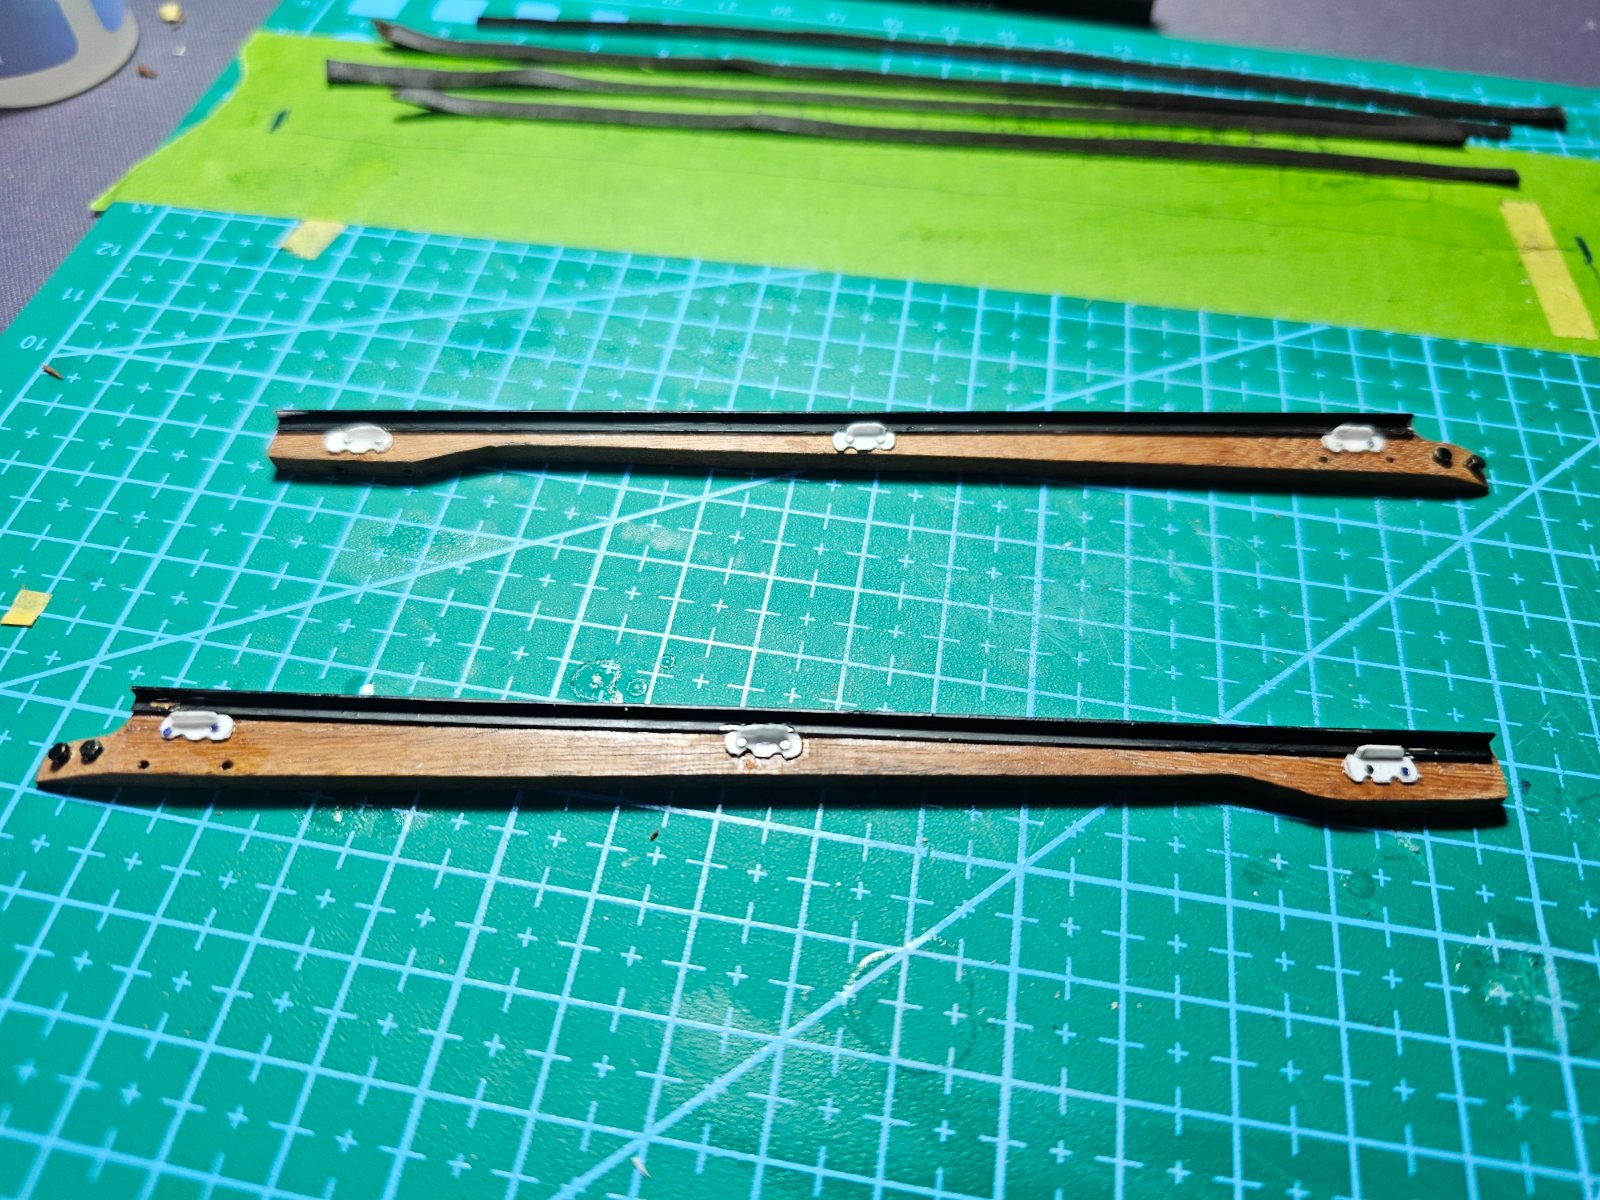
Made them out of Sappele wood, brass and plastic stock..
Also working on the leather straps. They give you some fake material which looks exactly like..fake material. Thinned out some leather but also waiting on some I bought..see which one is better.
Painting up the hub spinners now..
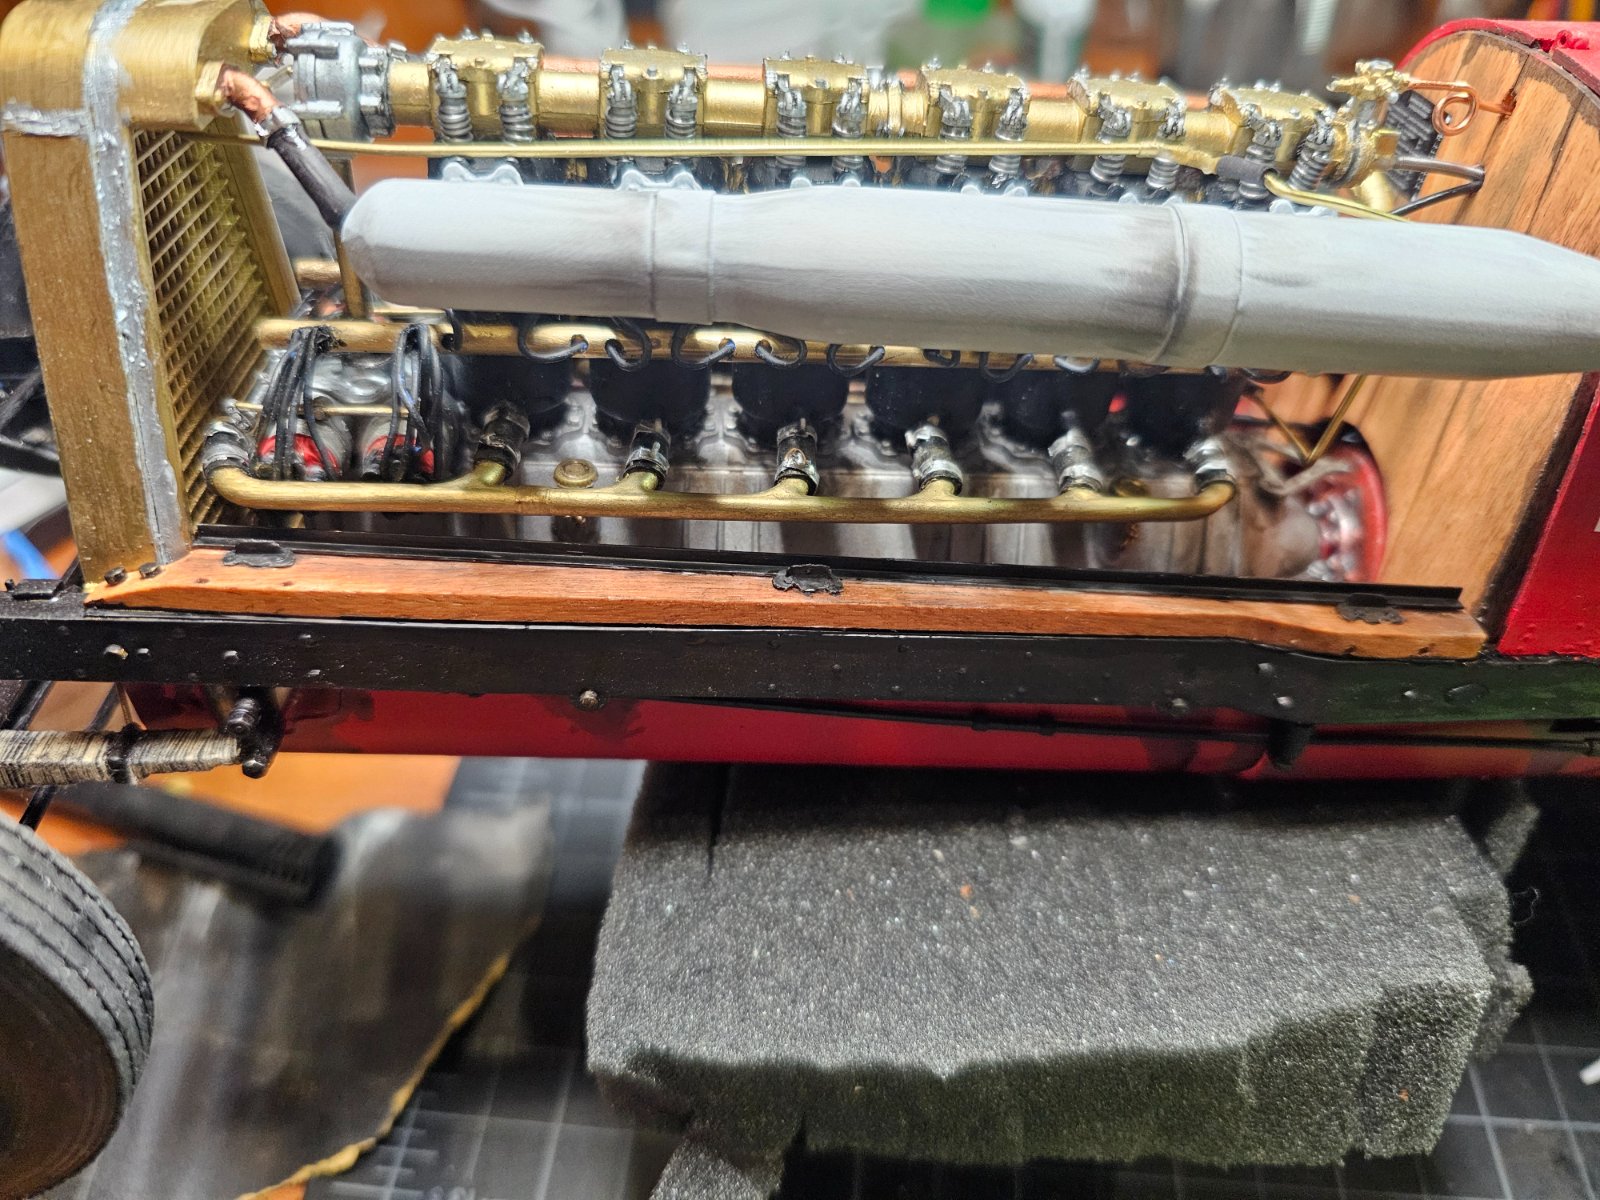
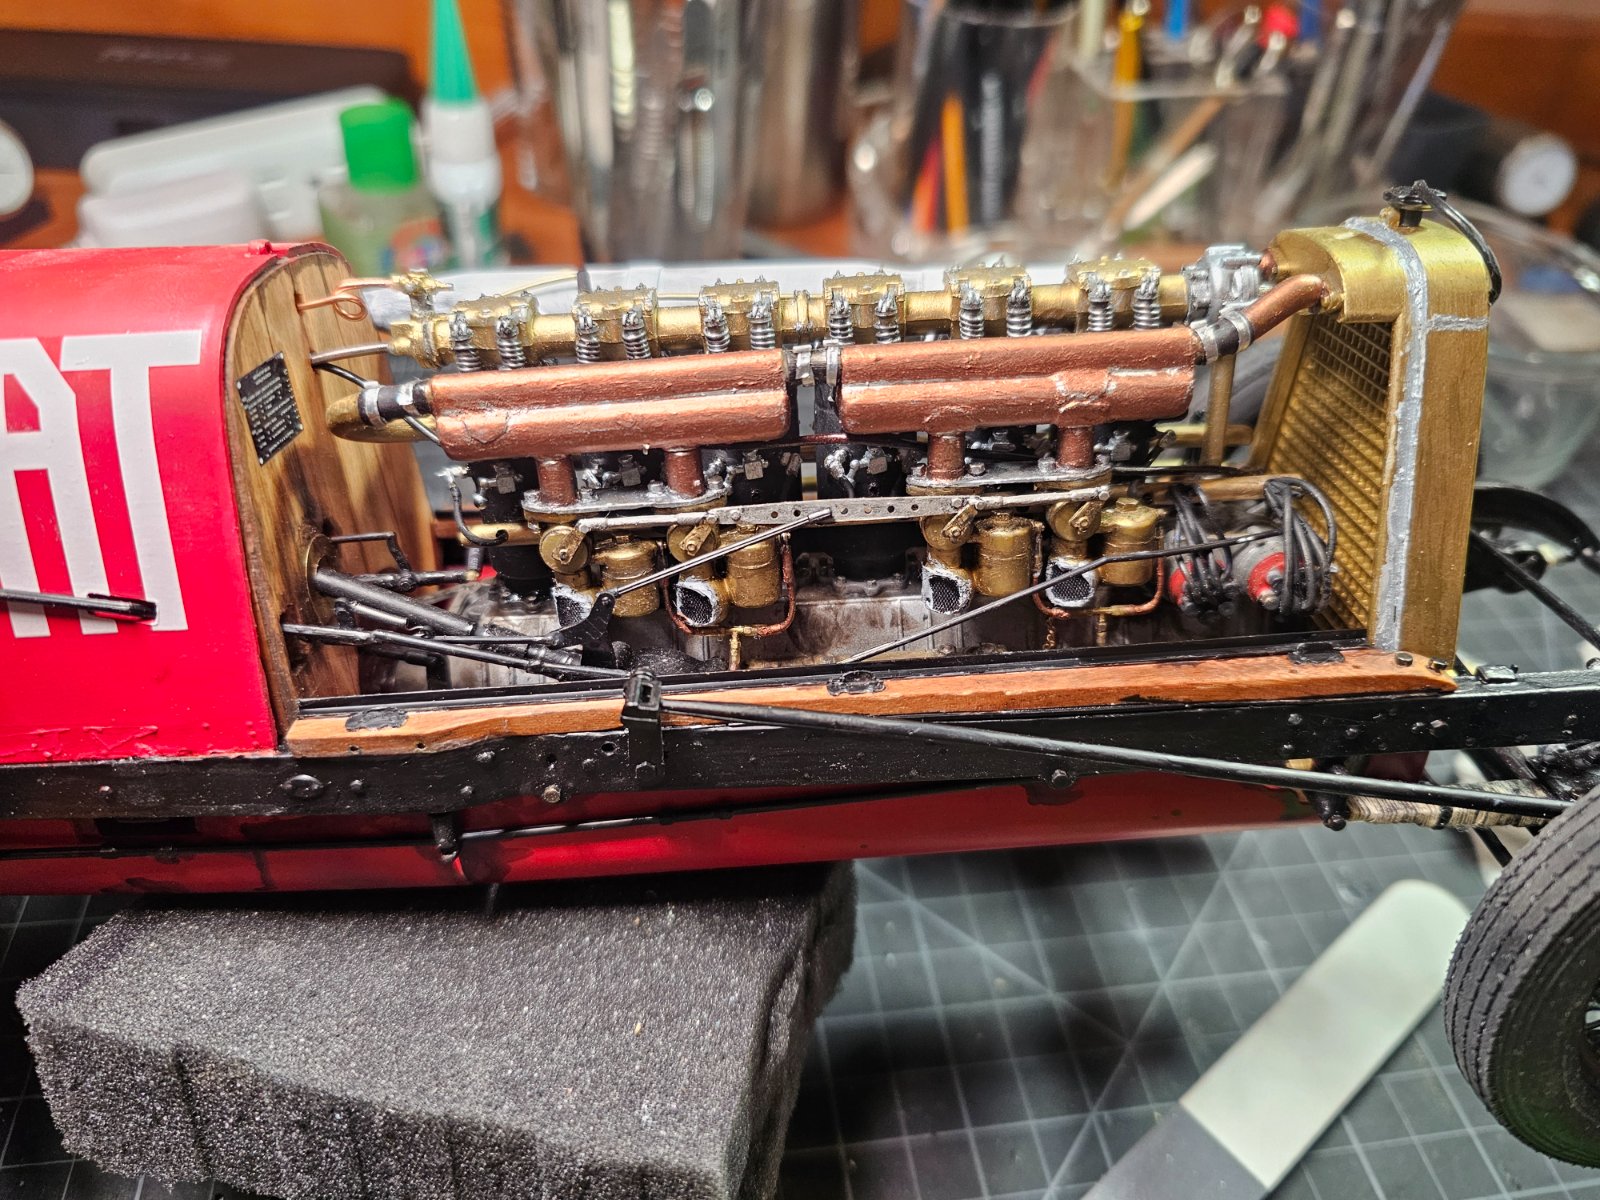

The variety of materials just makes it for me!
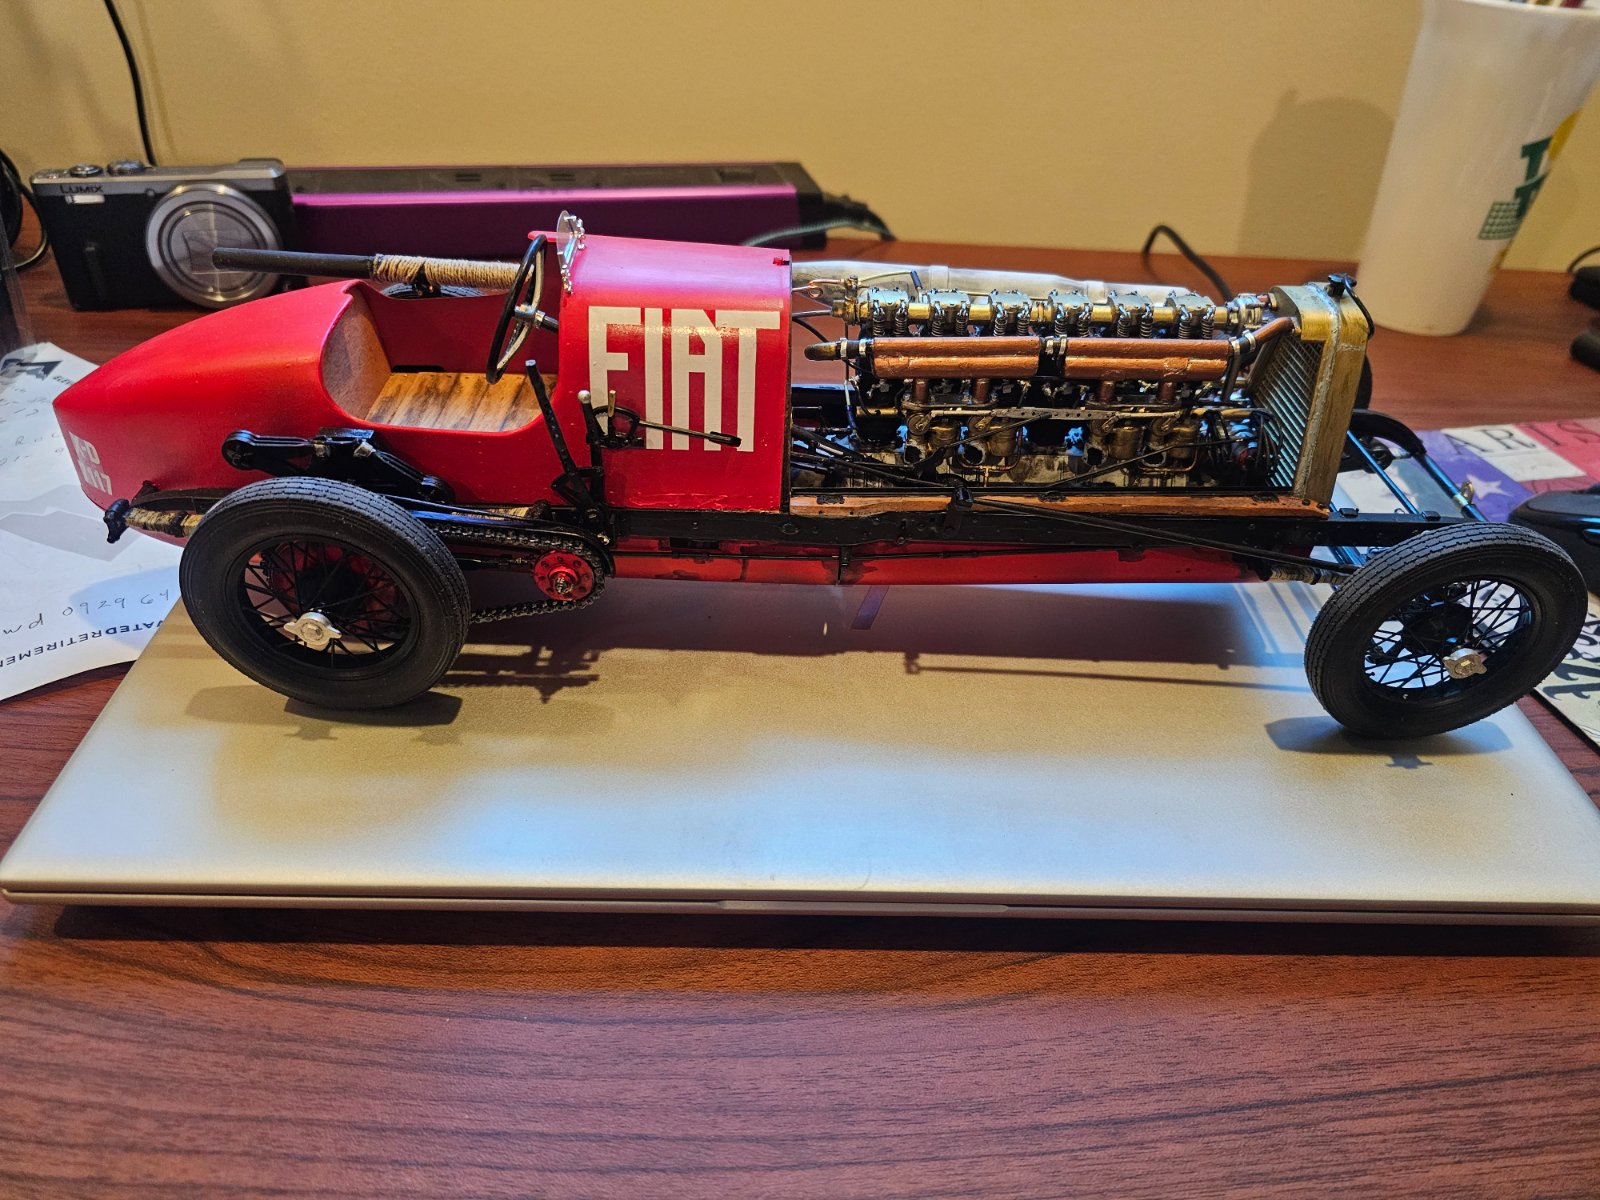
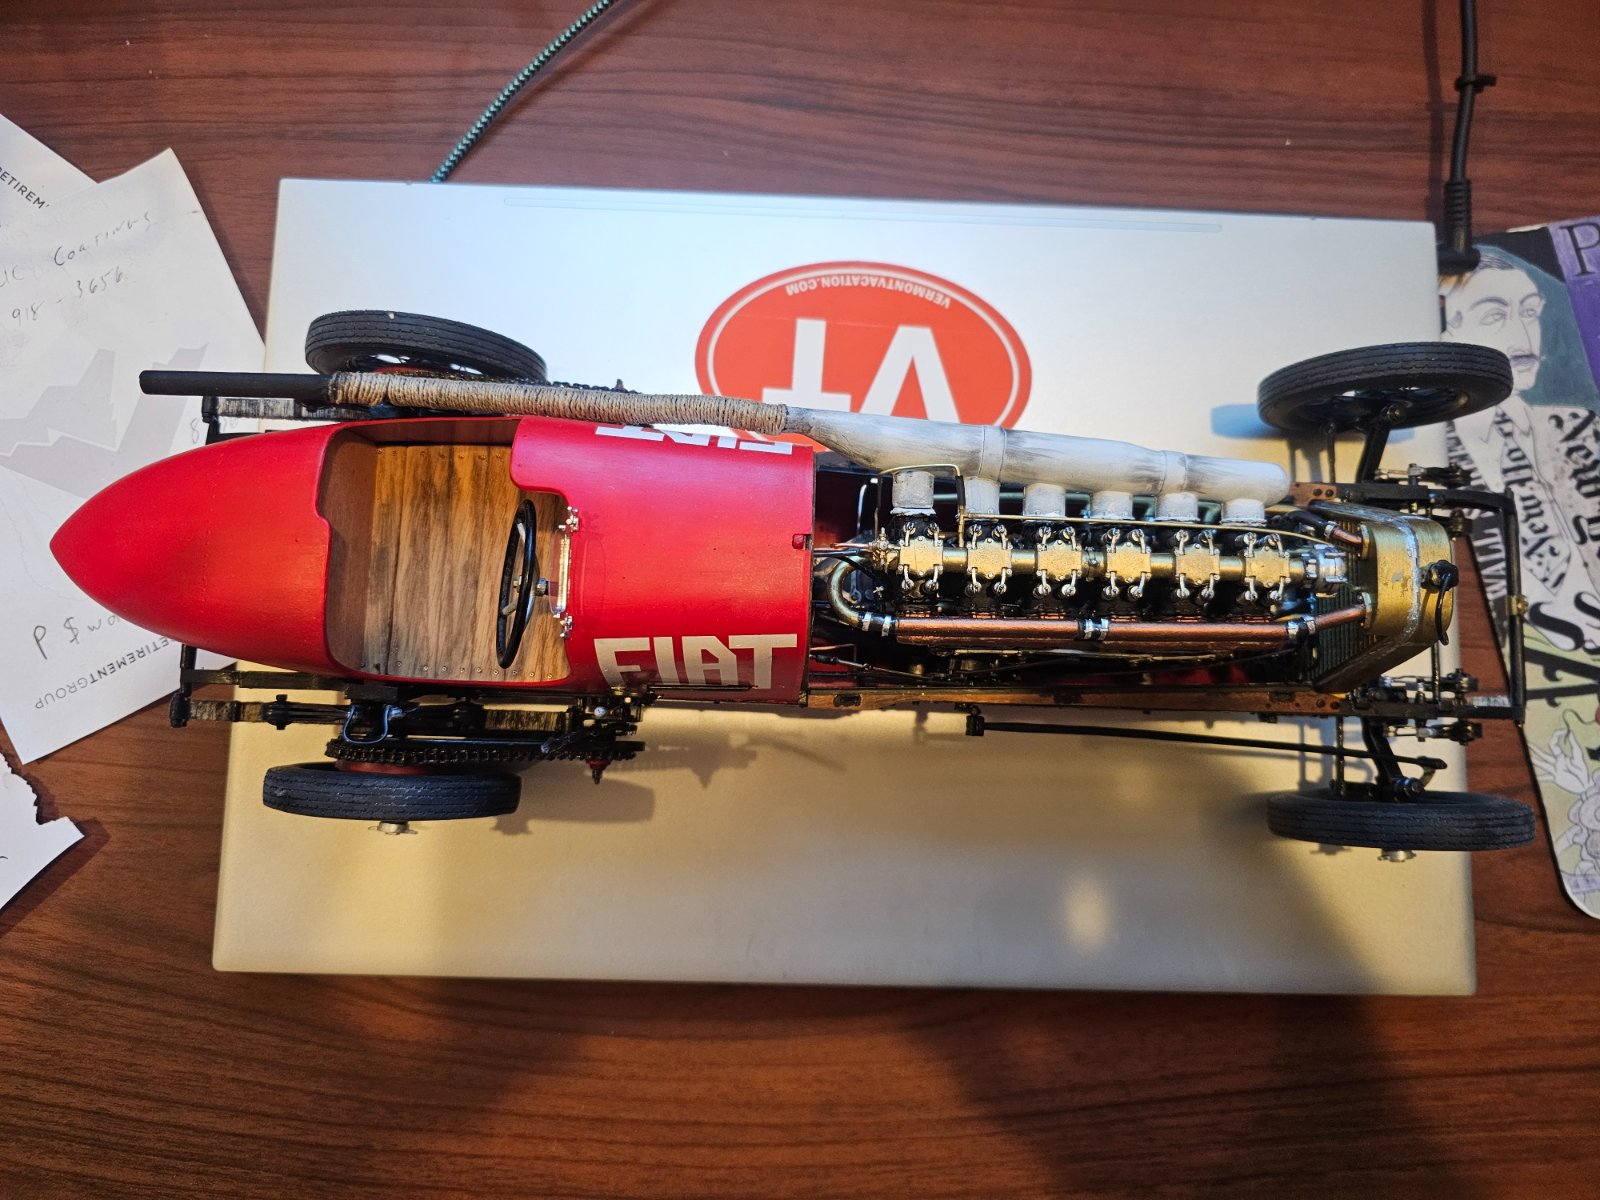
...anxious to see how that works out.leather
I tried scraping leather to make it thinner, but for 1:35, it was way out of scale as well as the texture of the particular pieces I was working with. I had ordered samples online, pretty sure I'll use them eventually.
I ordered some at .4mm thick. Best i could scrape was .85.
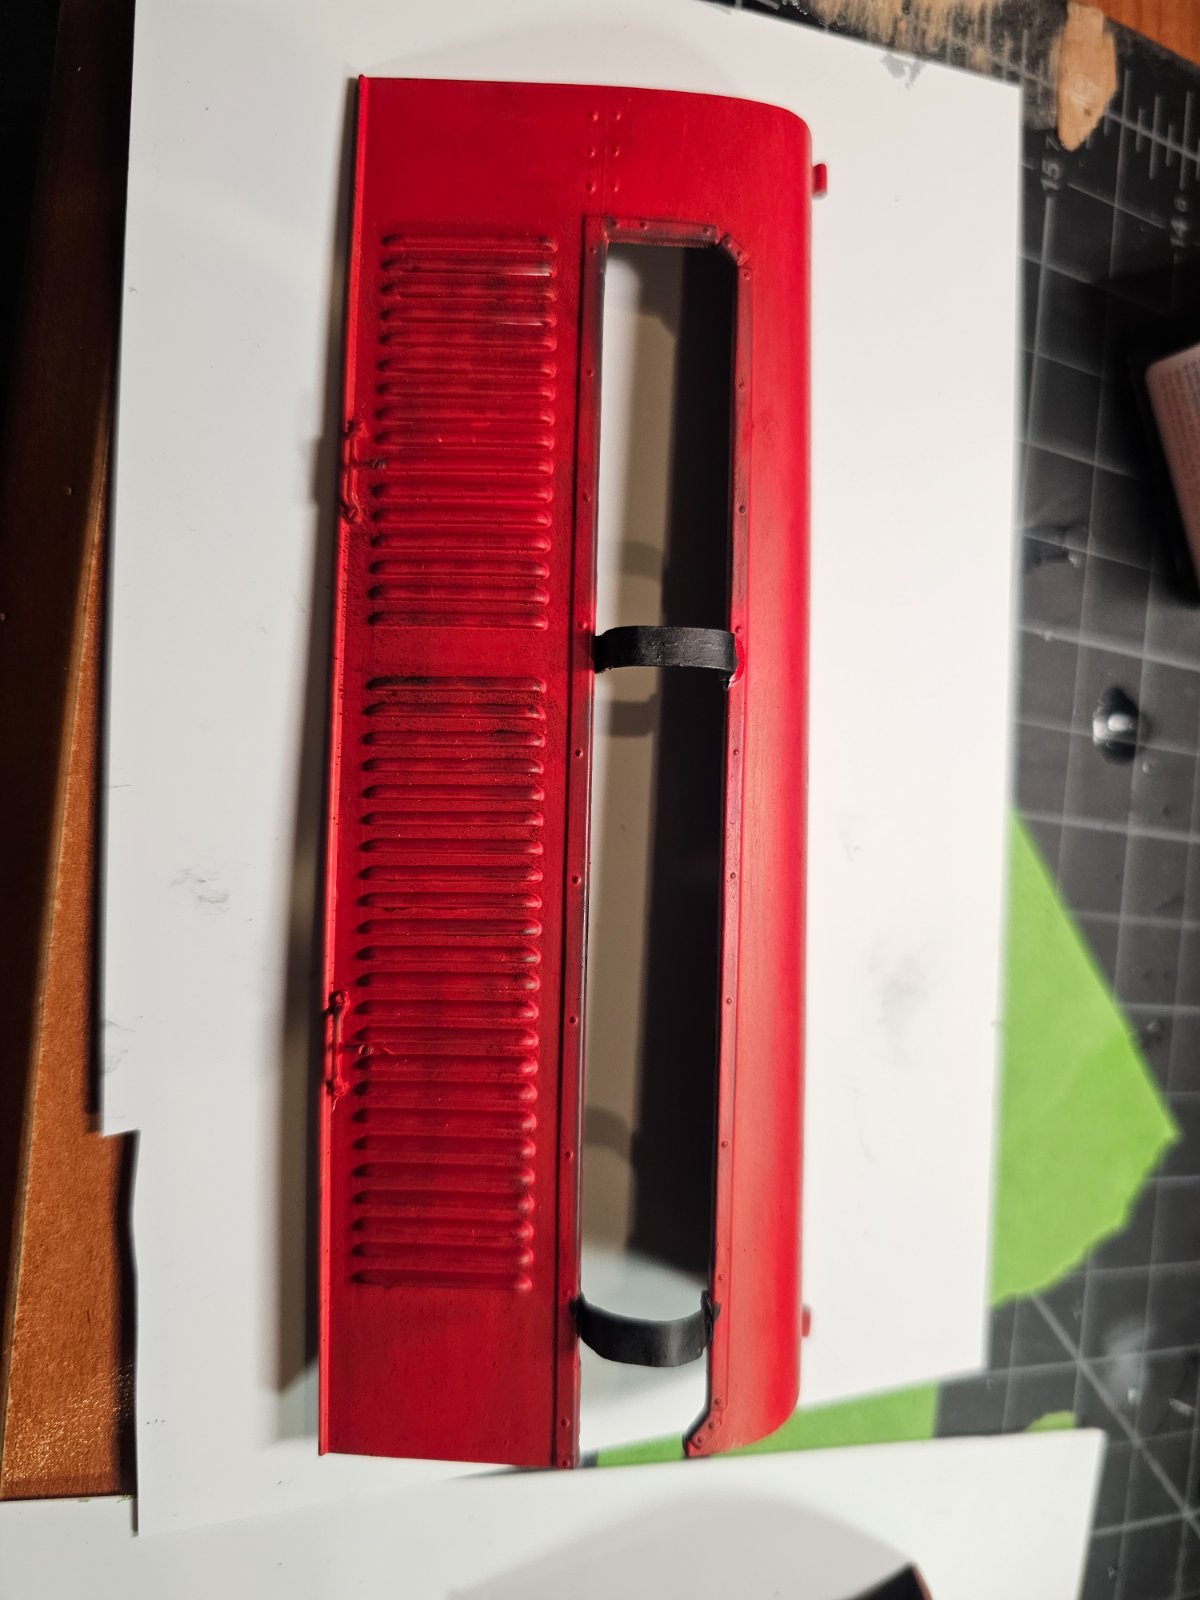
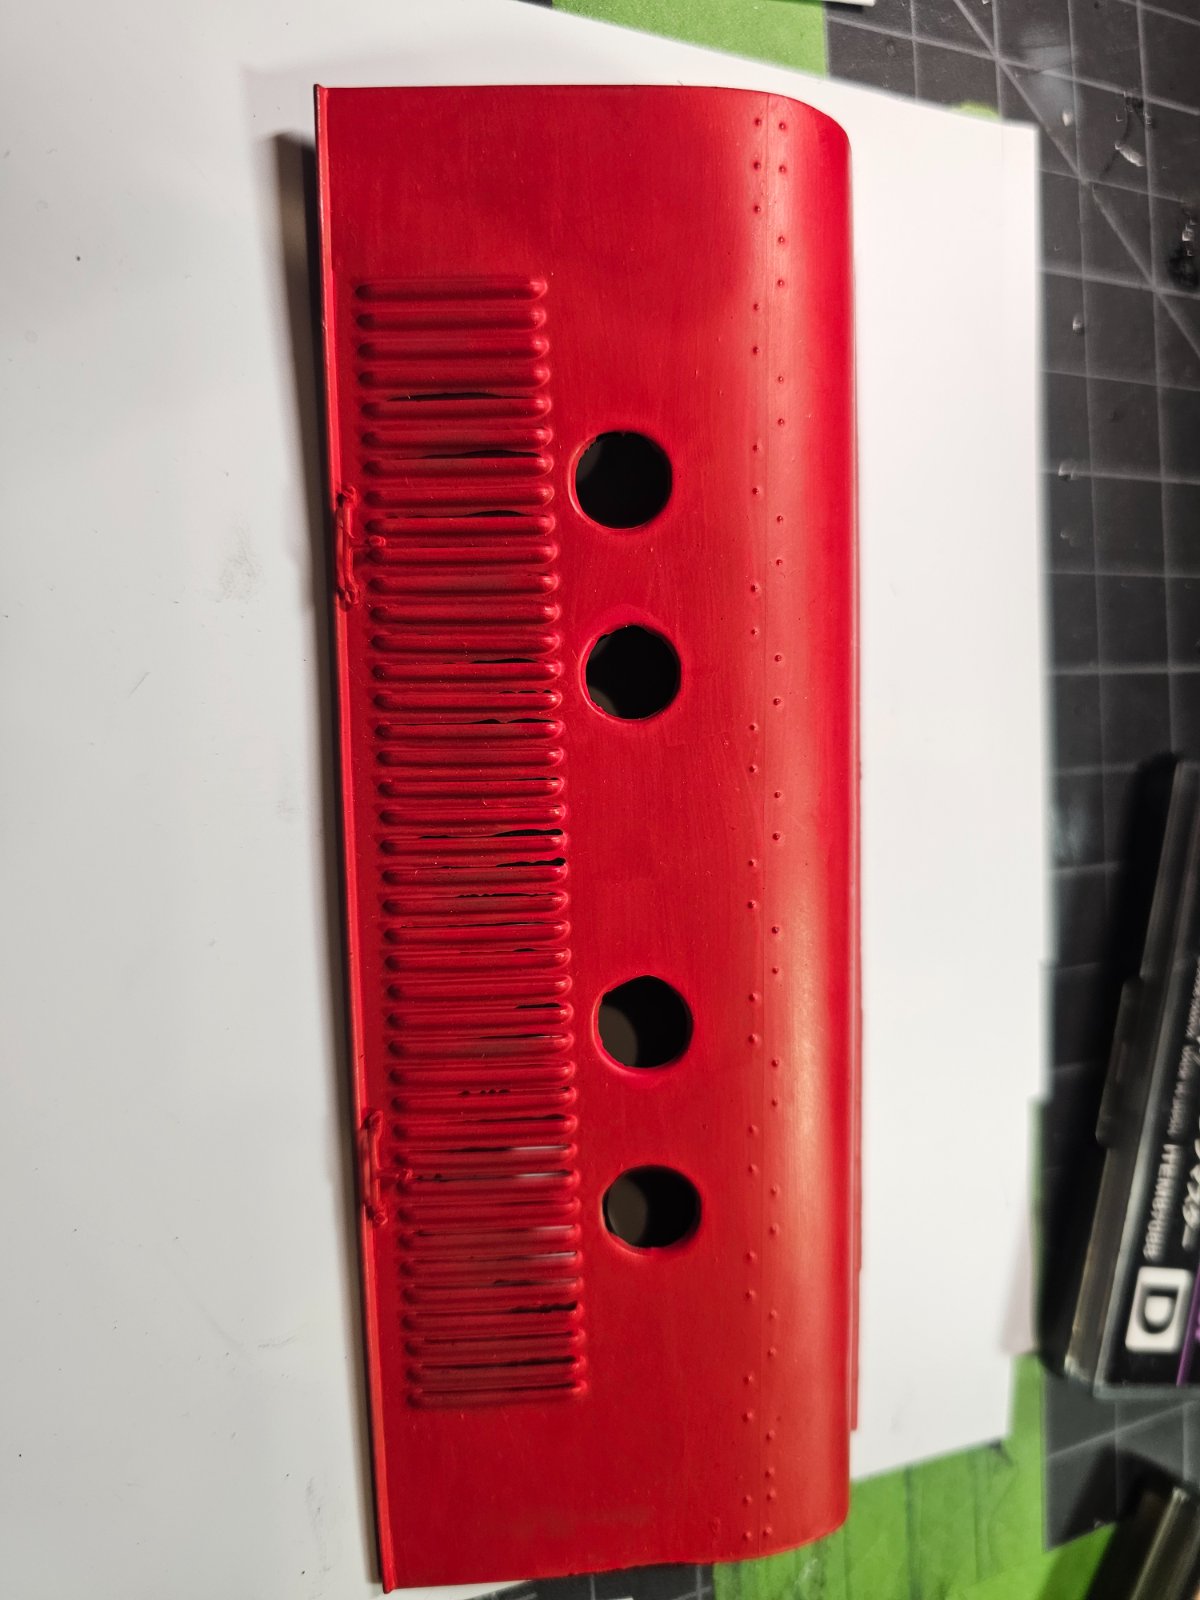
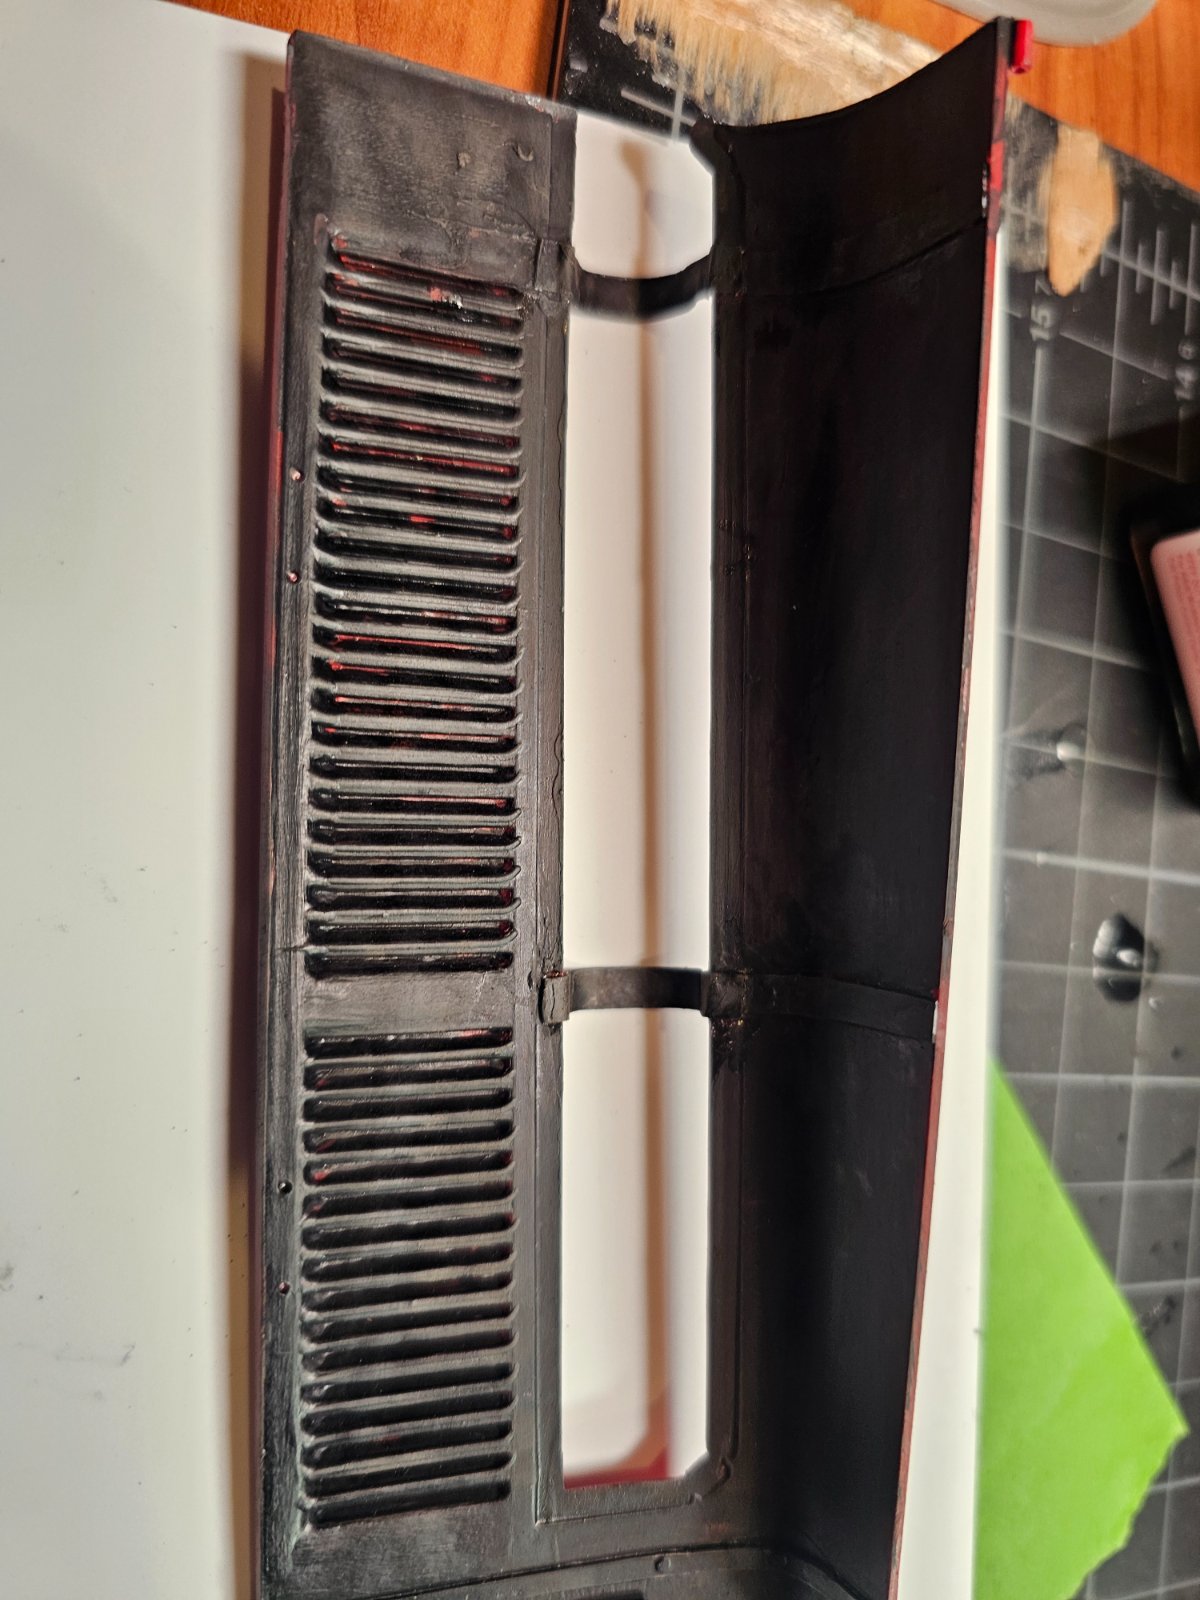
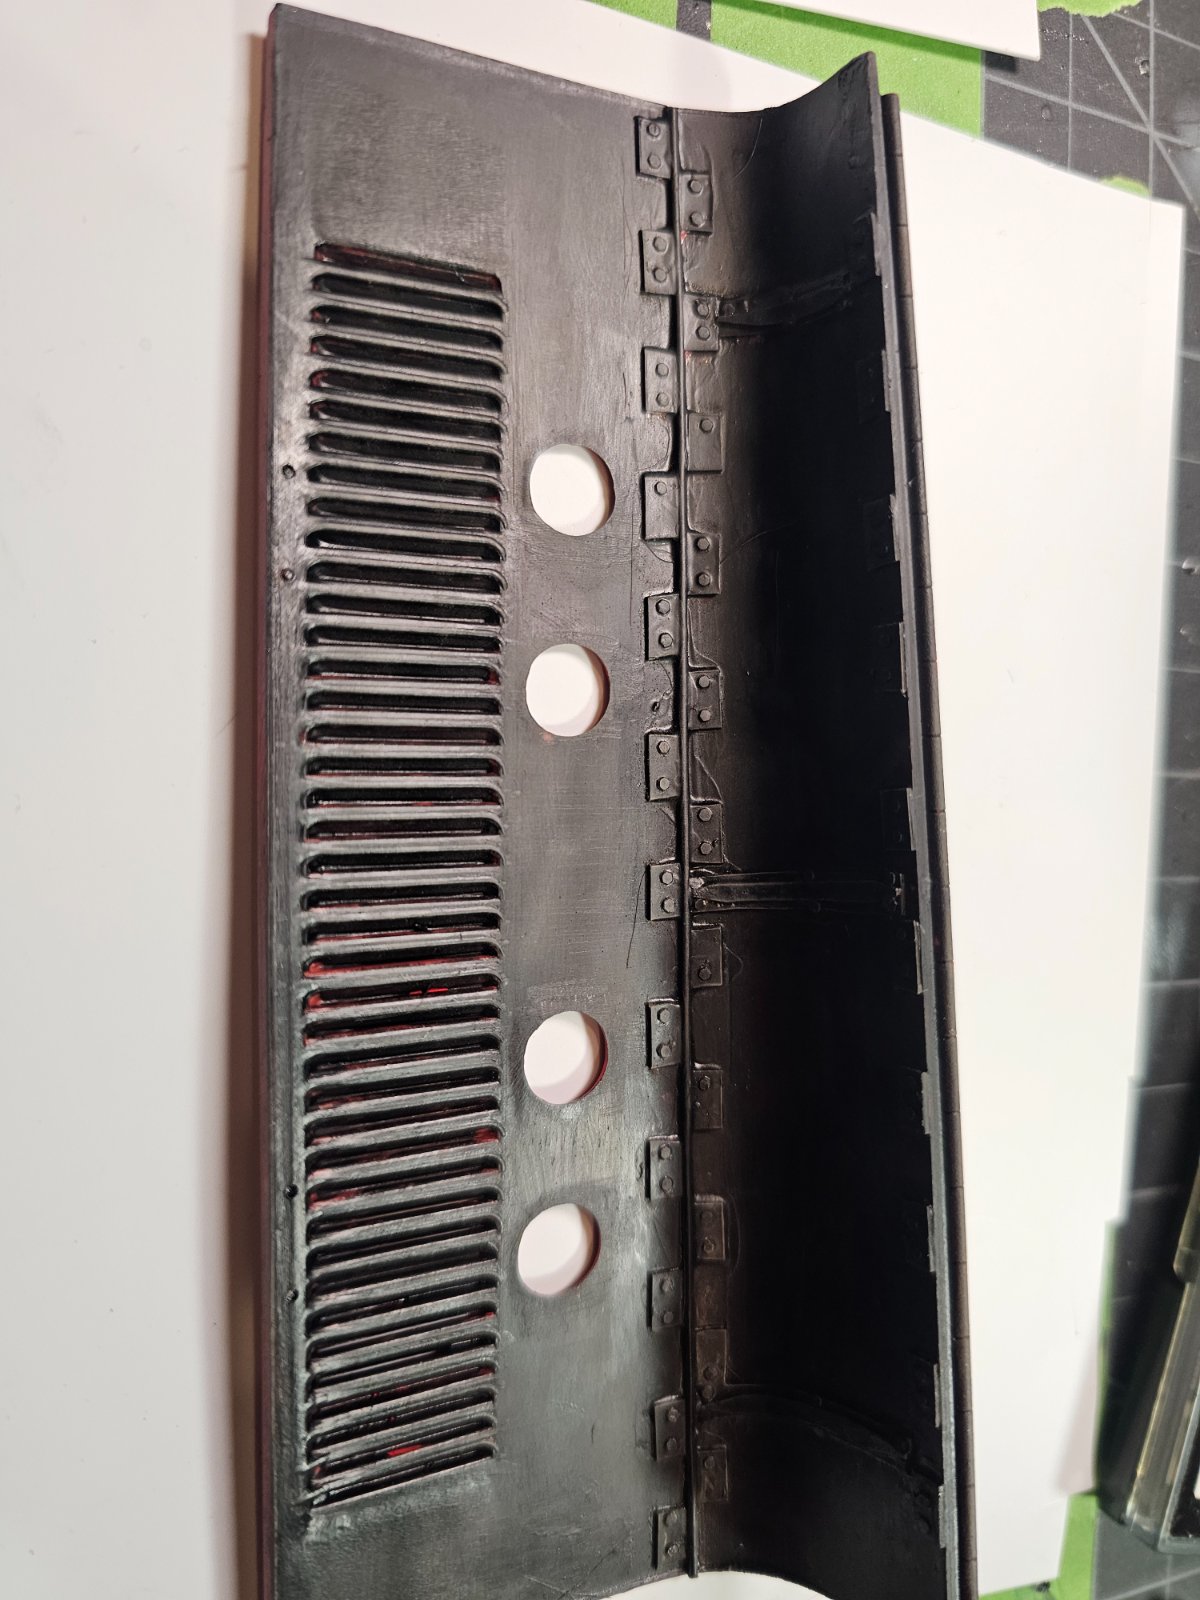
Now found more things to work on..the 2 bonnet pieces need some added stuff and more weathering...have to make 2 support poles for them. I don't even want to use them as the motor is so cool..but I'll just have them flipped up.
Then figure out a base for the case...
These cases are expensive..
Now found more things to work on..the 2 bonnet pieces need some added stuff and more weathering...have to make 2 support poles for them. I don't even want to use them as the motor is so cool..but I'll just have them flipped up.
Then figure out a base for the case...
These cases are expensive..

C.A. Whitecloud
Well-Known Member
Wait! Isn't that what you are doing right now?Now attaching the chain lengths together..wow..maddening!
I don't know how some guys work in such tiny scales...
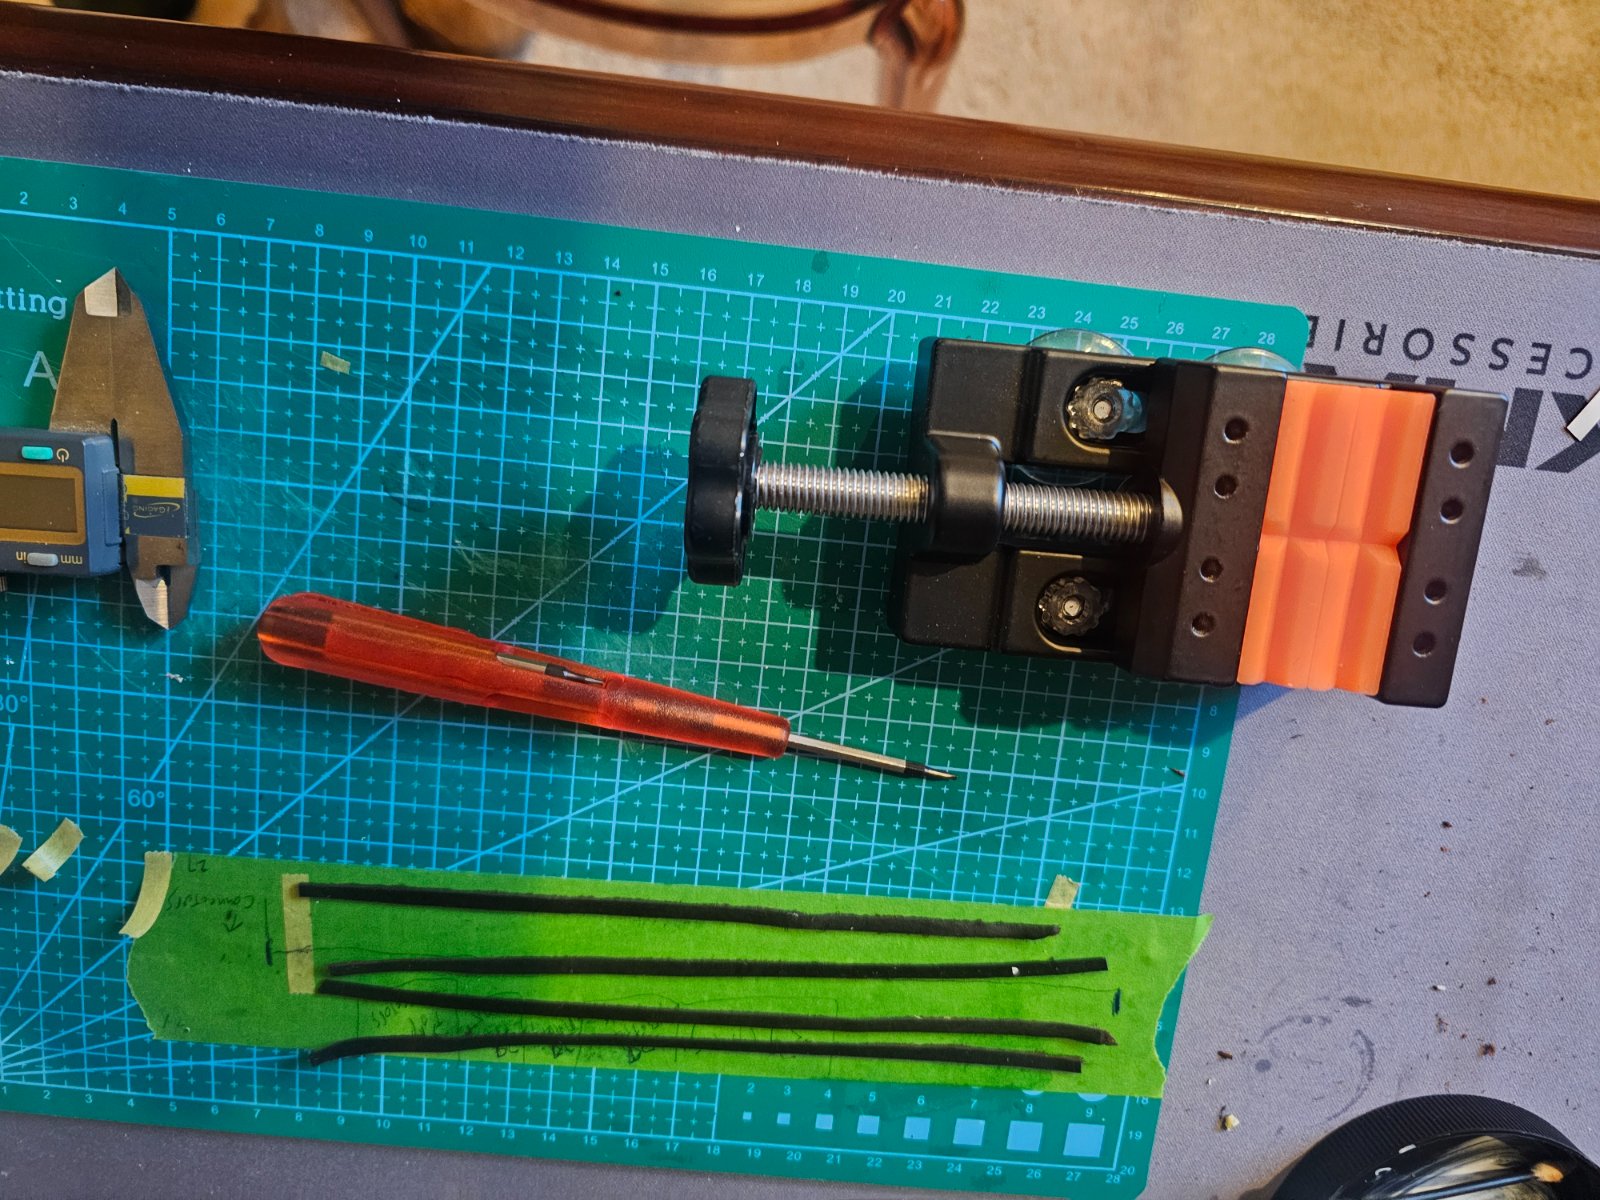
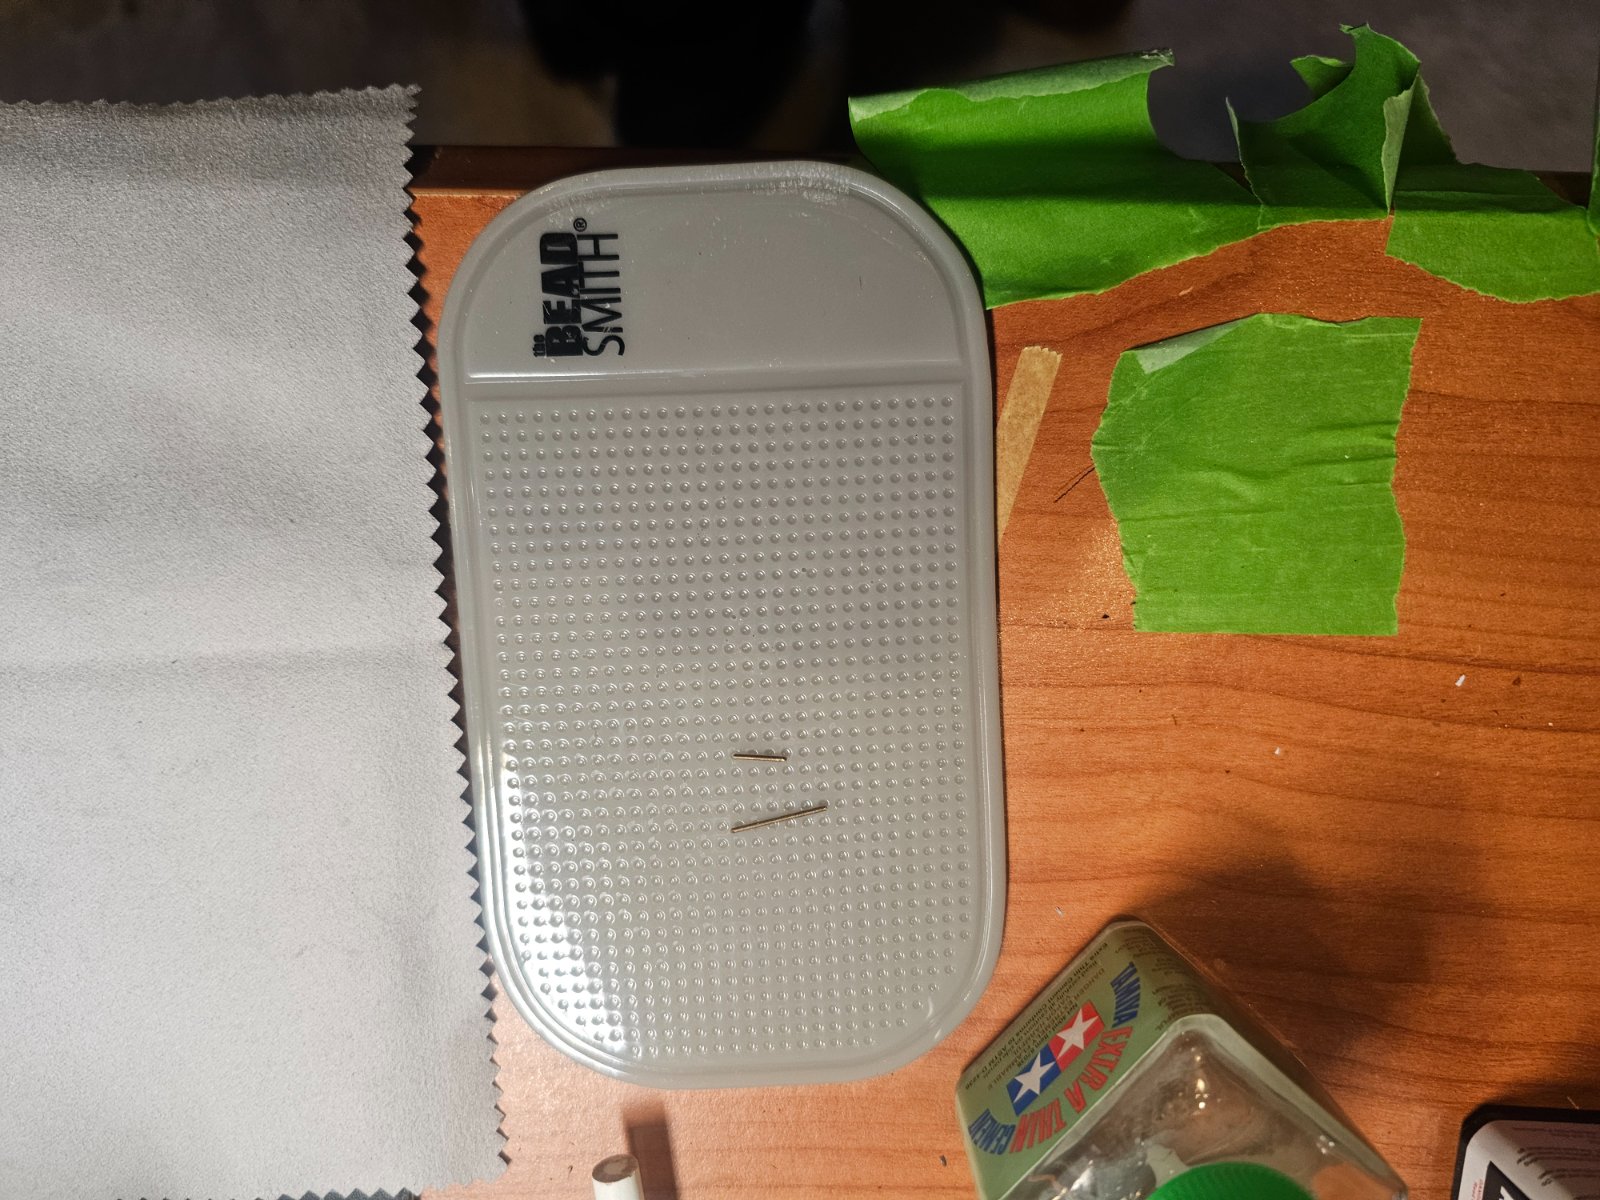
Done resting...some tools arrived from my late night buying spree.
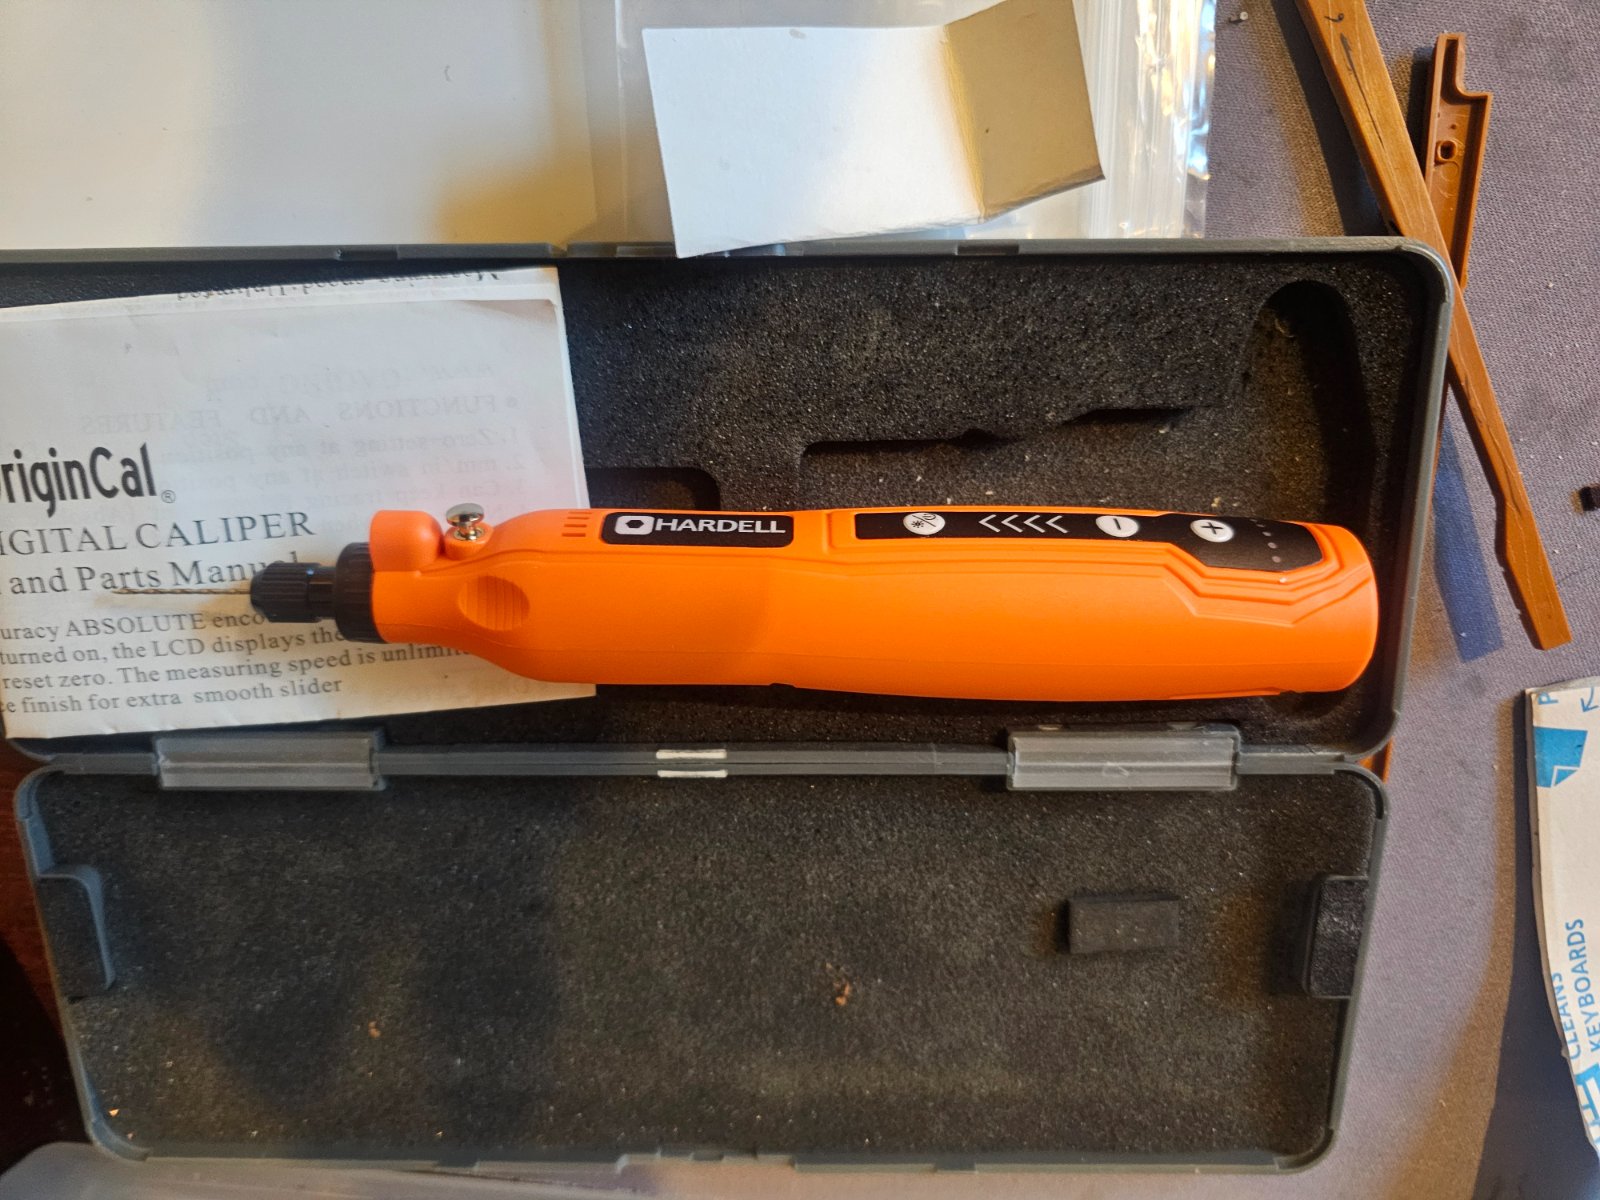
Pb swiss mini screw drivers..about as good as you can get..Hardell mini sander and a mini vice..and a sticky mat.
All will come in handy for the next build that arrives friday.
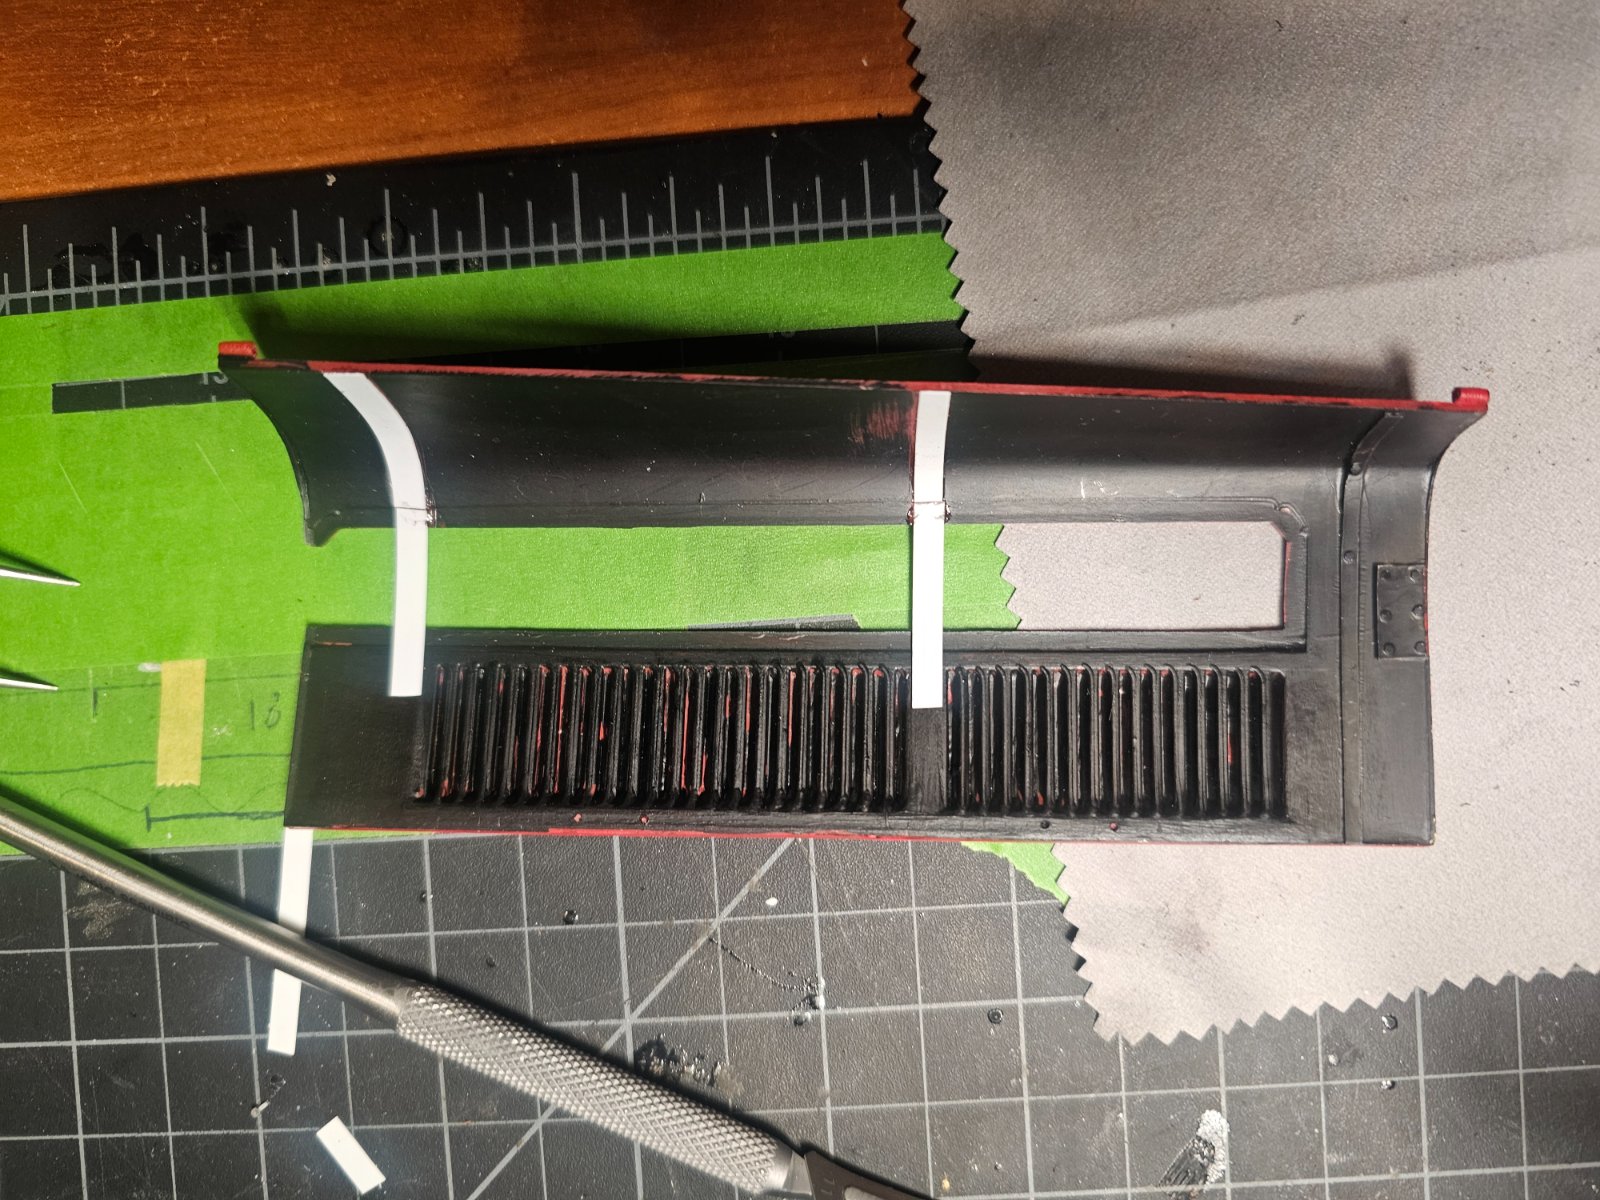
Now trying to make these bonnet supports for the exhaust side
Pb swiss mini screw drivers..about as good as you can get..Hardell mini sander and a mini vice..and a sticky mat.
All will come in handy for the next build that arrives friday.
Now trying to make these bonnet supports for the exhaust side
???? Like flytrap?sticky mat
And..it continues...
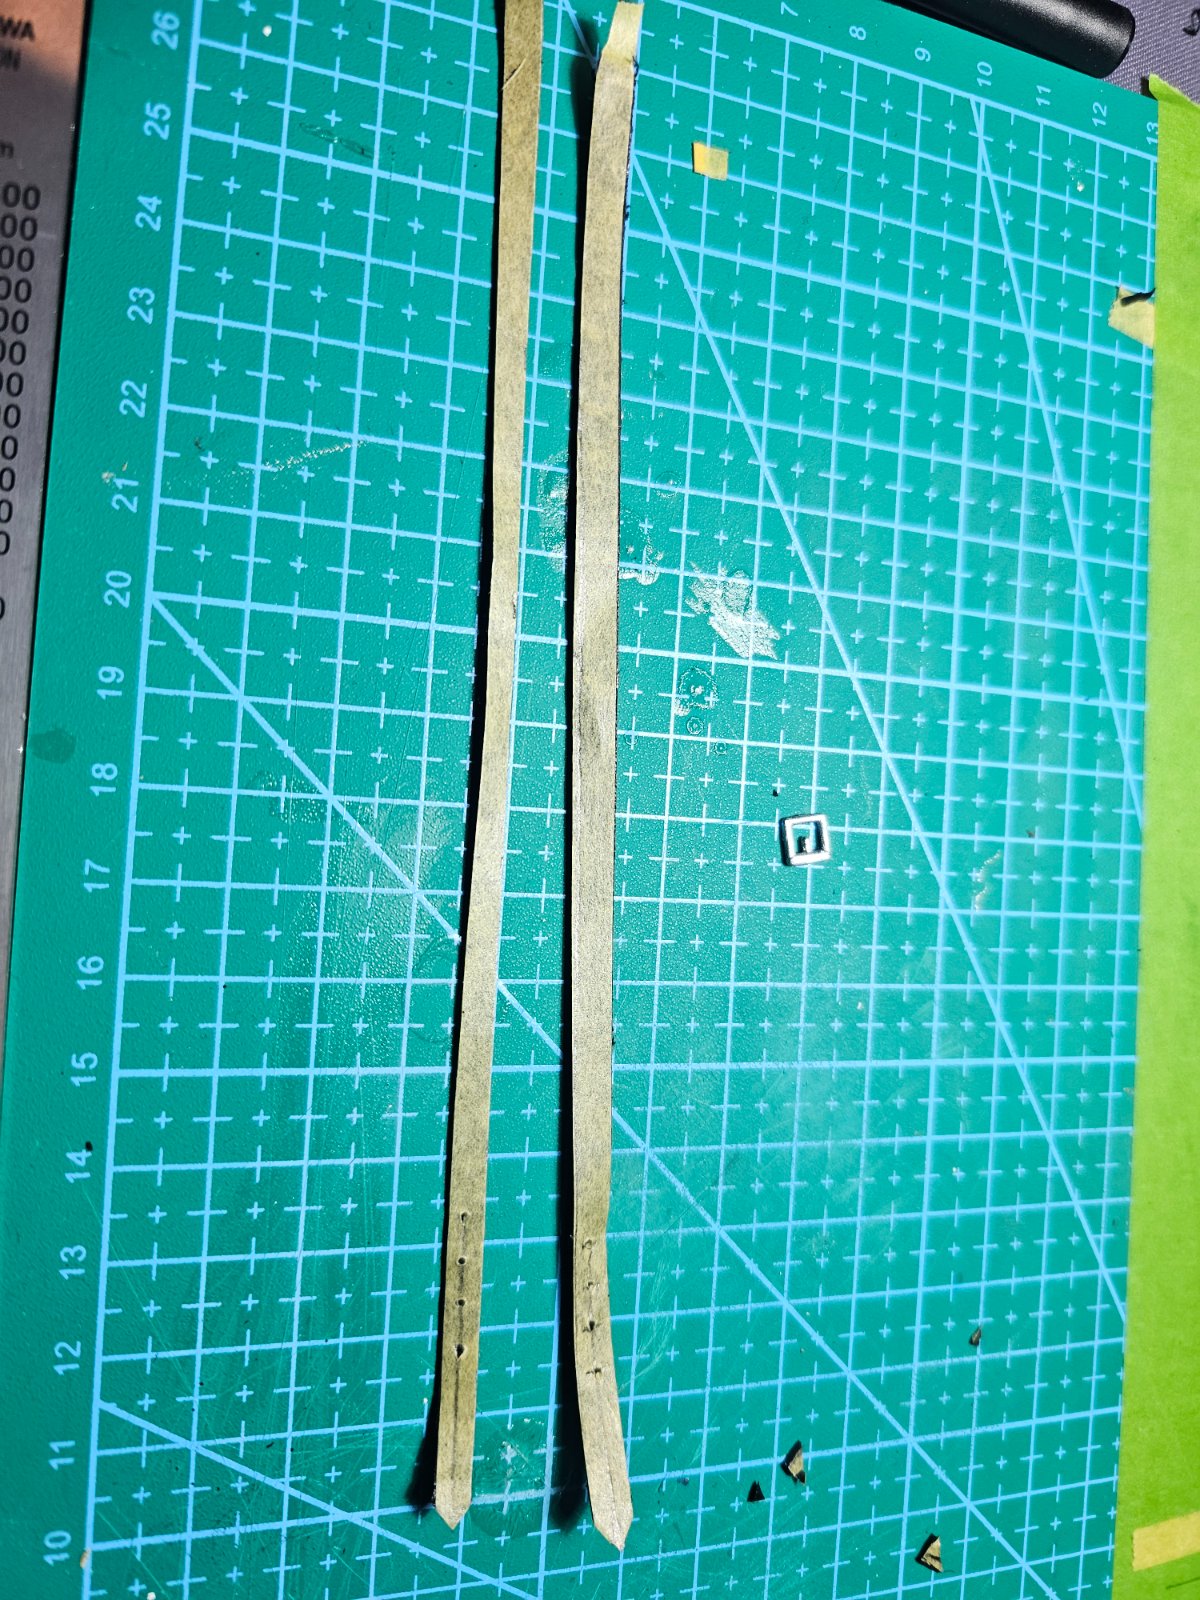
The leather i bought is too thick..about .90mm...so..I found an old pair of leather gloves and spent an hour unstiching them...it measures .56mm which scales about right for straps that would have been 5 to 6mm.
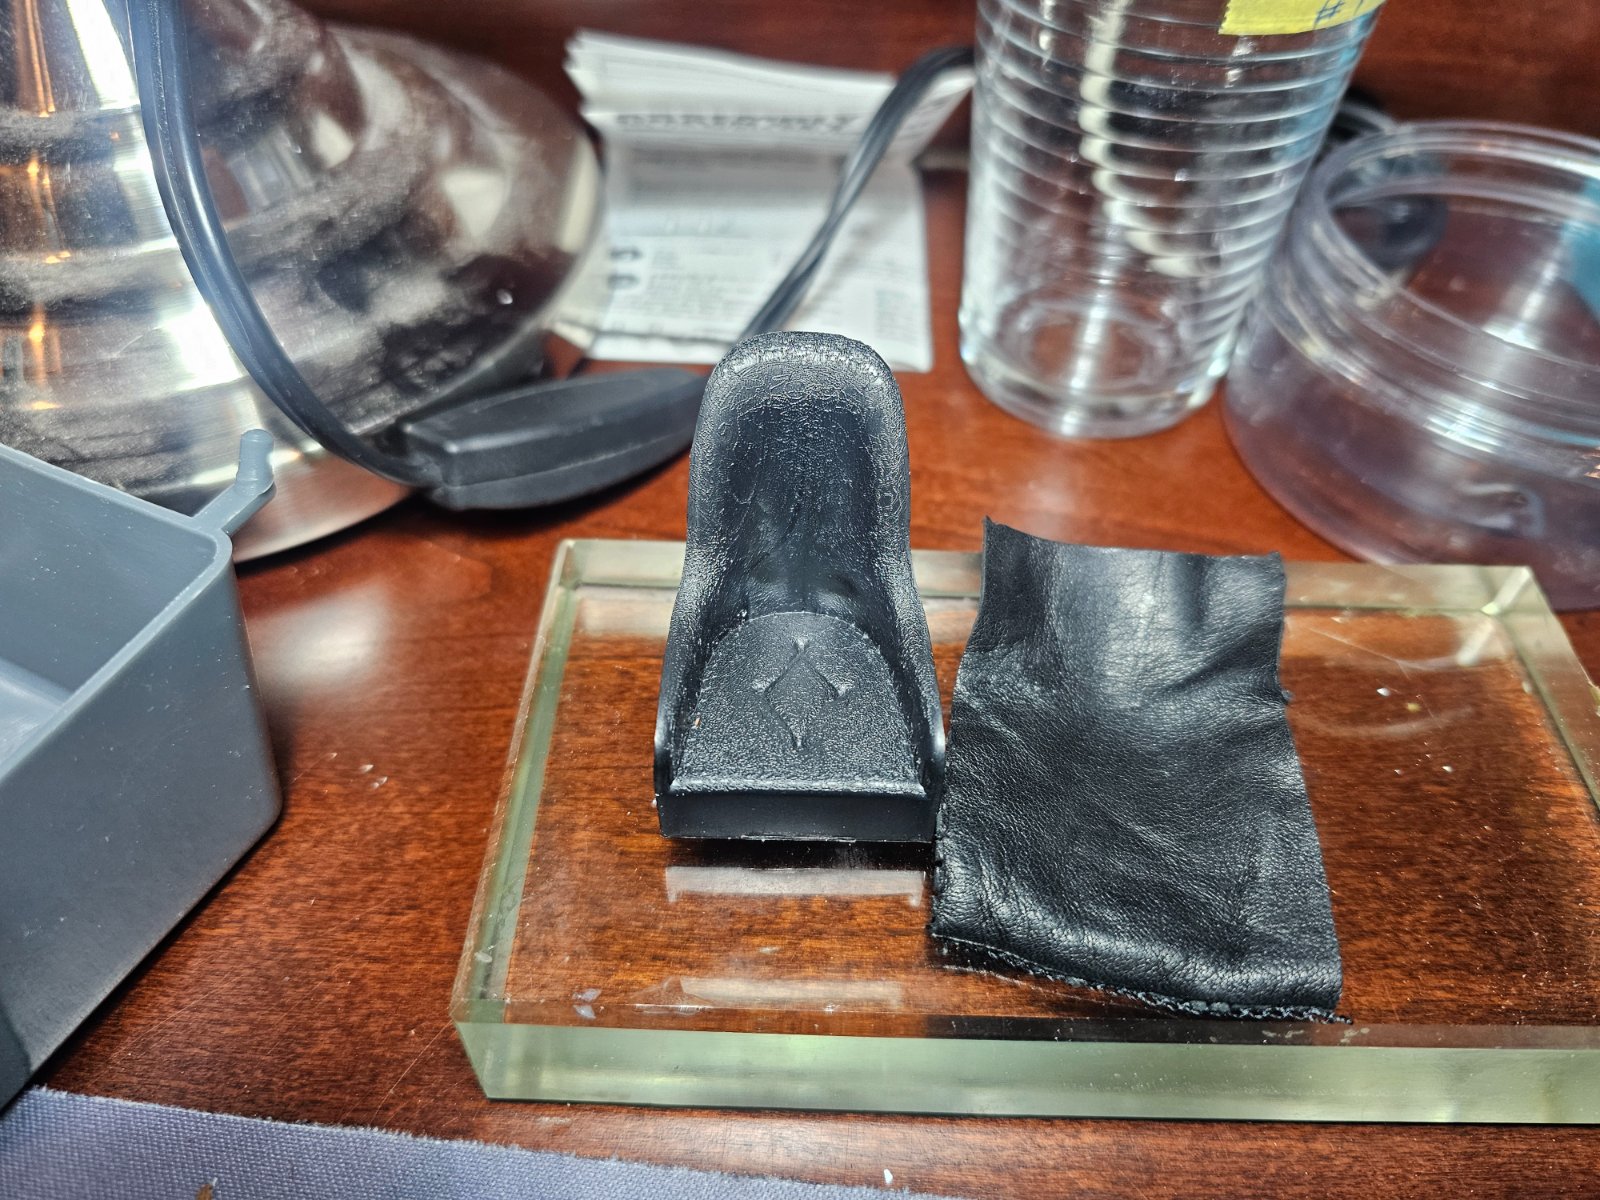
I can also use it to cover the seat. Problem is the back of the seat is button tufted...this should be fun trying to figure that out.
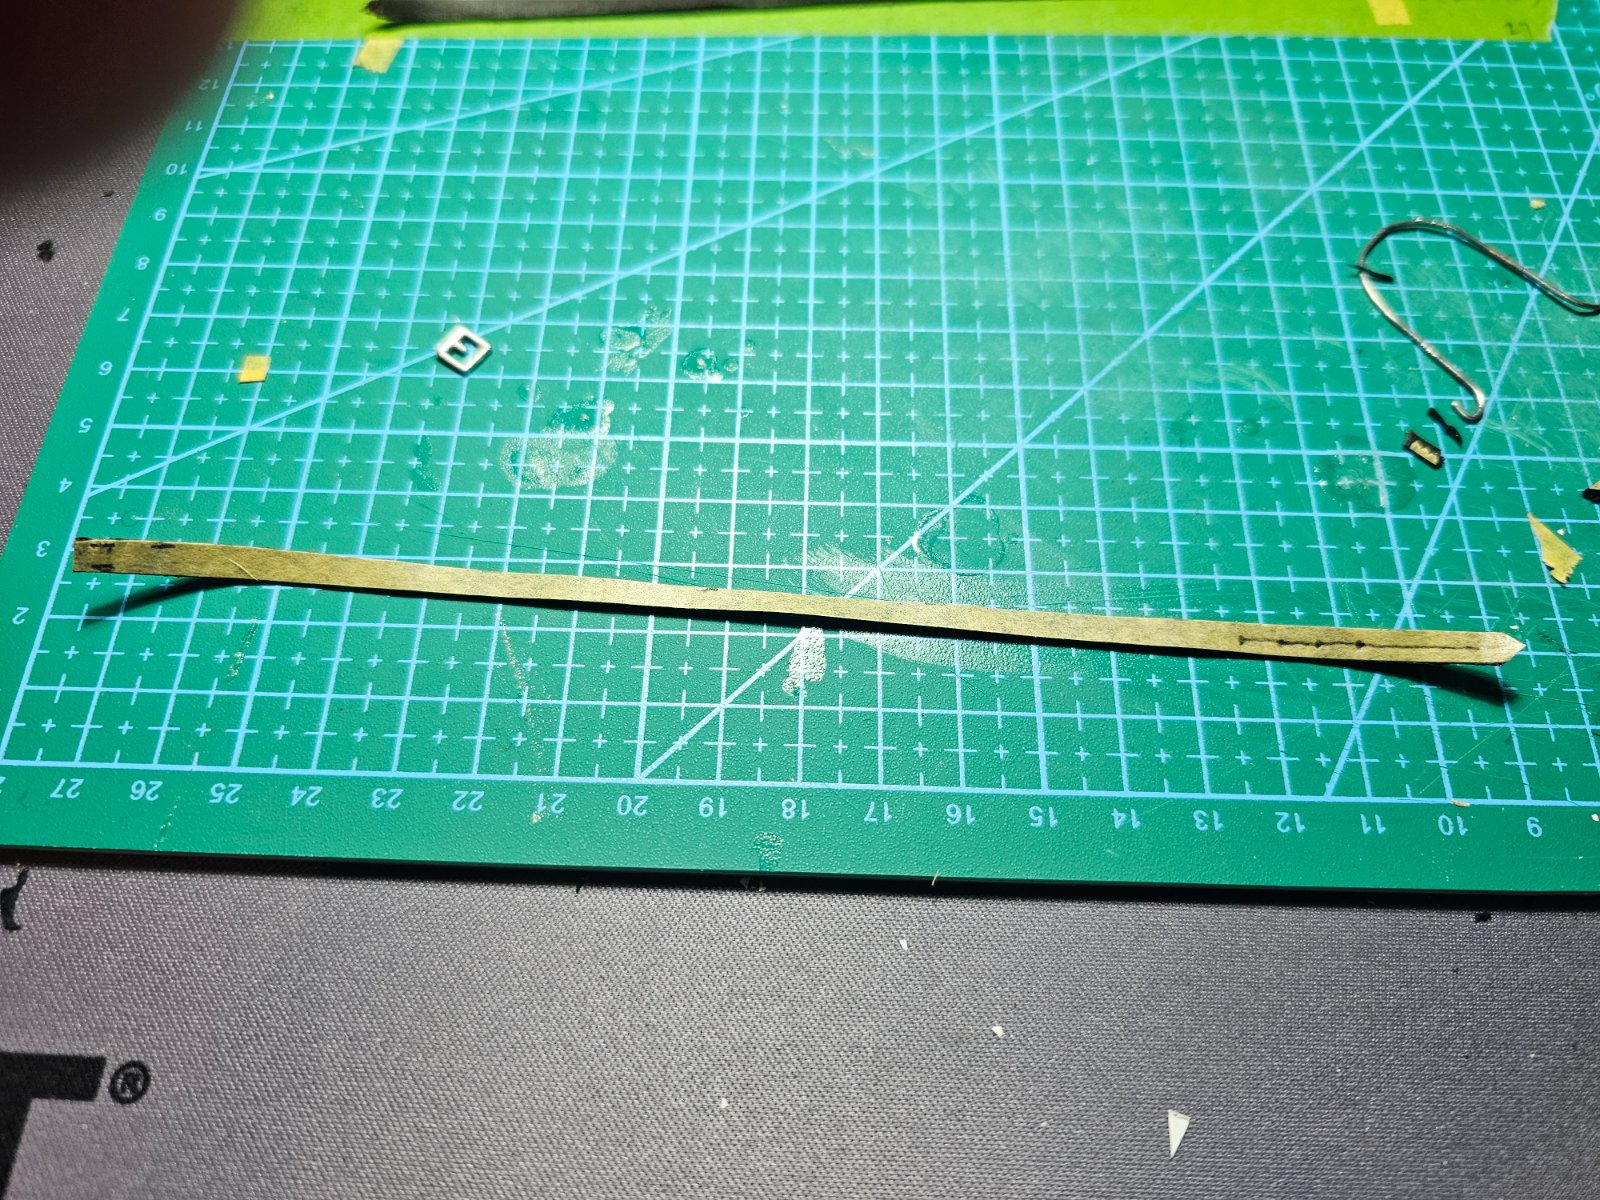
Trick to cutting leather this thin is tamiya masking tape. Now waiting on a product that treats the back side of the leather so its not fuzzy.
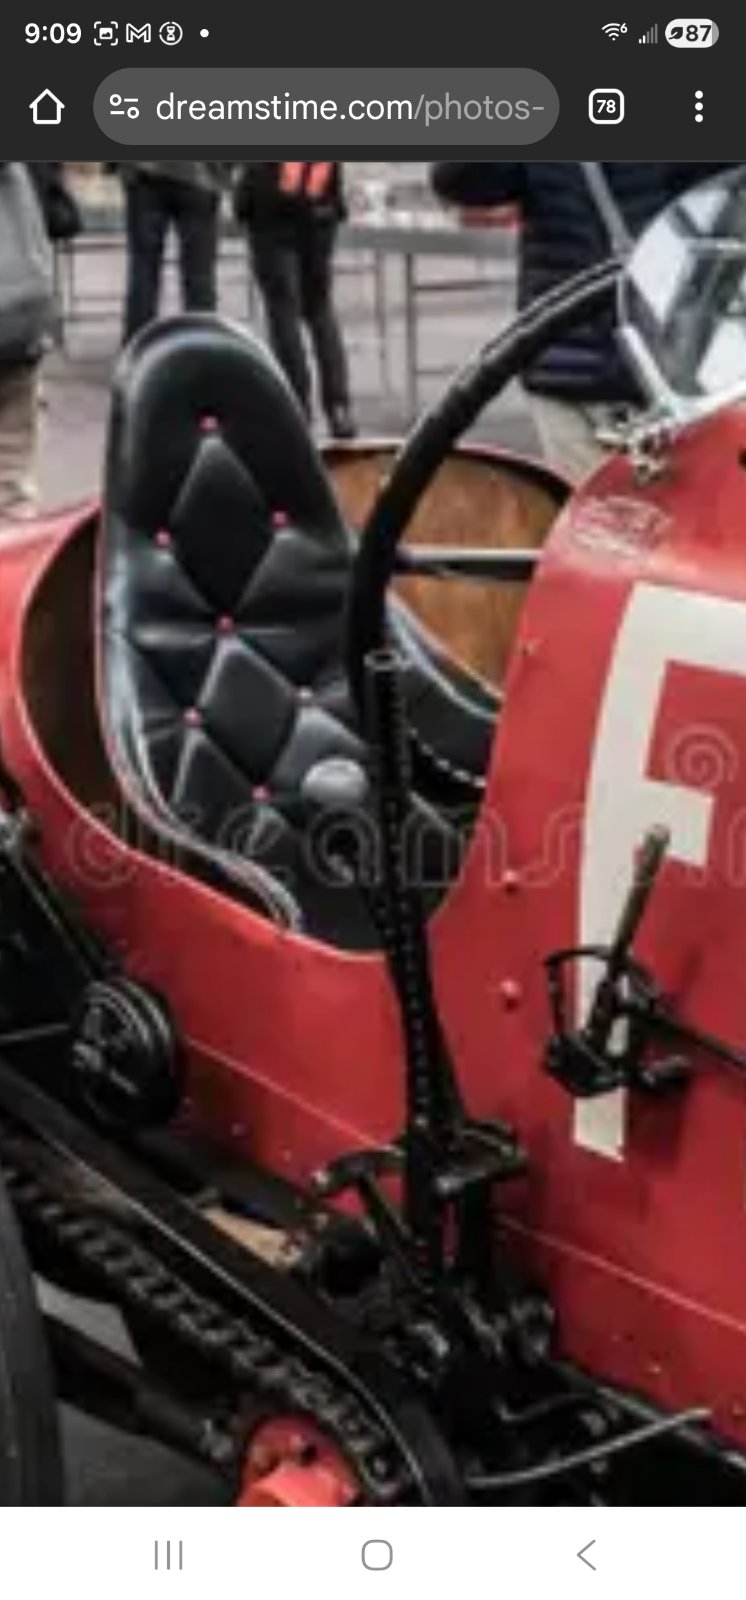
Pic of the real seat...
The very original one had 2 plain leather ones...the restoration got a fancy one.
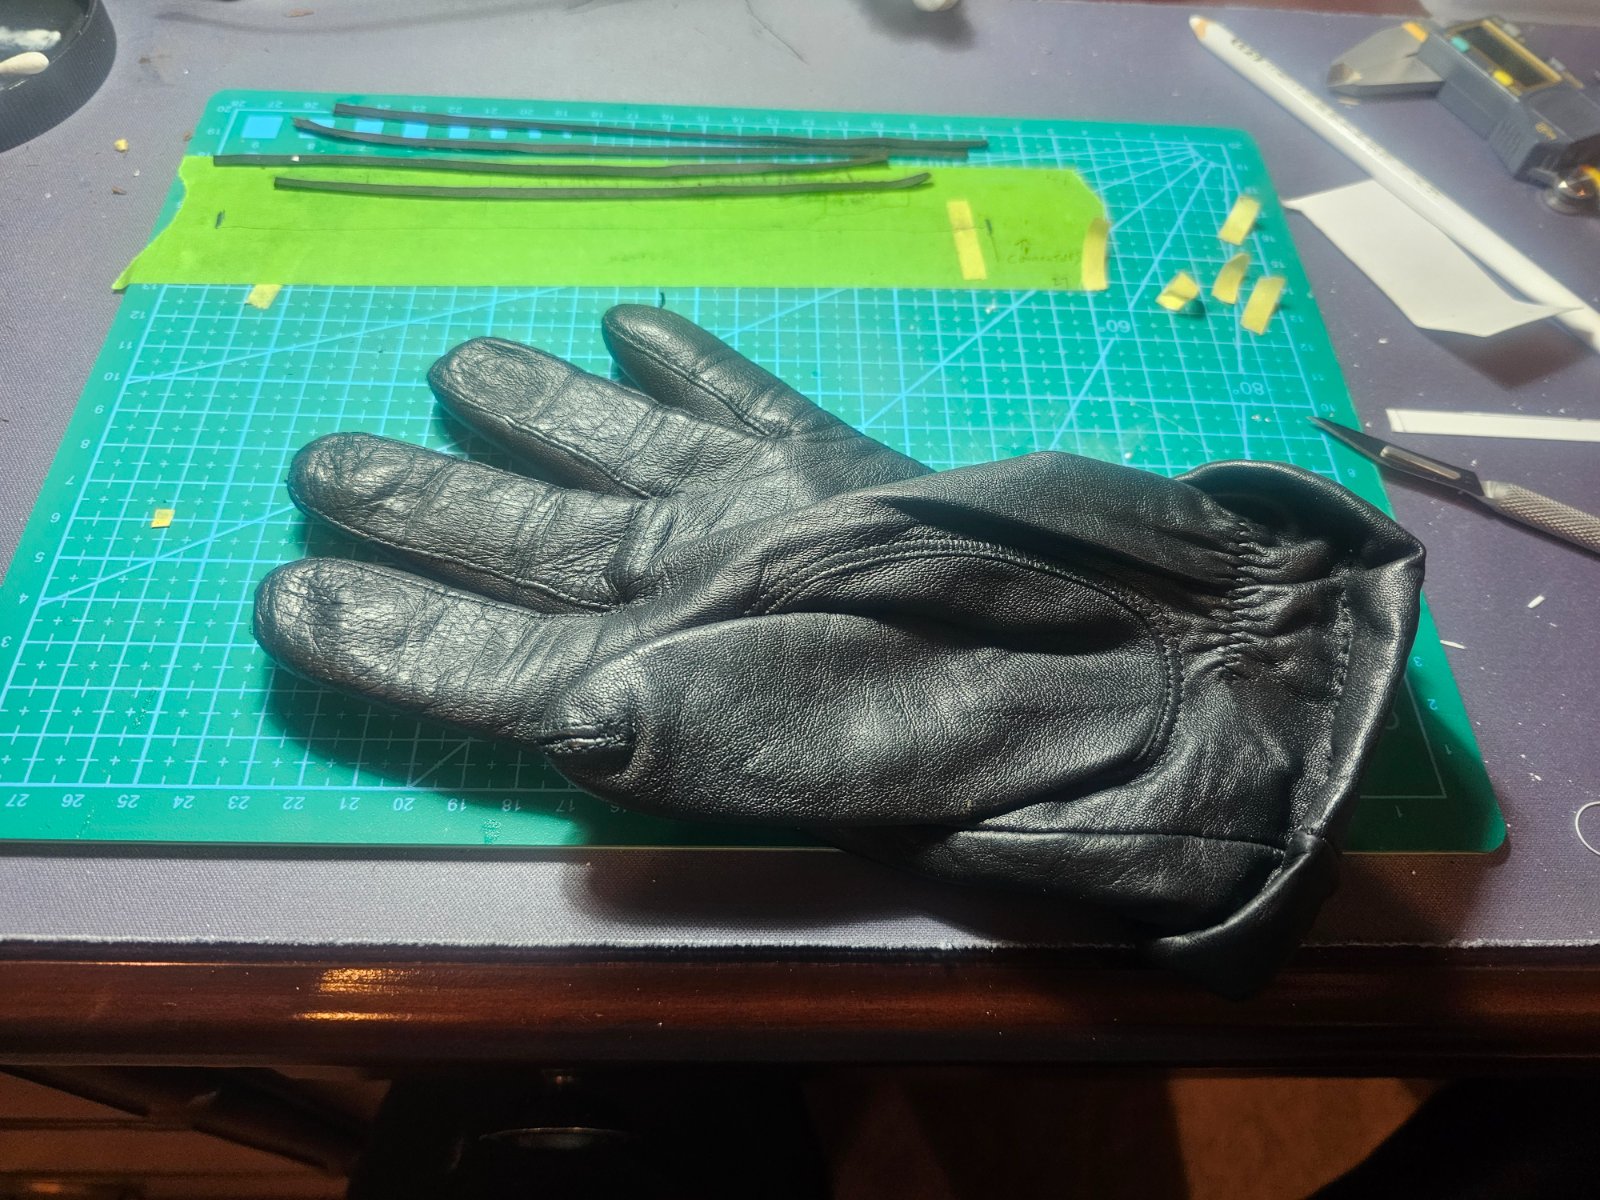
The leather i bought is too thick..about .90mm...so..I found an old pair of leather gloves and spent an hour unstiching them...it measures .56mm which scales about right for straps that would have been 5 to 6mm.
I can also use it to cover the seat. Problem is the back of the seat is button tufted...this should be fun trying to figure that out.
Trick to cutting leather this thin is tamiya masking tape. Now waiting on a product that treats the back side of the leather so its not fuzzy.
Pic of the real seat...
The very original one had 2 plain leather ones...the restoration got a fancy one.
D'oh! Glove.. Of course! Not like we don't have any around here... I delaminated and split a leather belt remnant.
You get some buttons in those corners and you're in business!
I have since ordered a 'skiving tool' on amazoony next time around I'll be prepared.
You get some buttons in those corners and you're in business!
I have since ordered a 'skiving tool' on amazoony next time around I'll be prepared.
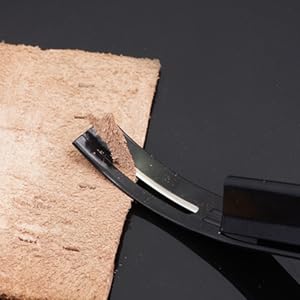
I tried skyving.. but couldn't get it down to .56...and ended up with really fuzzy back side..
For the seat I'm going to glue the leather down to the one they give you..then see how it will look if I glue leather diamonds to it..add some beads..then use painted wire for piping.
For the seat I'm going to glue the leather down to the one they give you..then see how it will look if I glue leather diamonds to it..add some beads..then use painted wire for piping.
Thinning leather? I wonder if a drum or belt sander would work? Maybe with 200 or 300 grit.And..it continues...
The leather i bought is too thick..about .90mm...so..I found an old pair of leather gloves and spent an hour unstiching them...it measures .56mm which scales about right for straps that would have been 5 to 6mm.
I can also use it to cover the seat. Problem is the back of the seat is button tufted...this should be fun trying to figure that out.
Trick to cutting leather this thin is tamiya masking tape. Now waiting on a product that treats the back side of the leather so its not fuzzy.
Pic of the real seat...
The very original one had 2 plain leather ones...the restoration got a fancy one.
View attachment 168053
View attachment 168054
View attachment 168055
View attachment 168056
View attachment 168057
I'm very interested in seeing what you come up with.
I once used the fabric elastoplast bandages to replicate the nylon mesh seats in a 1/35 MD-500 helicopter. It seems to have worked.