
You are using an out of date browser. It may not display this or other websites correctly.
You should upgrade or use an alternative browser.
You should upgrade or use an alternative browser.
Back to building this monster
- Thread starter KINGSLUG
- Start date

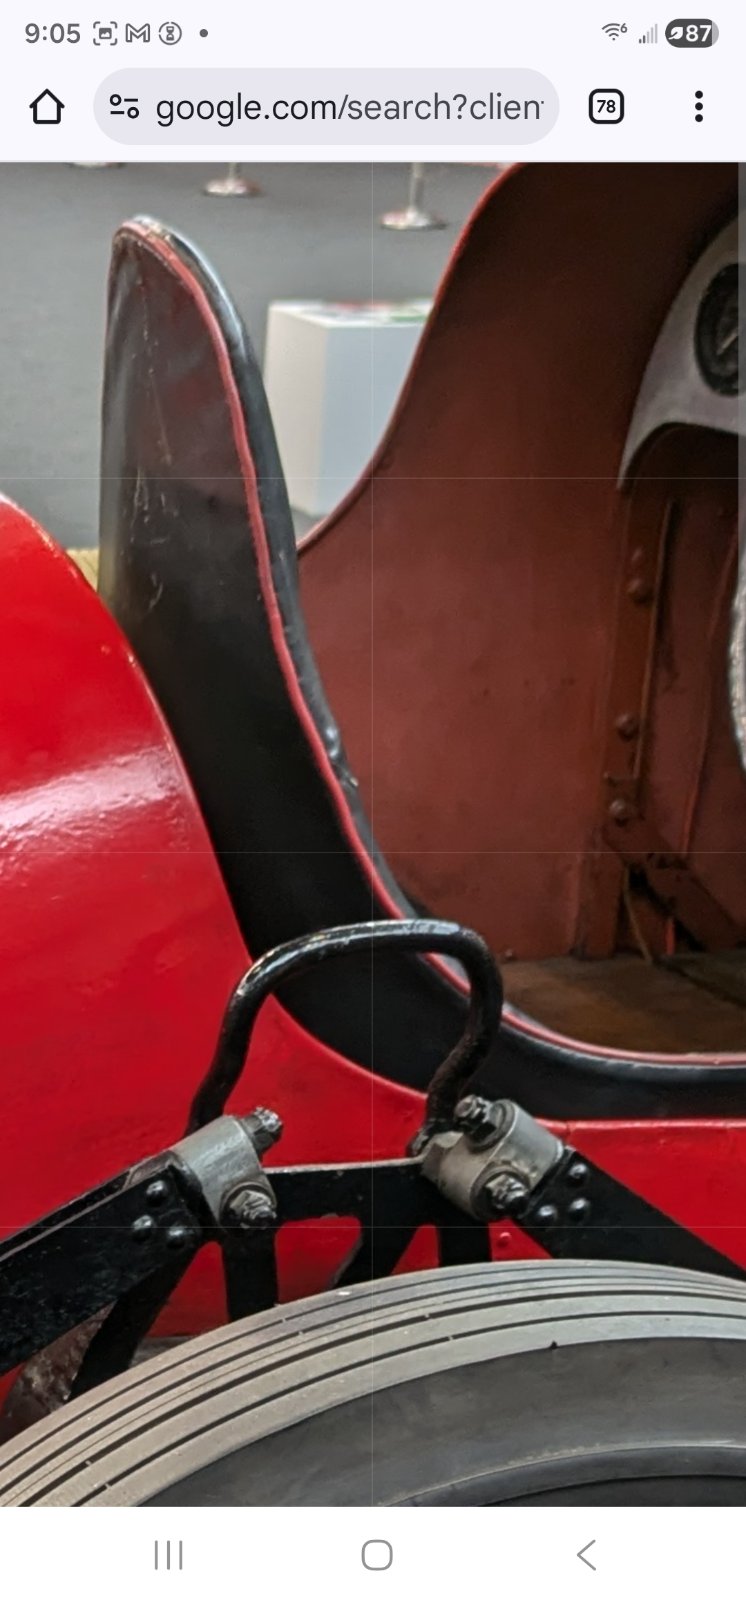


Hmmm... The way the piping shifts down at the bottom, it's as if the seat front and back are sewn, and somehow slipped over the seat form...
Yeah..I think I'll cover the back in leather as well..it will make some things easier..
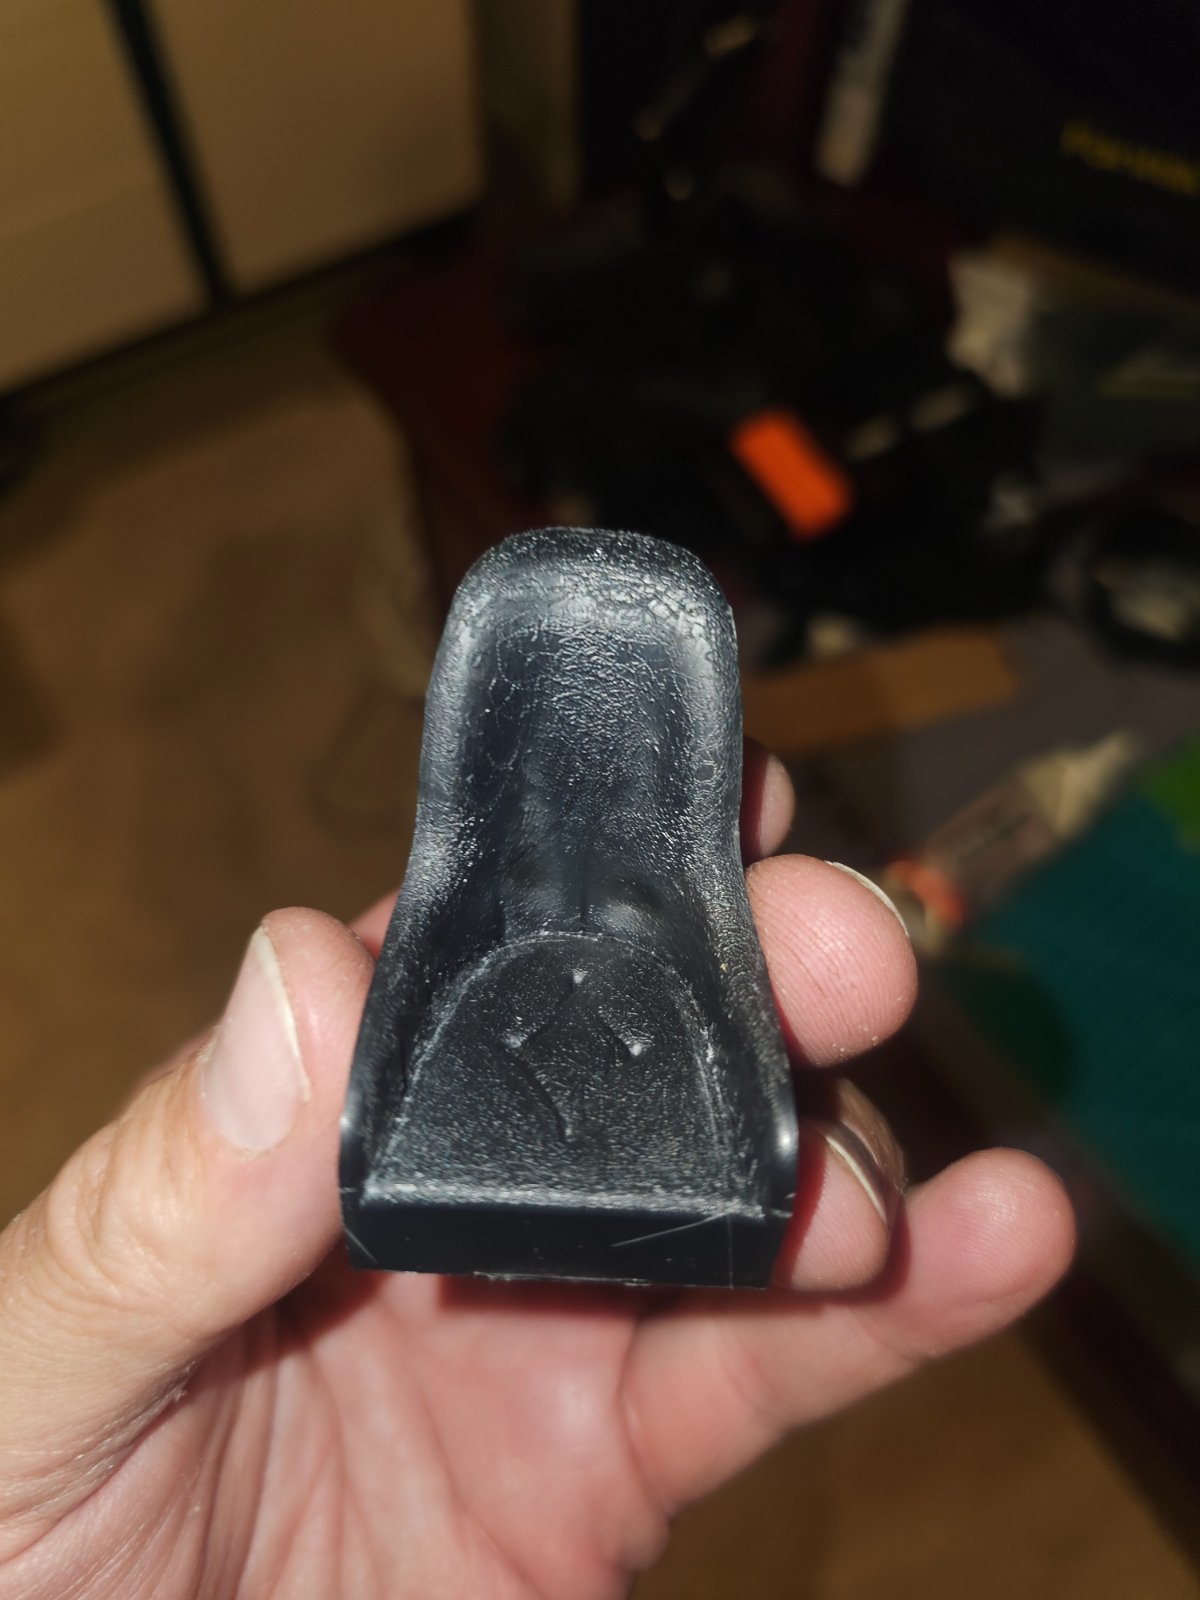
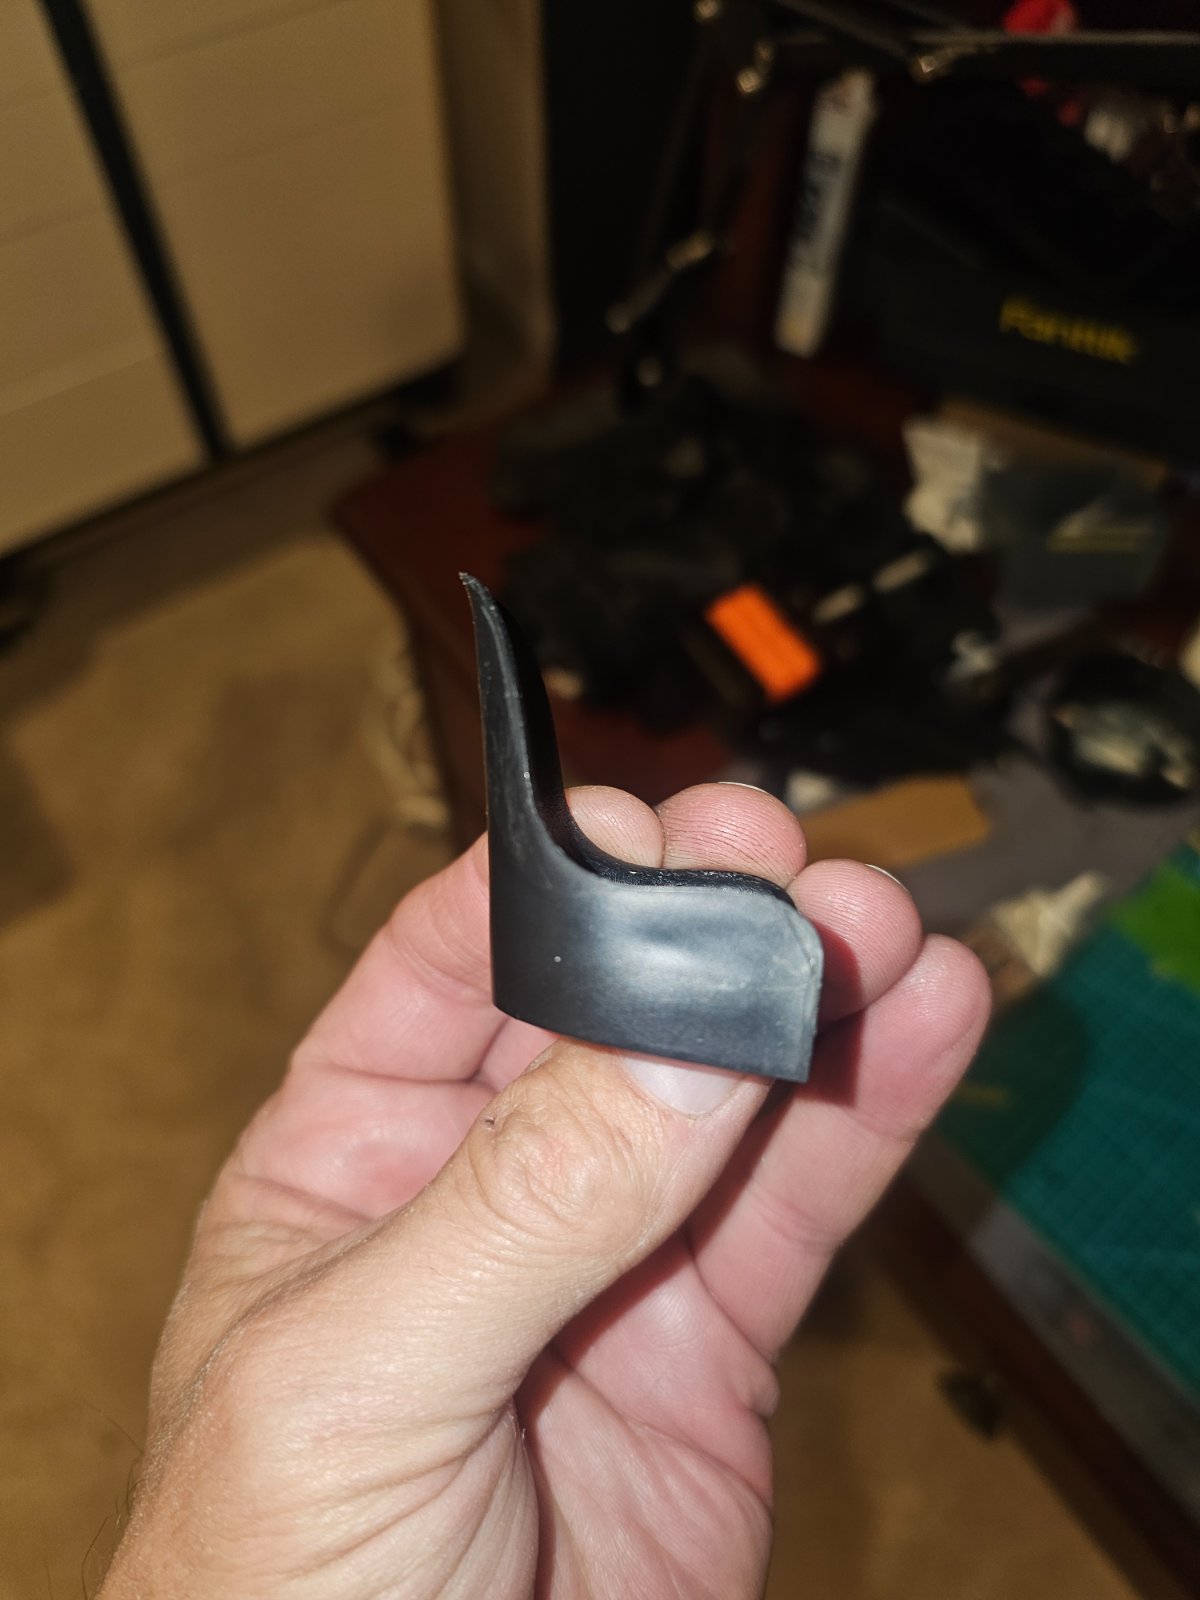
The seats that comes with it is definitely the wrong shape..too flat at the top..but I don't think I can fix it without making a mess...thought of making one from scratch but it has pretty complex curves.
The supplies came in..so we shall see.
This was also not the original that Eldridge made..he had 2 plain ones...this one is very cool
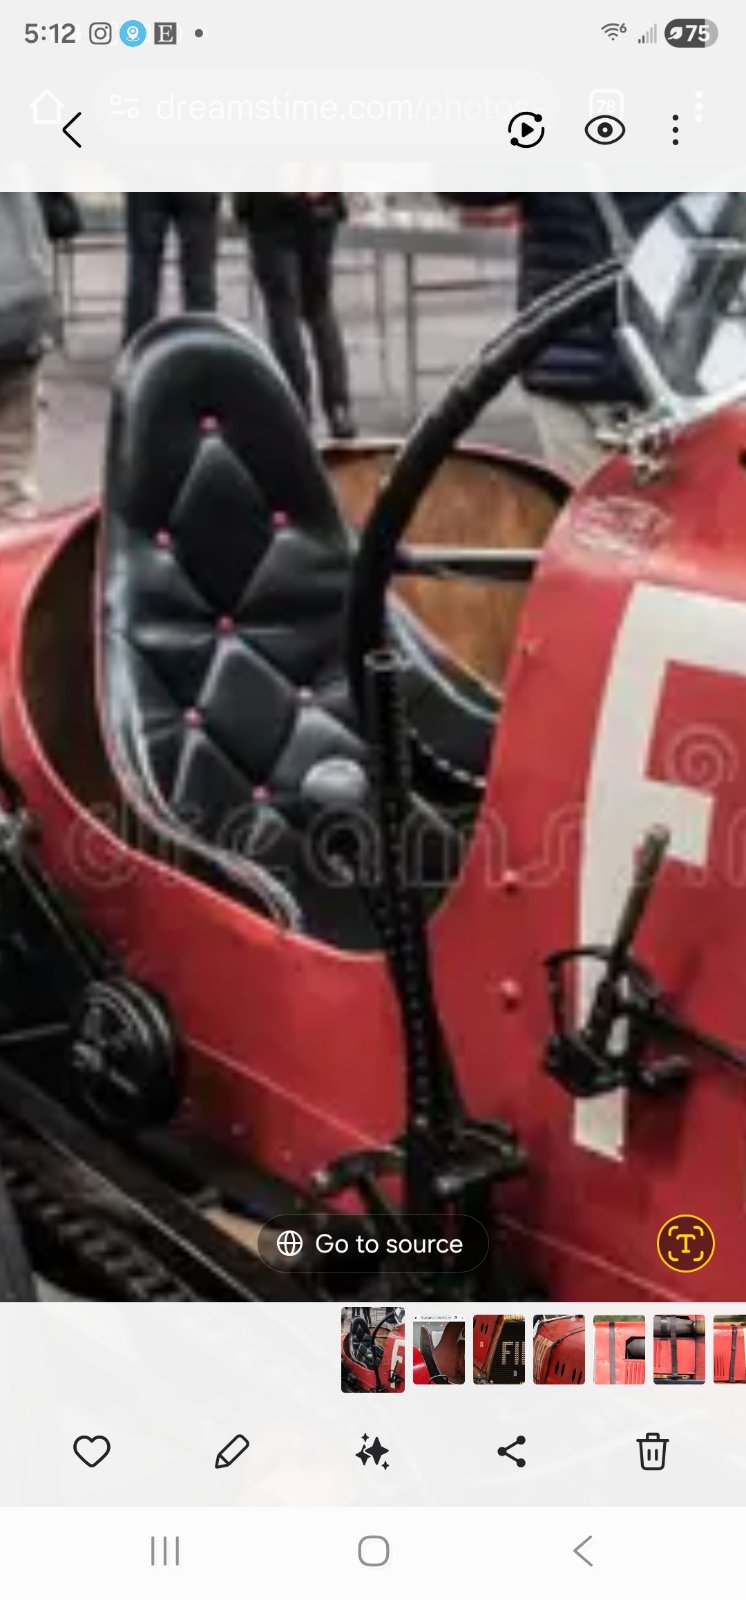
The seats that comes with it is definitely the wrong shape..too flat at the top..but I don't think I can fix it without making a mess...thought of making one from scratch but it has pretty complex curves.
The supplies came in..so we shall see.
This was also not the original that Eldridge made..he had 2 plain ones...this one is very cool
https://en.wikipedia.org/wiki/Fiat_MephistophelesCan anyone tell if the back of this seat is leather...or wood
Trying to figure out how to make it..
View attachment 168822
I looked up the other photos at the above link and it looks like it was a slip cover type of affair.
You can see from some of the photos that there are things under the leather, on the rear of the seat, that are causing the leather not to lay flat. The red piping along the edge of the seat also leads me to believe that it's a slip cover type of upholstery job.


![Pampers Sensitive Baby Wipes, Clinically Proven, Fragrance Free, Unscented, Water Based, Hypoallergenic, Multi-Use, Hand Wipes 336 Wipes Total (6X Flip-Top Packs) [Packaging May Vary]](https://m.media-amazon.com/images/I/41KLBHu9CAL._SL500_.jpg)





As an Amazon Associate we earn from qualifying purchases. Product prices and availability are accurate as of the date/time indicated and are subject to change.
Hmmm... After all the work you put into the kit you don't really have a choice. Using the stock seat in the photo would take away from all your hard work.Look at what they give you..doesn't look much like it..View attachment 168839View attachment 168840
Given the quality of the seat in the photo it would probably be easier to just build a new seat from scratch.
Possibly make it it two pieces: bottom and seat back. Use the stock seat to make templates. Cast the back of the seat in Plaster Paris, then cut some sheet styrene according to your template and form it into the Plaster Paris mould using a heat gun.
This could result in a thinner basis for the seat, providing room for you to apply the upholstery.
So says the armchair quarterback!
You need to crack this nut!
I am really looking forward to seeing how you make this work.
Started on the seat..got outer shell started..the pins came in for the buttons as well as the 39 inches of foam that I need about 3 inches of..made a template for the buttons from some aluminum..
Letting it cure over night as its pretty fragile at this point.
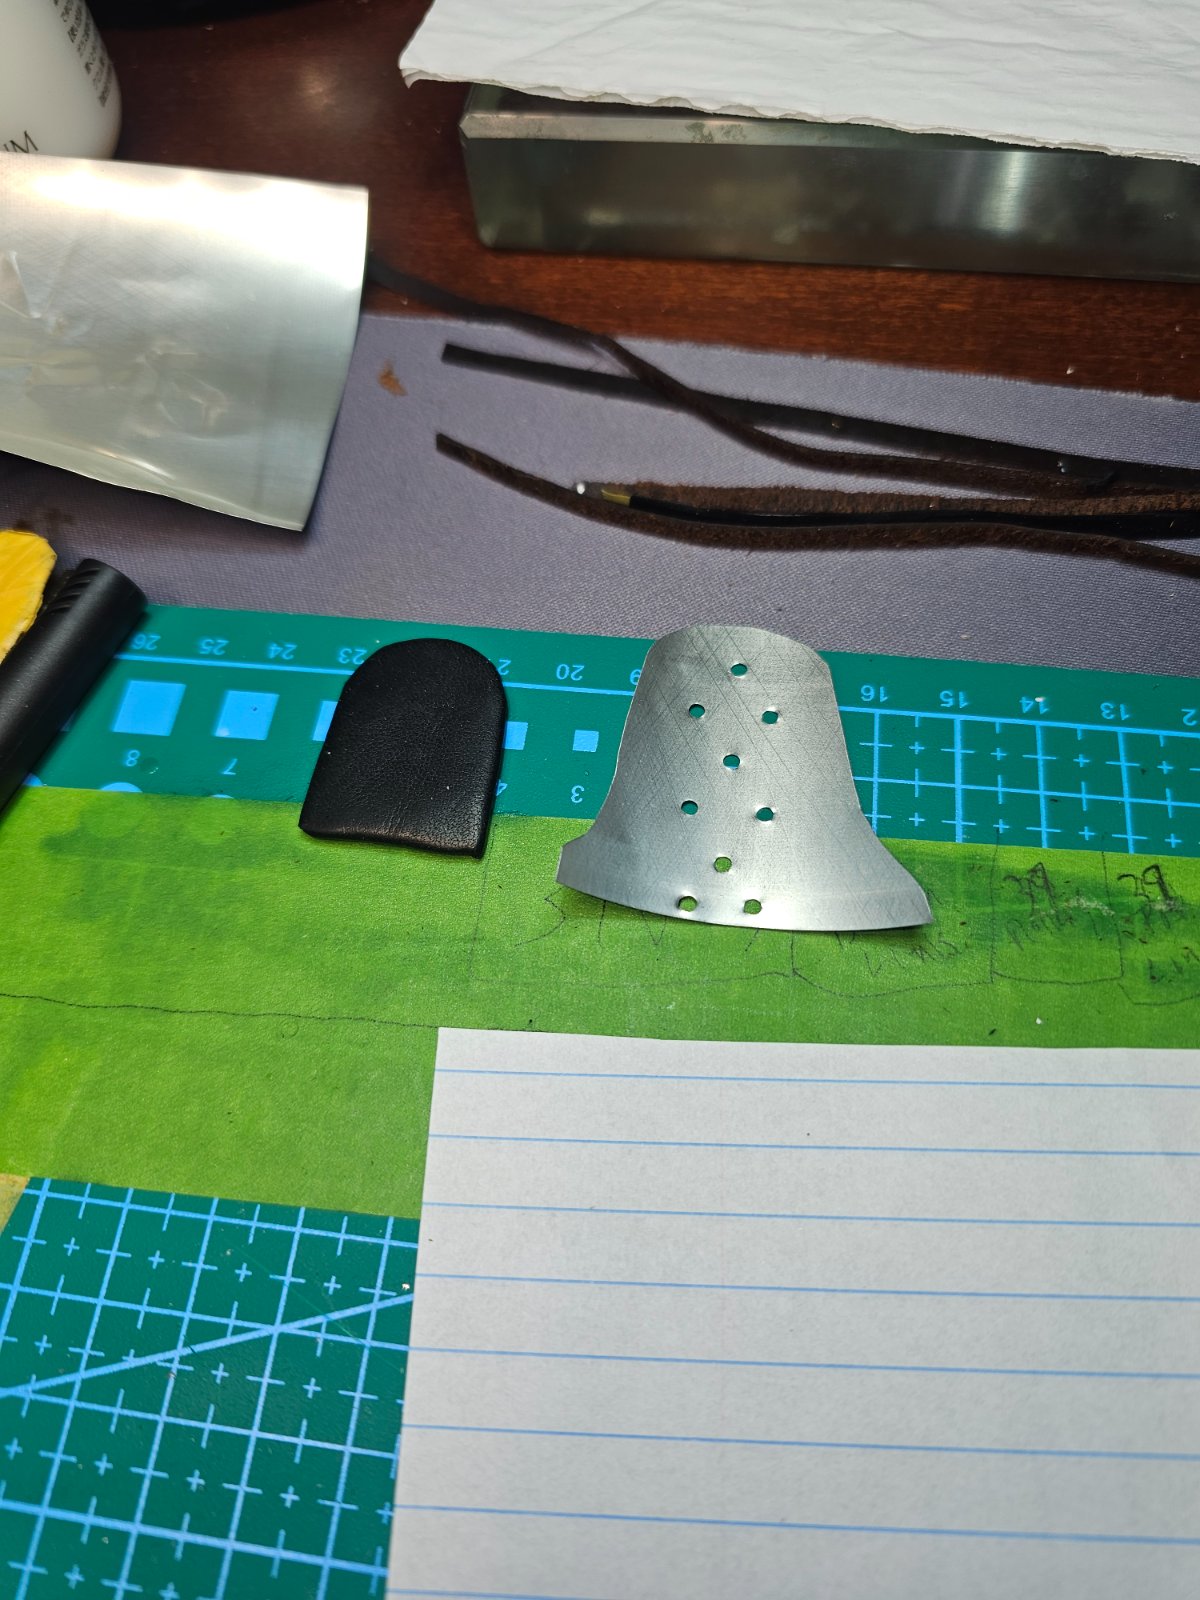
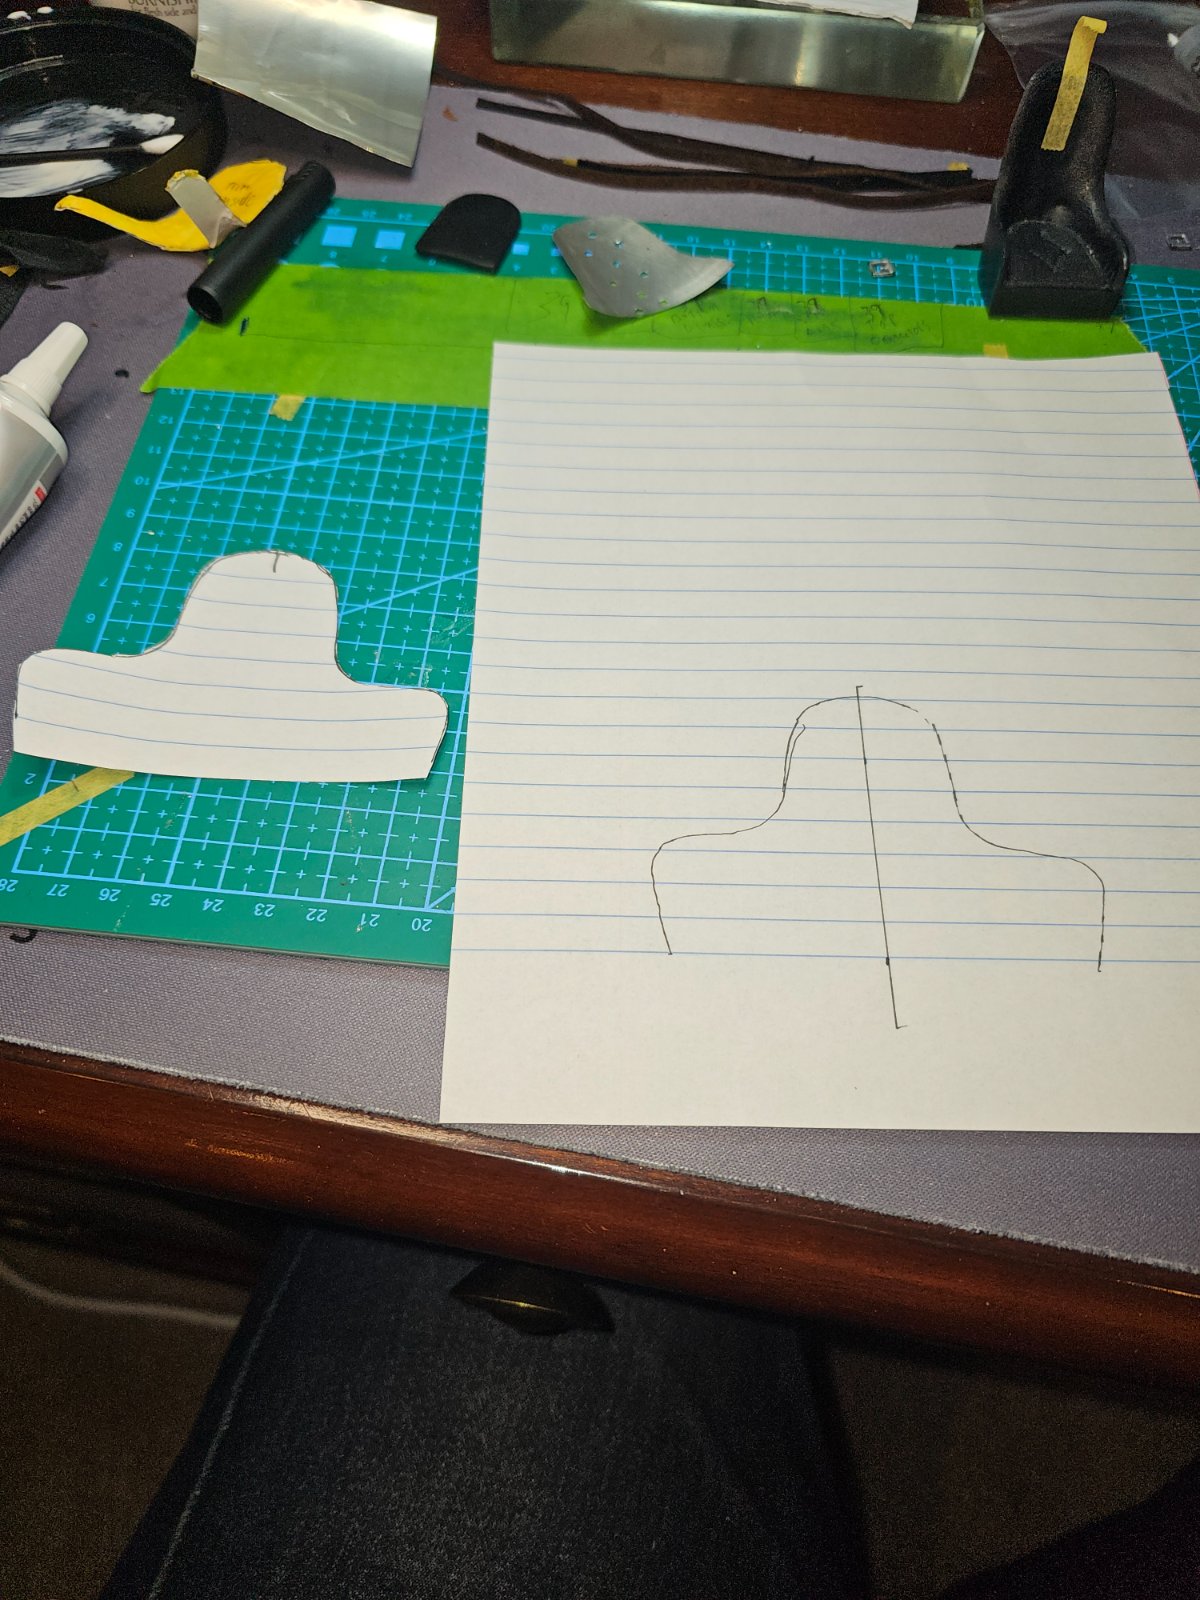
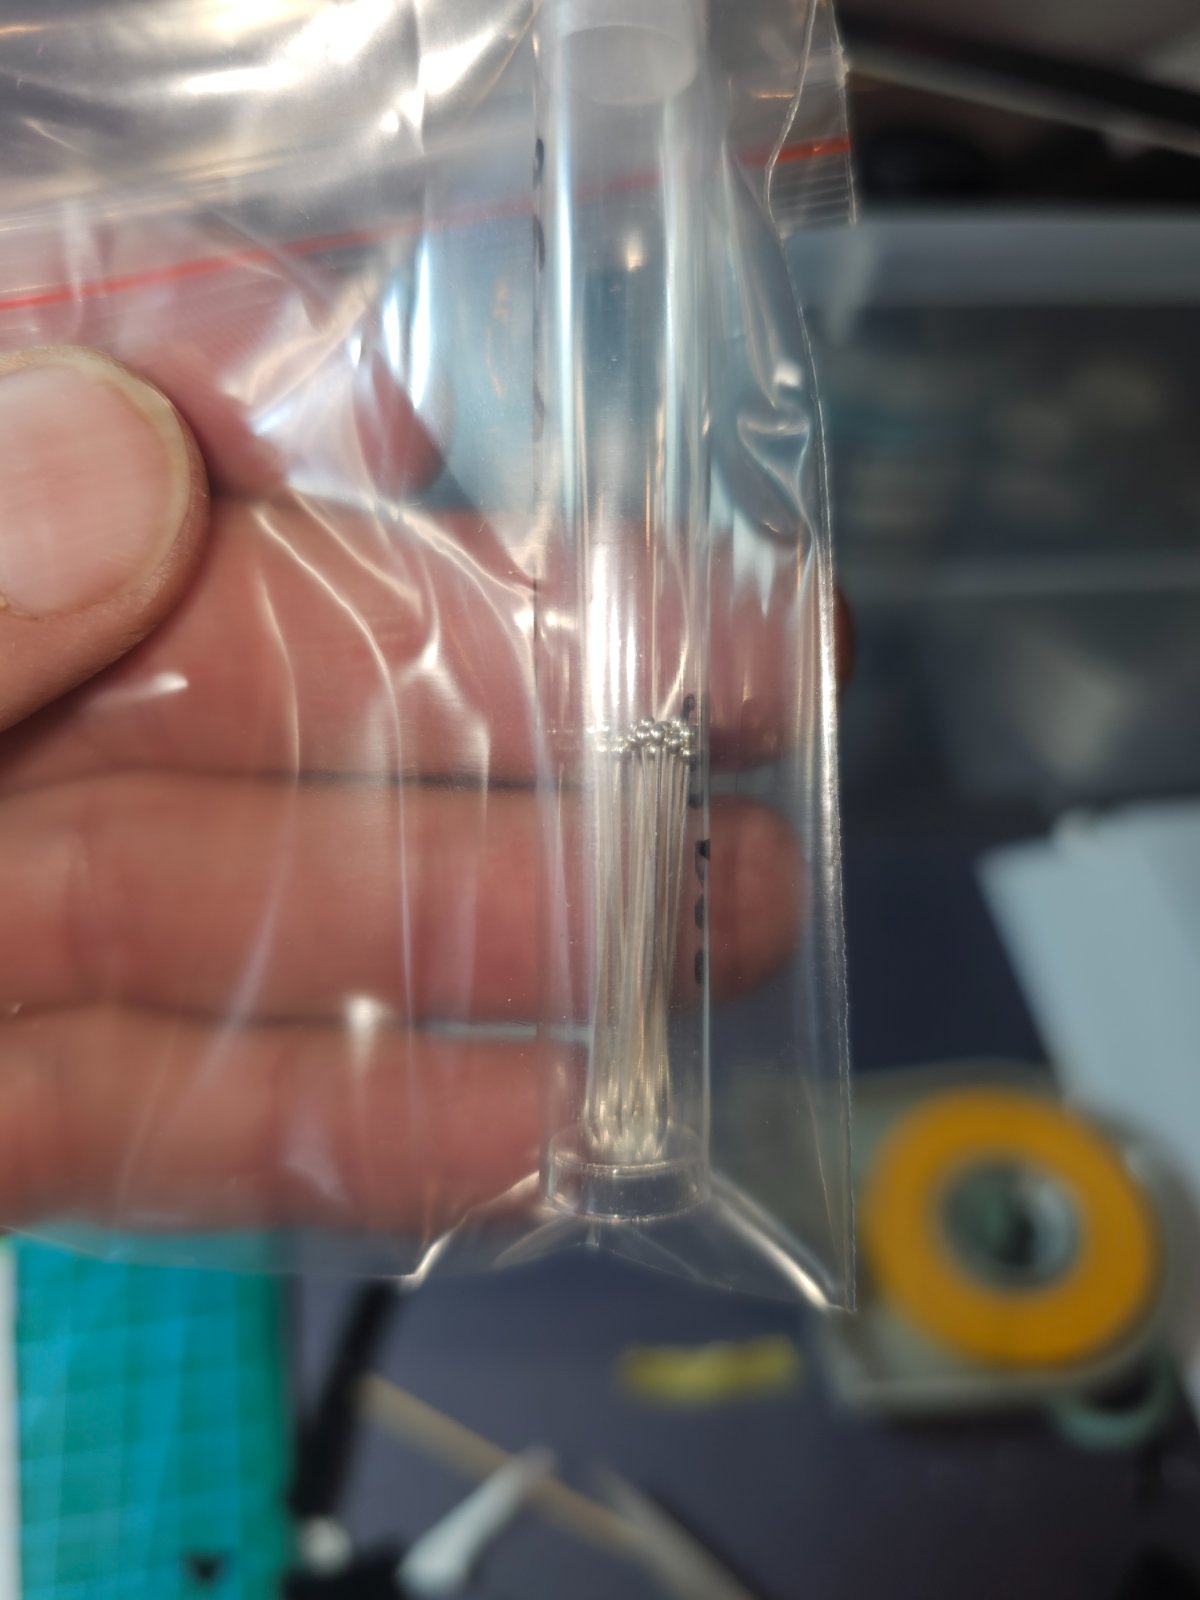
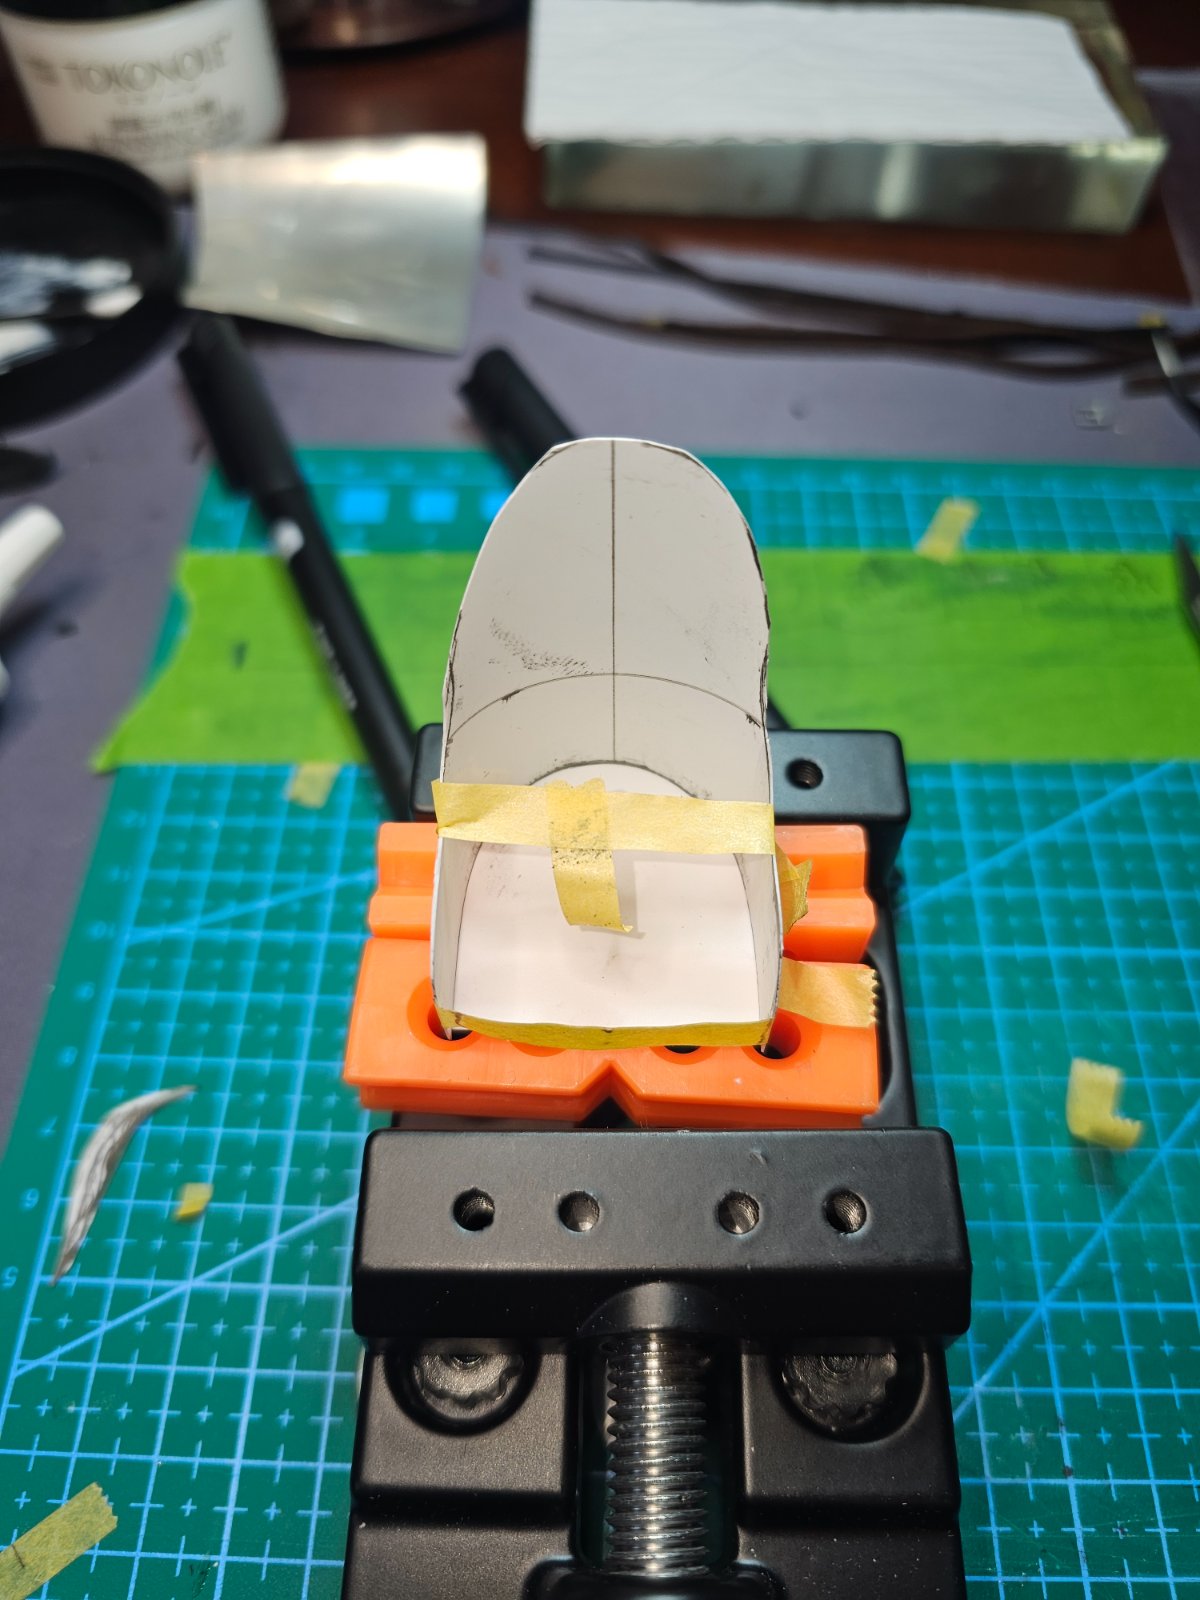
Letting it cure over night as its pretty fragile at this point.
Looking good!Started on the seat..got outer shell started..the pins came in for the buttons as well as the 39 inches of foam that I need about 3 inches of..made a template for the buttons from some aluminum..
Letting it cure over night as its pretty fragile at this point.
View attachment 168986
View attachment 168987
View attachment 168988
View attachment 168989
I was looking at the aluminum you used to make the buttons and it came to me that maybe you could more easily form the back of the seat using aluminum or brass sheets. I have used the aluminum from soda pop cans to form parts for model before. The aluminum worked with CA glue. It scaled nicely in places as aircraft skin on a 1/35 scale MD-500 helicopter kit.I think this might be one of the hardest parts of model...
I used to fix furniture..that was easier..
Super thin styrene very fragile...have to figure out how to strengthen it up...

Beautiful build so far your detail is top notch.Moved to utah so everything was in boxes...time to finish this. Waiting on the Tamiya 1/6 motorcycle chain to arrive. The one they give you is impossible to put together.View attachment 165941View attachment 165942View attachment 165943

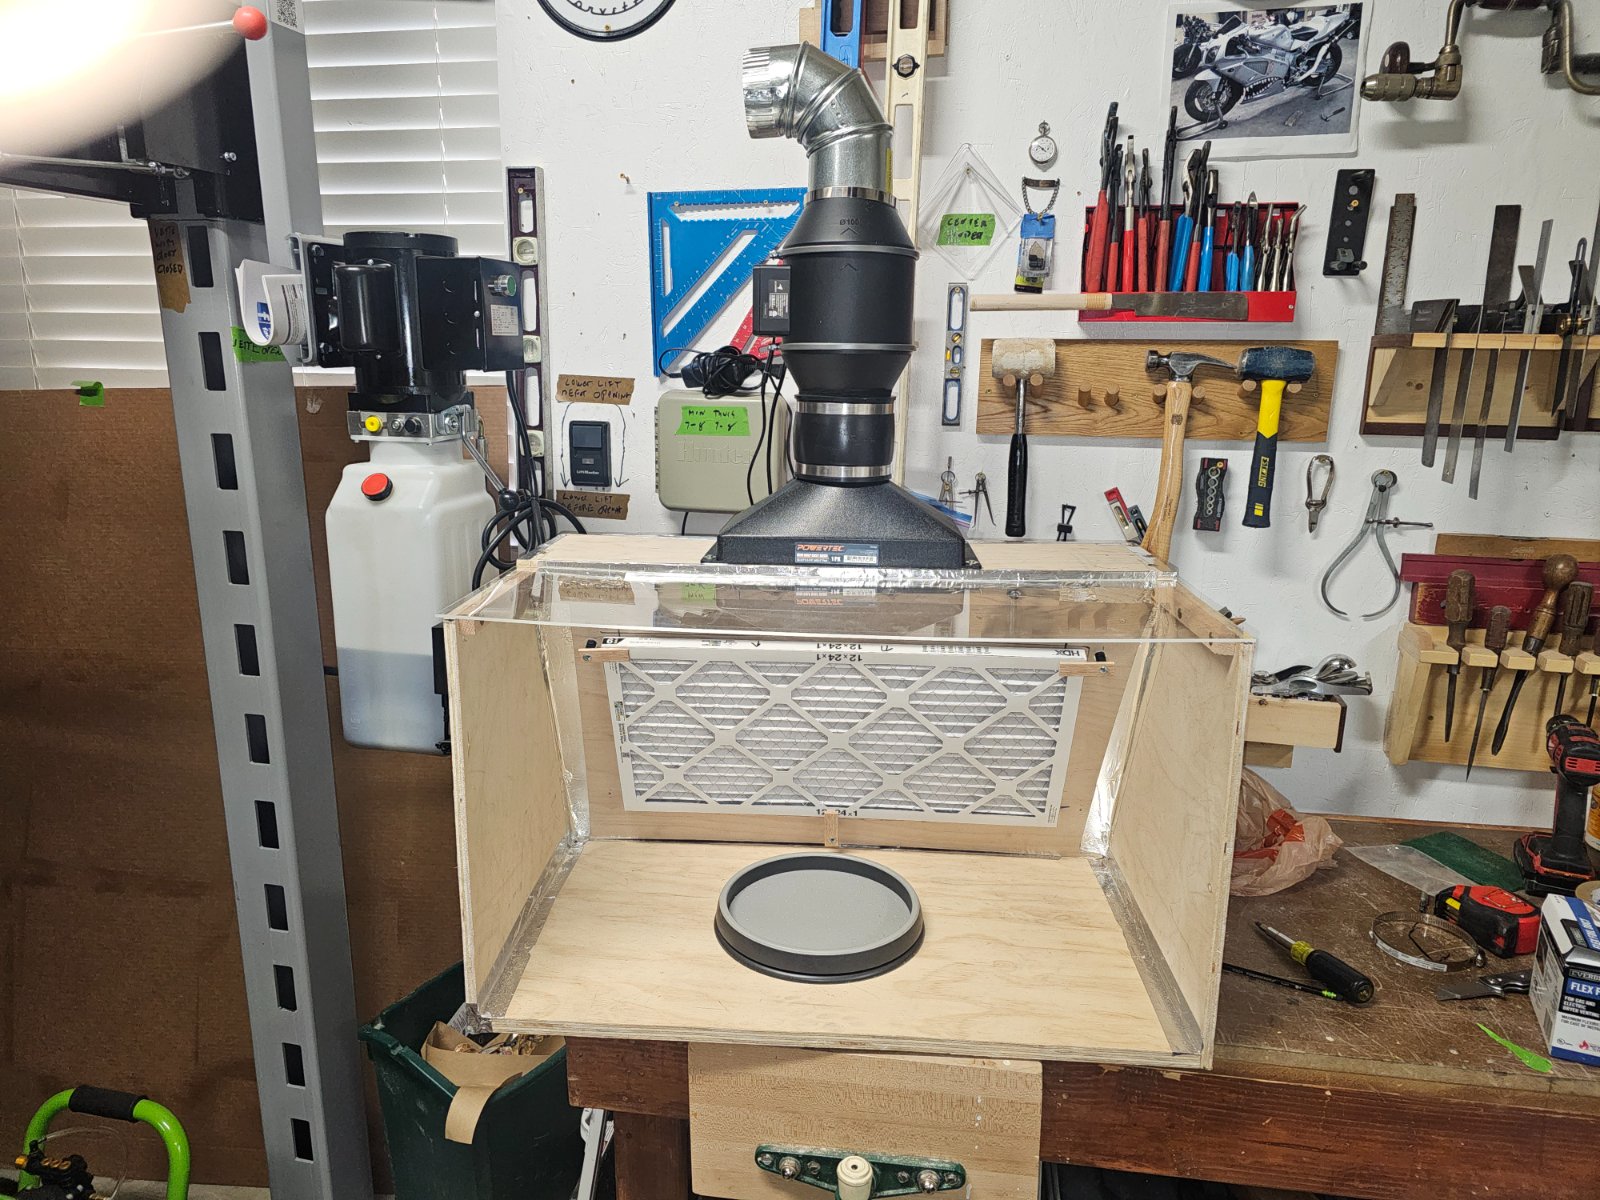
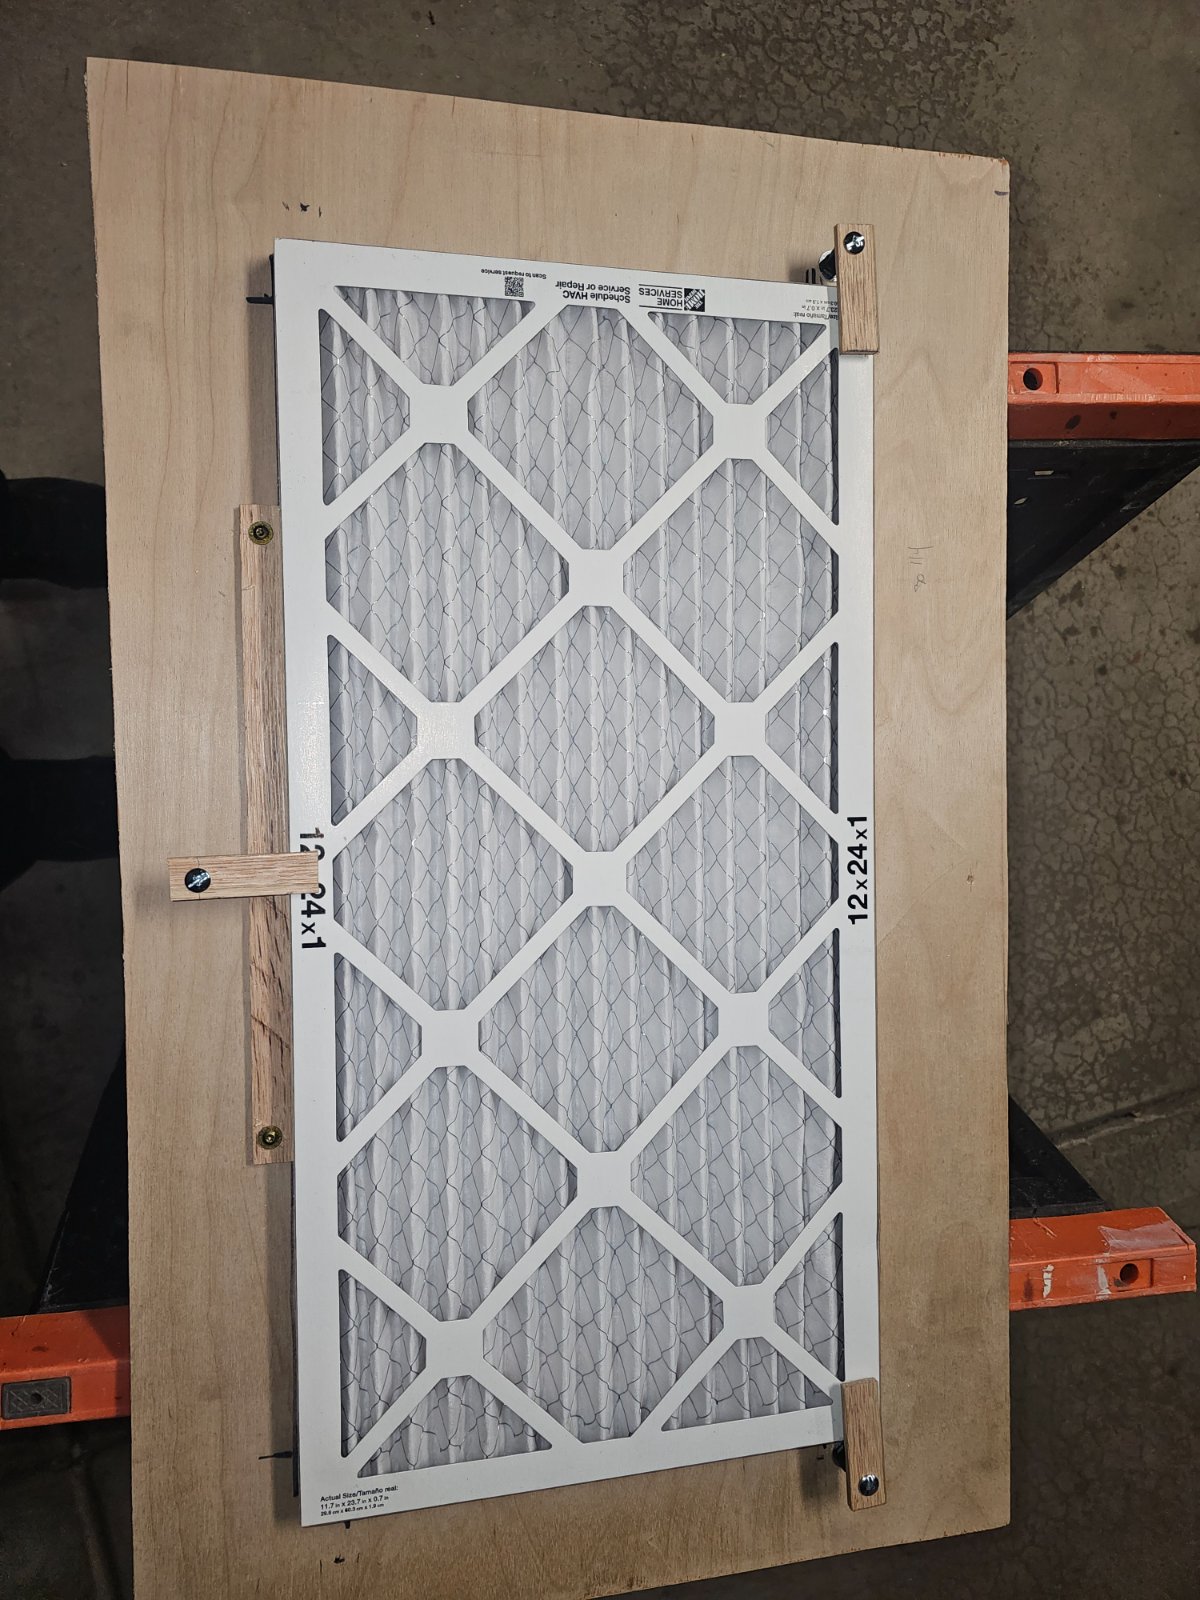
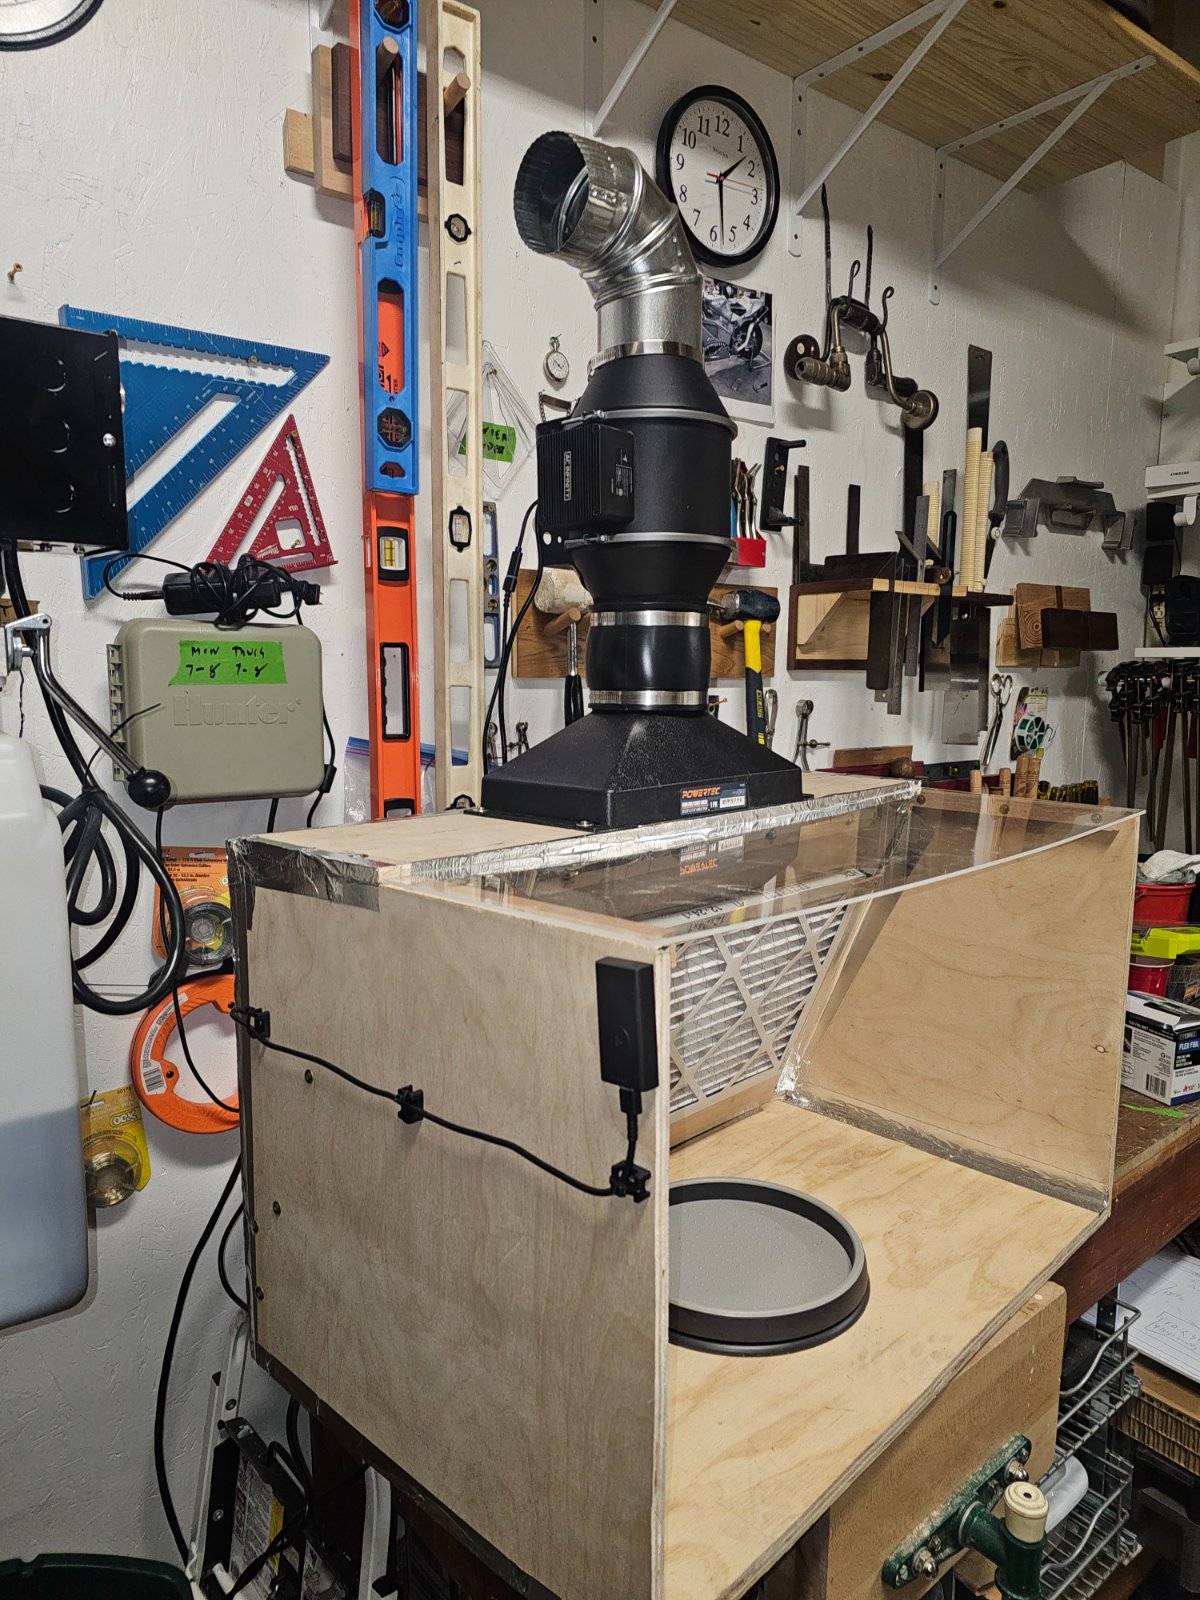

Looks great. I'm loving the brace on the wall. I still have mine from when I was a 16 year old appreciated carpenter.Knocked together a new and bigger spray booth..new this would cost 6 to 700 bucks..under 200 in parts for this and its real quiet..
I can run it out the window or inside with a charcoal canister..
View attachment 169203
View attachment 169204
View attachment 169205
These days my carpenter's look at me as if I had gone mad when I suggest using any tool that isn't electric or gas powered.
I recently suggested to a carpenter who had run out of pins for his plaslode nailer to just pin the wall panels with a hammer and oval nails...... he looked at me as though I was speaking klingon.
Kids........ Pantherman

kevin
Well-Known Member
I am a glazier. We were installing storefront door frames on the jobsite, the batteries die on my 20 something year old apprentice's lazer level. He didn't know what to do, no one had extra batteries. It gave me a chance to show him how to use a plumb bob.These days my carpenter's look at me as if I had gone mad when I suggest using any tool that isn't electric or gas powered.
Kids........ Pantherman
I'm no tradesman, but when we were renovating my old house a few years ago, the young contractors came by the room I was working in with a jackplane:
— "We saw one of those in tradeschool!"
— "We saw one of those in tradeschool!"
First use of the booth..paint the pins for the seat...little sterling silver ones from etsy..
Found some foam that looks like it will work..its the stuff you cram
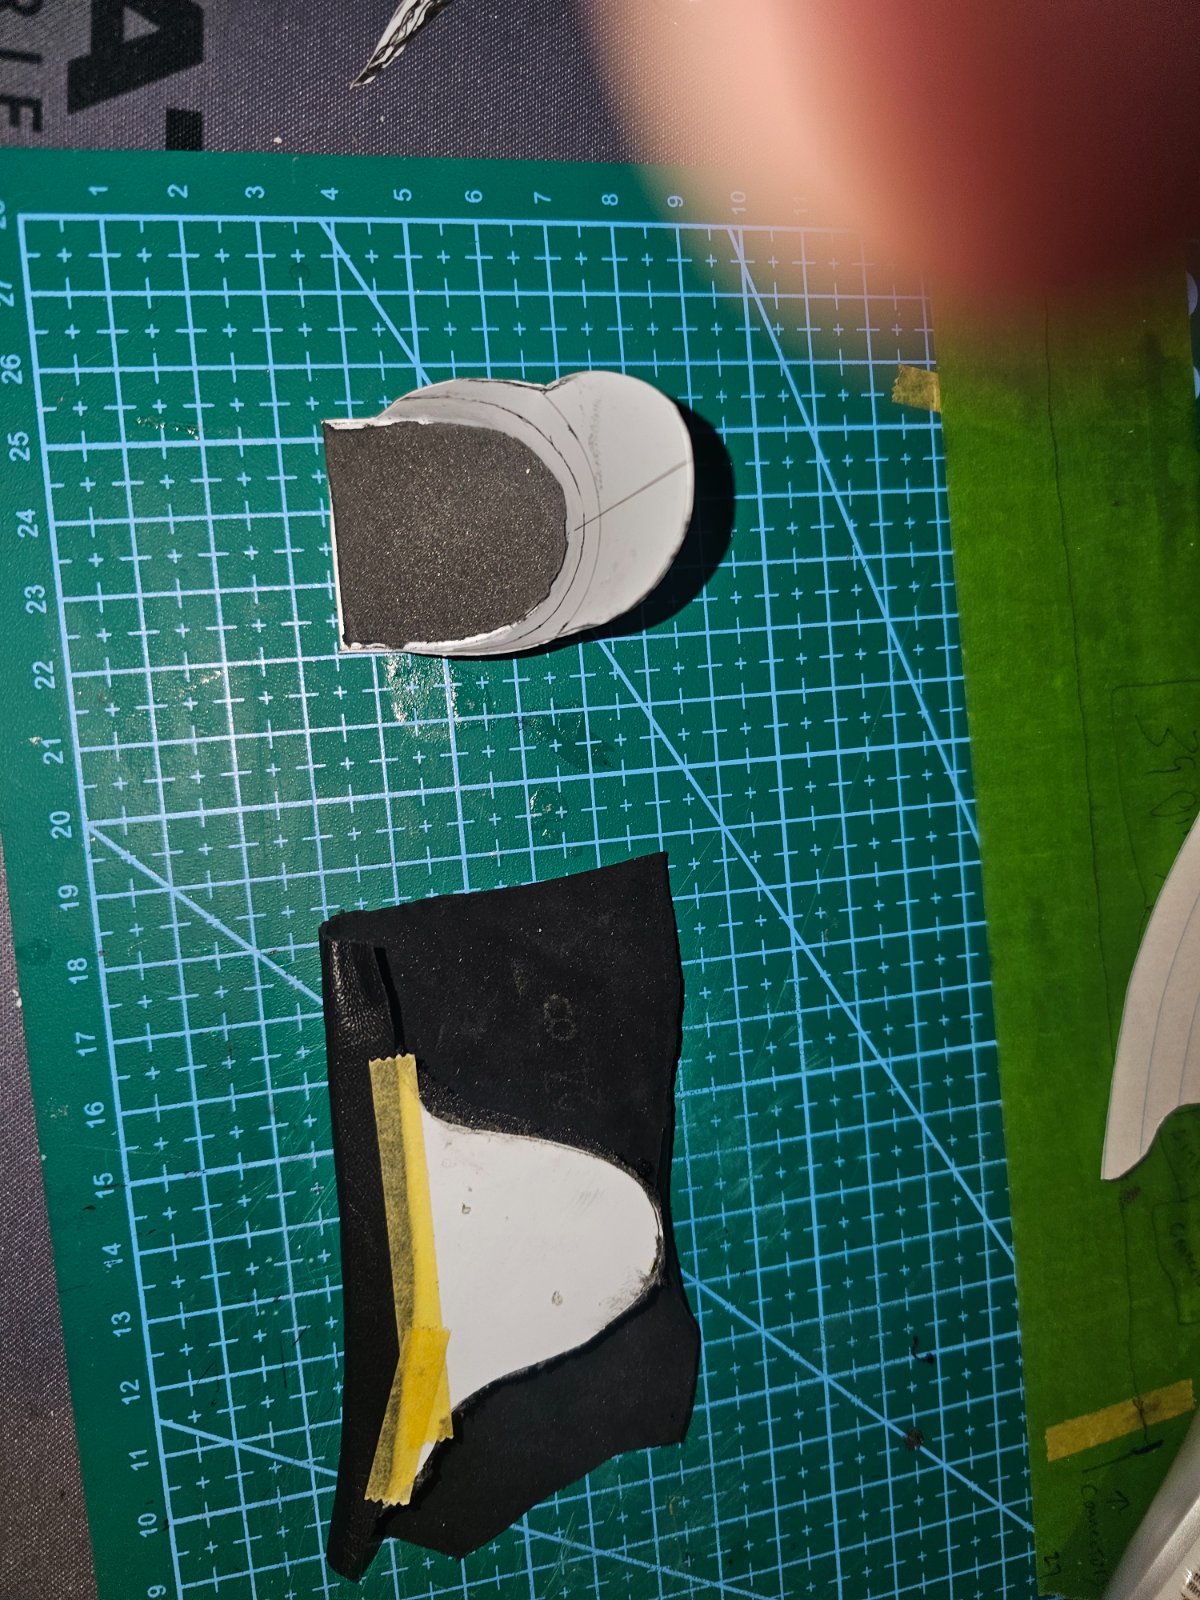 into the opening around your window ac..it has to be compressed a lot.. I tried some higher density foam but it wouldn't create the diamond pattern..
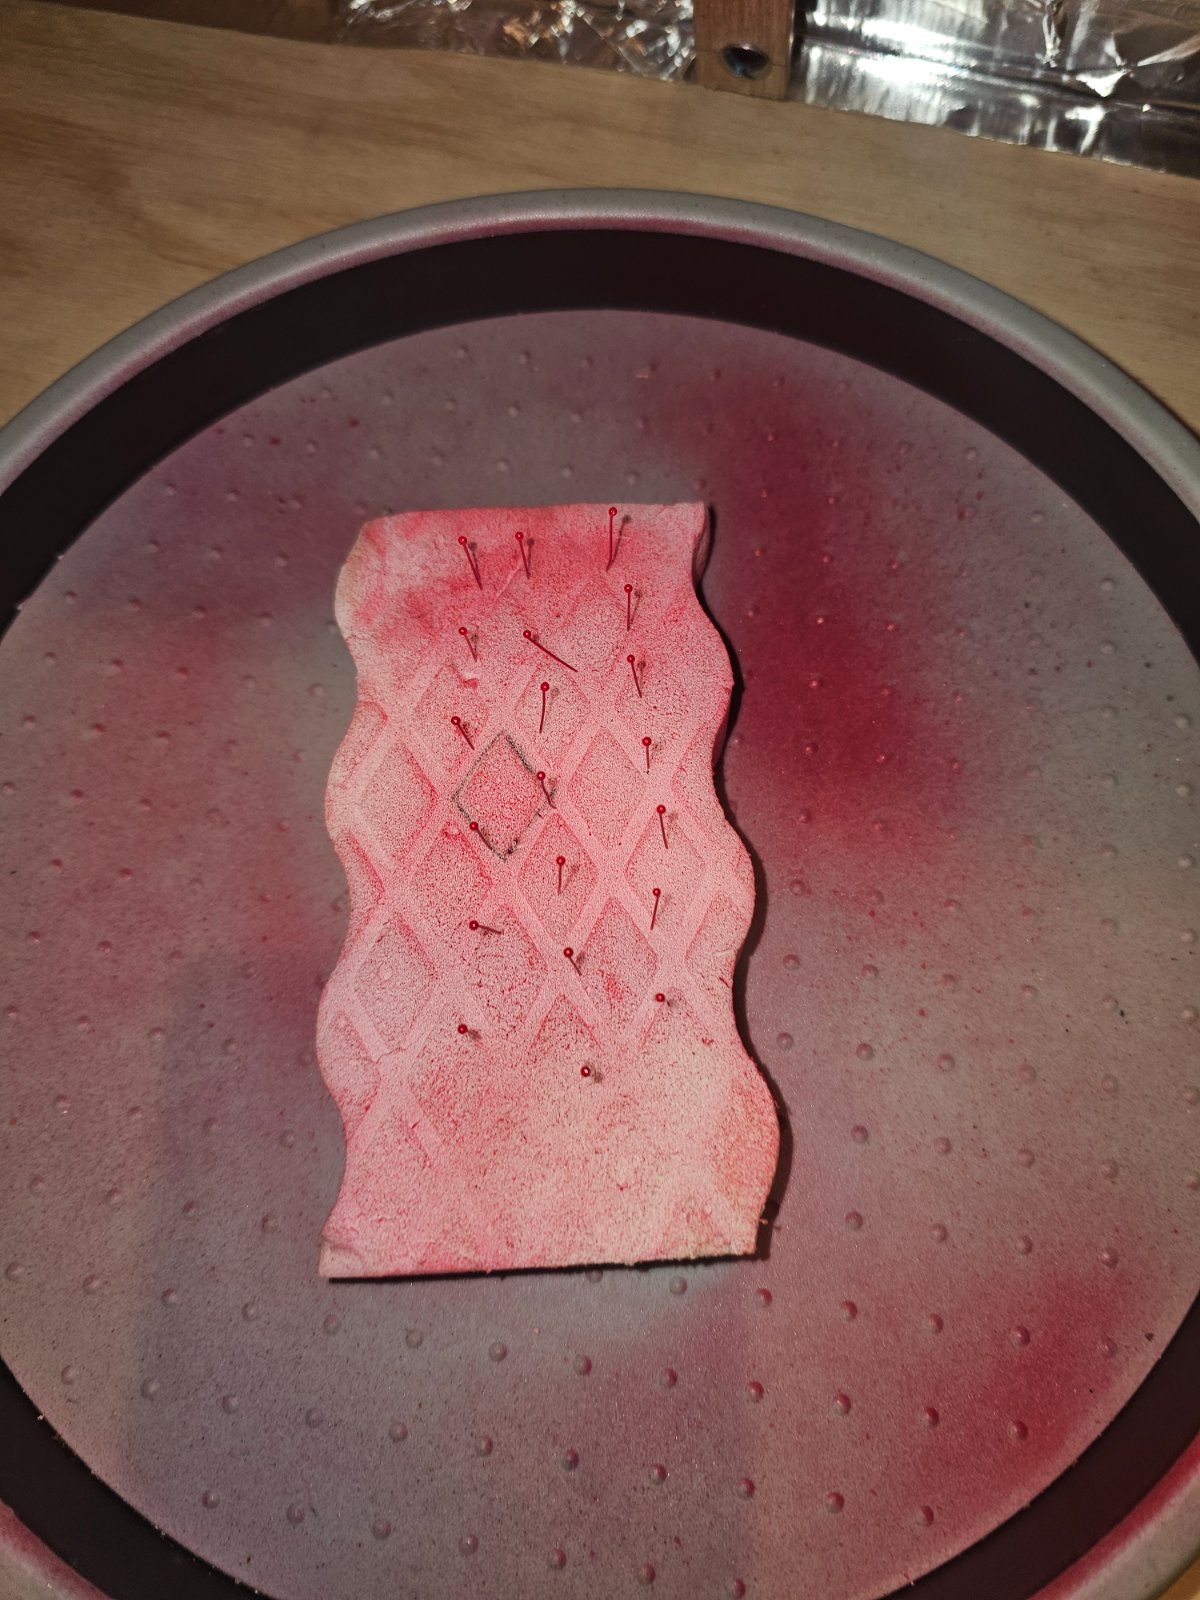
Found some foam that looks like it will work..its the stuff you cram
...true, but is there anything quite so satisfying as that aromatic curl of wood, and the mirror finish of the surface left behind?takes some know how
That smell always takes me back. I wonder how many hours I spent cleaning and sharpening plane blades, chisels and saws. Pantherman...true, but is there anything quite so satisfying as that aromatic curl of wood, and the mirror finish of the surface left behind?

Well, FWIW, I say use the real leather, then for the buttons, Insect pins, #1 or 2, depending on the relative size, dip the head in red lacquer, letting them dry. That'll give you a solid red "button" while providing the anchoring for the tufting. Regarding the piping, you can try using some bright red thread. Not sure what size would be best suited, but red thread can be glued to the edges and along the lines to look like real piping.Need an opinion...the seat.
Its a very complicated button tuft..I don't know if I can do it in real leather...
I could paint it using putty and I guess small beads like another guy did.
Or I could kind if do it in real leather...
This is what its supposed to look likeView attachment 168174
It would be give it a real look, just see what size thread is best suited, pull some out, run it through a flame/lighter to remove the loose threads. I've used PVA glue to "stiffen" it and give it some bulk to where I've stuck it to the seats. It can be messy, so requires patience, but you've got that based on the chain construction.
 My previous attempt at threaded piping wasn't stellar, but it got the look I was trying for.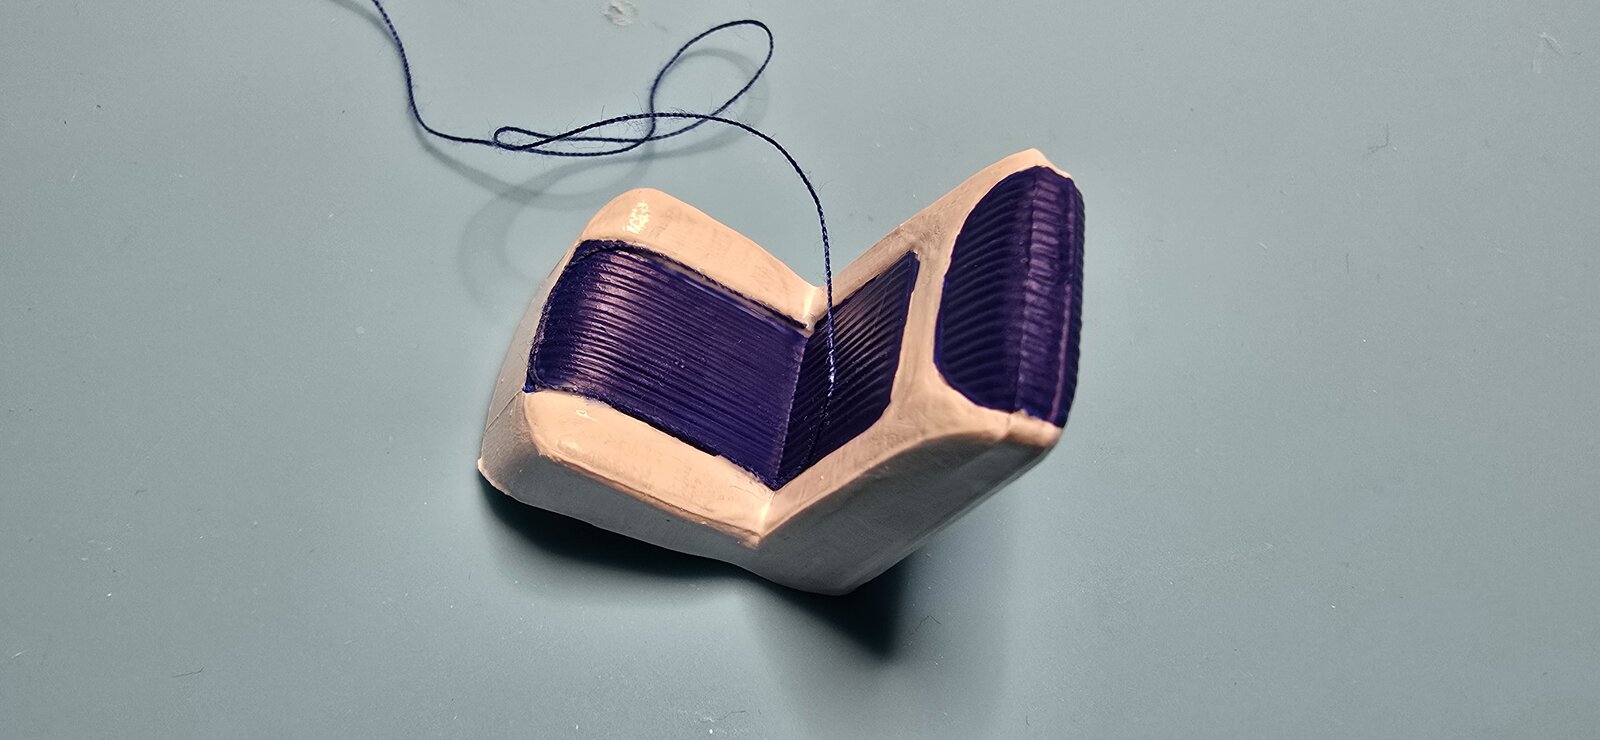
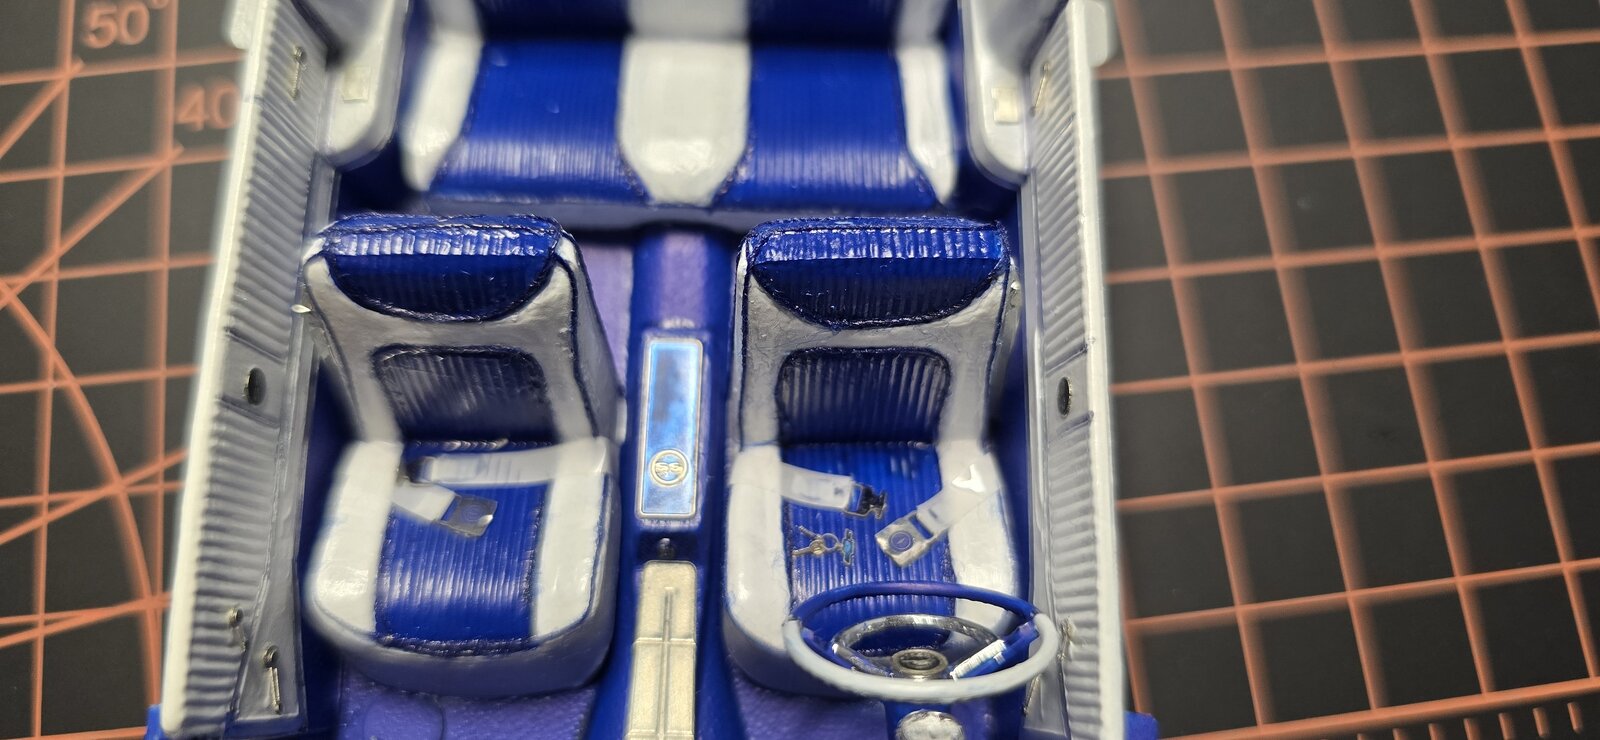
There ya go- that'll work too.Im..working on it..its..very..difficult..but I'm almost there.
Think I'll use tge lead wire for piping...it keeps its shape

Can't go wrong with a FanttikBought a mini drill..have to try that out later when its charged...View attachment 167275View attachment 167276View attachment 167275


