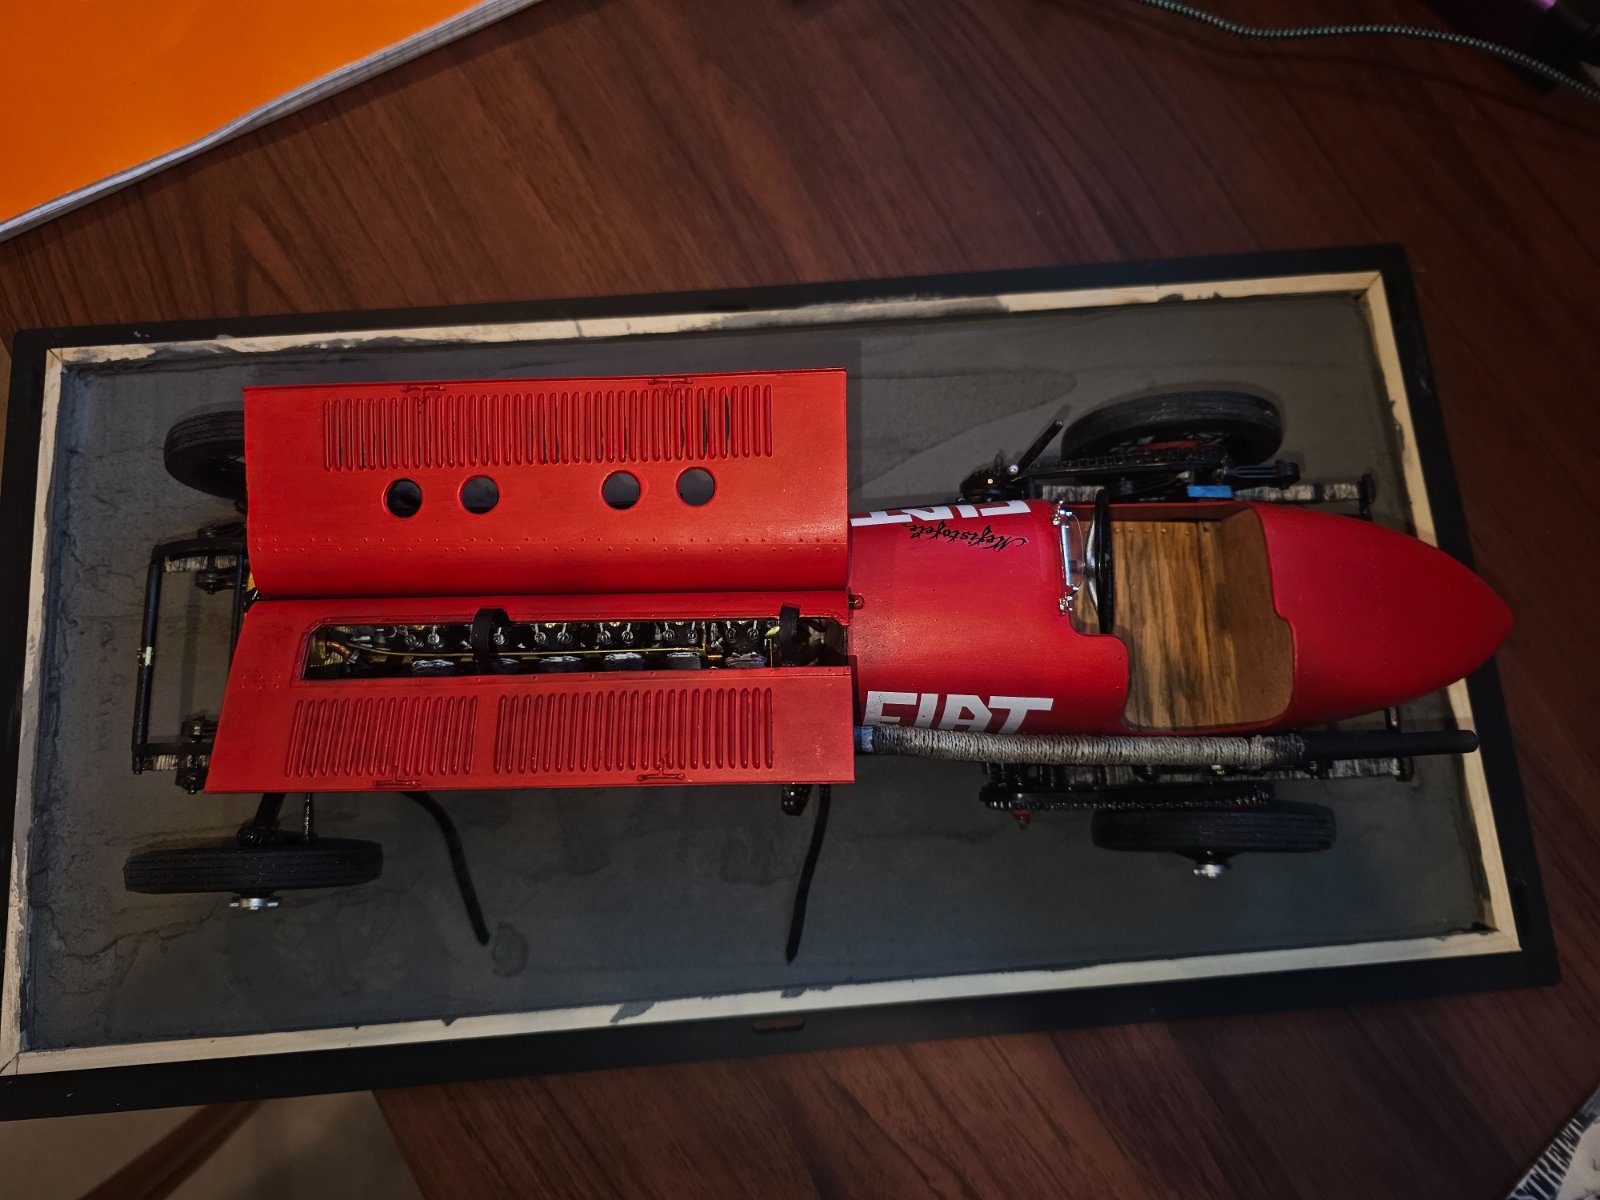
Back to building this monster

Scale Model Addict - Model Tips, Guides, Tools & Tech, Tutorials, and Community

Help Support Scale Model Addict:

Thinning leather? I wonder if a drum or belt sander would work? Maybe with 200 or 300 grit.
I'm very interested in seeing what you come up with.
I once used the fabric elastoplast bandages to replicate the nylon mesh seats in a 1/35 MD-500 helicopter. It seems to have worked.View attachment 168108
Great idea. Pantherman
 
Other problem with sanding is it creates a very fuzzy side.
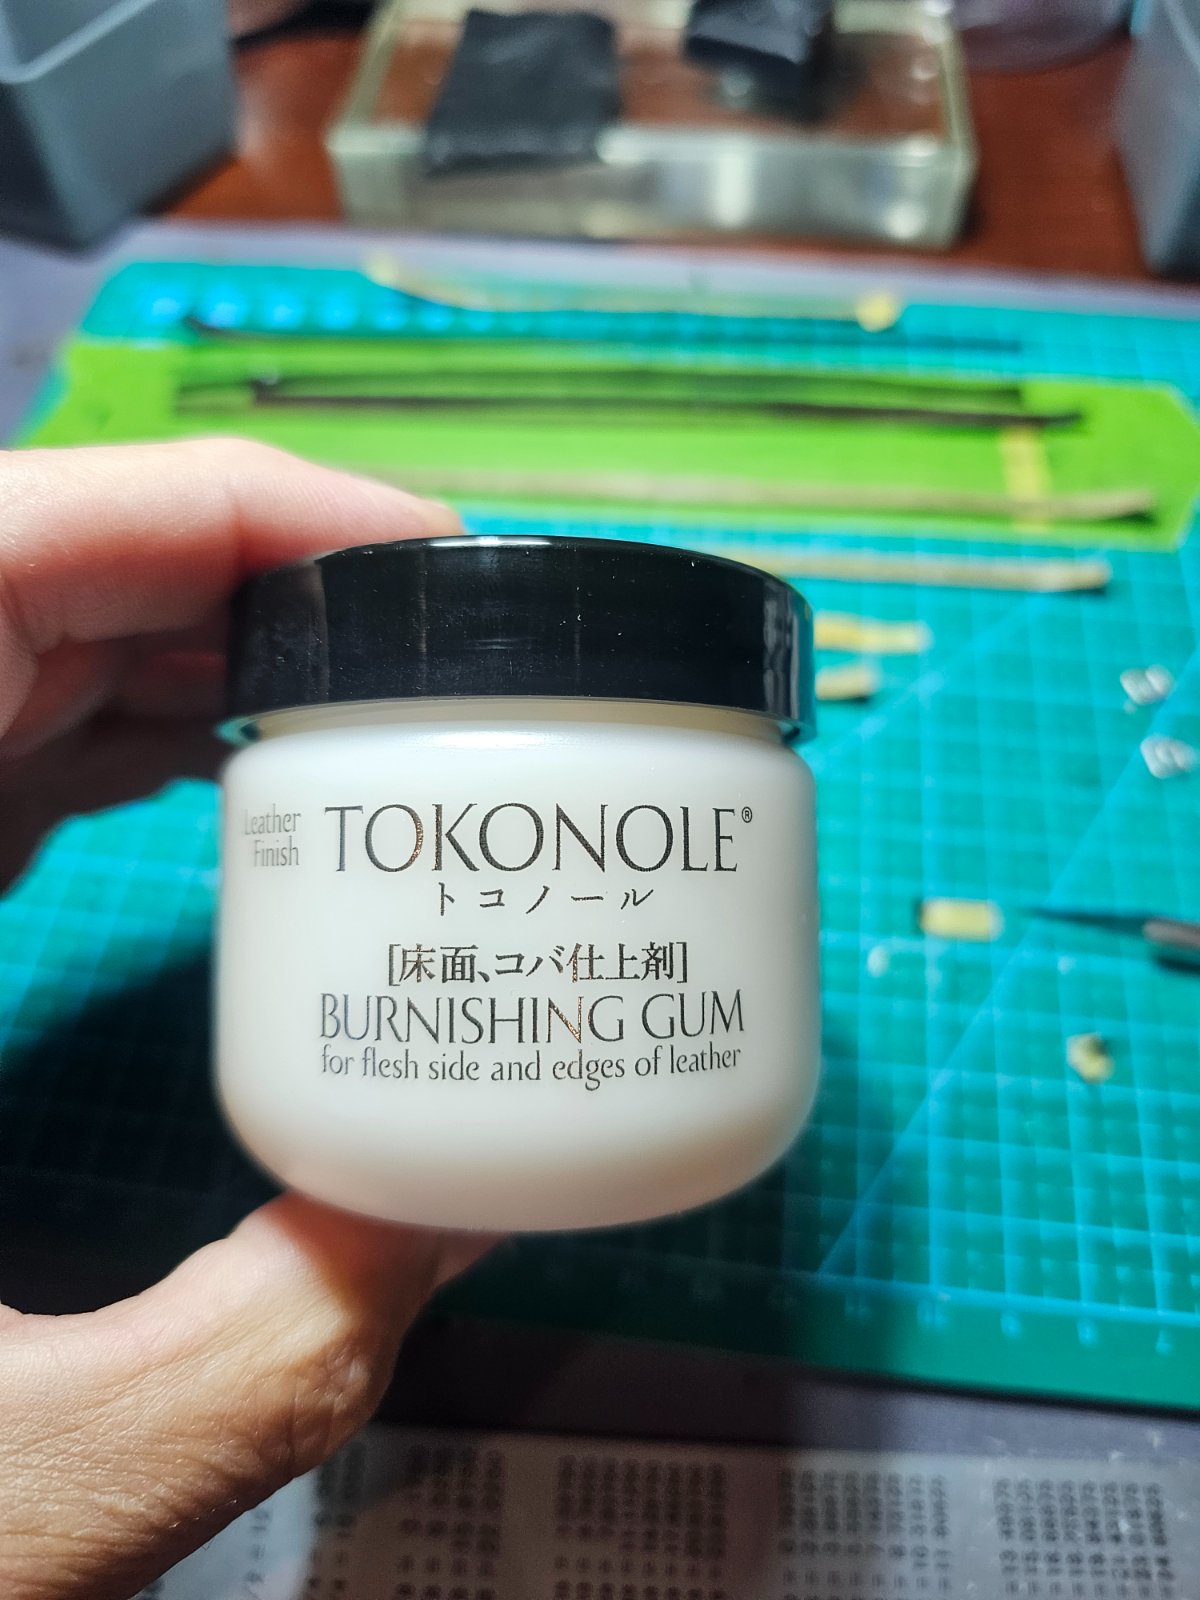
I'm waiting on a product that hopefully will smooth it out as that is the side of the straps you will see.
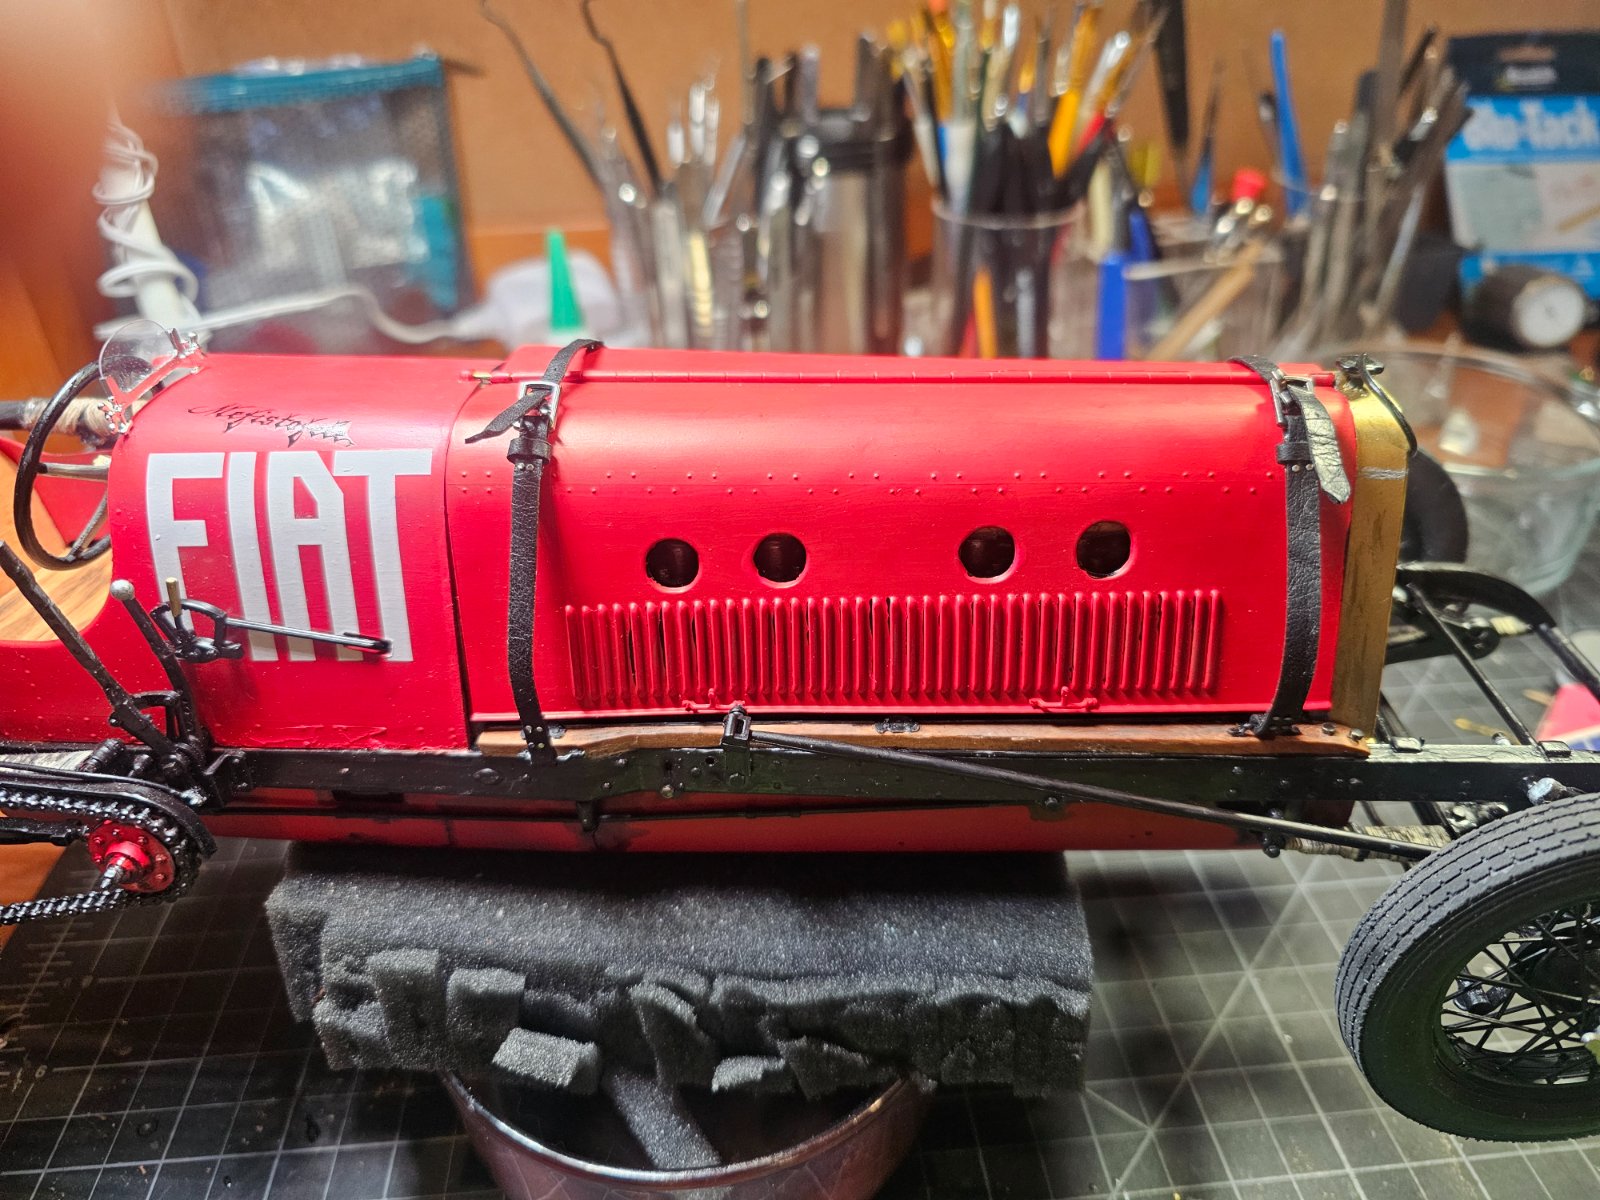
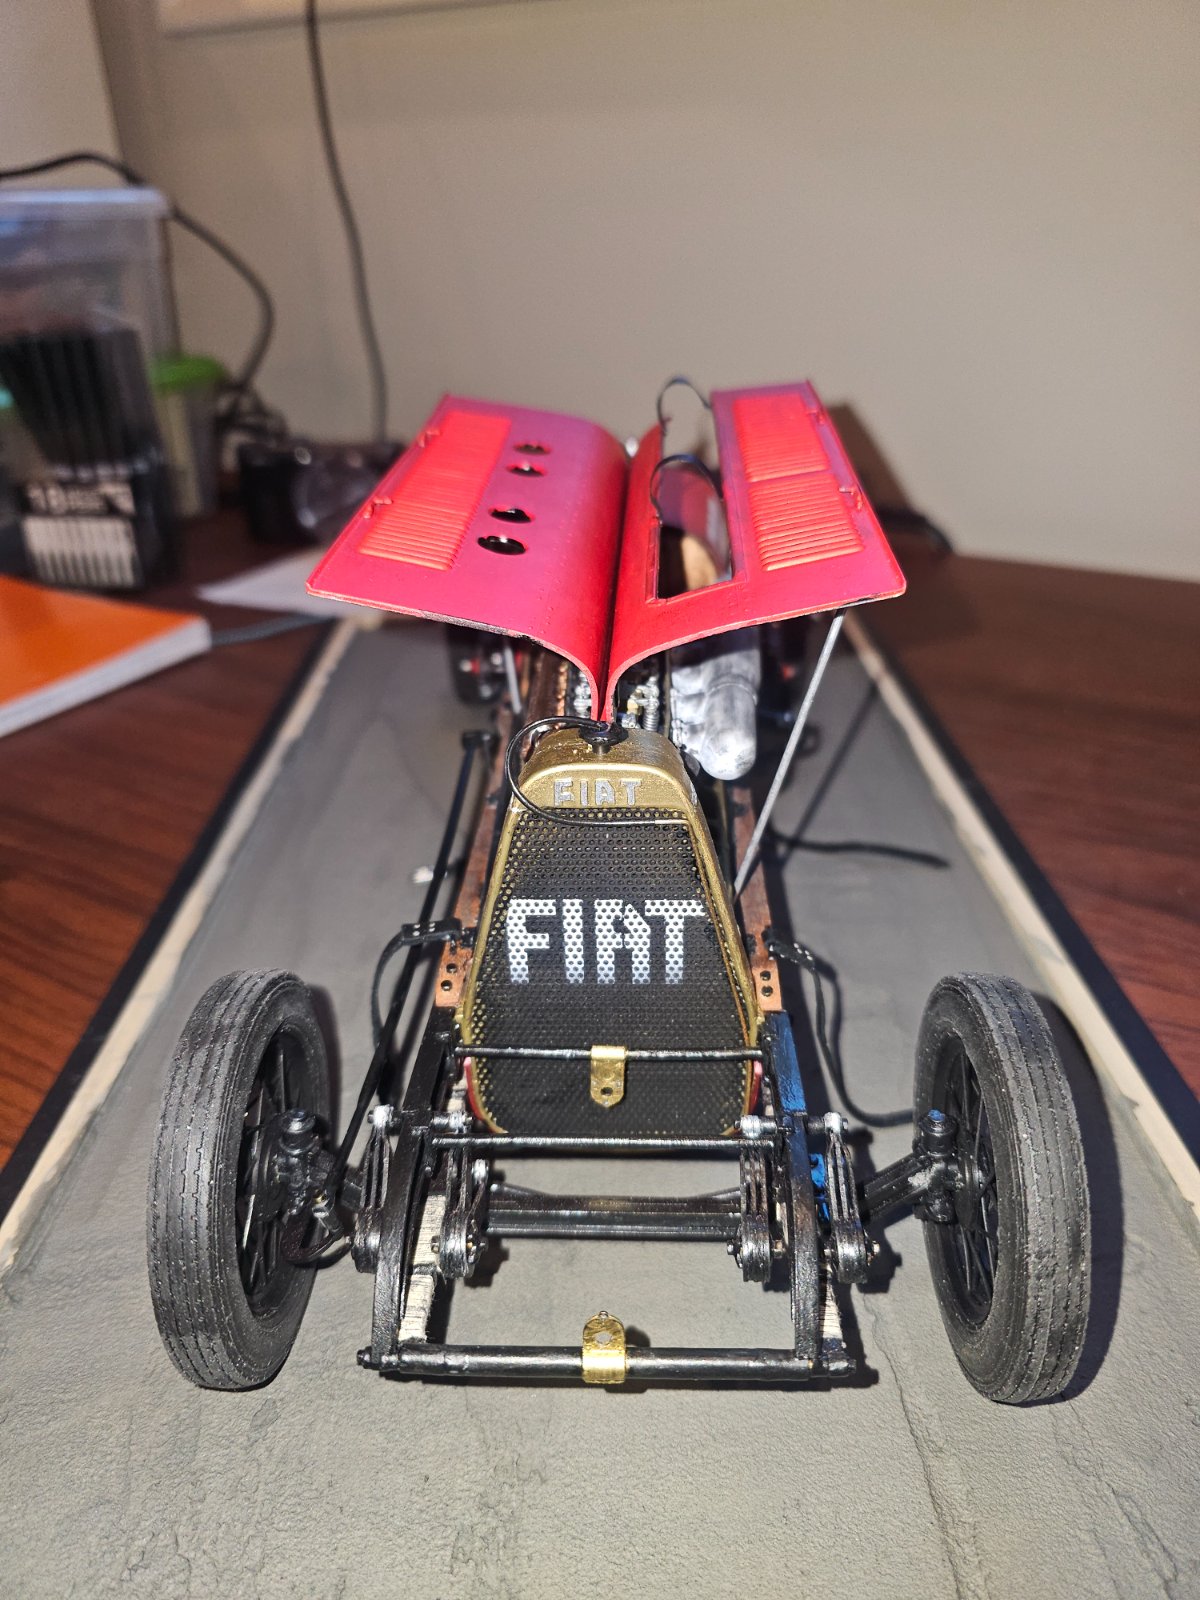
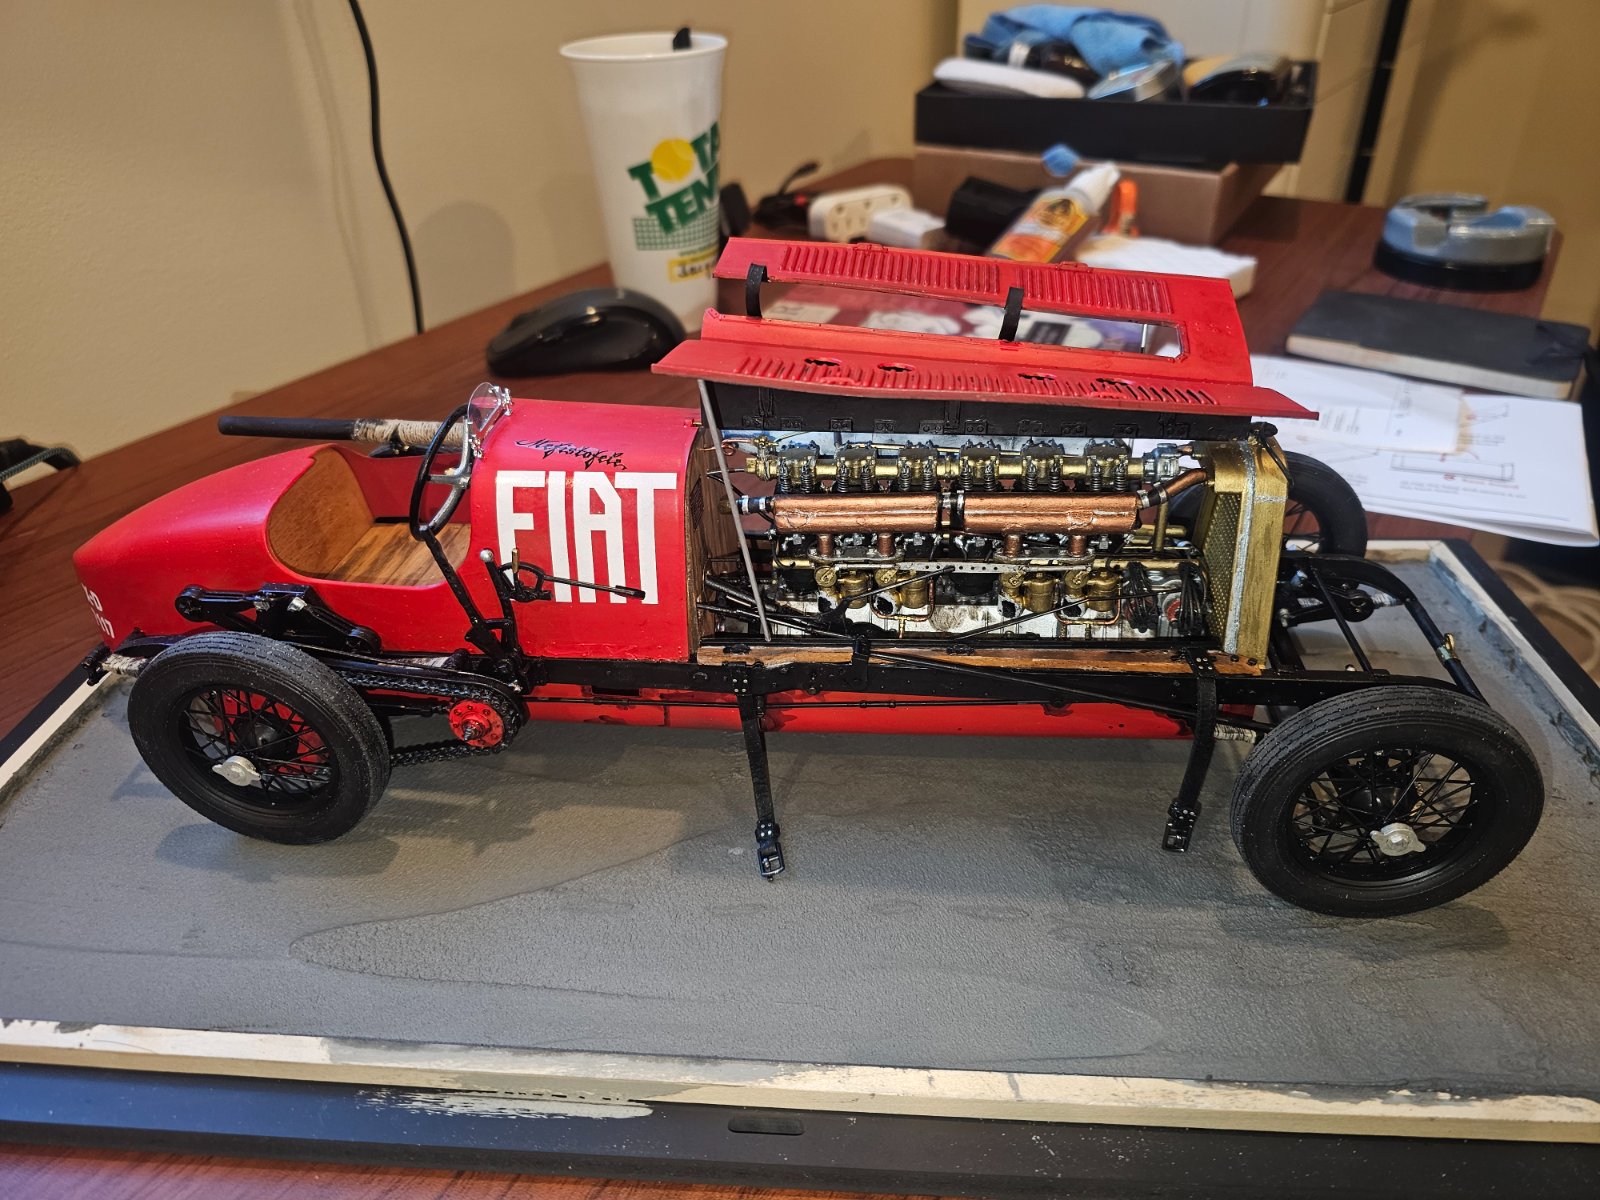
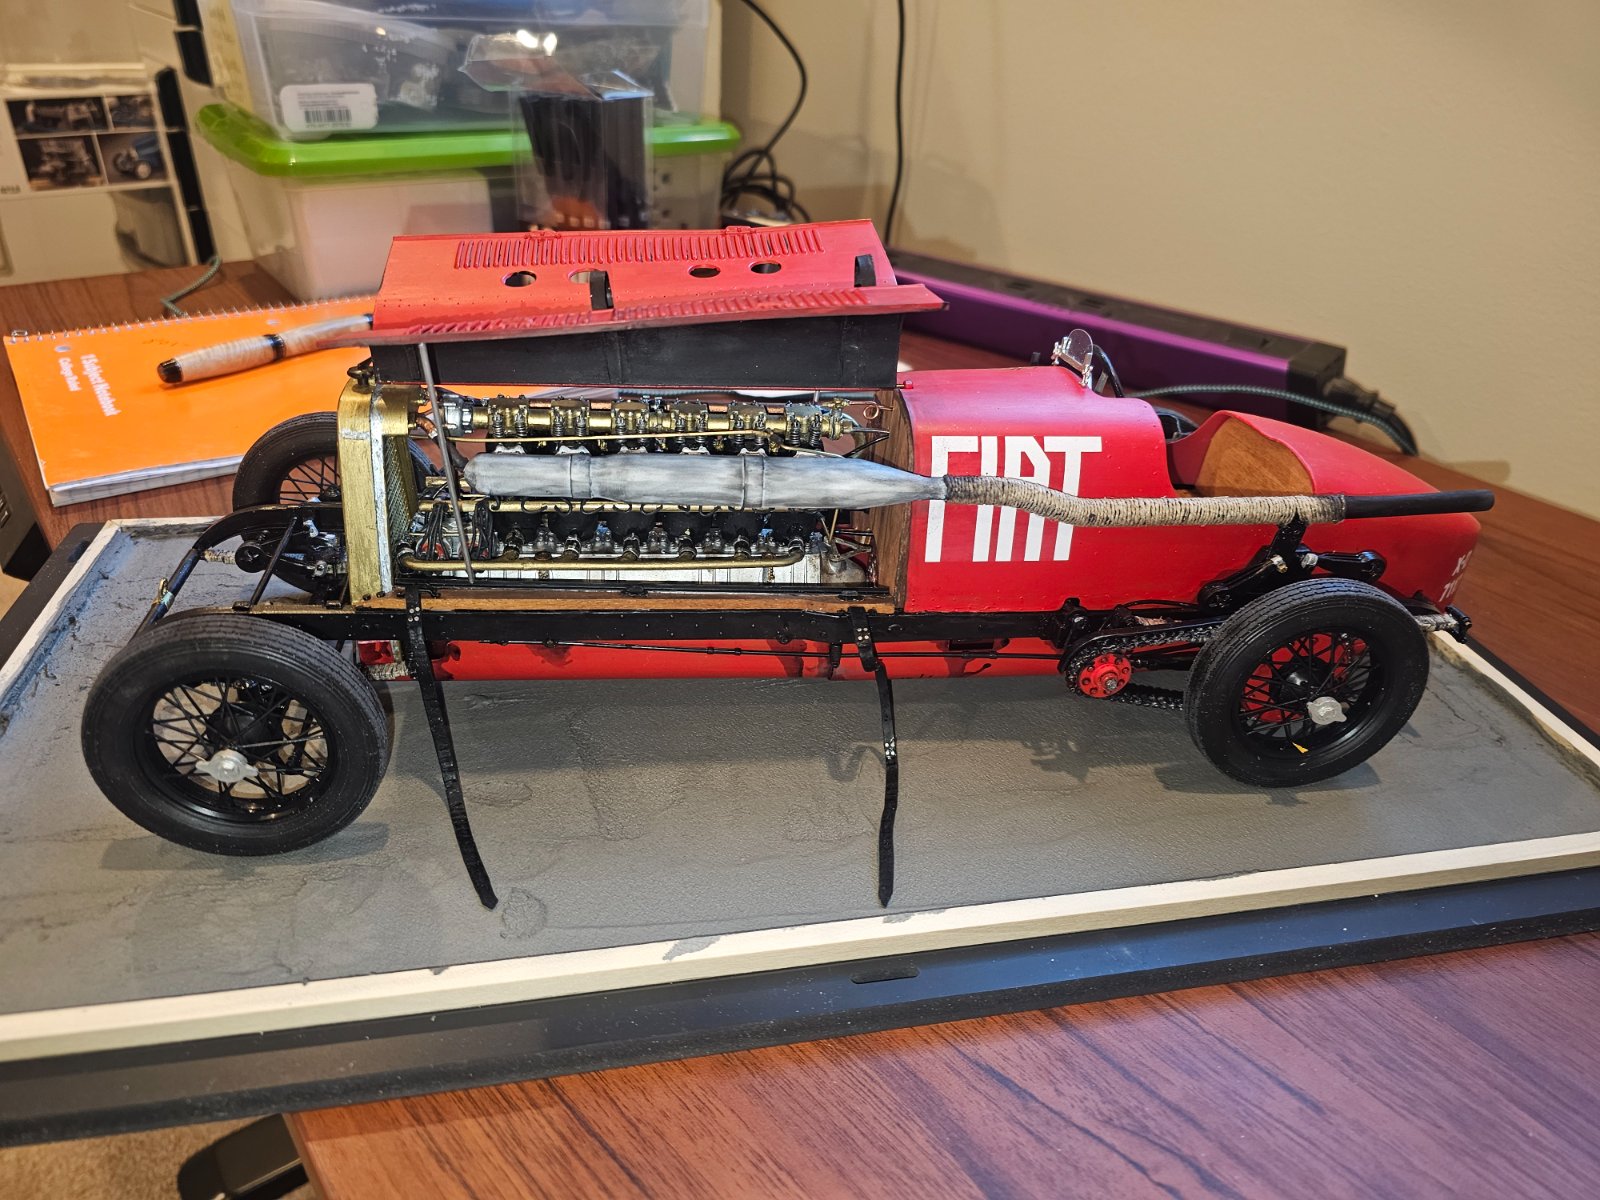
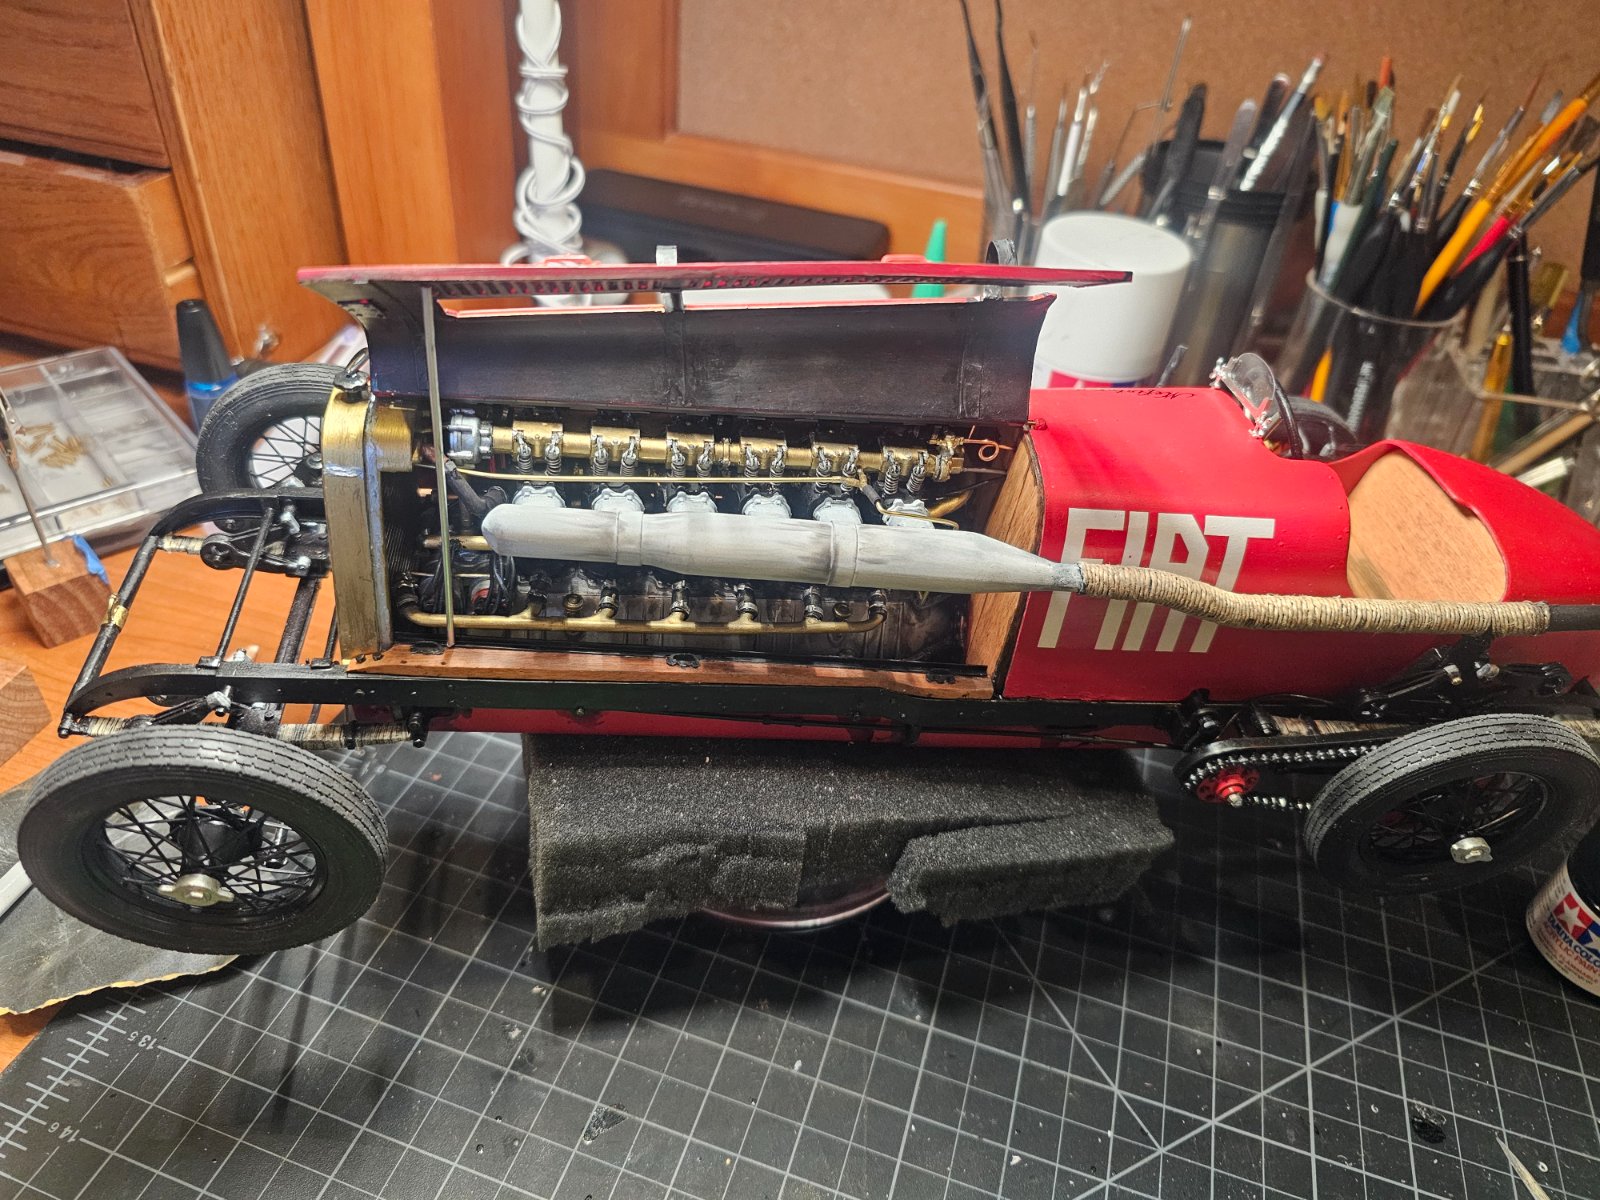
I'm not going to buckle the bonnet down..can't hide that motor. I made 2 aluminum rods to prop them up
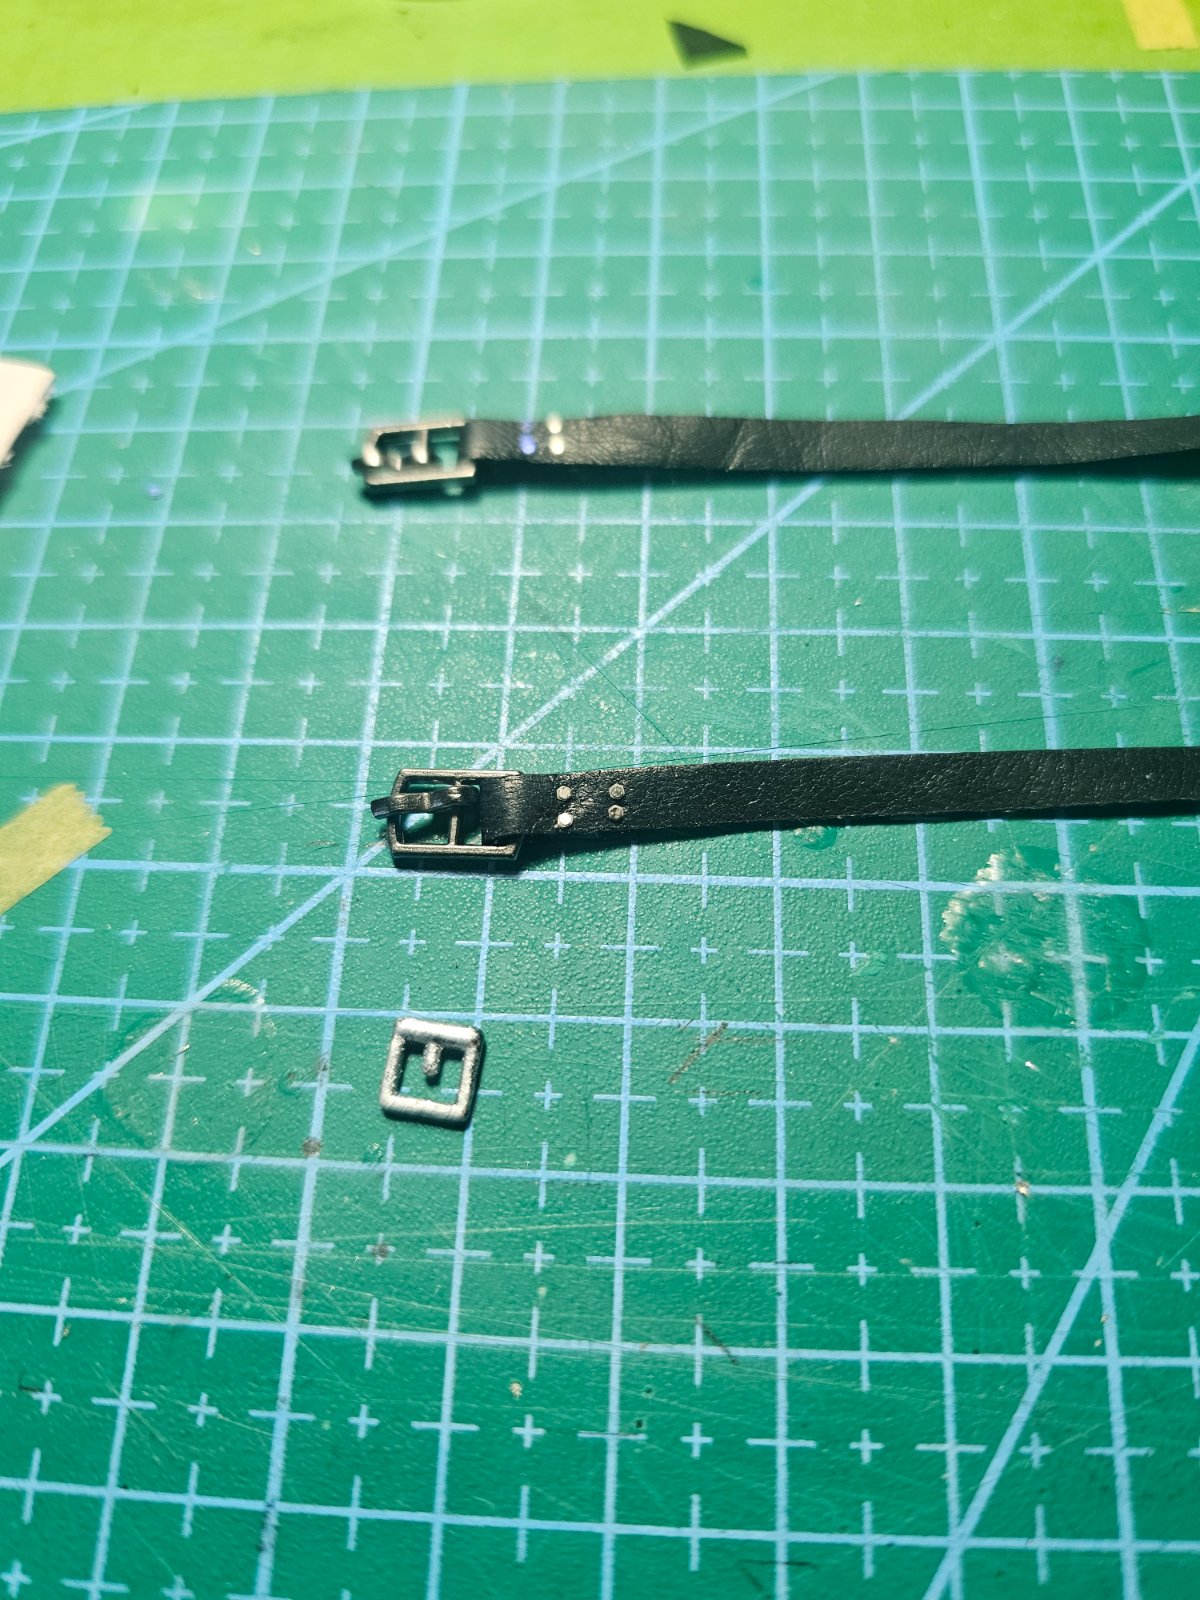
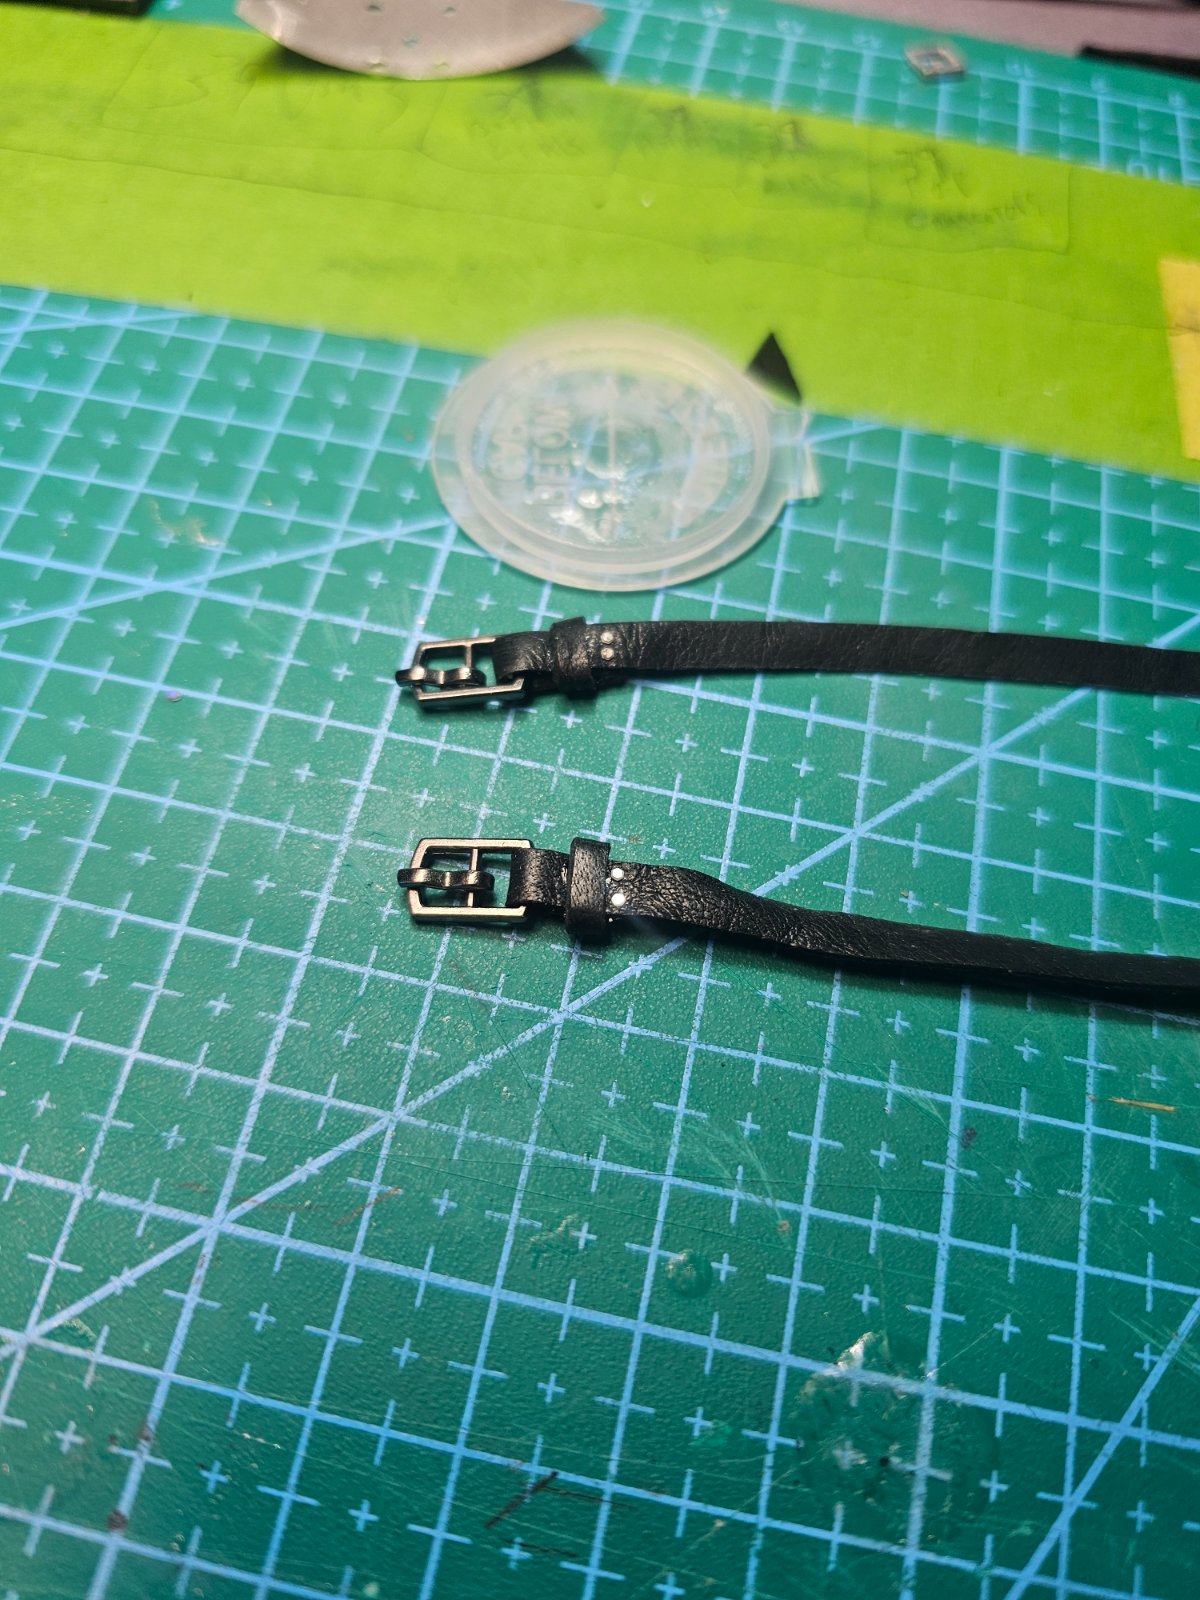
And ordered 2 real metal buckles from etsy..see how that looks...

20251104_132347.jpg
 
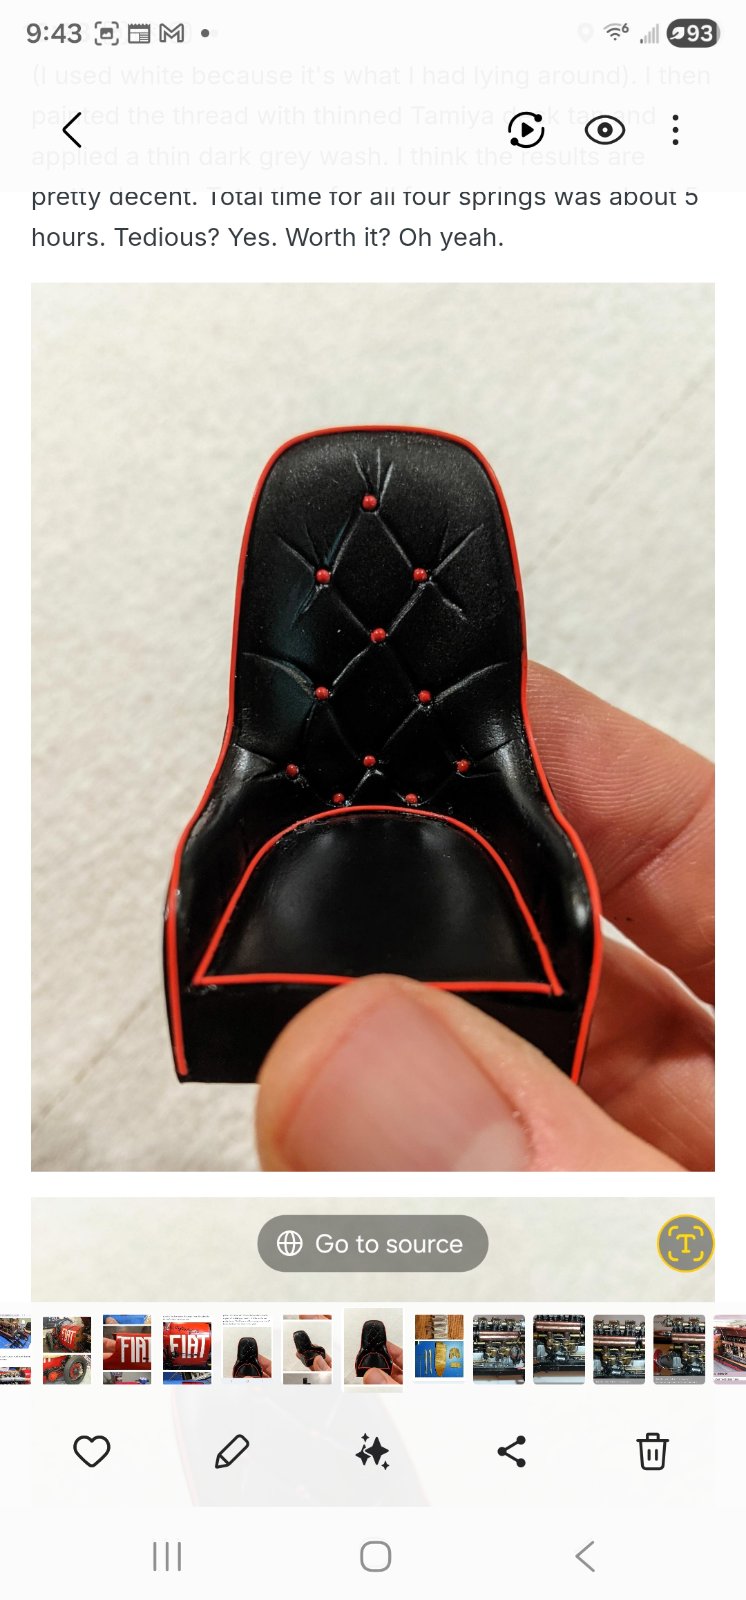
Need an opinion...the seat.
Its a very complicated button tuft..I don't know if I can do it in real leather...
I could paint it using putty and I guess small beads like another guy did.
Or I could kind if do it in real leather...
This is what its supposed to look like
Screenshot_20251104_094318_Gallery.jpg
 
Was that your result, or the other guy's putty?
I can guess that you have a good idea of how to do it in leather... I'd try that first, at least you know that you have an alternative approach if it doesn't work out!
 
That was the other guys...
I'm gluing up some leather to thin styrene to see how the bottom of the seat will look..that's the easy part.
I used to fix furniture..but..it was a bit larger than this.
 
As an Amazon Associate we earn from qualifying purchases. Product prices and availability are accurate as of the date/time indicated and are subject to change.
Thing is..once i glue the leather to the seat..that's it...
But I may try to make a separate piece and then see how it looks. Have an idea..
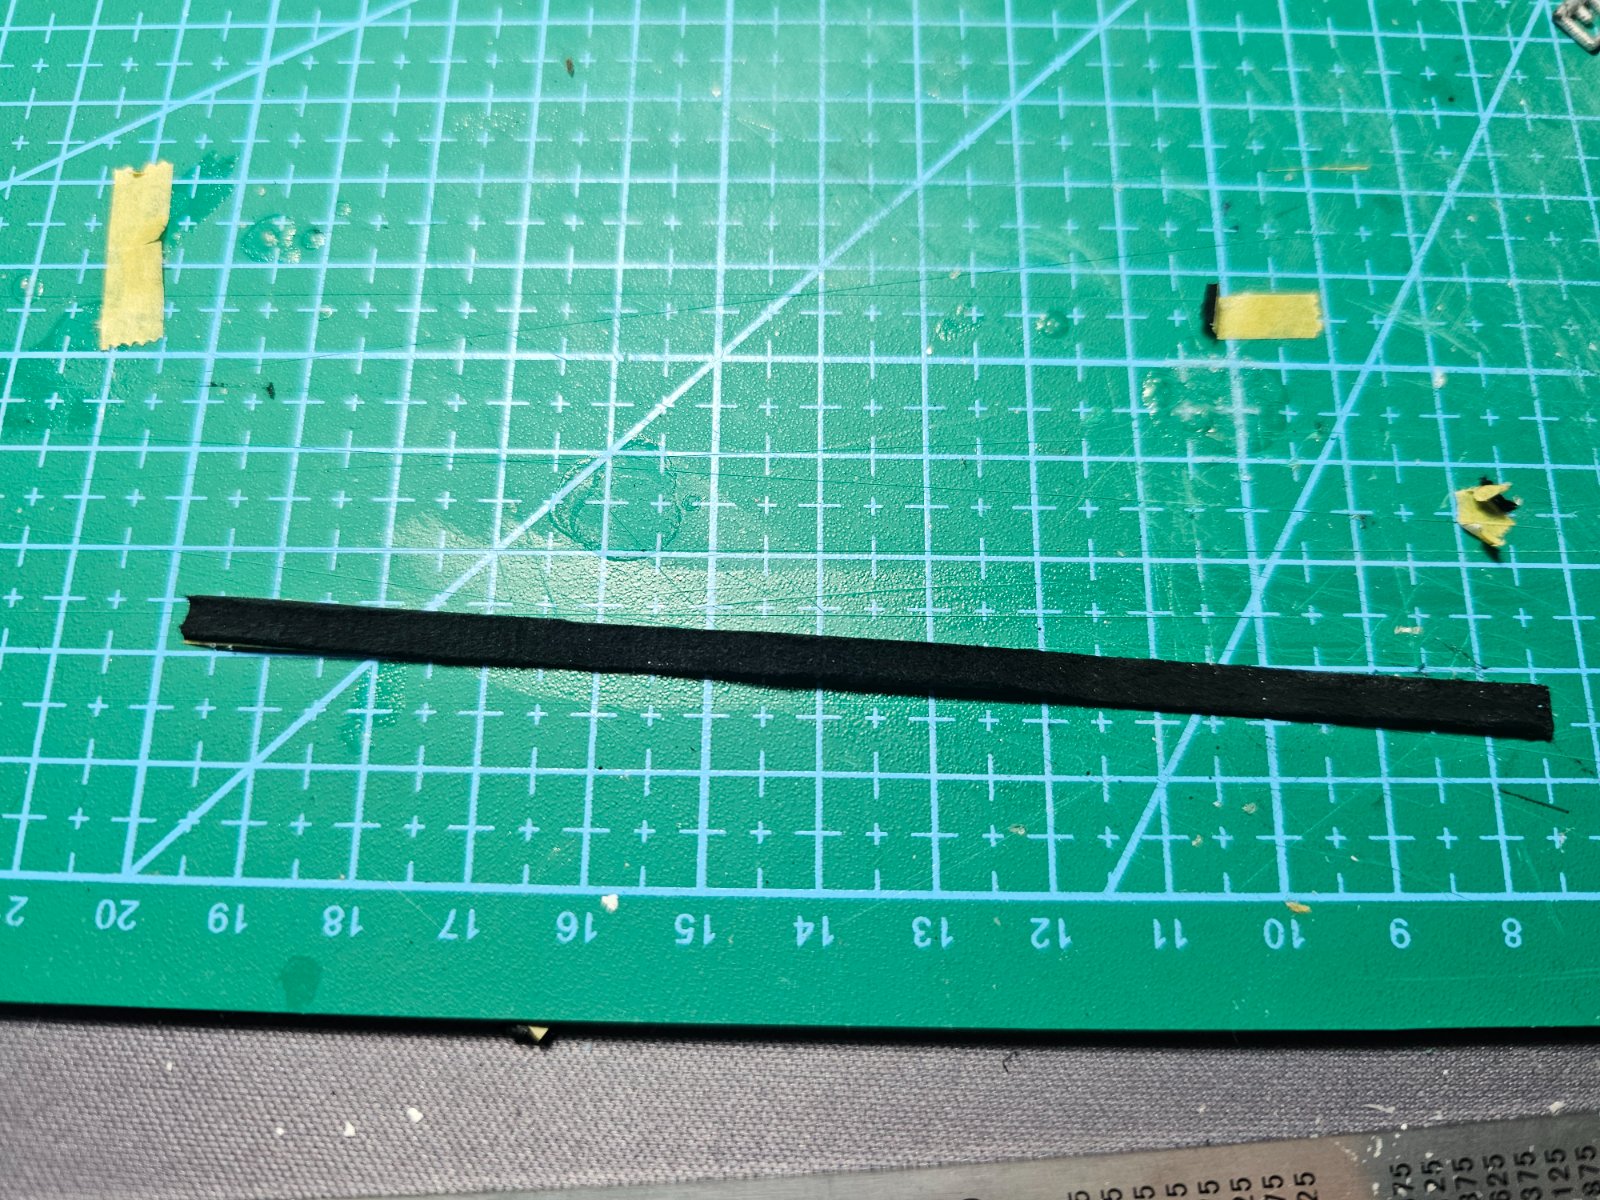
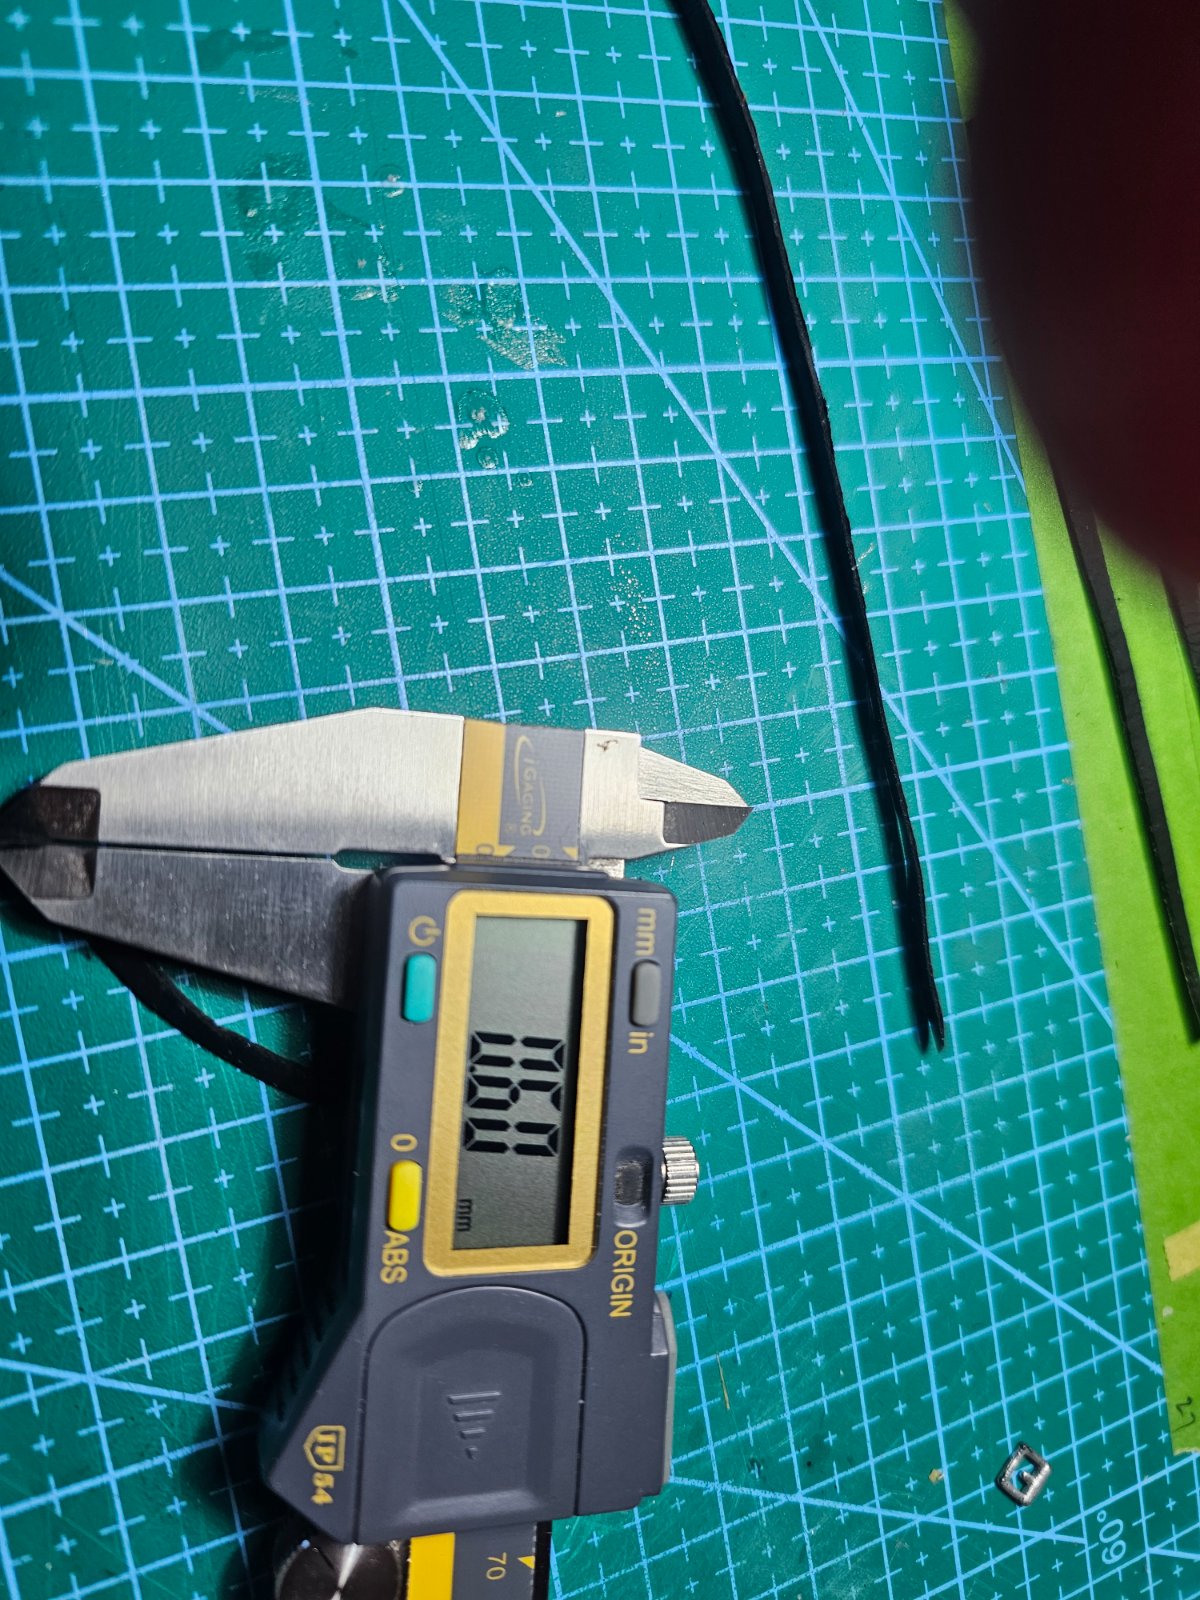
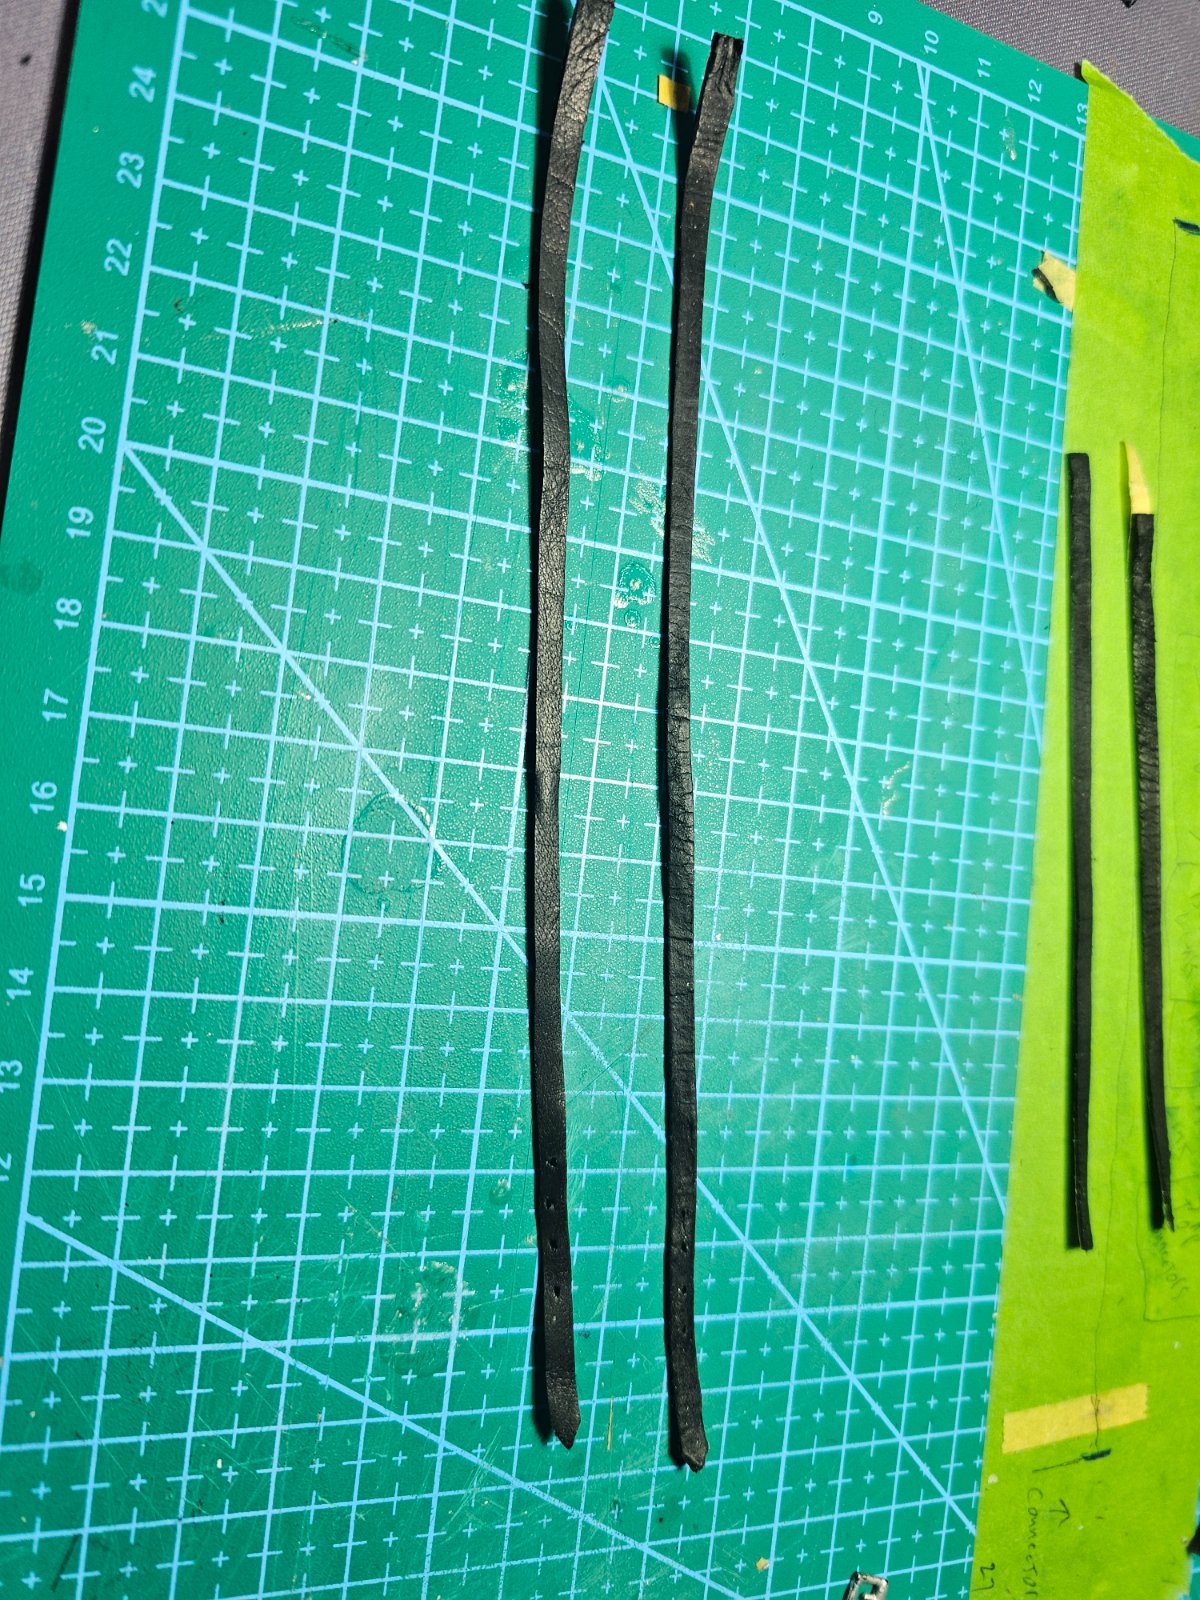
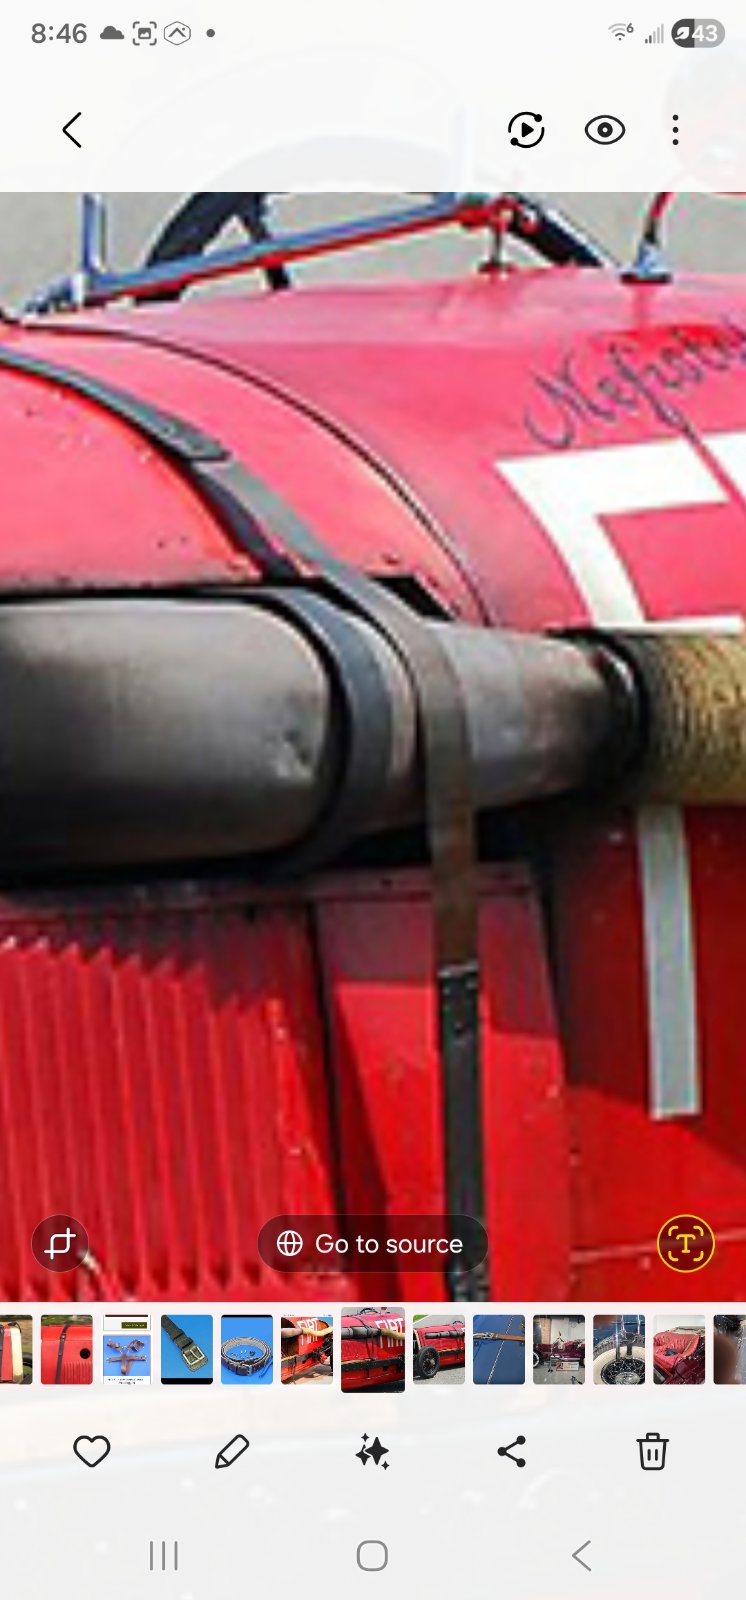
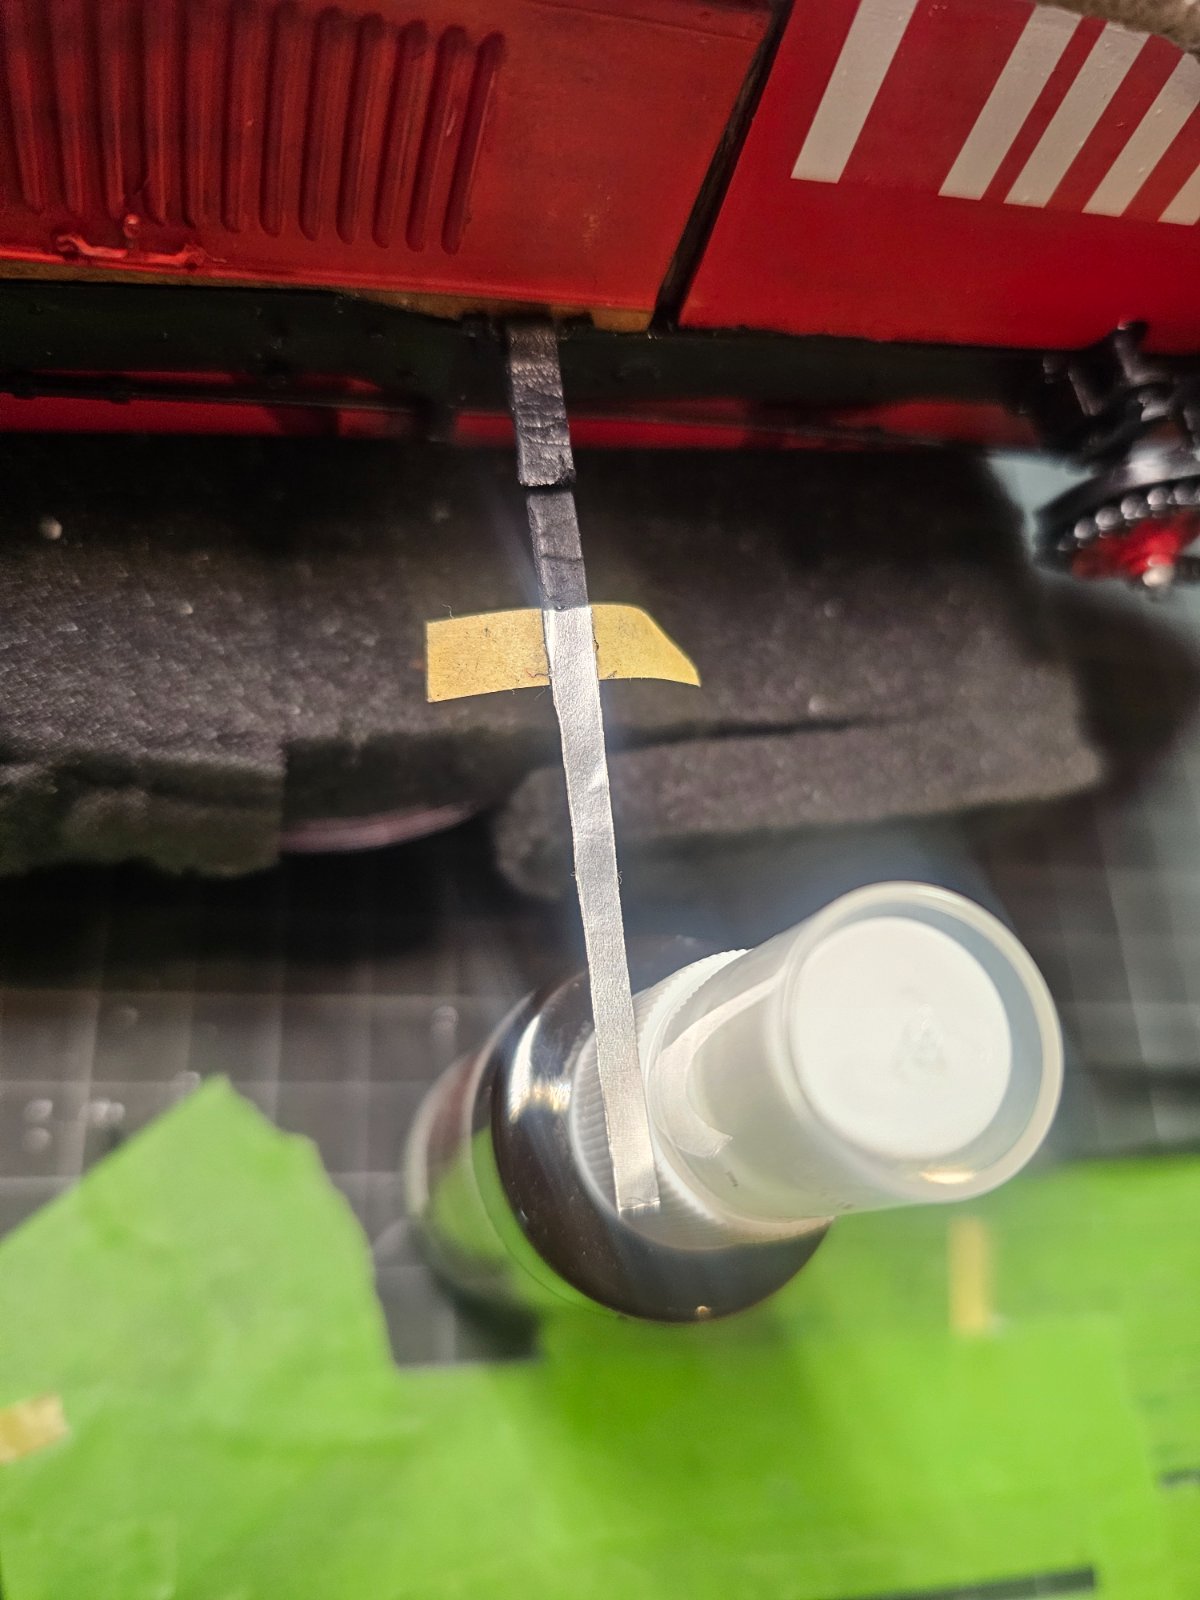
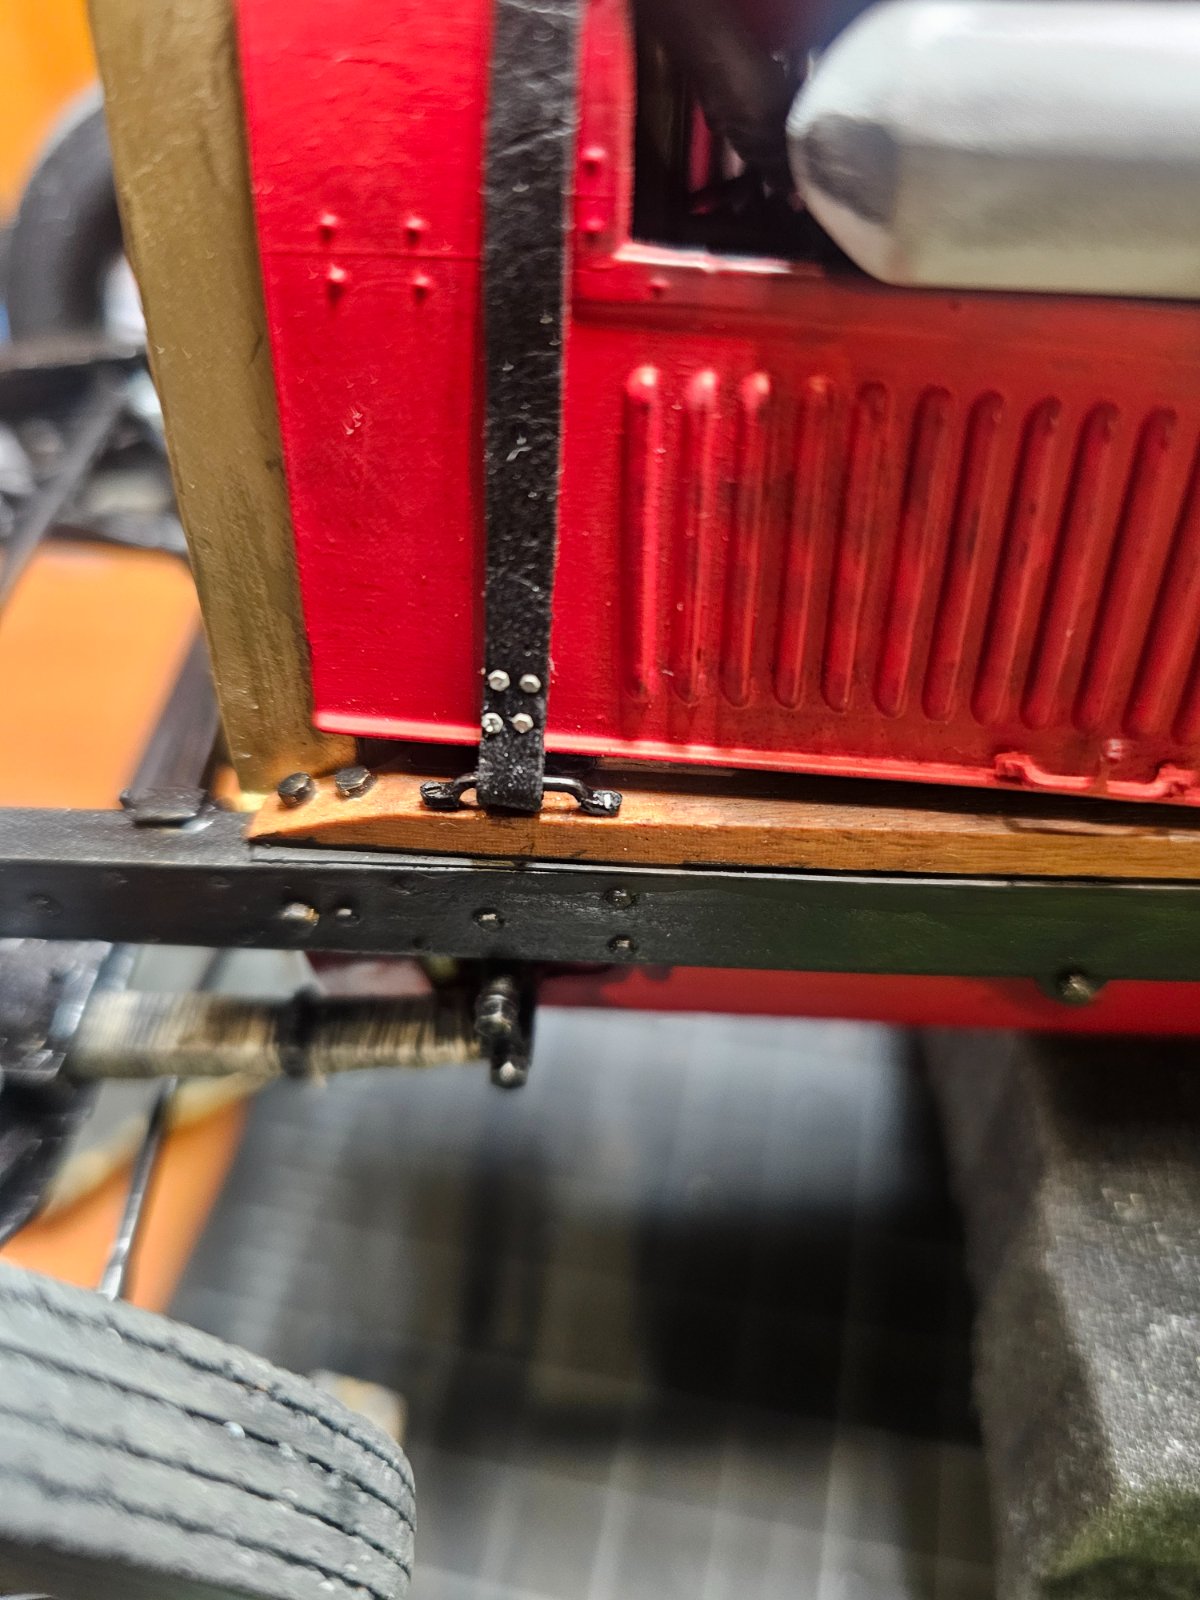
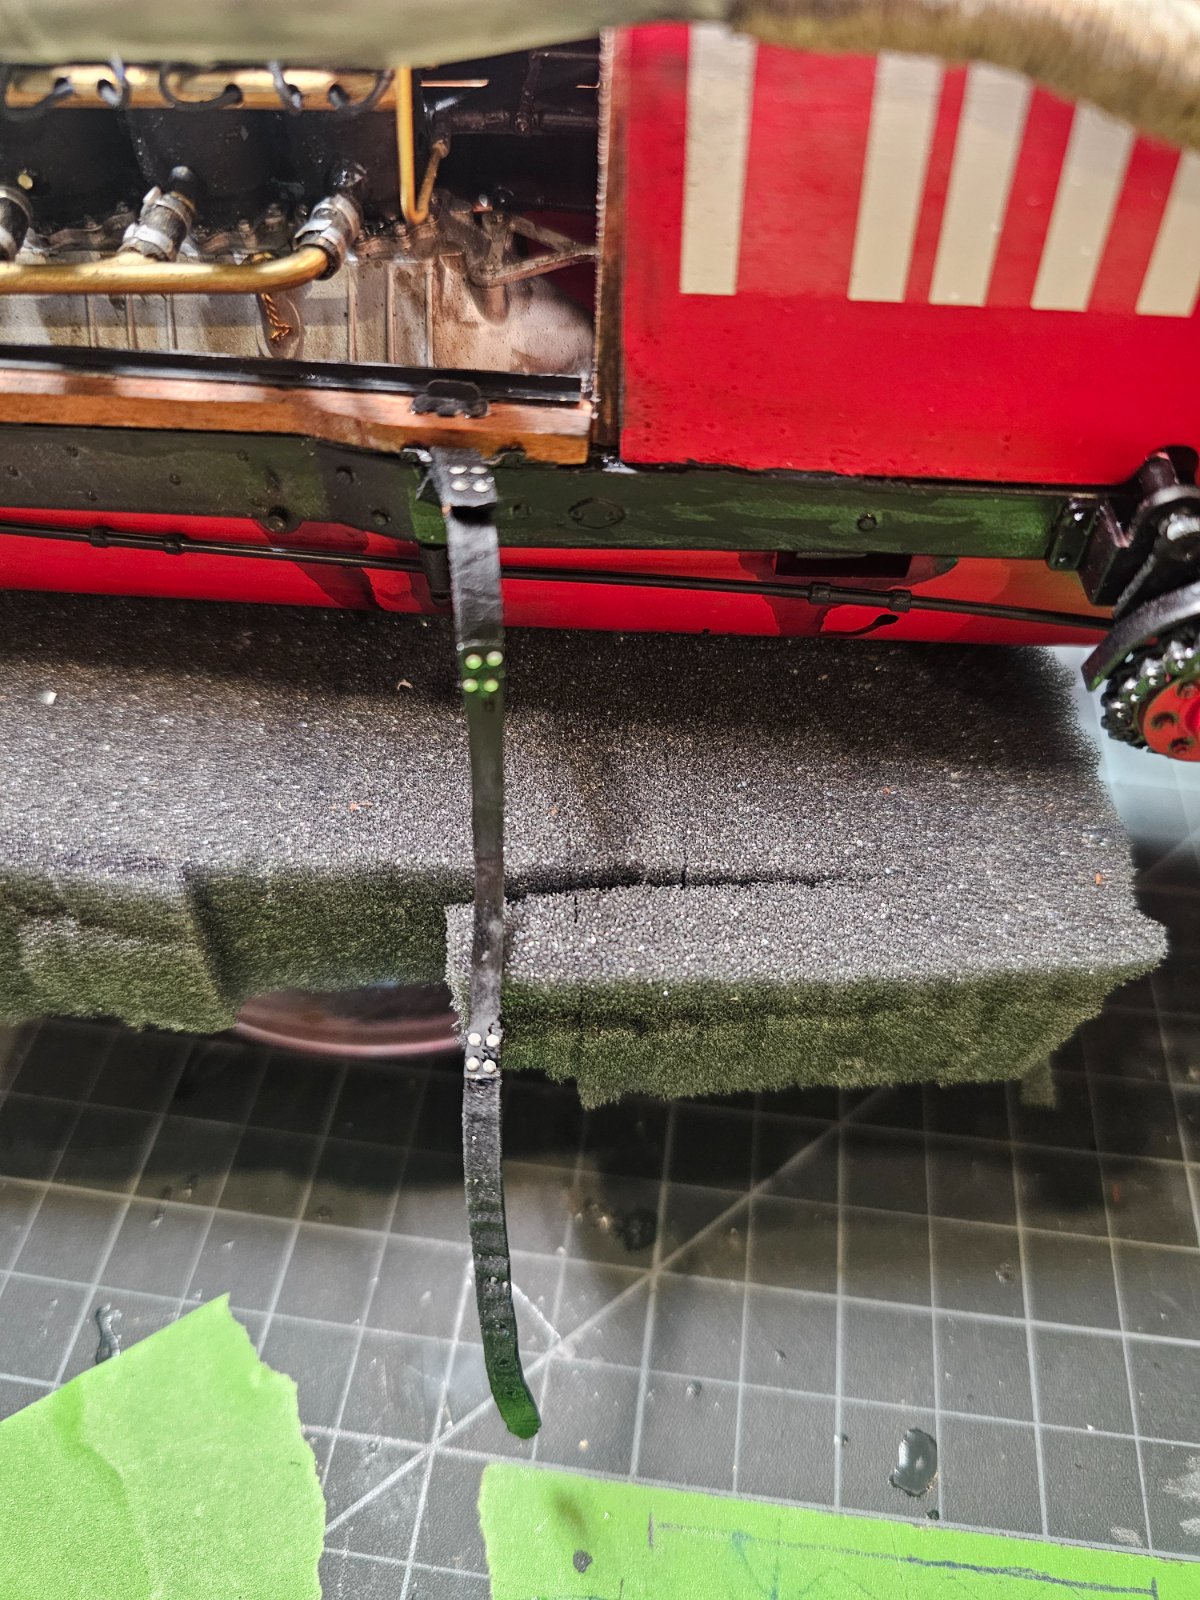
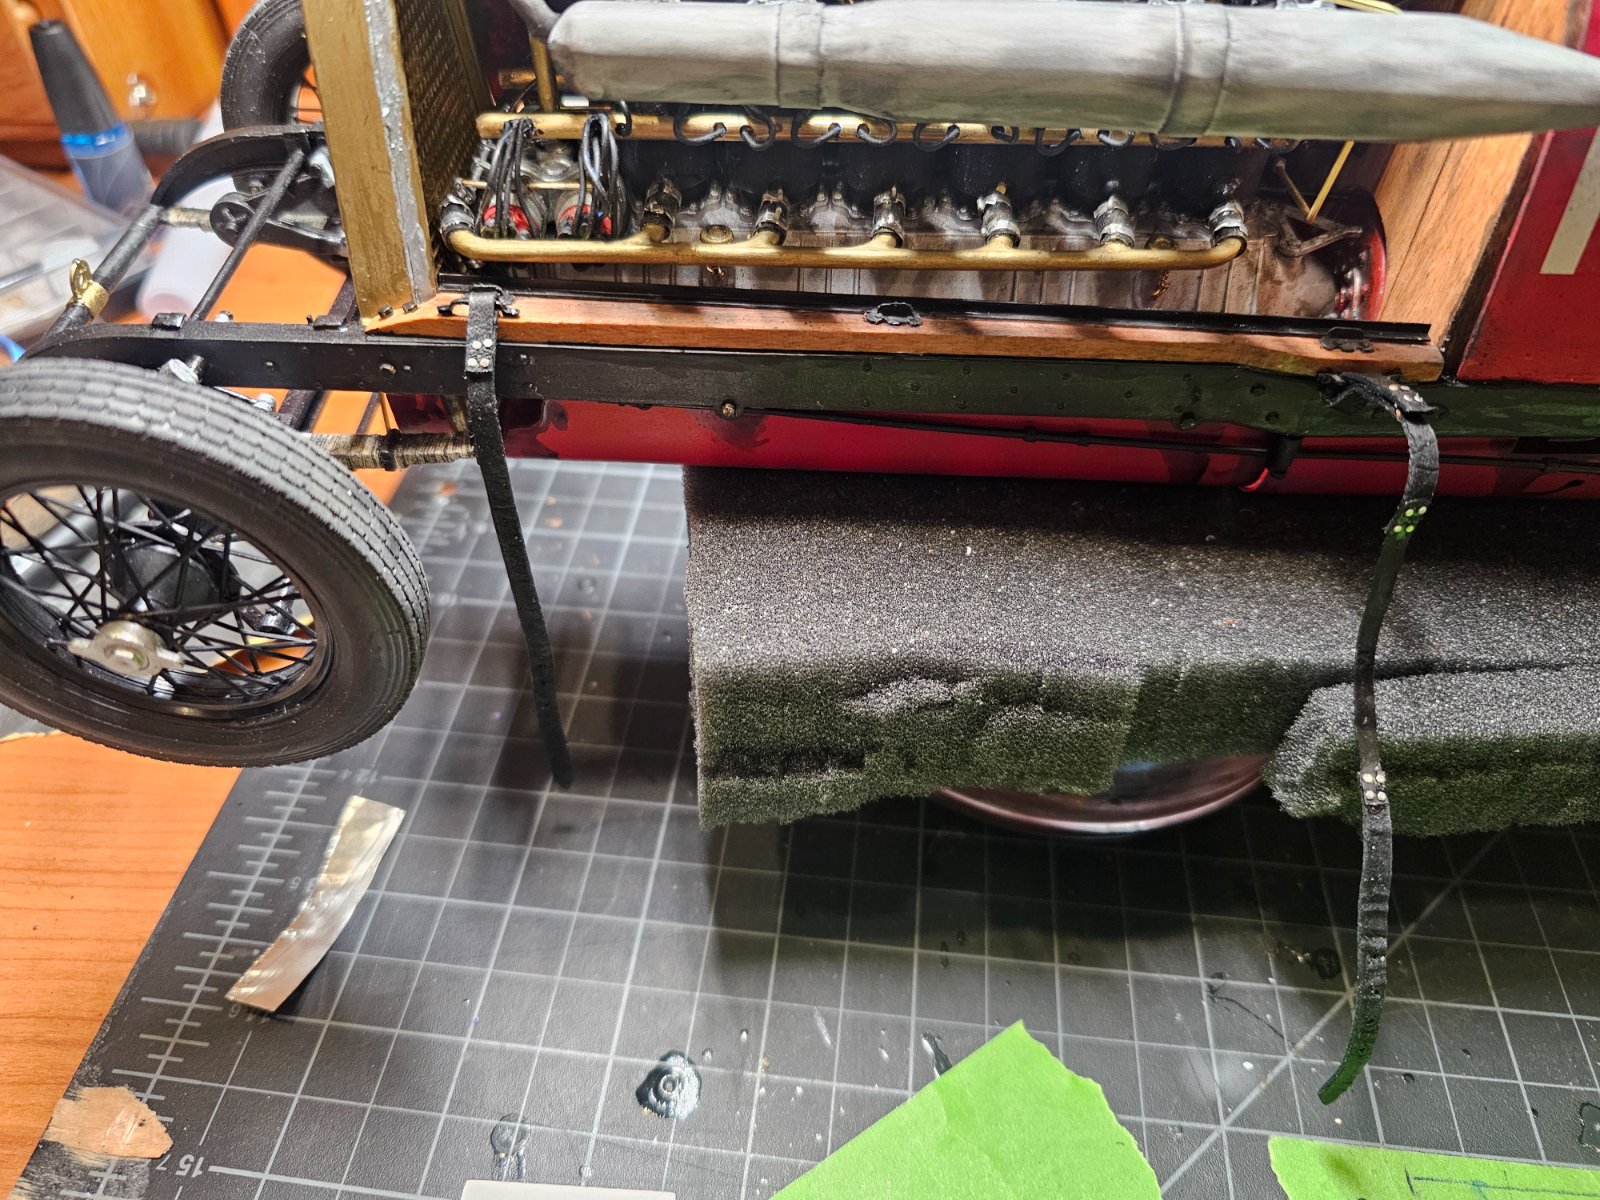
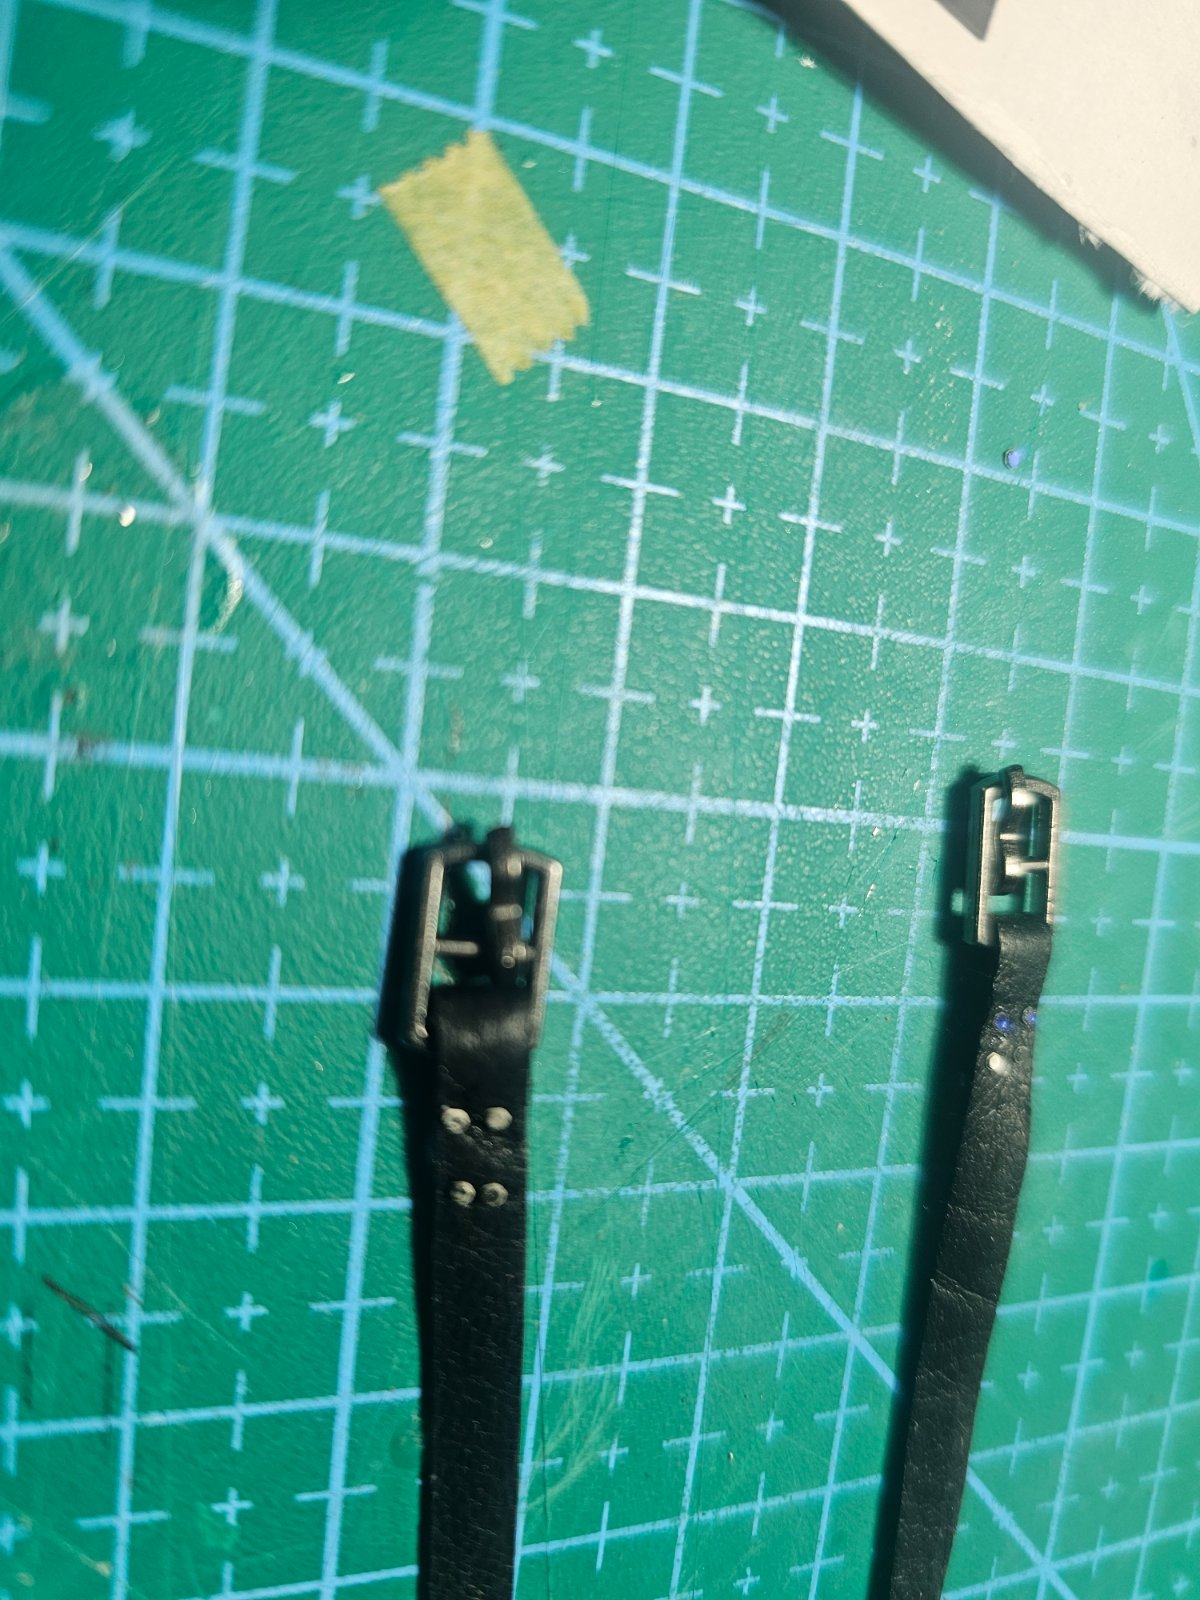
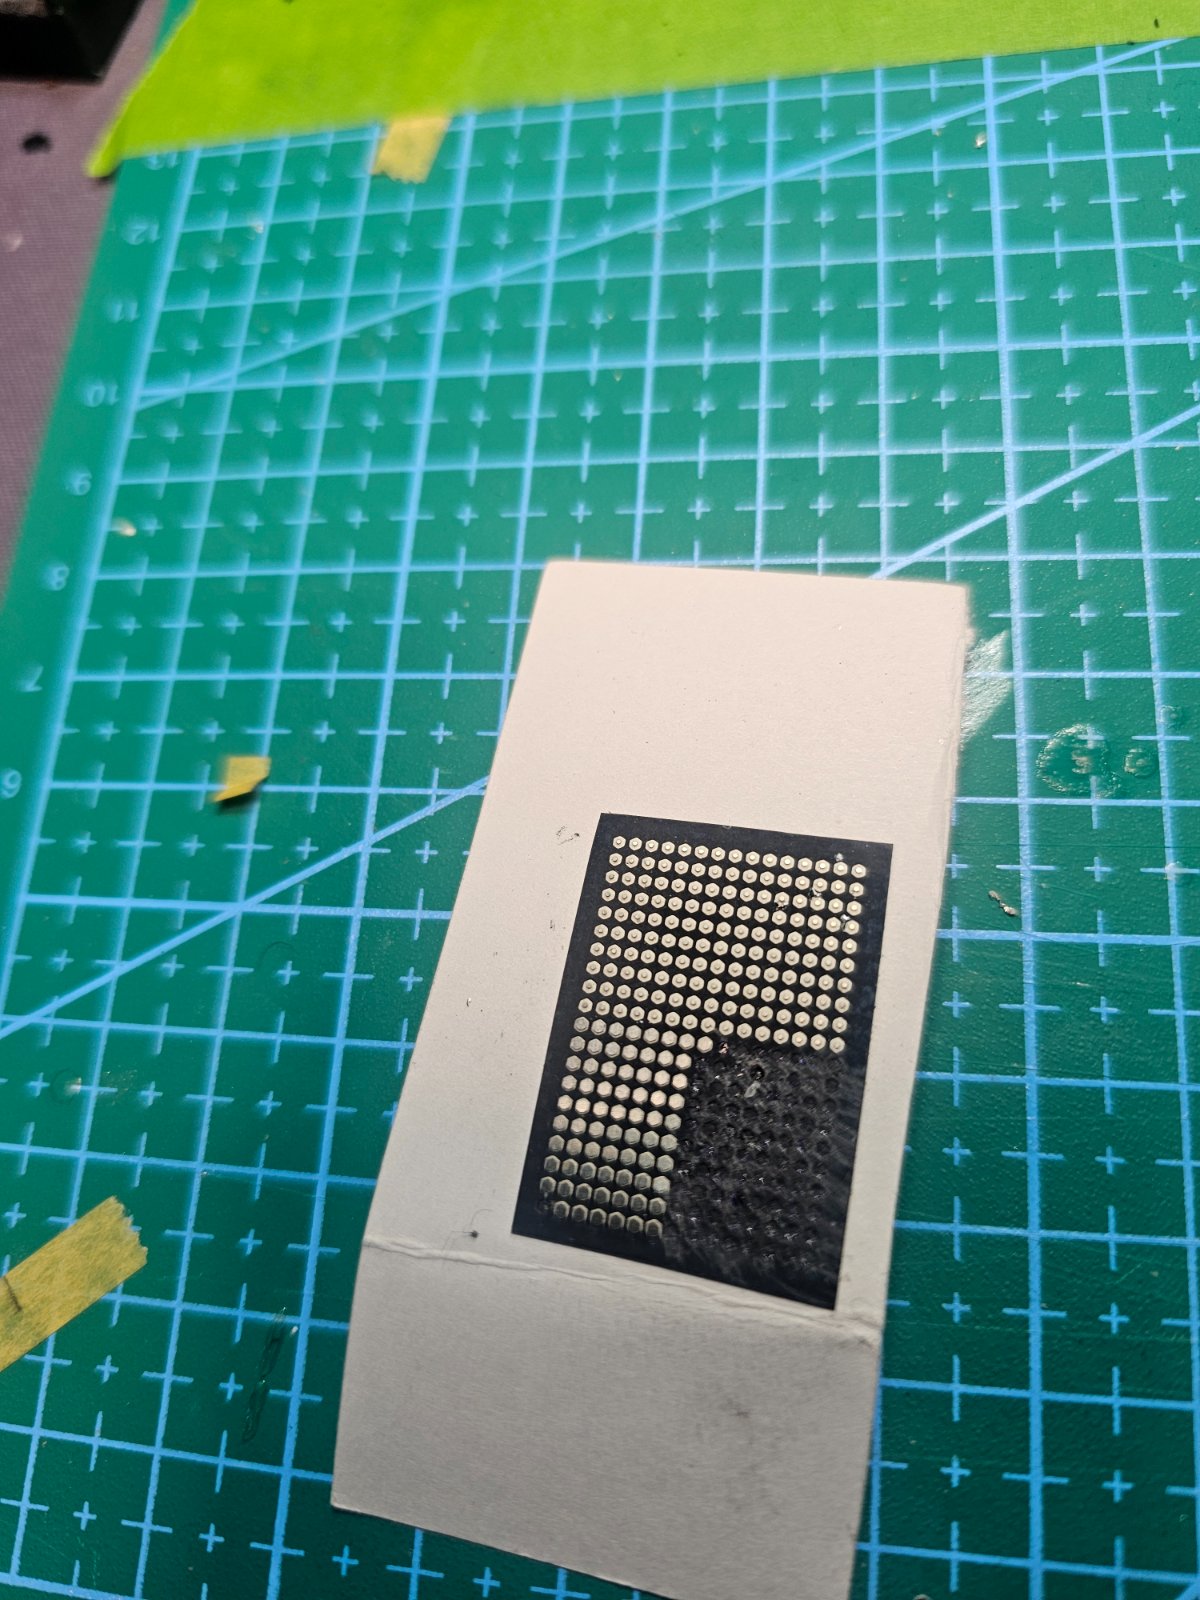
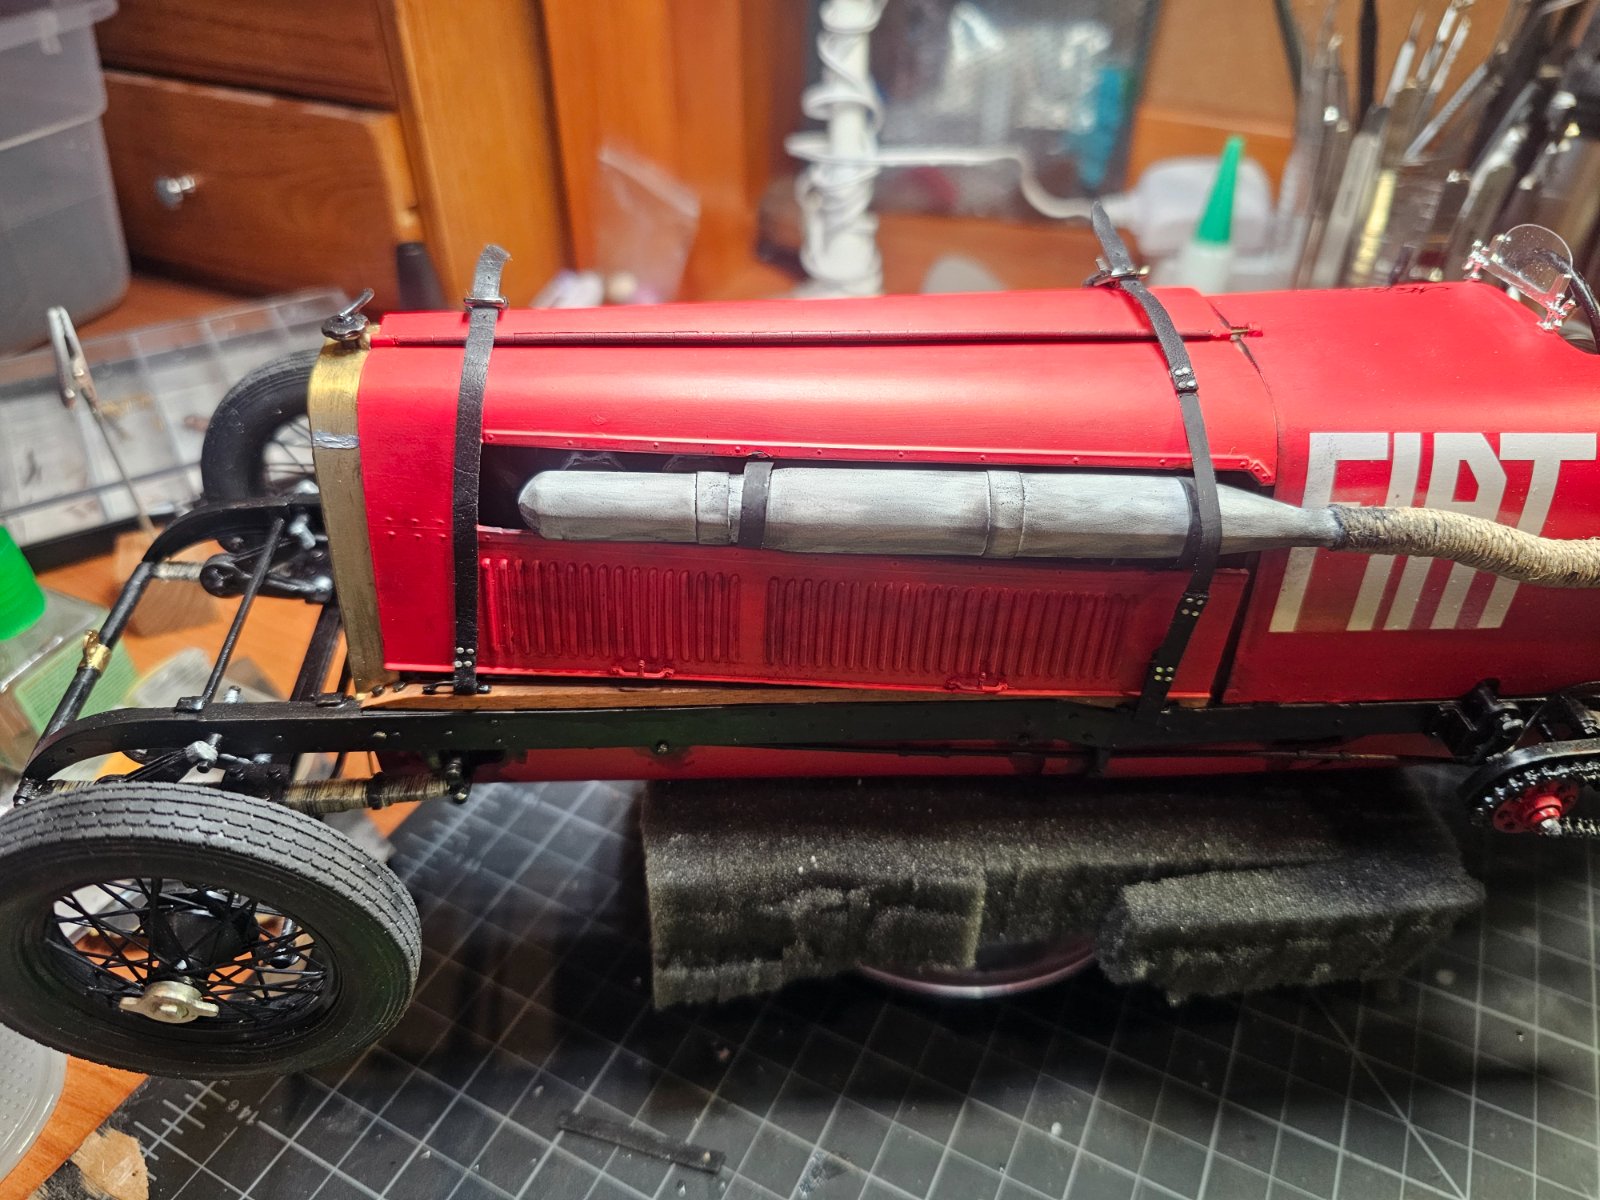
Working on the straps now...never noticed in the 700 pics I have of this tjing..but the rear strap has a metal band in the middle so it can go over the exhaust...making that with some more wine bottle metal...adding in microscopic rivet heads as well..those are fun to work with.

Screenshot_20251104_204600_Gallery.jpg


20251105_092914.jpg


20251105_094737.jpg
 
It didn't take long to get behind on this build at all but I'm all caught up now and am just blown away by the use of leather gloves as a source for the seat leather.......and THEN there's the rest of the details on this build. I've gotta hand it to ya bud......you get my vote for some really good ingenuity going on here. WOW!!!
 
Need an opinion...the seat.
Its a very complicated button tuft..I don't know if I can do it in real leather...
I could paint it using putty and I guess small beads like another guy did.
Or I could kind if do it in real leather...
This is what its supposed to look likeView attachment 168174
I would go for the authentic look of the original car's seat. But I like the challenge of the seat in the above photo!
One thing I tried on an 1/48 A-10 ejection seat a few years ago was to make a custom made seat pad (see photo).
I took a piece of styrene plastic, cut it to shape, then scratched rough wrinkles and grooves into the seat pad. I then liberally applied Tamyia Extra Thin Cement to the seat pad. The cement quickly softened the plastic and took the sharp edges off my scratches and groove, leaving a well worn look to the seat pad.
This technique also seems to work well for the head rests on planes like the Spitfire or Corsair.
You could even add a bit of texture to the surface by lightly touching the plastic with a fine weave cloth, before the cement dries.
In the end, I think it would be easy to finally paint the seat as other guys have explained above, in order to achieve the look of leather.
Just an idea.
Let us know how it works out if you give it a try.

1762371846668.jpeg
 
Thing is..once i glue the leather to the seat..that's it...
But I may try to make a separate piece and then see how it looks. Have an idea..
Working on the straps now...never noticed in the 700 pics I have of this tjing..but the rear strap has a metal band in the middle so it can go over the exhaust...making that with some more wine bottle metal...adding in microscopic rivet heads as well..those are fun to work with.

View attachment 168193

View attachment 168194

View attachment 168195
You know you have done a good job when I'm looking at your photos and I'm not sure if I am looking at your model or the real car.
BZ!
 
Supplies slowly coming in...etsy..is slow...but I'm stuck until they do.
Have to keep researching the next one.
Ski season is around the corner and that will slow things down..but I schedule about a year for each build.
 
Thanx...
Taking lots of time..and walking away a lot helps...
When I was a kid I just rushed through everything...with mixed results.
 
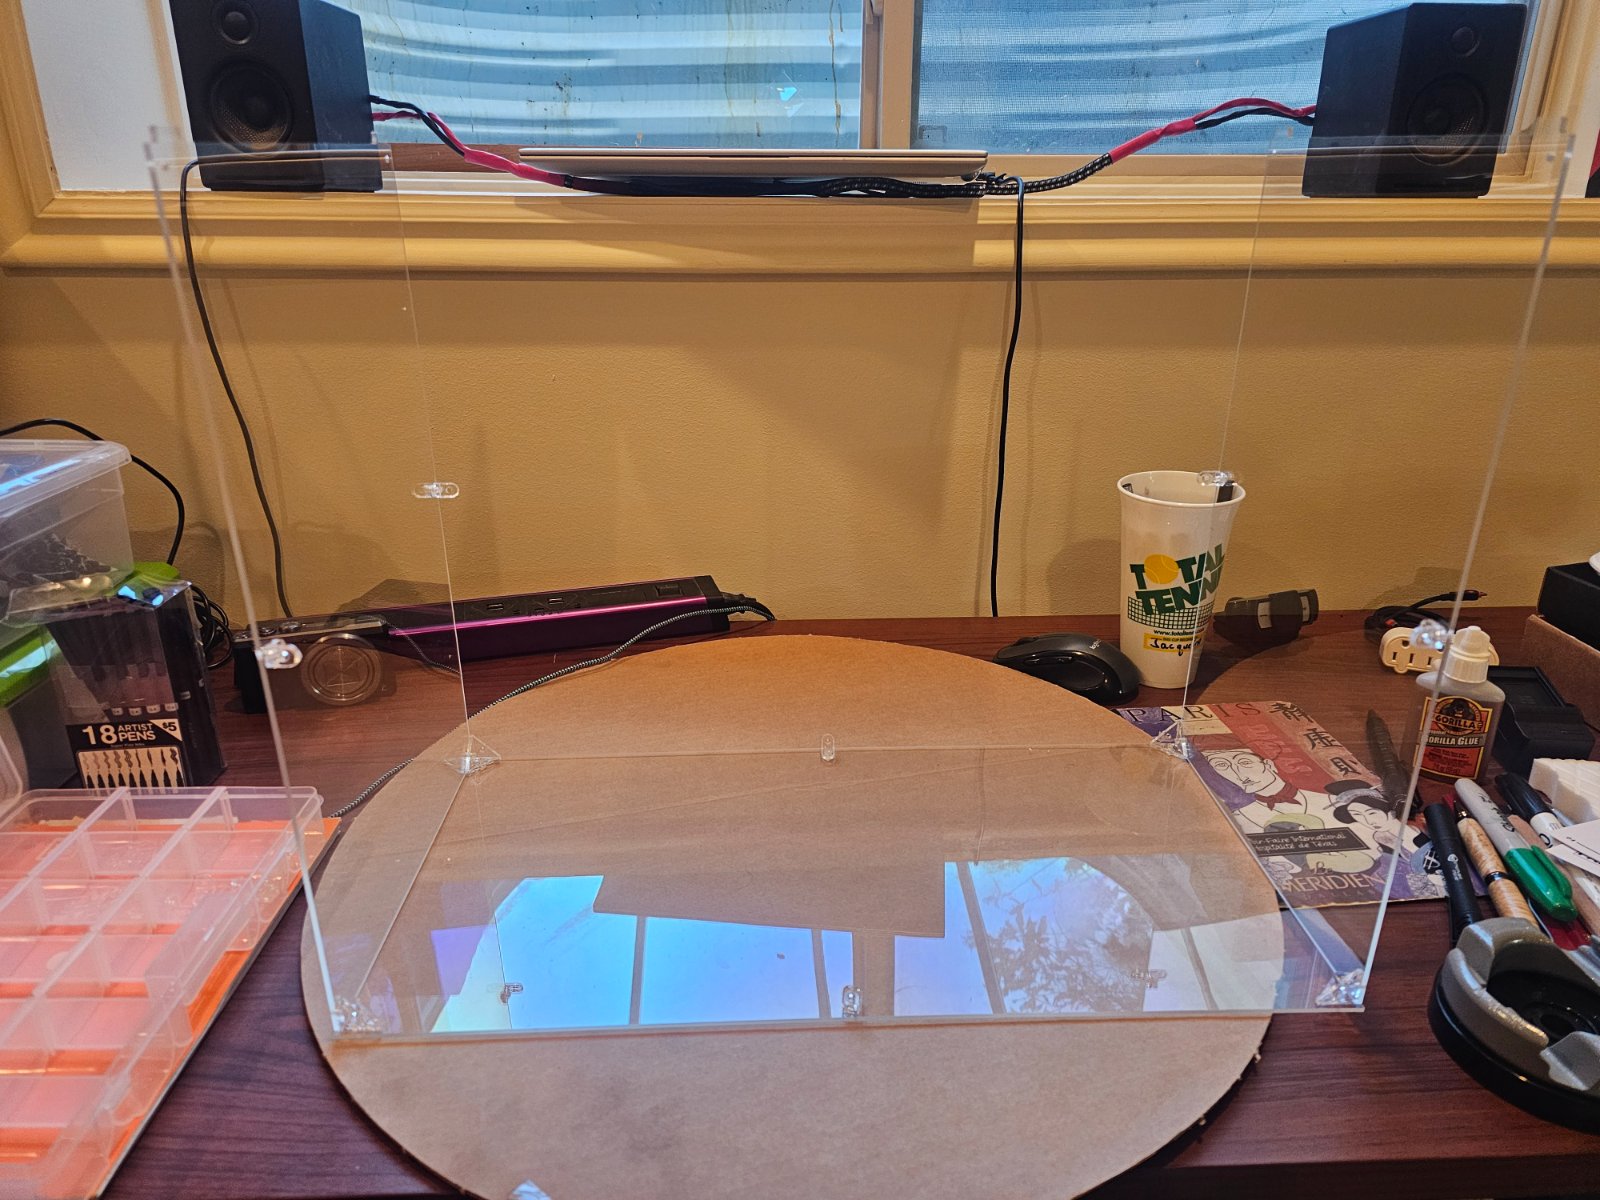
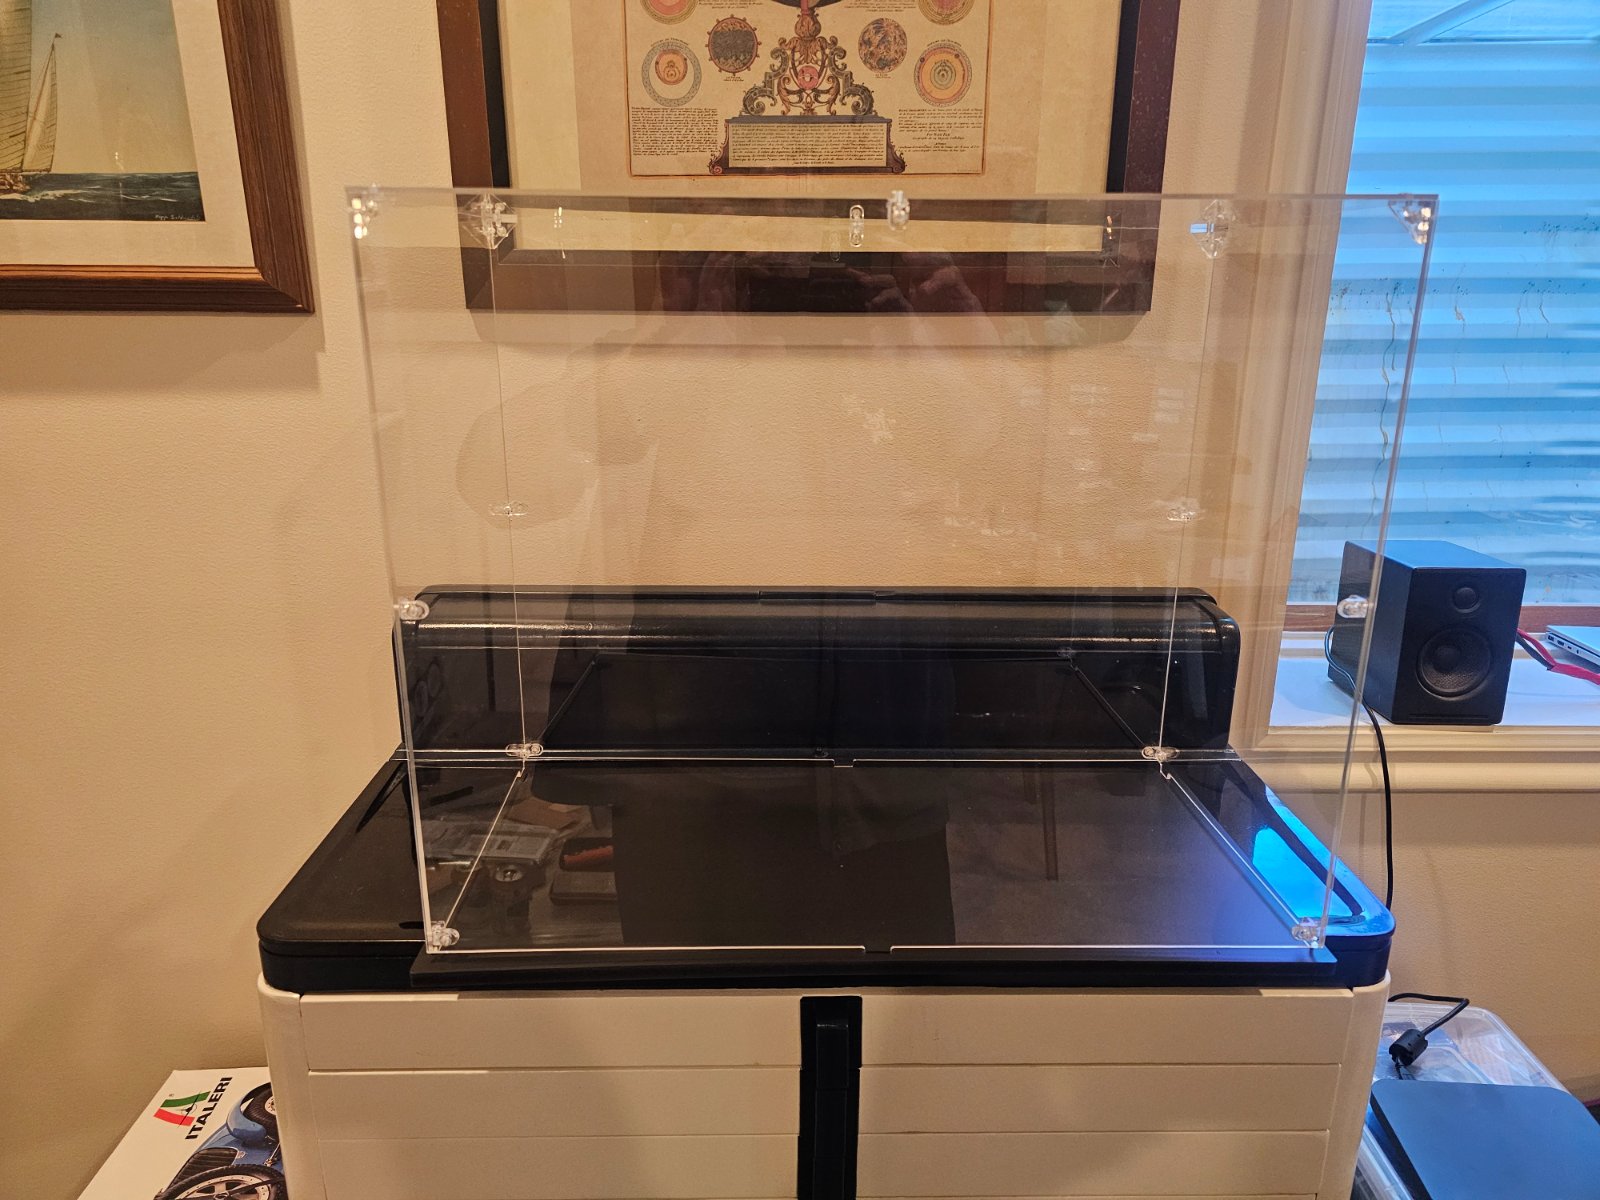
Put the case together..its one for lego..they have specific sizes only so this one is really tall..but I needed the length and width..
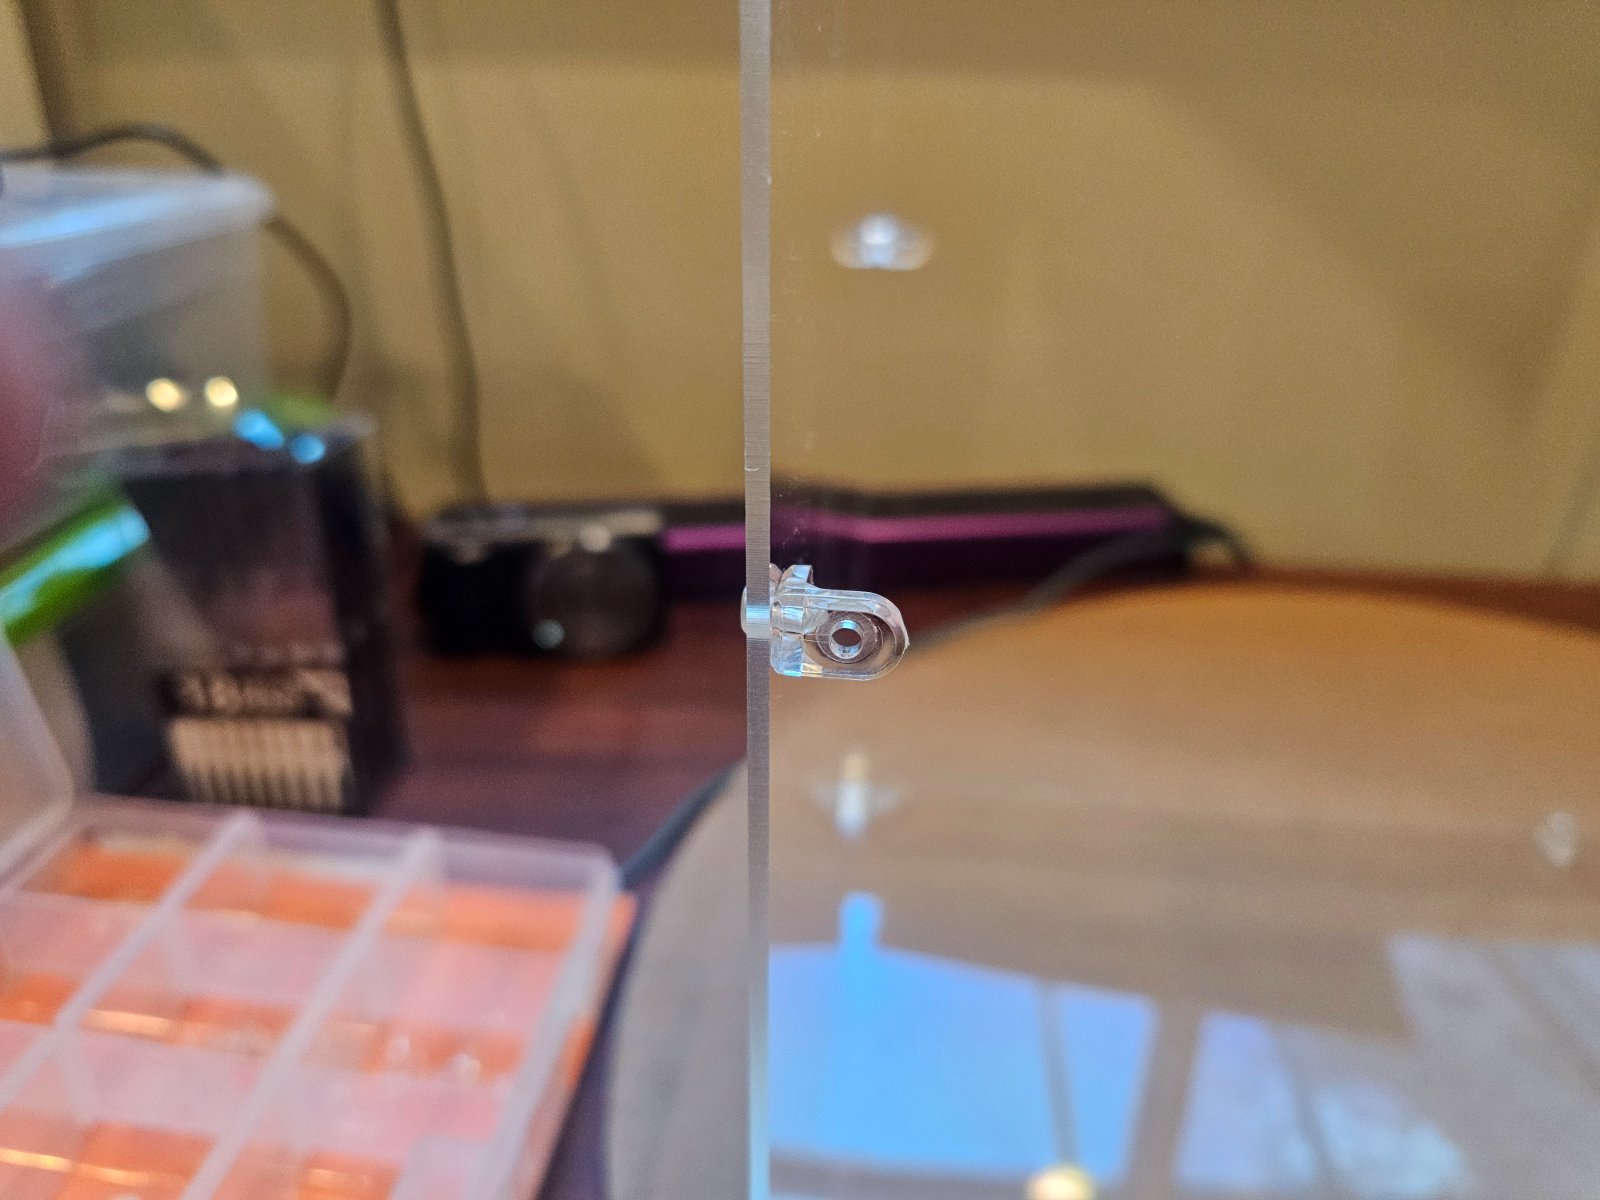
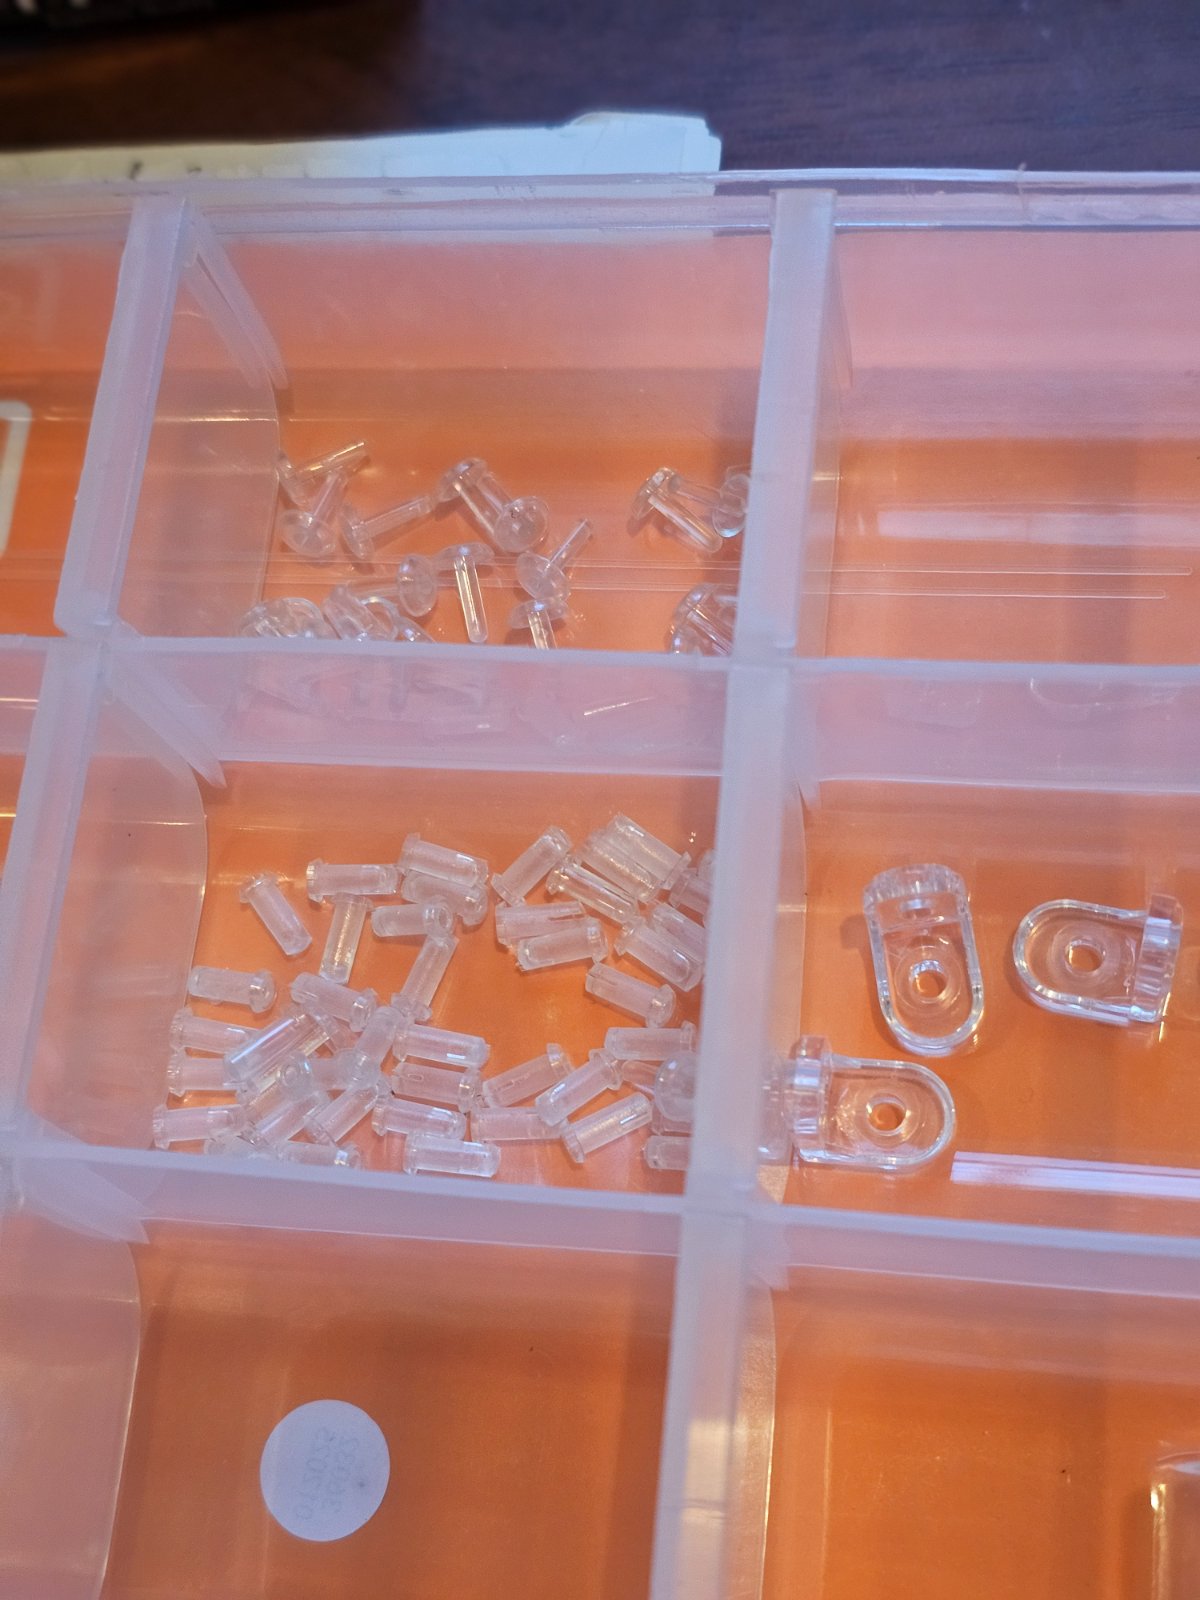
Its from Fantasmall and you have to put it together with tiny push pins...but its 1/3 rd the price of the custom ones. This was 70 bucks..
Think I'll make a road on top of the base from grout..saw a good video on that.

20251111_111846.jpg


20251111_111852.jpg


20251111_111859.jpg


20251111_113537.jpg
 
Straps done..putting on the rivets..is riveting..
Working on the base for the case..it will be a simple road like the one at brooklands where this was filmed after it was restored..made it out of grout.
Still waiting on supplies for the seat.

20251113_092138.jpg


20251113_092214.jpg


20251113_092813.jpg


20251113_092822.jpg


20251113_092840.jpg


20251113_092848.jpg
 
They came with it so plastic..I'm not ready to respoke wheels..although one guy did...its pretty difficult...maybe on another one...
 
That's why I kept them..I'm not sure if he used regular thinner spokes or something bigger...
Metal ones would have been a bit thinner..but nothing on this car was ordinary..
 
Back
Top