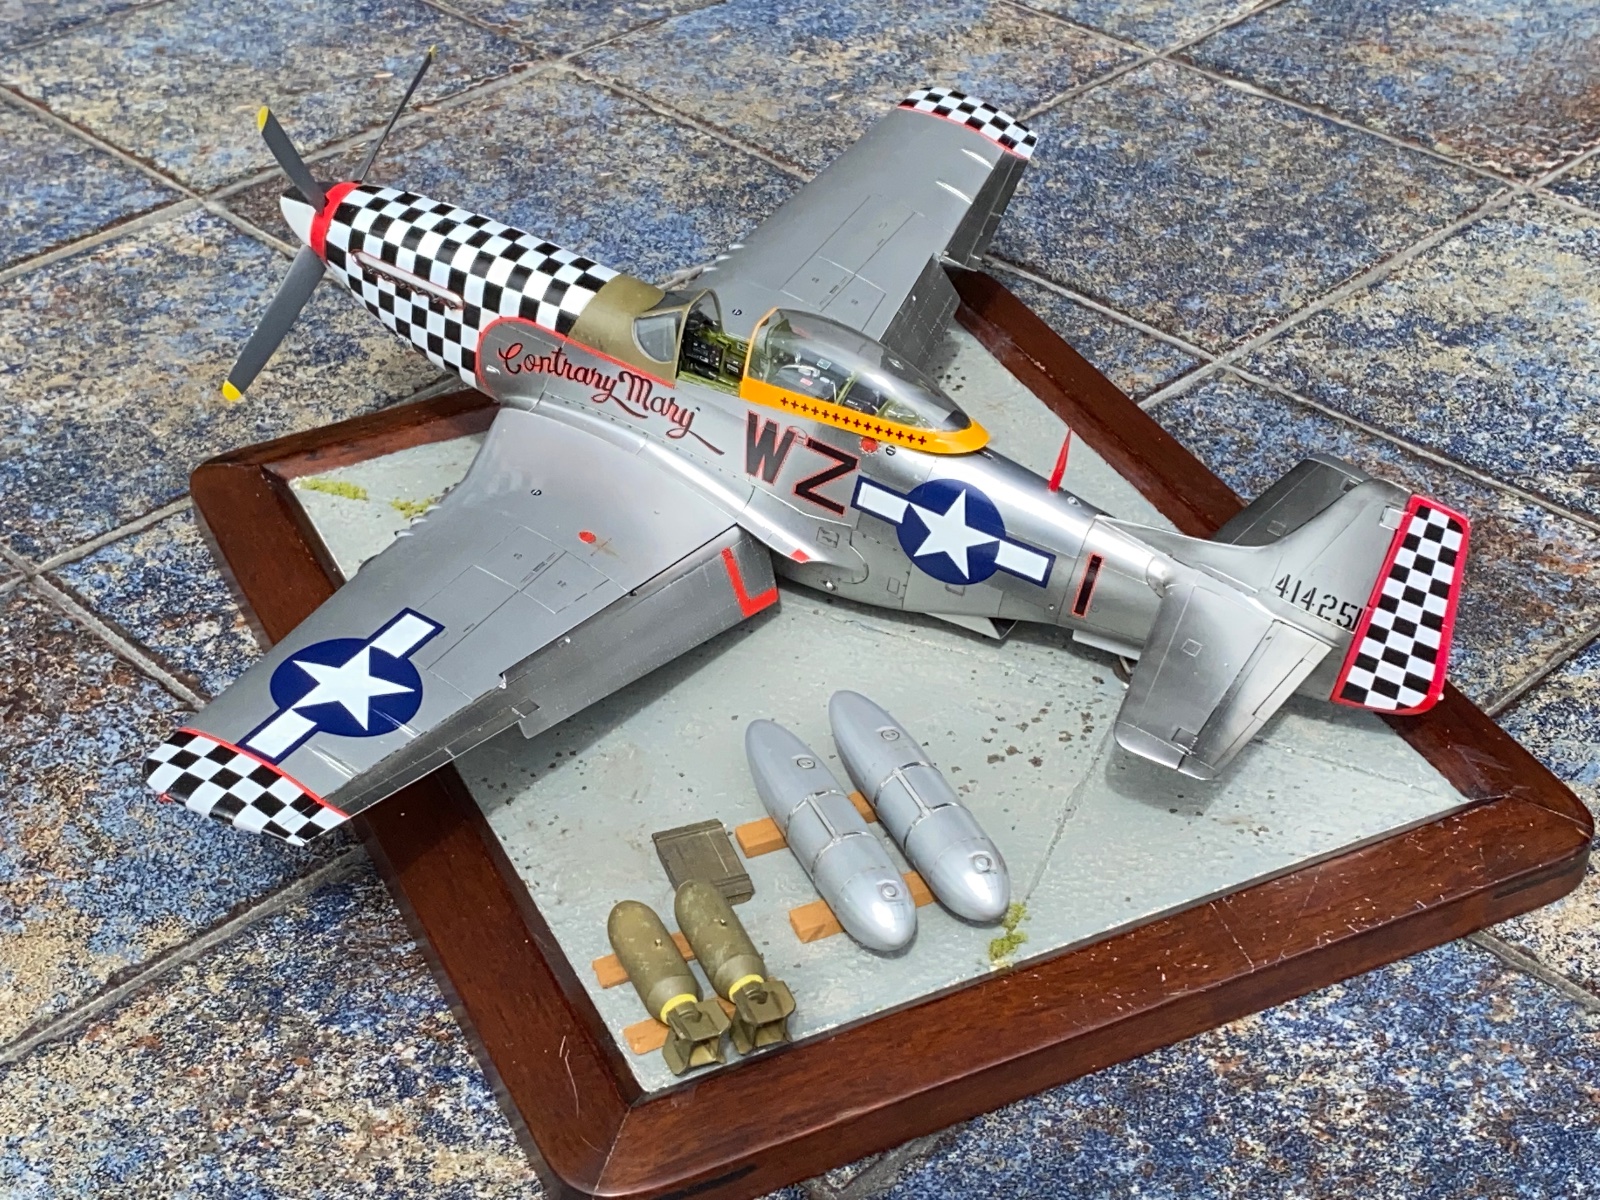
Z-M. P-51 D

Scale Model Addict - Model Tips, Guides, Tools & Tech, Tutorials, and Community

Help Support Scale Model Addict:

Rockin' Rob

Well-Known Member
Bronze Member
Joined
Apr 29, 2024
Messages
1,581
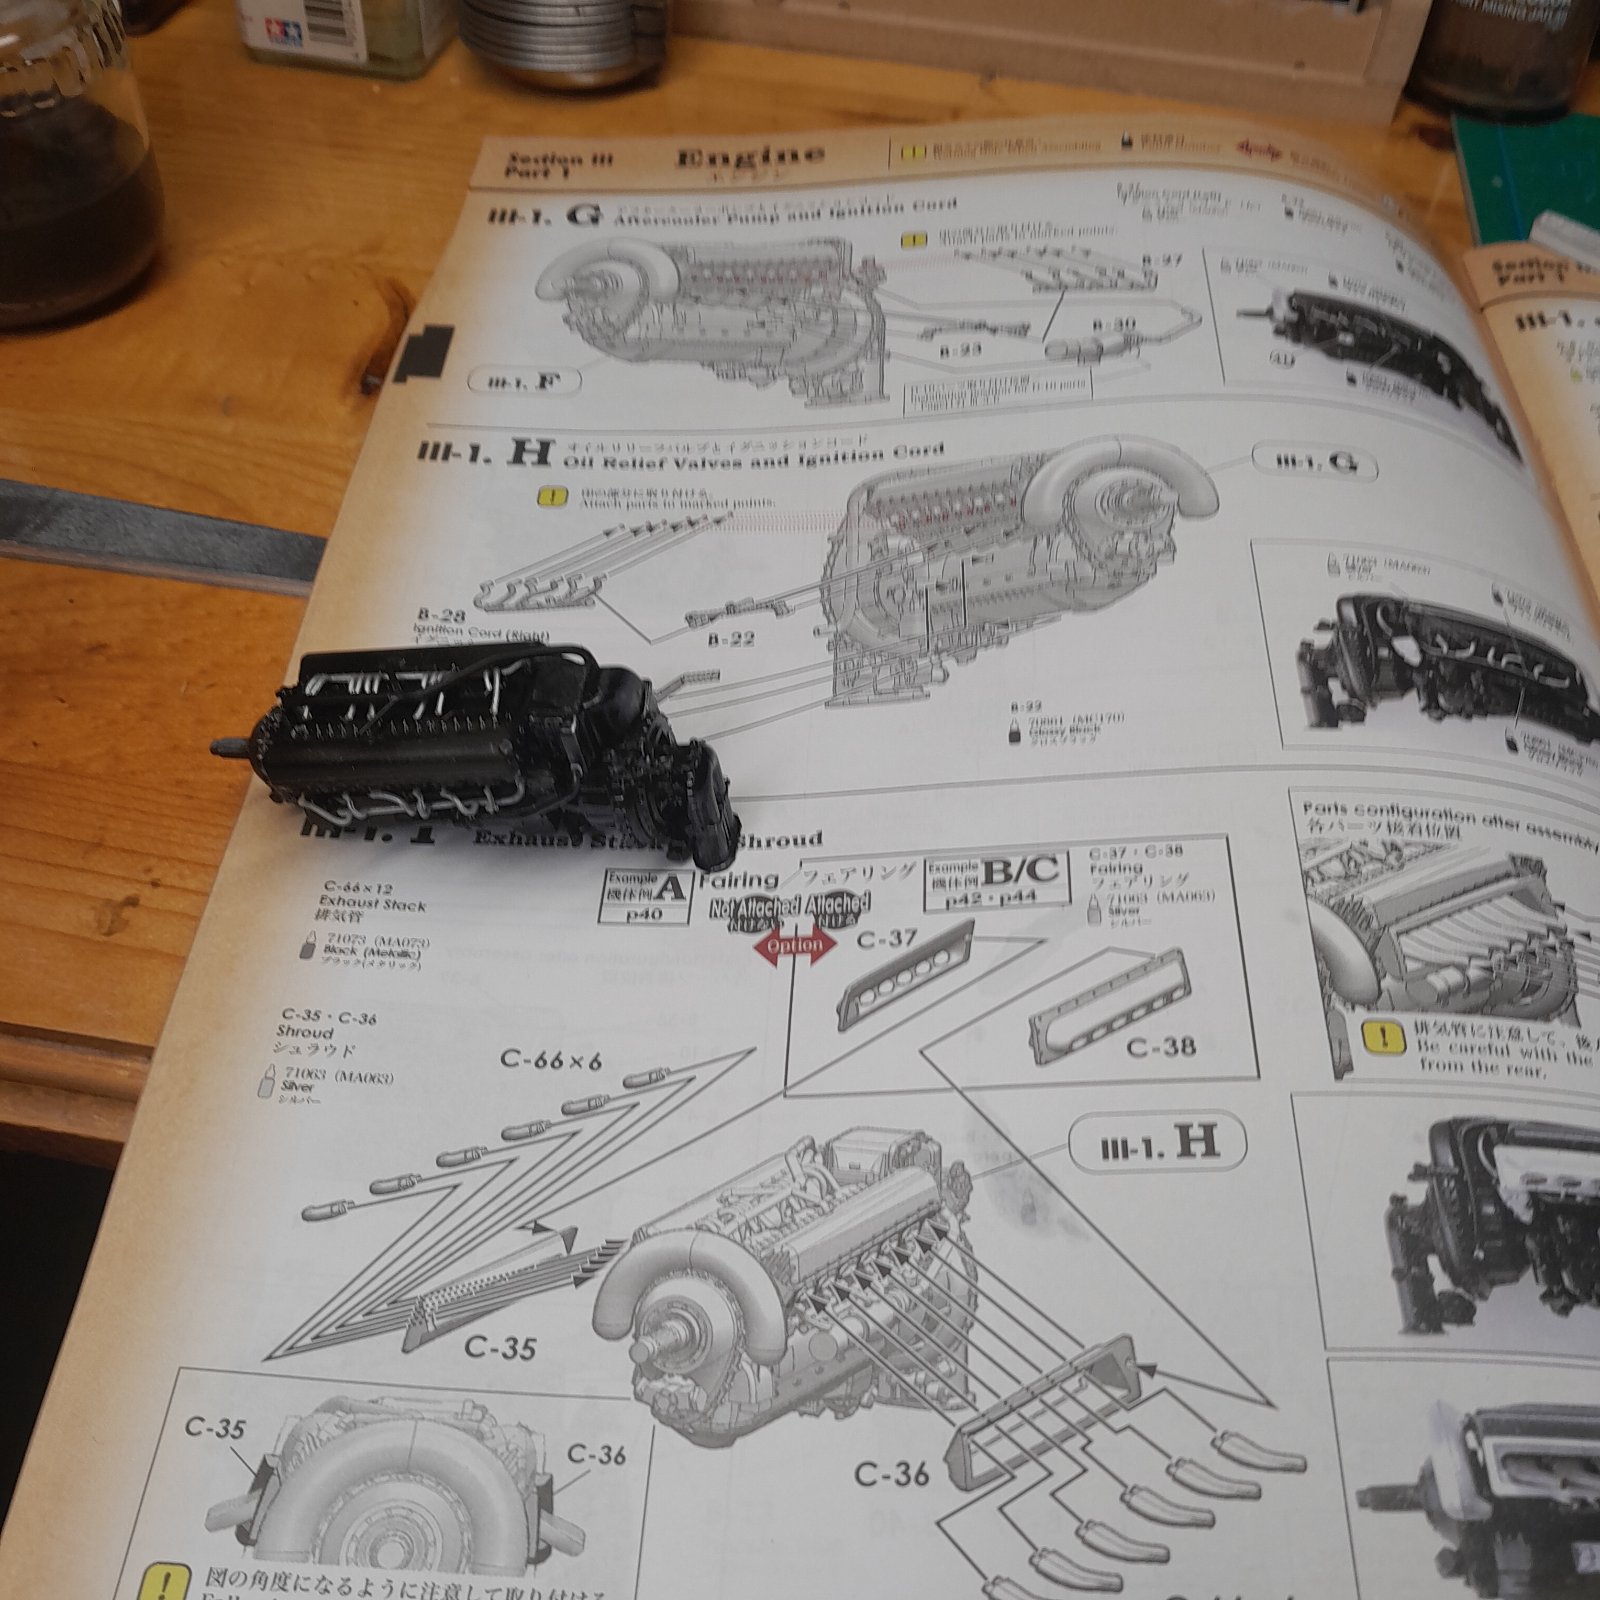
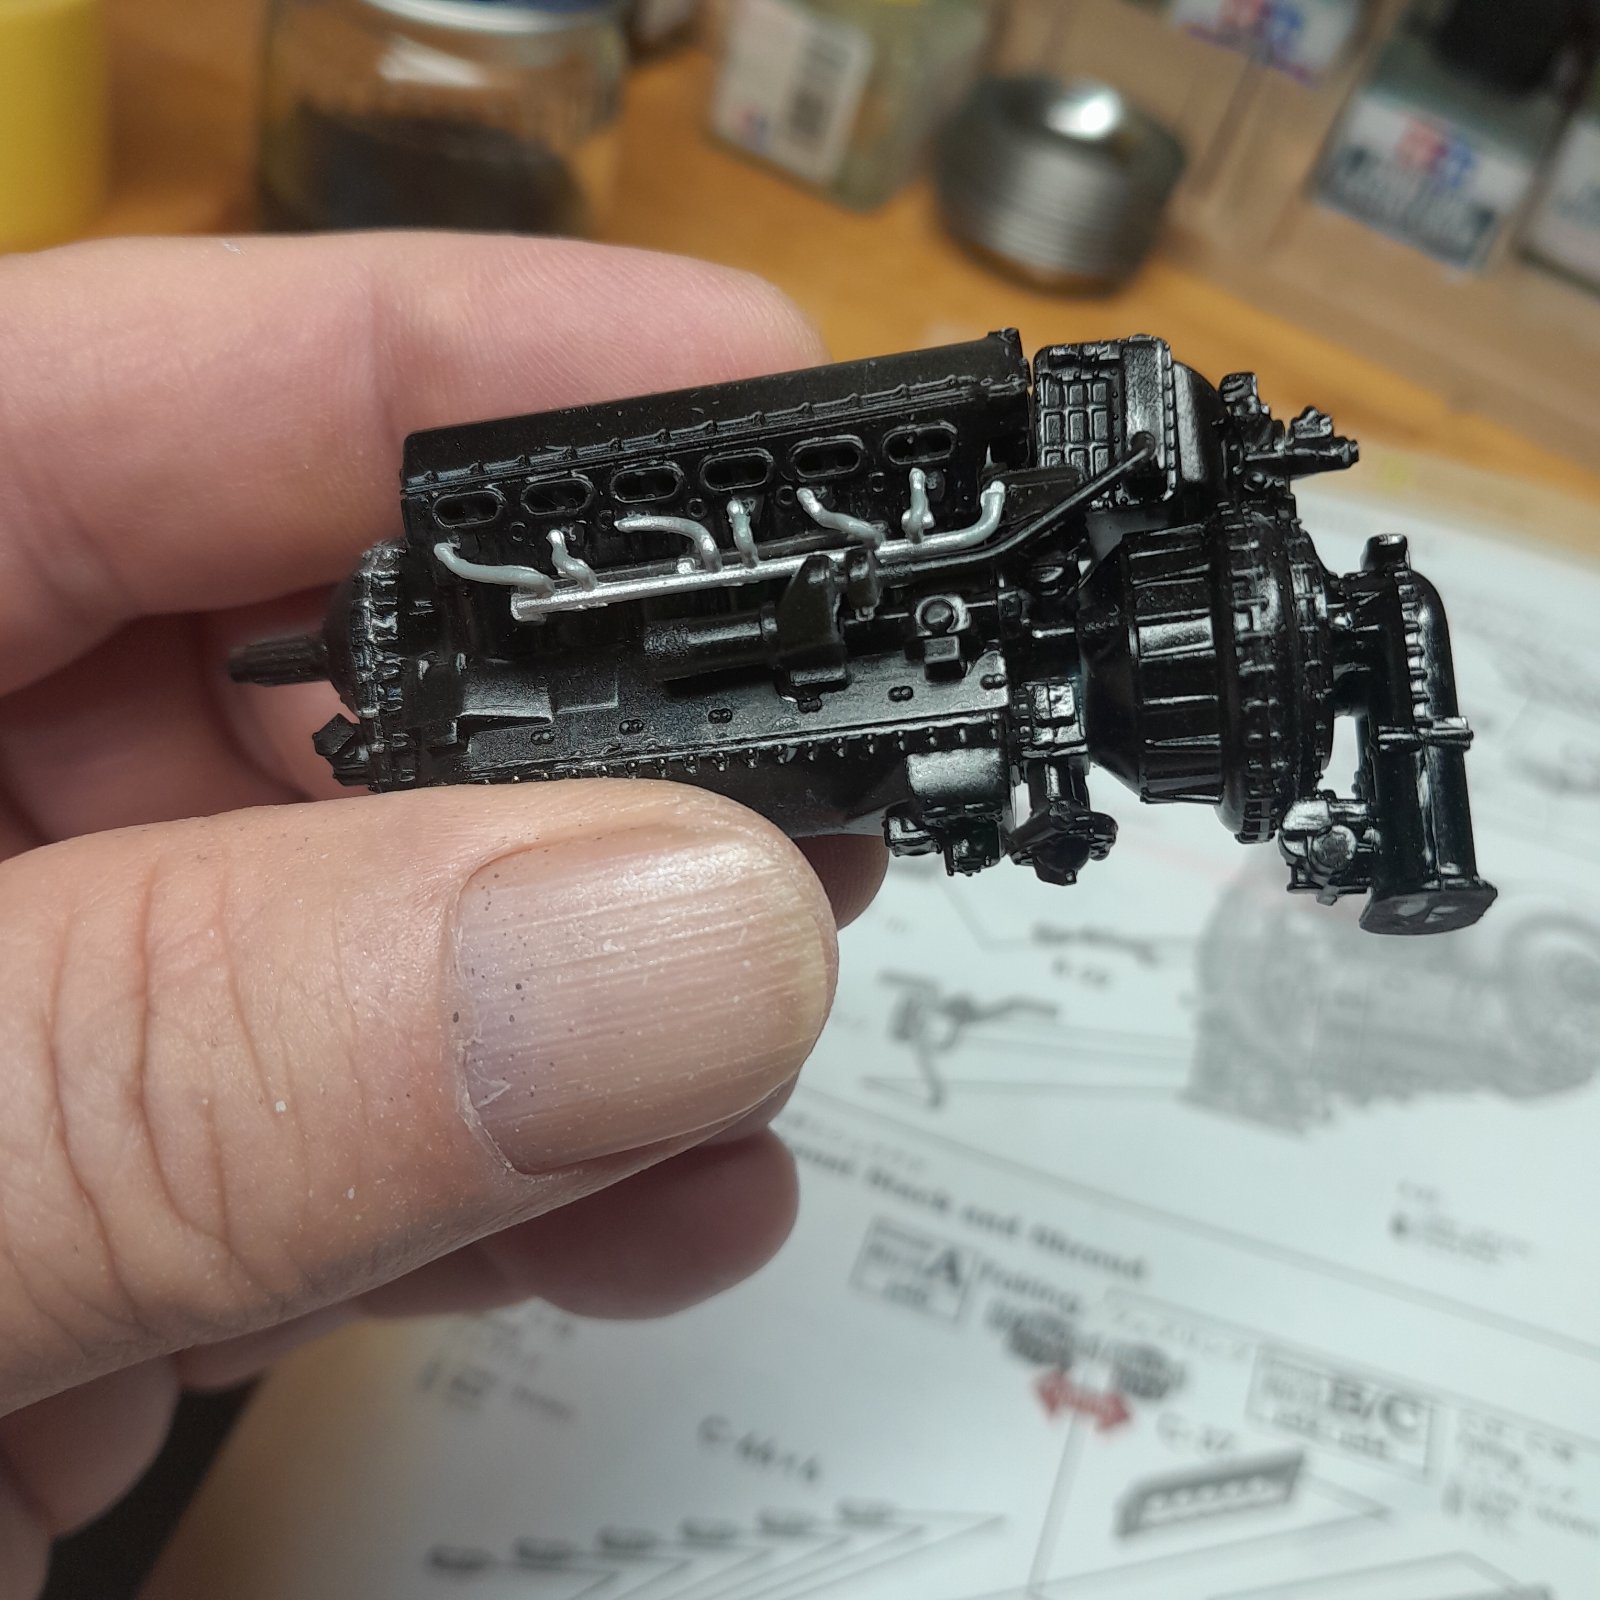
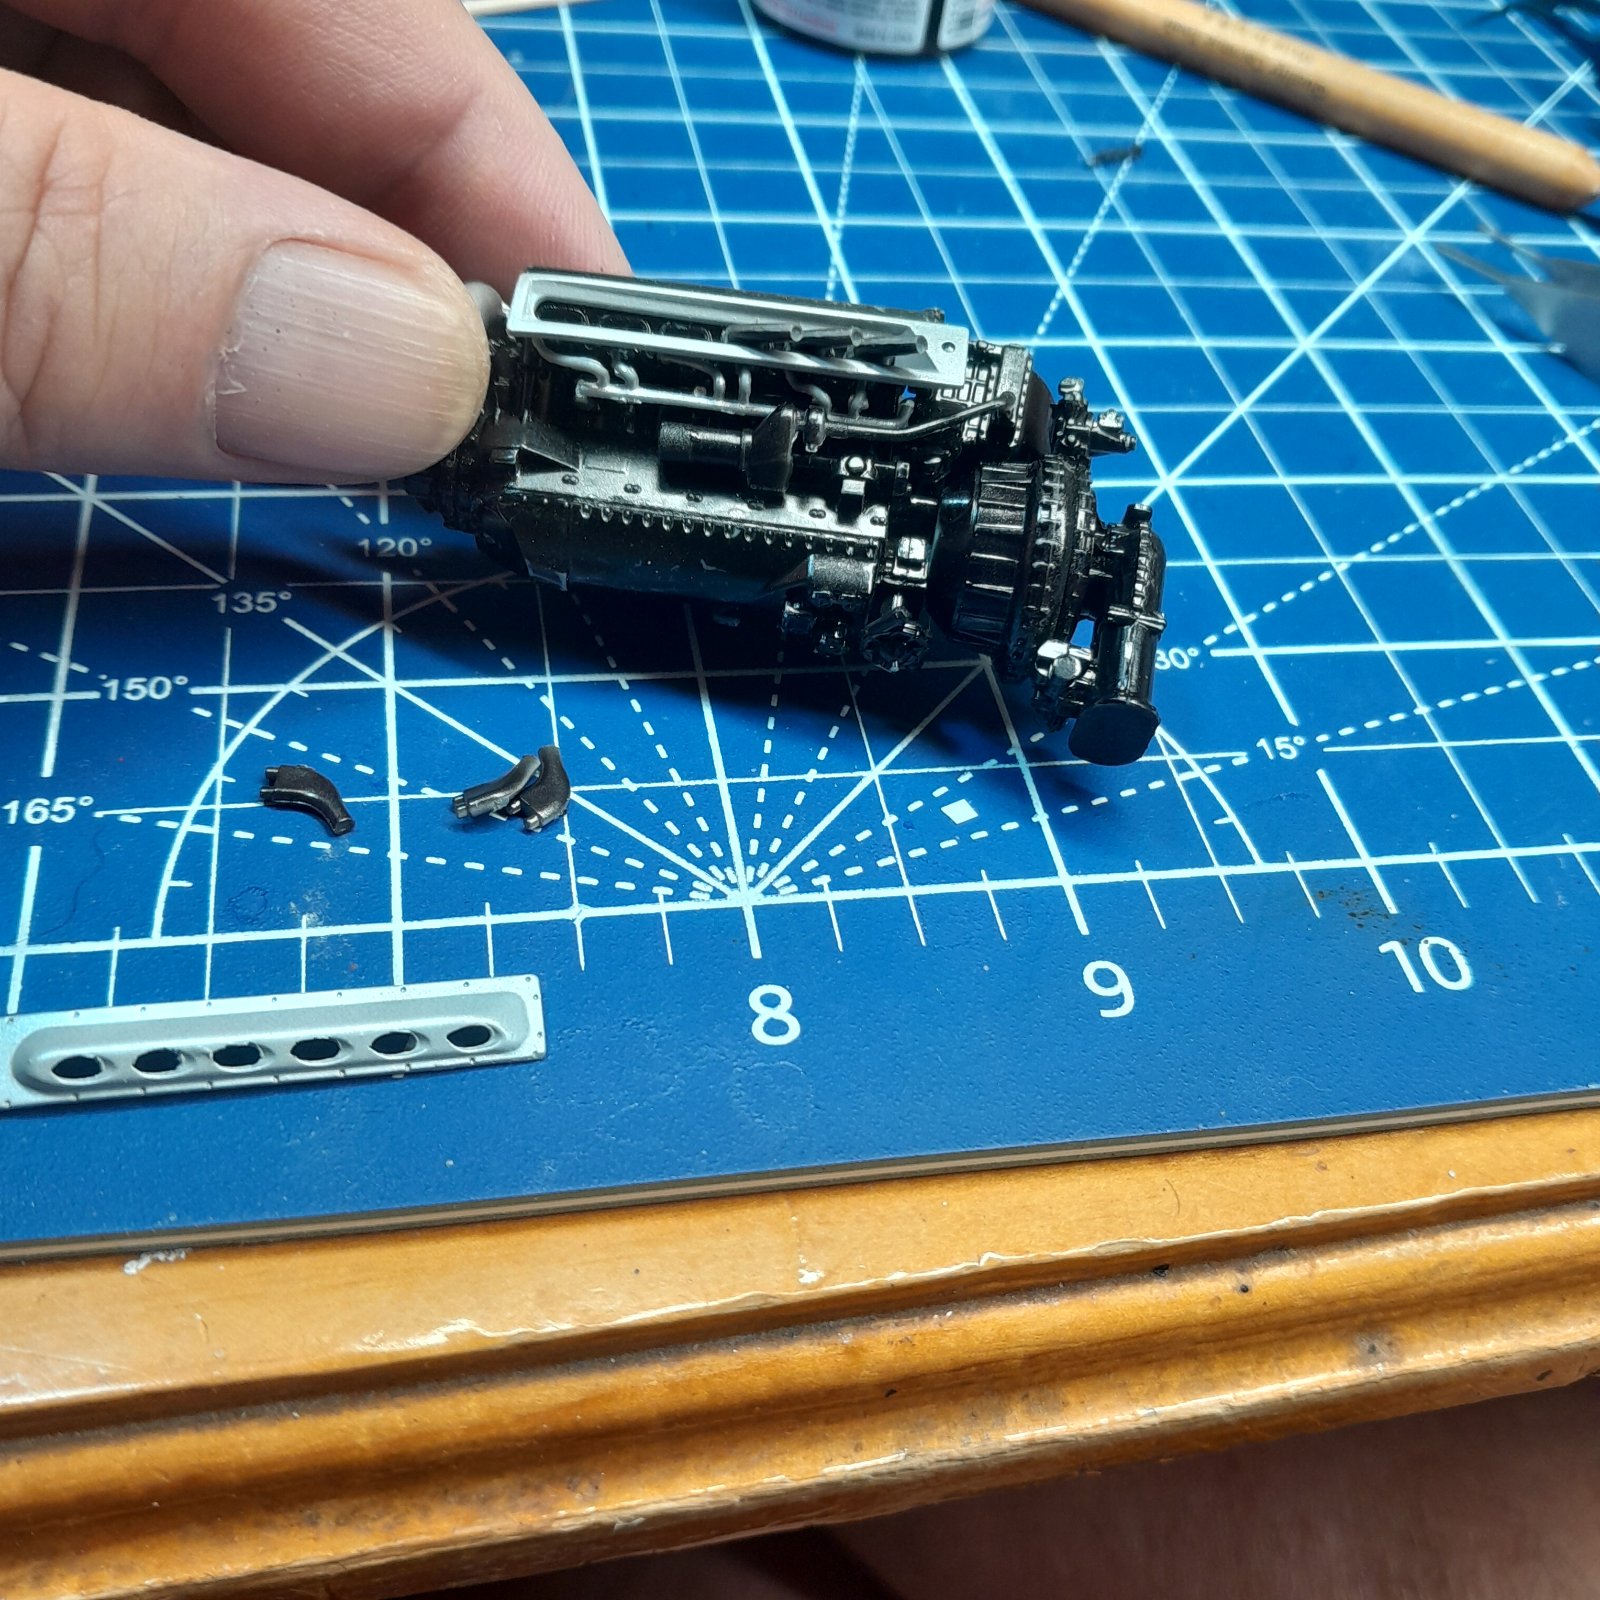
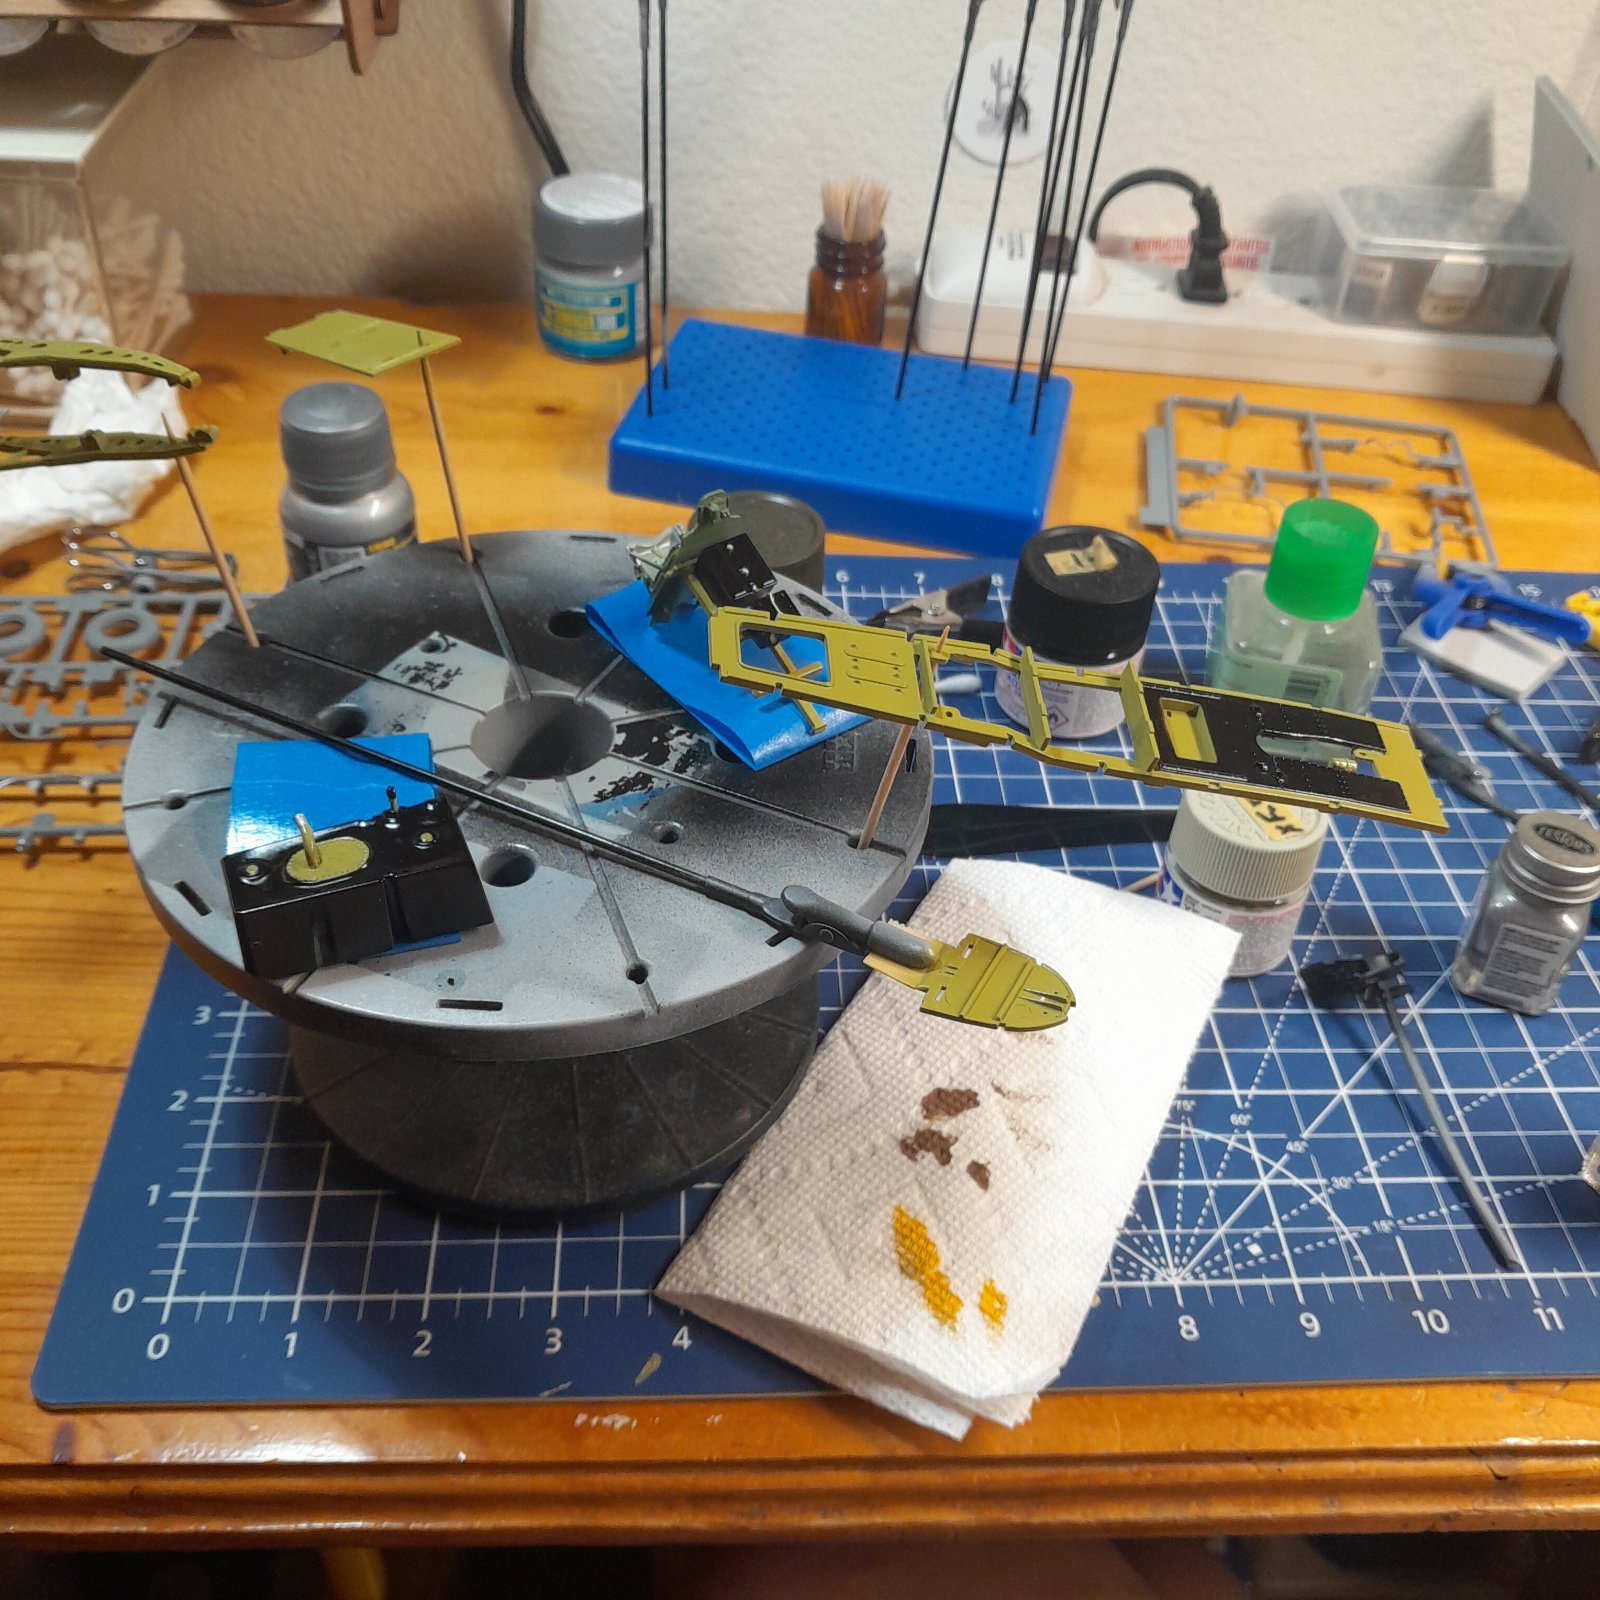
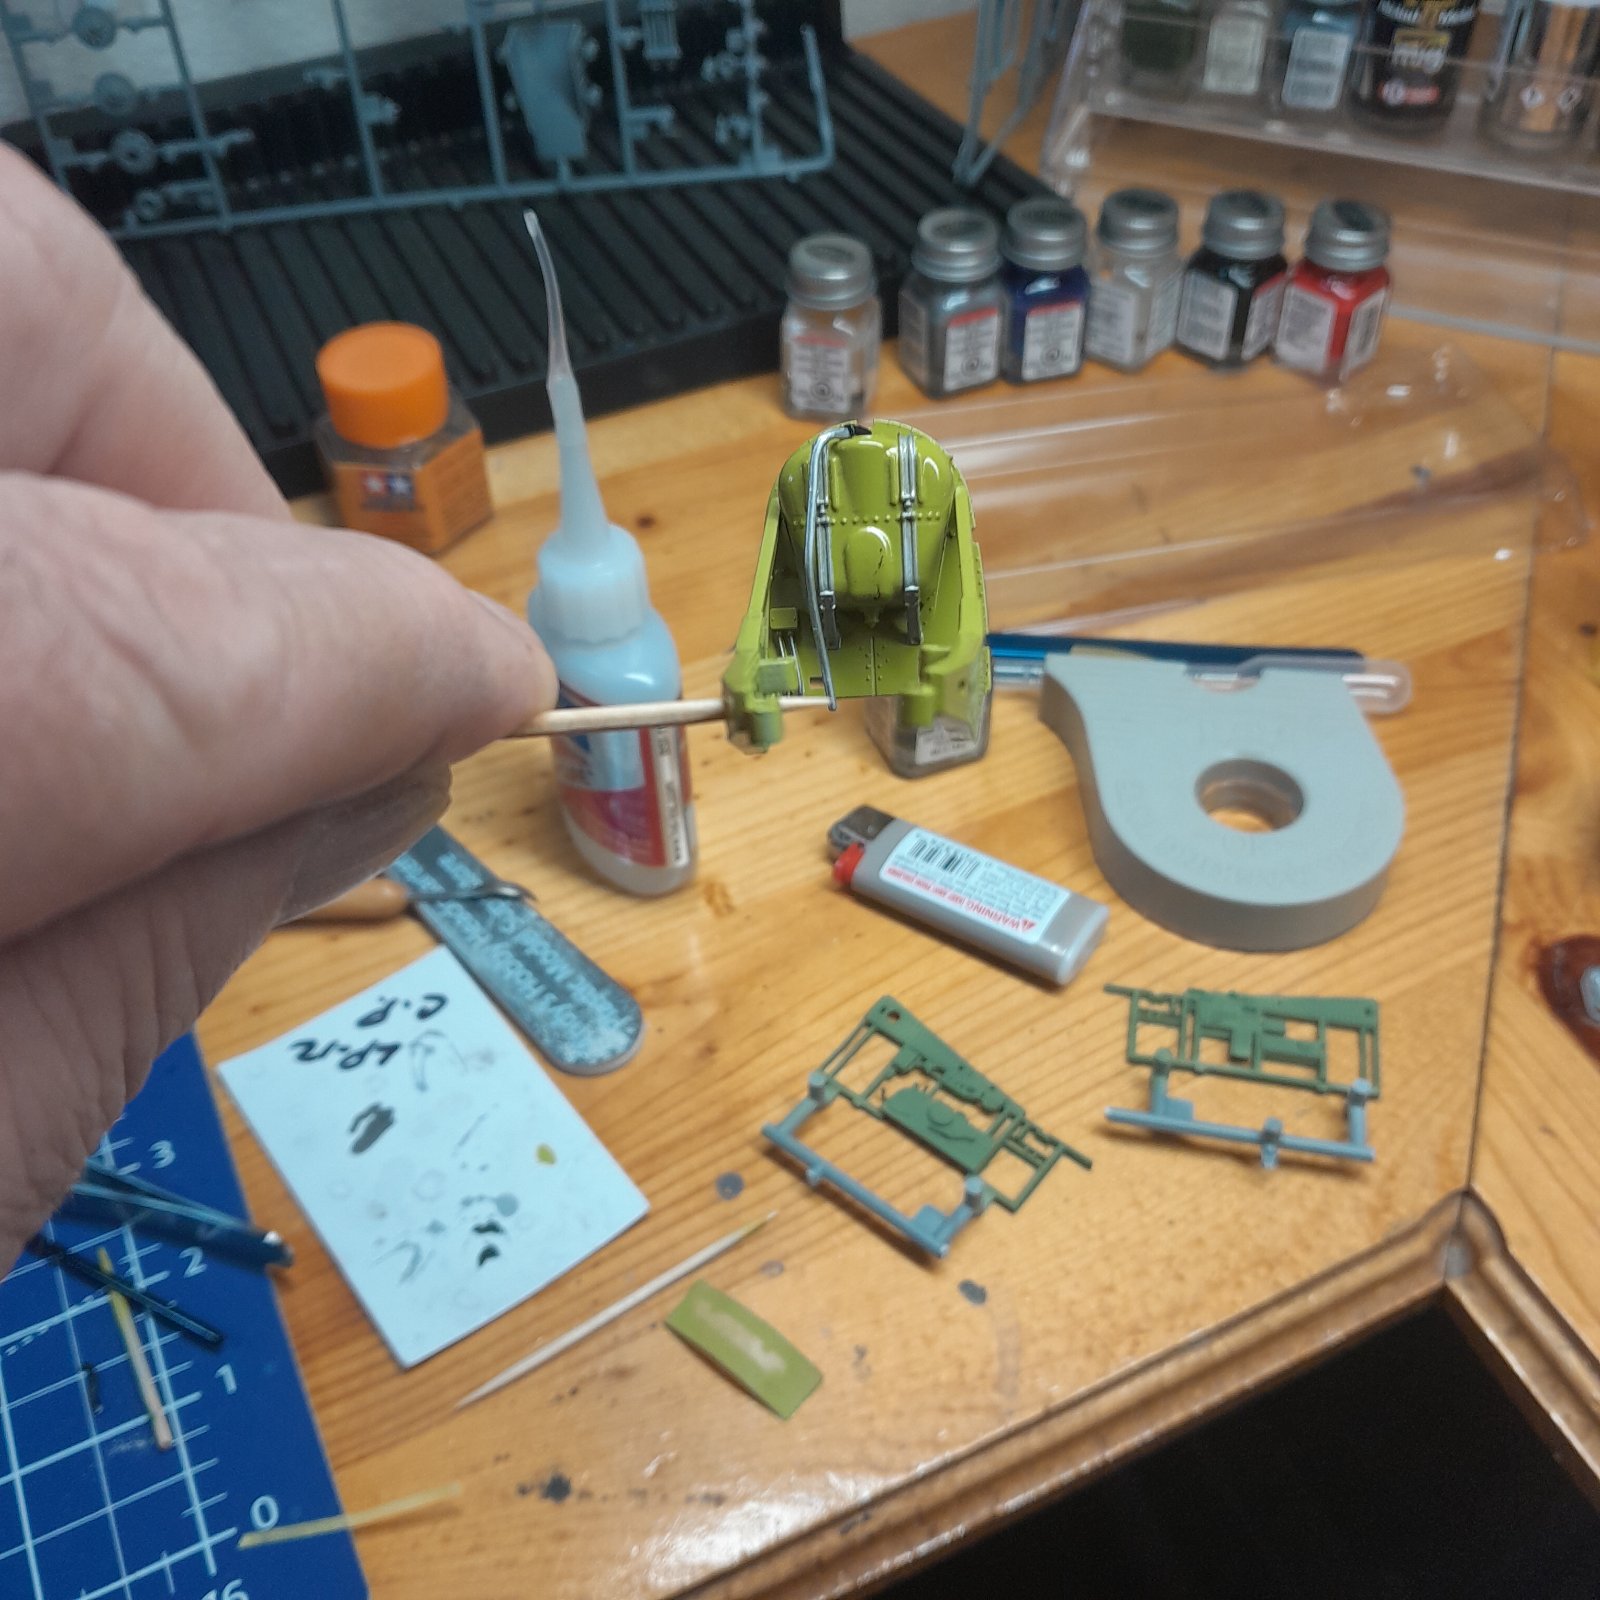
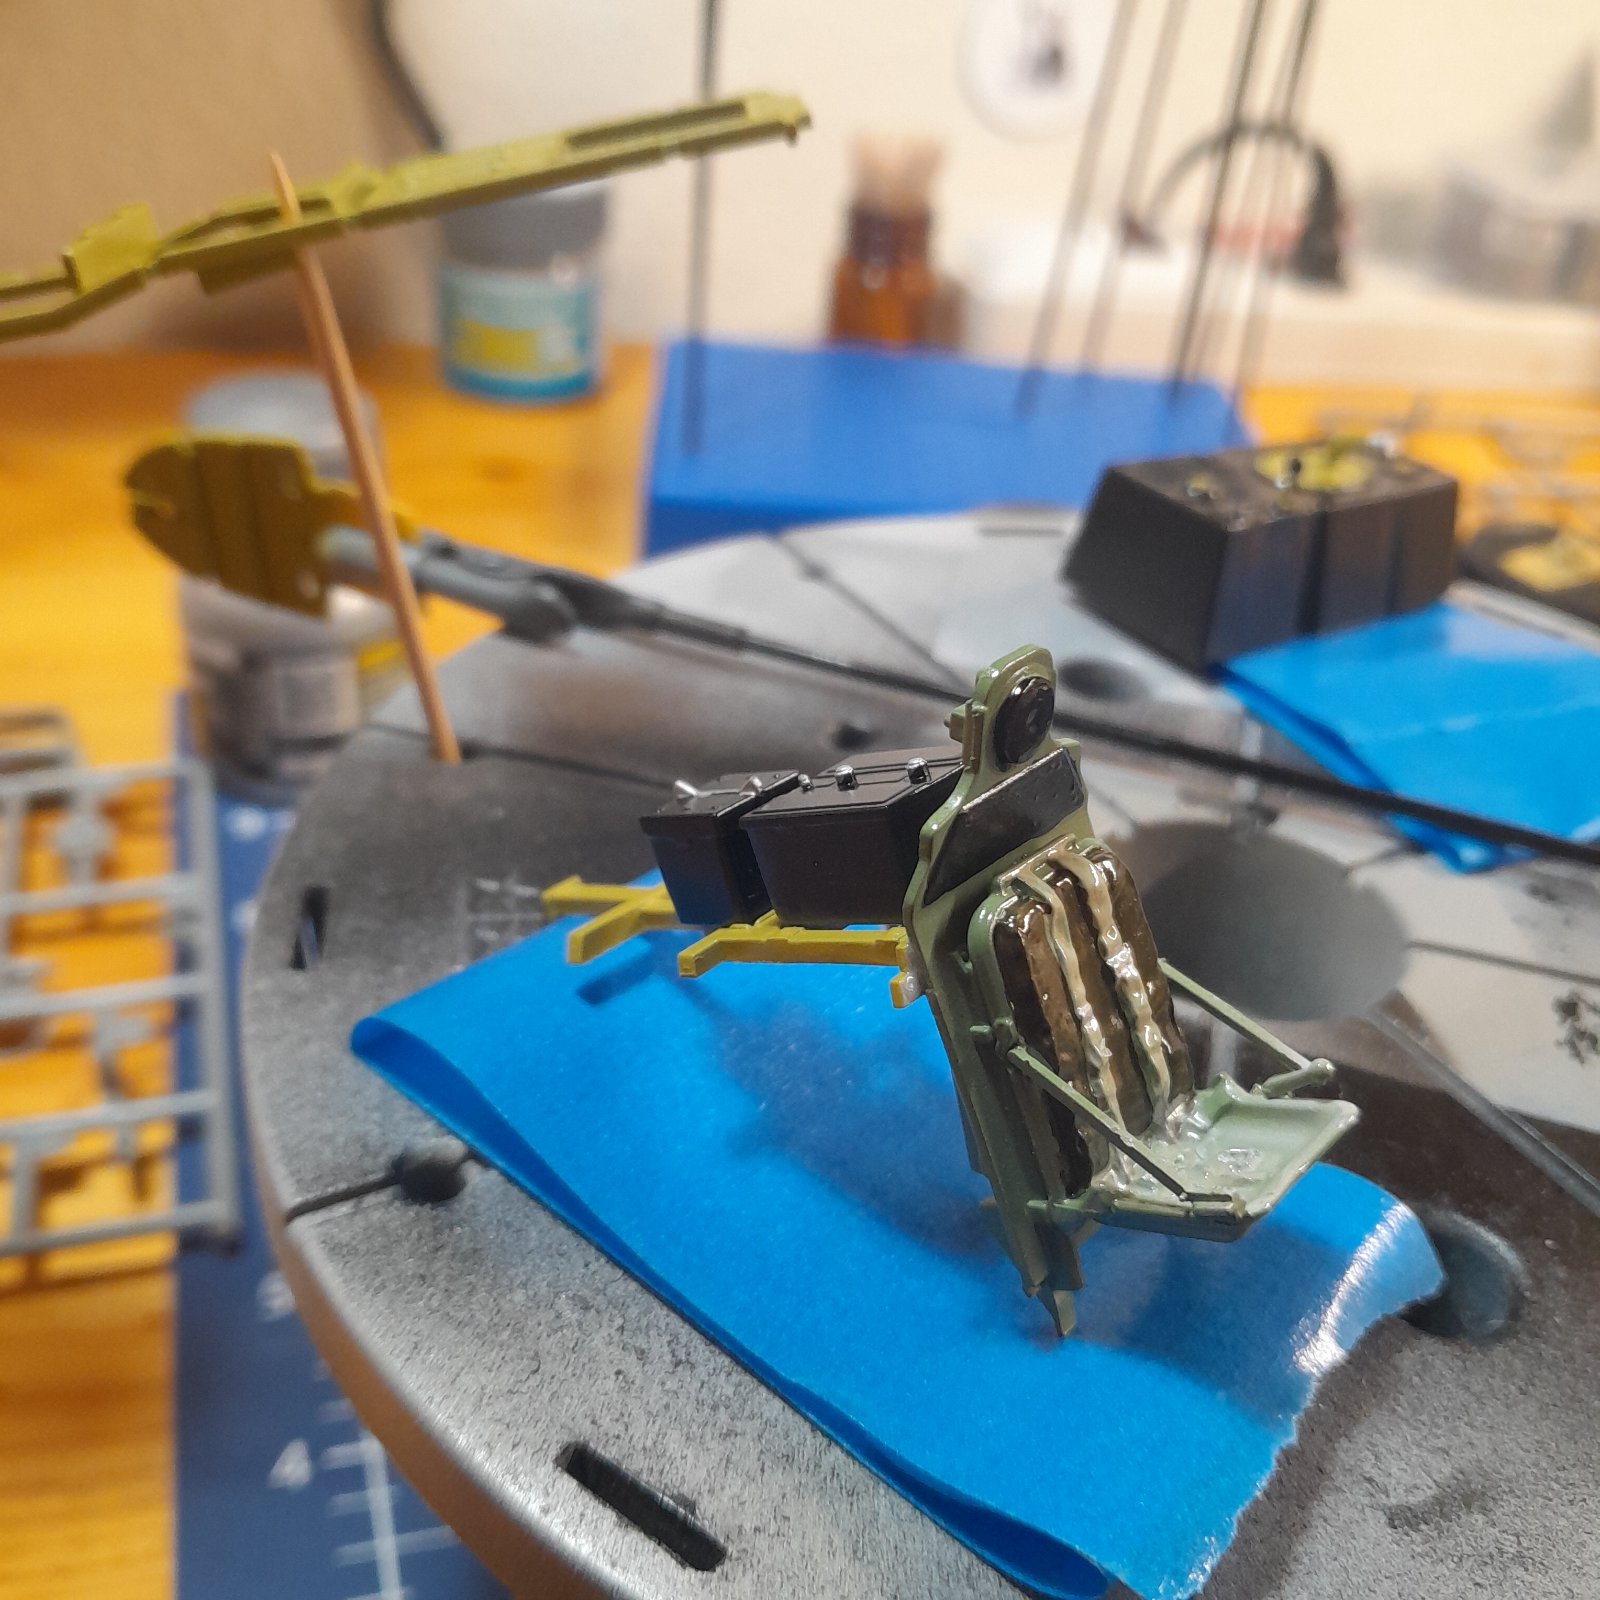
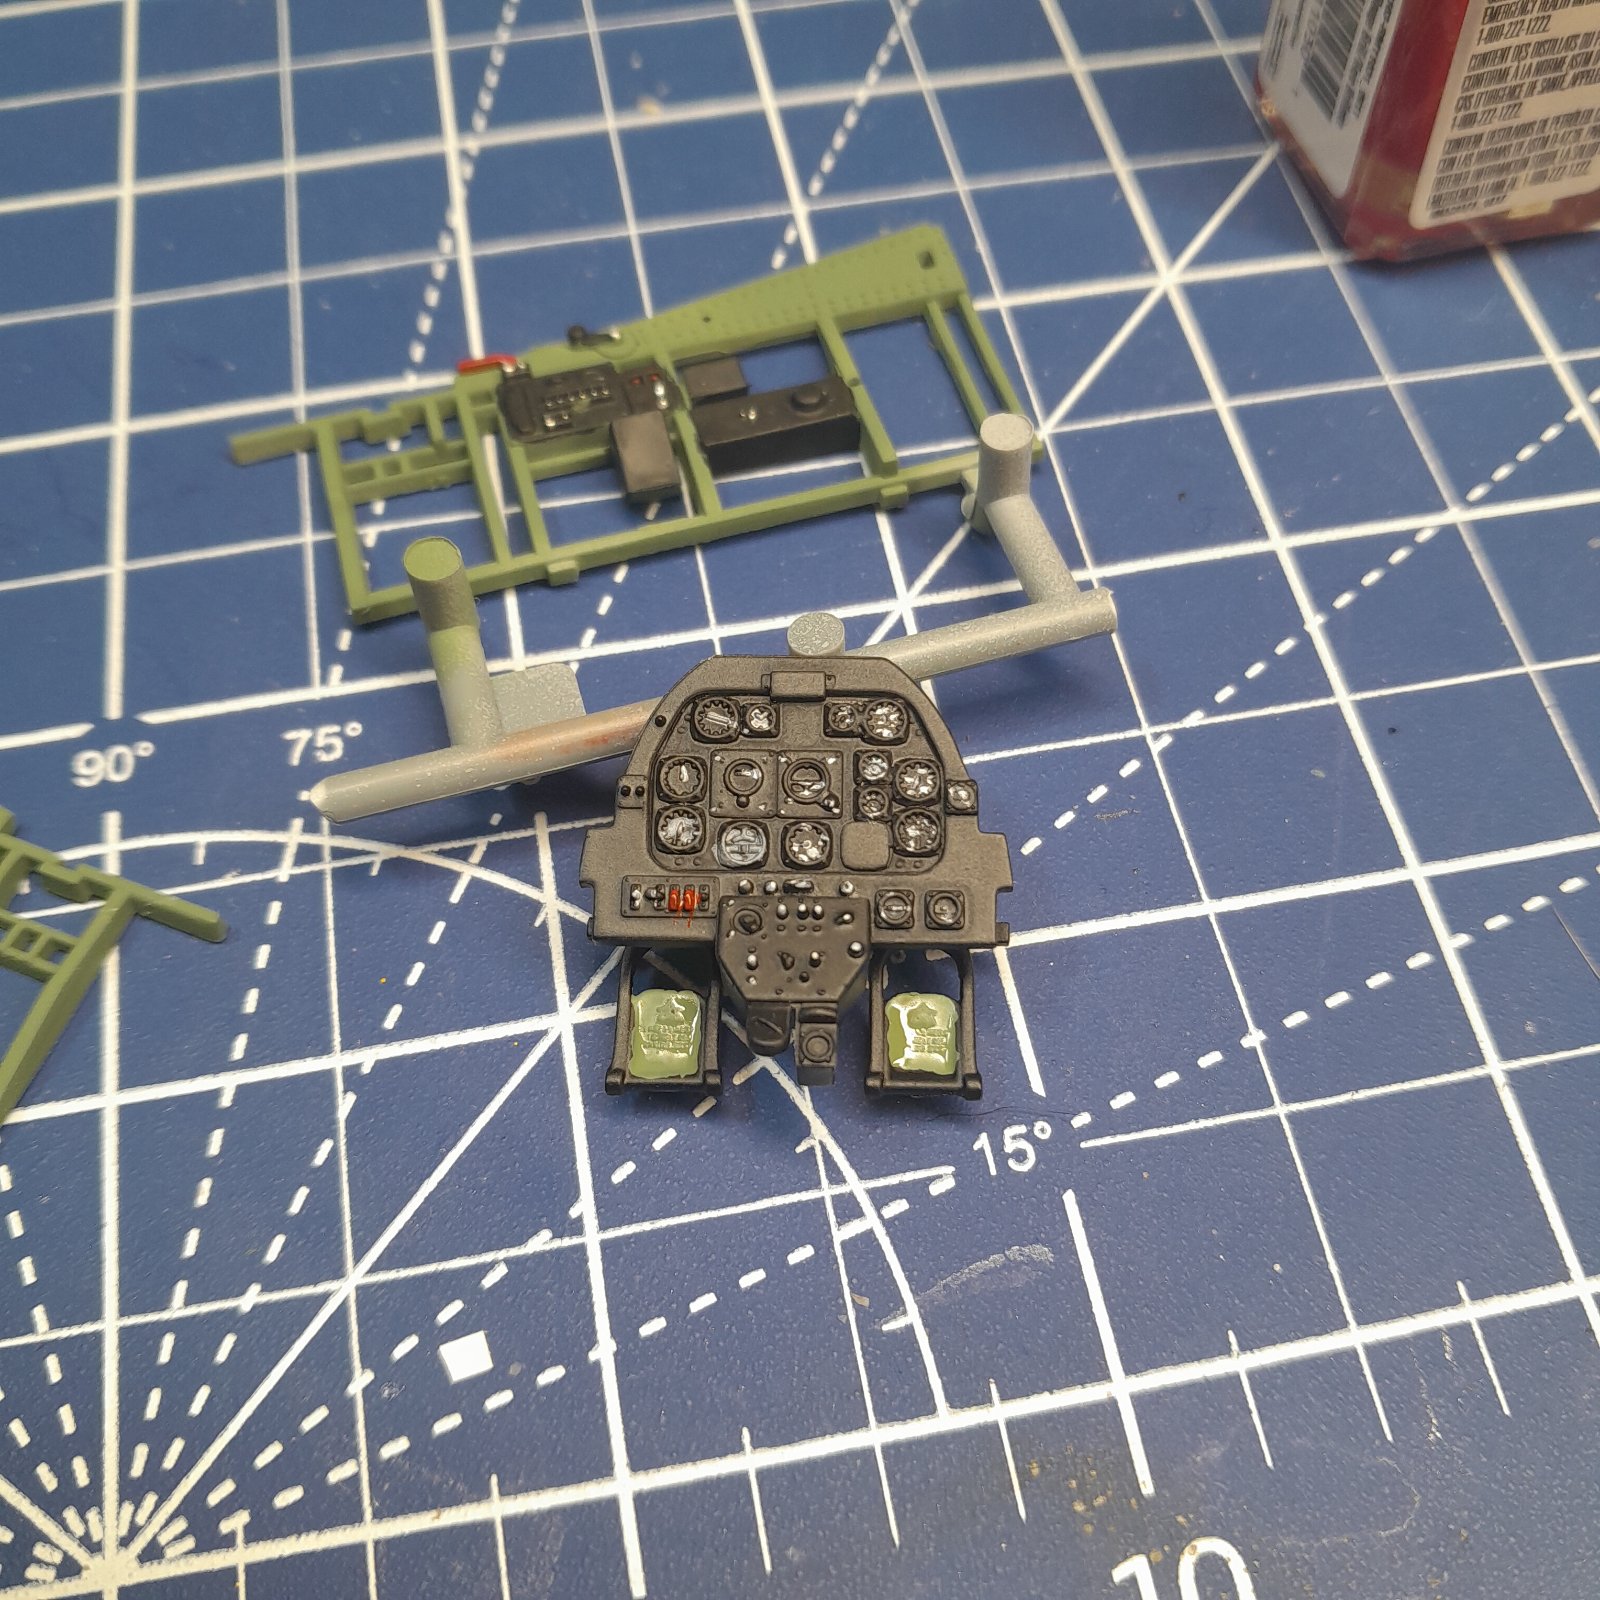
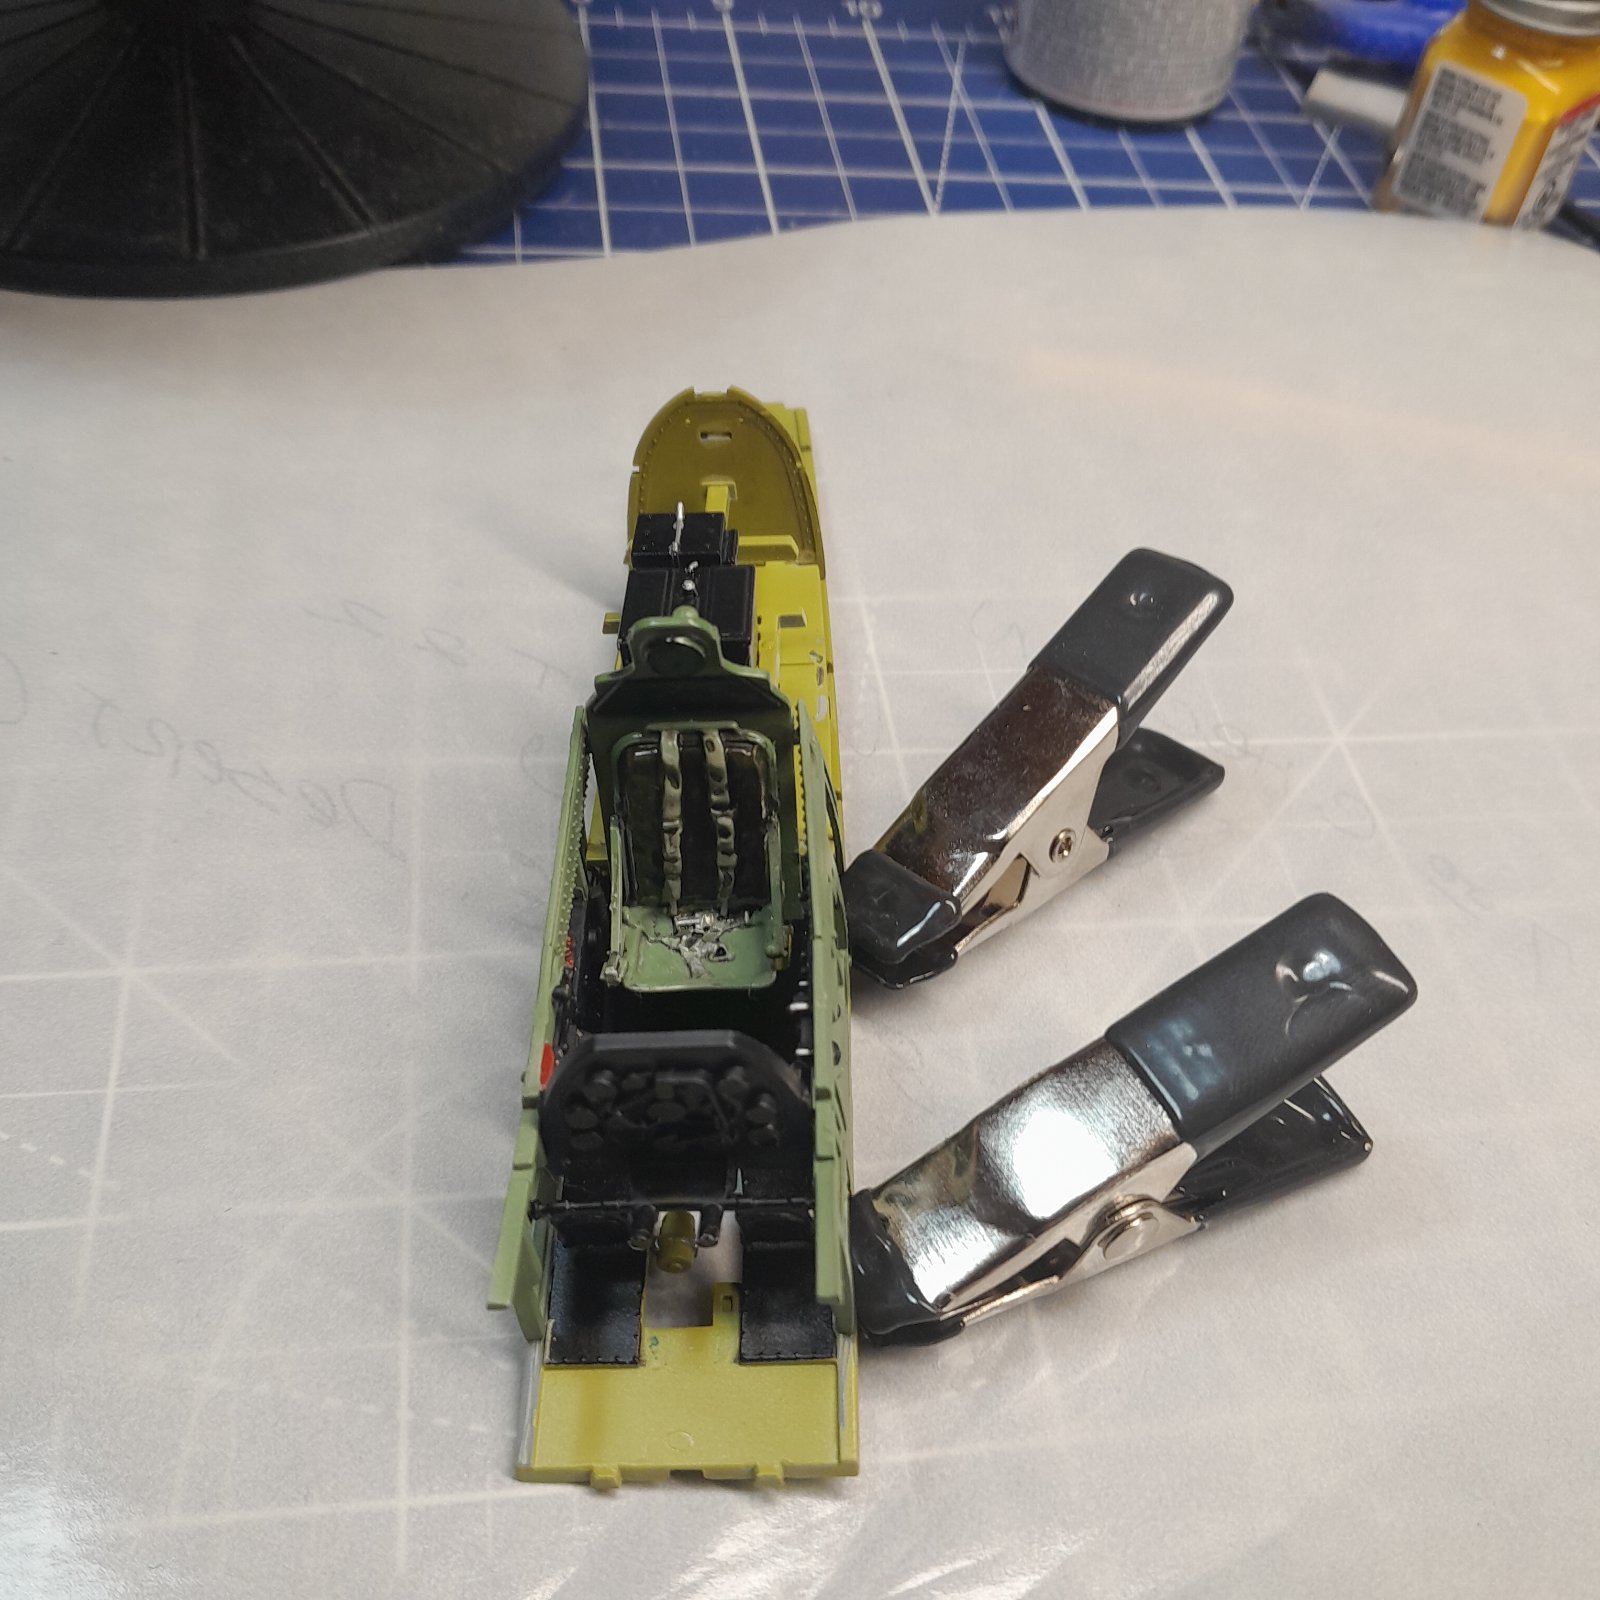
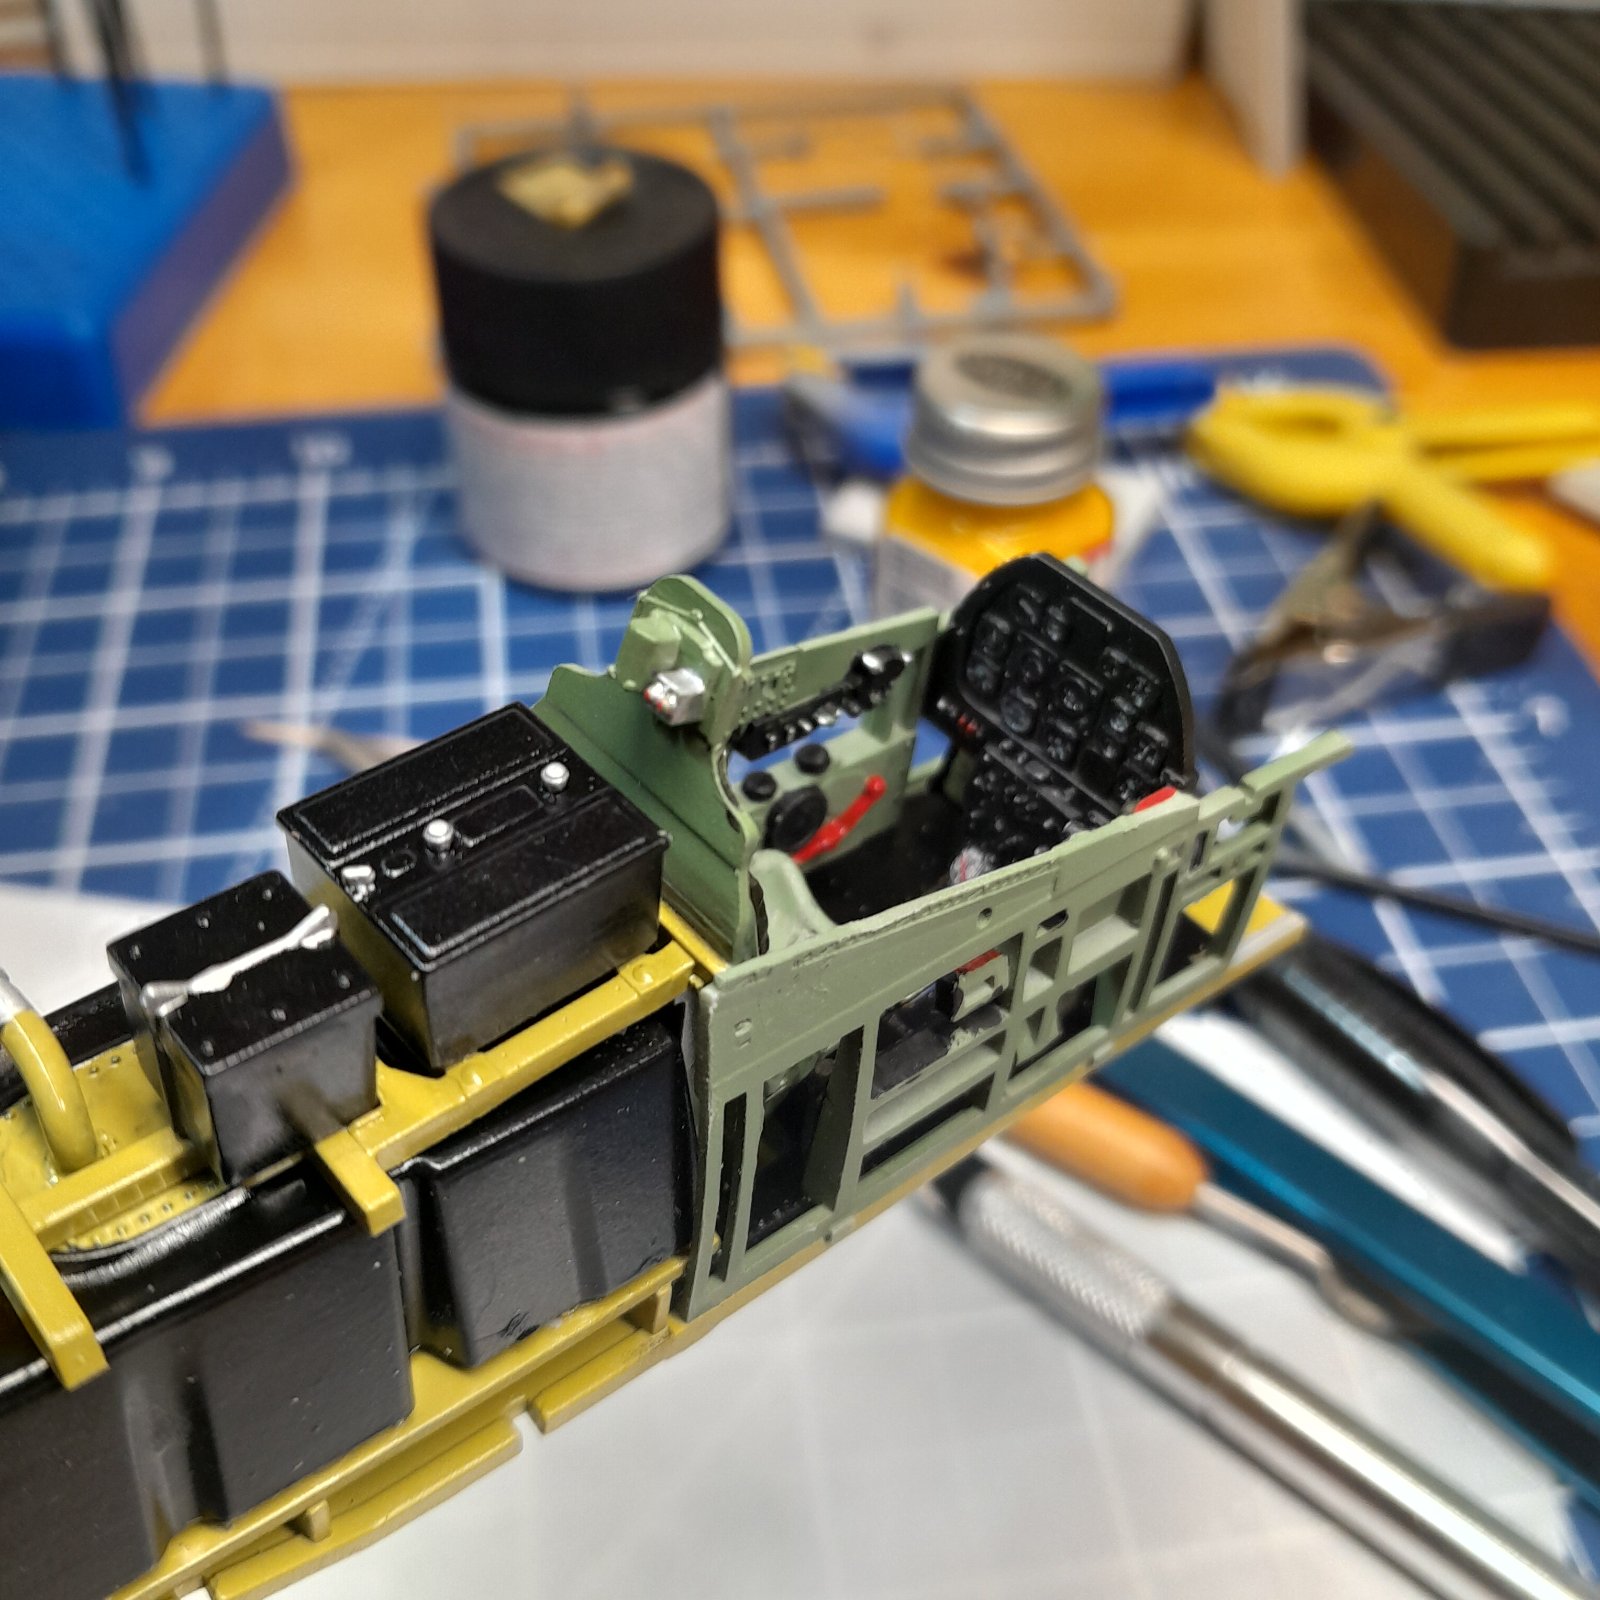
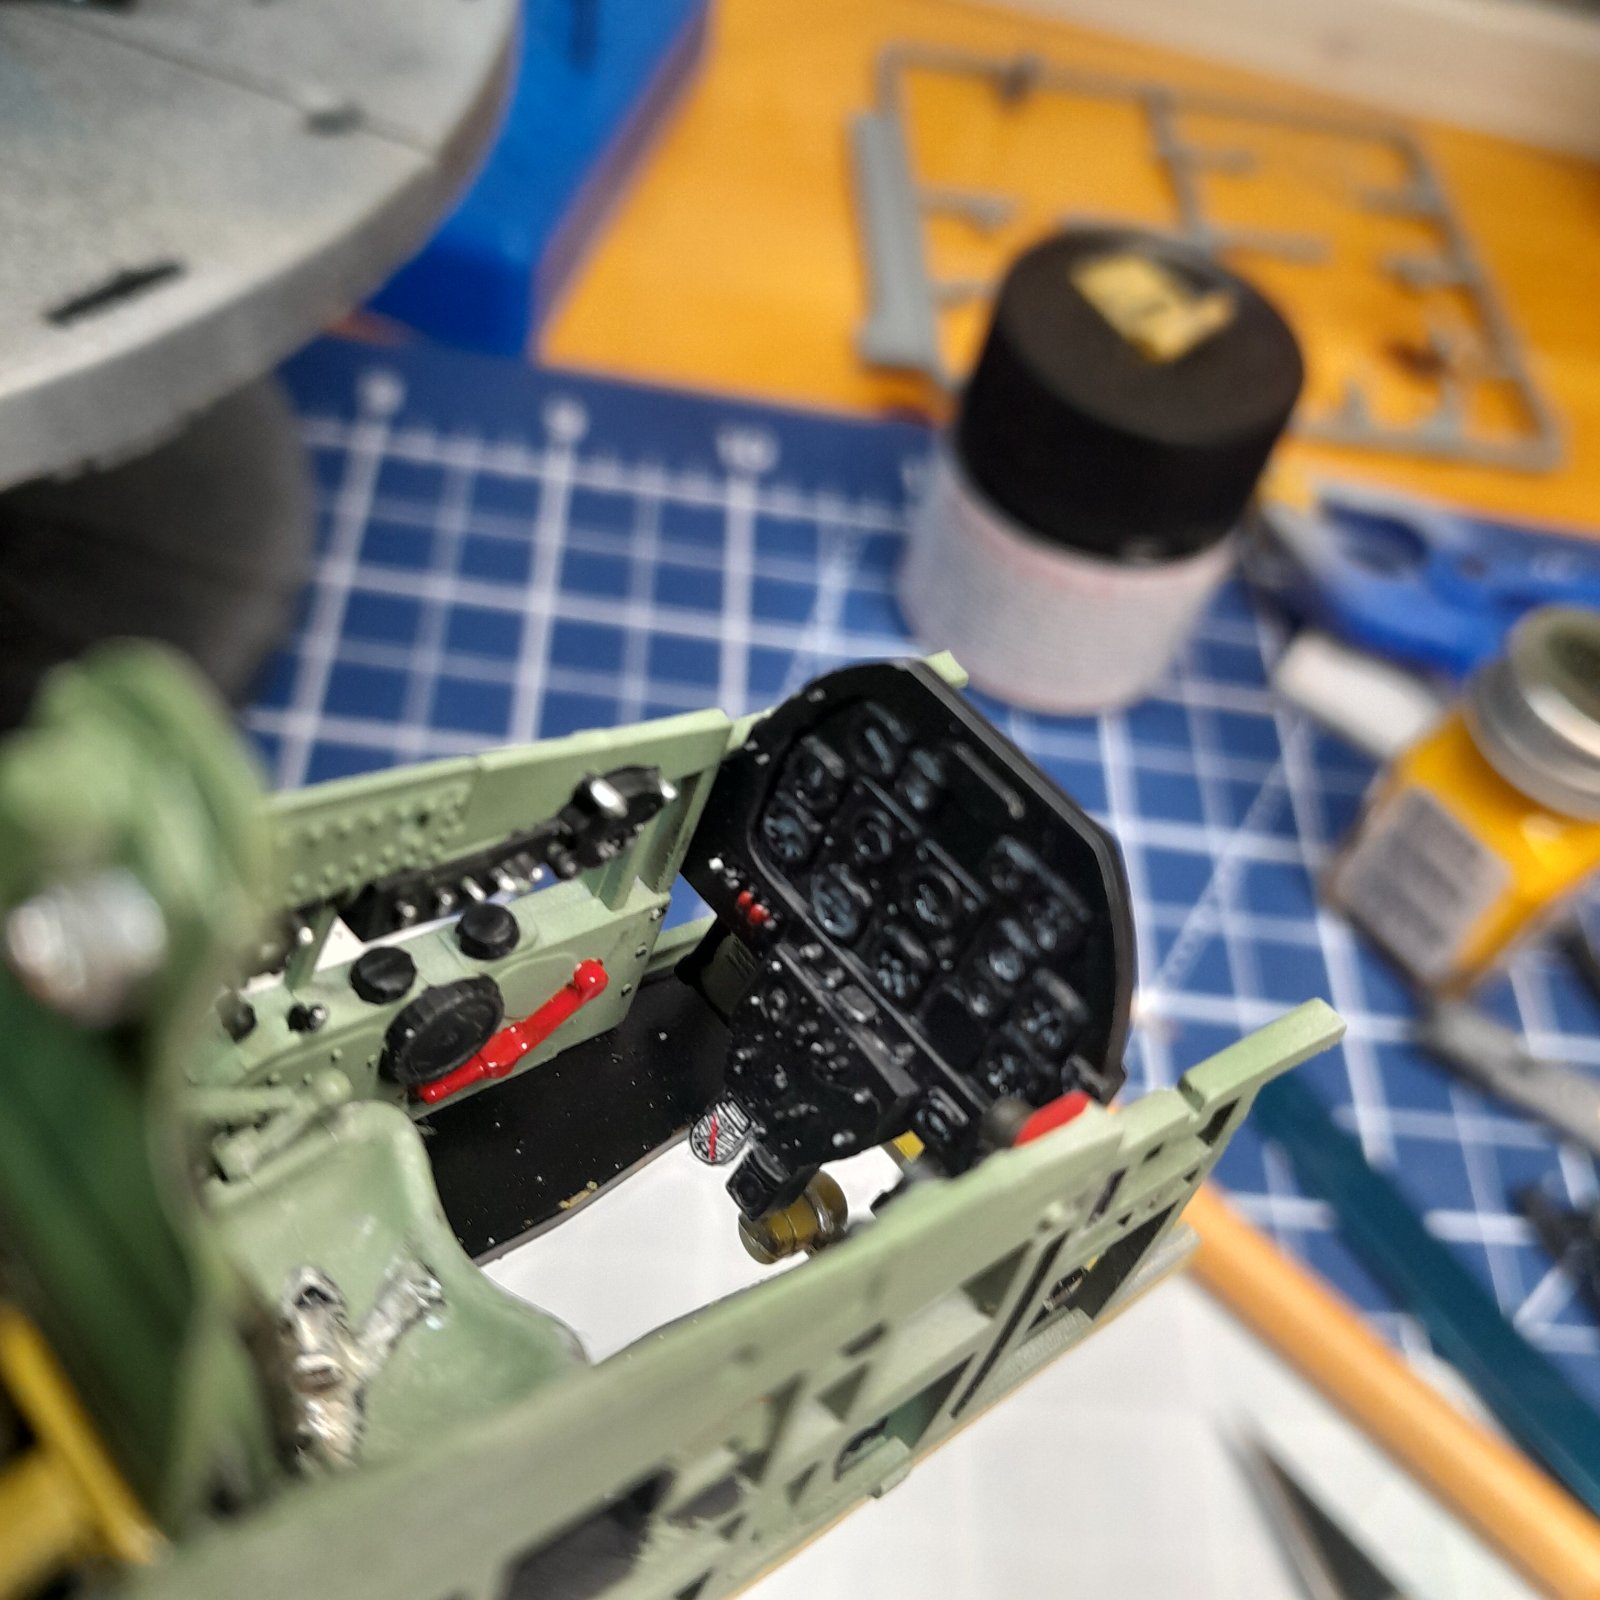
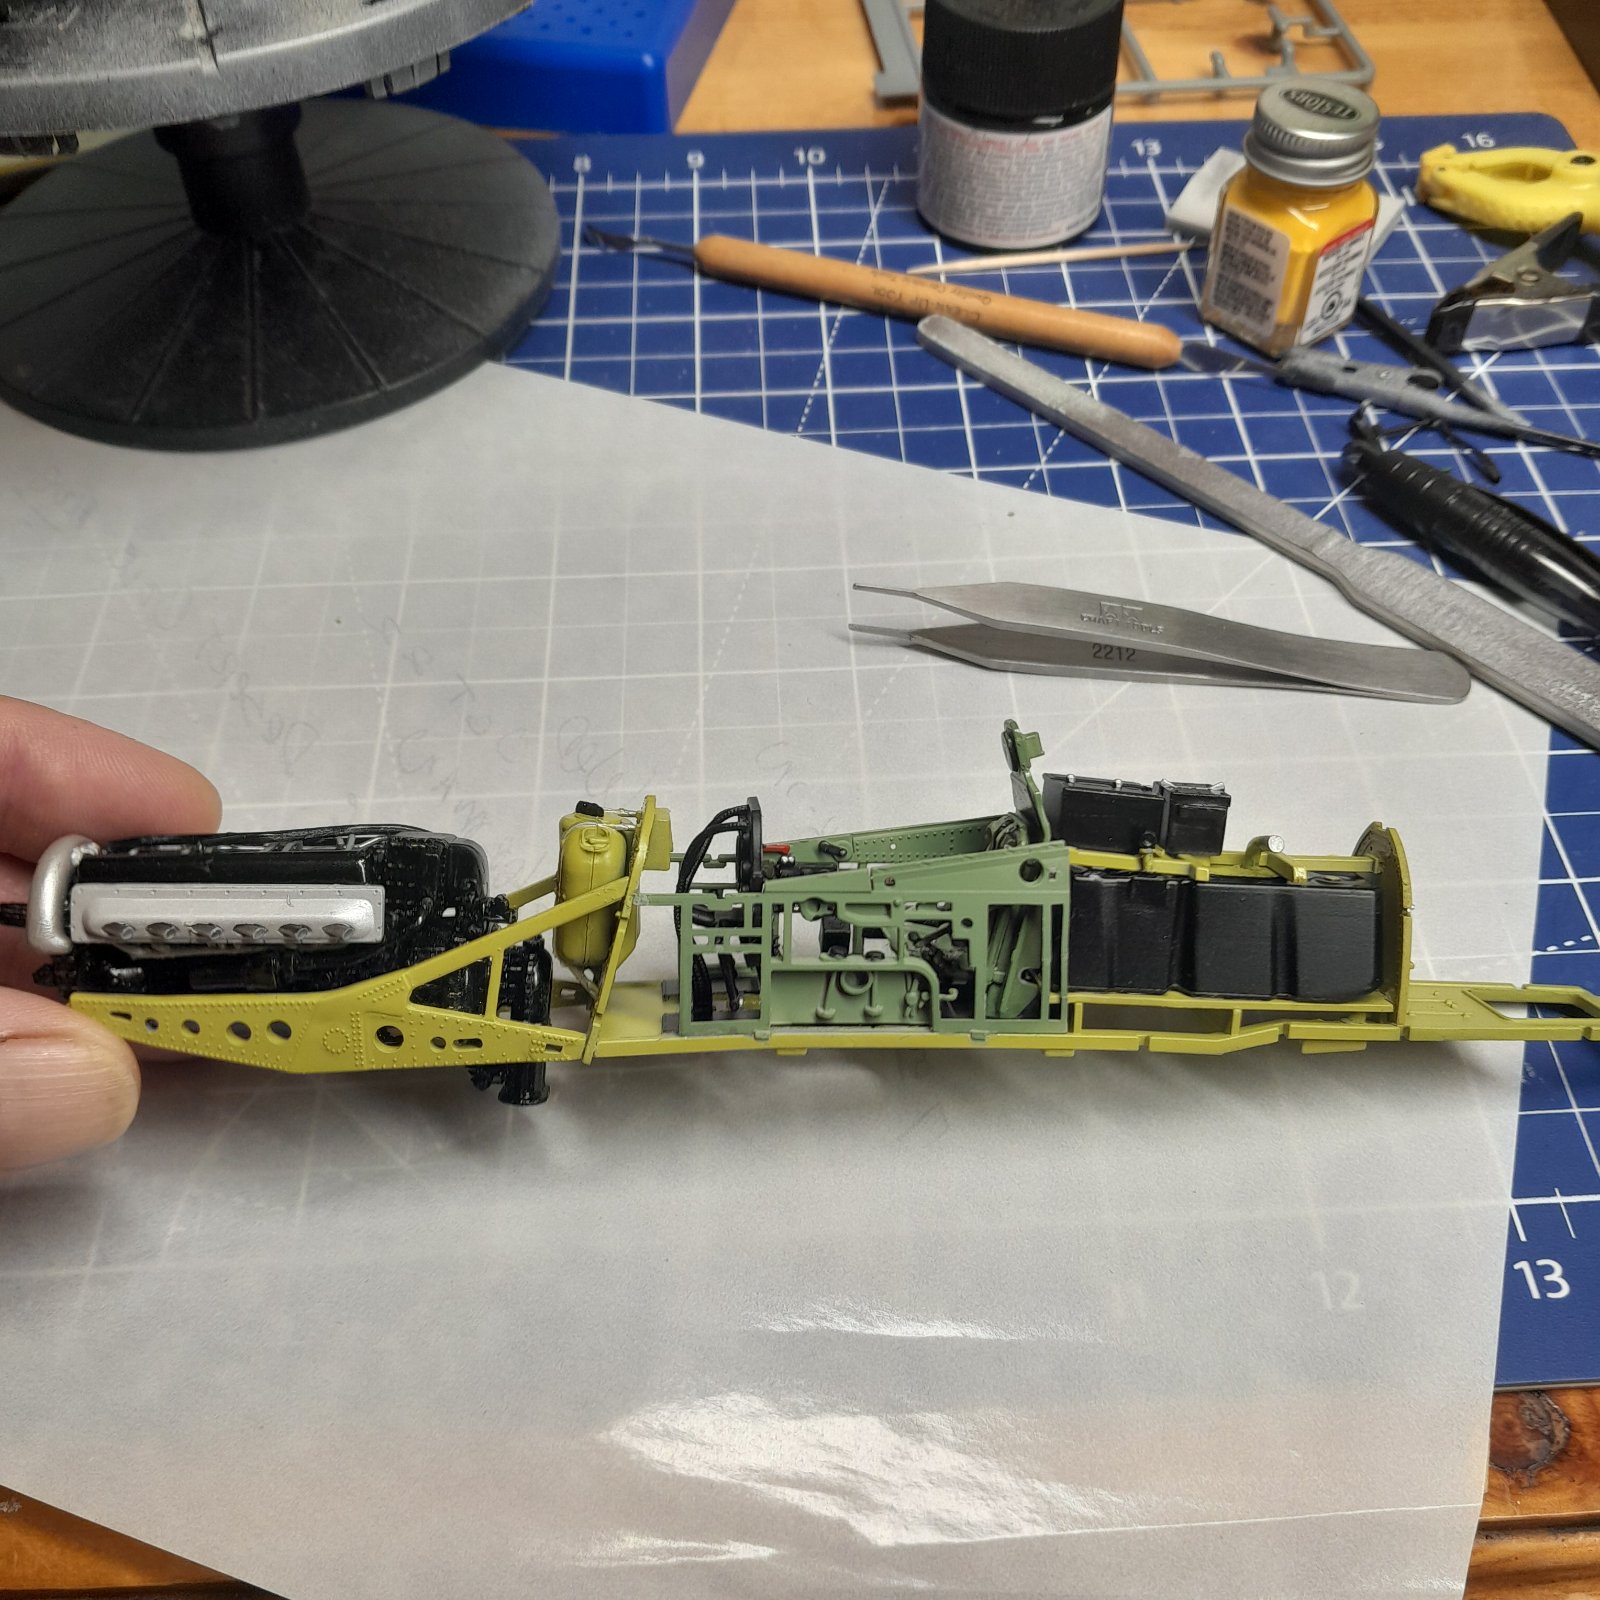
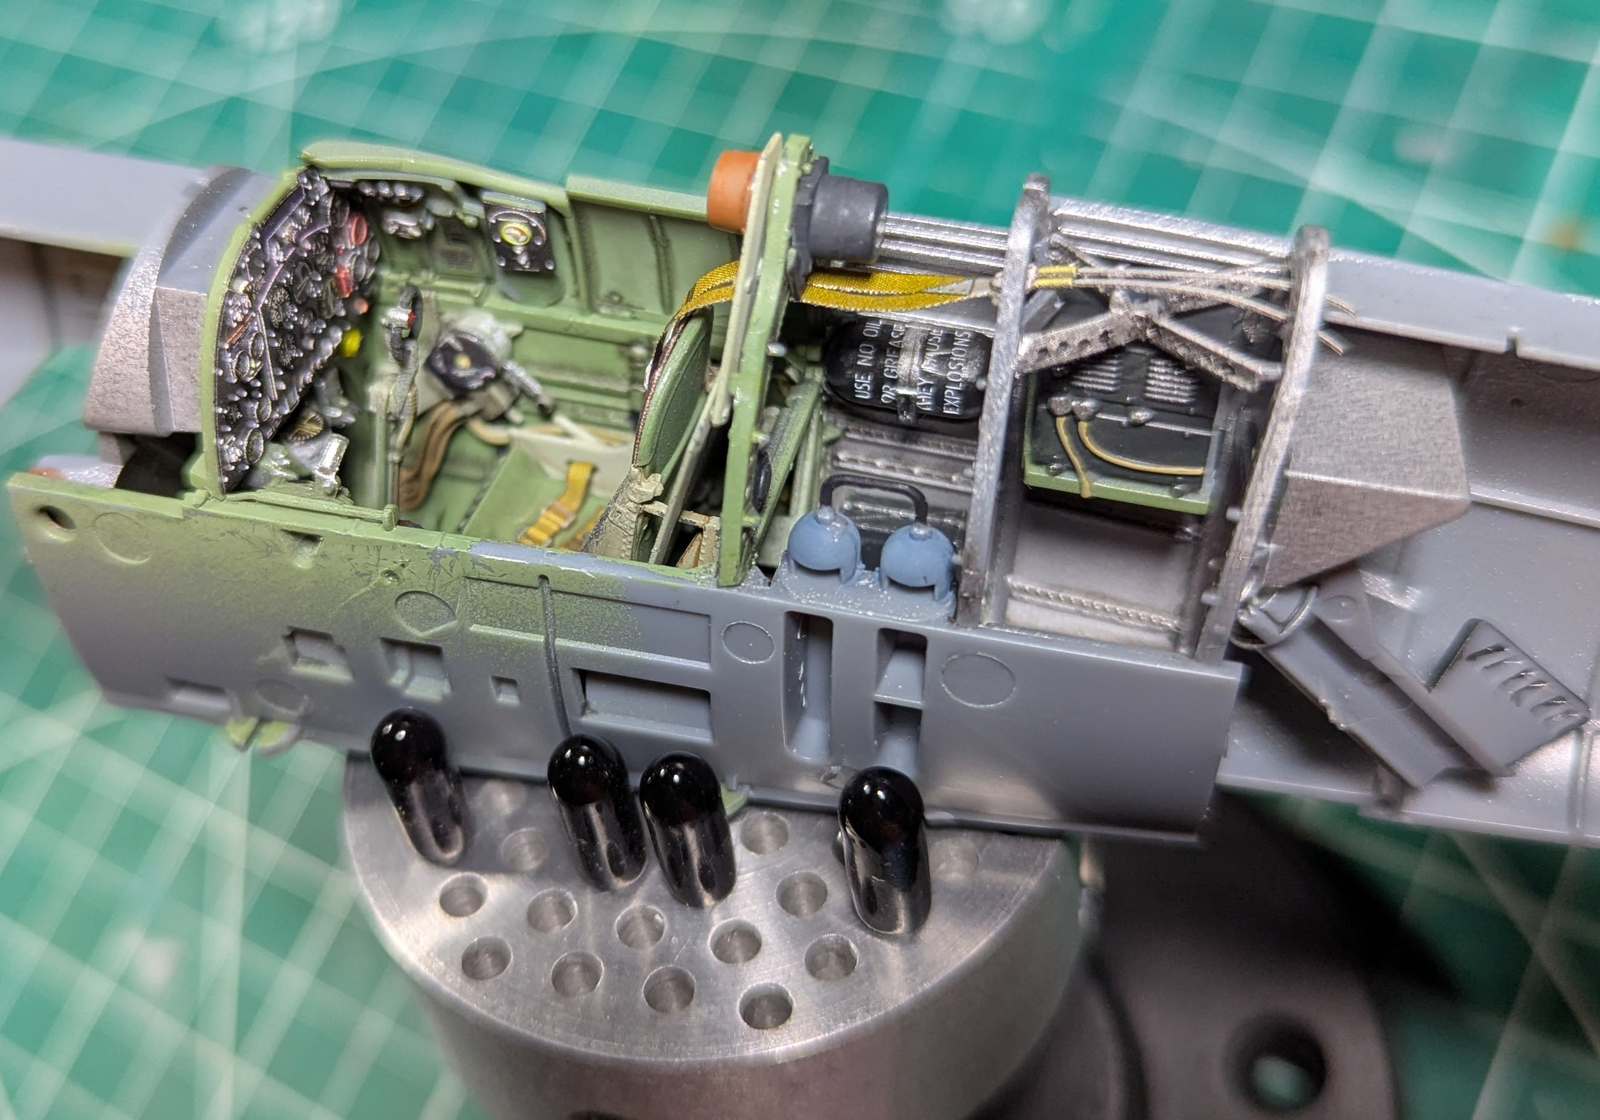
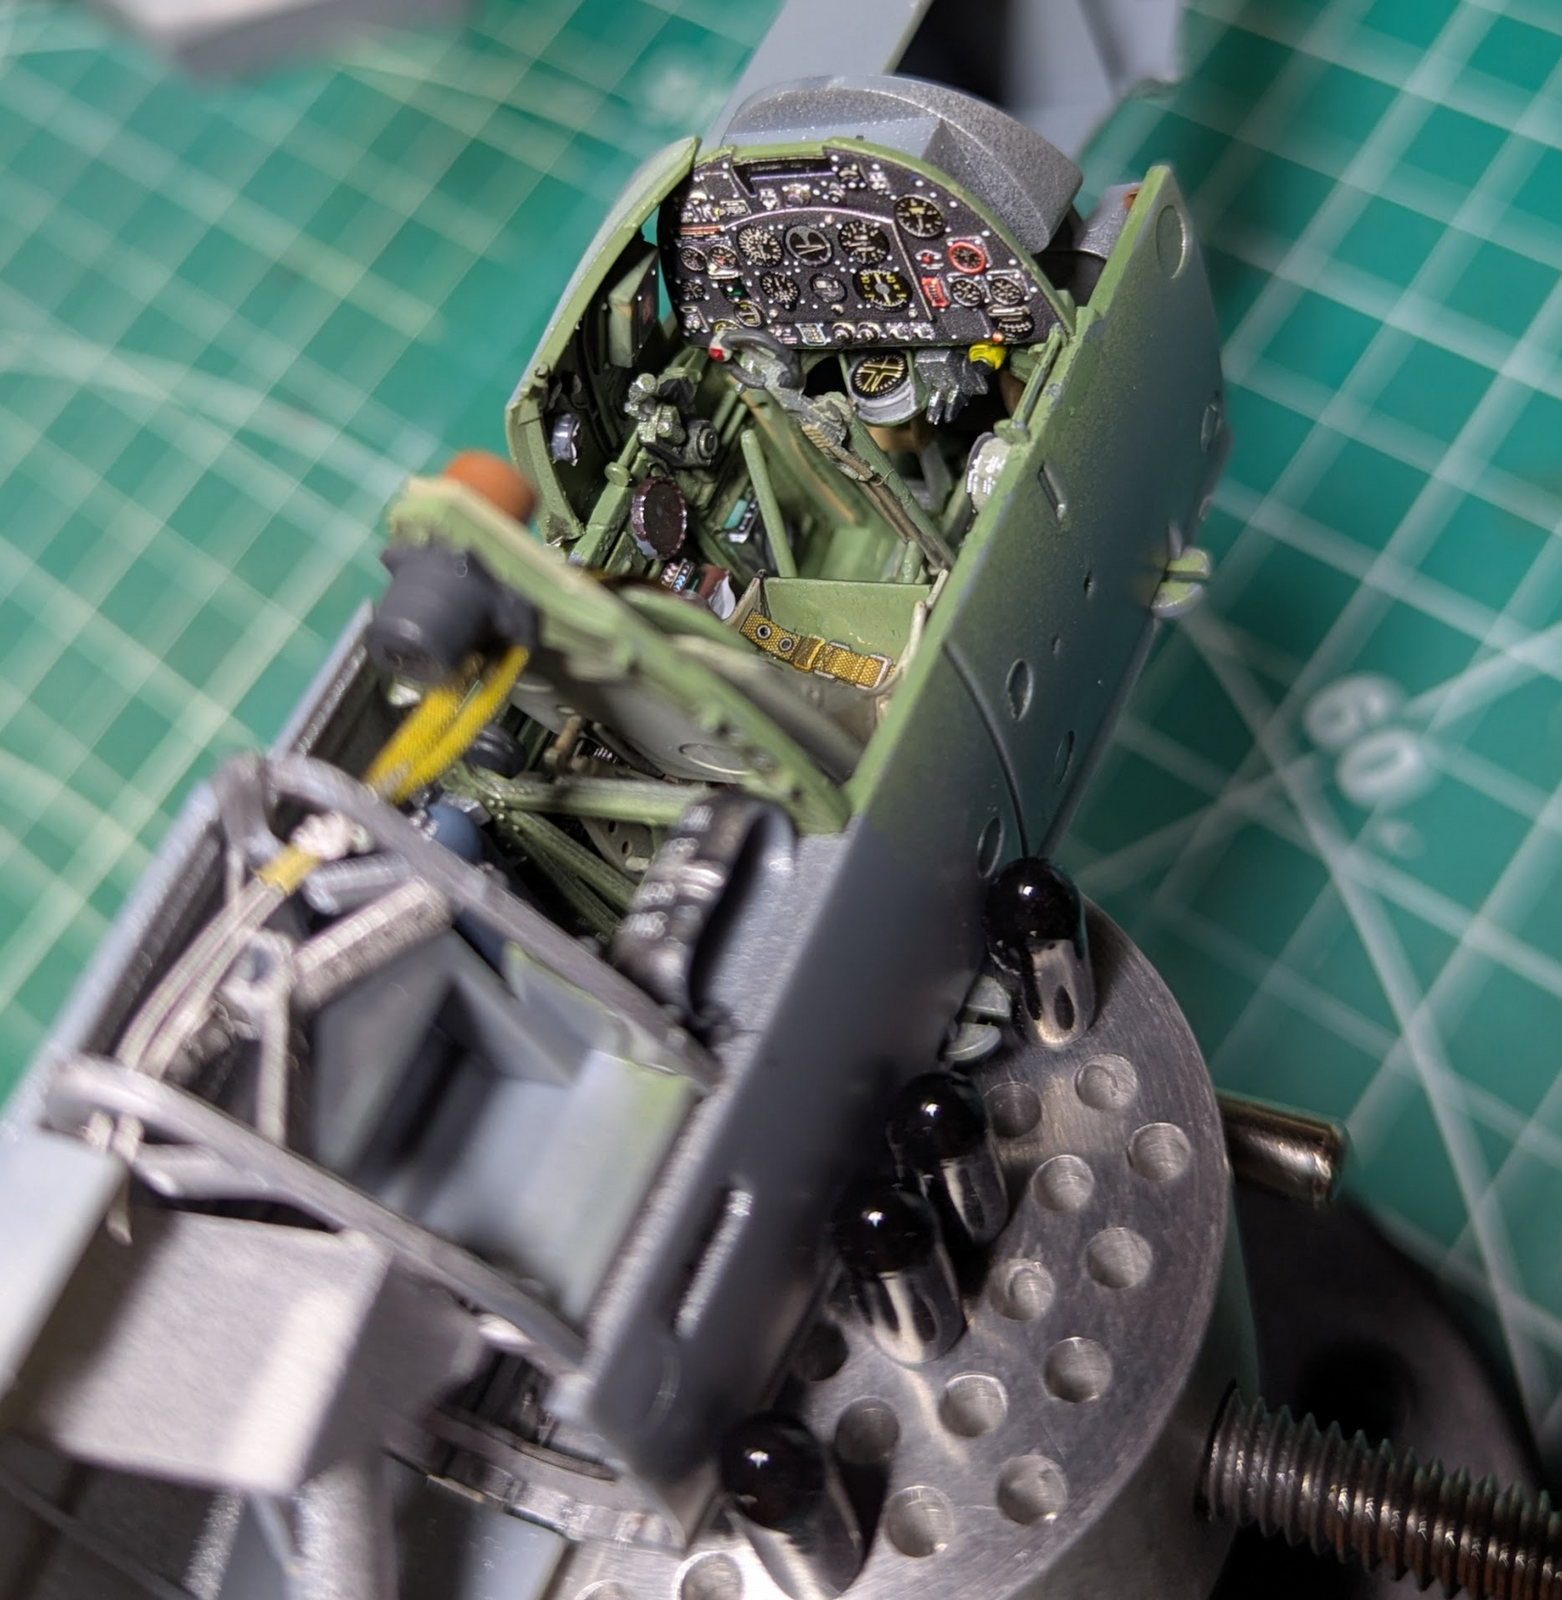
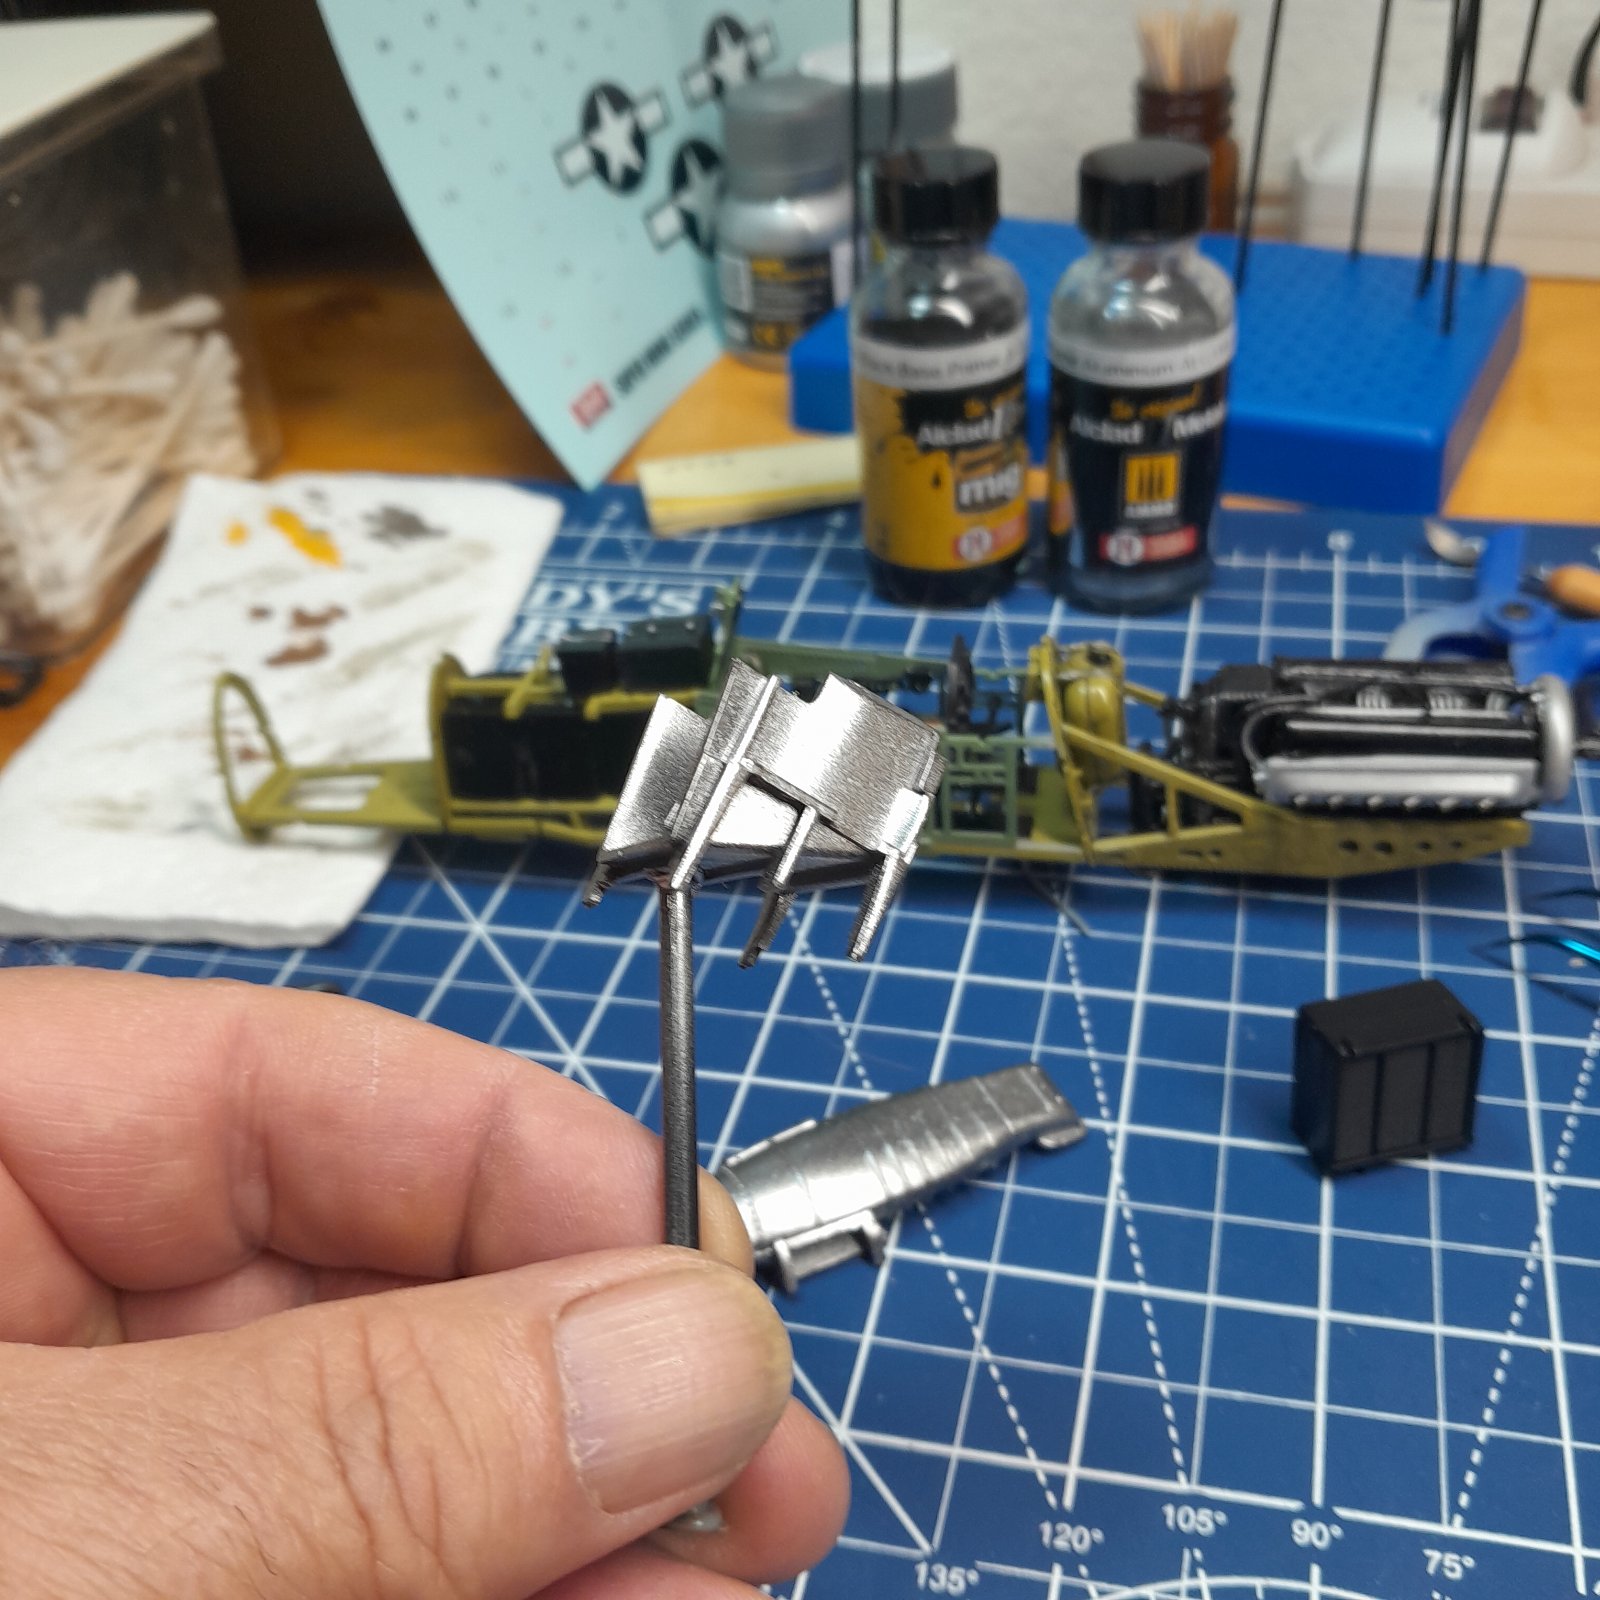
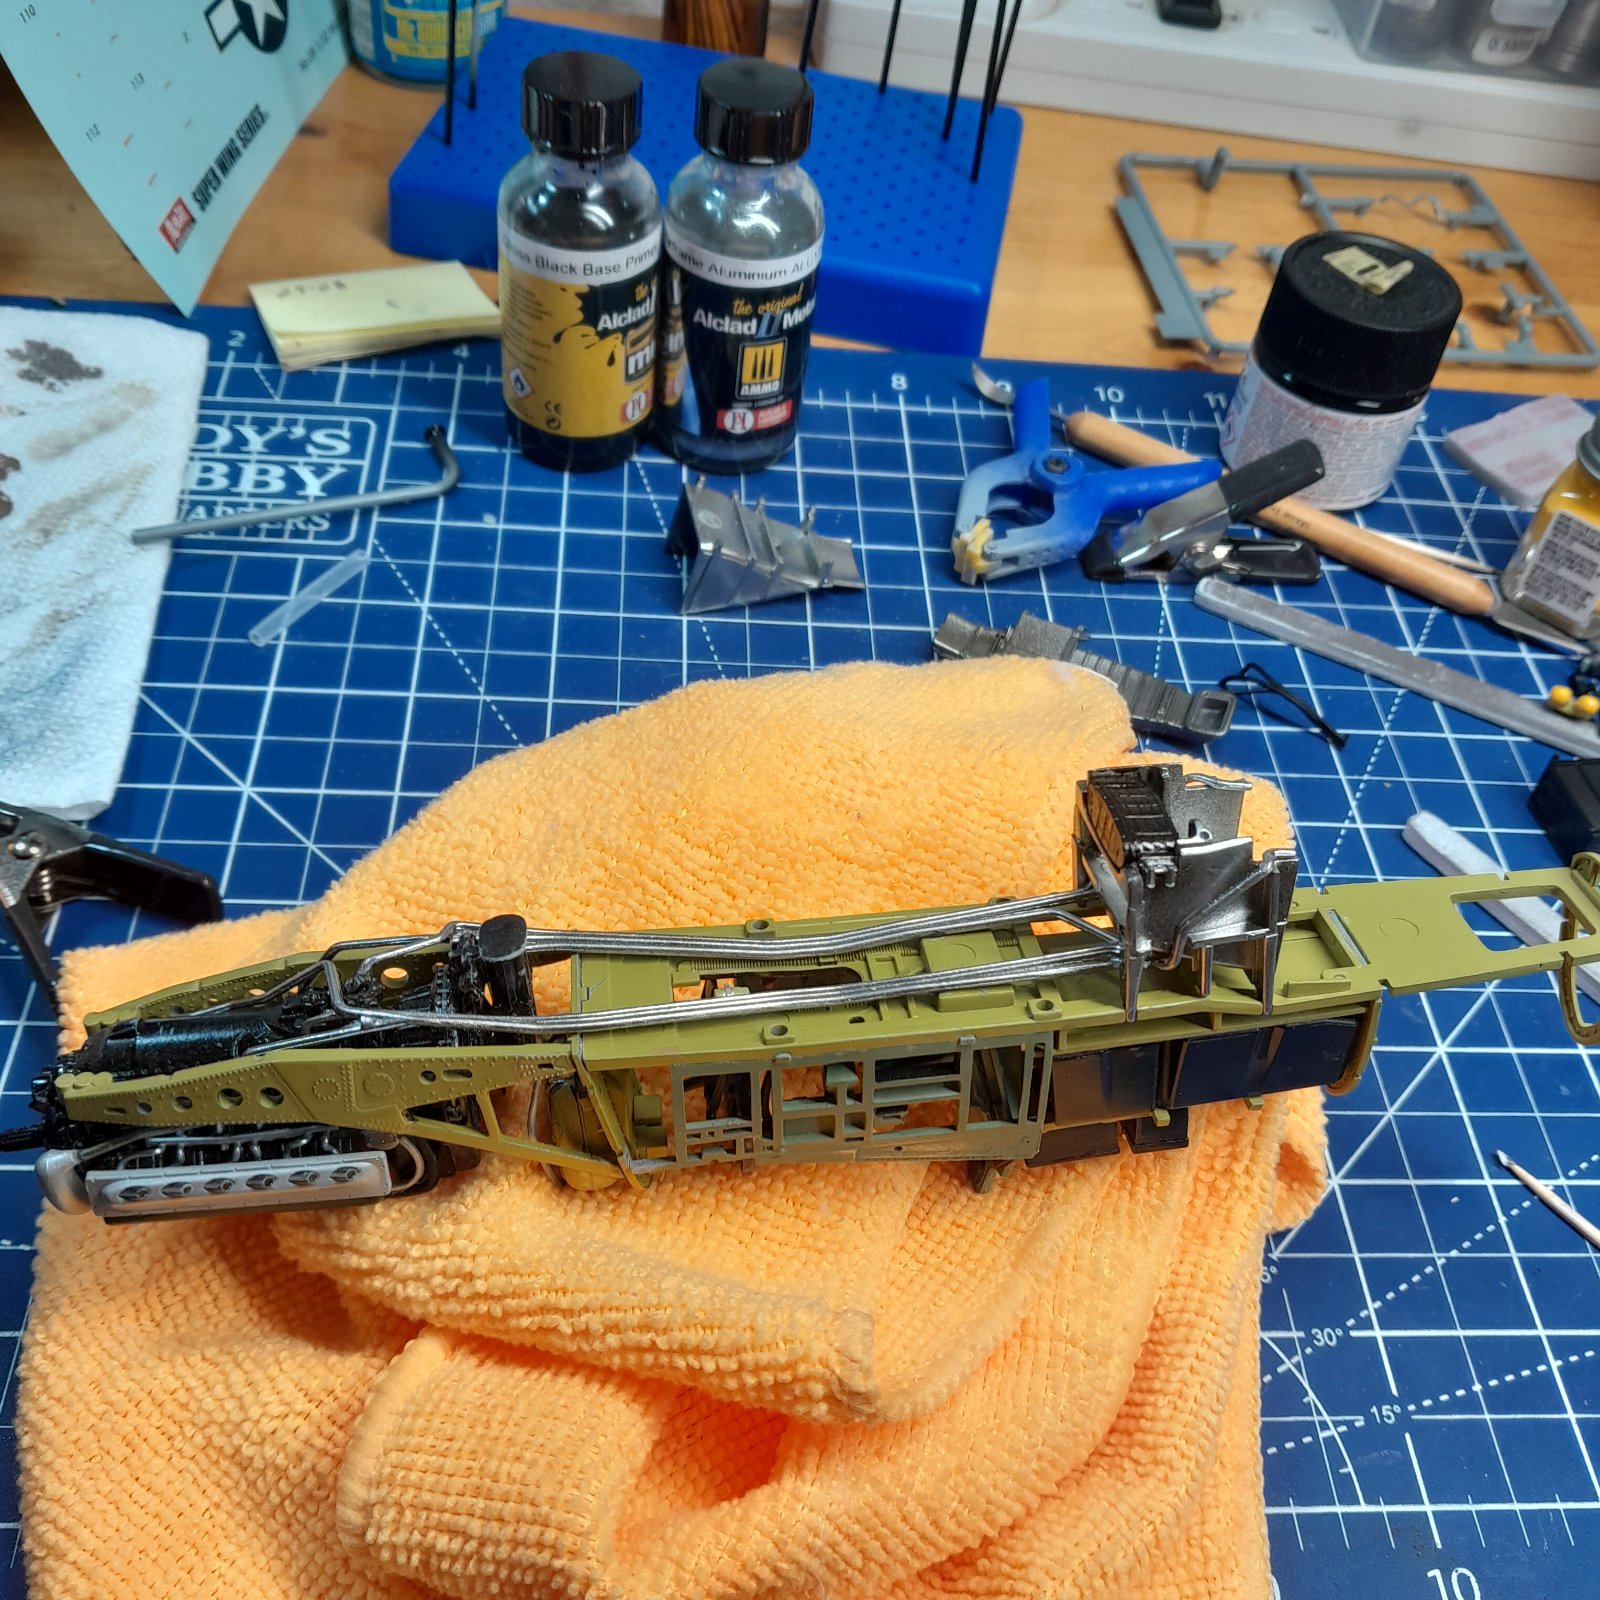
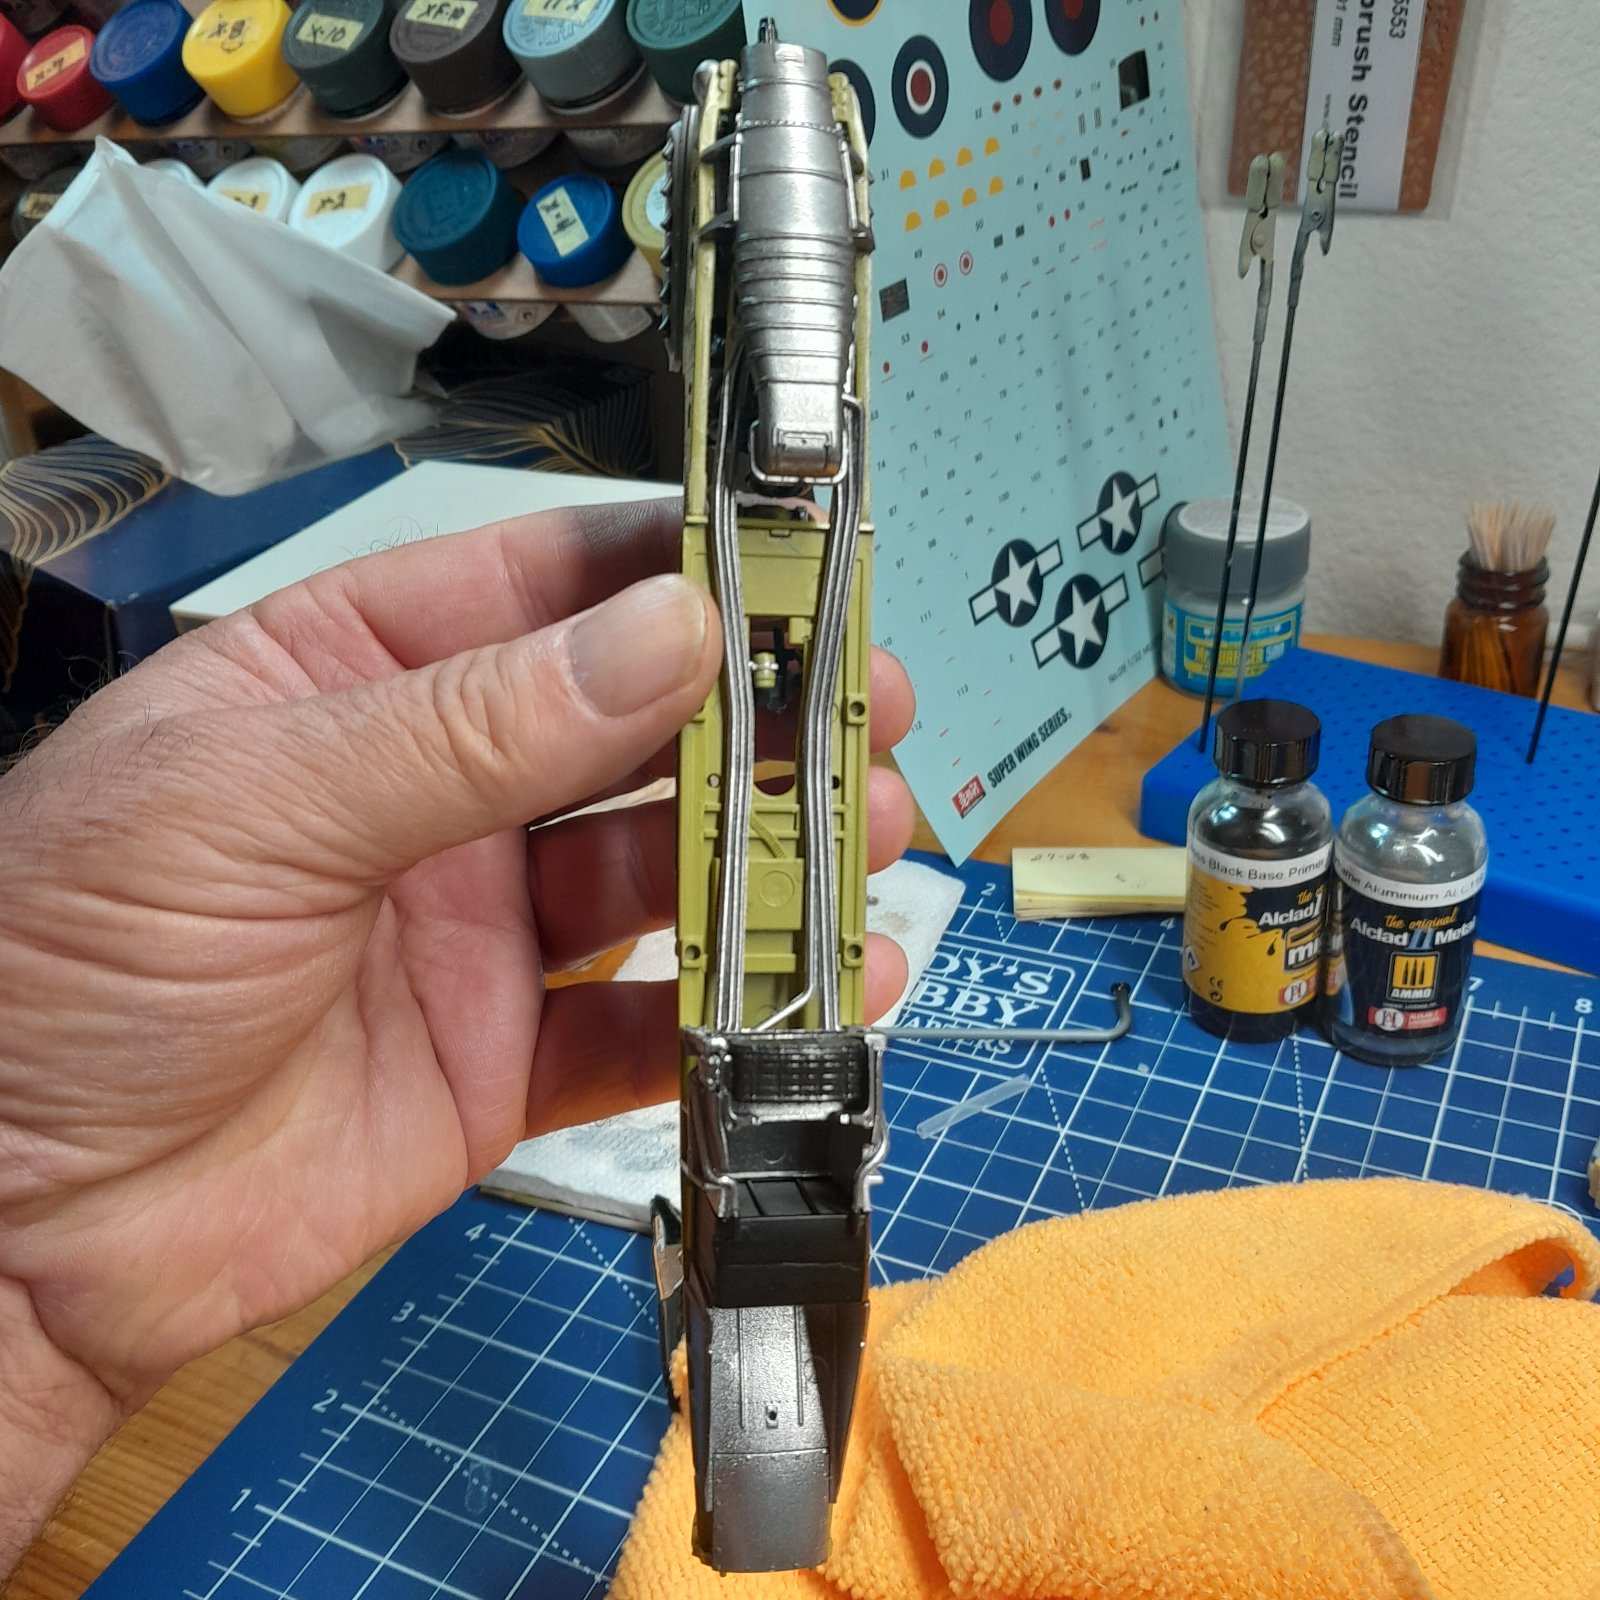
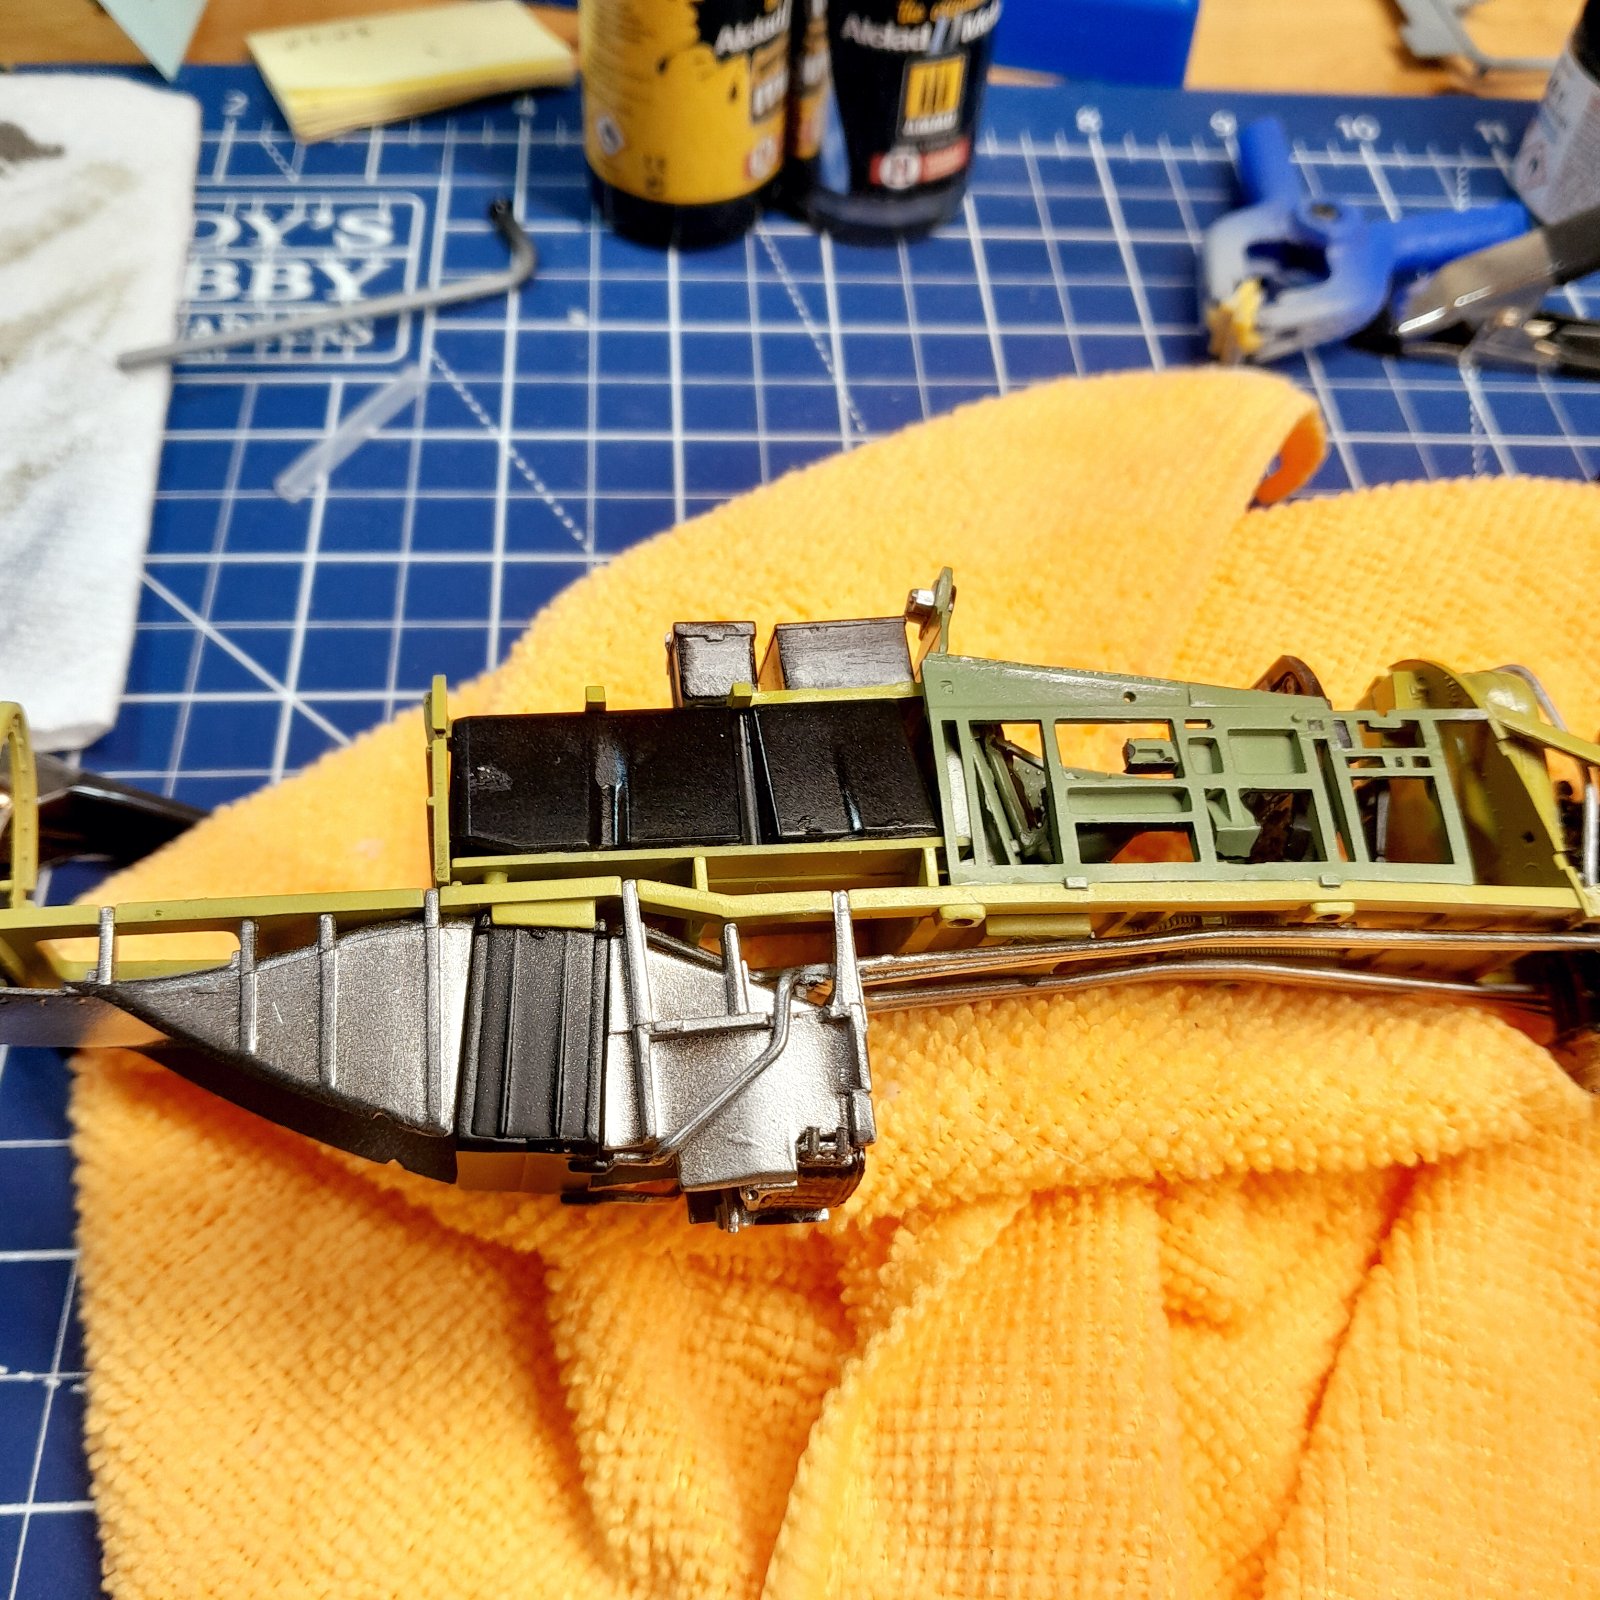
I've been planning on doing this build for a while. I realize this is going to be a challenging build especially exterior. That nice aluminum exterior and painted wings I think is going to be challenging. I'm up in the air what type of paint to use whether it be Tamia or I have some All-Clad aluminum frame I might try. But so far it's been Tamia paints for the base and then clear and testers enamel for trim. Lots of detailing still to do
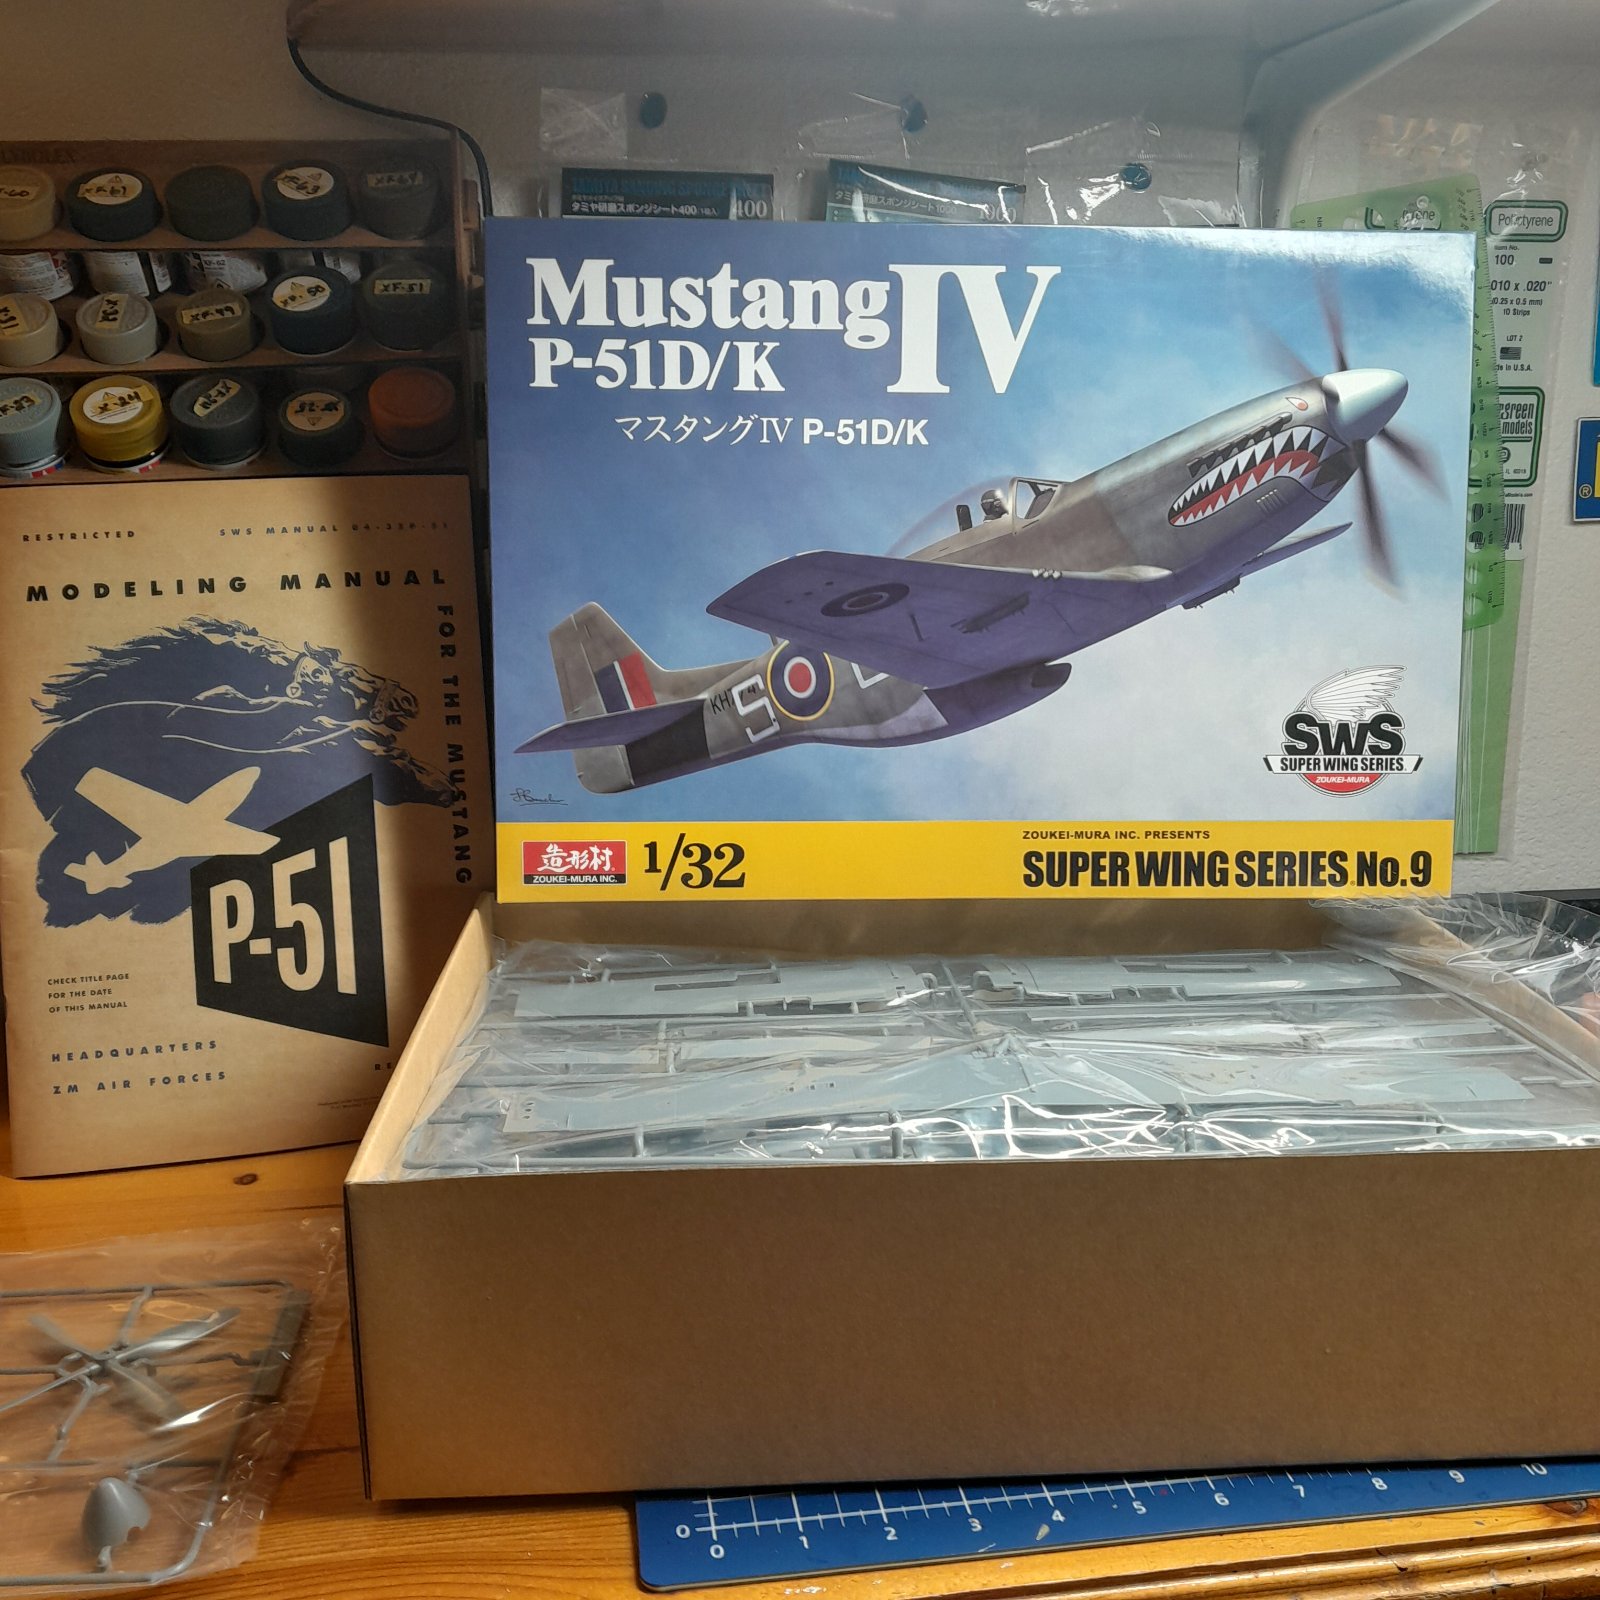
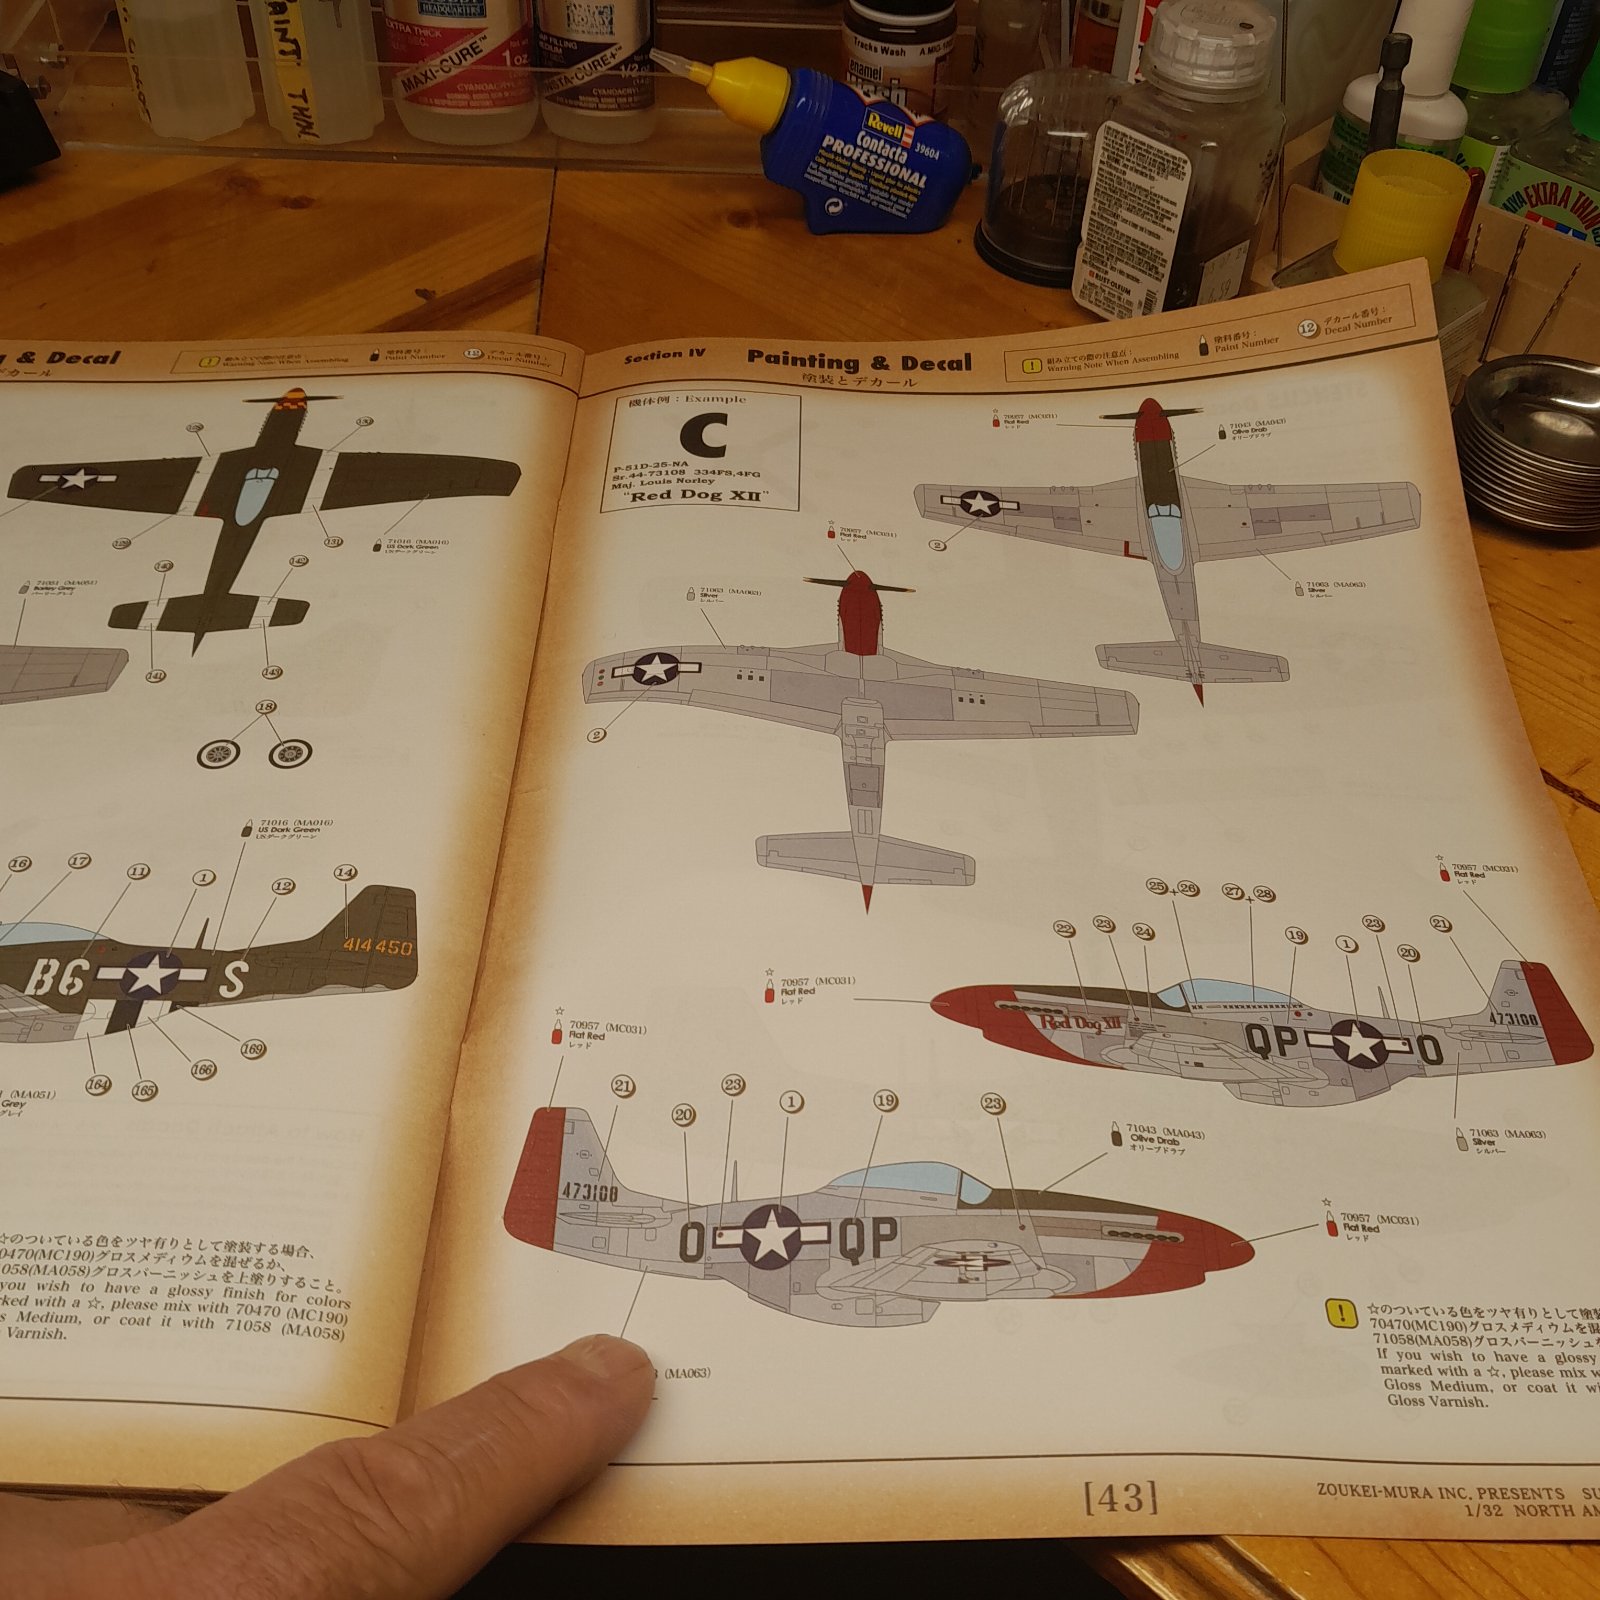
20250921_090421.jpg


20250921_091023.jpg


20250924_122754.jpg


20250924_122811.jpg


20250925_100647.jpg


20250930_144609.jpg


20250930_144715.jpg


20250930_144846.jpg
 
Looks good to me, I really like ZM's approach. Did this kit have pisons inside the block? Their 1/32 Bf109 did :-)

Keep the pics coming, I love the in-progress shots!
 
Looks good to me, I really like ZM's approach. Did this kit have pisons inside the block? Their 1/32 Bf109 did :-)

Keep the pics coming, I love the in-progress shots!
Oh you know it. Those Pistons were there. I actually it's kind of neat cuz people that like to do intricate dioramas I imagine could make it look pretty neat.
 
I've not built a 1/32 ZM kit yet but I had the Ho-229 in the stash for a minute and was amazed that it had all of the turbine fans and internals to the Jumo 004 engine in the box. Looking forward to seeing this one get built and your already off to a great start with that engine Rob.
 
As an Amazon Associate we earn from qualifying purchases. Product prices and availability are accurate as of the date/time indicated and are subject to change.
I would have had more done but I ran into the classic modelers dilemma. It's not fitting in right. Just a word of advice. Well maybe a couple of words. When a modeling company takes the time to put in Pistons on all the cylinders of an engine that in the first 2 minutes of building you will cover it all up? That should be your first clue that you better build this thing right. The instructions were not kidding. Test fit. Put pieces together with tape if you have to. Test fit. And some more advice which you can take it or leave it. If you're the type to paint Parts separate and then glue them all together? Do yourself a favor and take the time to put in a little piece of tape here and there where you're going to glue or use some blue tack or paint it and then scrape it off. The tolerances are so tight on this kit if you have a layer of paint? It's not going to fit. If you glue the pilot seat to the other pieces like I did in the picture? You're going to have problems like I did. I glued all that Parts onto the seat thinking yeah this is the way to do it. There's the picture on the instructions and the angles of all the pieces with the relation to the other pieces looks about right. Sorry *********, that looks about right is not going to cut it here. It has to be perfect for everything to work out. And I mean absolutely perfect. This isn't a Revell kit. So in the future I am going to try to attach everything with Tamia thinset glue instead of CA which means making sure there is no paint where I need to glue. And be very careful sanding because tolerances are perfect. Also remember that if you just want to throw a plane together so you can paint the body this is not the kit for you. ZM kits are meant for the Builder in you and the painter. Take your time.
 
Z-M kits are the epitome of precision, I recently built a Kotare kit and would say they are even. Test fit and test again is an understatement. But from the two 1/32 Z-M kits I've built I can say everything fit except the part (much later one) when attaching the wing assembly to the fuselage assembly. I had some trouble (all me, not the kit) with it being a little too complicated.

Best advice I can give here is go slow. No, slower!
 
Last edited:
Z-M kits are the epitome of precision, I recently built a Kotare kit and would say they are even. Test fot and test again is an understatement. But from the two 1/32 Z-M kits I've built I can say wverything fit except the part (much later one) when attaching the wing assembly to the fuselage assembly. I had some trouble (all me, not the kit) with it being a little too complicated.

Best advice I can give here is go slow. No, slower!
Really? Kotare is right up there with ZM? I've never built one yet. What's your recommendation?
 
Really? Kotare is right up there with ZM? I've never built one yet. What's your recommendation?
Allow me to qualify that a bit...

I've built two (both unfinished but most assembly complete) and one Kotare, so my sample size is quite small. When I say they are equal I mean in detail and engineering and fit.

There are some significant differences though.
  • Z-M puts pistons inside the engine block...Kotare (they only have 4 kits so far and one is pre-order) have no engine whatsoever.
  • Z-M puts control rods and spars/braces/runners/radios inside aft fuselages and wings, Kotare puts nothing inside those areas since it will be invisible.
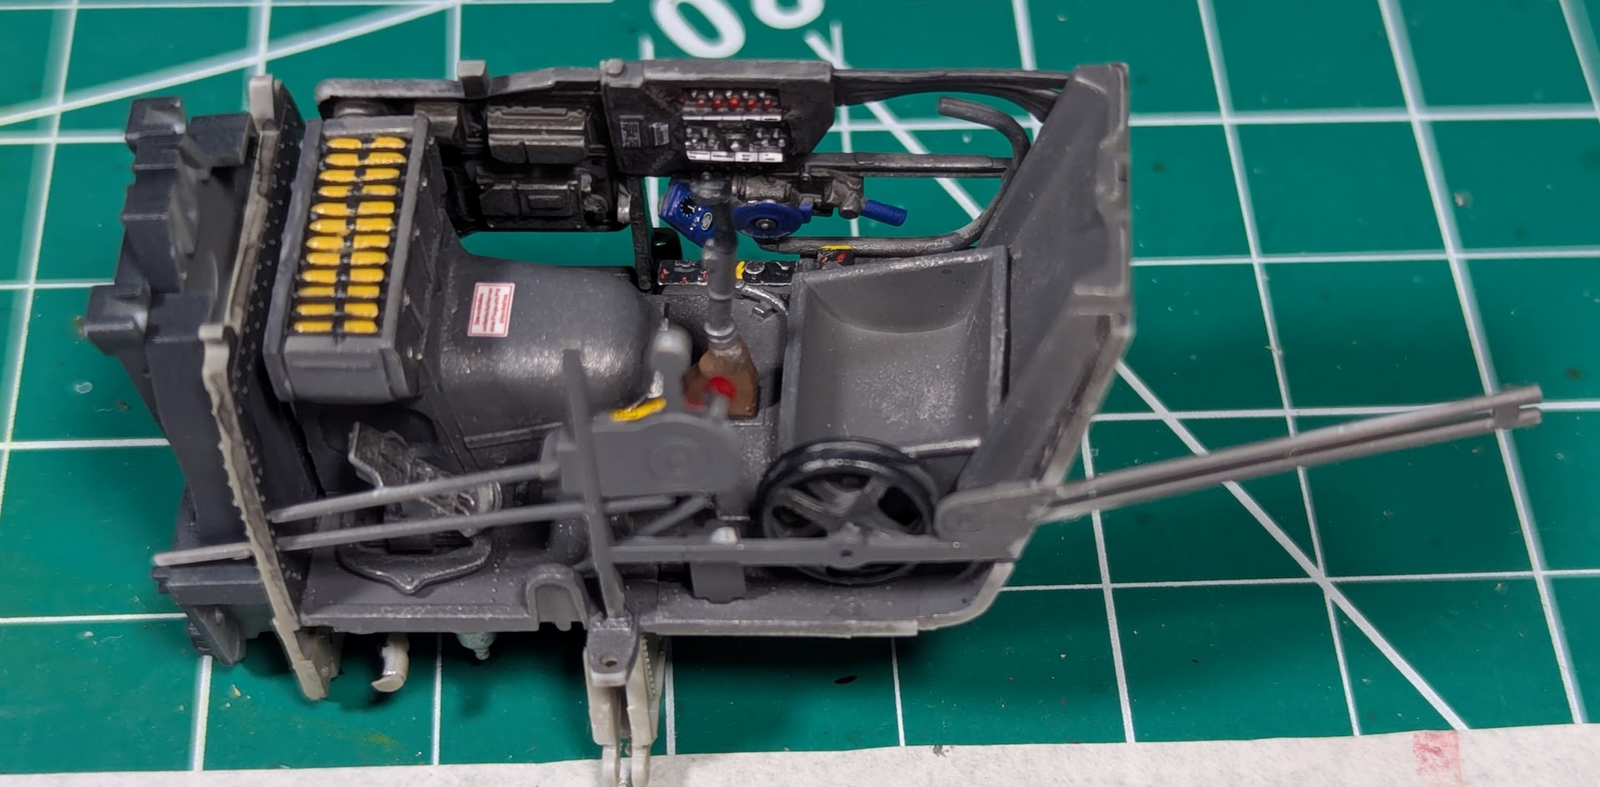
  • Kotare Spitfire has ~75% of the part count inside the cockpit, Z-M Bf109 has about 15% of the parts inside the cockpit.
The manuals of both of them are fantastic, full explanation of what the bits are and amazing illustrations for assembly. Both manufacturers give the builder no excuses, if something is not right, you did it wrong. Both are worth the relatively high price, zero question in my mind.

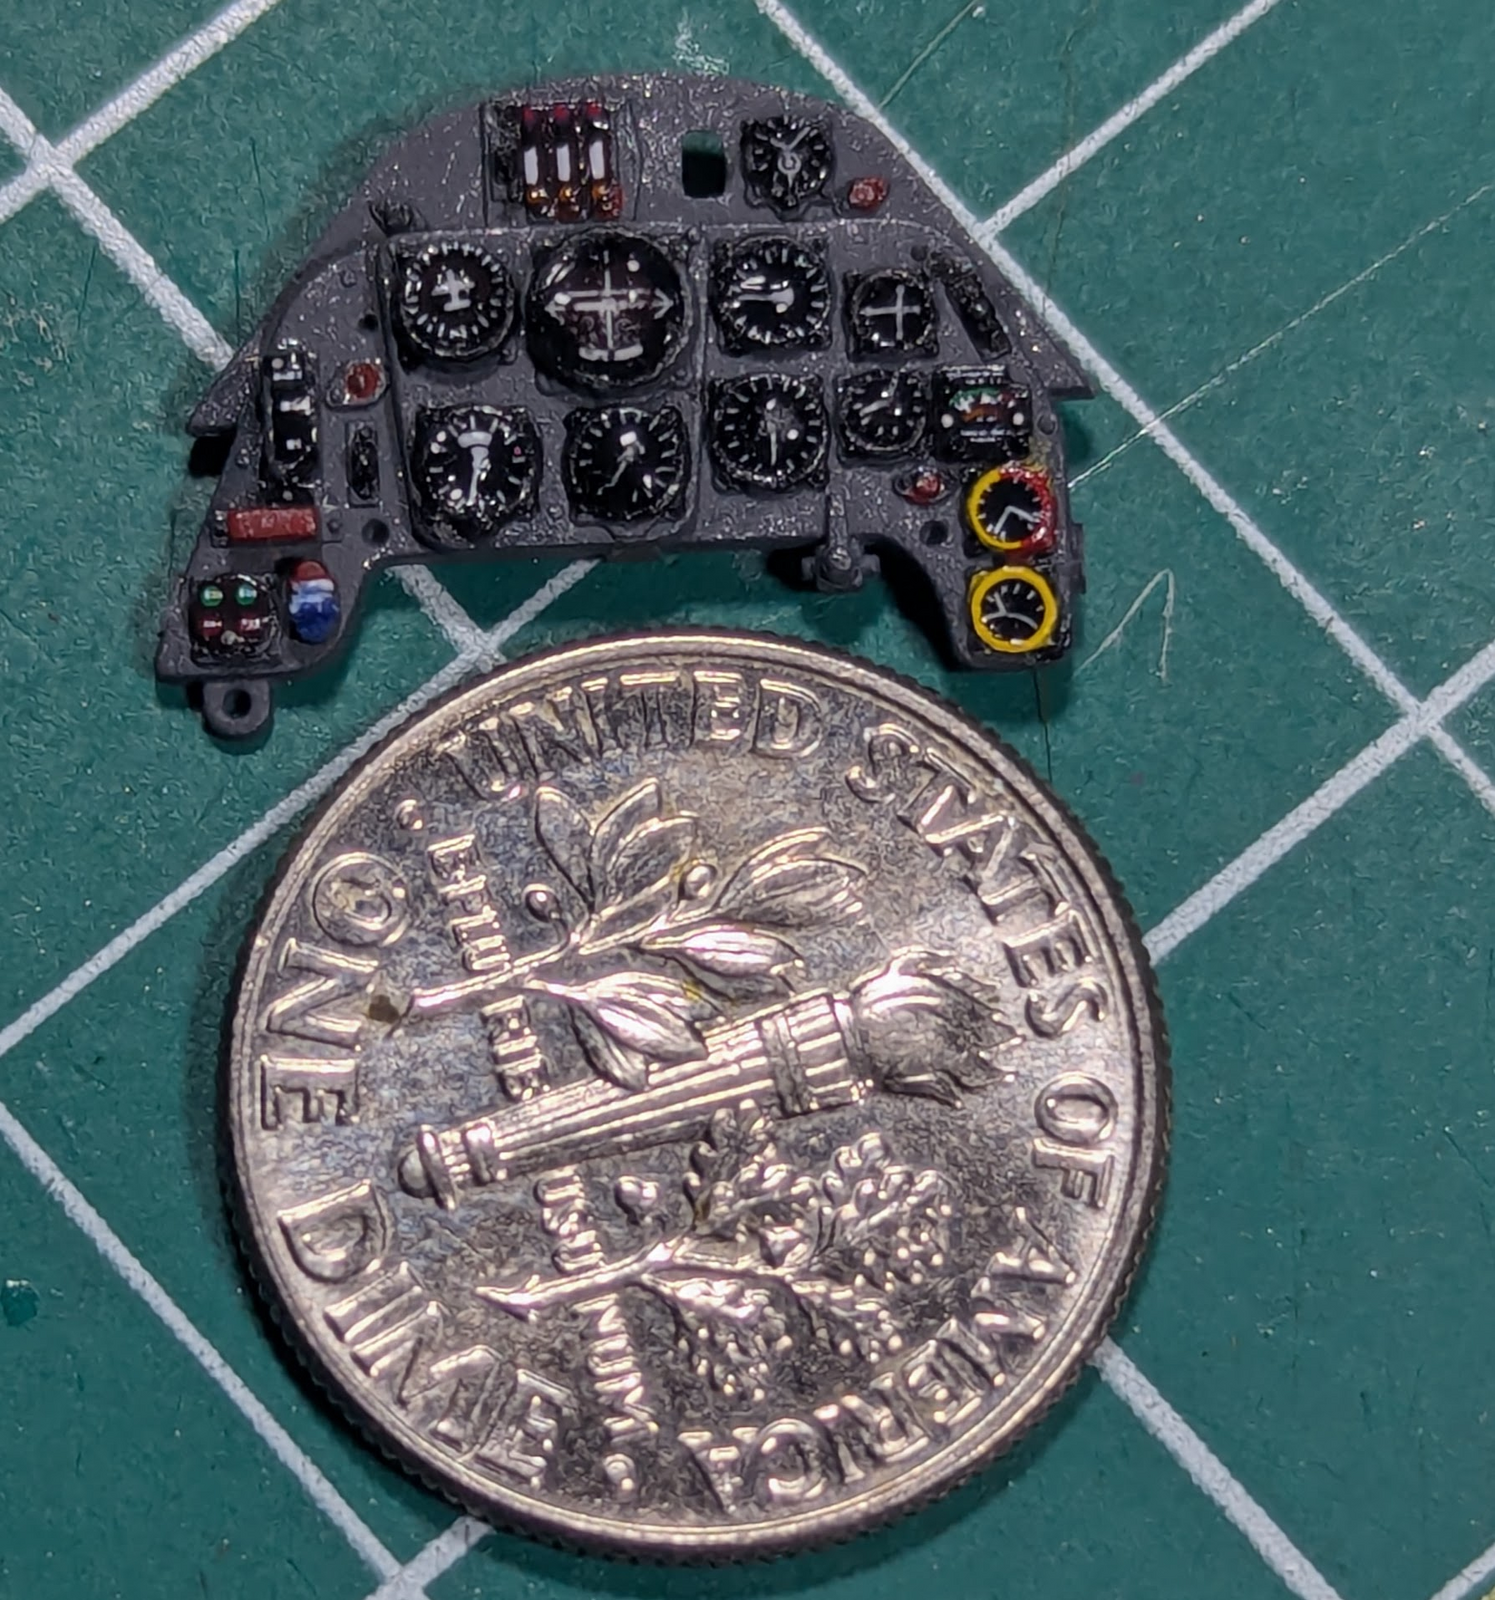
Here's some pics of my Z-M 109 and Kotare Spit interiors for reference...

1759591445888.png

1759591455068.png

1759591524103.png

1759591534326.png
 
What's your recommendation?
Their 3rd Spitfire is the MkVb, I'd say either that one or their pre-release Bf109K.

Only two other options are both Spitfires, the Mk.Ia (original version with 2-bladed fixed-pitch prop) or the Mk.Va which I bought because I couldn't wait for the B-wing version.

EDIT:
I just checked on my own information, it seems that if you include variations of the ones I listed, and future kits the selection is larger. My mind is reeling over the idea of a 1/48 Hallifax...yikes!

https://www.kotare-models.com/products
 
Last edited:
Something I failed to mention...Kotare is many/most of the guys that used to do "Wingnut Wings". They are defunct but highly praised and sought after (rare/expensive/HTF) kits today. There's a nice long interview with the owner on the ModelGeek's podcast ep.95.
 
Something I failed to mention...Kotare is many/most of the guys that used to do "Wingnut Wings". They are defunct but highly praised and sought after (rare/expensive/HTF) kits today. There's a nice long interview with the owner on the ModelGeek's podcast ep.95.
Excellent work. Yes. Every collection needs a Spitfire and I have been thinking of a good BF 109
 
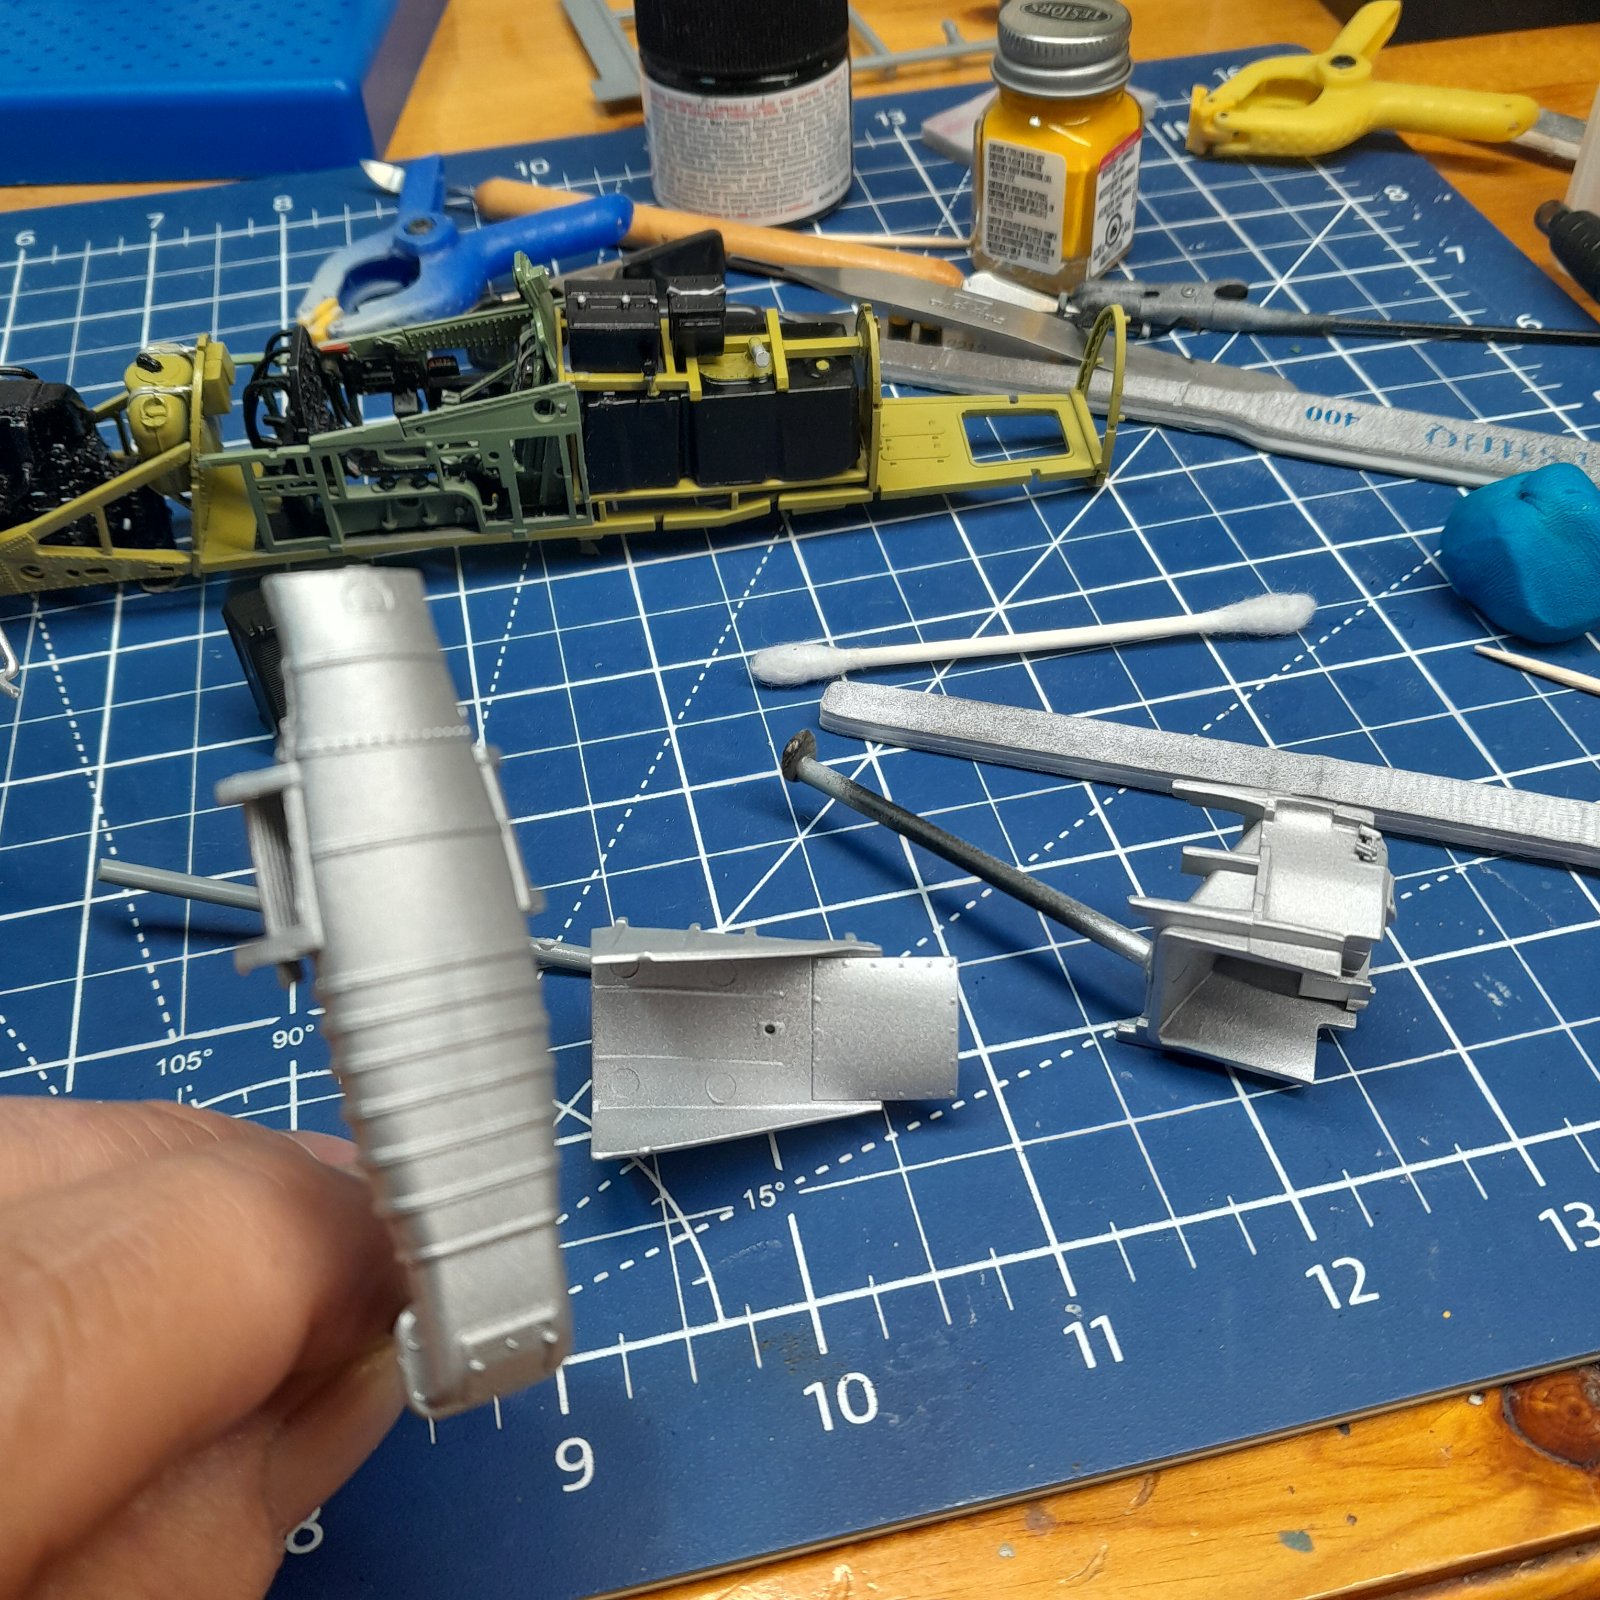
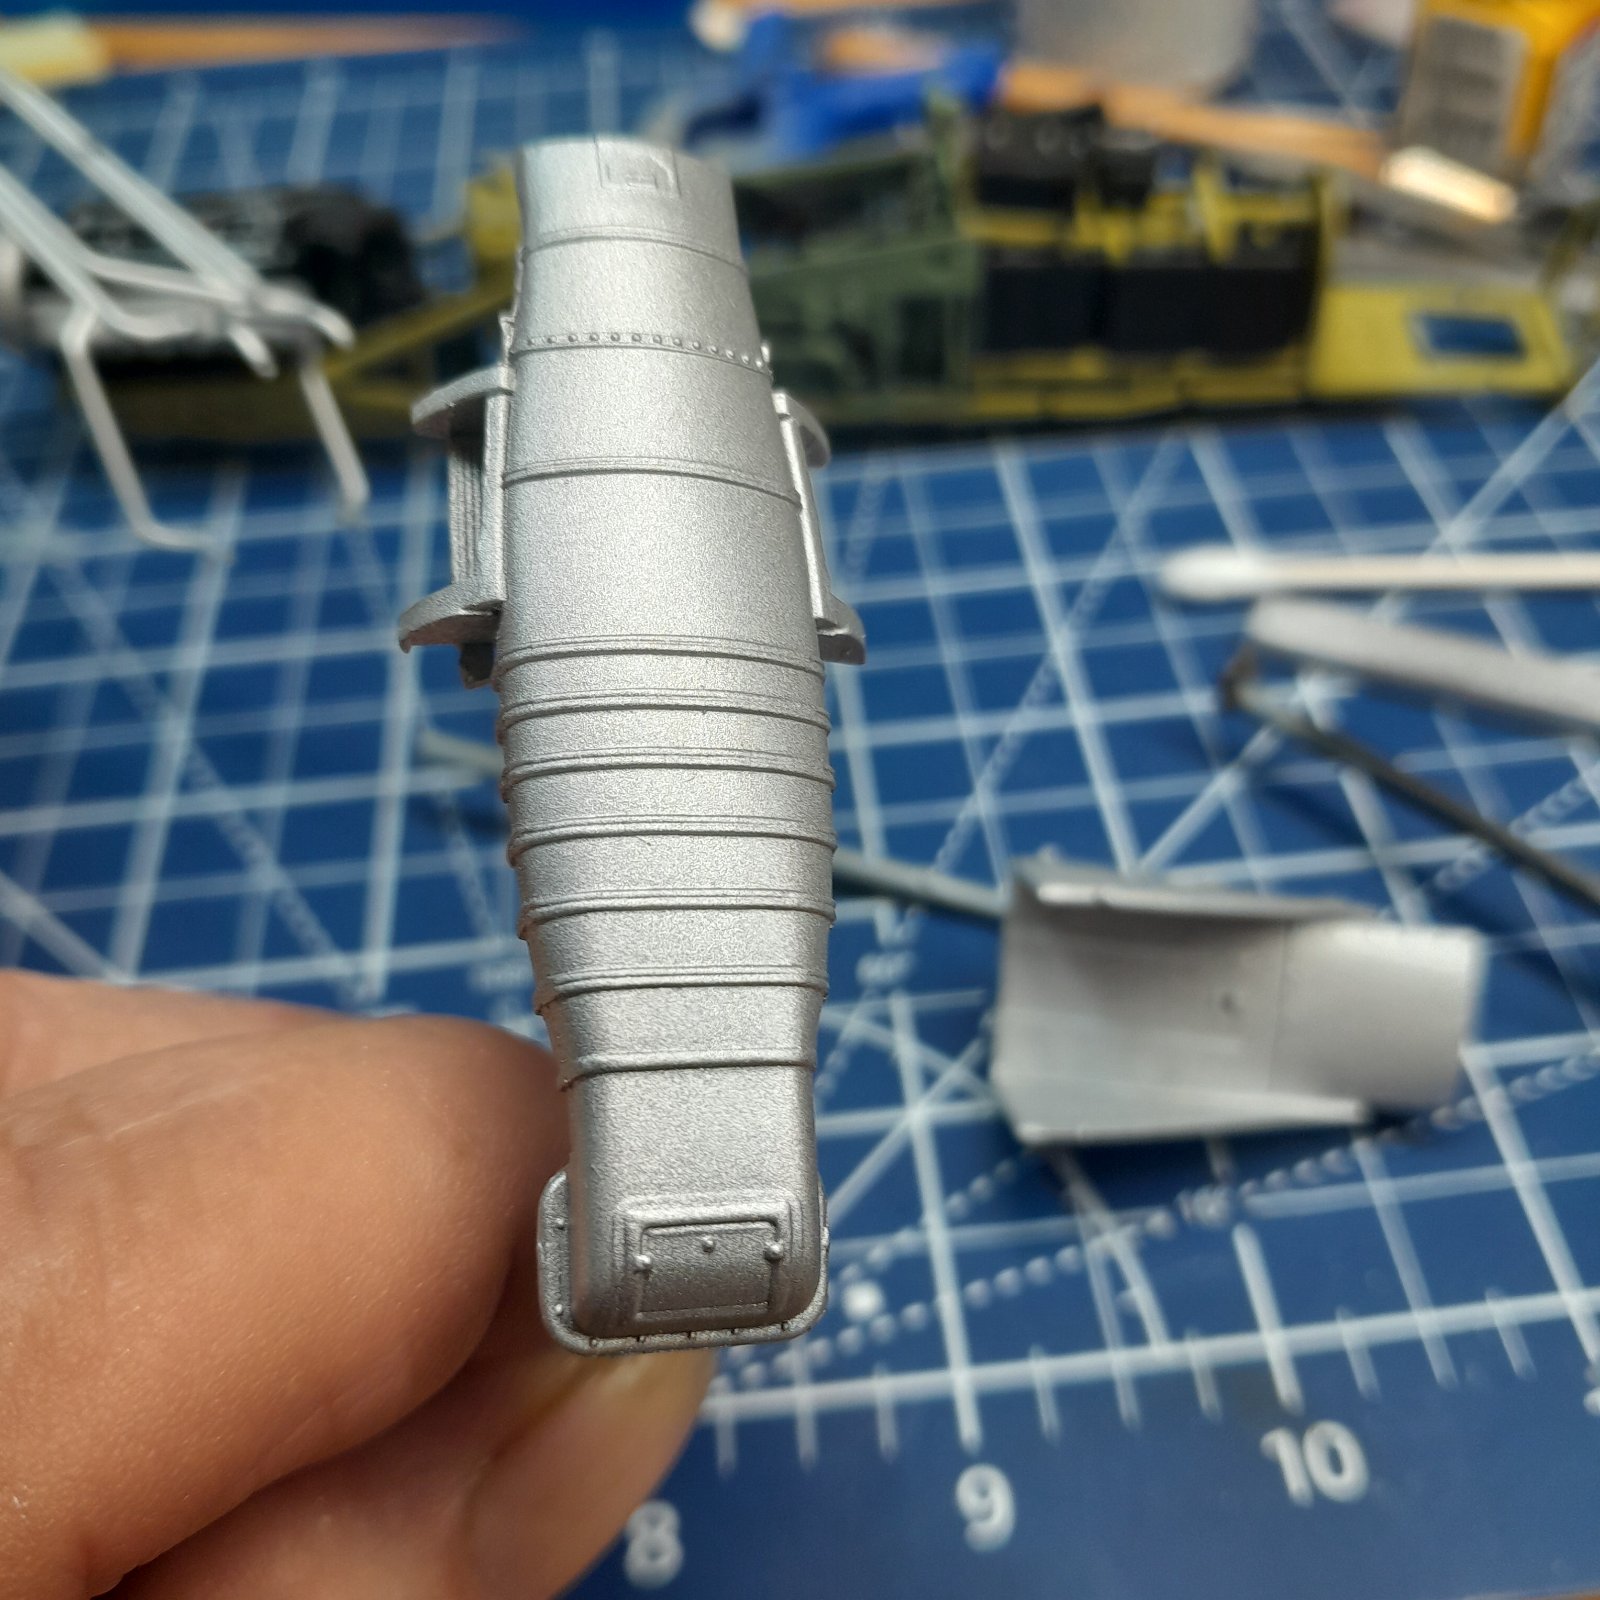
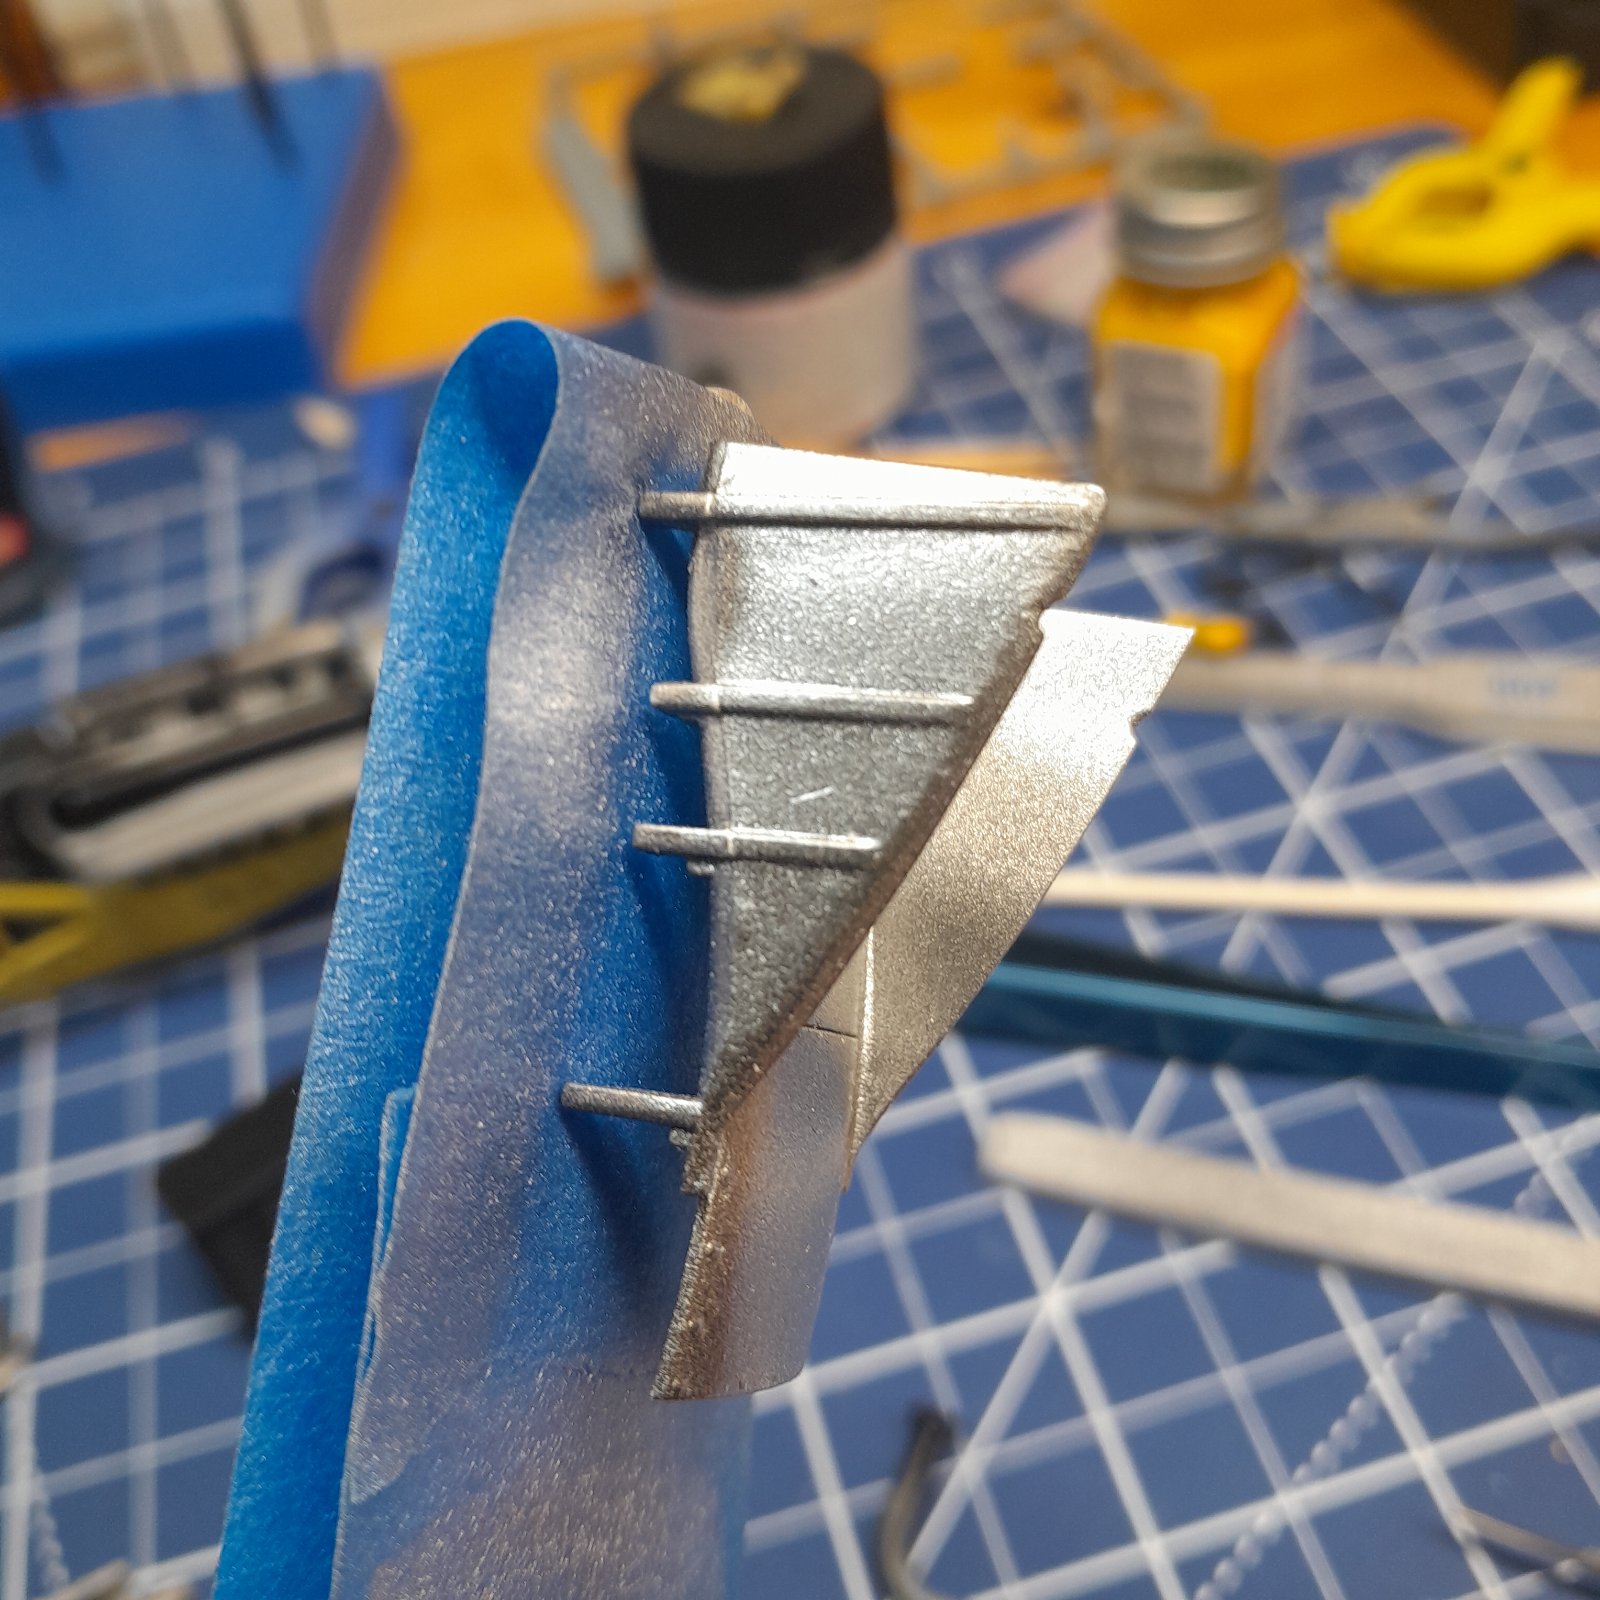
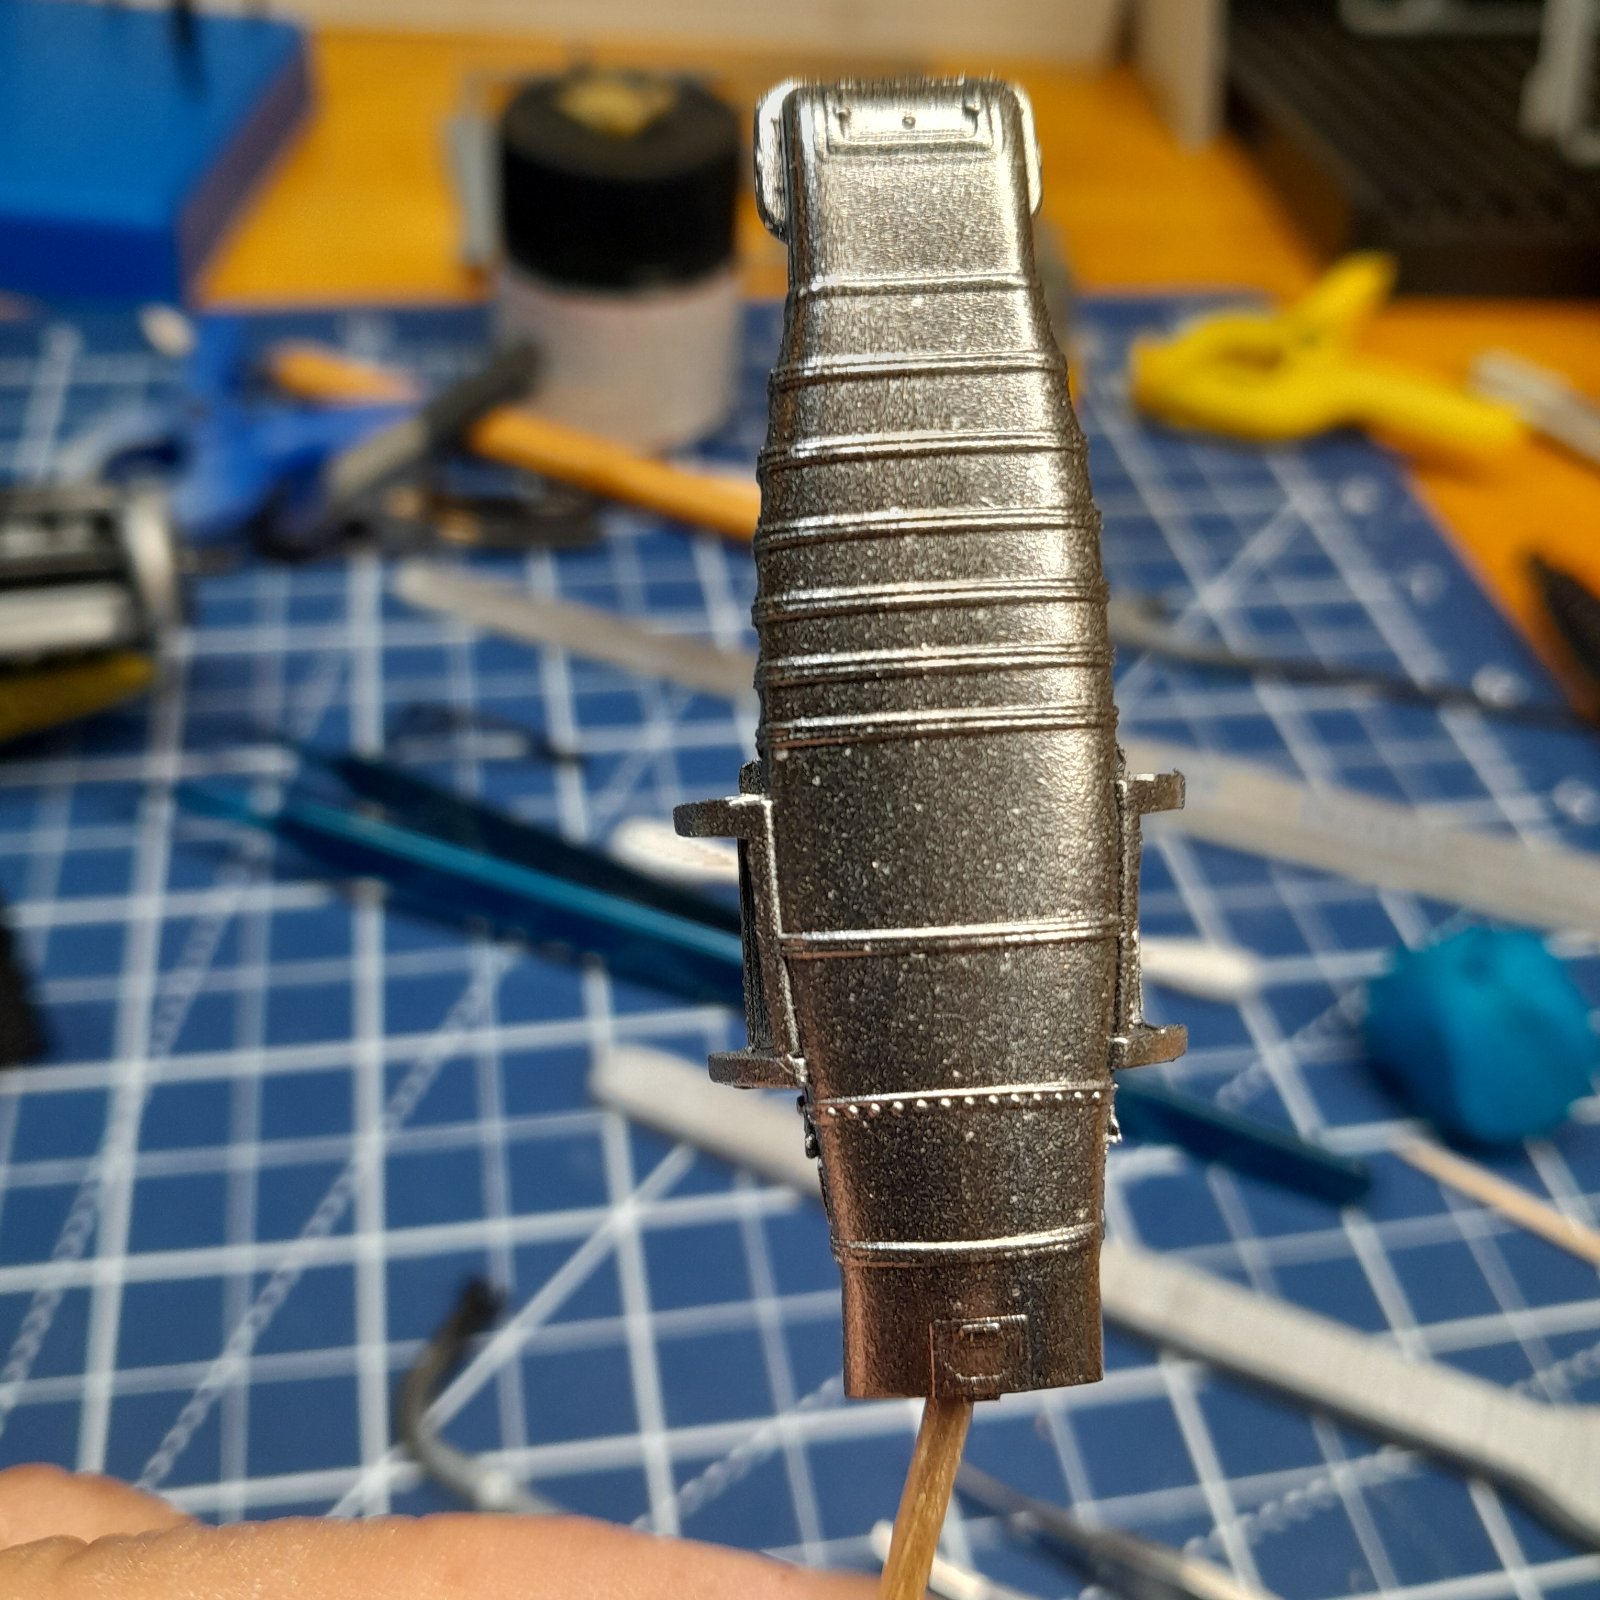
Working on the coolant and oil systems and the carburetor air induction duct. Use Tamia xf16 flat aluminum. I don't like it. It doesn't look good at all. Too grainy or something. When I look at it it just doesn't look real. Let me go try something

20251004_162755.jpg


20251004_162806.jpg
 
Working on the coolant and oil systems and the carburetor air induction duct. Use Tamia xf16 flat aluminum. I don't like it. It doesn't look good at all. Too grainy or something. When I look at it it just doesn't look real. Let me go try something
I'm using Ammo MiG aluminum on my current build and I'm very pleased with it.
 
XF-16 does seem to have relatively large metallic particles, do not know the technical term for them, but like the glittery bits. I find it useful for some things, small parts and details, but not large smooth areas.
 
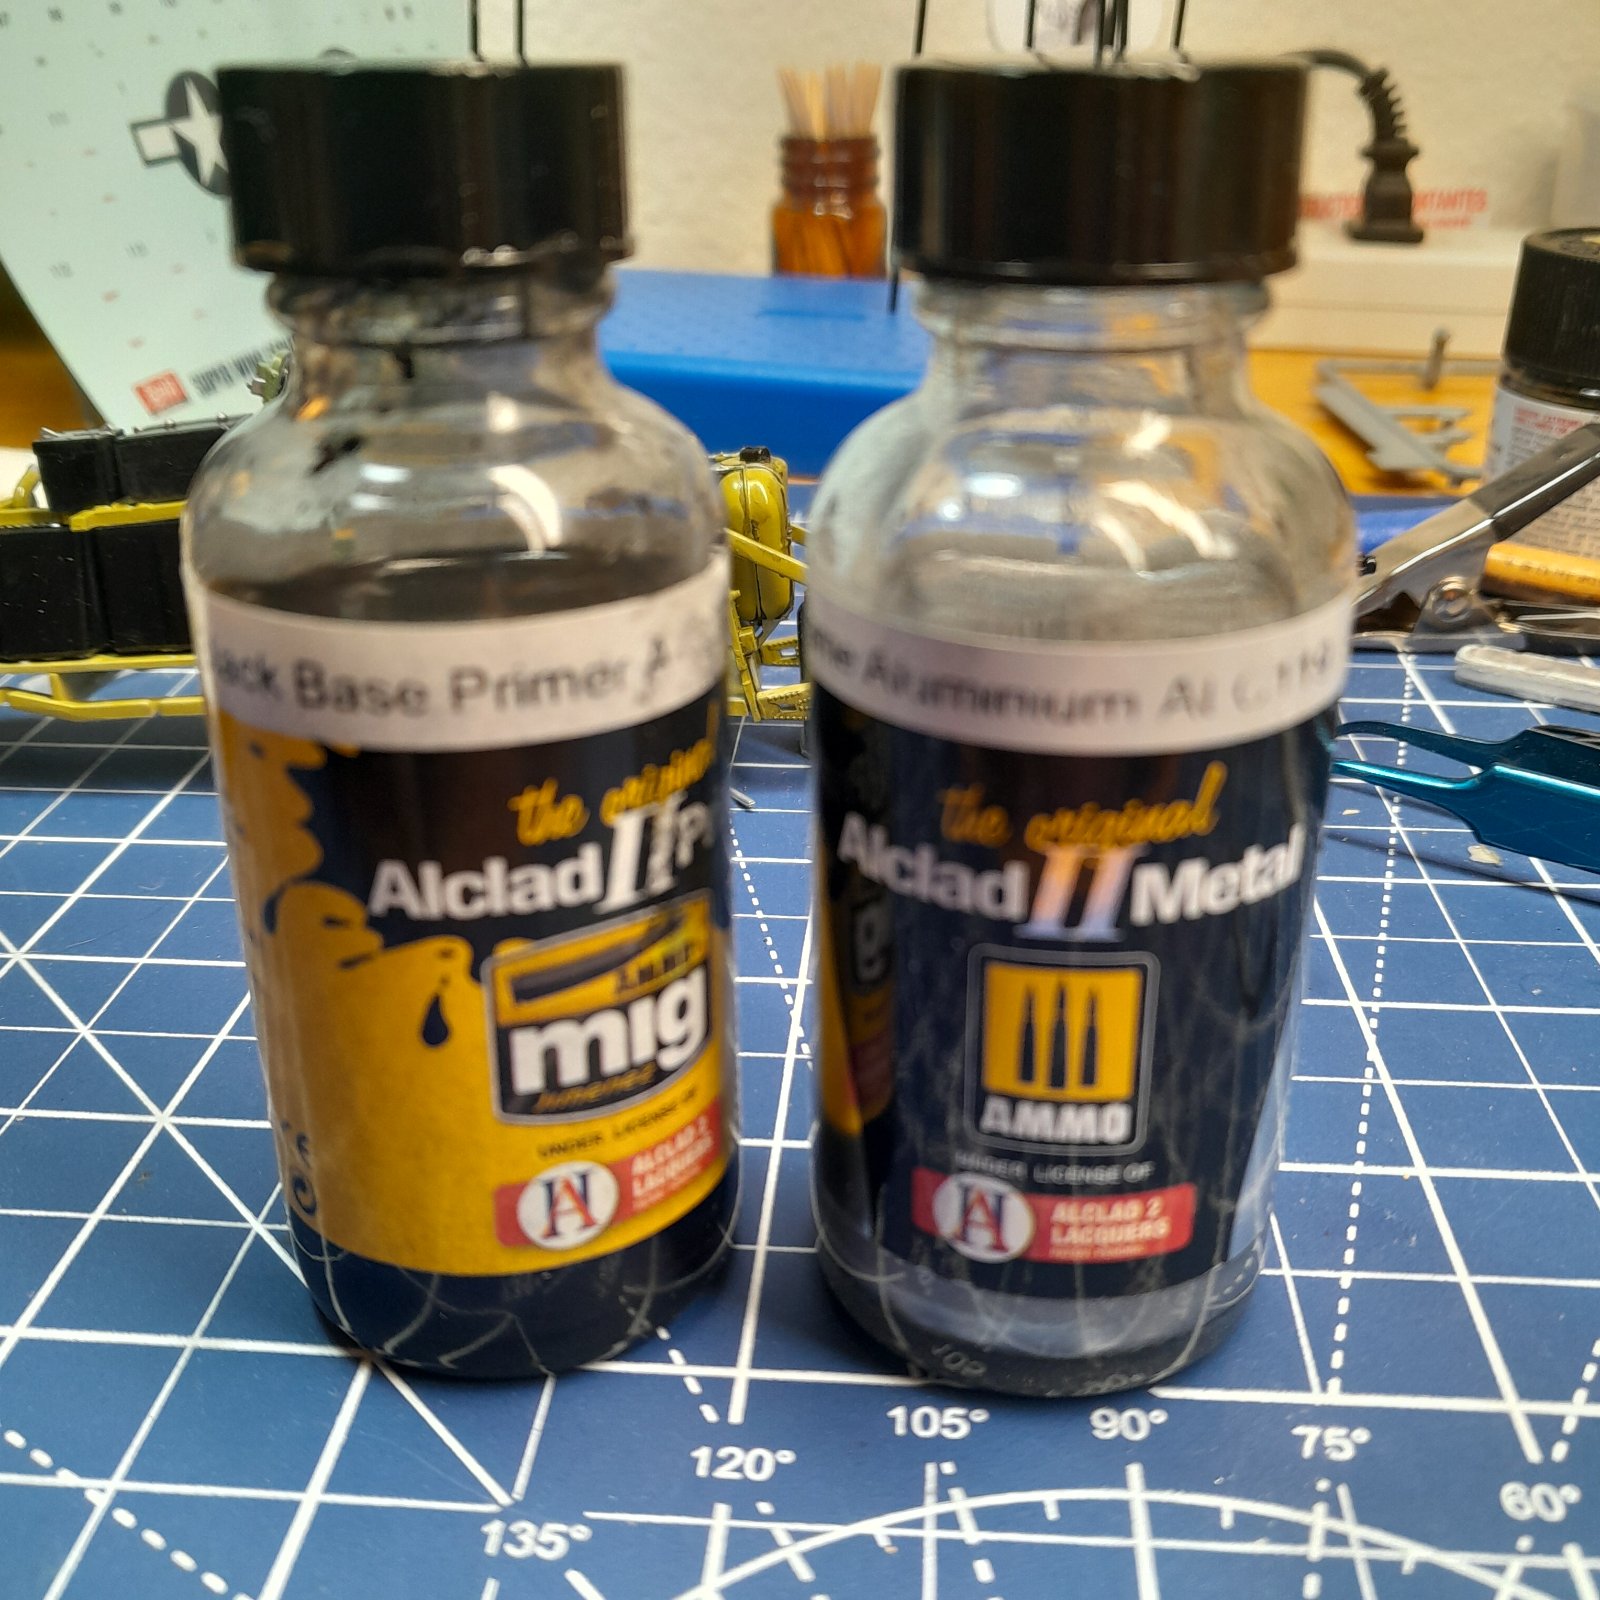
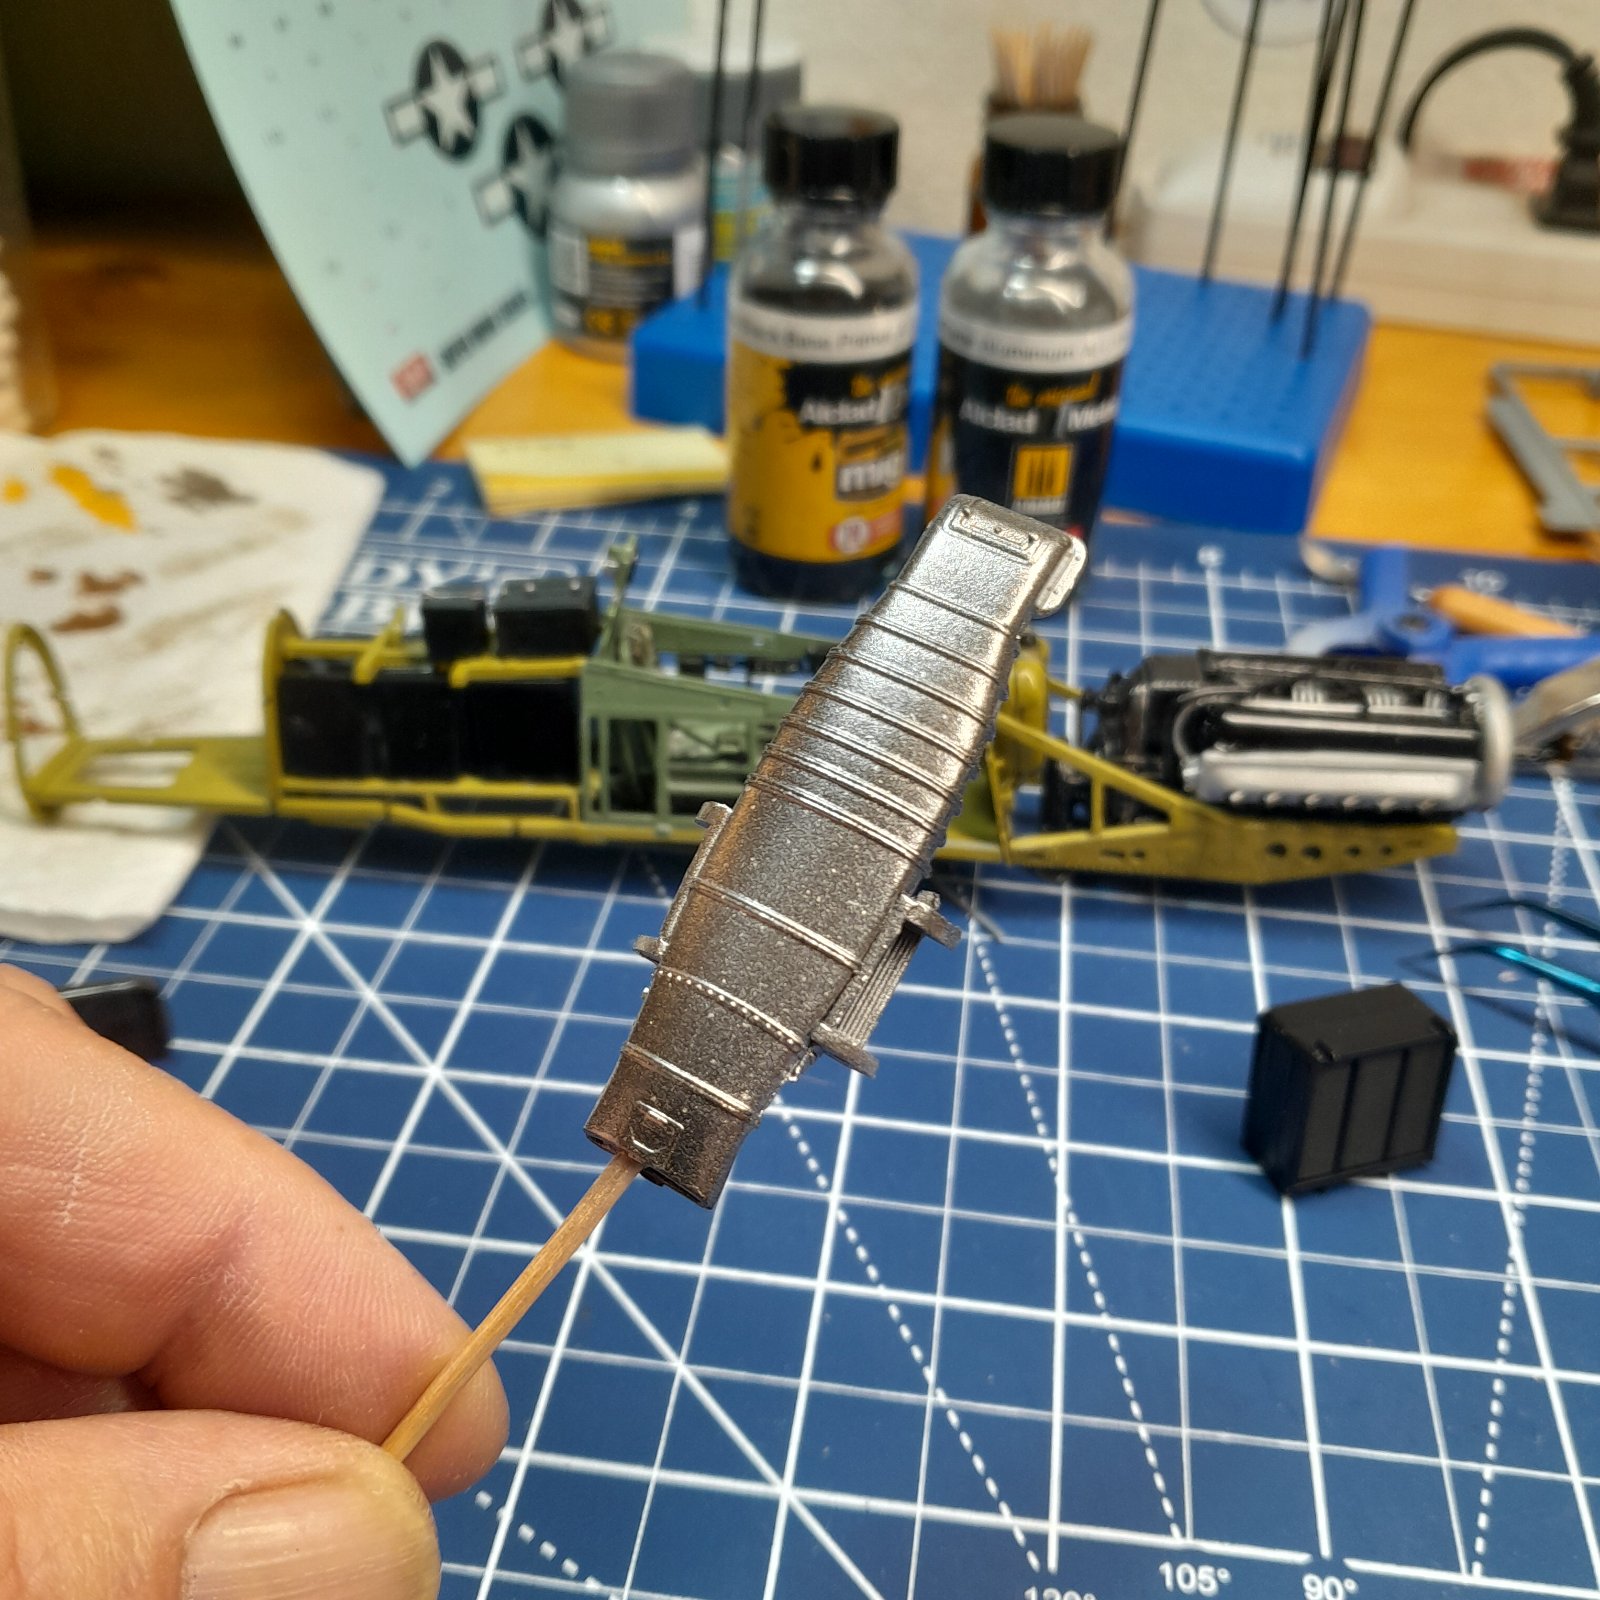
Yes. My thoughts exactly. Here's what I tried and I think I said wow about three times maybe four. It looks absolutely fabulous with the naked eye. I don't know about magnifying it with this stupid phone camera but I am very pleased. What say you? That is sprayed directly on the xf16 so I imagine if I really properly prepare the surface of the rest of the plane. It's going to pop with a capital p

20251005_115252.jpg


20251005_115325.jpg


20251005_115346.jpg


20251005_115439.jpg


20251005_115628.jpg
 
Alclad was the shiz years ago, did Ammo/Mig buy them?
I haven't the faintest idea. I saw these two at Andy's a couple months ago and saw it was for aircraft aluminum and grabbed it. Usually at Andy's the good stuff doesn't last long. He has a new paint line in with amazingly all the colors. I was looking at it the last time I was in his shop and was very tempted to buy one of each but I'm invested in Tamia paints and quite frankly don't have the room for another line of paints
 
I don't know about magnifying it with this stupid phone camera
Before taking a photo, tap the screen where you want the camera to focus.

If you can't get it to focus up close enough, take a photo from a bit further away so that the subject is sharp, then crop the photo to show only the important part.
 
Amazing detail and excellent work on this build.
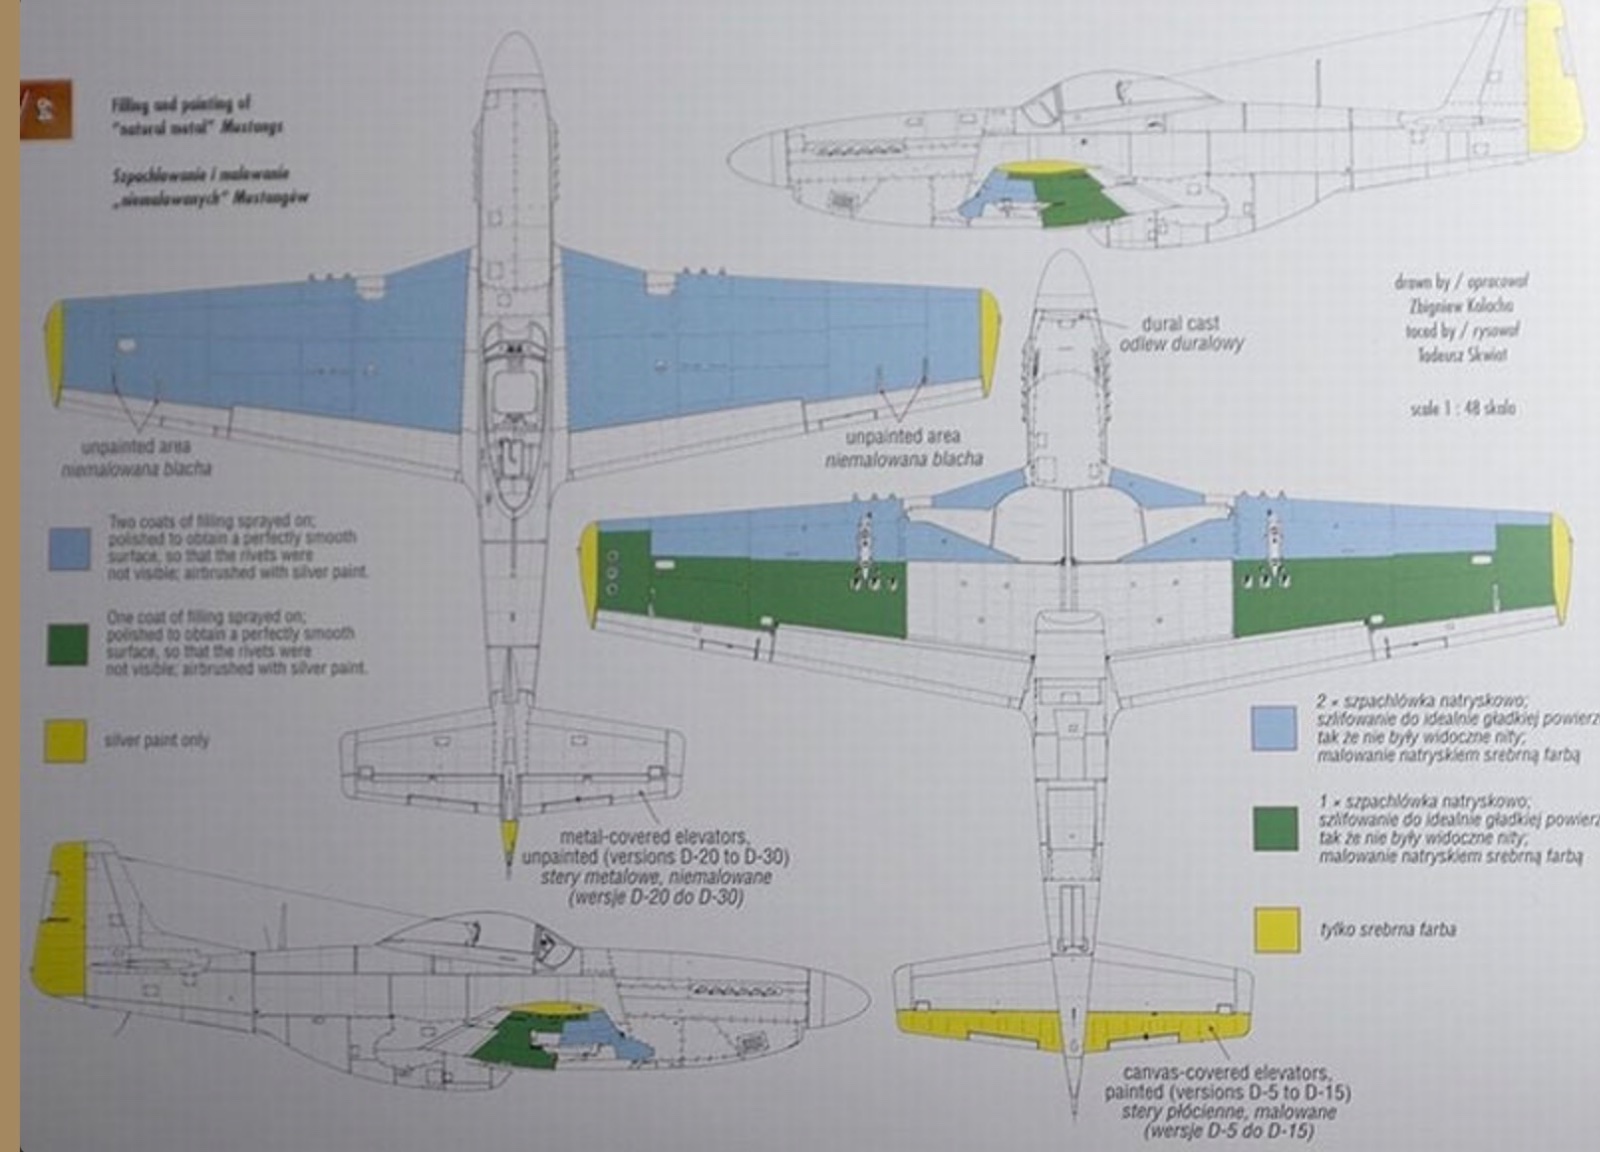
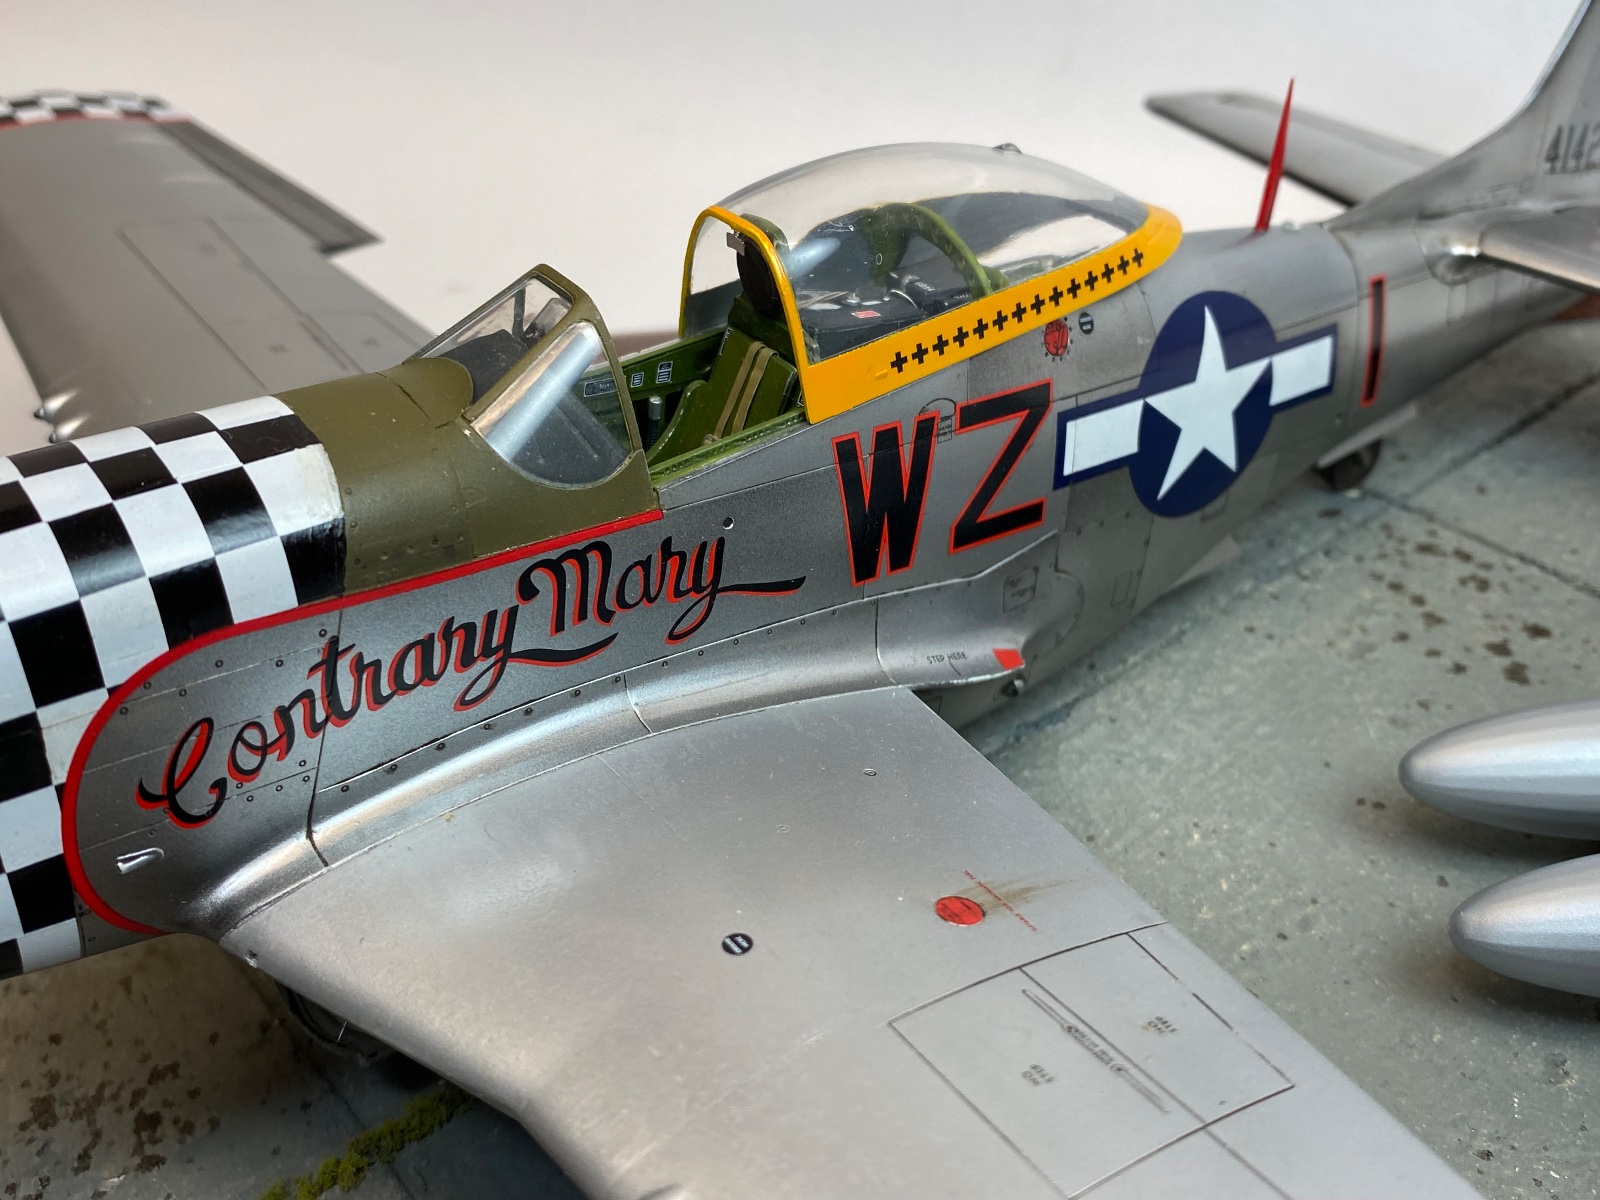
The top and bottom of the main wings on the metal finished Mustangs had their panel lines and rivets puttied over to reduce drag then painted in silver metallic lacquer. The flaps, ailerons, wheel covers and center bottom sections were left in natural metal as was the rest of the aircraft except the rudder and elevators that were canvass and painted in lacquer silver paint. Gauzy Shine Enhancer will spray out beautifully over the Alclad protecting the finish and allowing masking without any paint damage or alteration of the metallic paint effect.
The ZM Mustang has tons of gorgeous details unlike my Revell of Germany that builds up quite nicely as a simpler build.
IMG_0134.jpeg
IMG_2947.jpeg
IMG_2976.jpeg
 
Sorry guys. I'm old and set in my ways. Crop photos? Yeah okay. Which button do I press? Pfft. I can barely operate this forum. Nice Mustang. And thanks for the history lesson. I soak that stuff up like a sponge. Getting ready to put on the side panels and such for the body. I might do what Panther man did or is going to do on his dive bomber. Namely painting the panels separate. Kind of sounds like the way to go because I am going to have some panels off so you can see the interior
 
I think I've done several planes that could use checkerboards but I've always used the decals even though I thought about painting the checkerboard pattern on. That's right. I thought about it for about 5 Seconds. Tops.
 
Crop photos? Yeah okay. Which button do I press?
I can't tell you how to do it on an Android device, but on an iPhone or iPad, view the picture in the camera app and just zoom in (put two fingers on the screen and move them away from each other) until the parts you want to remove are no longer visible. When you do this, a Crop button should appear: tap that, and you're done.

See here for a much more complete guide.
 

Latest posts

Back
Top