
- Joined
- Apr 29, 2024
- Messages
- 1,580
Sounds easy enough. I'll try anything once. Almost anything.

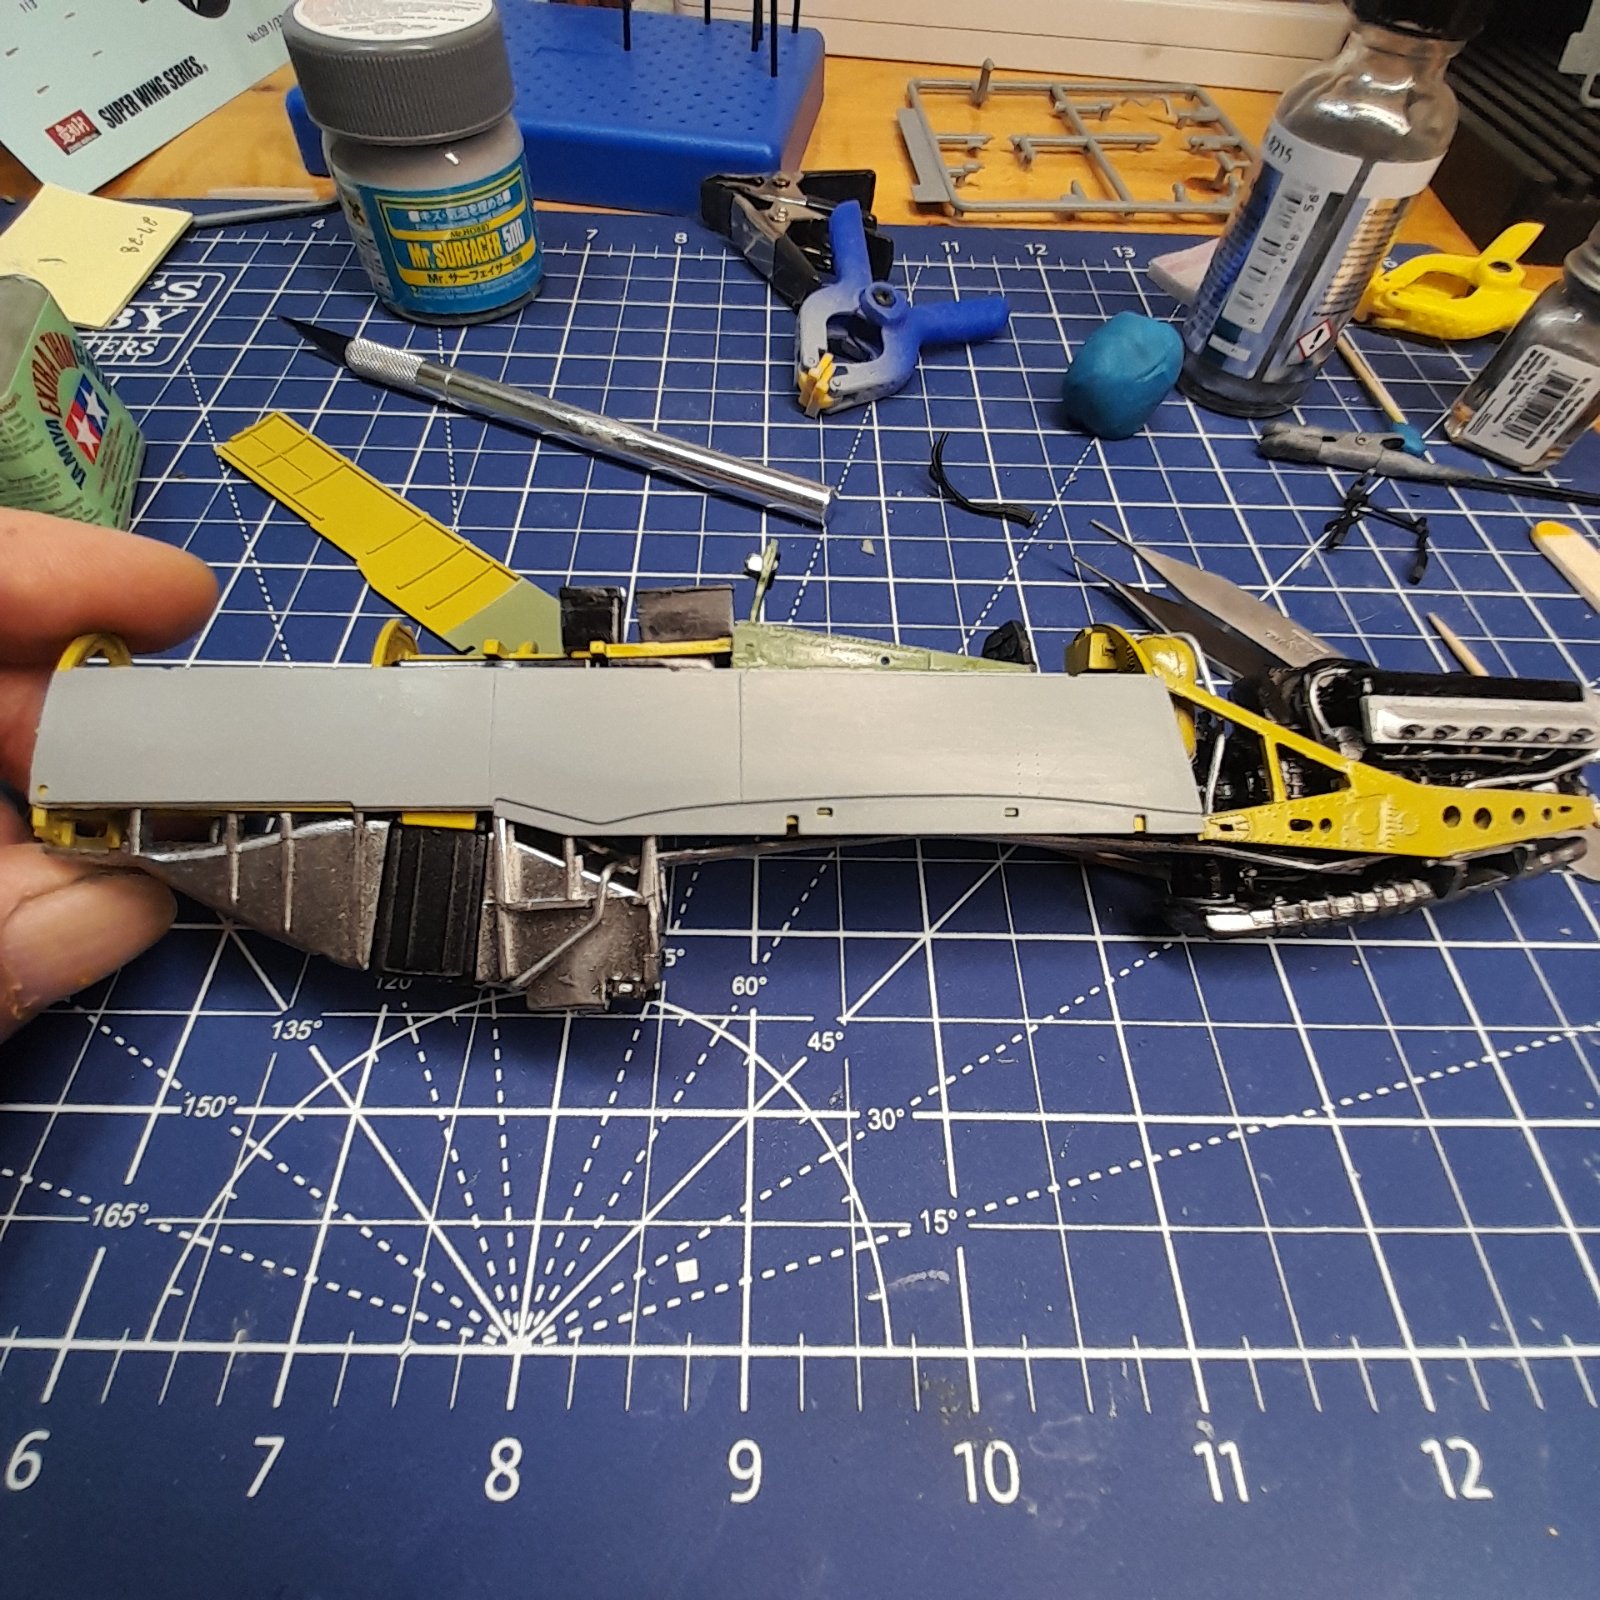
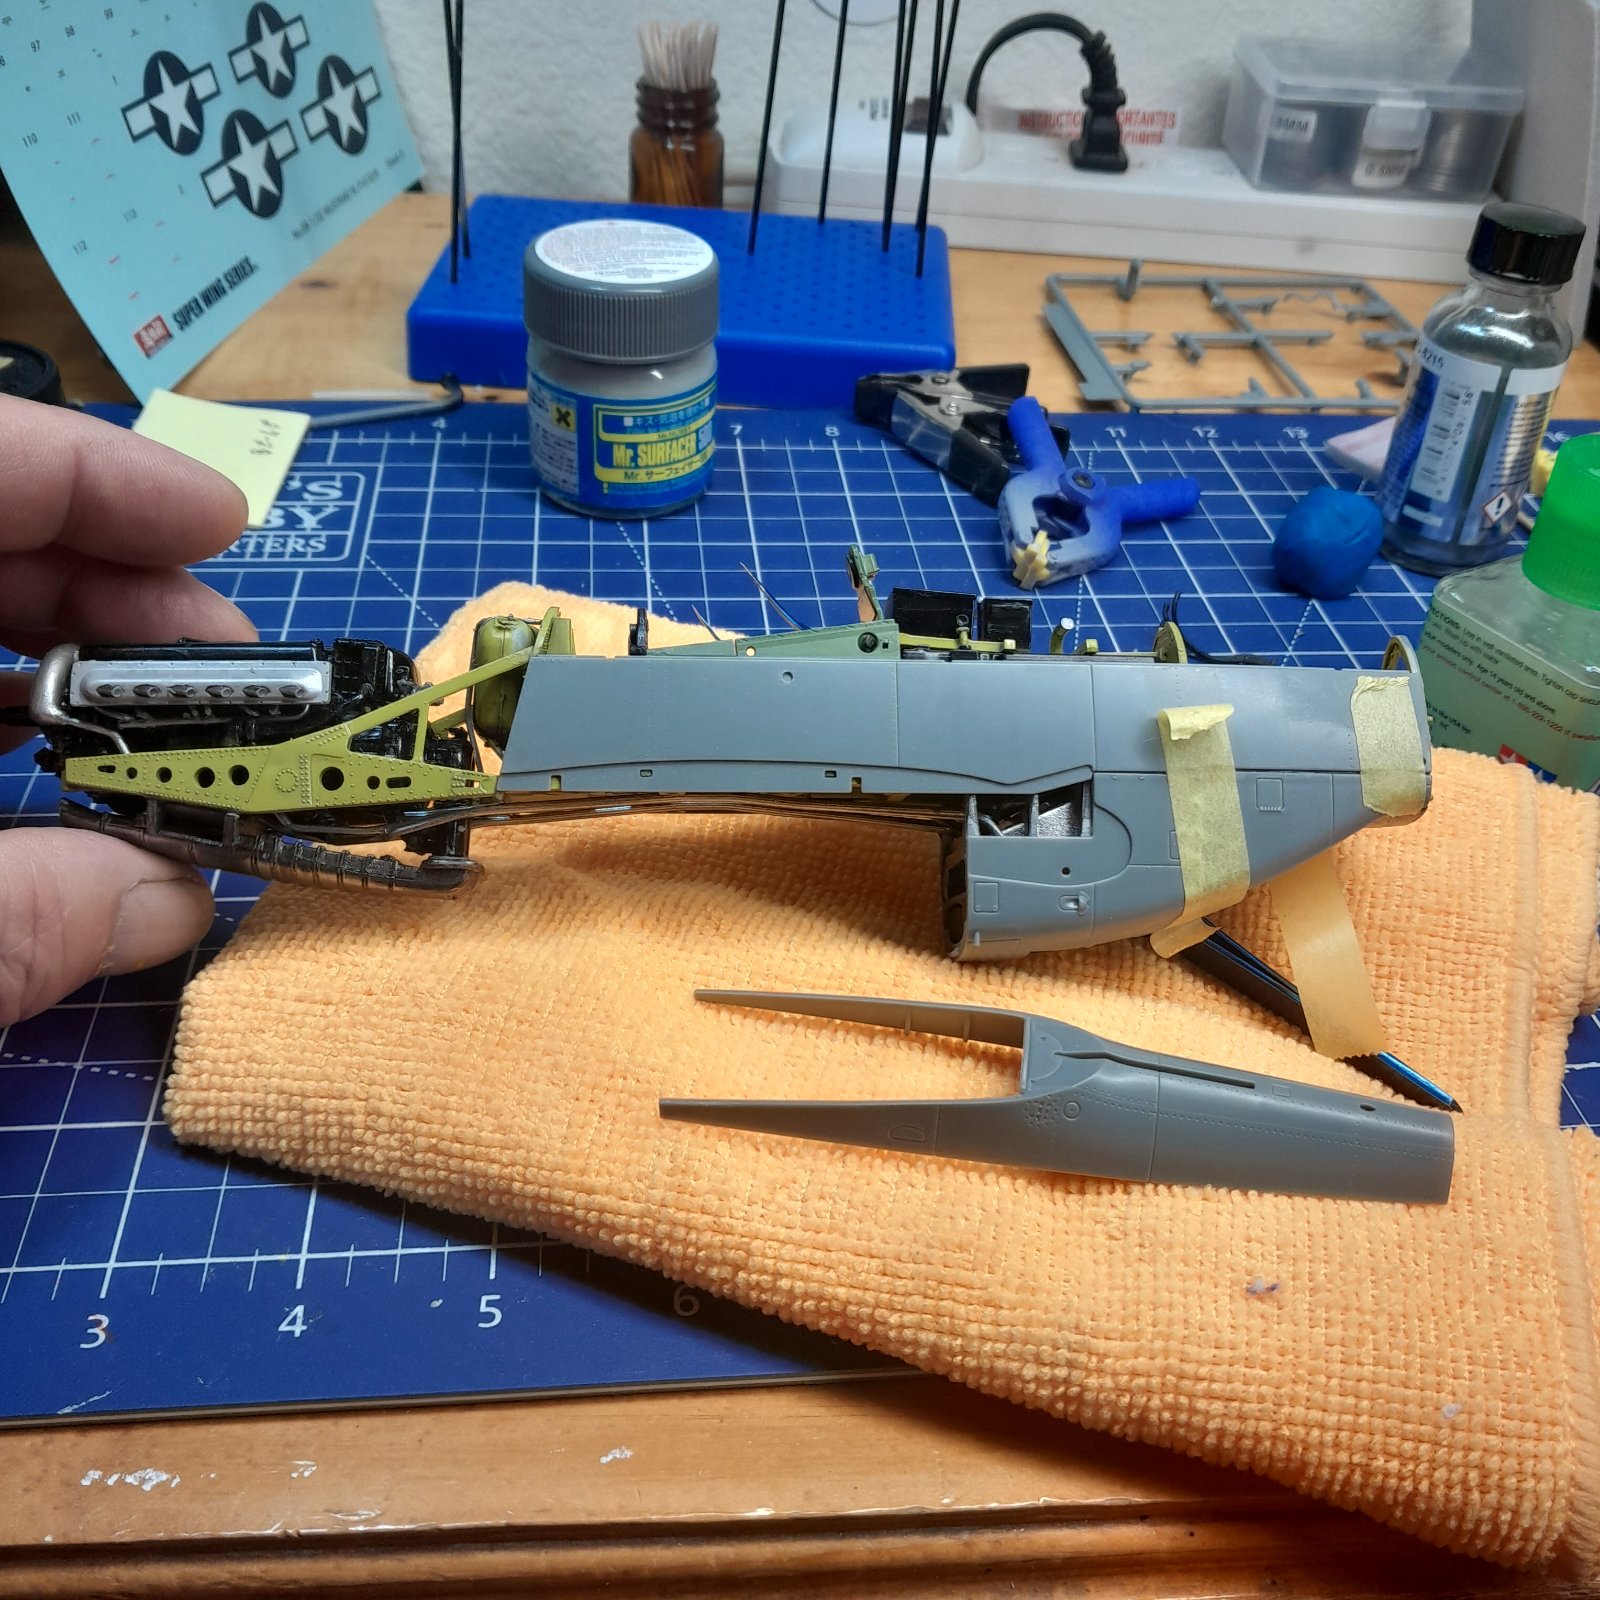
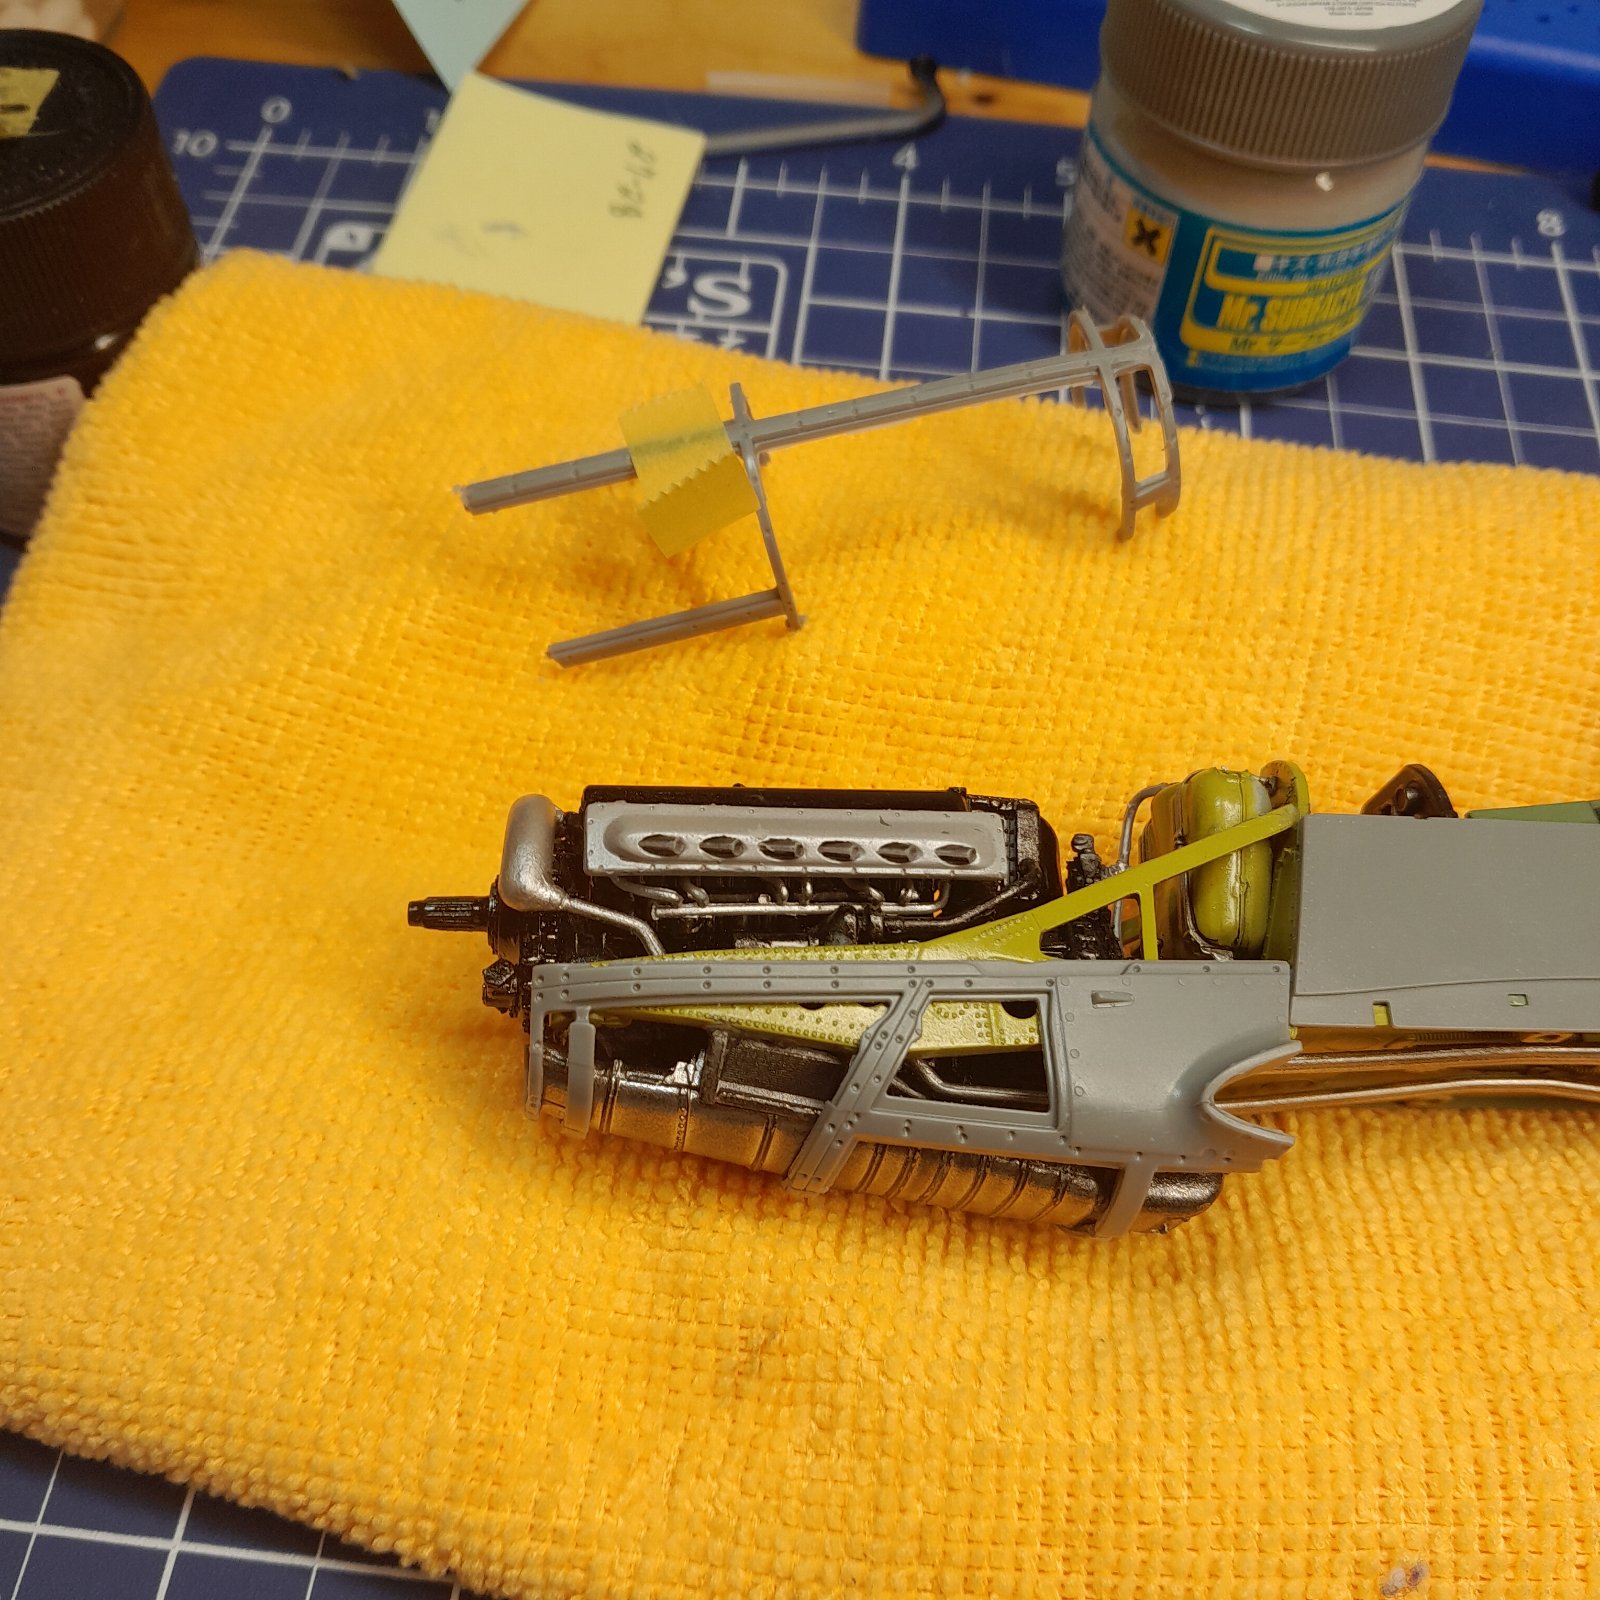

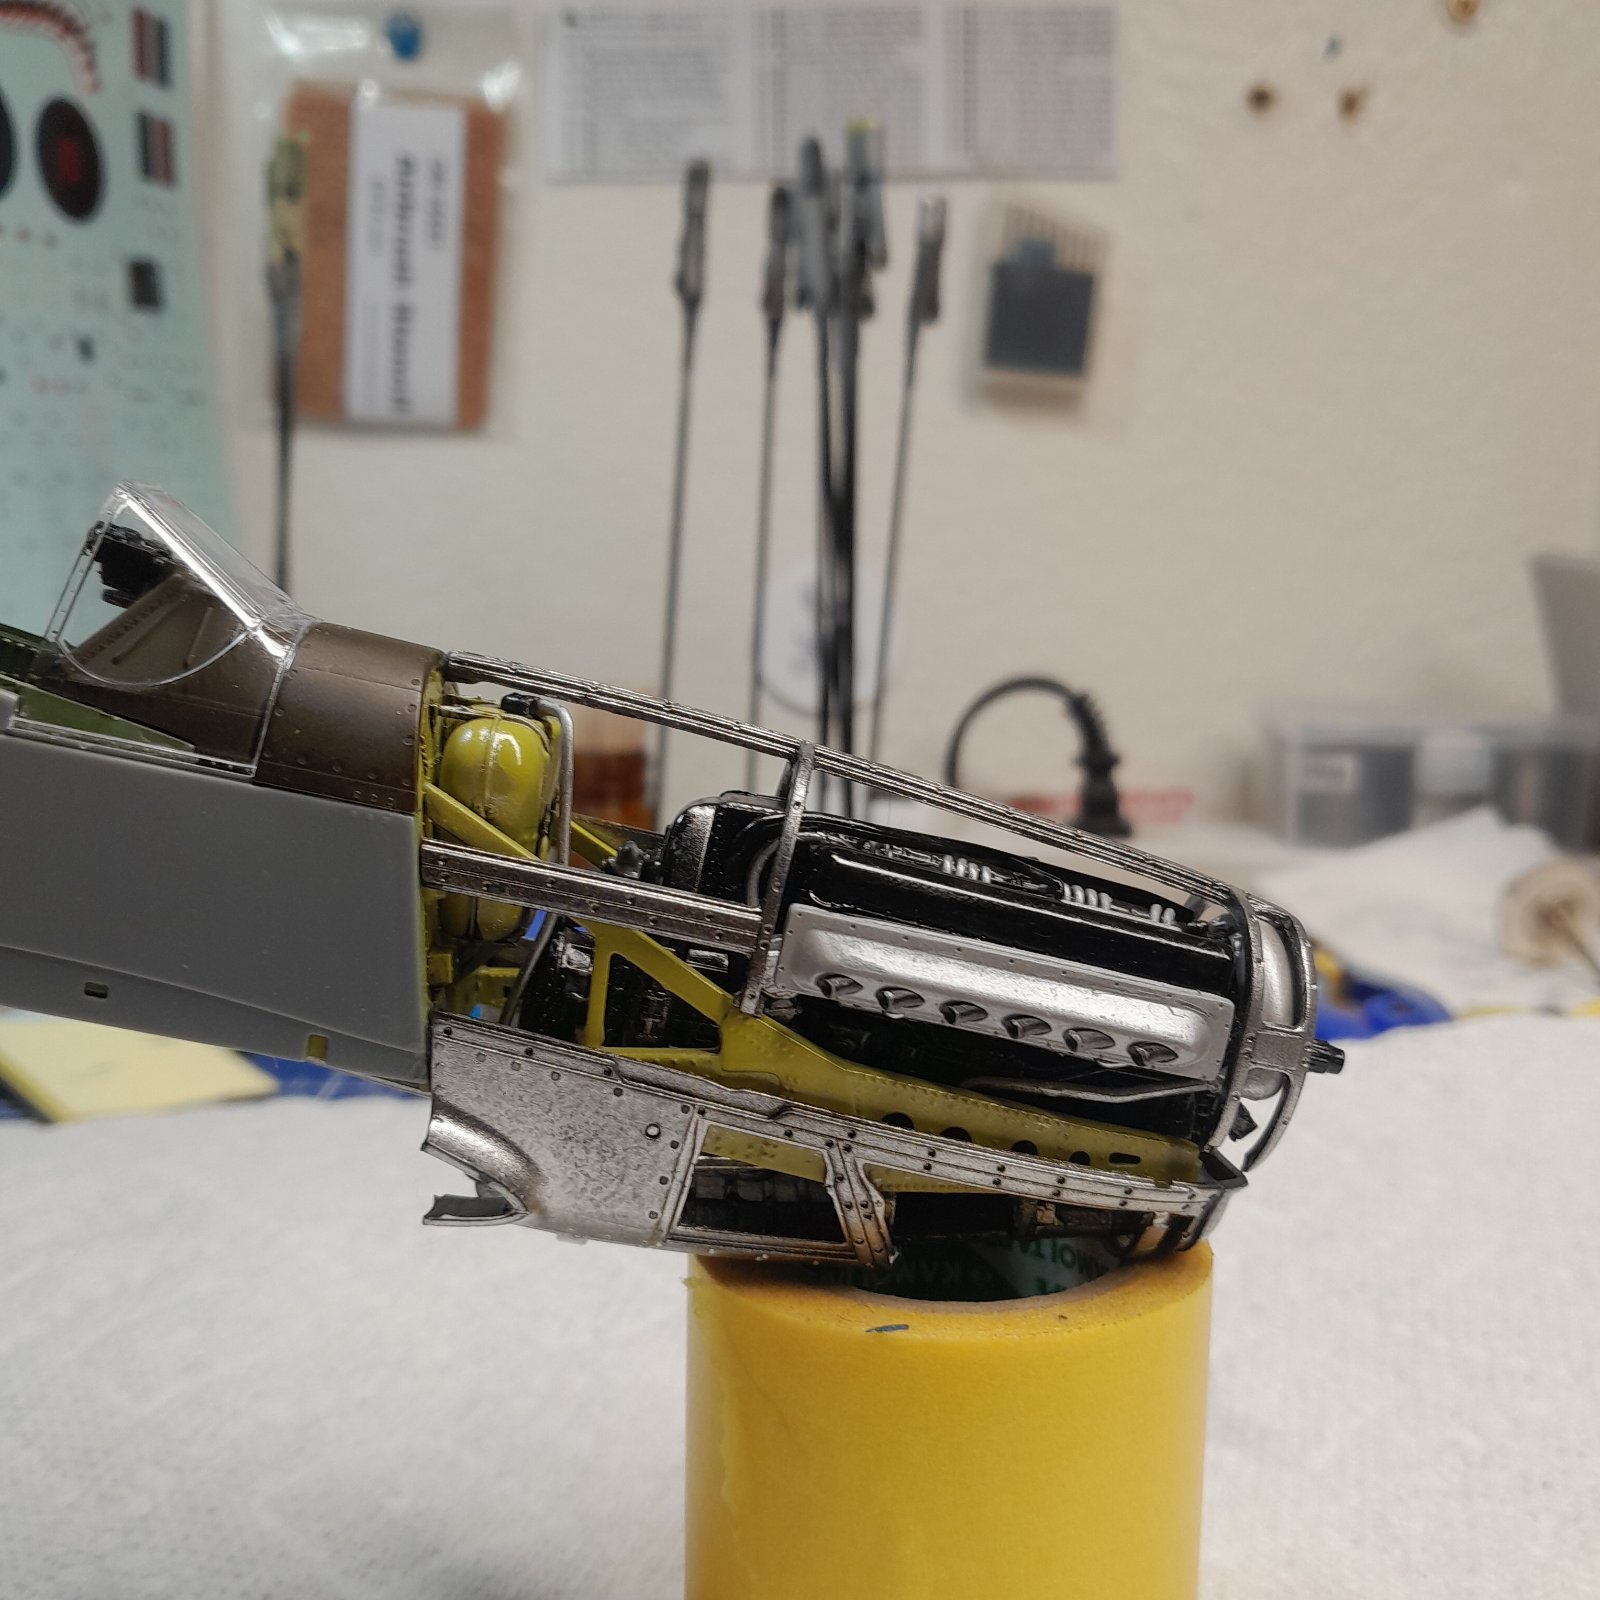
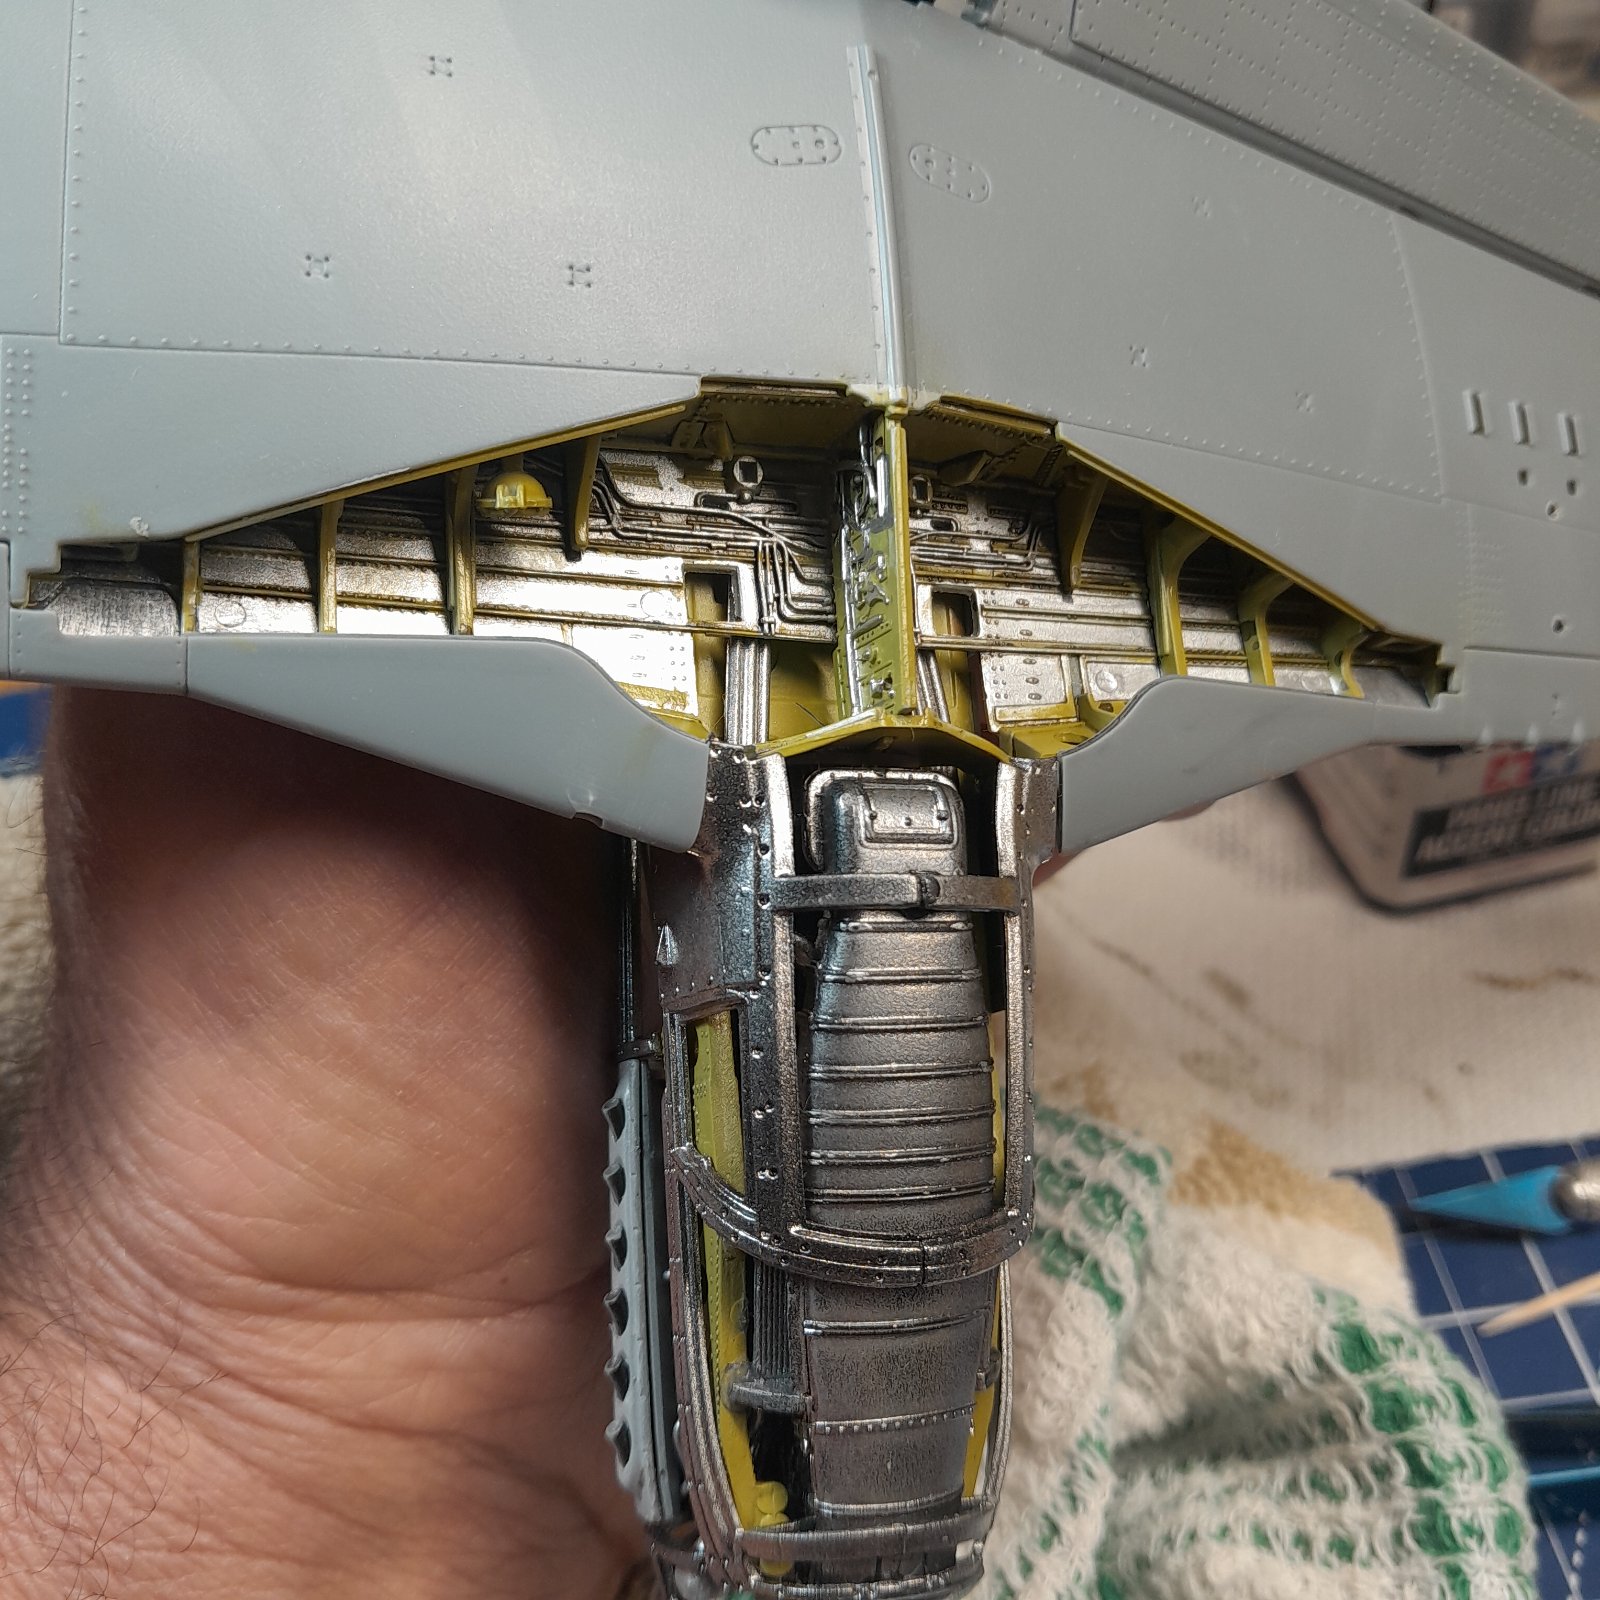
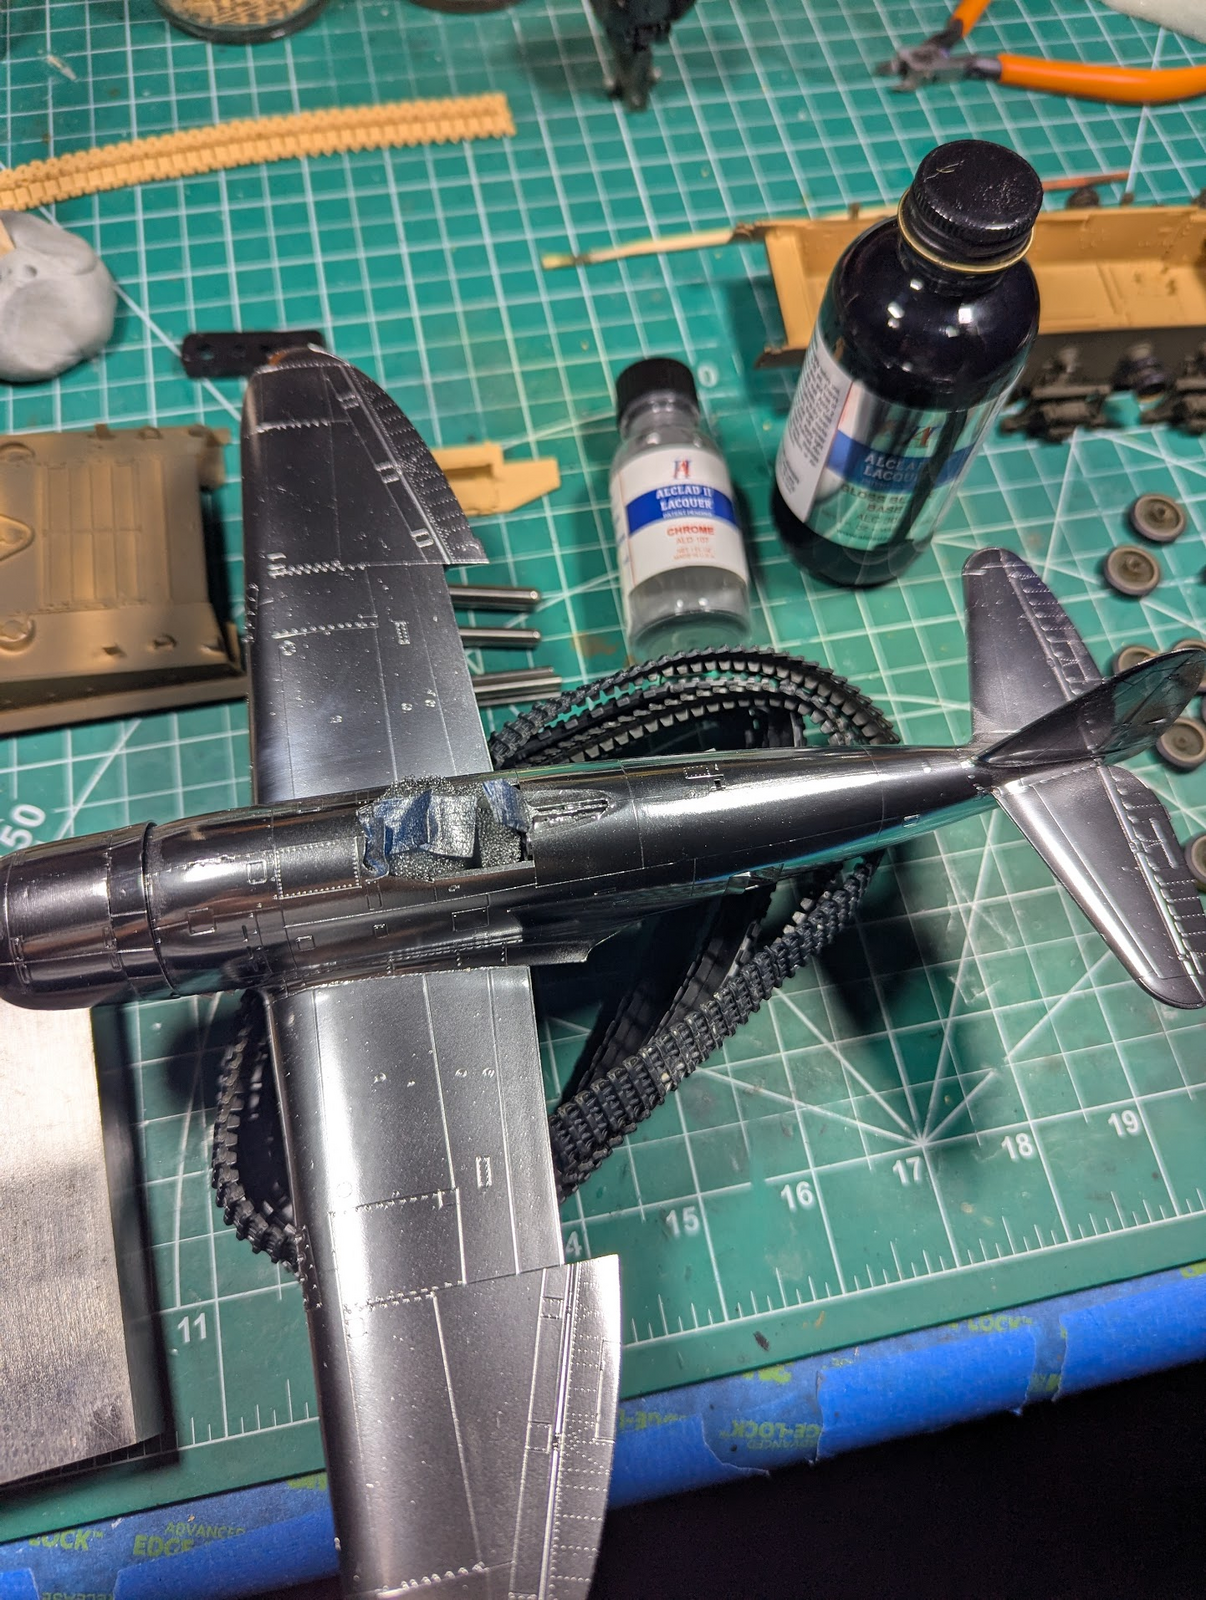
Yes, big difference. If I remember correctly, I broke my leg washing my dog about hell I don't know, 30 years ago? Laid up for a bit so I did what People Like Us do. I built a couple models as a kid so let's go see what's up at the hobby store. I can't remember what model I built but I do remember model Master had a line of paint for aluminum and steel and stuff. Most of that stuff you had to buff and then seal it. And some of it was airbrush only. So I bought about 15 bottles of different stuff thinking, heck, even if I brush it on it'll look great. It doesn't. Not at all. So all of the bottles went on the back Shelf and of course a lot of the labels came off and now I'm left with a bunch of model master probably really cool paint? But I don't know what the hell it is. It's going to take a box of plastic spoons and a whole day to find out what each bottle holds.Now THAT'S quite the difference there with that Metallic look Rob. I've still got a jar of Model Masters Metalizer that works perfect for this. Some of the newer Vallejo Metalizer Acrylic paints work well too.
That must indeed be some tight tolerances if paint is affecting the fit. She's building up quite nicely with a LOT of details.

the checkerboards are decals.
I plan to try it on a 1/48 Jug in my on-deck stack. Might well regret it, but I've been hating stickers lately, particularly large ones.I thought about painting the checkerboard pattern on.
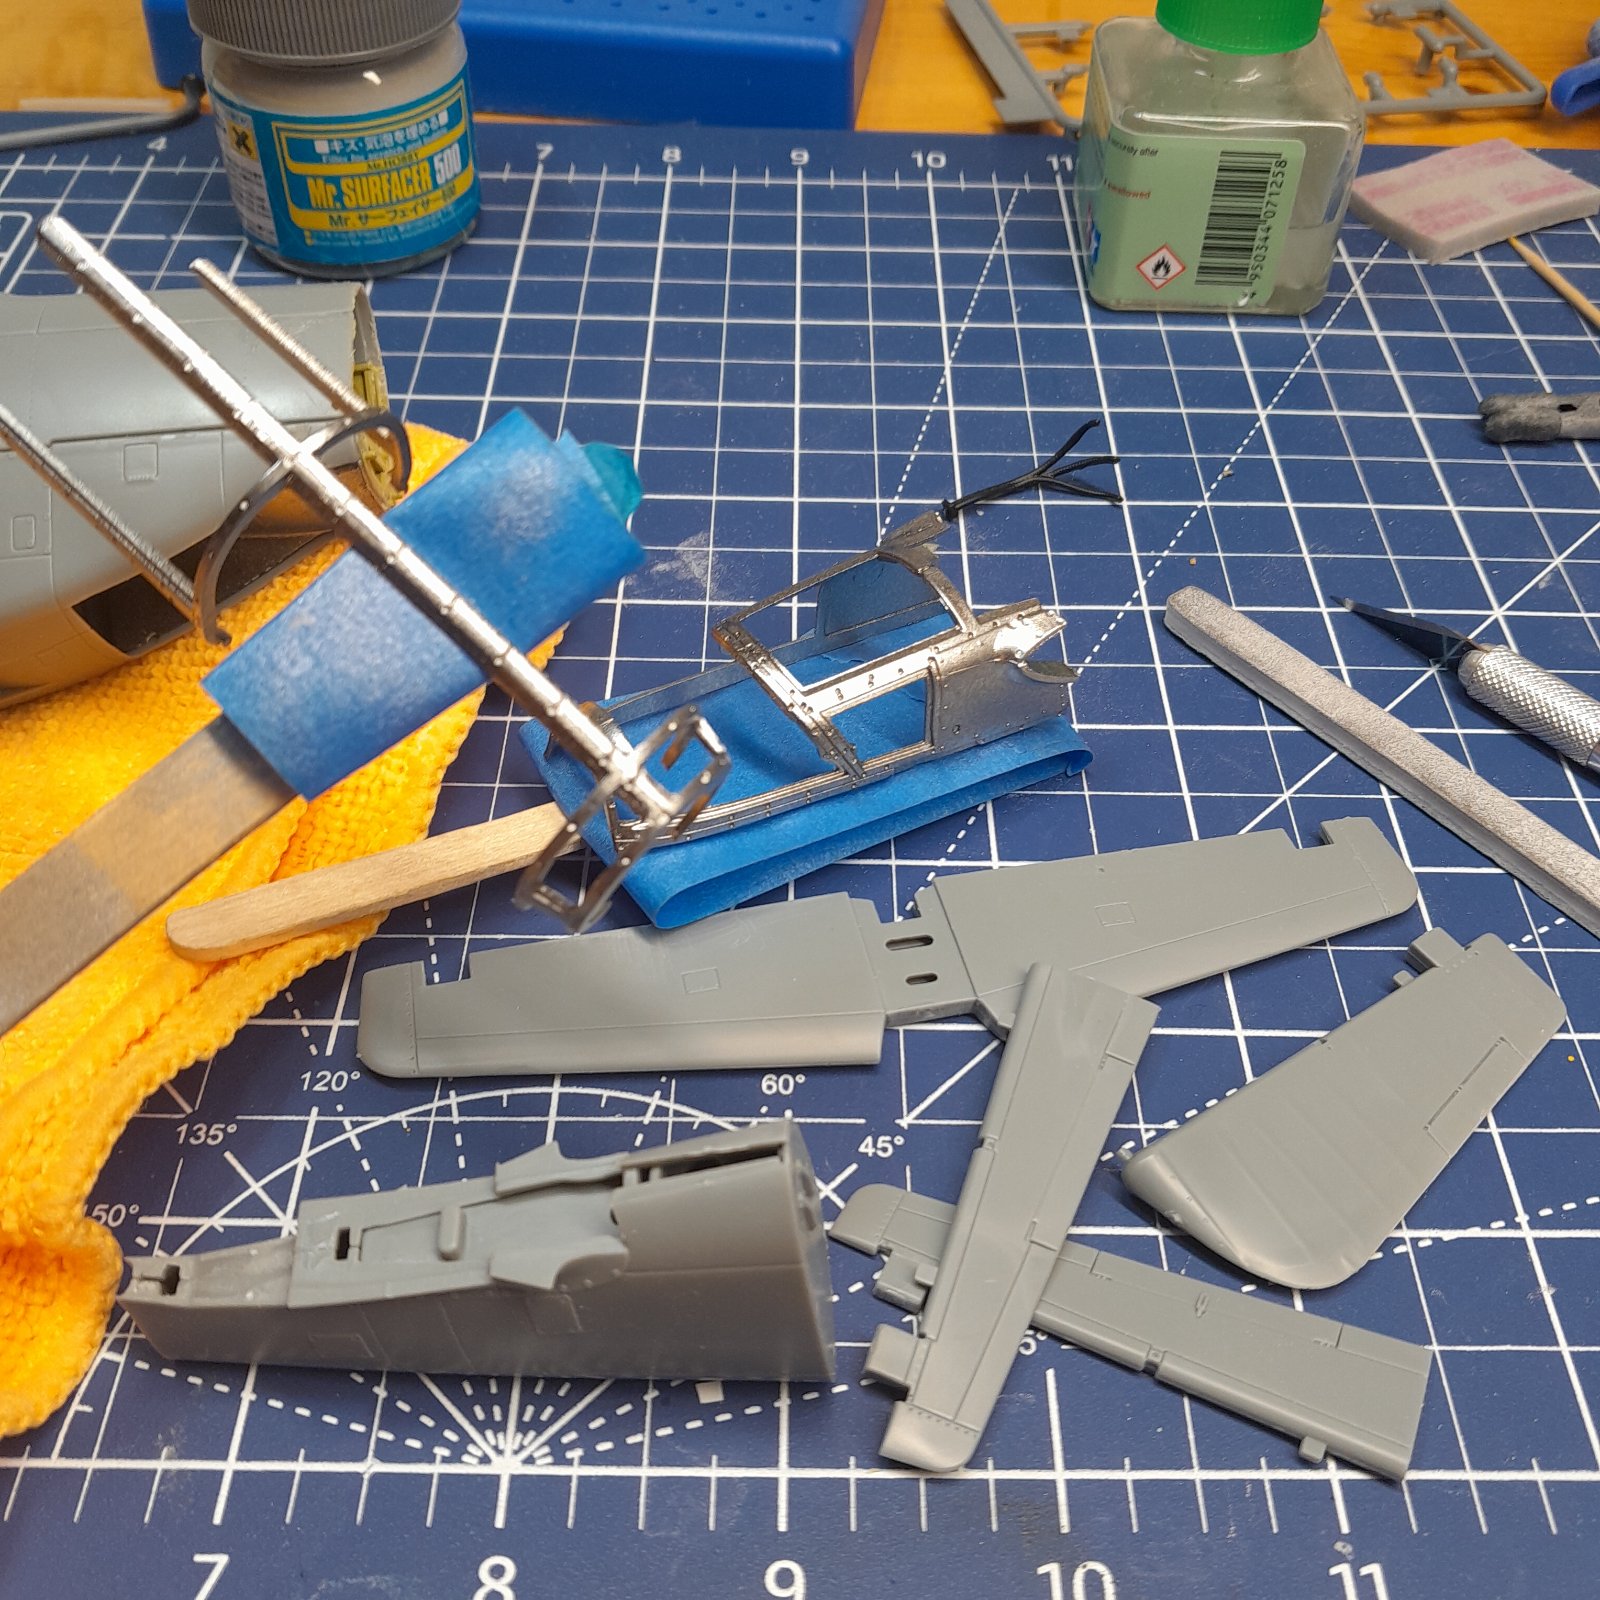
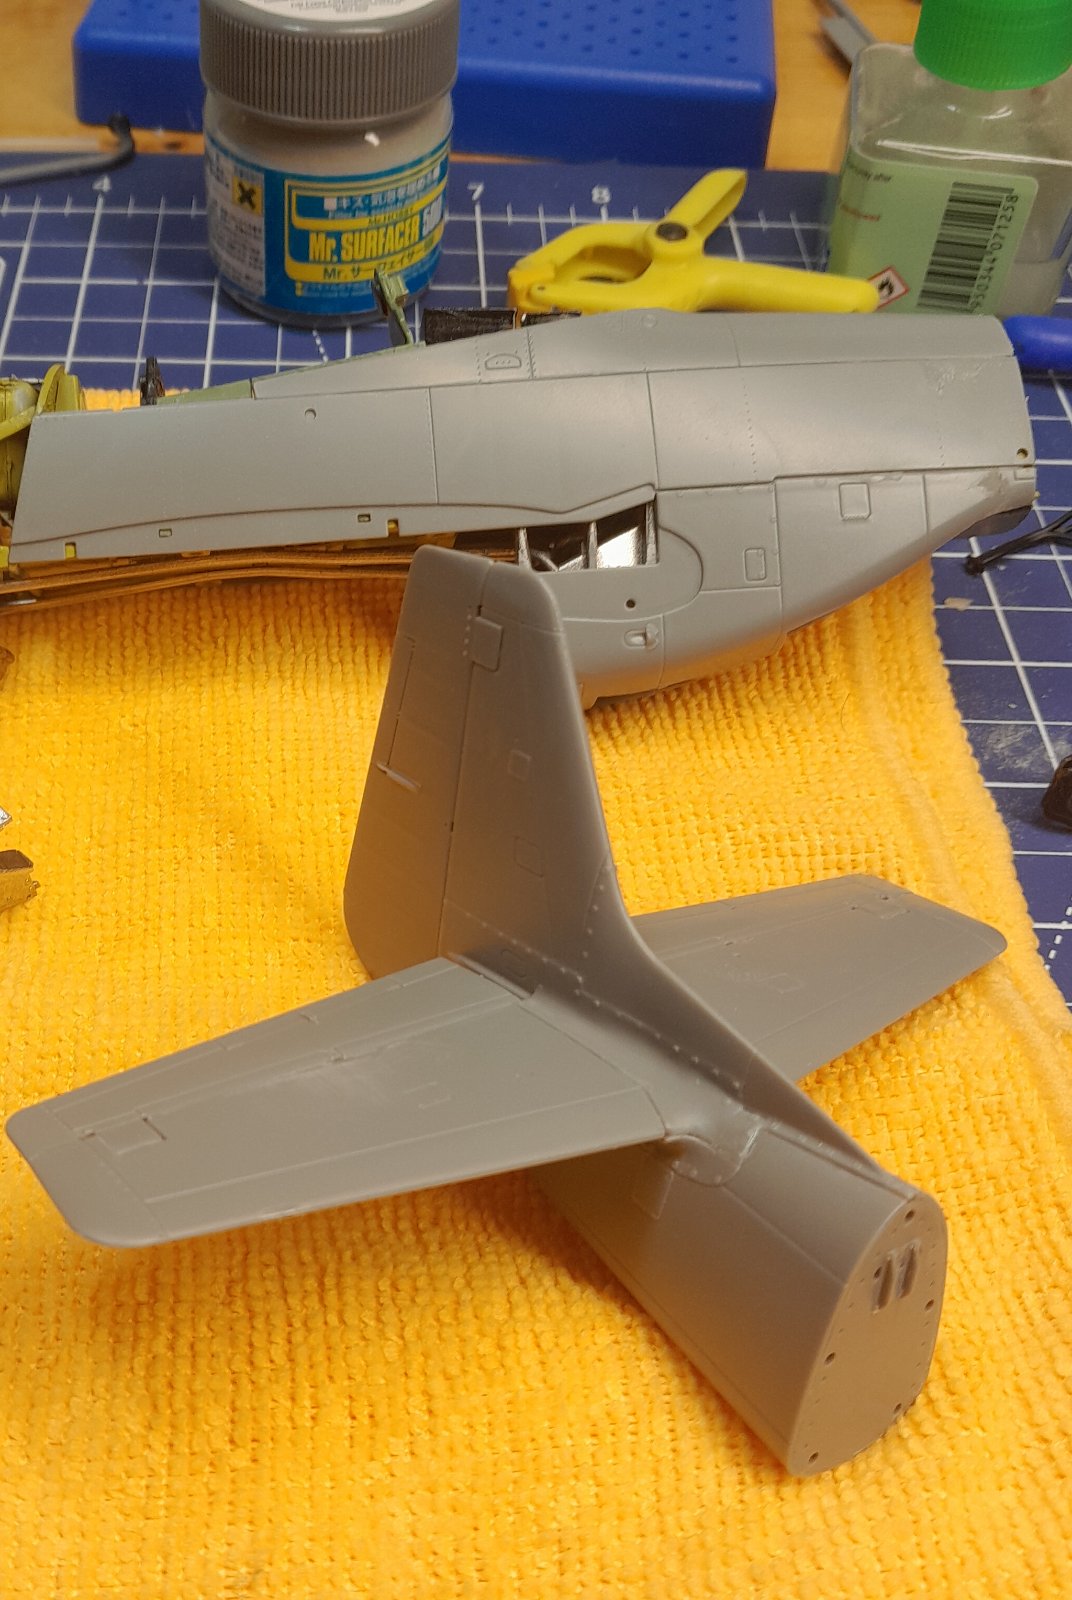
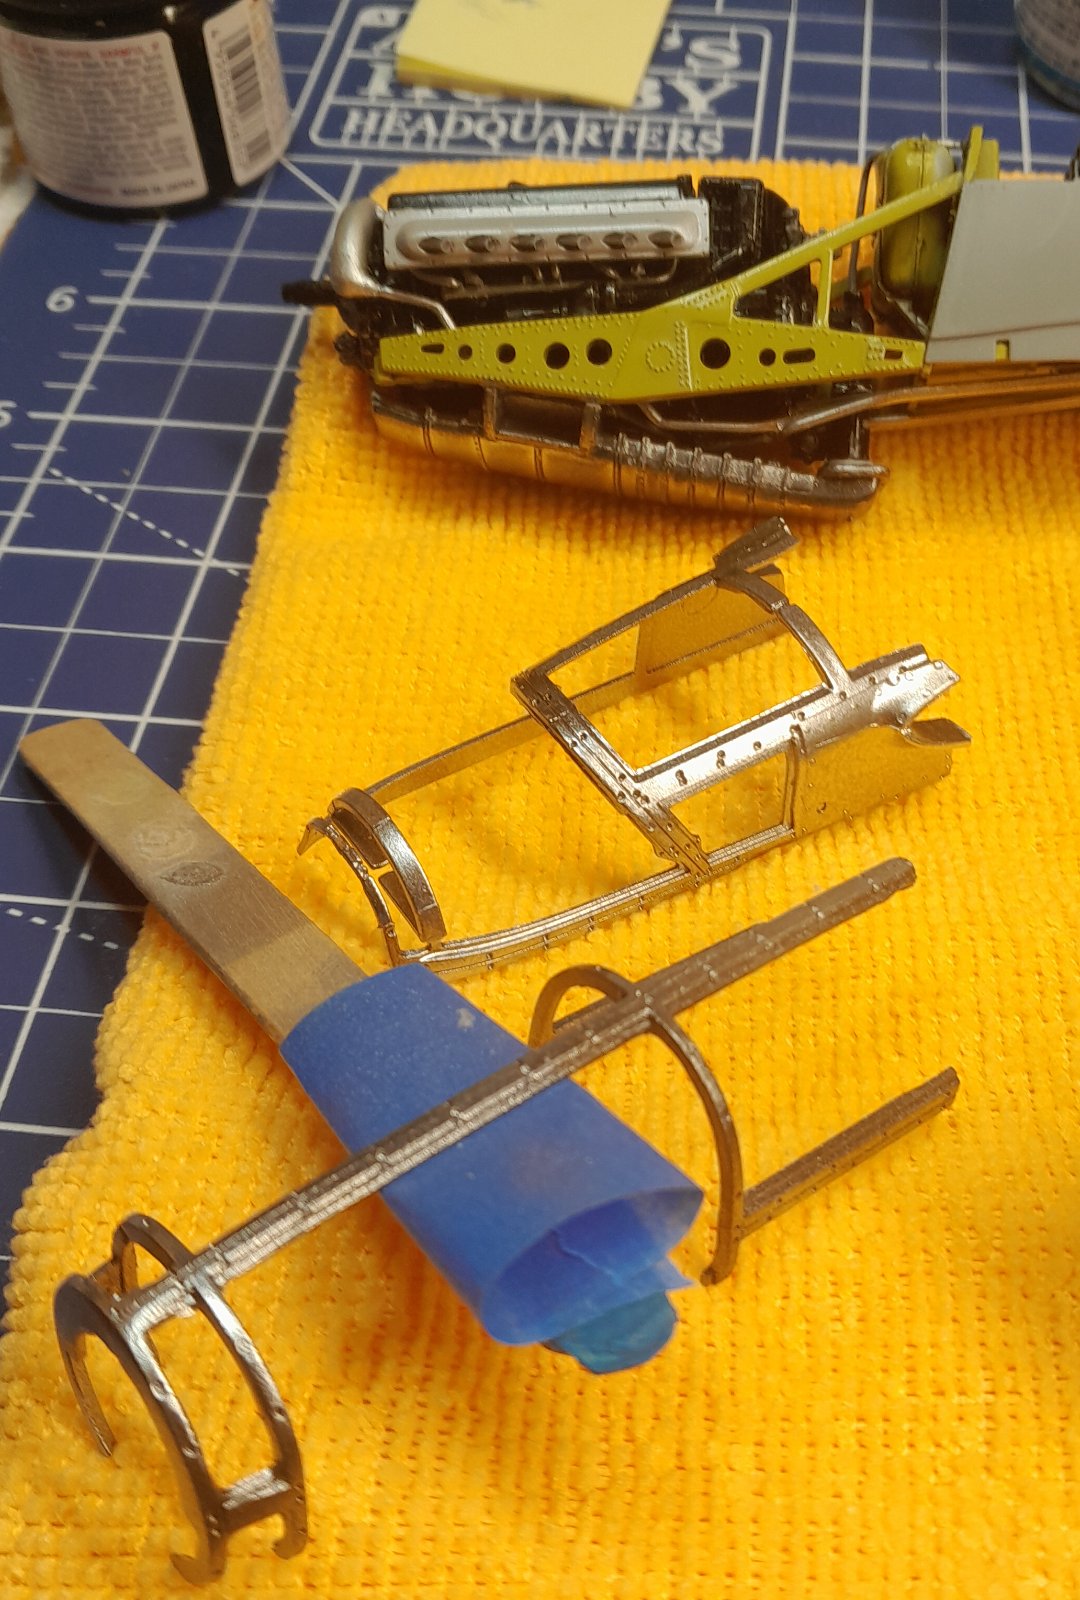
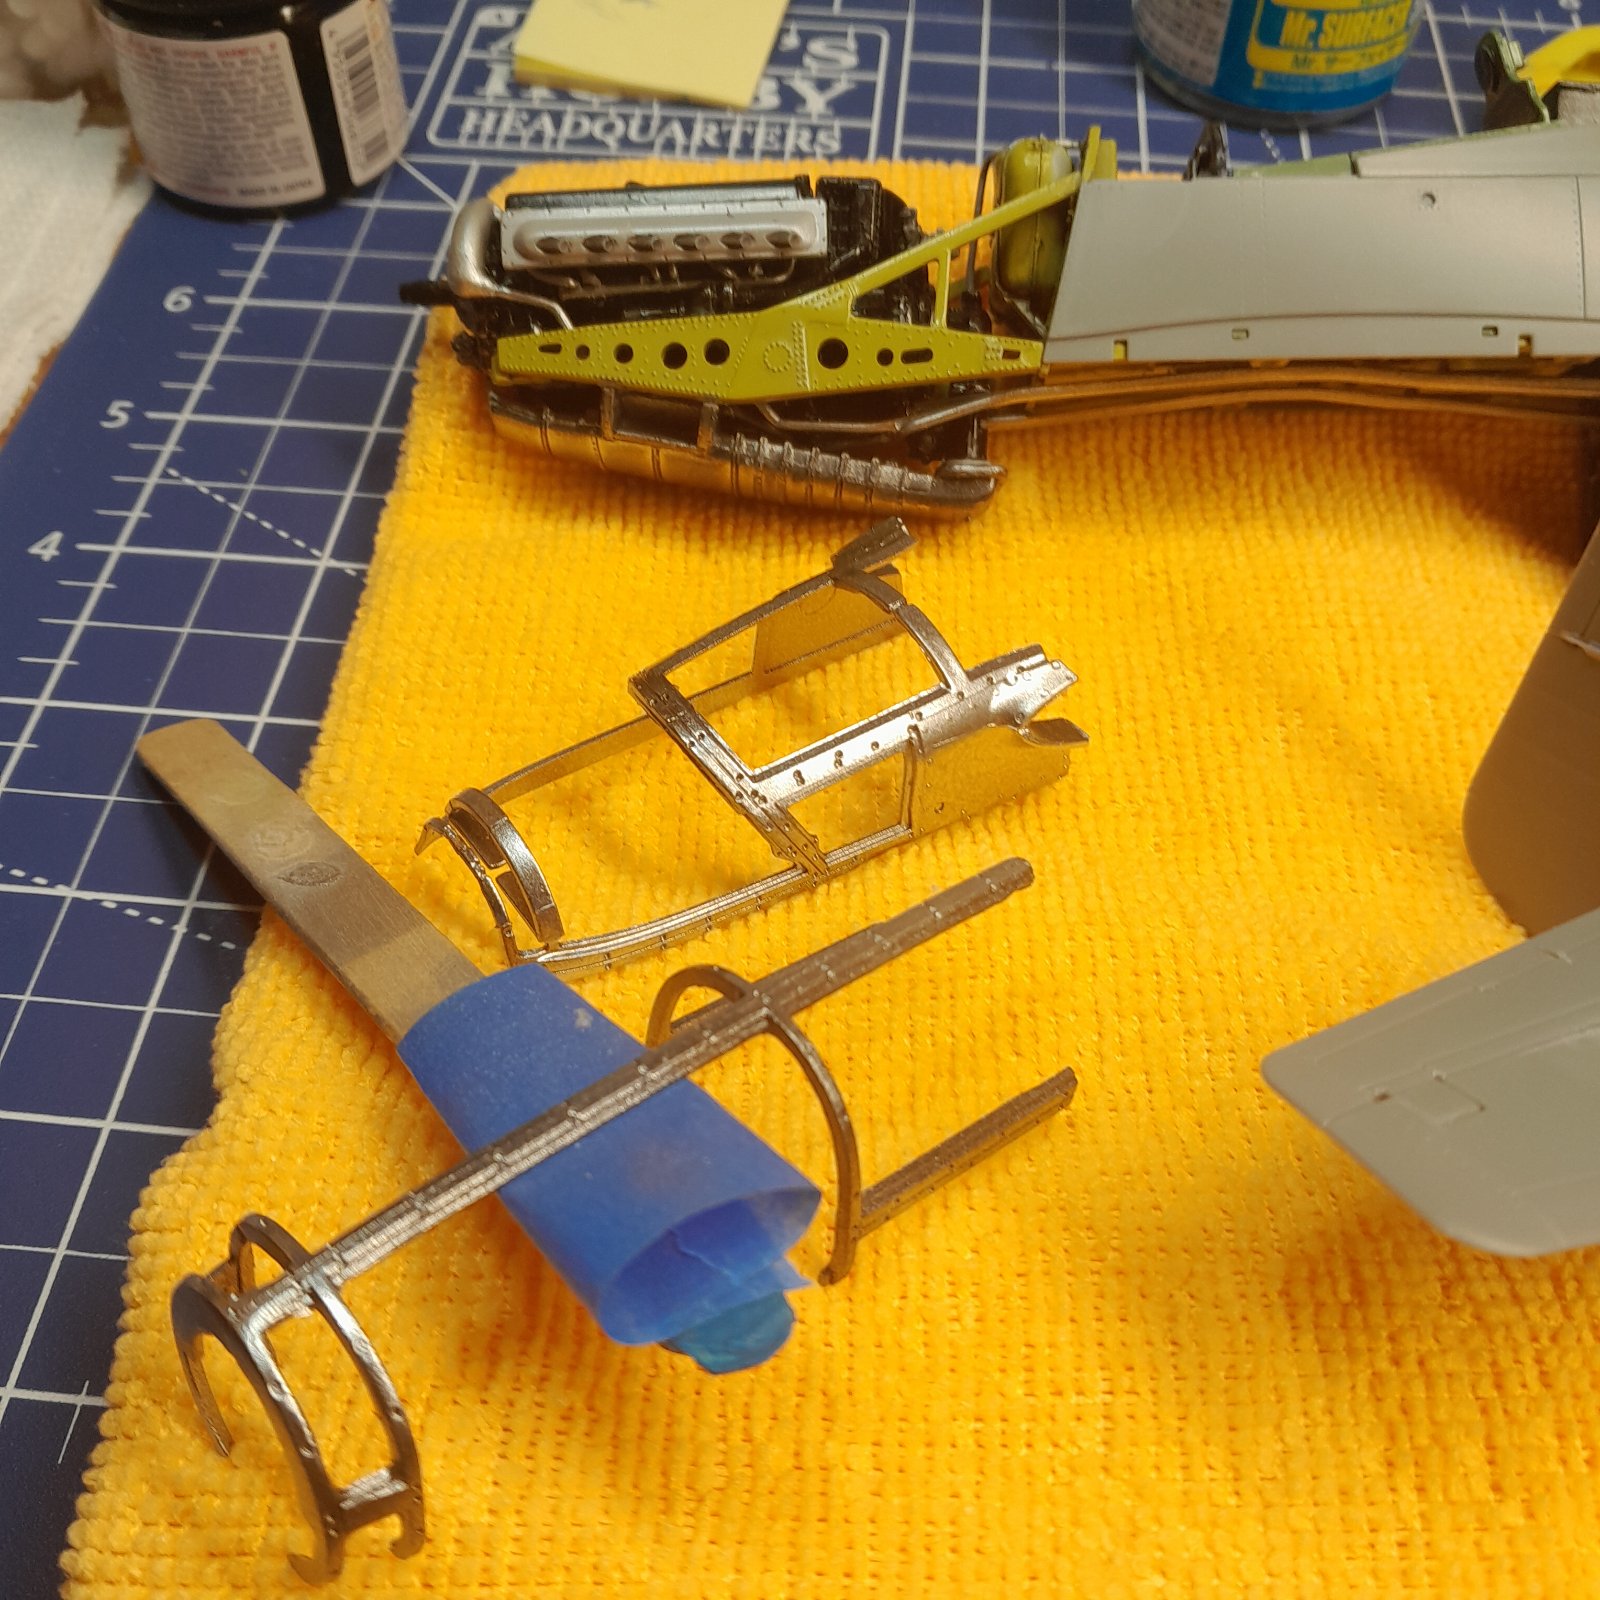
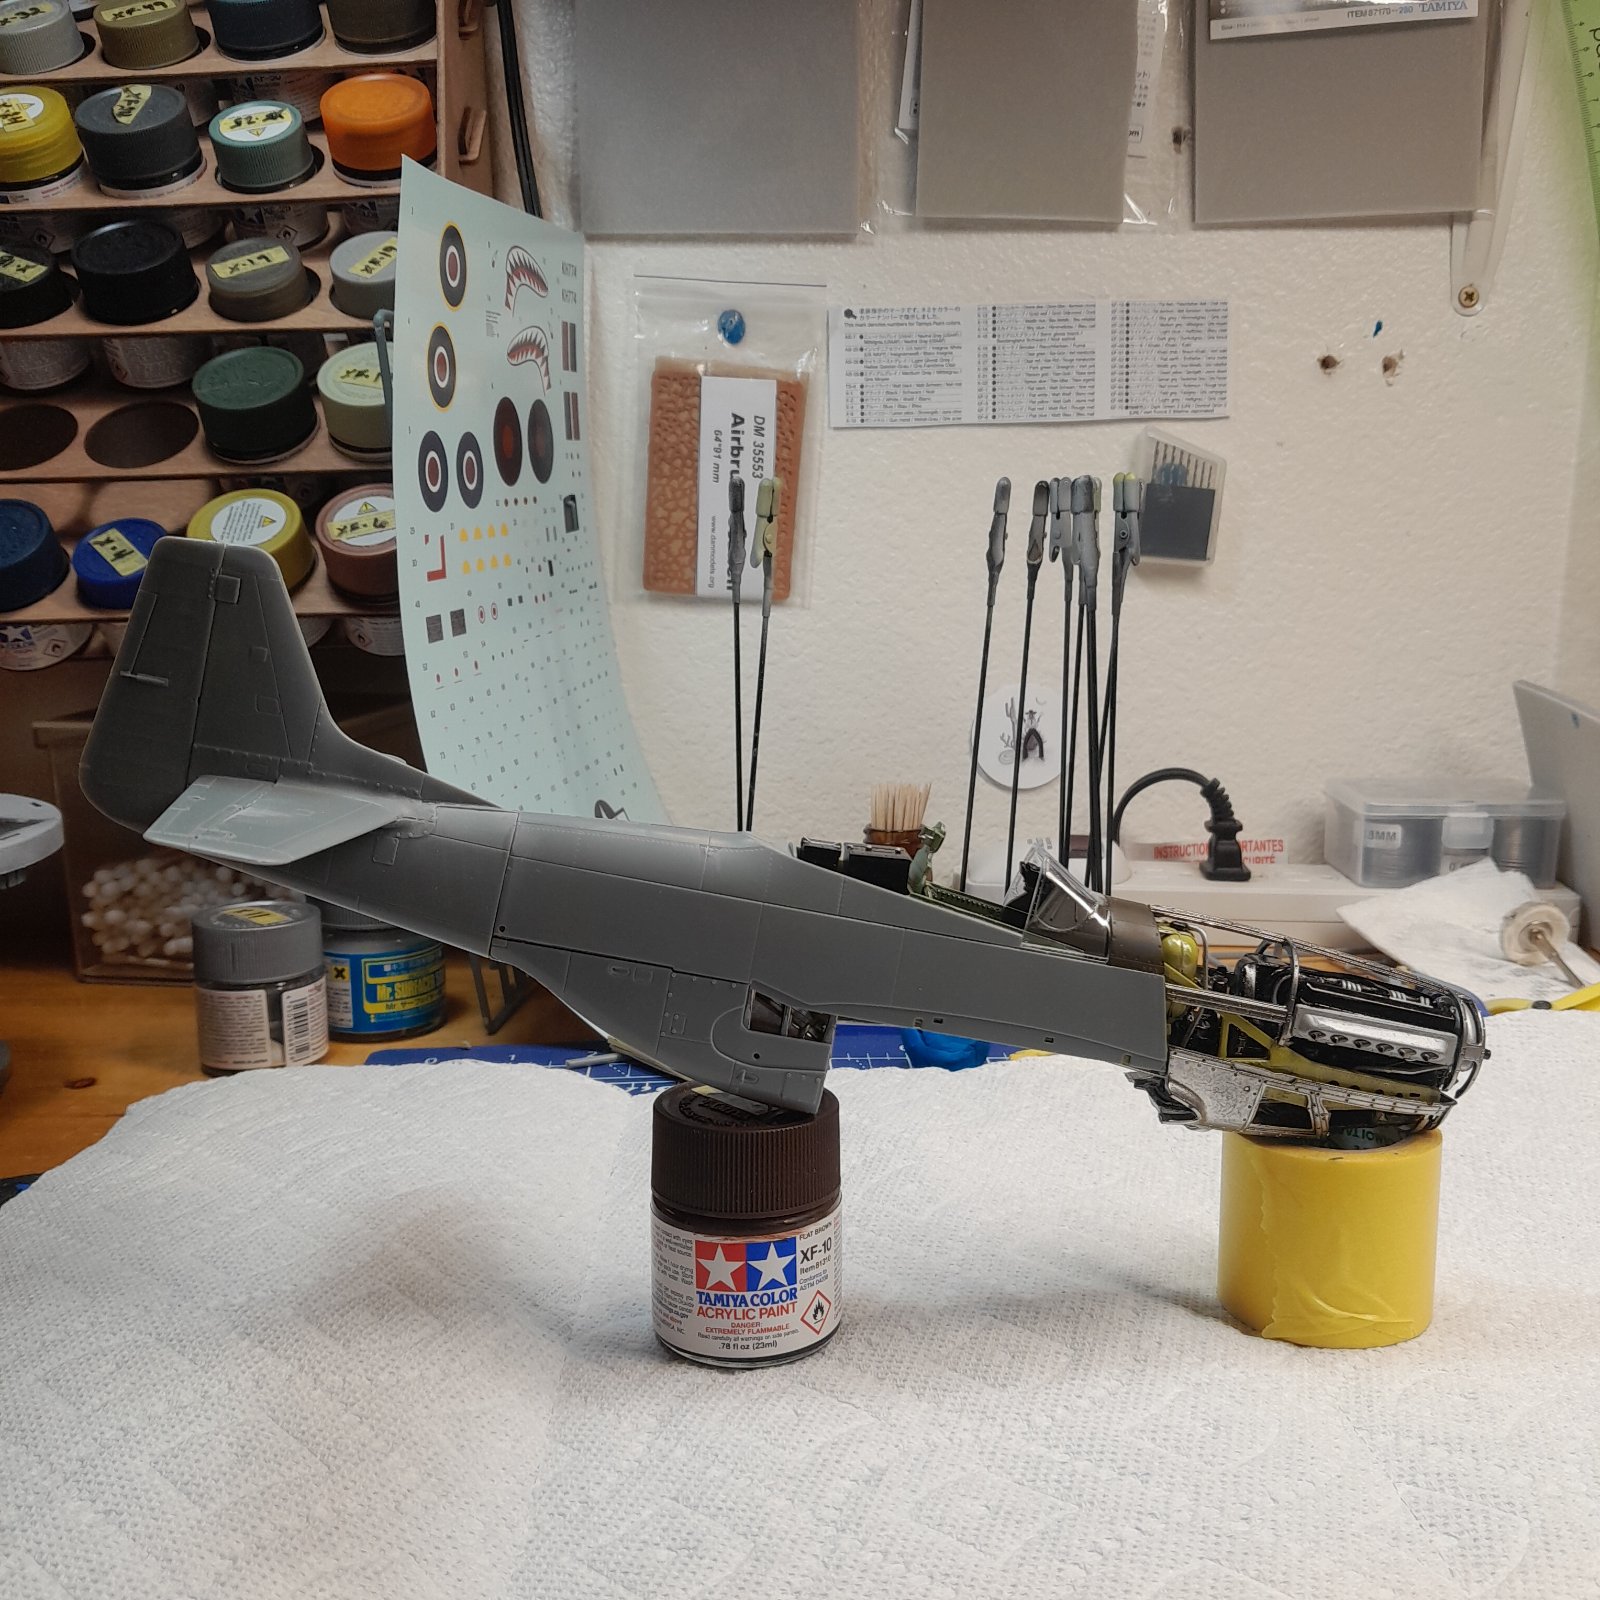
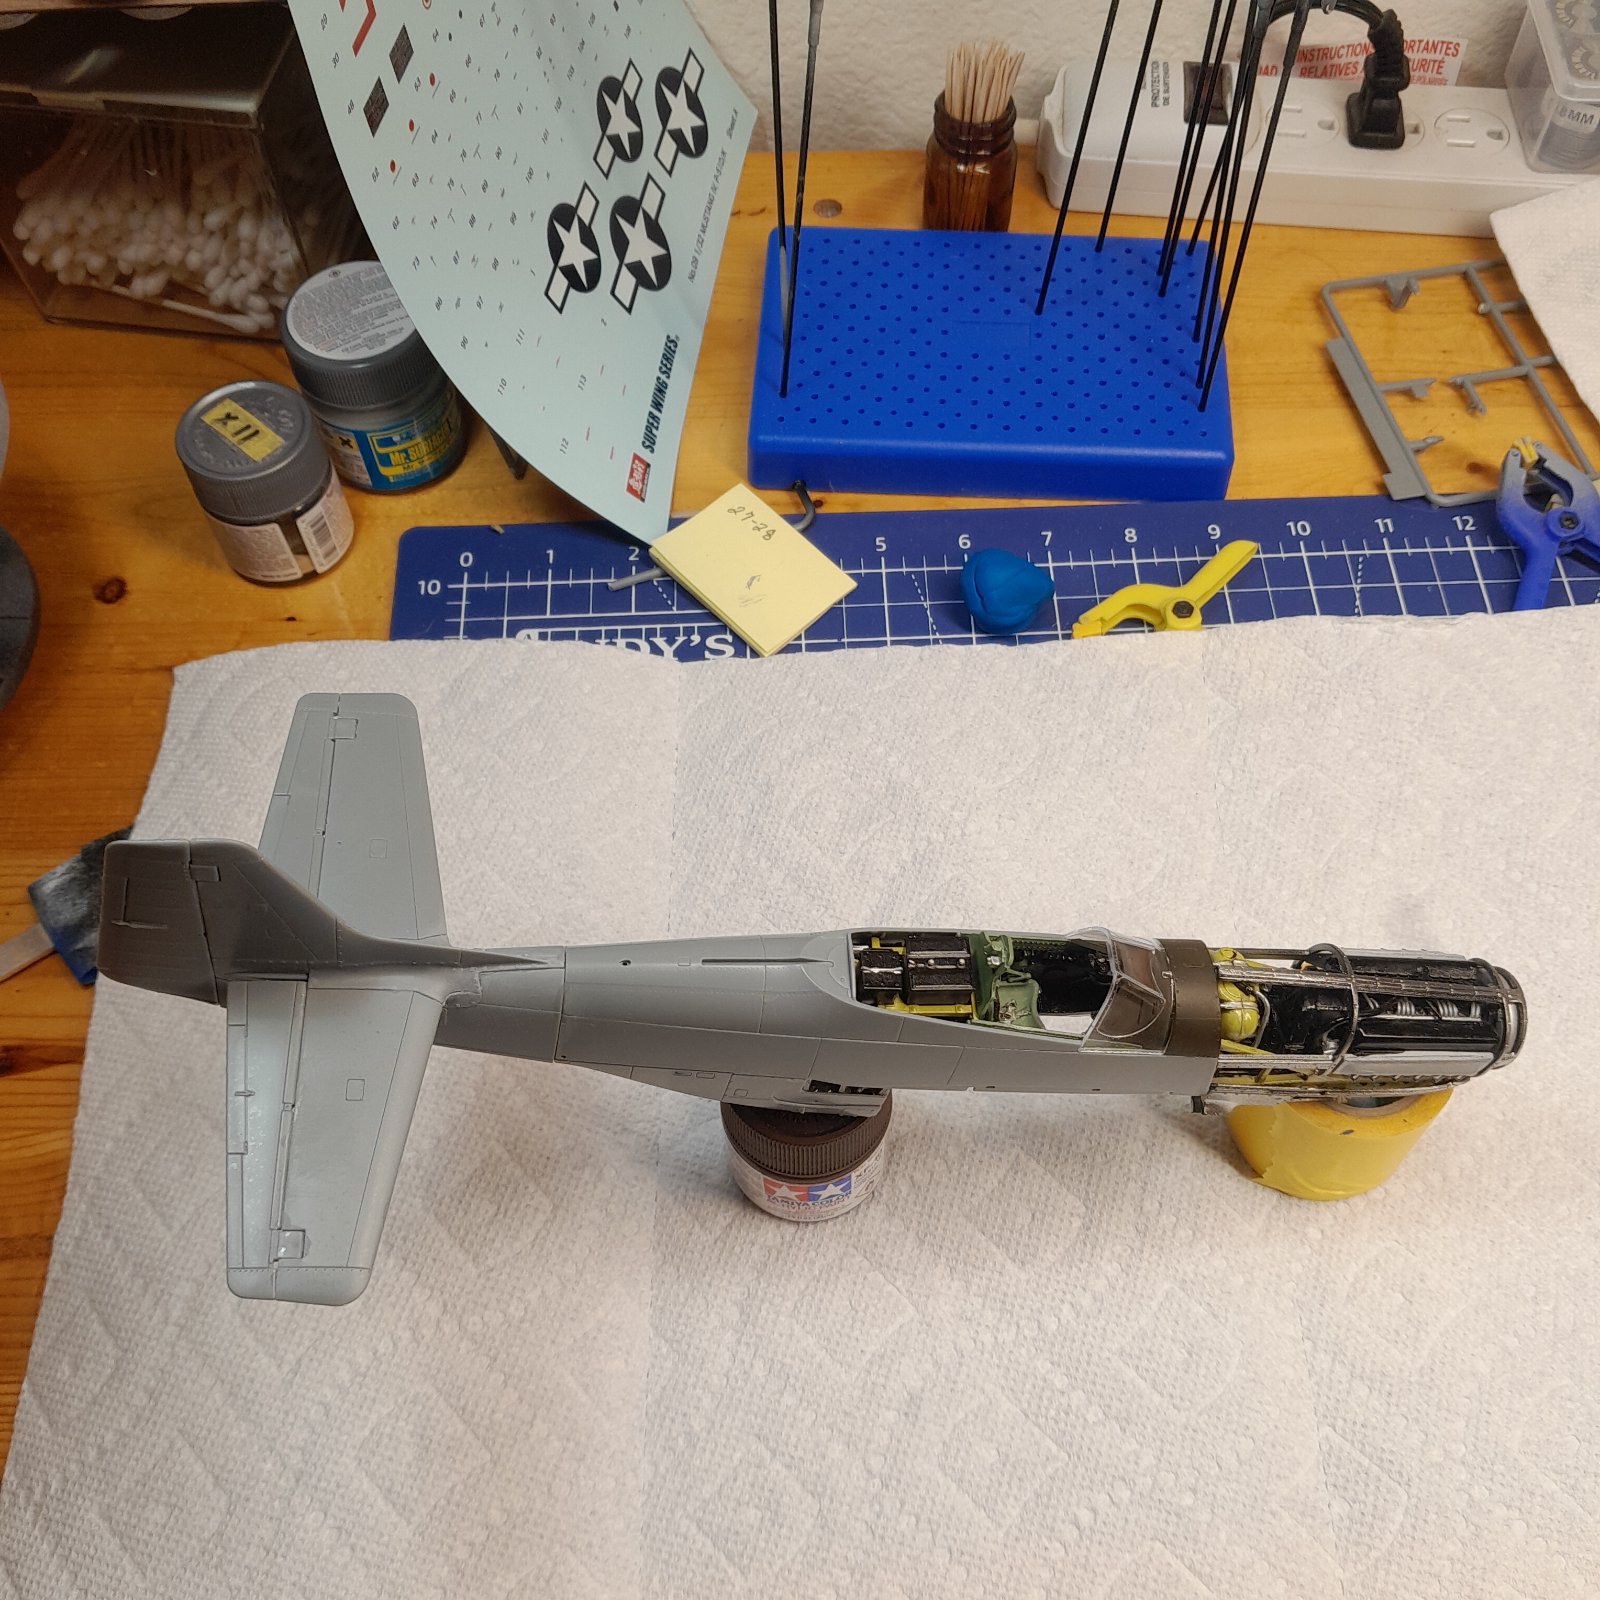
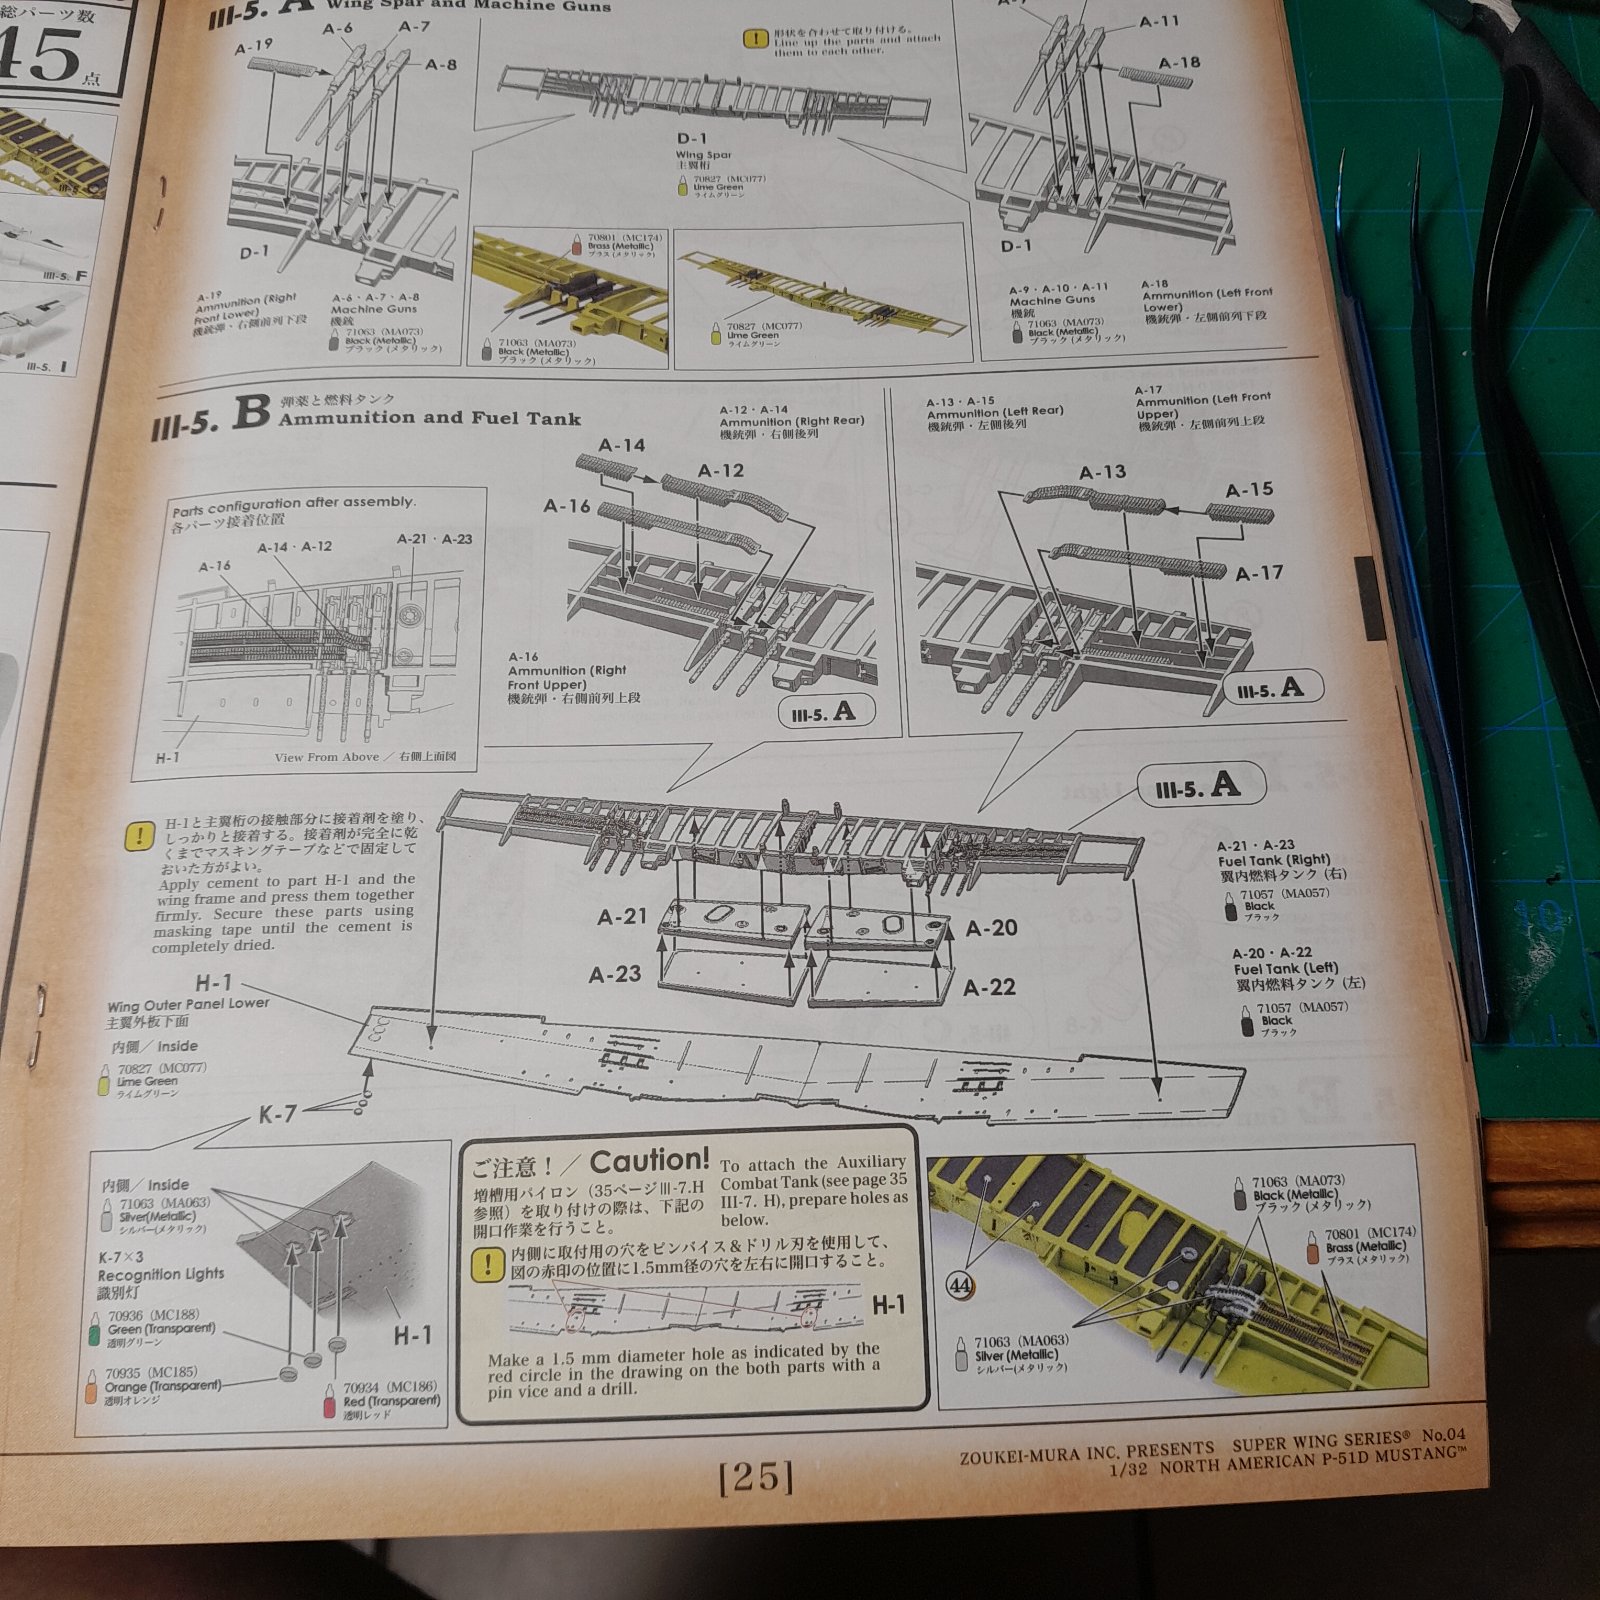
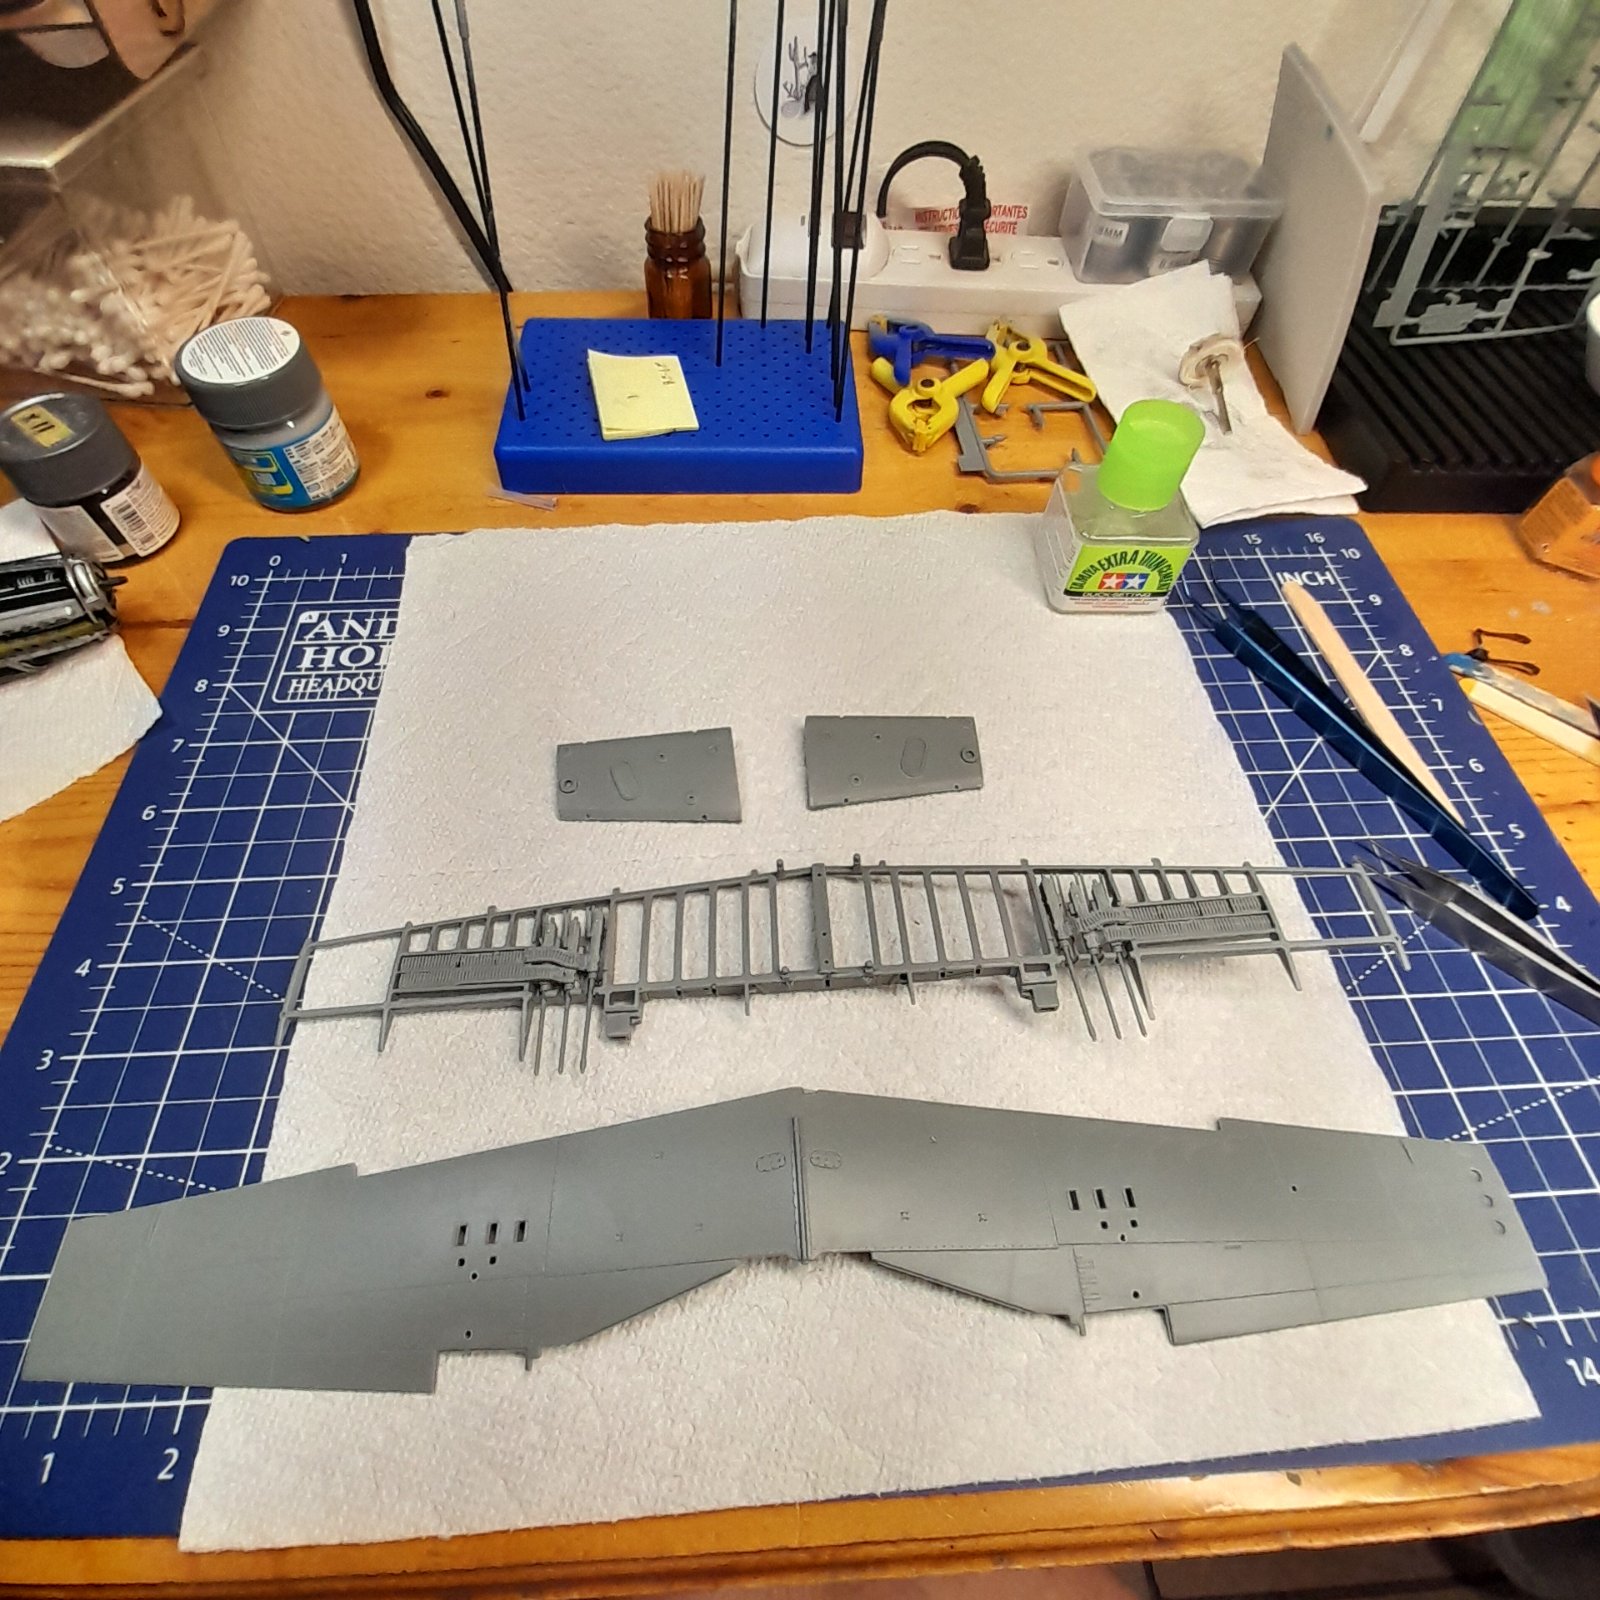
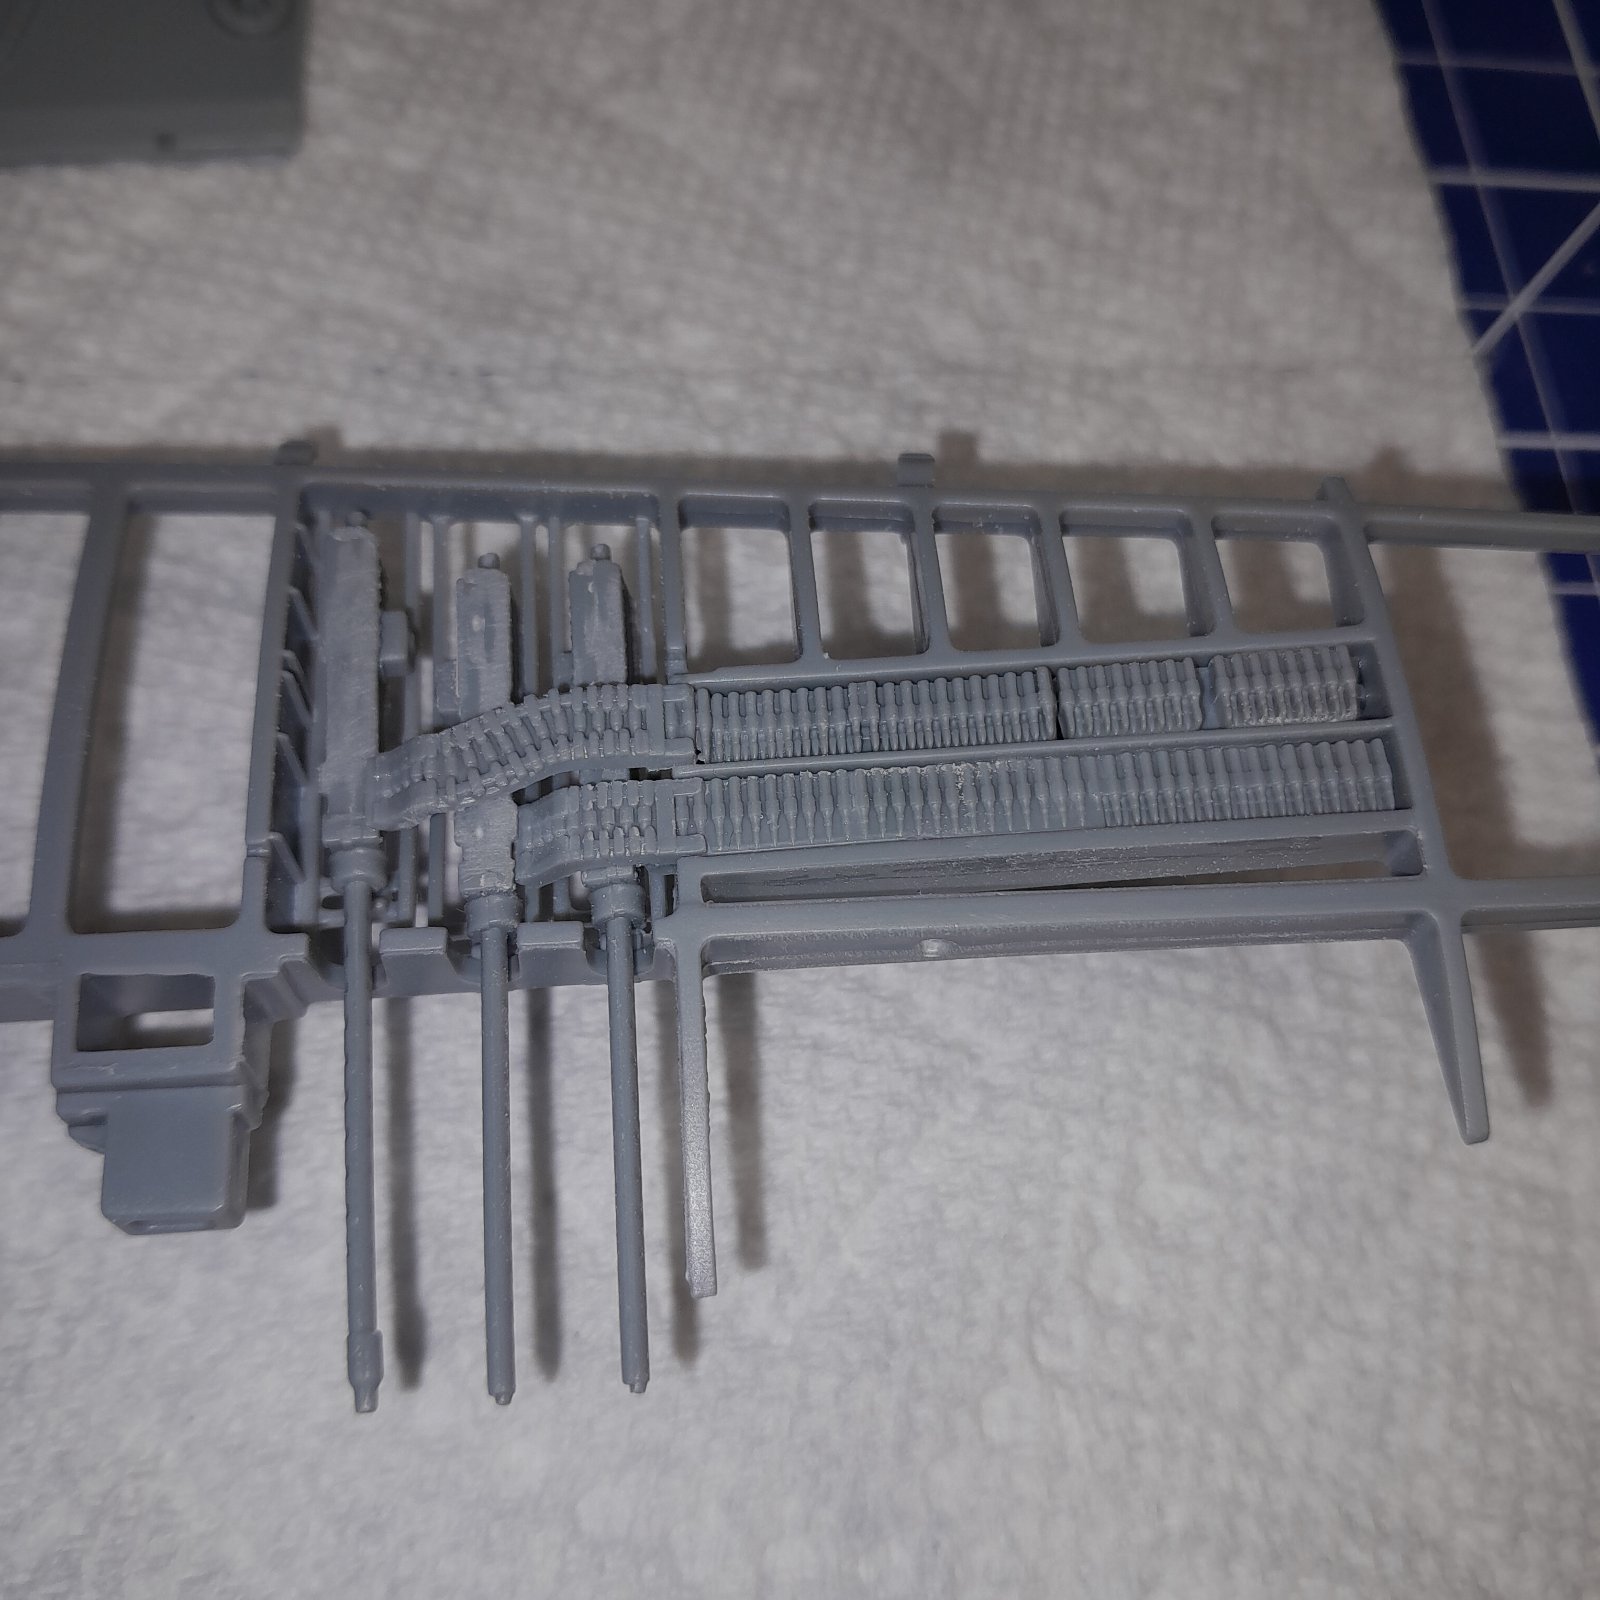
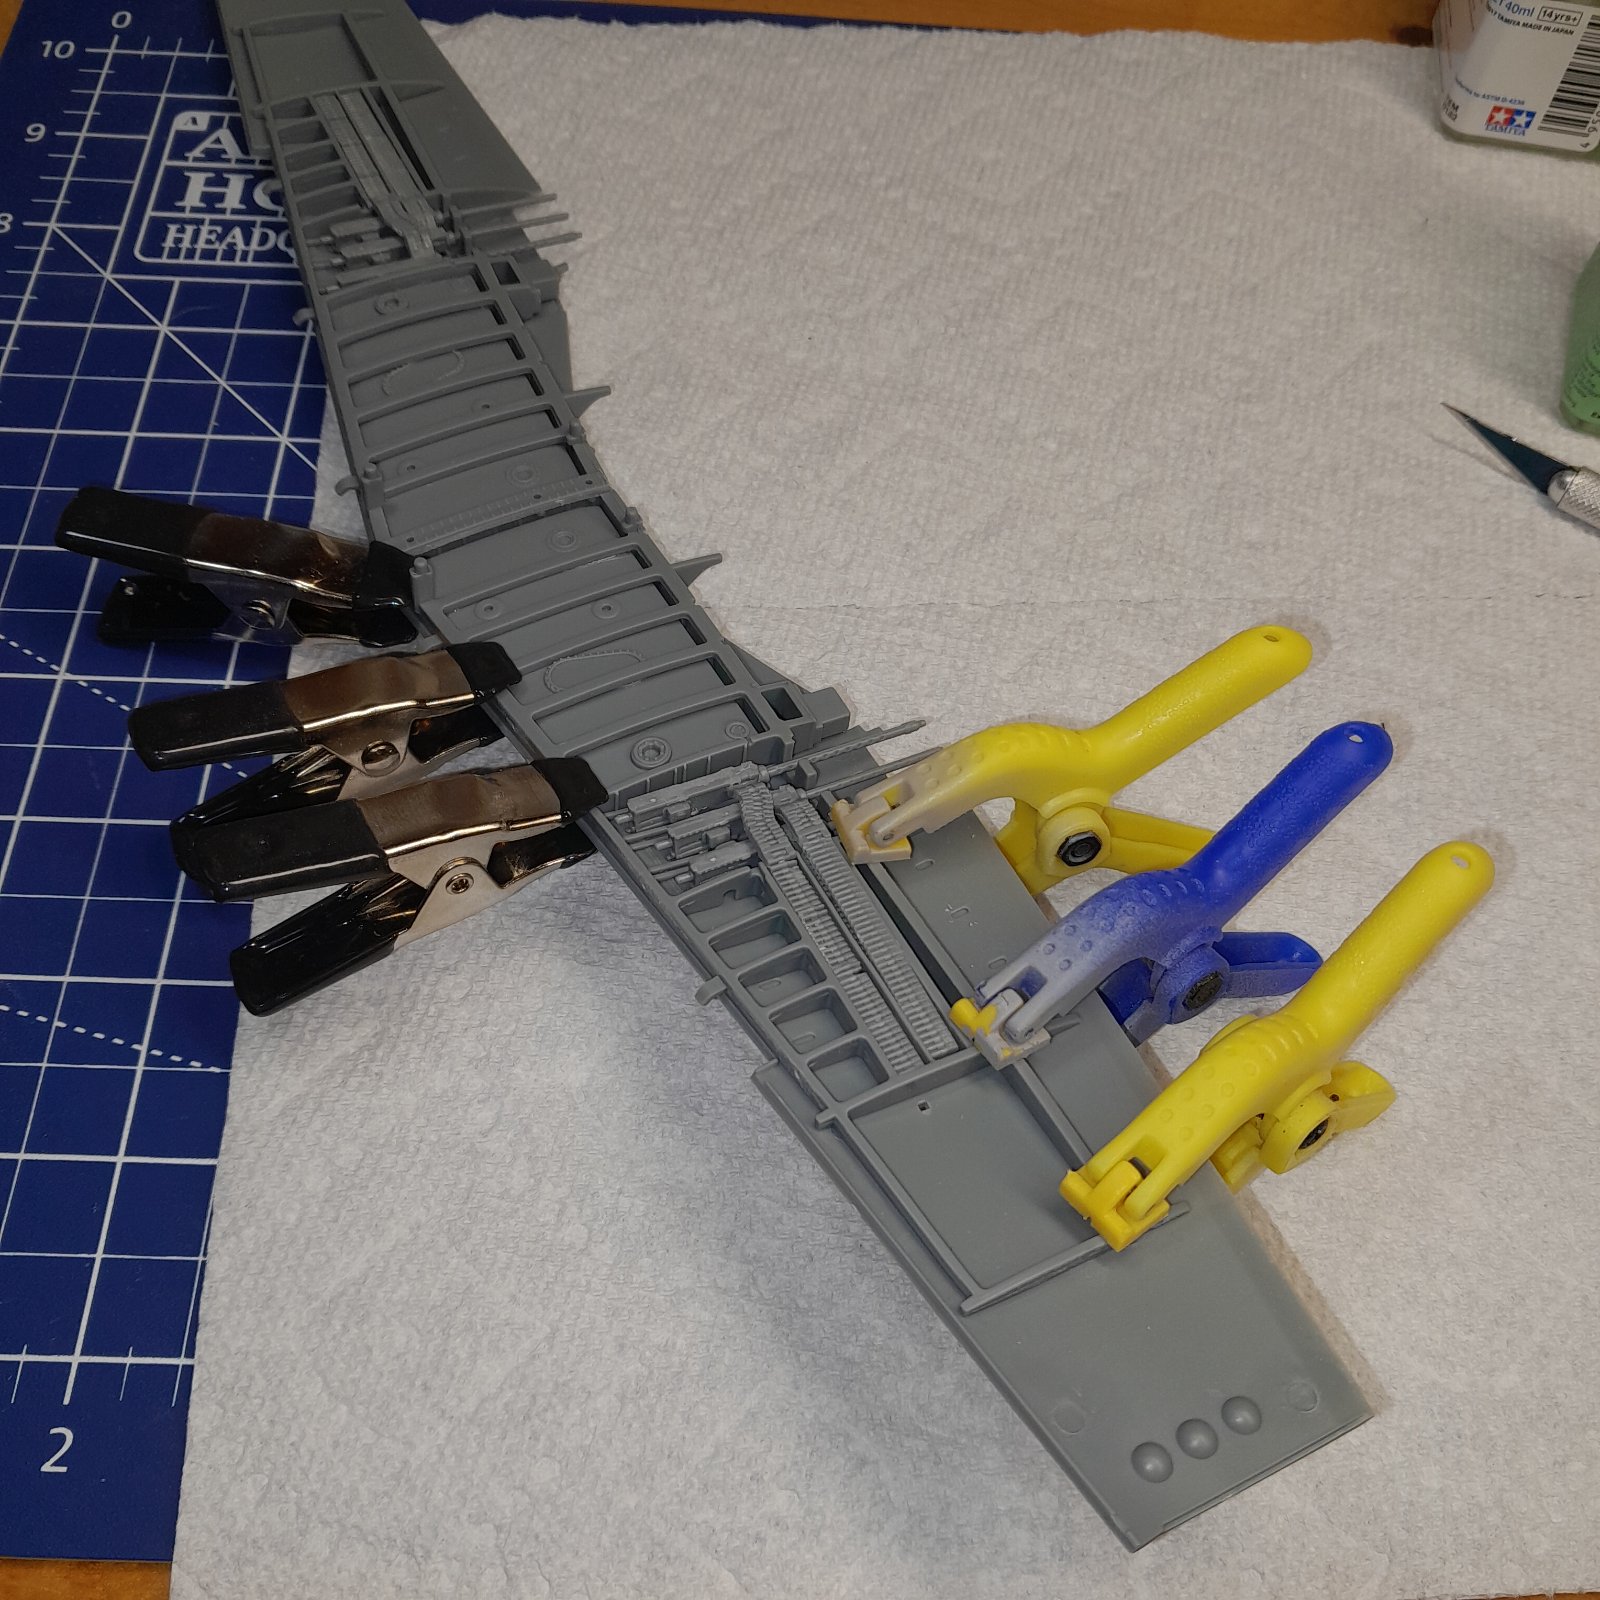
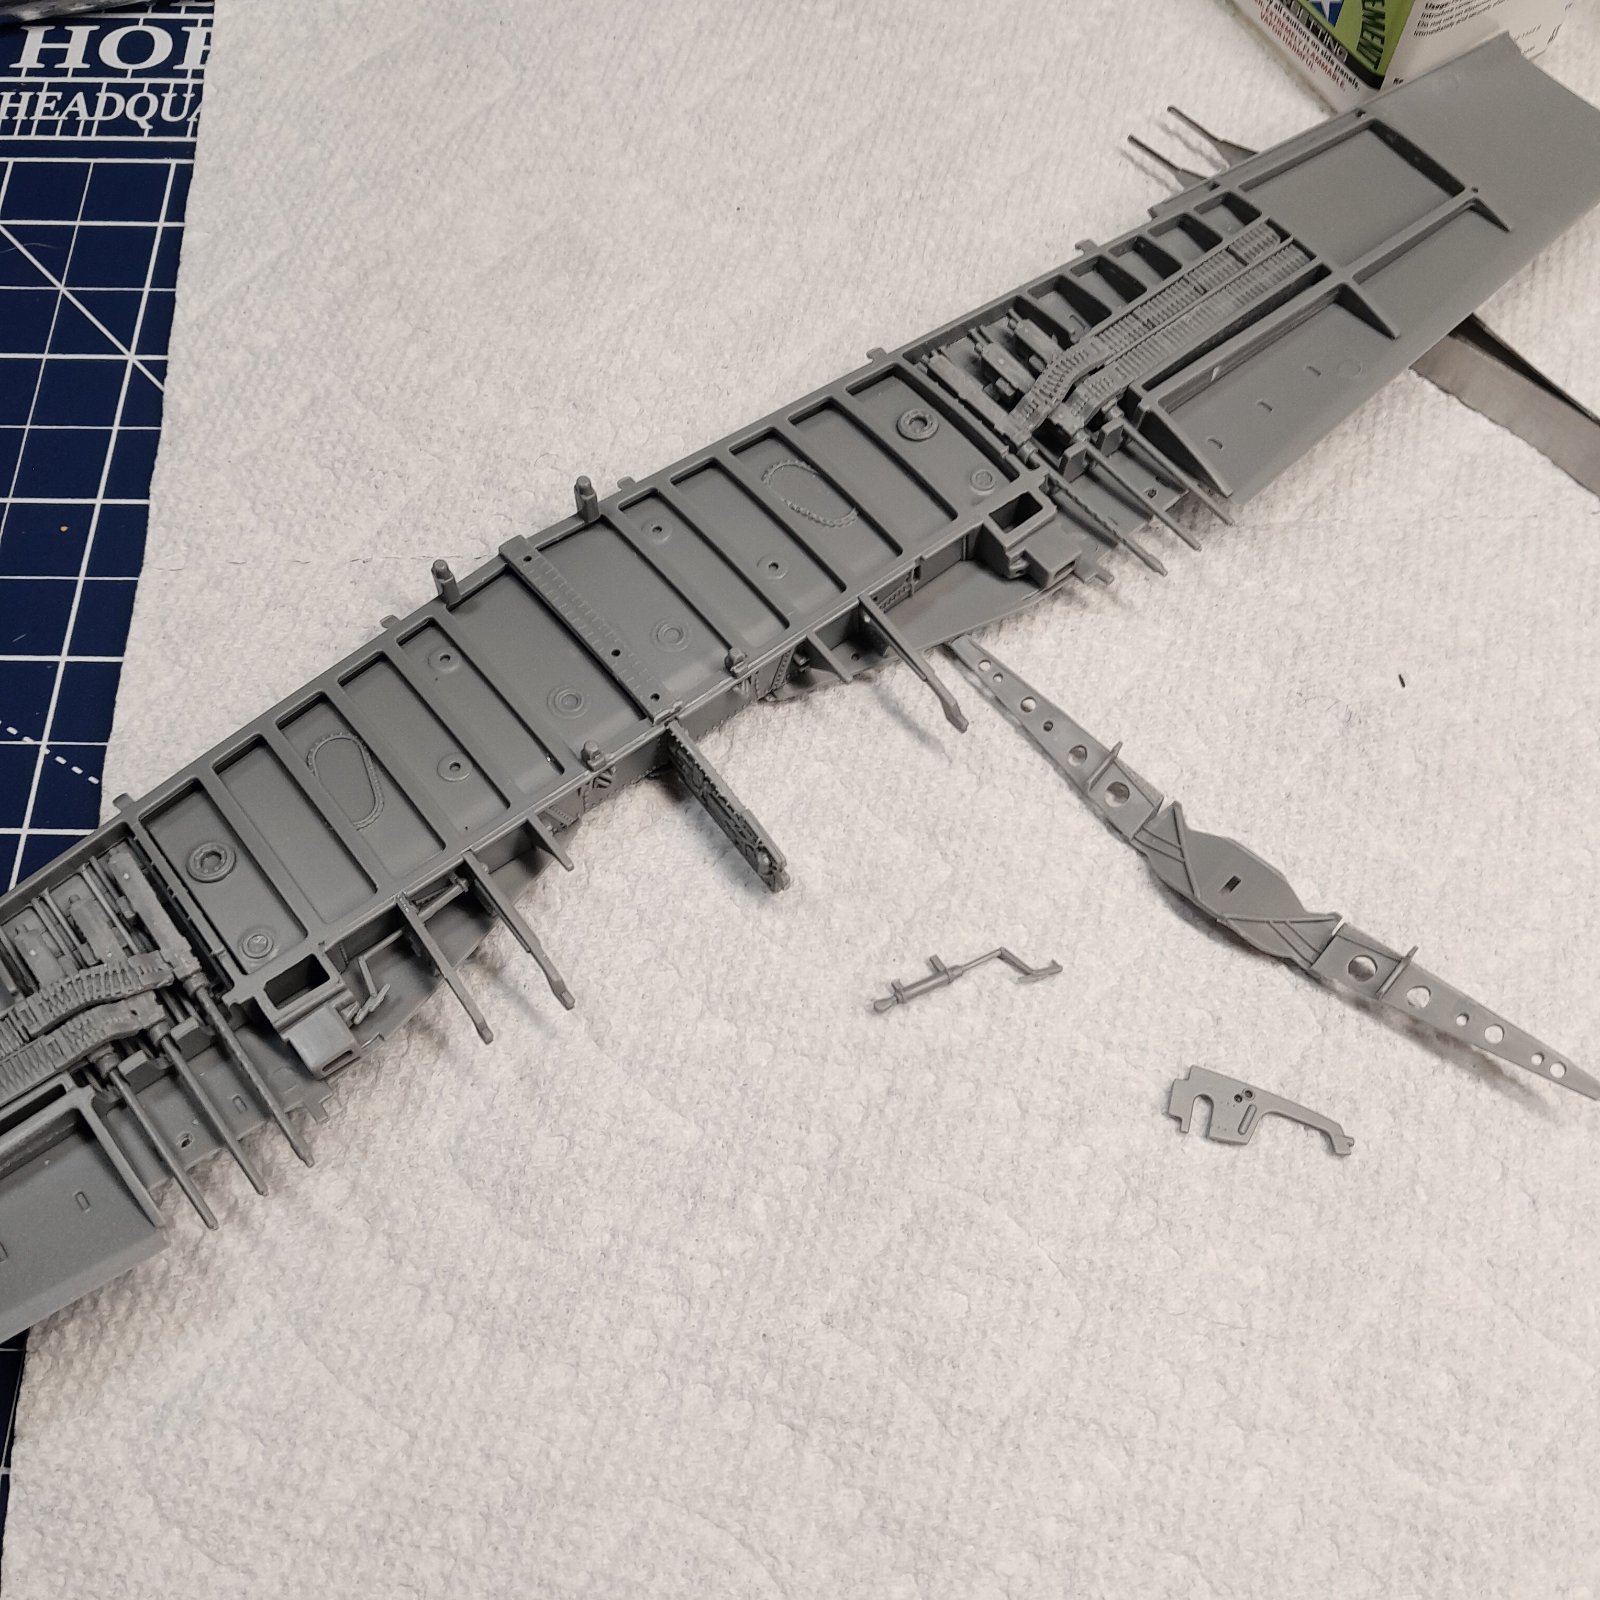
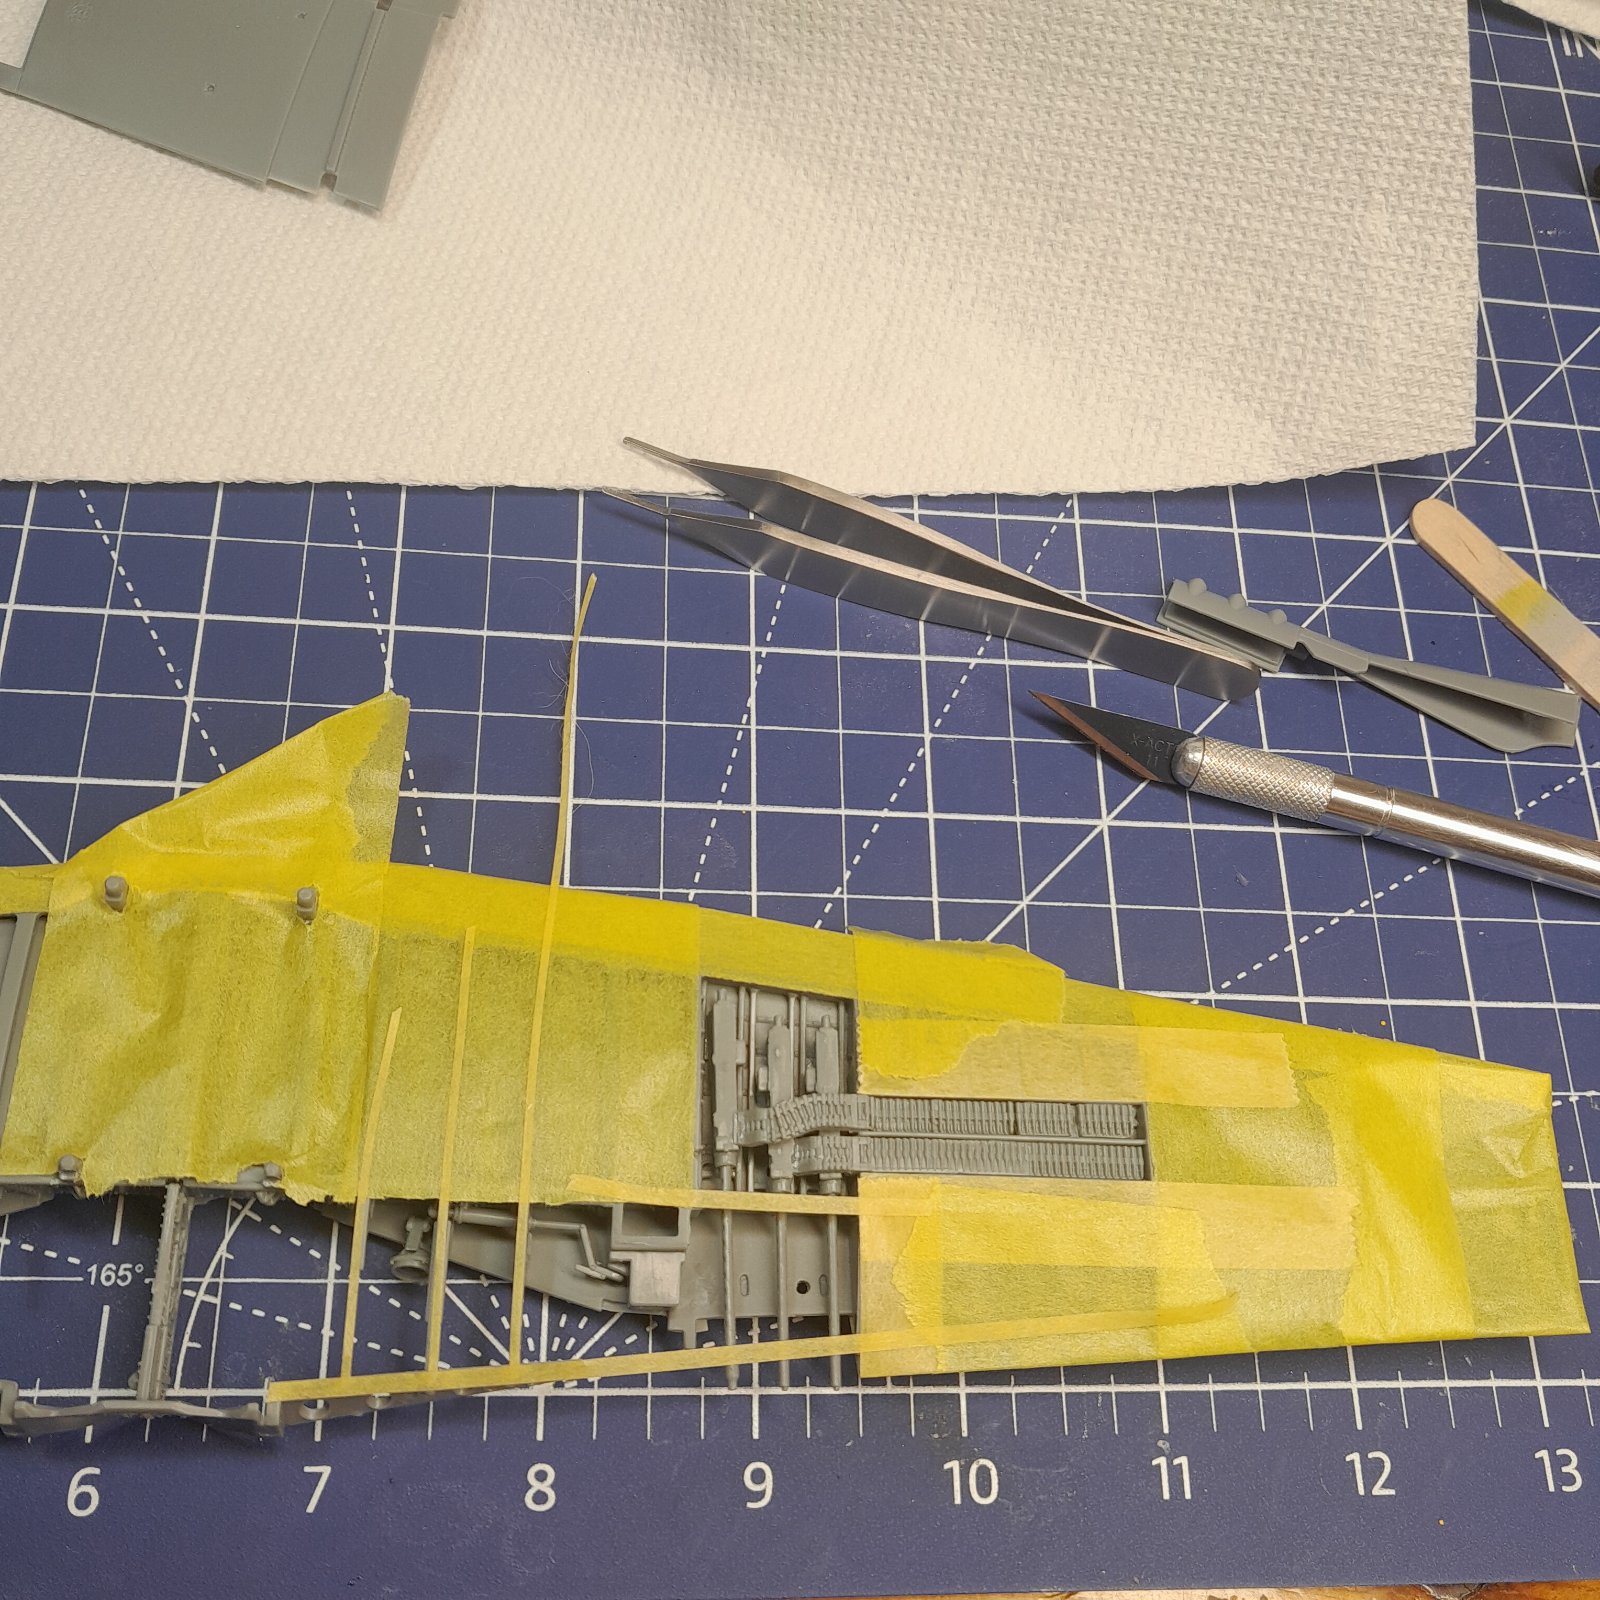

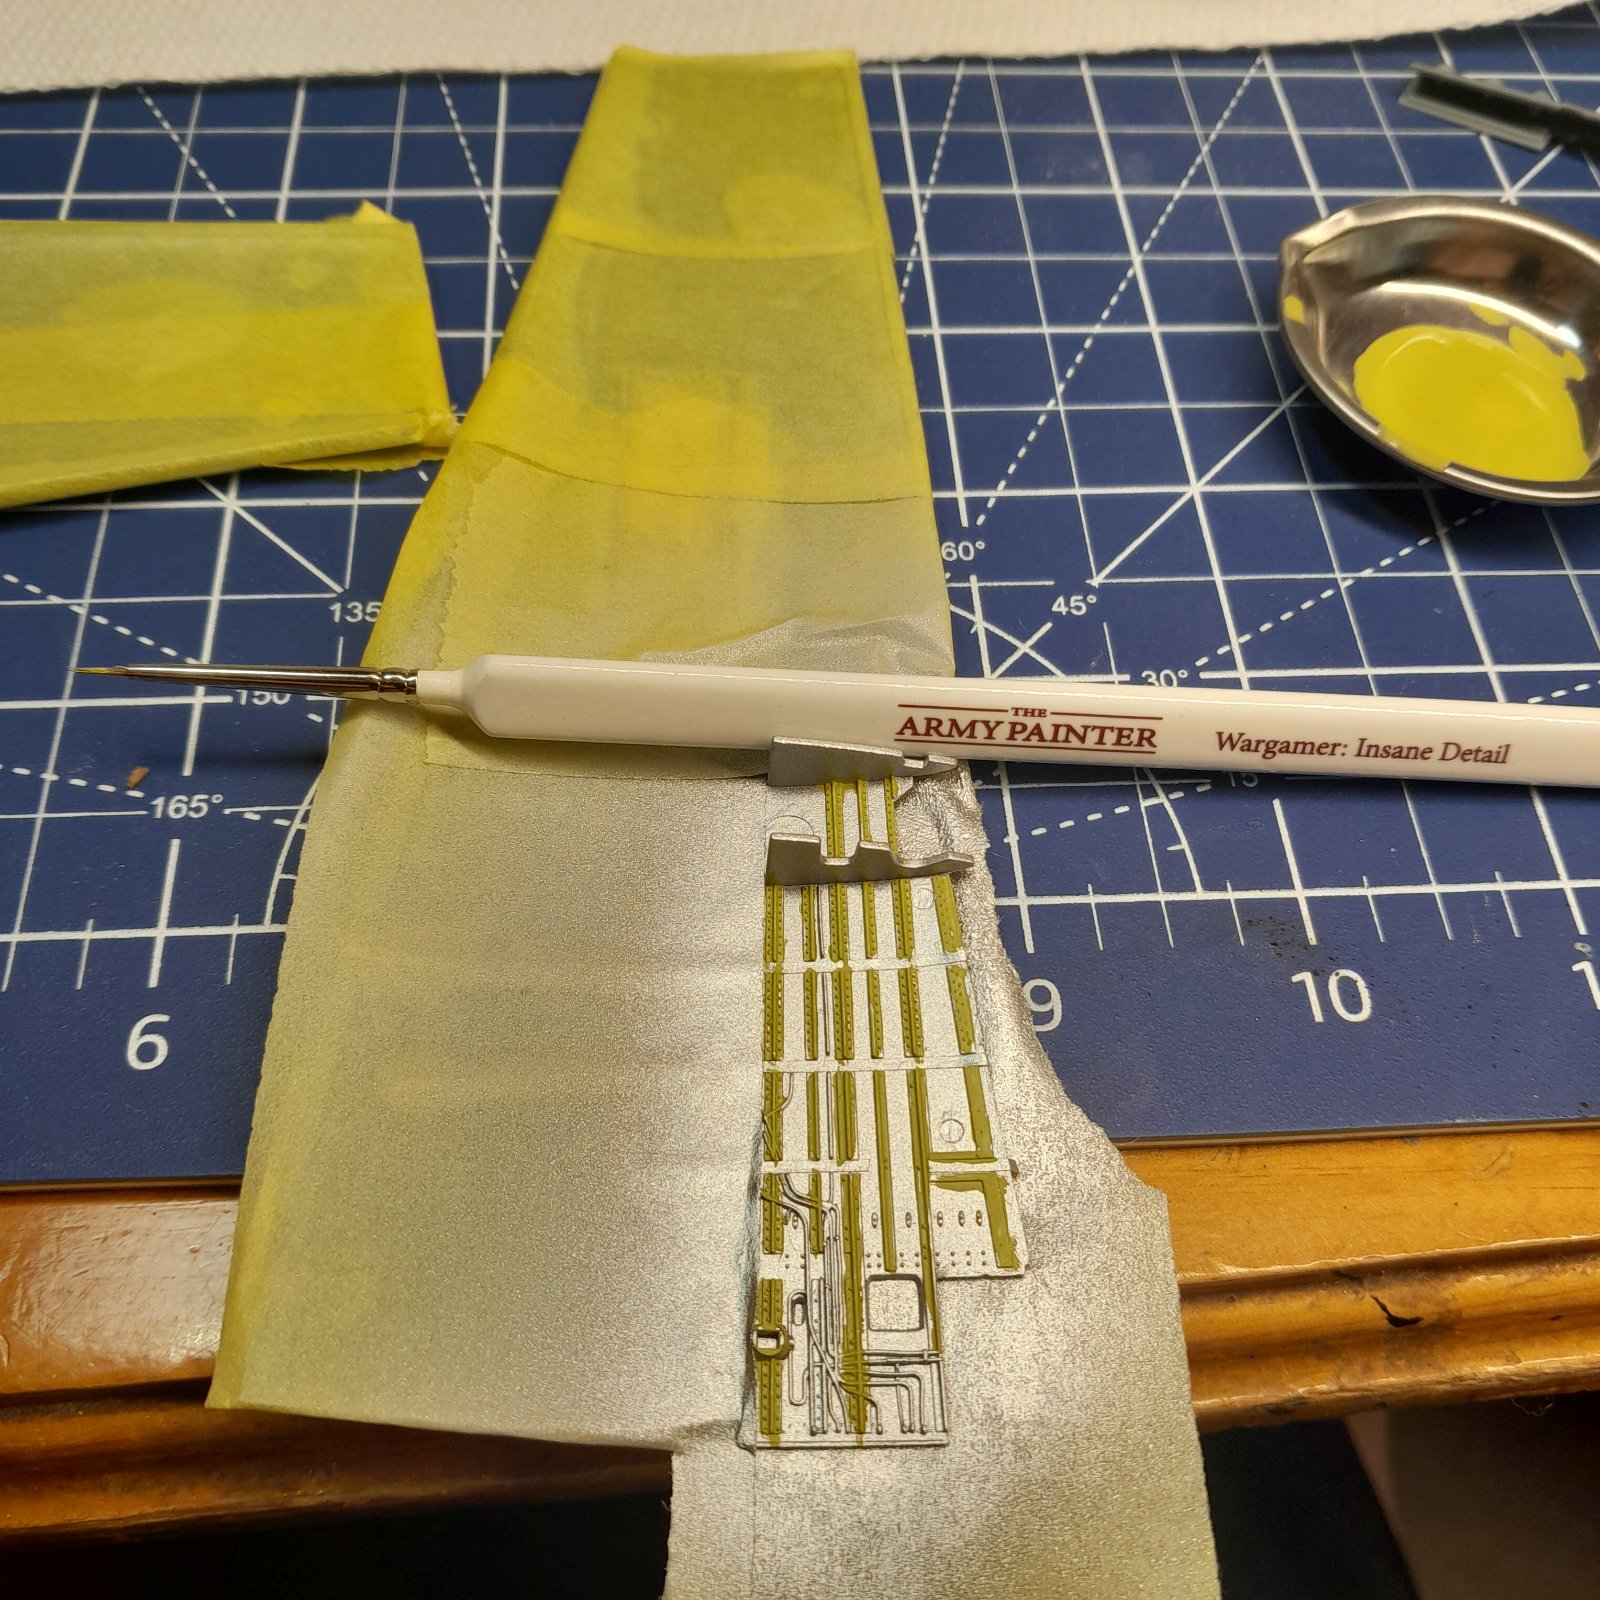
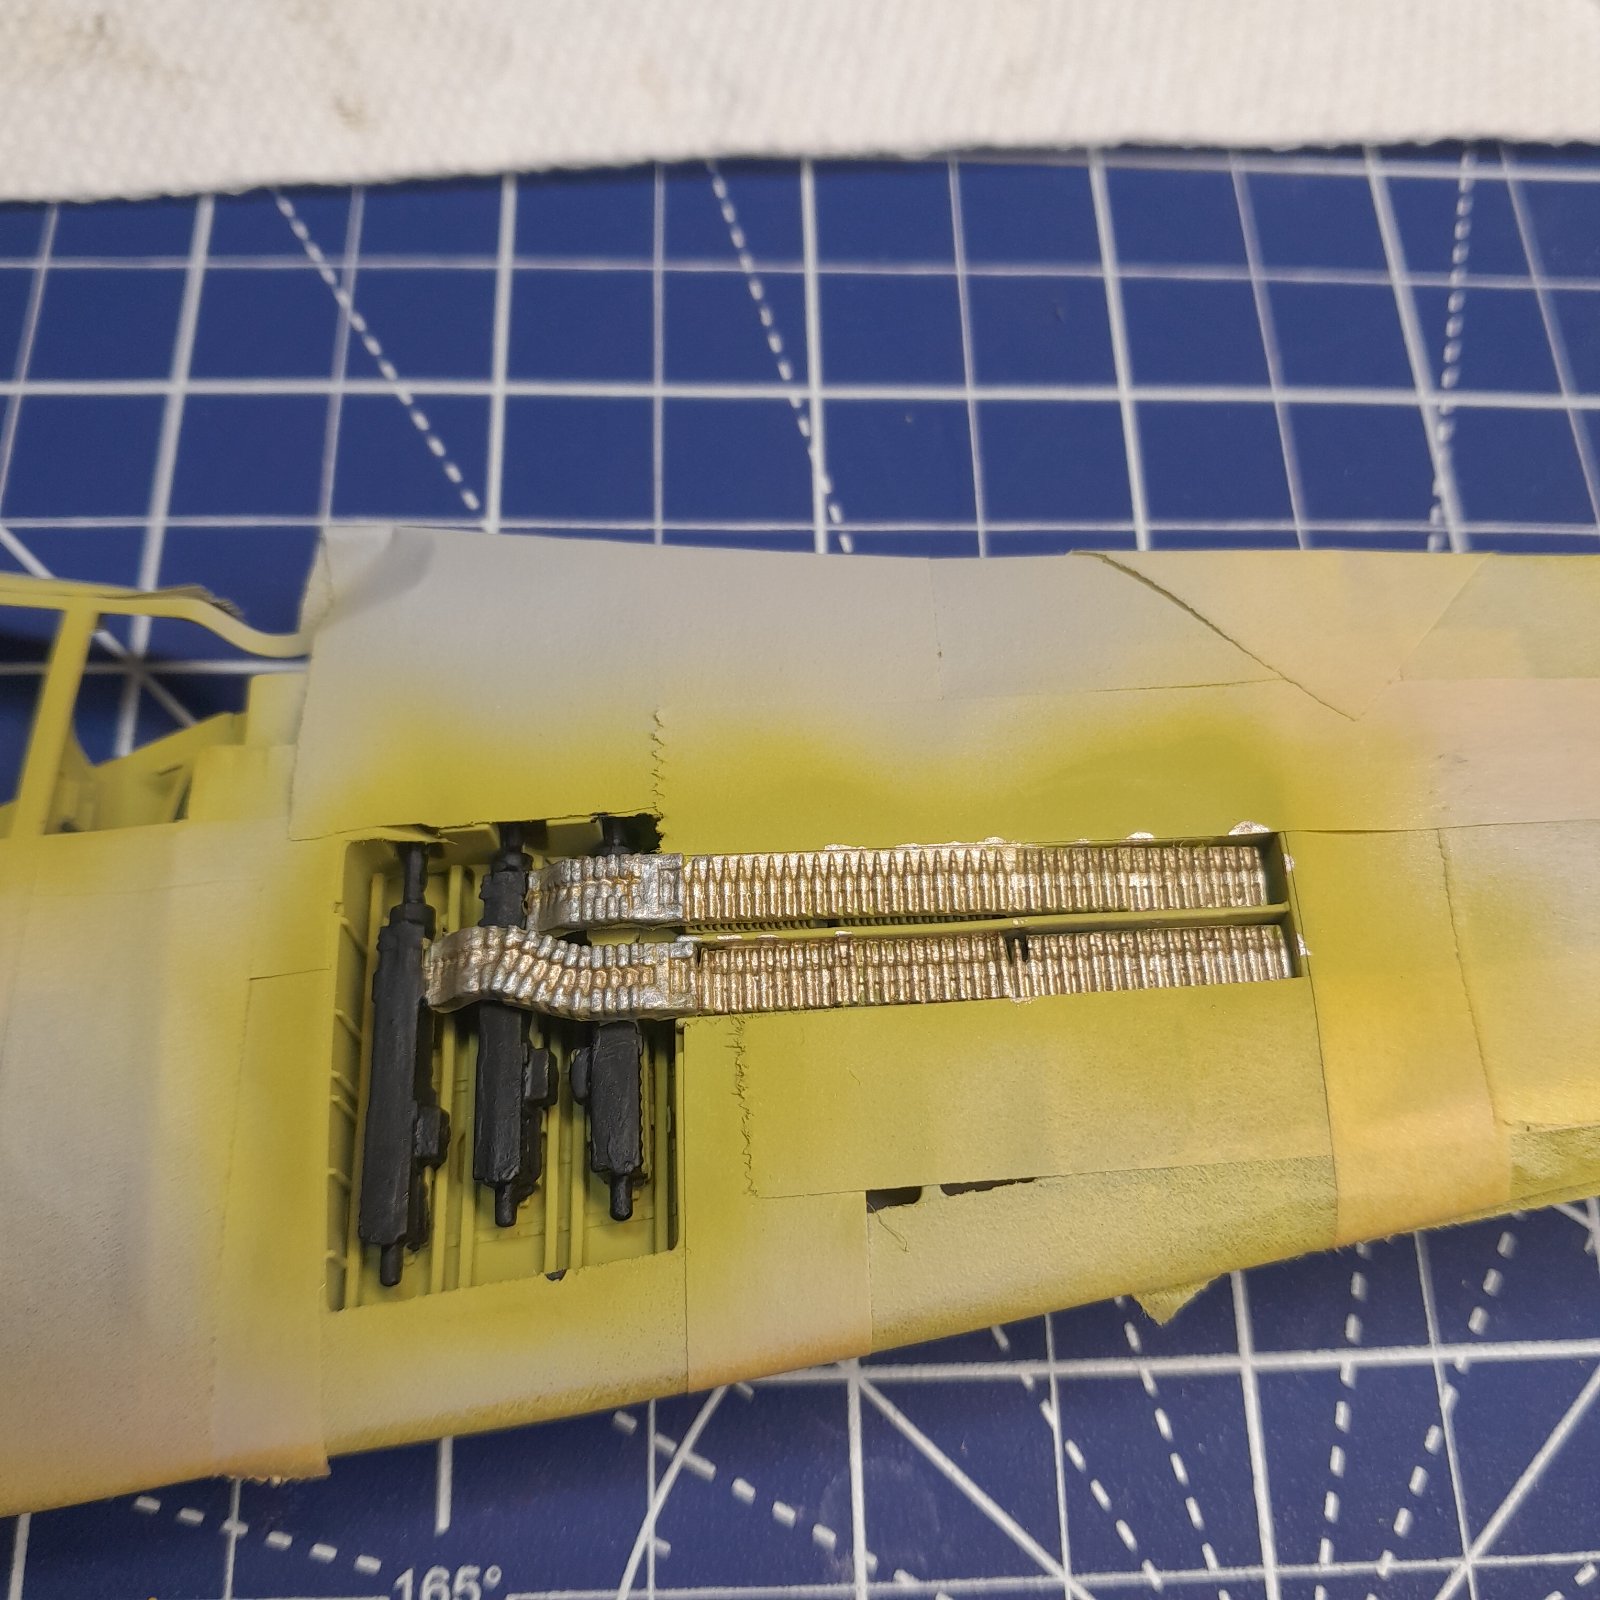
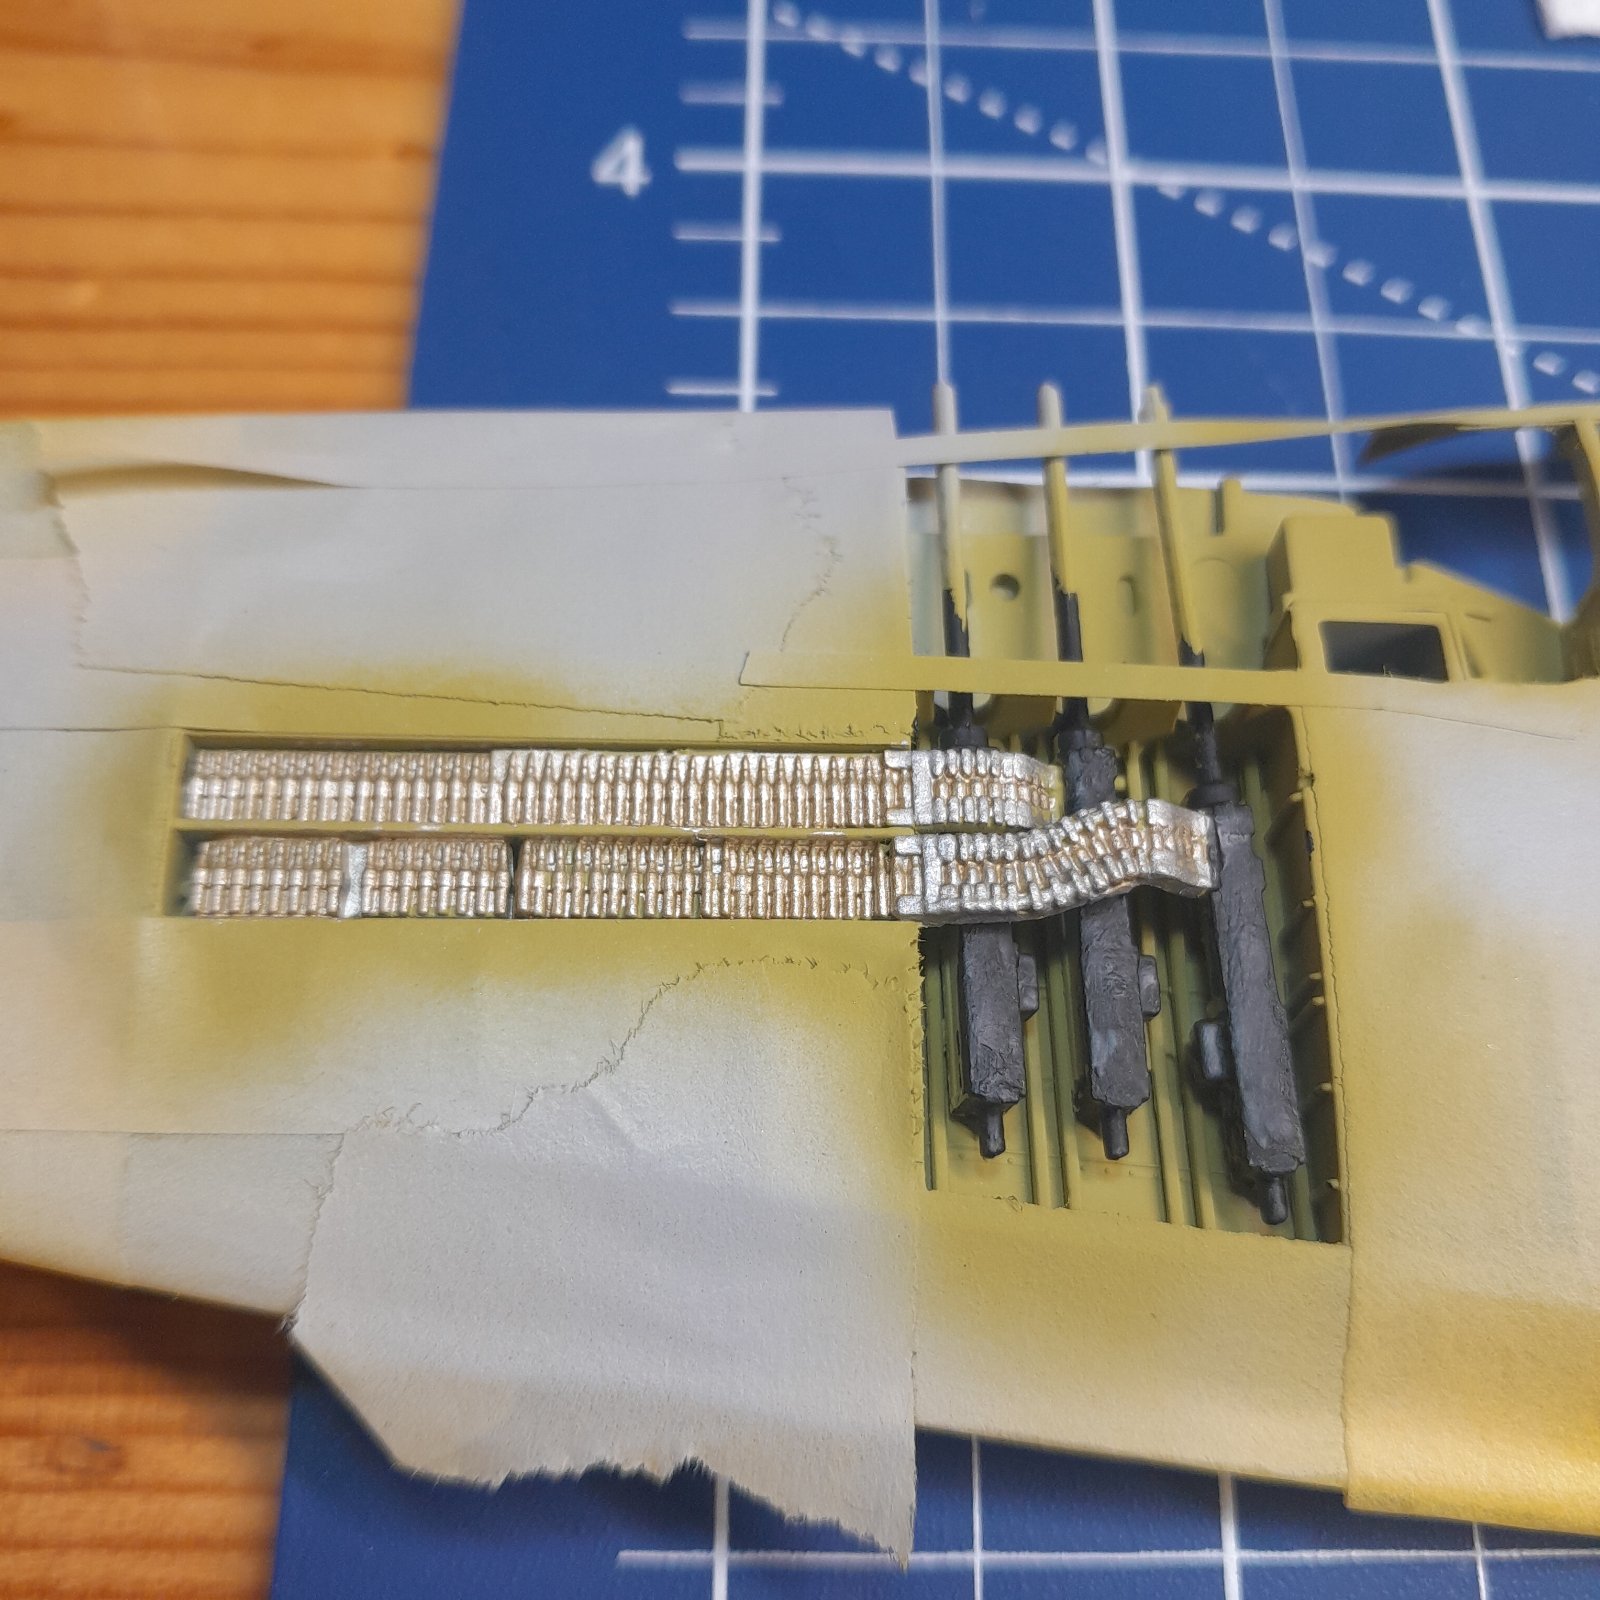
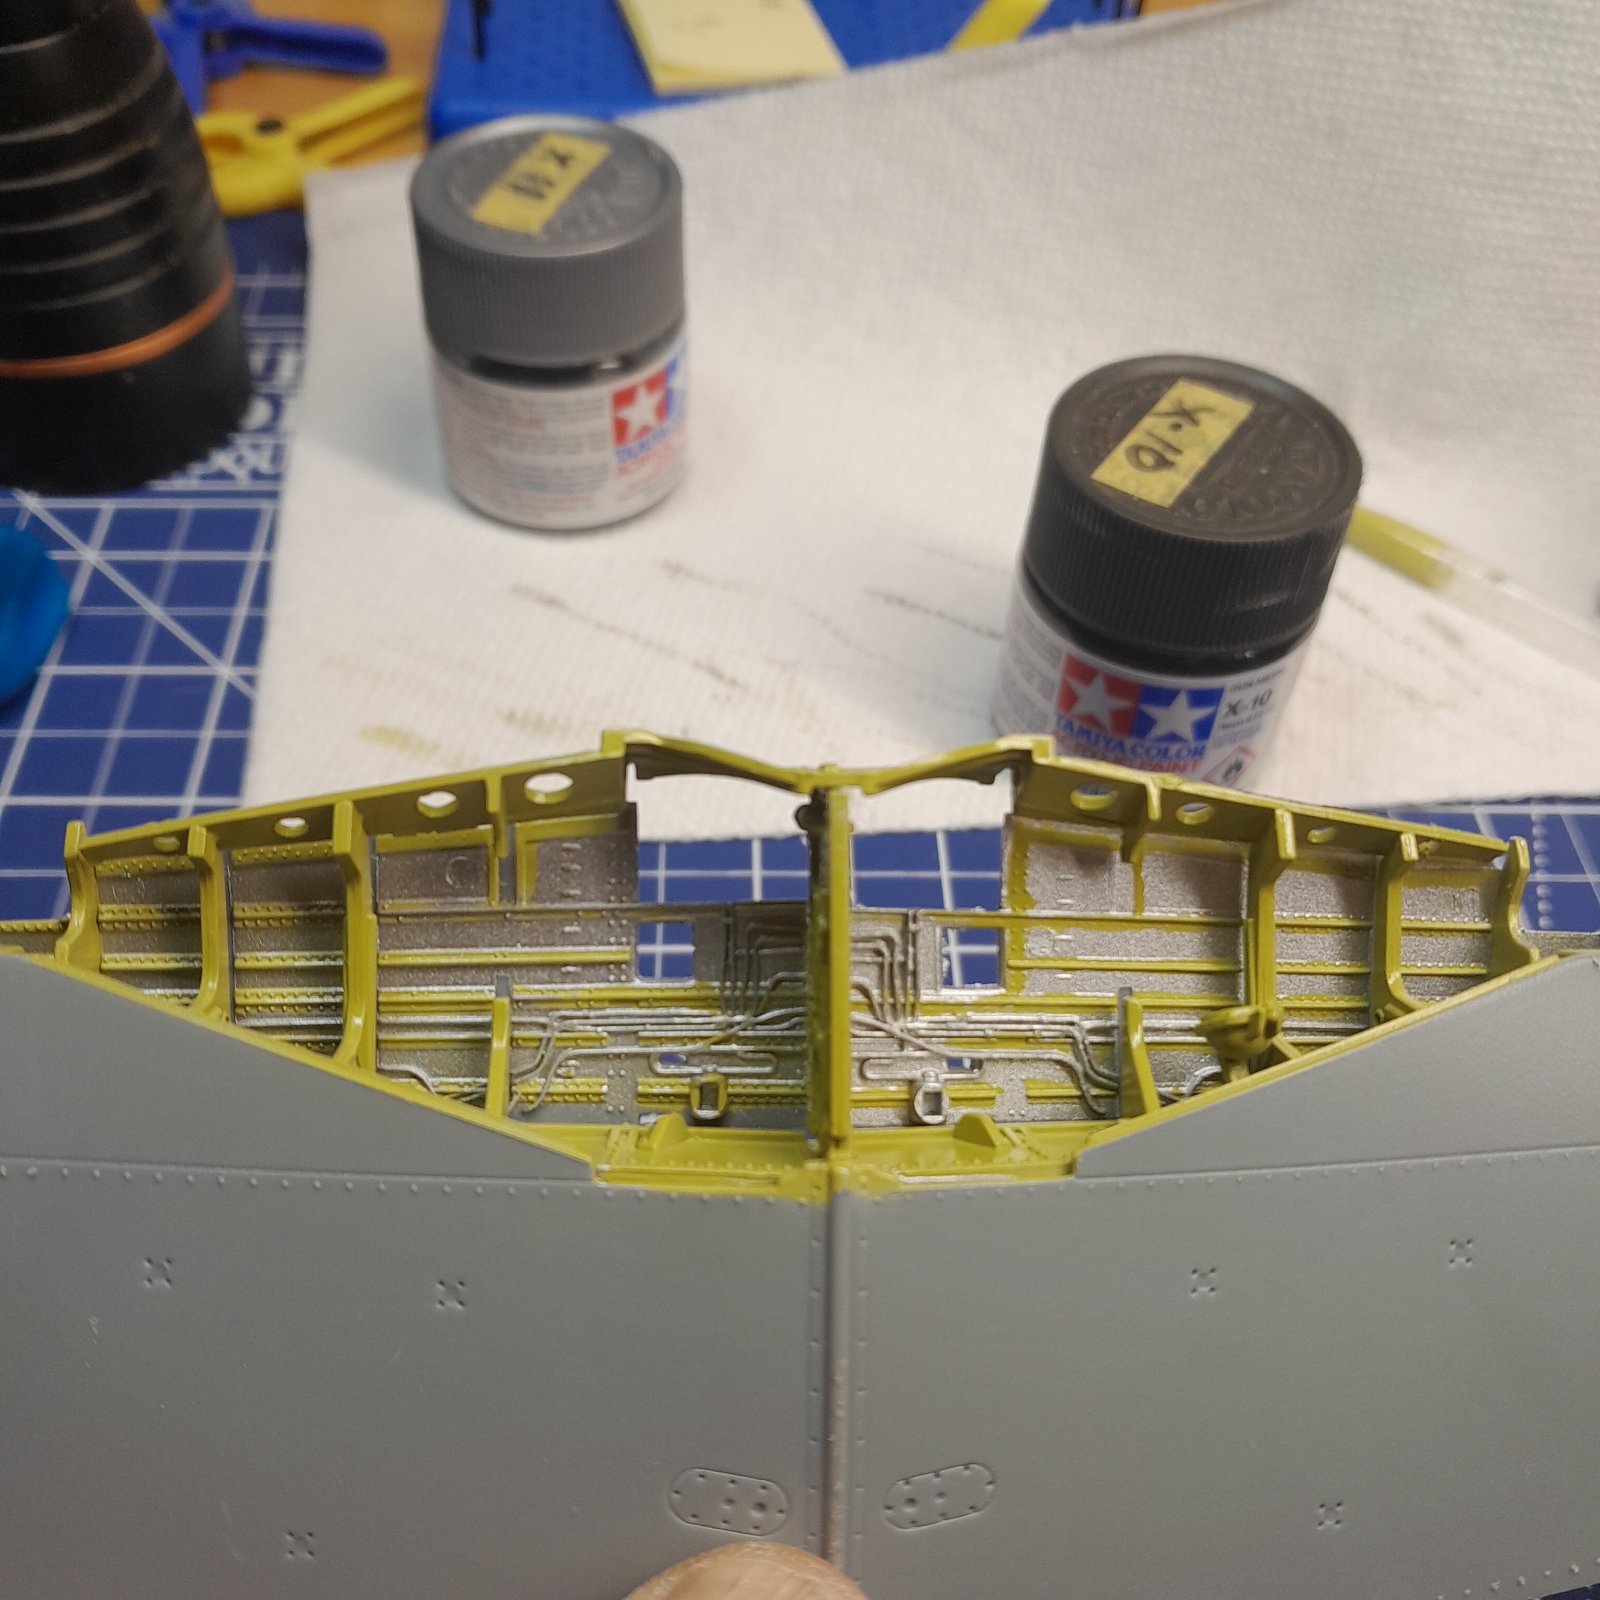
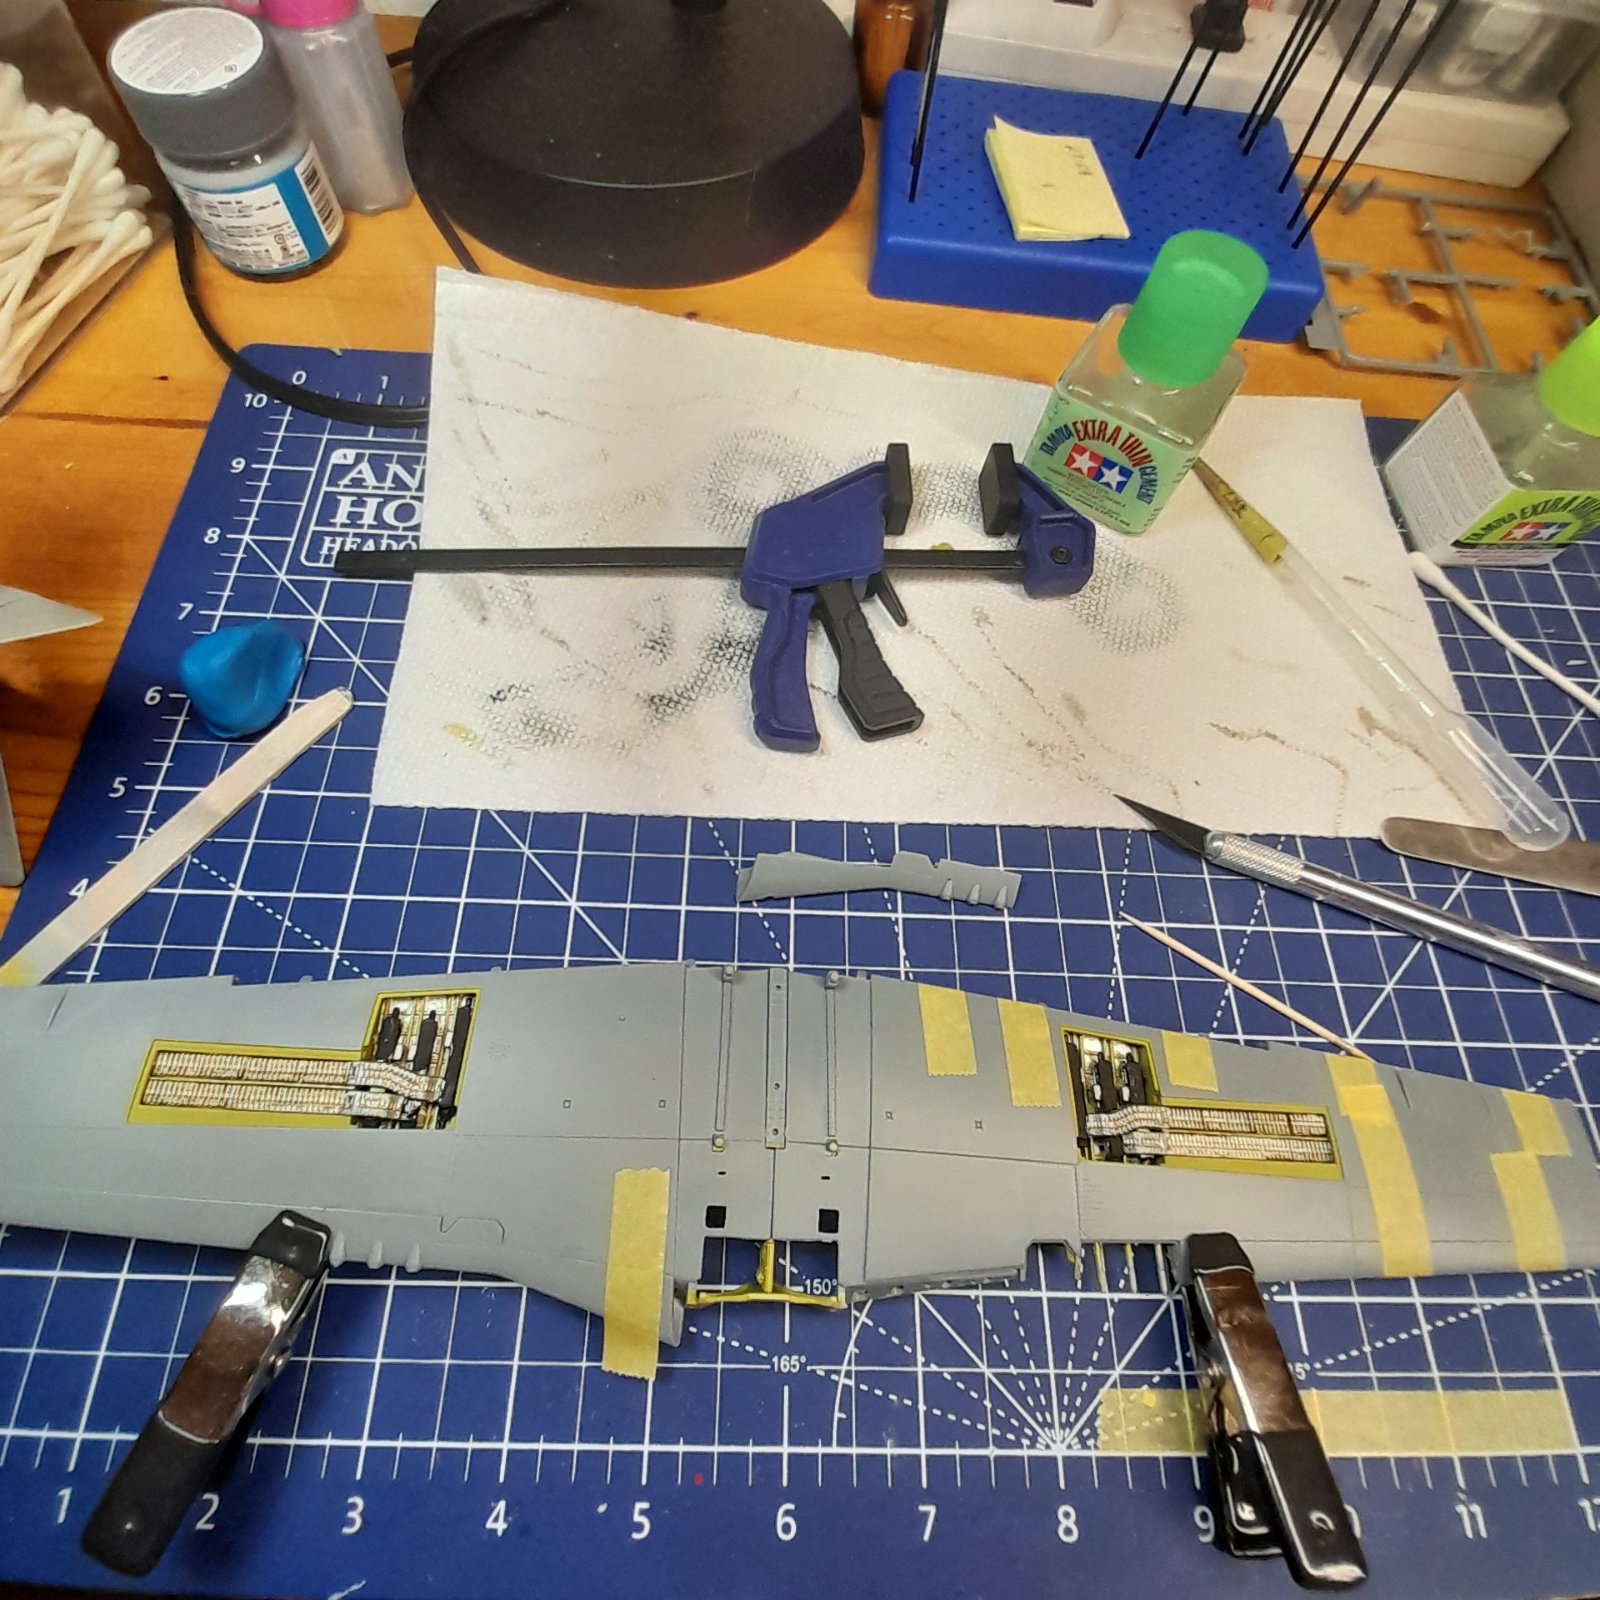
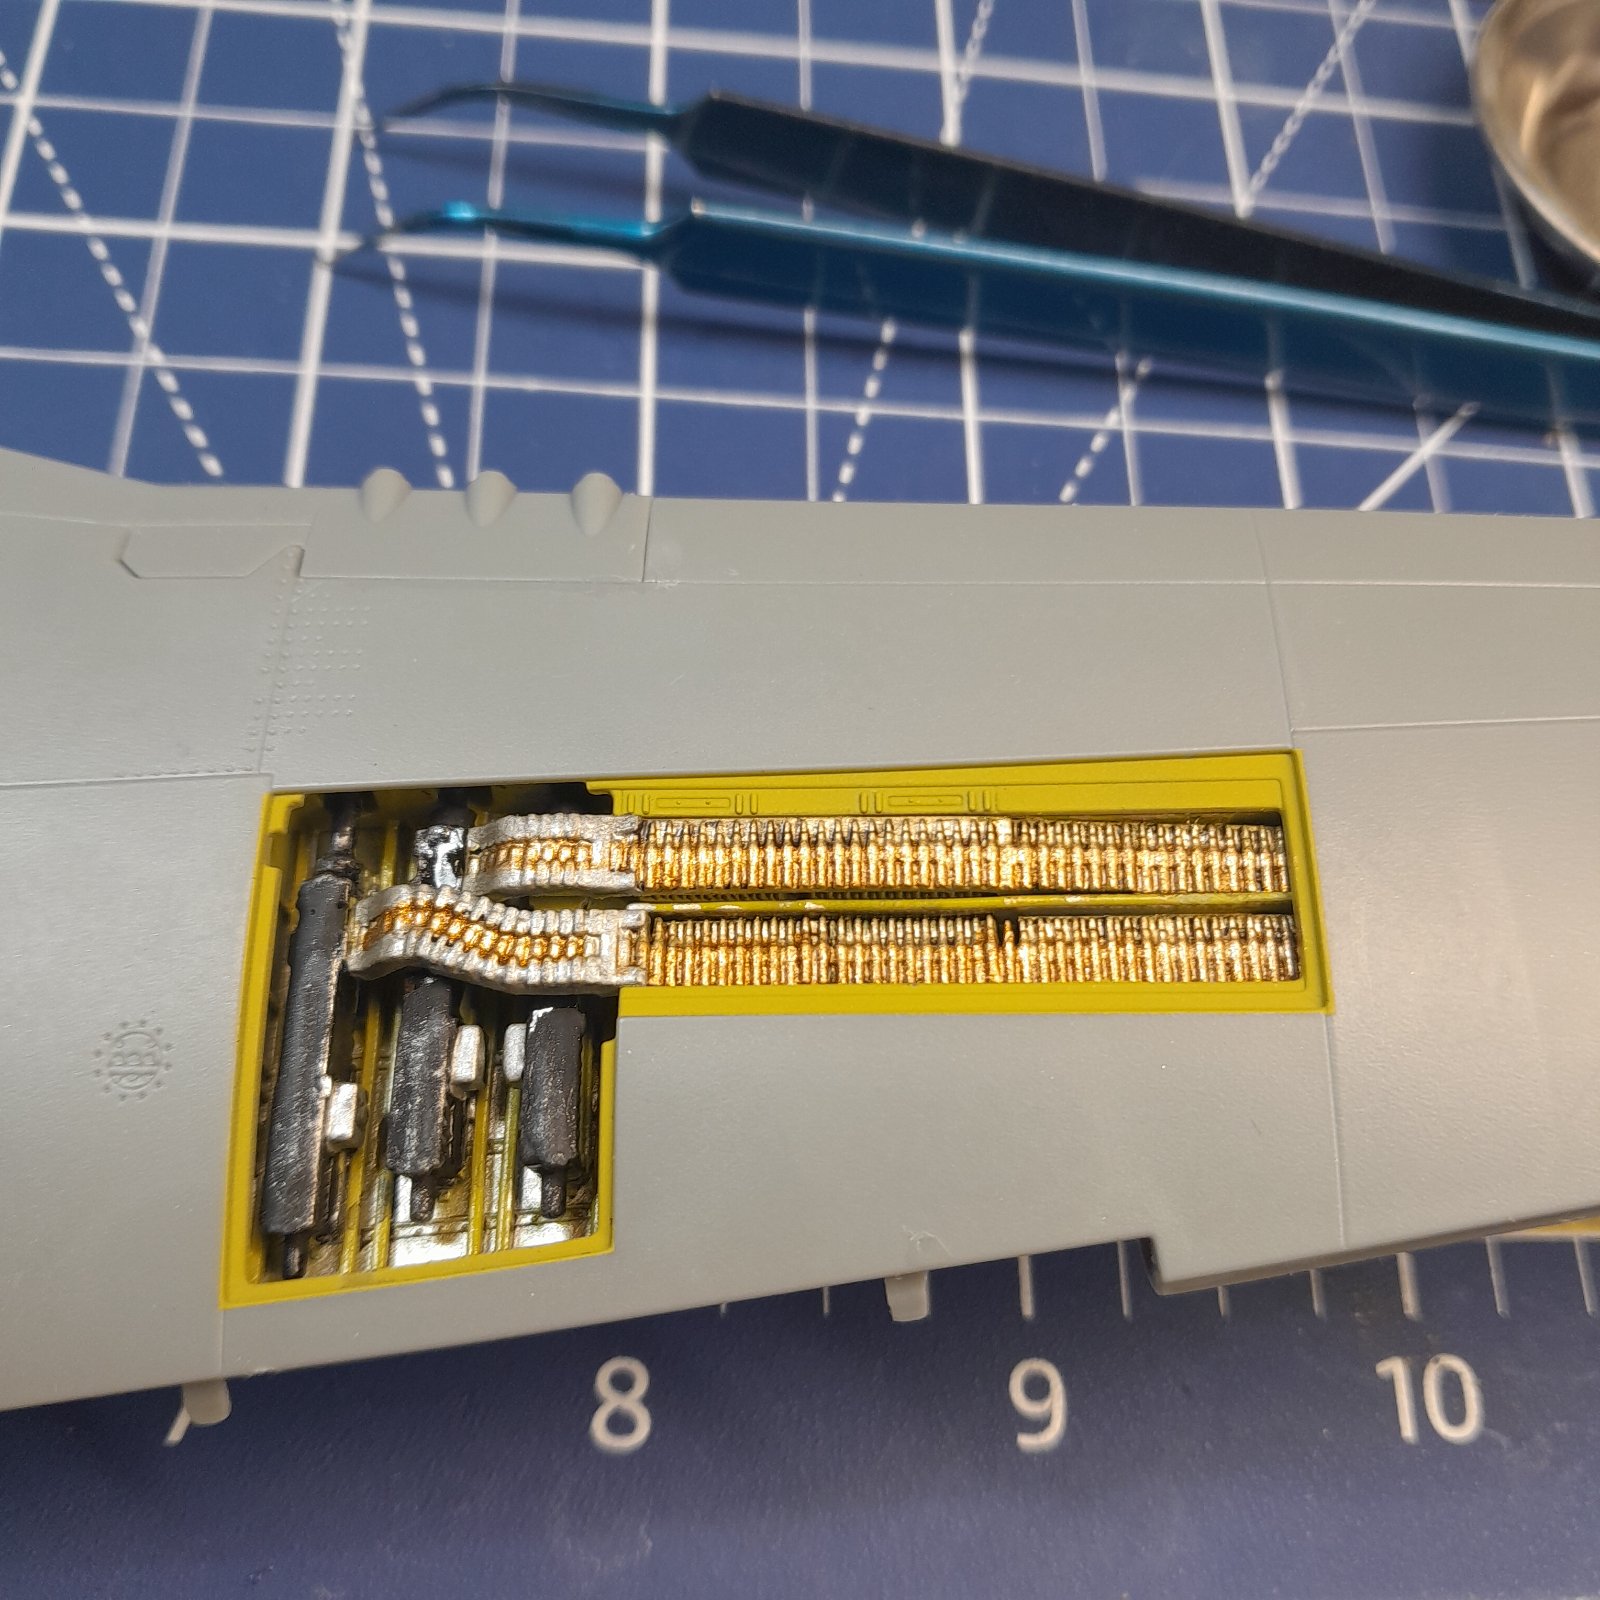
I know those 50s are cool. I'm thinking it's going to be parked with access hatches open on the 50s. It should be pretty easy to paint those up and in hindsight I probably should have painted at least some of the spars, especially in the wheel wells. Now I have to paint the spars green and the sheet metal skin silver which is the way I think they had it. I could spray the whole wheel well chromate green but I think they only did that on Restorations. I'm pretty sure towards the end they were cranking them outI love how the ammunition belts for the 50s are included with the kit. Too bad they won't be seen. Are you going to paint them up anyway?
For some some strange reason I found myself painting and weathering parts of a couple full interior armour builds I did..... knowing no one will ever see the work.
If it doesn't fit, you have done something wrong .If it doesn't fit right or you do something wrong
So much of their kits will never be seen, inside the engine block are pistons too, seriously!Too bad they won't be seen.
I did that on the Z-M J2M2 I built too. The panels can be put in place, but I'm not gluing them.I'm thinking it's going to be parked with access hatches open on the 50s.
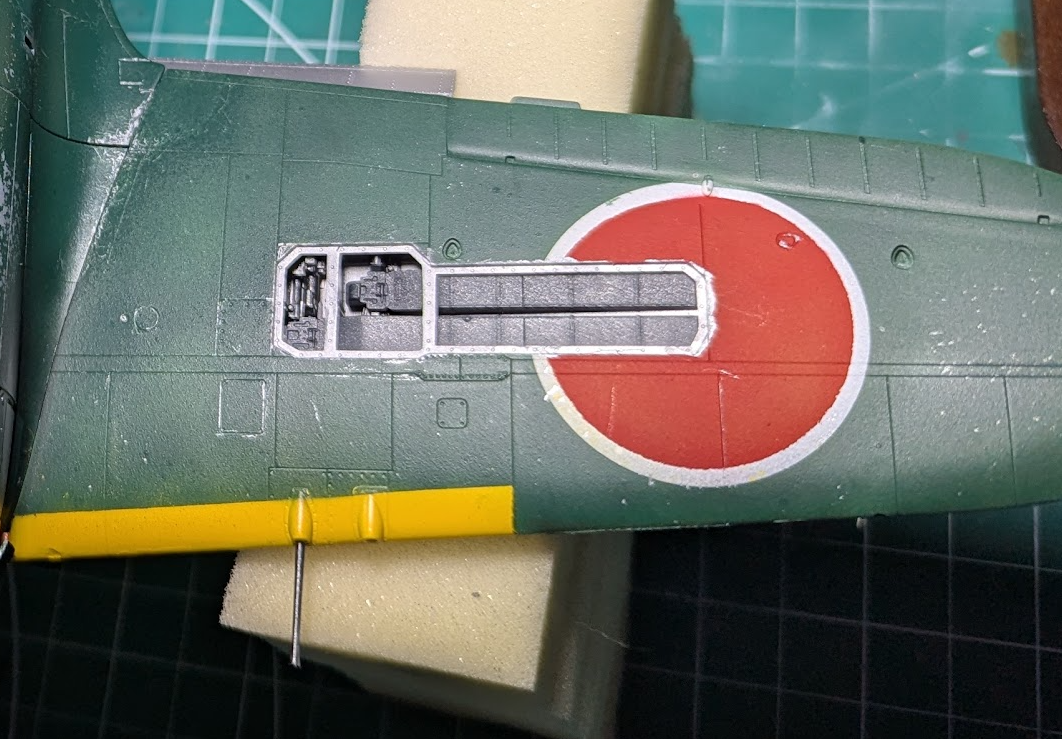
With that amount of detail in there I'd be doing exactly what you plan on doing by displaying the panels open. I've got an Eduard F6F Hellcat with a Wolfpack wing fold kit that I've been eyeballin' for just that reason on the unfolded wing panel .50 ammo belt panel.I know those 50s are cool. I'm thinking it's going to be parked with access hatches open on the 50s. It should be pretty easy to paint those up and in hindsight I probably should have painted at least some of the spars, especially in the wheel wells. Now I have to paint the spars green and the sheet metal skin silver which is the way I think they had it. I could spray the whole wheel well chromate green but I think they only did that on Restorations. I'm pretty sure towards the end they were cranking them out
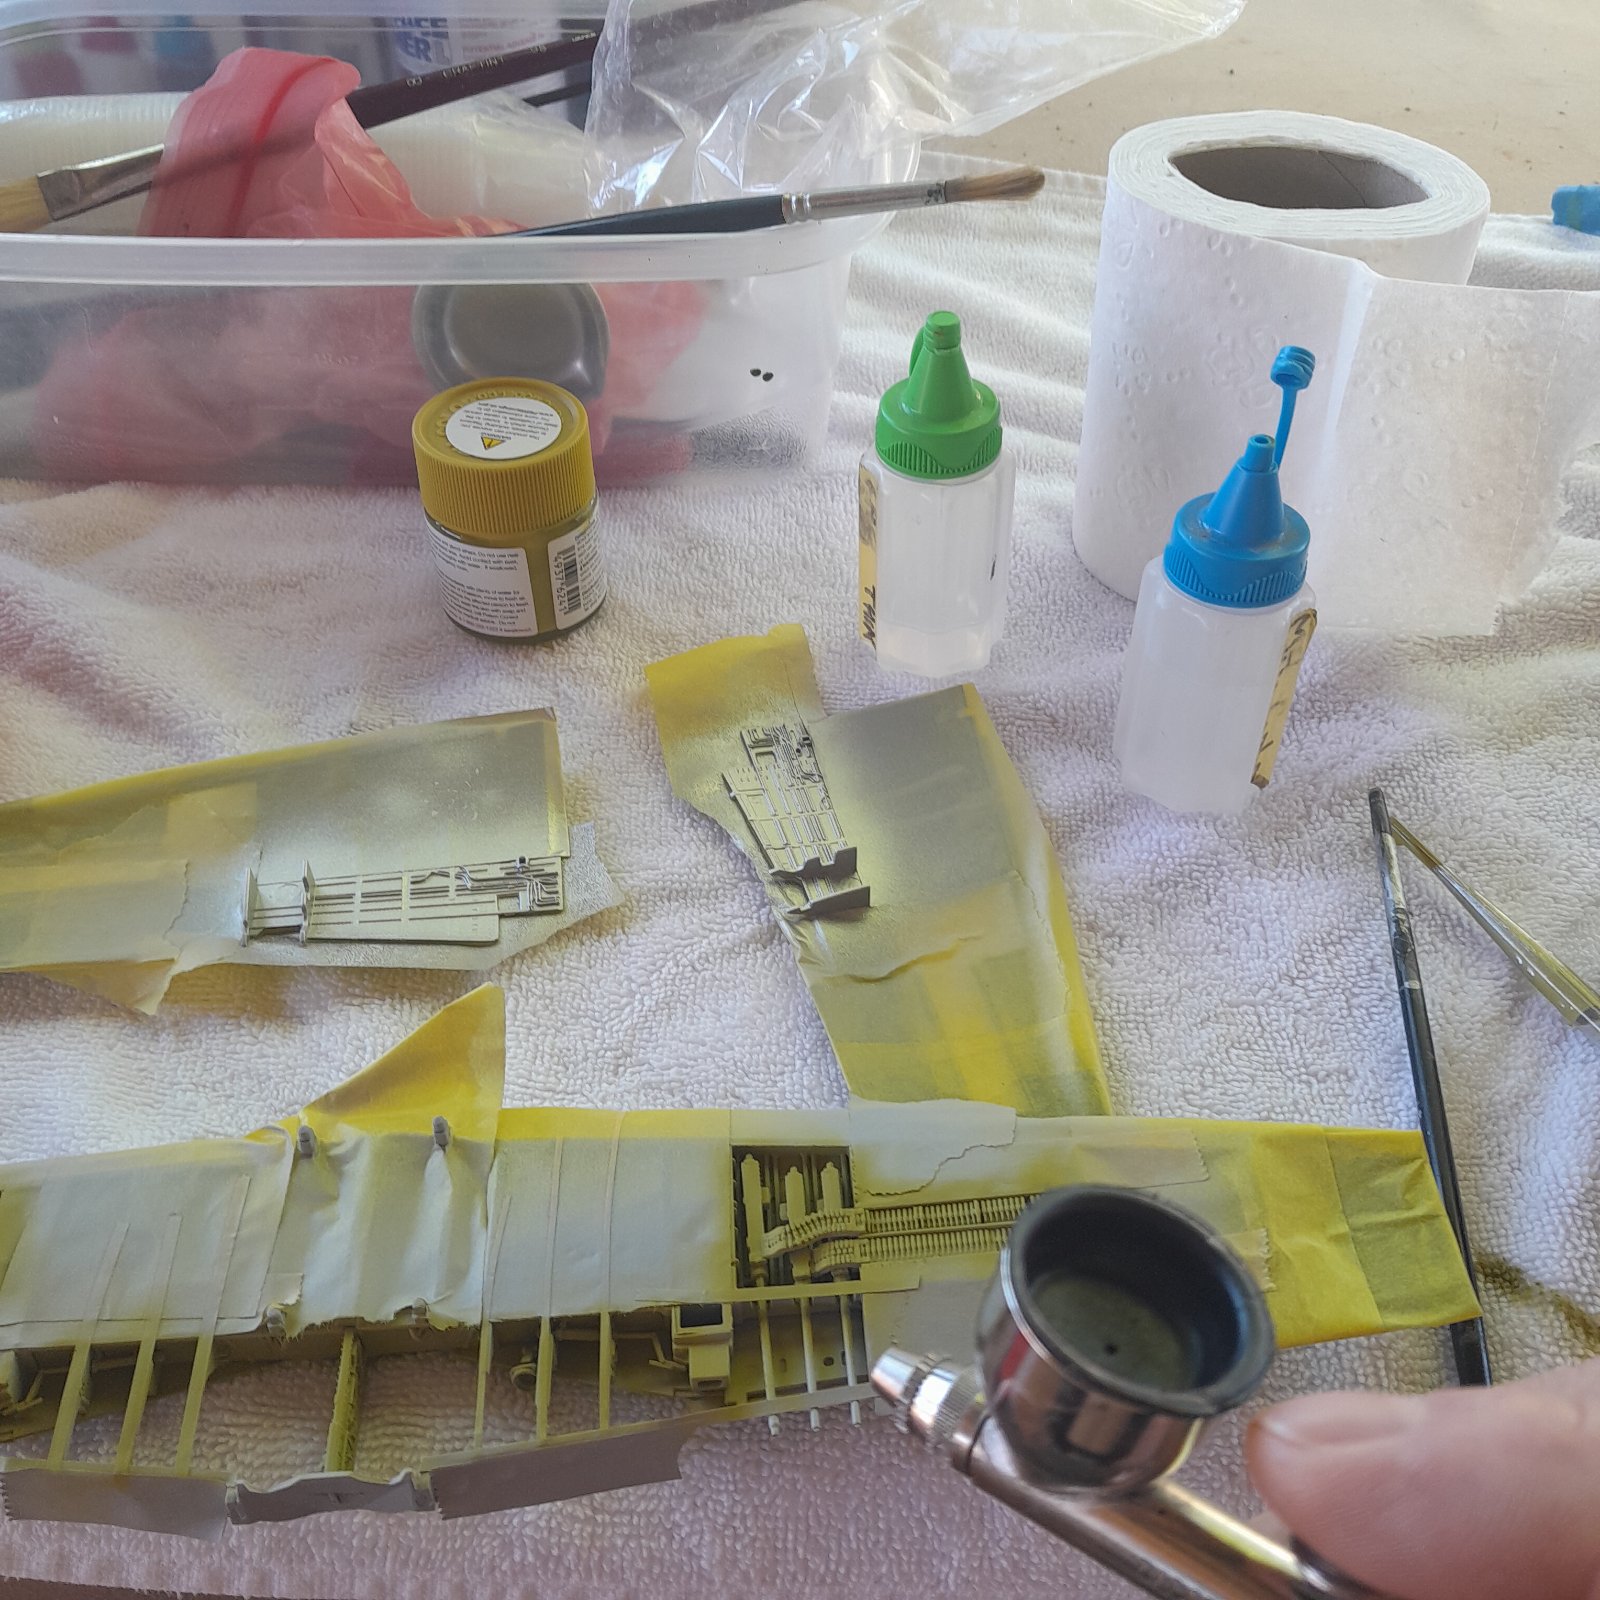
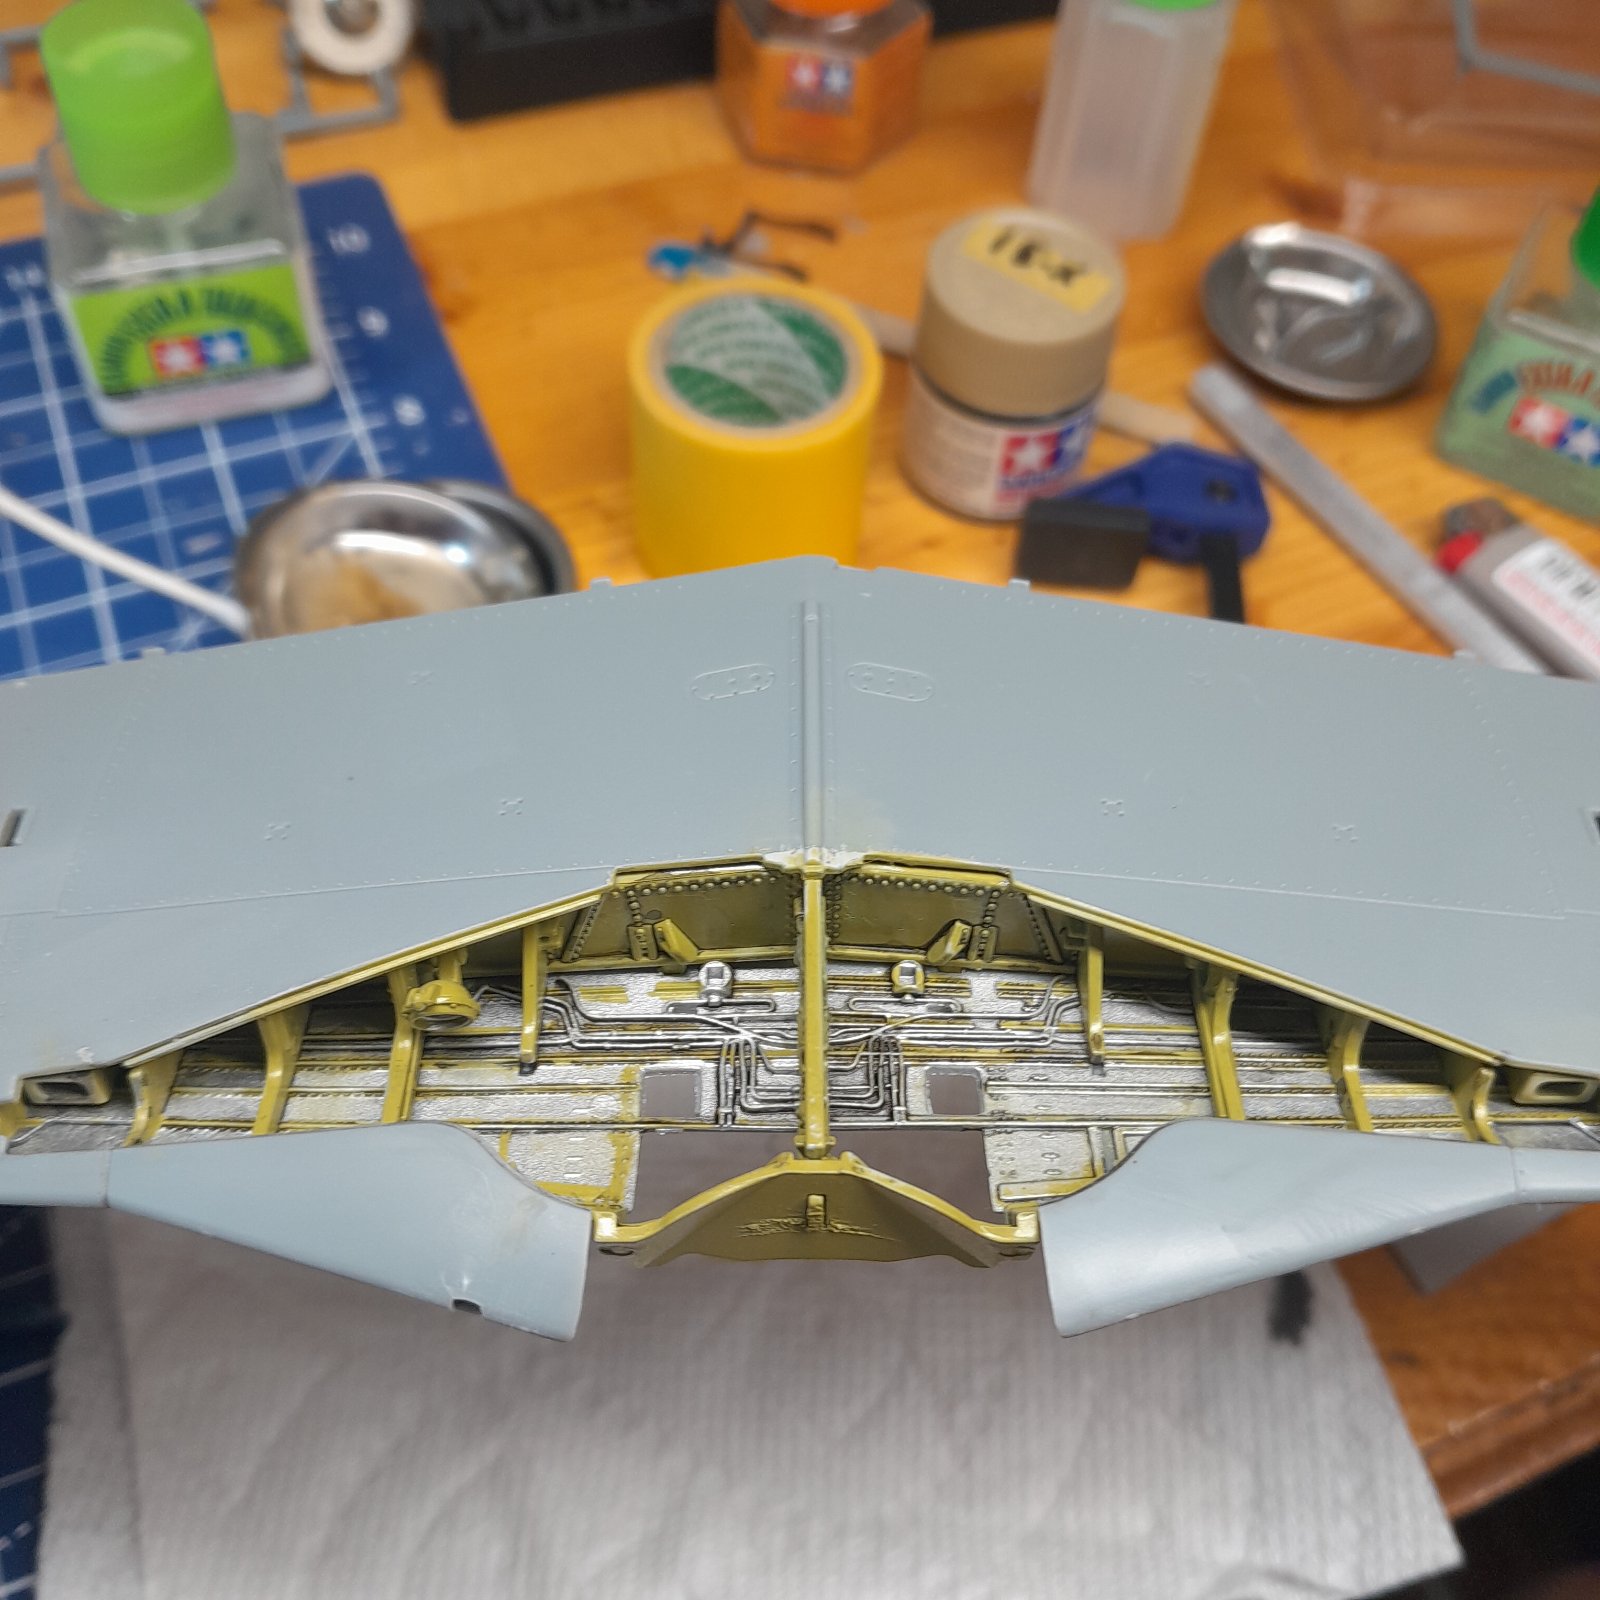
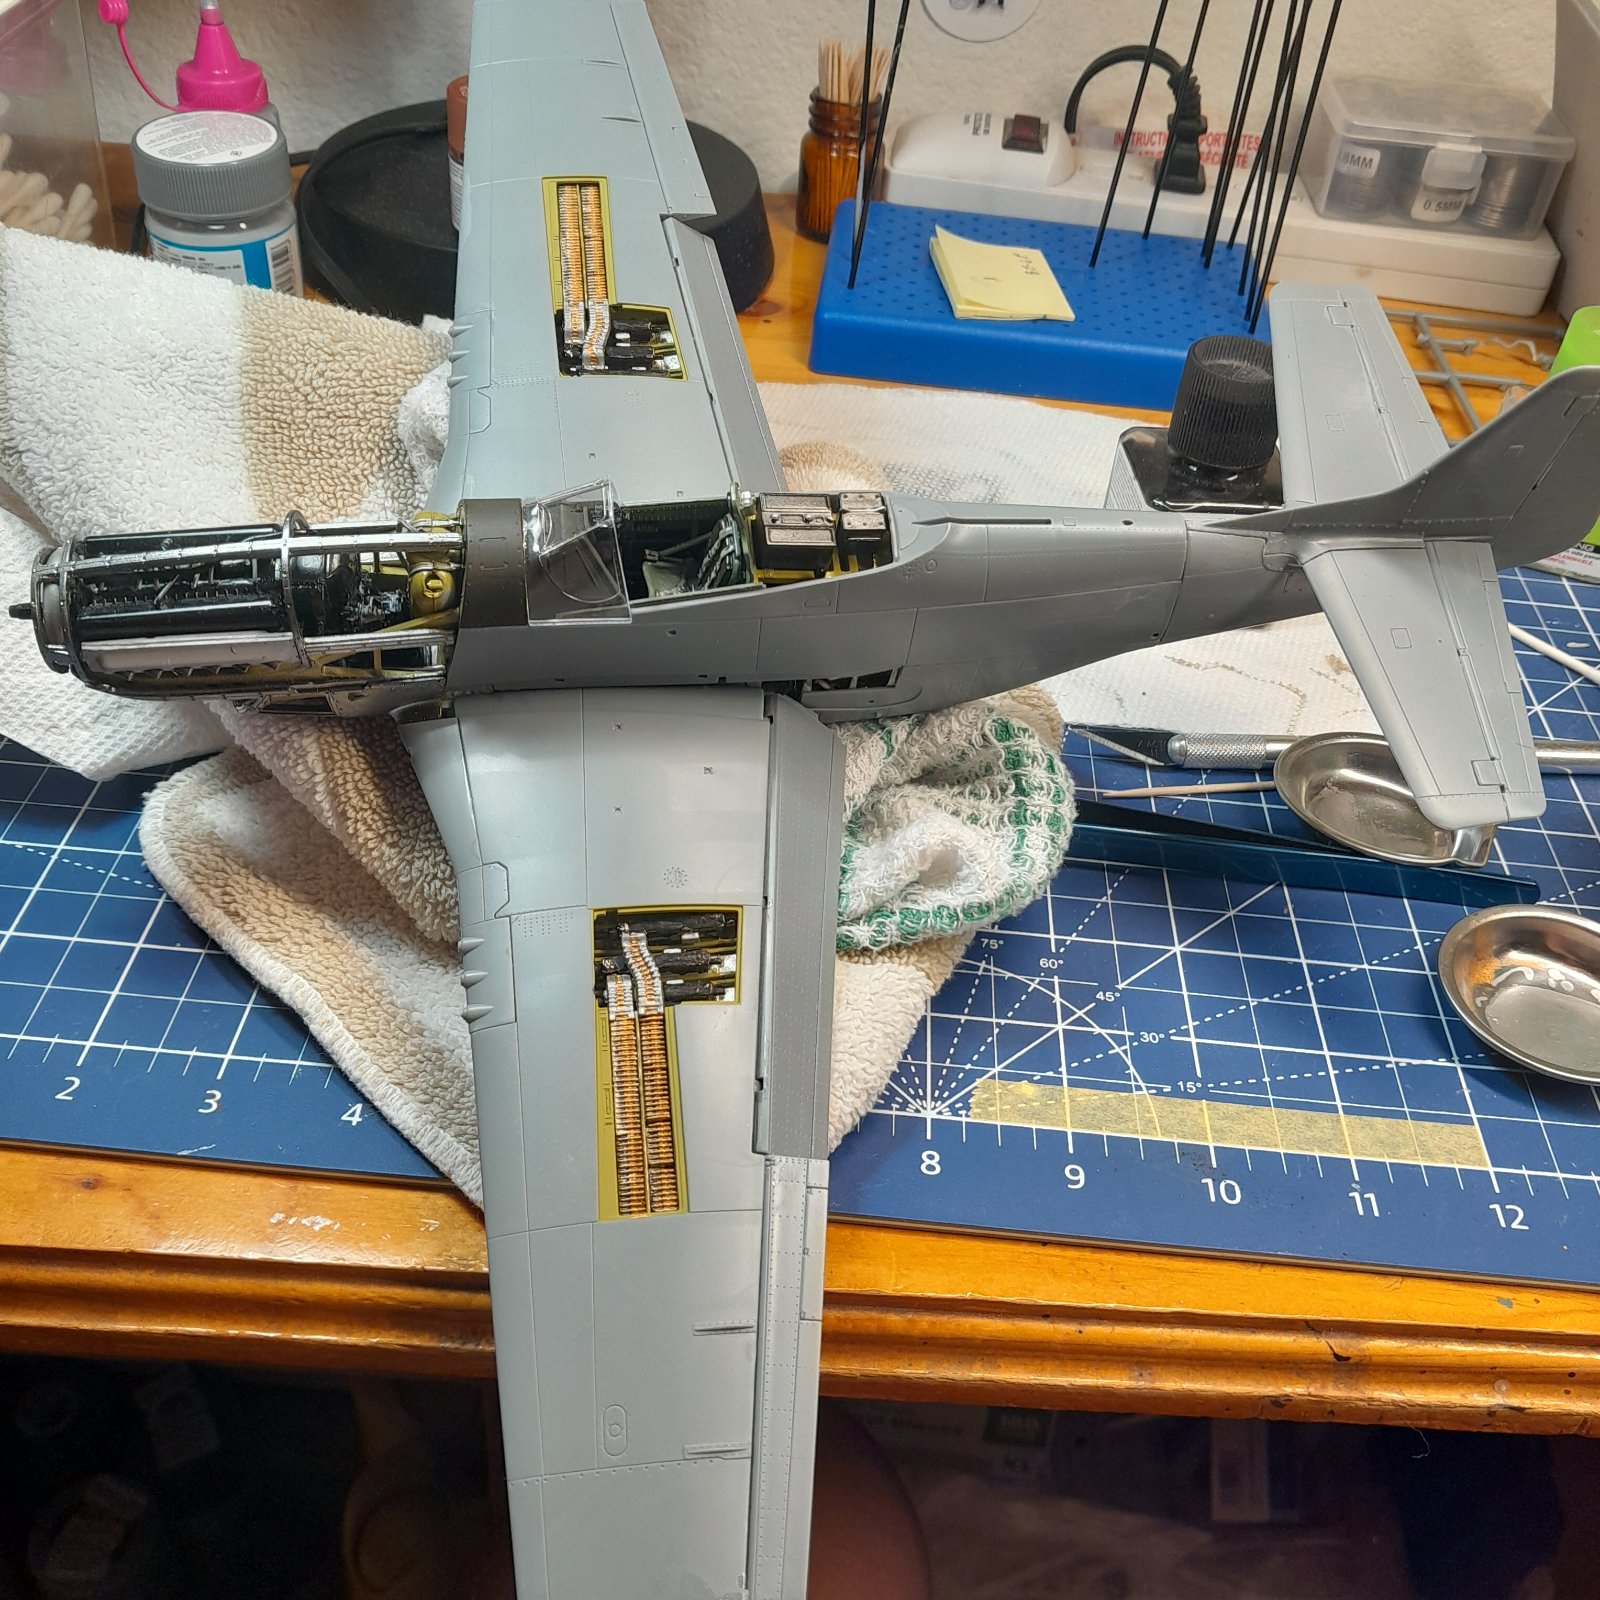


That's a seriously nice build. PanthermanTest fit the wings to the body. The fit is awesome.
View attachment 166169
View attachment 166170
View attachment 166171
View attachment 166172
View attachment 166173
View attachment 166174
Thank youThat is looking pretty sweet, nice work so far.........
Thank you. I appreciate that because yours are tooThat's a seriously nice build. Pantherman

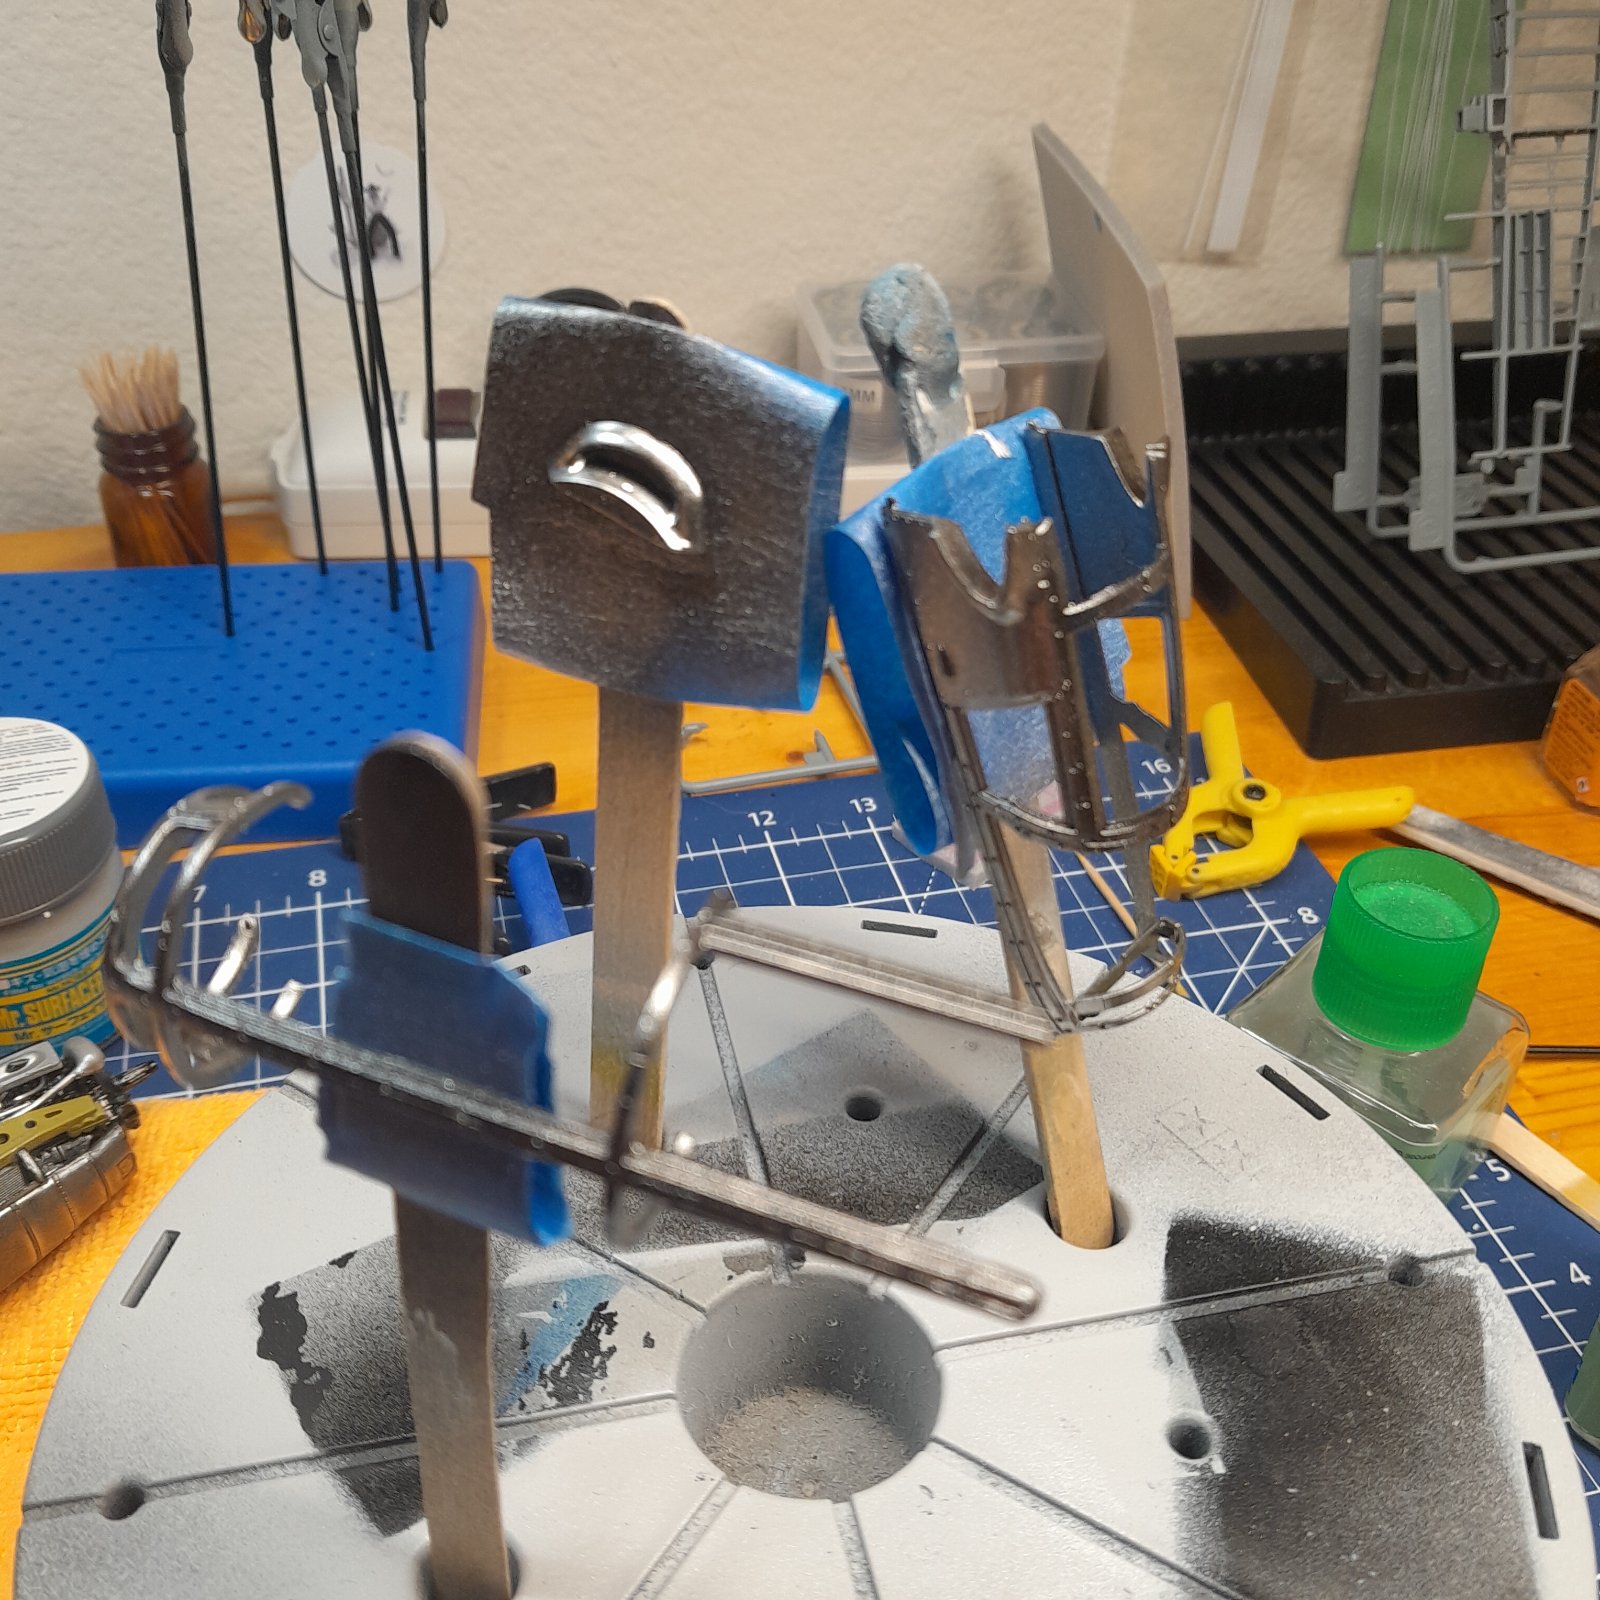
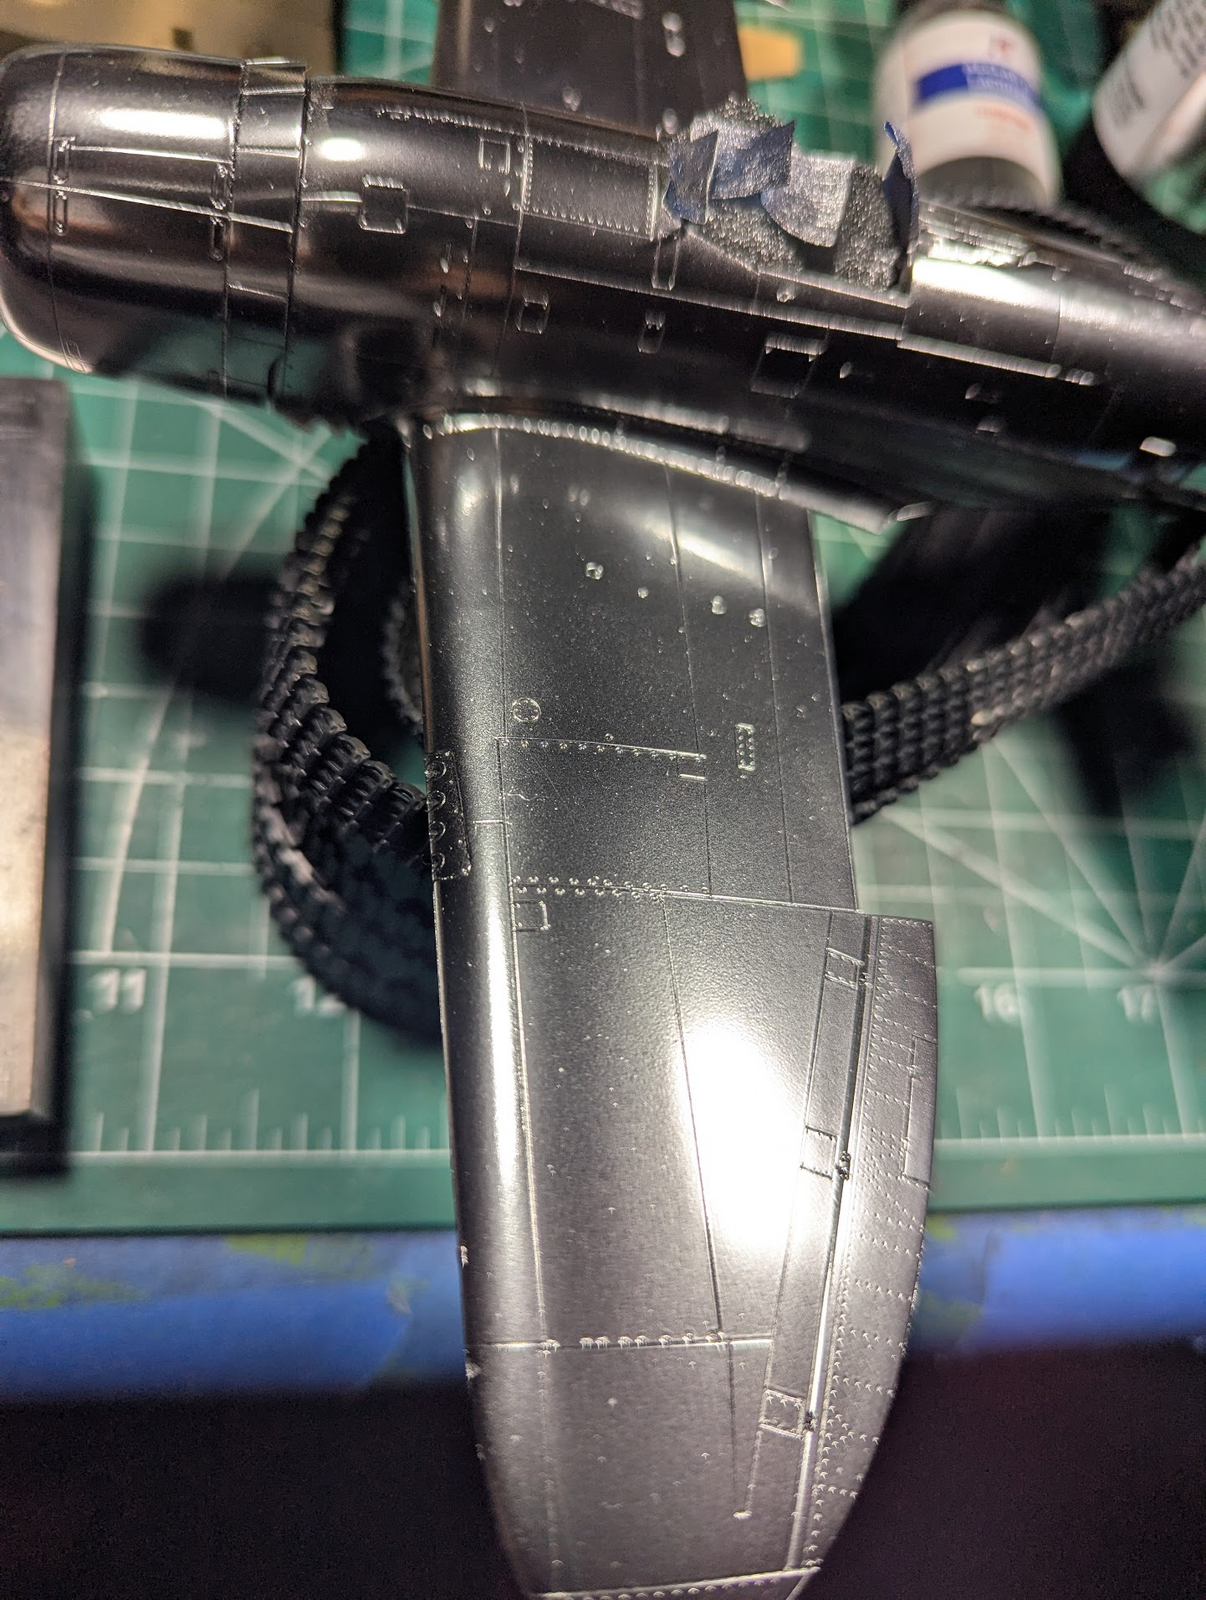
Thank you. I'm actually having a blast with this new All-Clad paint. Wait a minute. I mean it's new to me. Remember. I'm fairly new to airbrushing so trying this stuff versus a spray can is just great fun. And another thing that's great about spraying right now is I have to do it out back under the patio which is fine with me because the weather is absolutely gorgeous. Went to Andy's the other day and he had stocked up on his All-Clad metal paint so I got several varieties that I can try on panels here and there on the body to kind of mix it up. You have to be patient with this All-Clad metal paint. Slow and steady. If you try to paint it like paint? It ain't going to work. It takes a while but I think it's well worth it.You're sure makin' those details "pop" pretty loud Rob. This is looking good..........really good. View attachment 166306
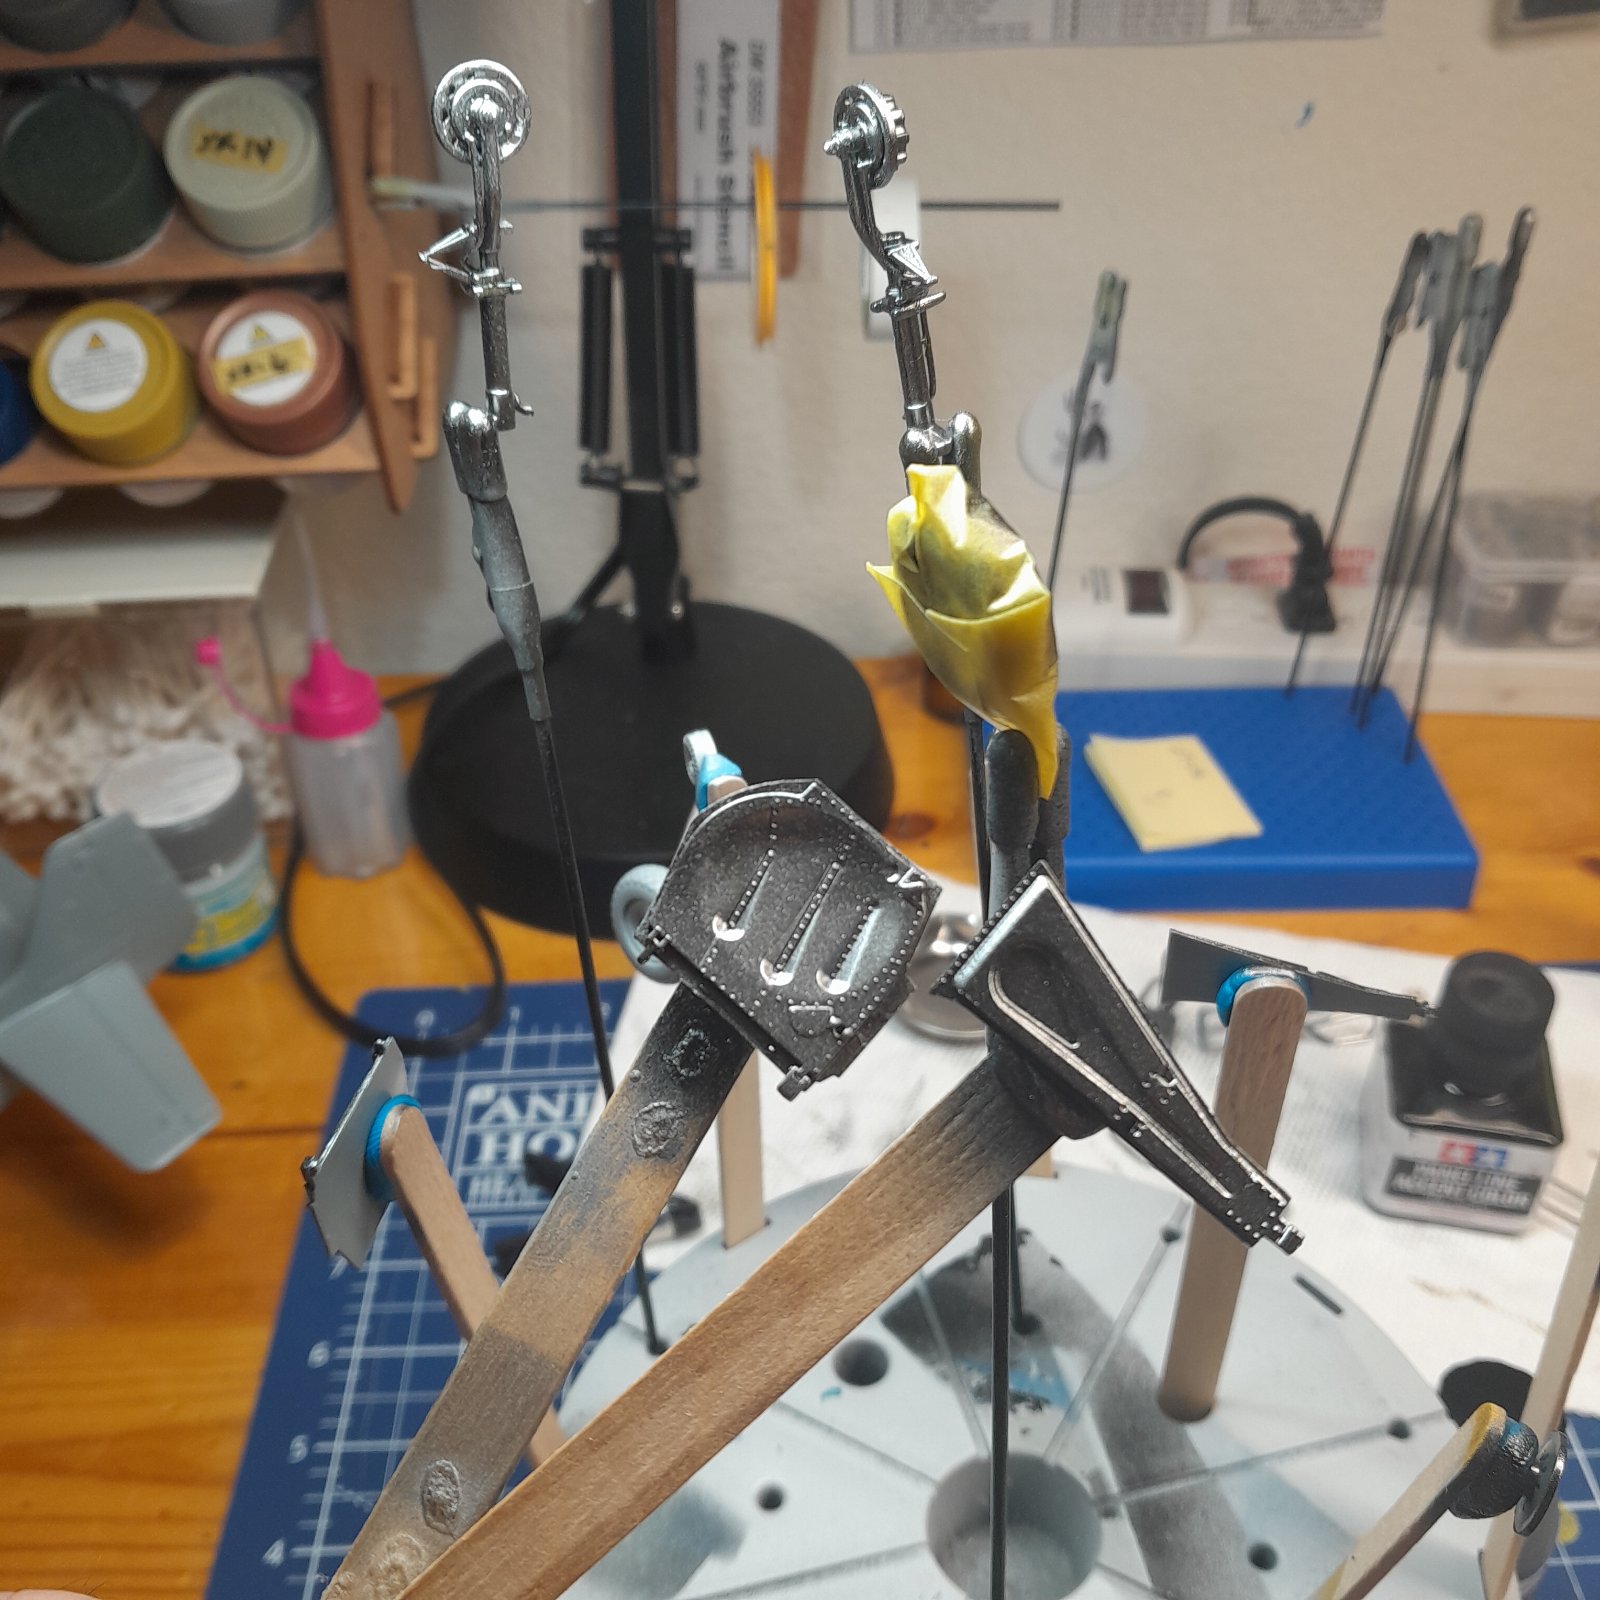
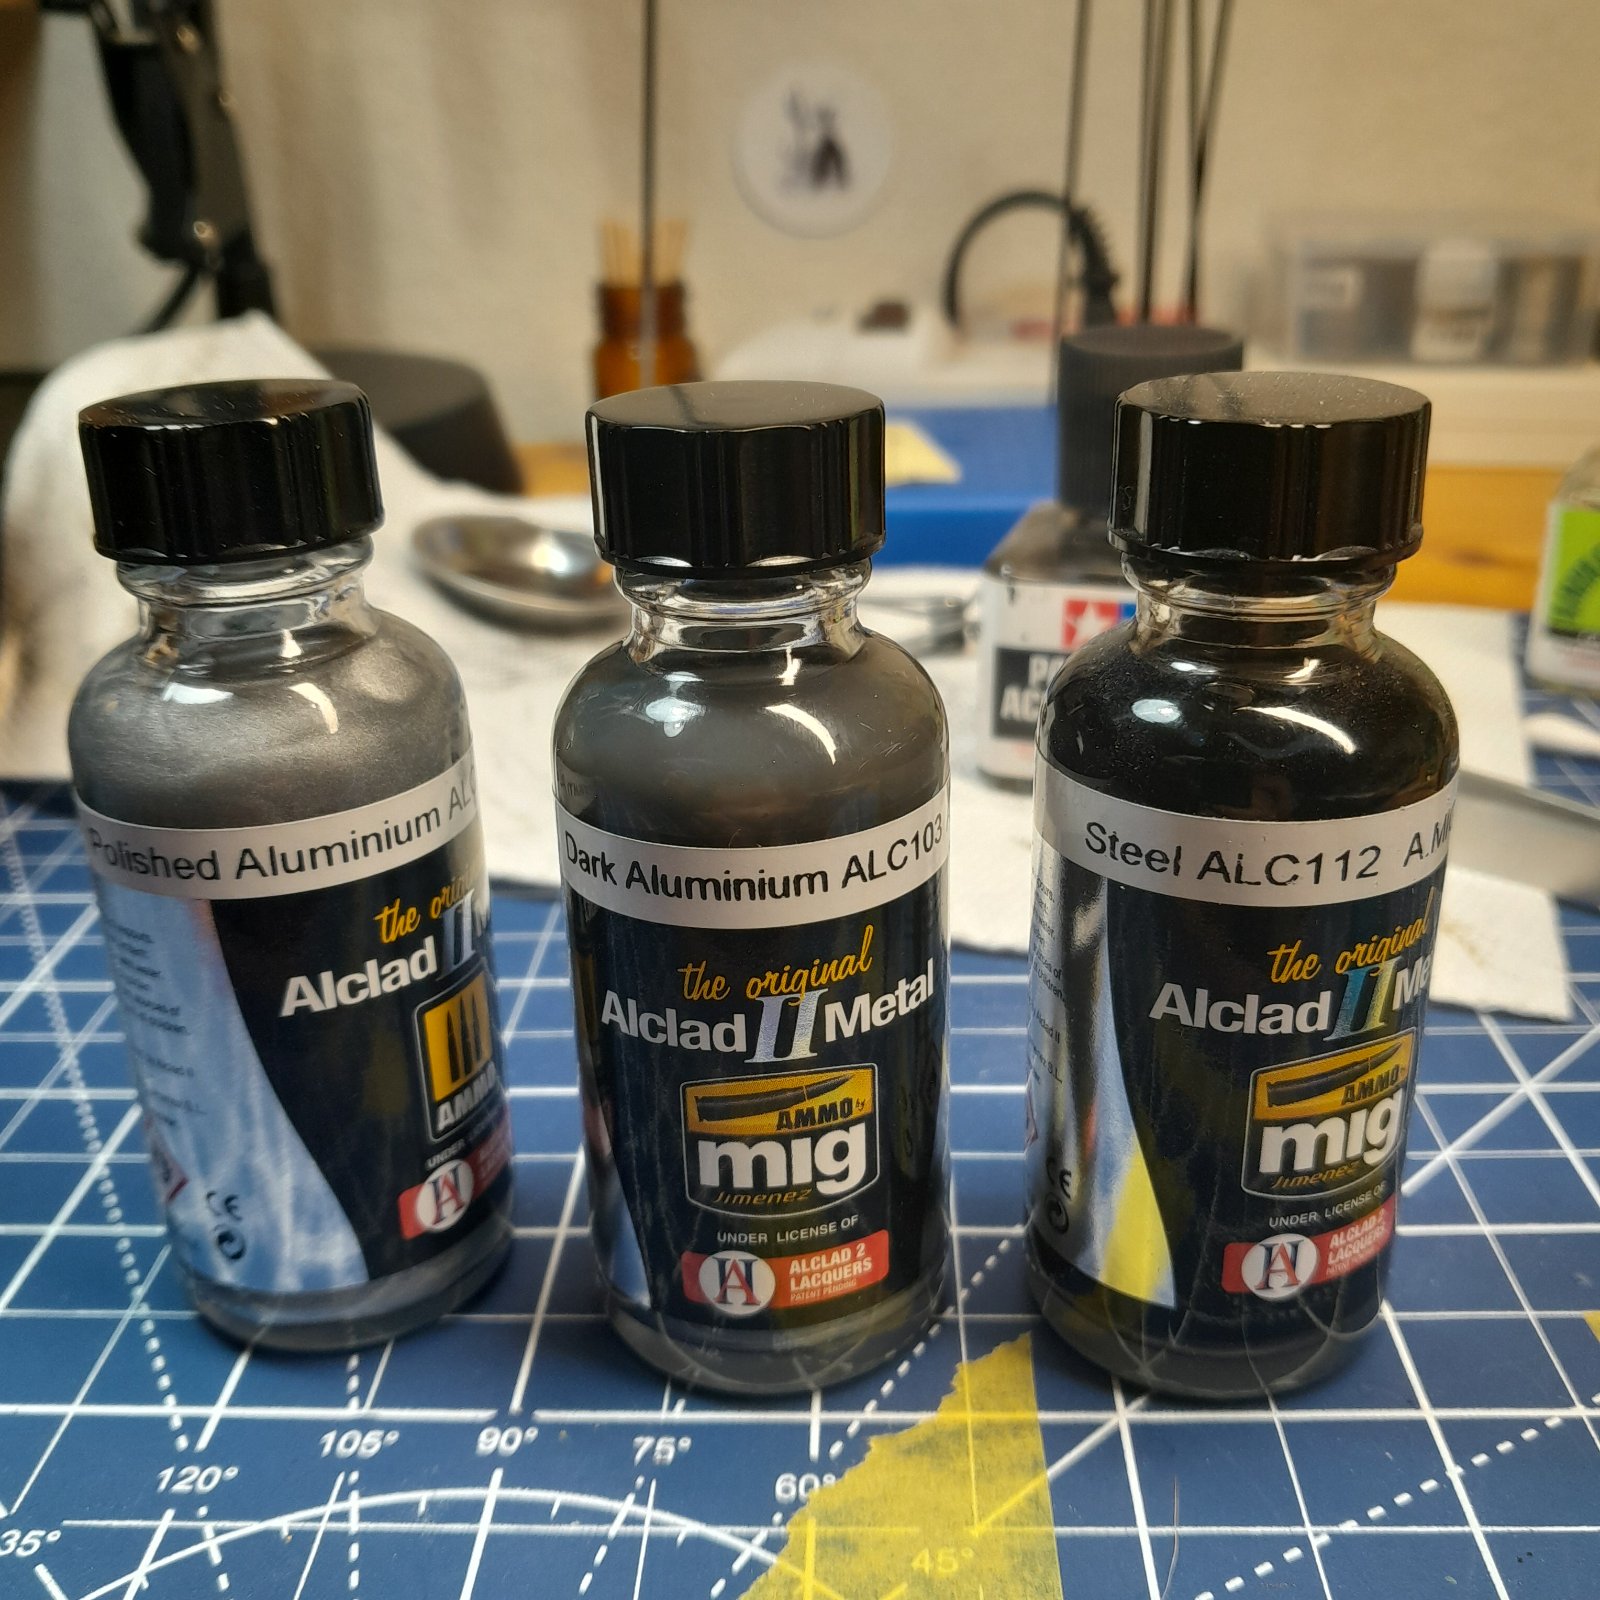
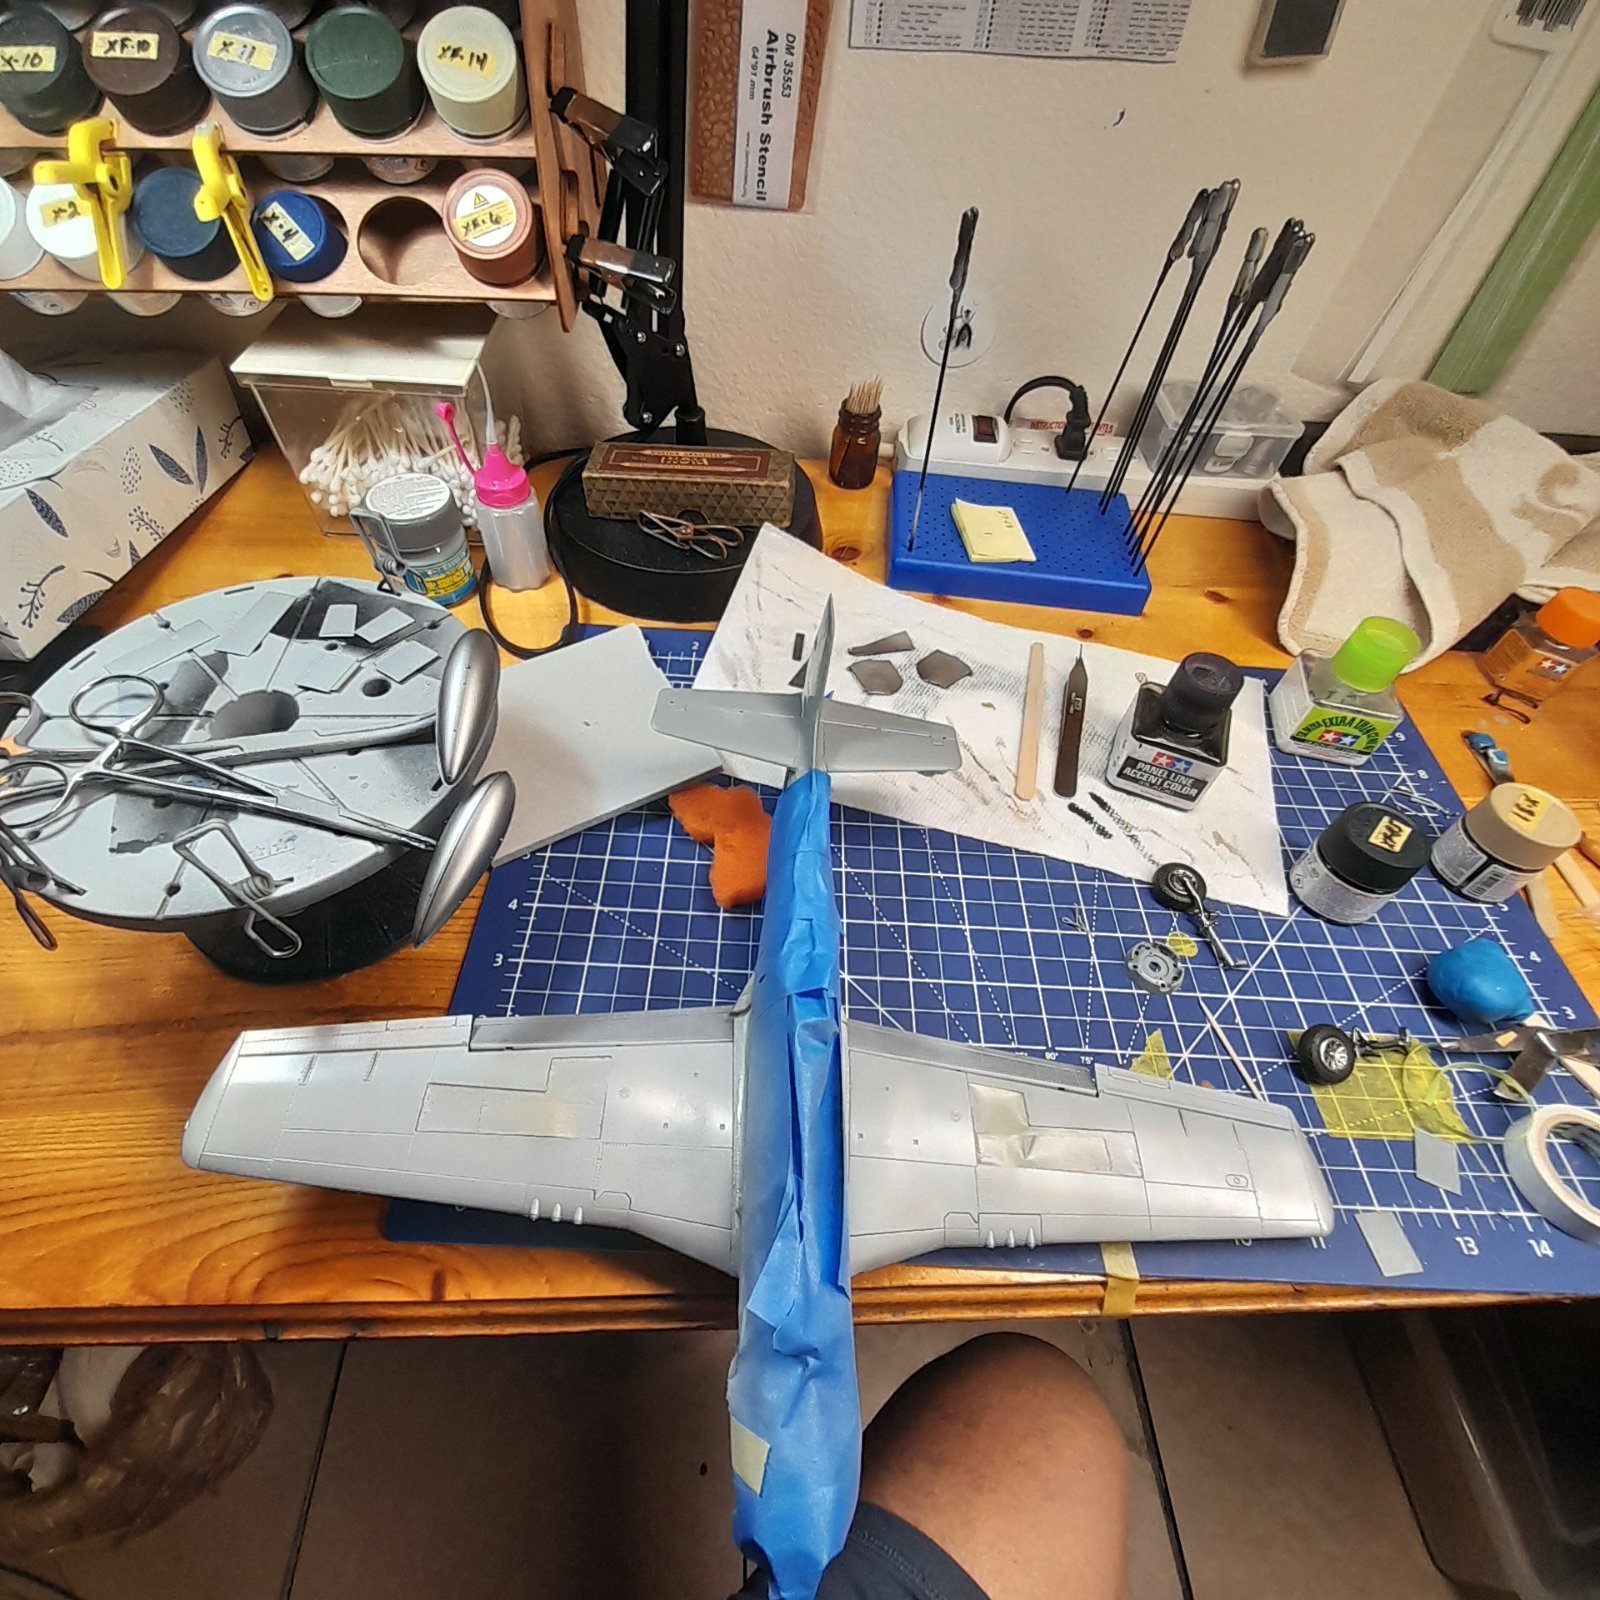
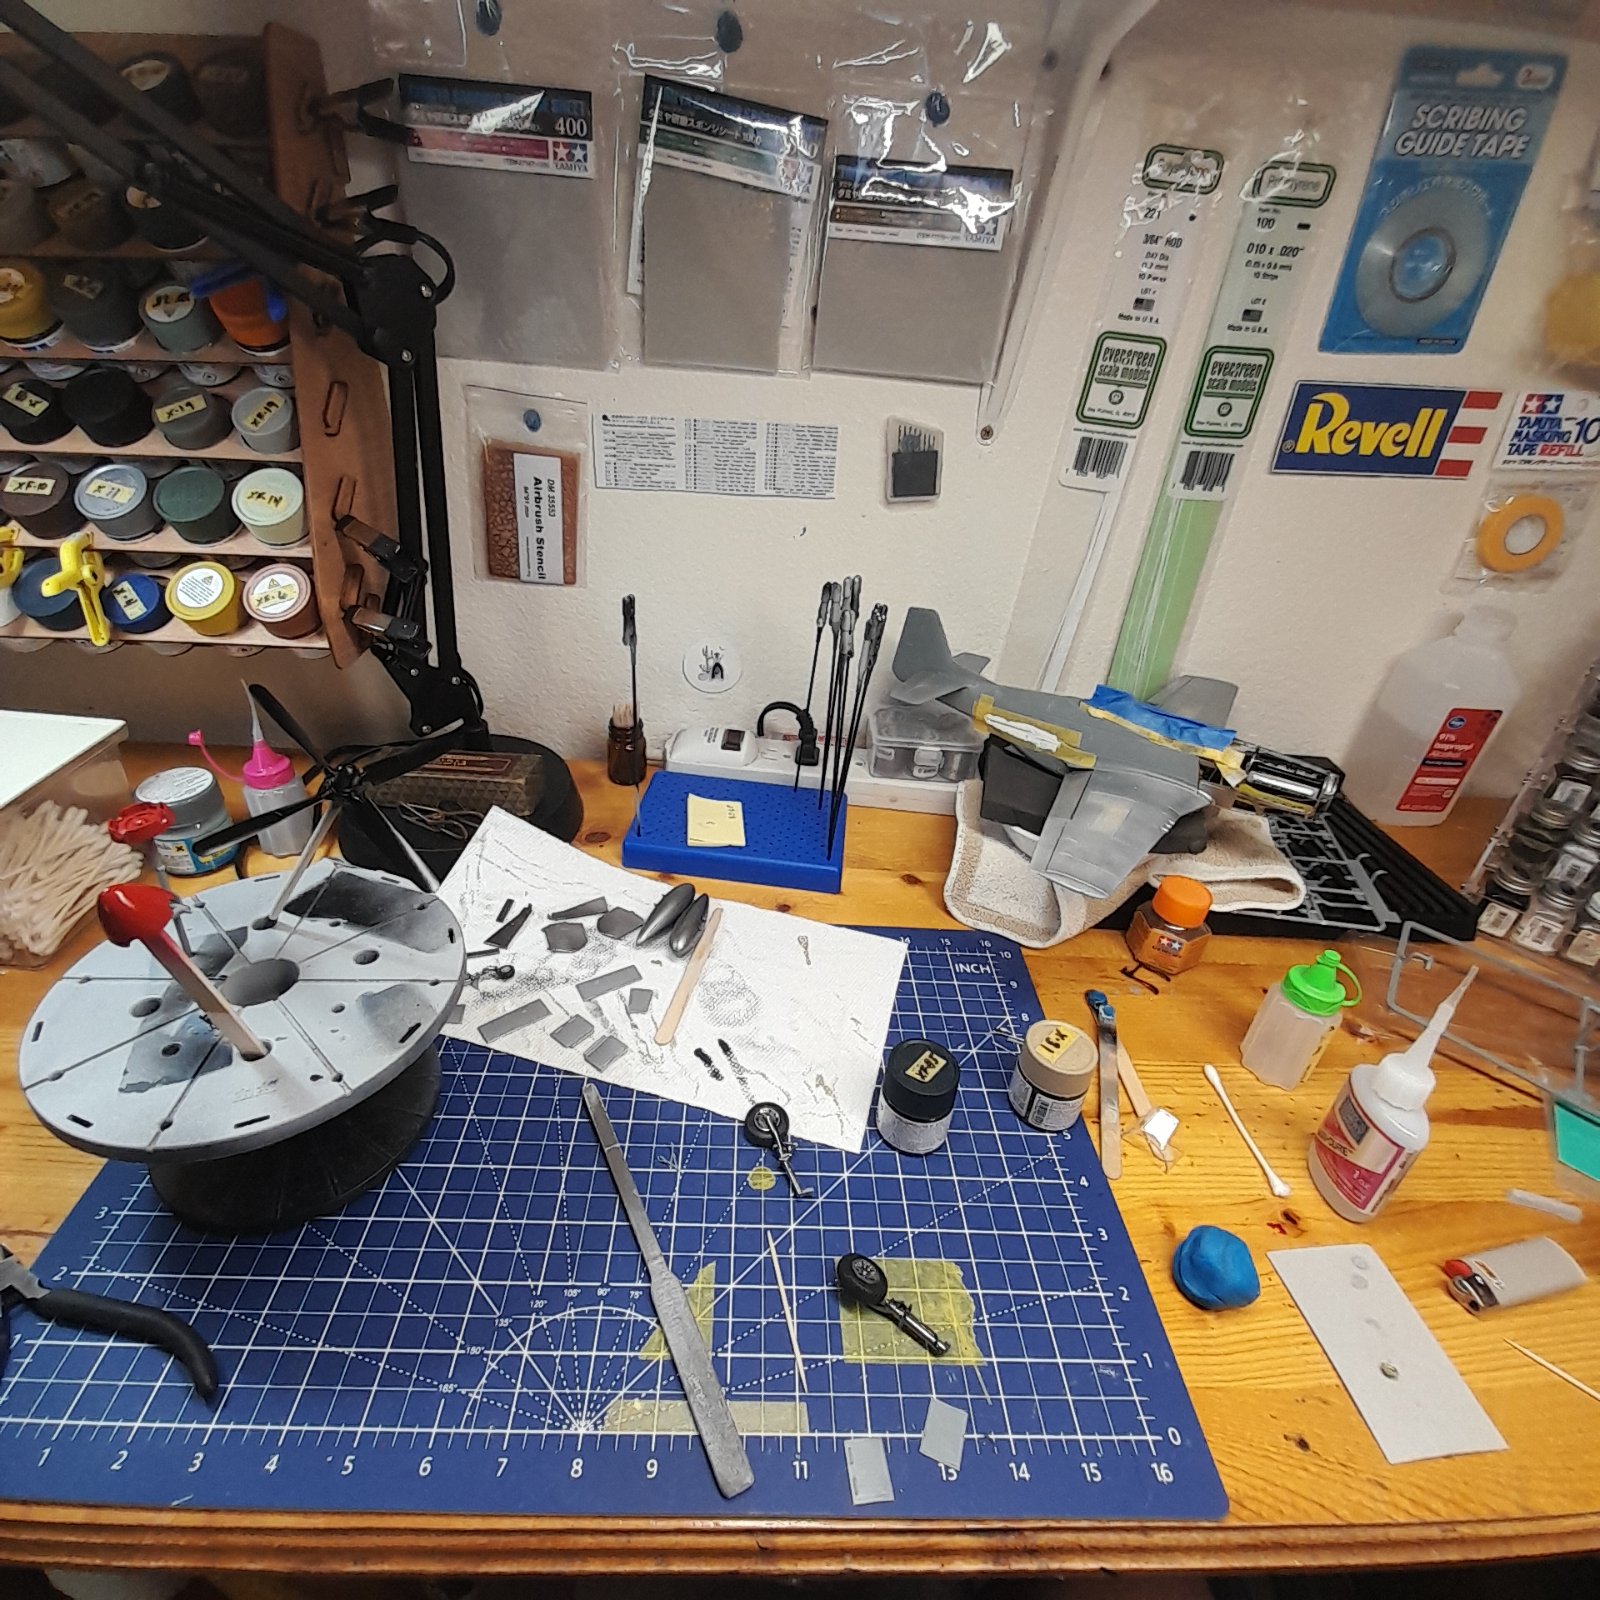
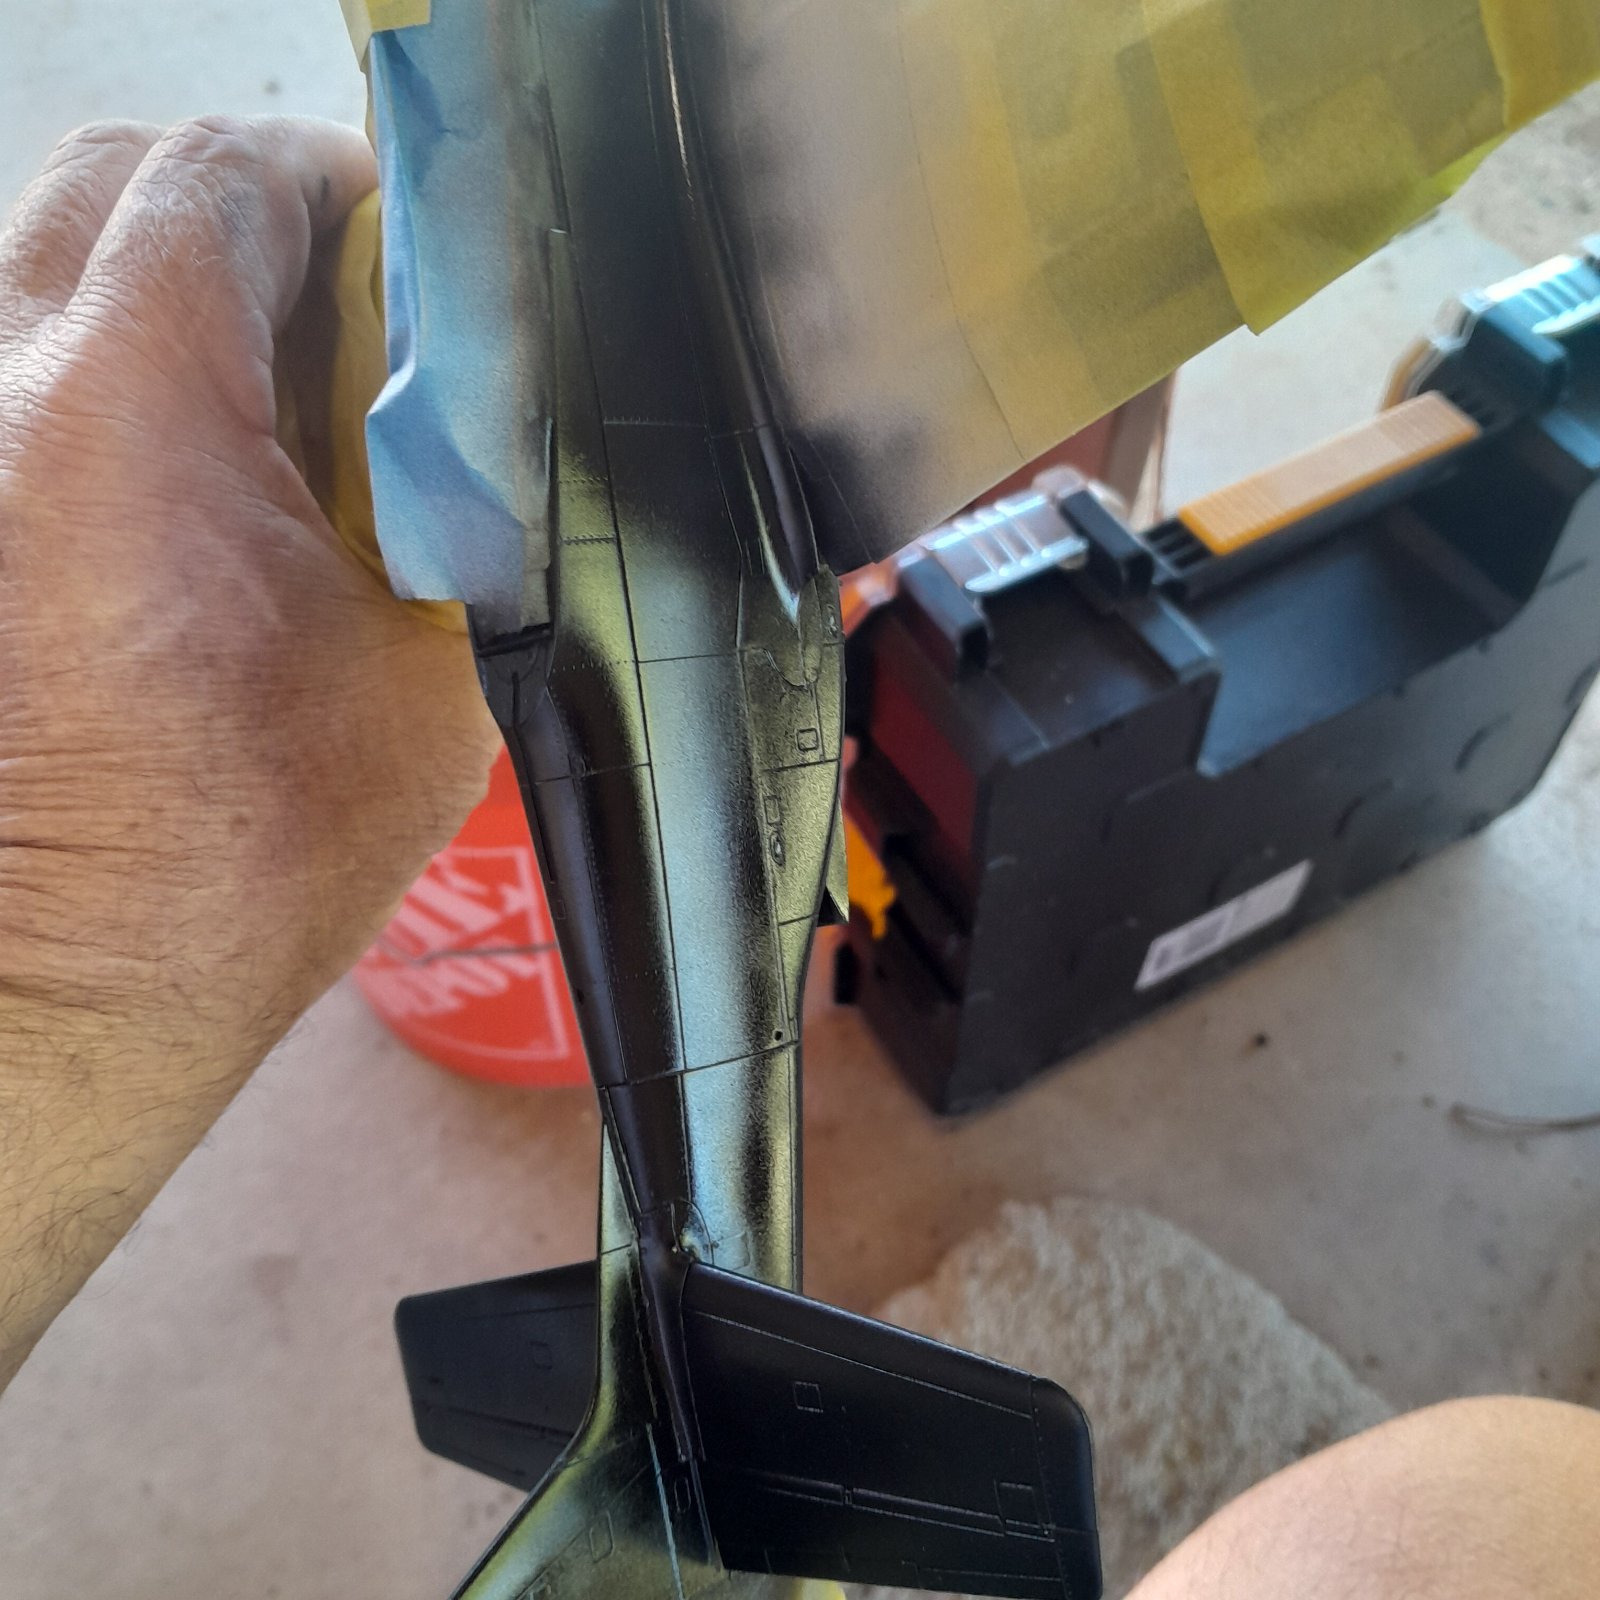
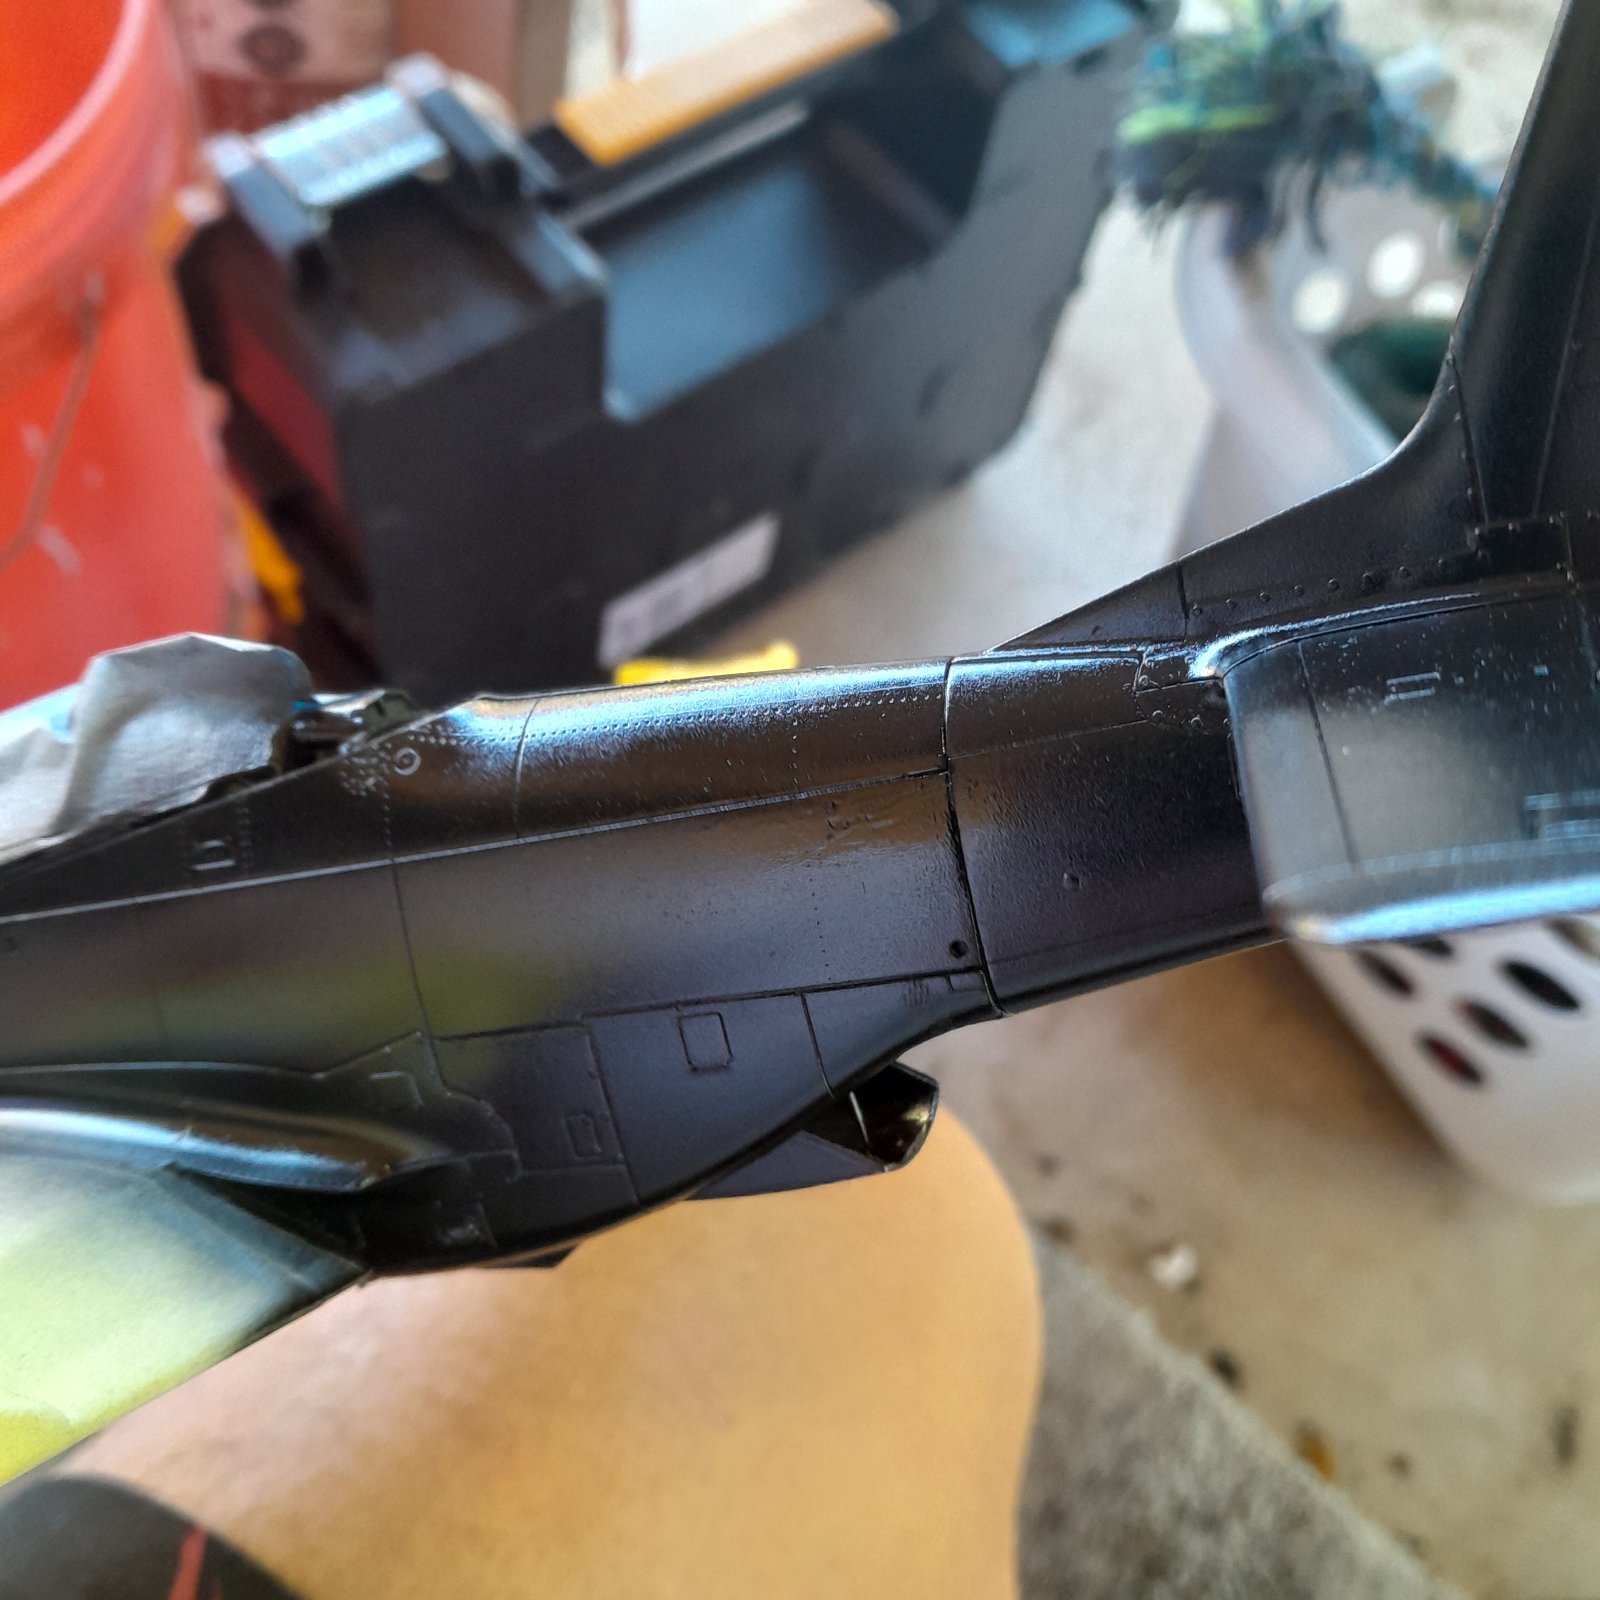
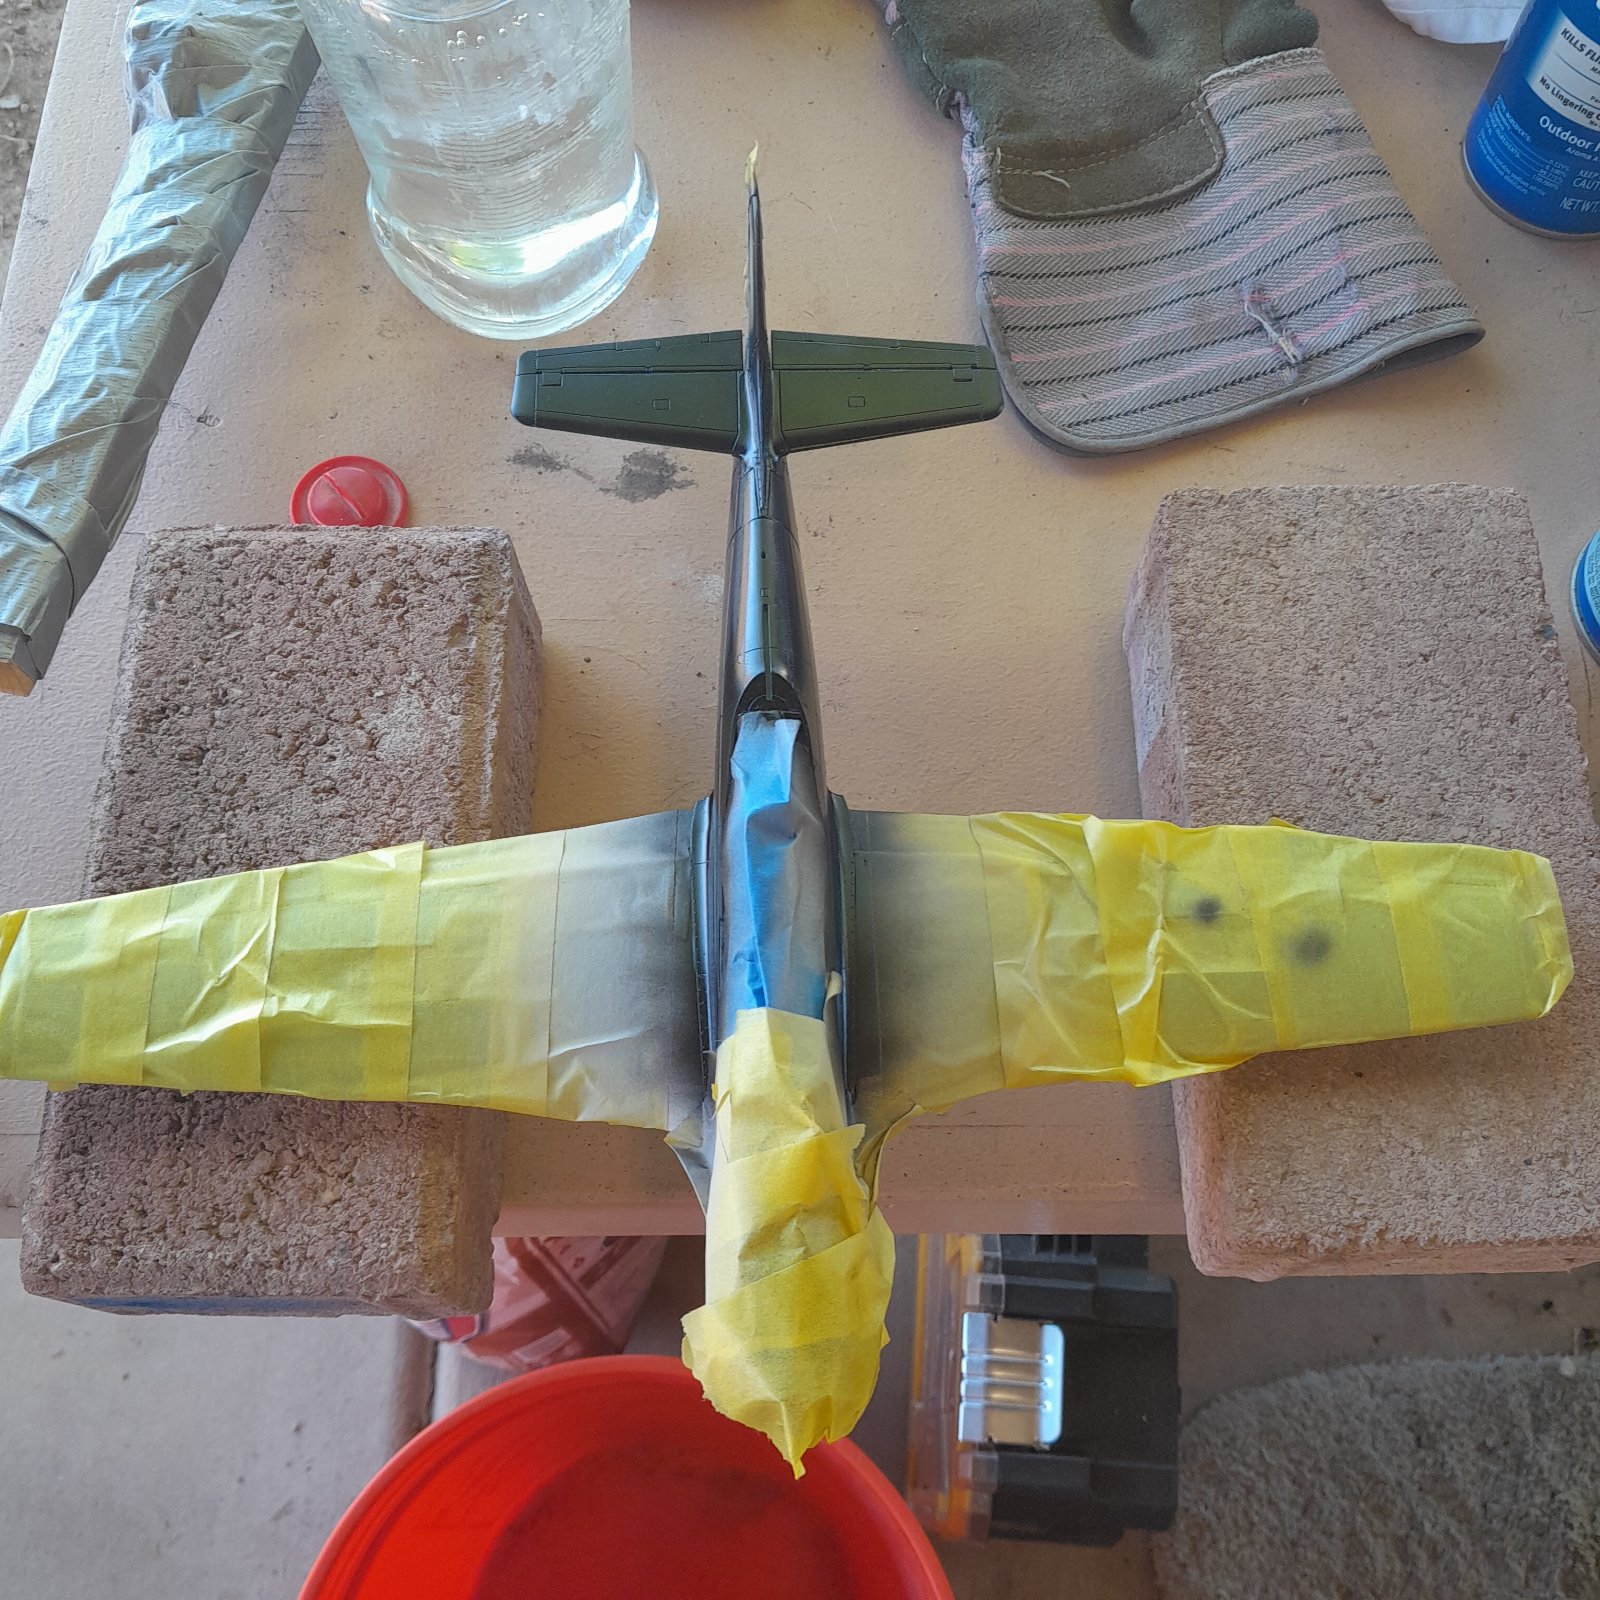
You're not wrong.Yes. I am really liking this all clad.


![Pampers Sensitive Baby Wipes, Clinically Proven, Fragrance Free, Unscented, Water Based, Hypoallergenic, Multi-Use, Hand Wipes 336 Wipes Total (6X Flip-Top Packs) [Packaging May Vary]](https://m.media-amazon.com/images/I/41KLBHu9CAL._SL500_.jpg)








