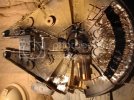
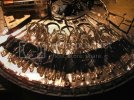
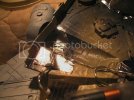
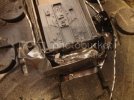
YT-1300 with blue stripes

YOULI

That which does not kill us makes us stronger !
Joined
Nov 28, 2011
Messages
947
You may know that a YT-1300 is seen briefly in Star Wars the Revenge of the Sith.
It's supposed to be the Millenium Falcon, I choose to see in it another YT-1300, anonymous, with blue stripes as a decoration.

Why do I choose to do it : first of all i've got a bunch of Millenium Falcon, including the 1/72 FIne molds model, but also a tiny version from the Rebel Base, a Cut away model from AMT, the revell's (done)... Second : I received a package from a friend (Bordeaux, France, the town of good wine even though I do prefer the wines from Alsace).
The lot he send me included a Terminator (1/9, Halcyon), a Klingon Battlecruiser (movie), a X-wing (small version AMT) and a very damage Falcon (AMT). All the kits are partly, and poorly done. It was a gift and since i'm famouse with my Sci-Fi model making, doing miracles with leftovers, my friend choose to send me those.

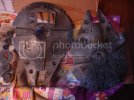
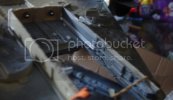
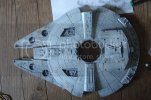
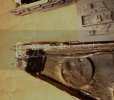
The Falcon though, a very big felow, was VERY damaged. The plastic is old and fragile, so the hull broke during its journey to the mountains.
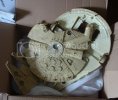
DSC04676-1_zps38911c14.jpg

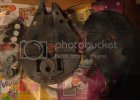
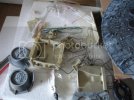
THe model kit was done, built but incomplete, and painted only on a few spot (black, maybe charcoals black, don't know, it fade away with simple hot water). Some battle damage are visible, I will keep some, erase others. But, mostly, some clues indicated a very old model :
- the dust, nearly 2 or 3 decades of dust
- some parts were unknown to me, then I discovered the light system included in the very first edition of this kit
- even broken the batteries socket and the switch were recognizable
- the glue used here was not model kit cement, it's yellow, and not very effective here.
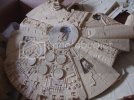
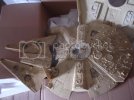
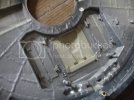
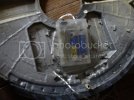
DSC04678_zpse2e708cd.jpgDSC04679_zpsb63bac18.jpg

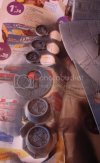
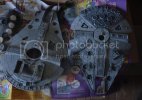
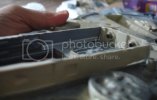
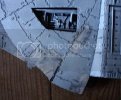
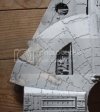
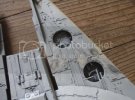
The landing gears are missing, the panels are glued as hell, clearly neoprene, a poor choice for a not very inspired modelist from the 70's.
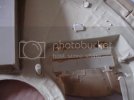
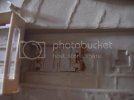
DSC04682_zps1e3c3cf5.jpgDSC04681_zpsbd589813.jpgDSC04680_zps9665002c.jpg

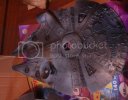
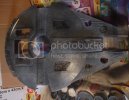
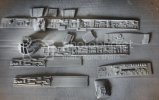
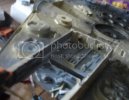
In fact the plastic is so old that it break easily, the parts felt right as if they wanted to be removed.
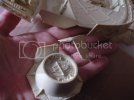
DSC04683_zpse8cc23b5.jpg

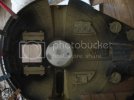
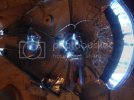
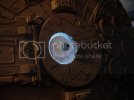
Here is the old electric system, for two big batteries, the switch was inluded in the kit, in the rear section, and the light bulbs were still here...
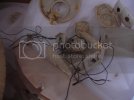
DSC04684_zps1da4ed59.jpg

Surprise : it works ! Even though I don't think I will have any use for this antiquities, it's good to have option. l.
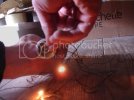
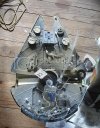
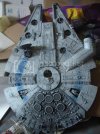
DSC04705_zps81d025e5.jpgDSC04706_zps4dc99178.jpg
 
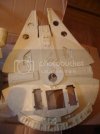
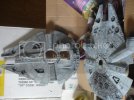
First step was, obviously, to glue together the big hull parts, as weel as I can do it. Though I late the trenches as is to work on it later. I intend to cut in it to obtain a more accurate profile for this YT-13000 (the AMT model, and the Revell too, are too thick). Also, I need to let it open to place a new electric system, a simple christmas lights, to lit the starship. That will be used to lit the engines, the front lights and the cockpit.

DSC04711_zps2380acdd.jpgDSC04710_zpse312f9e5.jpg
DSC04707_zps0b76e1bf.jpg

I used some Citadel Color Spray cans to paint it all in black, once the parts glued and dried.

DSC04718_zpsf0200af5.jpg
DSC04716_zpsdb6fab4e.jpg
DSC04715_zps54b06721.jpg
DSC04714_zps46ae9f06.jpg
DSC04713_zps5c7261a3.jpg

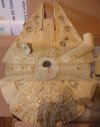
Still wet, the paint receive a white coat too, to obtain some dark grey. Later another coat to obtain a lighter grey. Some dray brush has been done with a biiiiiig brush, and some Prince August light blue grey color...

DSC04720_zpsd0a443d3.jpgDSC04723_zpsfc1fb091.jpg
DSC04724-1_zpsed8a3363.jpg

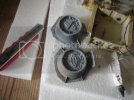
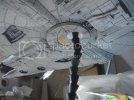
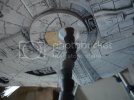
The doking rings have been painted as well, even though I regret not having engrave, or glued, some details on it. The electric system is down but the broken parts will be used later :)

DSC04726-1_zps217ba03f.jpgDSC04725-1_zpsb094a1b5.jpg
 
Thanks ! ;)

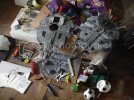
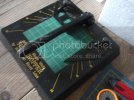
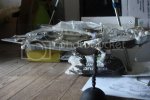
Don't have any spare place on my improvised workbench for the moment so I work on the ground. I glued together some parts that could be done. Even some clear plastic coffee spoons for the engines.

DSC04776-1_zps3e20808b.jpg

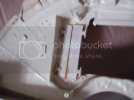
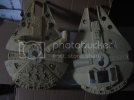
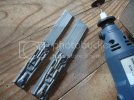
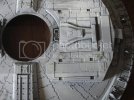
I said it, don't want to have this kind of thickness here. This YT-1300 need a diet. Will cut off with a dremel and some sanding. On the left the modified part, on the right the original part. The other parts wuill be more complicated to do, maybe some puzzle work since I want to preserve some details. It's not a perfect and right work but it will do since I intend to add details everywhere.

DSC04731-1_zps7ef04a36.jpg

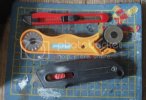
My tools are with me. Took them in Paris, it was tough but i finally made it. Very useful since, without the billions of spare-parts i've got in Paris, I'll have to improvise and adapt the many objects I've got around me.
"Poverty is mother of ingenuity" :)

DSC04728_zps041a8c9a.jpgDSC04727-1_zps36786e76.jpg
 
Thanks Quaralane. the model evolved a lot this past few days (it's easter, nothing to do really in the mountains), will post some updates later :)

Be here we go, resuming this WIP :)

As I said, it's not always correctly cut. This part was th one for the switch. It was cut in length and high. Some detail part was cut accordingly to fit somewhat here. As I'll detailed more the trench I'm really not worried about the way it looks for the time being.
I can't get rid off half of the thickness of the ship but 40% should be enough to do the trick.

DSC04798_zps1e169314.jpg
DSC04795_zpsf600bc42.jpg

The mandibles were not easy to glue on since I cut the part that helped it to stay put. So I used some other parts, from the Batteries block, and was happy to see it fits almost perfectly. The metallic part, rusted, was left as is, even the holes will help to see some lights from there.
The fun part is that actually a clear part was the original one so, somehow, it was planned to be lighted.

Some coffee spoons to add some details, reinforced the parts, a good rubber band and a strong glue make it all fit.

DSC04794_zpsea6ceff0.jpgDSC04793_zps3bc4af4d.jpgDSC04792_zps458932bc.jpg
 
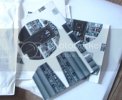
My village have an automated machine that can print photos out from various files. I tried to print some files found on internet to obtain the cockpit. This color print will help a lot and make it all simplier.
But just imagine the expression of the manager when I paid the prints, that was no holidays family photos mister ! :)
So I've got correct pannels for the Cockpit. I will, "maybe" complicate the work with some "plastic" fiber optics. I found some last week, from a broken toy, but it all depends of my mood and the way it looks like. But i'm very confident it may work. :) Even though I can simply place a light source and make some holes in the paper. :)

DSC04786-1_zpsd4b92a4b.jpgDSC04791_zpsb86fb3a5.jpg

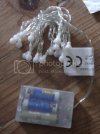
The Christmas lights, sting and powered by 3 batteries, will light the engine, the cockpit and maybe other details.

DSC04784_zps08ae7147.jpg
DSC04785-1_zps42cec7ae.jpg

Some big clear plastic coffee spoons are used to be the lighted engines. Some translucid paper found on the street at Toulouse (town in the south of France) will help to diffuse the light. Some maetallic strips will help to add details later.

DSC04782-1_zps1d848ba0.jpg
 
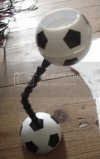
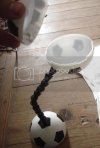
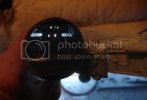
I found various object that can help me in my projects. I kinda save some broken object like this lamp or "what the heck it can be ?". I'm no fan of Football, the spheric thing have obviously the shape of a football game ball, but that will be painted in black later.

What I saw in that object ? Simply the way to help my YT-1300 to be in flight mode. Since it's articulated it will be easy to modify the way to present my model kit.

DSC04777-1_zps00b5a9ae.jpgDSC04778_zpsfee20afc.jpg

The good news is that it's a perfect fit, the right diameter ! It fits and it really works !

DSC04779-1_zpsfb0cab99.jpg
DSC04781-1_zps1f47a8fb.jpg

But you'll see soon enough I've done better since then, I've come with a solution with a bottle cap found lately. The spheric part will be used, anyway, for another kitbash project : an Imperial Probe droid.
 
Nice solutions all the way around.
Liking the idea of using the Christmas lights for your lighting. Did that with my Jilted Harlot build from the GB
 
Thanks... This kind of material is bright enough with various colors and shapes. And, actually, my choice here is to show it in convention where you can't always find electricity (cheap or free anyway). So it's kinda way to have lights whatever the circumtances are... :)

Plus : I really don't have any talent in building circuit board and LEDs... :D
 
Great work on shining up this old dog ! ;D Working off of the floor has to be a nightmare on your lower back and neck :-\
 
Actually not... I love to work like this, I have more amplitude in my movement, don't have to stand up for checking or searching anything. It's pretty much my way on doing thing for years, even though I would have loved to sit down for a change. :) :)

But there is other kits on the actual workbench, a Rancor, some buste and kellog's figures (from 1999, it's pretty good but they molded tcollector items in gold plastic...), my Valkyrie, Arcadia and even a Spartan are waiting for me to resume their building. :)
But to be honest I bought a LOT of tools, paints and stuff (sales my friends !), and I still didn't took the time to clean up the mess. Lazy me... :D
 
Have worked a LOT on the Blue Falcon yesterday. The lights are done, the cockpit almost done, the details and rods added here and there and, man, did I enjoy it ! :D

Can't wait to upload the pictures to share this with you guys.

(My cat was clearly jealous of the interest and the volume of space I took in the bedroom for that... :) )
 
The blue falcon is very fragile. Even though the parts were glued together, some mastic and sanding had to be done for a better look.

DSC04859_zpsf7fae231.jpg

And I had to cut some plastic too in order to modify the shape of the tunnel access for the cockpit. A real puzzling challenge :) Putty and sanding were in the way ! :)

DSC04870_zps84685afa.jpg
DSC04860_zps0f741773.jpg
DSC04864_zps621f25fb.jpg

Same thing for the mandibles.

DSC04862_zps3a1219bd.jpg

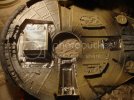
The batteries panel is finally glued, there is no way I can understand how it would have been put in place and the fragile plastic wouldn't be strong enough to be articulated as I would like to...

DSC04866_zps12067843.jpg
DSC04867_zps091d964a.jpg

The batteries will, though be placed here and the ON/OFF switch will be accessible by the "gun pit".

DSC04868_zps3fb74d07.jpg

First check with the christmas light and even some pseudo-Fiber optics, a child toy (with a clown face, urgh !). I planned to use it but make up my mind for simplier way to light the cockpit.

DSC04871_zpse6484c83.jpg
 
Cant' help myself but to try some painting and try some brush paint for the blue strips. I wanted to know if I can do it by hand or with some masking technics. It appears that with some simple focal points, I can do it easily. No need for an airbrush or anything else. But the painting will began later with various colors for the panels, washes and weathering...

DSC04872_zpsa566c305.jpg

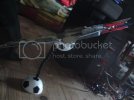
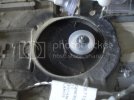
I also modified the stand made from a mysterious football lamp. The spheric part is gone, replace by a trnaslucid bottle-cap, which has the perfect size and shape to go in the gun pit window.

DSC04873_zps95da63ae.jpg
DSC04874_zps1e15db18.jpg
DSC04875_zpsf9a9a0b8.jpg
DSC04876_zps35f1fee4.jpg

It's just perfect ! :) This way I can access the batteries and the switch.
 
Here we go for the lights !
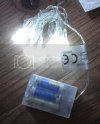
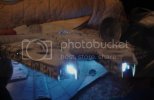
Checking for batteries and other light solution, I found another christmas light, brighter, safer (energy, 2 batteries only), and with 2 more leds. Thats' the one I finally used here.

The leds were not glued but put in place with adhesive tapes and aluminum tape. All the areas that needed lighting (engines, cockpit, position lights) are done. QUite proud of my work since it's my first atempt to light one of my model kit.

DSC04904_zps17e83661.jpgDSC04905-1_zpsd1ecdb6a.jpgDSC04906-1_zps65cf8f3c.jpgDSC04907-1_zps7278b705.jpgDSC04908-1_zps84a99c96.jpg
 
Splashcoat said:
Looking good! I love the re-purposed soccer ball stand... clever!

Thanks :) It appears to me like a logical choice. It also appear that I was right, hopefully :)
 
The result. Enlightning isn't it ?

DSC04909-1_zpsd9fbf5f4.jpg
DSC04910-1_zpsa823785c.jpg
DSC04913-1_zps0061aa0c.jpg
DSC04914_zps8da6afd5.jpg

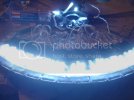
THe Cockpit. I made holes here and there in the cardboard, in the printed photo of the access panel. The light band is a cut part I replaced by... Coffee spoons :) I had to put this somewhere, it's kinda my signature. :)
DSC04912-1_zpsad36d118.jpg

Light leaks are bloked with aluminum stripes...

DSC04915_zpsc418e15f.jpg

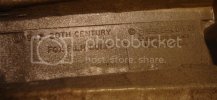
BTW, the proff that the model kit is VERY old...

DSC04916_zps4c9eca8d.jpg
 

Latest posts

Back
Top