What are you working on right now?

Scale Model Addict - Model Tips, Guides, Tools & Tech, Tutorials, and Community

Help Support Scale Model Addict:

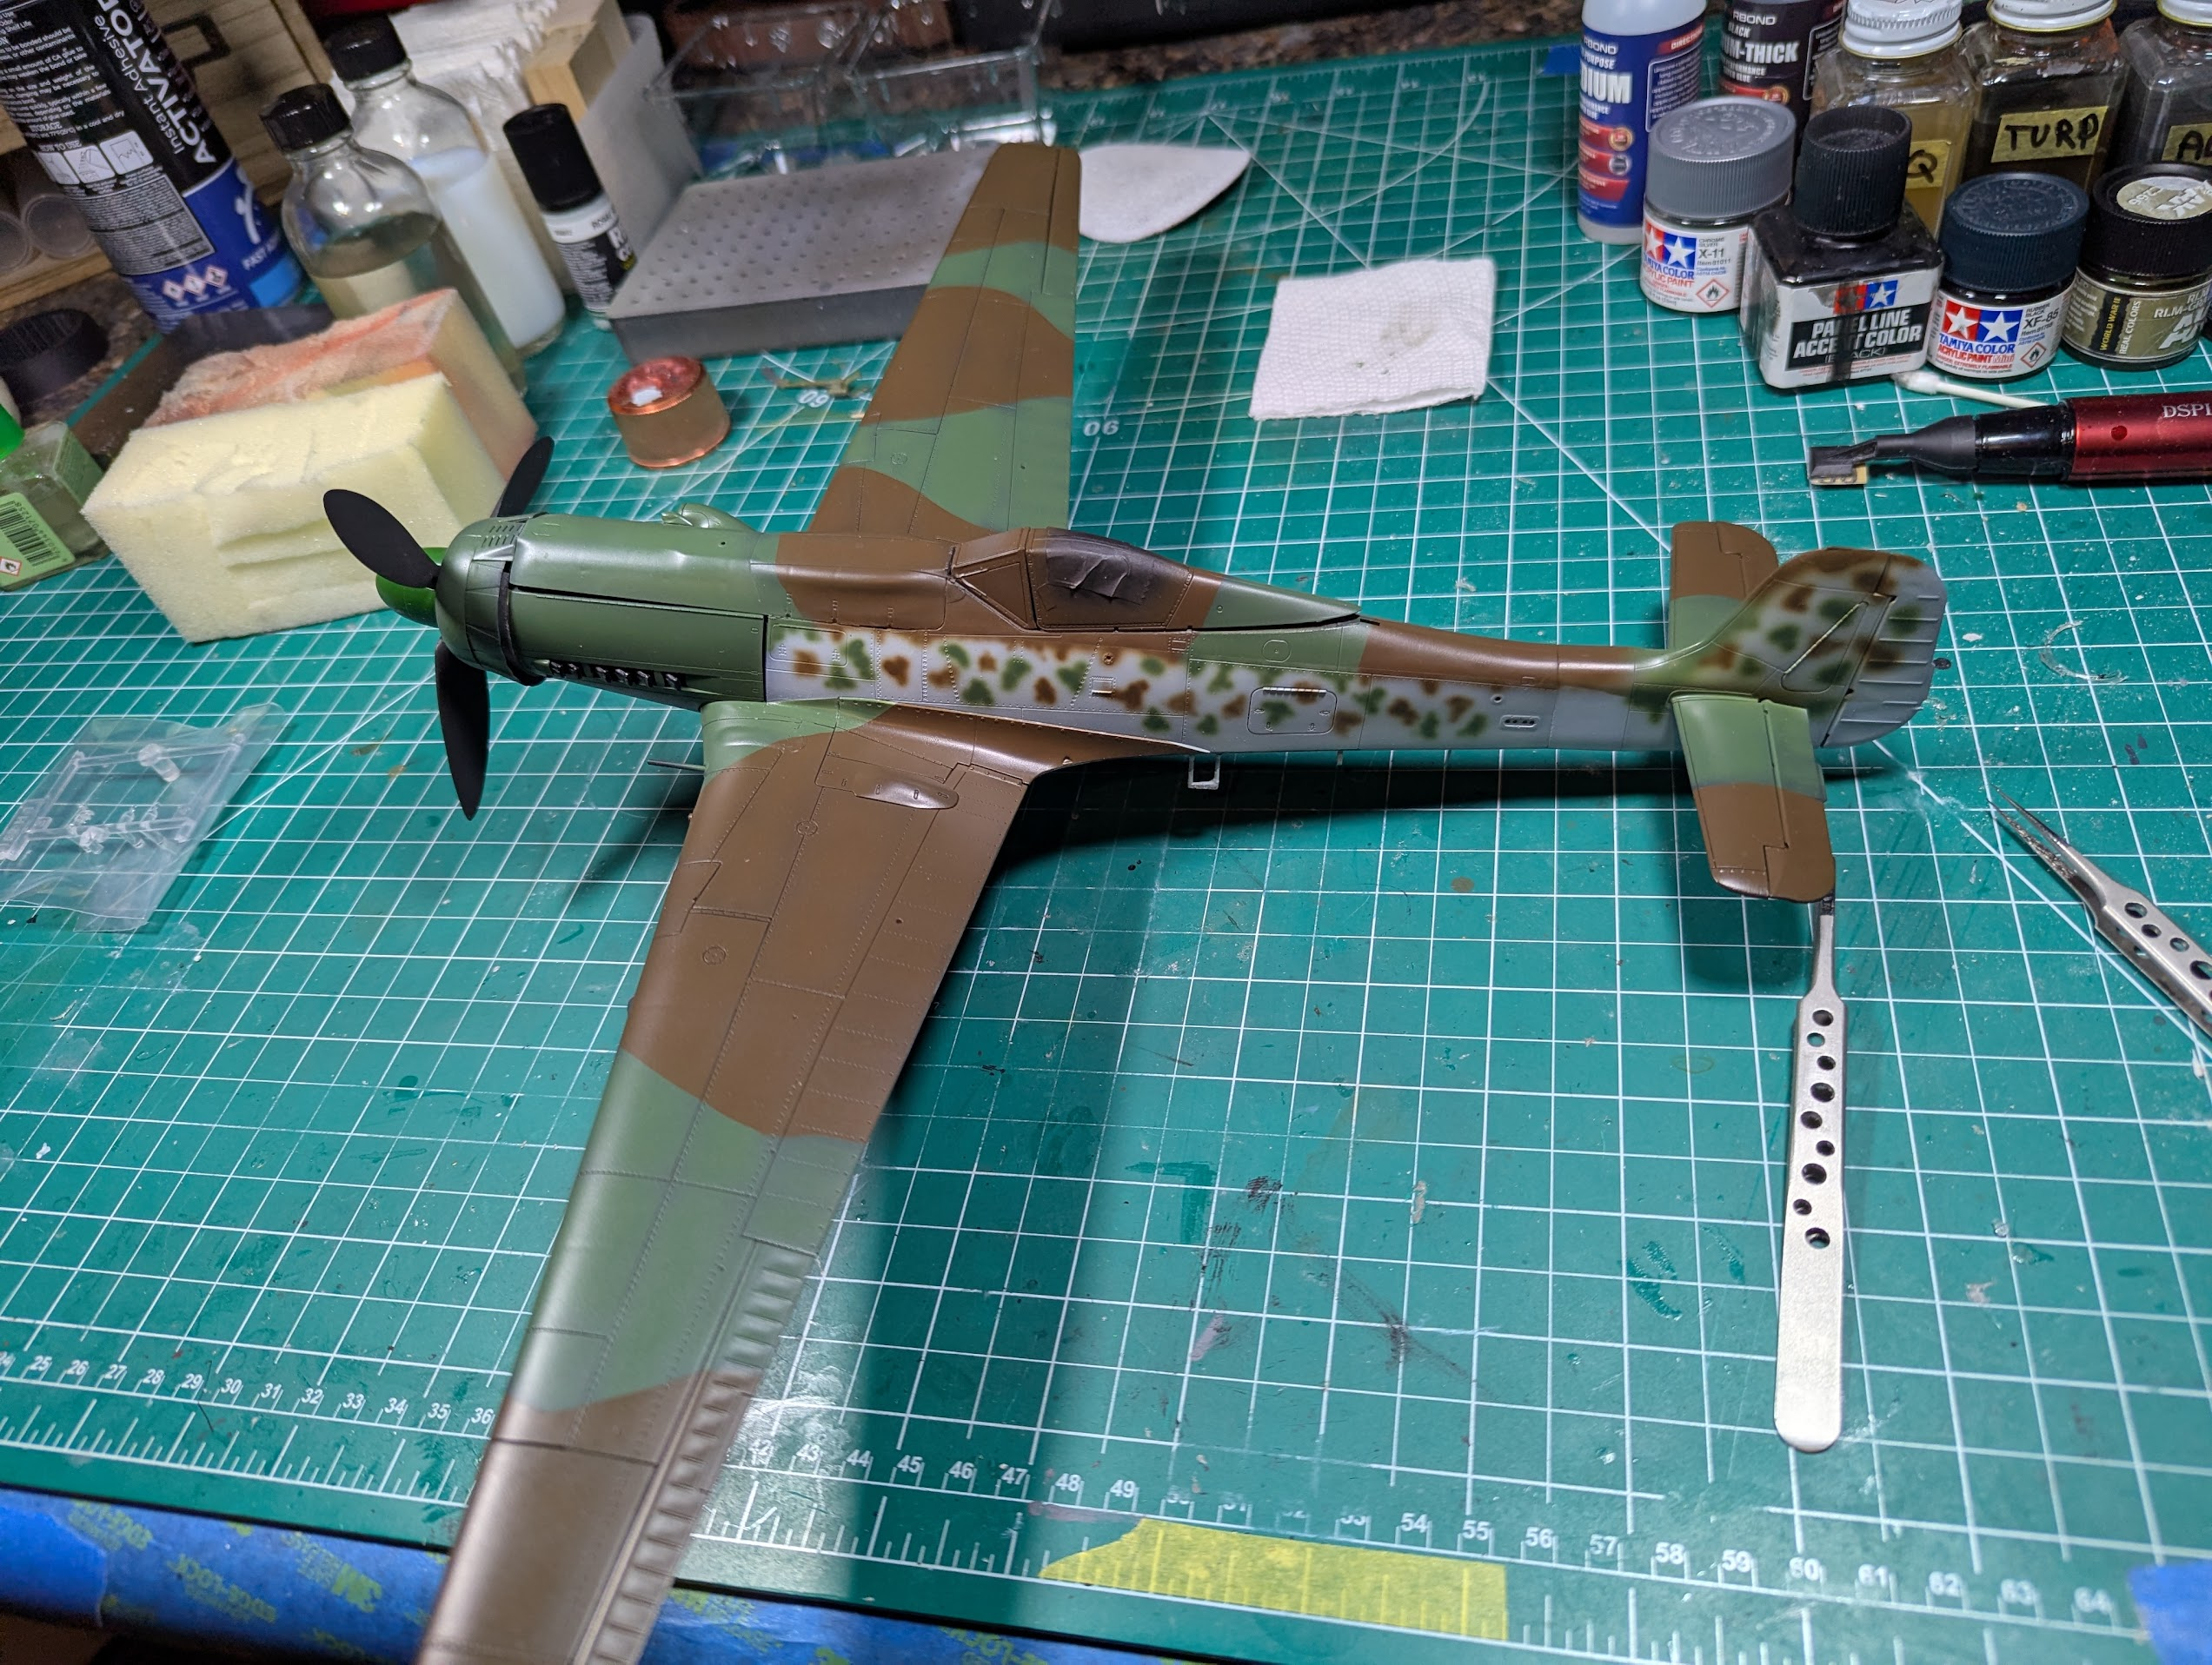
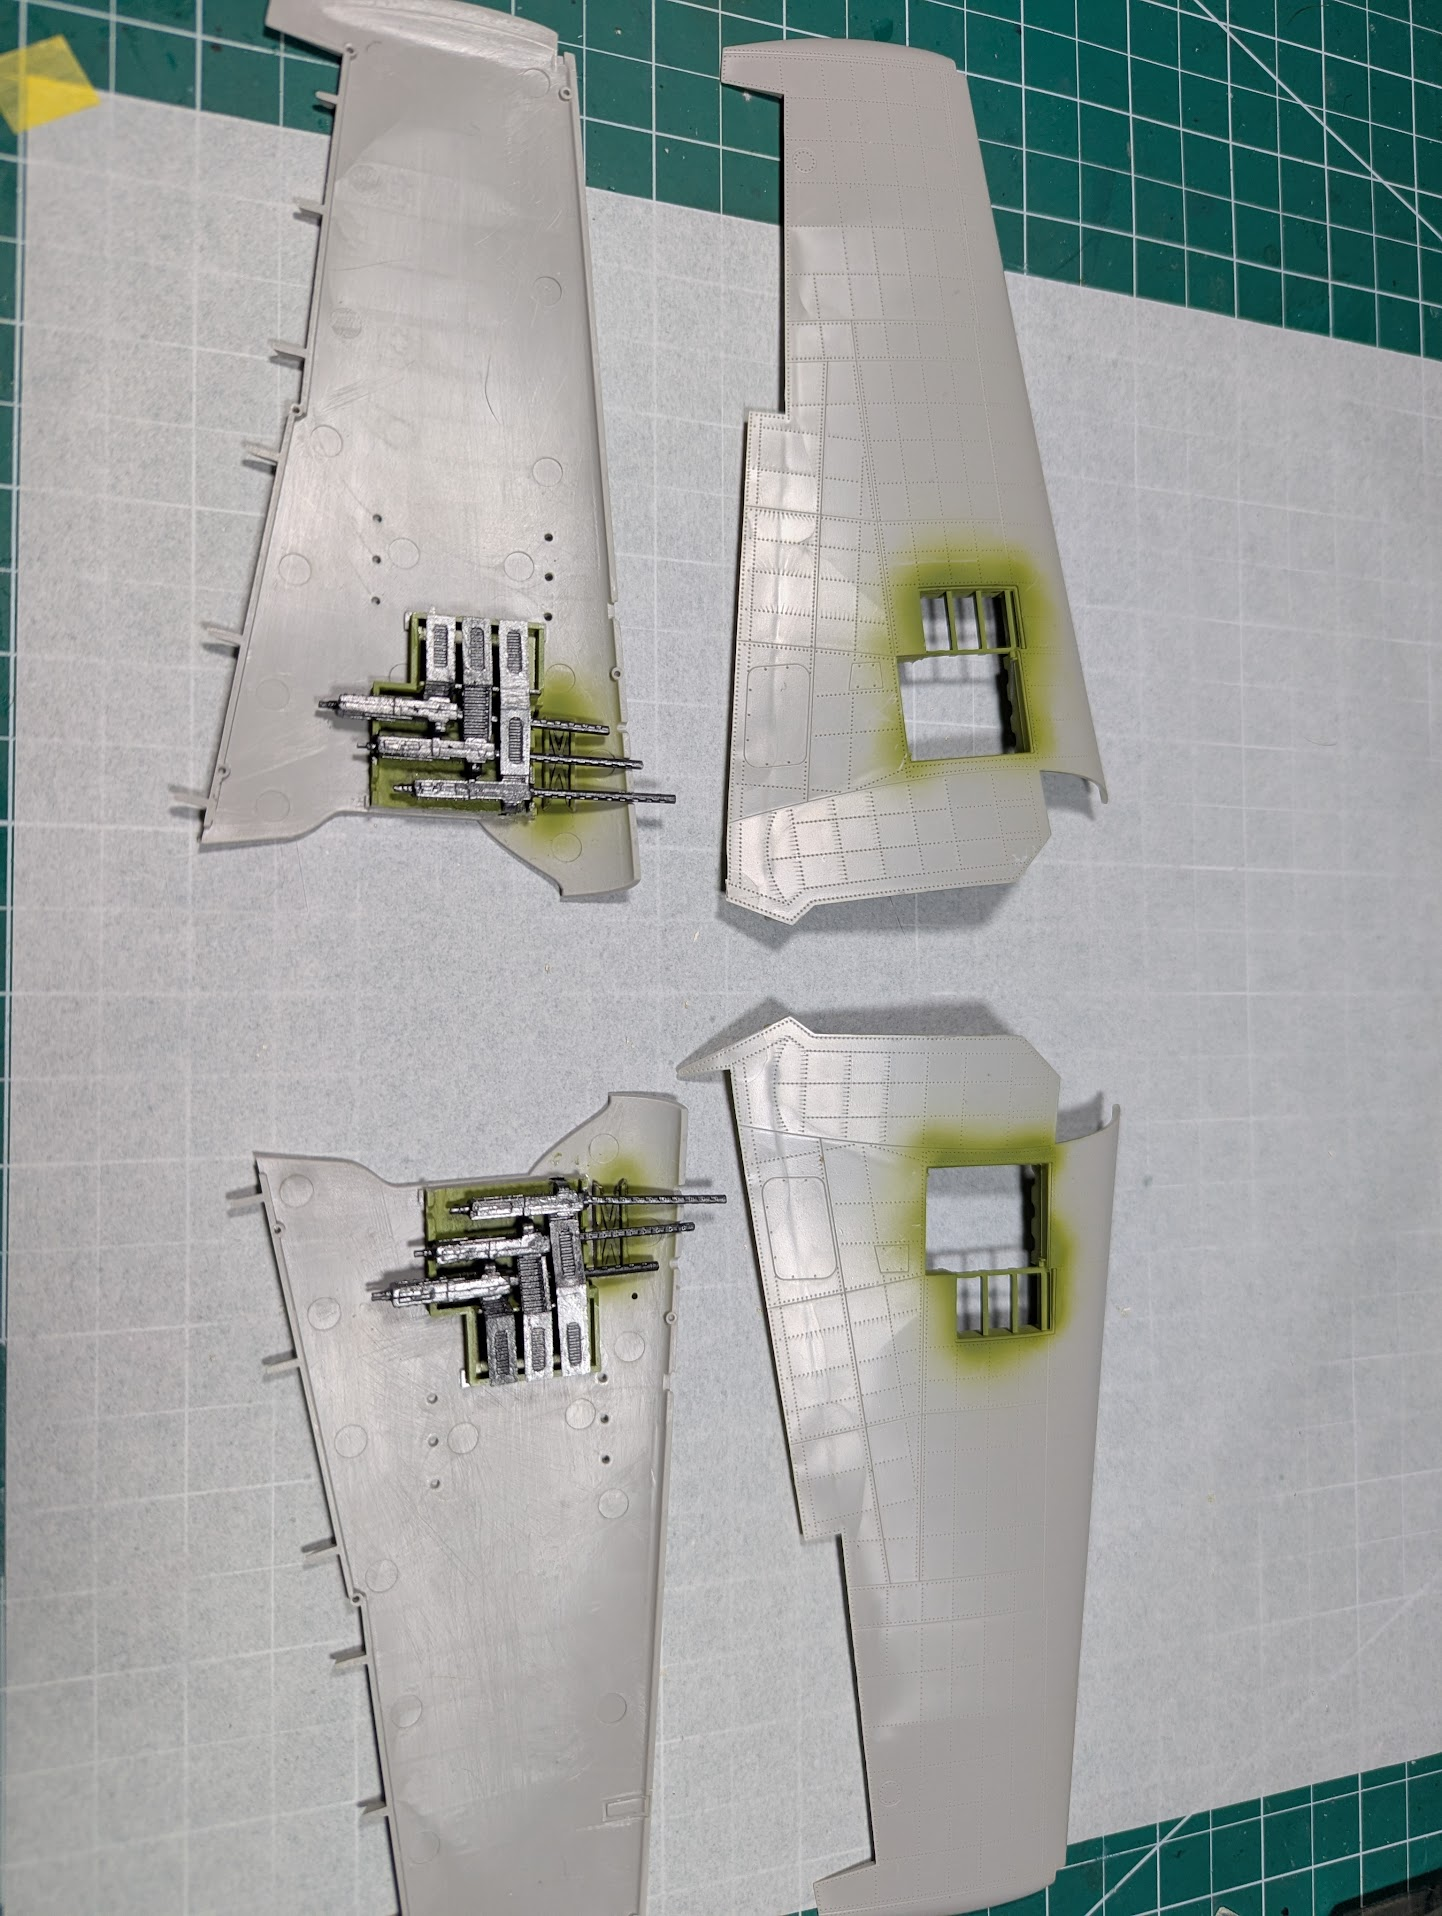
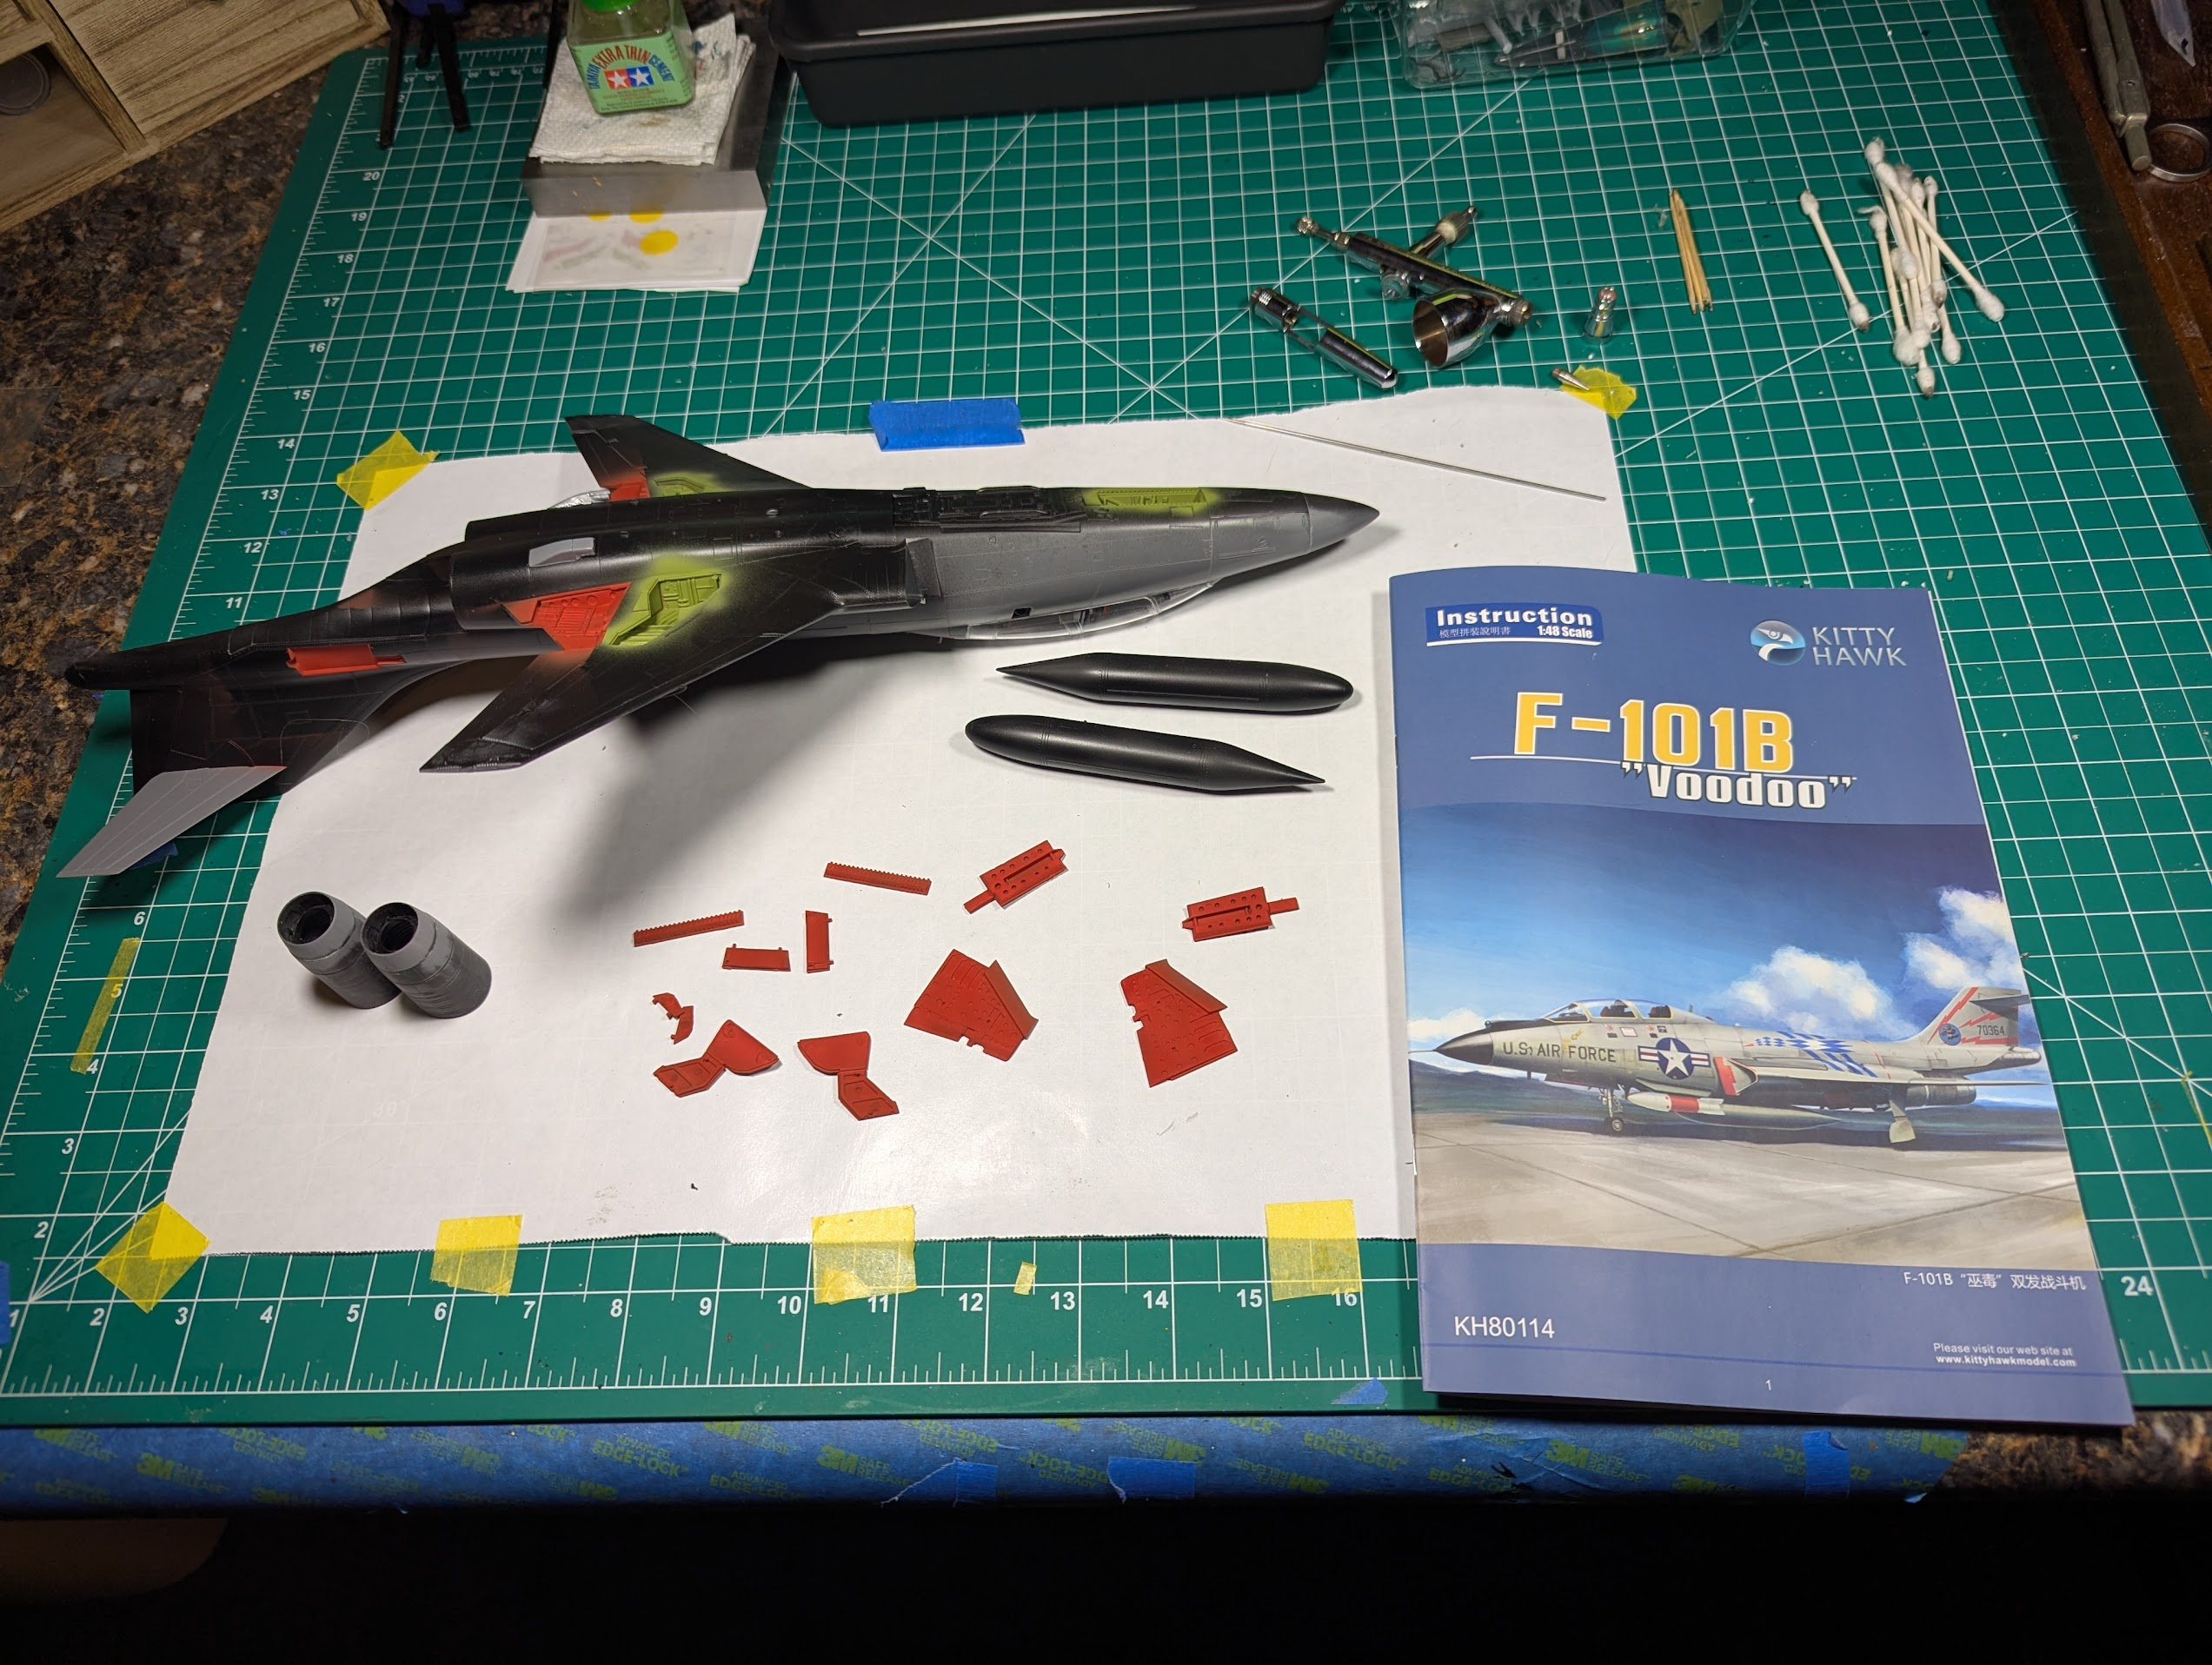
Back on the bench, after several months...

1776305139123.png


1776388047854.png


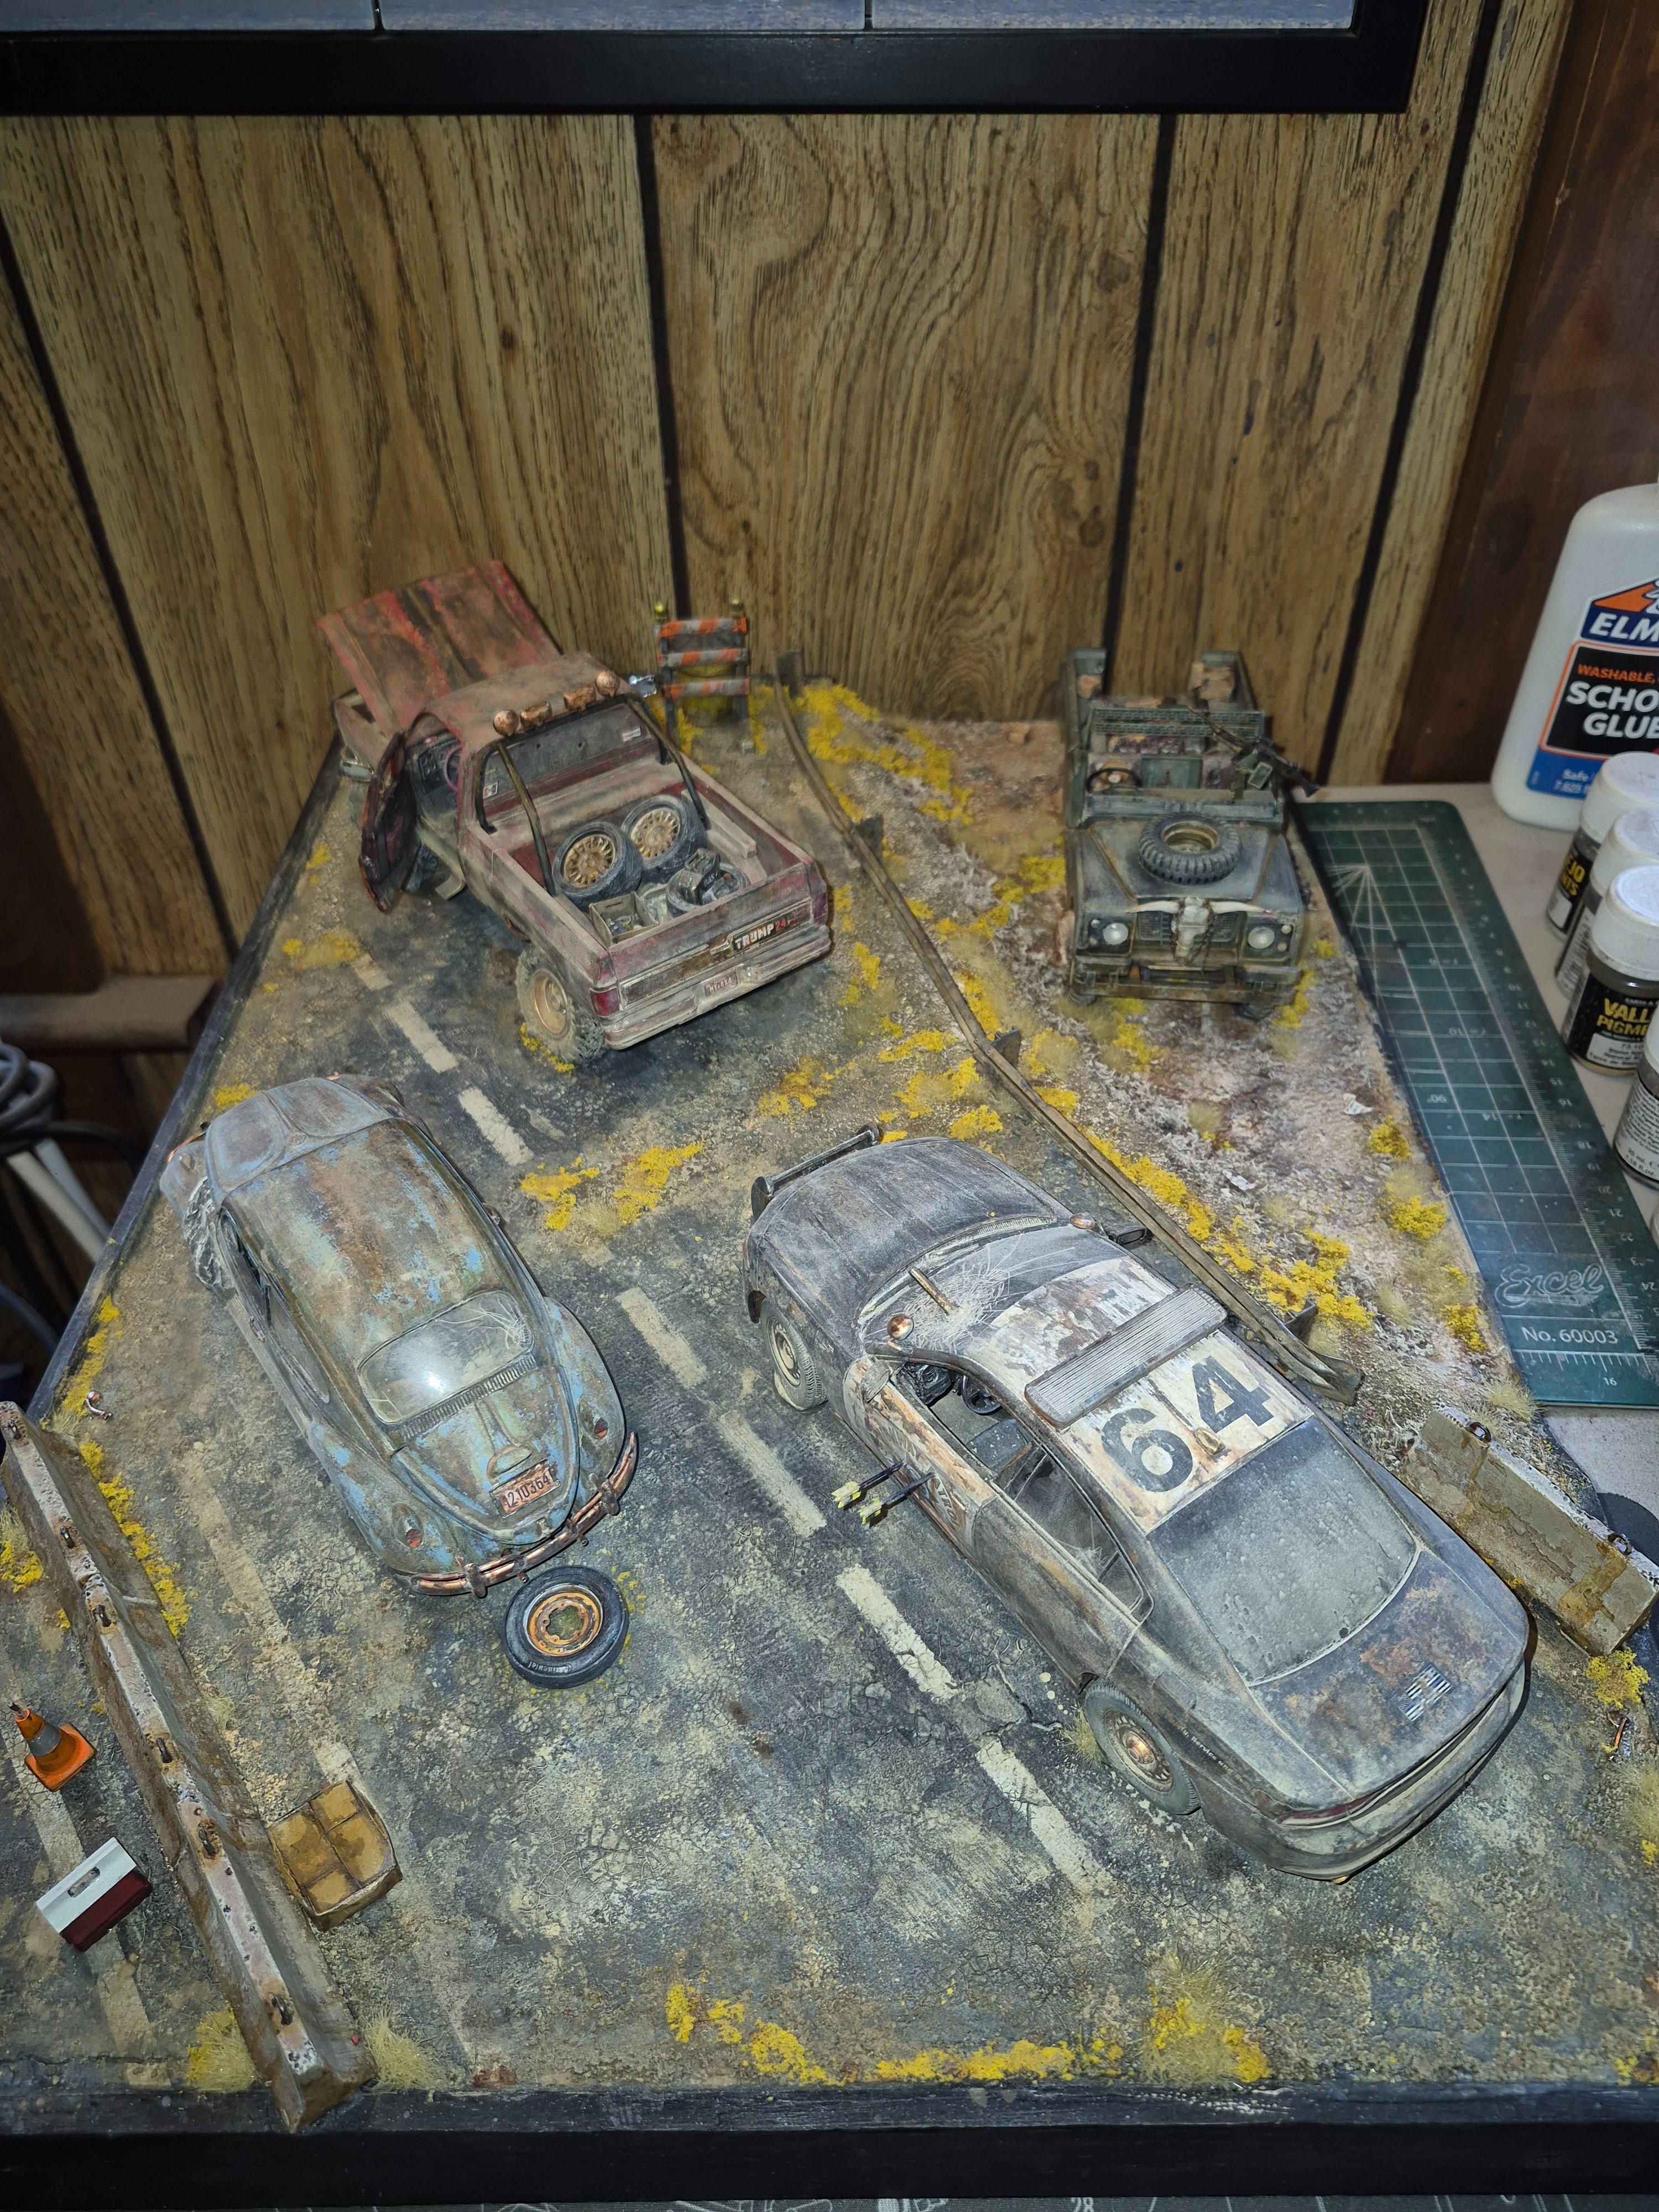
1776388033150.png
 
As an Amazon Associate we earn from qualifying purchases. Product prices and availability are accurate as of the date/time indicated and are subject to change.
Get real close (between 1/4 and 1/2 inch), lower pressure to 15 PSI, barely release the paint.

Practice on scrap. I use cardboard which is not a perfect test because it is absorbent, but I'm testing the spray pattern not the thinness of the mixture.
 
...AB still so new... Haven't quite figured out how to work the relationship between paint viscosity, pressure, needle size and distance.

Besides practice on card, I think I'll build a mule to experiment with all these techniques!
It's about 60% science and 60% art … :D
 
I spent today working in the driveway and outdoors. Yes, it was related to models, but only indirectly.

I bought a display case a while back. I found that the "curio cabinet" I found cheap on Facebook marketplace was great for 1/48 aircraft (single engine and jets), 1/32 single engine WWII aircraft, and 1/35 armor and 1/12-1/24th cars, but was too small for multi-engined 1/48 WWII bombers or anything bigger. I think it was intended for figures, Gundam maybe, or doll-collectors, because there was 12 inches (sorry @Jakko LOL) between the shelves.

So today I used my router table to cut some plexiglass, and my tablesaw to rip some 2x4s, and make it more suitable for model airplanes.

1776638493915.png

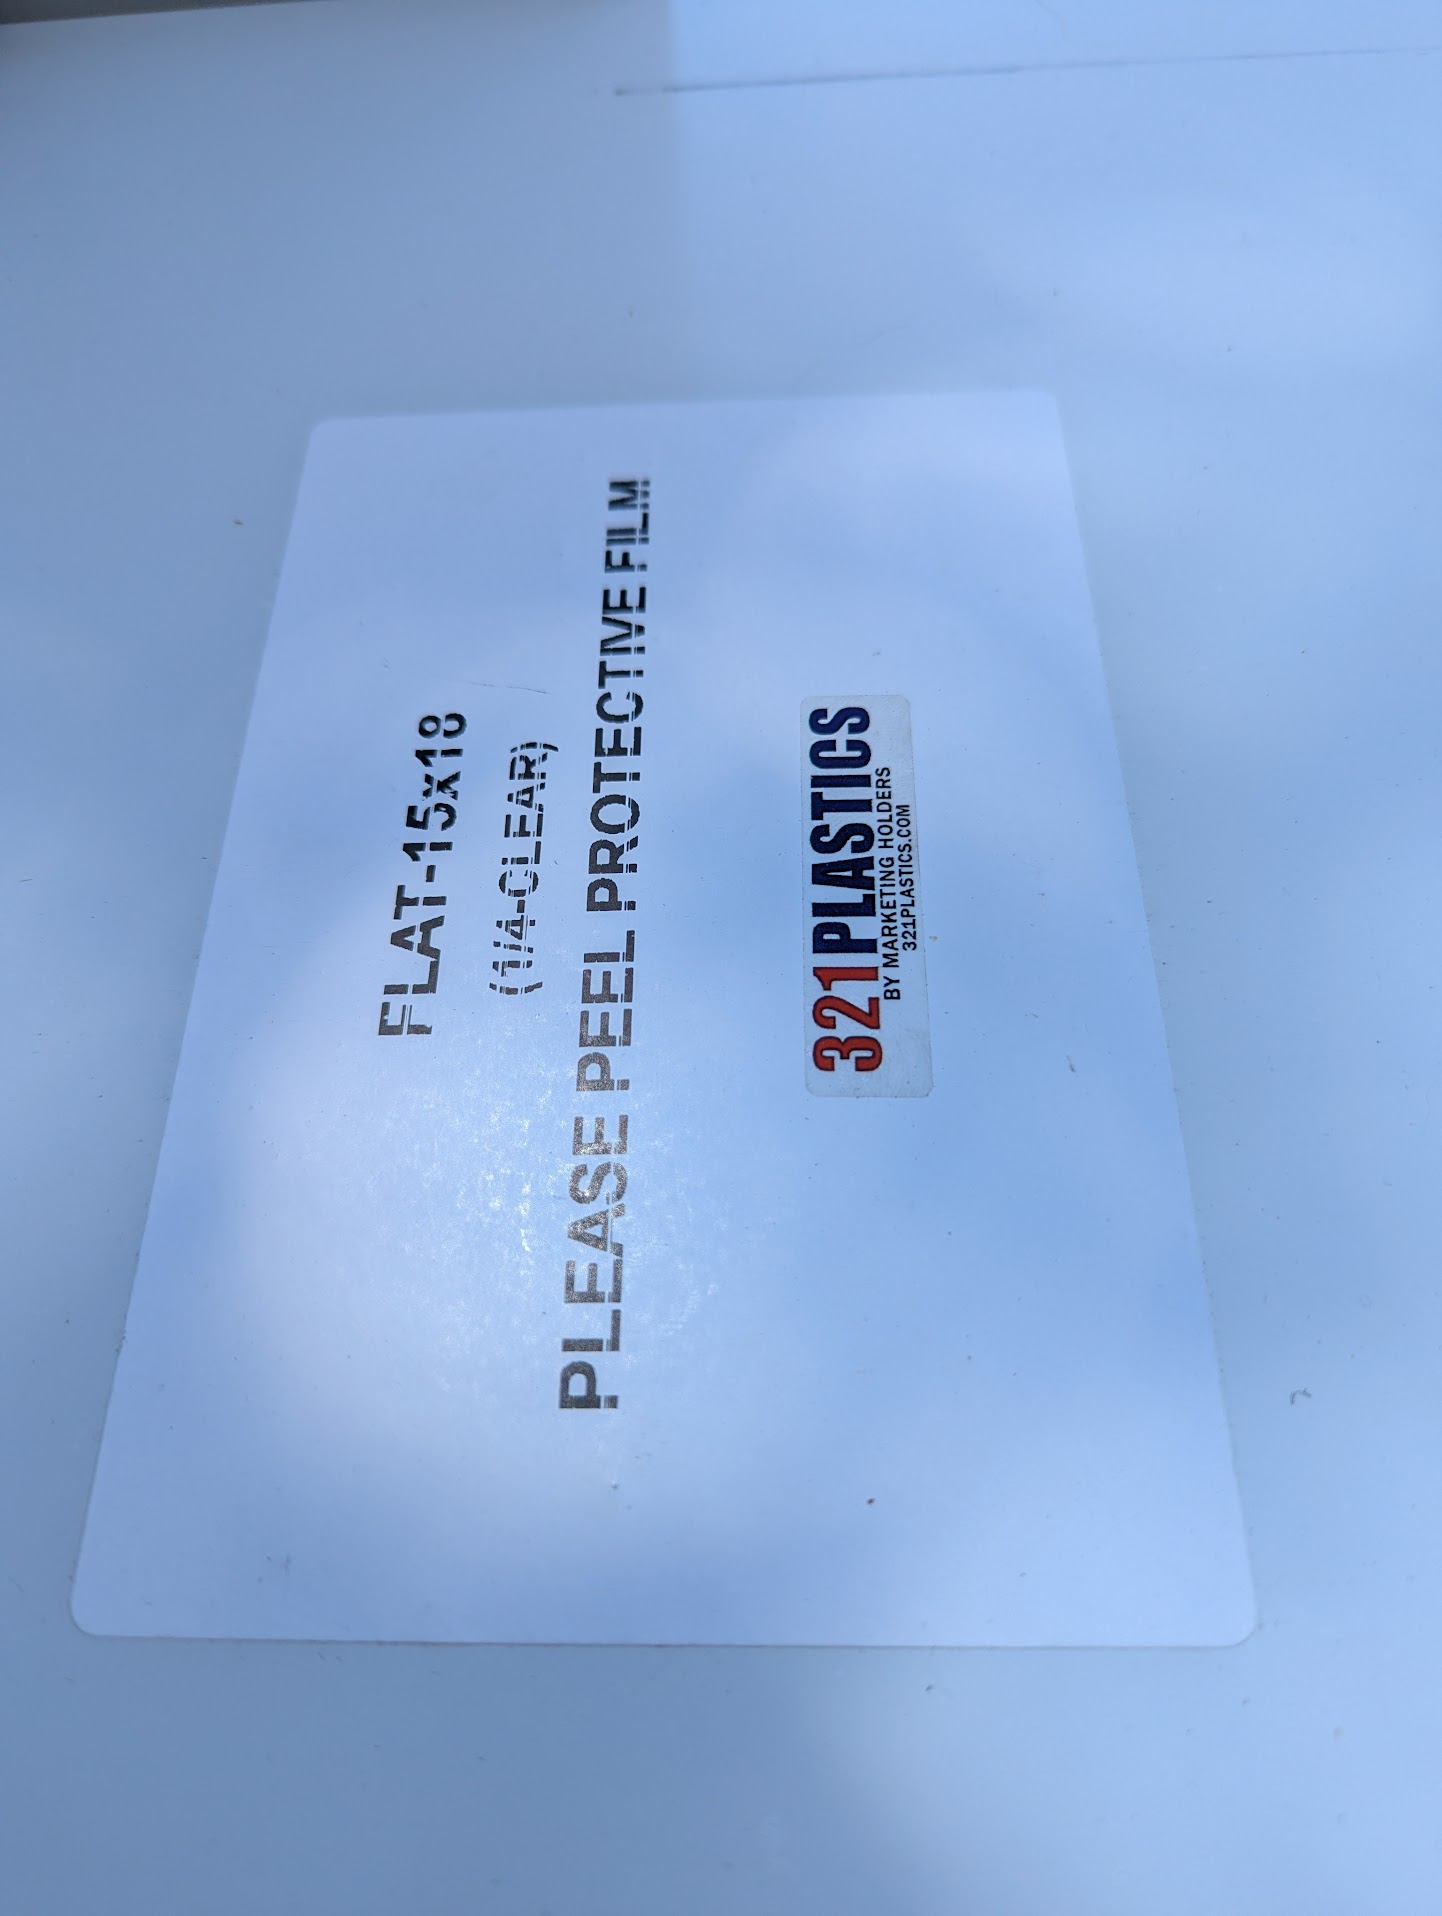
This was the 1/4 inch plexi I bought, but it was not the right size, too large. That is what the router table is for.

1776638508008.png

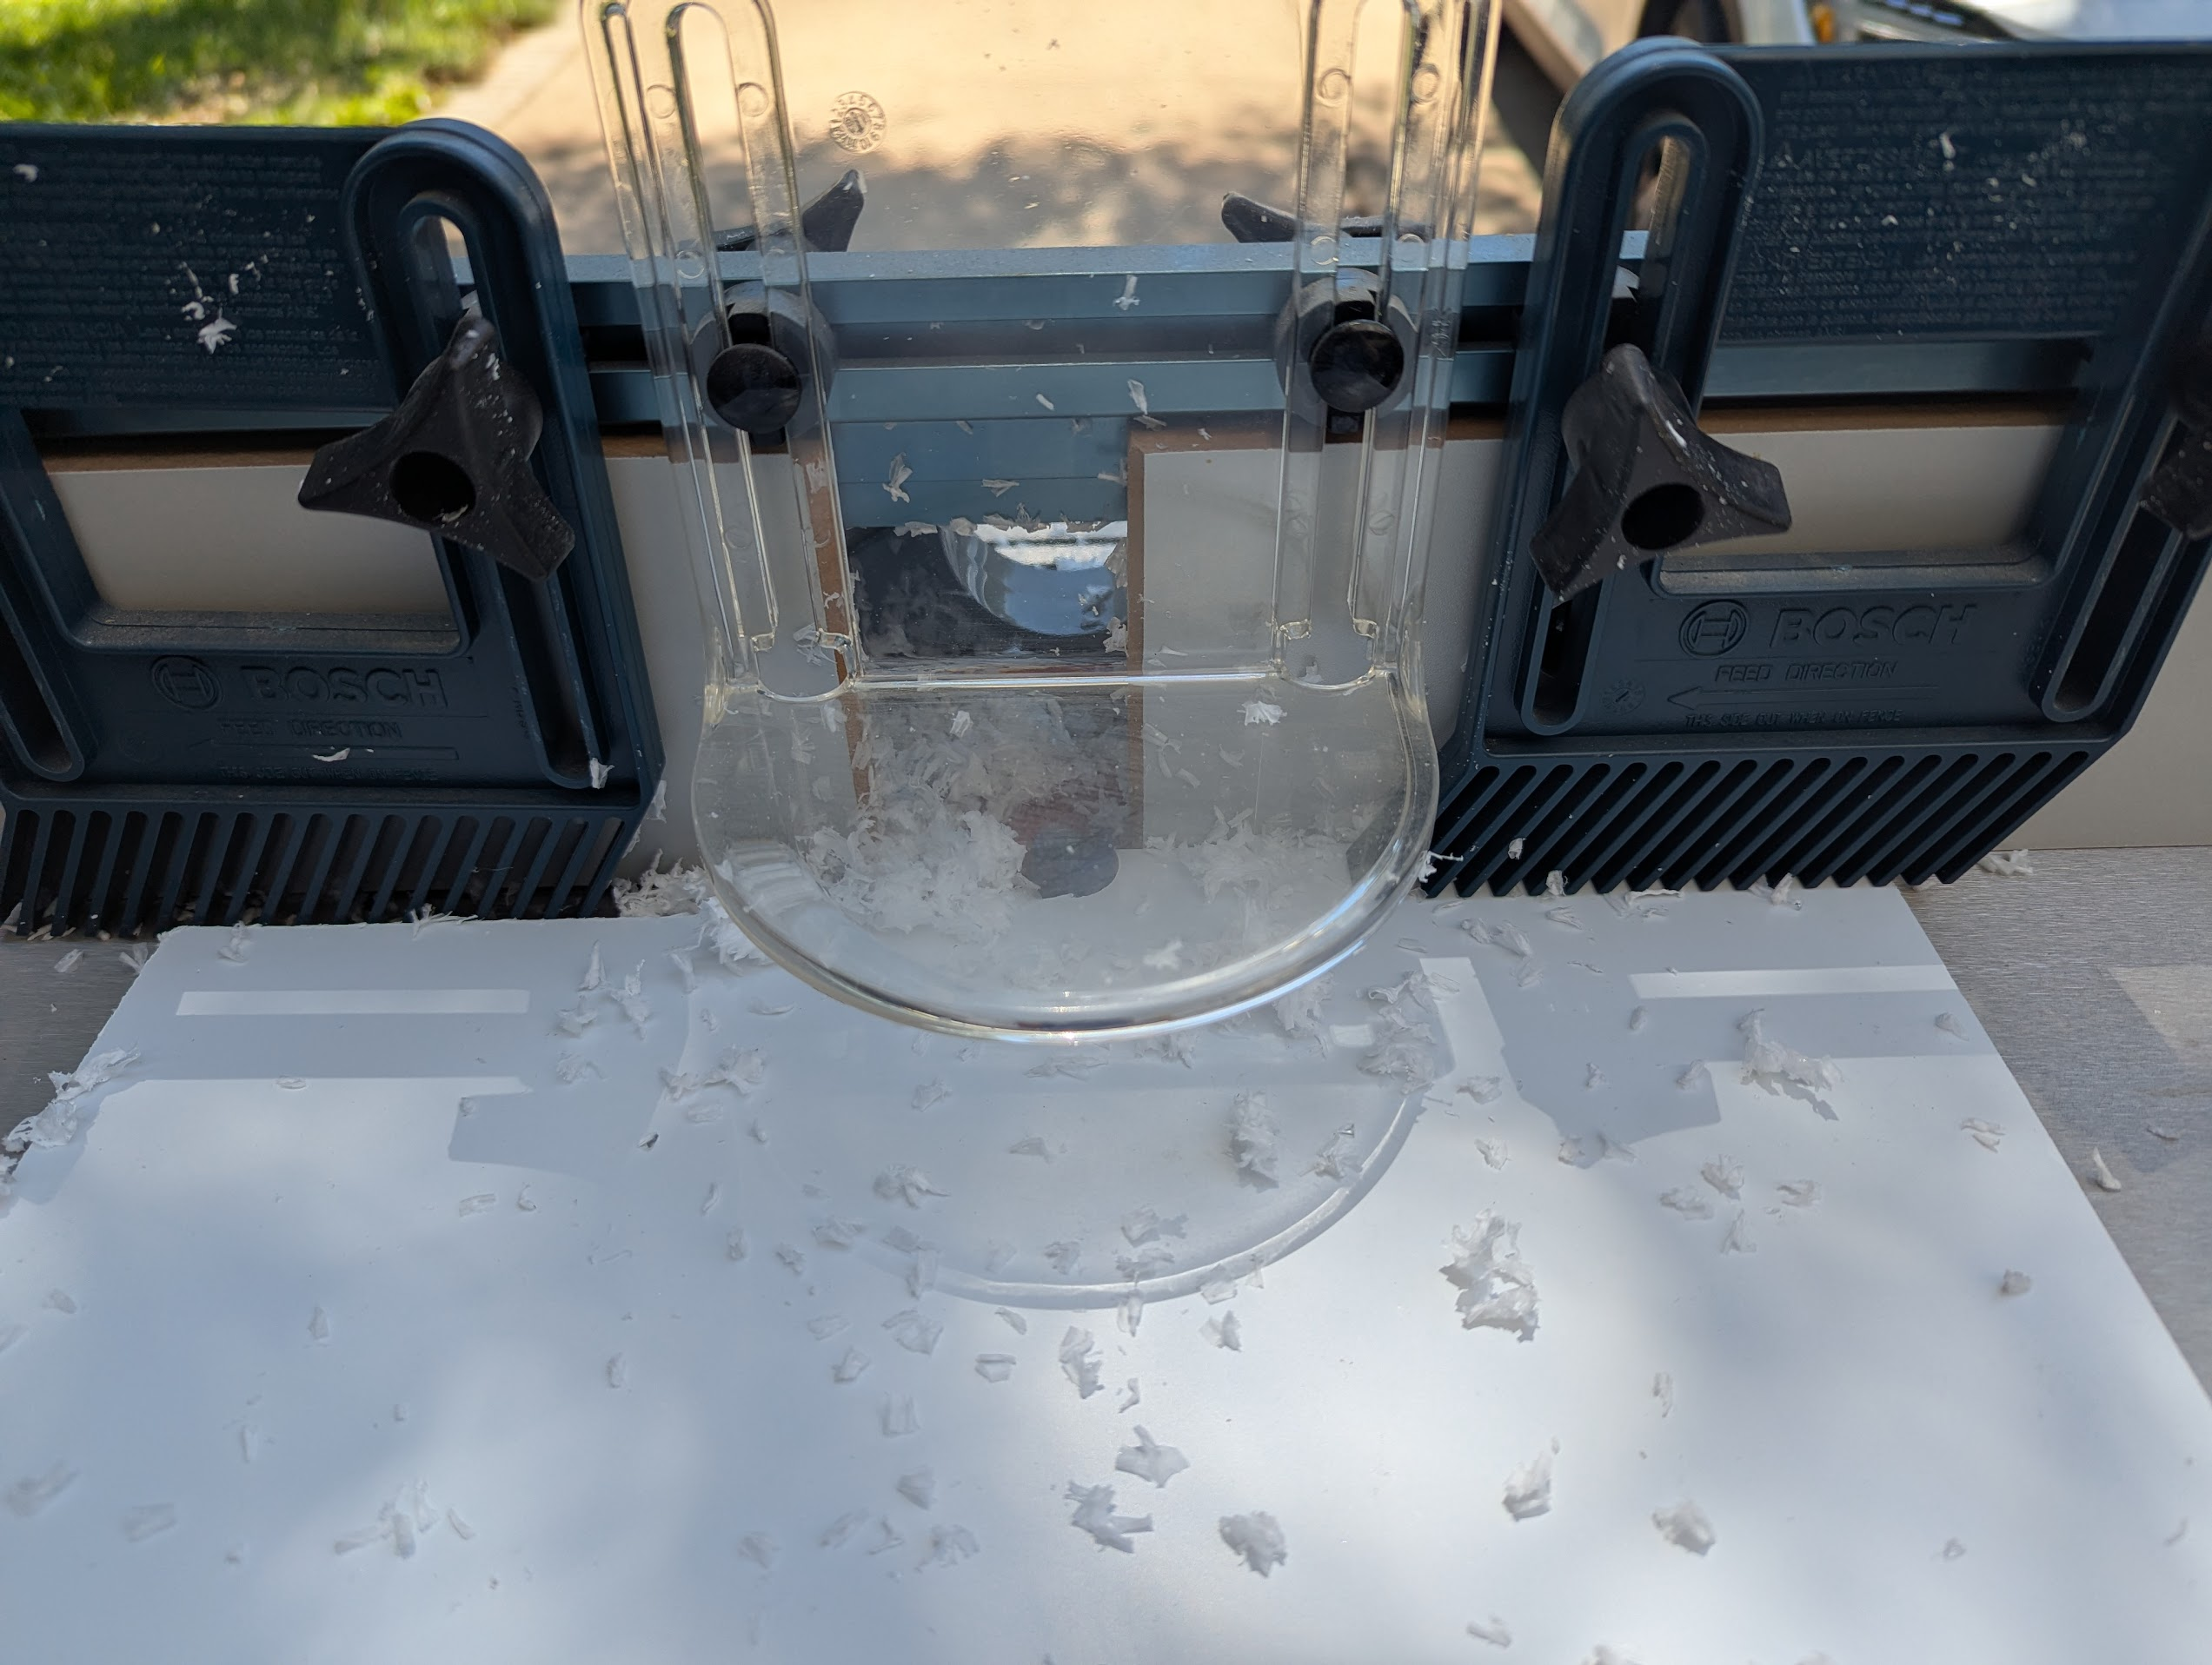
This was taken during a pause. You can see the shavings everywhere, but worth noting are some details...the fence on the right is keeping the plexi flat on the base, the one on the left is keeping it away fromt he verical fence which prevents me from going diagonal. I found the a low RPM on the router prevented the melting (from heat) effect, so while it went slower it was preferable.


1776638517298.png

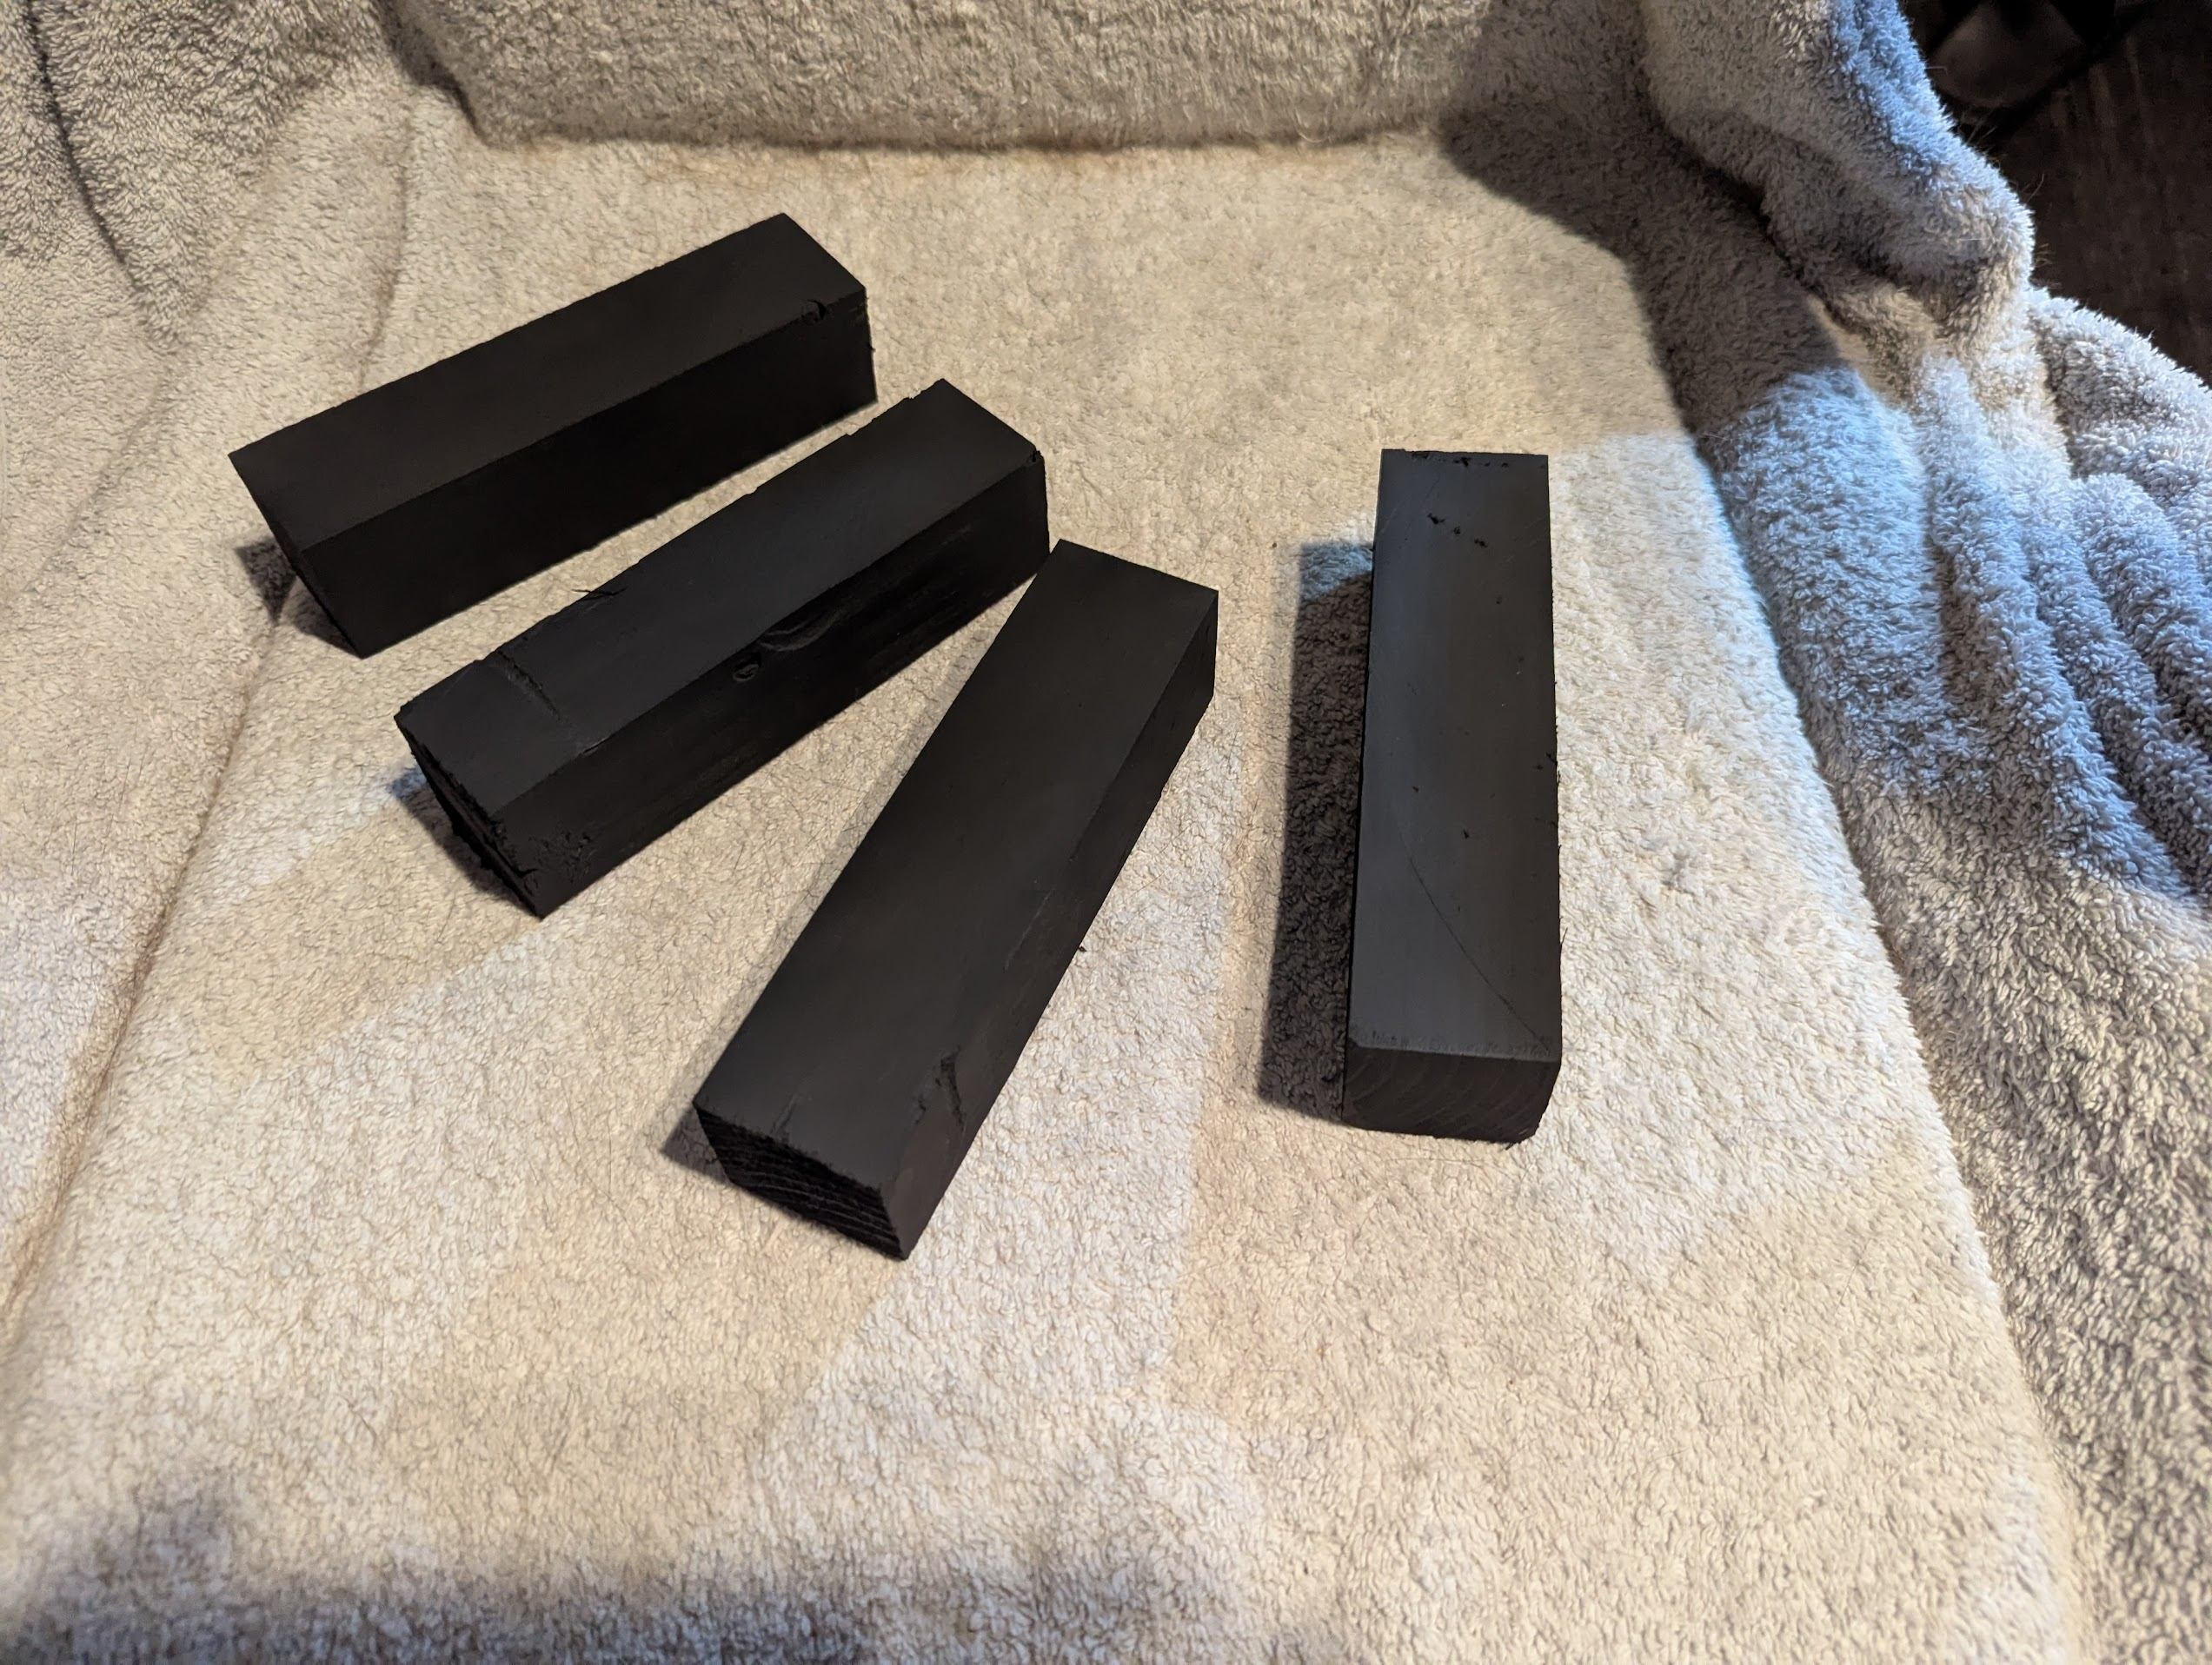
These are some scrap 2x4s riped and cut to hold up the new shelves. I rattle-canned them with filler-primer hoping to make them invisible, but they are not. Maybe I can try ripping them into 0.5x0.5 instead of 1x1, we'll worry about that later.

1776638538059.png

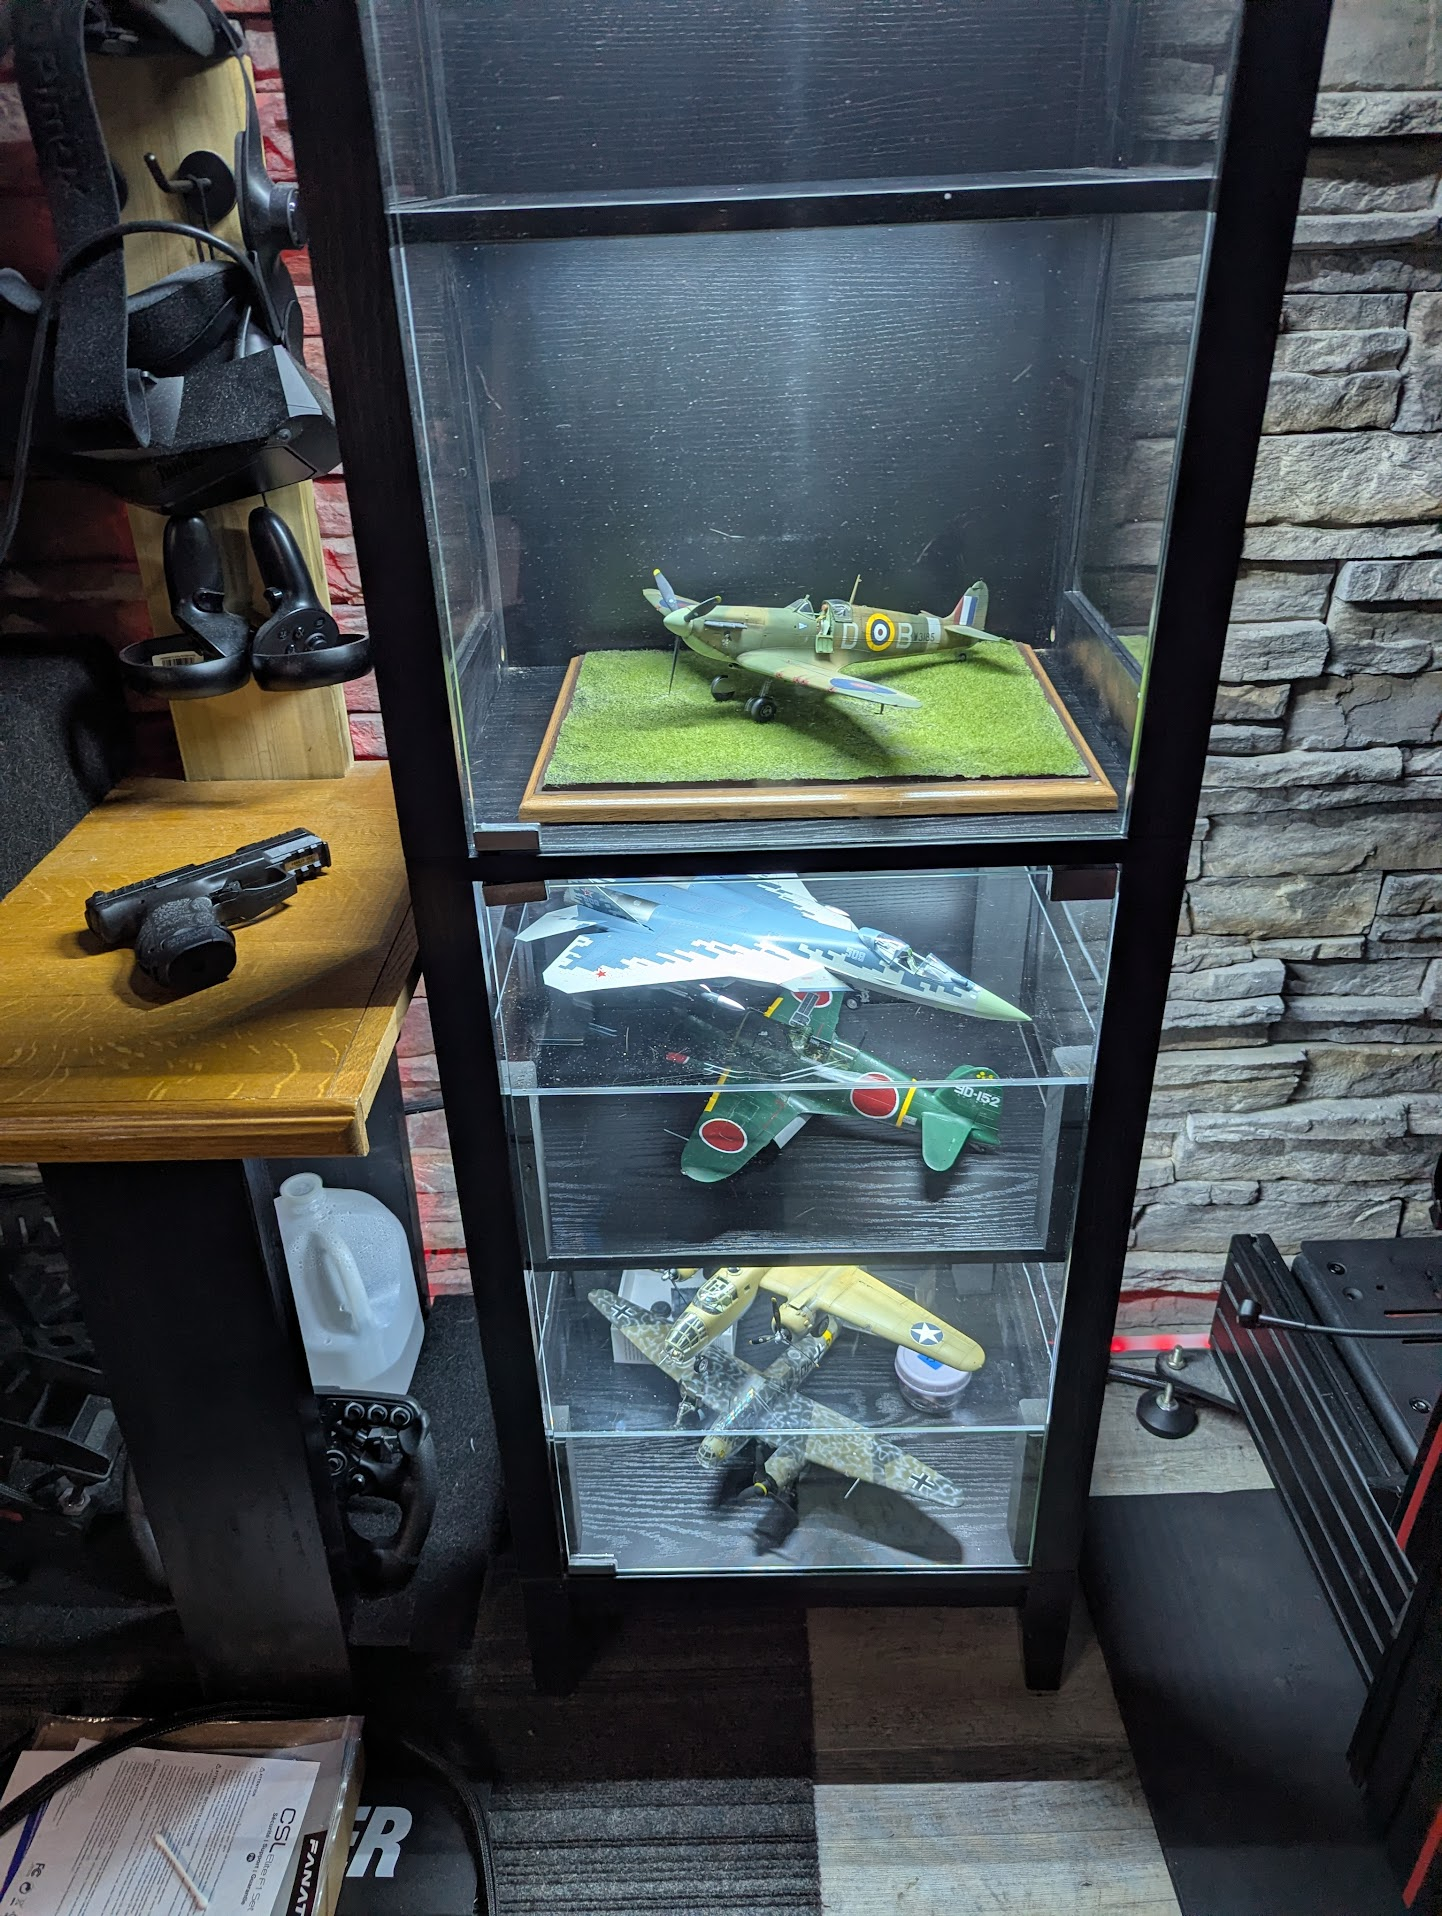
The B-25 and JU-88 have to go here, they are too large for my maiN display case. I just stuck the others in there to show how it is working, or if it is not.

On the right is part of my "simracing" rig, totally unrealated.
 
Last edited:
That's nice. I need to build something like that. Now why would you use the router table instead of say a 60 tooth blade on a table saw?
Plexiglass is essentially plastic. Meybe literally so. But it behaves that way. I had to turn the RPMs to minimum in order to prevent melting the material.

Could it be cut with a saw, rotary or jig? Of course! My intent was a smooth line. I admit my method might not have been optimal, buit it worked!

;-P
 
Plexiglass is essentially plastic. Meybe literally so. But it behaves that way. I had to turn the RPMs to minimum in order to prevent melting the material.

Could it be cut with a saw, rotary or jig? Of course! My intent was a smooth line. I admit my method might not have been optimal, buit it worked!

;-P
I was just wondering cuz I just bought a router table and learning to use it.
 
Plexiglass is essentially plastic. Meybe literally so.
It is :) It's an early thermoplastic, discovered/developed in the 1930s.
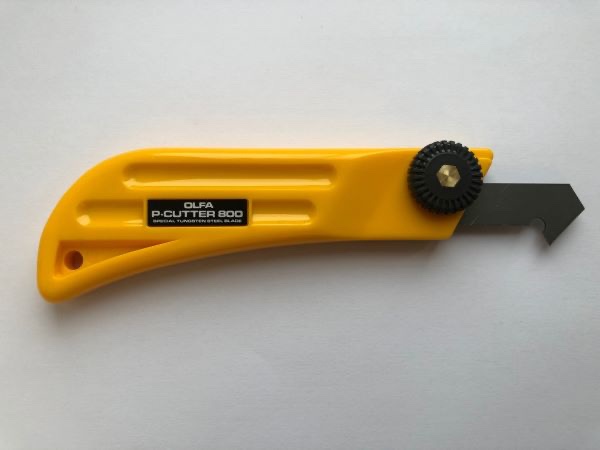
If you need to make straight cuts in plexiglass, you can also use a plastic cutter, the kind with a hooked blade:

Plastic cutter.jpg


… and a steel ruler or similar guide, of course. It works just like with plastic card for models: make a couple of cuts in the same place to score a groove in the plexiglass, then wiggle it back and forth along that line until it snaps. My Tamiya one (a rebadged Olfa) came in handy for that once when a storm had ripped the little roof window in the attic off, and the only thing at hand to quickly and reasonably fix it with in the middle of a sleet shower was a sheet of plexiglass.
 
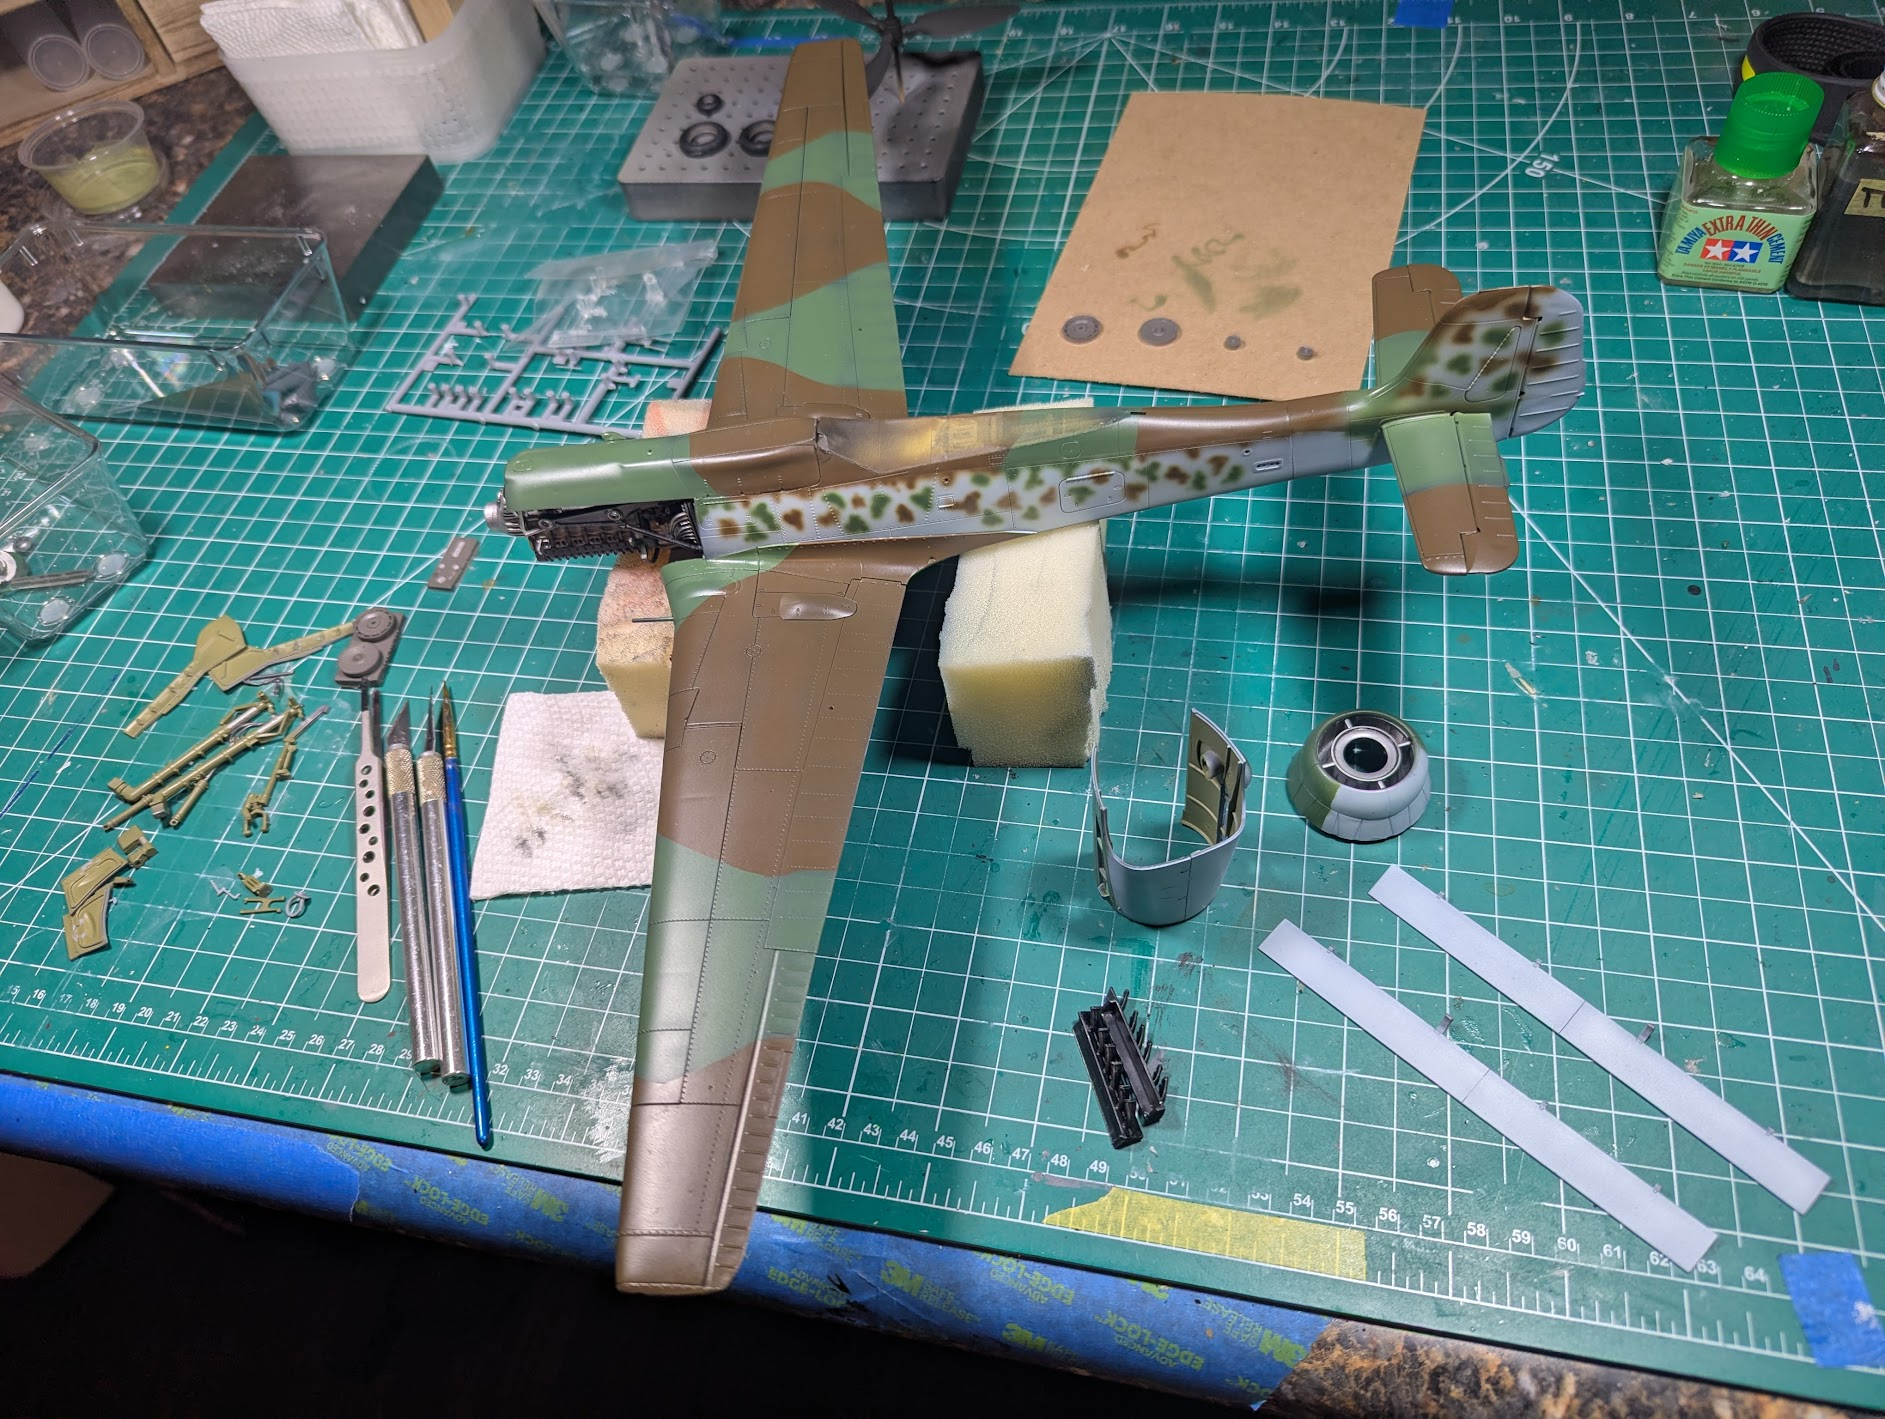
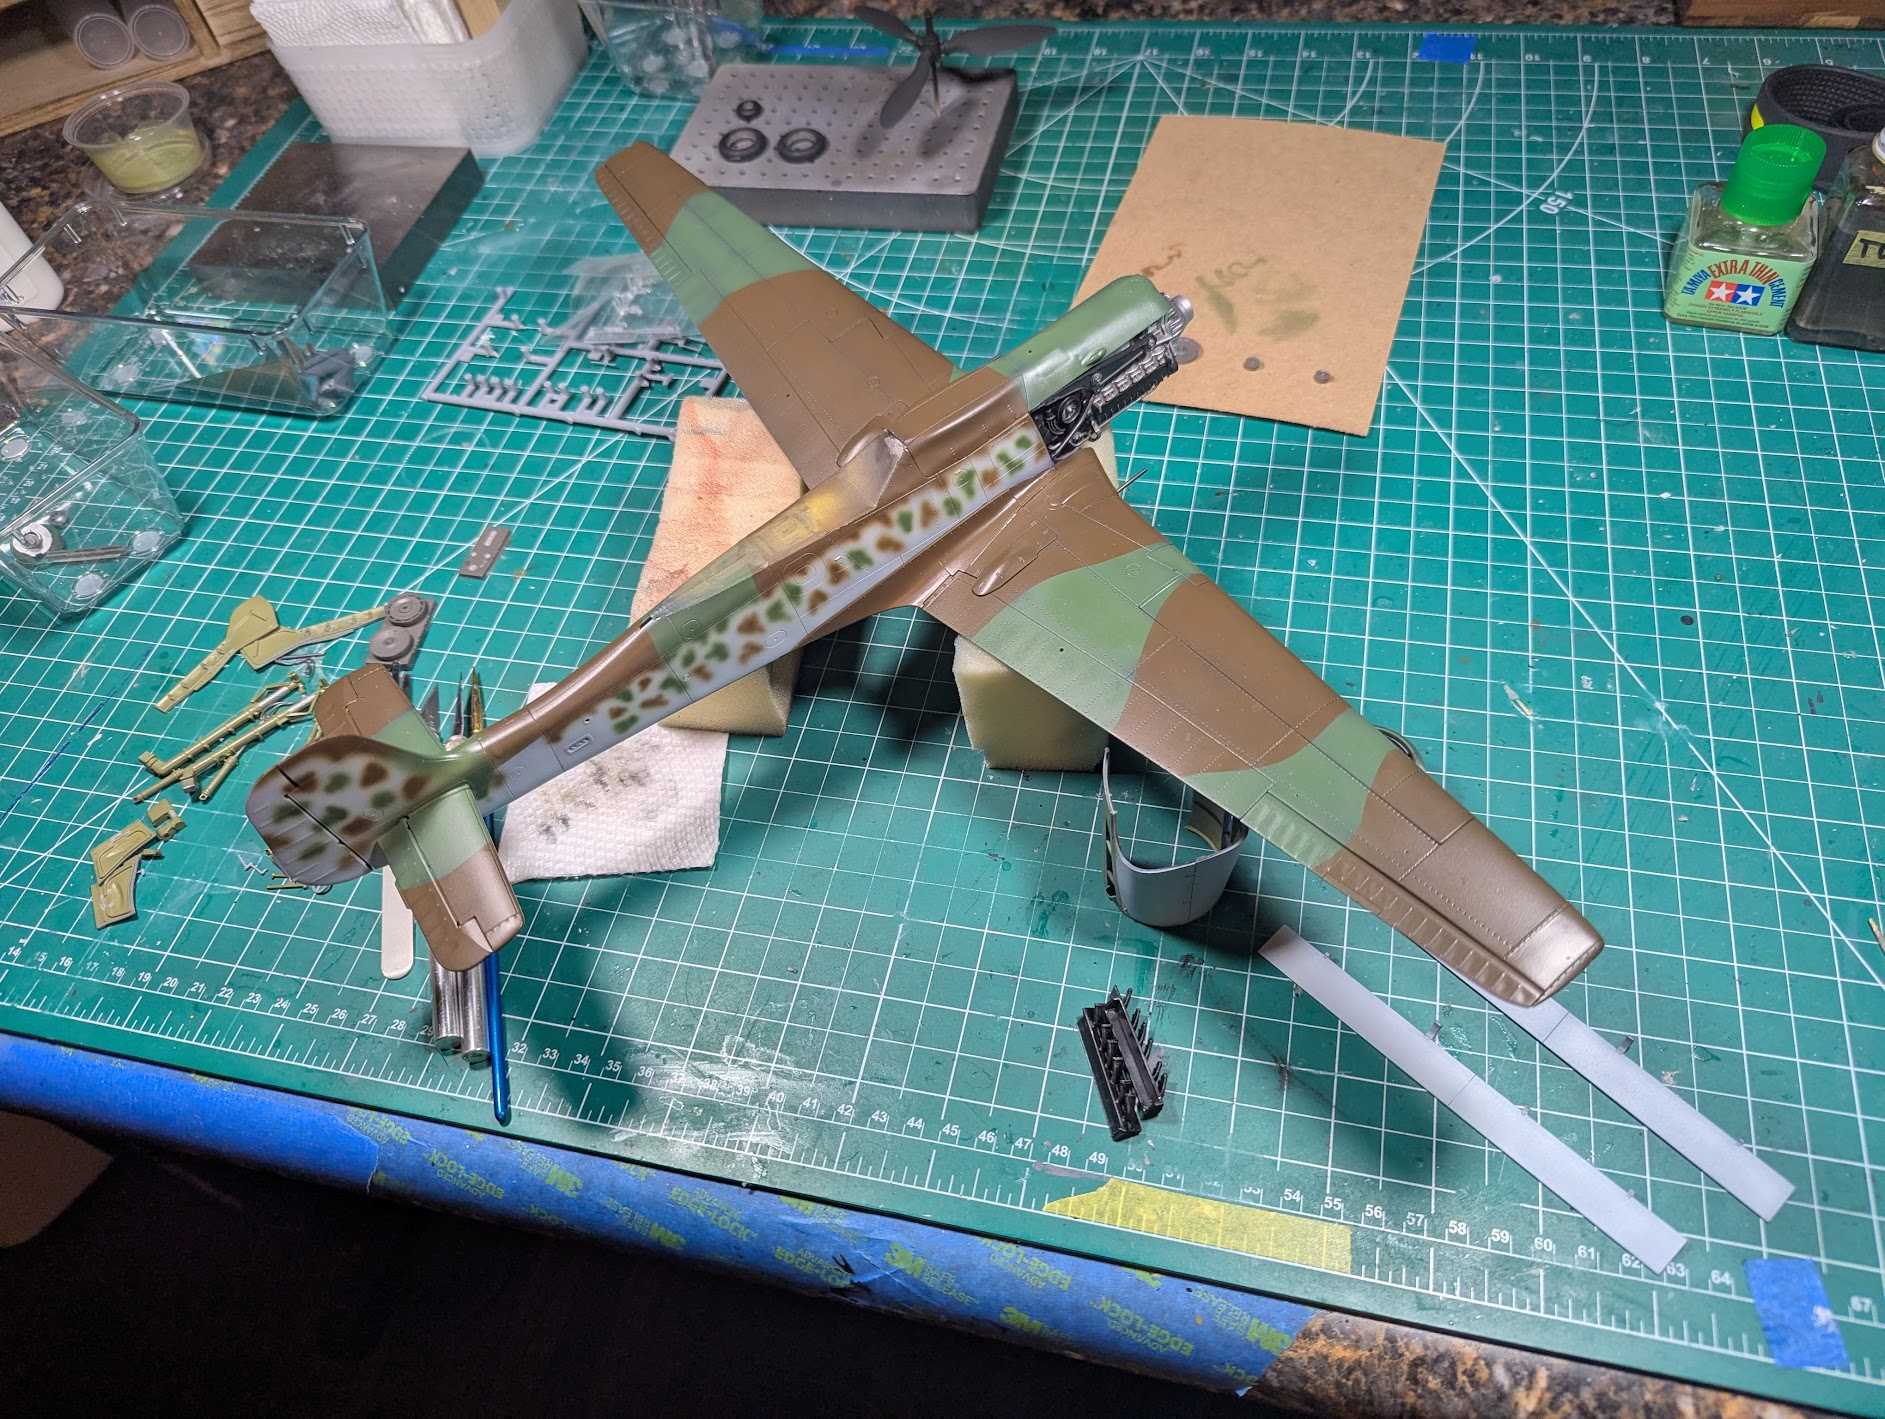
The 152 (not a Cessna!) is ready for stickers, but since I intend to paint them, I'm taking a break and building up my confidence before starting.

1776727070149.png

The cowling is clearly loose, still thinking I want it removed/removable to not loose the wonderful engine!

1776727147521.png

But I've got something else to work on in the meantime.
 

Latest posts

Back
Top