
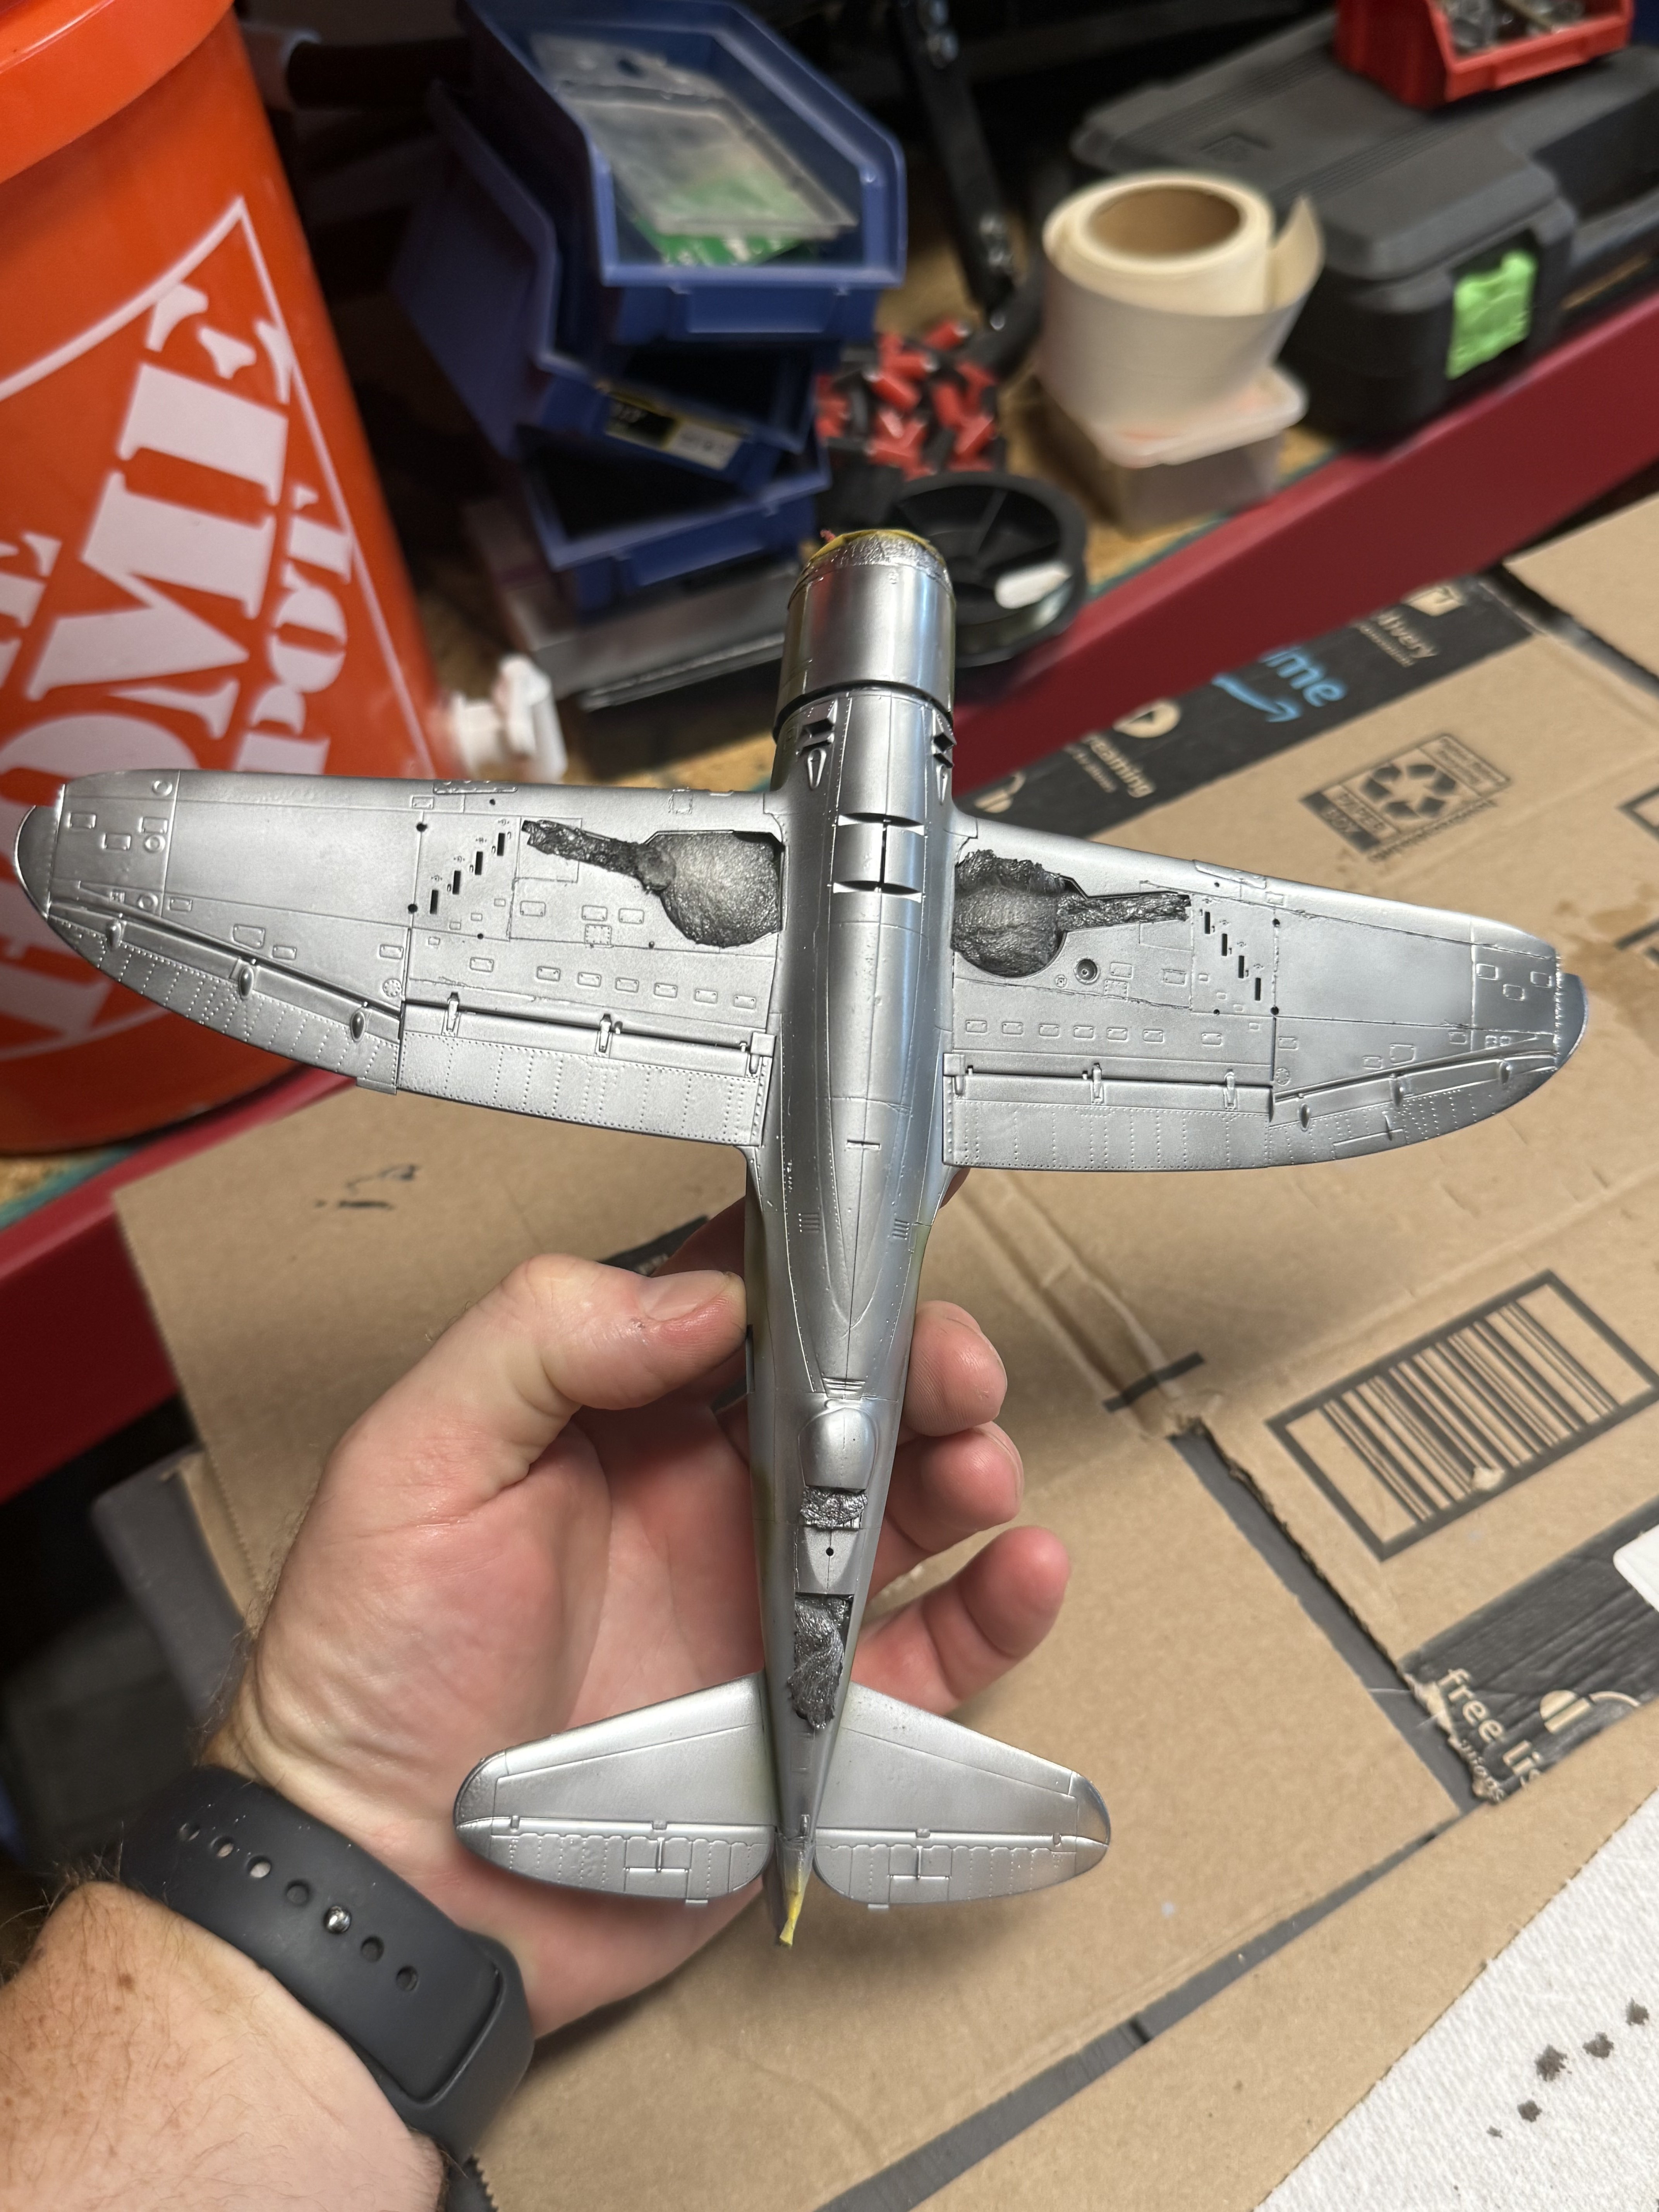
That's what I was aiming for but apparently missed.There has to be an apparent reason for the variation. Each variation needs to be limited to individual panels unless there is a reason for it extending to adjacent panels, such as because of wear (shinier), particular soiling (exhaust, burnt gunpowder, lubricants), or different metals or alloys.

You are using an out of date browser. It may not display this or other websites correctly.
You should upgrade or use an alternative browser.
You should upgrade or use an alternative browser.
Tamiya republic. P-47d thunderbolt razorback
- Thread starter Ron2
- Start date
I wasn't aiming for shadows- but I got them!I'm no aircraft expert, but I have a hard time imagining shadows on a reflective surface?!

Have you tried masking individual panels? It's a lot of work. I've never tried preshading with metallic paint as the overcoat, because the nature of metallic pigment makes it much more opaque than other pigments.That's what I was aiming for but apparently missed.
- Joined
- Apr 29, 2024
- Messages
- 1,574
To me? It looks like you need another coat of aluminum. The black is showing through too much. Spray the whole thing in one color till it looks good to your eye. Let that dry thoroughly and mask off some panels and use a different color
- Joined
- Apr 29, 2024
- Messages
- 1,574
And this is just my thoughts. Yes black primer especially gloss black looks good under metal for certain applications. For the whole body of an airplane I don't think I would do it. I would go with white or gray primer and then a couple coats of the silver. You want that shiny silver to pop. Not have shadows underneath
Ok it is the black shadowing through then. I couldn't tell if it was that or the light.To me? It looks like you need another coat of aluminum. The black is showing through too much. Spray the whole thing in one color till it looks good to your eye. Let that dry thoroughly and mask off some panels and use a different color





As an Amazon Associate we earn from qualifying purchases. Product prices and availability are accurate as of the date/time indicated and are subject to change.
I wasn't trying to preshade. I was going for variation with the panels but went about it the wrong way. I'm going to hit it with a light coat to tie it together and then hit a few panels with another light coat of dull aluminum.Have you tried masking individual panels? It's a lot of work. I've never tried preshading with metallic paint as the overcoat, because the nature of metallic pigment makes it much more opaque than other pigments.
- Joined
- Apr 29, 2024
- Messages
- 1,574
Yep. You're doing it right. Couple different shades of aluminum maybe even the same panels on each wing like someone at the factory that was their job to do THESE particular panels out of THAT roll of aluminum which might give you different shades. And then maybe darker aluminum where it has to be stronger? It's all just a lot of fun playing with it till you get it to look good to YOUR eyesI wasn't trying to preshade. I was going for variation with the panels but went about it the wrong way. I'm going to hit it with a light coat to tie it together and then hit a few panels with another light coat of dull aluminum.

Jakko
Well-Known Member
I noticed in photos once that panel colours on bare metal aircraft are usually symmetrical: if a certain panel on the left wing is lighter or darker than those around it, the corresponding panel on the right usually is as well. But it's hard to find good photos of this.I'm going to hit it with a light coat to tie it together and then hit a few panels with another light coat of dull aluminum.
ambivalentmaybe
Member
- Joined
- Jun 22, 2022
- Messages
- 19
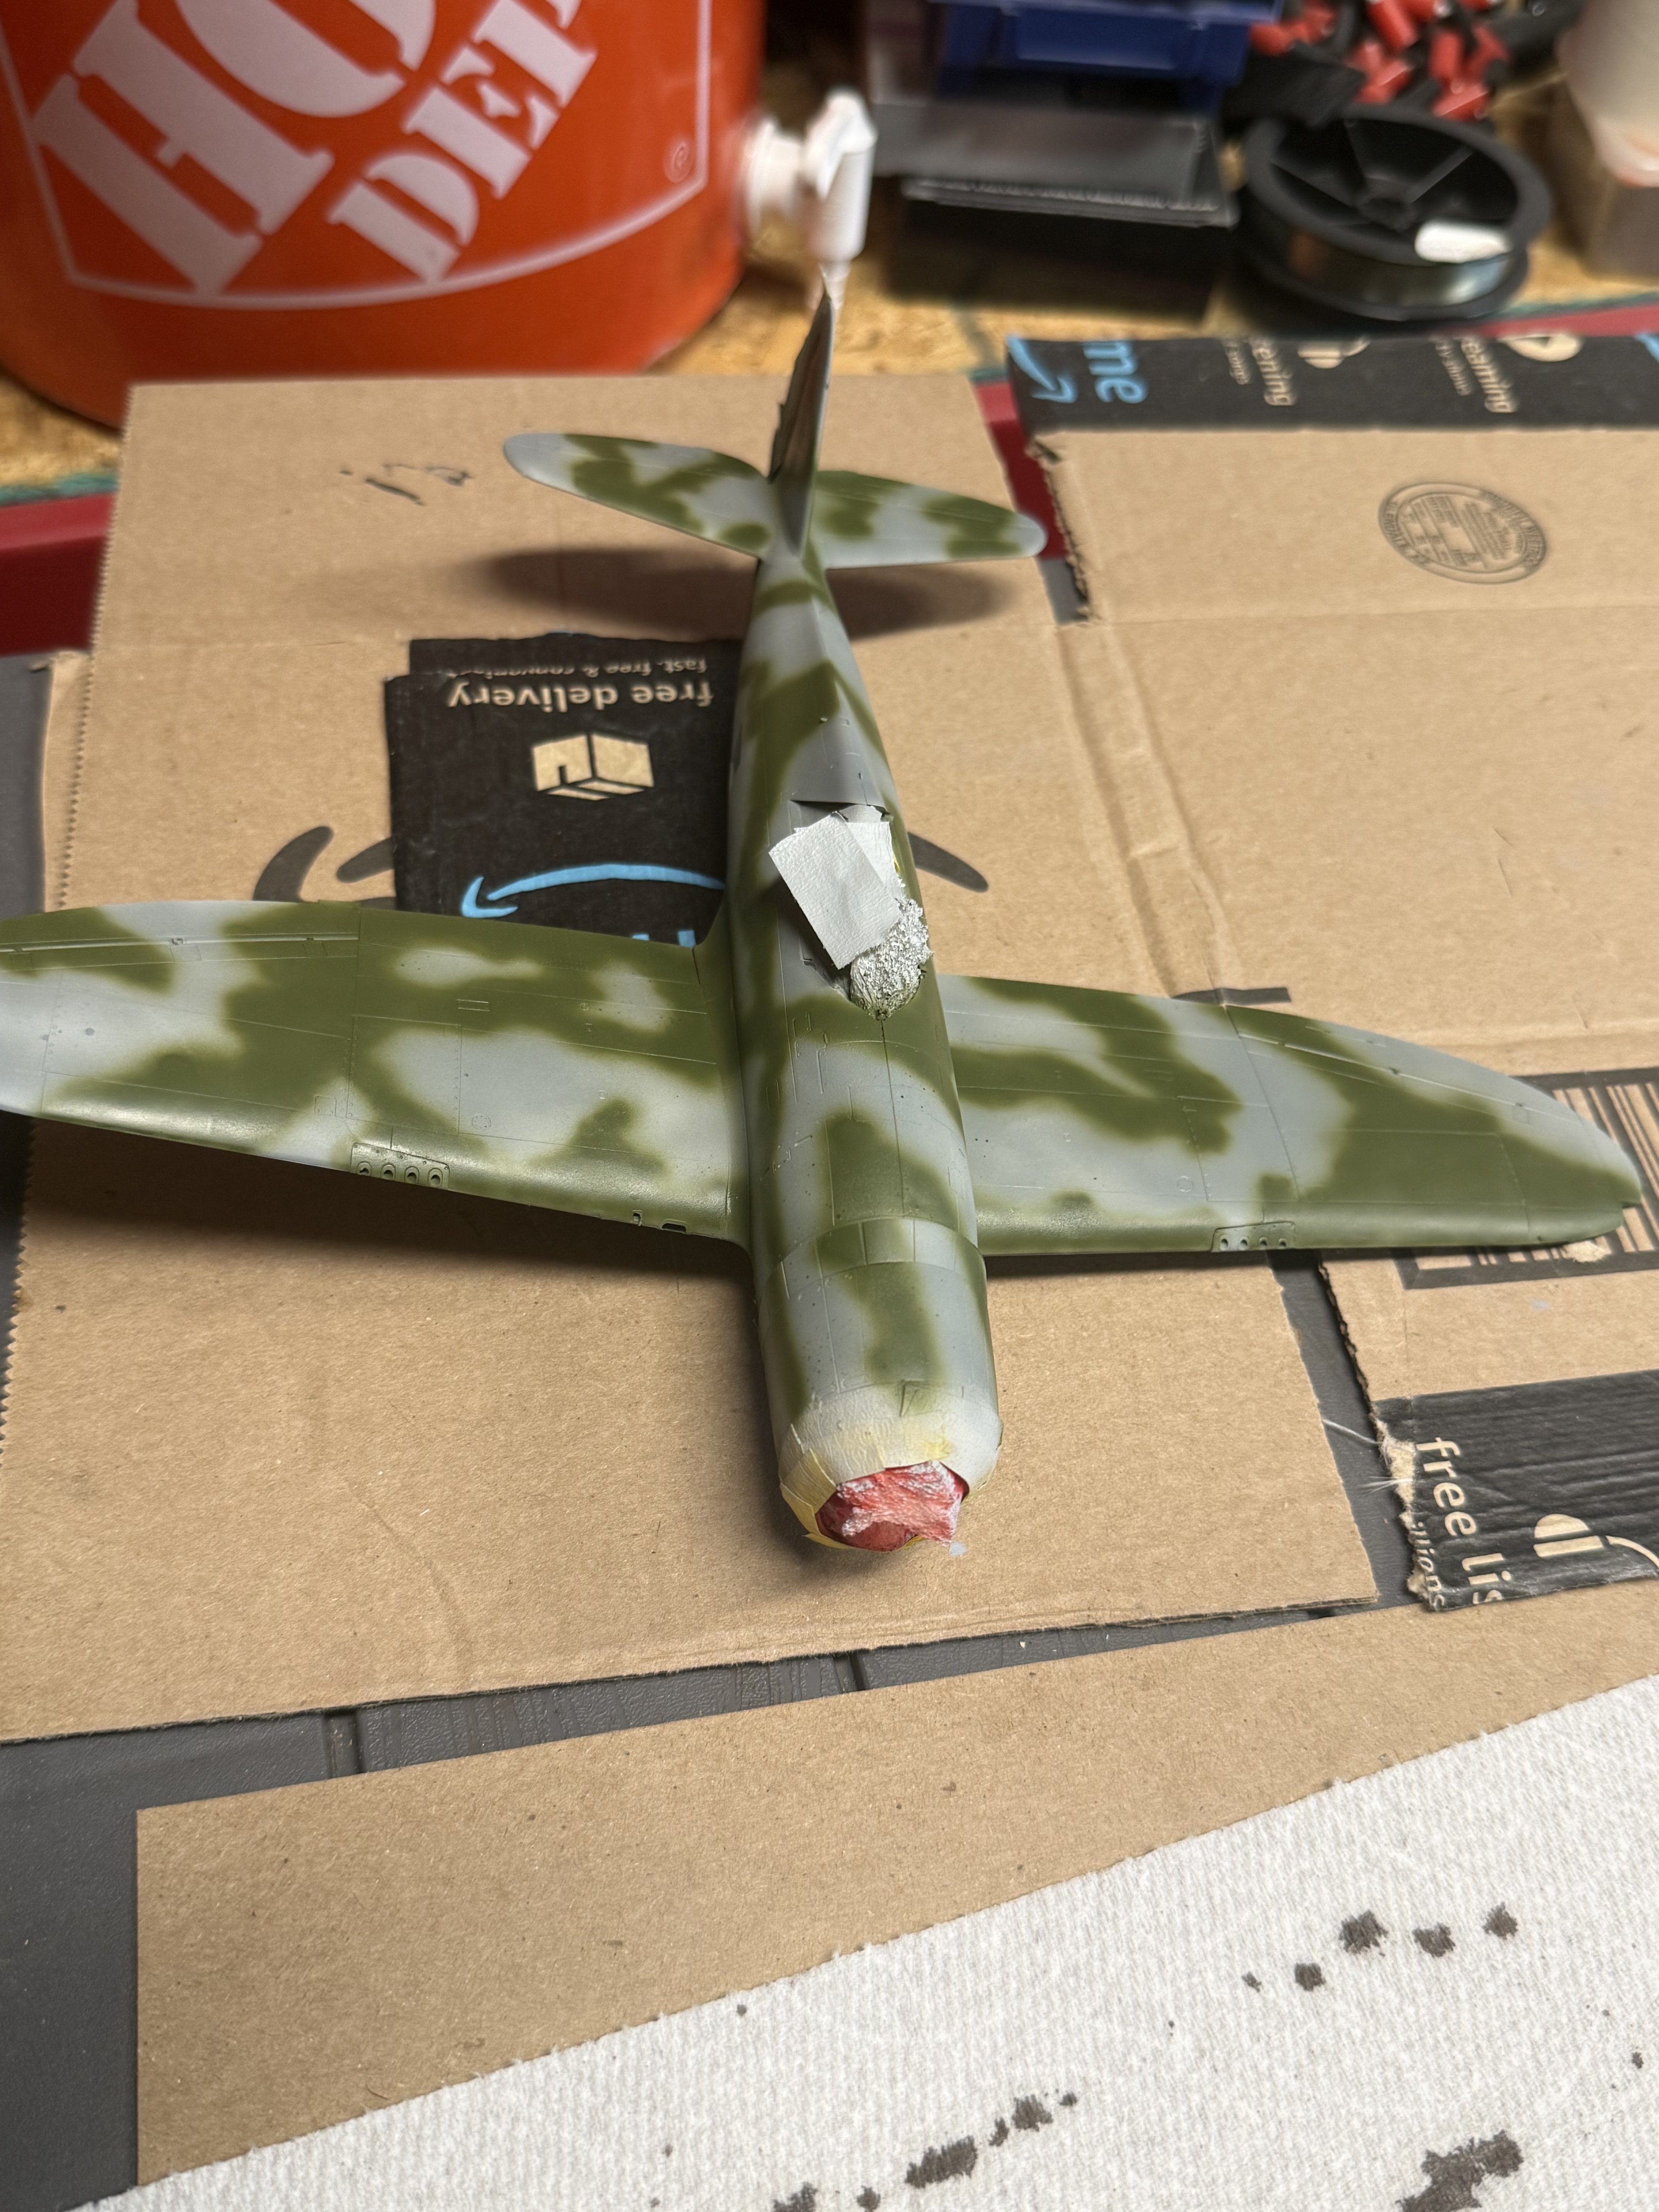
This looks awesome! Unusual camo scheme. Must be very late war, I'm guessing?
No it's Gaby Gabreskis color scheme. He was with the 56th FG 1942/43. He chose this unusual scheme based on German camouflage- that's my understanding from what I've read.This looks awesome! Unusual camo scheme. Must be very late war, I'm guessing?
Also, they utilized RAF paints for the camo.No it's Gaby Gabreskis color scheme. He was with the 56th FG 1942/43. He chose this unusual scheme based on German camouflage- that's my understanding from what I've read.
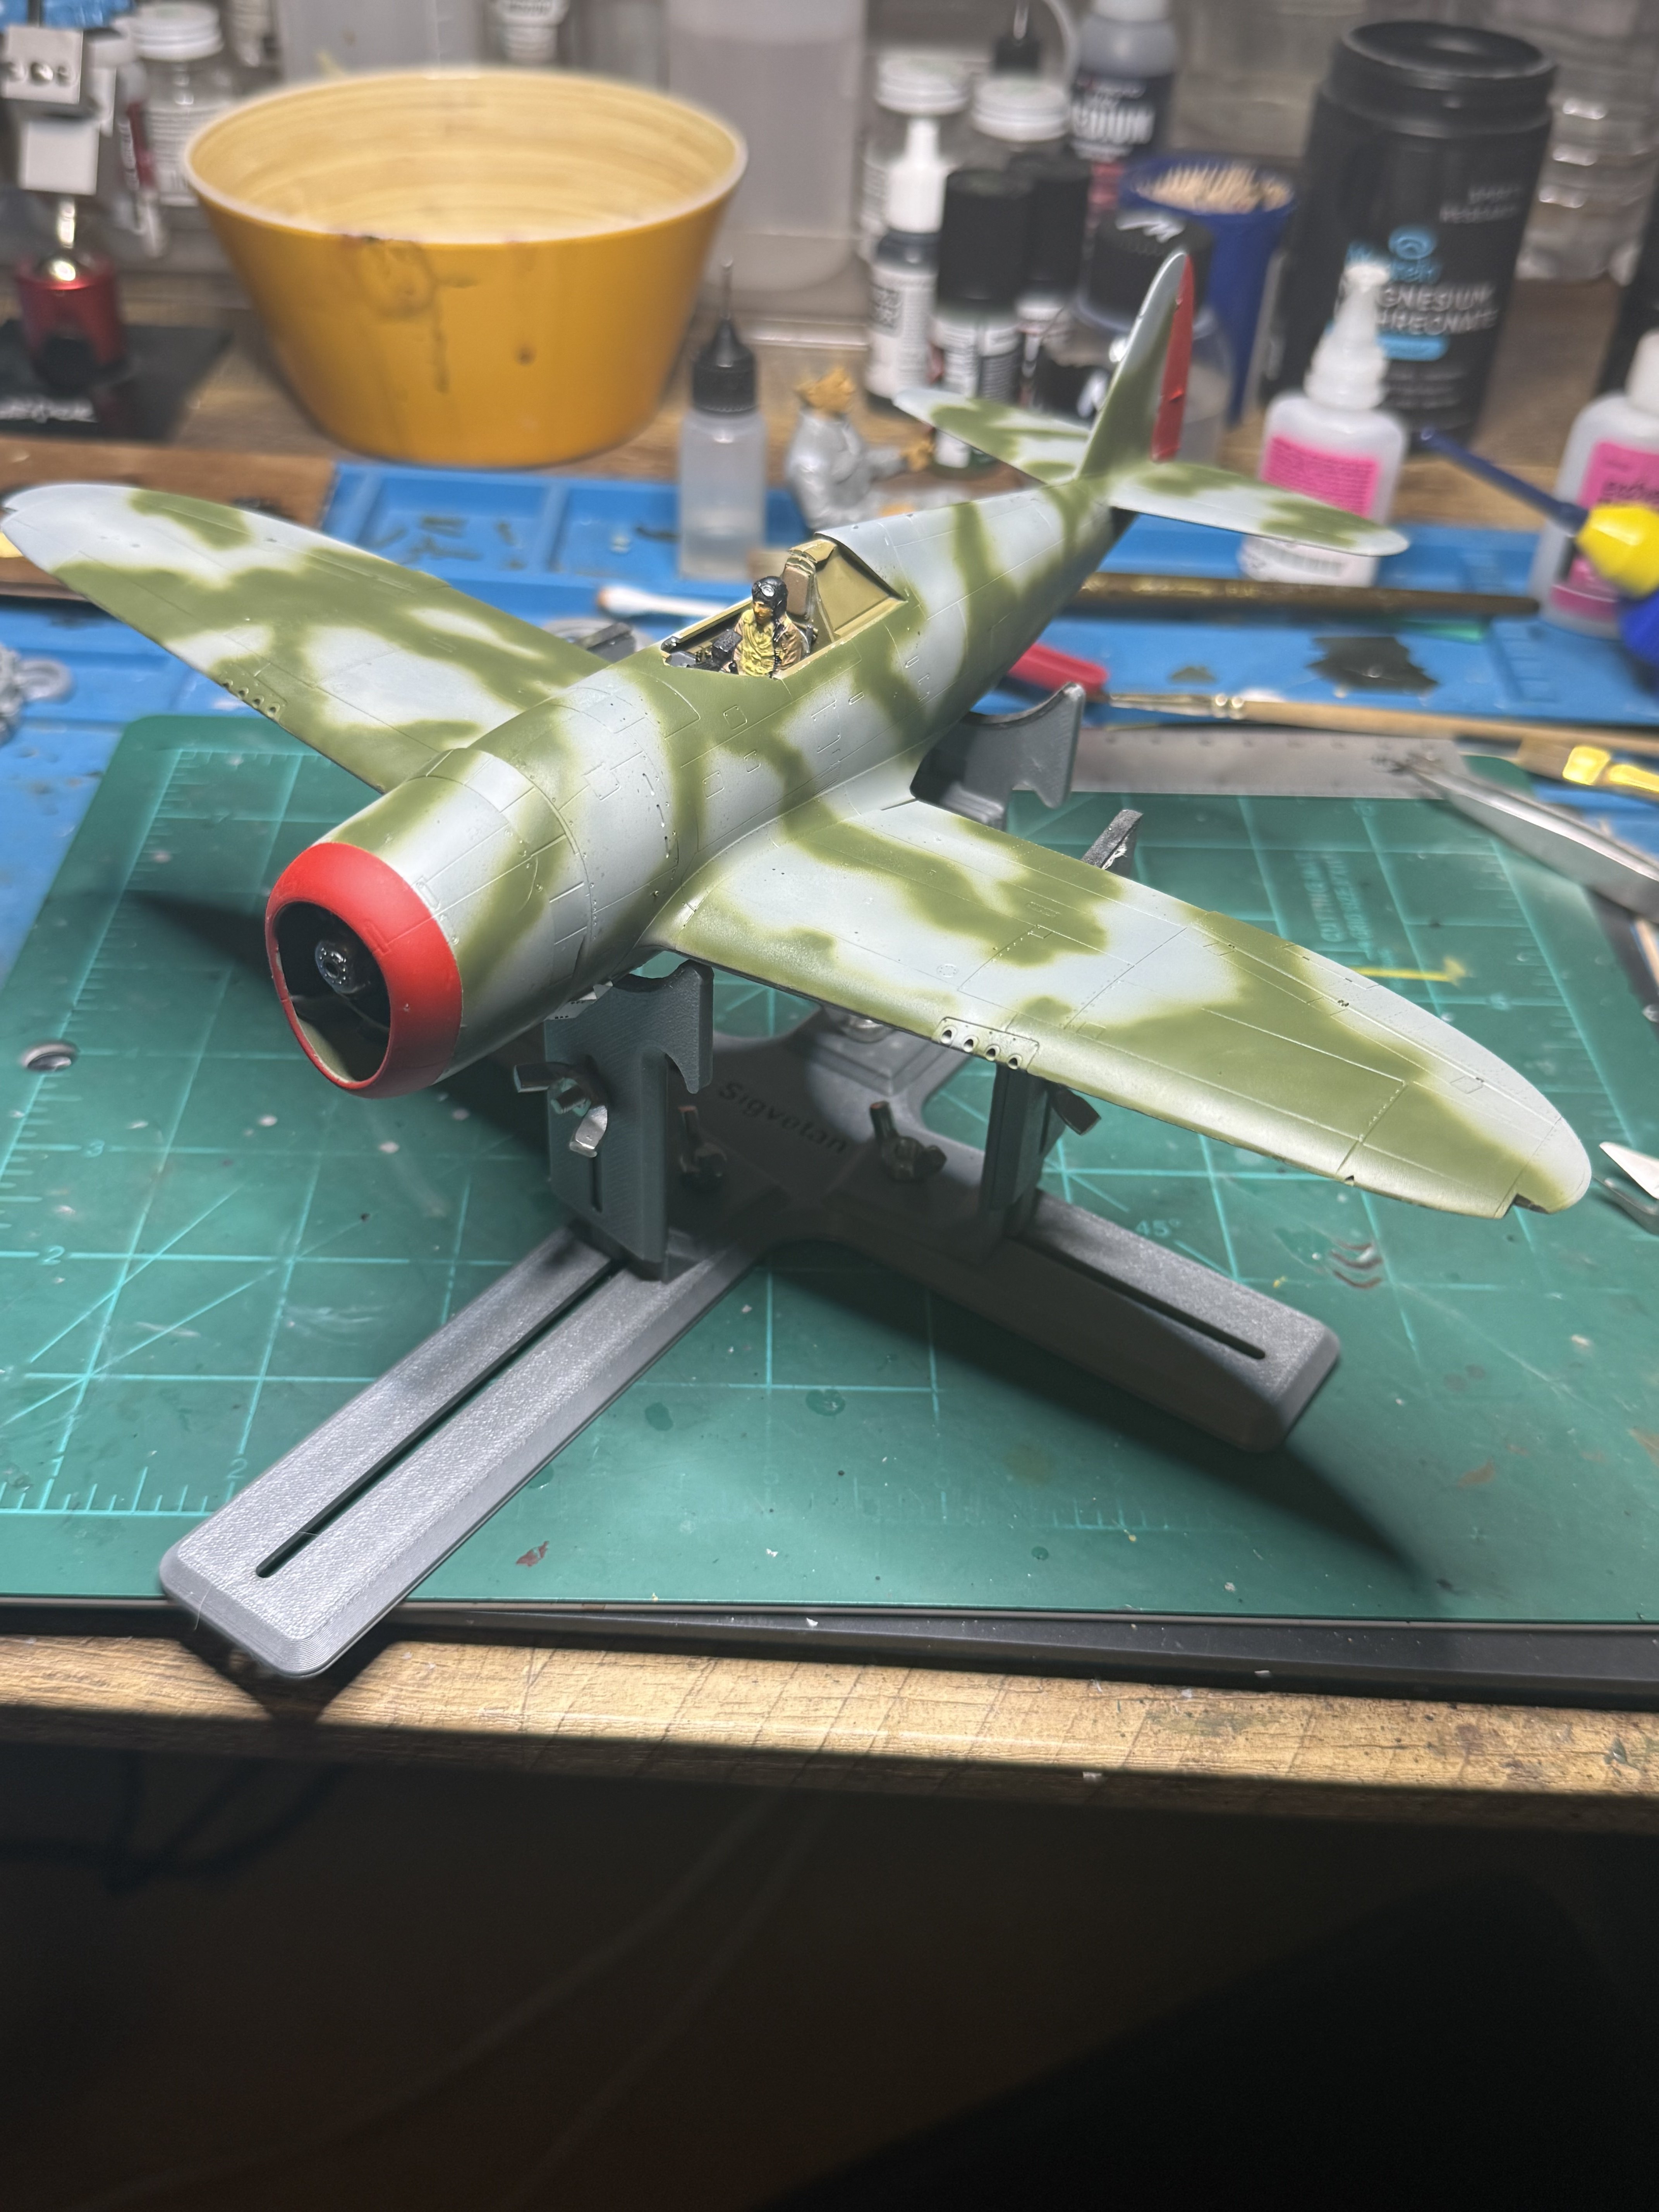
It comes with a crew figure! I wish more manufacturers would do this. I prefer to display aircraft … in the AIR! What a crazy idea…
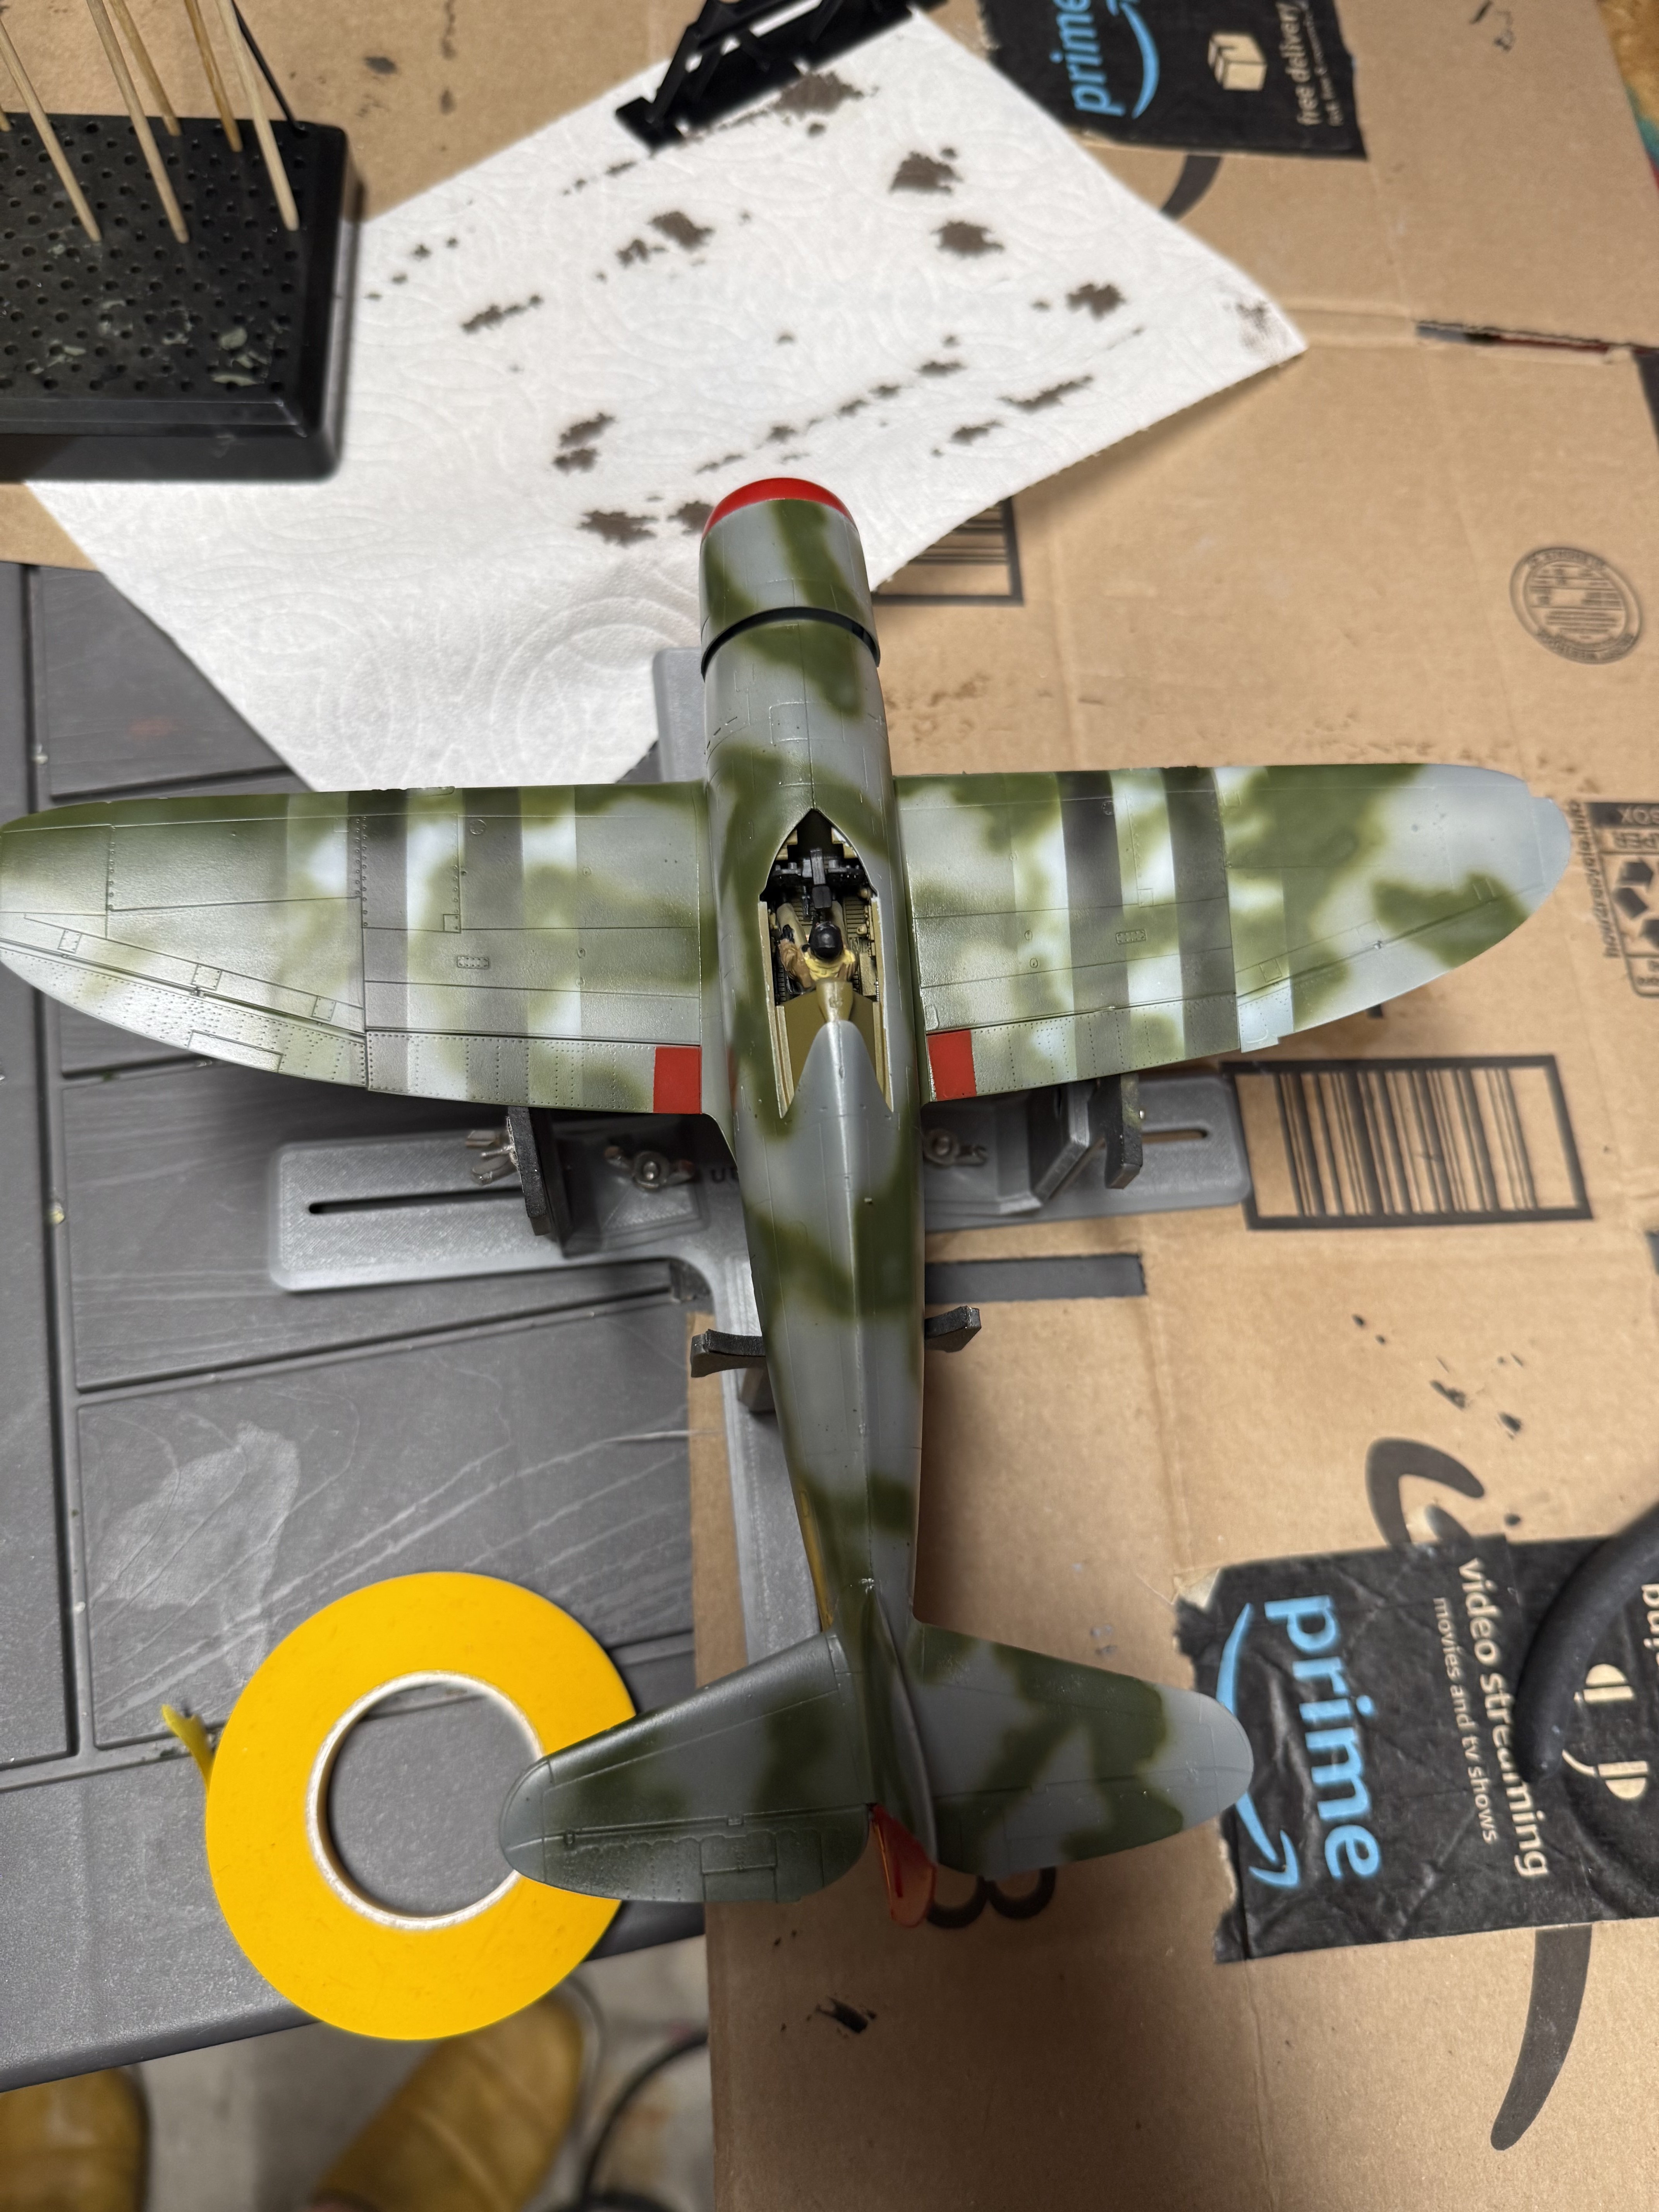
Added some "scrubbed " invasion stripes and the red to the wings tonight. I was trying to replicate top invasion stripes being removed with a little of the camo reapplied. I wanted the black stripes to be lighter than they are but first pass seemed too light but second pass took it too far. I think the decals and filter will do a lot to make them less obvious. Overall, I think it looks field applied and will end up being what I wanted.
Attachments

Wig41
Well-Known Member
She's coming along very nicely
Thank you! I'm taking this one a little more slowly than usual- was forced to to be honest. I was waiting on decals I had ordered. Did the underside invasion stripes this morning. I'm going to attempt to do the white fuselage stripes as well and use decals minimally.She's coming along very nicely
Thanks!Looking good there
Yes 57th FG Gaby Gabreski.I love the camo scheme, this (57th FG?) is how I intend to resurrect my FUBAR bubbletop.
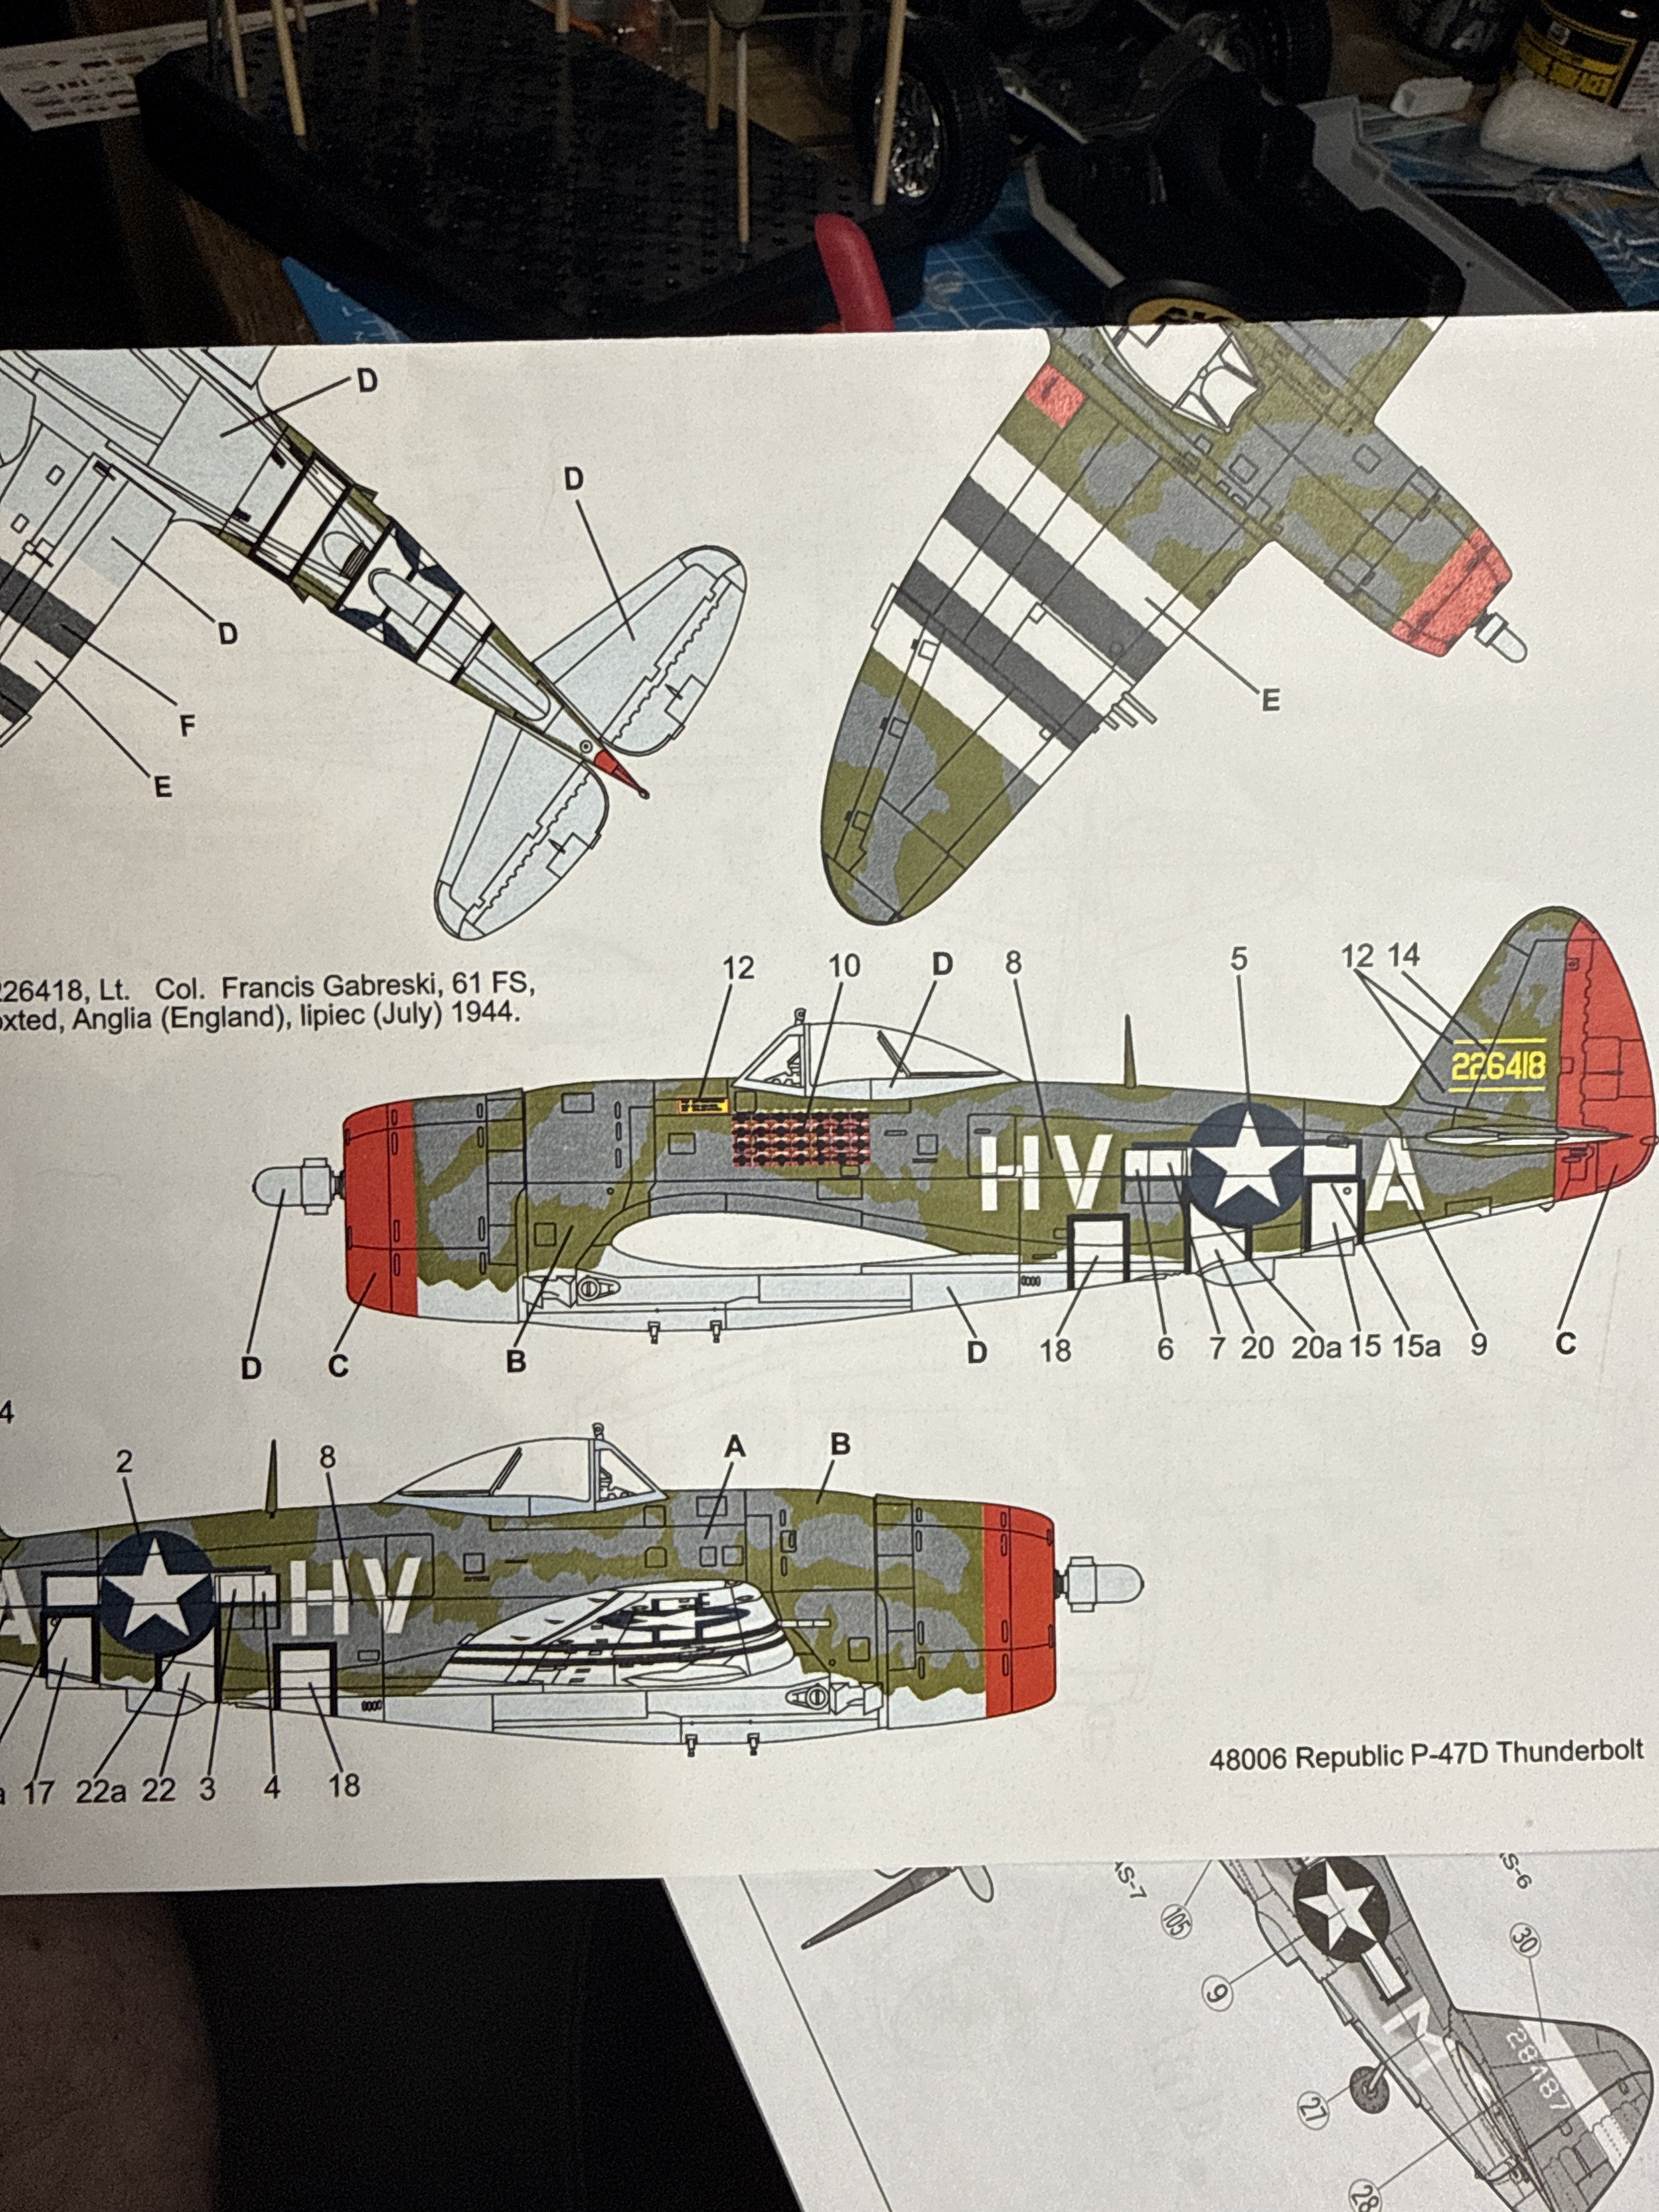
Working on decals and very disappointed with techmod. Diagram does not match decal sheet. Diagram calls for decal numbers that don't exist. They have the fuselage insignia in three pieces and that does not make sense to me at all except the port (?) side should have been two pieces. Compare part 15 on diagram to decal sheet- what in the world?
Attachments
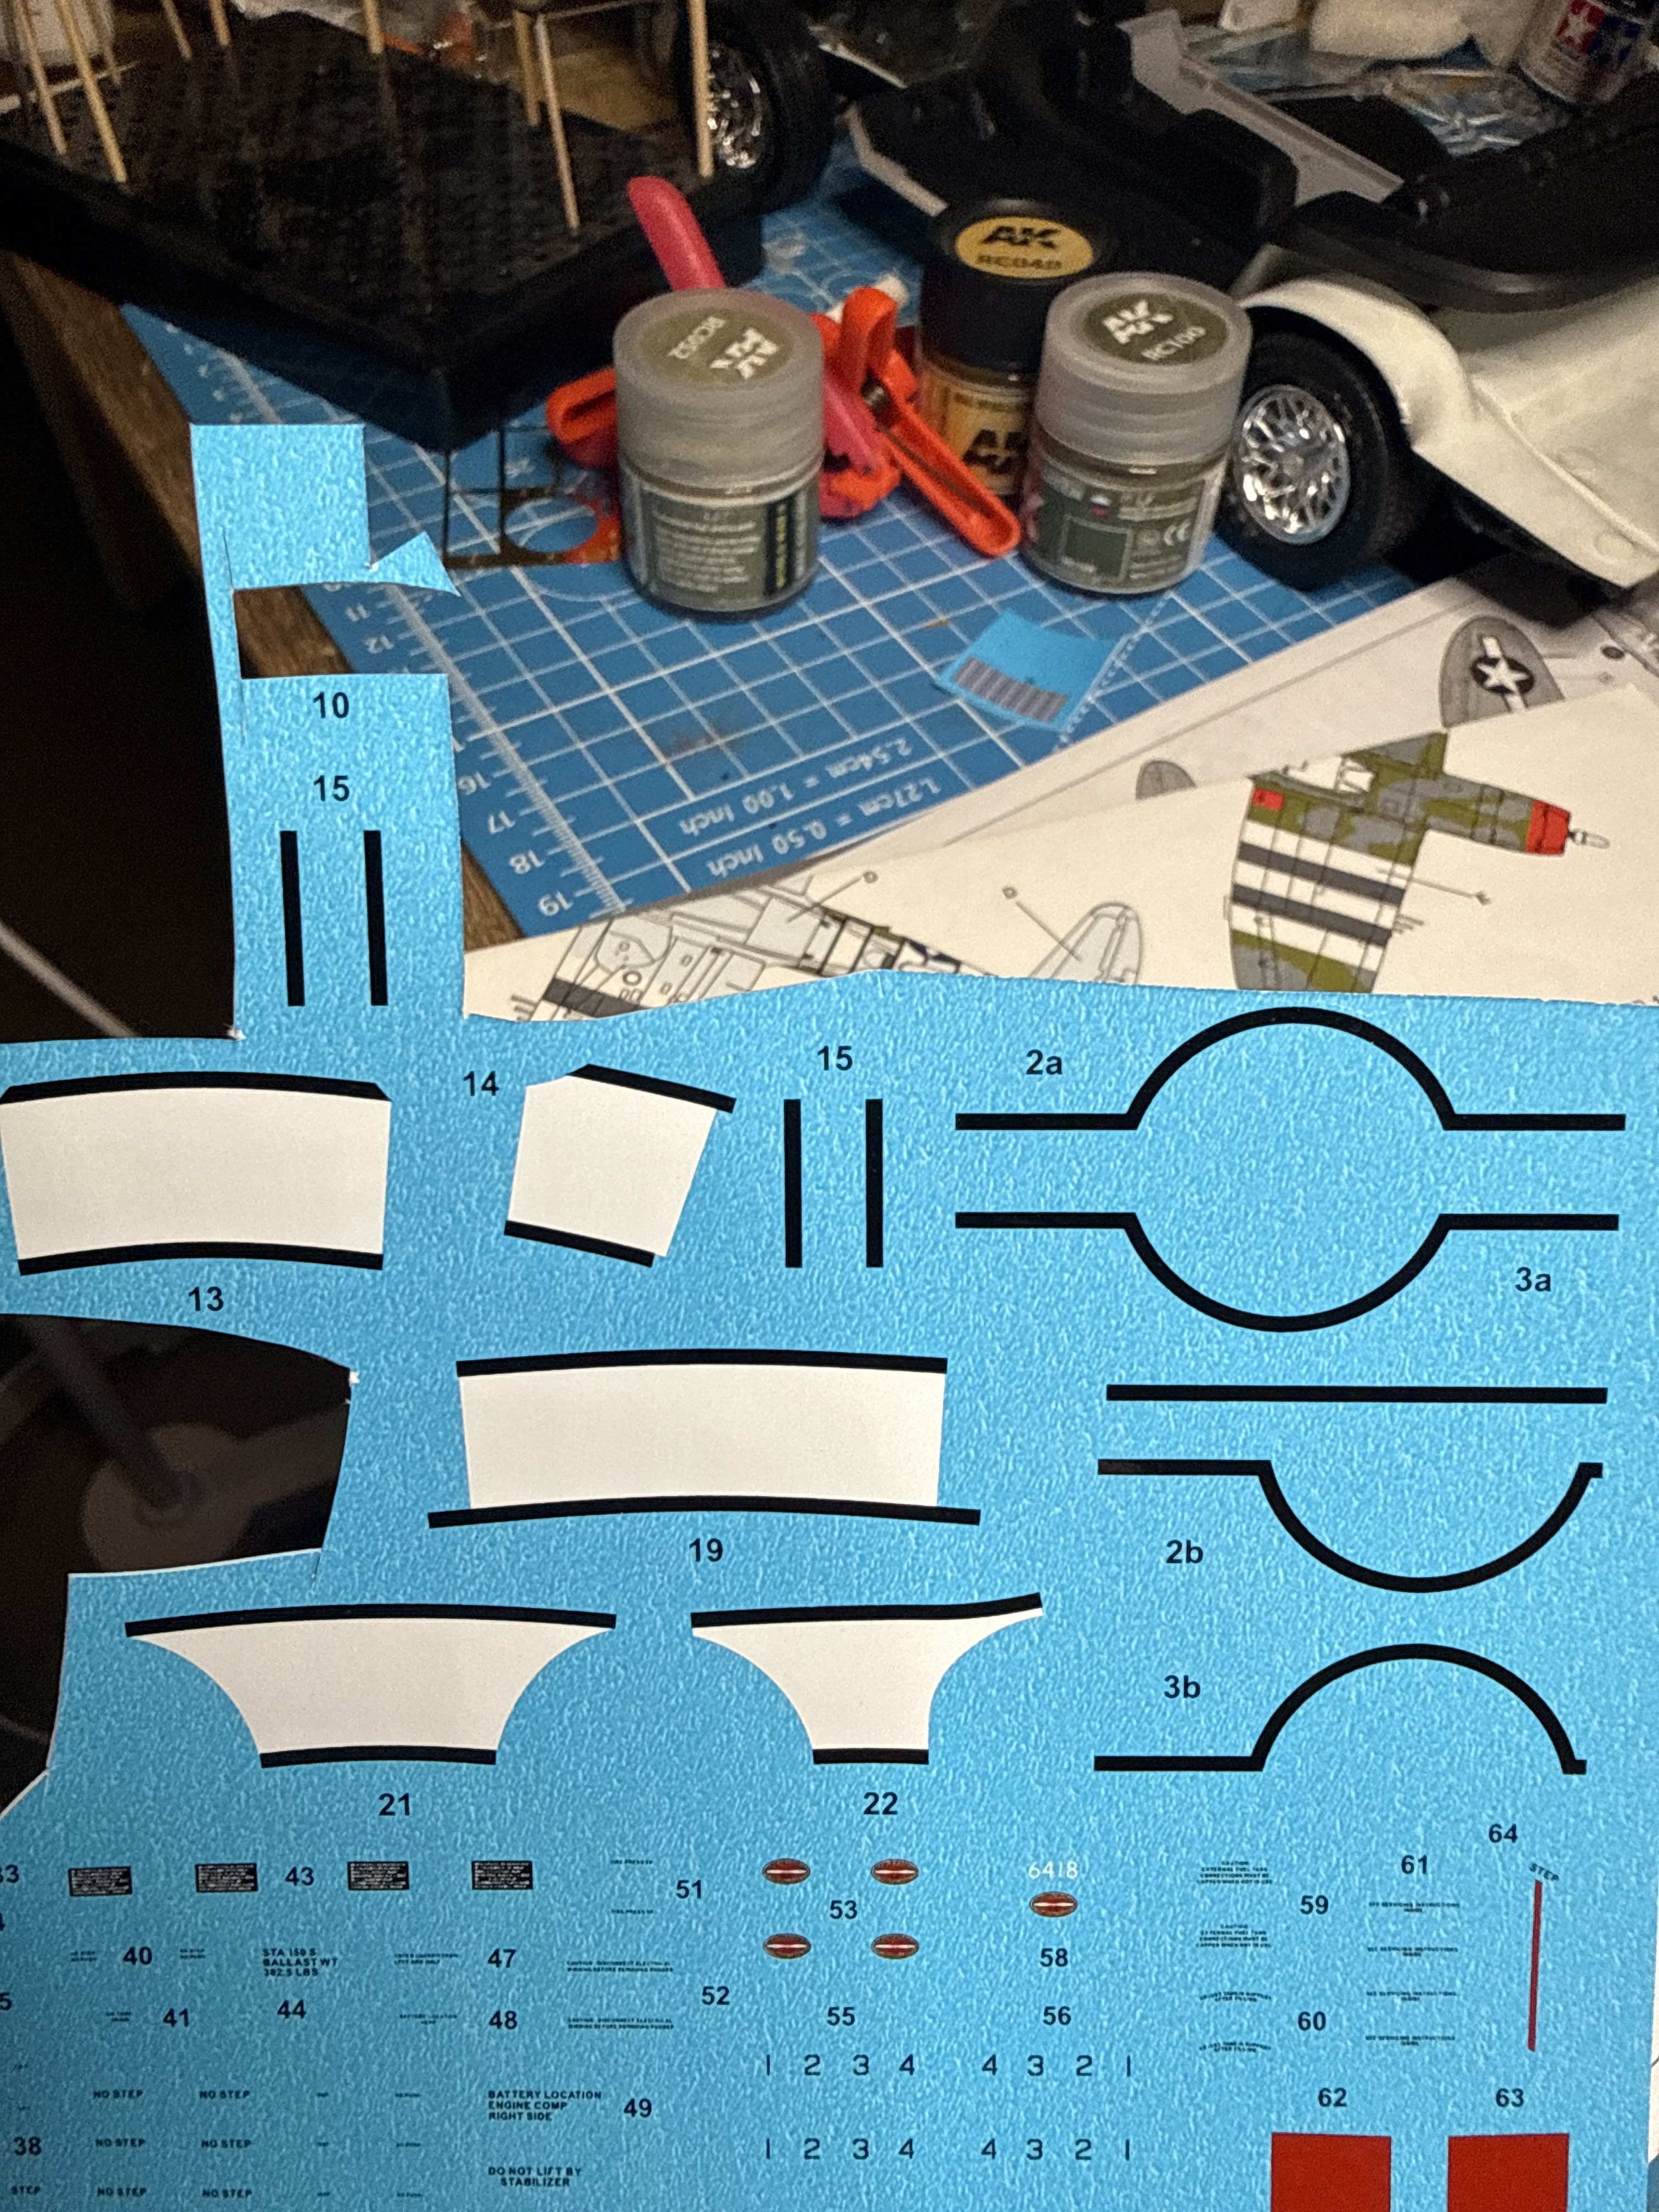
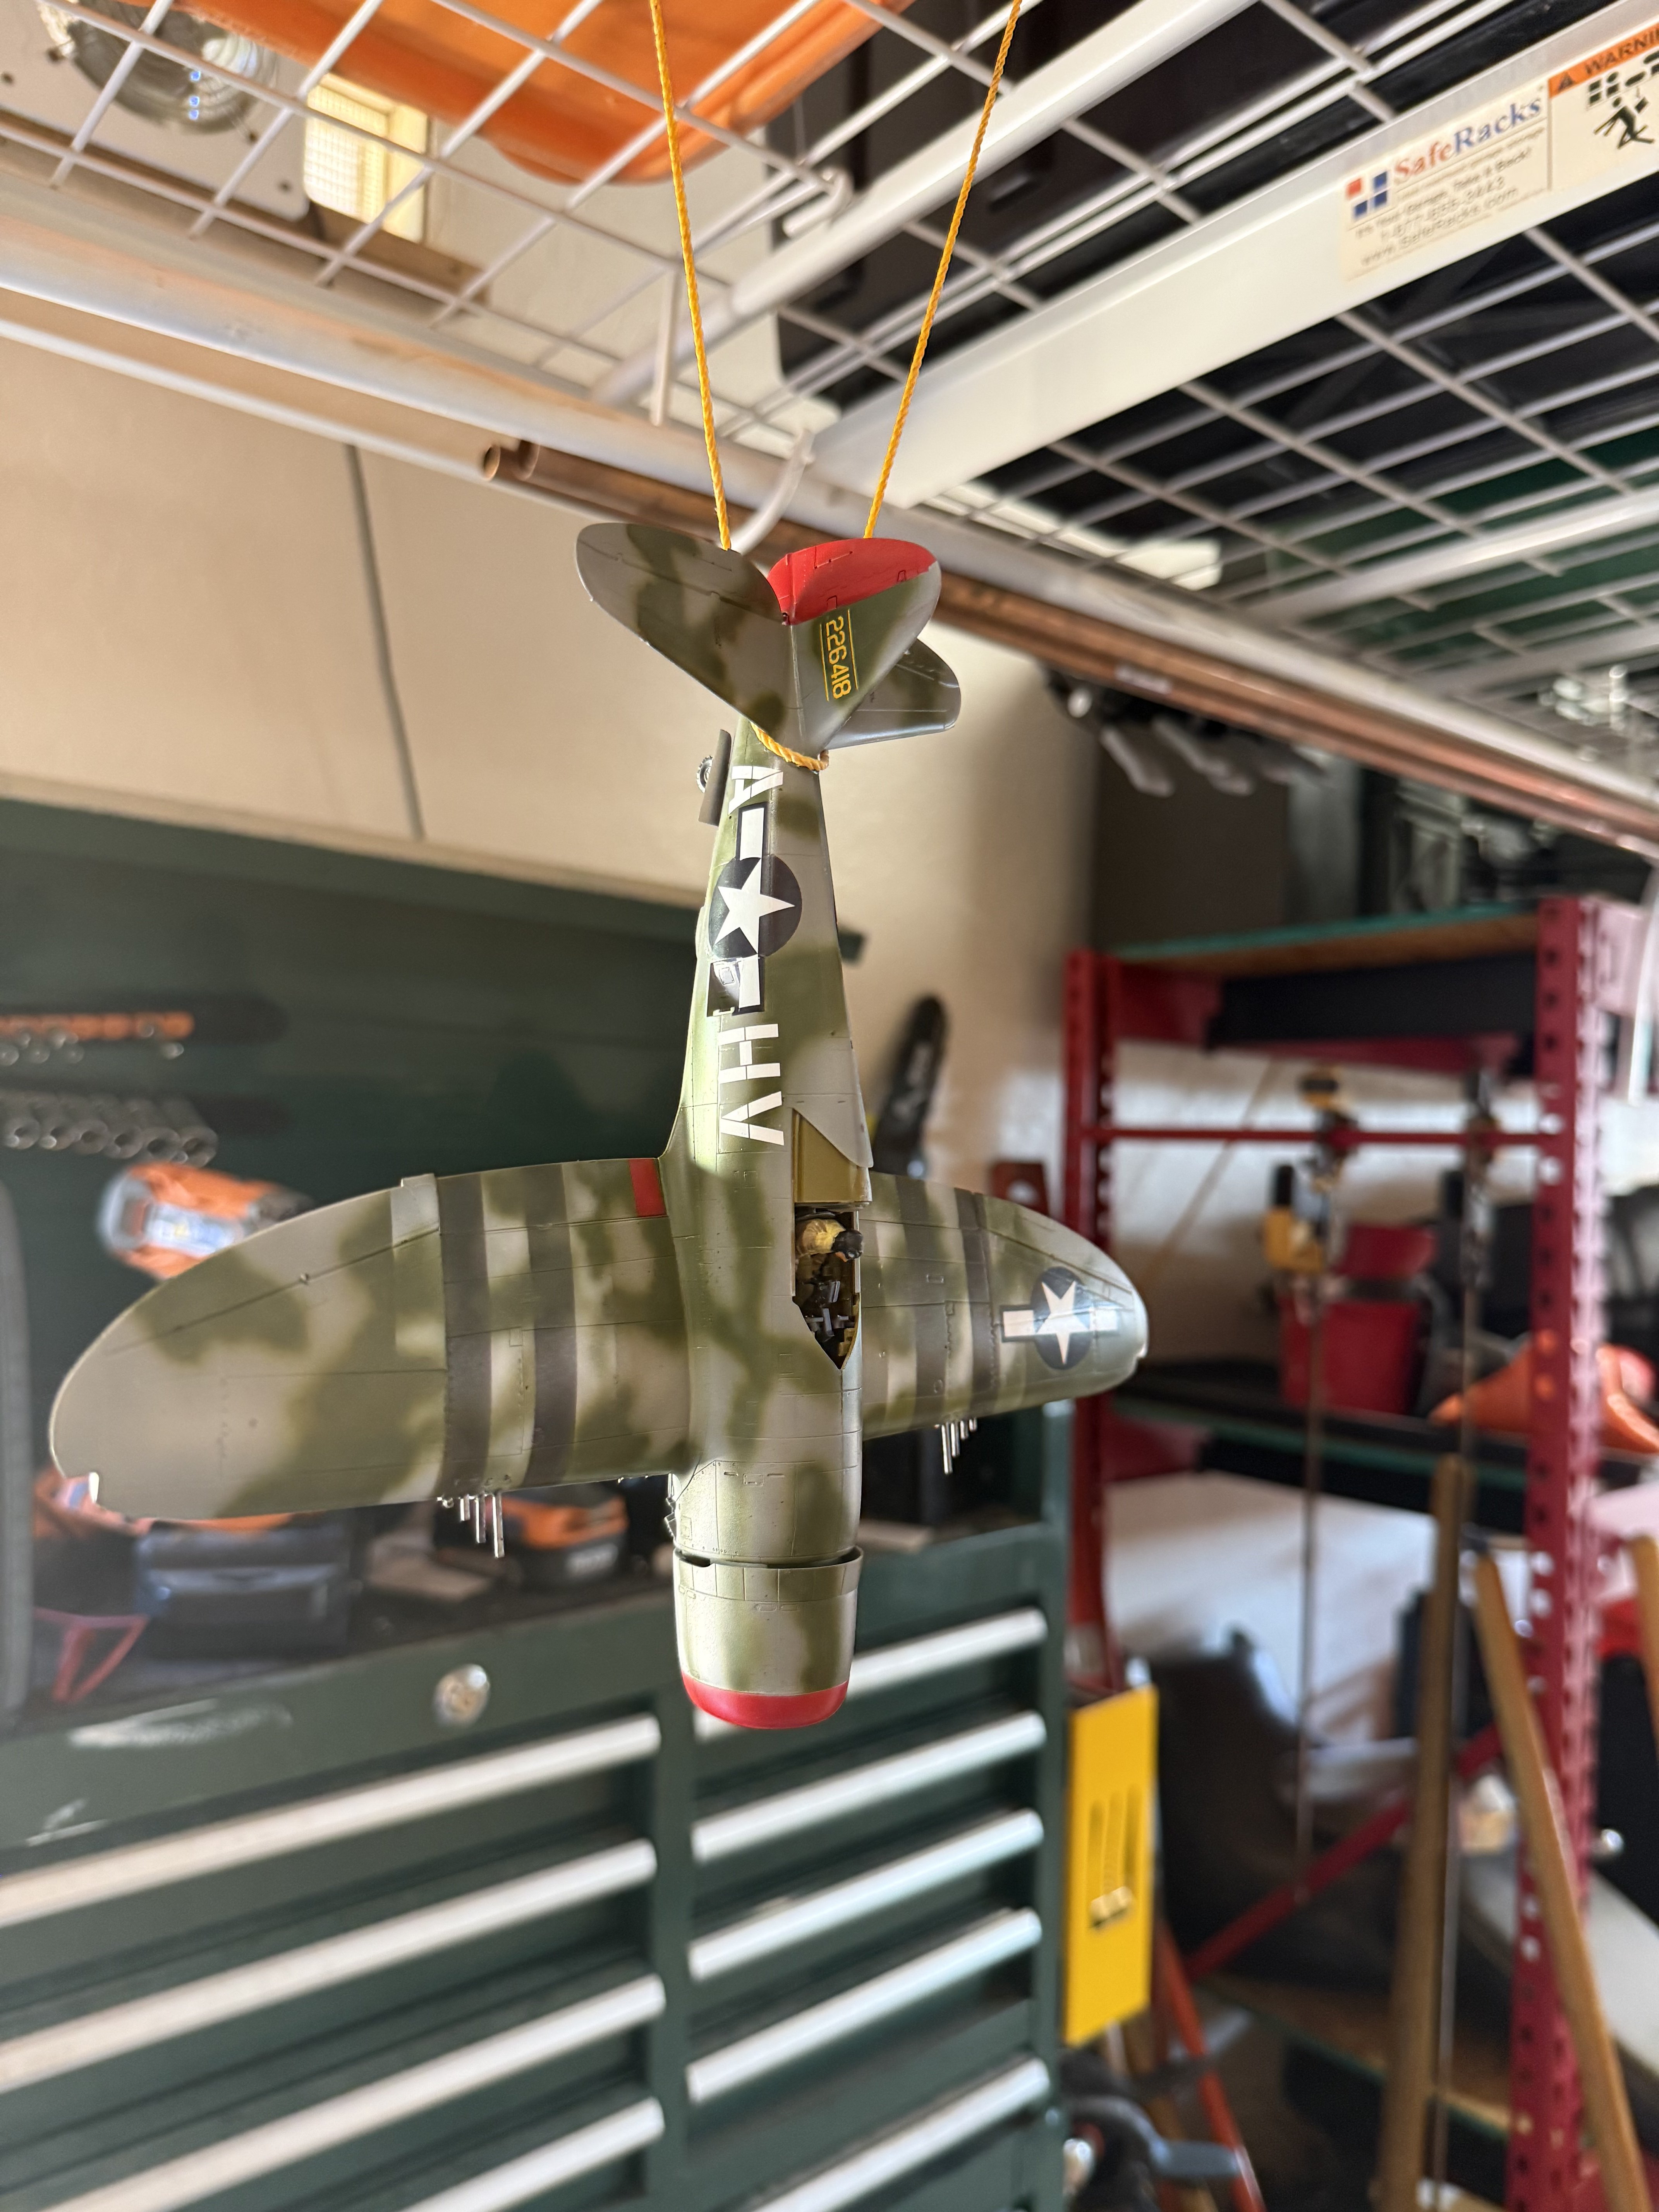
Done with decals. I started adding all the little ones, don't normally do so, and decided there's a reason I don't normally do so. Another issue with the tech of decals- the numbering for the guns was all individual decals. I lost #1, luckily it's green at that point and it didn't show anyway. But wth? I hit it with some satin this morning ing to seal it all in. Will do my filter tonight- benefits of hot AZ! Also hit all the little bits with satin and will hopefully assemble today. I've never varnished while on the sprue so I'll see how this works out. Excuse the background mess.
Attachments
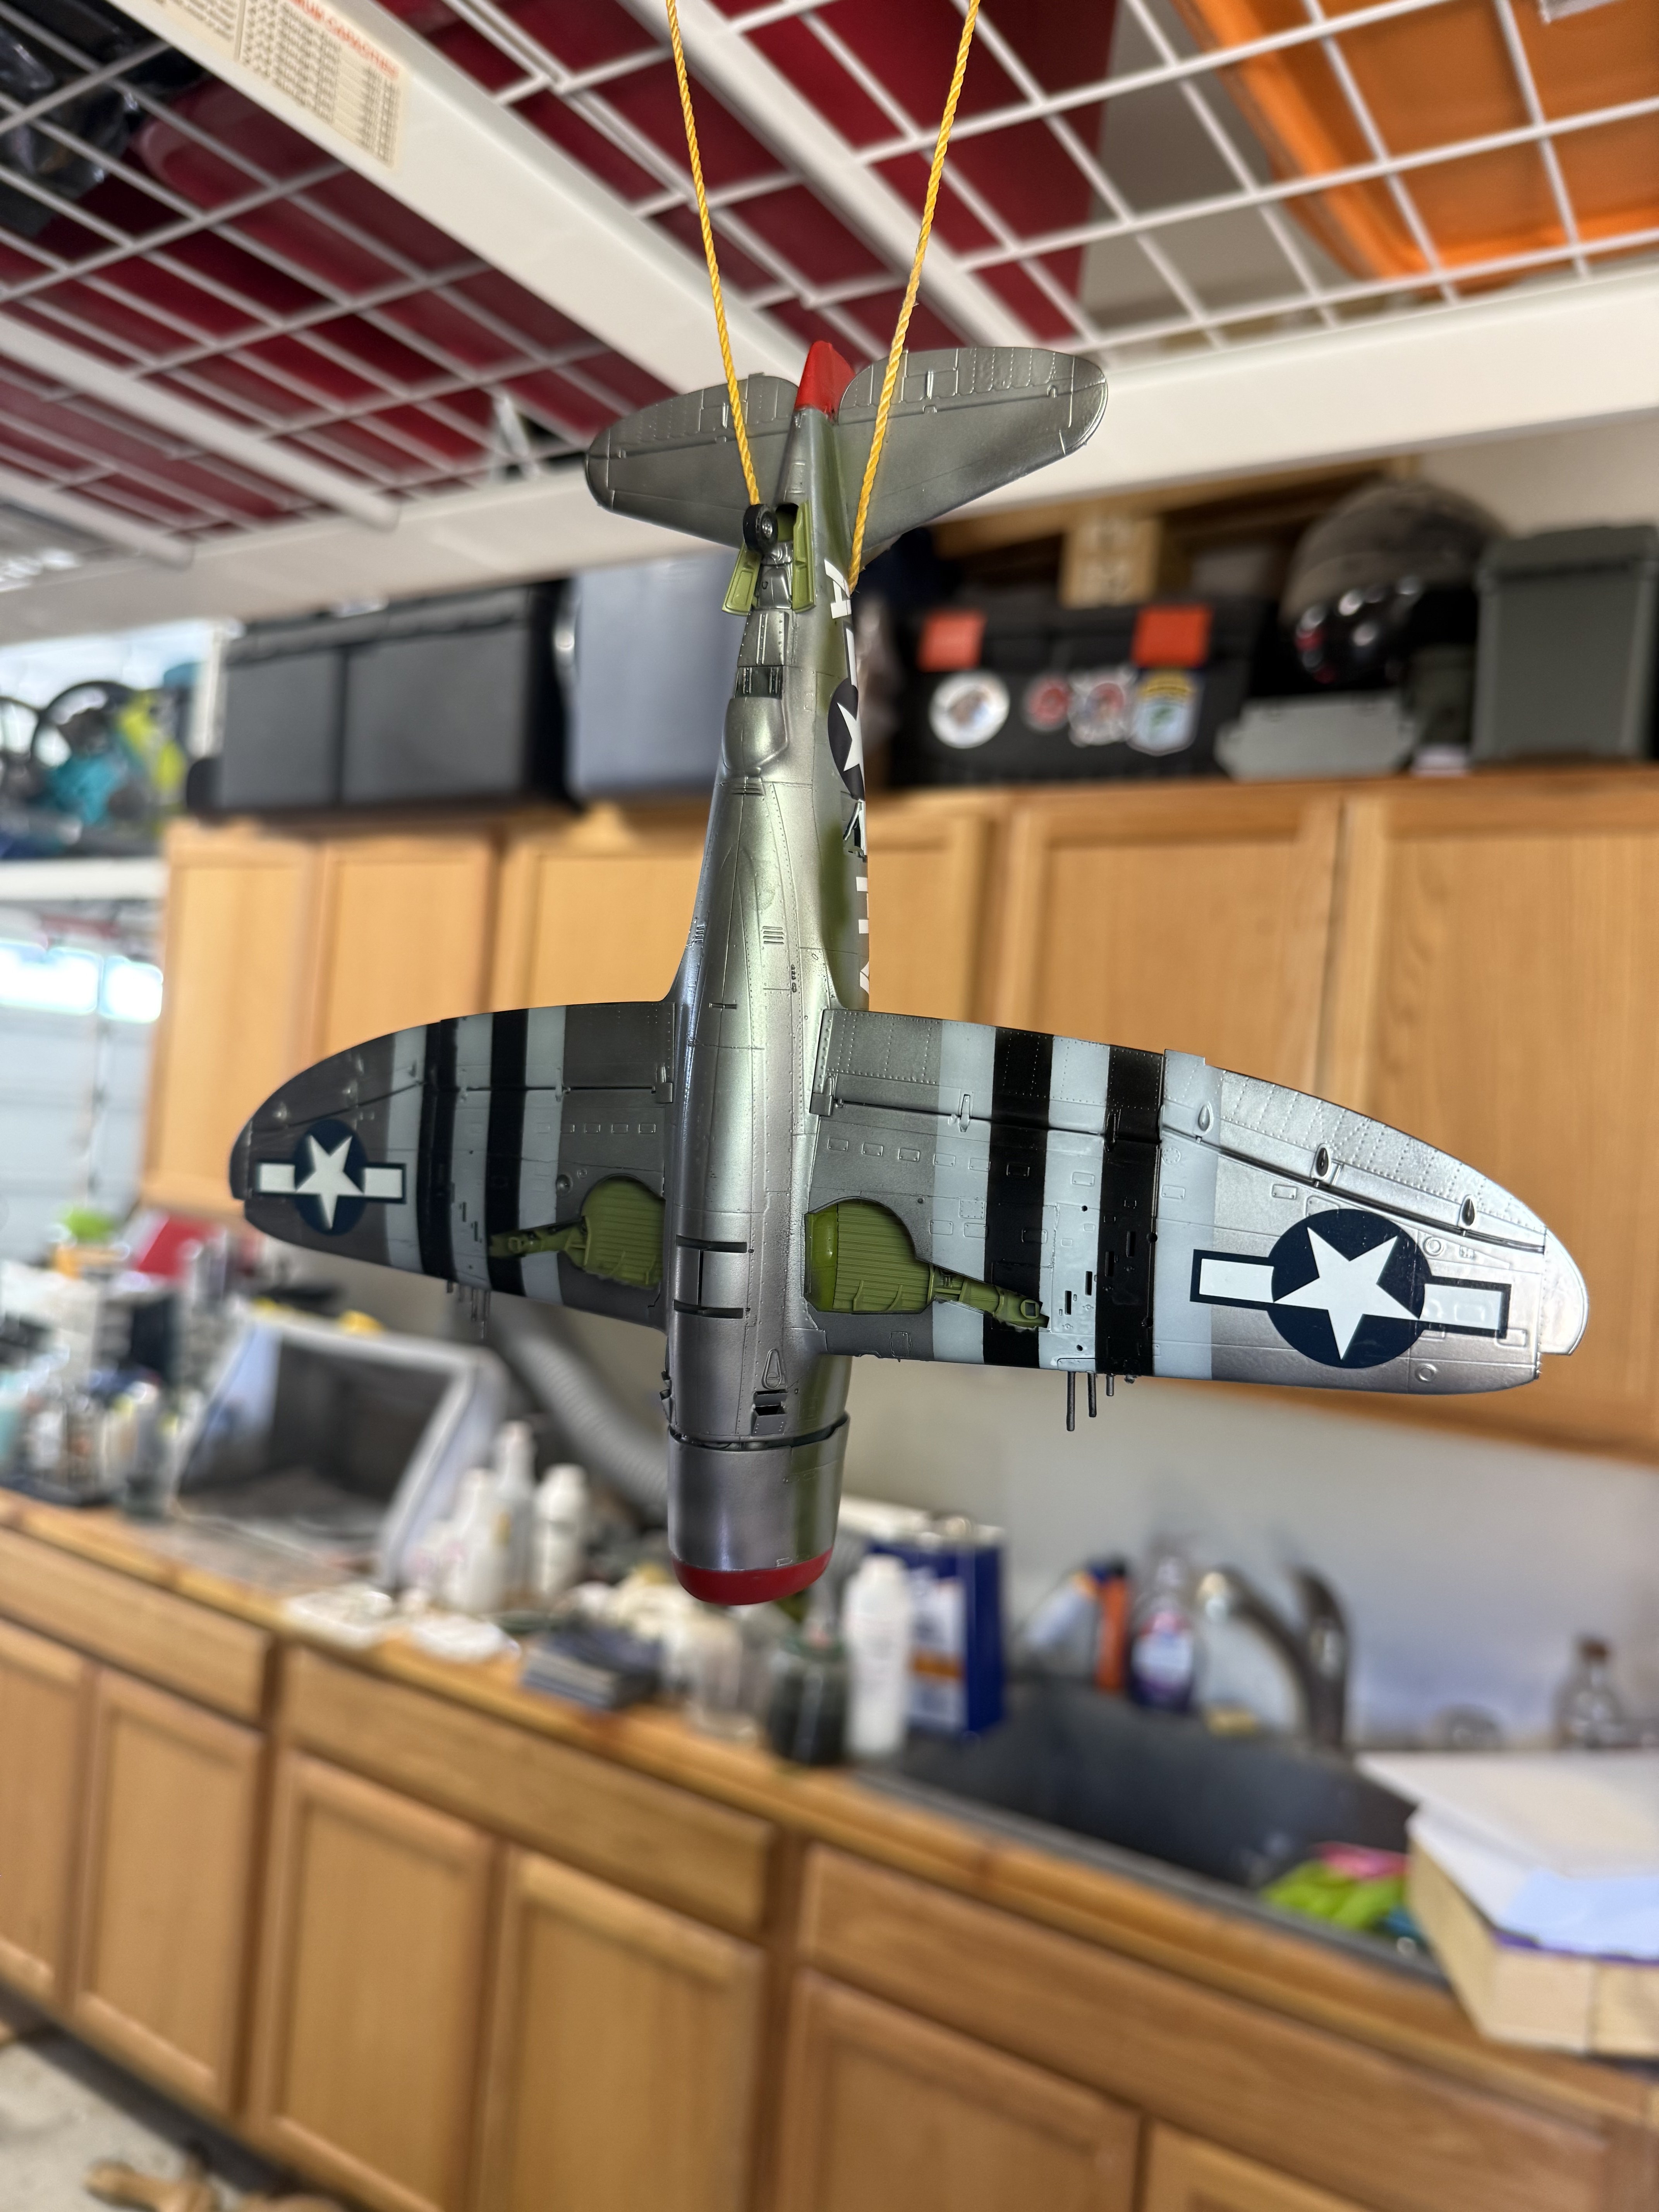
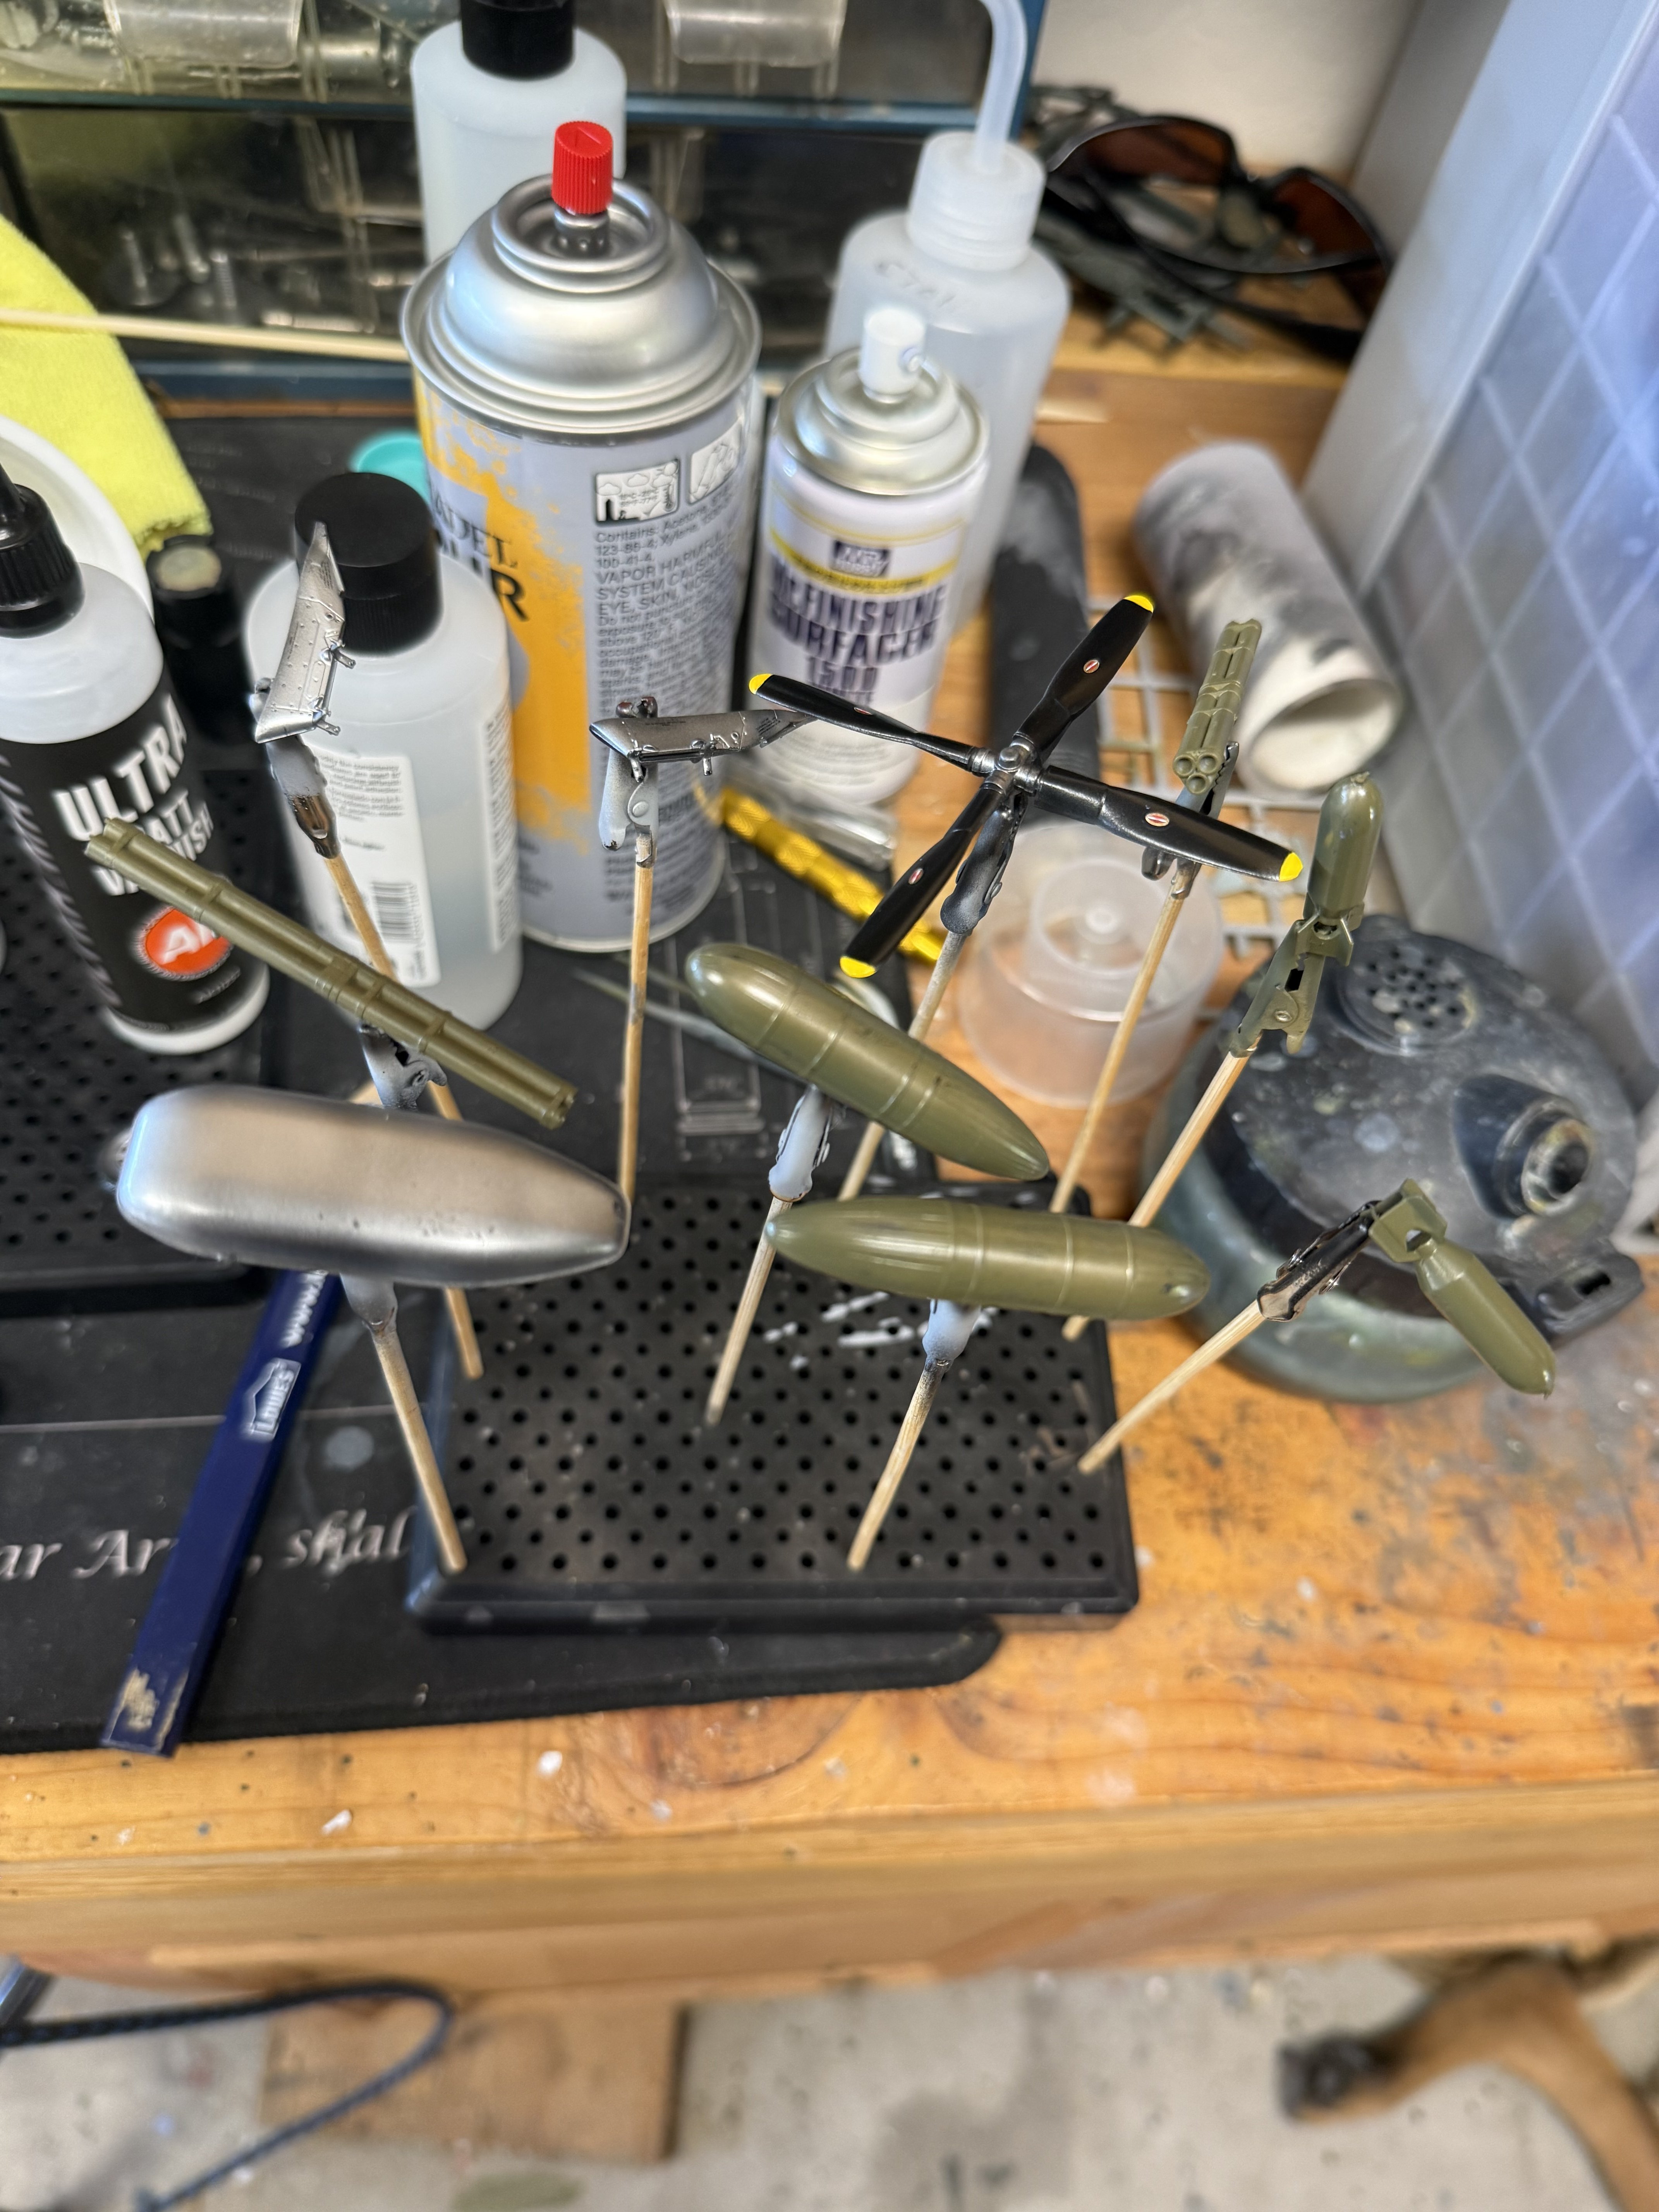

Alphonse
Well-Known Member
This looks no lego to me!
This looks no lego to me!
Thanks! I'm trying to go slower with this build. No extras but making sure everything is as good as I can do.This looks no lego to me!
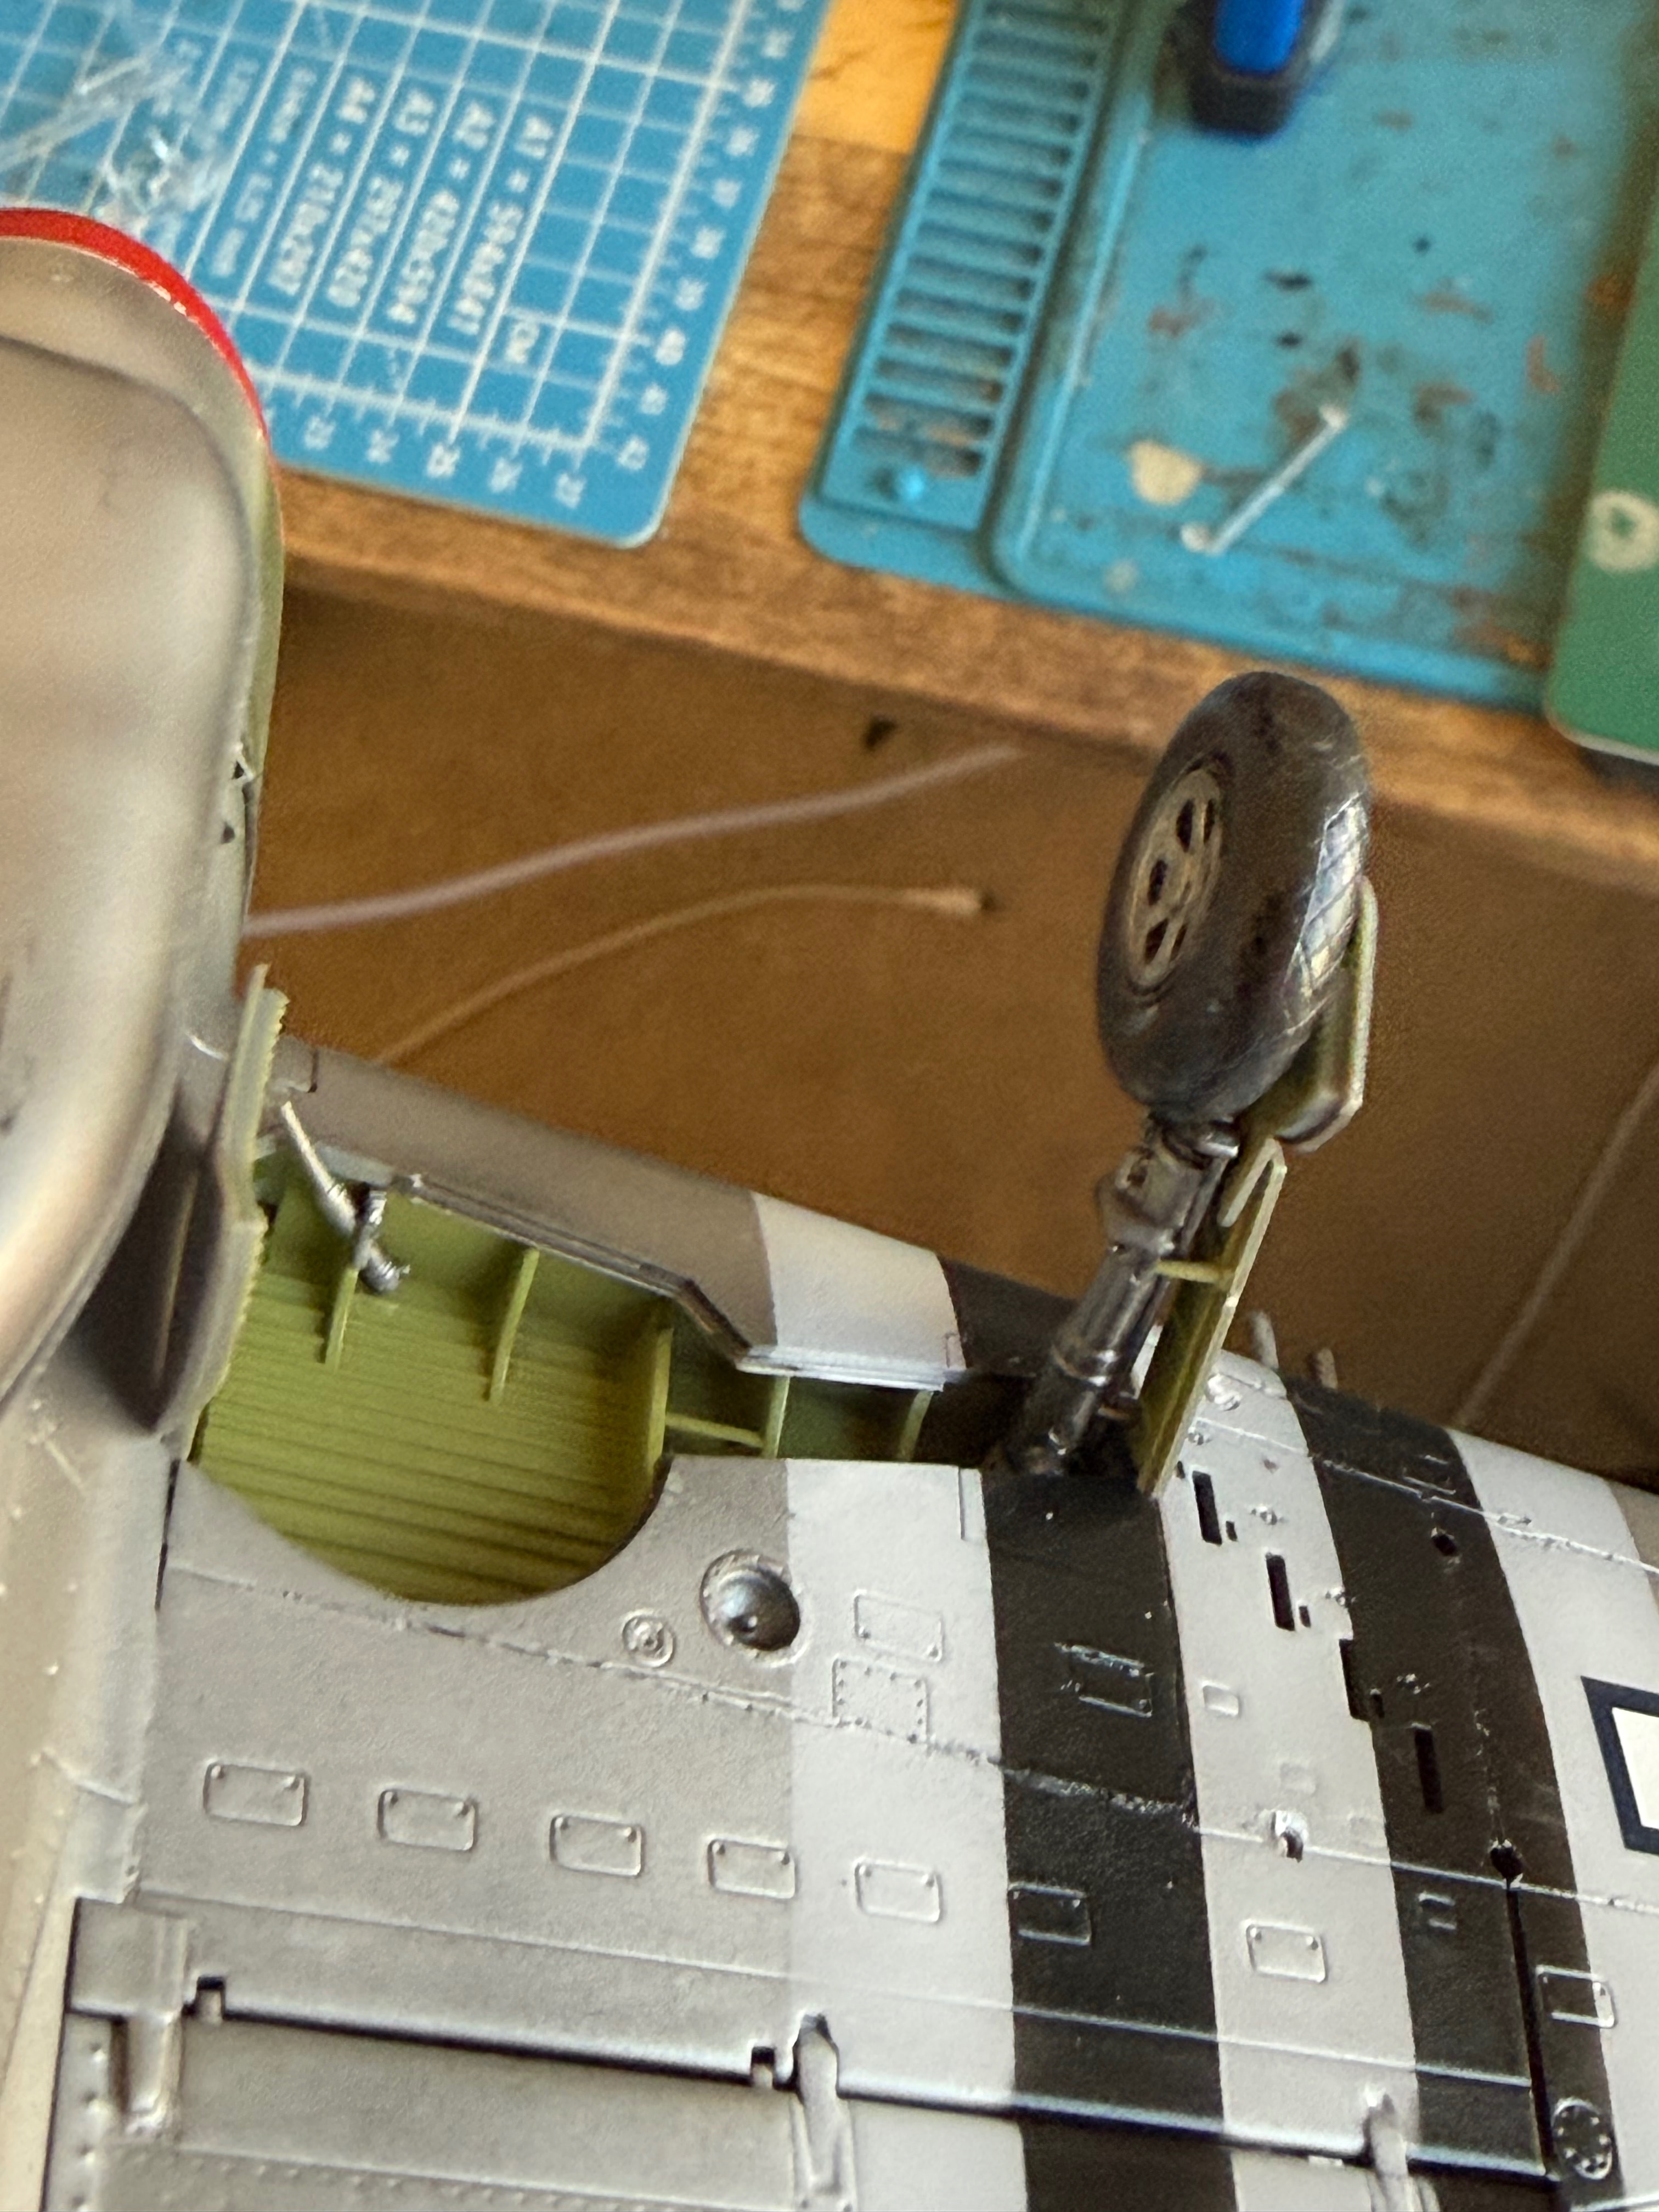
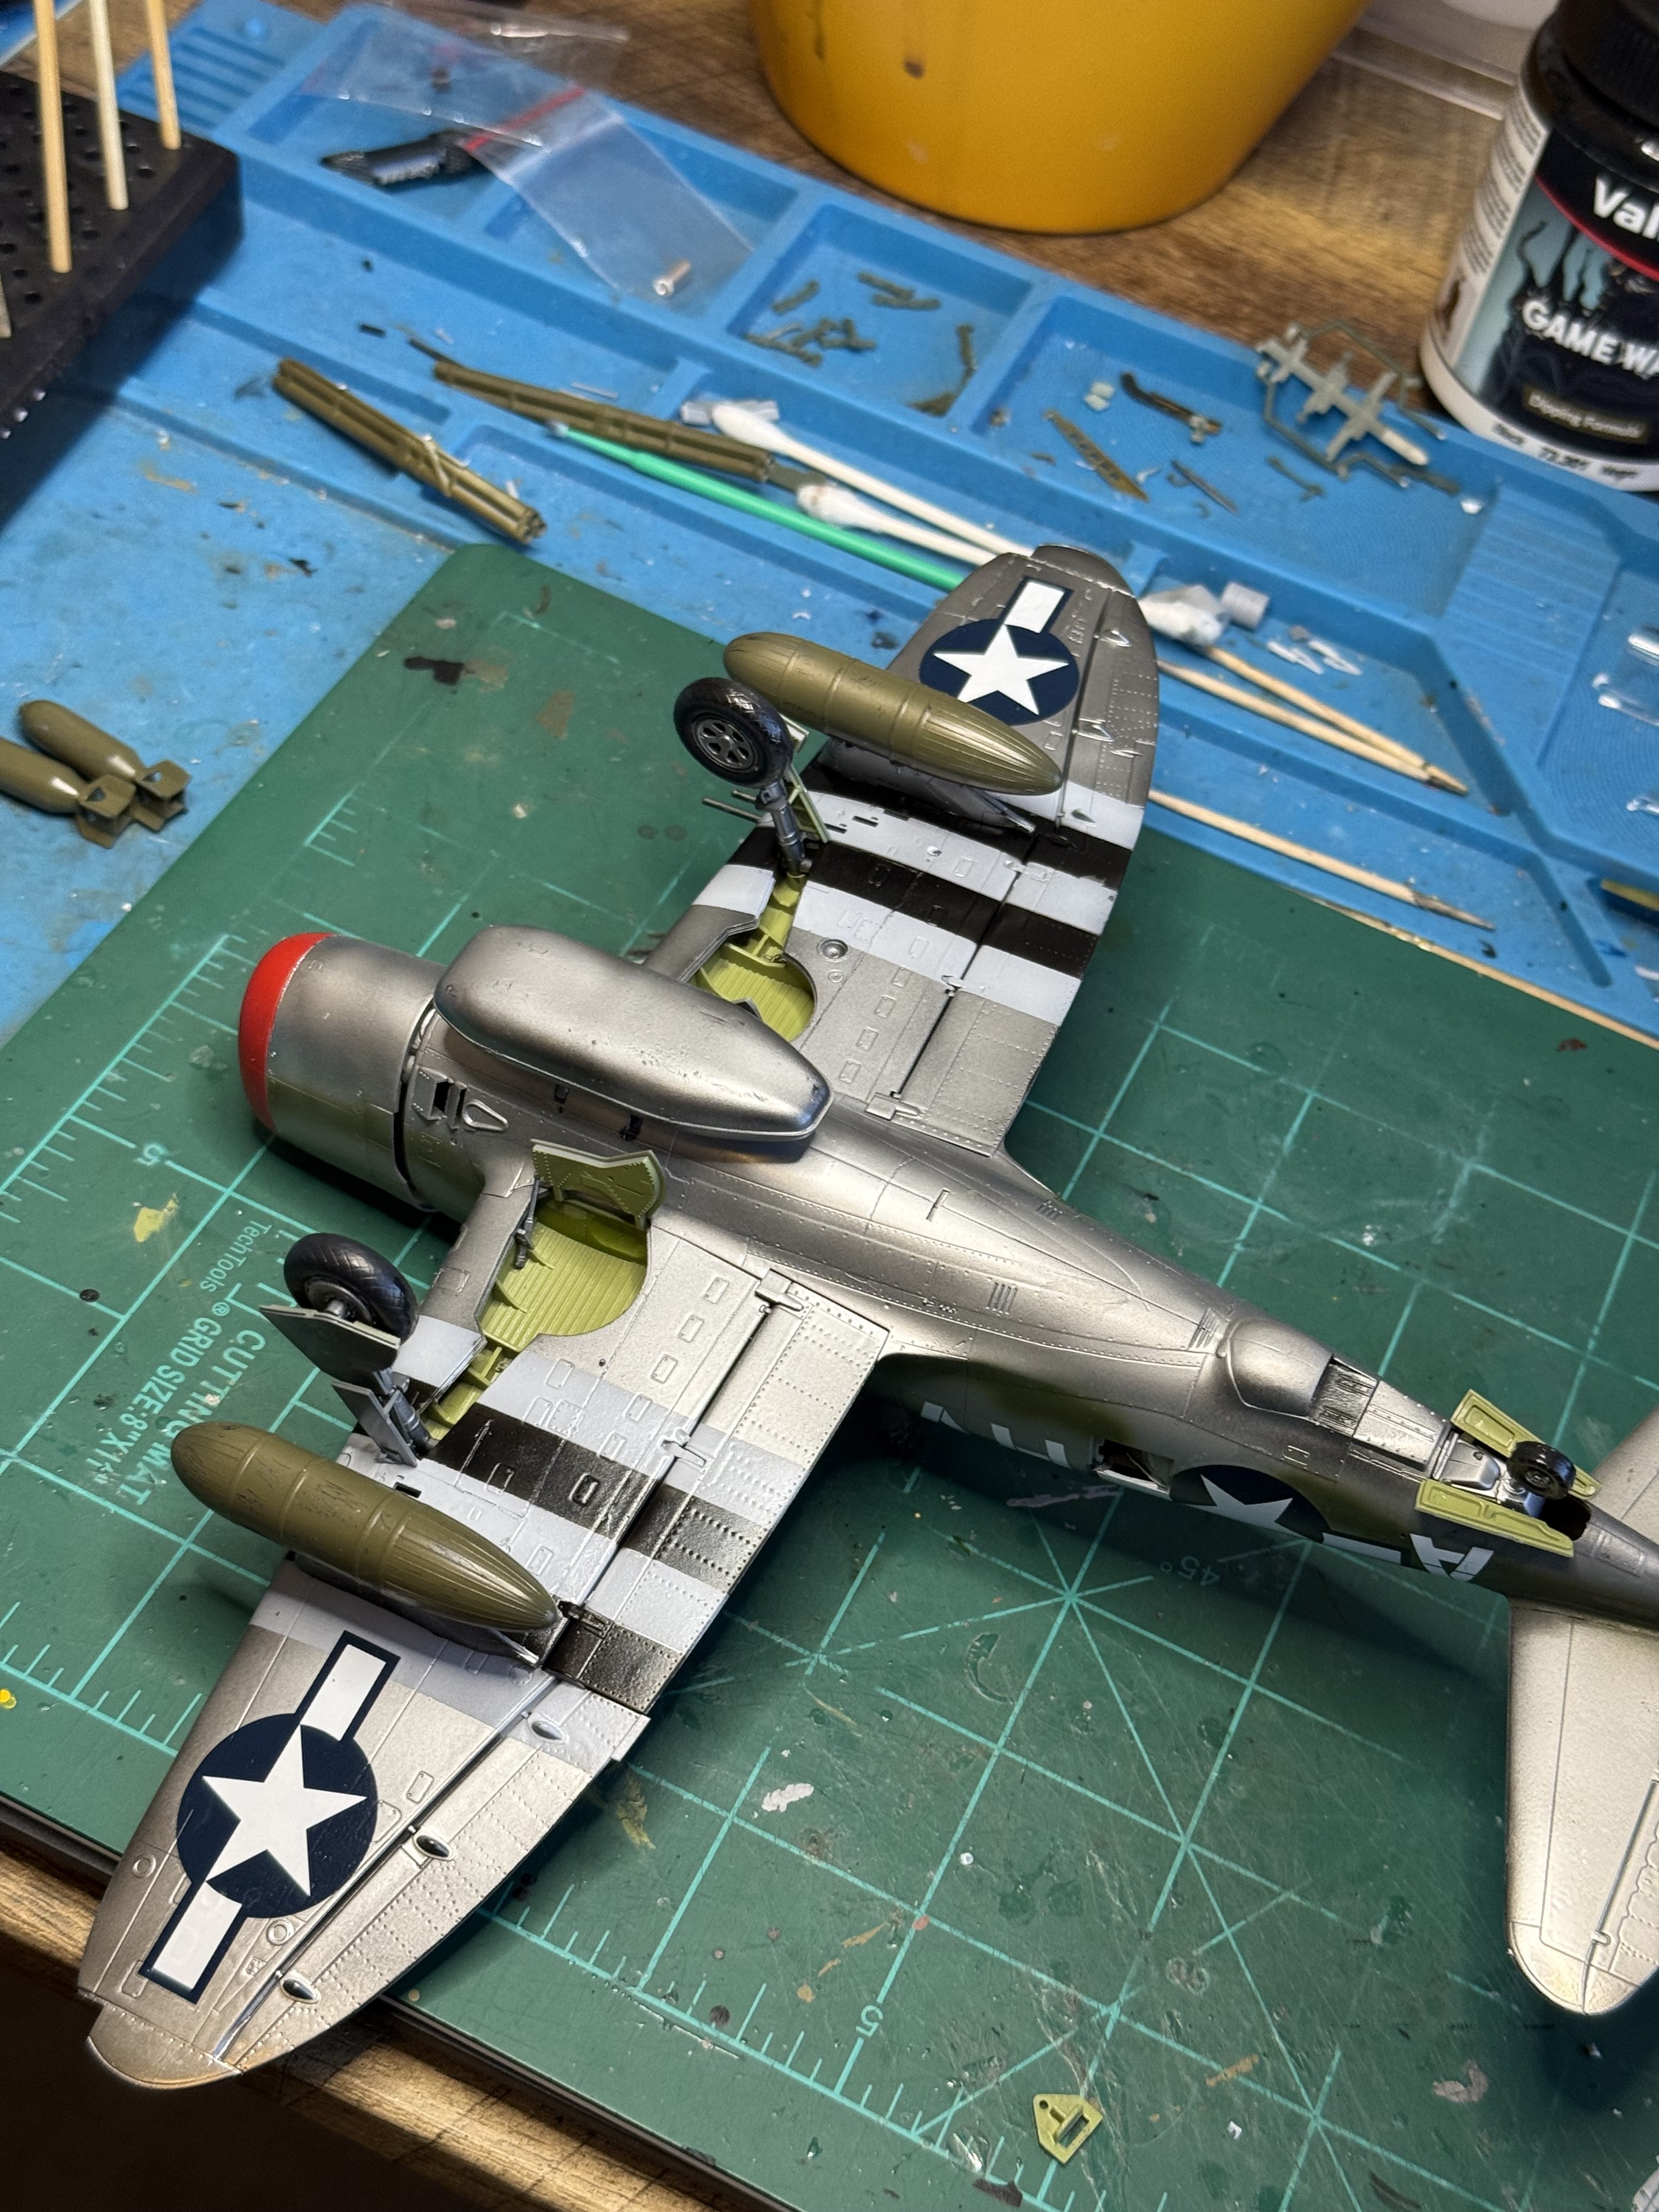
Landing gear and drop tanks installed. No rockets or bombs as this was modeled after Gabreskis plane. Working on canopy now. Love the detail and the way a Tamiya goes together. I'm eyeing a Tamiya f16 for my next big purchase.
Attachments
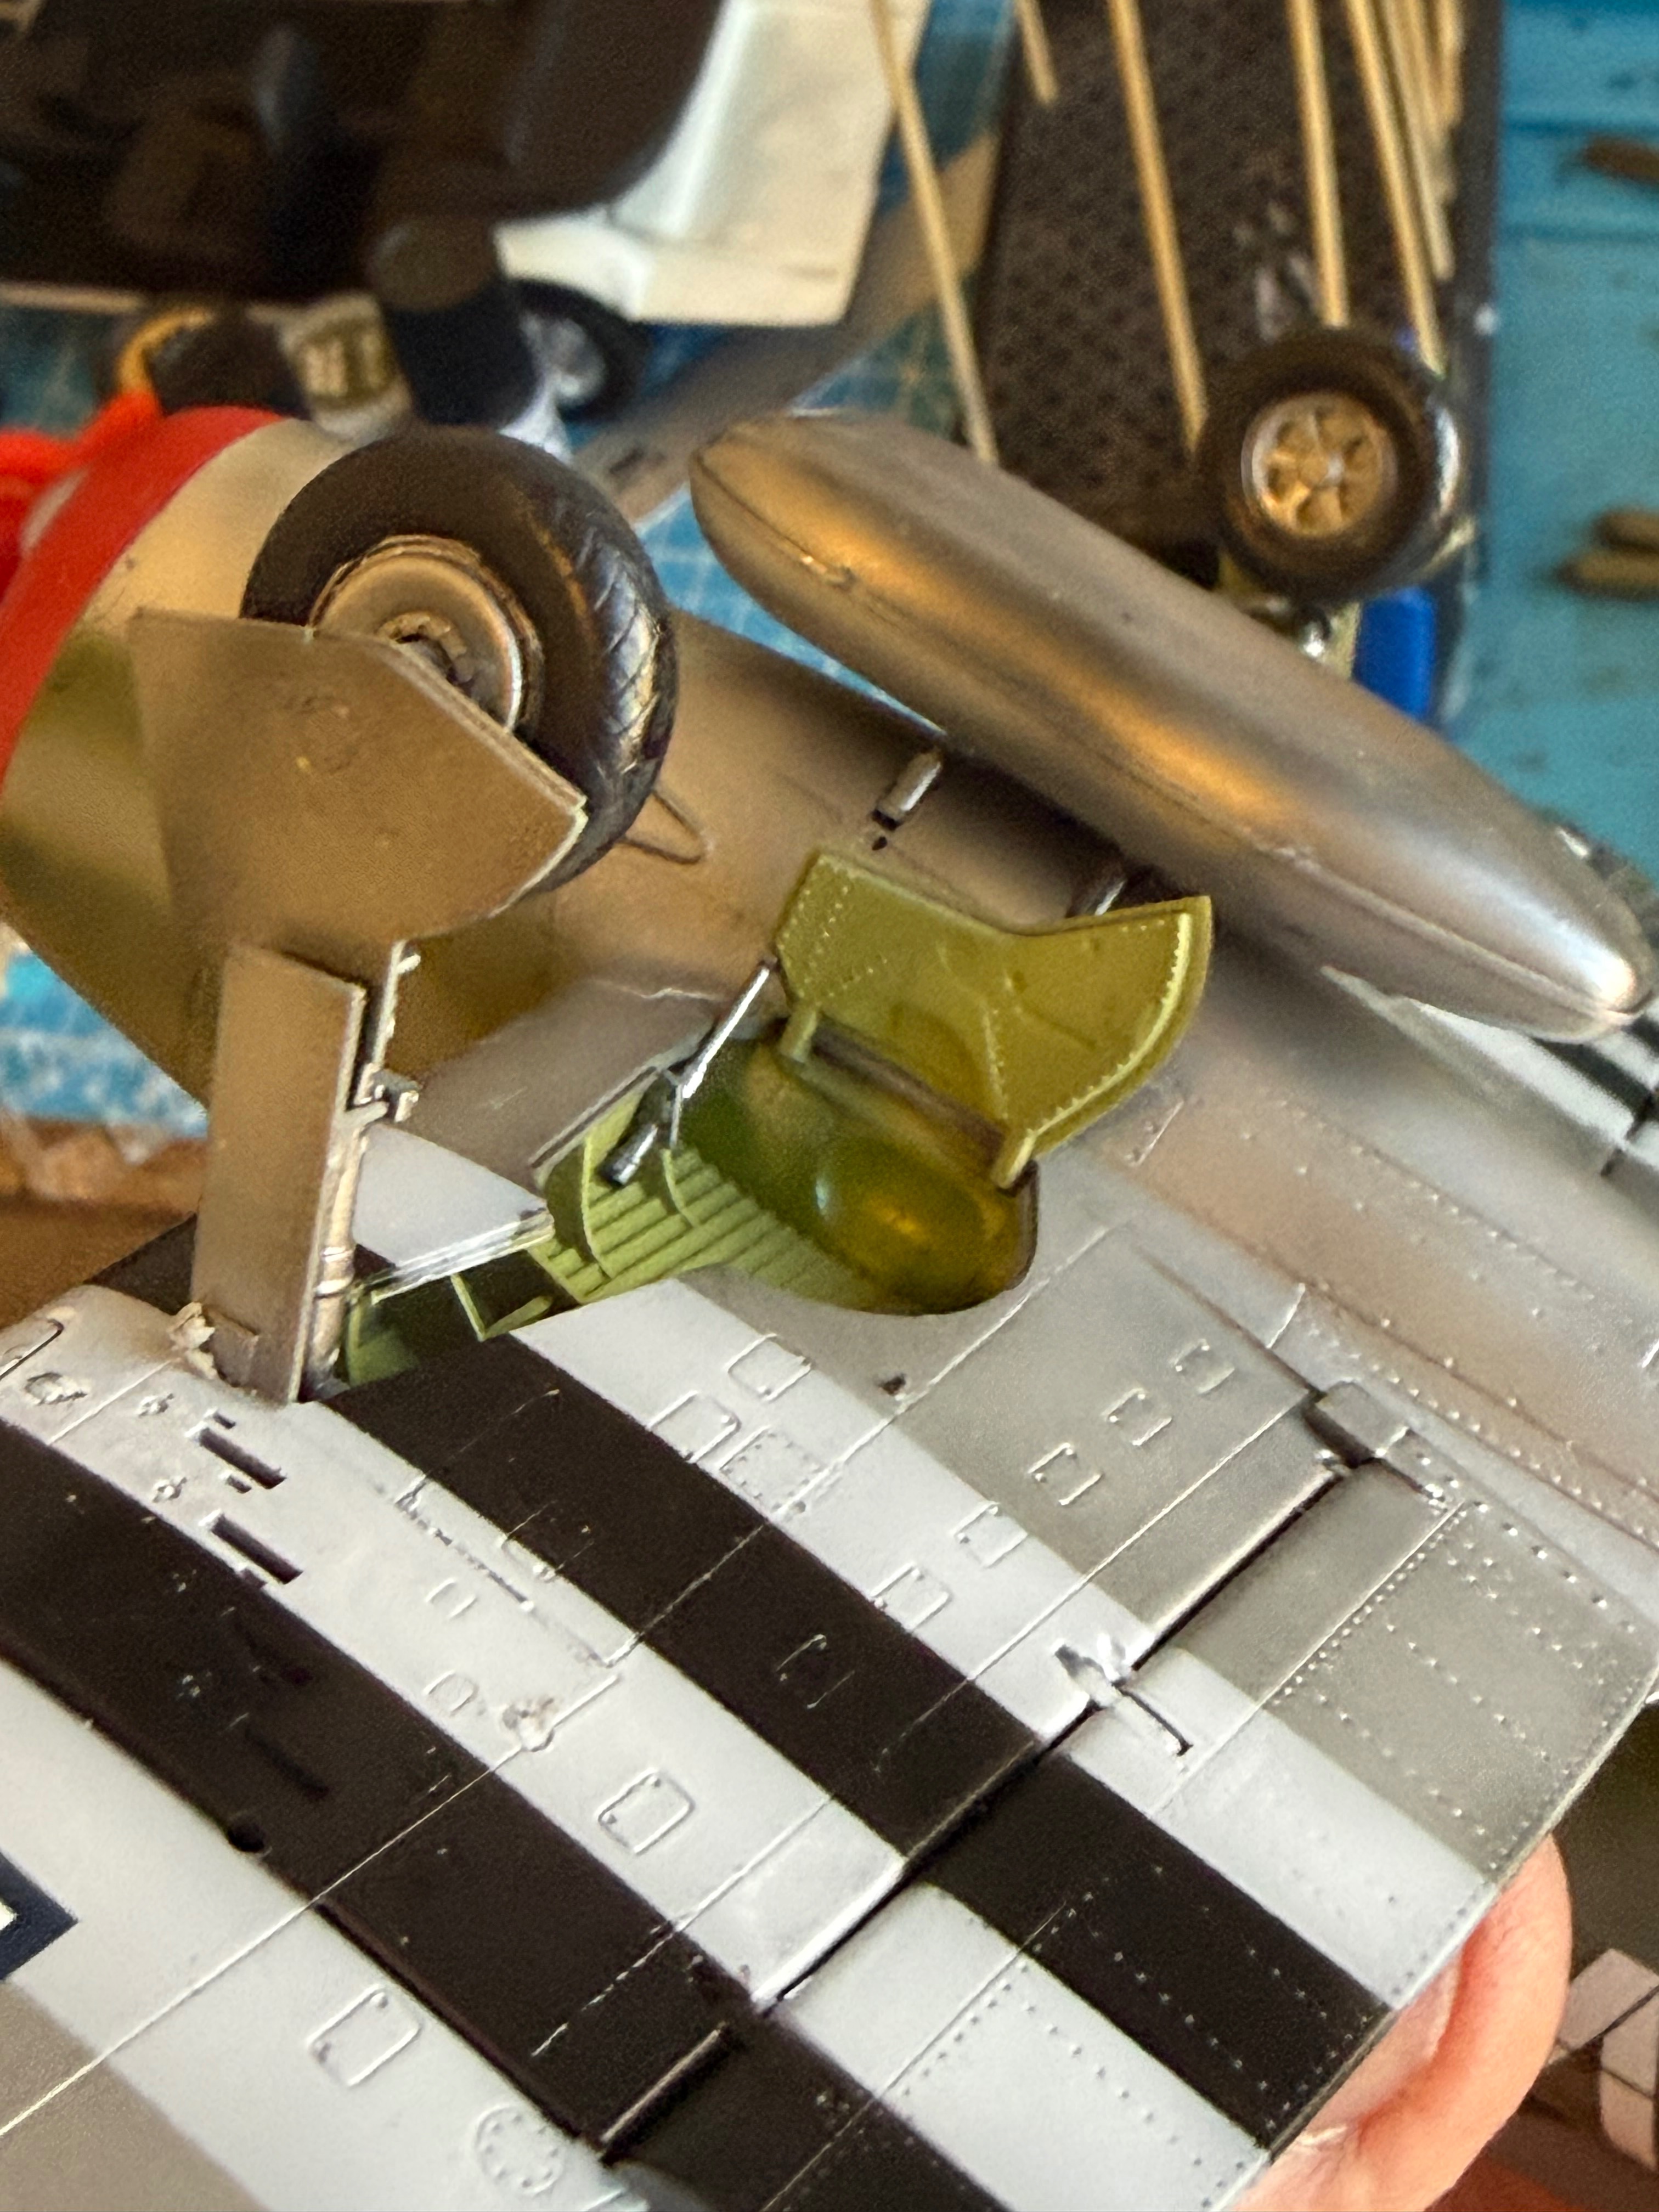
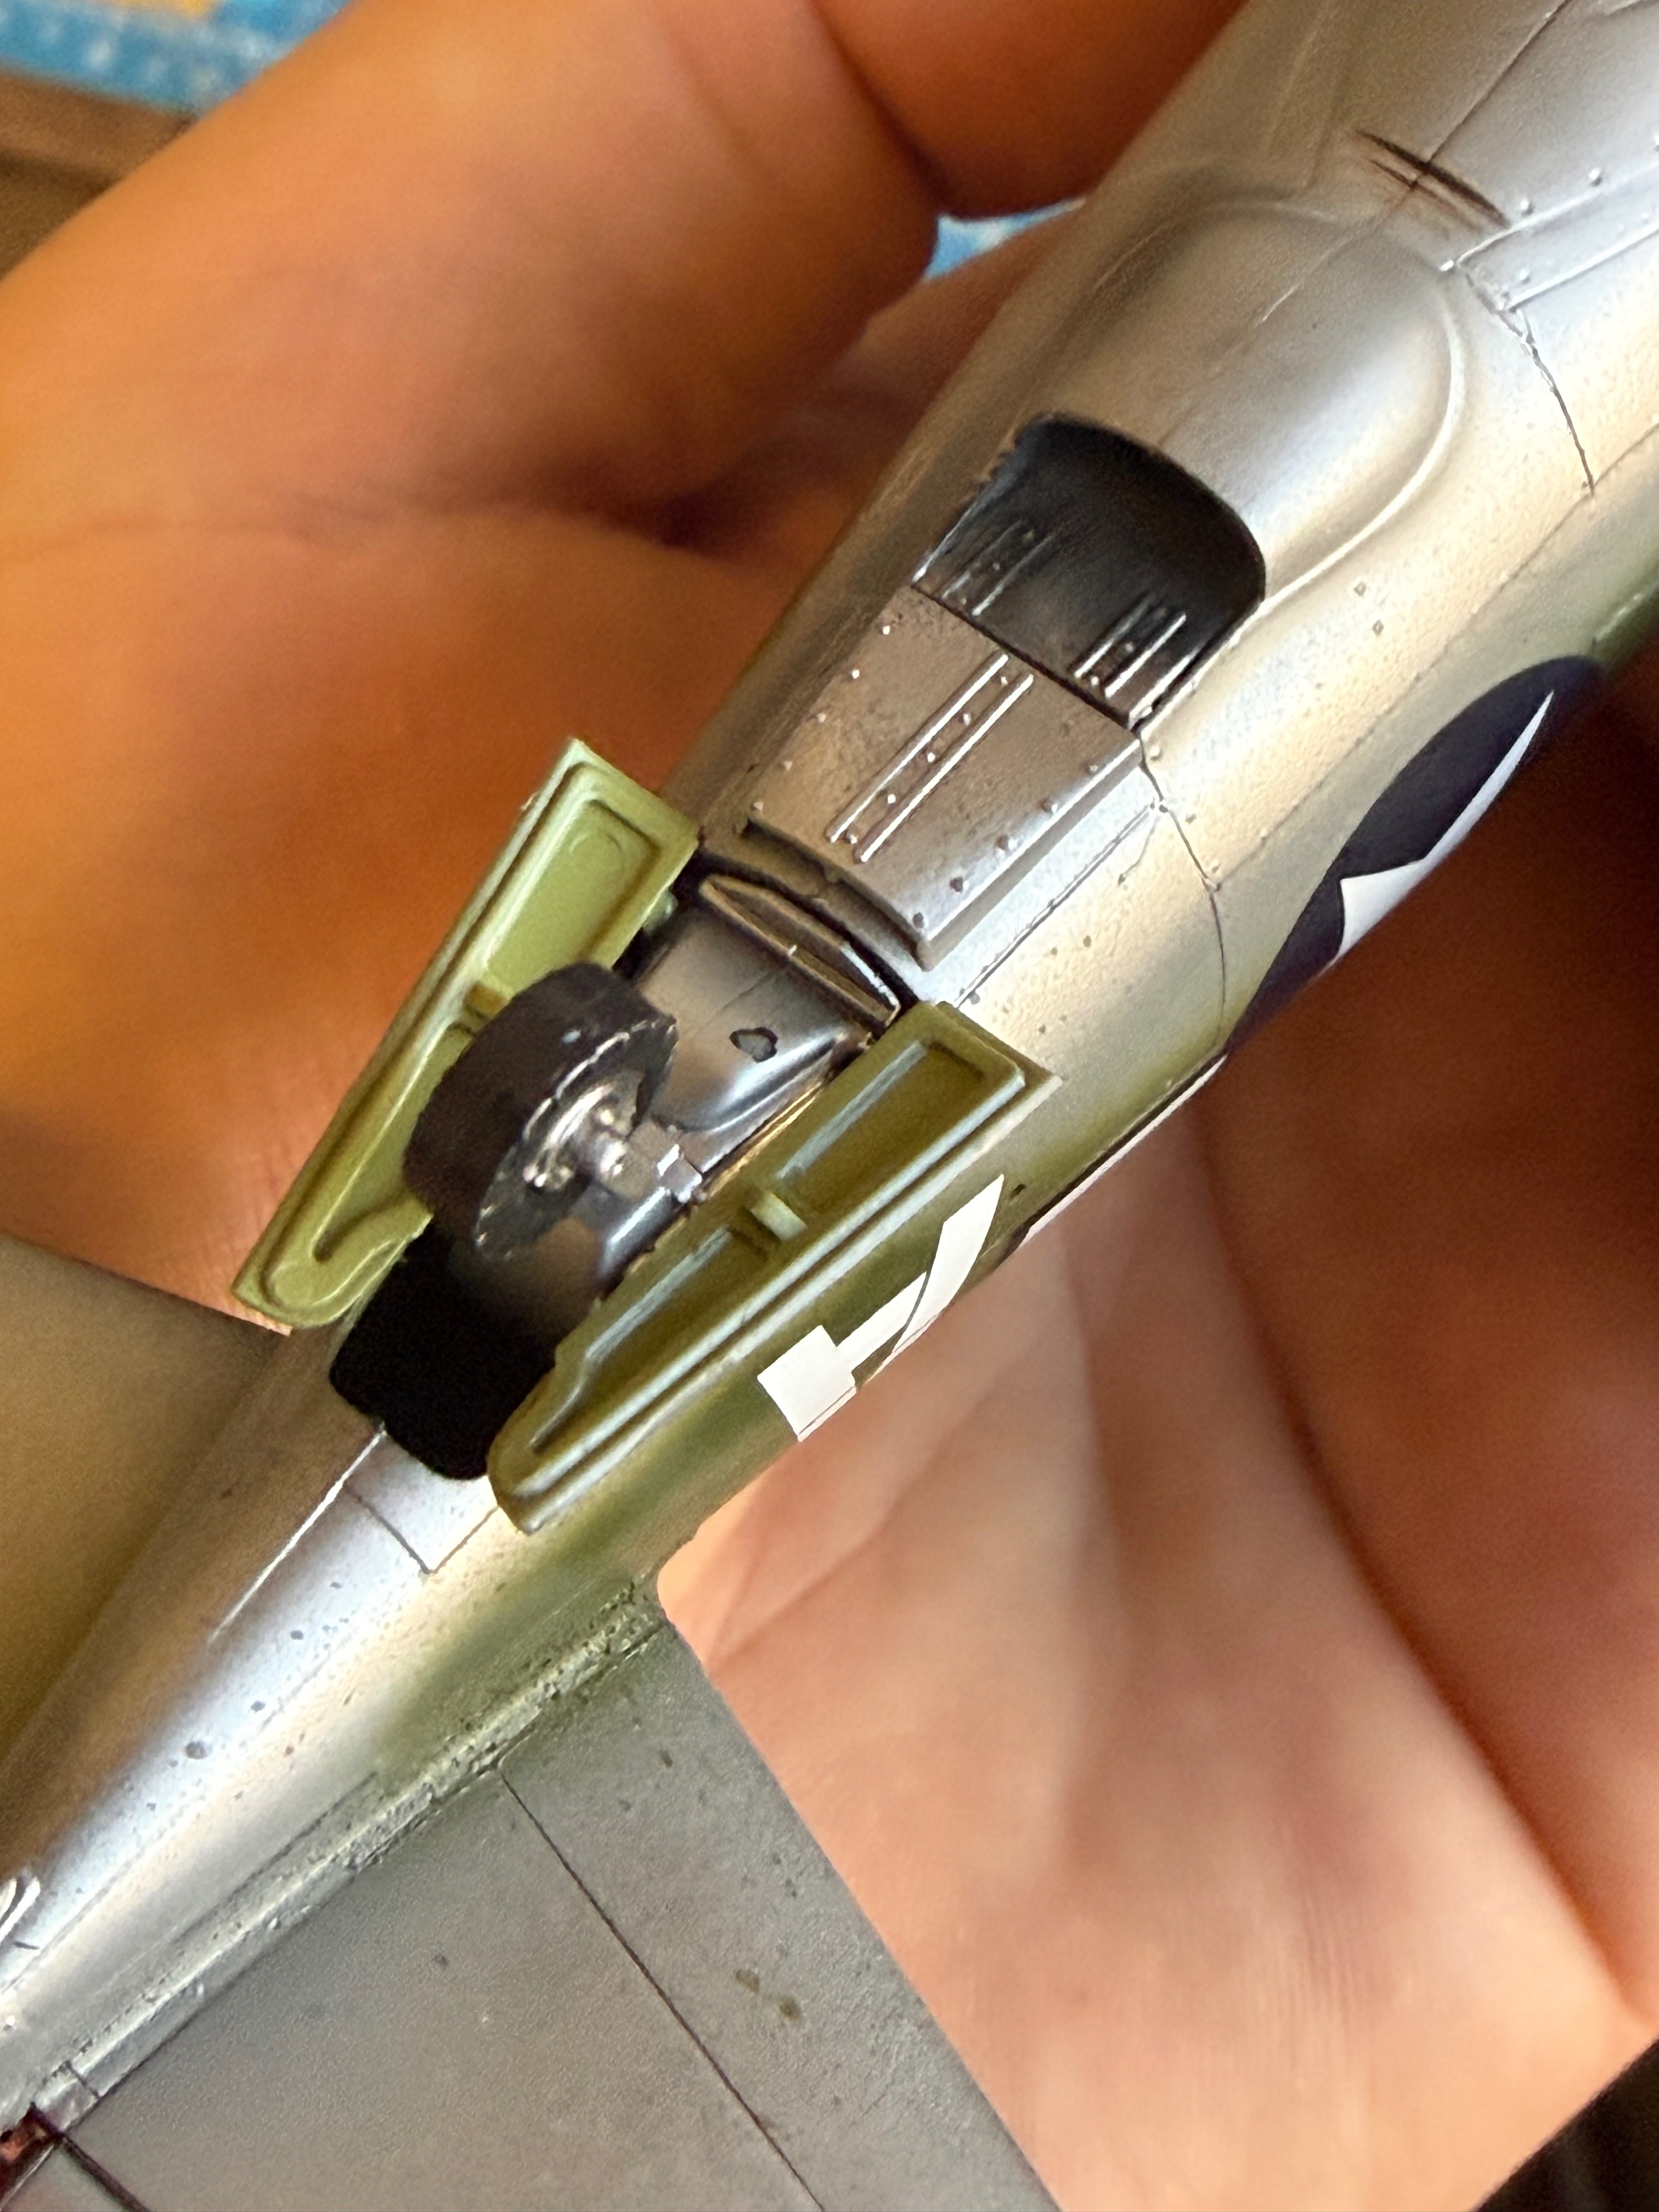

Edbert
Well-Known Member
- Joined
- May 16, 2024
- Messages
- 3,121
You said "big" so I'm assuming you mean their 1/32 version?eyeing a Tamiya f16 for my next big purchase.
I've built the 1/16 it was excellent (of course it was, a 21st century Tamiya is always so) and the have the bigger one in the stash for some future day/
They have a 1/16 kit??????You said "big" so I'm assuming you mean their 1/32 version?
I've built the 1/16 it was excellent (of course it was, a 21st century Tamiya is always so) and the have the bigger one in the stash for some future day/
But yeah I was talking about the 1/32.They have a 1/16 kit??????


