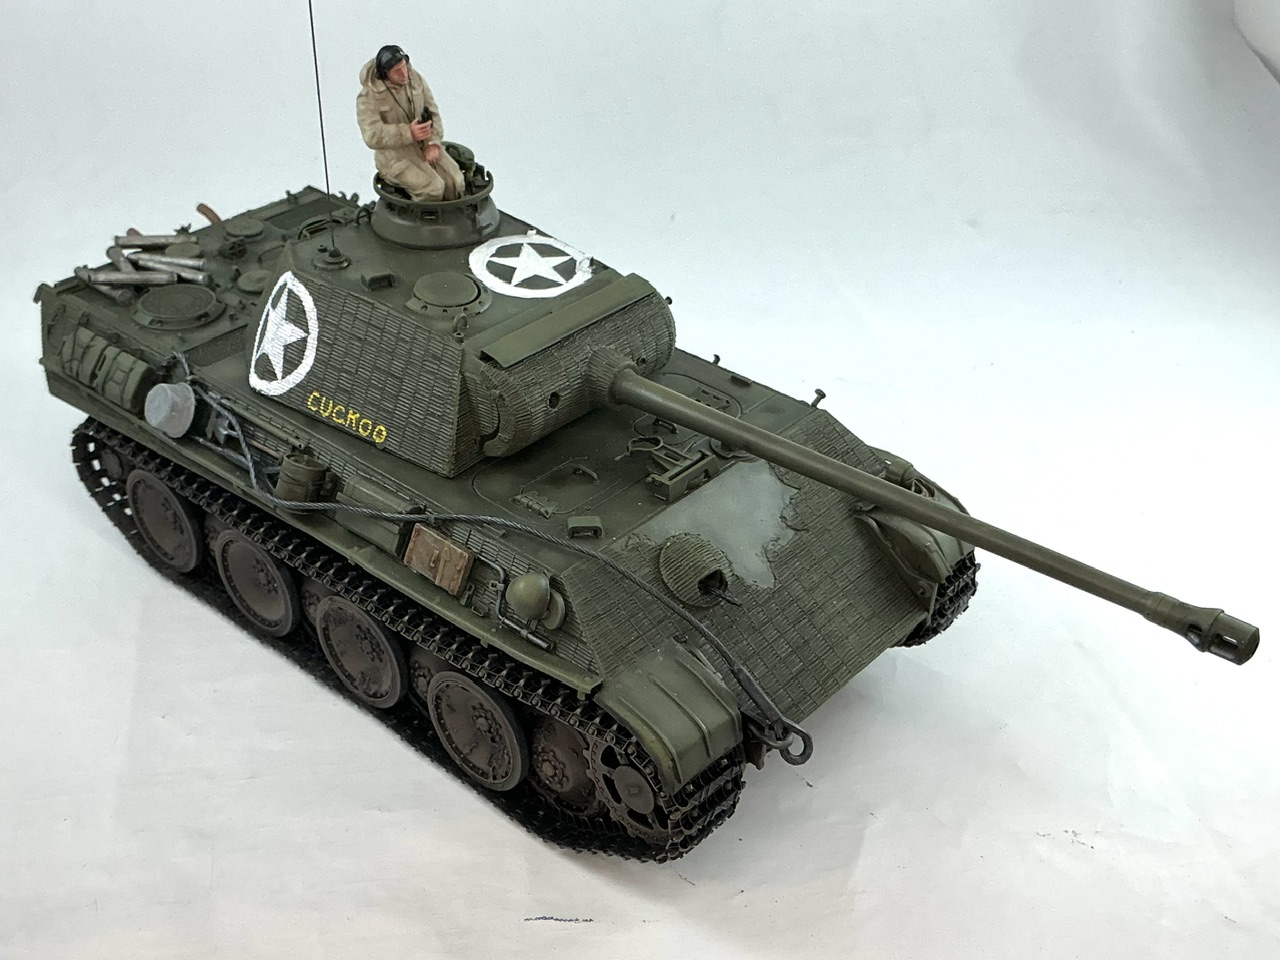
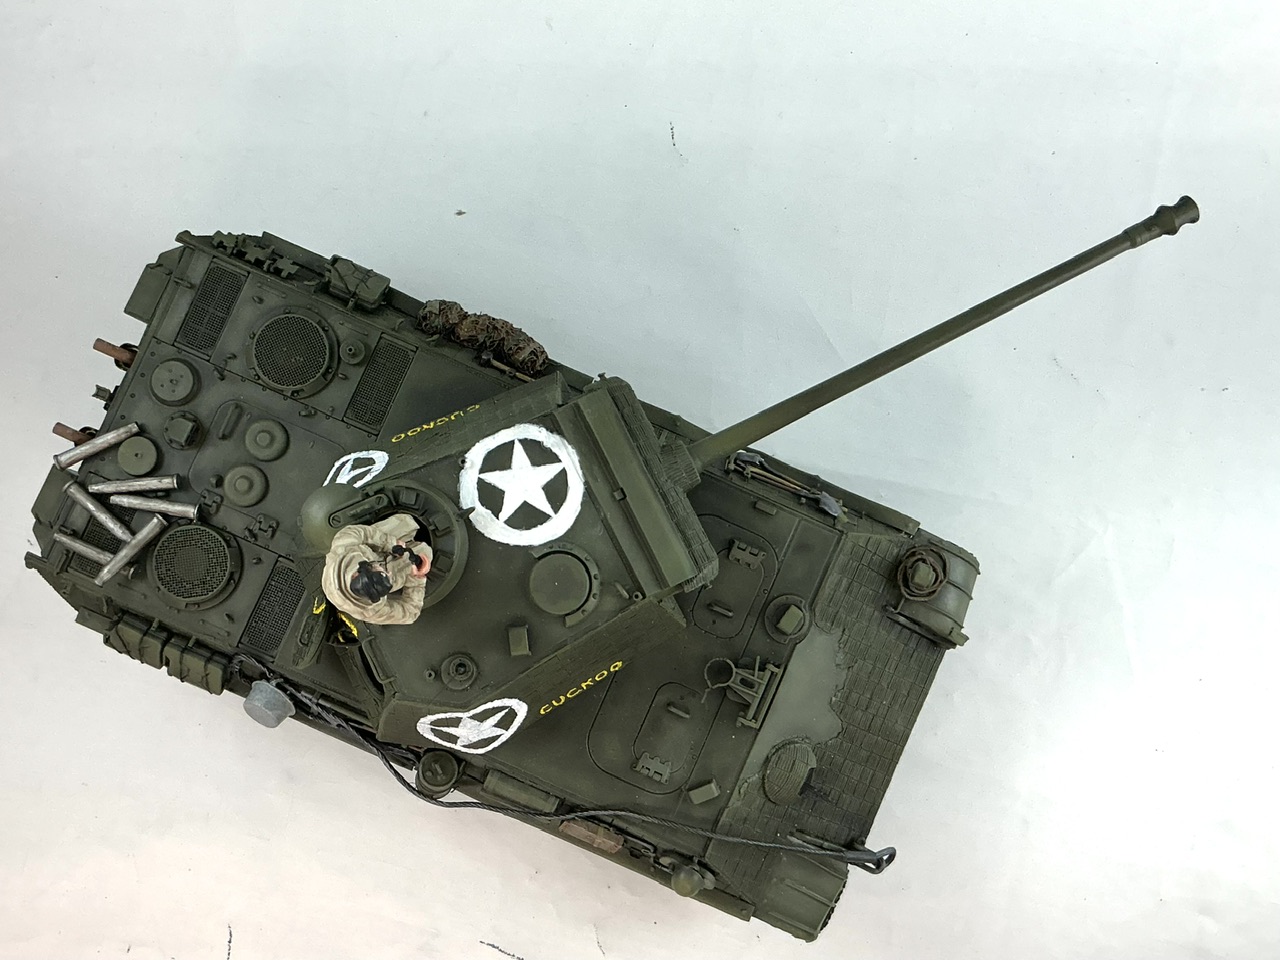
Tamed Panther: “Cuckoo”

Scale Model Addict - Model Tips, Guides, Tools & Tech, Tutorials, and Community

Help Support Scale Model Addict:

Can confirm ,it is quite an oversimplification but...blue=white & red=black.

This thread makes me wonder if the descendants of Cuckoo's crew know this story. Guess things like that should not concern me, but they do, at least a little bit.
 
Man that attic is hot.!
Not the worst it's ever been, but not exactly great to sit in for very long yesterday, no.

Can confirm ,it is quite an oversimplification but...blue=white & red=black.
You mean in black-and-white photos? It depends on the film used, but in the Second World War, they mostly used film in which red turns dark and blue turns light. Wikipedia has a fairly good article about it.

This thread makes me wonder if the descendants of Cuckoo's crew know this story.
I have no idea … Could be they're totally unaware, but for all we know, they know more about it than we do :)

This is a beauty, Amigo!
Thanks :) Now to build those bloody tracks …
 
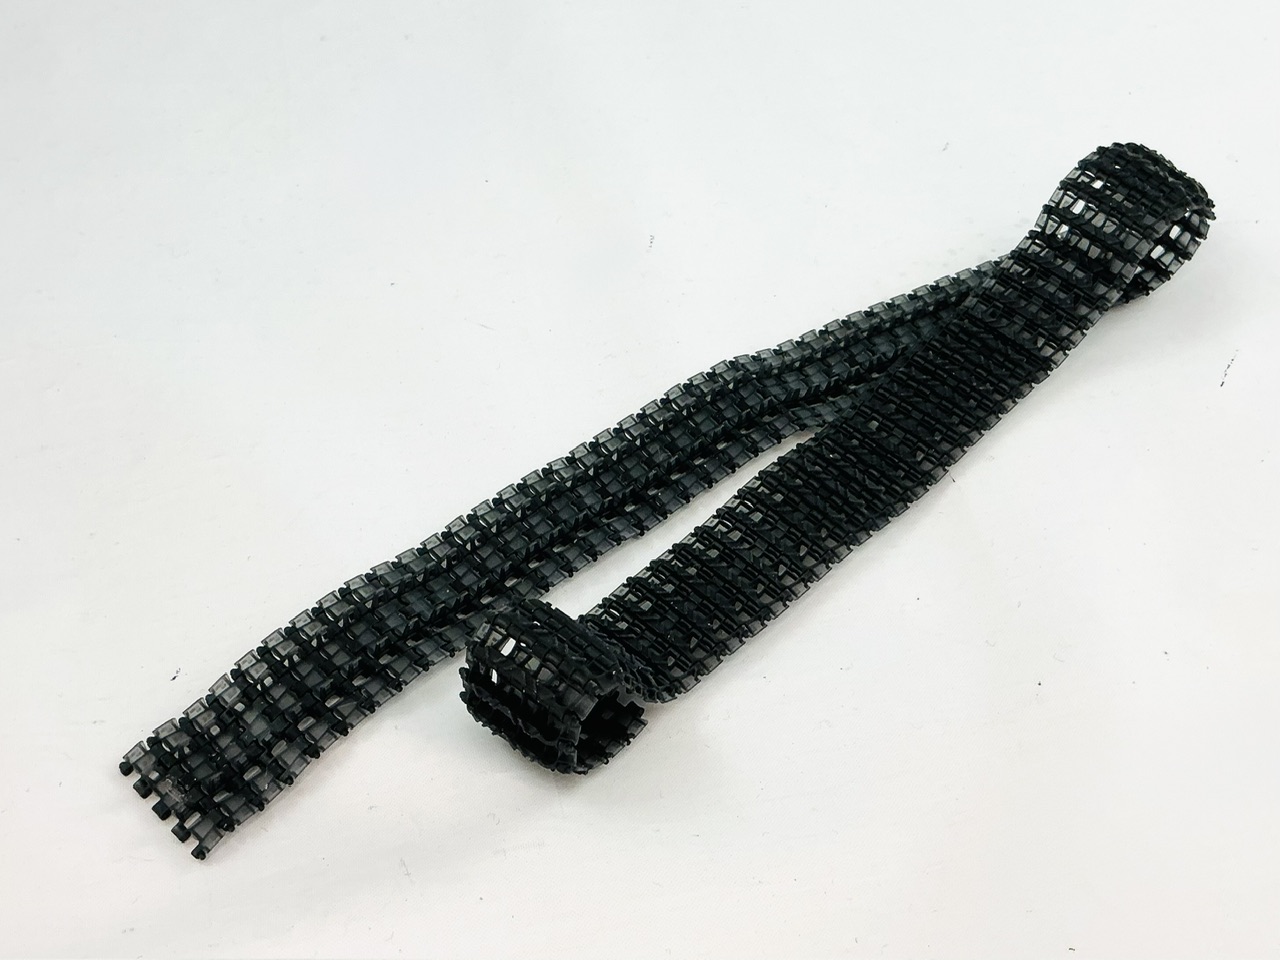
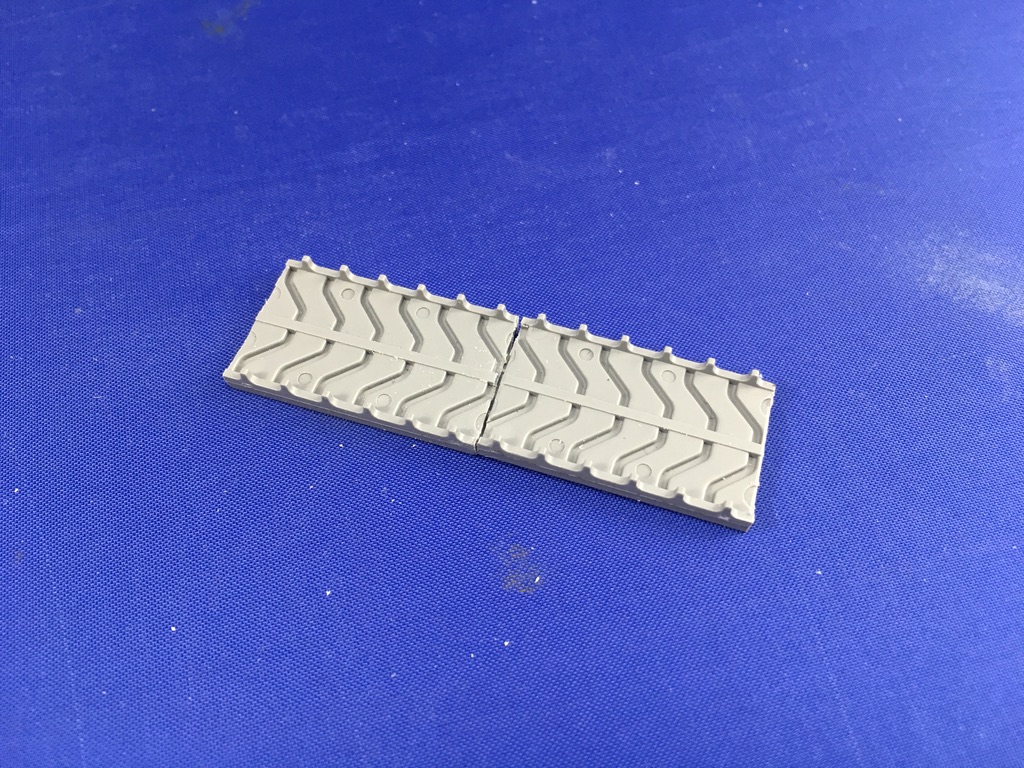
Tonight, I started assembling the QuickTracks … eh … tracks I got yesterday. The difference with the RFM ones is quite noticeable …

IMG_2656.jpeg


This is one track of 86 links, which took me under half an hour to make.

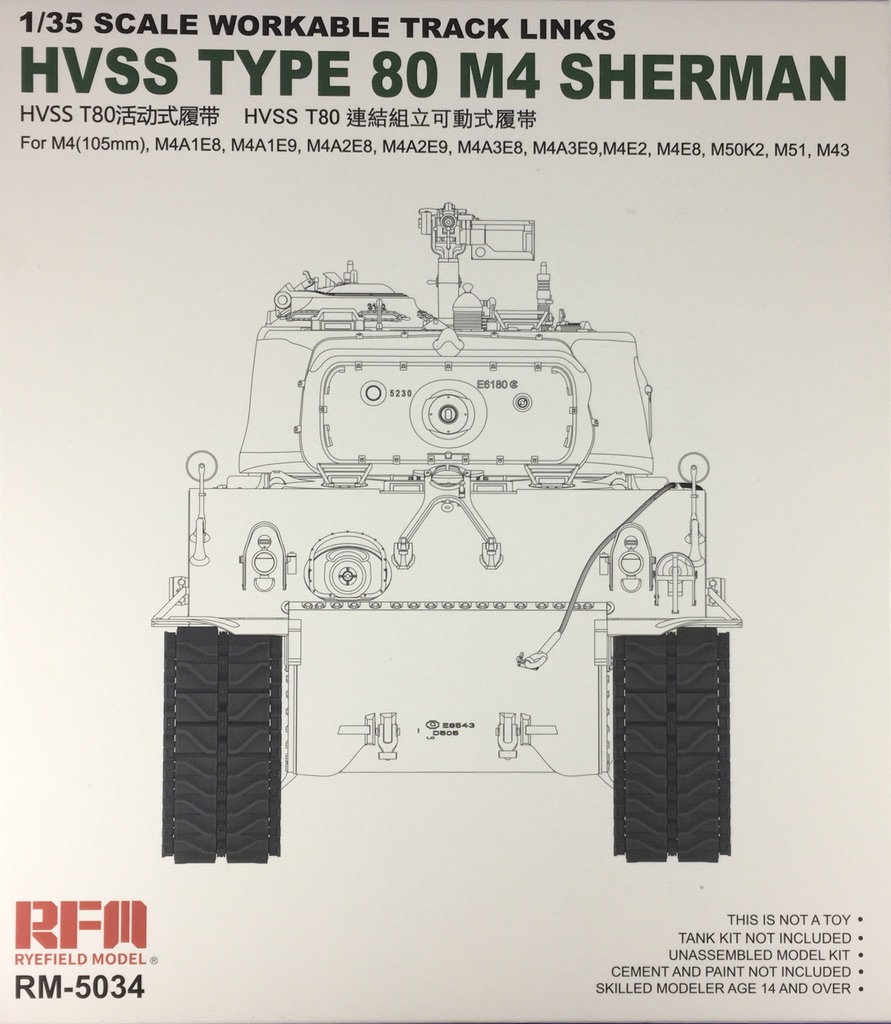
Don't get me wrong, the RFM tracks are pretty good too, but those damned pins started getting to me. You need to very carefully glue them in so that no glue seeps between the links, and I just couldn't do that accurately enough without taking far more care than I wanted to. These by QuickTracks don't need any work except to click them together. One of the links broke when I did that, but you get 200 while you need 86 times two, so no worries.

Everything considered, I should have bought these straight away. The 10 euros or so that they're more expensive than the RFM tracks easily compensates for the cleanup needed on the RFM tracks, and even more so for the care that you have to take to glue in all those little pins.
 
You mean their T80 tracks? :)

582AEE5F-420E-4953-B1EE-3917A08388AB_1_105_c.jpeg


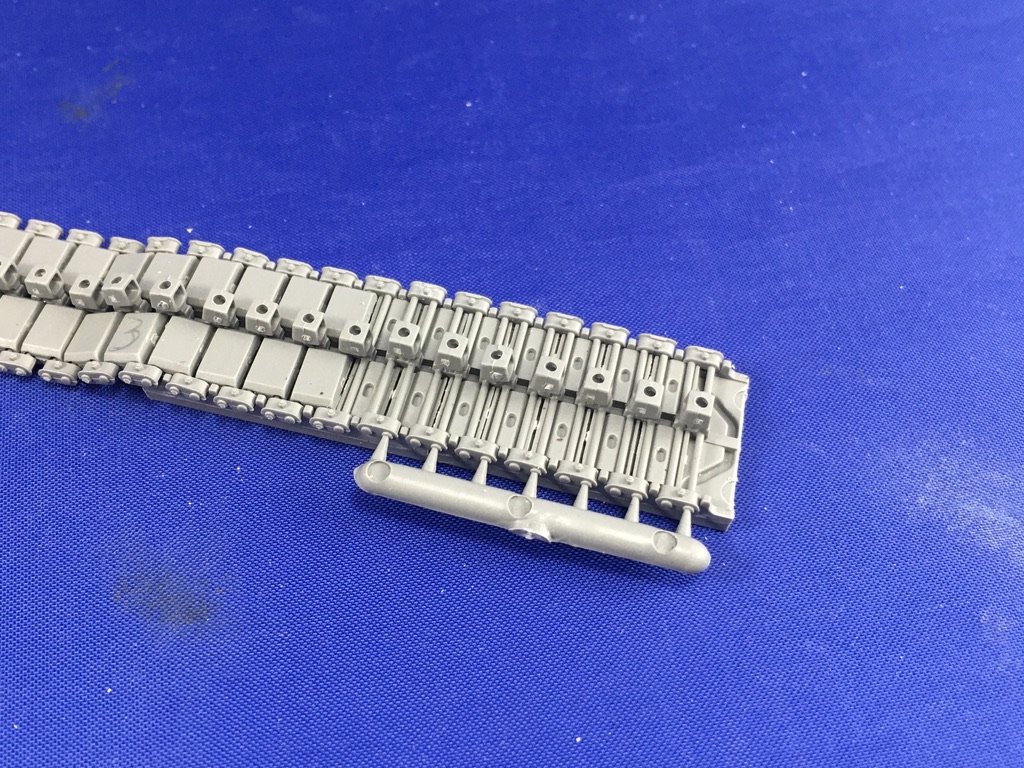
These go together with glue, but they're very laborious. The pins are moulded as sets of two with the end connectors on, but you have to glue the guide tooth to the middle of the pins and then glue two half track blocks together on both sides of the tooth, trapping the pins between them.

4C2DCC0C-BBAA-47AE-8CF0-30F231B6AE63_1_105_c.jpeg


This is a jig I modified by cutting the ends off two of them and sticking them together to make a longer one. This because RFM's recommended assembly method is useless: they would have you make sets of six links, using seven sets of pins, so you end up with short bits of track that you then need to join with single blocks. Far easier to make the track continuous by just extending it.

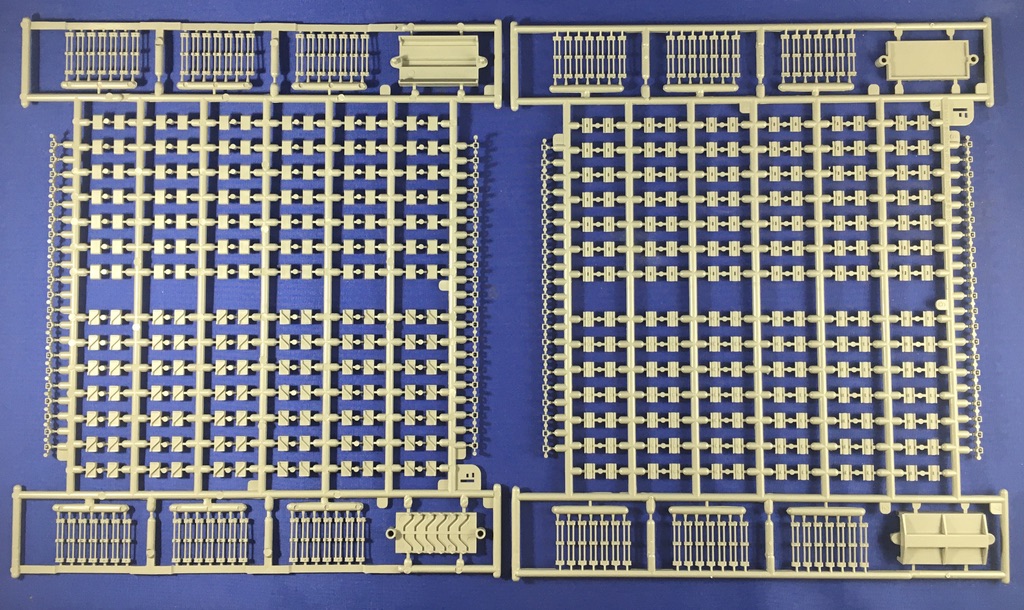
To give an idea of the amount of work these tracks are, though, here are two sprues, to show both sides:

635D31A1-C492-4473-AE01-20359FDBABE0_1_105_c.jpeg


… and you get four of those …

There's also a good amount of stretch in these tracks because of the loose fit of the track pins. A full track stretched to its maximum length is 2 cm longer than when it's pushed together as far as it will go. This is not really an issue for a model, of course: just build it so it's the correct length when stretched, and use the kit's idler wheel to tension the track just like IRL (assuming your kit allows that, of course :) ).
 
As an Amazon Associate we earn from qualifying purchases. Product prices and availability are accurate as of the date/time indicated and are subject to change.
You mean their T80 tracks? :)
I am pretty sure that is a yes. I see the Easy Eight listed there, my kit came with those so it was not an add-on.

Definitely laborious, but wondering if they have the glue issue with the pins getting glued or was that the Panther tracks issue only.

I did break-bags and took a look at the links, I like your idea for when I actually begin building it. Still trying to resist for now, too many unfinished and close to finished items in progress already. Then there's the AHQ (1/16th) US Halftrack kit was supposed to ship sometime in May. So I do not need any more WIPs lying around.
 
That kit should have the same tracks as in this separate set. Because these don't have small pins that go only into the sides of the links, they're much easier to glue: put a small amount of glue on the half-block that's in the jig and press the other half on. I used Tamiya extra thin and just applied a drop with the built-in brush, and I didn't gum up any of the links.

I would also advise to first glue the horns to the pins, and completely ignore the second half of the jig that's supposed to go over those horns to squeeze the track together. I found that the track stuck in that half of the jig, and by splicing two lower jig halves together:—

F547C78B-15A6-48C5-8716-B78130432CB8_1_105_c.jpeg


… and pressing the second half of the blocks down by hand, it was easy enough to build the track. If dull :)
 
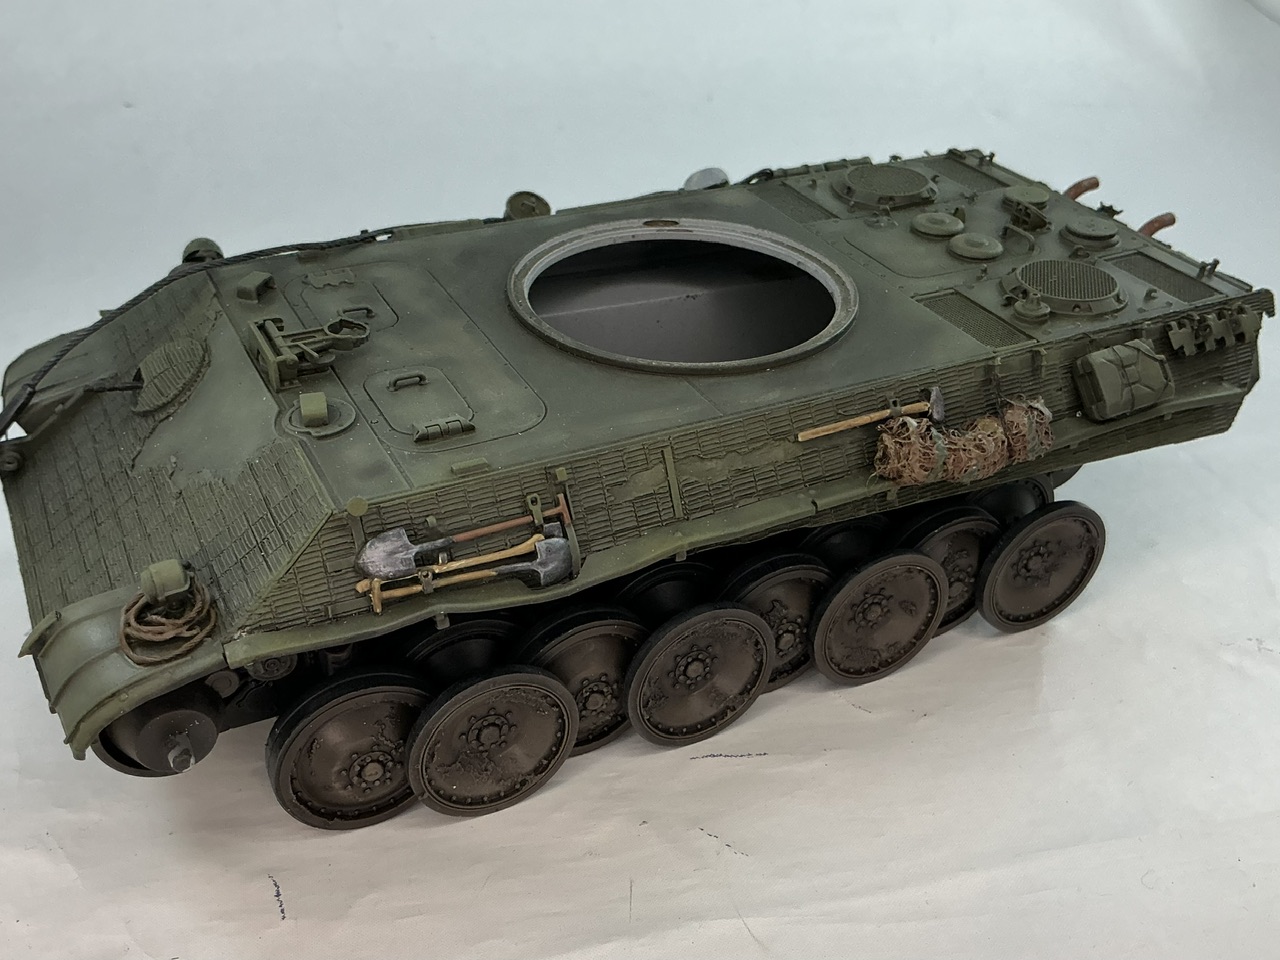
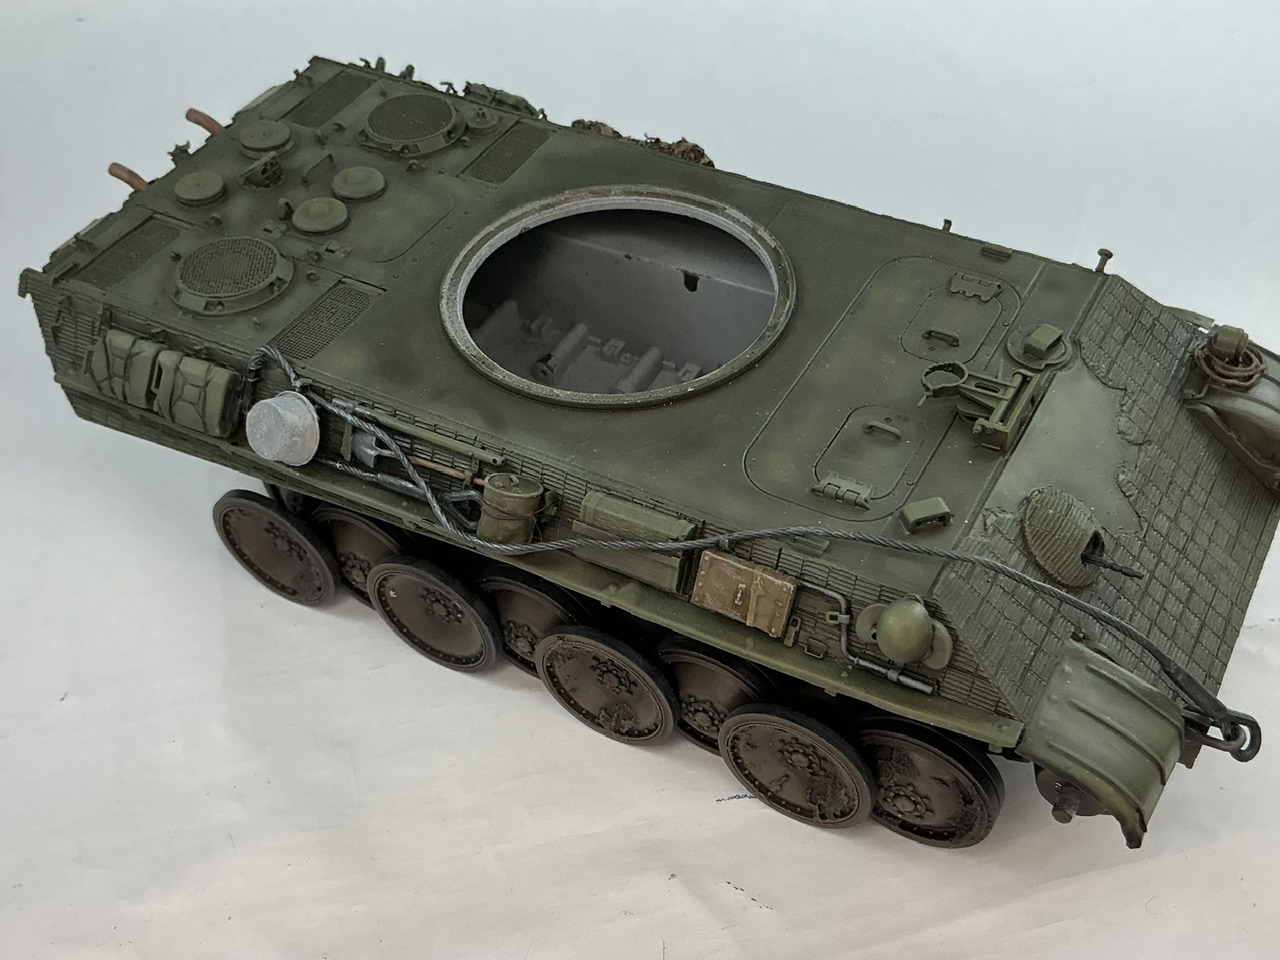
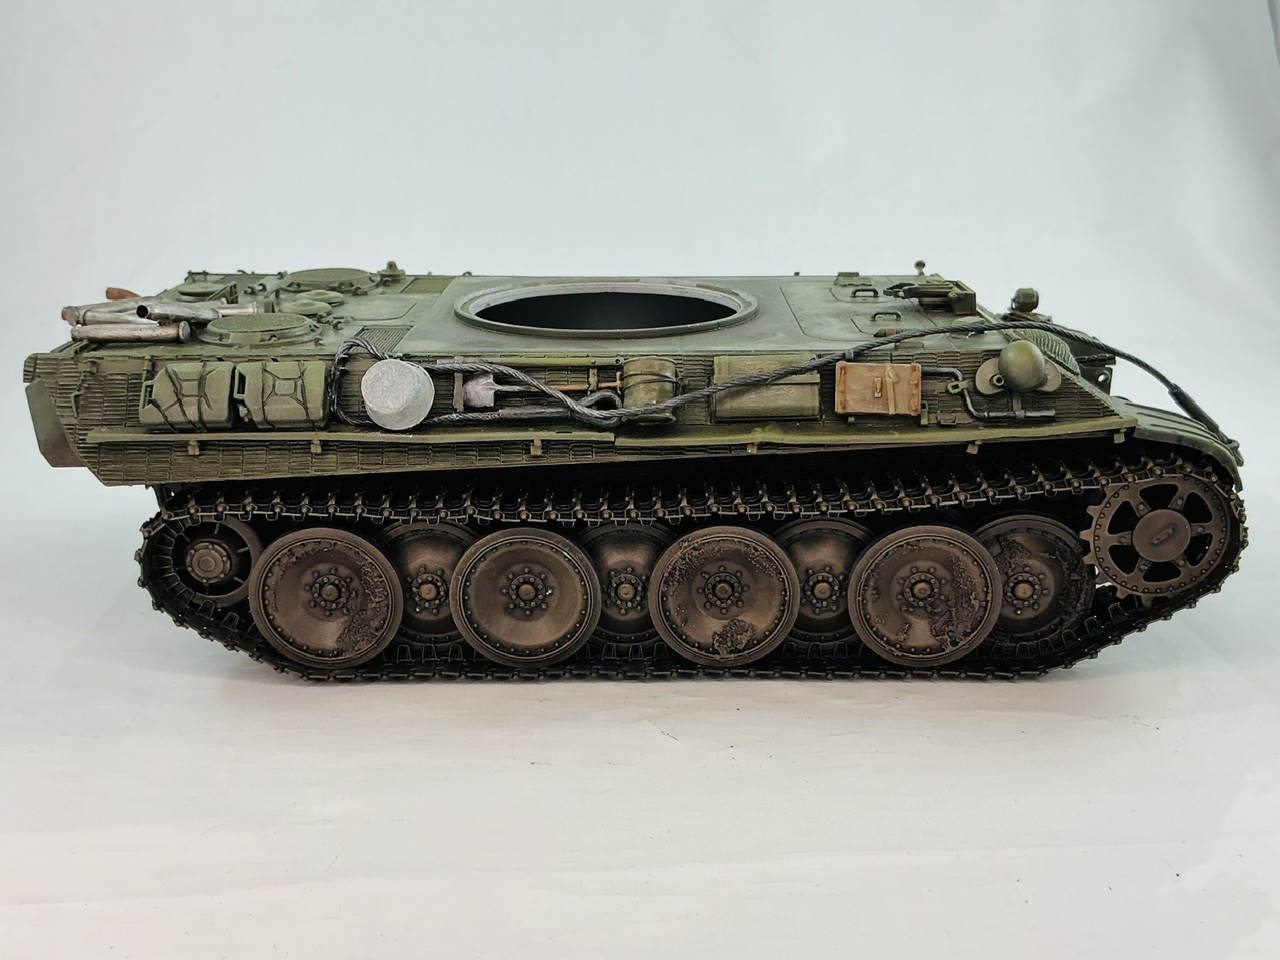
In addition to building and painting the tracks for this model, I also finished the stowage:

IMG_2677.jpeg
IMG_2678.jpeg


The coiled rope on the left mudguard, I painted as rope rather than as steel cable (after some discussion about this on the TWENOT forums the other week), while the metal parts of the tools are Humbrol Metal Cote Polished Steel over matt dark grey; the tow cable was painted much the same way. After it dried, I lightly buffed the Polished Steel with a coarse, sturdy paintbrush to bring out the sheen a little. The oil can on the right of the tank is American olive drab to give a slight difference of colour with the British OD of the rest of the tank, and the jack block is SCC 2 brown for the same reason.

The wash basin has a range of shades: I first painted it light grey from Vallejo and then added random splotches in increasingly lighter shades (by mixing ever more white into the paint) using an old, stiff, coarse brush, but in the end it looked like somebody had painted random splotches on it ;) That was easy to correct, though, as I found when I tried something: I took a very pale grey from Tamiya — lighter than the base colour I had used — and painted it all over the basin without stirring it first, so it didn't cover well. Before it dried, I wiped off most of it again, which drew the colours underneath together much more and I think it looks reasonably well like galvanised iron.

After a remark on Missing-Lynx a while ago that the chance is good that the jerrycans etc. were tied on with field telephone wire, I painted the copper wire I had used there, matt black instead of as string.

The spare track link will remain olive drab — I suspect it was already on the tank when it was captured, and simply got sprayed SCC 15 along with it.
 
Large(r) basins, at least here in the Netherlands, were usually galvanised iron (that is, iron or steel dipped in a bath of molten zinc) rather than enameled. Smaller items, like buckets or smaller washbowls, could be either — though especially if they were for mainly indoor use, they would much more likely be enameled than galvanised. Everything used for things people were meant to drink would be enameled and not galvanised, though.
 
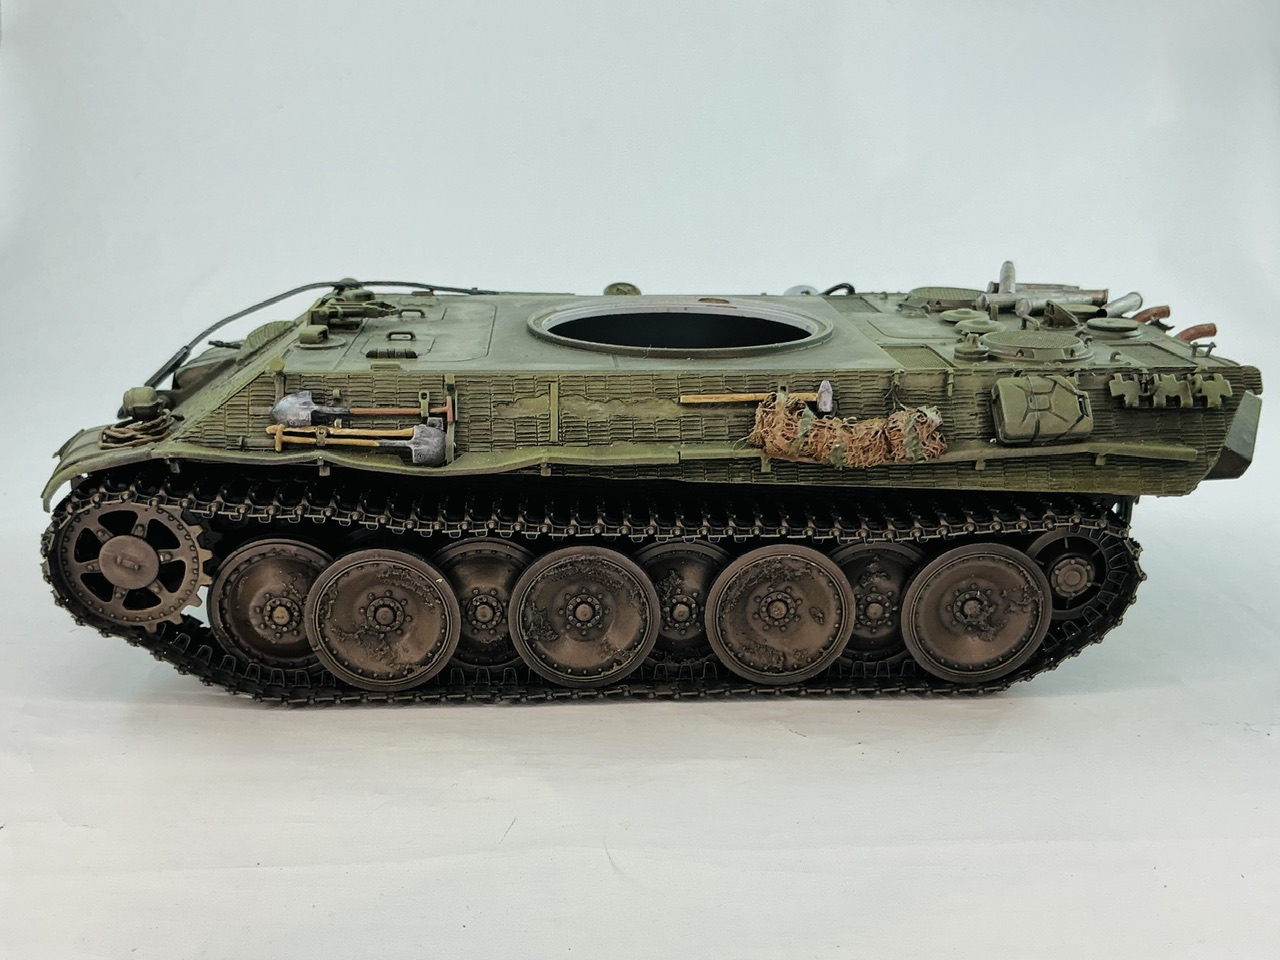
I painted the tracks in the same way as the lower hull and suspension: first I sprayed them with very dark brown, but now mixed from Tamiya Flat Black and Flat Earth, because Tamiya acrylic paint is much stronger than the Vallejo and Mig airbrush paint I used on the hull and wheels. Then I painted a wash of Army Painter Dark Tone (thinned about 1:1 with water this time round) over the whole tracks, and when dry, drybrushed them with first Humbrol Chocolate and then Dark Earth. And because the picture of Cuckoo on the forest road shows shining tracks, I finally drybrushed them with Humbrol Polished Steel, which I then buffed a little to give it some sheen.

And then they're finally on:

IMG_2682.jpeg
IMG_2683.jpeg


That went well enough on the right, but less well on the left because a few links had broken as I assembled them, and of course, they fell apart as I installed the track. I glued the broken bits with superglue, and to the link next to them, and once that was dry, I could install the track.

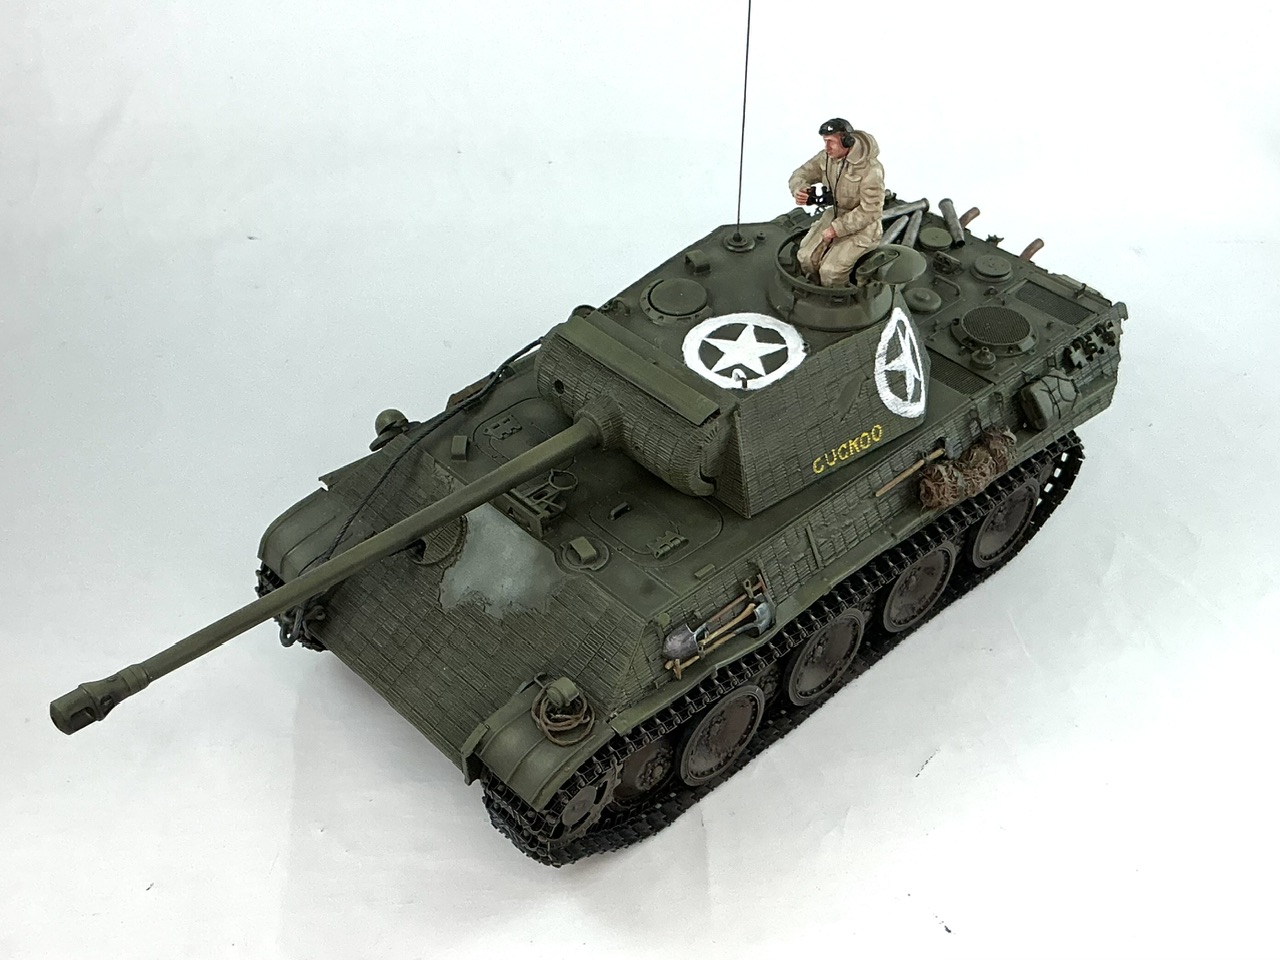
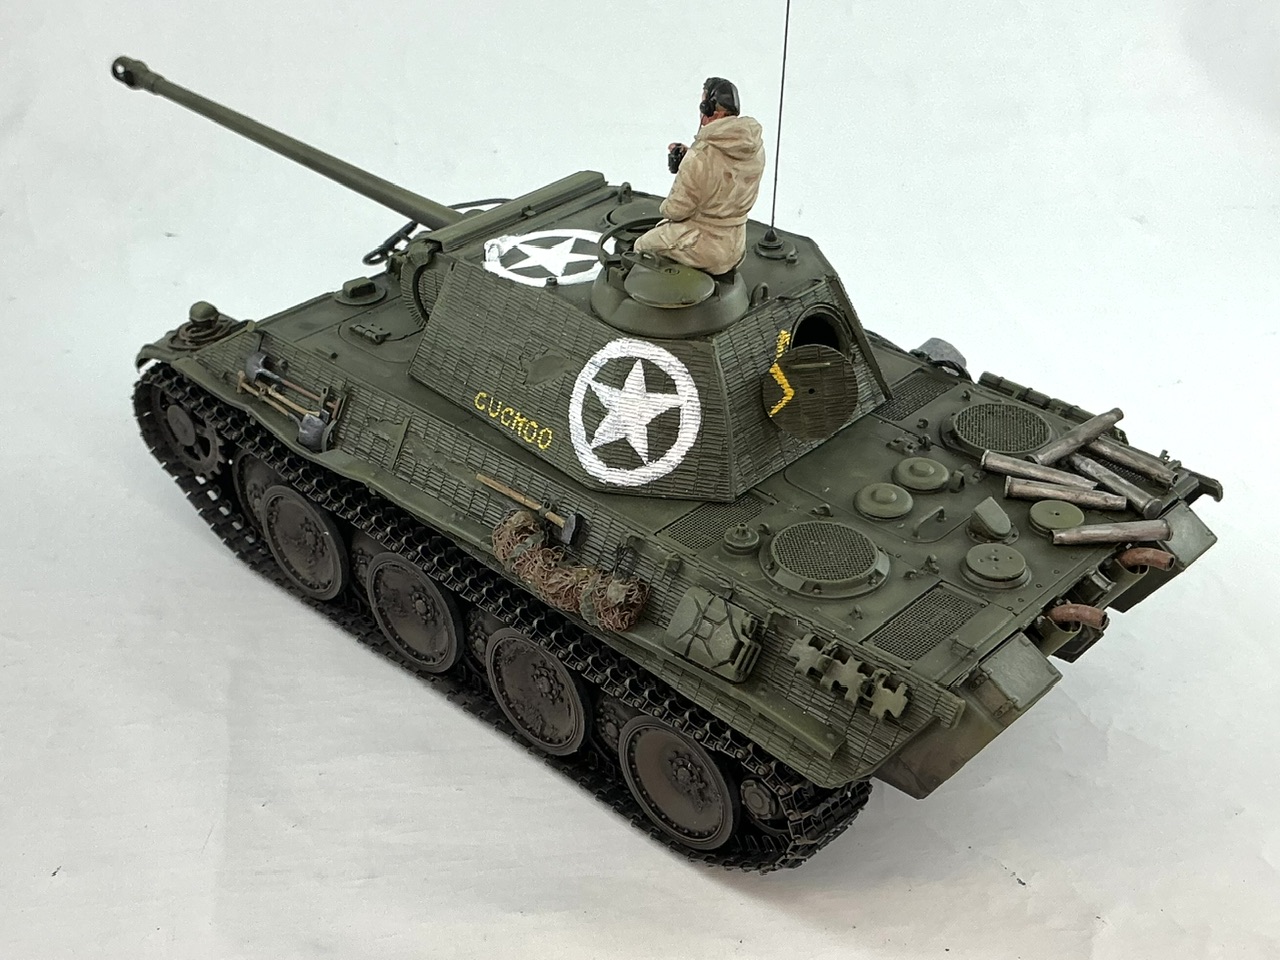
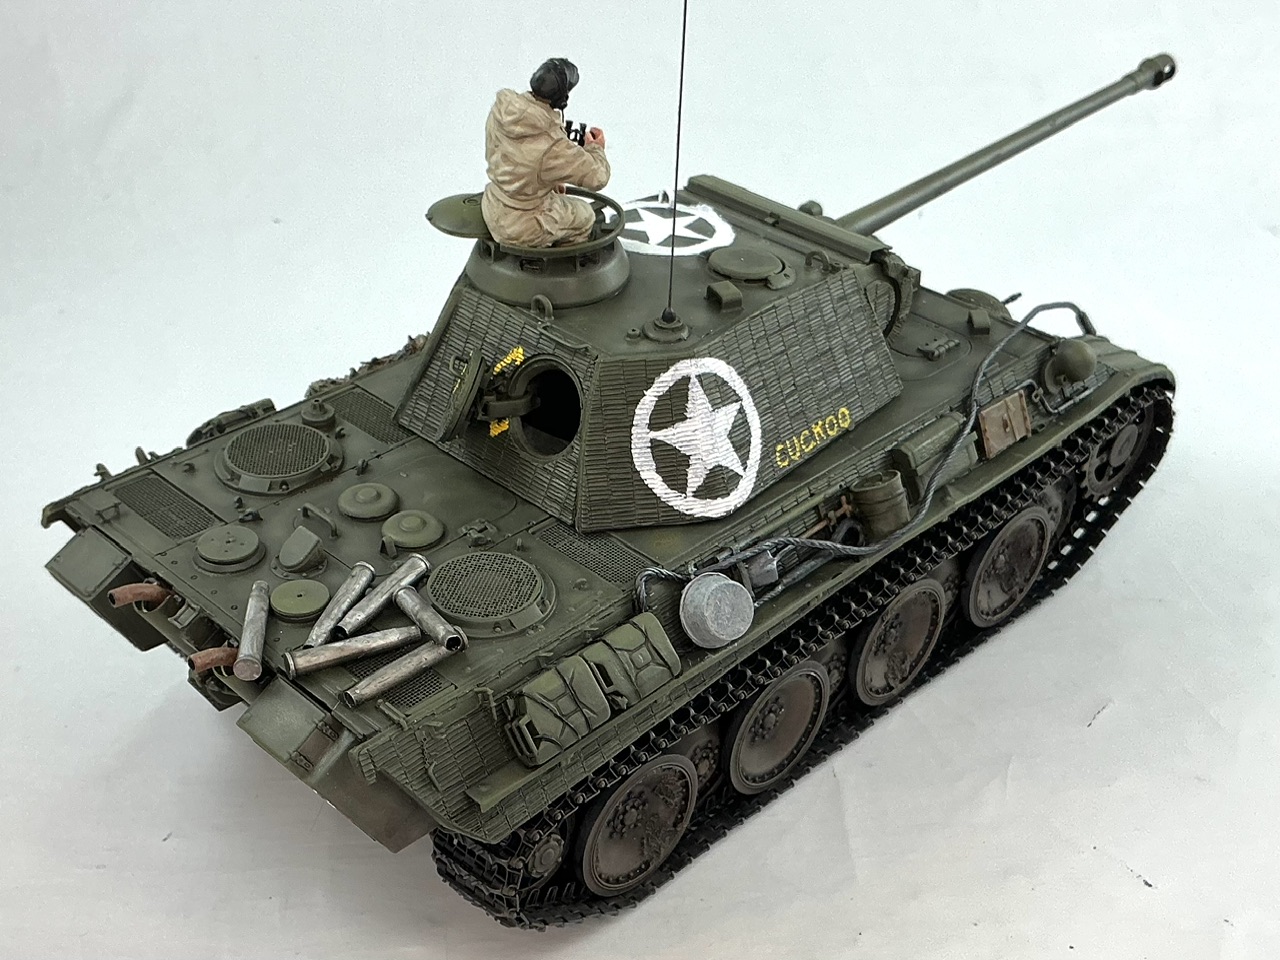
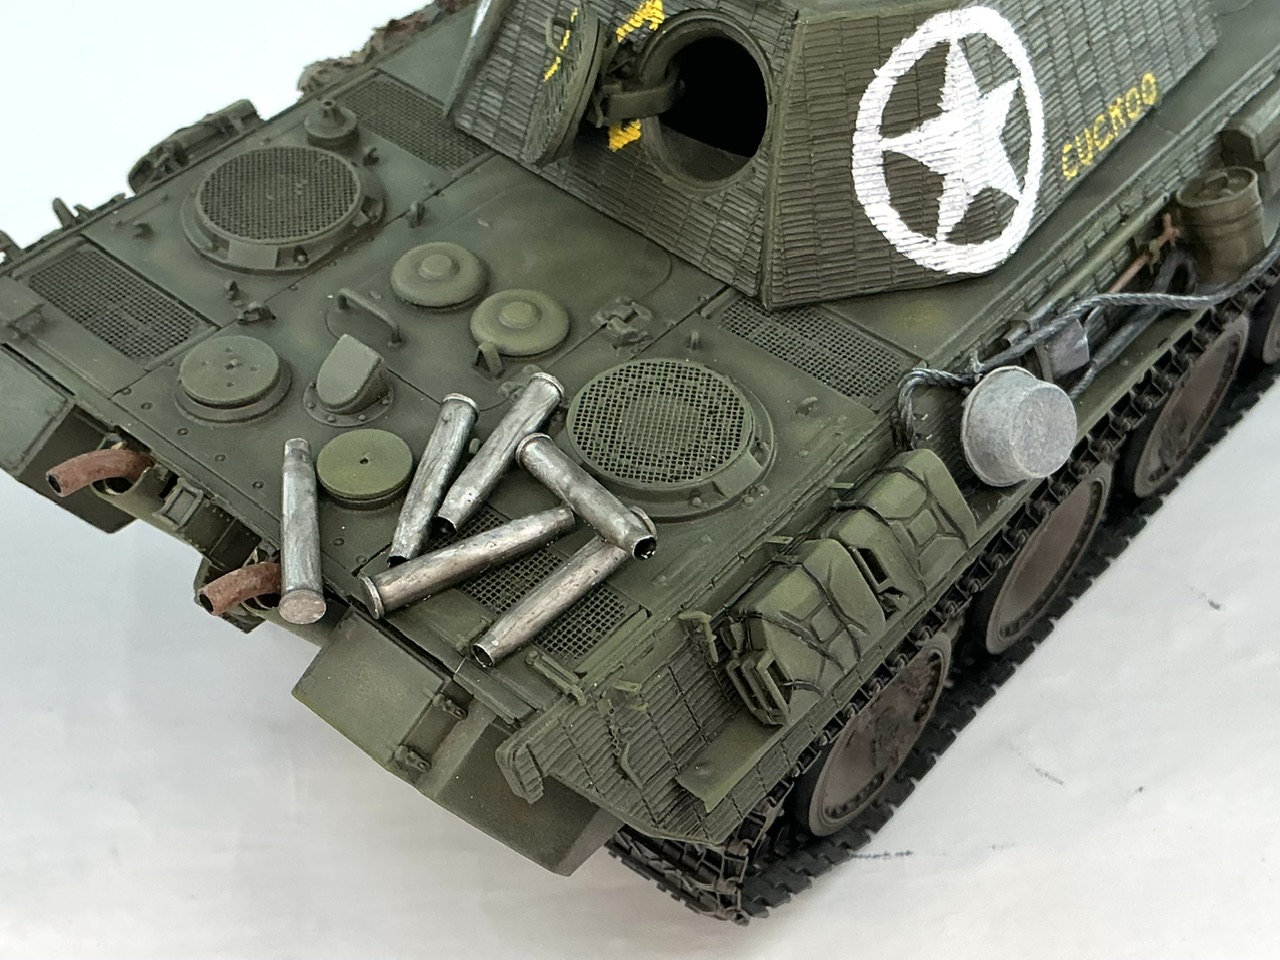
This was the last major job. In addition, I added a little rust to the steel parts of the jack block, but you can't see that all that well (because red-brown on yellowish brown) and glued empty 75 mm cases on the engine deck, as is visible in the film of the attack on Geijsteren castle. They're from Academy, but these came as complete cartridges from which I sawed off the shell, then opened op the case with a drill and a hobby knife. I painted them silver, then added Tamiya Smoke followed by matt varnish, painted the inside matt black and drybrushed more matt black around the opening to represent powder burns.

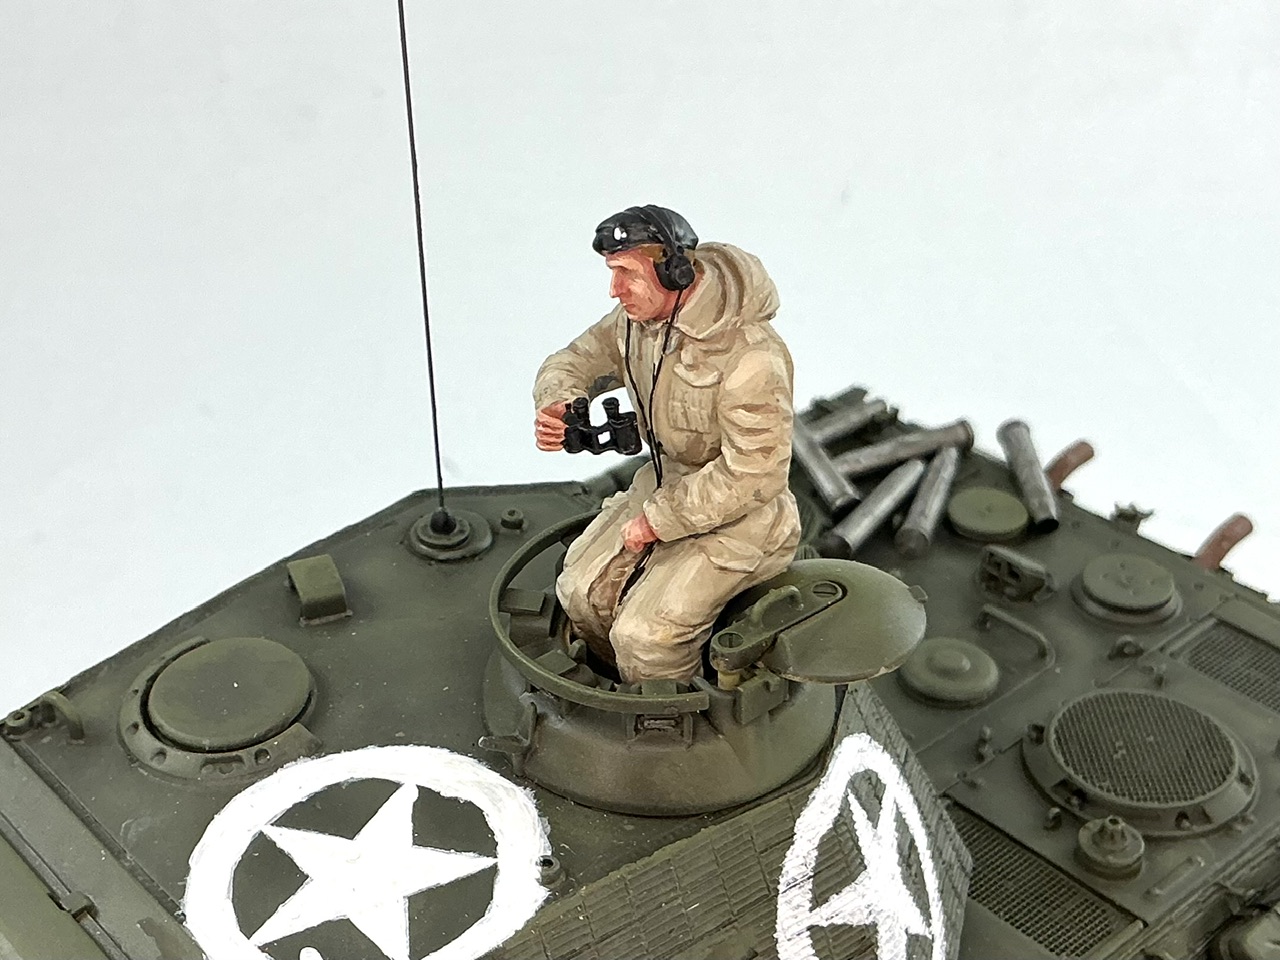
Also an antenna from 0.3 mm spring steel on the turret (70 mm tall) and a figure for the commander. I don't quite remember if I showed him before, but he's from Bronco with a right hand and binoculars from my spares boxes, plus headphone cables from thin copper wire.

And then we're finally done!

IMG_2684.jpeg
IMG_2685.jpeg
IMG_2686.jpeg
IMG_2687.jpeg
IMG_2688.jpeg
IMG_2694.jpeg
IMG_2695.jpeg
 
I thought maybe it was pulled from service and sent back home where it got spiffed up for museum duty ;-)
 
Saw this one in the header and had to say something on this build. I'm quite surprised that there's no more comments on this than there are. This.........is a mighty fine example of a Panther @Jakko. Love all of the attention to detail that you put into this one. Masterclass stuff bro.
 
mighty fine example
Good point.
We've been spoiled watching his other builds, and have come to expect nothing less!
I agree though, as @Jakko does such a great job all around: his researching of such interesting subject matter, his scratch building to correct and enhance, and his general knowledge make it an entertaining and learning experience to follow.
 
Thank you both :) When I build a vehicle from a photo, I go to some lengths to get the details right instead of just sort-of. I want to know what it is we're actually looking at, so I can build it as what it was rather than take a guess about it. That's not always possible, of course, but I find that closely looking at photos, and thinking about them, will often rule out some likely options, which is the next best thing.

However, I deny being some kind of master modeller :) Above average, probably, but no more than that. There are people who are a lot better at (scratch)building and especially painting than I am.
 

Latest posts

Back
Top