K2 Black Panther

Scale Model Addict - Model Tips, Guides, Tools & Tech, Tutorials, and Community

Help Support Scale Model Addict:

Yes indeed - I like even more with more colours on it! :D

An excellent bit of painting - looks like your experiment with the new AB worked well.
 
TBH, it didn't go as well as it could have. The main problem was that it kept clogging up, which was almost certainly to blame principally on the paint, as this particular Mr. Aqueous seems to dry very fast, more rapidly than I'm use to (but then again, I normally spray that through an Aztek, not through a high-precision airbrush). It did the same when I tried it in my Iwata.

Anyway, that clogging problem lead me to have to frequently clean the airbrush's spray head, which is unexpectedly tricky on an H&S if you're used to an Iwata. You see, on an Iwata, you can remove the needle cap to easily clean the front face of the actual airbrush (after retracting the needle with the trigger knob, of course!), and if that's not enough, you can remove the nozzle cap to clean it inside and out, with the nozzle staying in place if you do this. But on an H&S, you can only unscrew the whole front, which removes the cap as well as the actual nozzle — and if you do that with paint in the cup, that paint runs out the front of your airbrush …

The method I developed was to pull the needle back with the trigger knob, putting a drop of isopropanol (which I thinned the paint with) into the front "cage" on the airbrush, and then scrubbing it out with a coarse, stiff brush. That generally worked, until it stopped doing that too. As by then I had painted the model, though, I just unscrewed the nozzle, put the parts into alcohol to soak overnight and cleaned out the rest of the airbrush.
 
Not much posted but I did do a fair amount of work on this model. First, I put a darker wash over everything to create shadows, made by thinning Army Painter Strong Tone, then I drybrushed everything with a lighter shade of the base colour and in the meantime, I also painted the wheels and tracks.

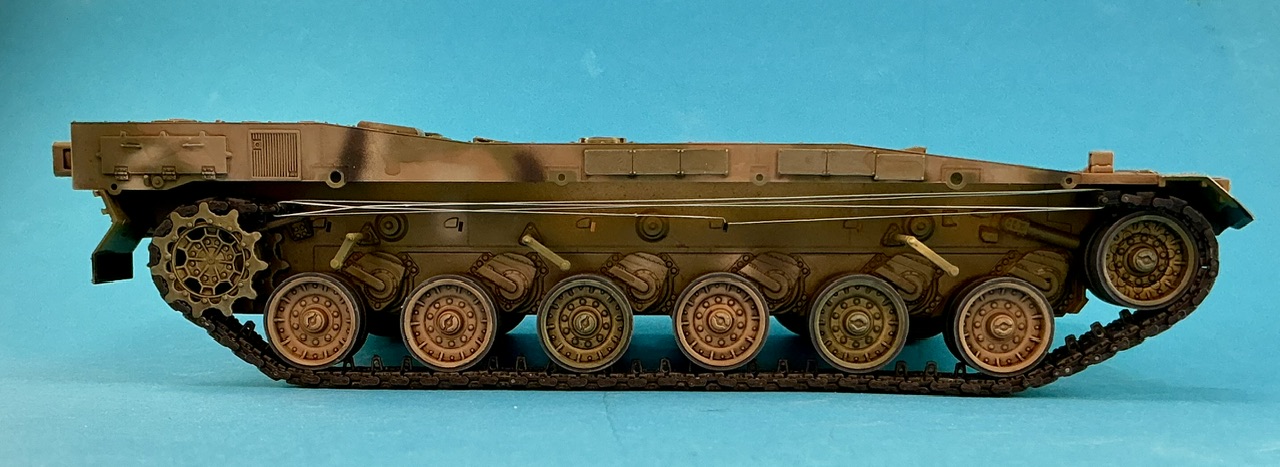
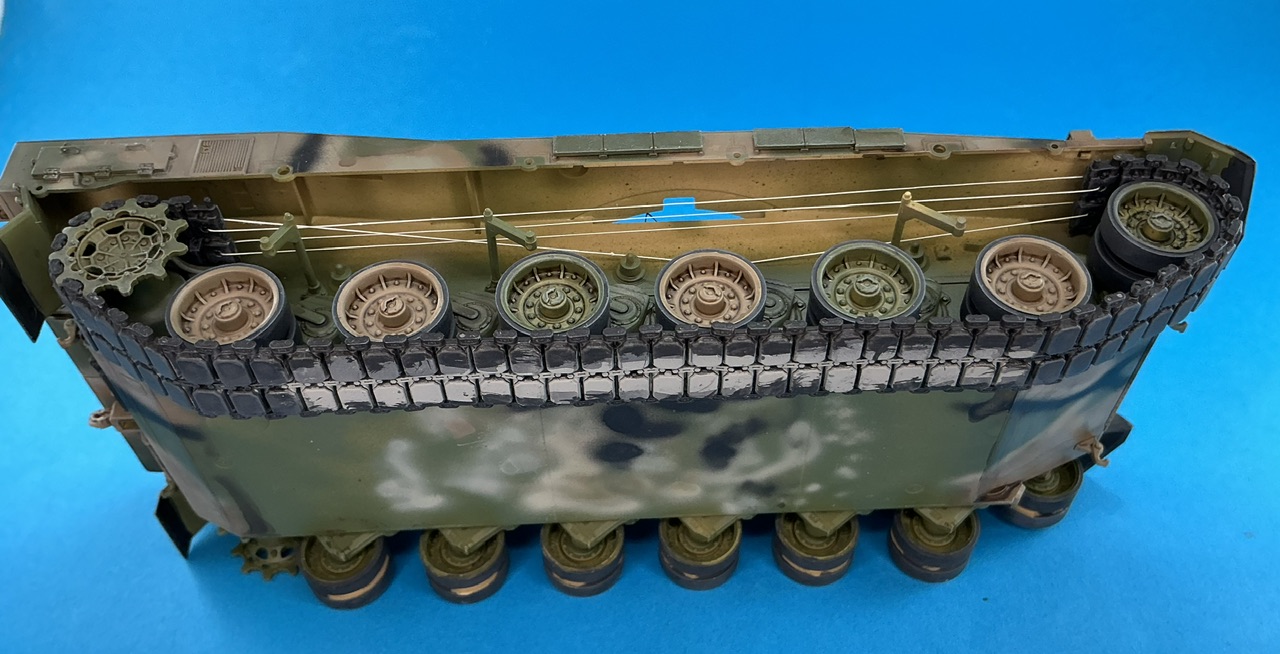
After that I could install those tracks as well. Because they're workable it's not very difficult, and after drilling holes in the links at the ends, I could tie them together with some sewing thread:

IMG_3850.jpeg
IMG_3851.jpeg


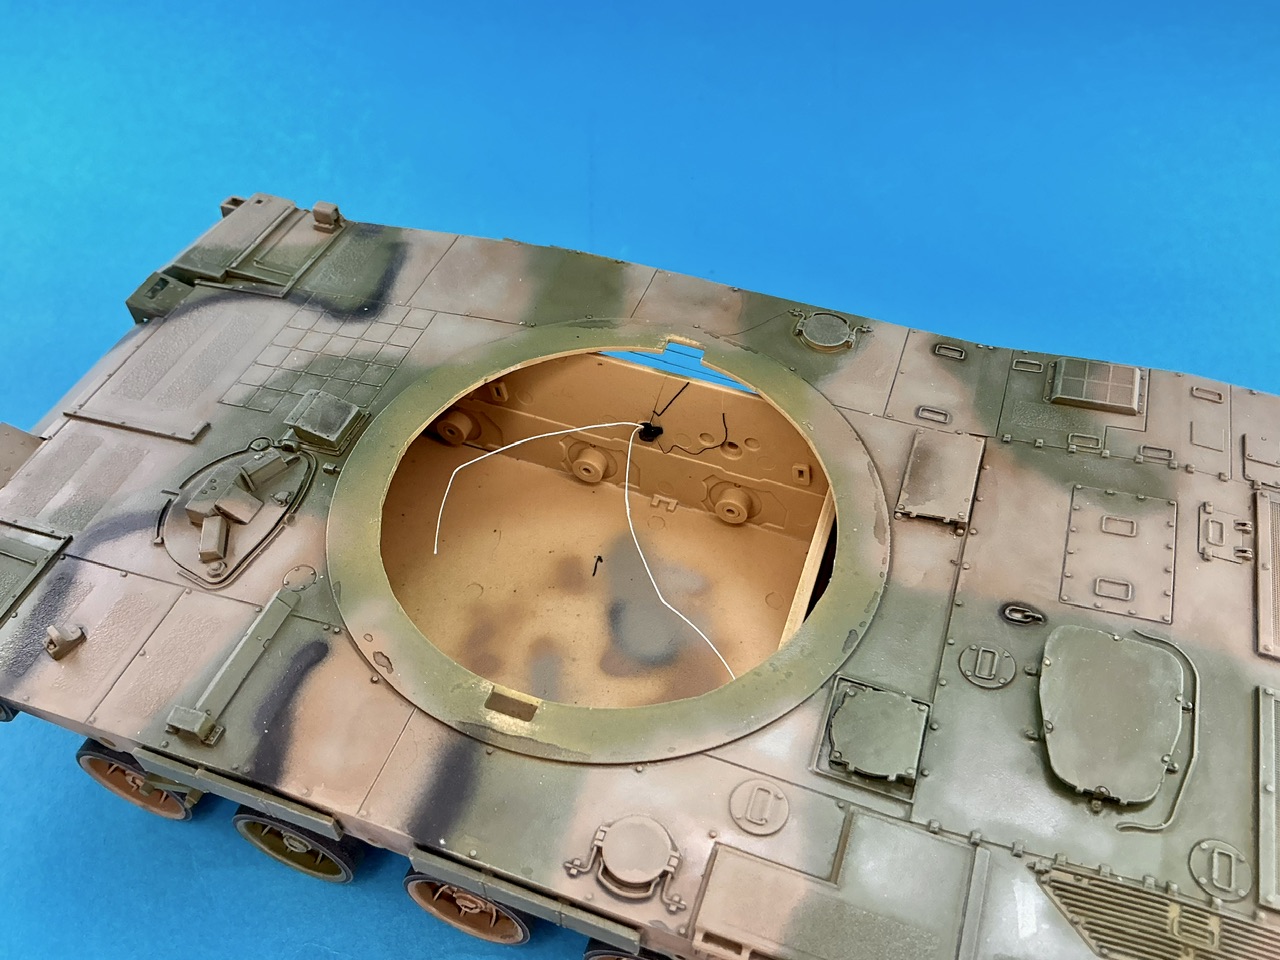
I do always have problems tying knots in those, because it's not something I'm exactly great at and the limited space available only makes that worse. But then I suddenly had a bright idea when my eye was caught by one of the holes for parts I didn't fit:

IMG_3852.jpeg


Stick the thread through that, pull it tight, put a big drop of glue on and then leave it to dry with locking tweezers pulling the thread taut!
 
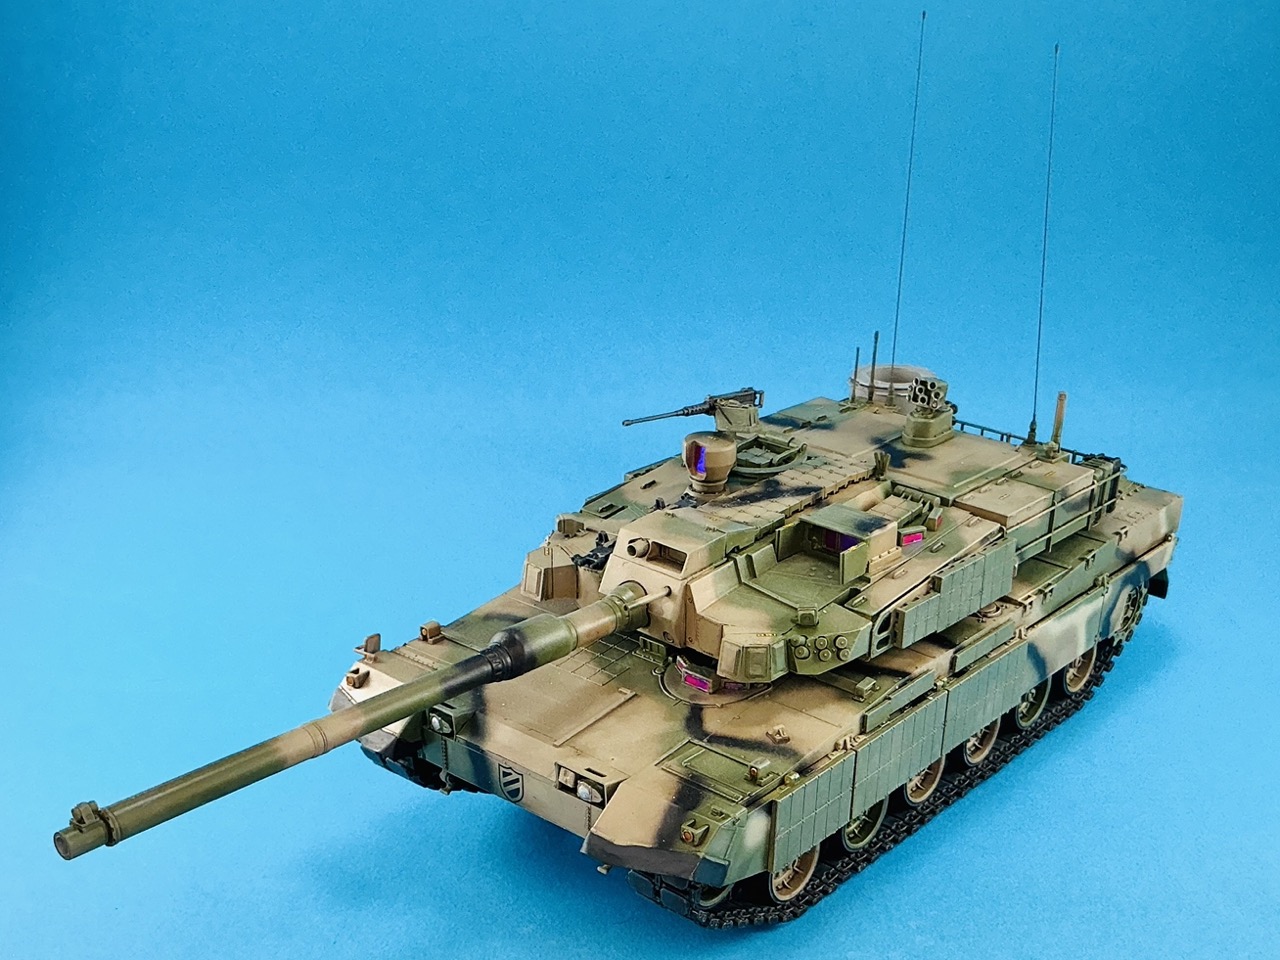
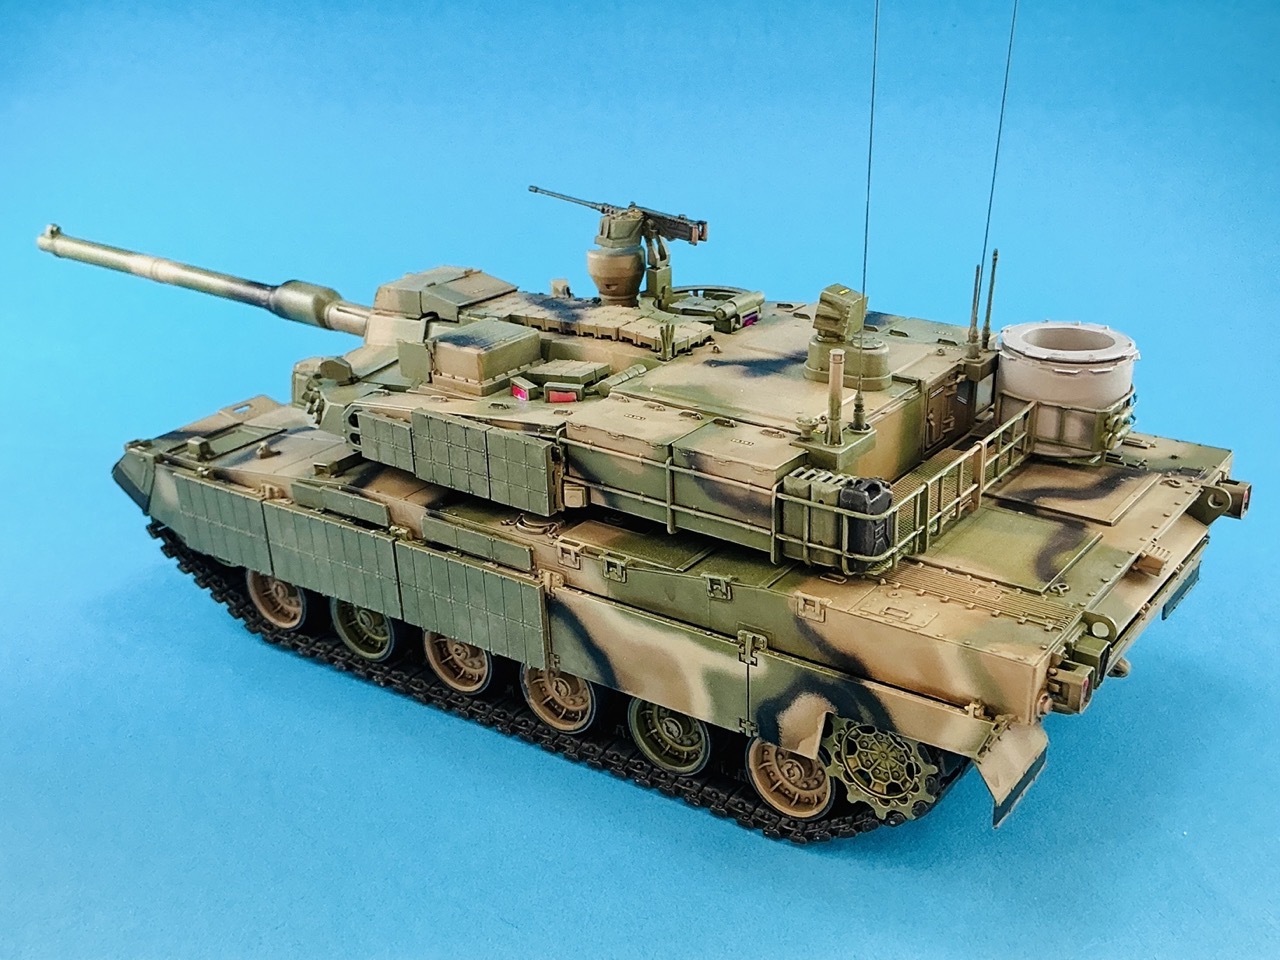
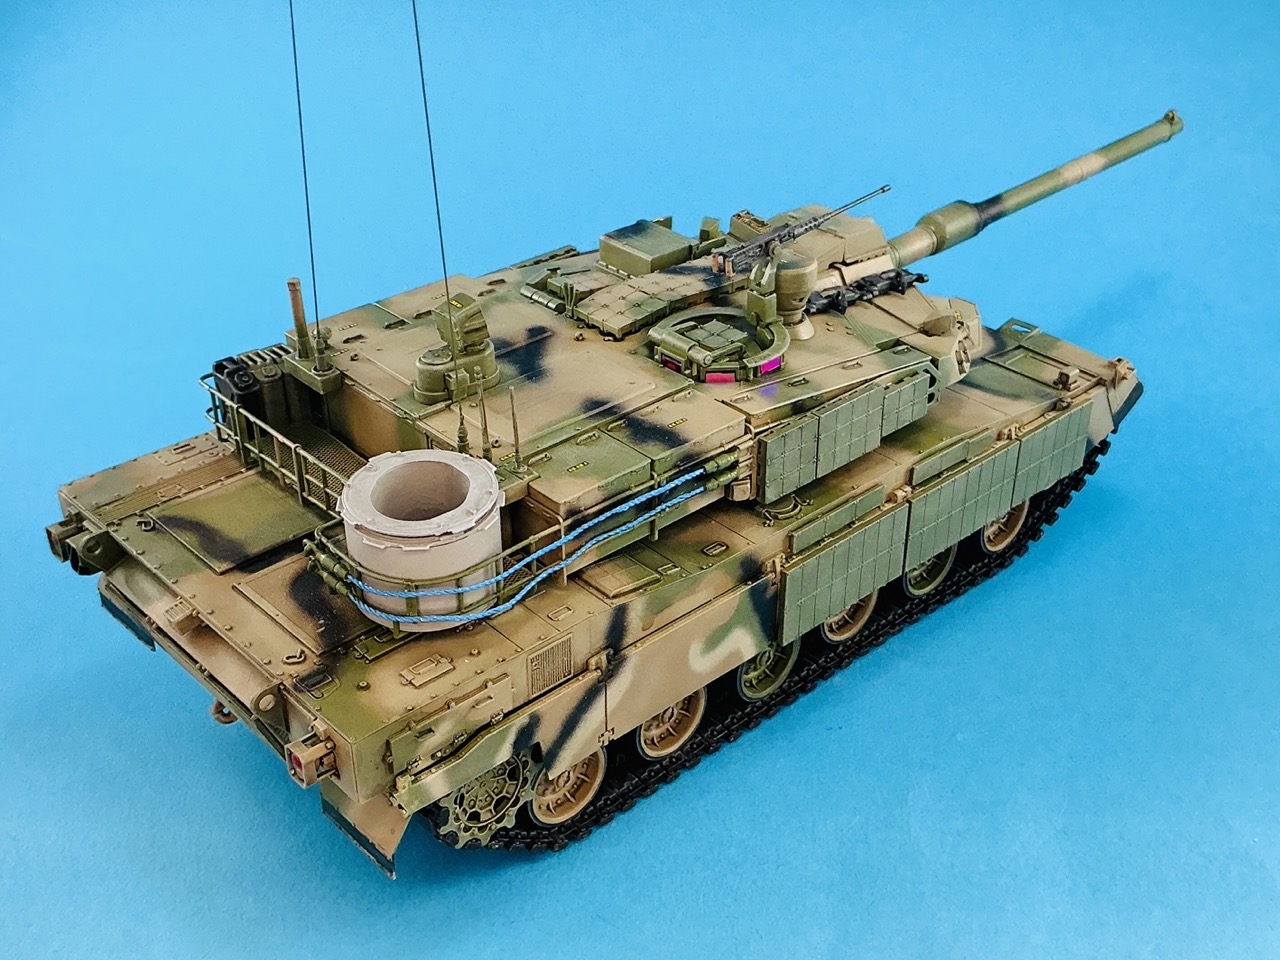
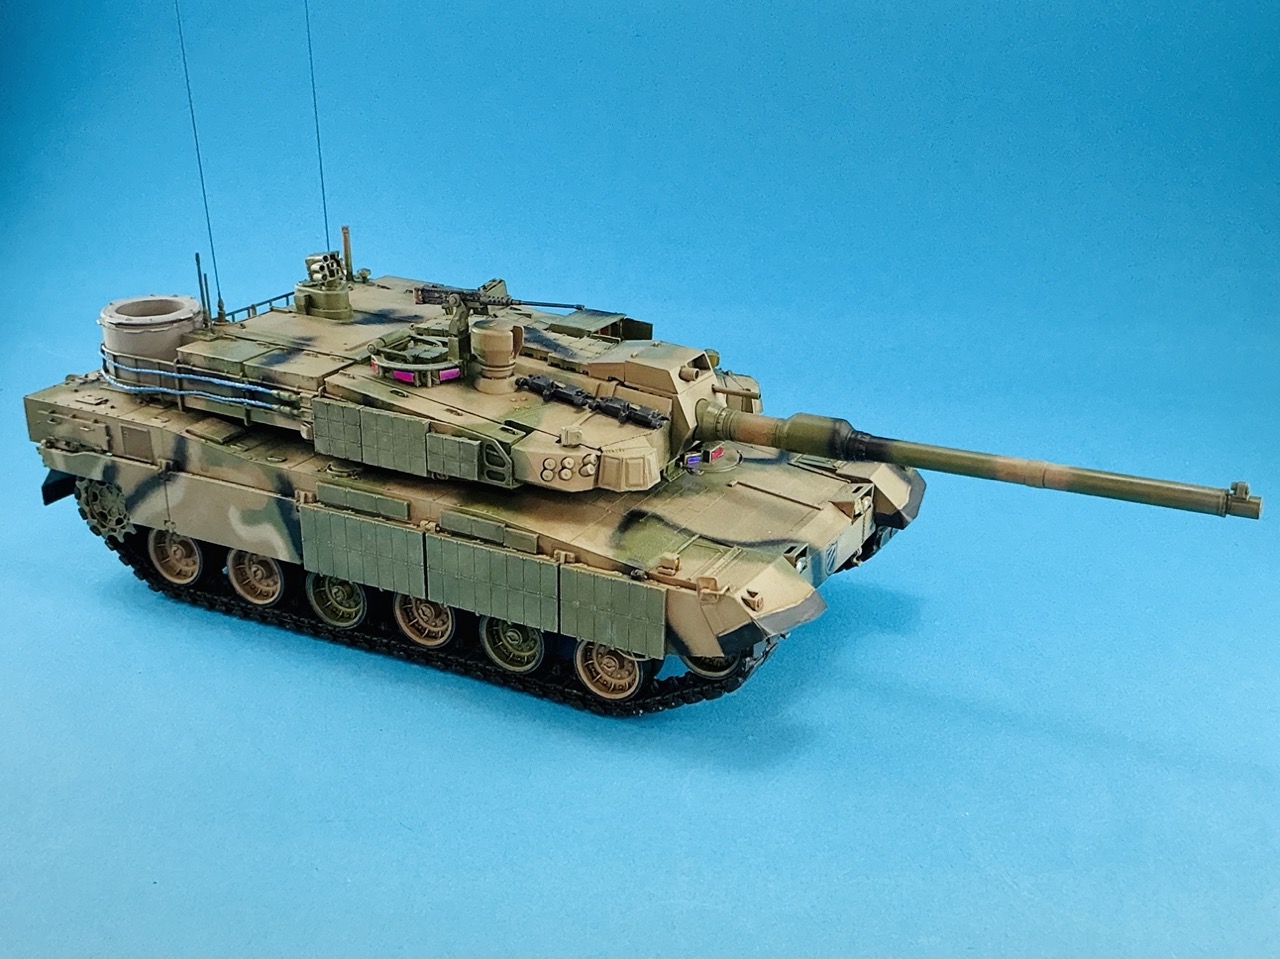
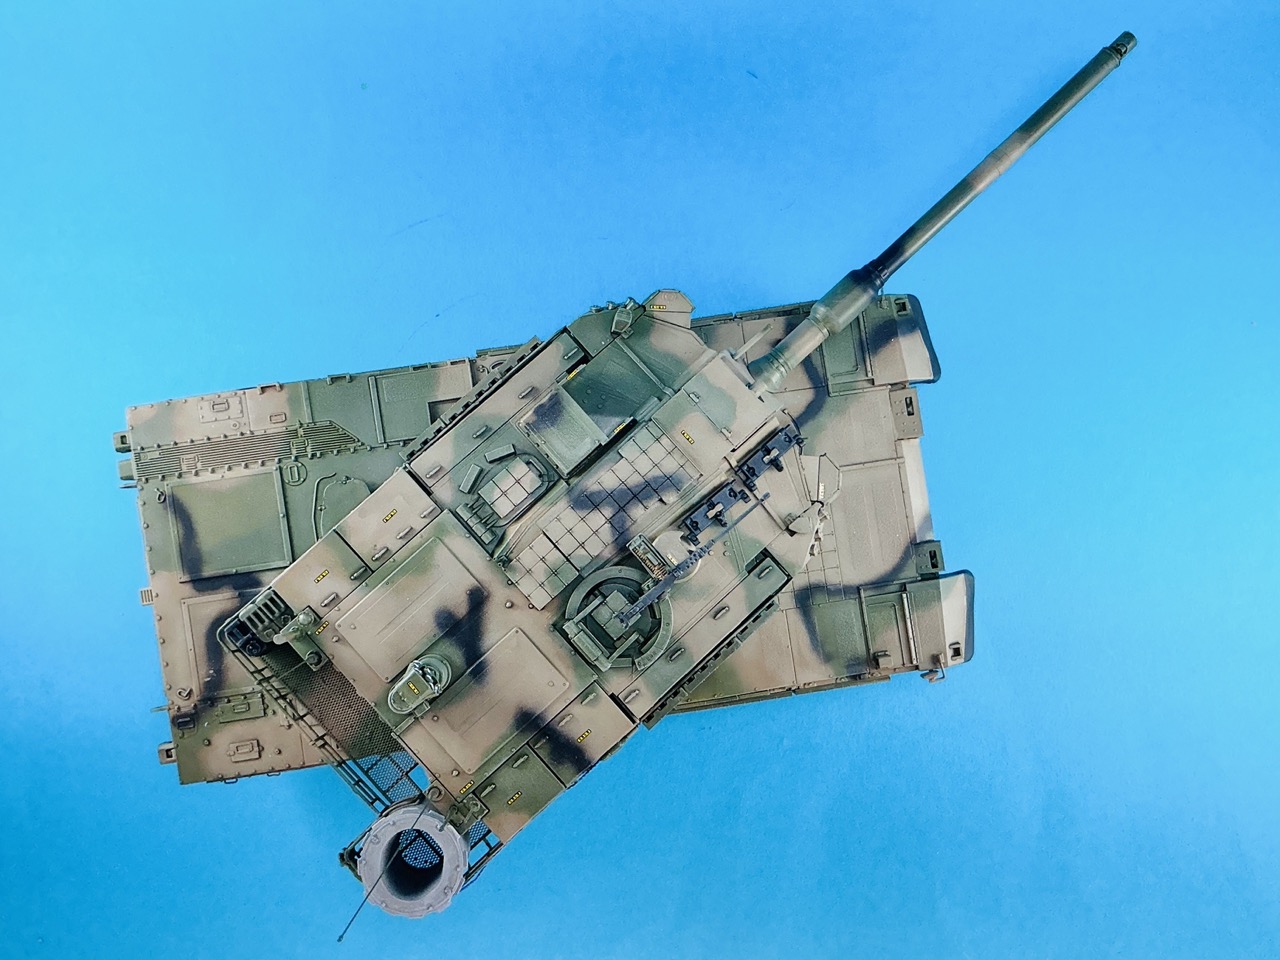
After glueing the side skirts to the tank, I also added the antennas and other details that were still missing.

IMG_3875.jpeg
IMG_3876.jpeg
IMG_3877.jpeg
IMG_3878.jpeg
IMG_3879.jpeg


Unfortunately, the mirror on the left side went AWOL :( When I removed the support from the sprue, it broke in two but I could glue the halves back together. When I was painting the mirrors, the joint broke again, and in the attempt to stick them back together a second time, the side with the mirror on it flew out of my tweezers. Despite a long search for it I haven't been able to find it, so the tank will have to do without … Should I ever come across it, though, I can stick it on then :)

And with that, I'd say this model is done!
 
As an Amazon Associate we earn from qualifying purchases. Product prices and availability are accurate as of the date/time indicated and are subject to change.
I think it look great!

Gotta ask one thing though...If you have an Iwata, why did you use the Aztek?
 
Thanks, guys :)

I like how your treatment of each subject matter is also reflected in weathering and finishes.
The only weathering on this model is matt black in the exhaust :) I debated whether or not to add dirt, but after I was finished painting the tracks, I looked more closely at photos and realised I had painted them as almost new. So, little or no weathering, and that lead me to opt for "no" :)

I'm still at the point where my 'bag of tricks' is limited... I feel like I can learn from your approach.
My approach is not difficult, TBH. The main thing is to make sure areas aren't just a single colour — it's amazing how much better-painted your models will look if you just spray semi-random lighter patches into most of the various panels. Then follow it with simple shading and highlighting, all over the model. Again nothing fancy, just a darker wash and a lighter drybrush. These days, for the shading wash I prefer using Army Painter Soft Tone for lighter colours and Strong Tone for darker ones, both thinned about 1:1 with water — they're translucent paints, which means when making a wash with them, it does't need to be as thin as from opaque paint, which makes it easier to apply and less likely to pool too much.

With a camouflage-painted model, this is complicated slightly because you need to spray lighter patches for each main colour separately, and the same goes for drybrushing the highlights. The darker wash can be the same for both, depending on what the colours are and what you use to make the wash.

Try it on one of you models :)

If you have an Iwata, why did you use the Aztek?
I use my Aztek for large areas, like painting the whole model in a single colour, and use the Iwata for the finer work like camouflage and those panel highlights. This largely because I don't like cleaning airbrushes, and the Aztek is easier that way :)
 

Latest posts

Back
Top