

I suggest you round the corners and edges of all the wooden furniture and framing, top more rounded than bottom. The floor is starting to look very good.


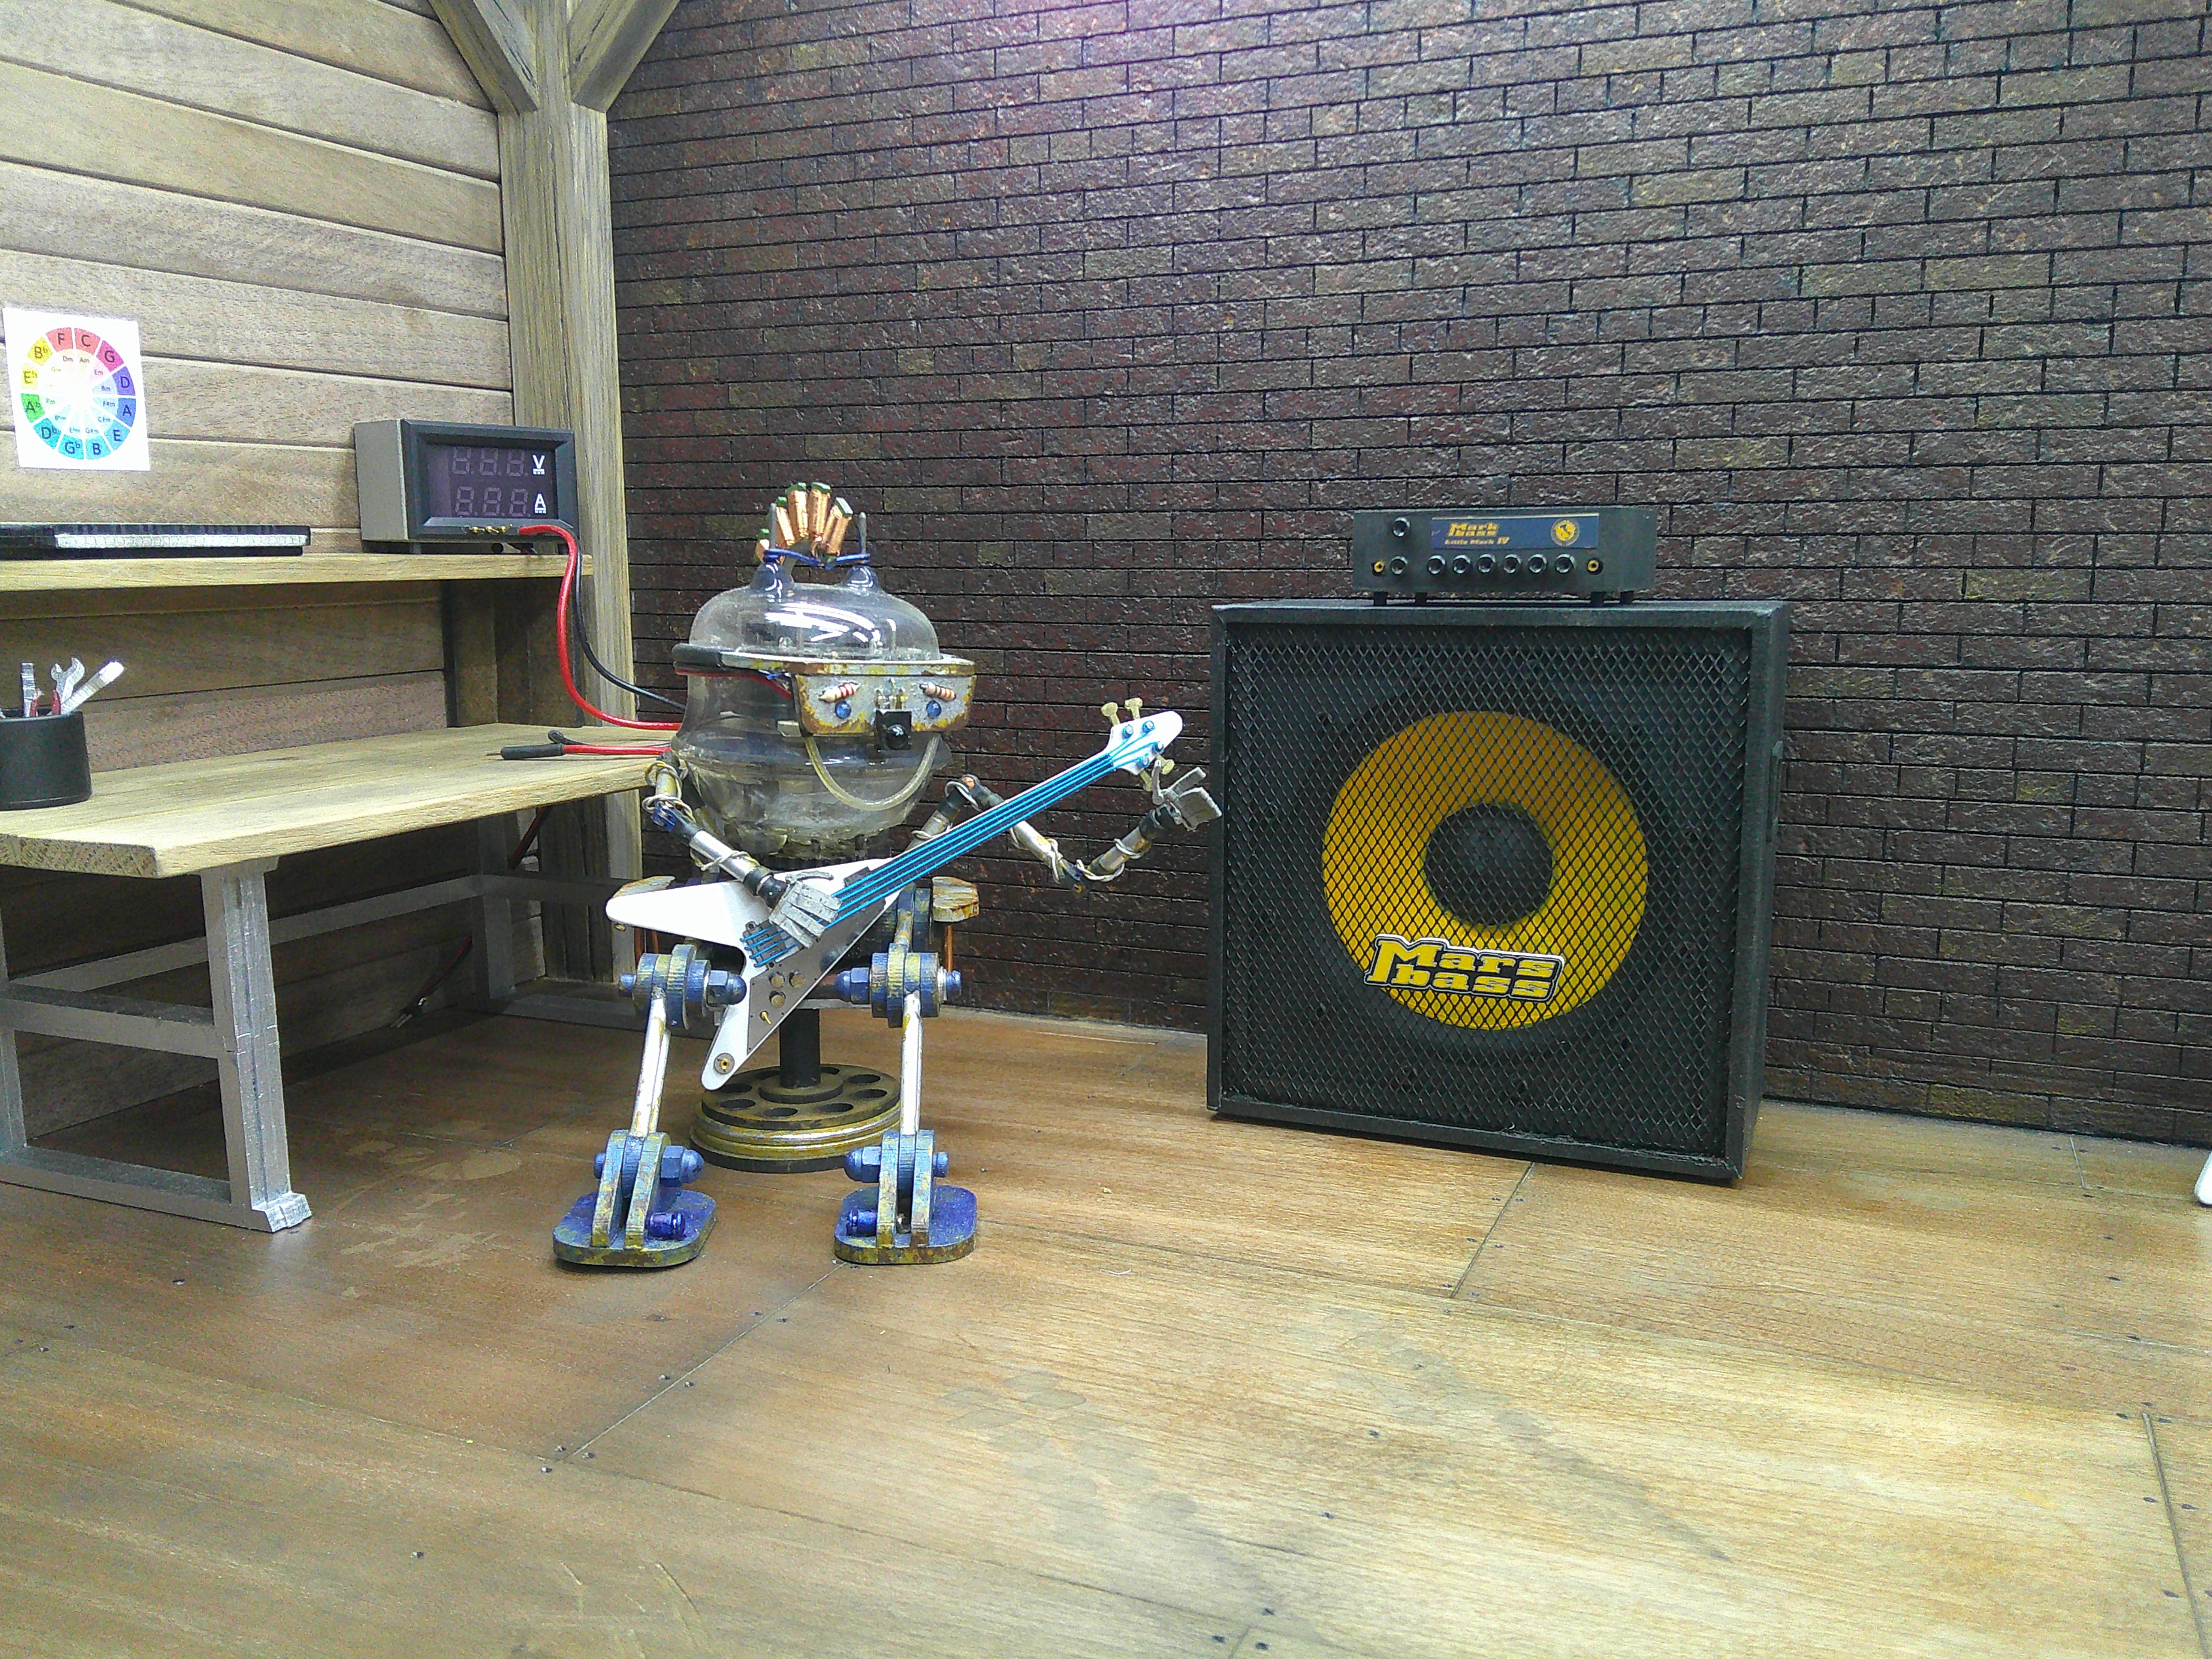
thanks! I think it's turning out ok so far!Honestly, that middle shot could be of a real loft/studio space in a converted 19th century factory!

thanks! I had thought about doing that to the workbench. I did round the edges of the timbers a bit.I suggest you round the corners and edges of all the wooden furniture and framing, top more rounded than bottom. The floor is starting to look very good.
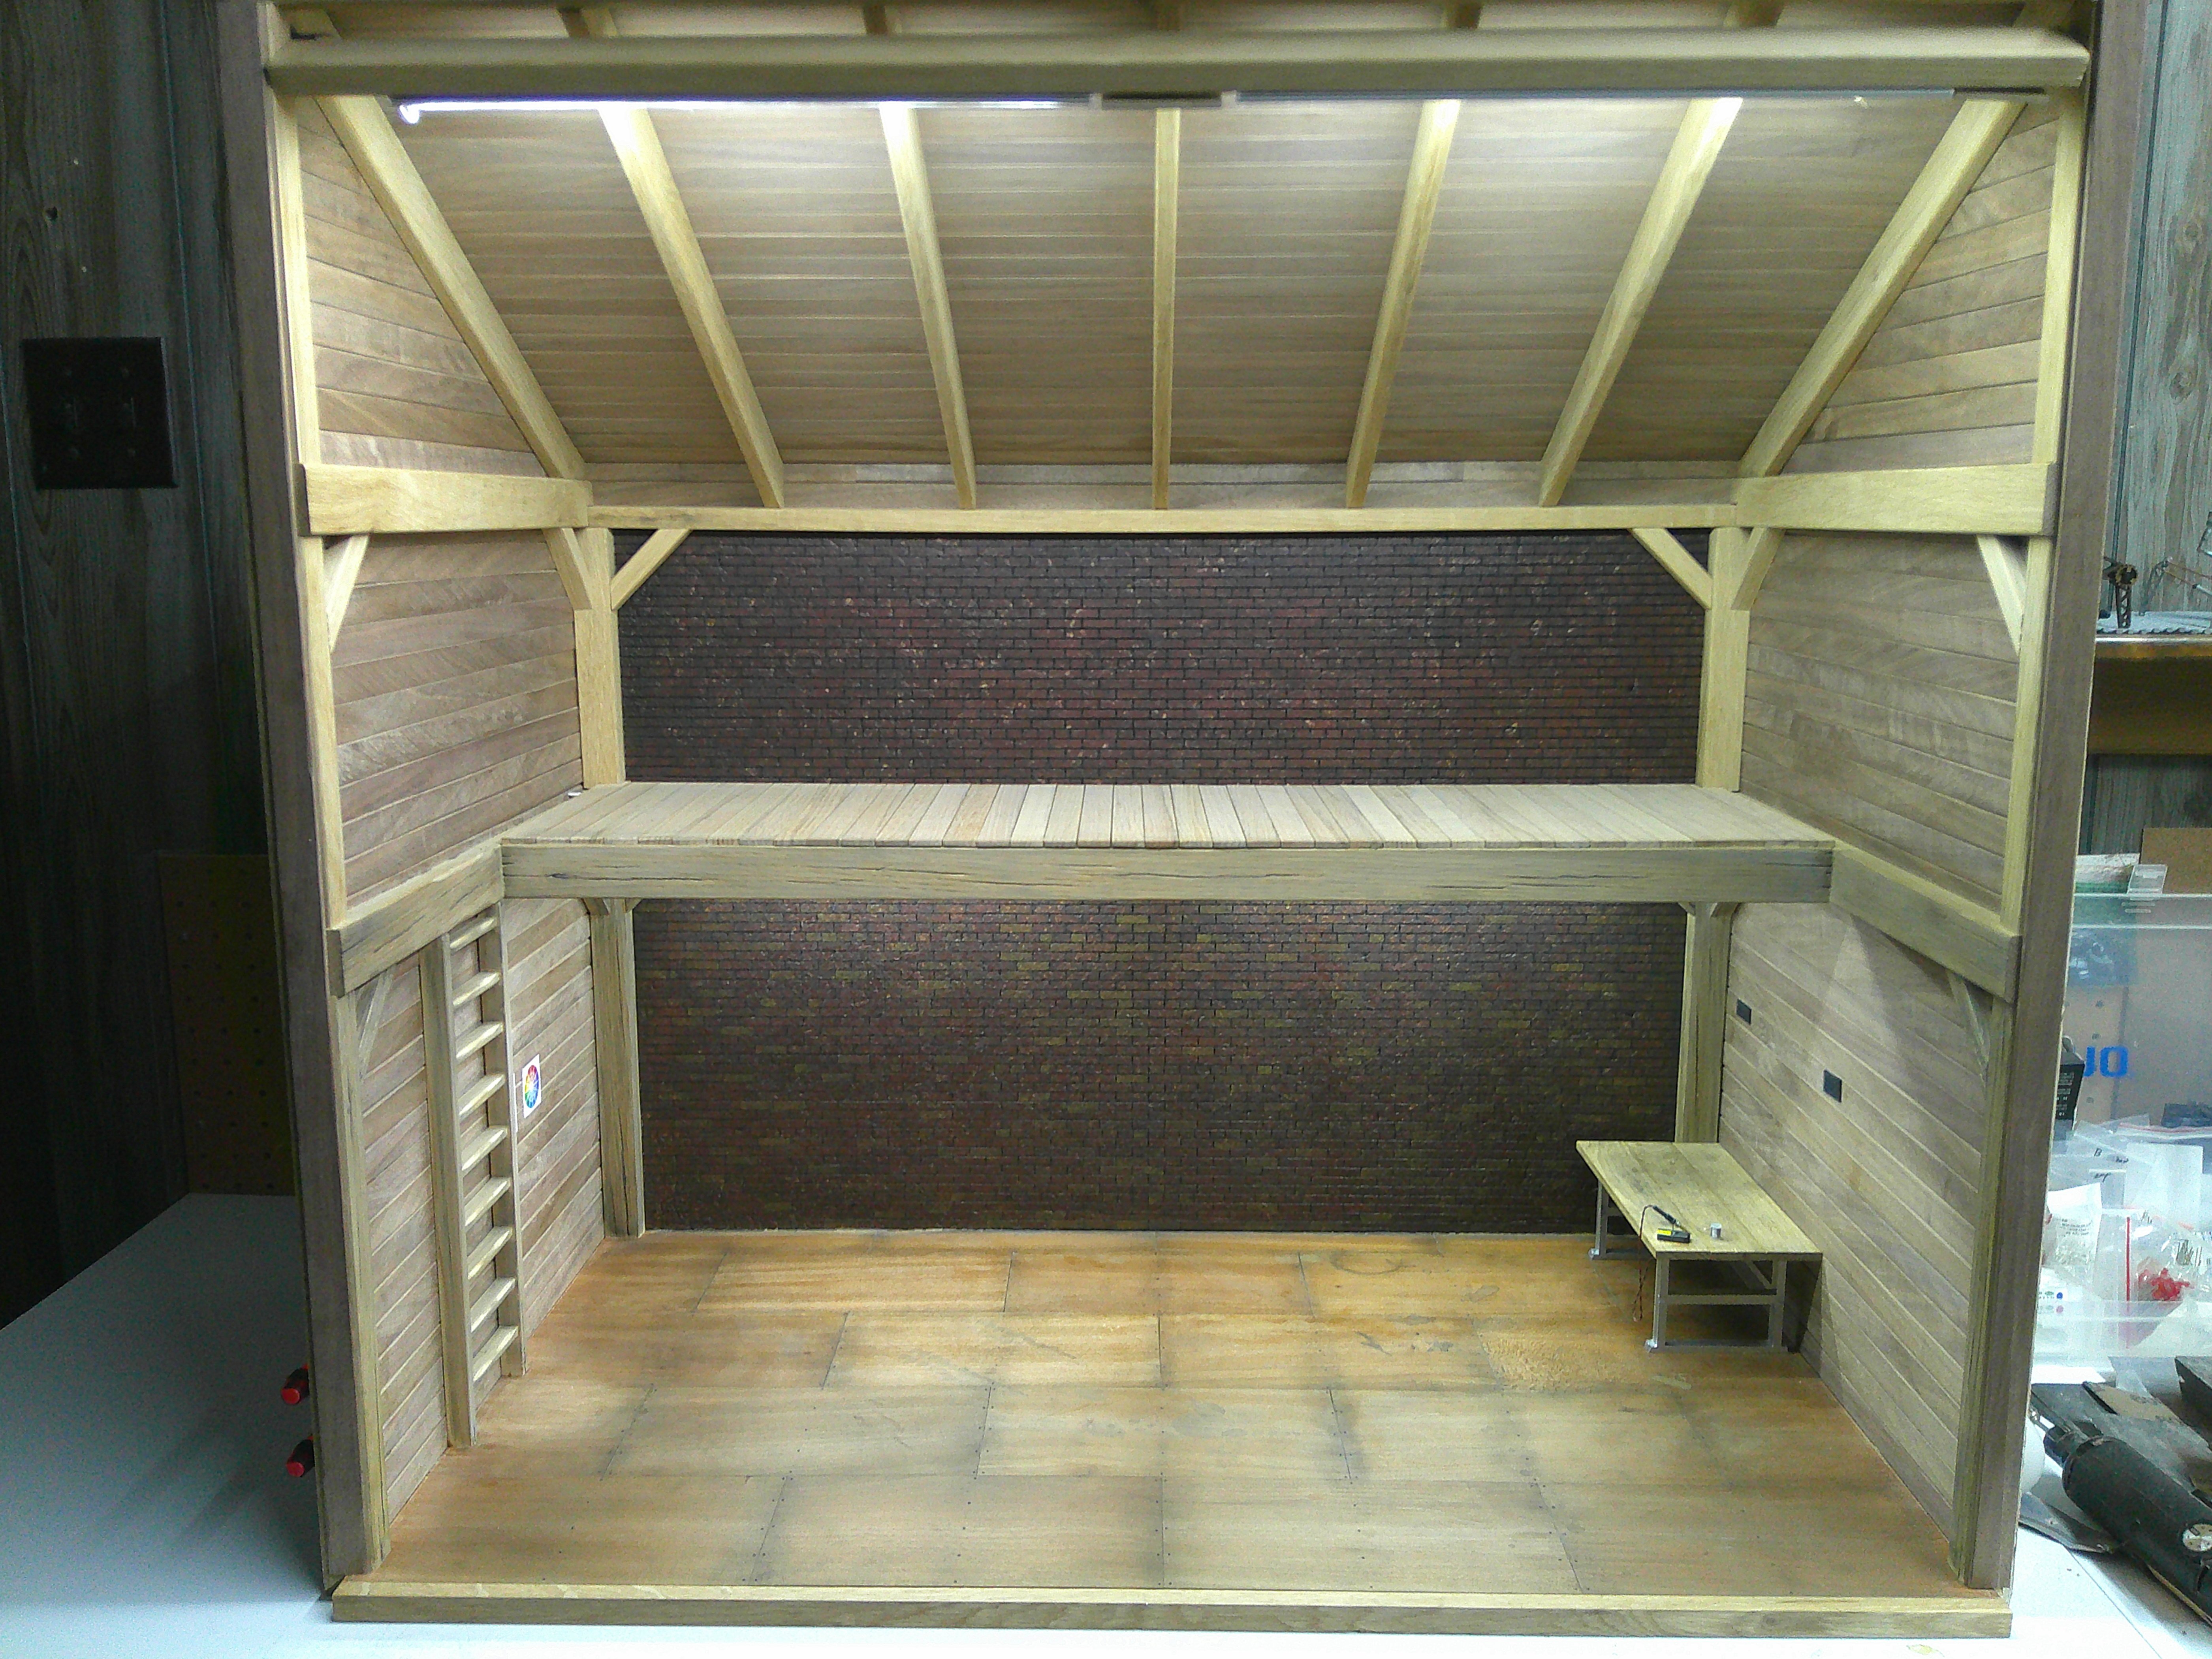
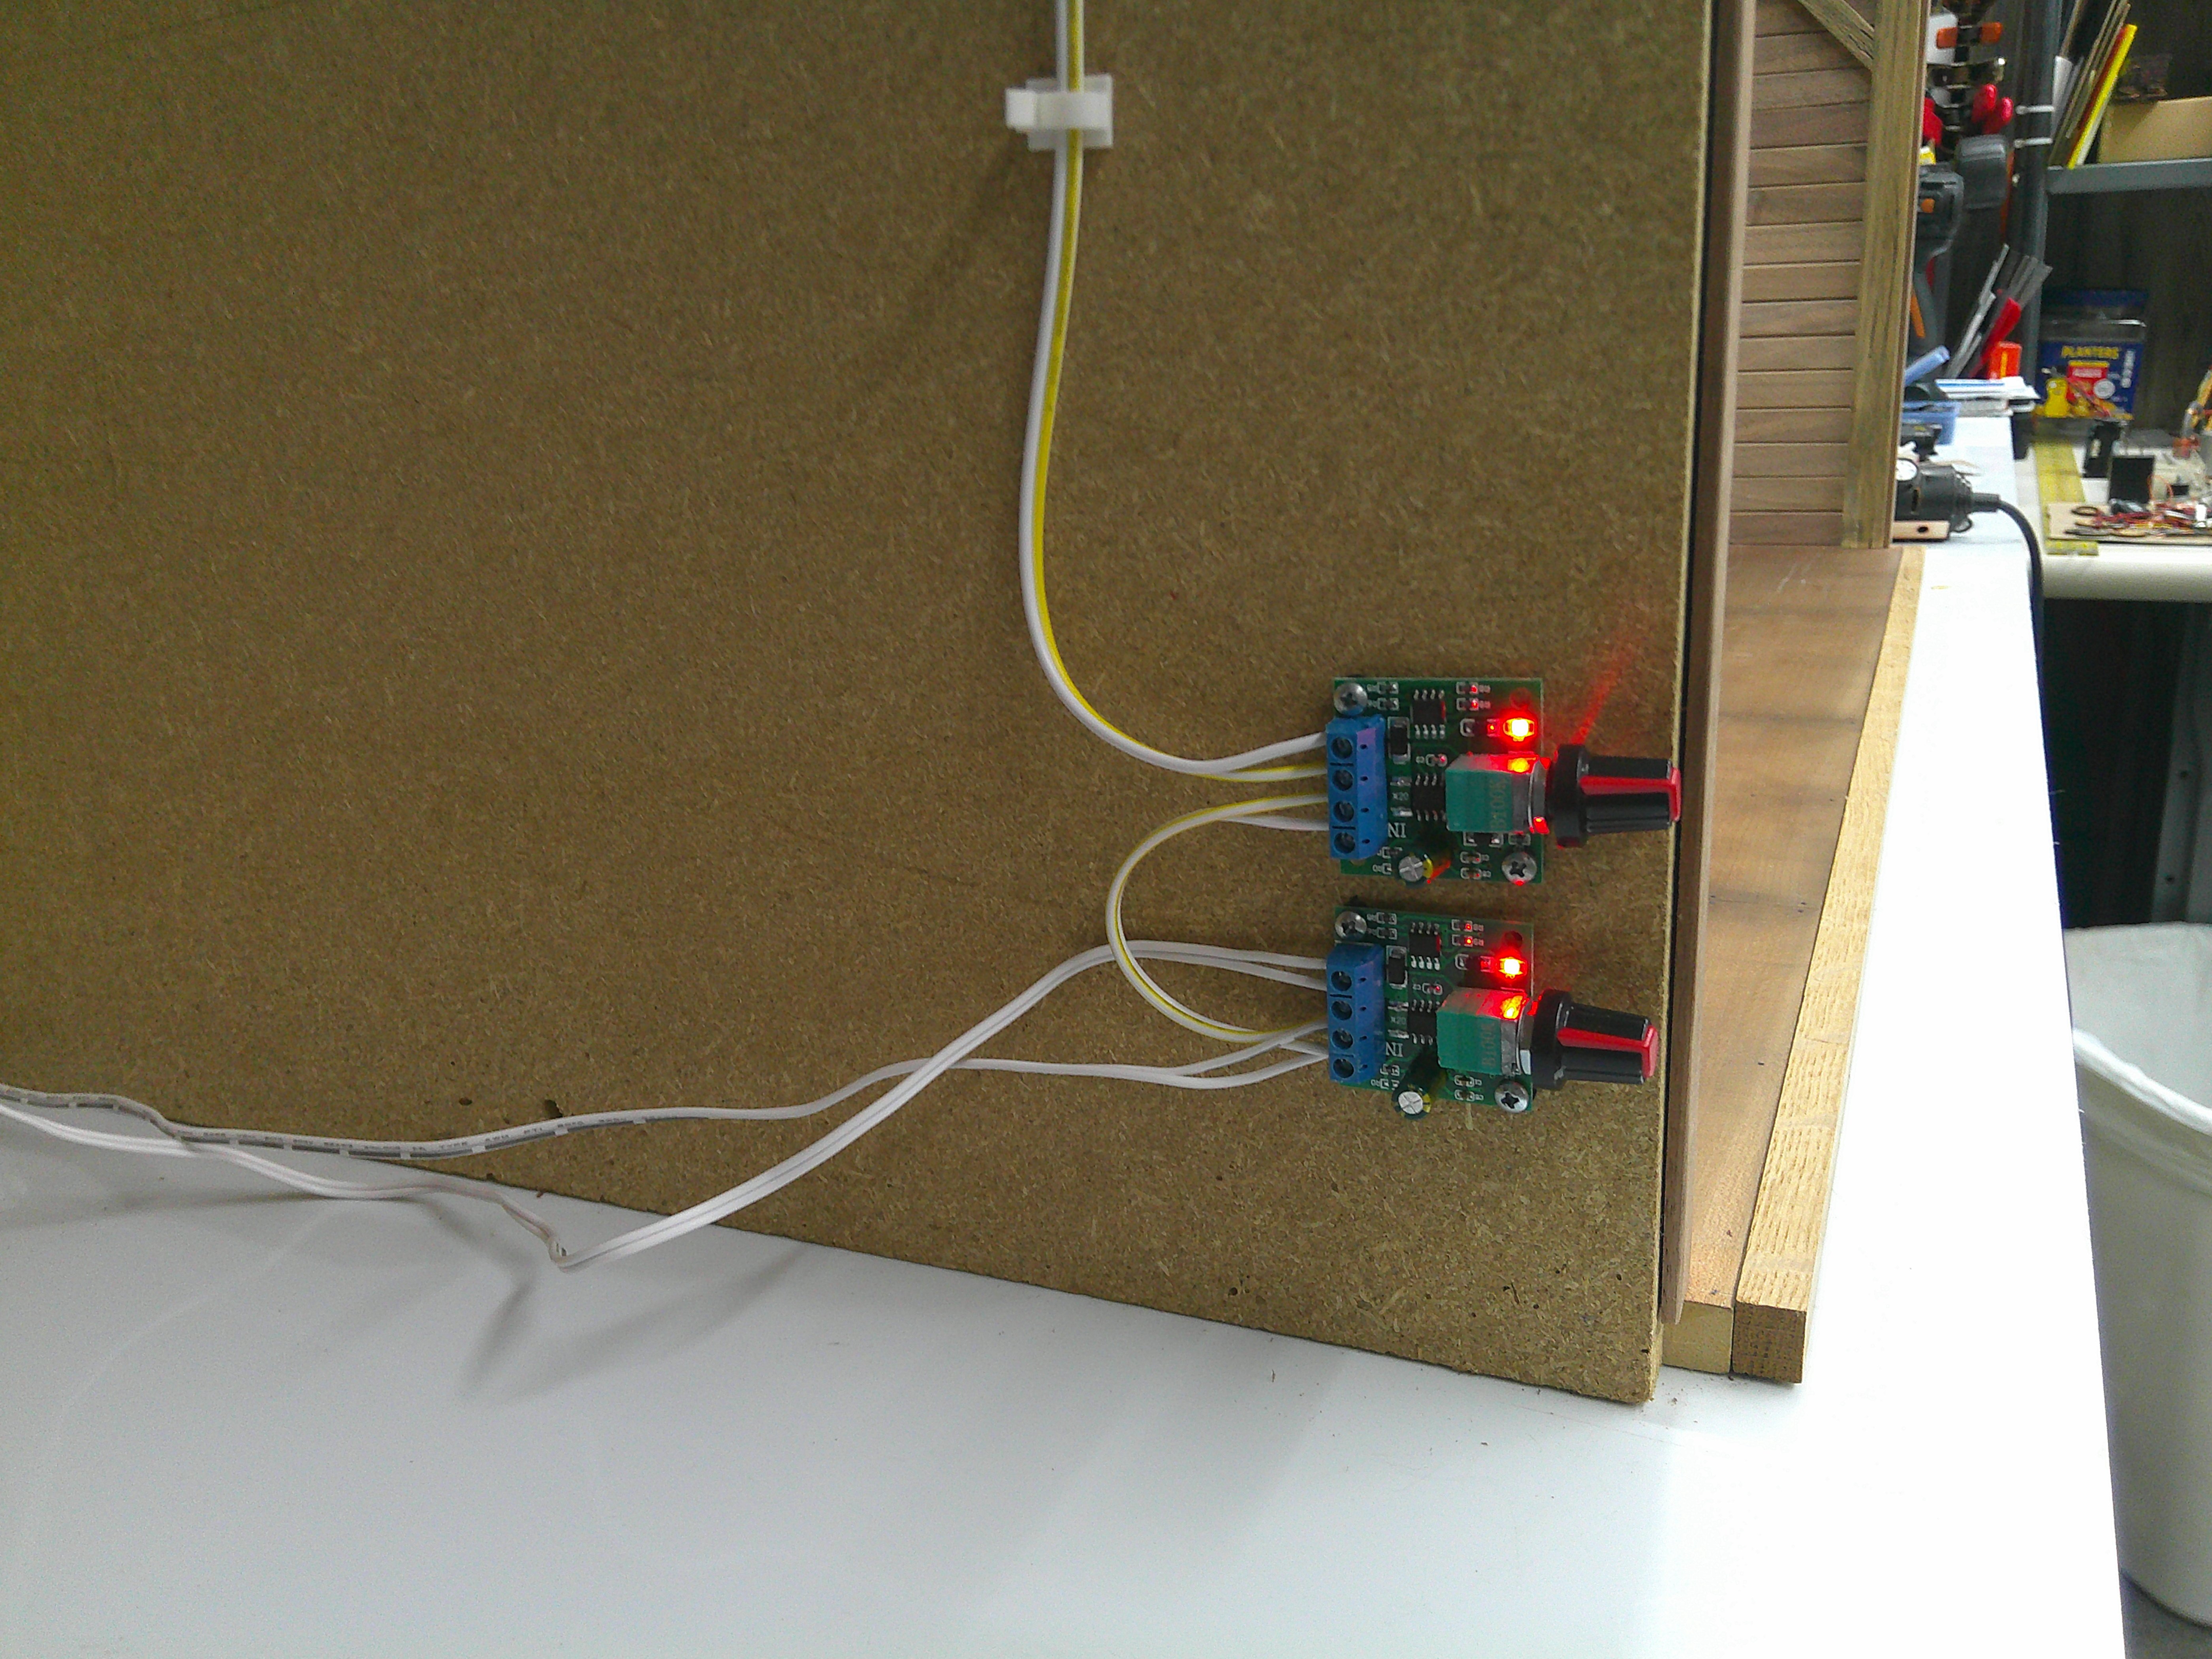
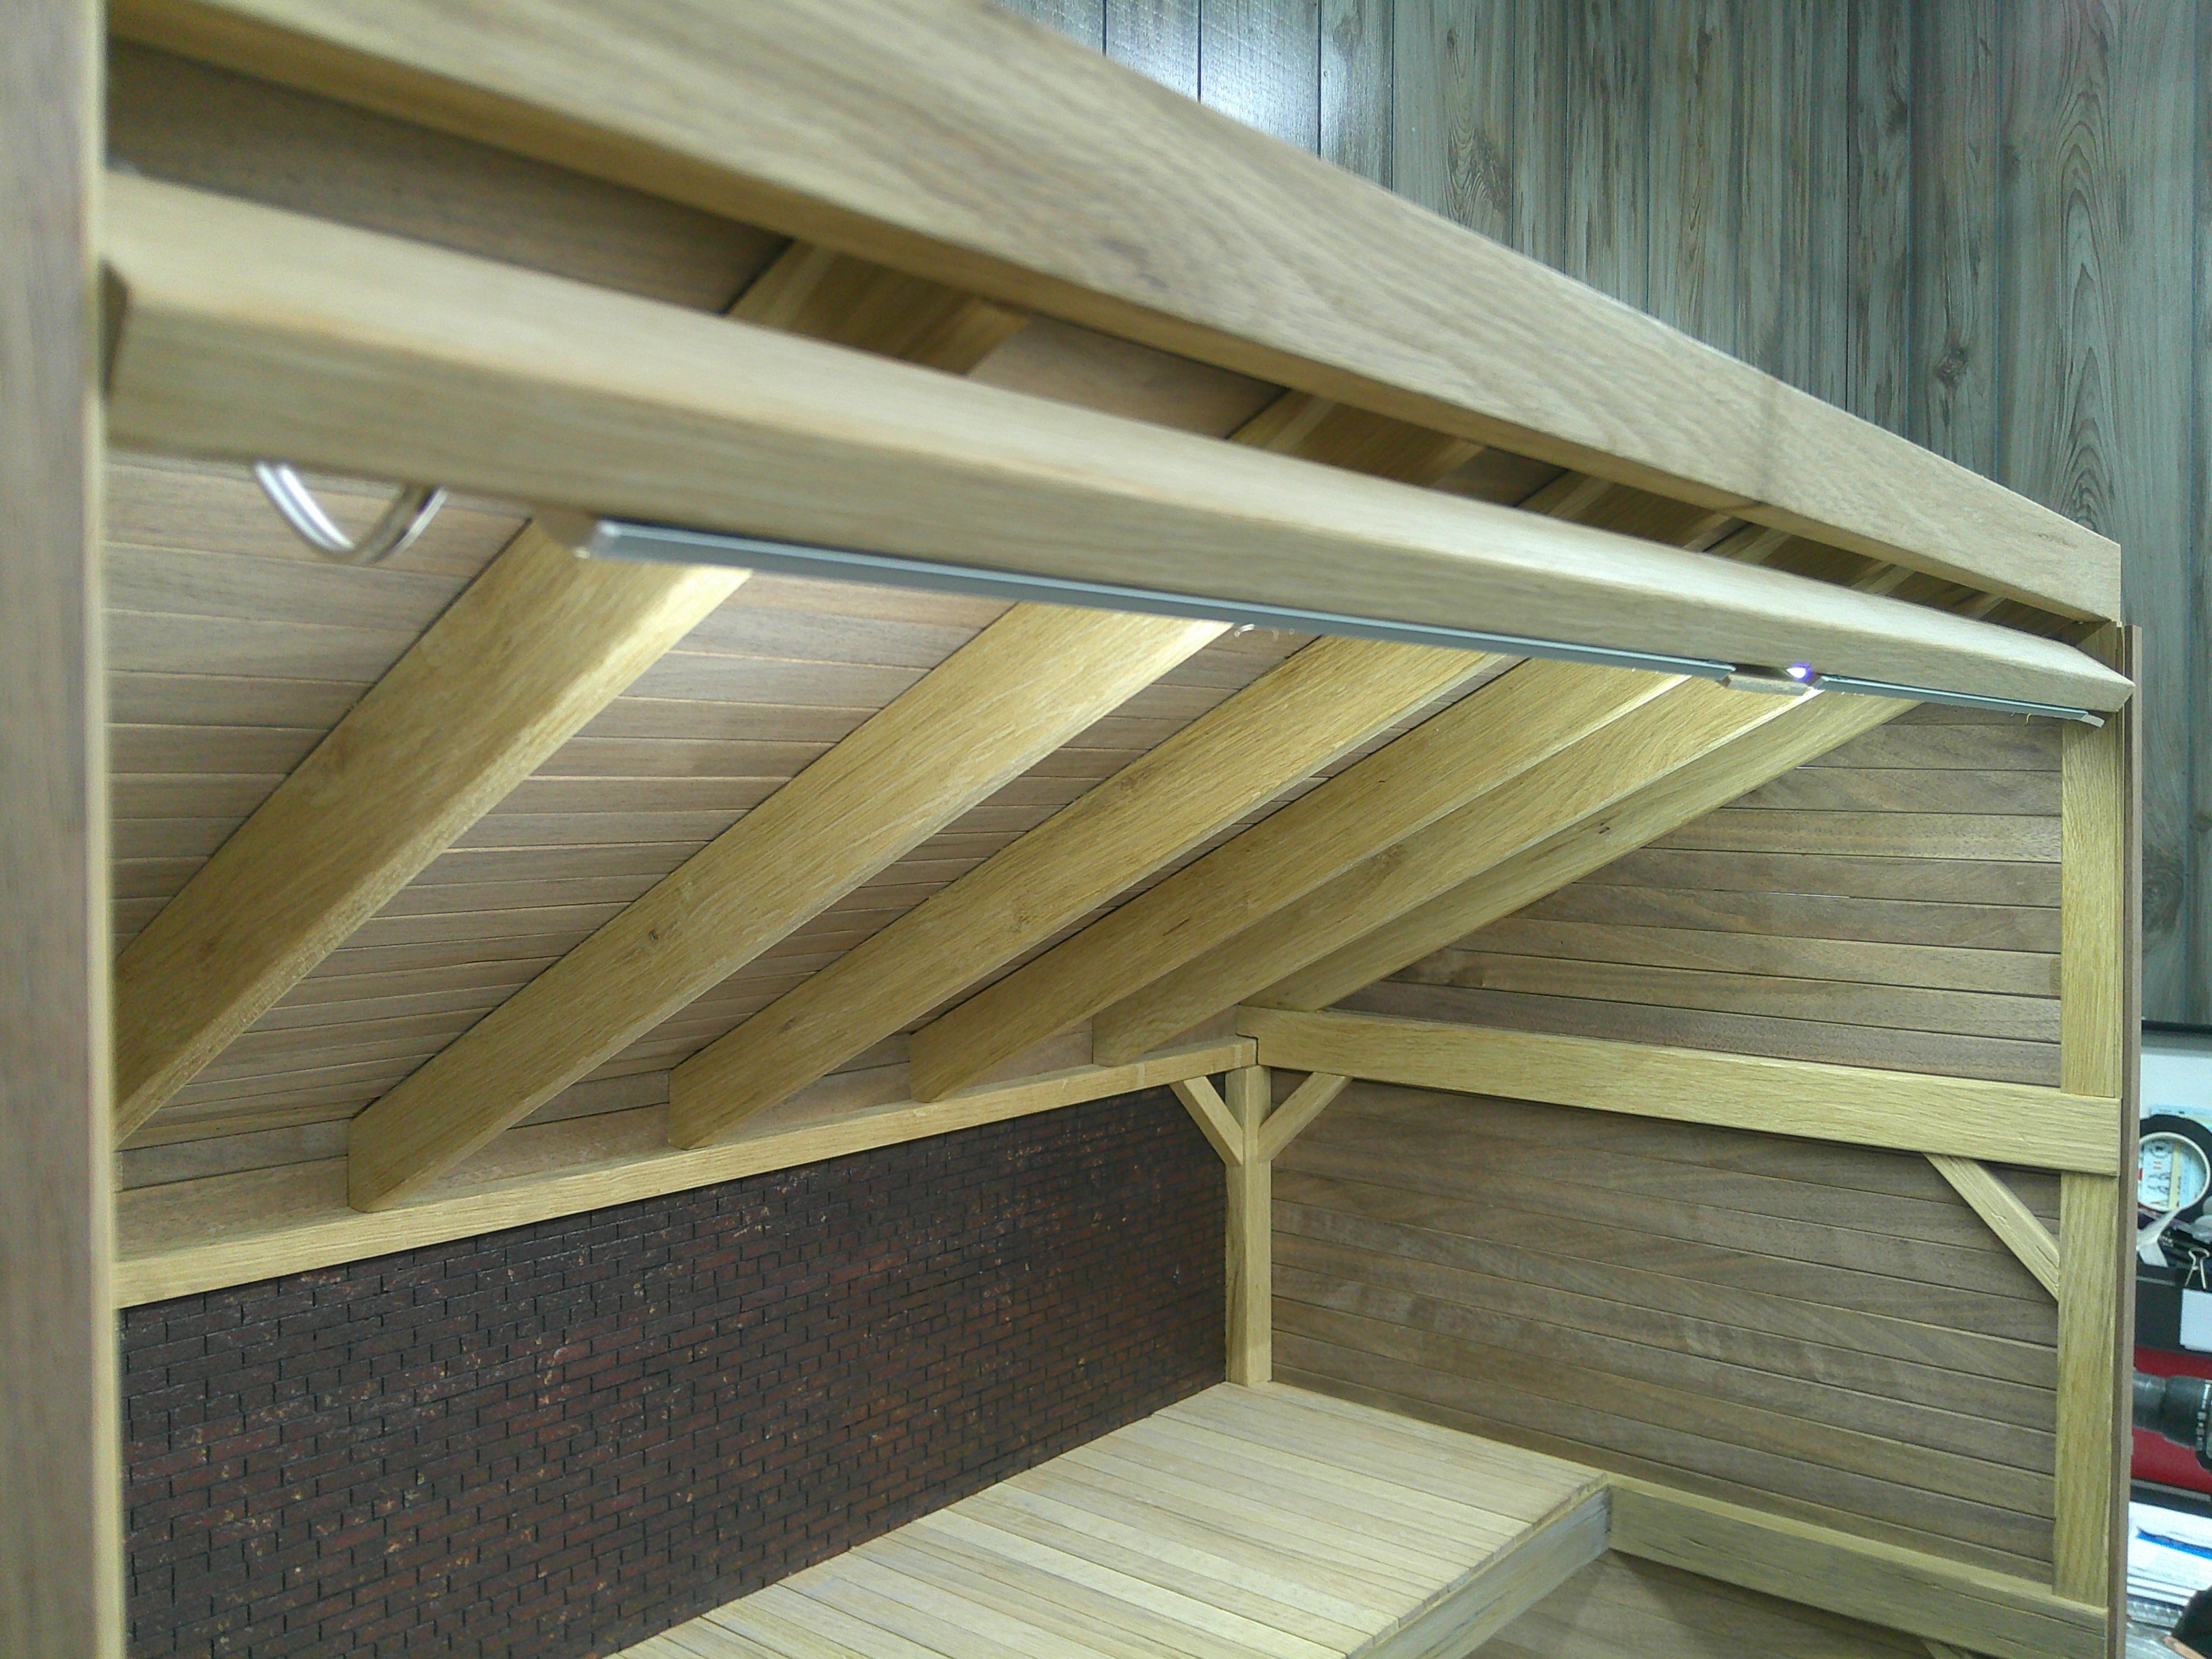
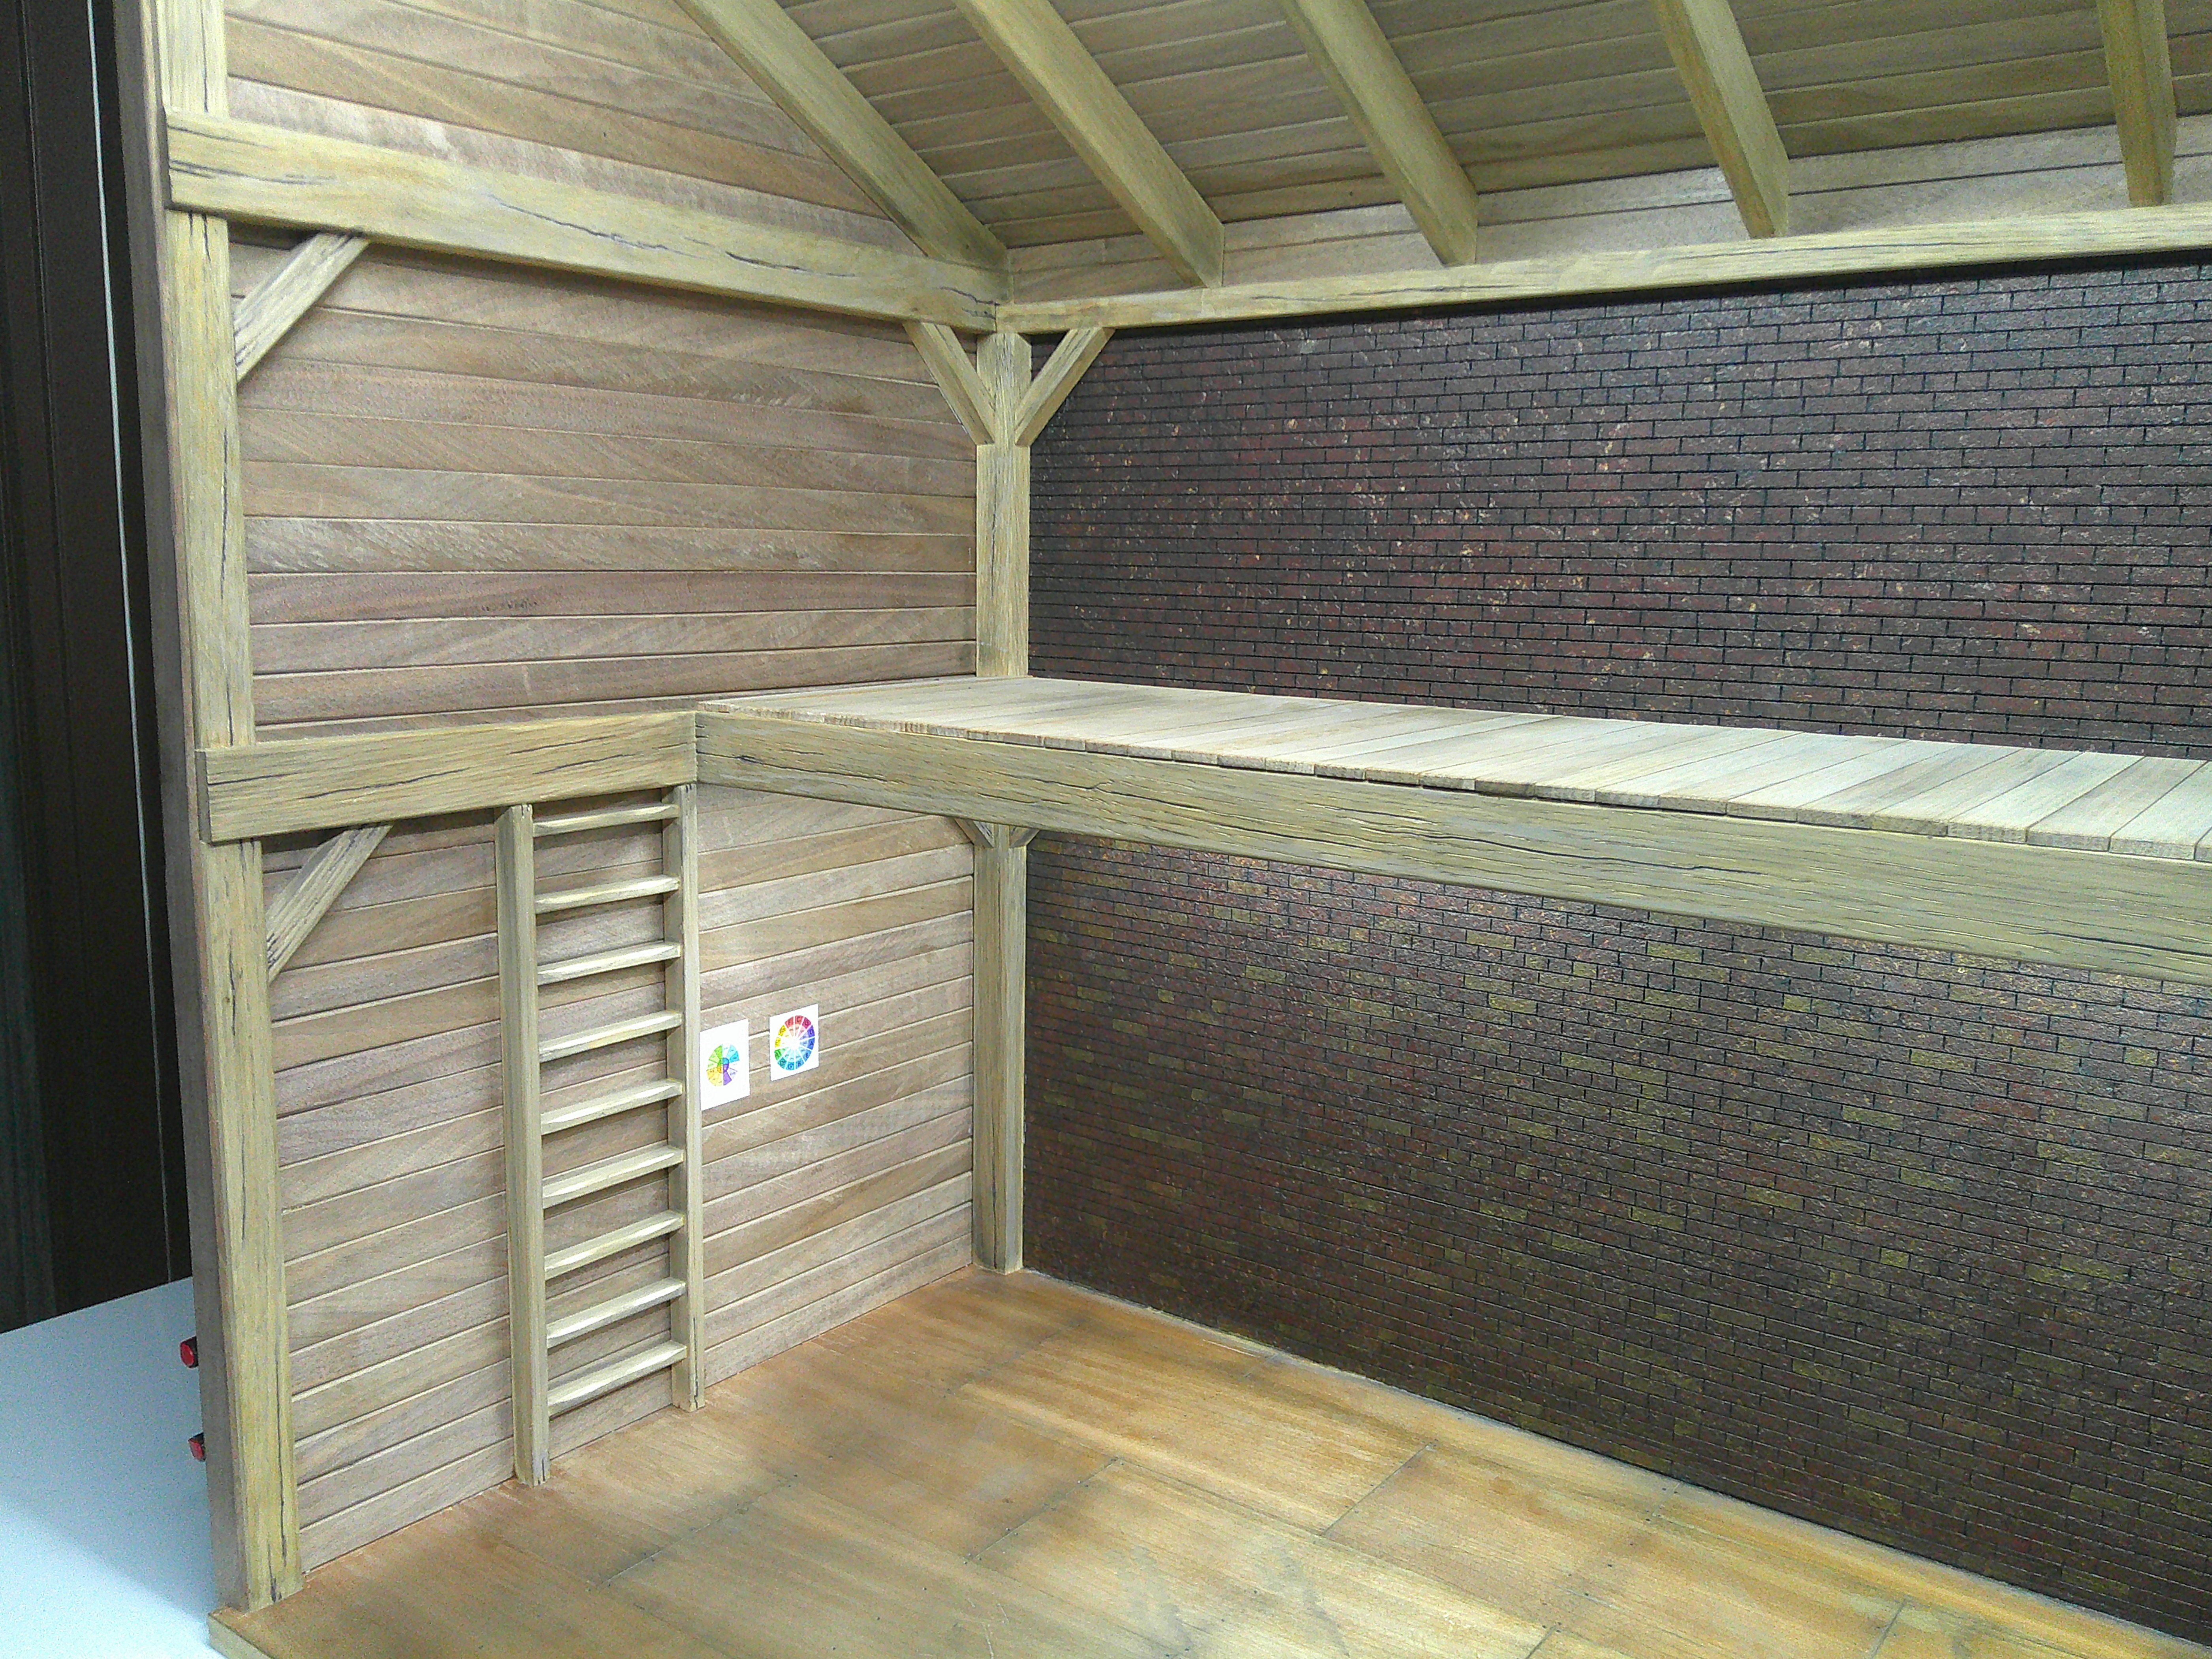
I get you. I am darkening all the wood, slowly, but I have to balance accuracy with scene requirements. I want it to look old, but it also has to photograph well.If this is an old building, the rafters and roof panels should be very dark. Our house was built in 1911, and all the framing and strucktural wood is very dark, deep brown. It almost looks black except with strong illumination.
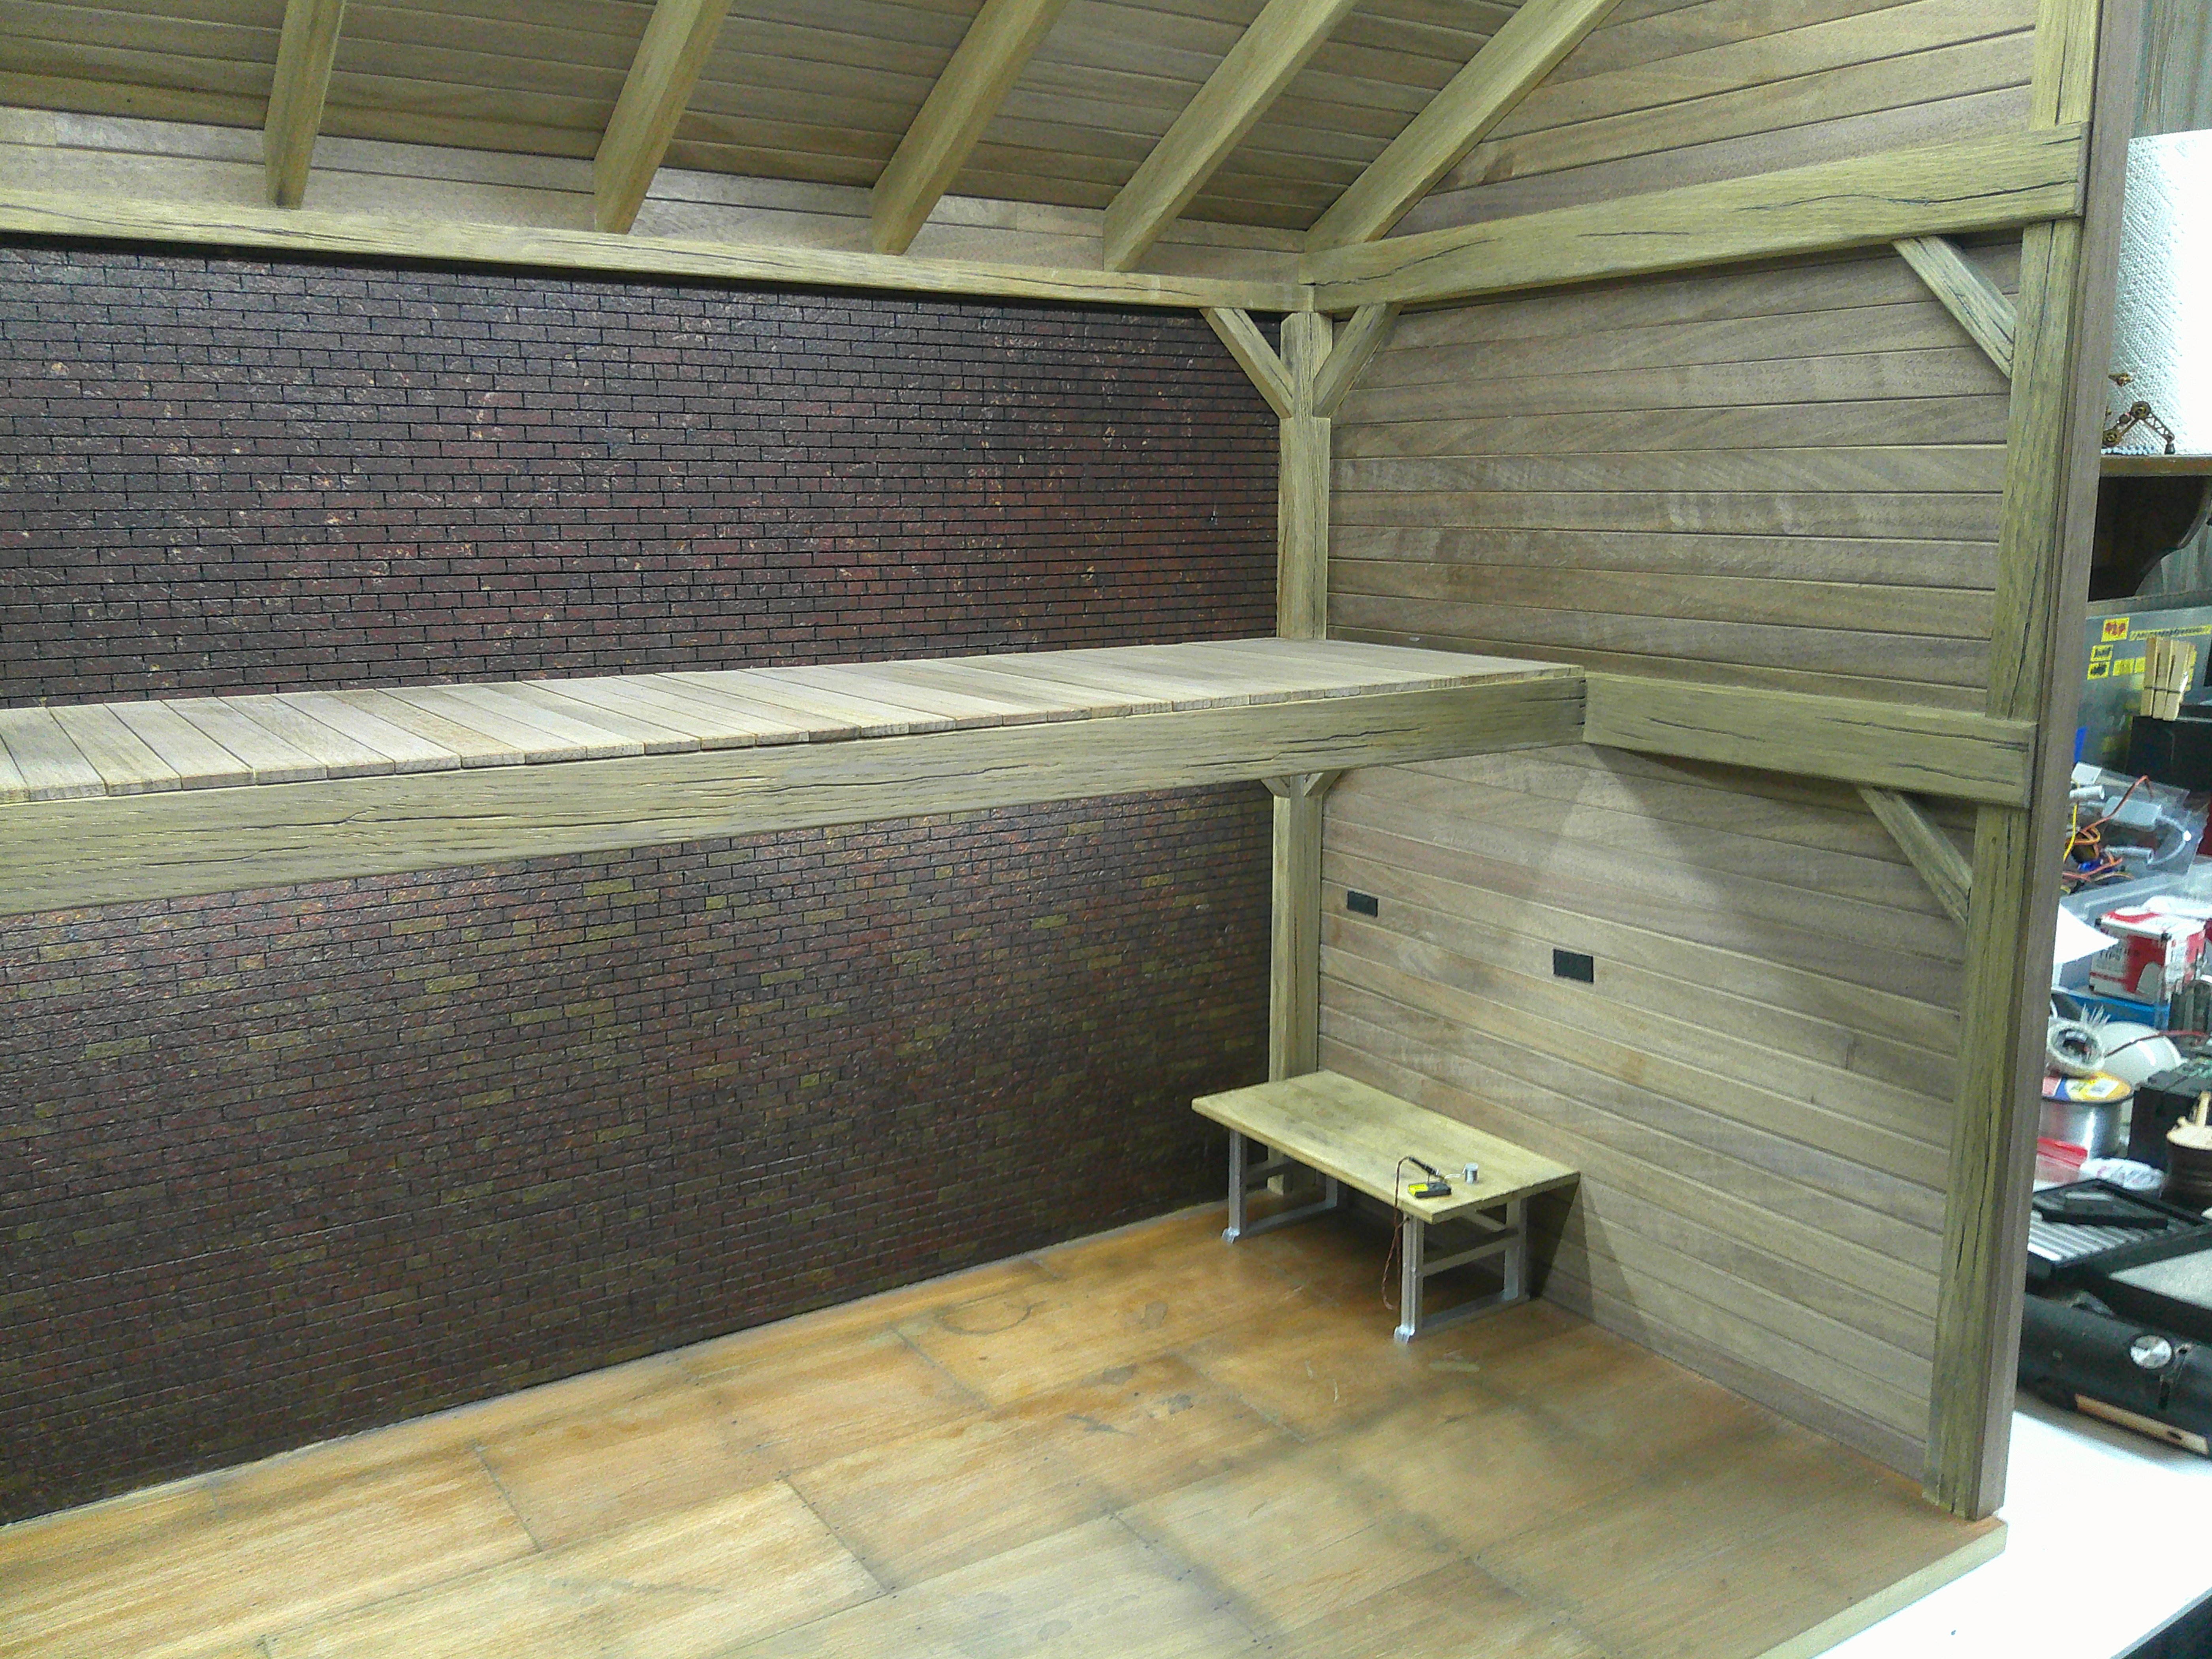
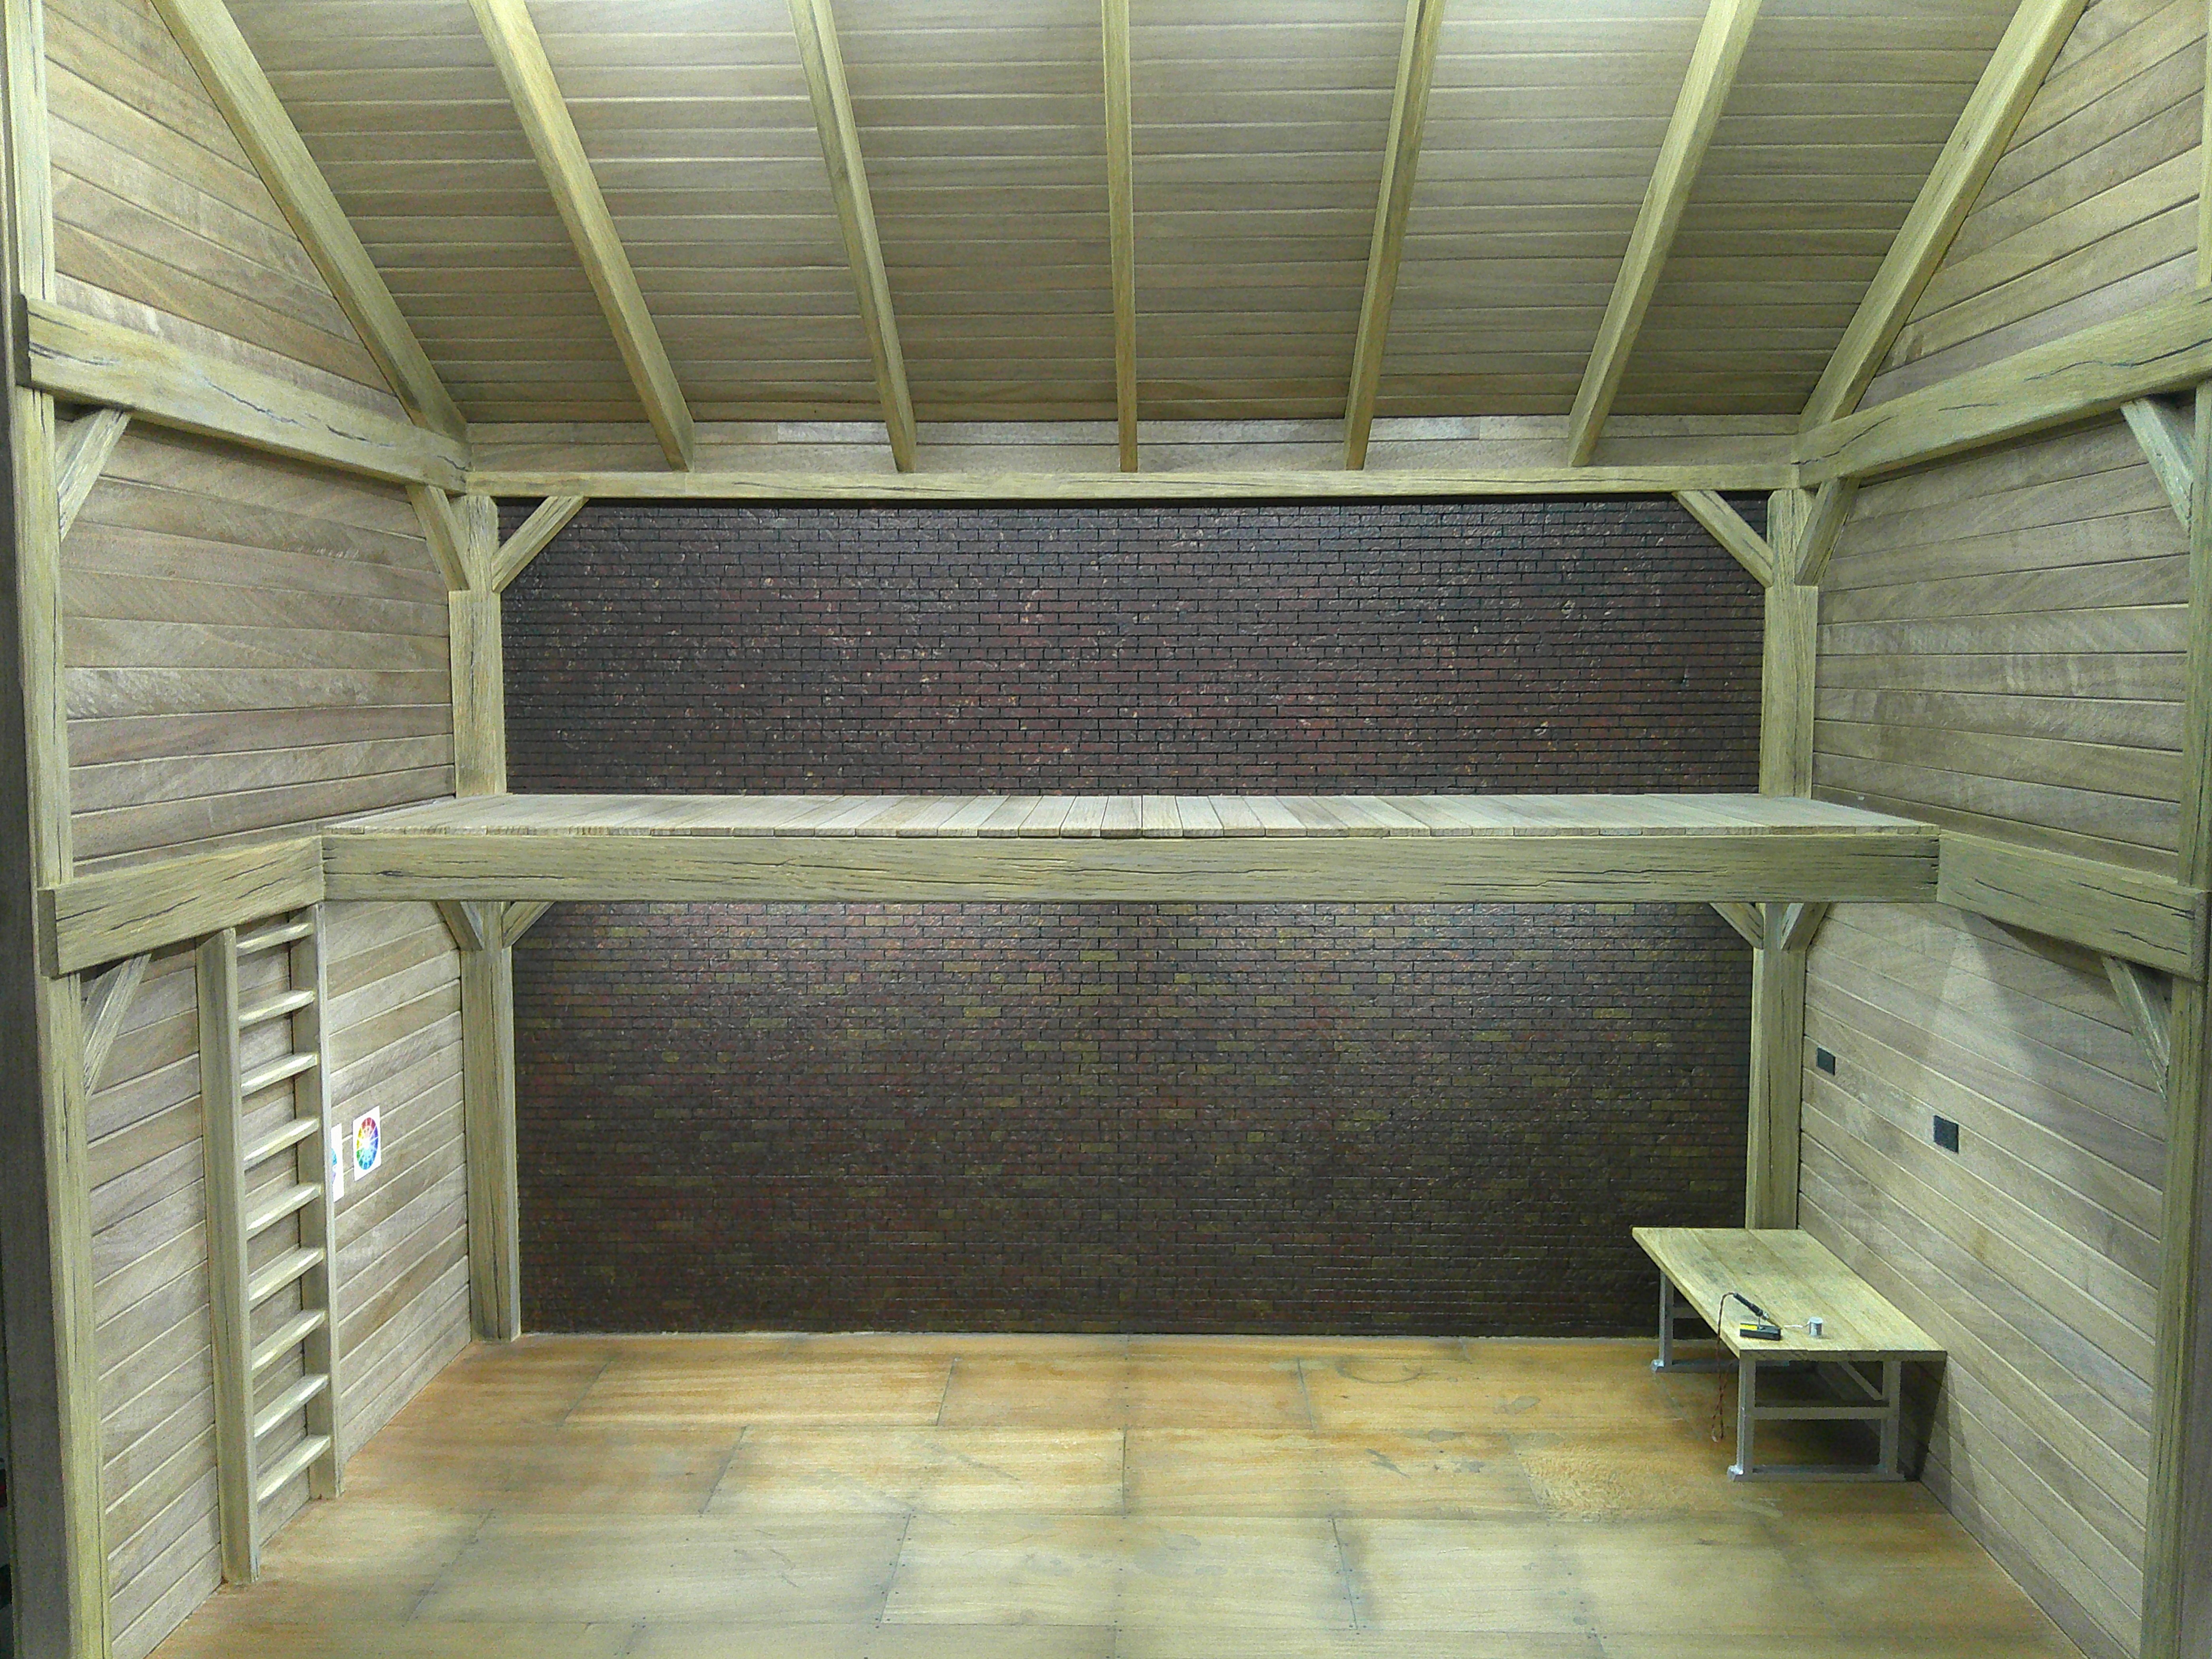
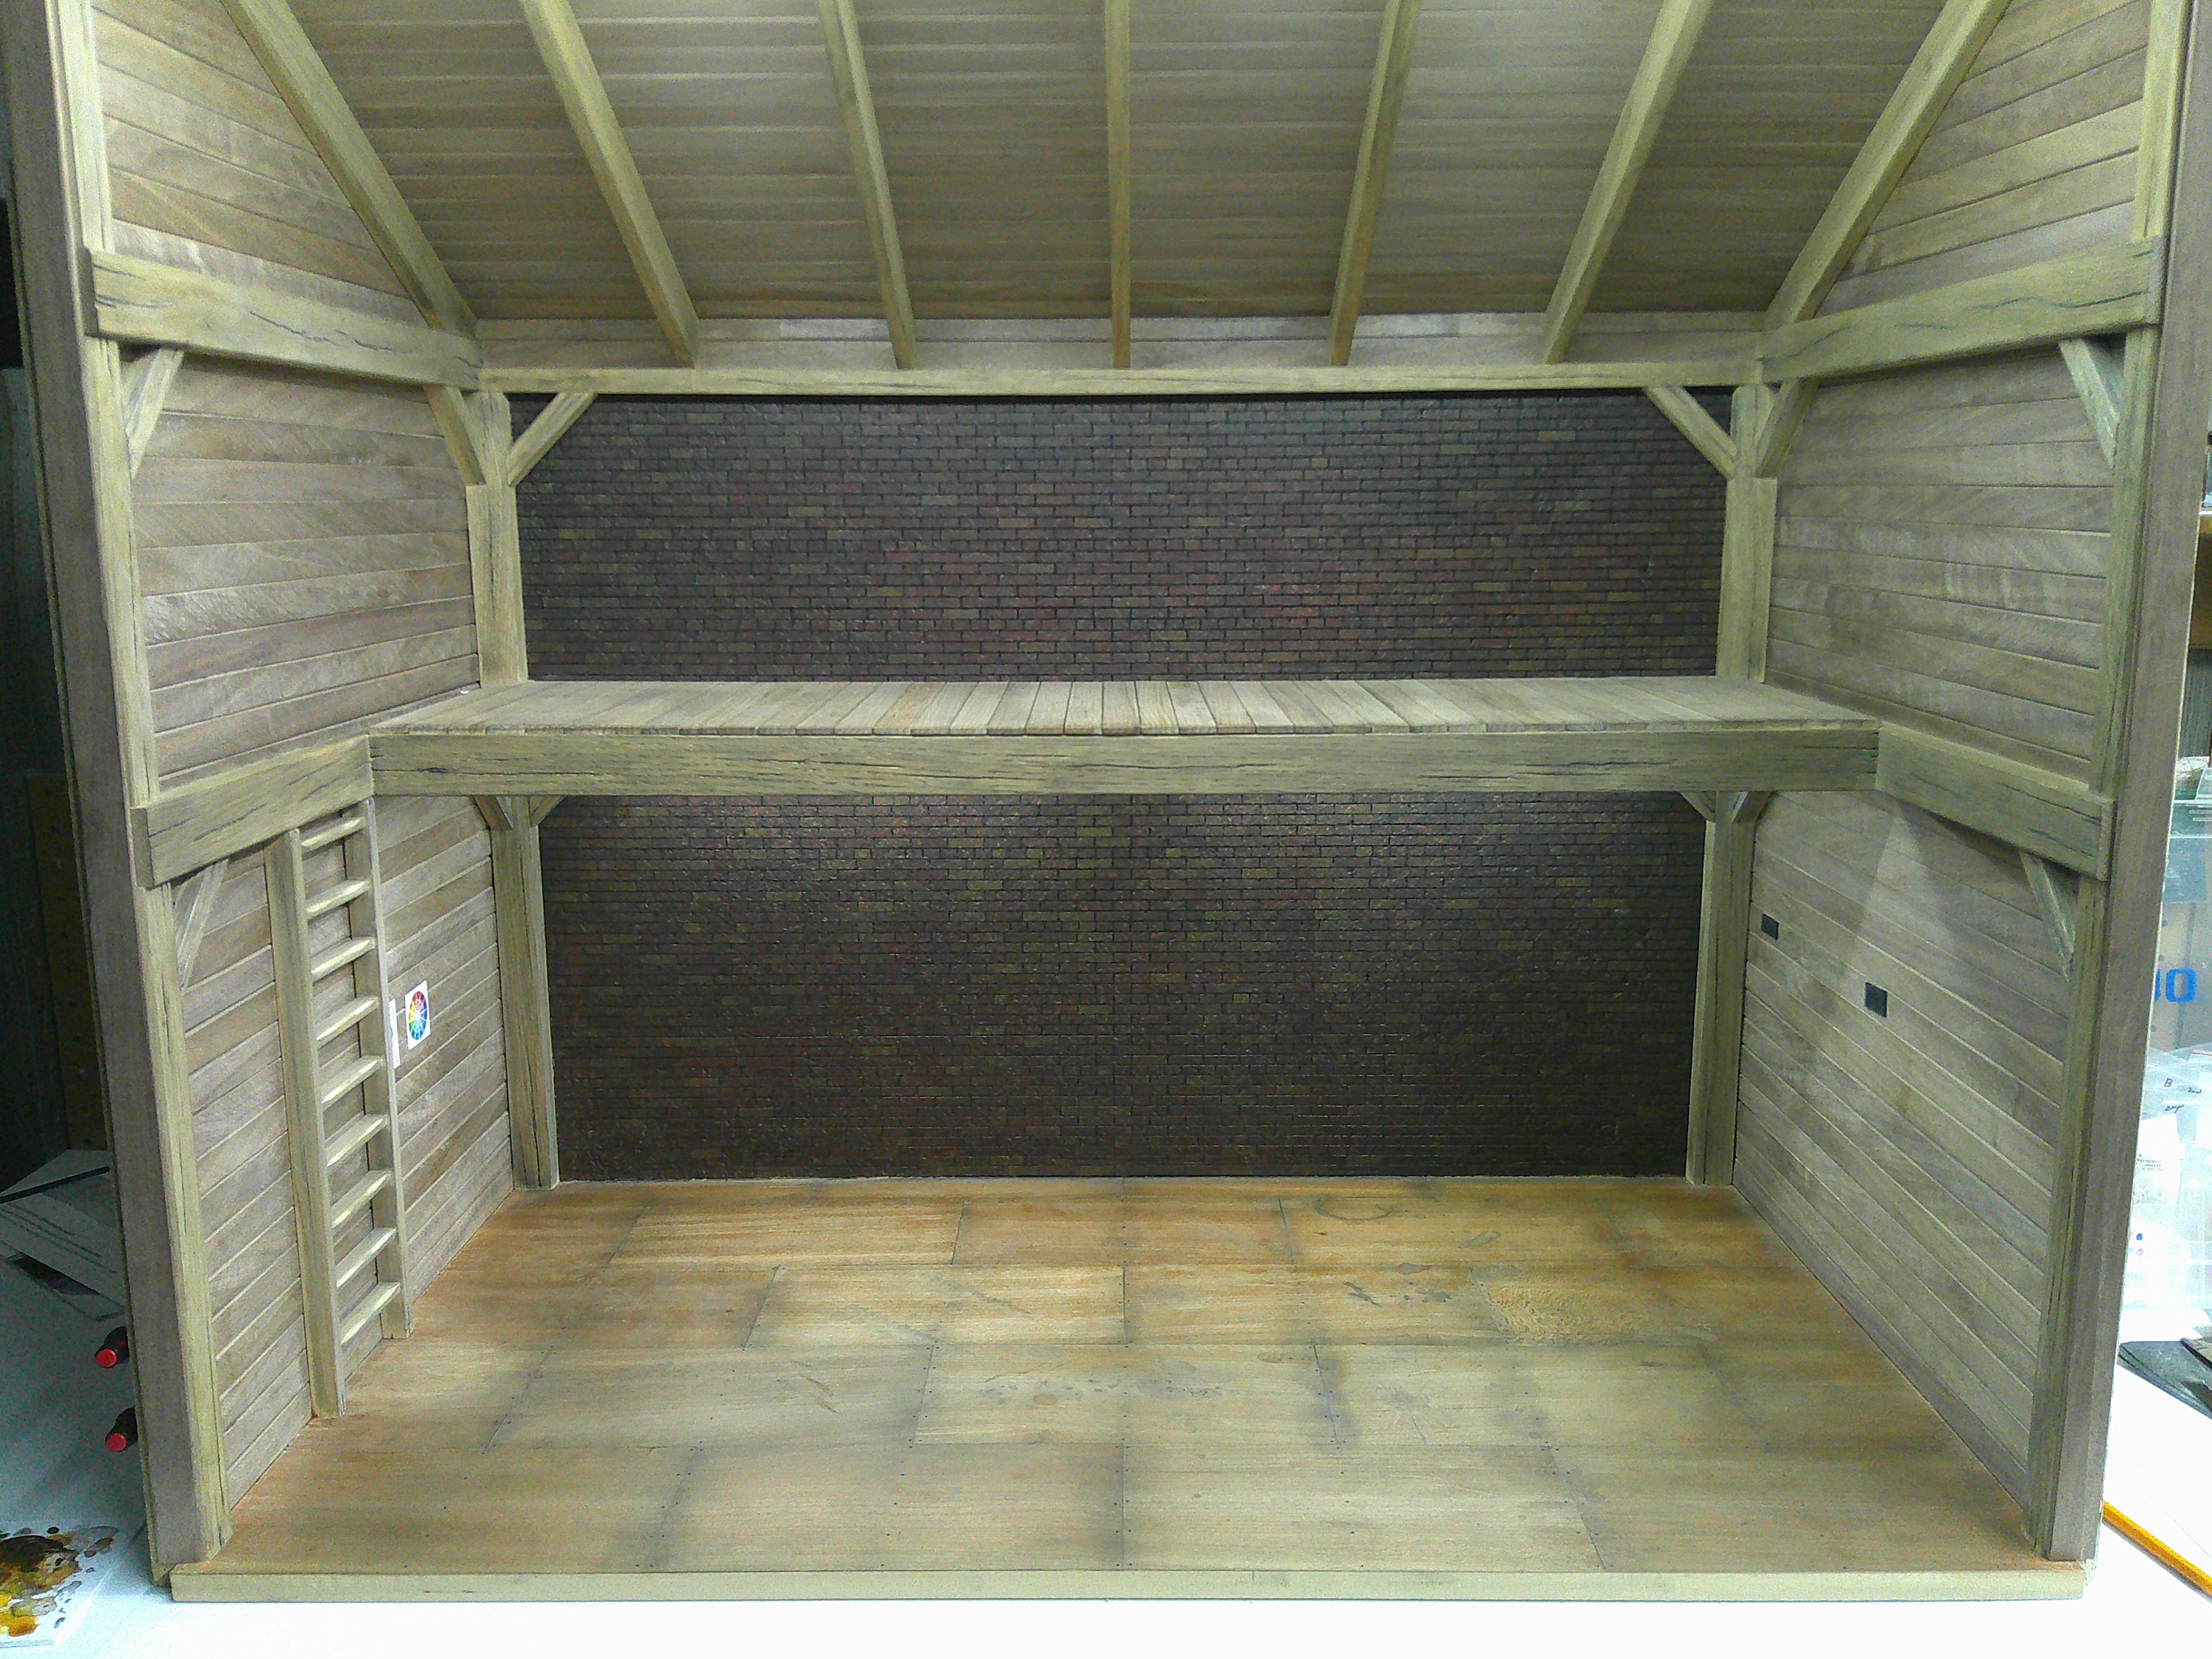
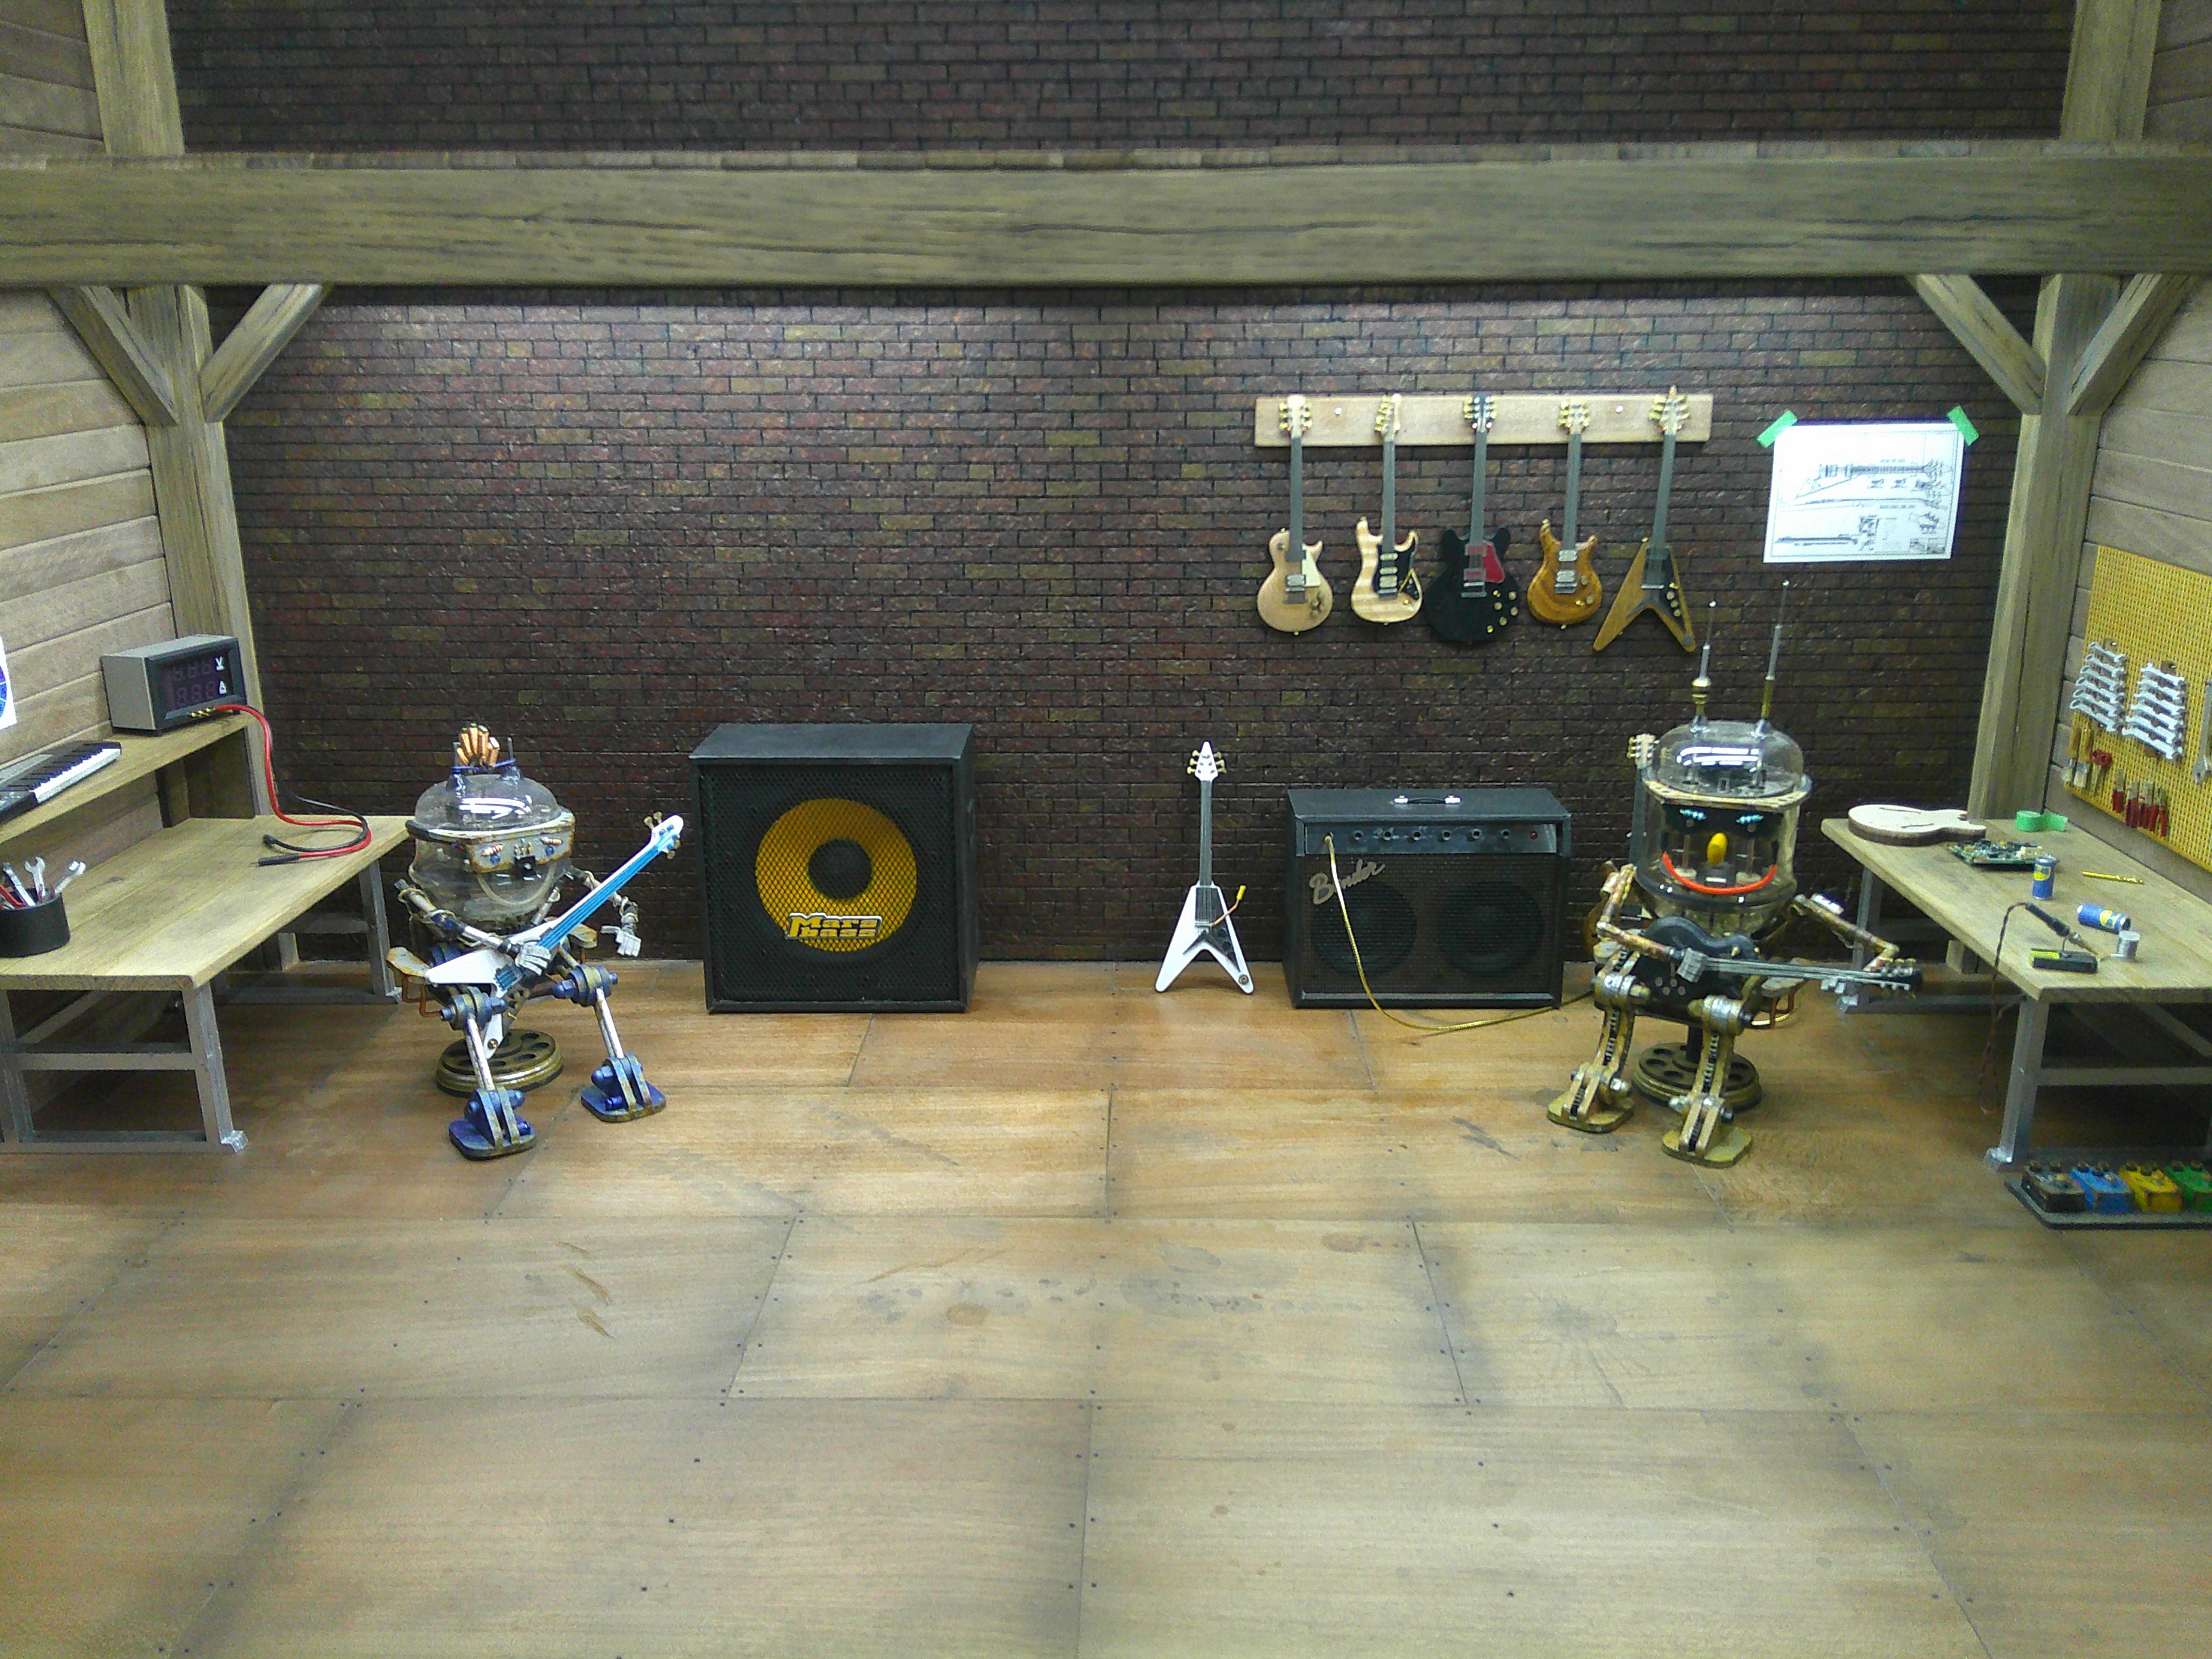

They be diggin their new digs!Mike and Dave

I know, I think I am talking myself back into the mortar. haha!Black mortar, as this masonry appears to have, is not common in old structures
I have a couple reference images. I may try for something in like these two images. Thanks for your comments and input on this project. 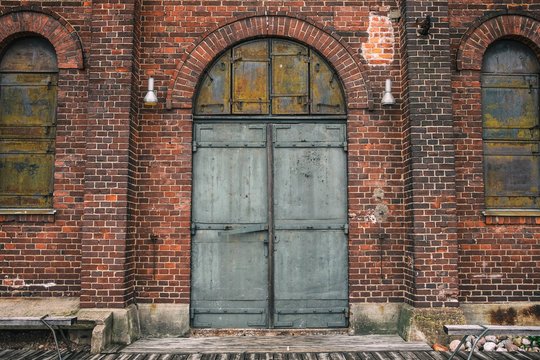
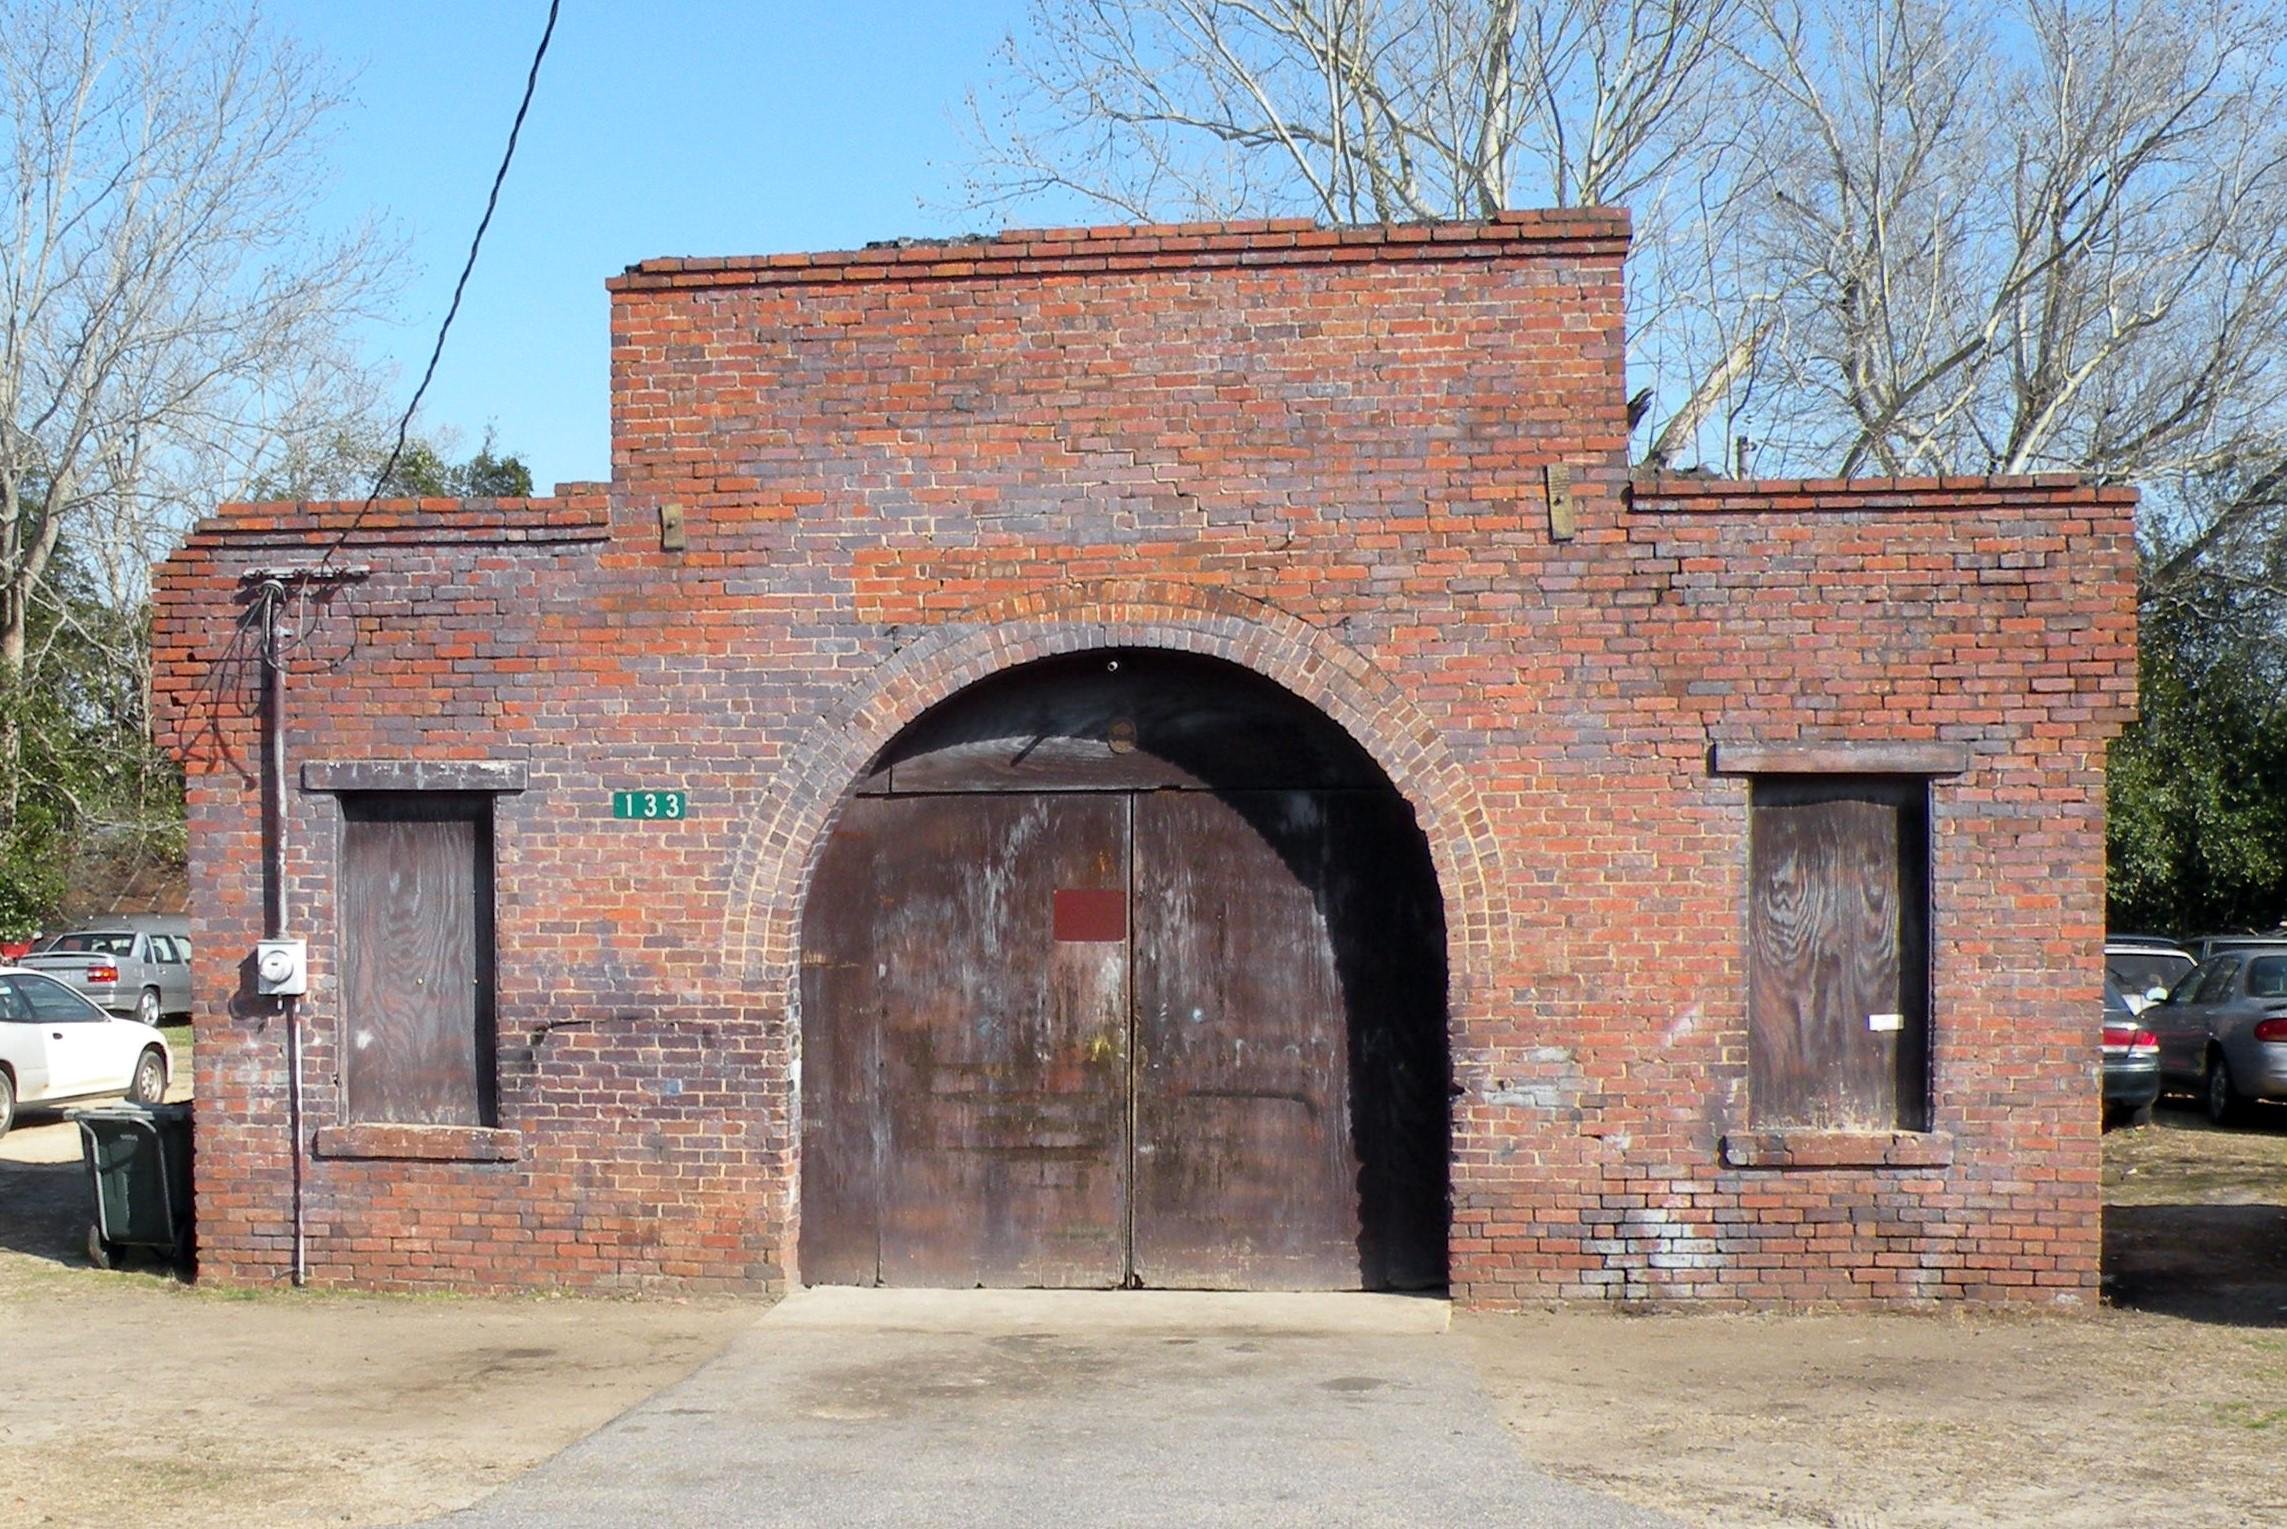

Those are great reference photos for old masonry. Use diluted white glue, much easier to control. It will sink into the sand, and once cured will be invisible. But it must be diluted, IIRC, about 50%. You can also add a drop or two of Ivory™ dish soap to help it wet the sand. (Old model railroading trick.)I can seal it with super glue, but not sure yet. Everybody out of the room... ha ha!
Thanks for the idea.Those are great reference photos for old masonry. Use diluted white glue, much easier to control. It will sink into the sand, and once cured will be invisible. But it must be diluted, IIRC, about 50%. You can also add a drop or two of Ivory™ dish soap to help it wet the sand. (Old model railroading trick.)
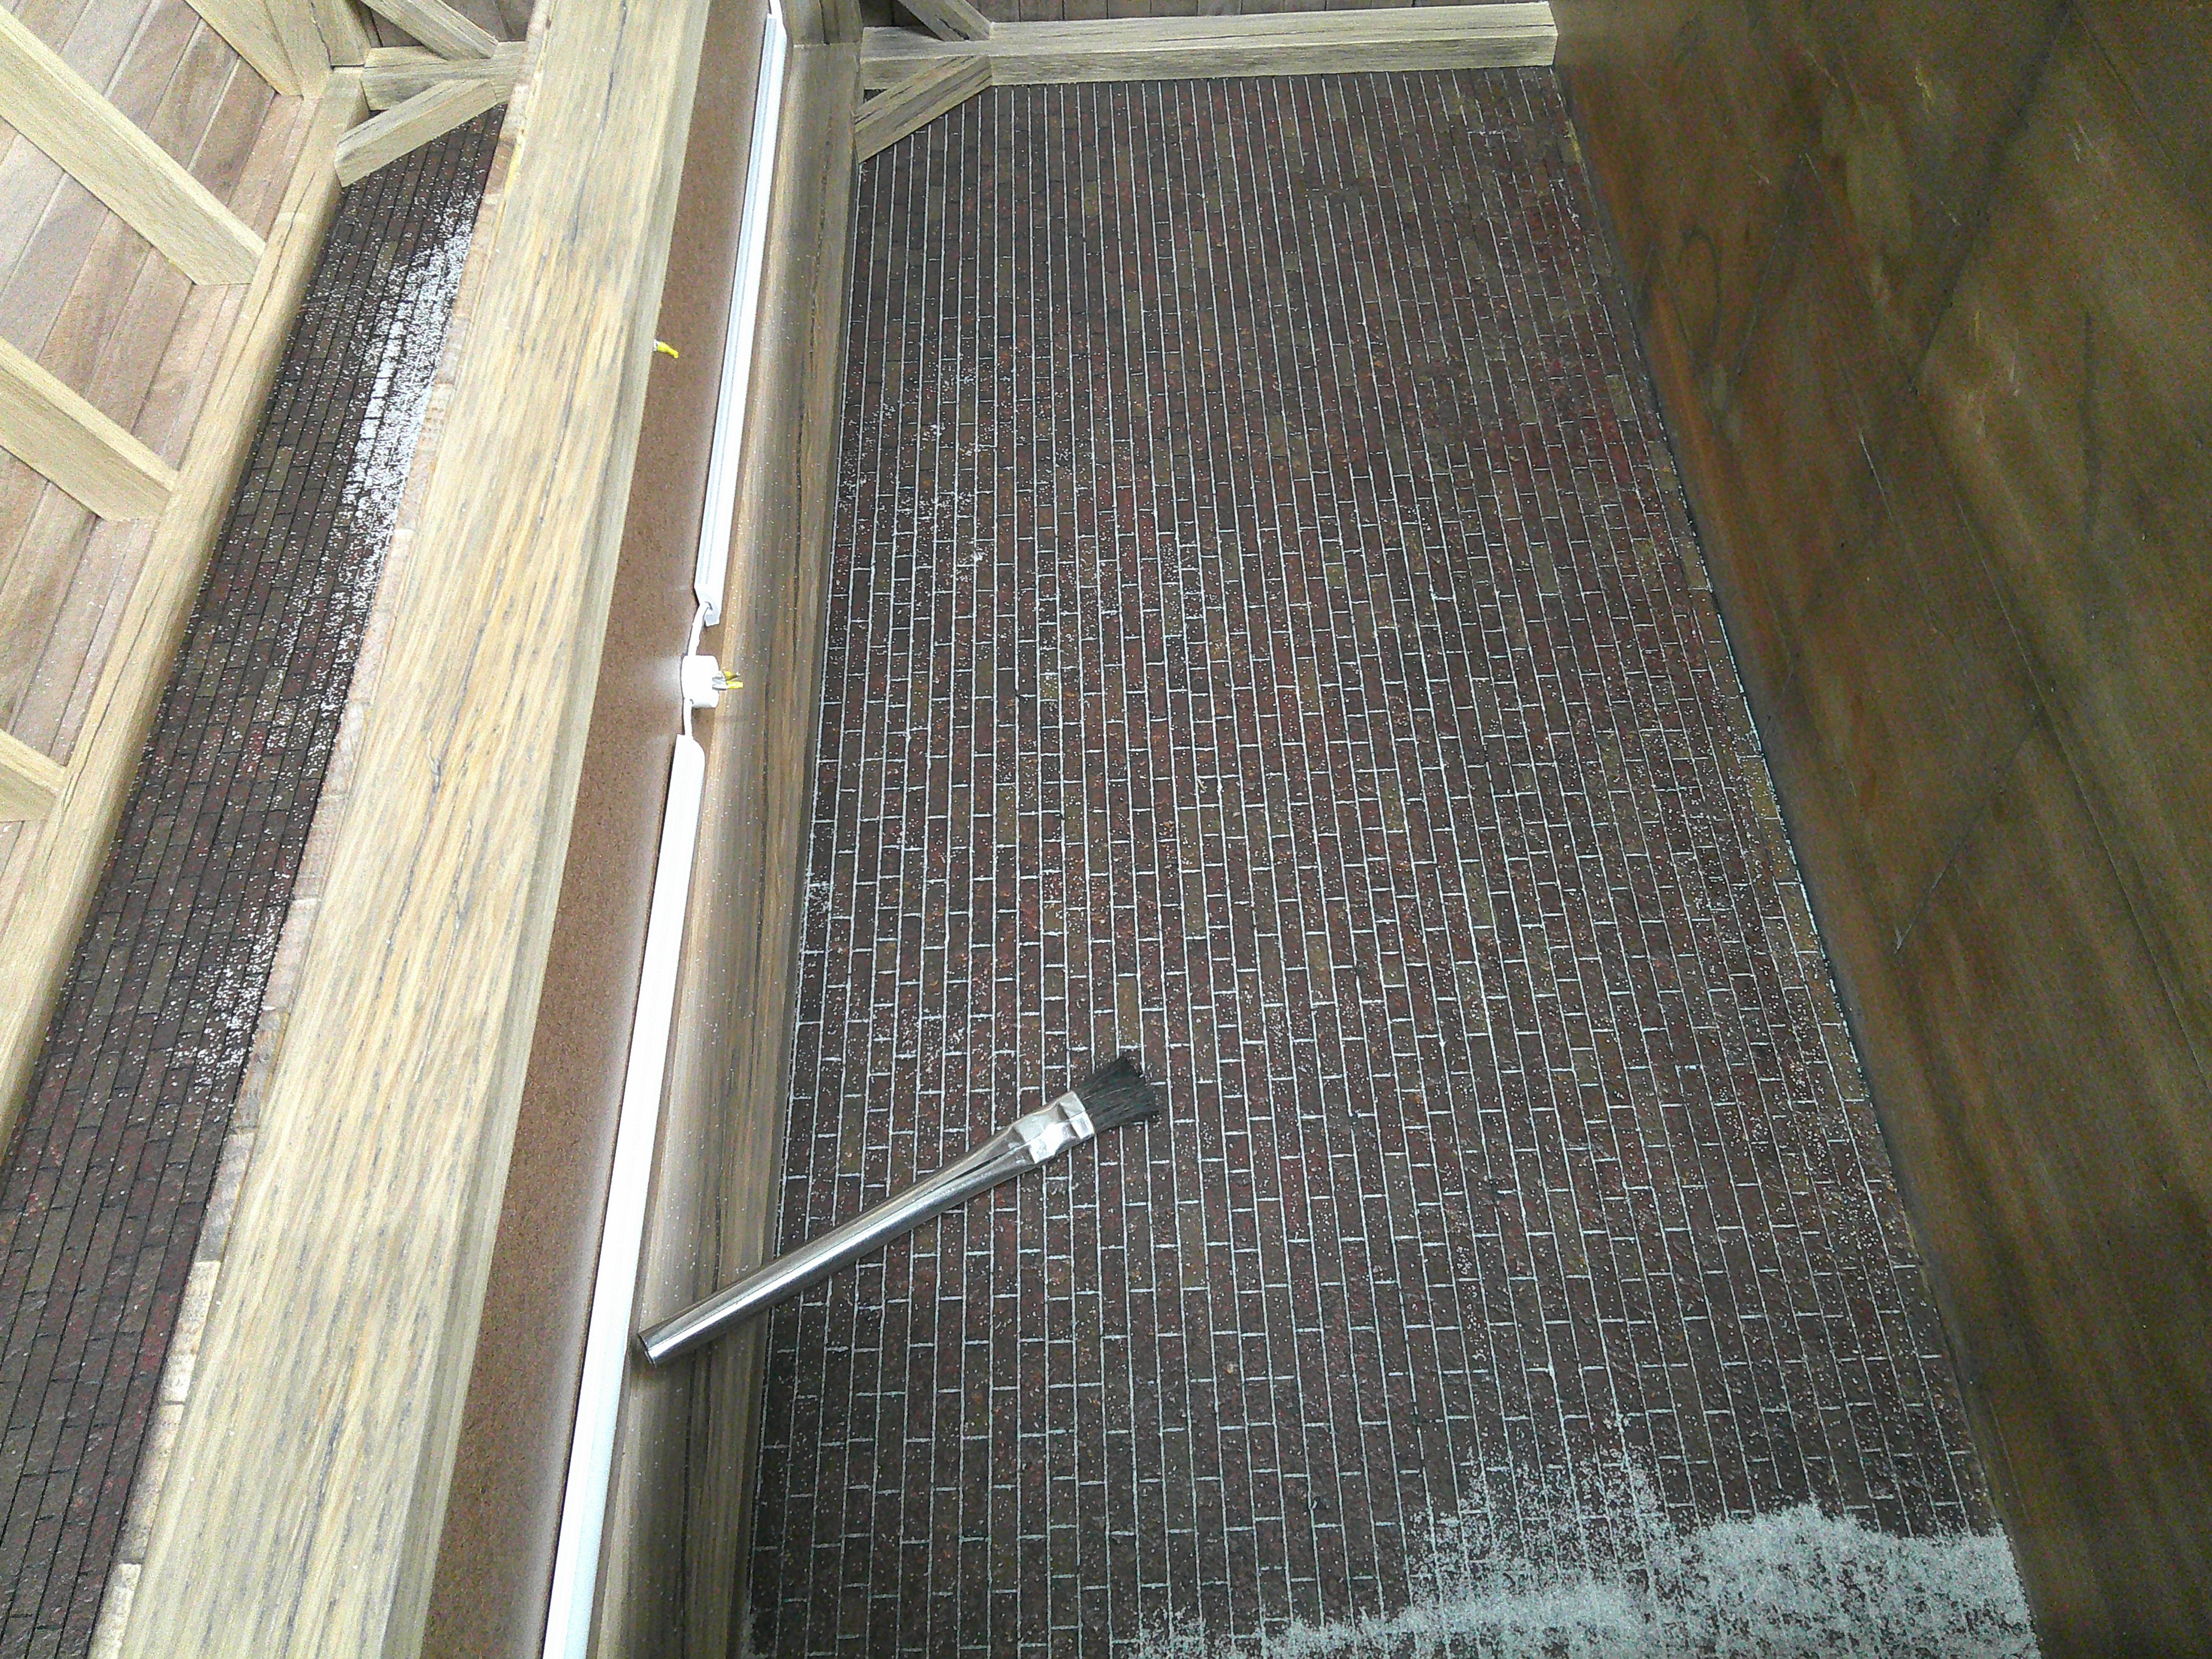
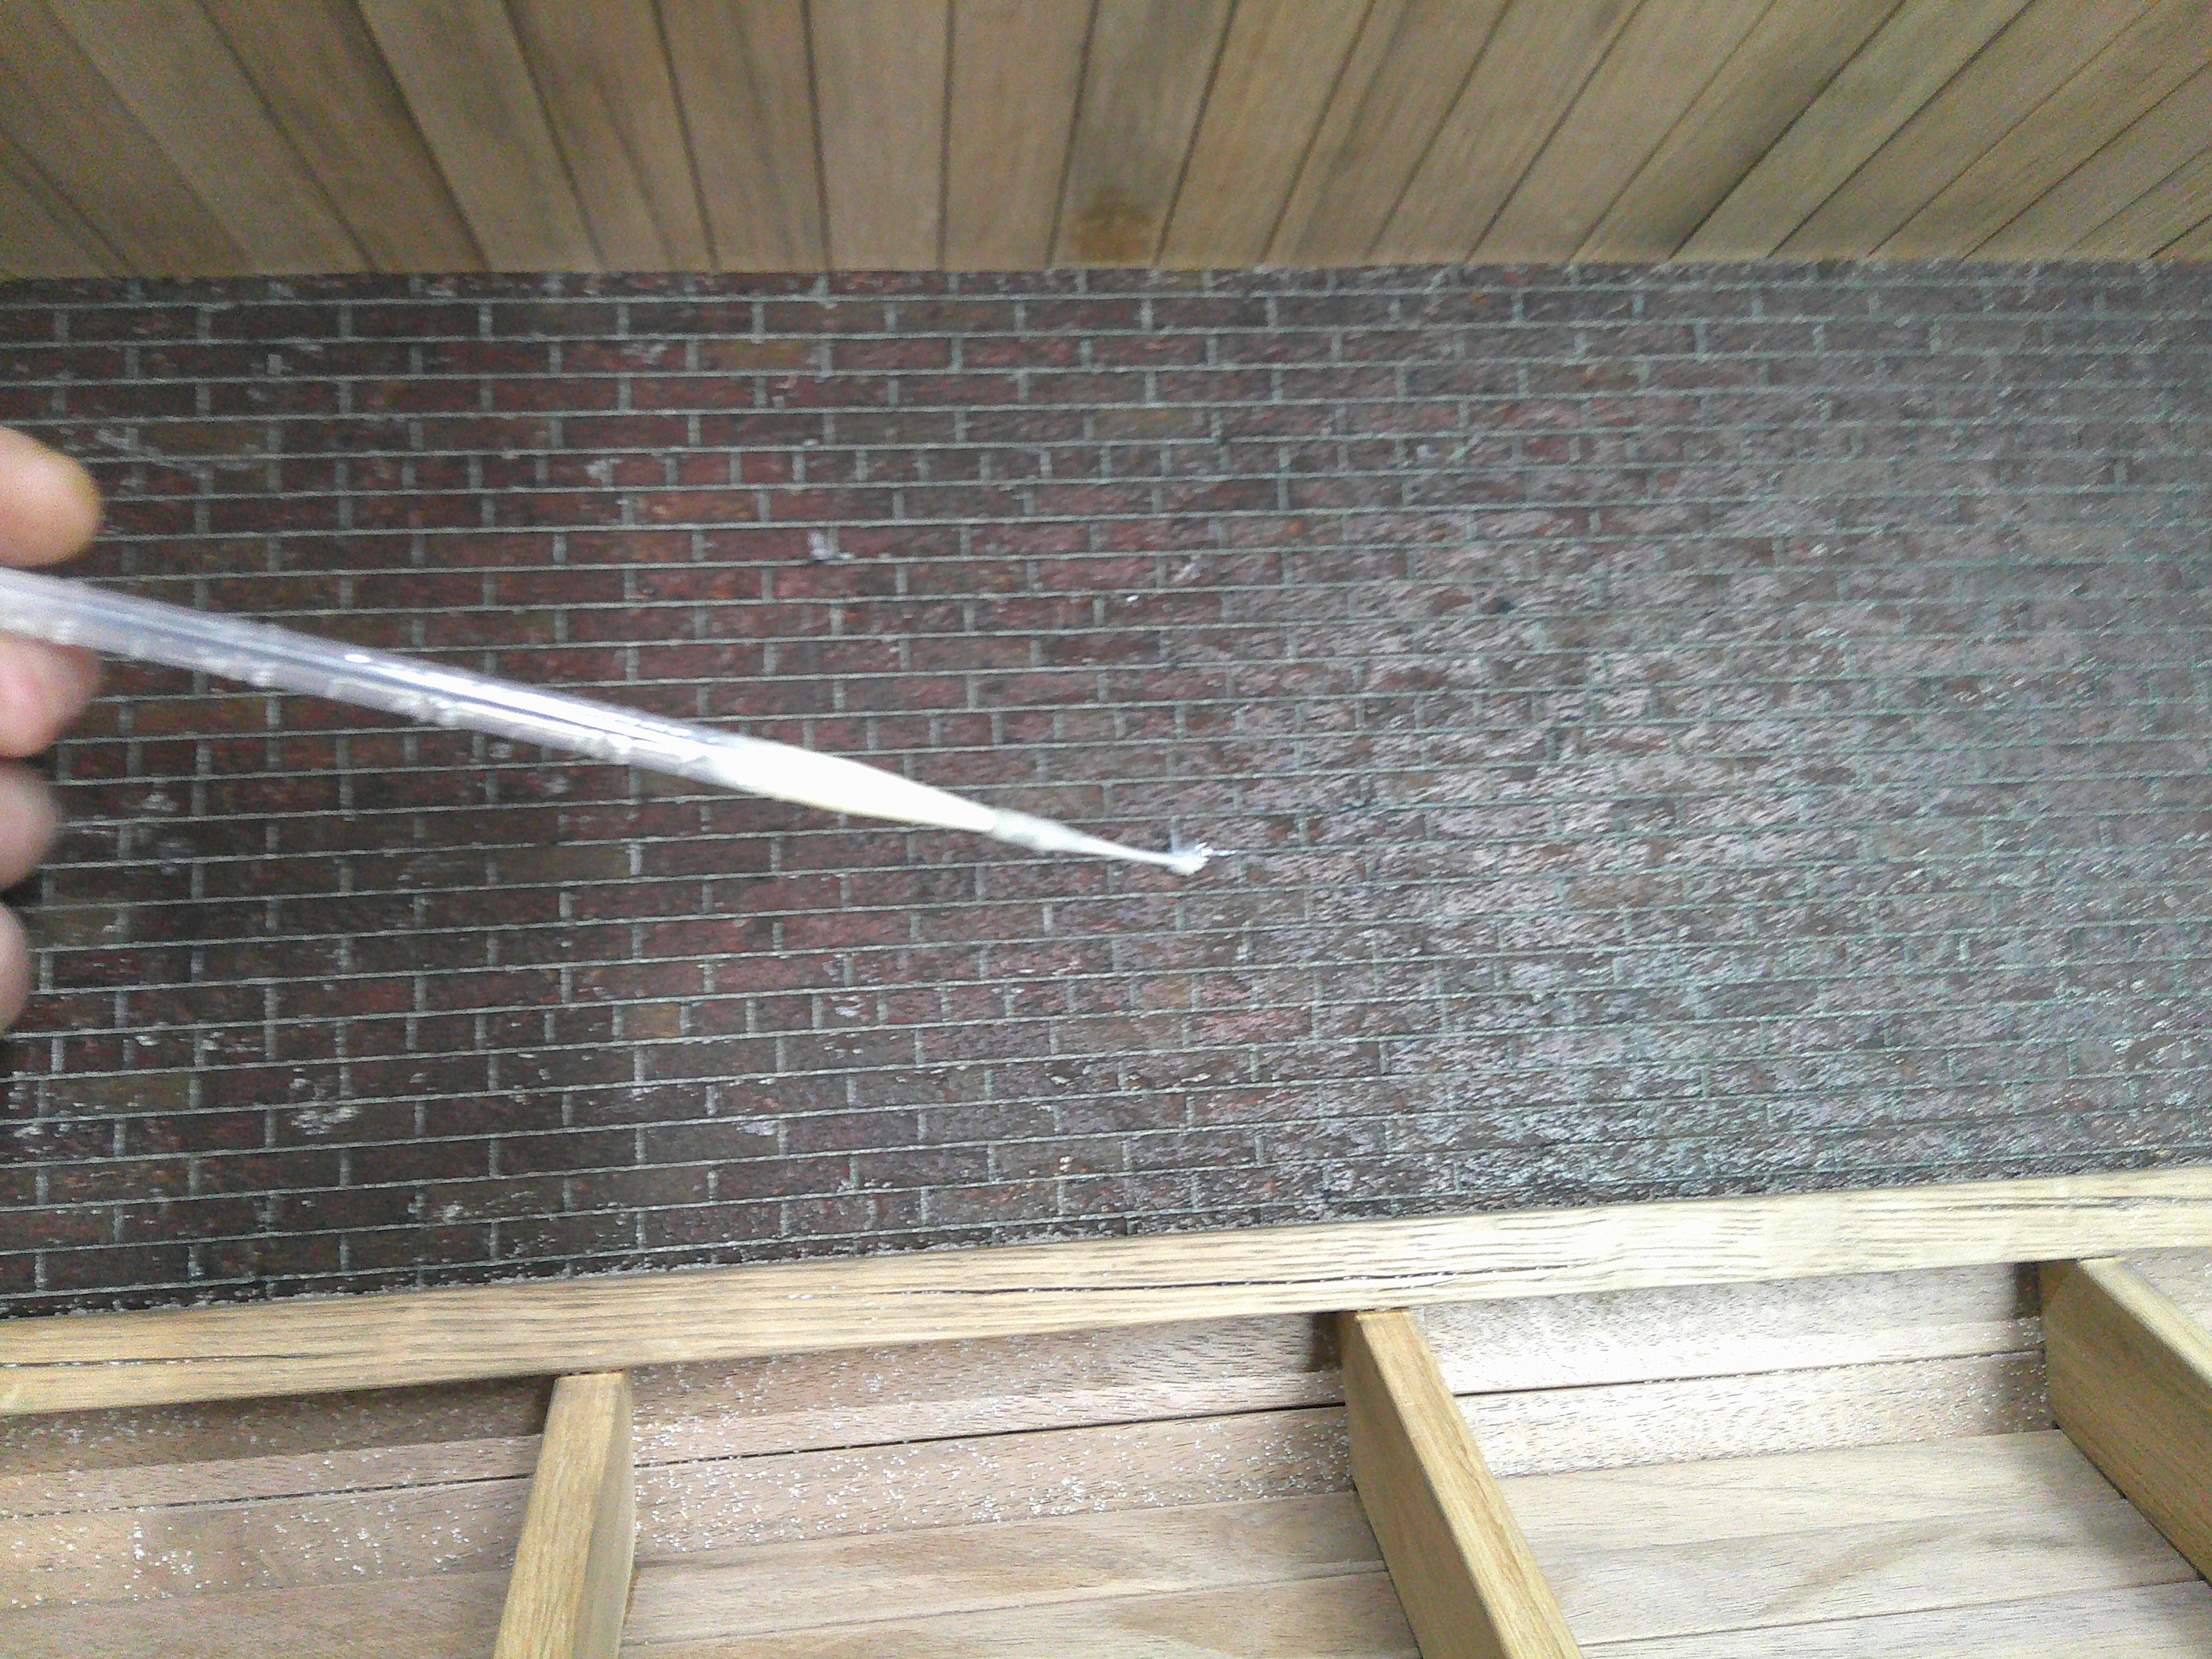
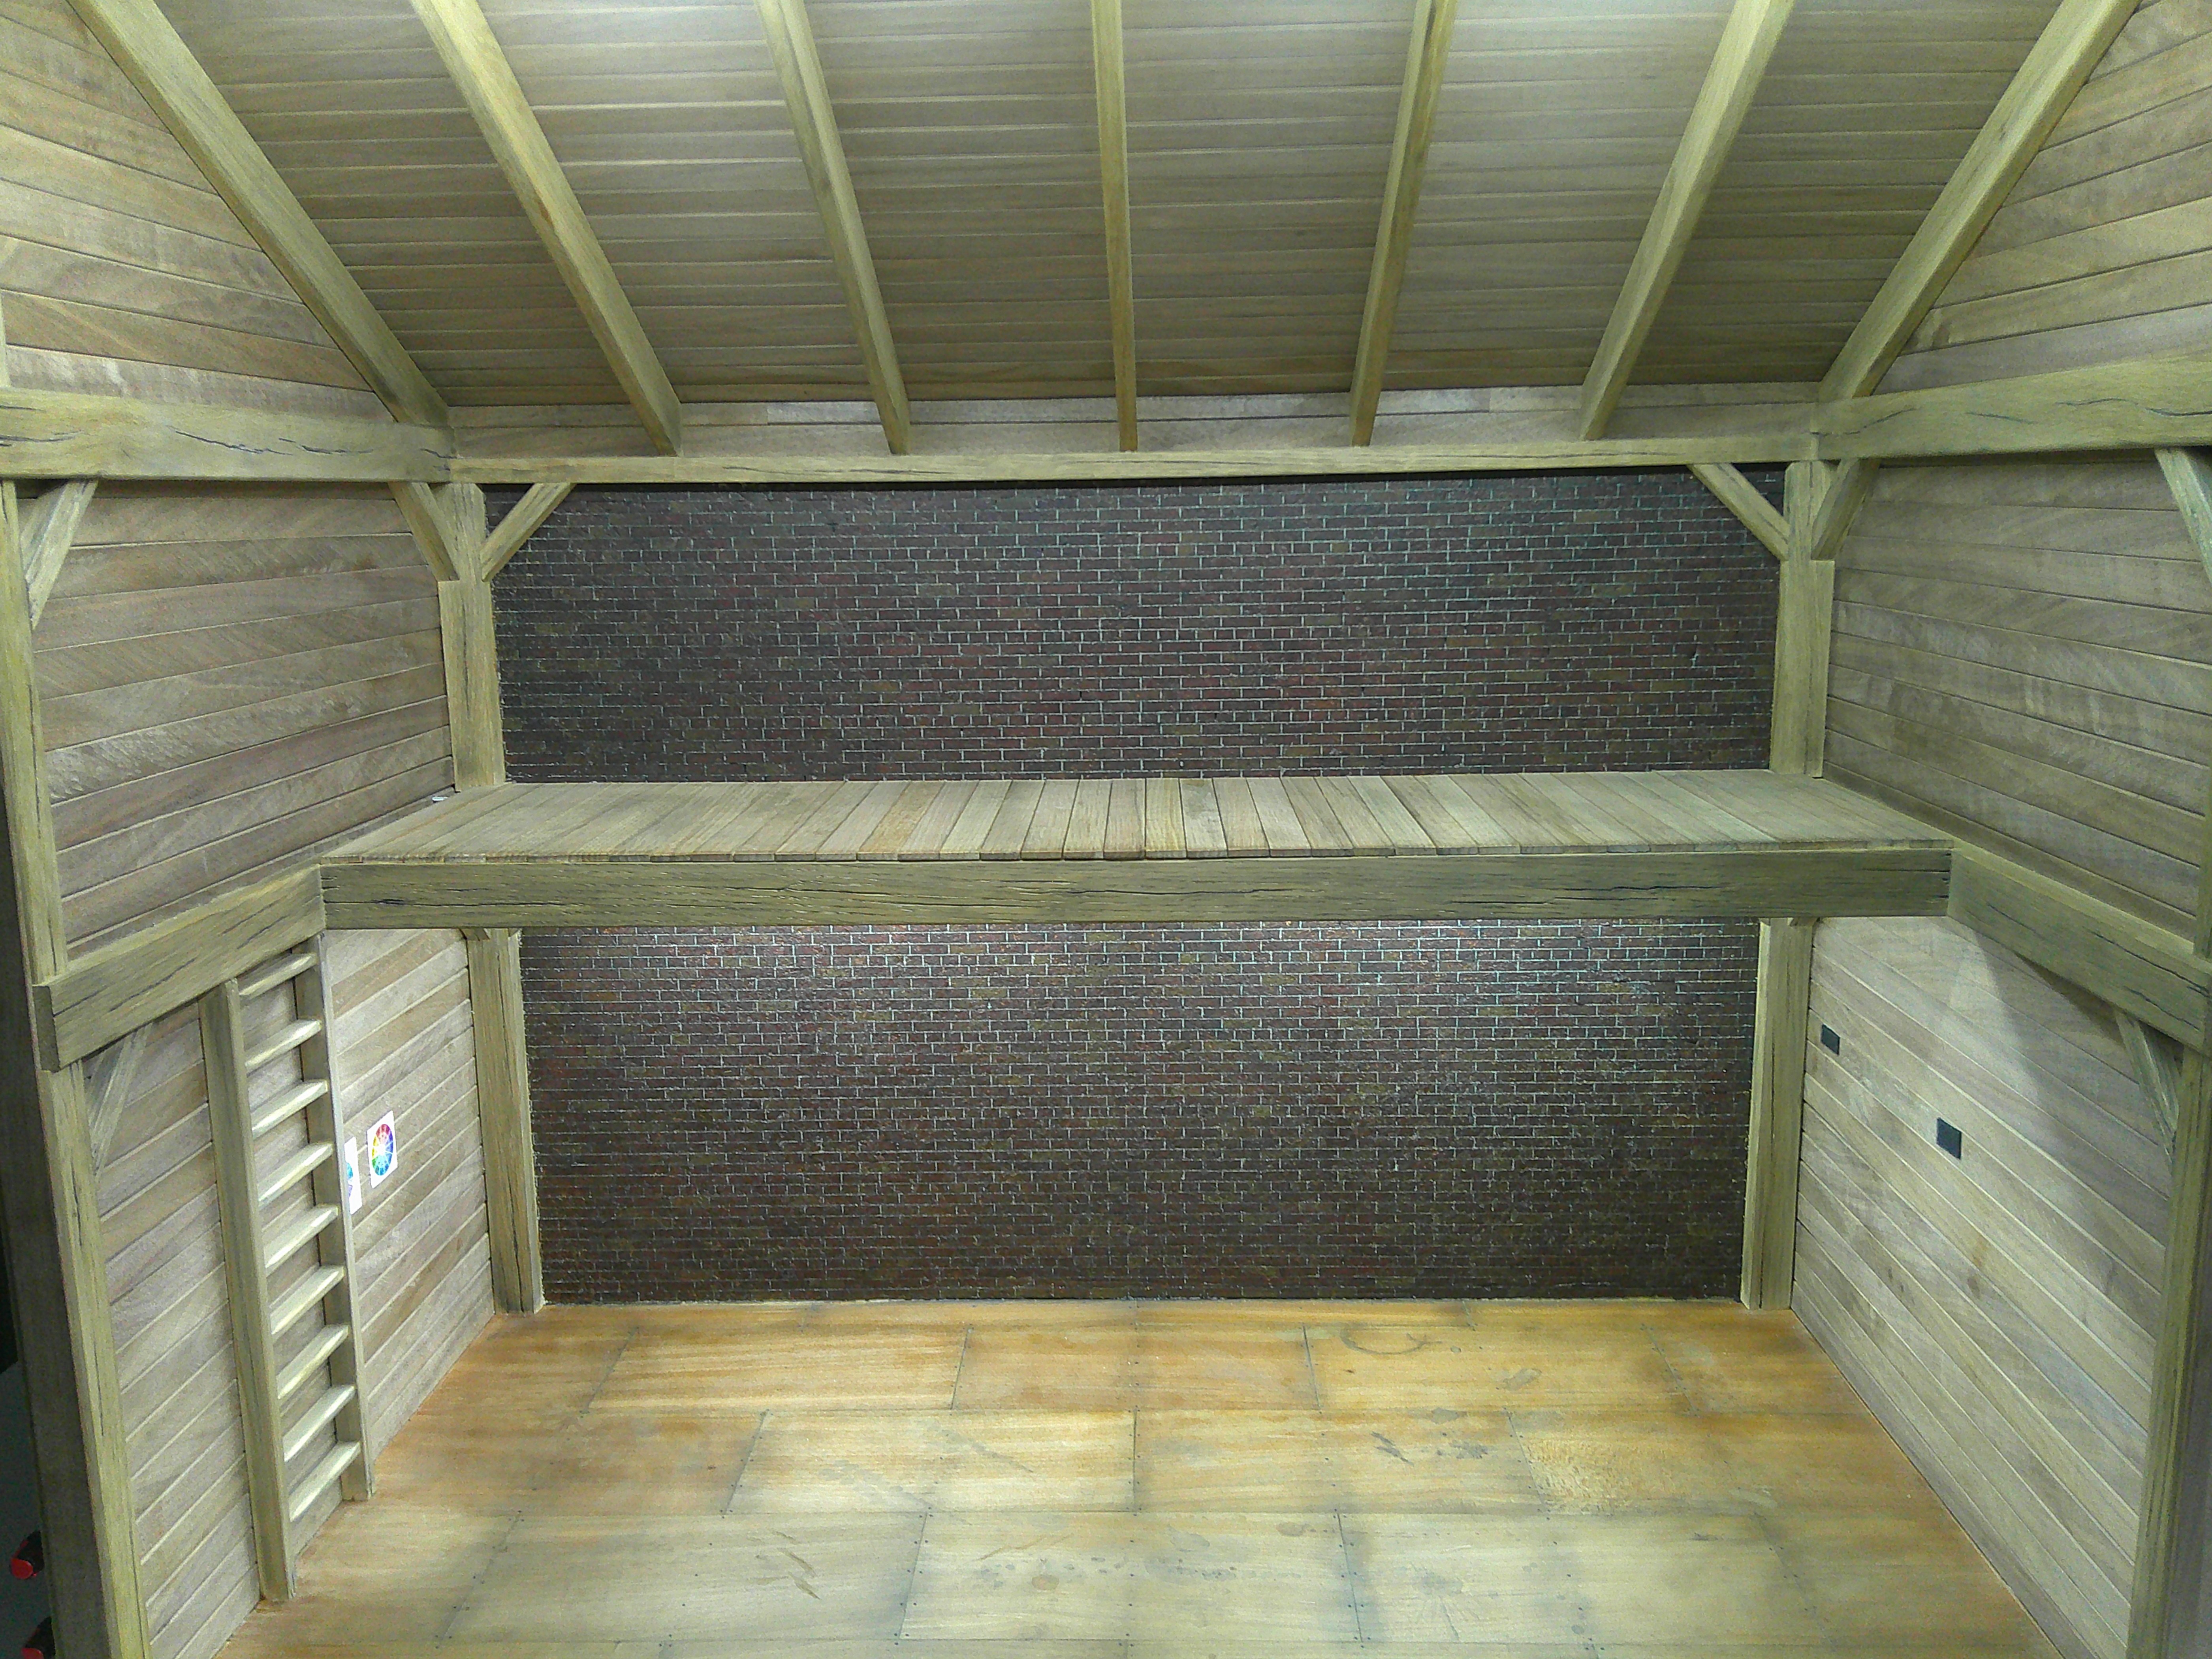
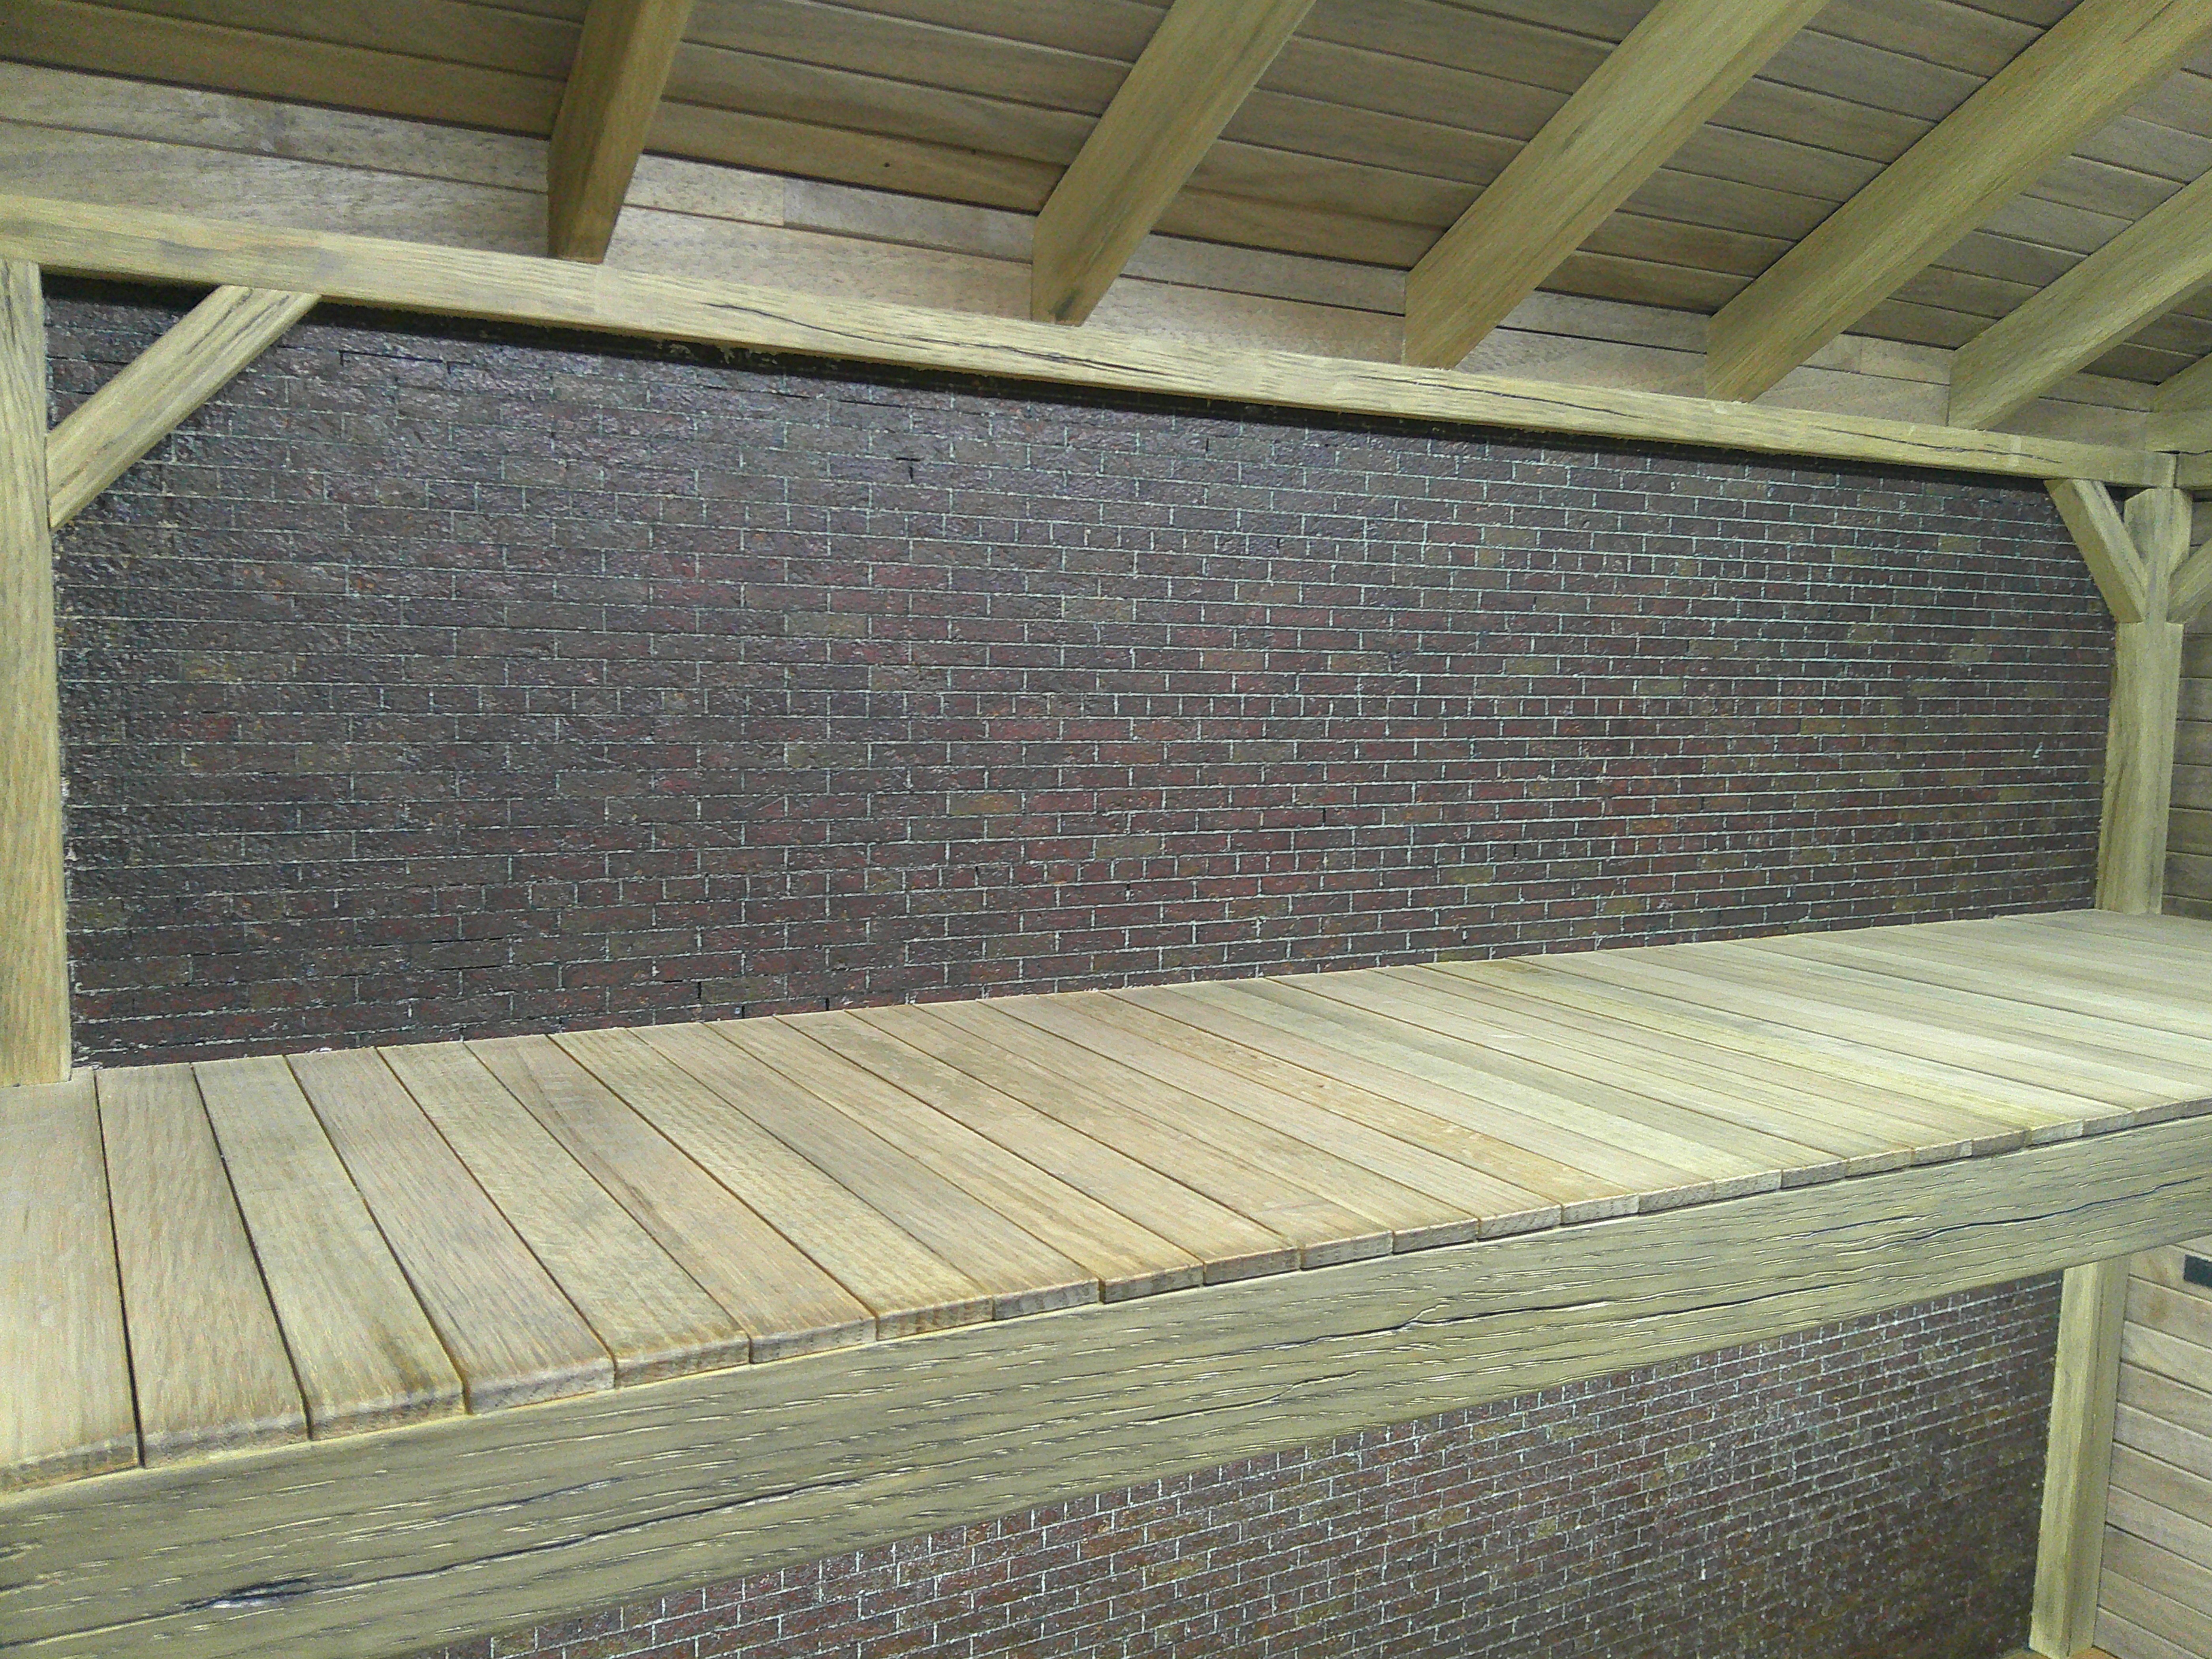
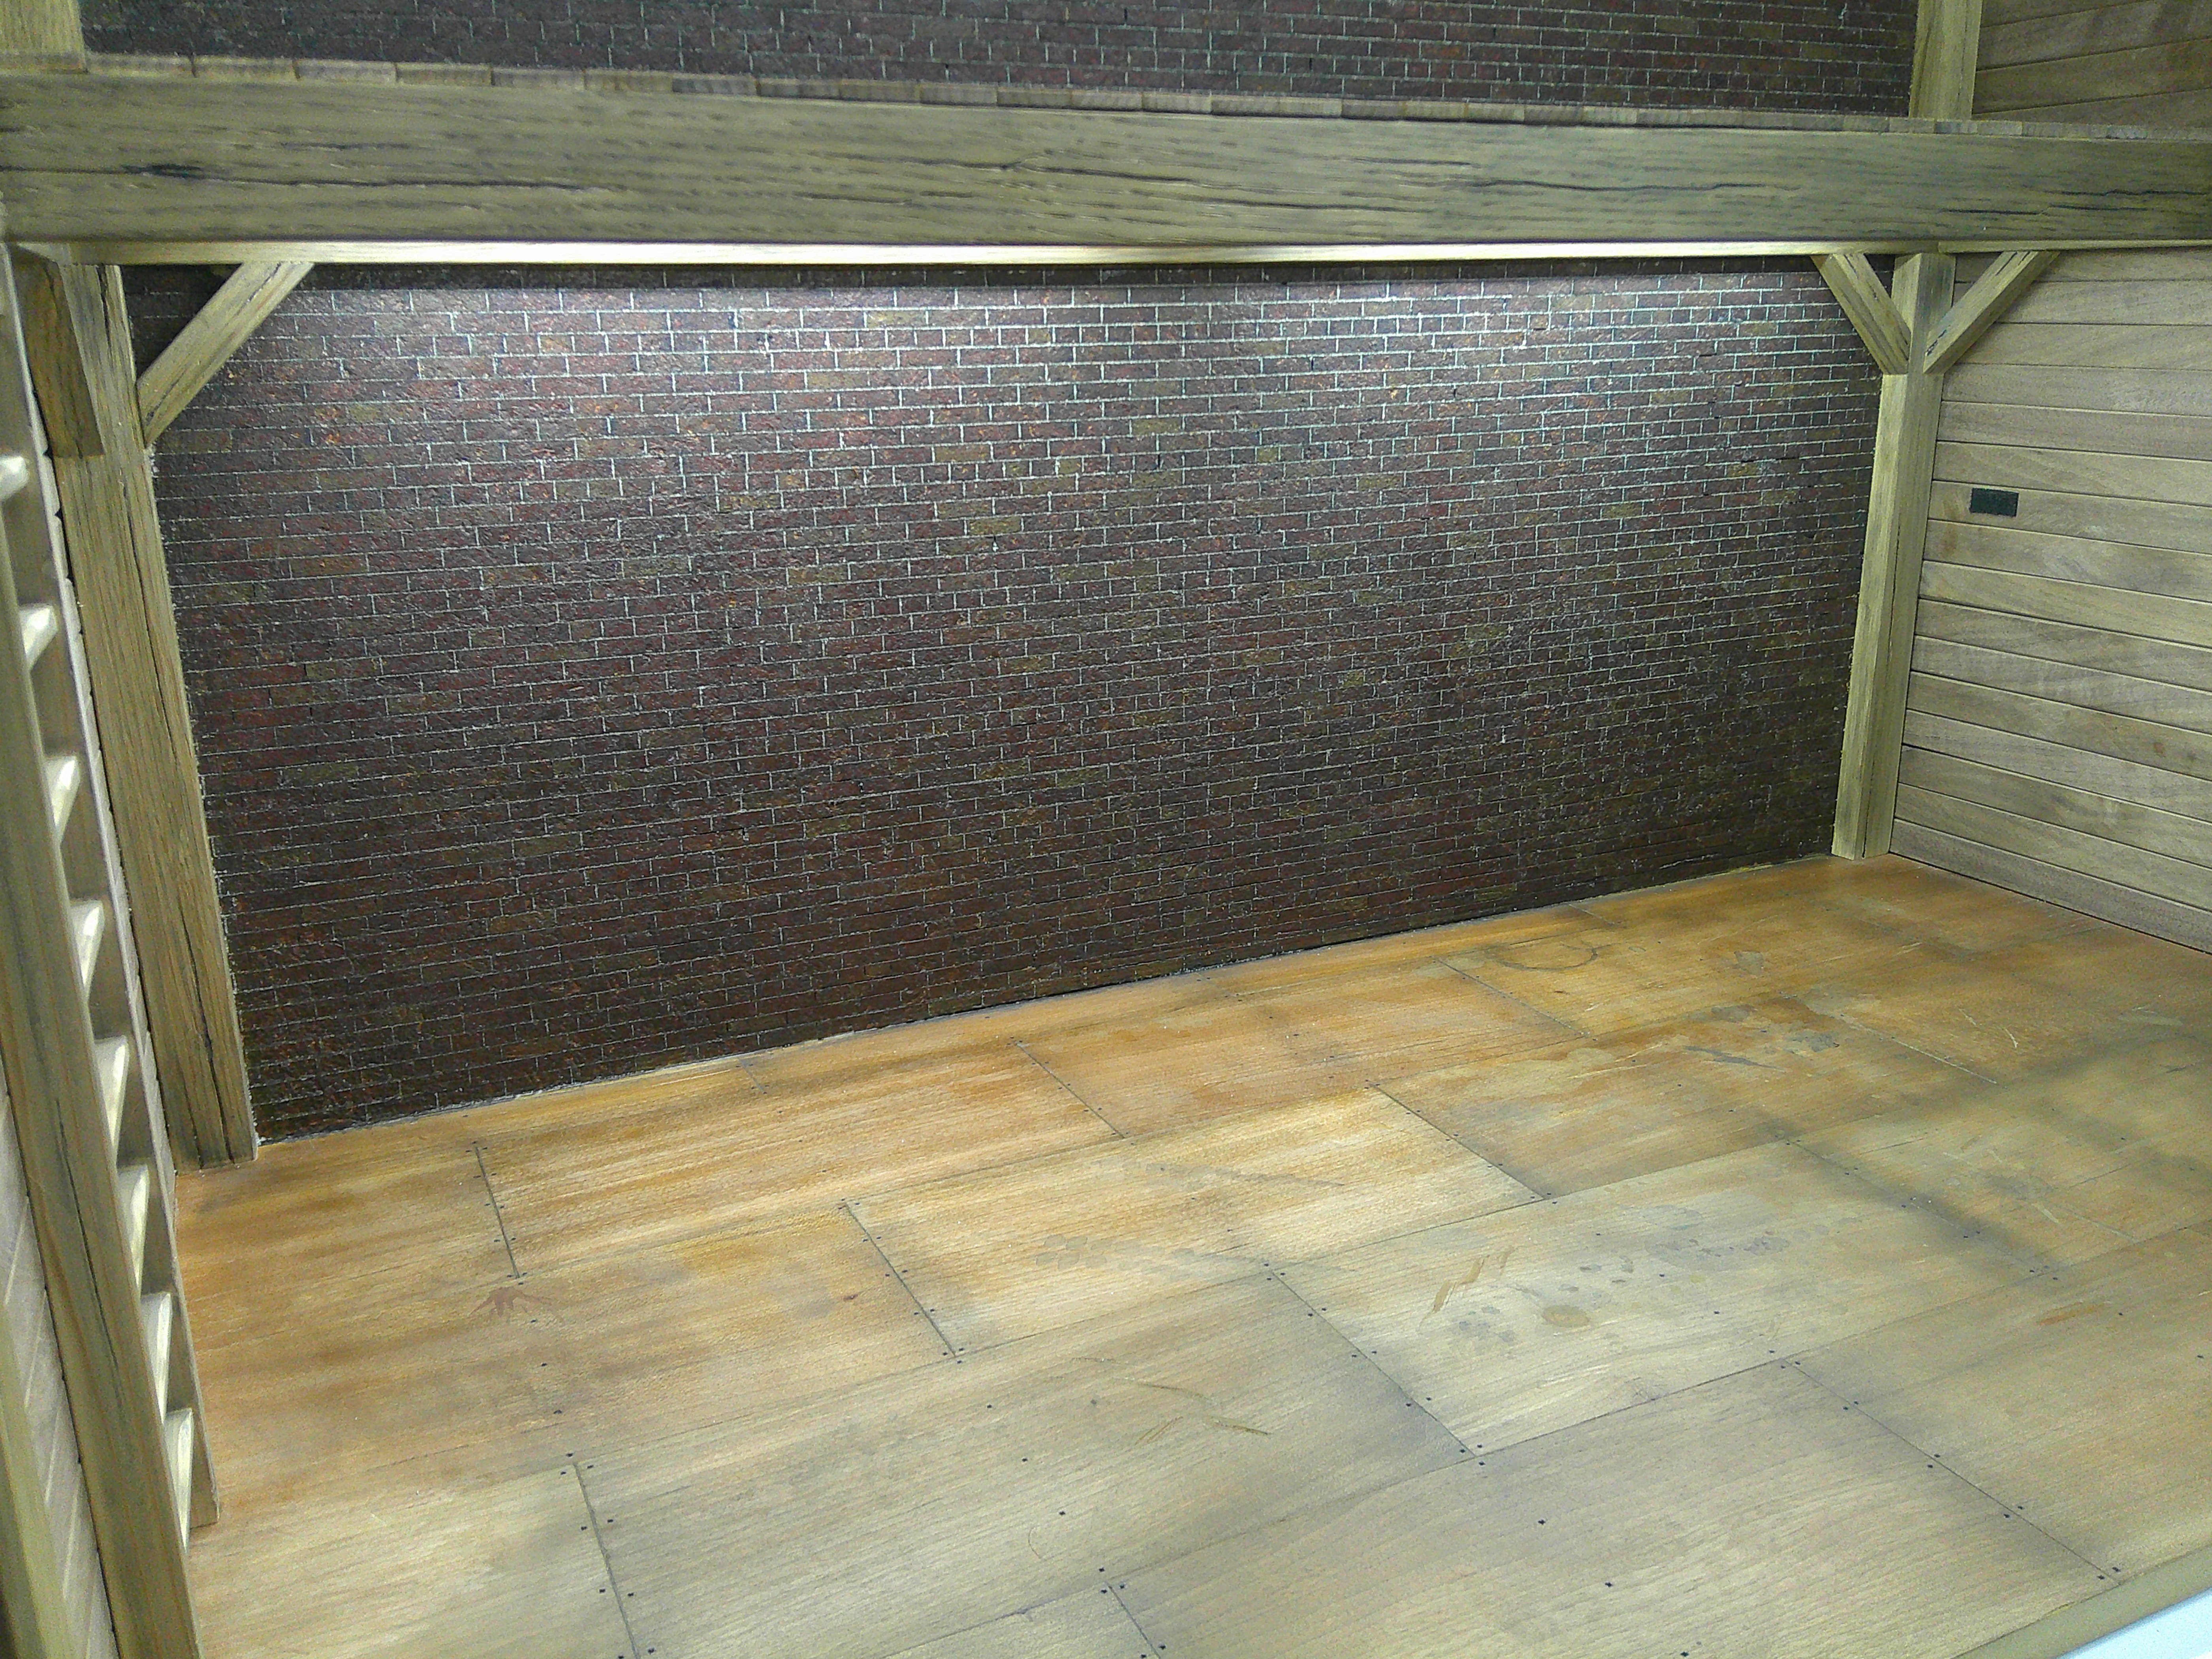 Anyway thanks again!
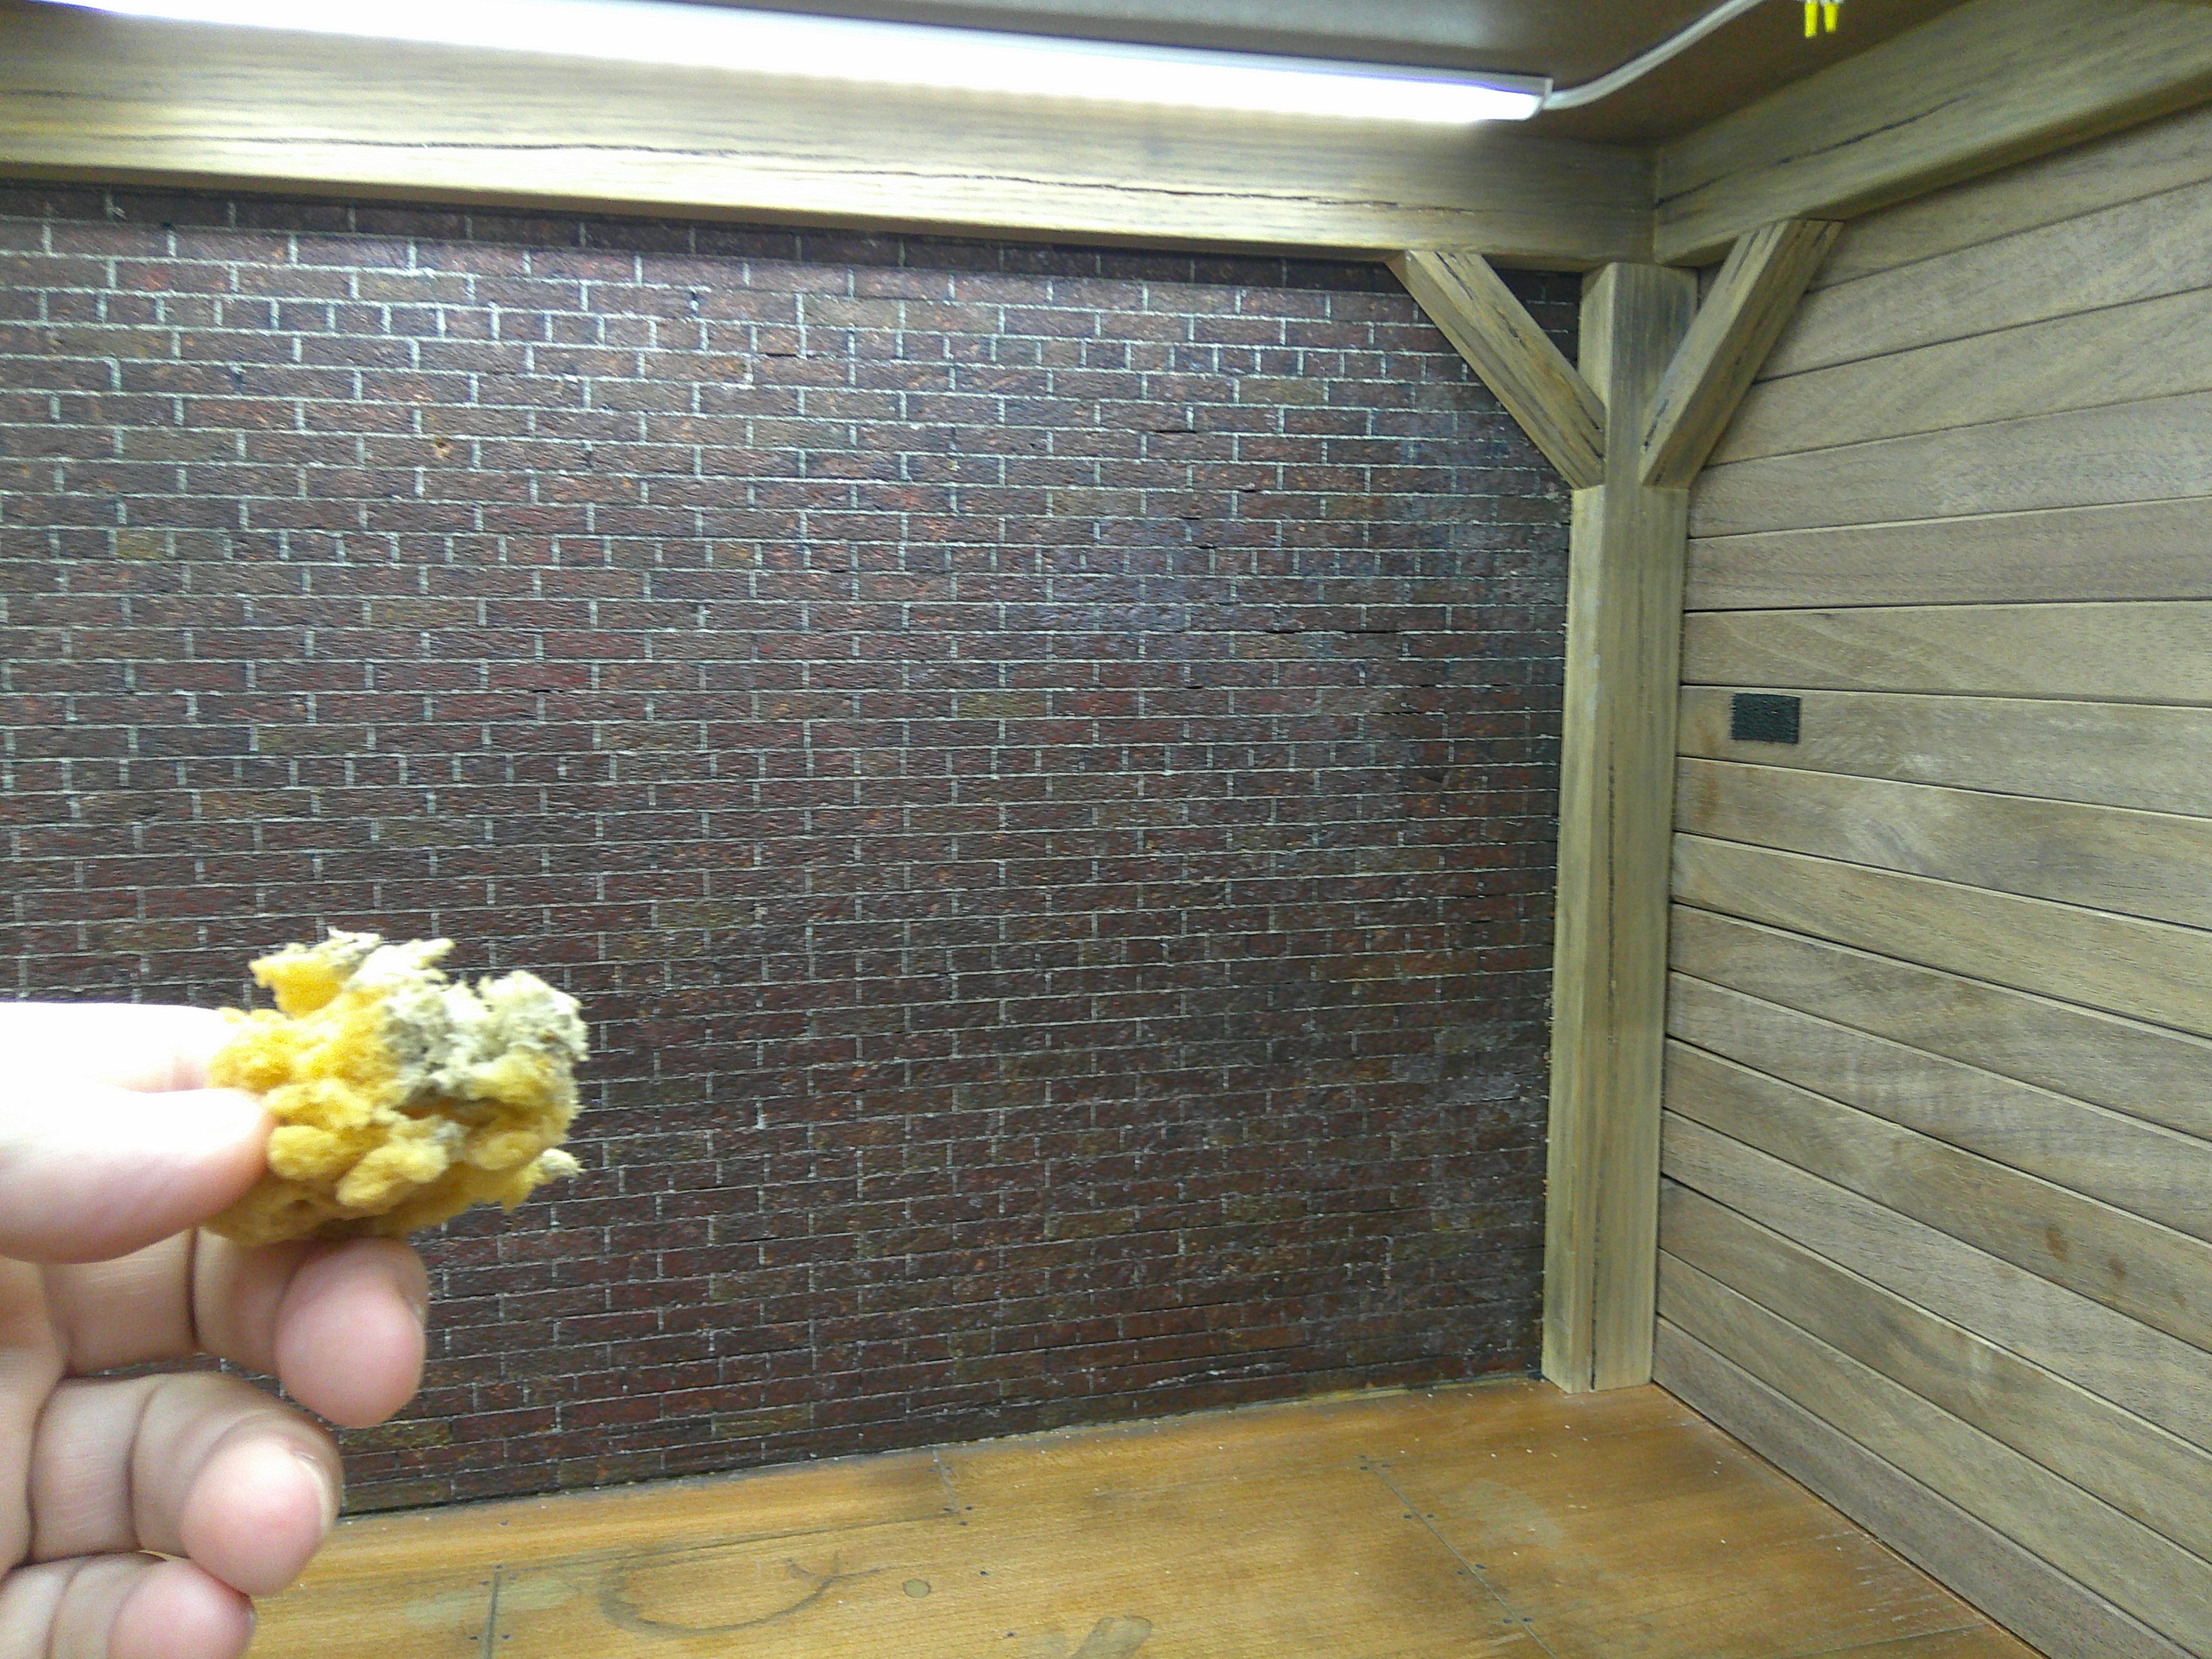
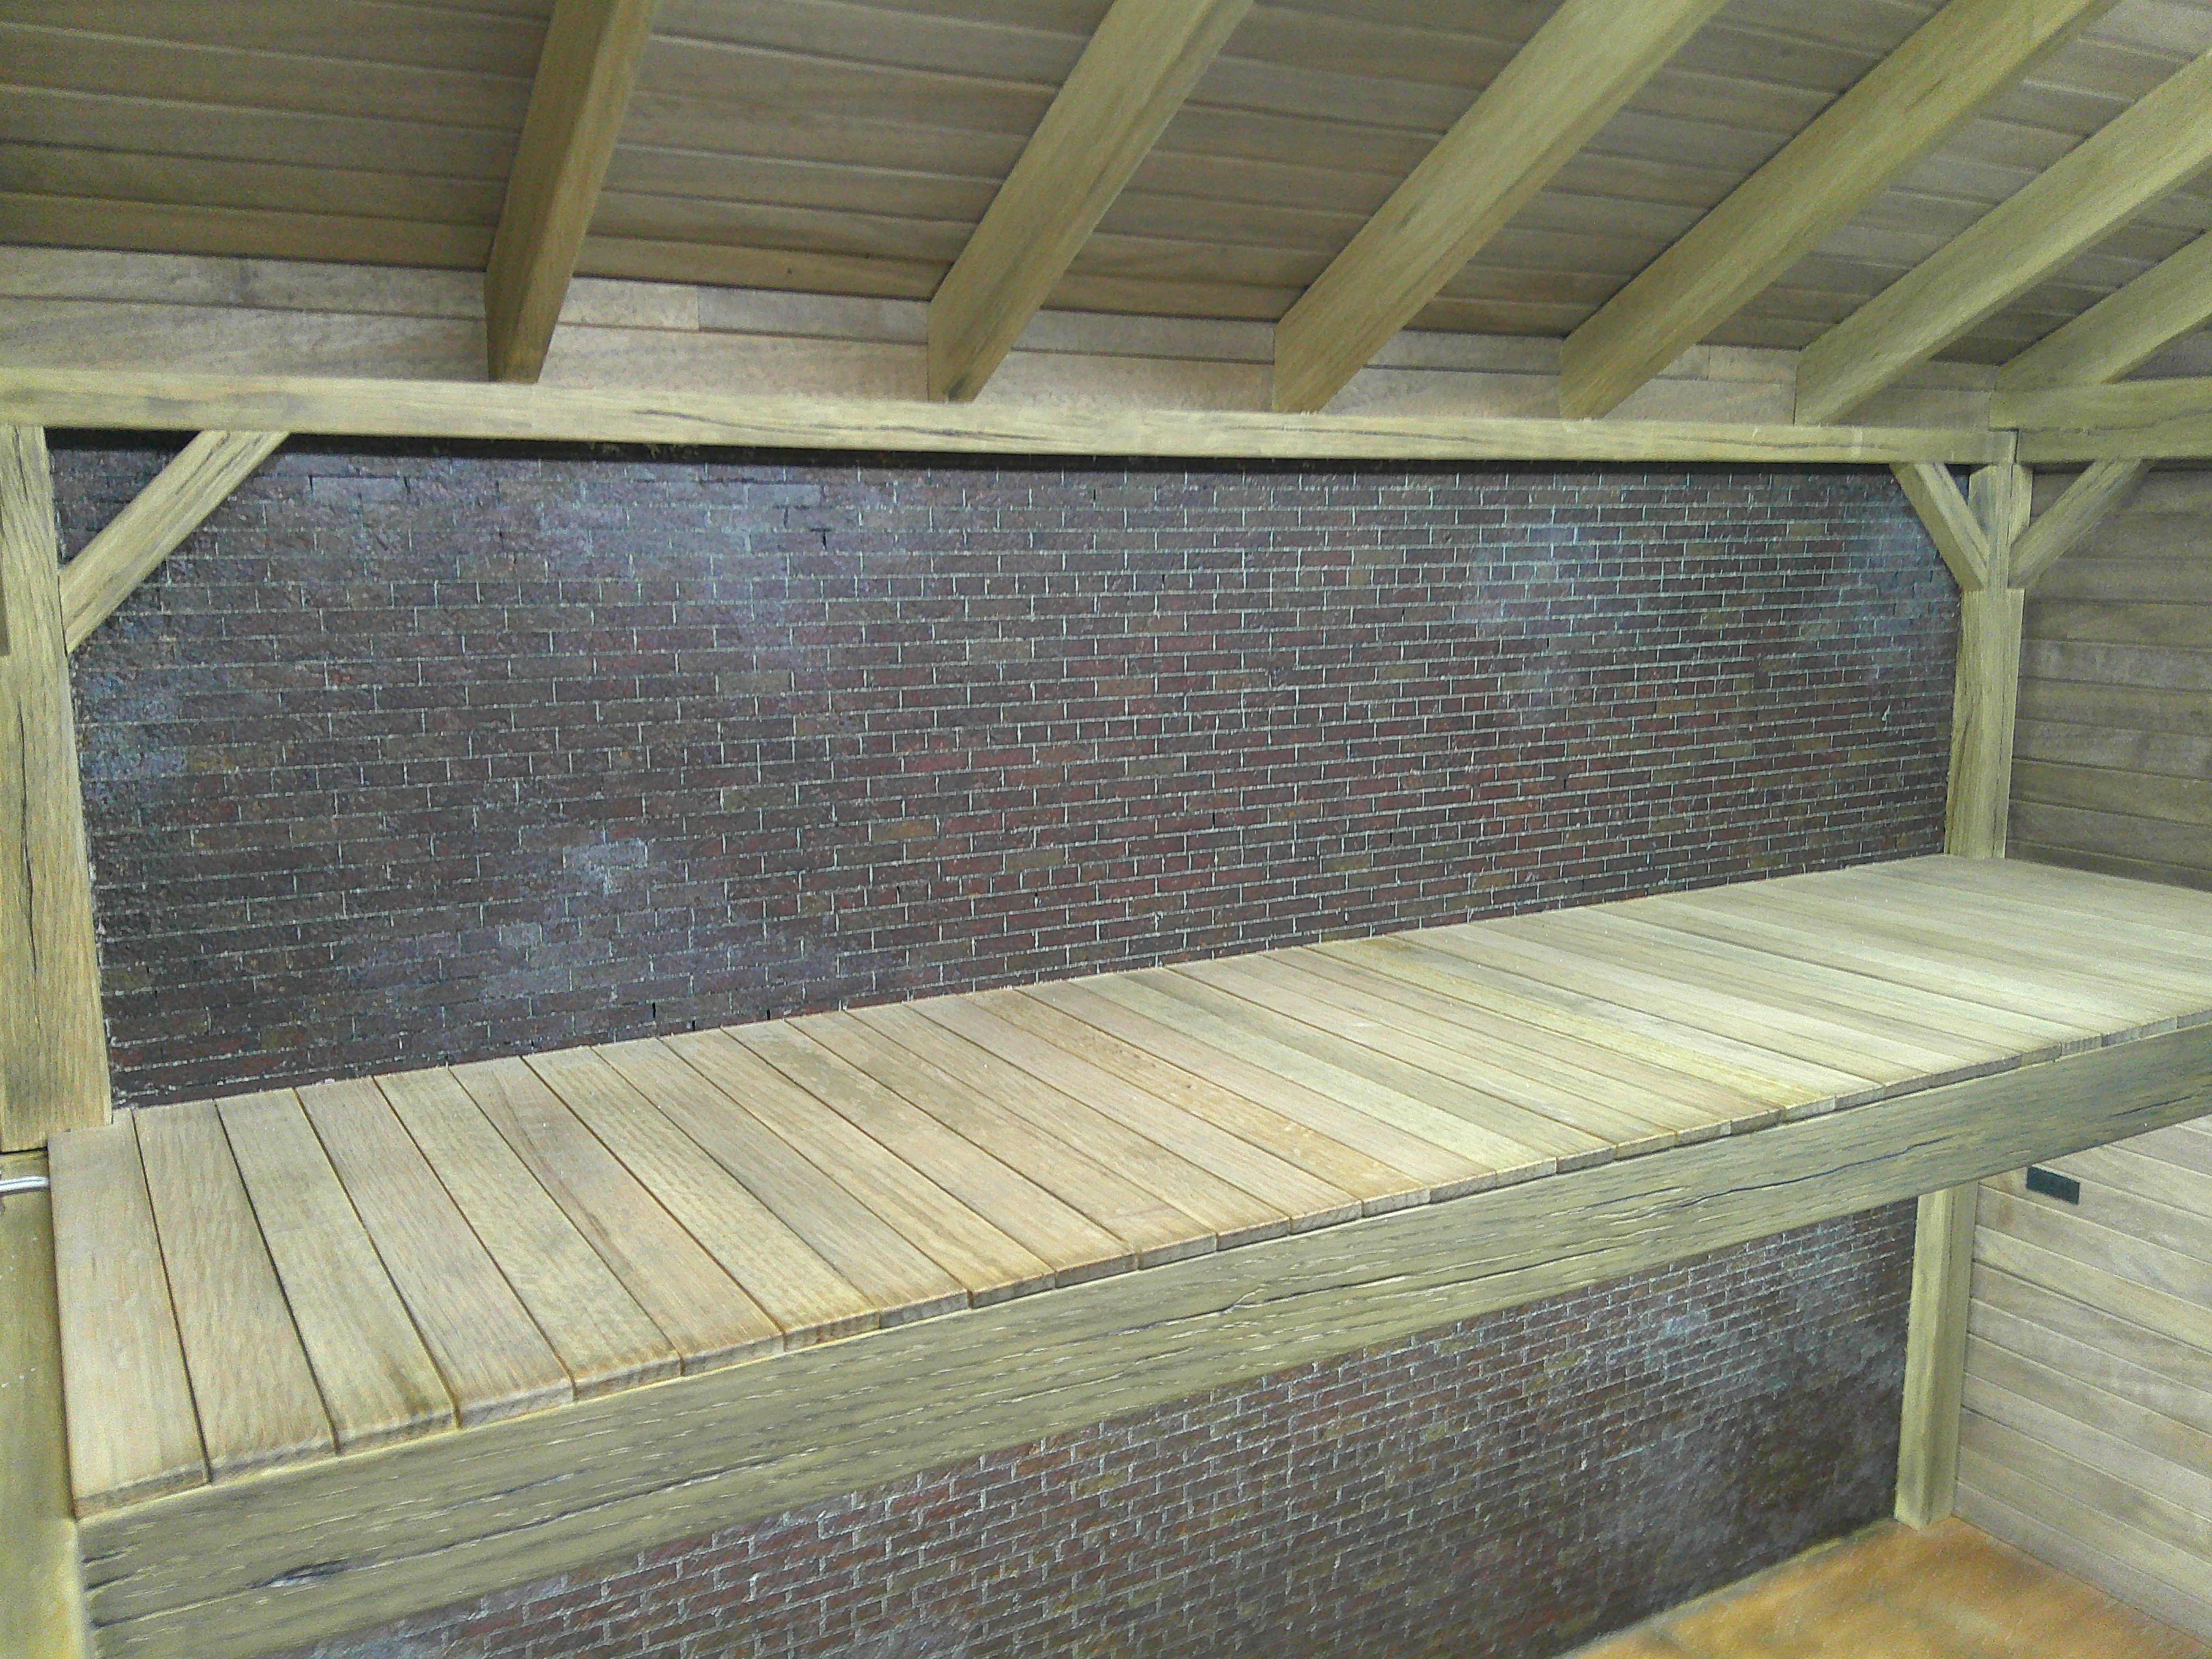
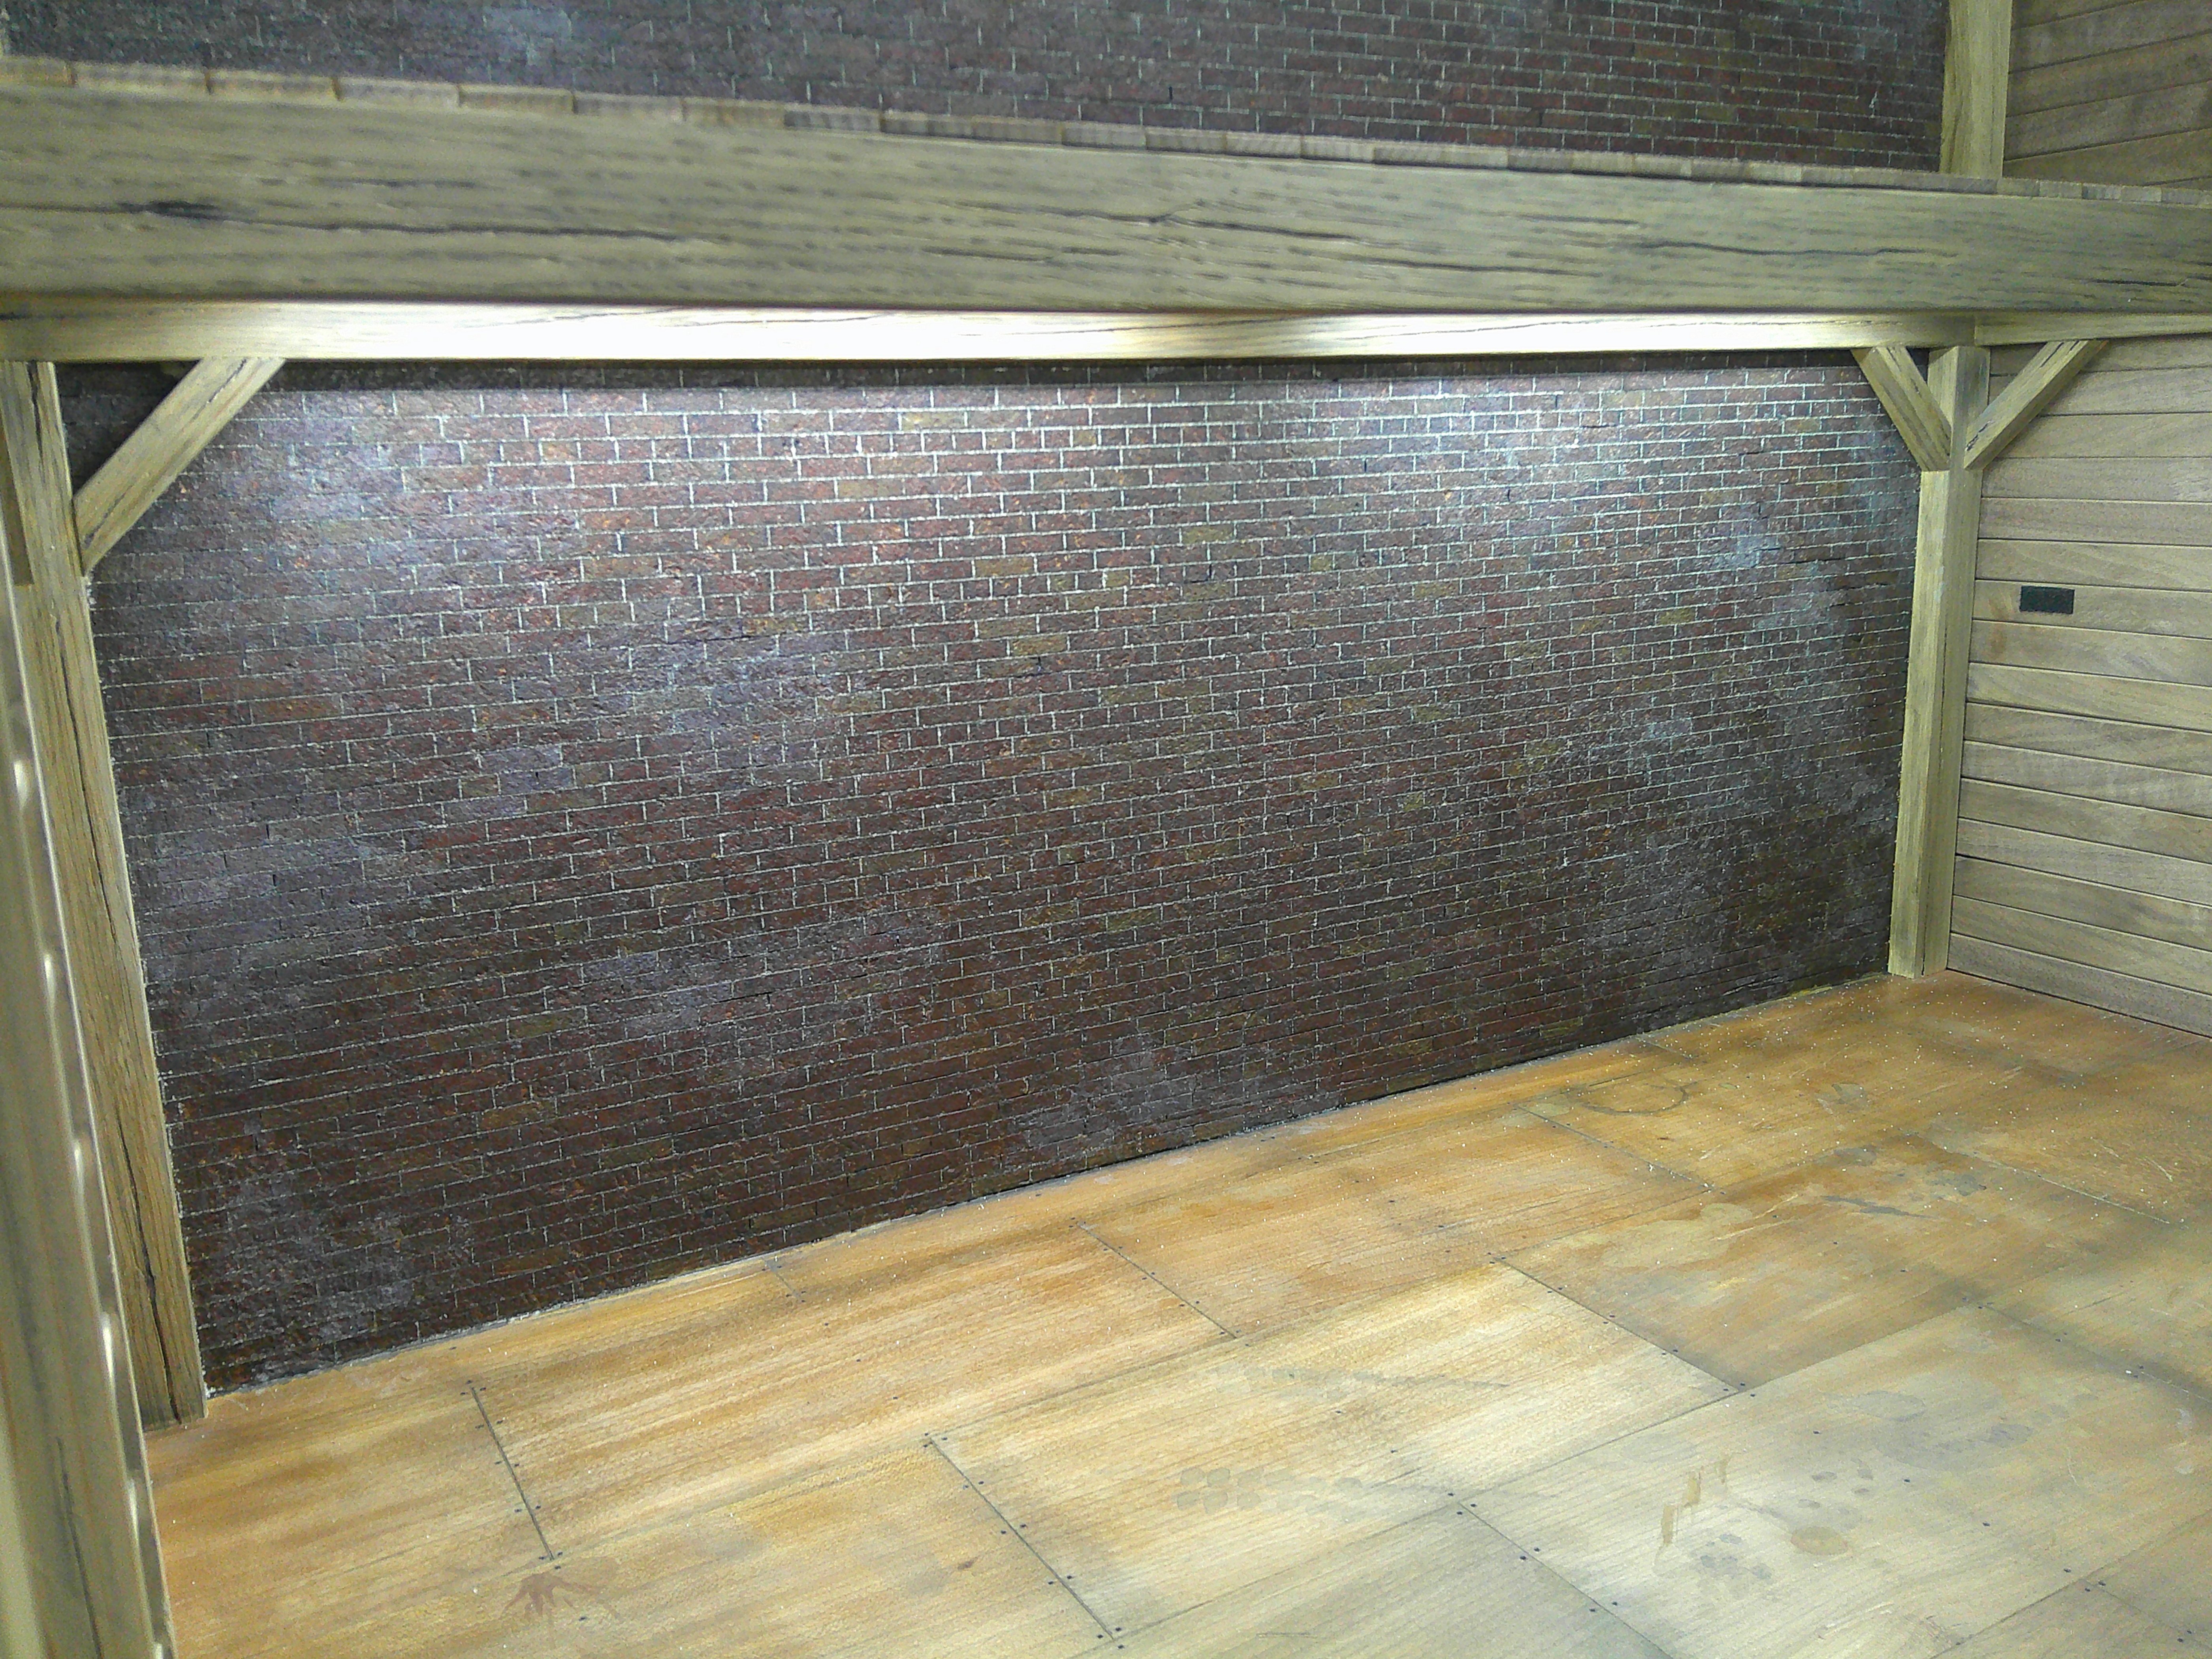
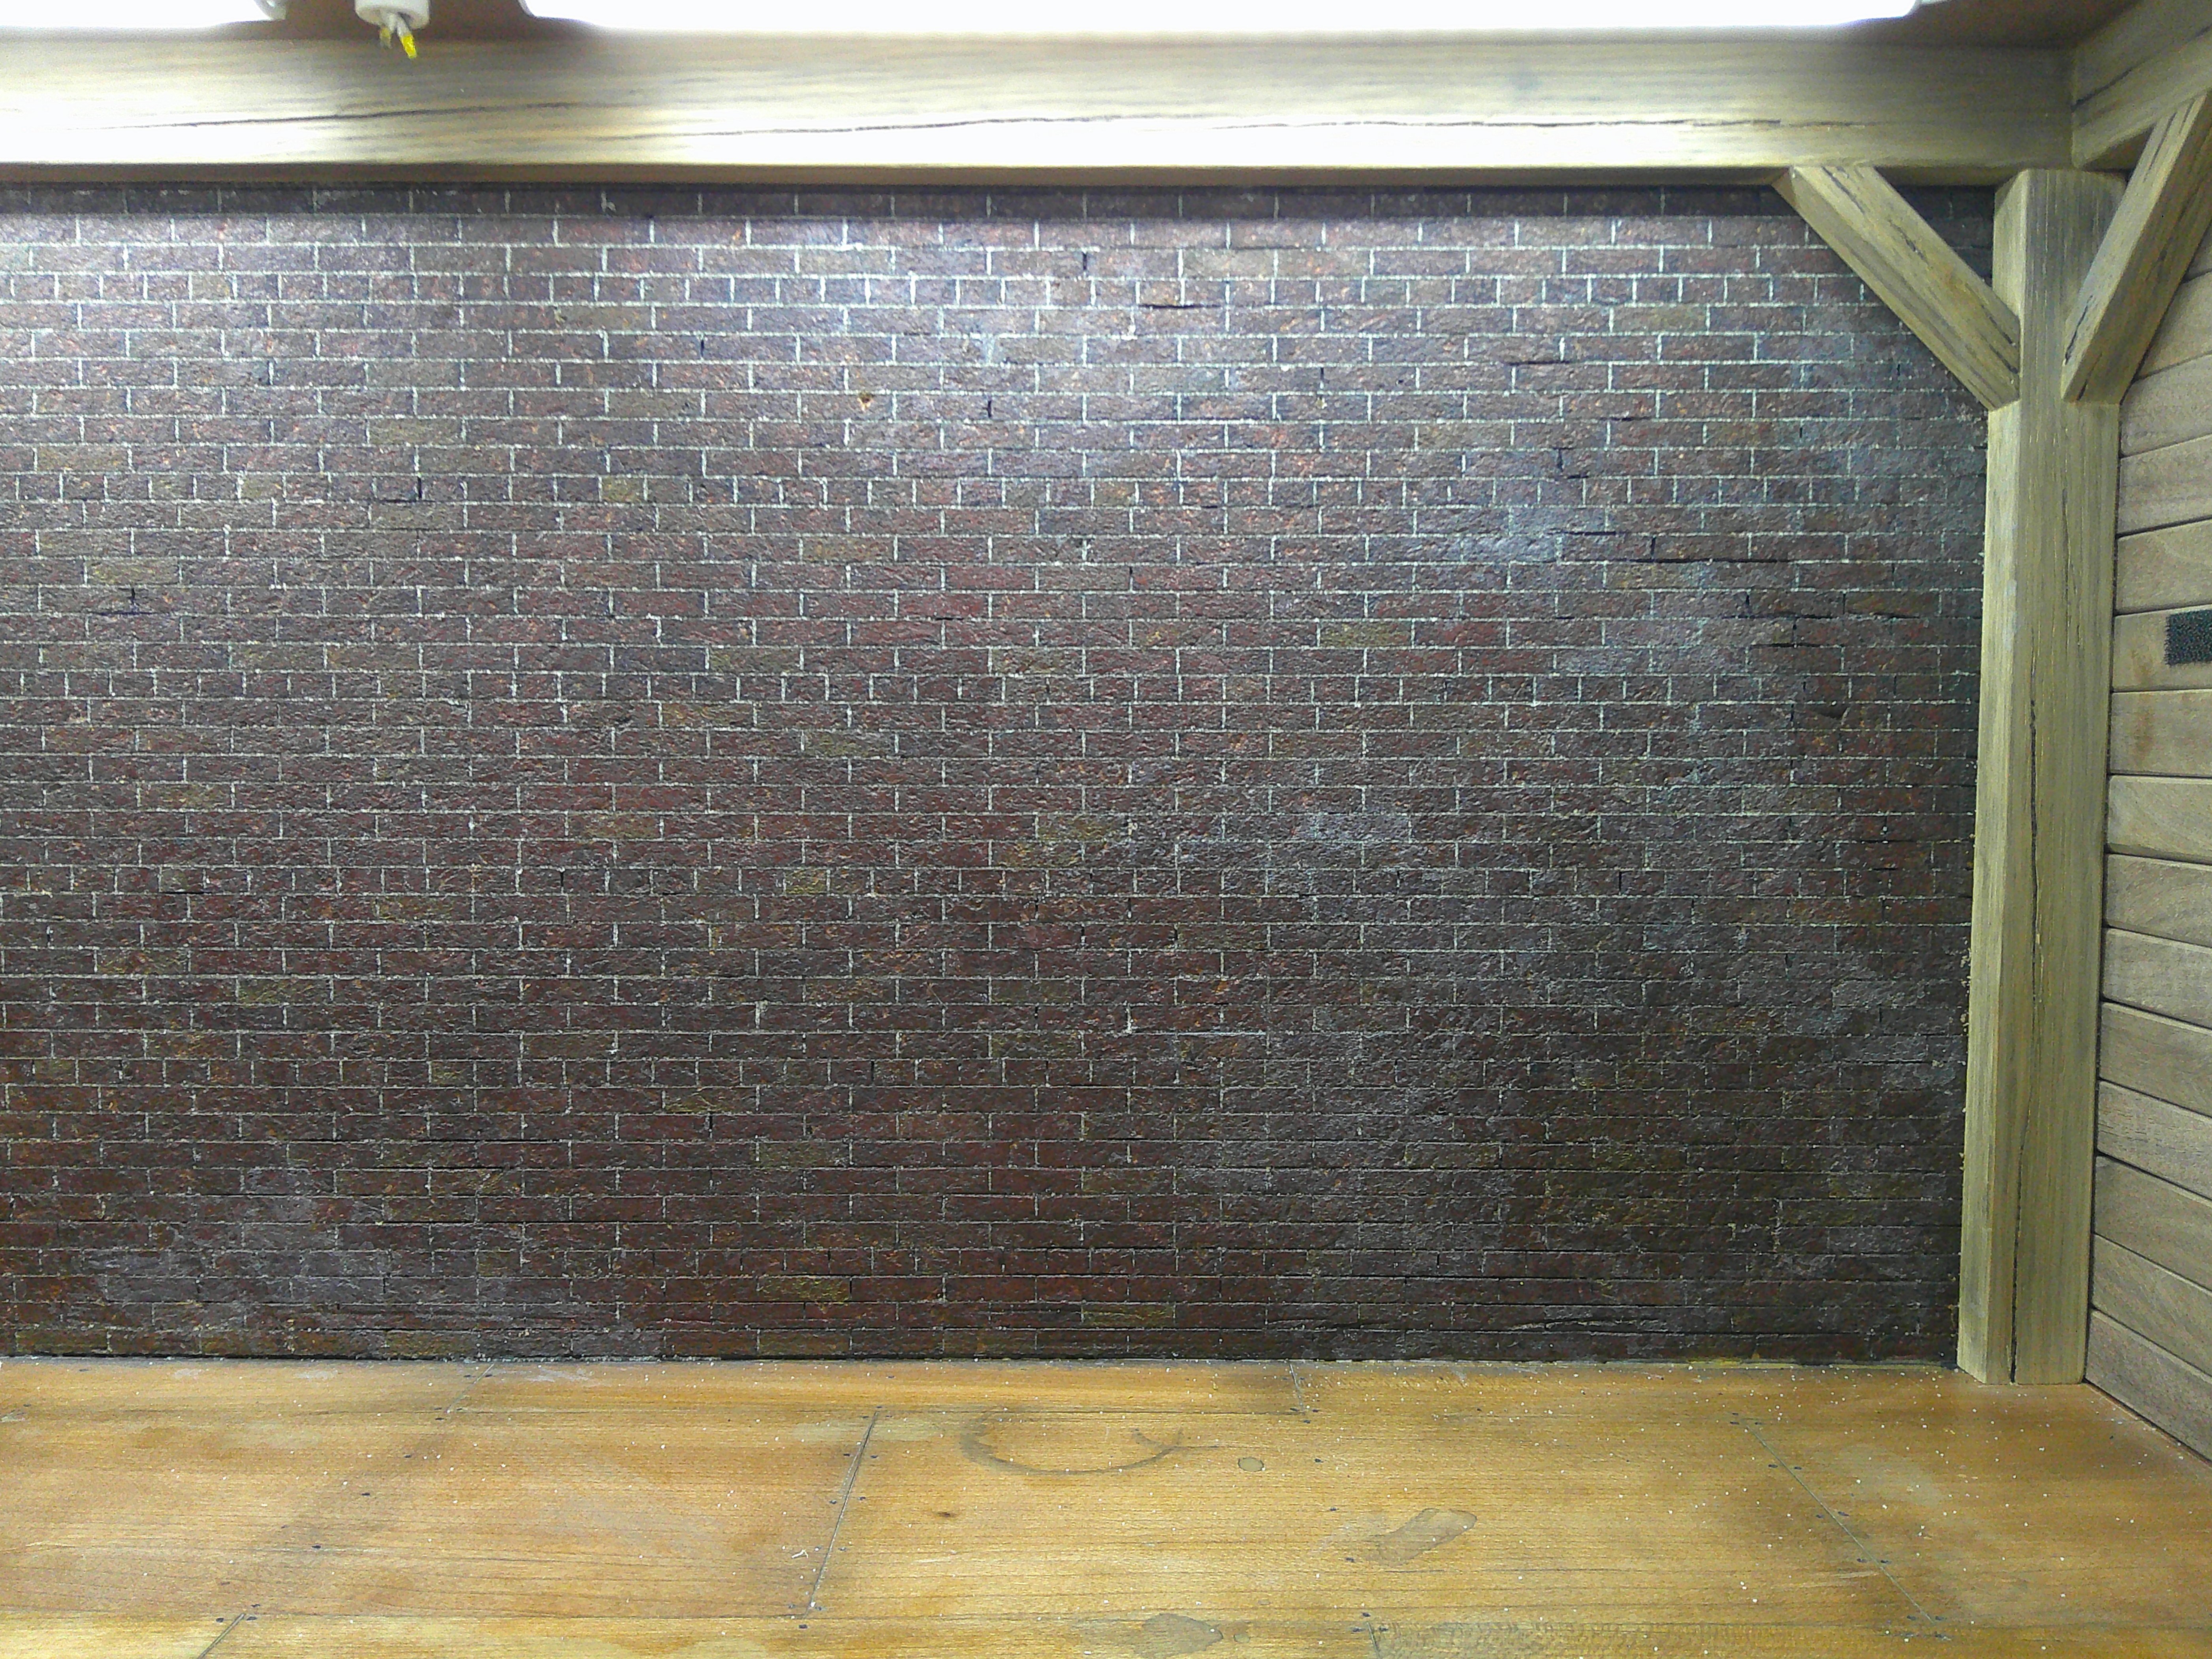
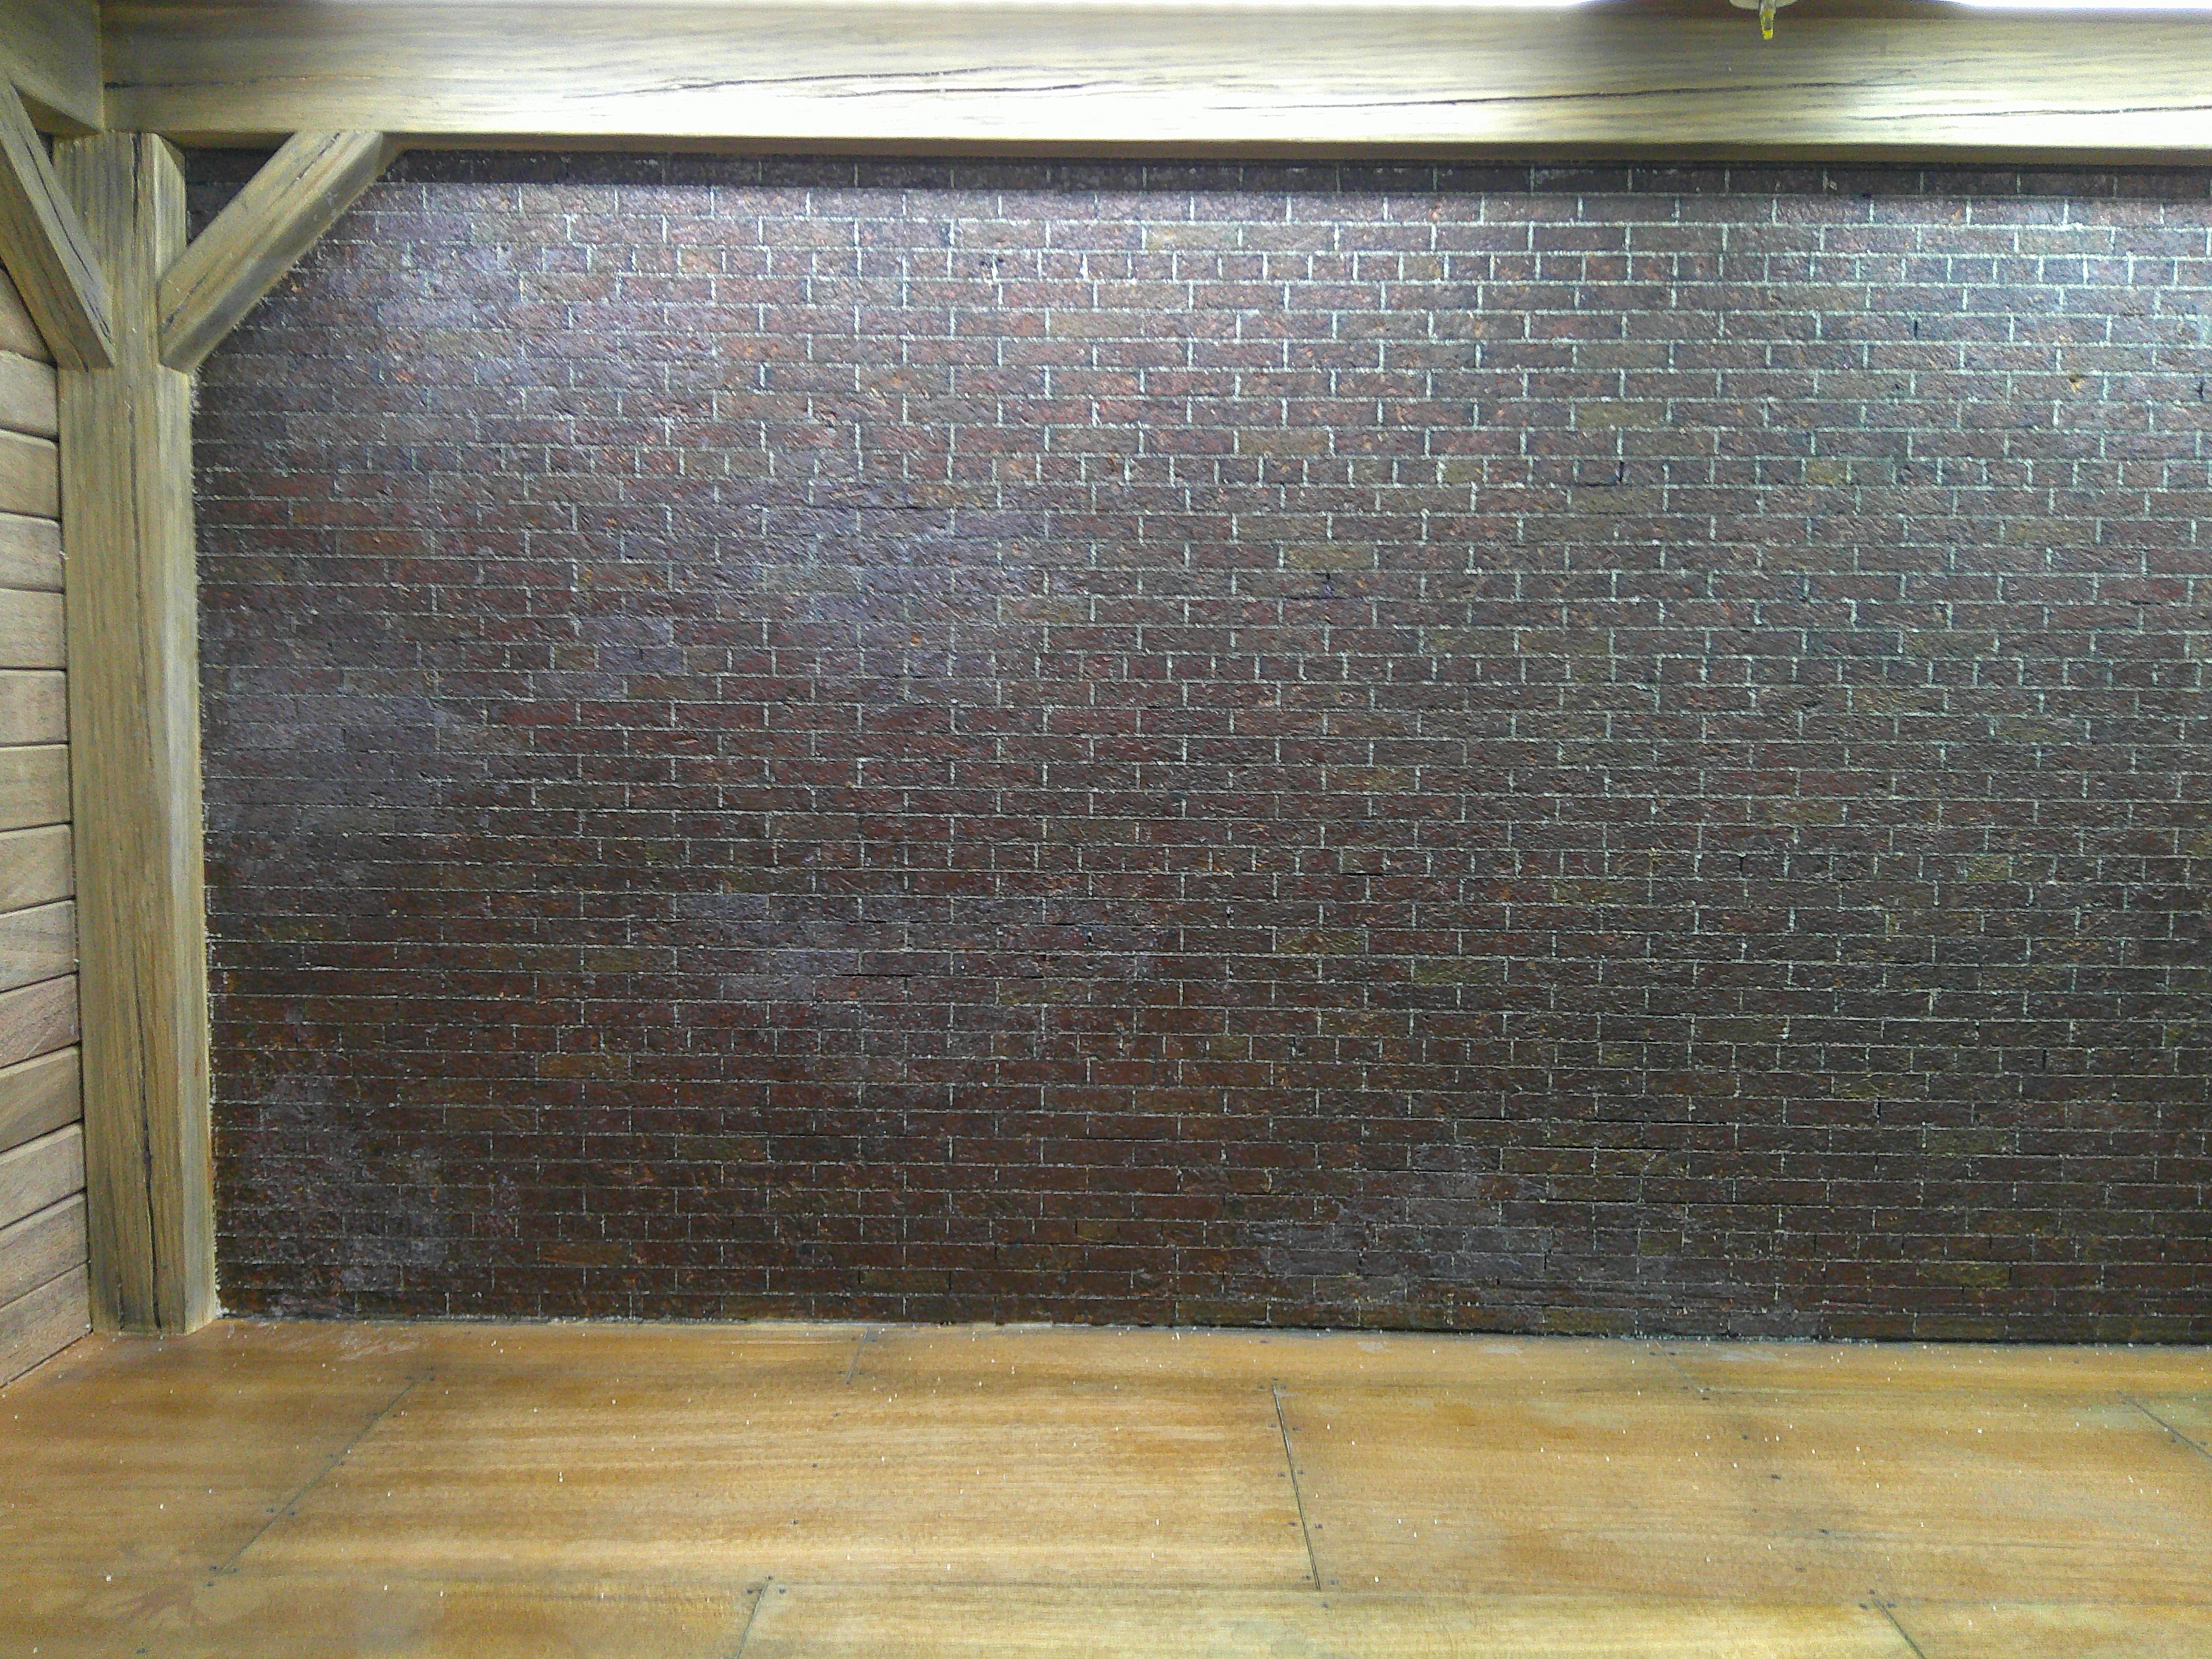
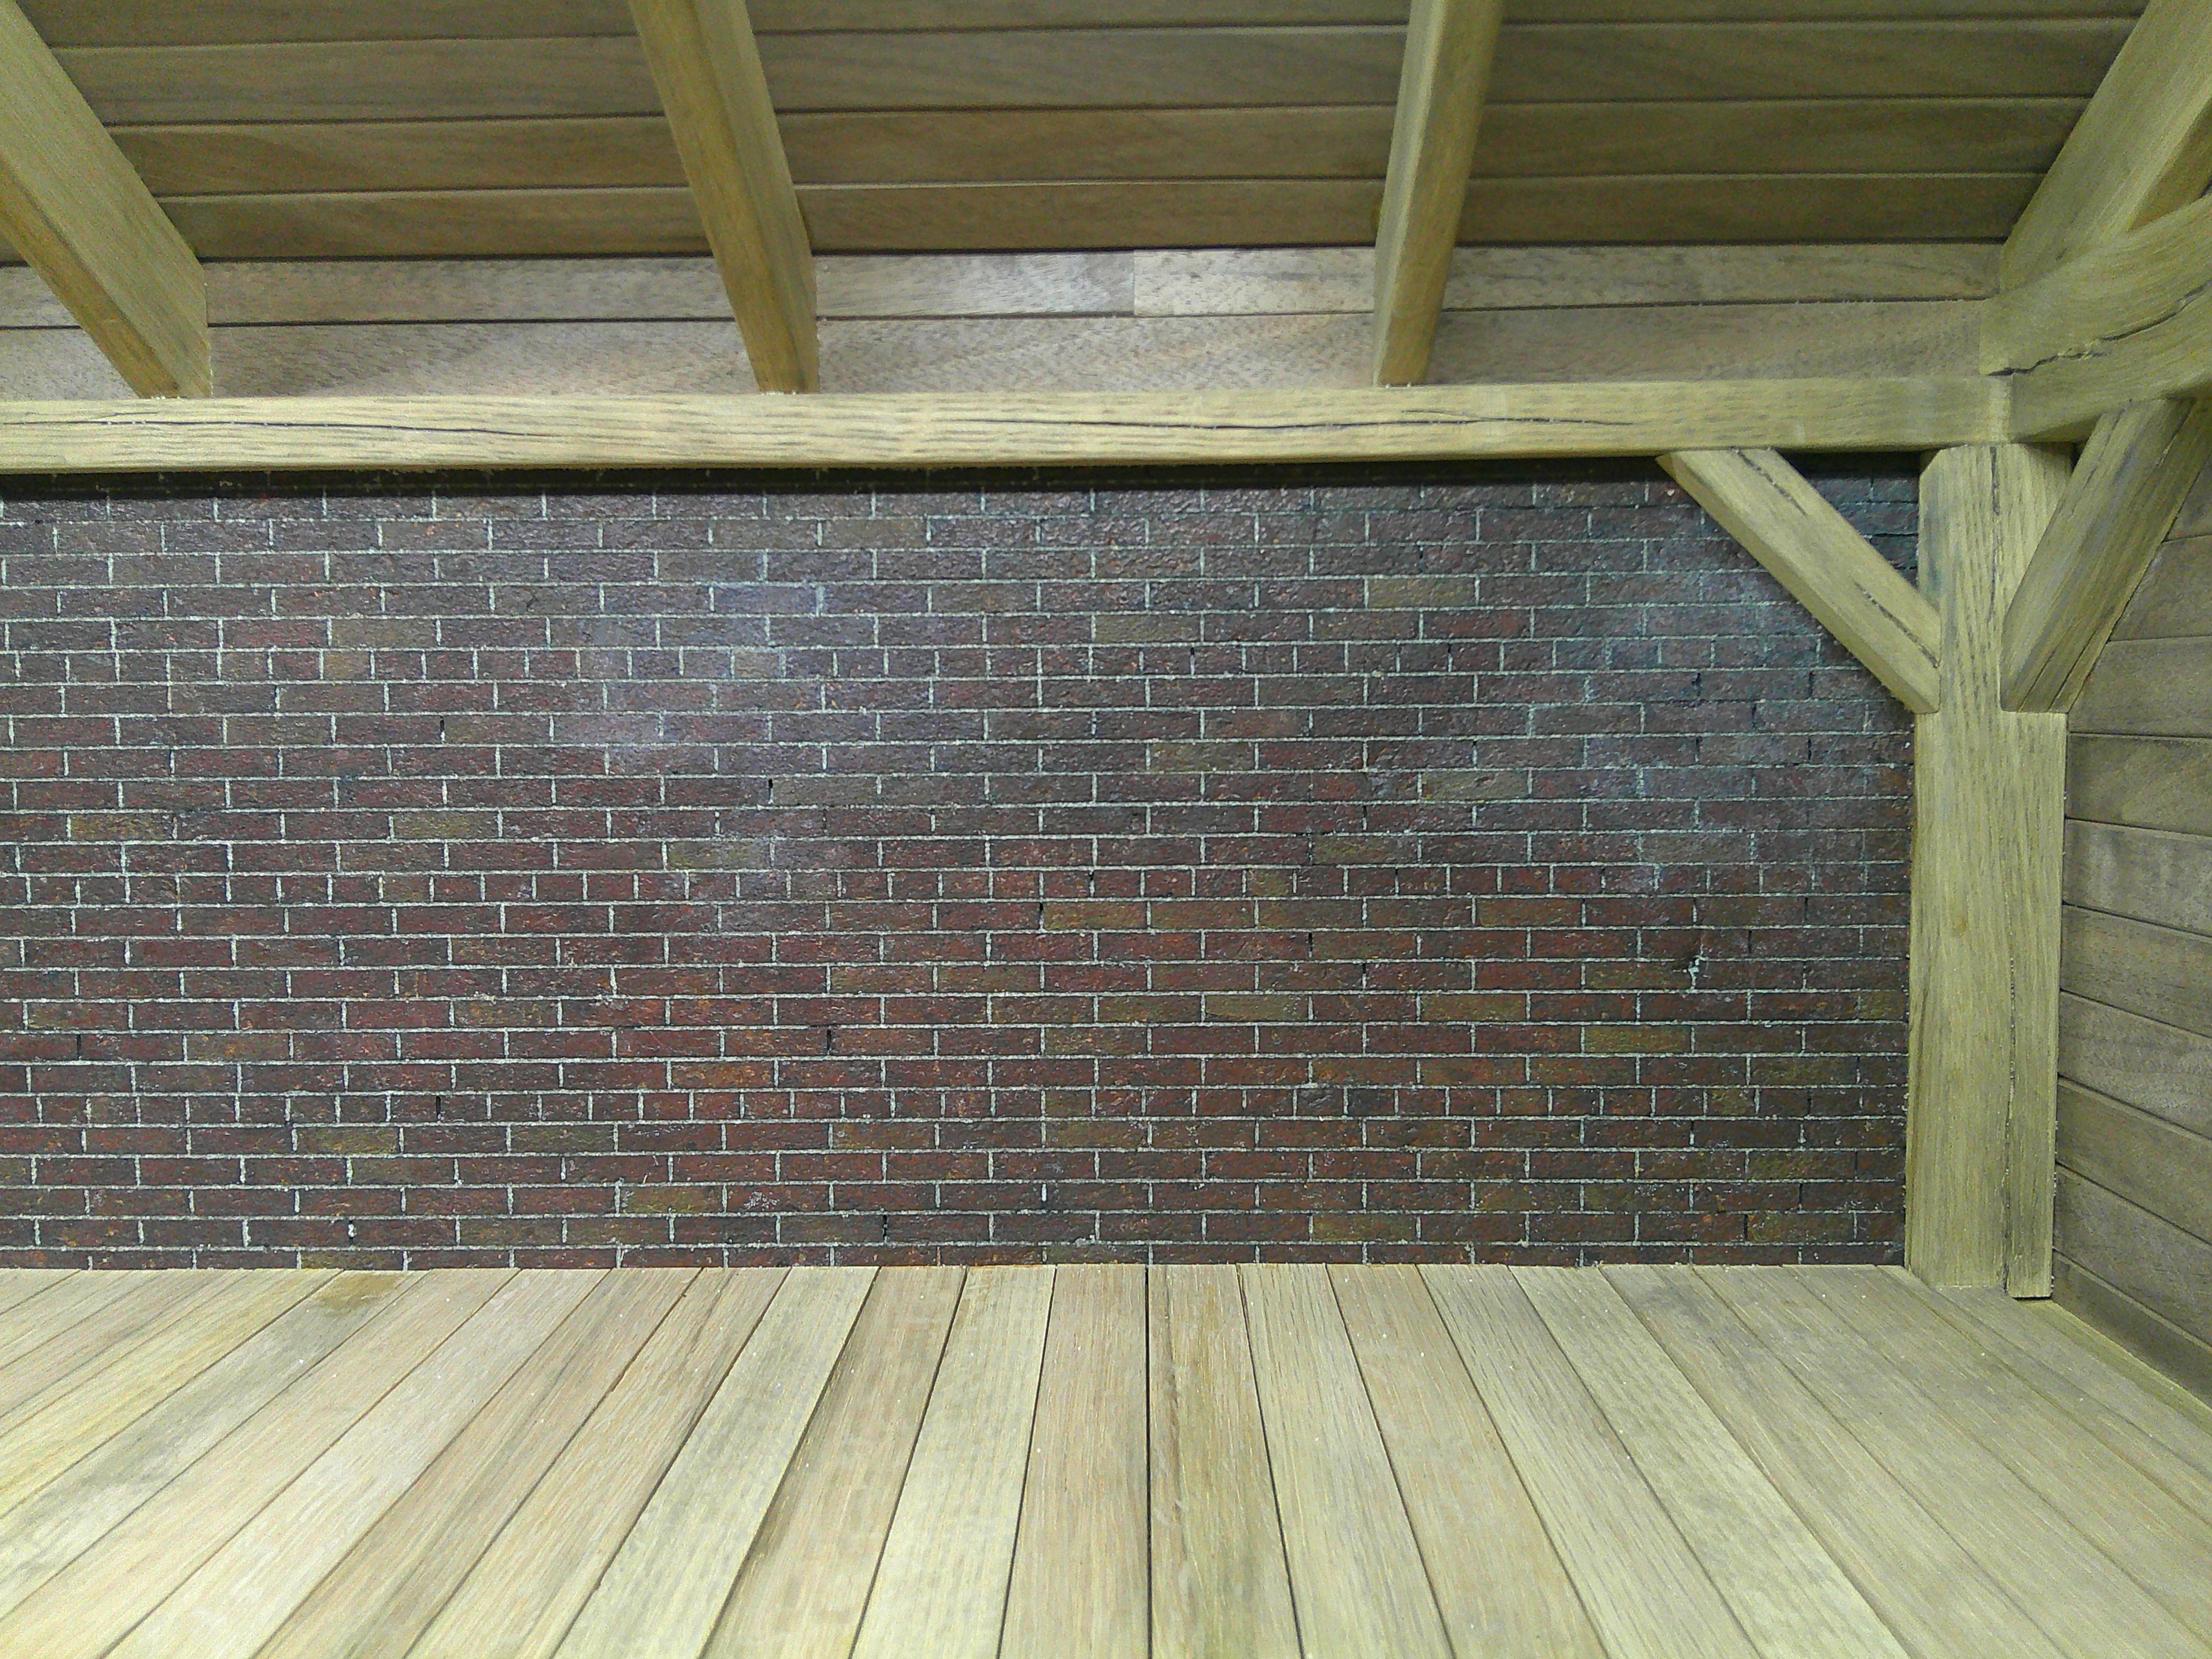
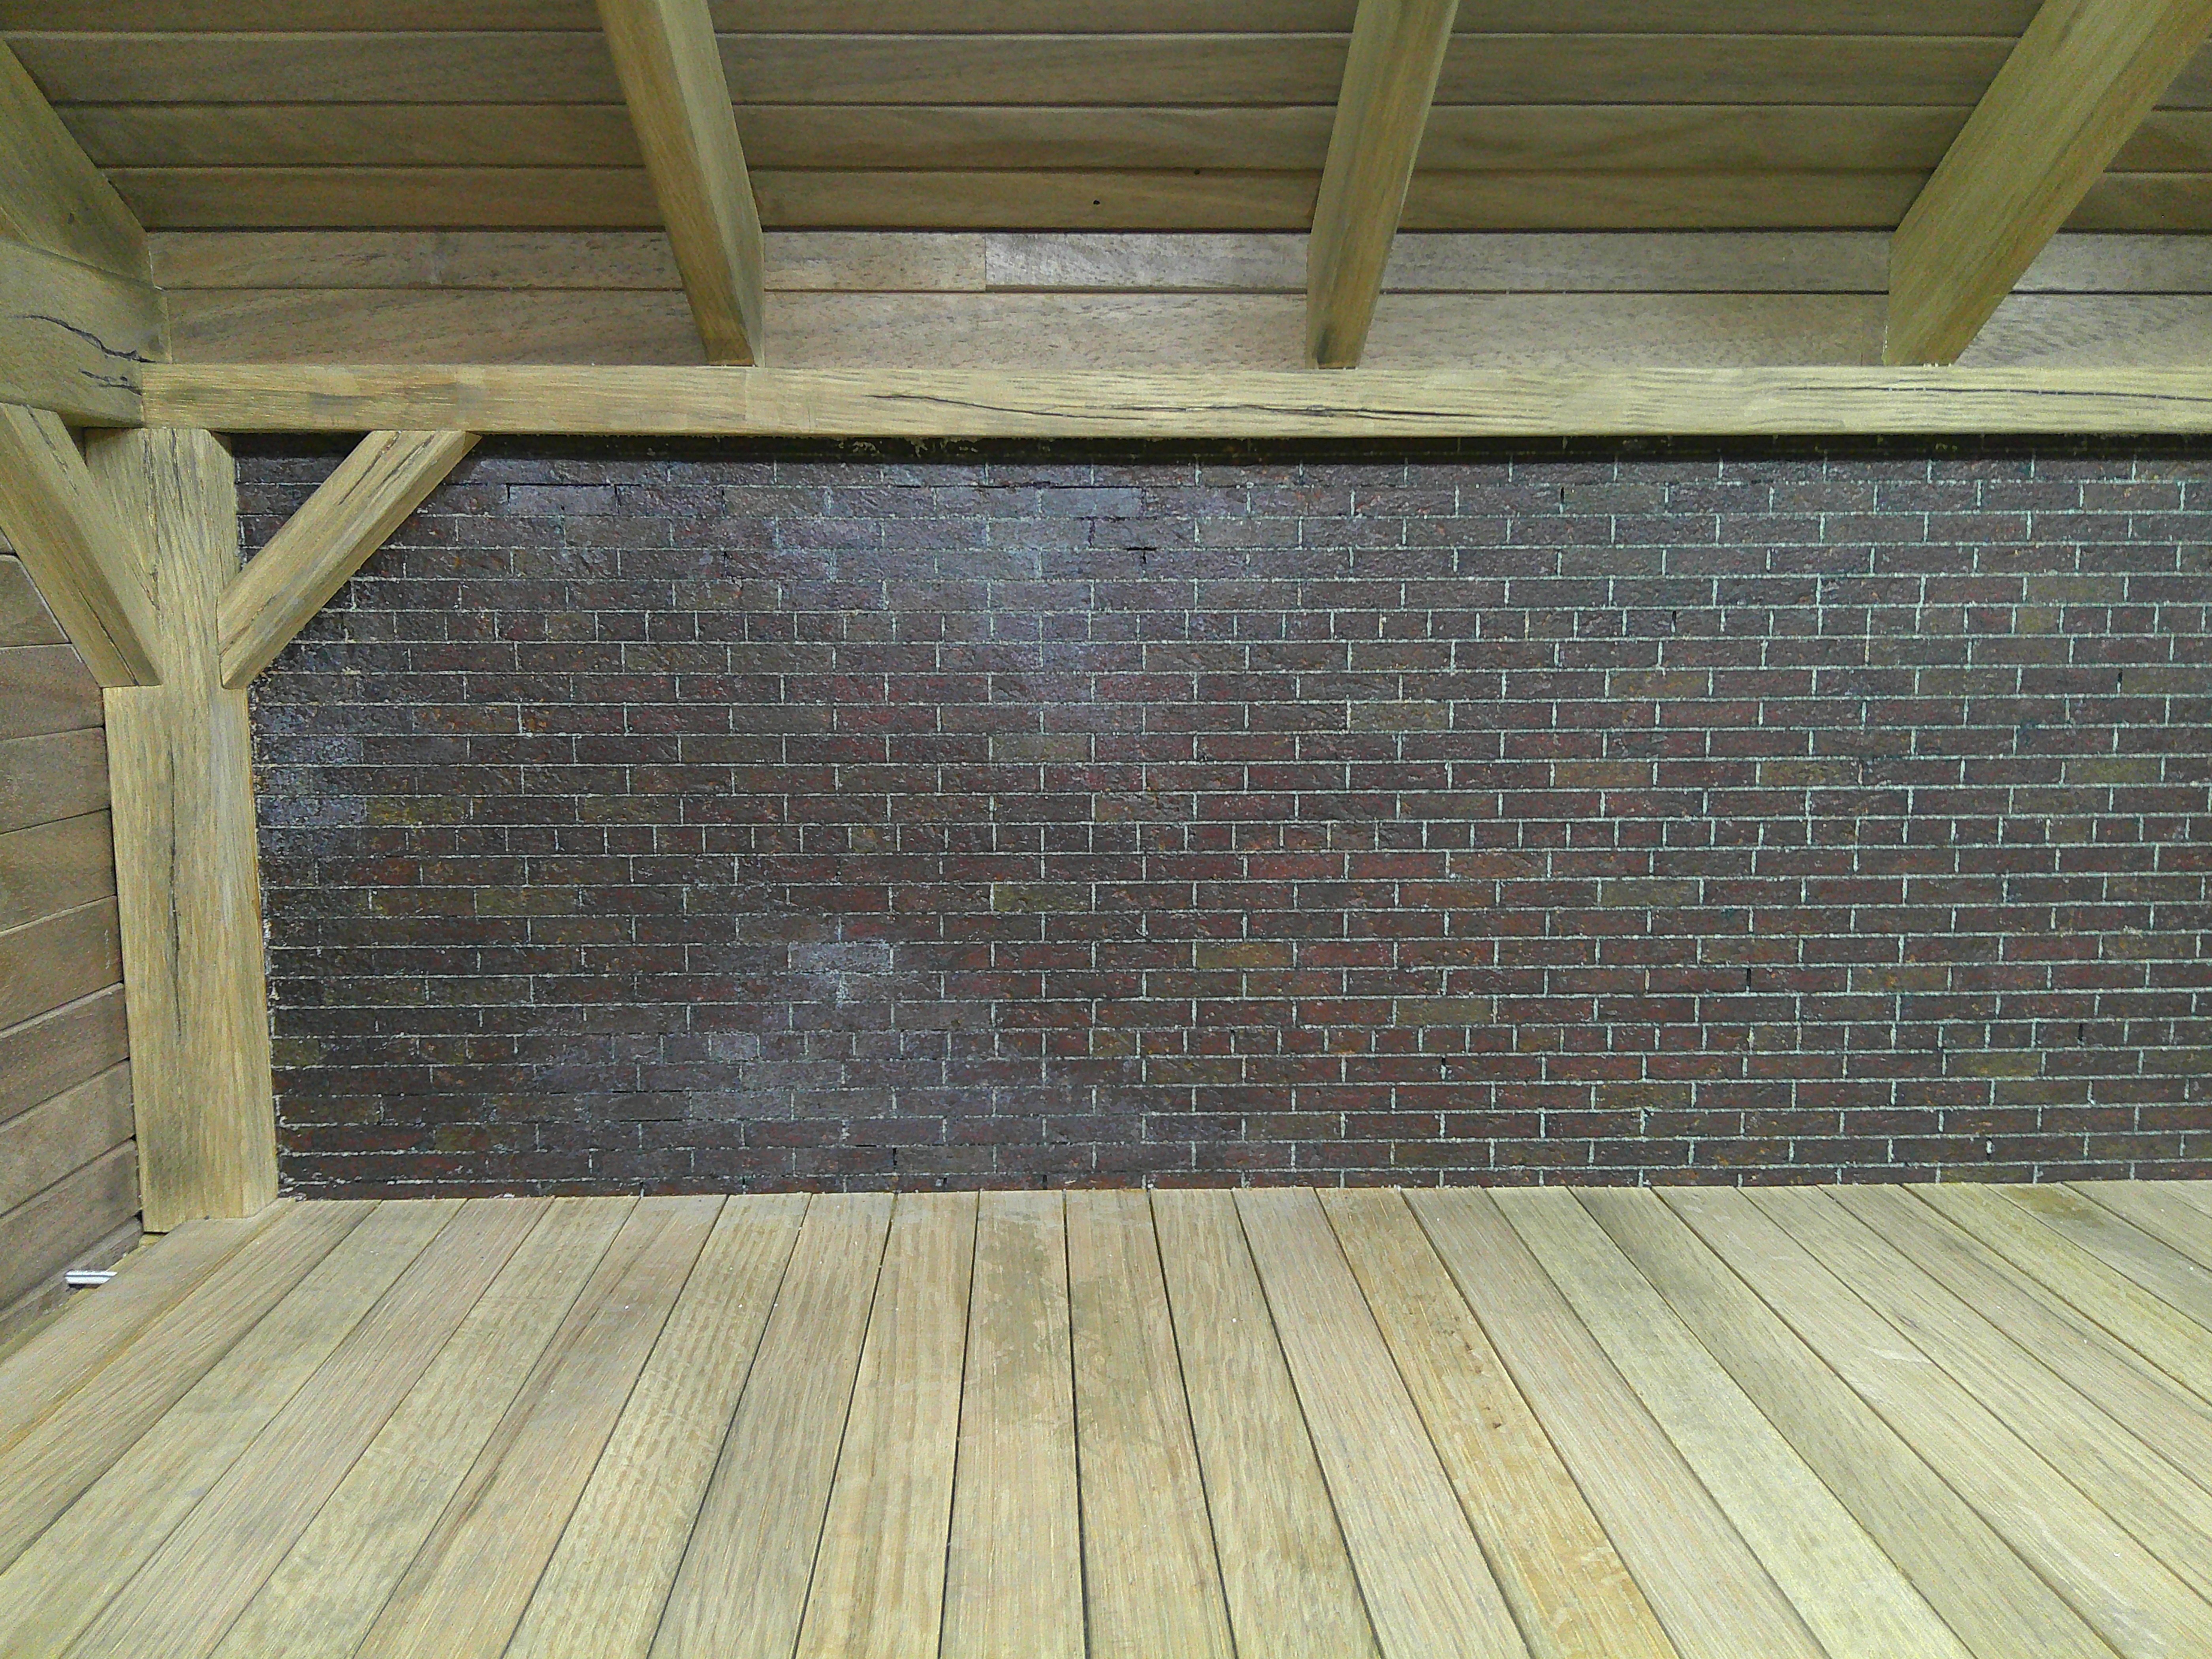

As an expert in masonry distress, I can only say: Excellent! It looks real—and I've seen a lot of masonry.Here are the pictures of my attempt to add the efflorescence. I'm going to take a little time to decide what more to add, or not. It appears a little blotchy on the wide angle view, but there will be items that hide sections of the wall, and it won't be lit this bright in the video, so I think it will be ok.
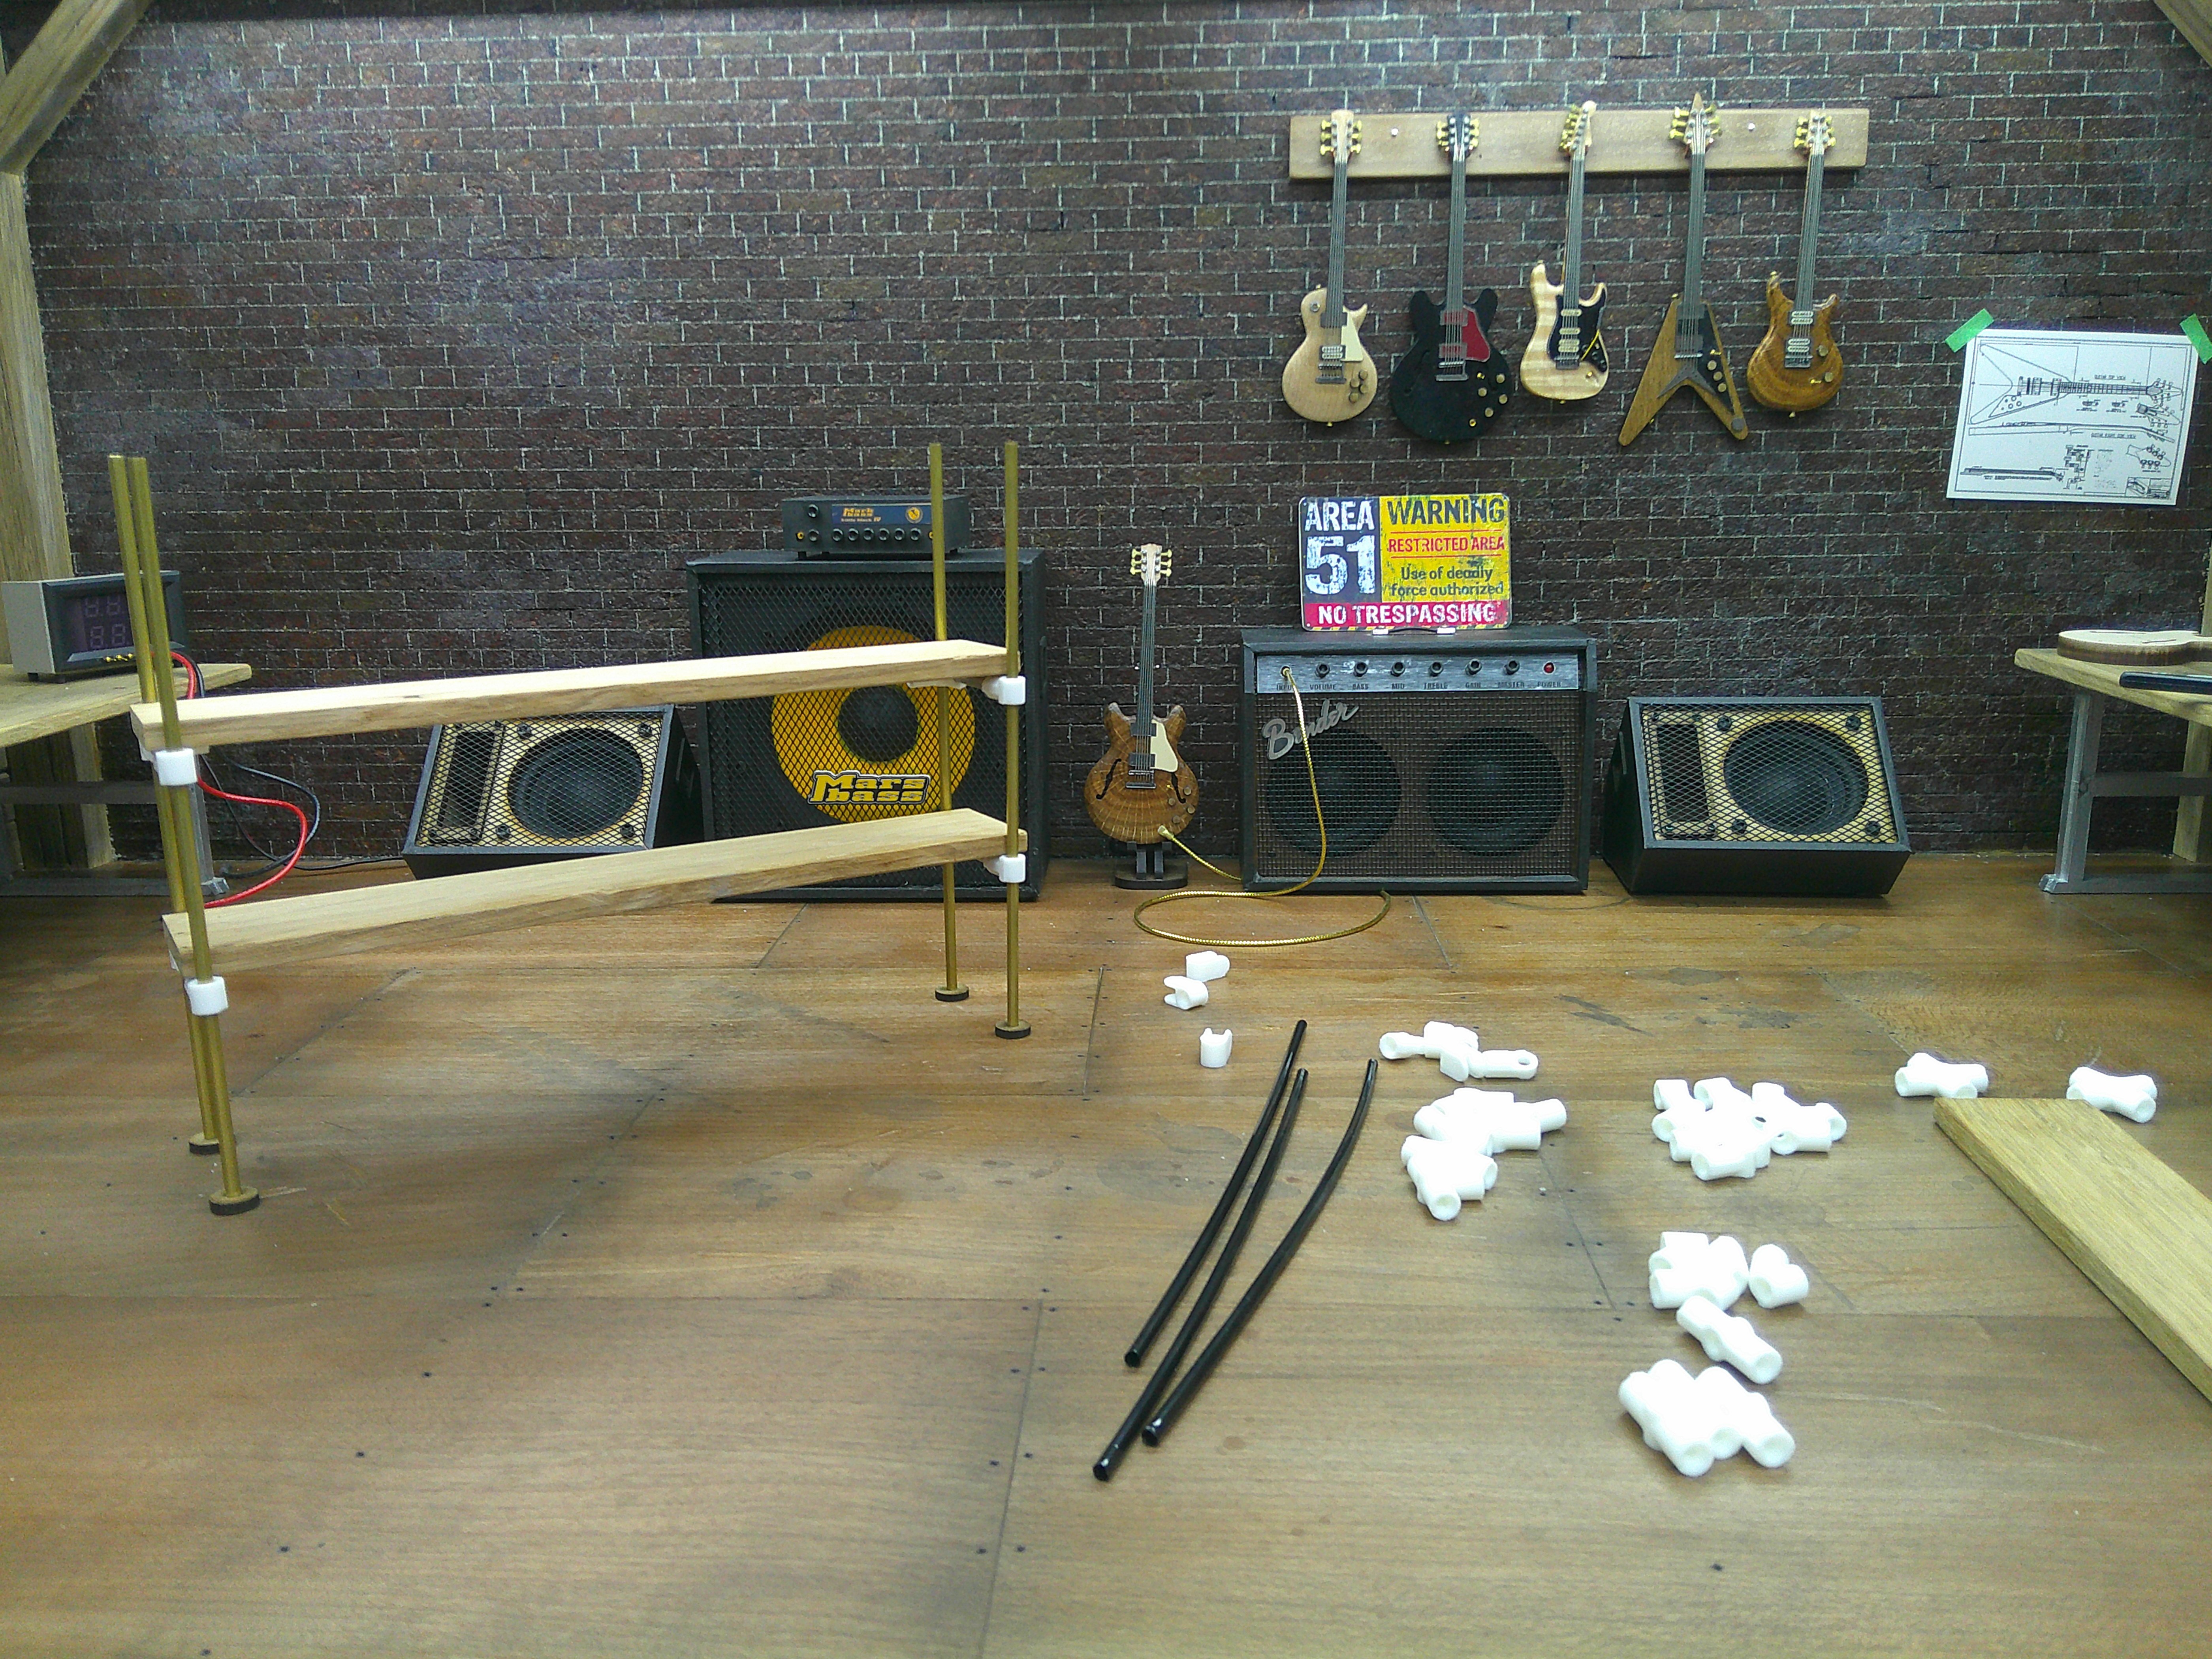
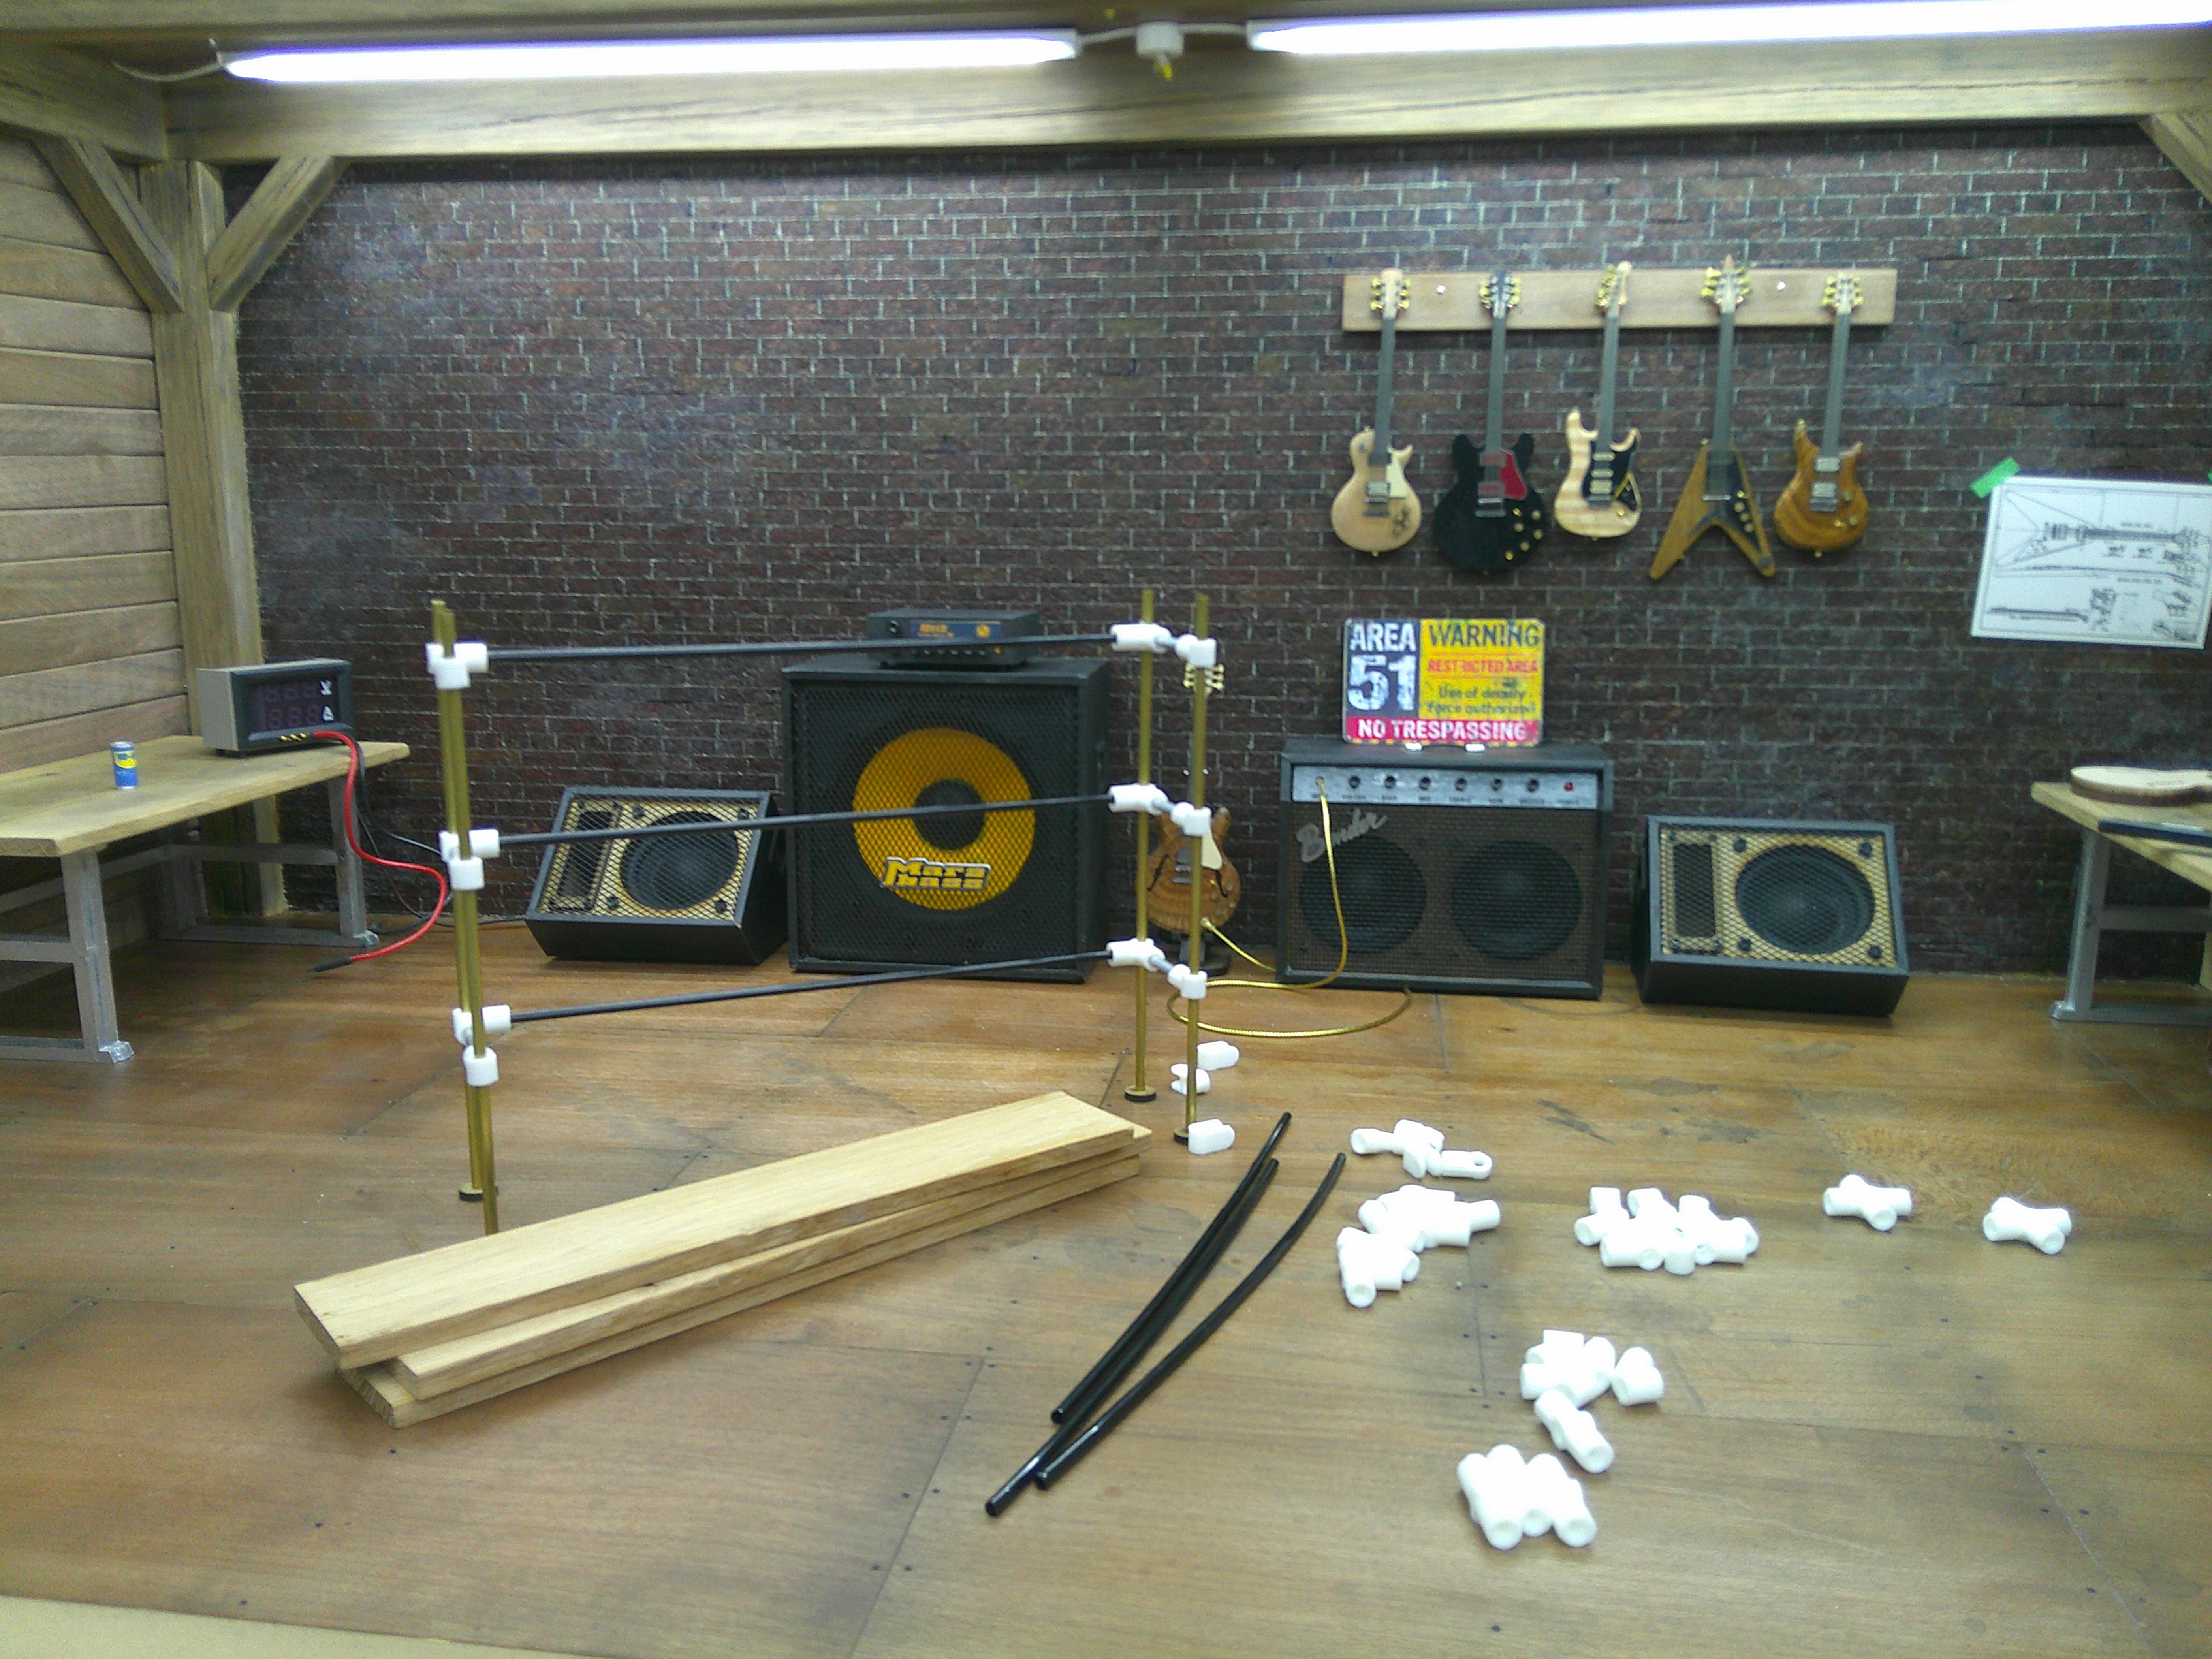
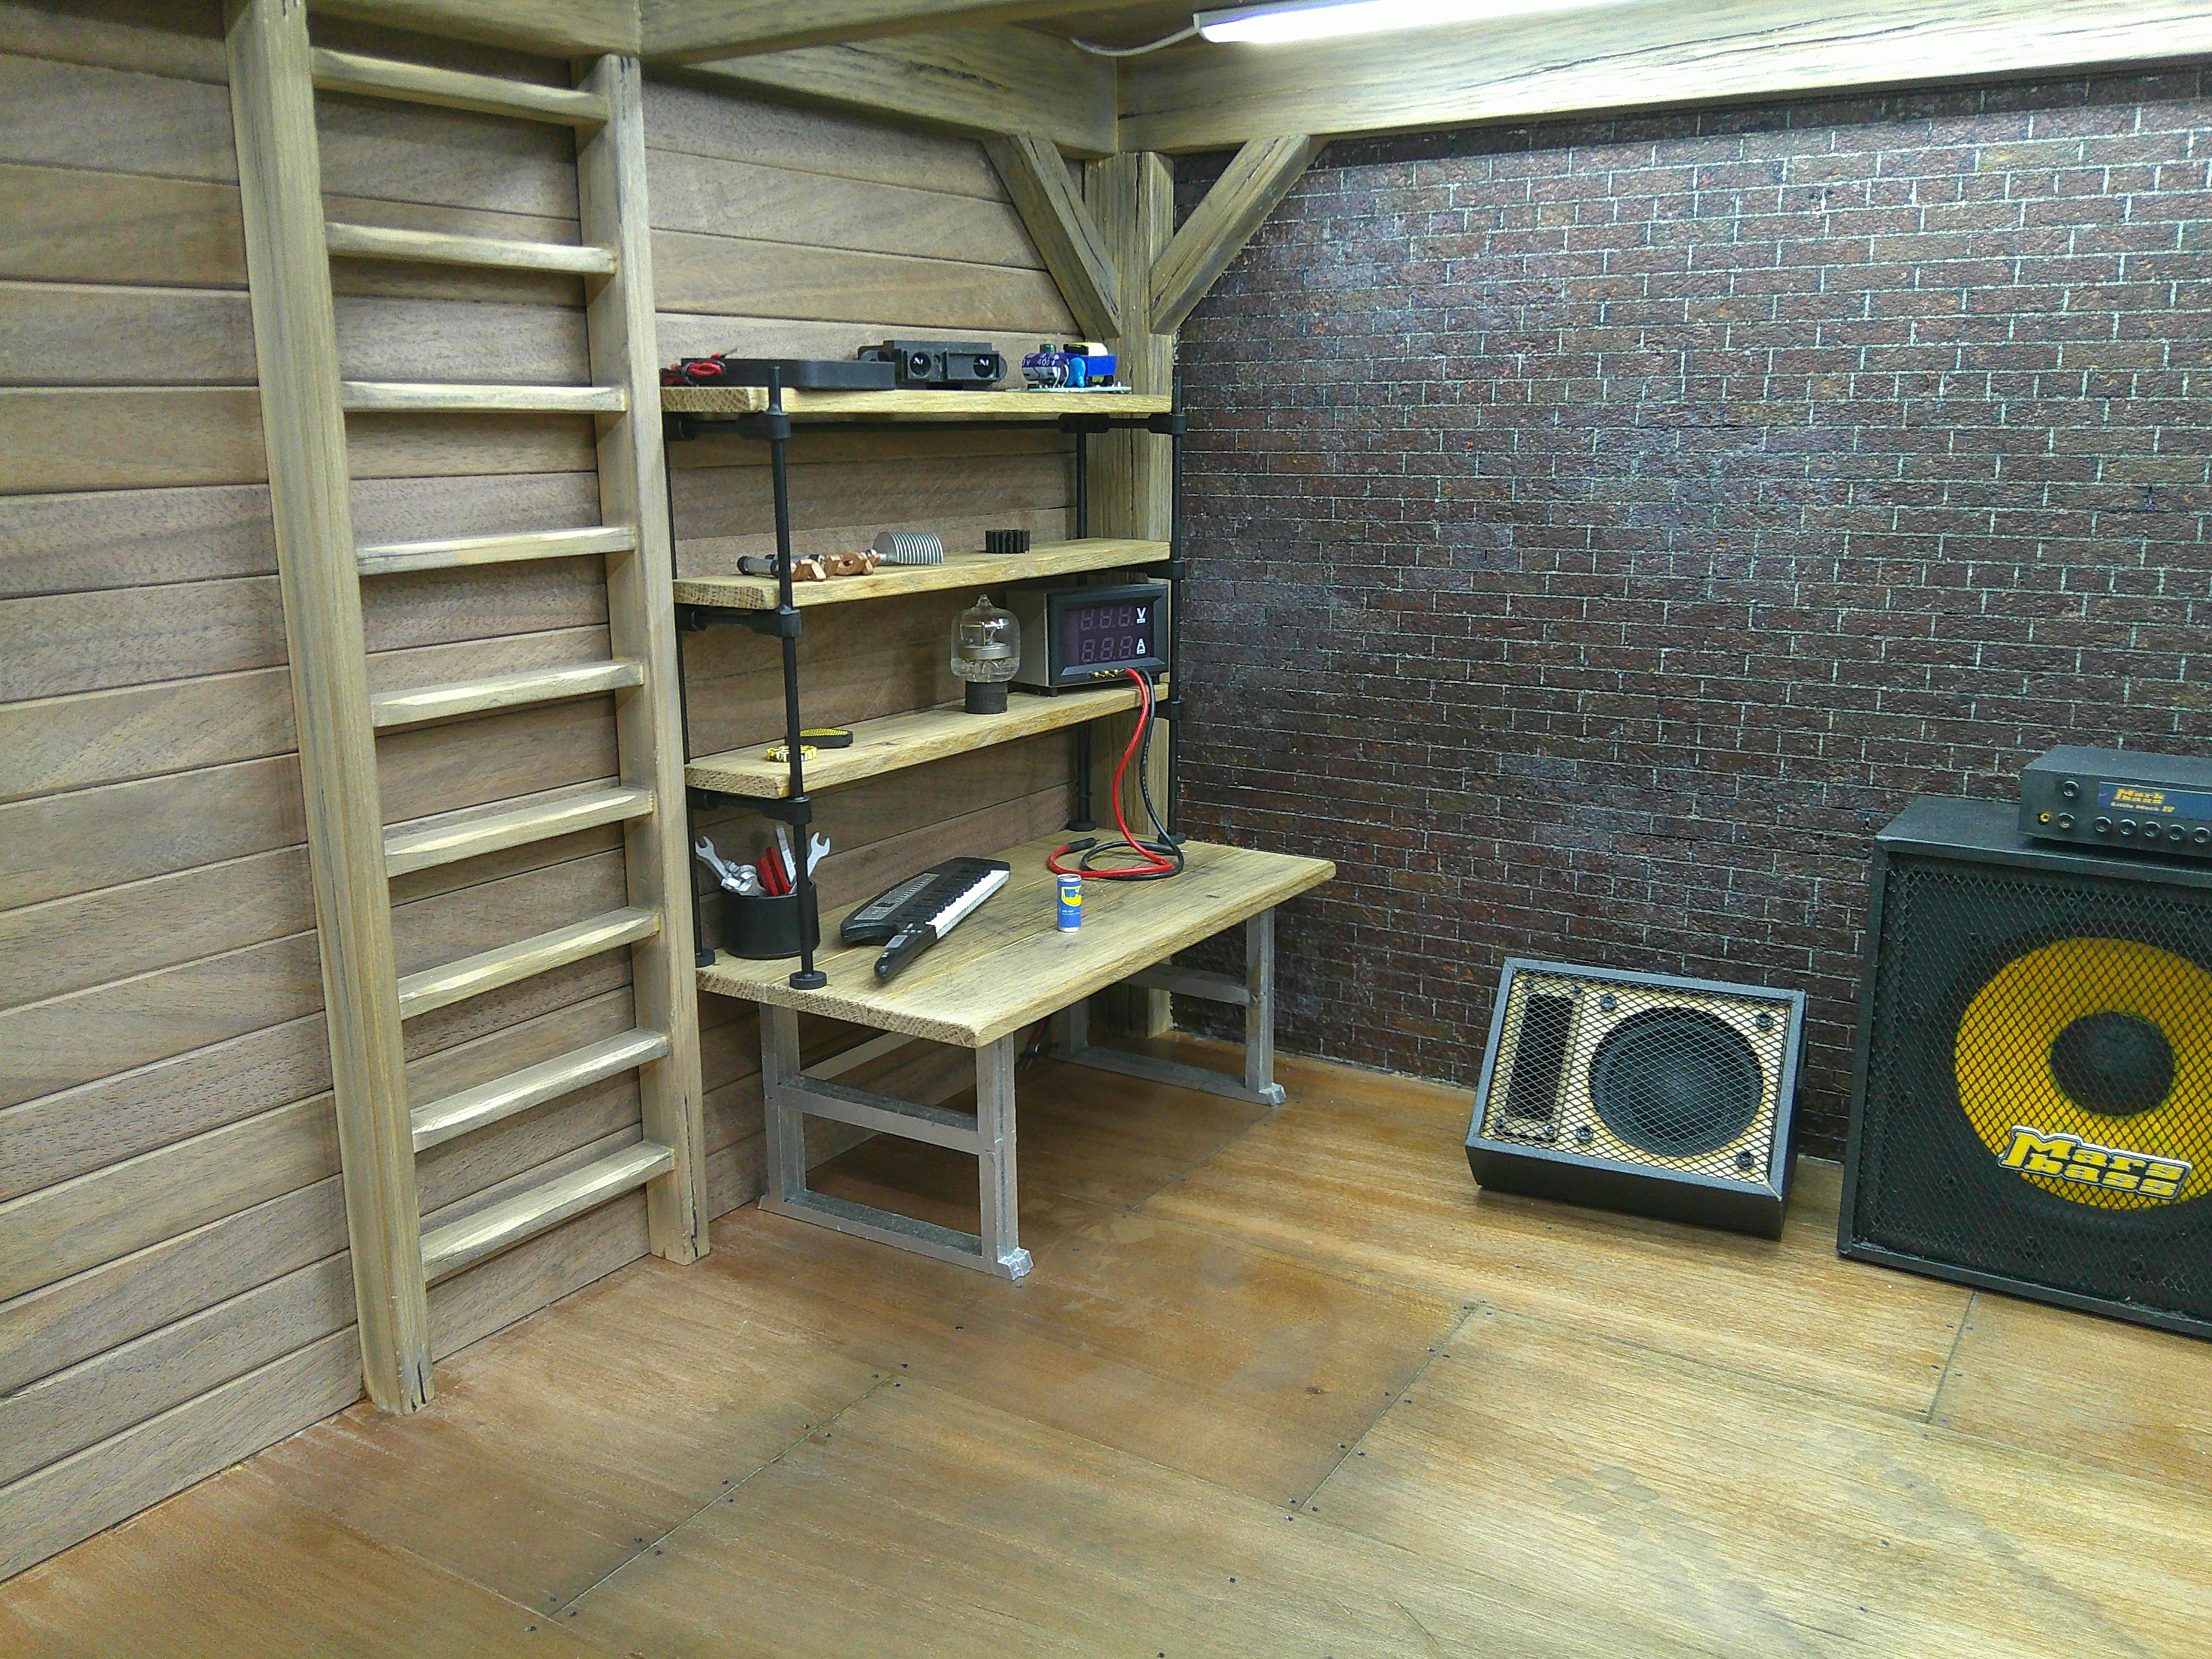
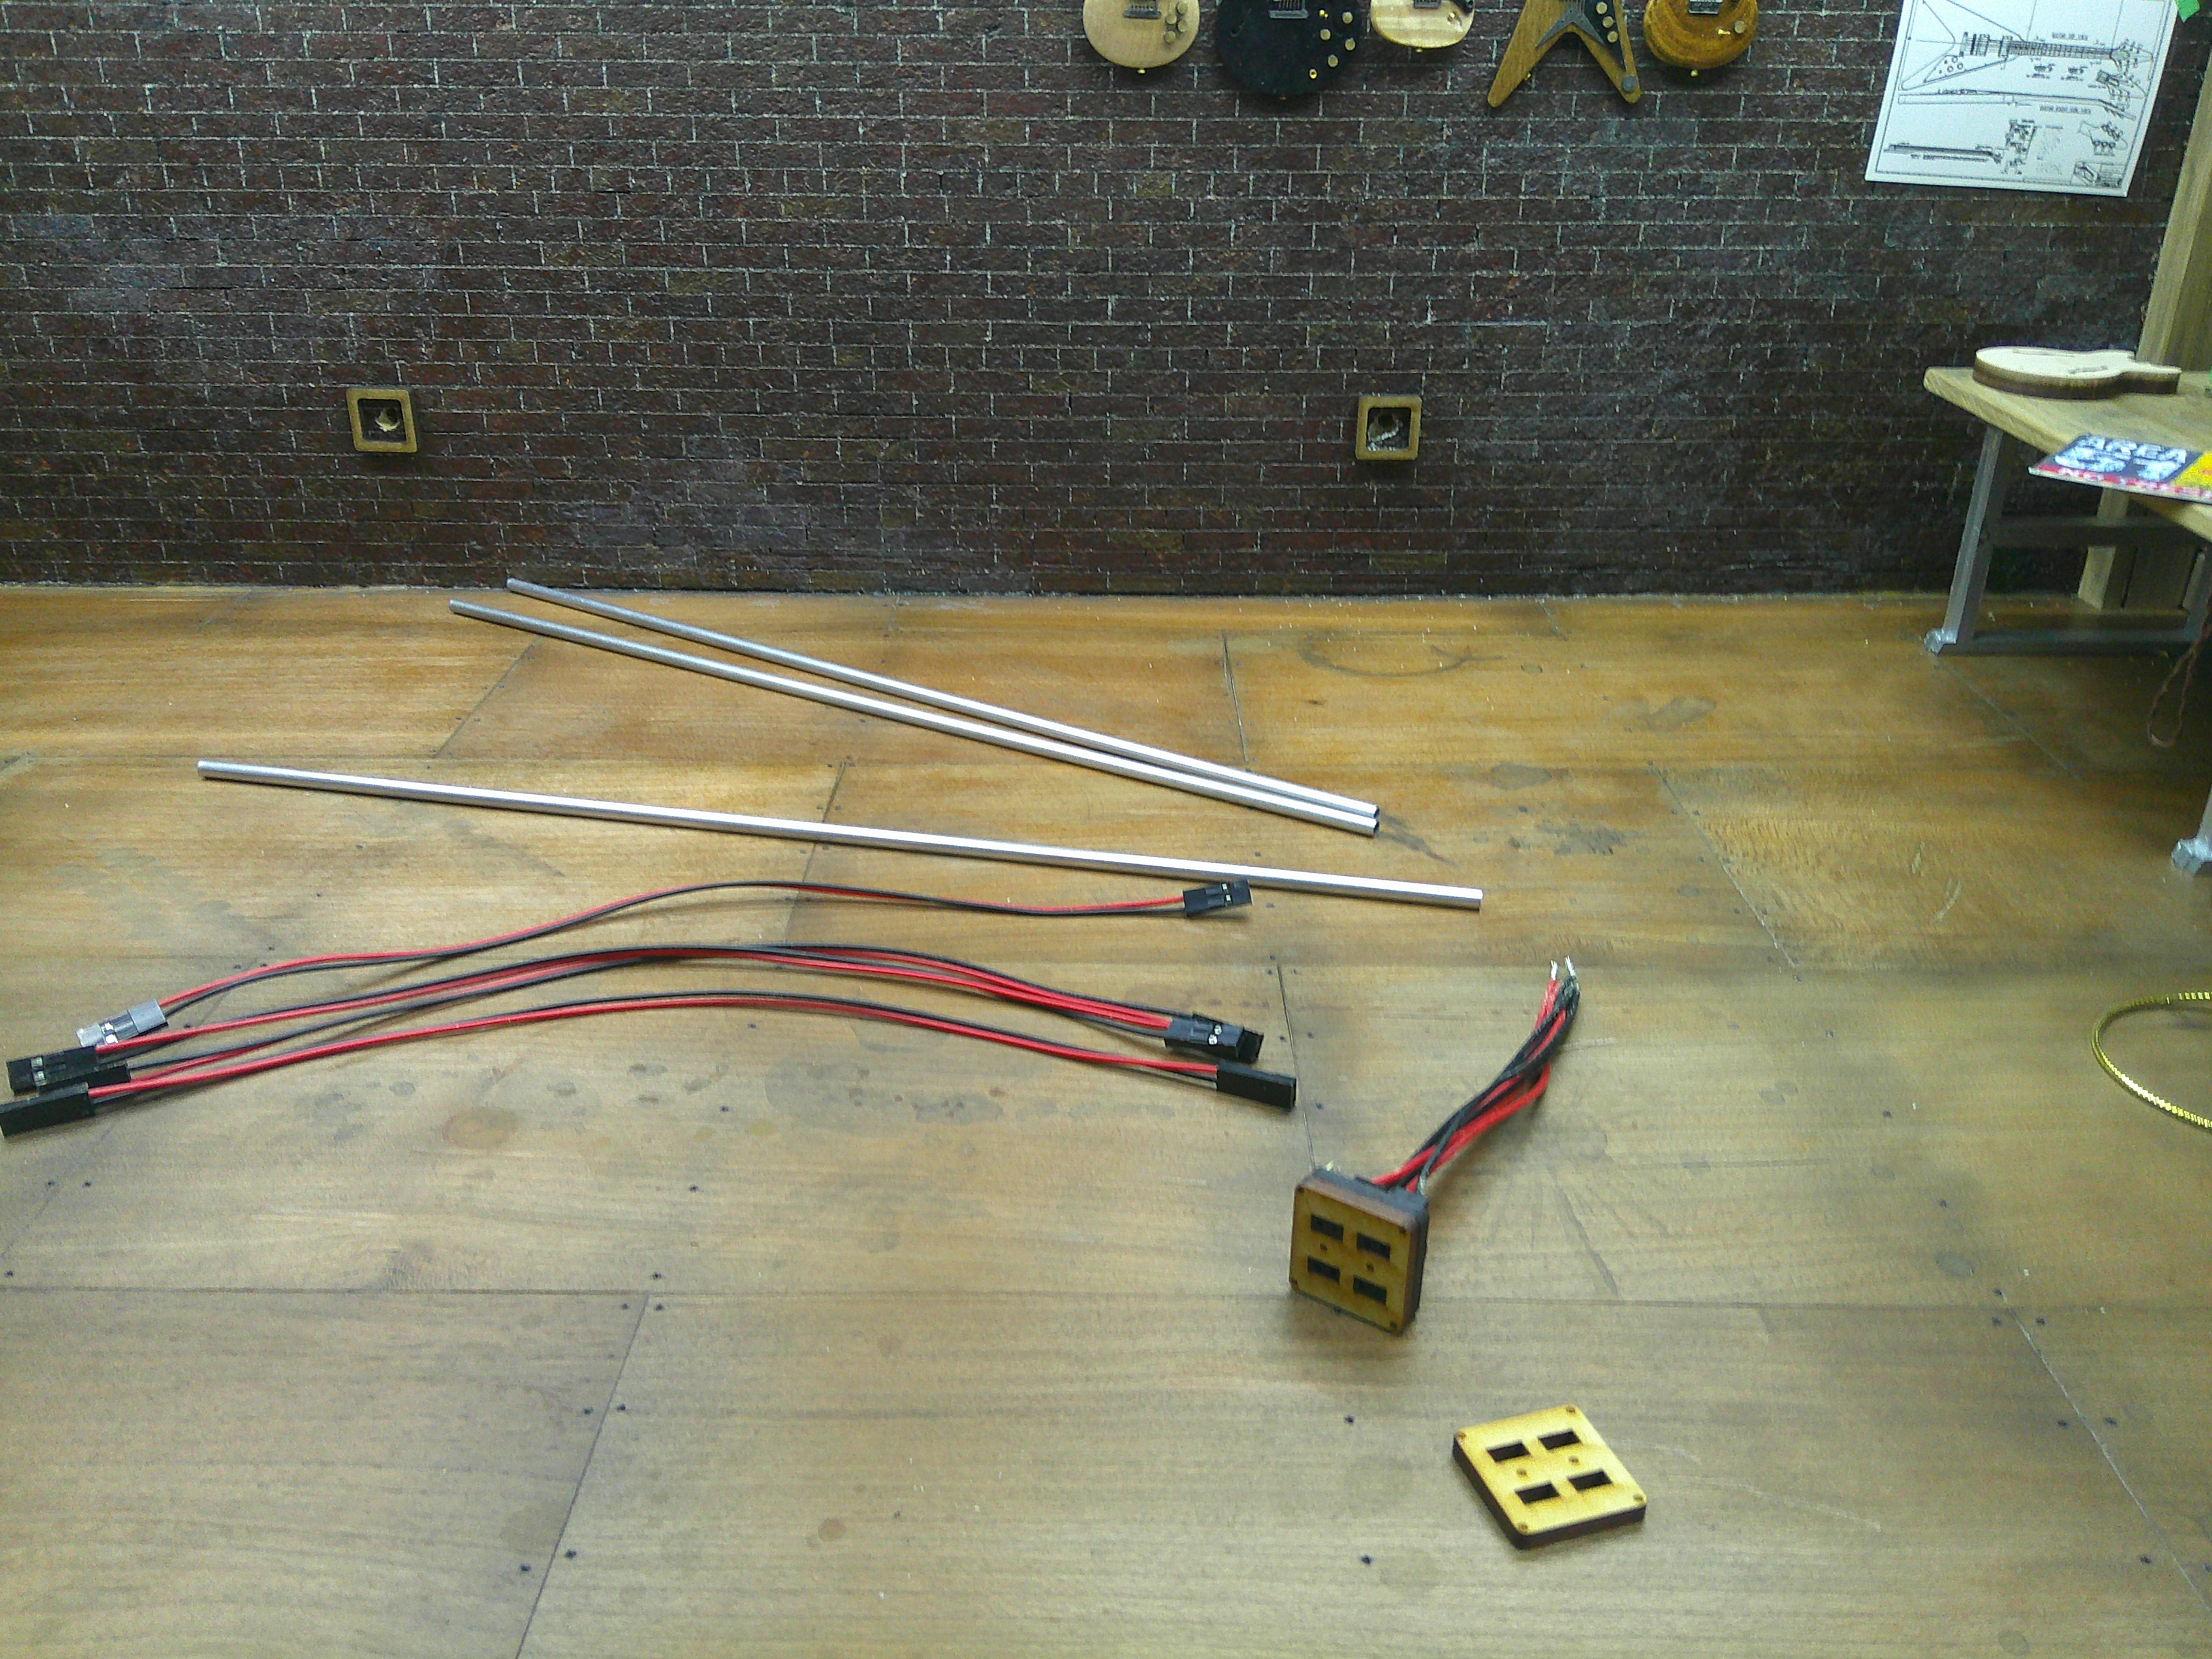
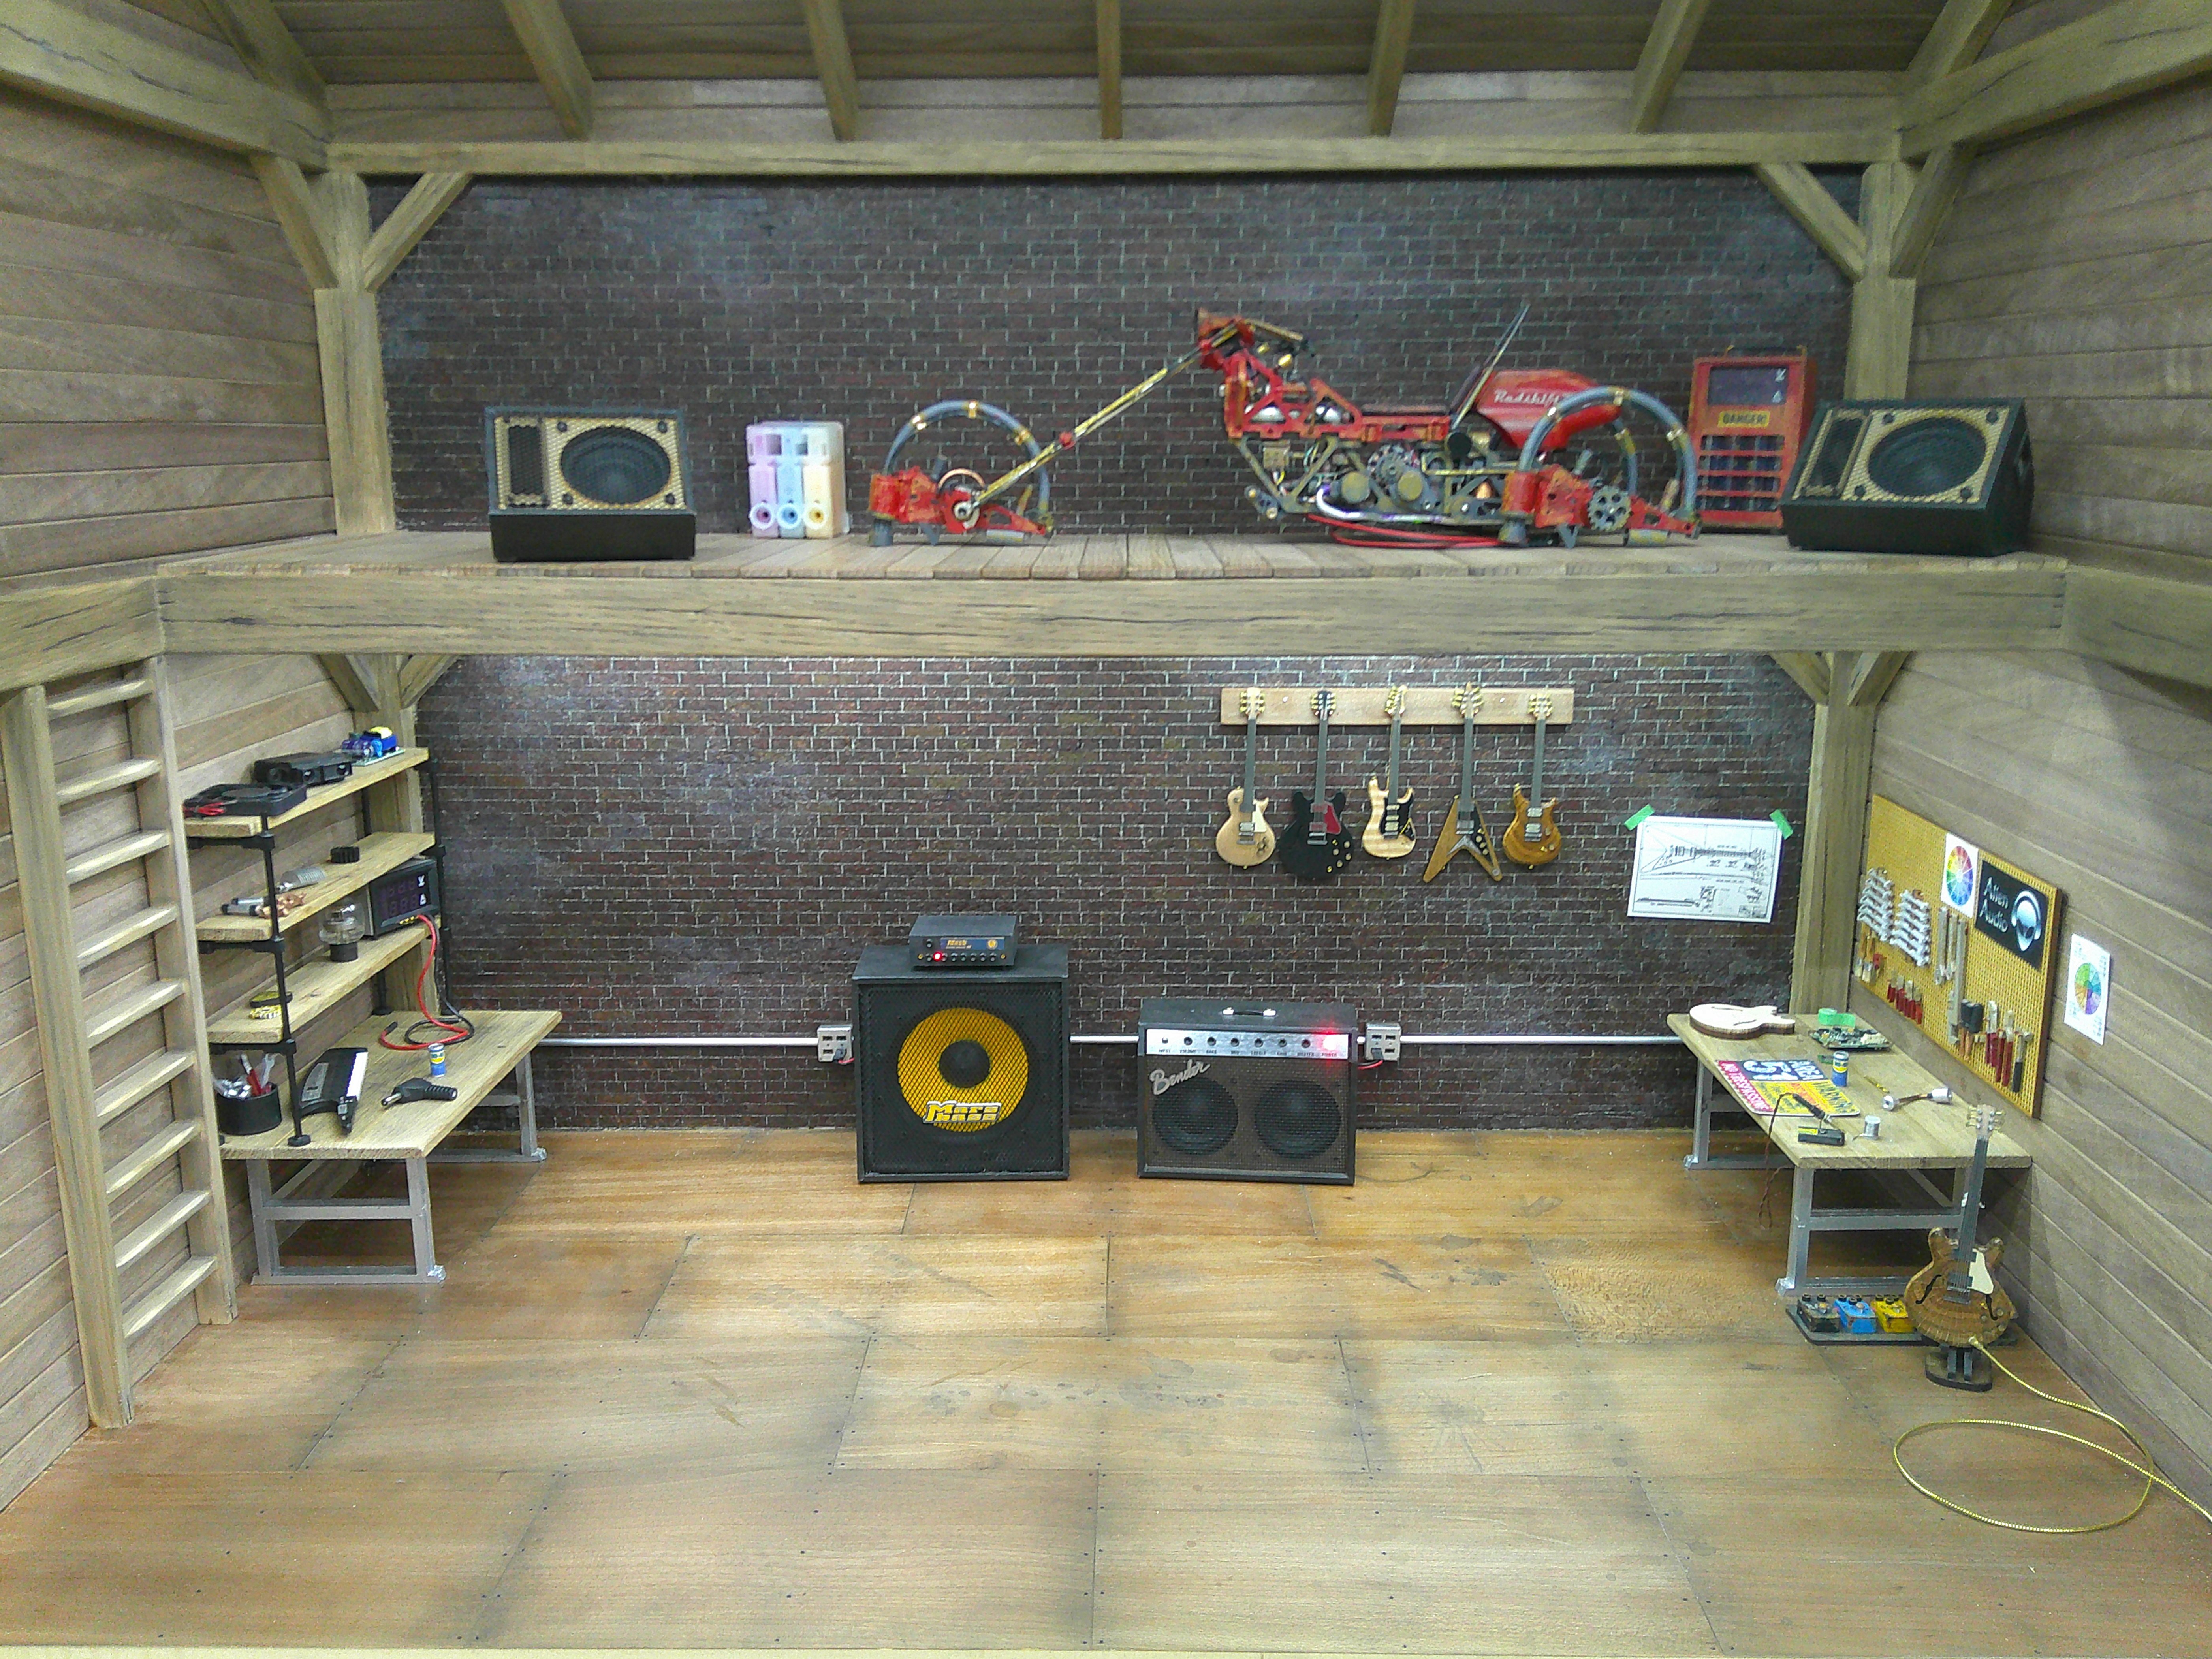
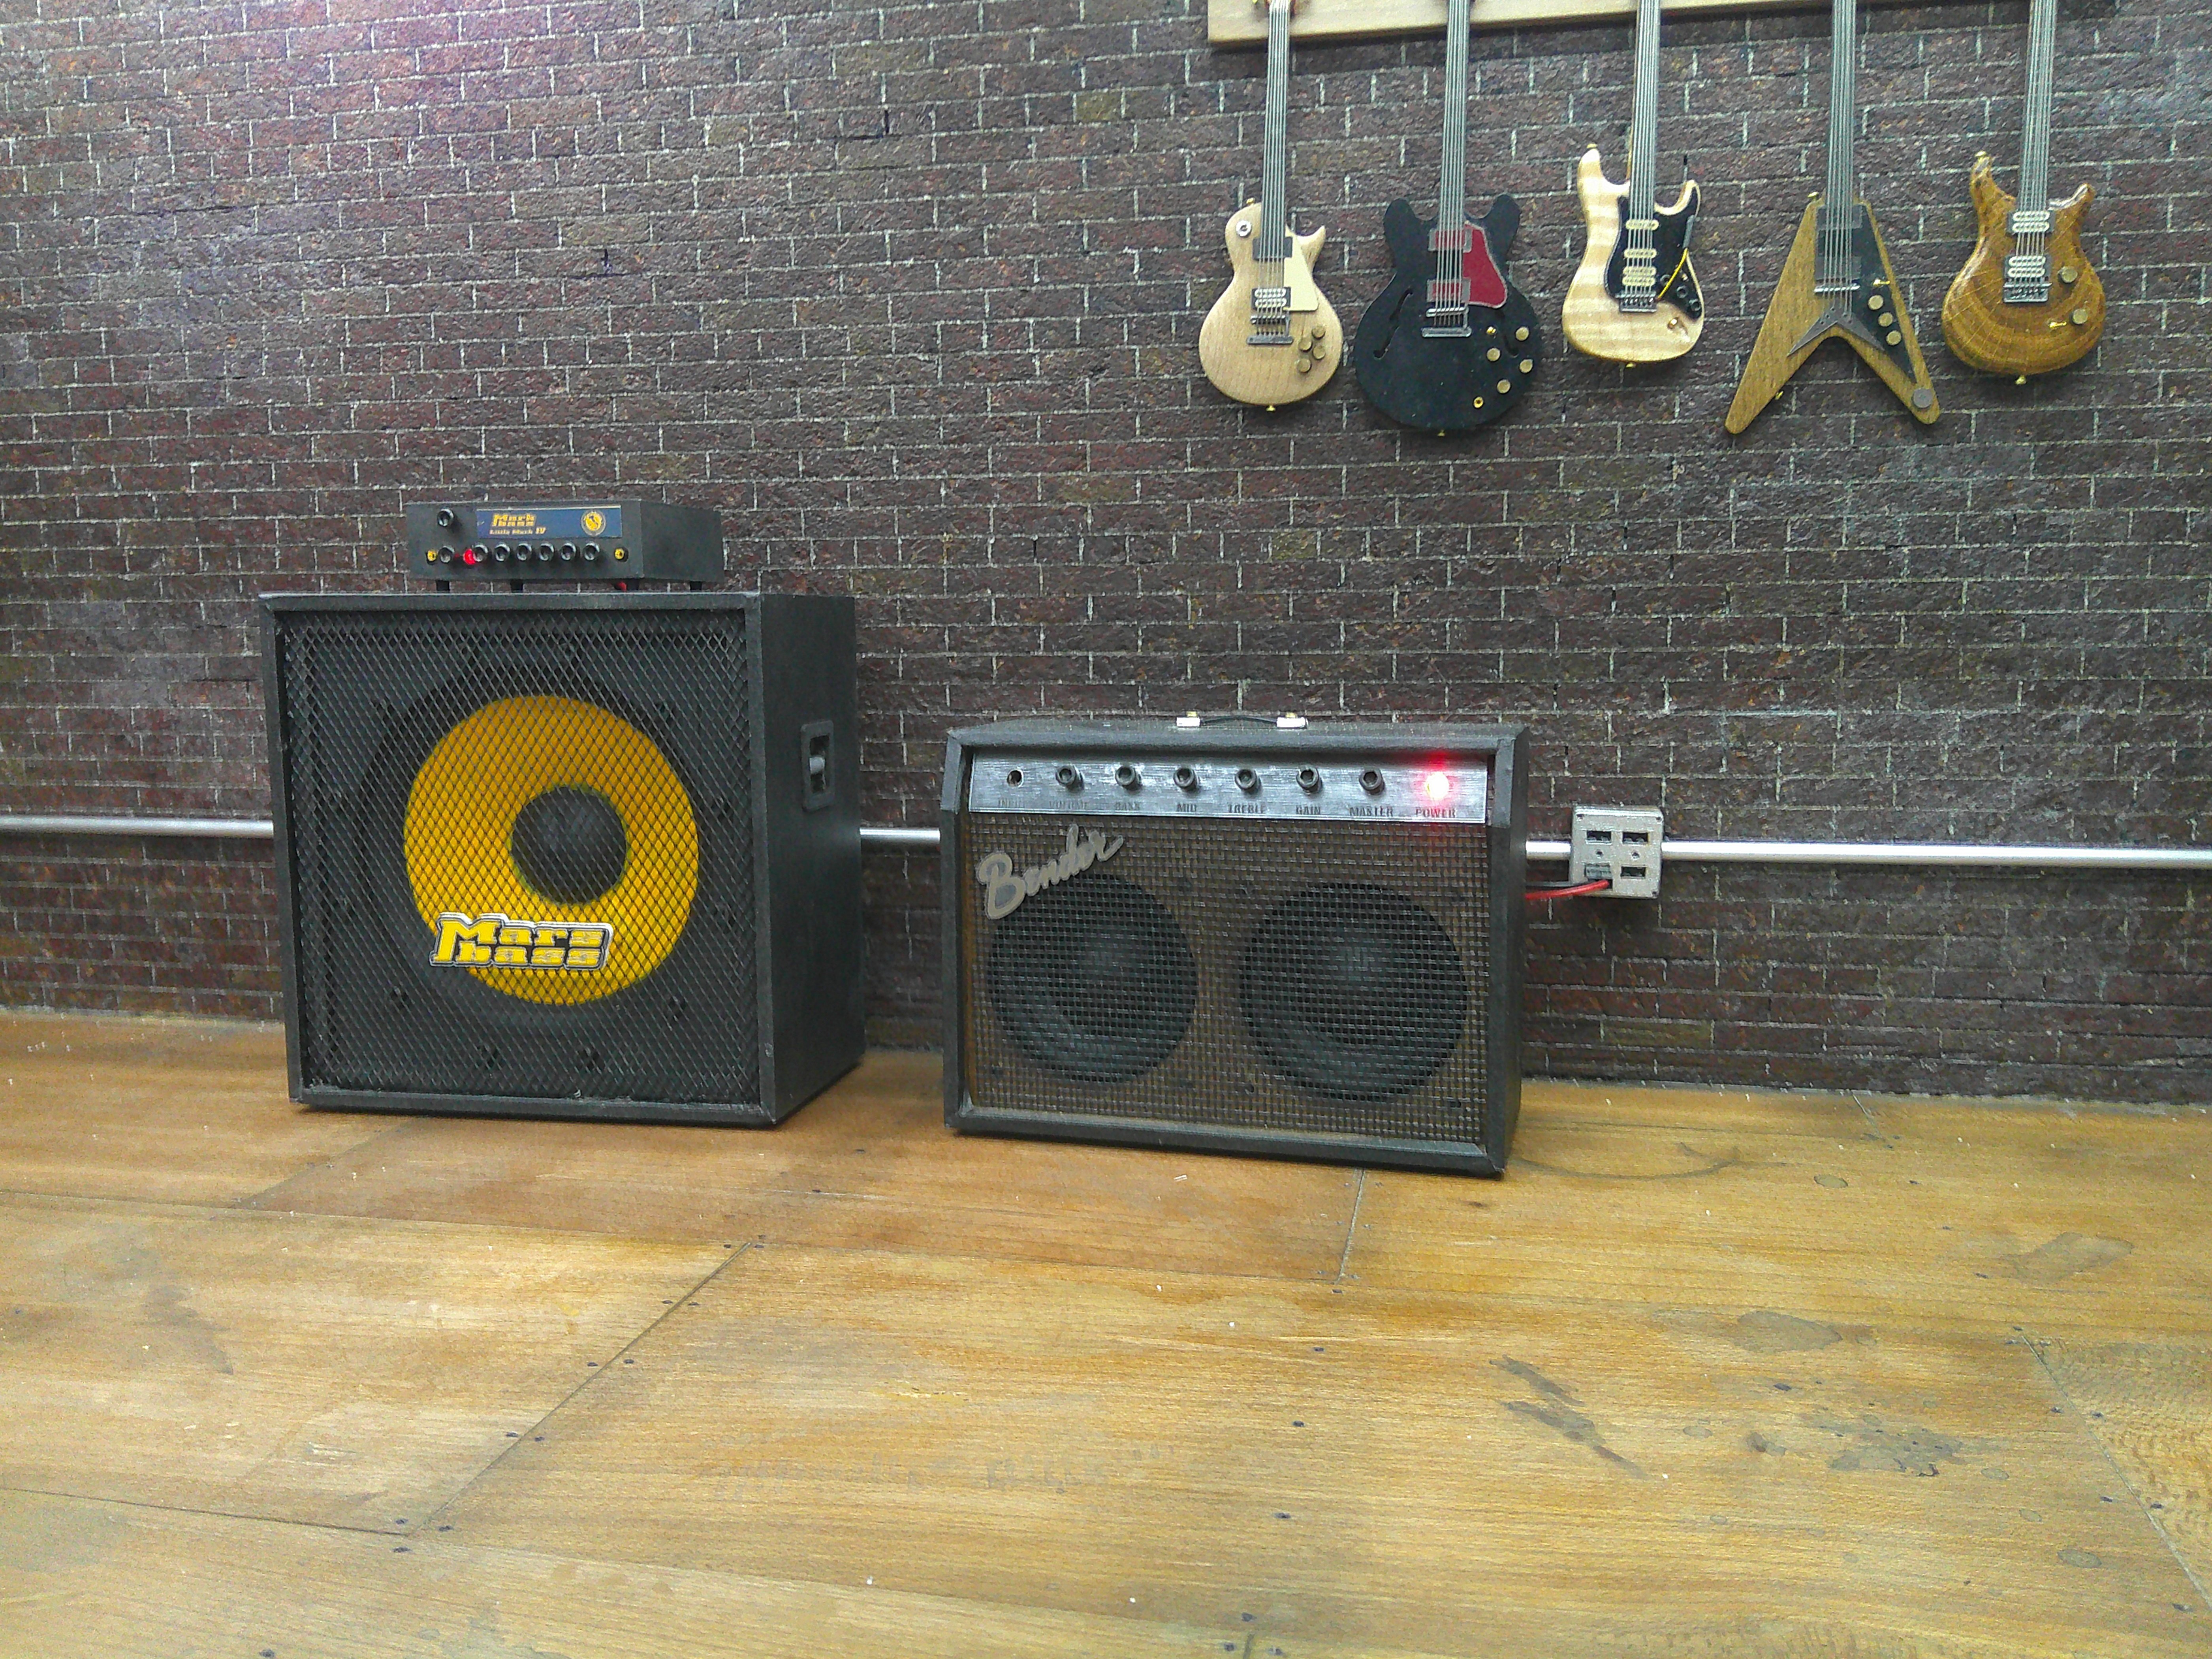
Yes, I just added some layers of dirt and dust to the conduit and outlet boxes. I may add more as they're still kinda reflective. I also added the dark burned marks from a short to one of the outlets.Now put a layer of gray dust on top of that conduit. Our house was built in 1911, and some of the "new" wiring (since replaced!!!) was installed with a system like this. Alternatively, paint the conduit dull aluminum.
thanks!Those look great! Conduit fits right in with the creative space aesthetic!


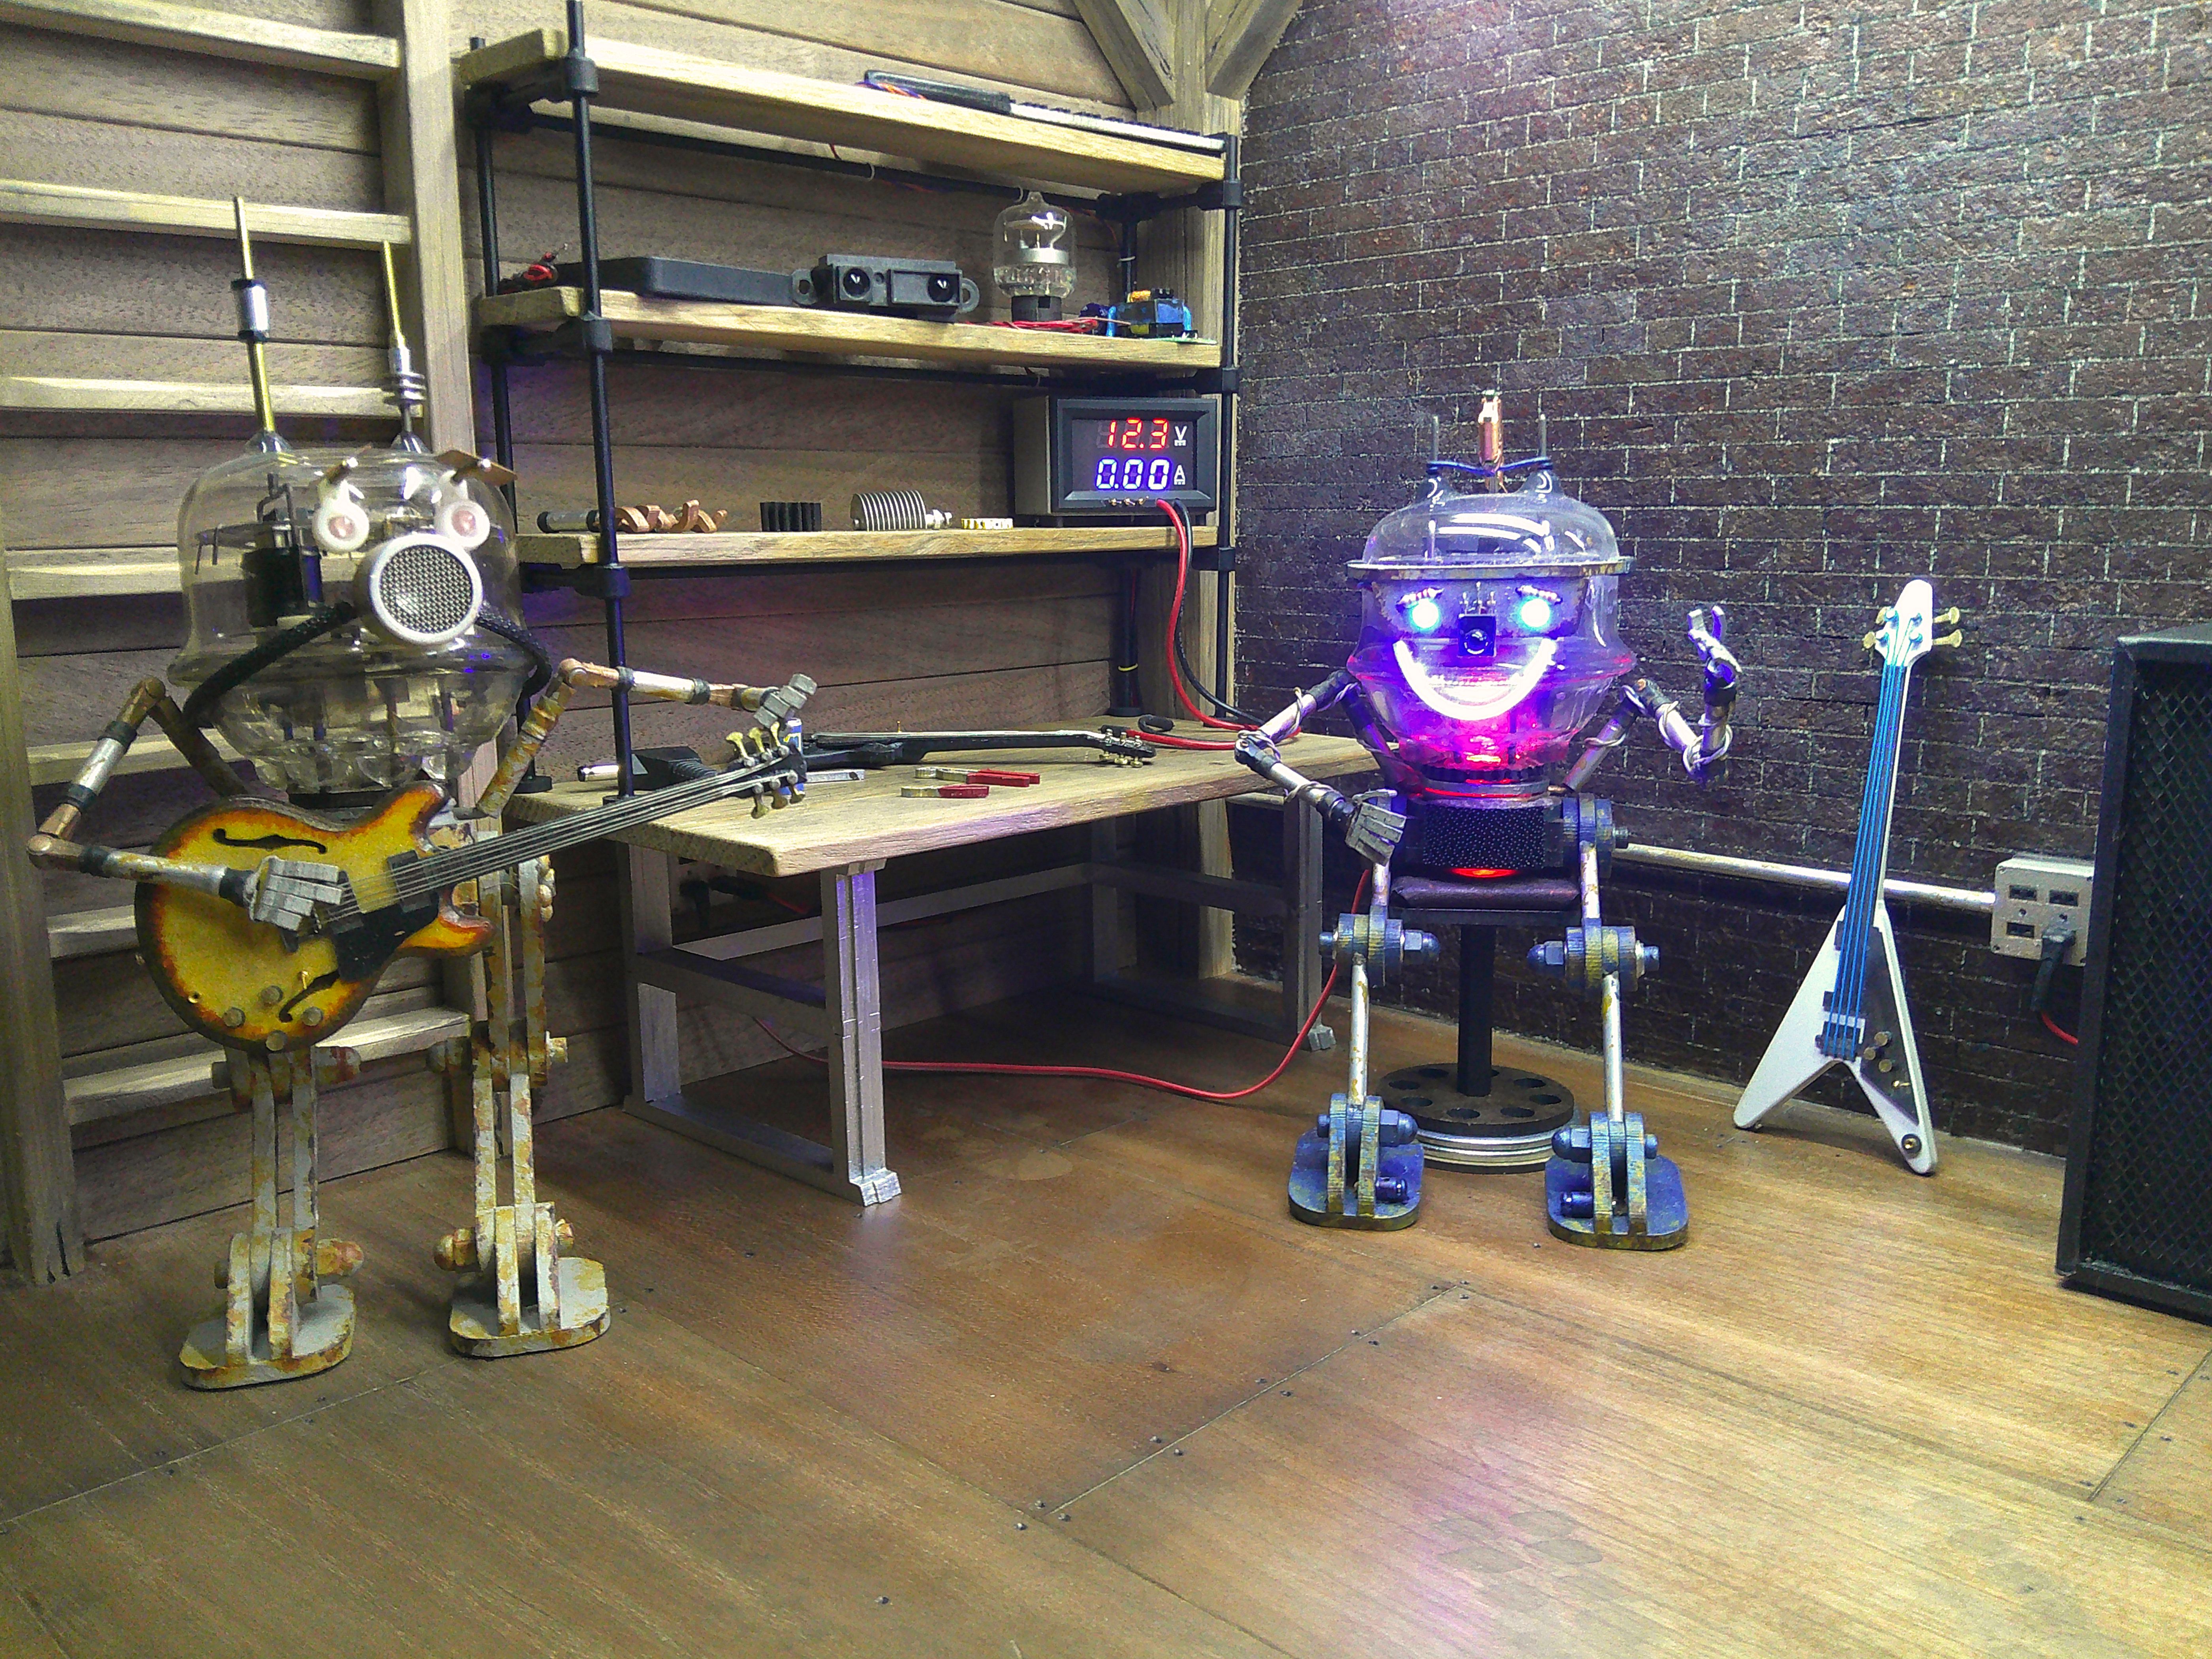

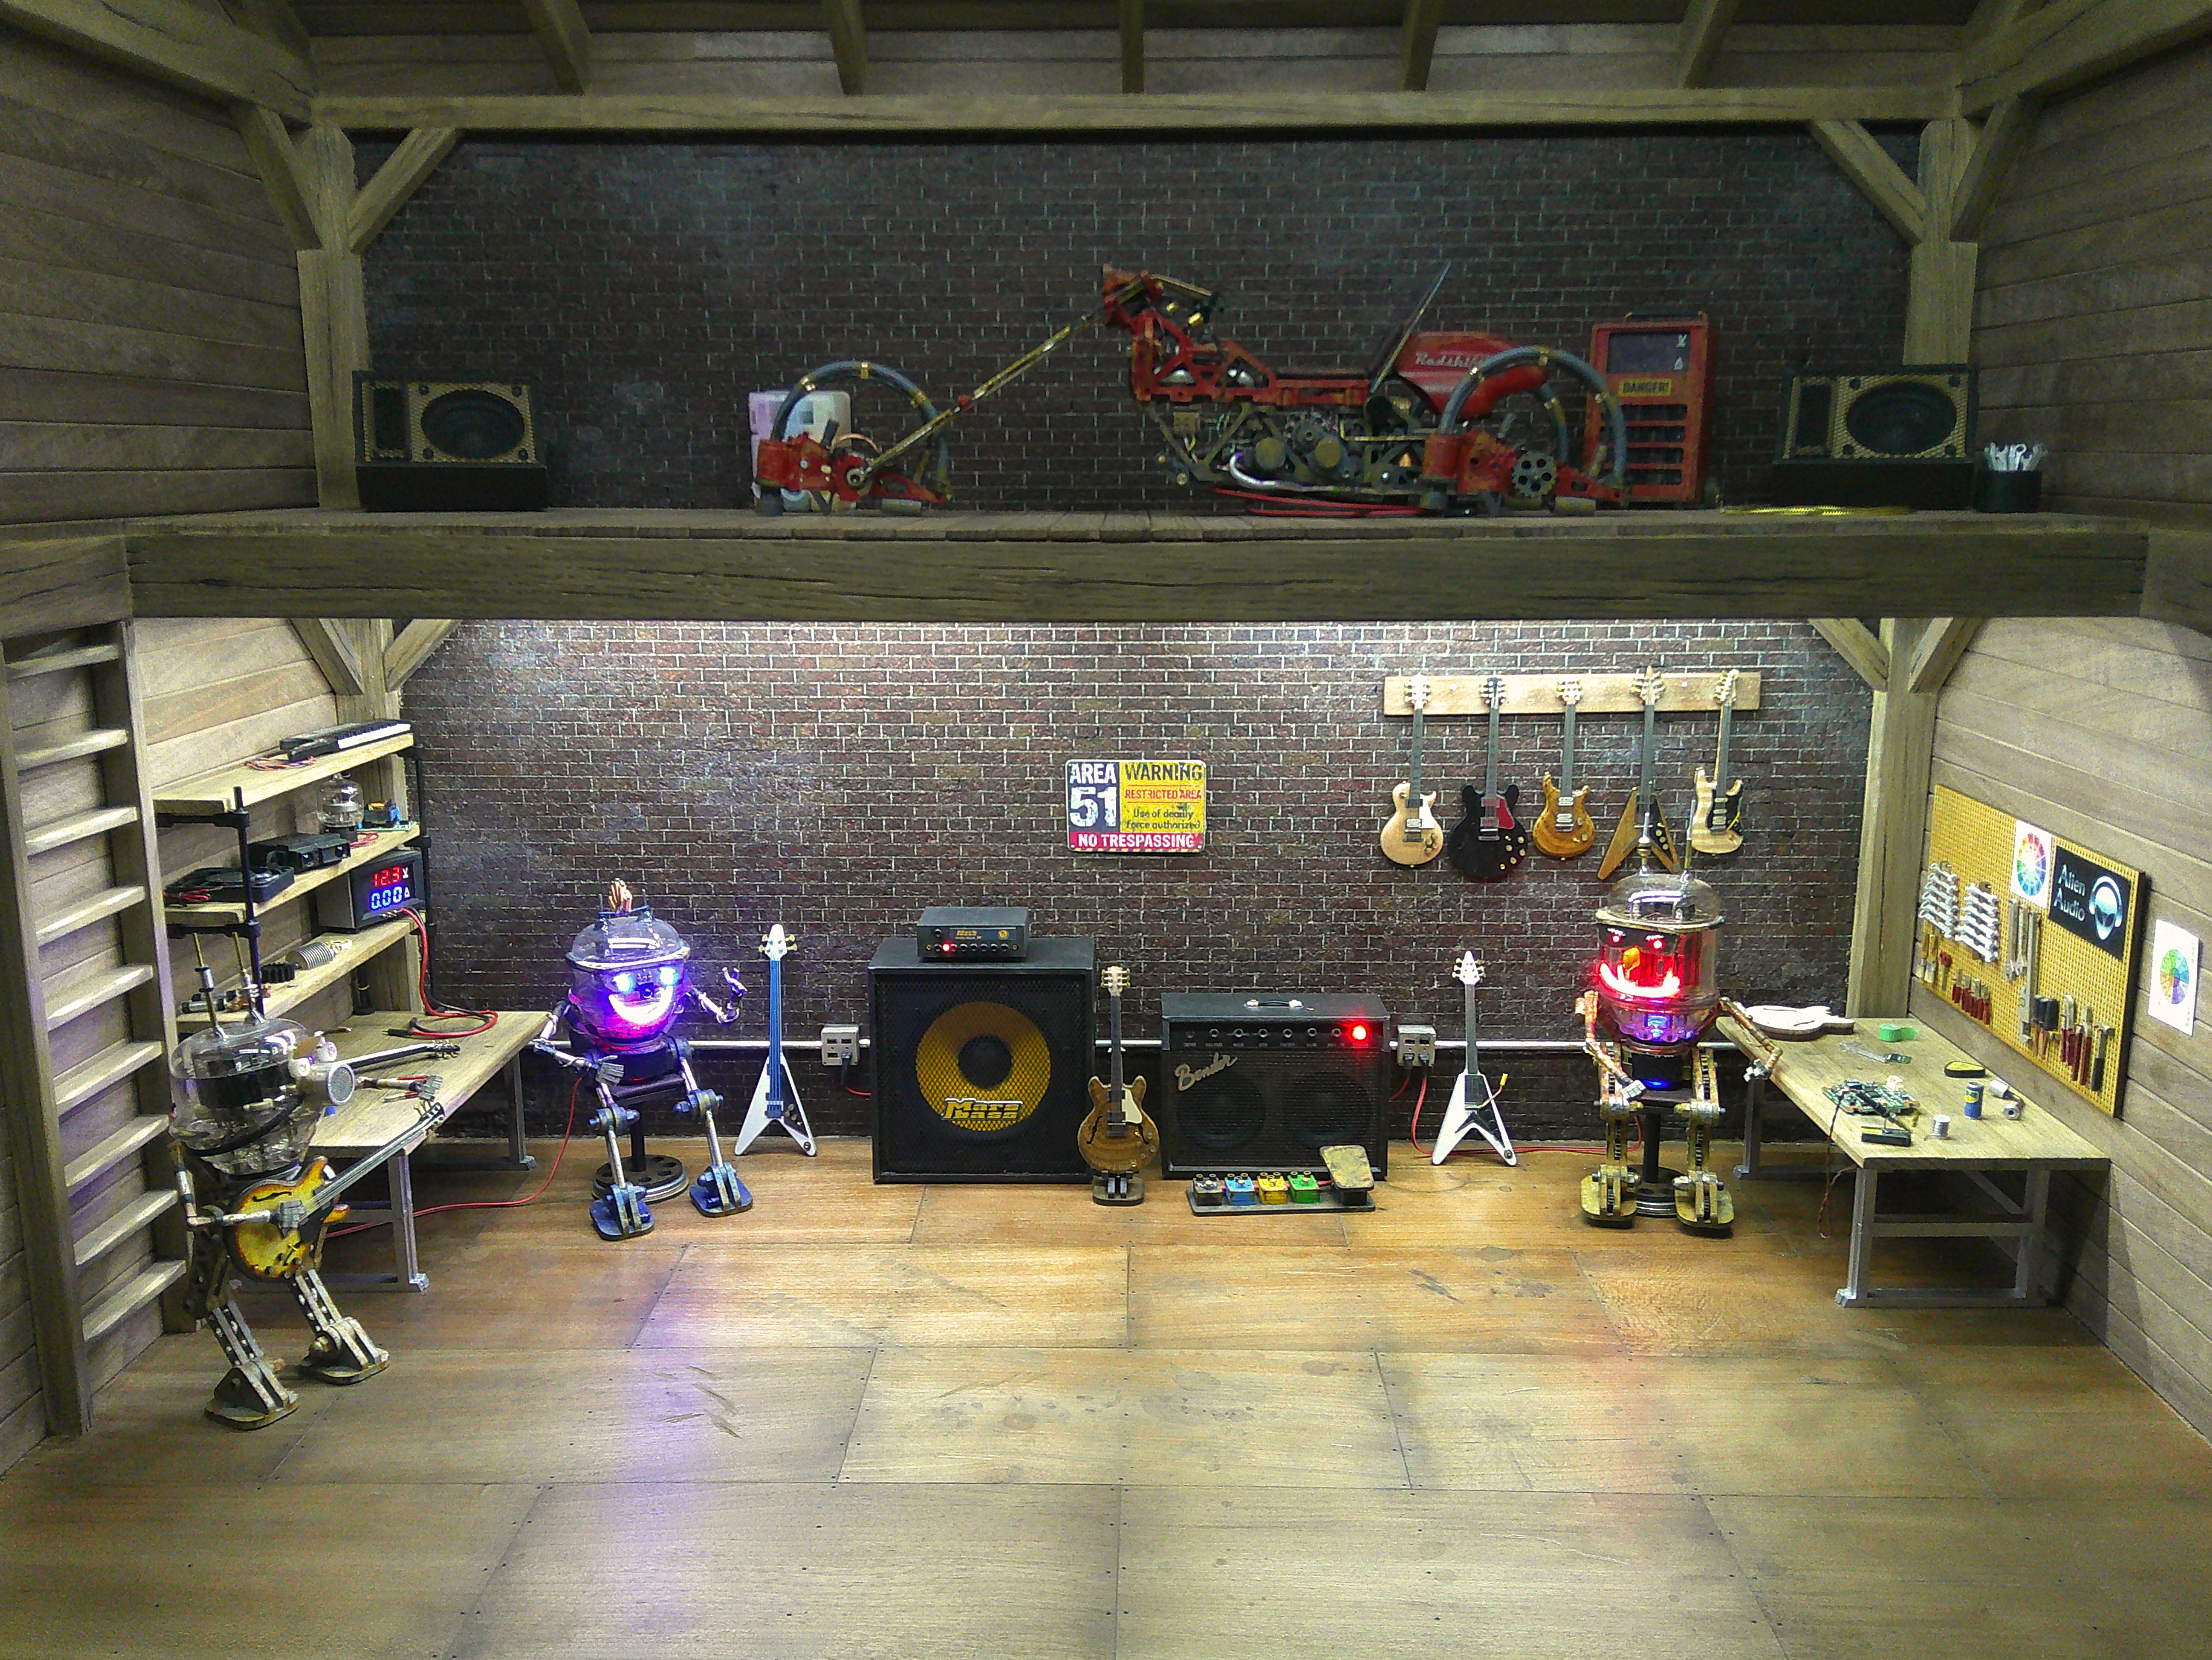
Yes I will give it another look. Thanks!Maybe try a gray wash on top of the conduit and outlet boxes? I agree they are still pretty stark. Love the burns from the shorted socket!
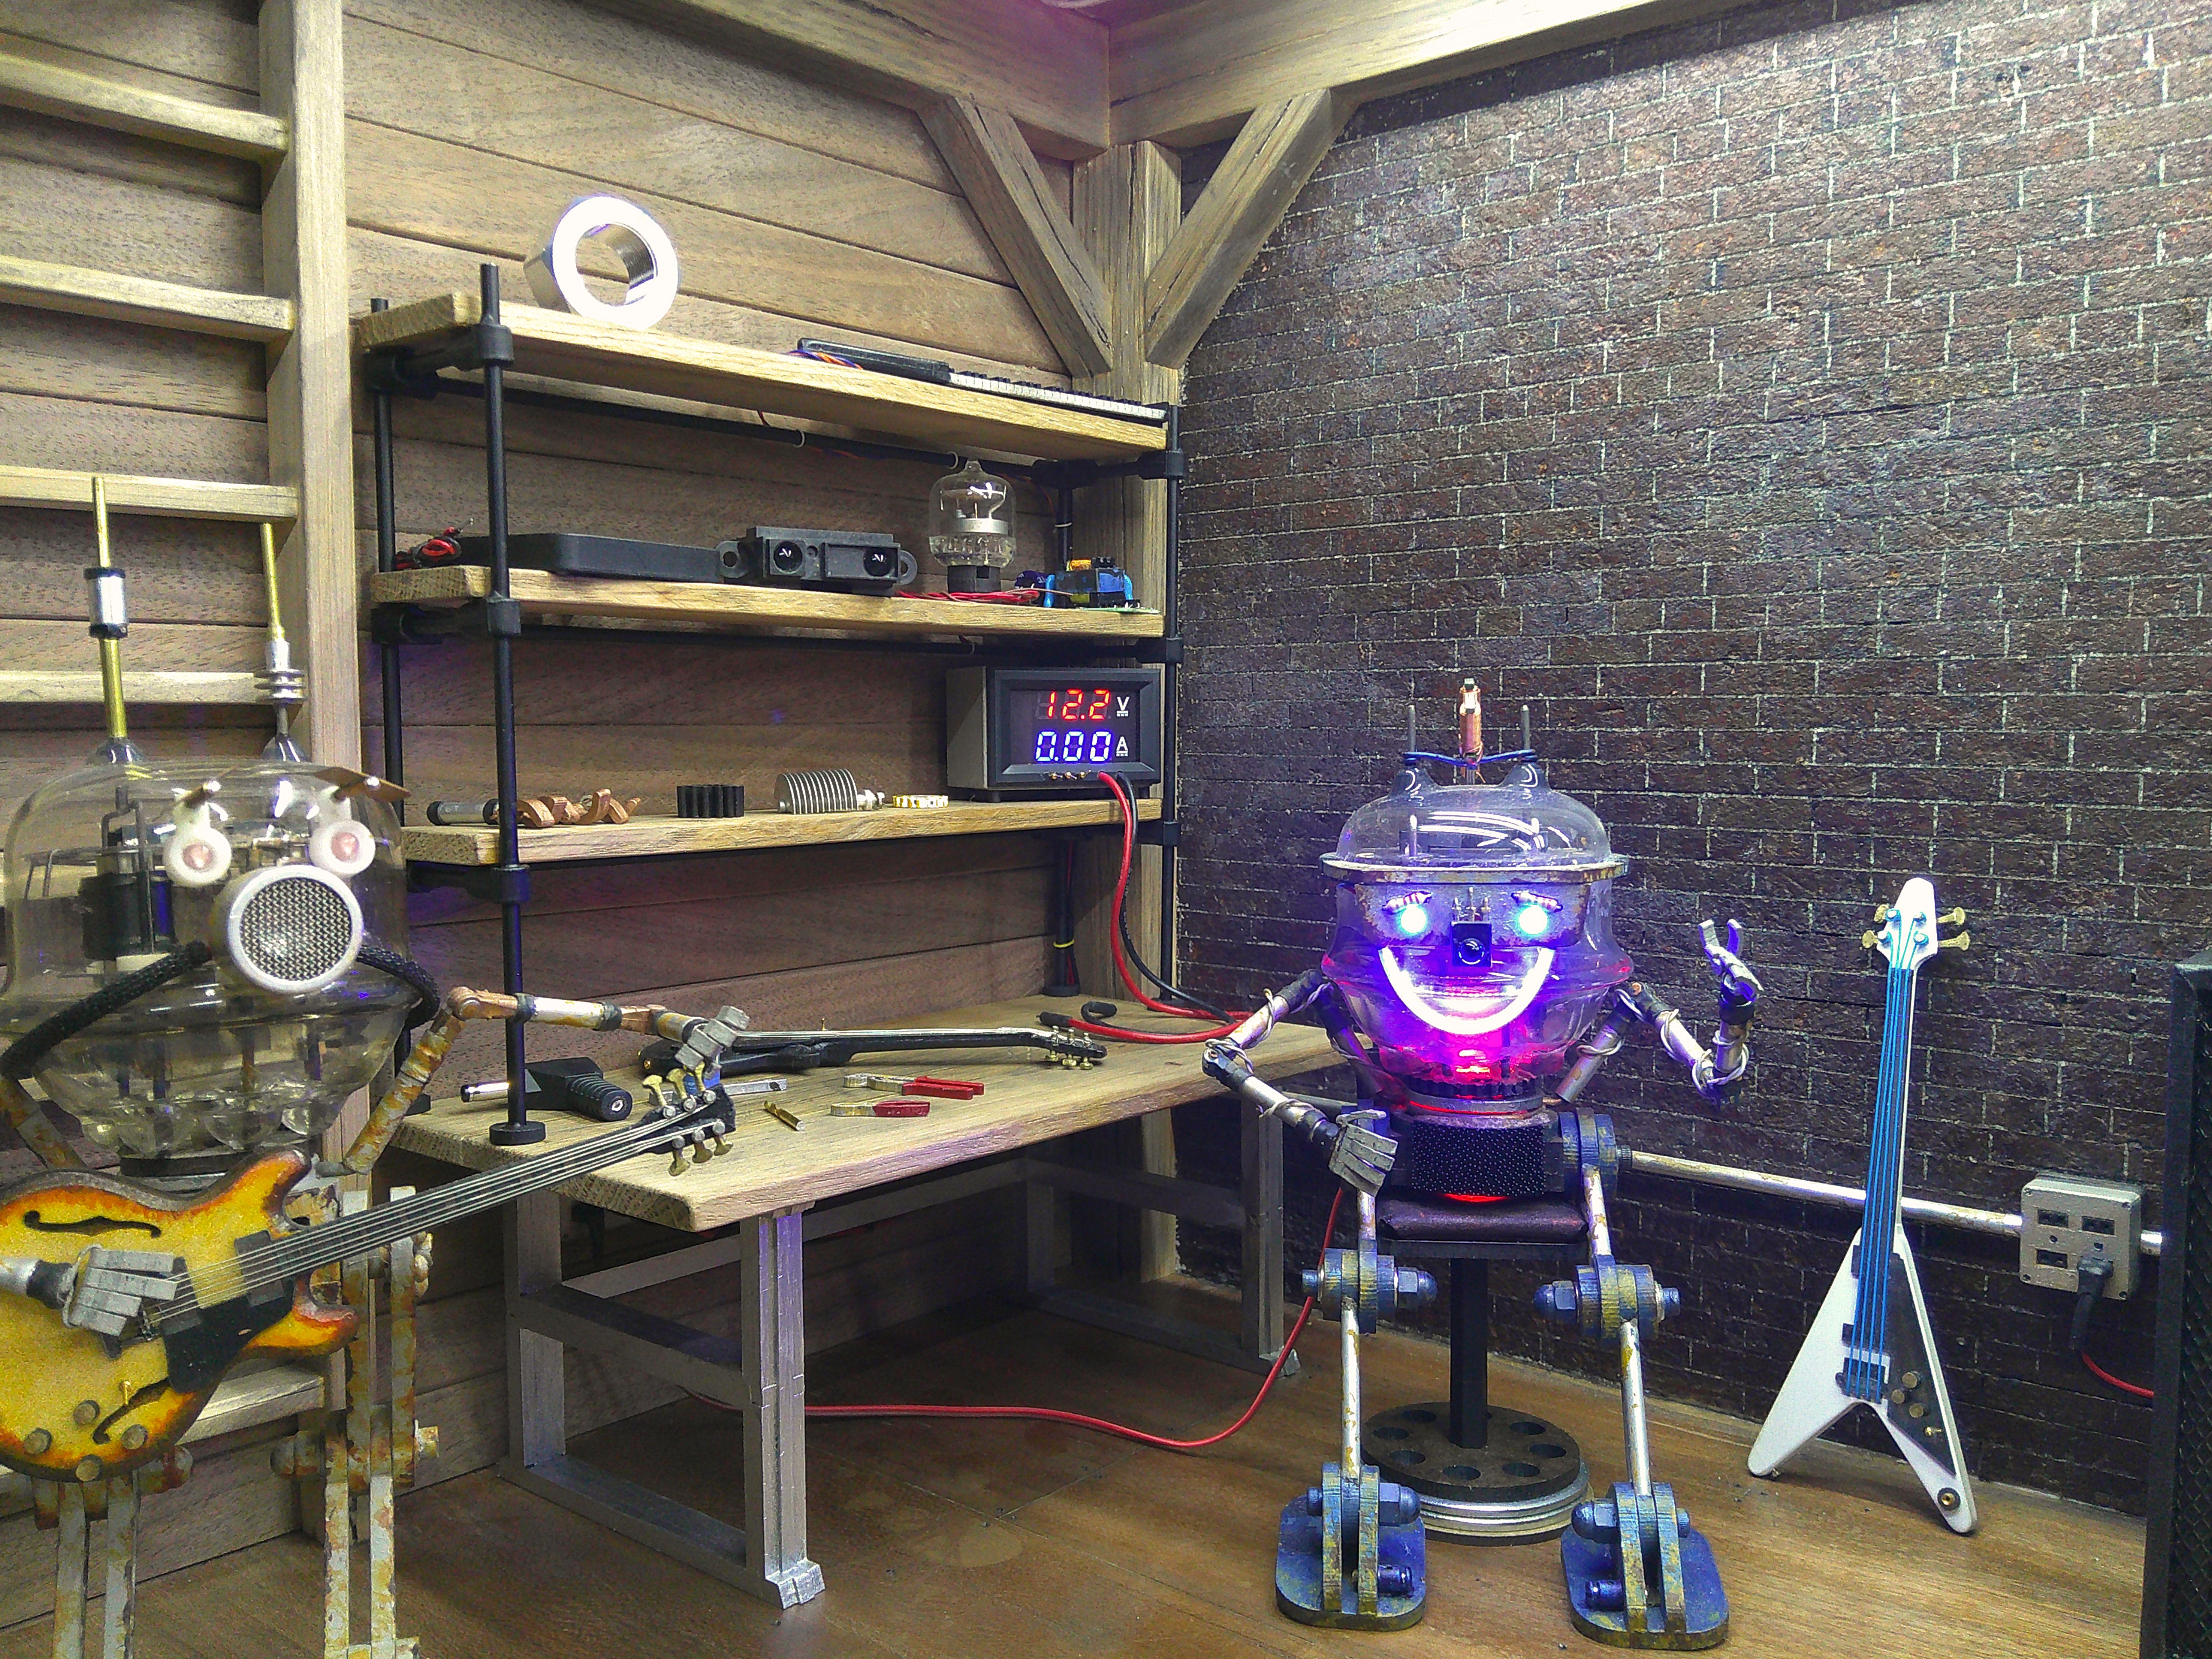
just noticed the circle of 5ths poster... nice!interesting things to add


