Space Robots from Outer Space

Scale Model Addict - Model Tips, Guides, Tools & Tech, Tutorials, and Community

Help Support Scale Model Addict:

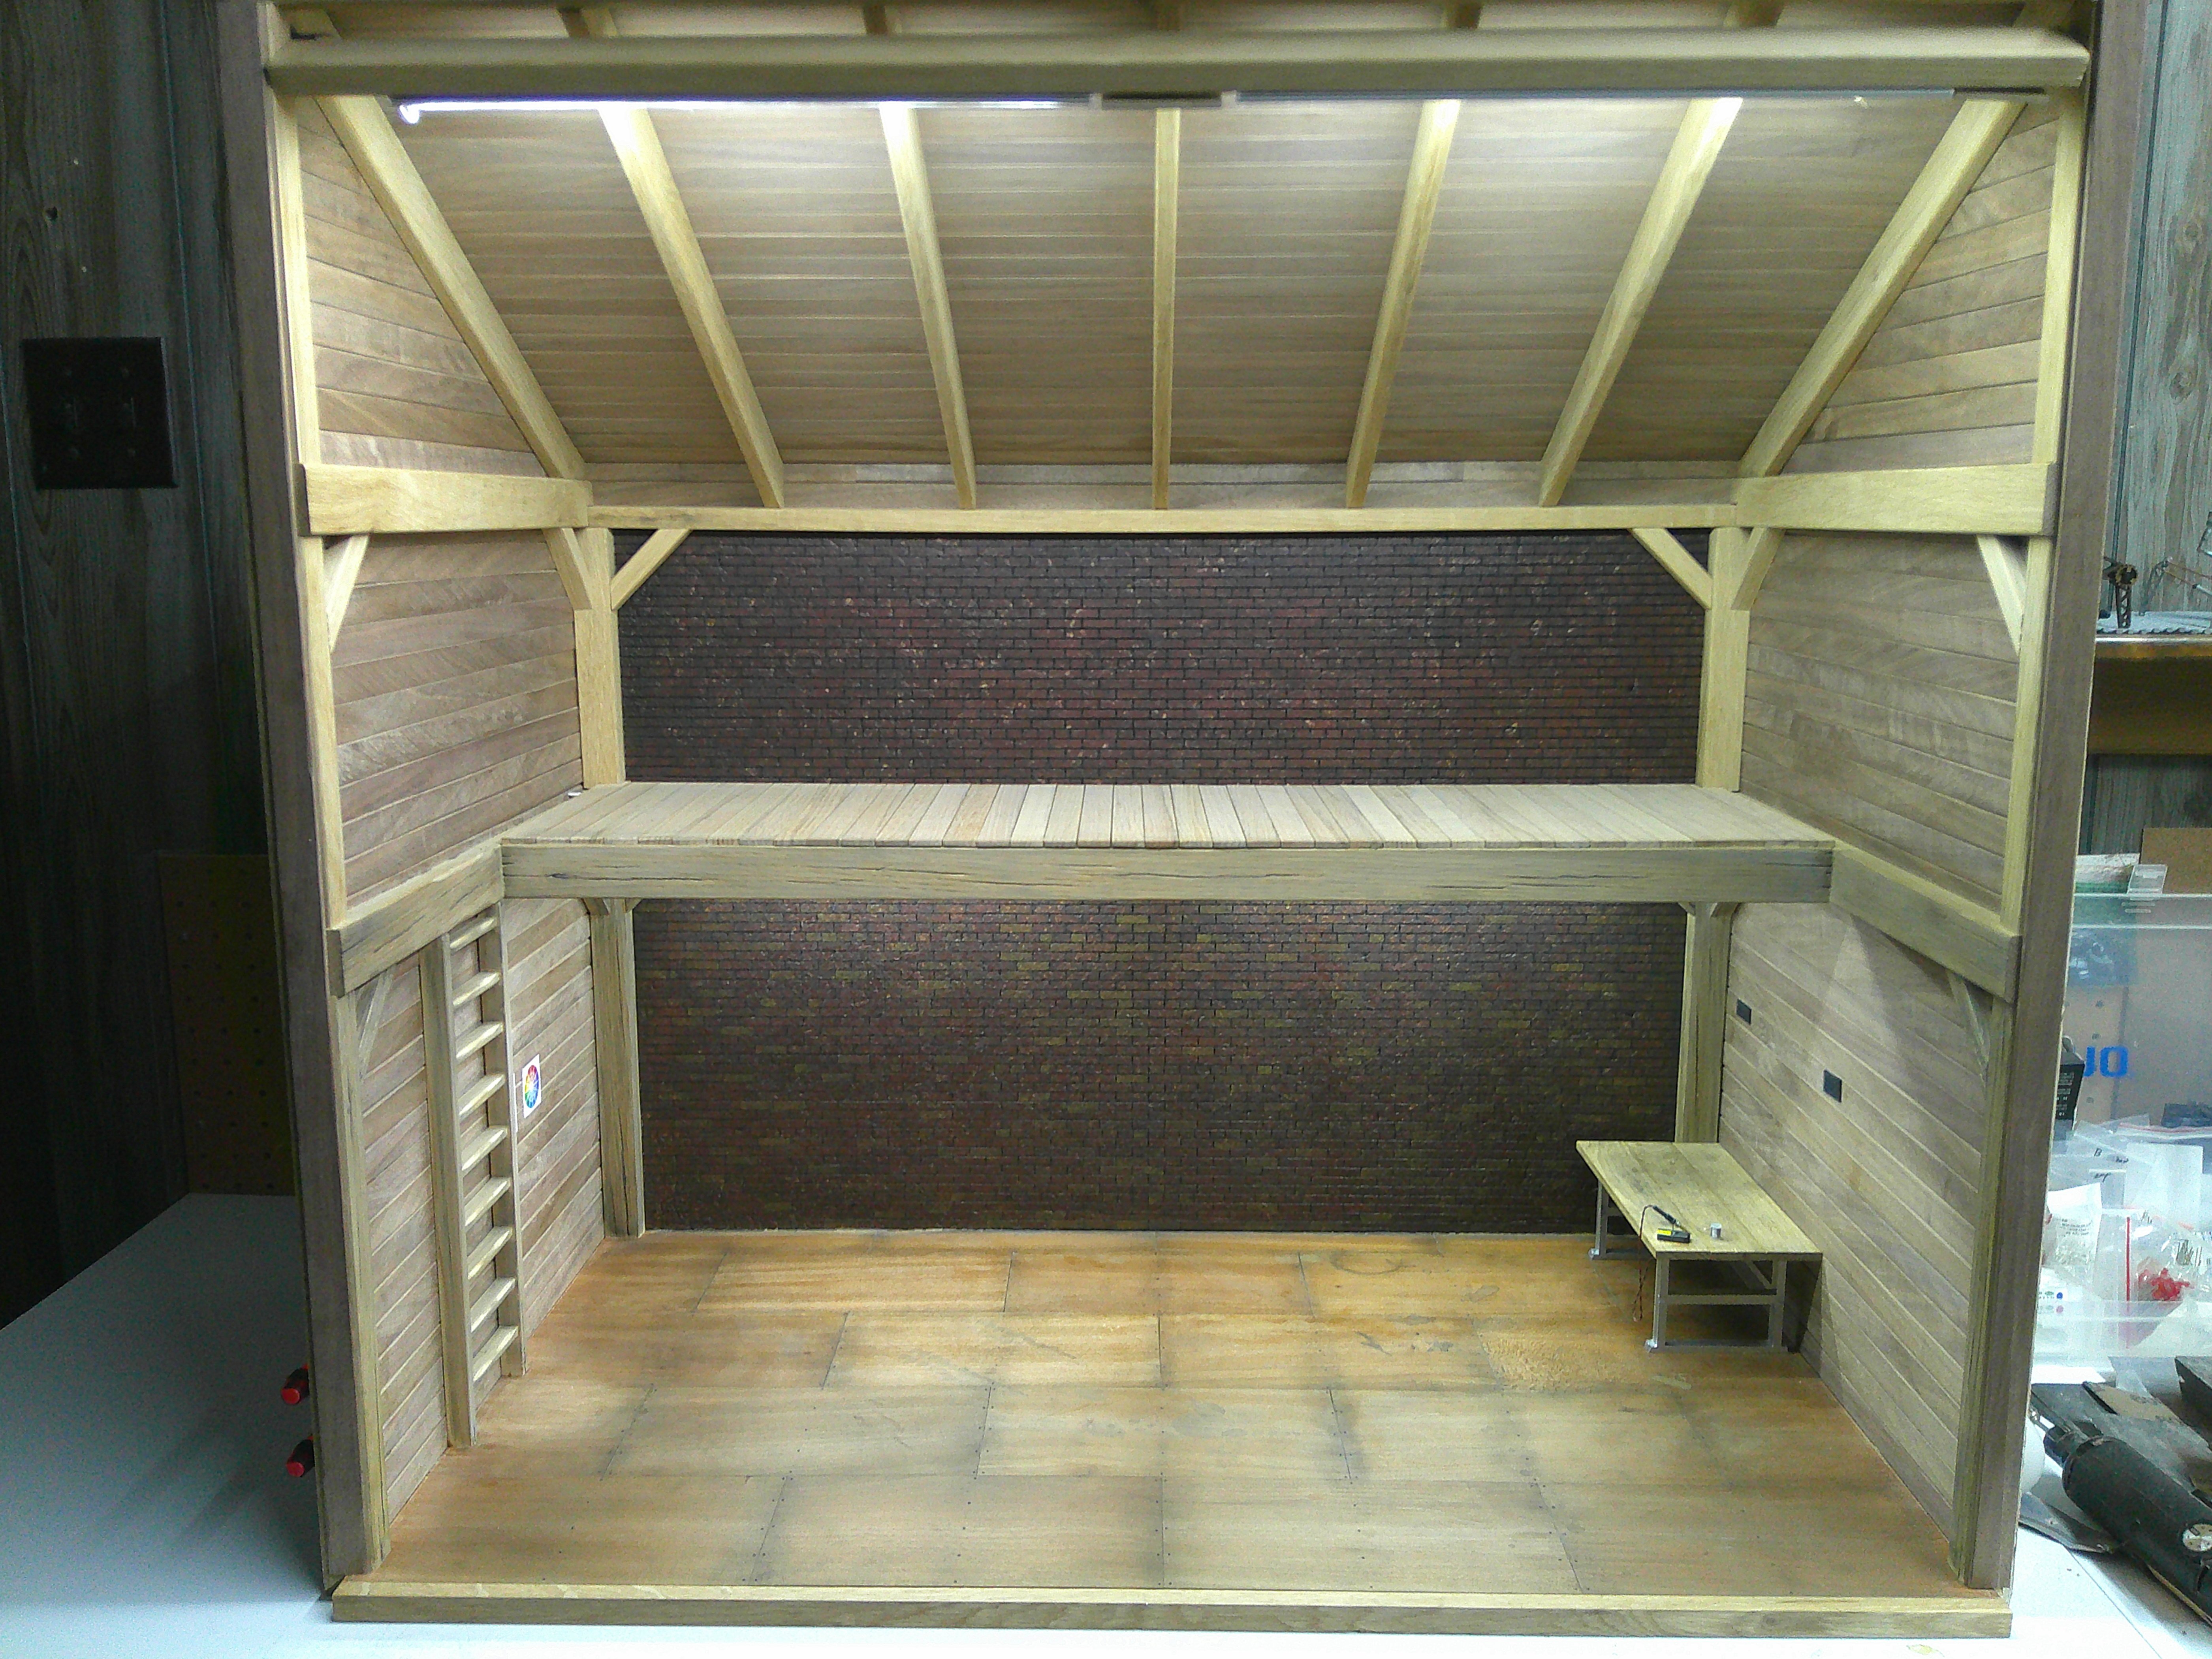
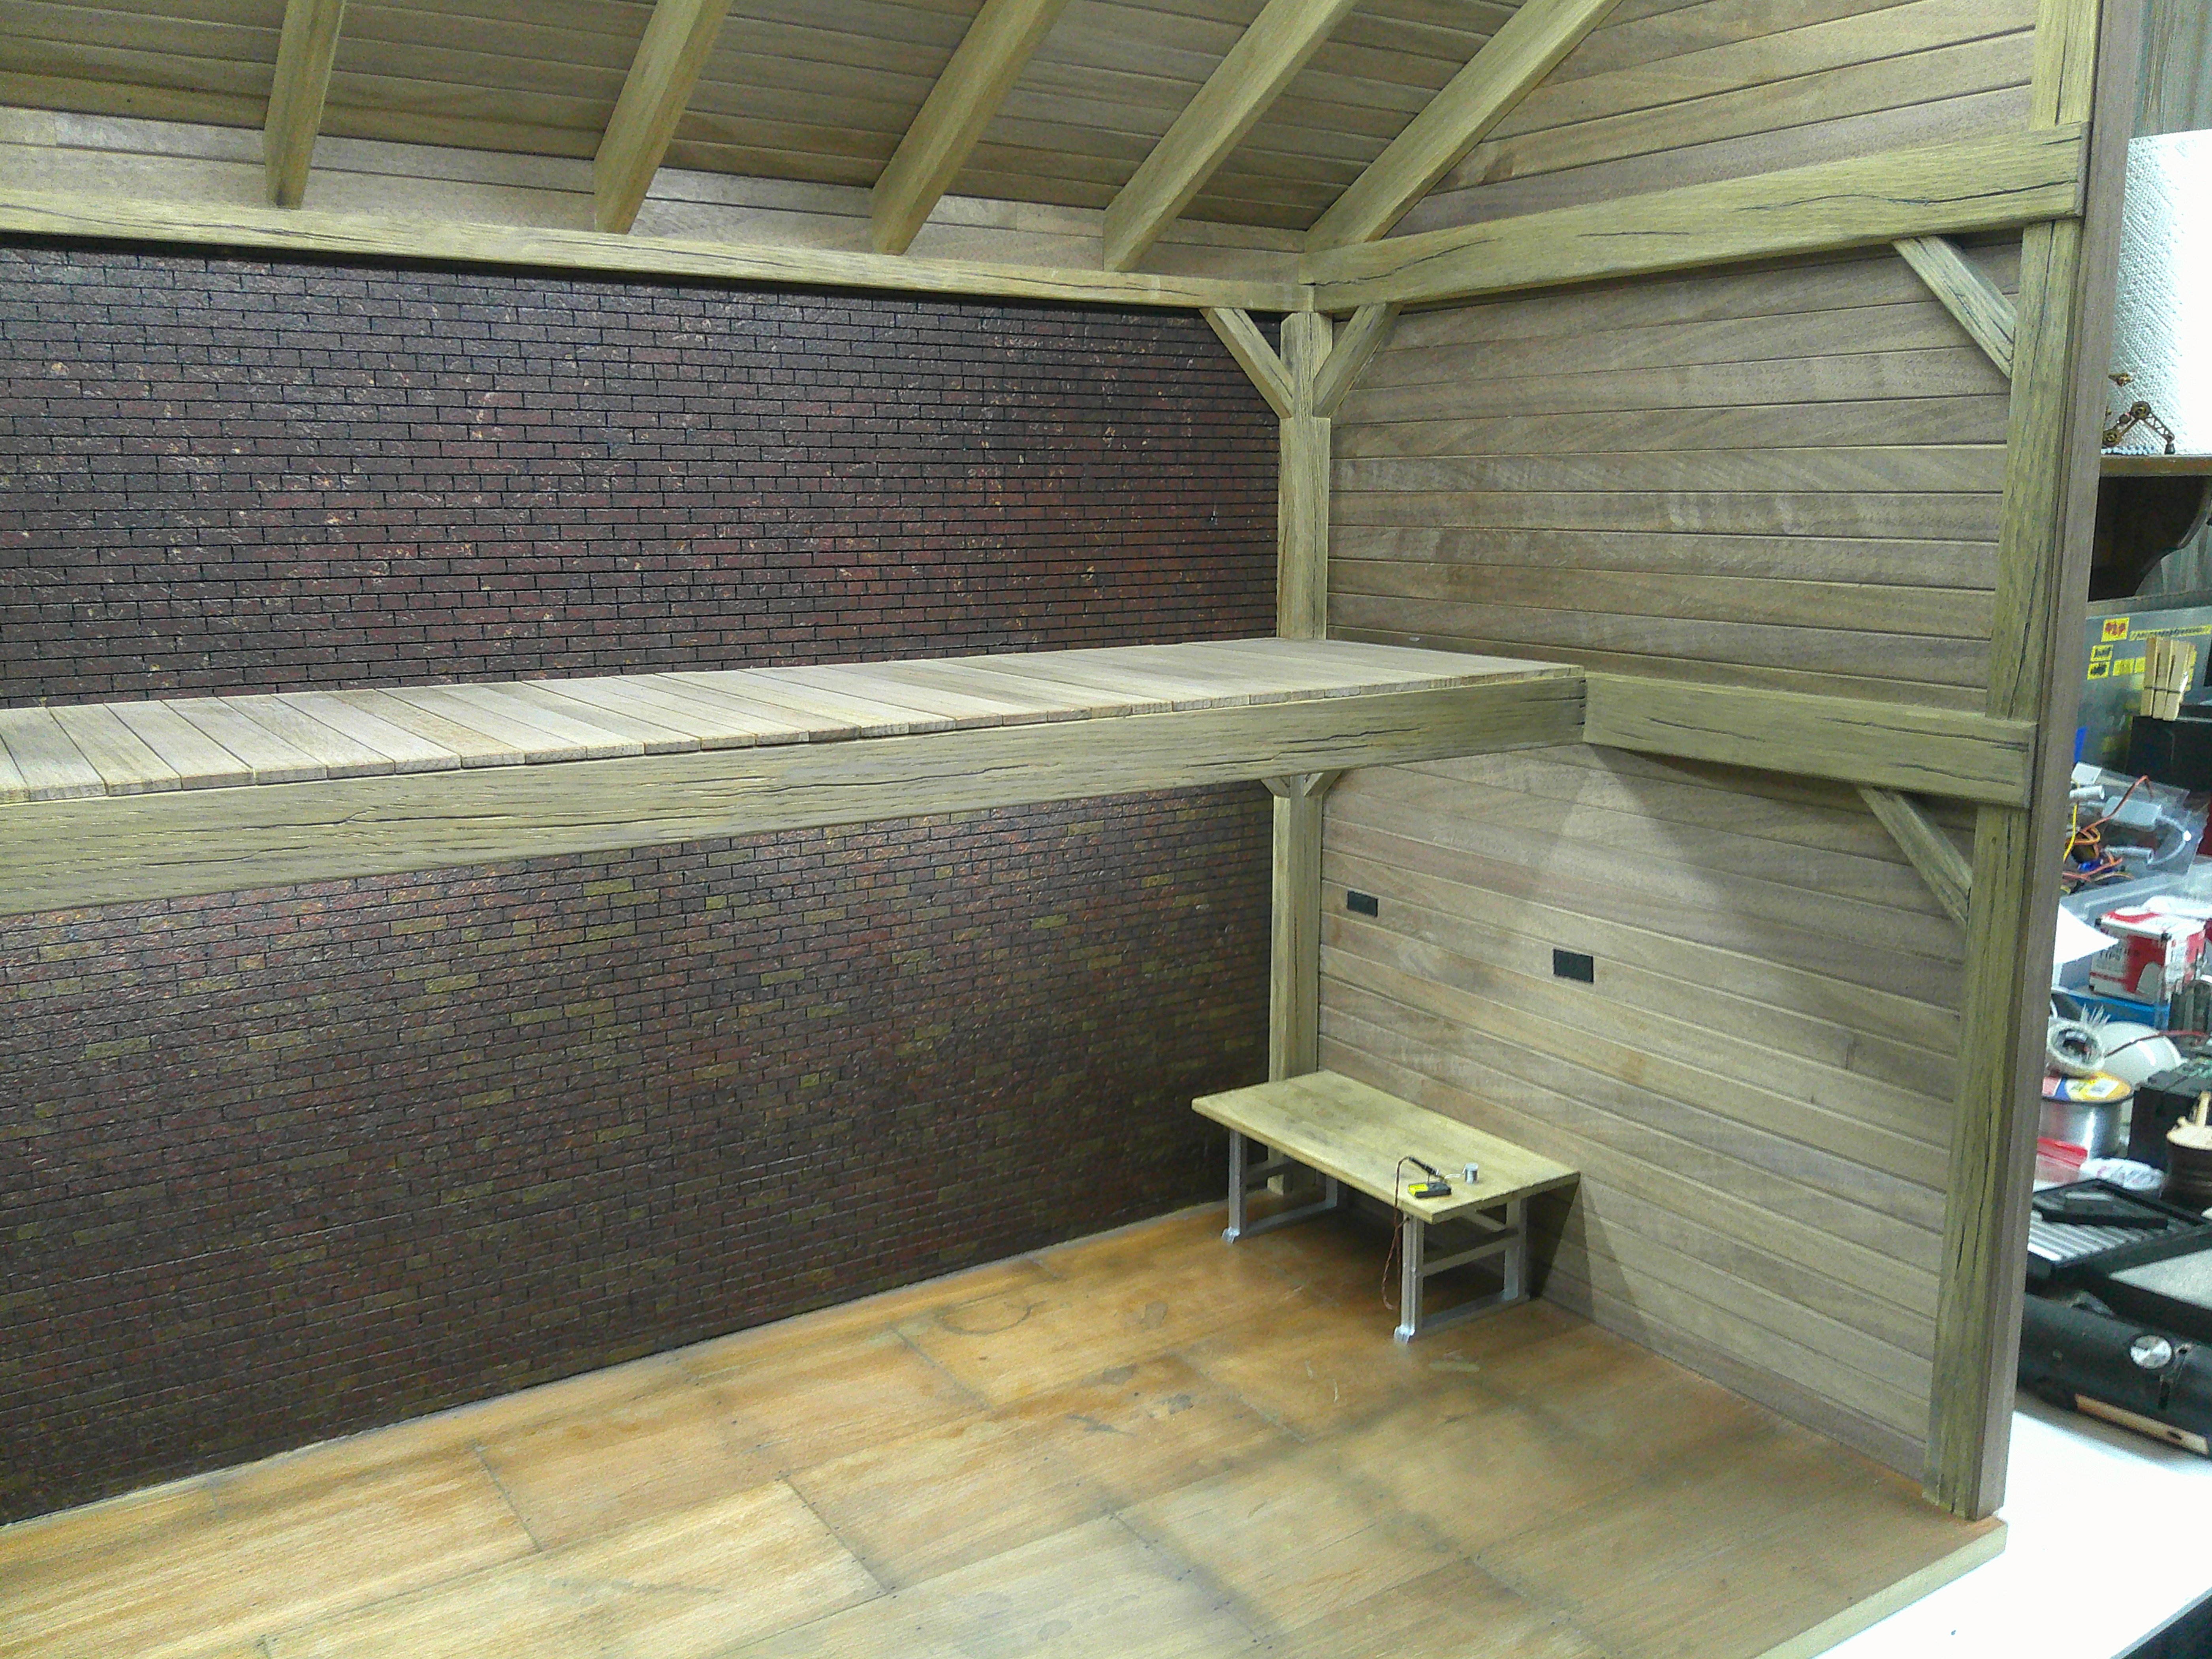
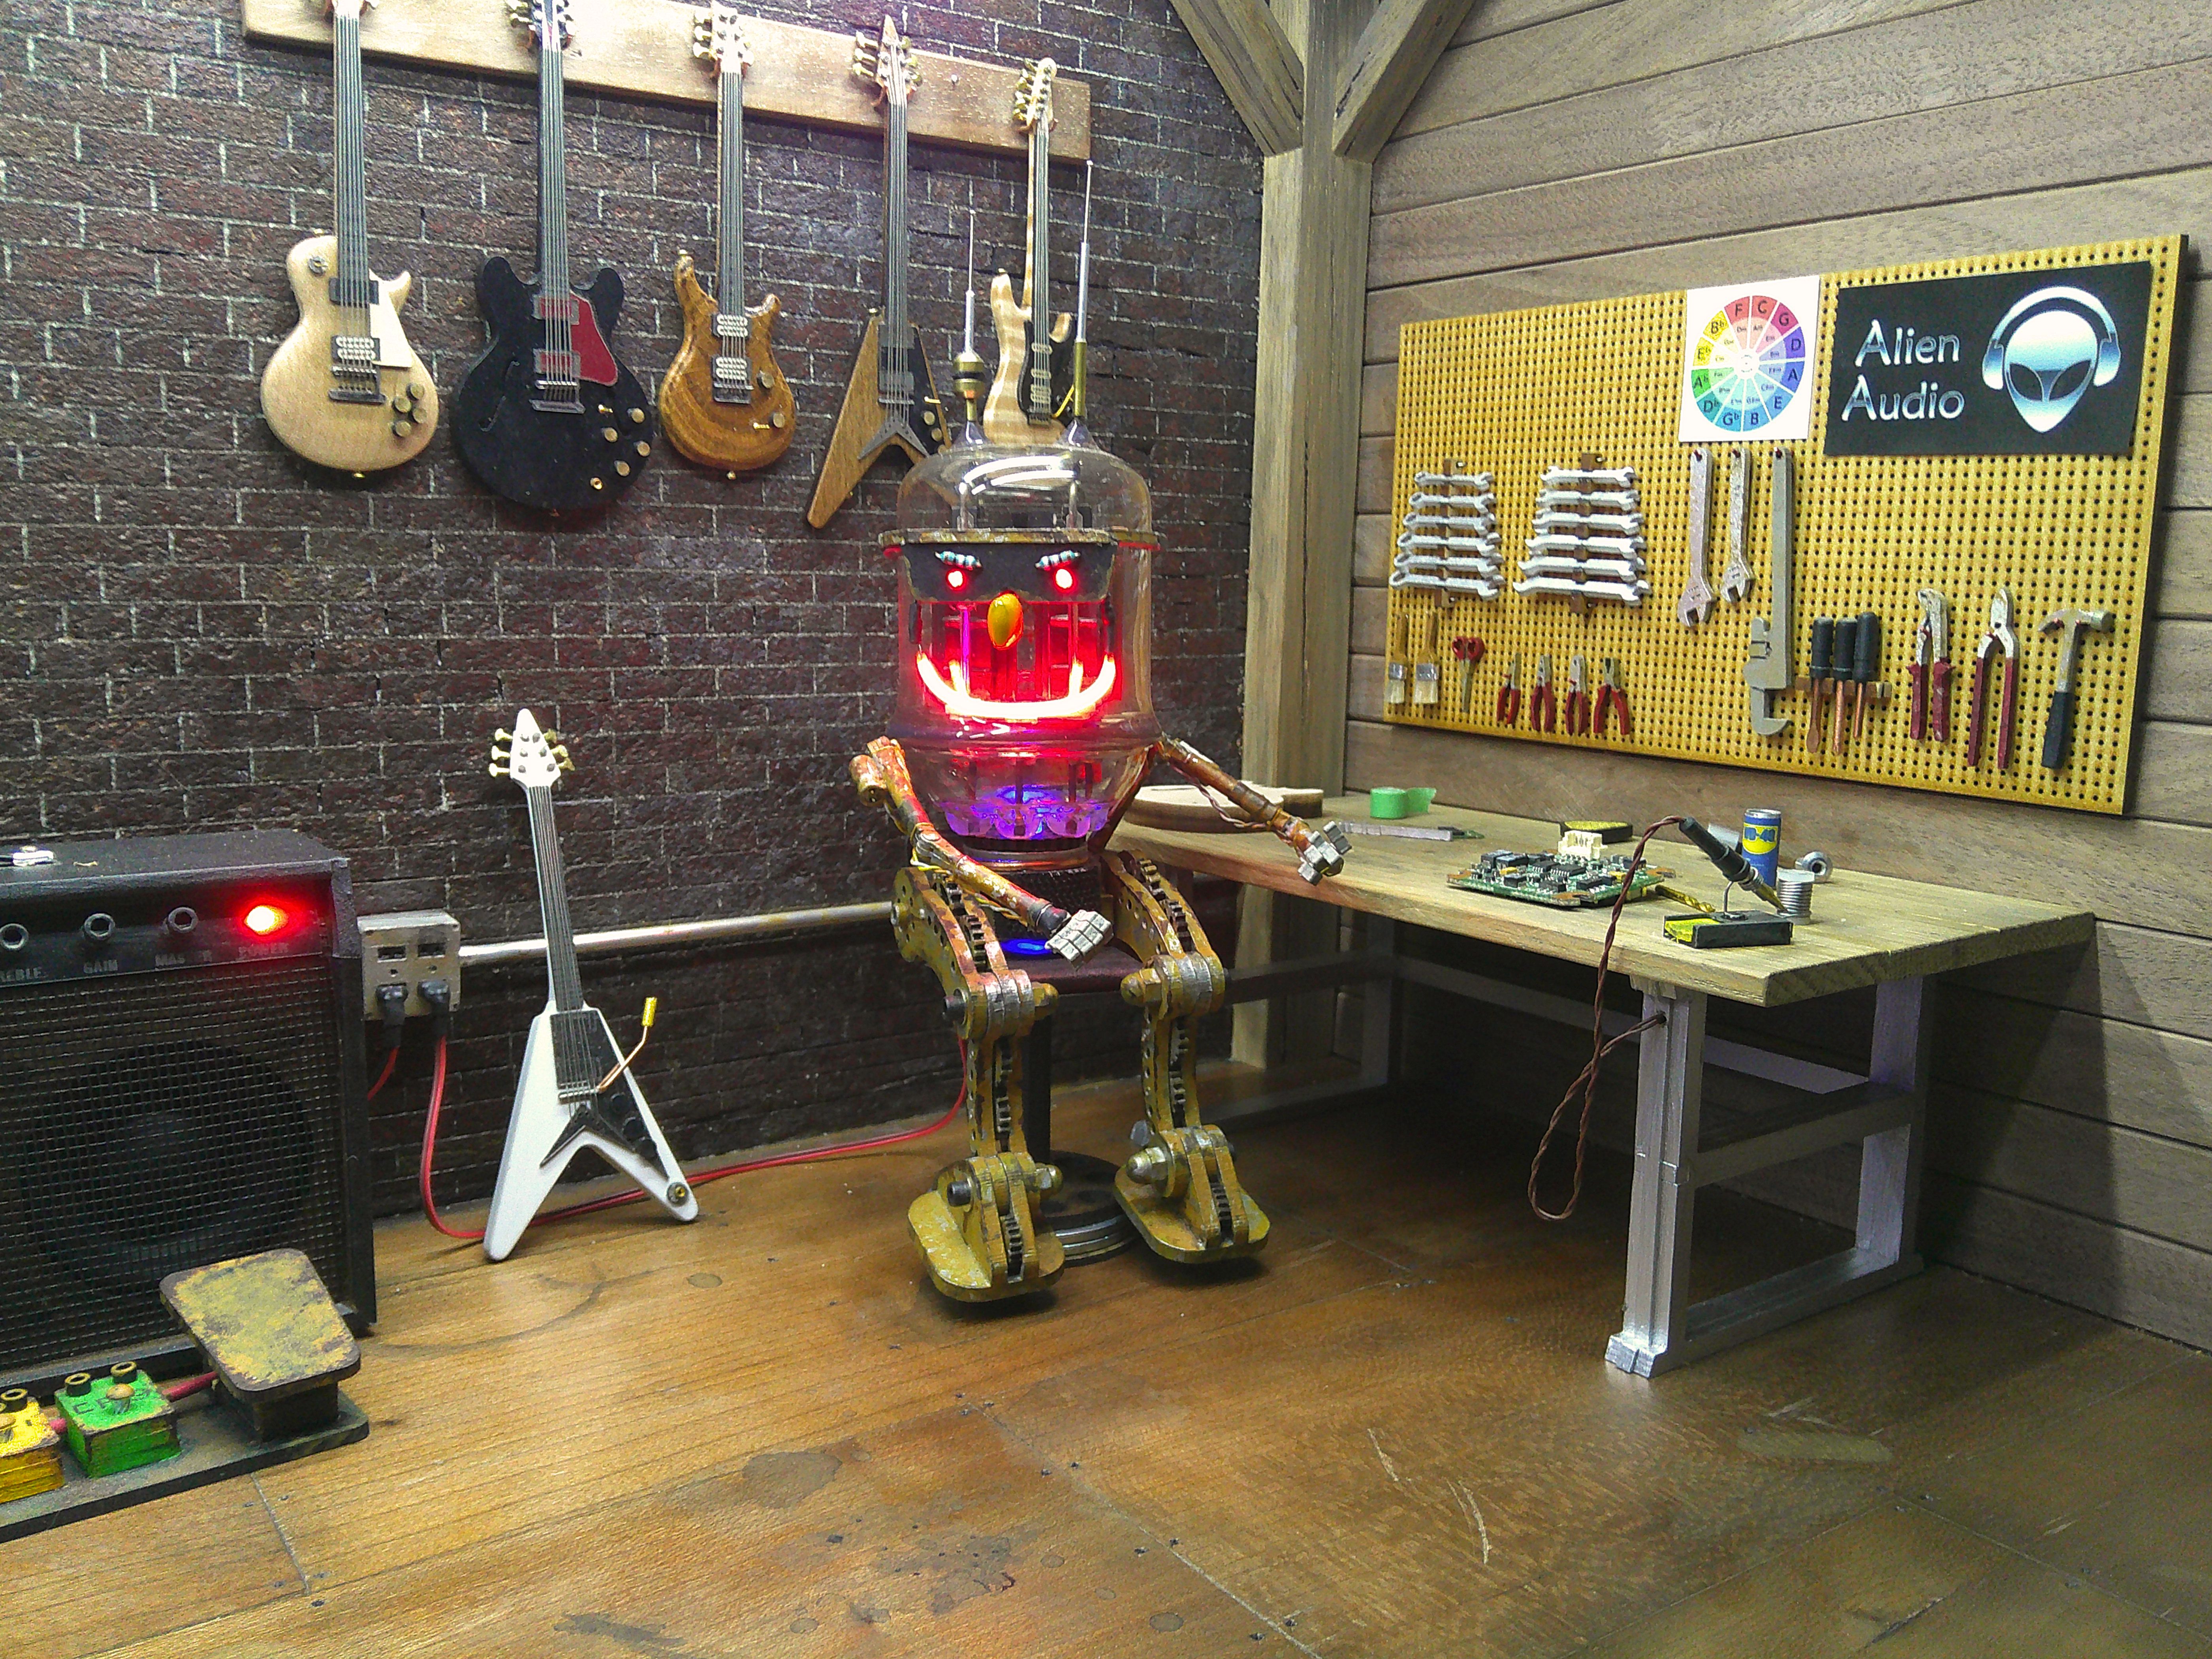
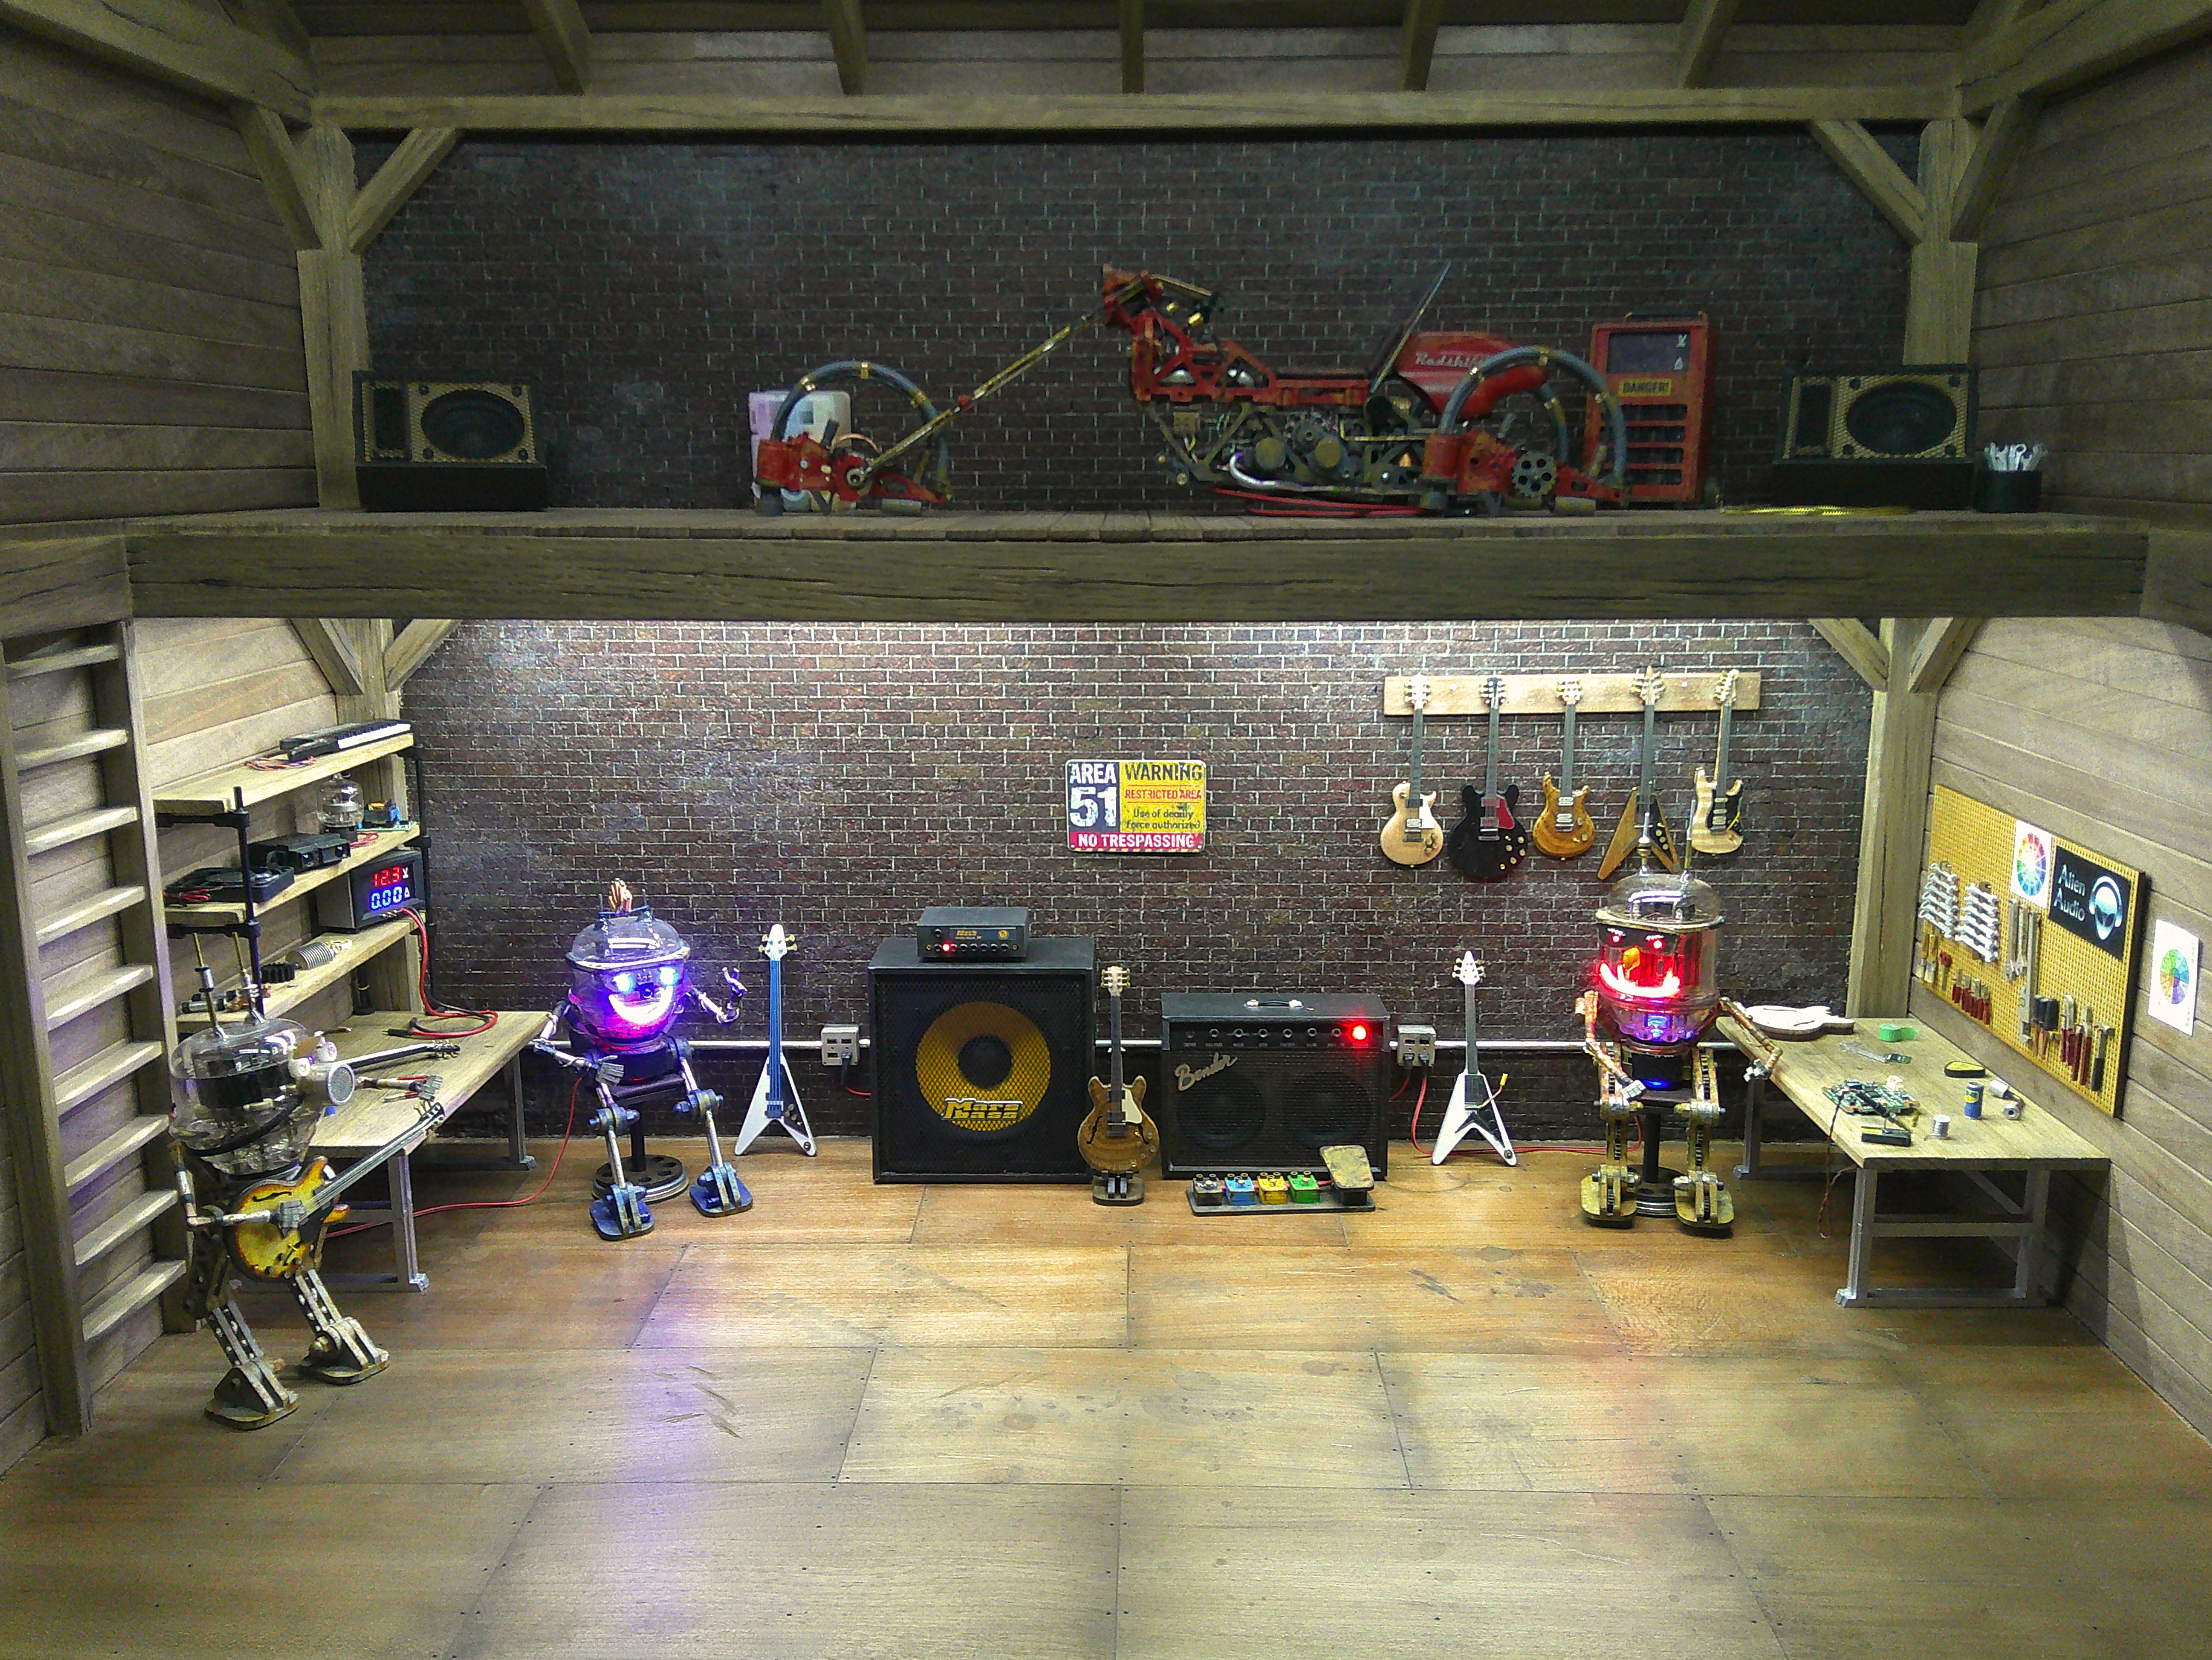
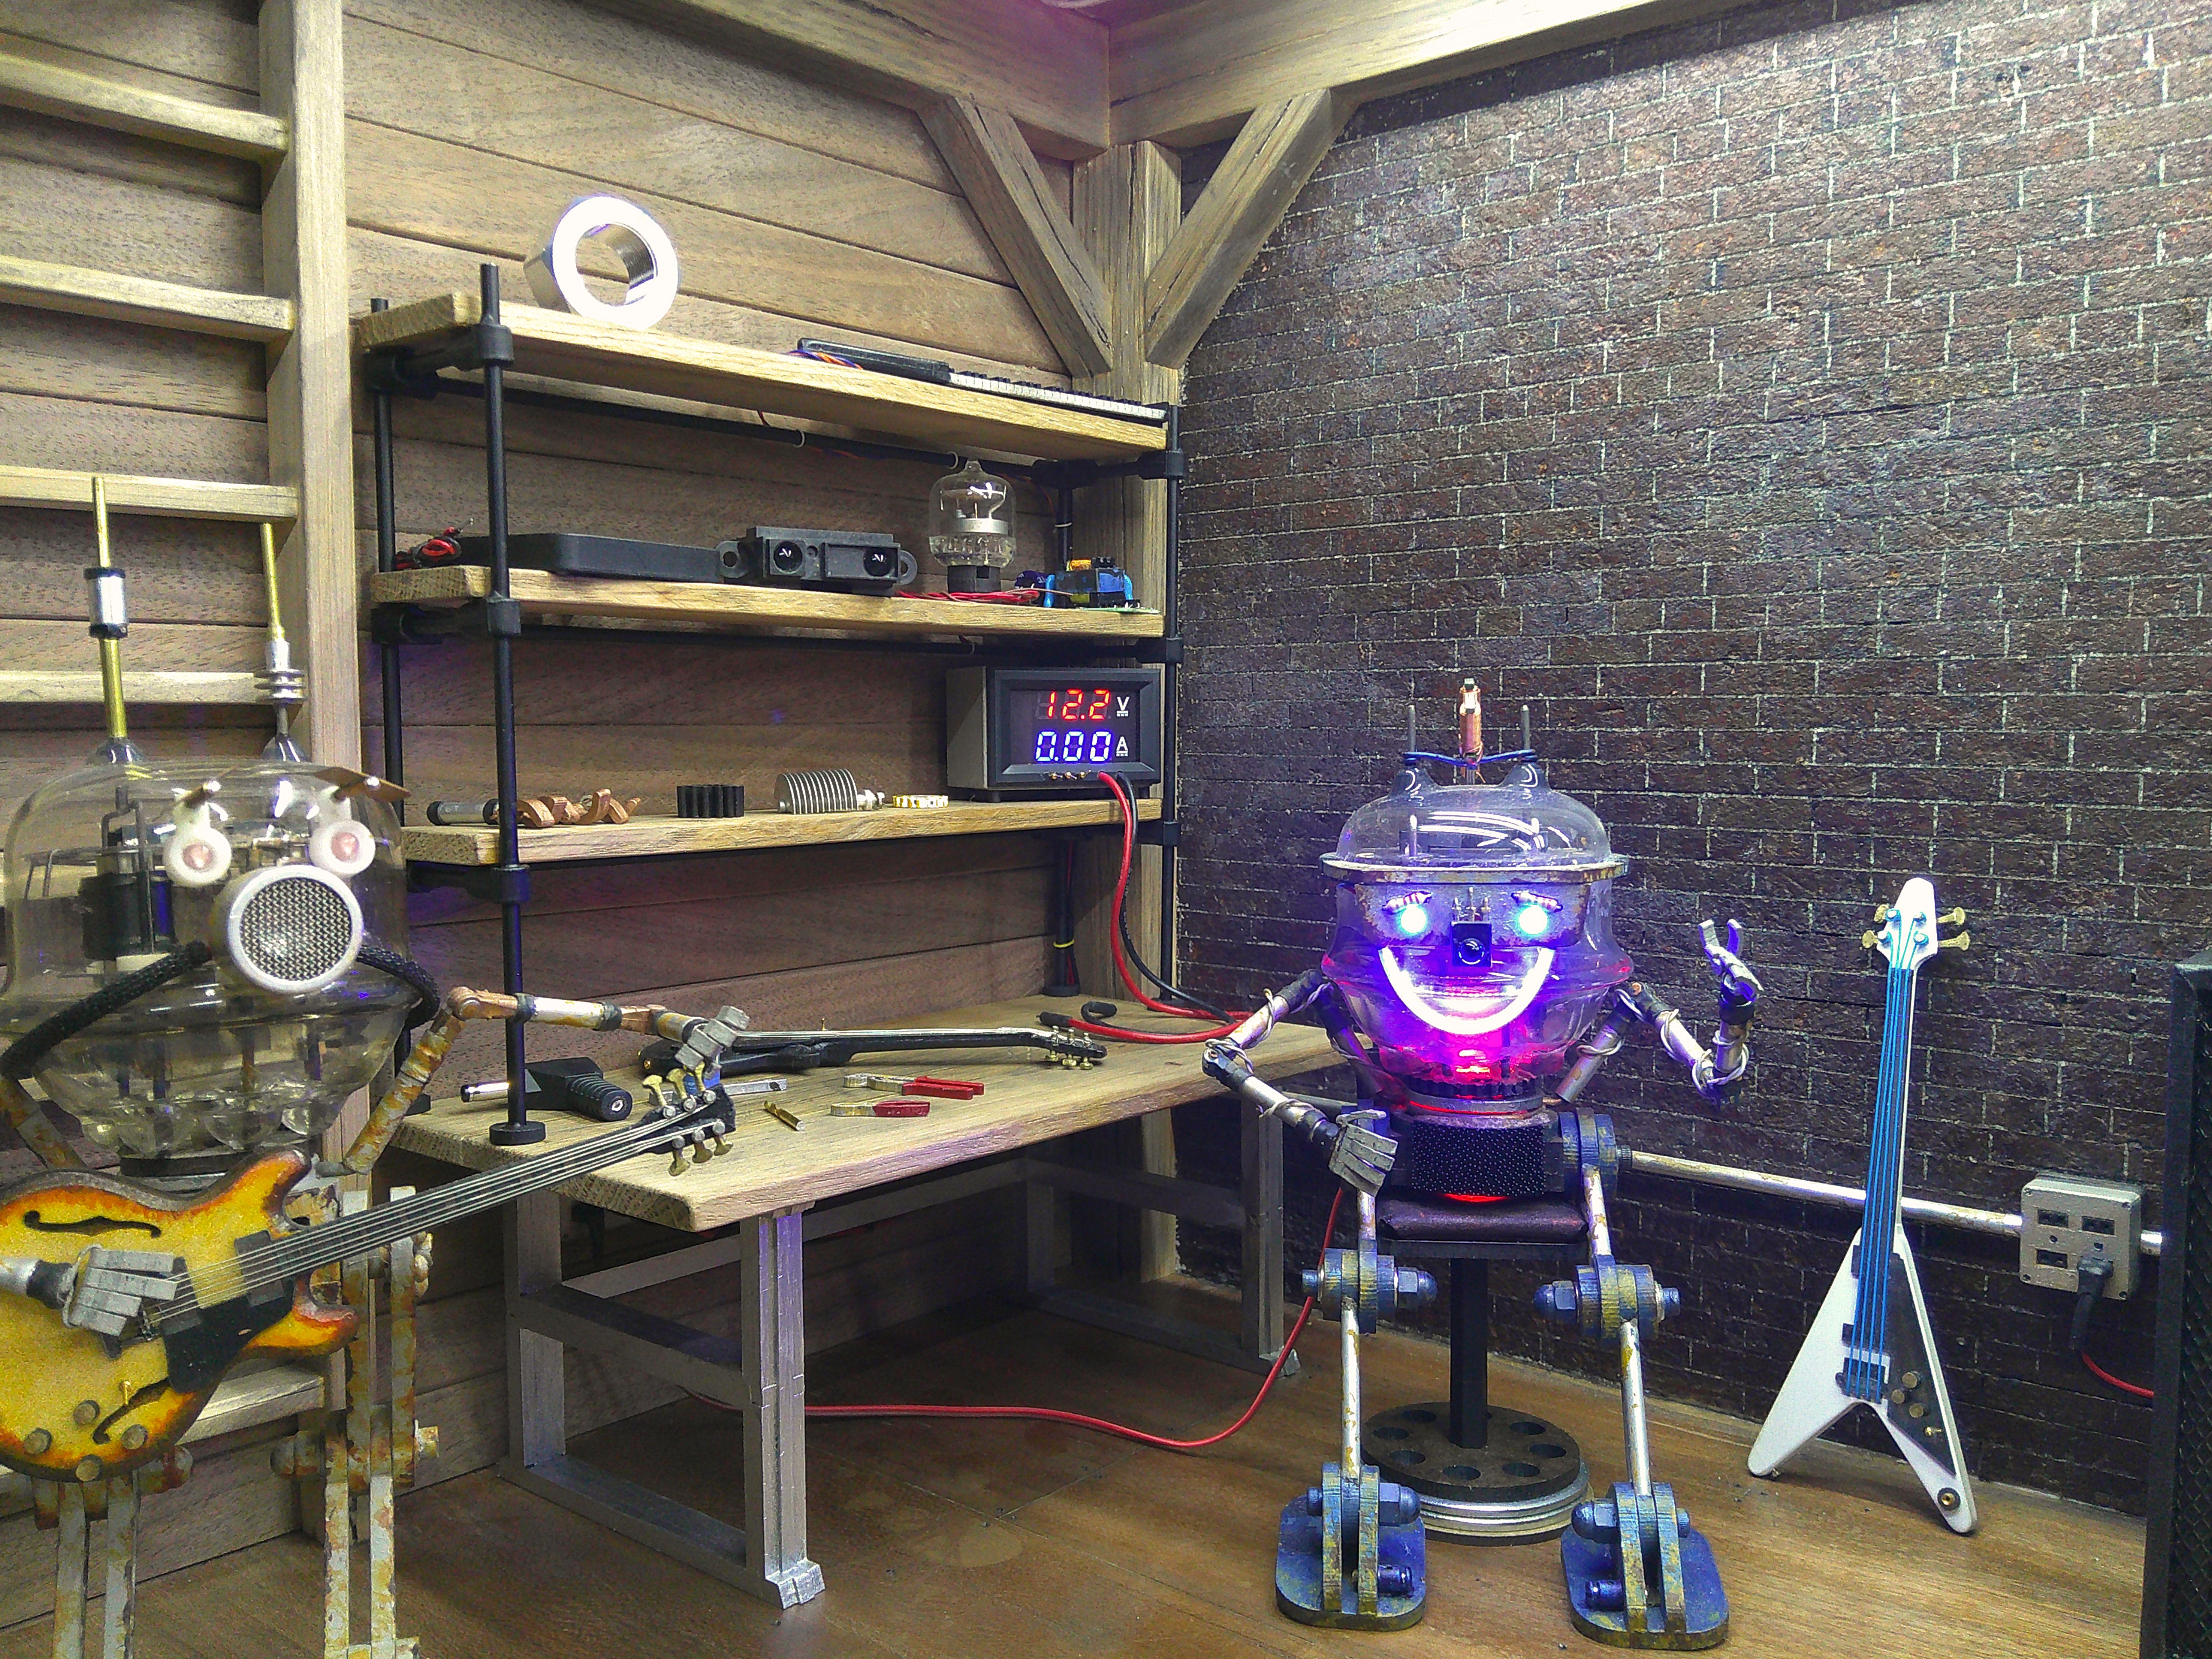
Honestly, that middle shot could be of a real loft/studio space in a converted 19th century factory!
thanks! I think it's turning out ok so far! :)
I suggest you round the corners and edges of all the wooden furniture and framing, top more rounded than bottom. The floor is starting to look very good.
thanks! I had thought about doing that to the workbench. I did round the edges of the timbers a bit. :)

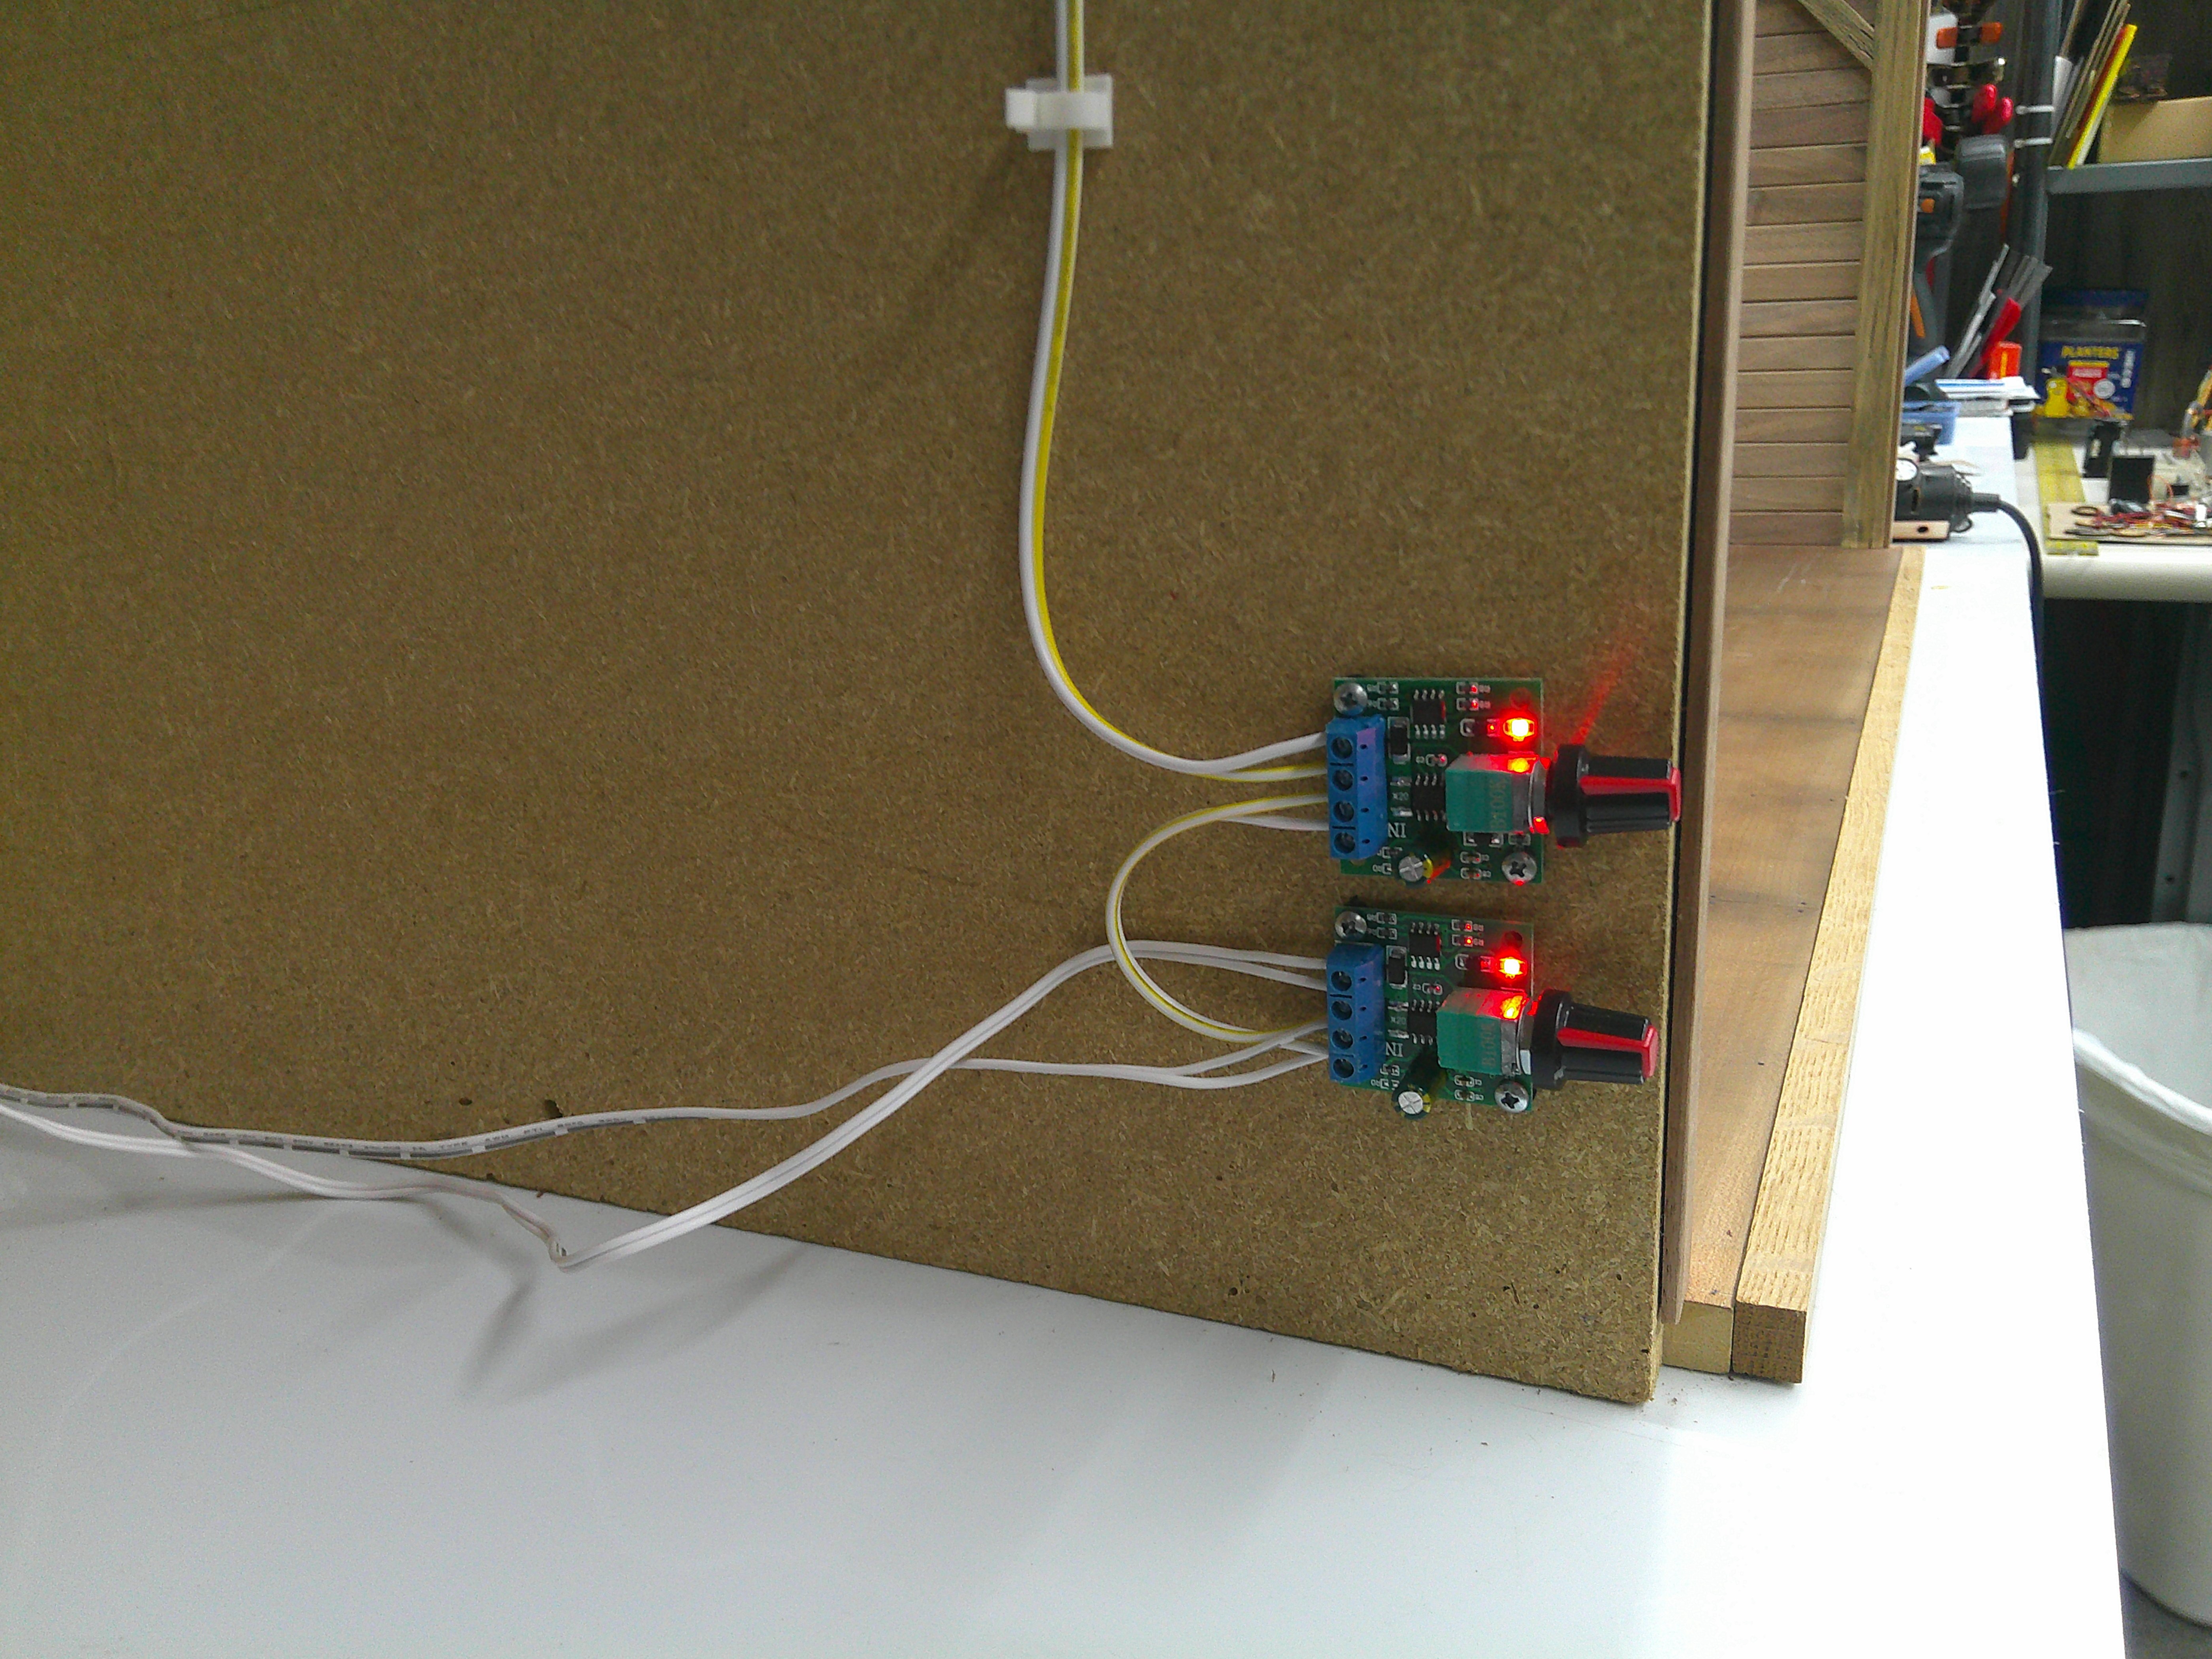
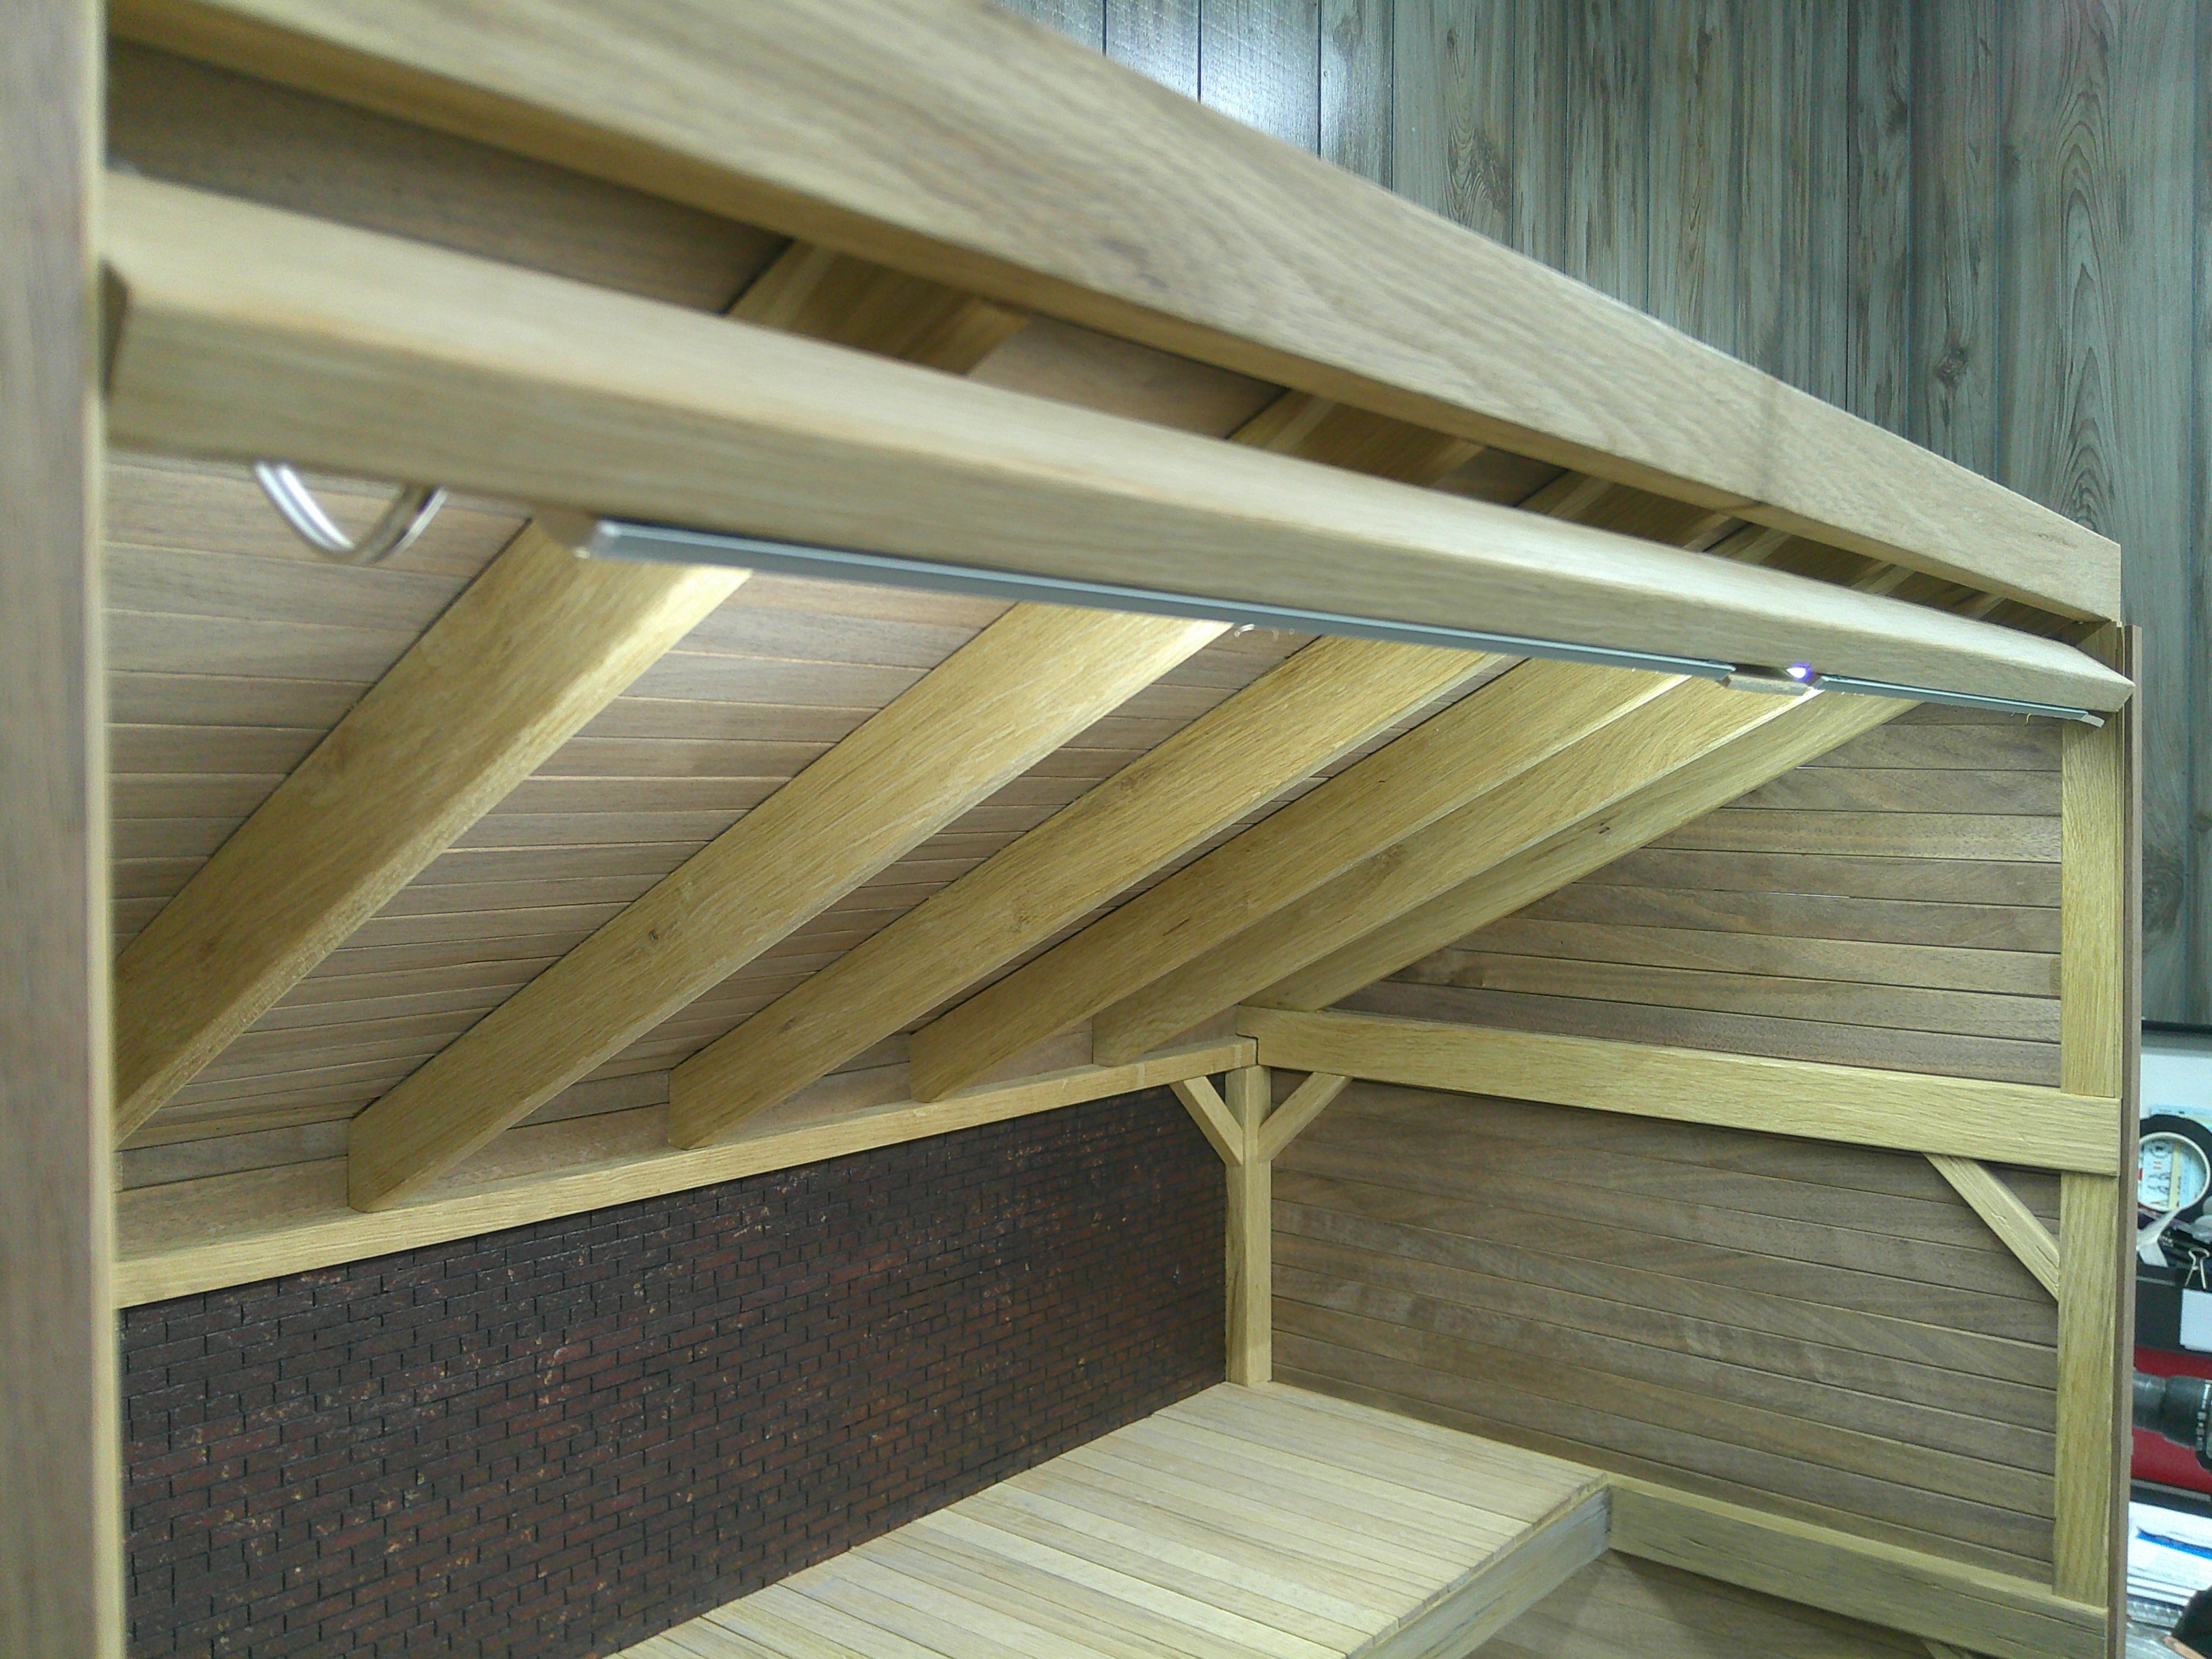
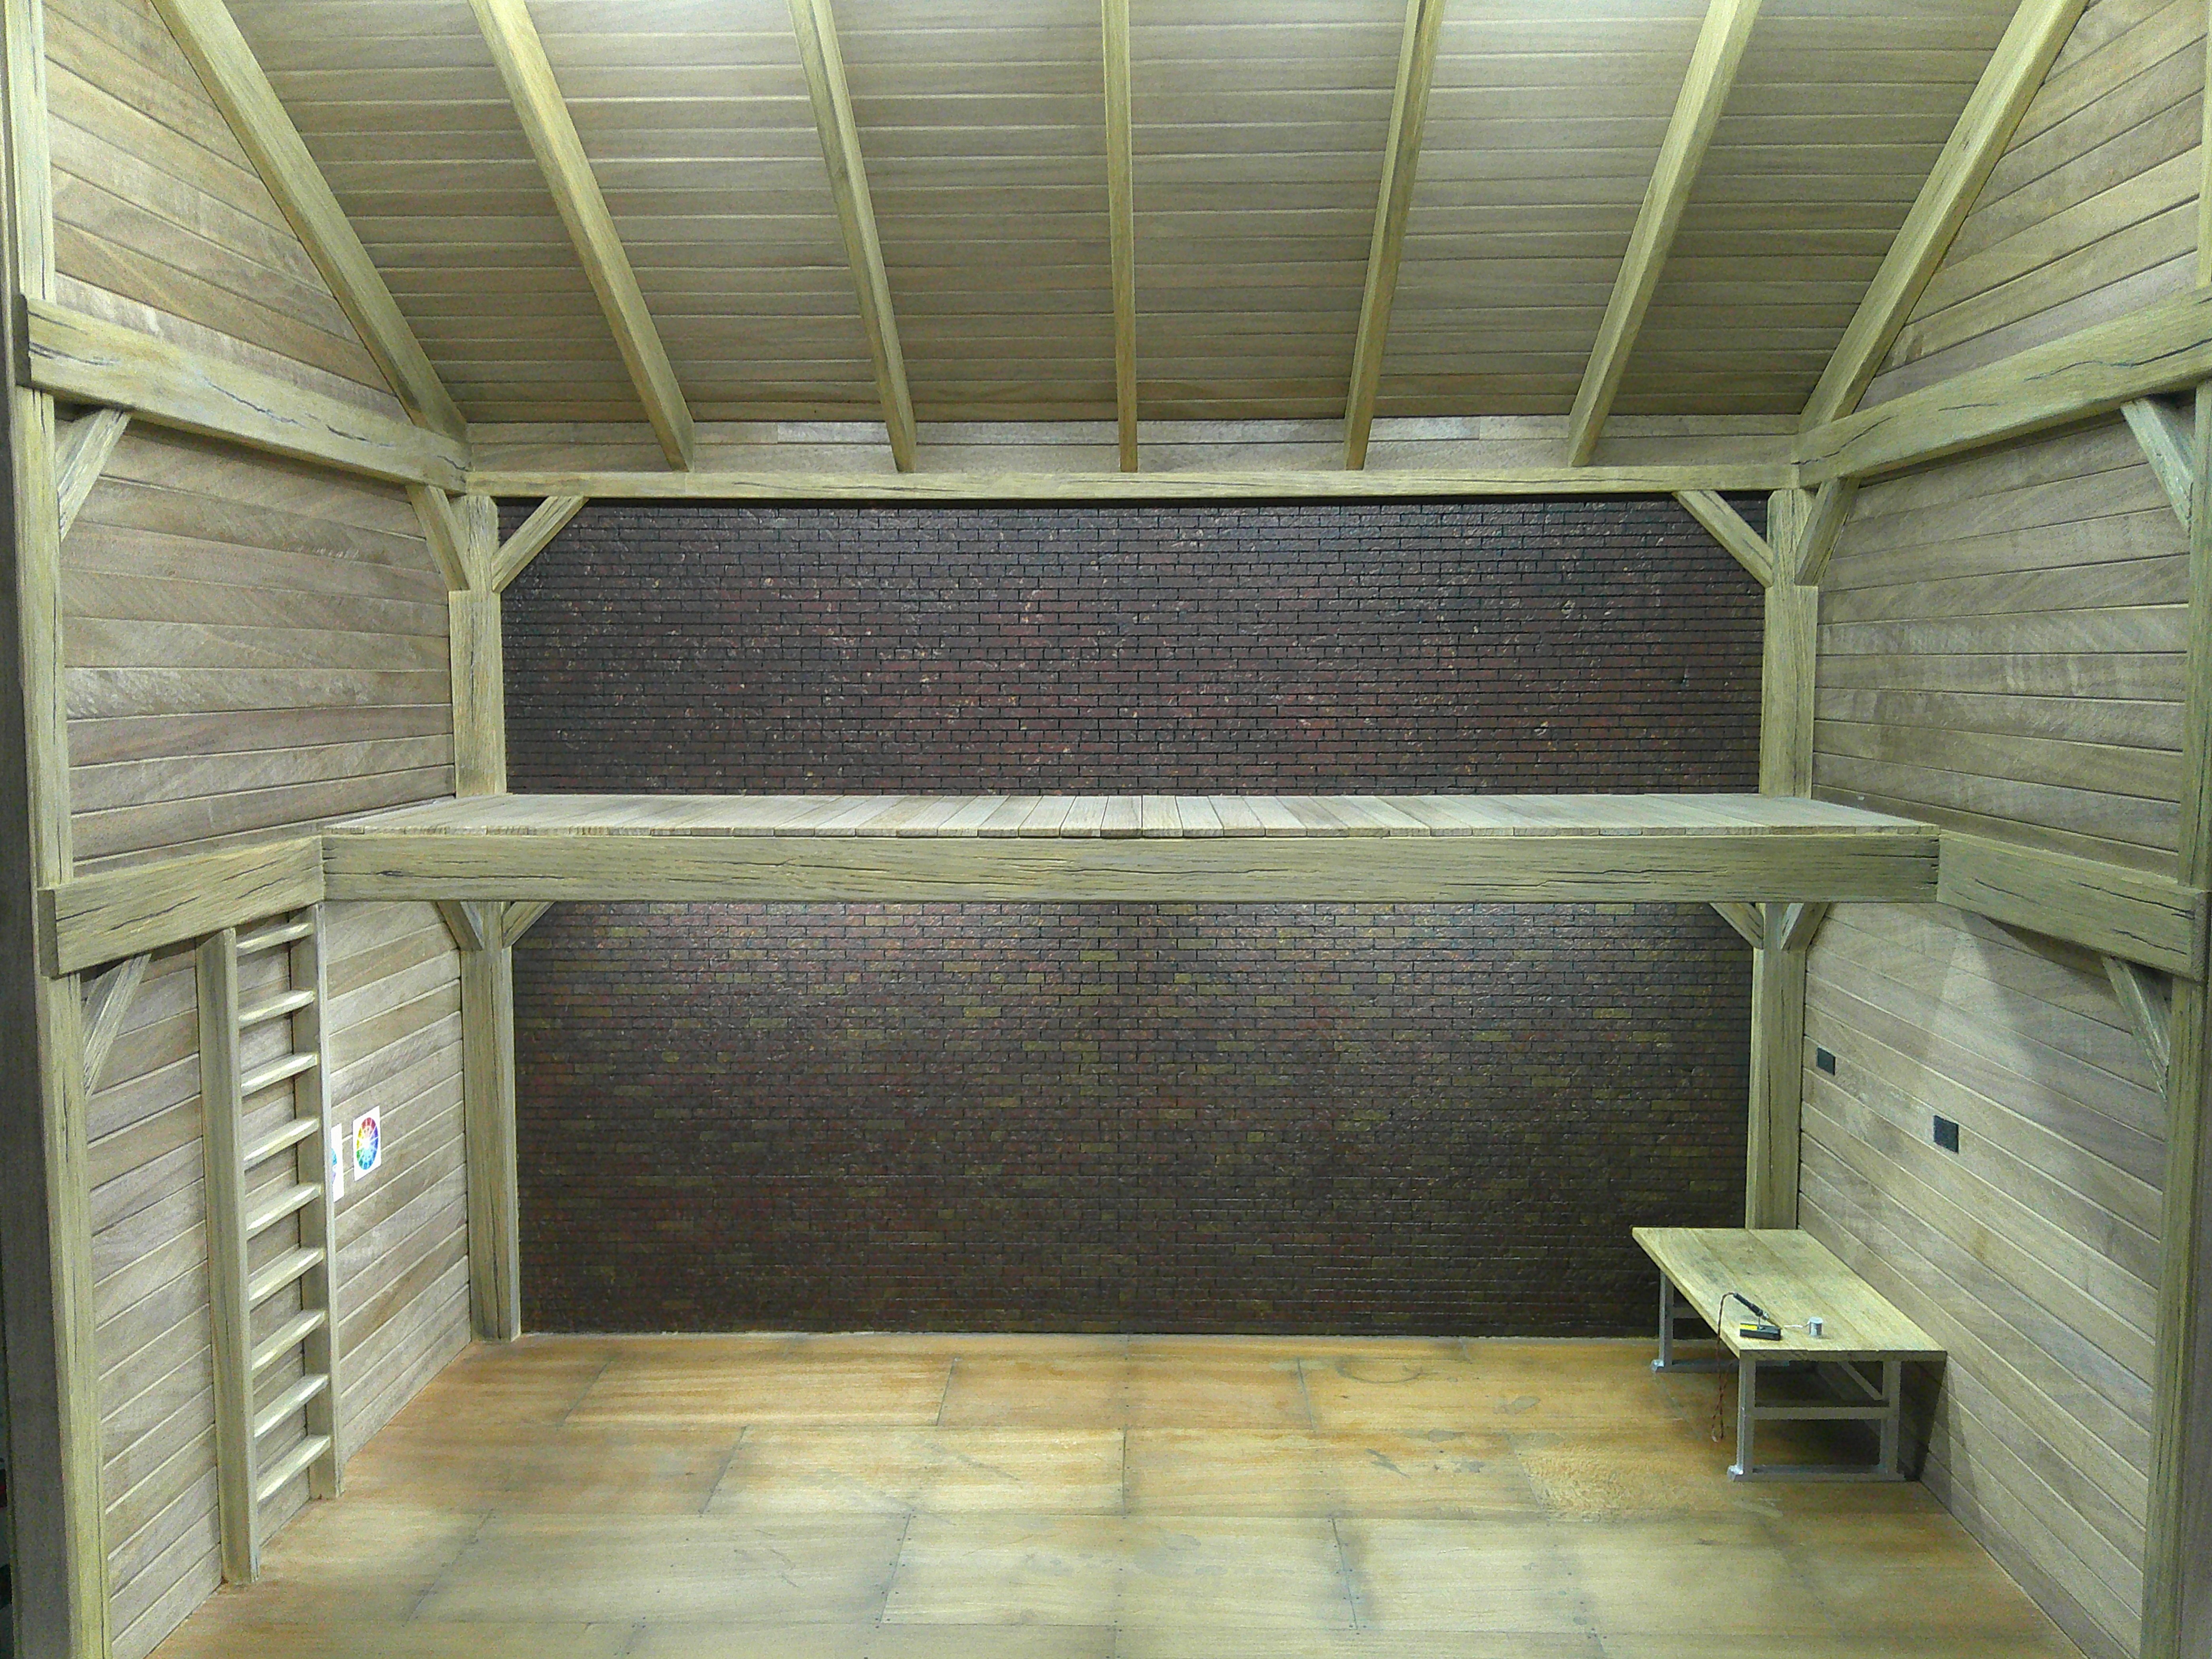
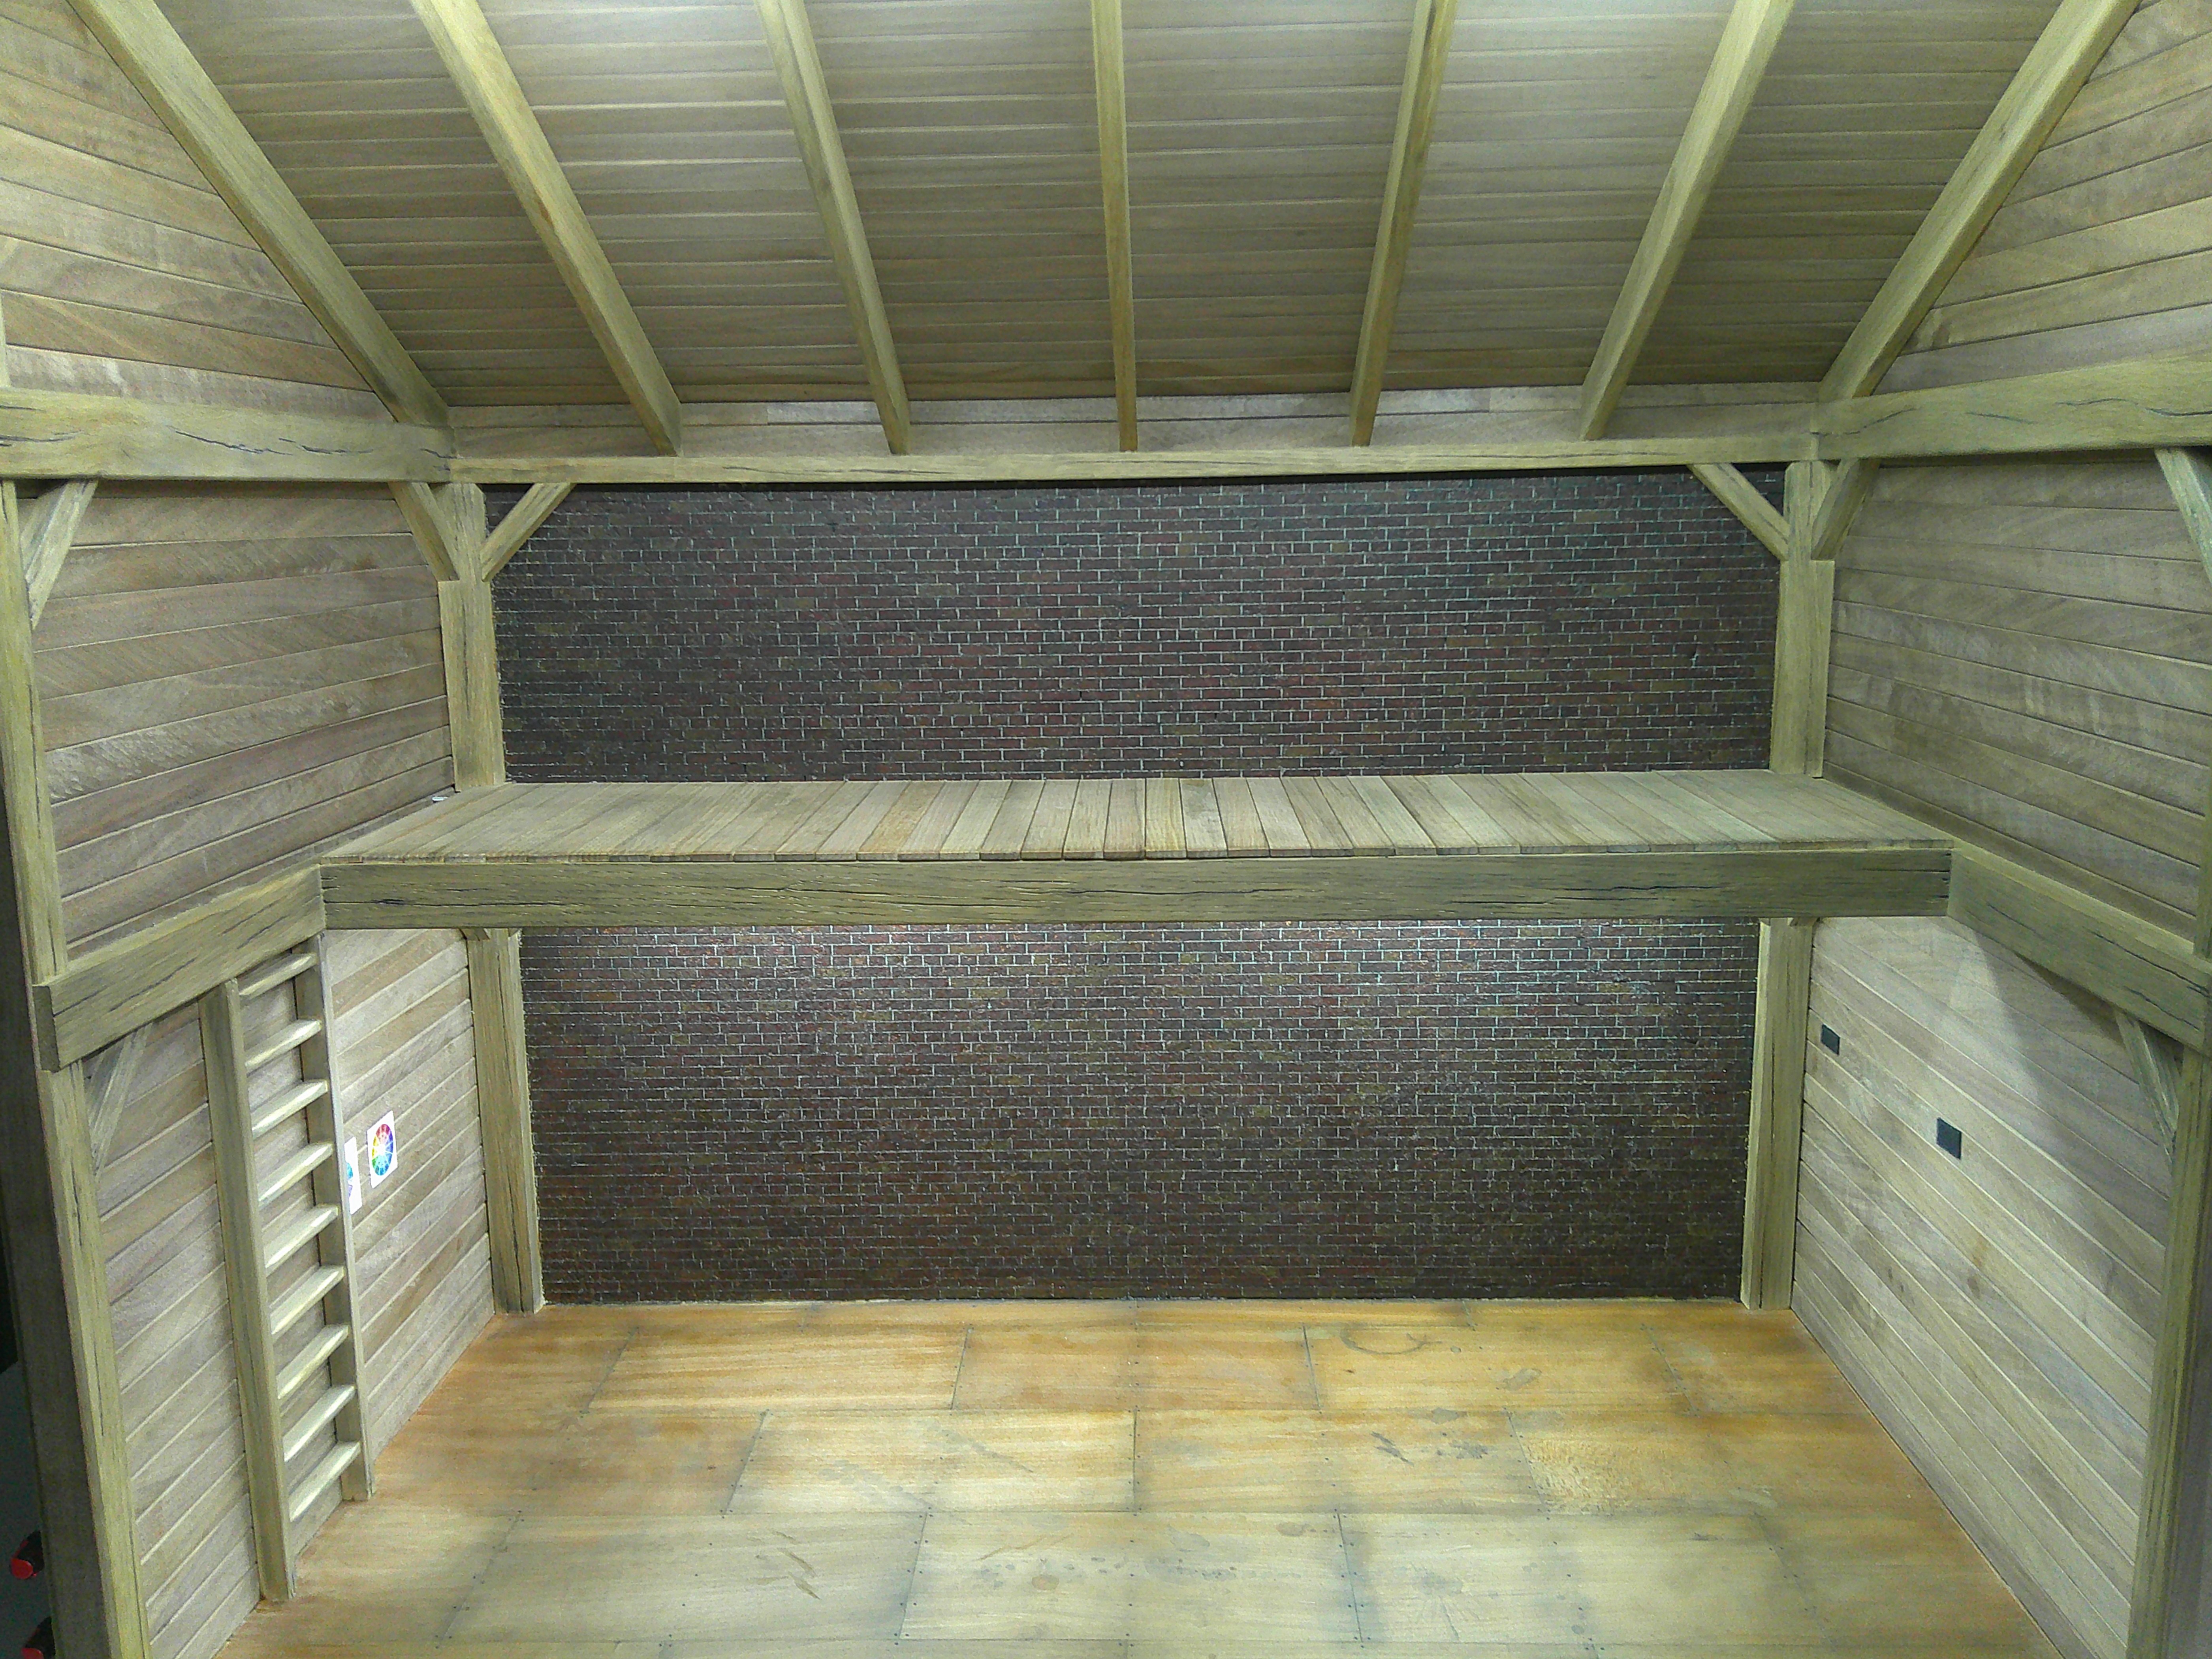
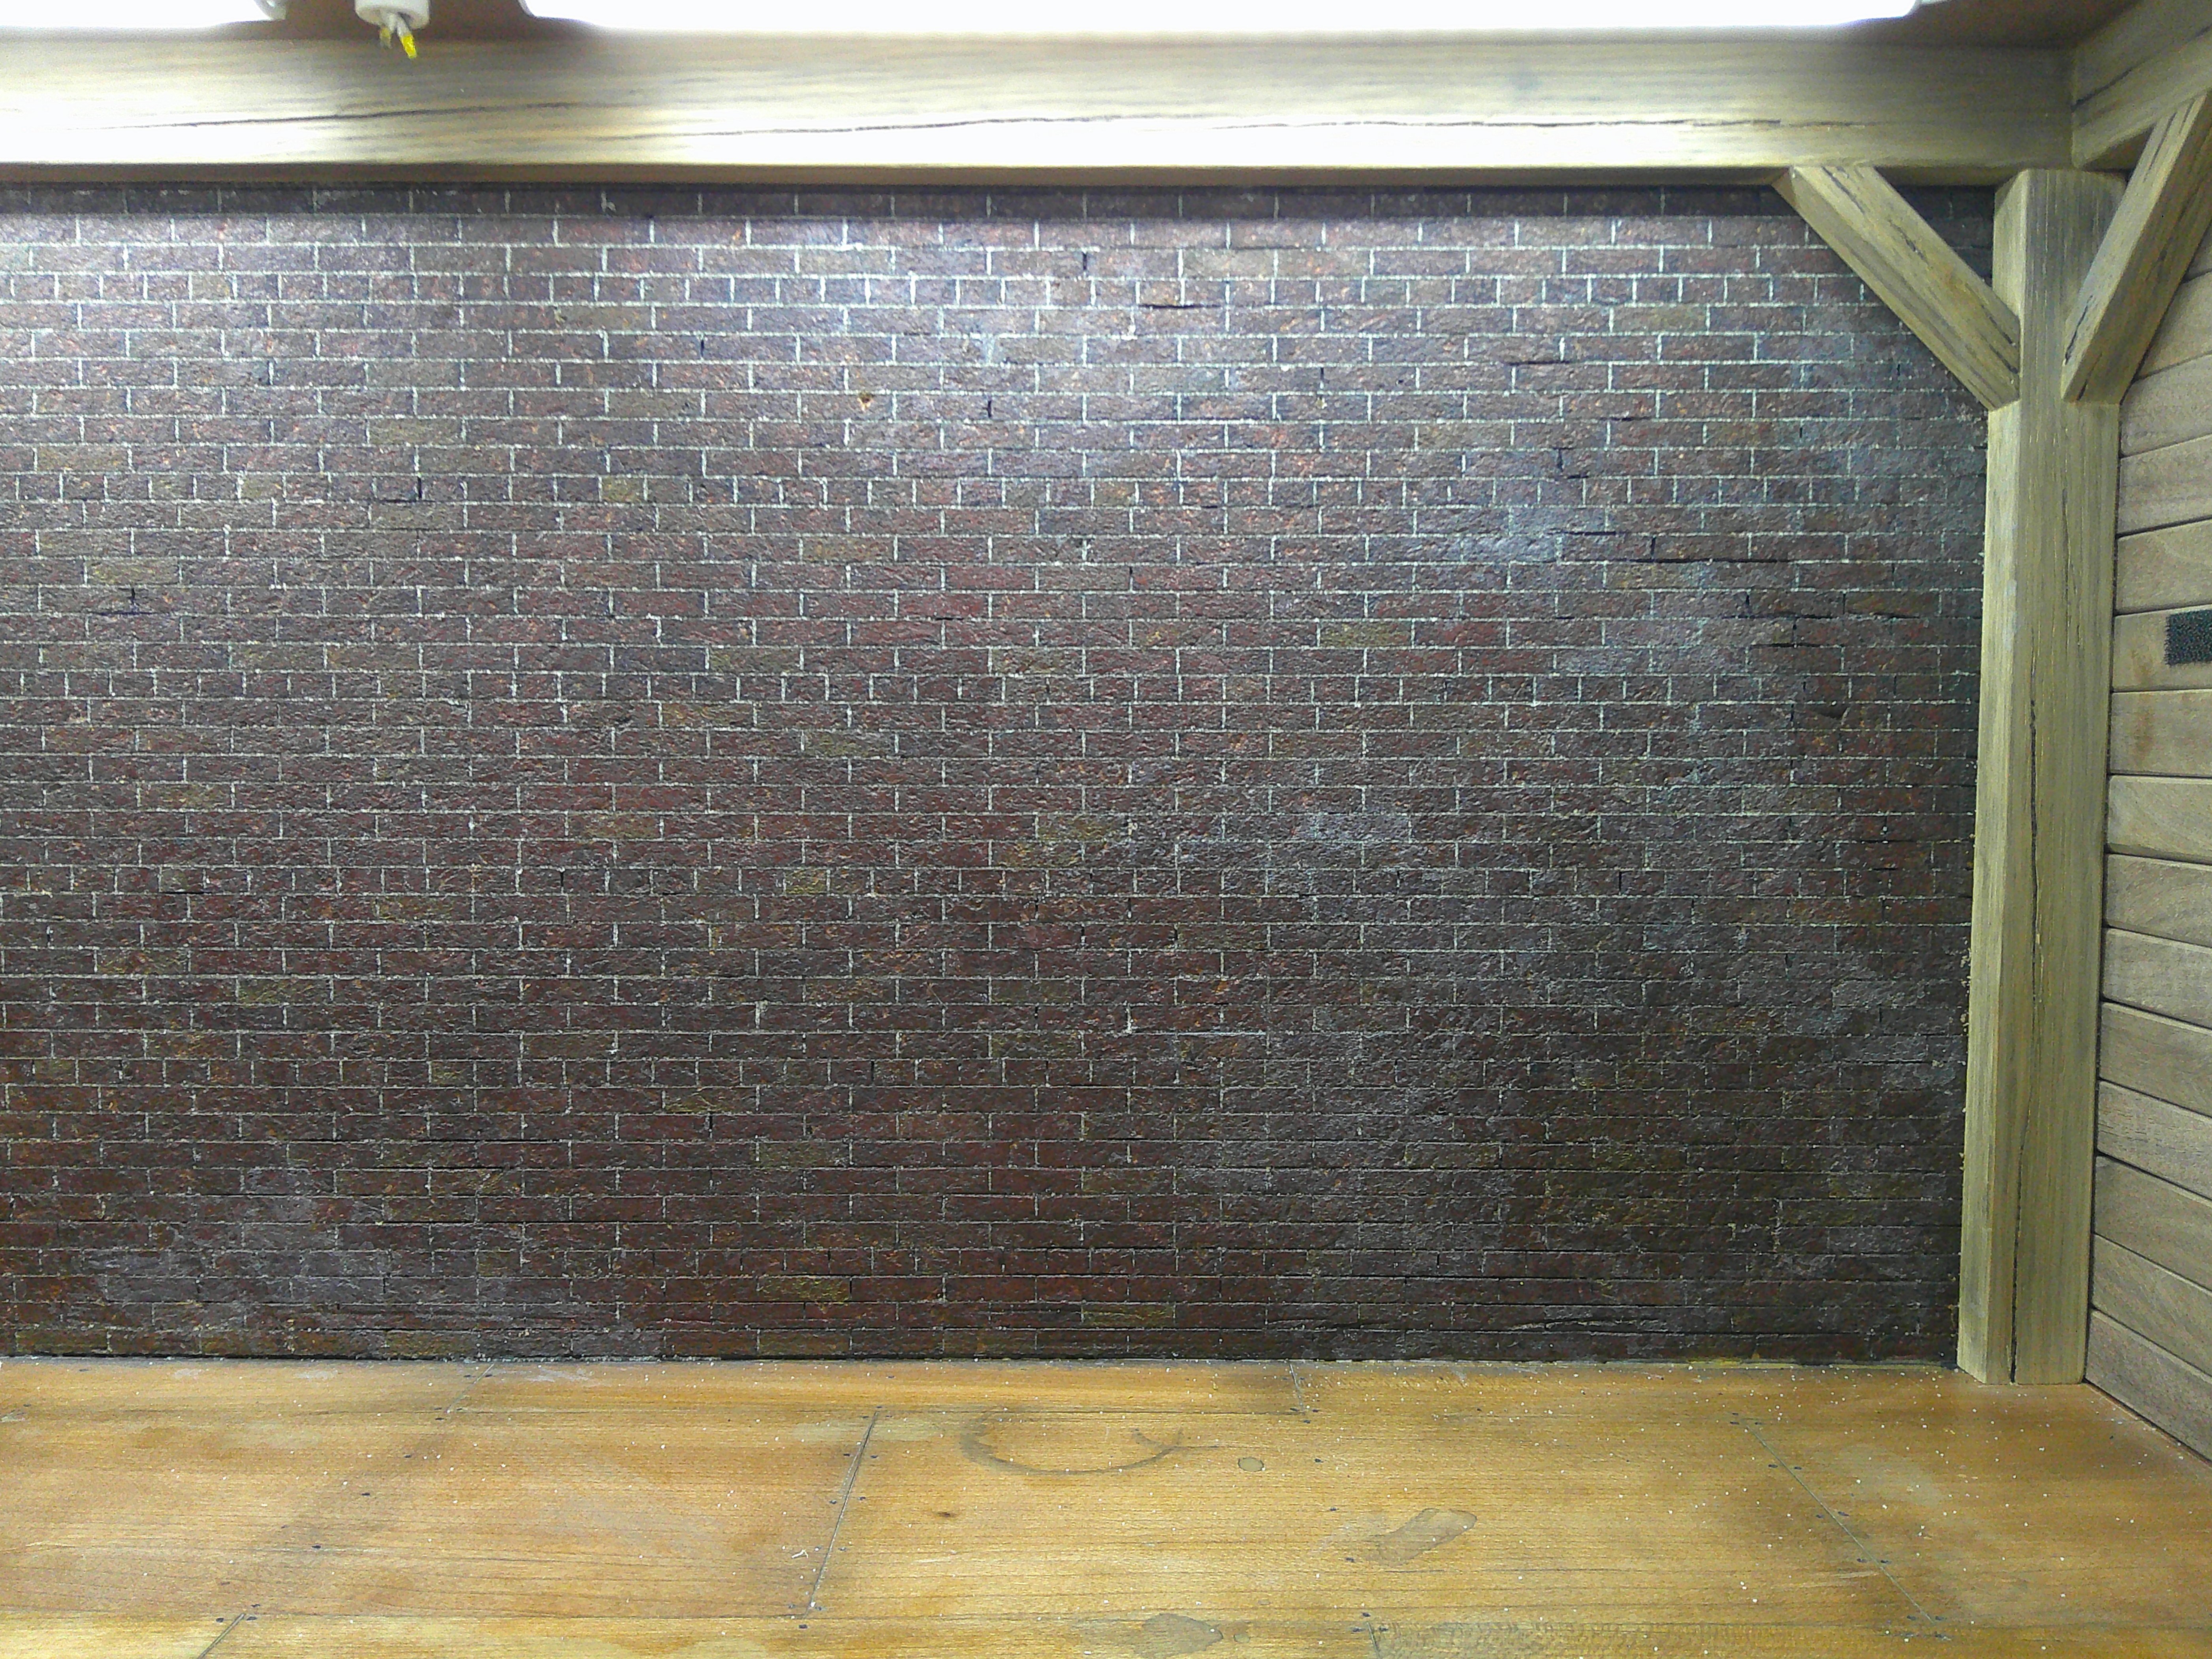
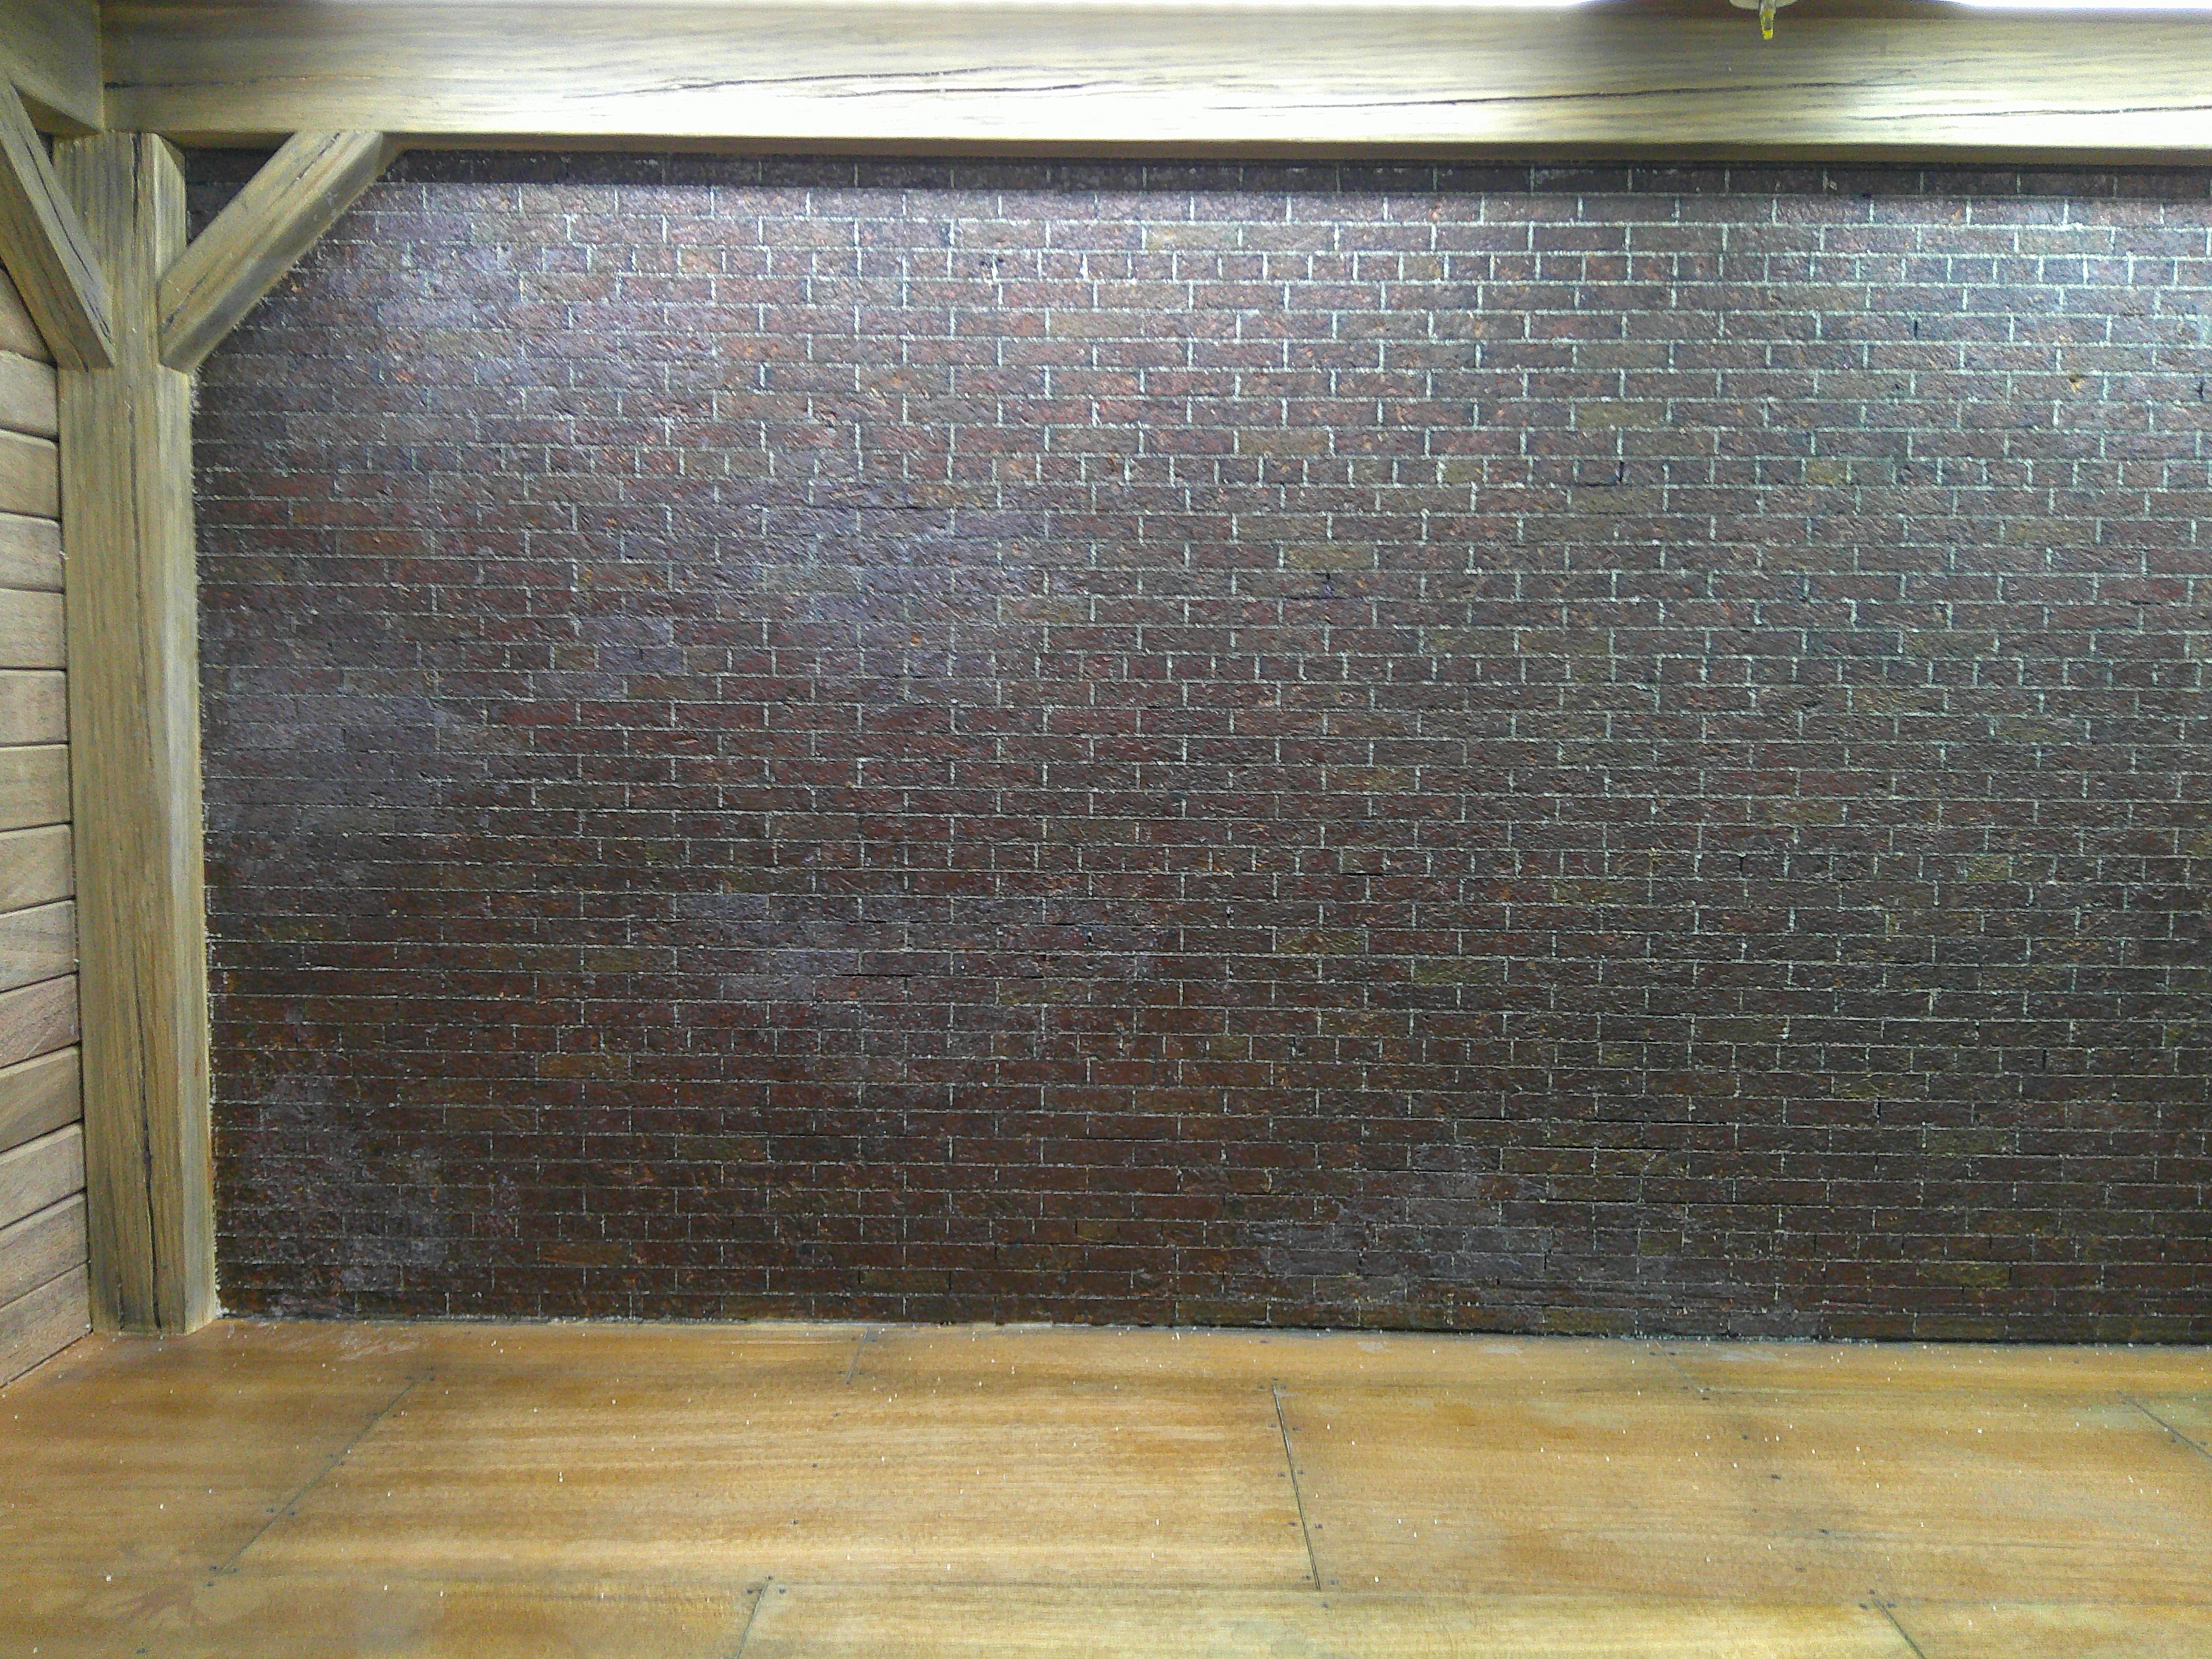
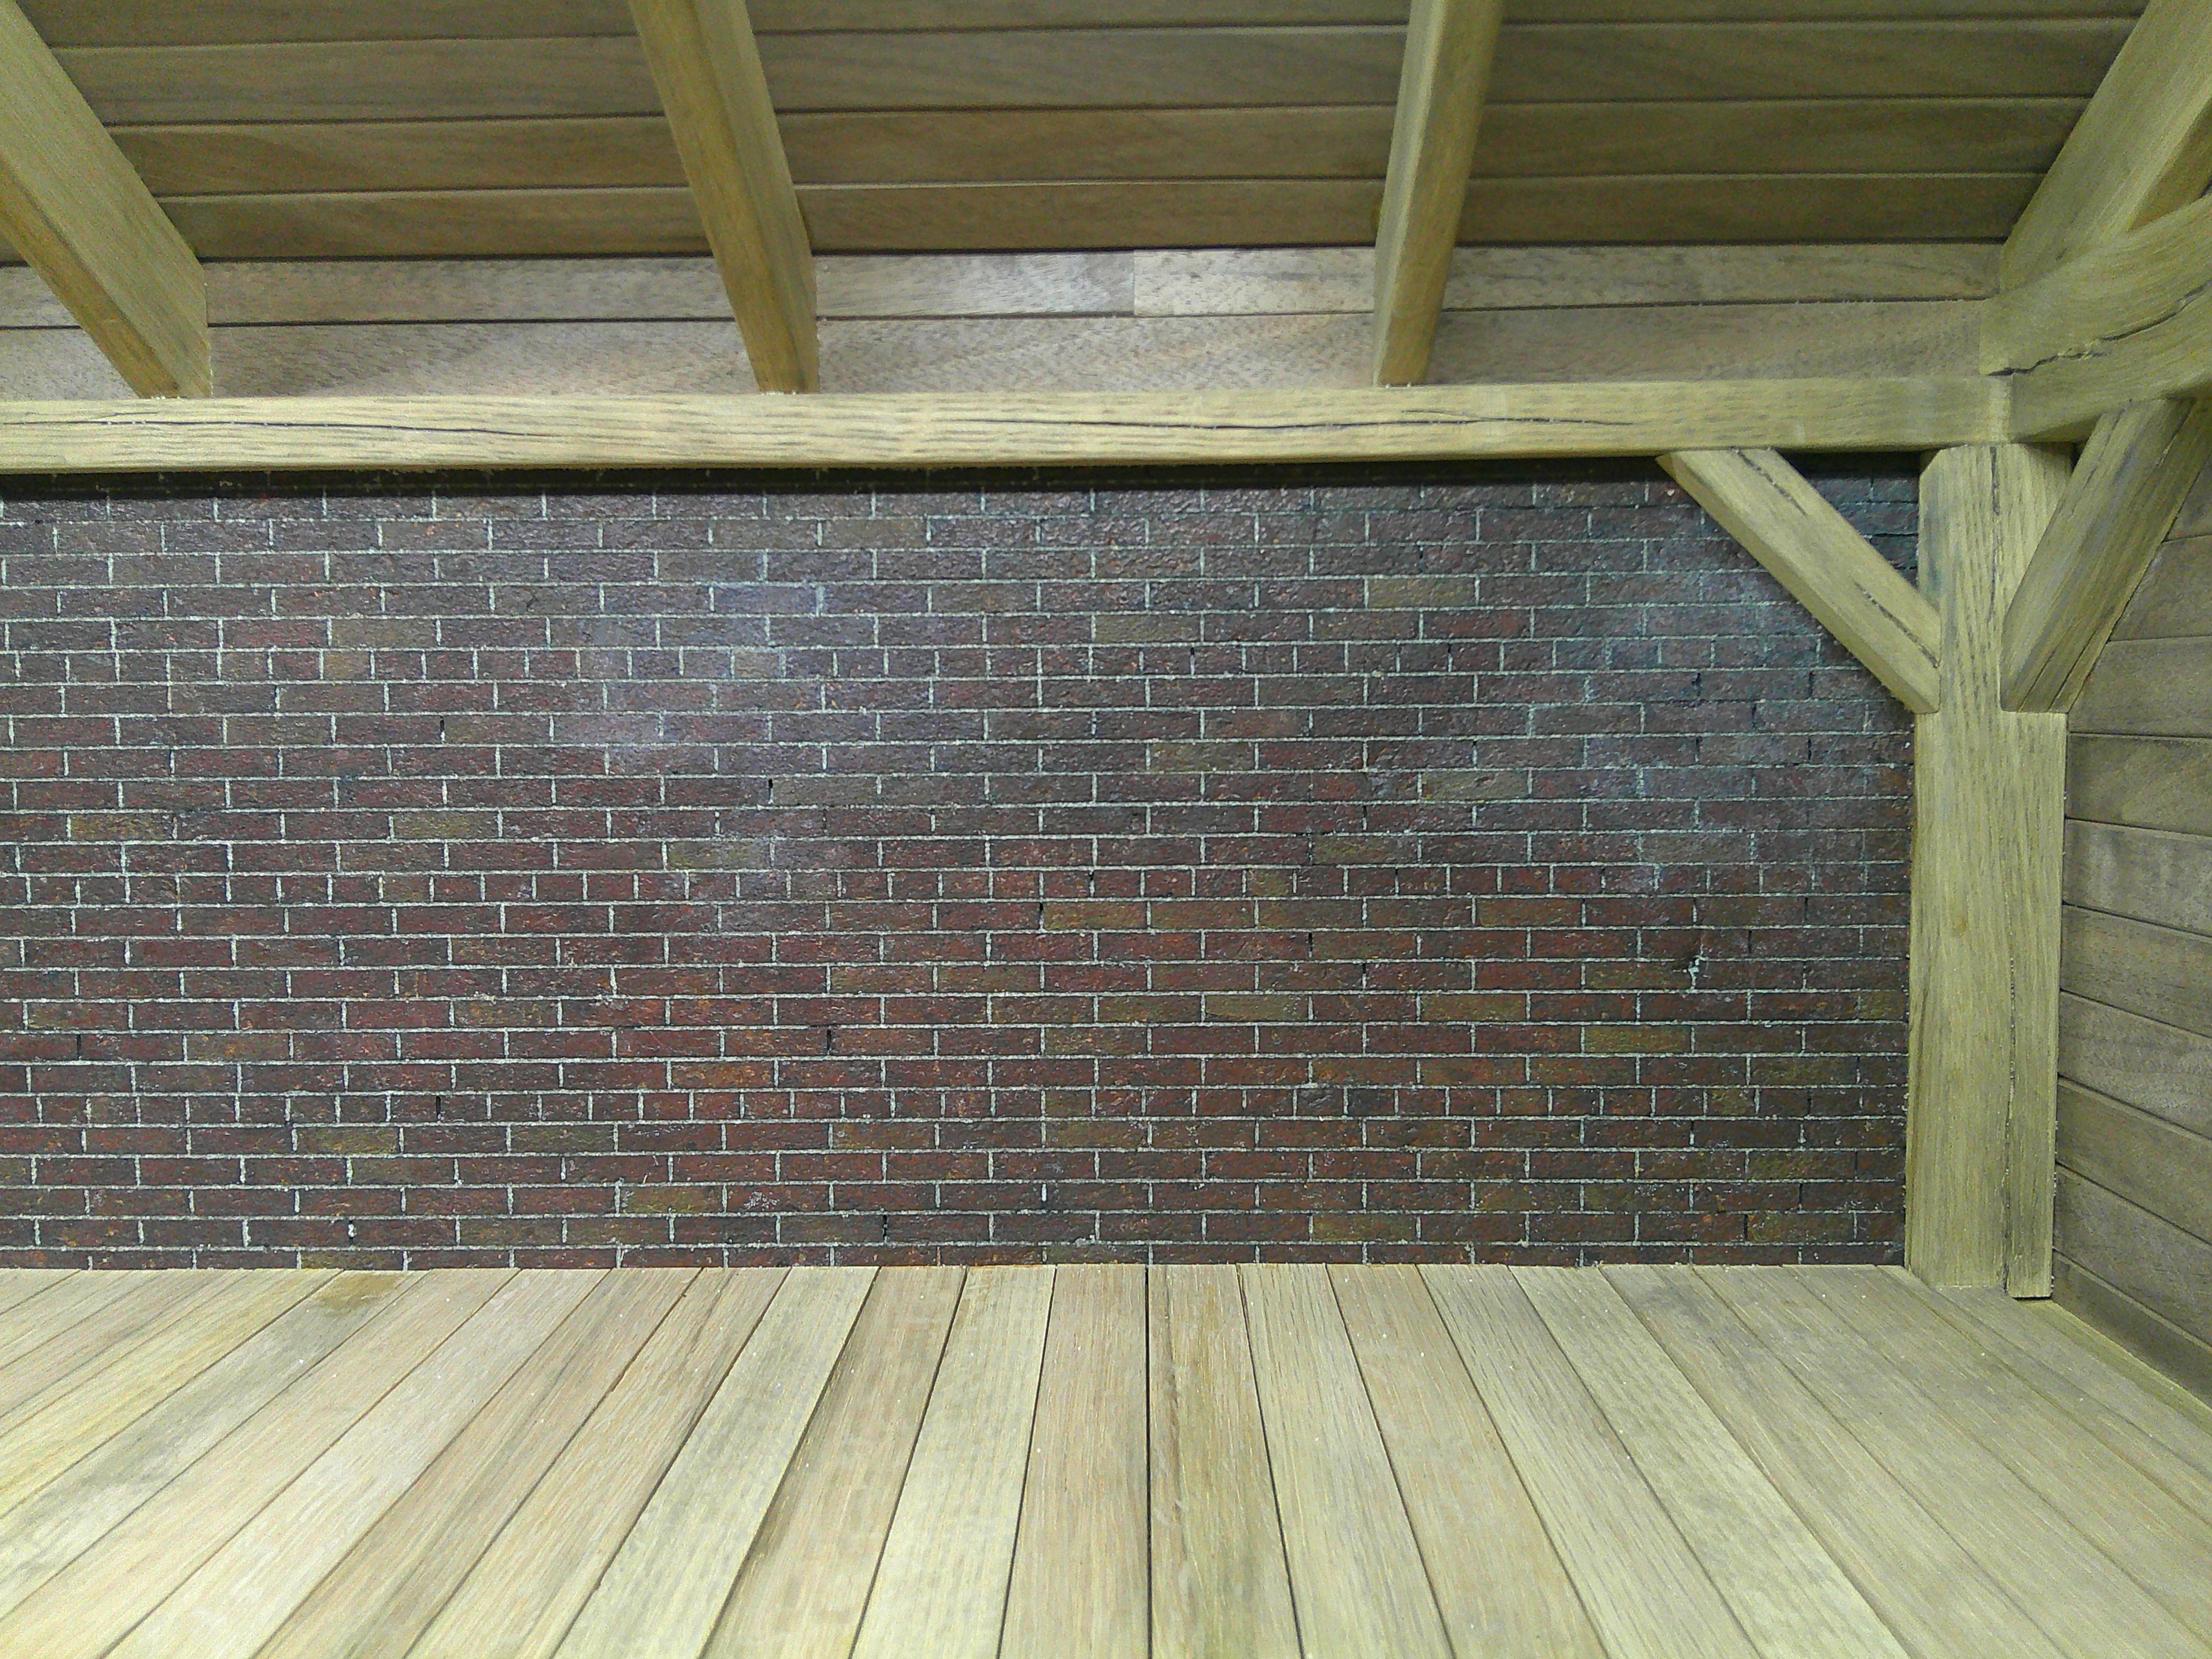
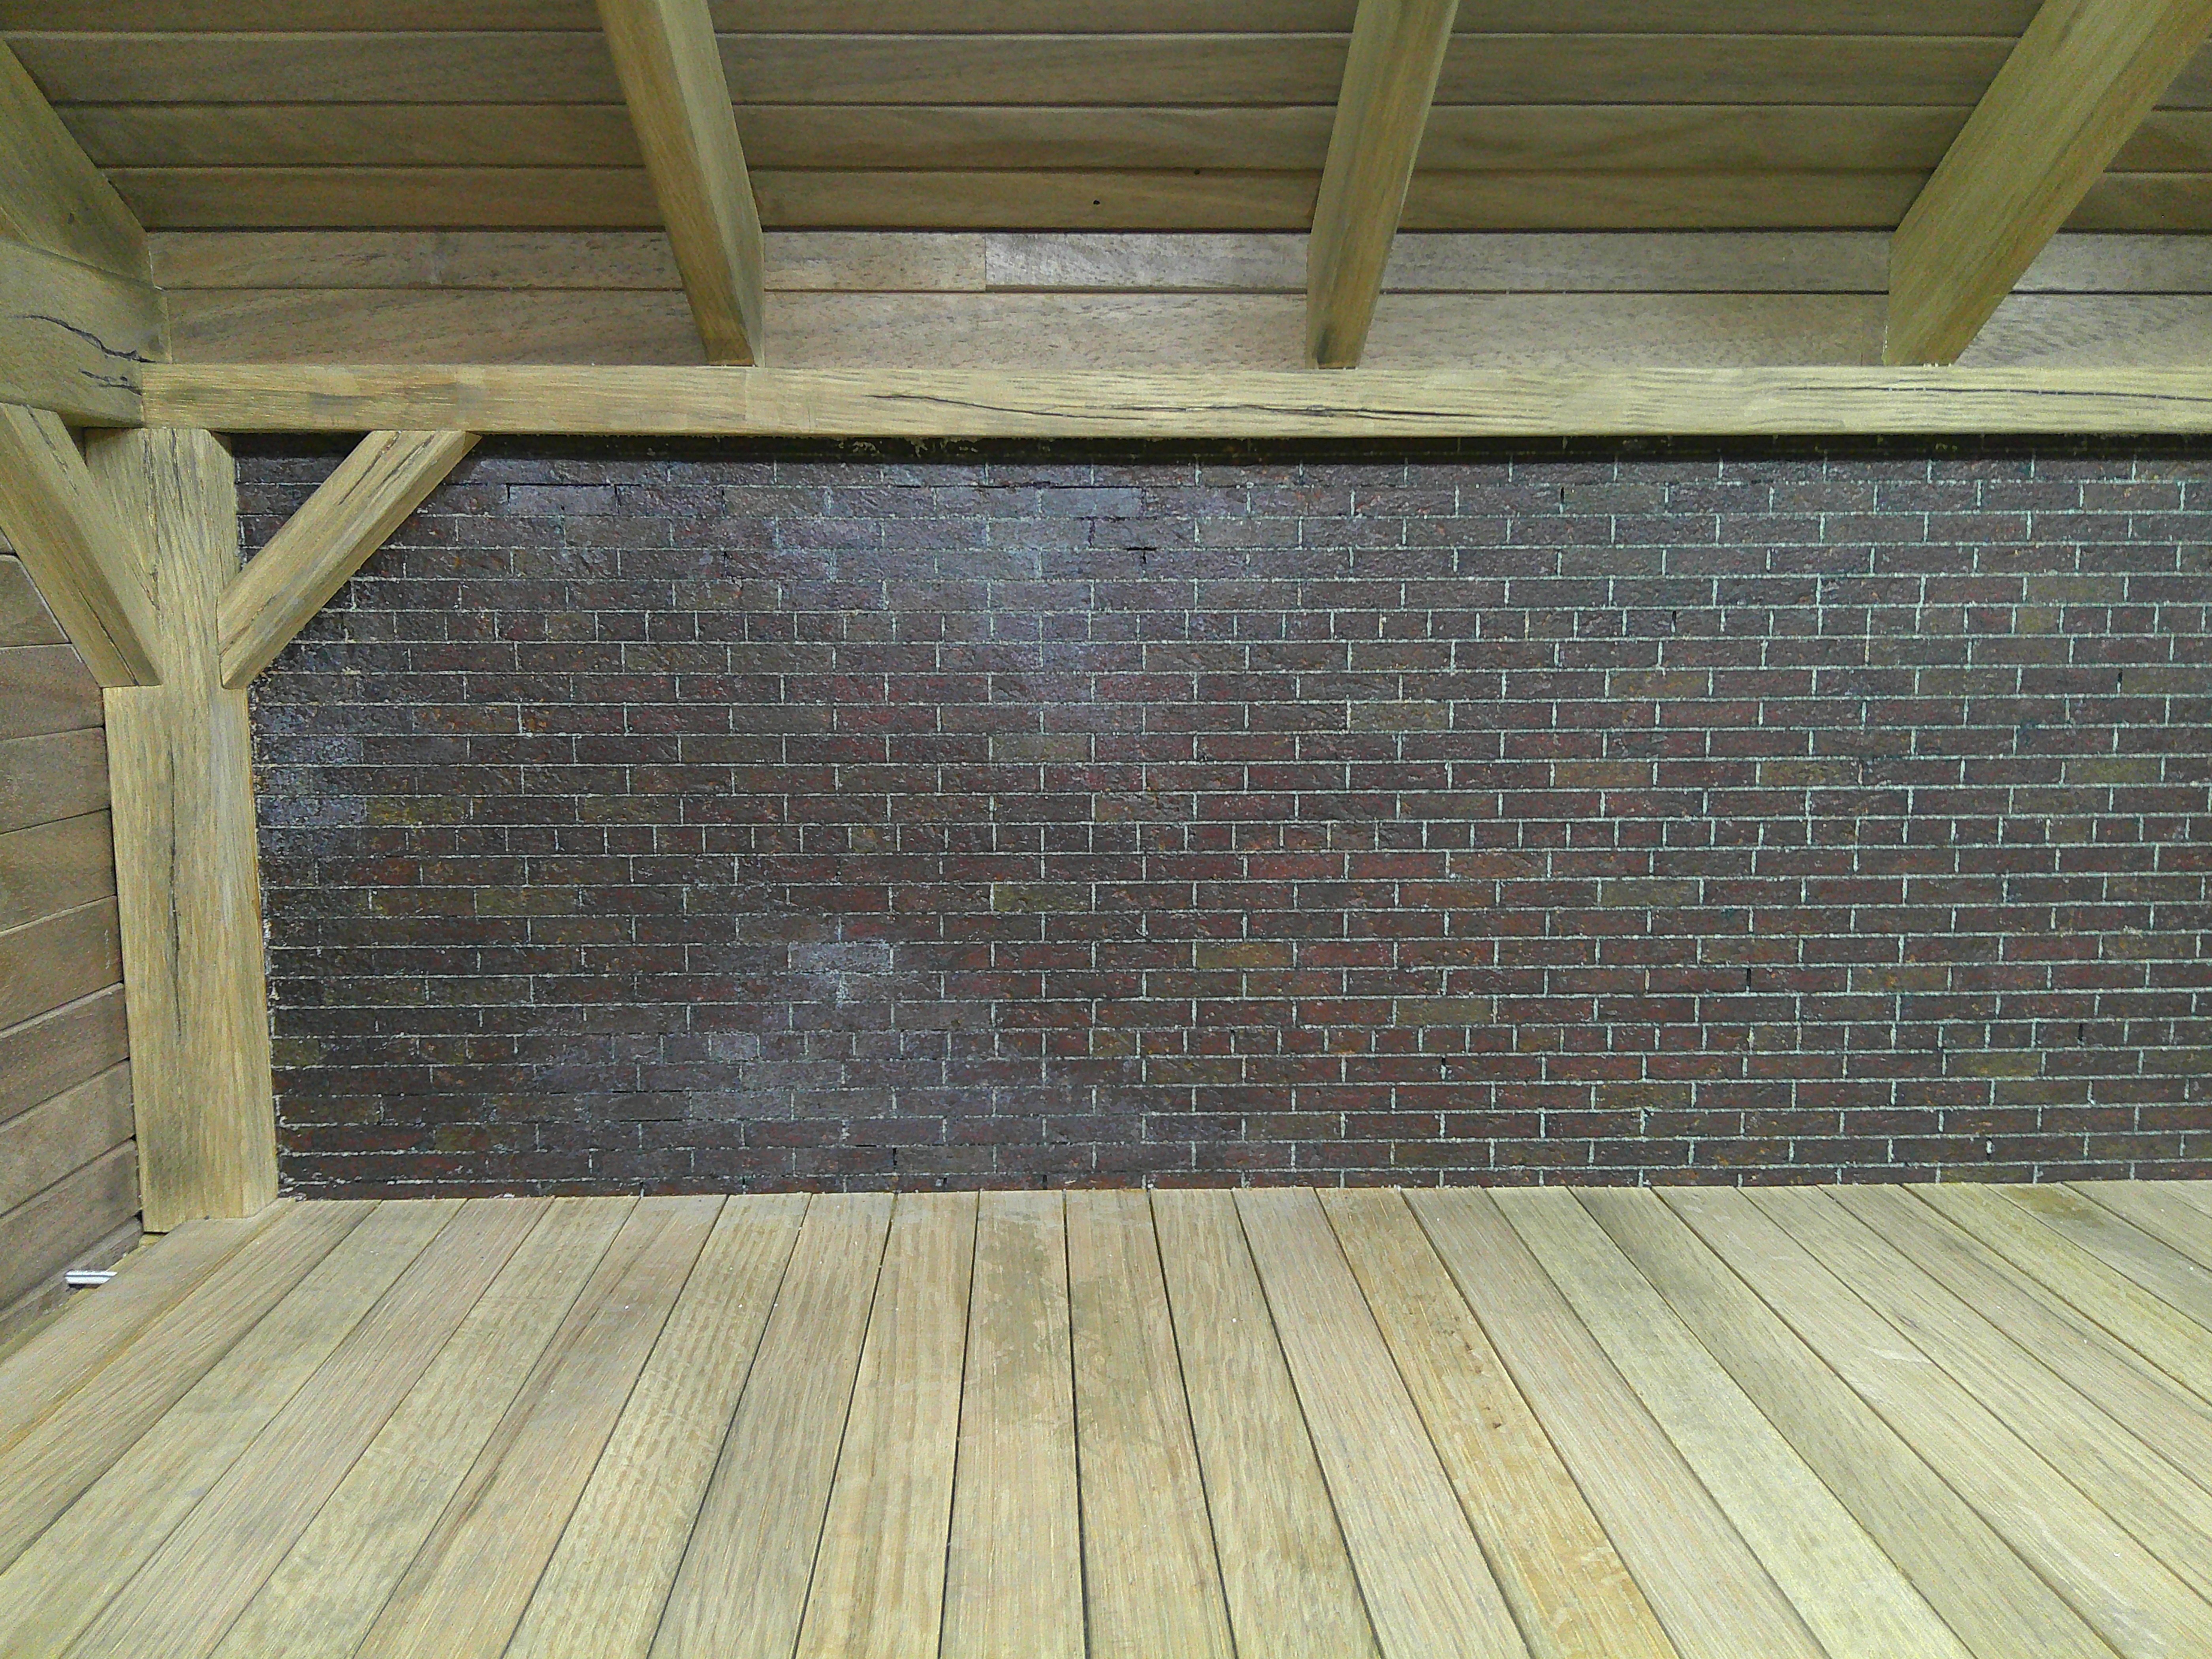
I wired up the loft lights today. I got a couple motor controllers to use as dimmers for the lights, they worked great. This is for photographic reasons, so I can balance the two light sources when filming. Now I can do to the top what I just did to the bottom... haha!

DSCF0247.JPG
DSCF0248.JPG
DSCF0249.JPG
 
If this is an old building, the rafters and roof panels should be very dark. Our house was built in 1911, and all the framing and strucktural wood is very dark, deep brown. It almost looks black except with strong illumination.
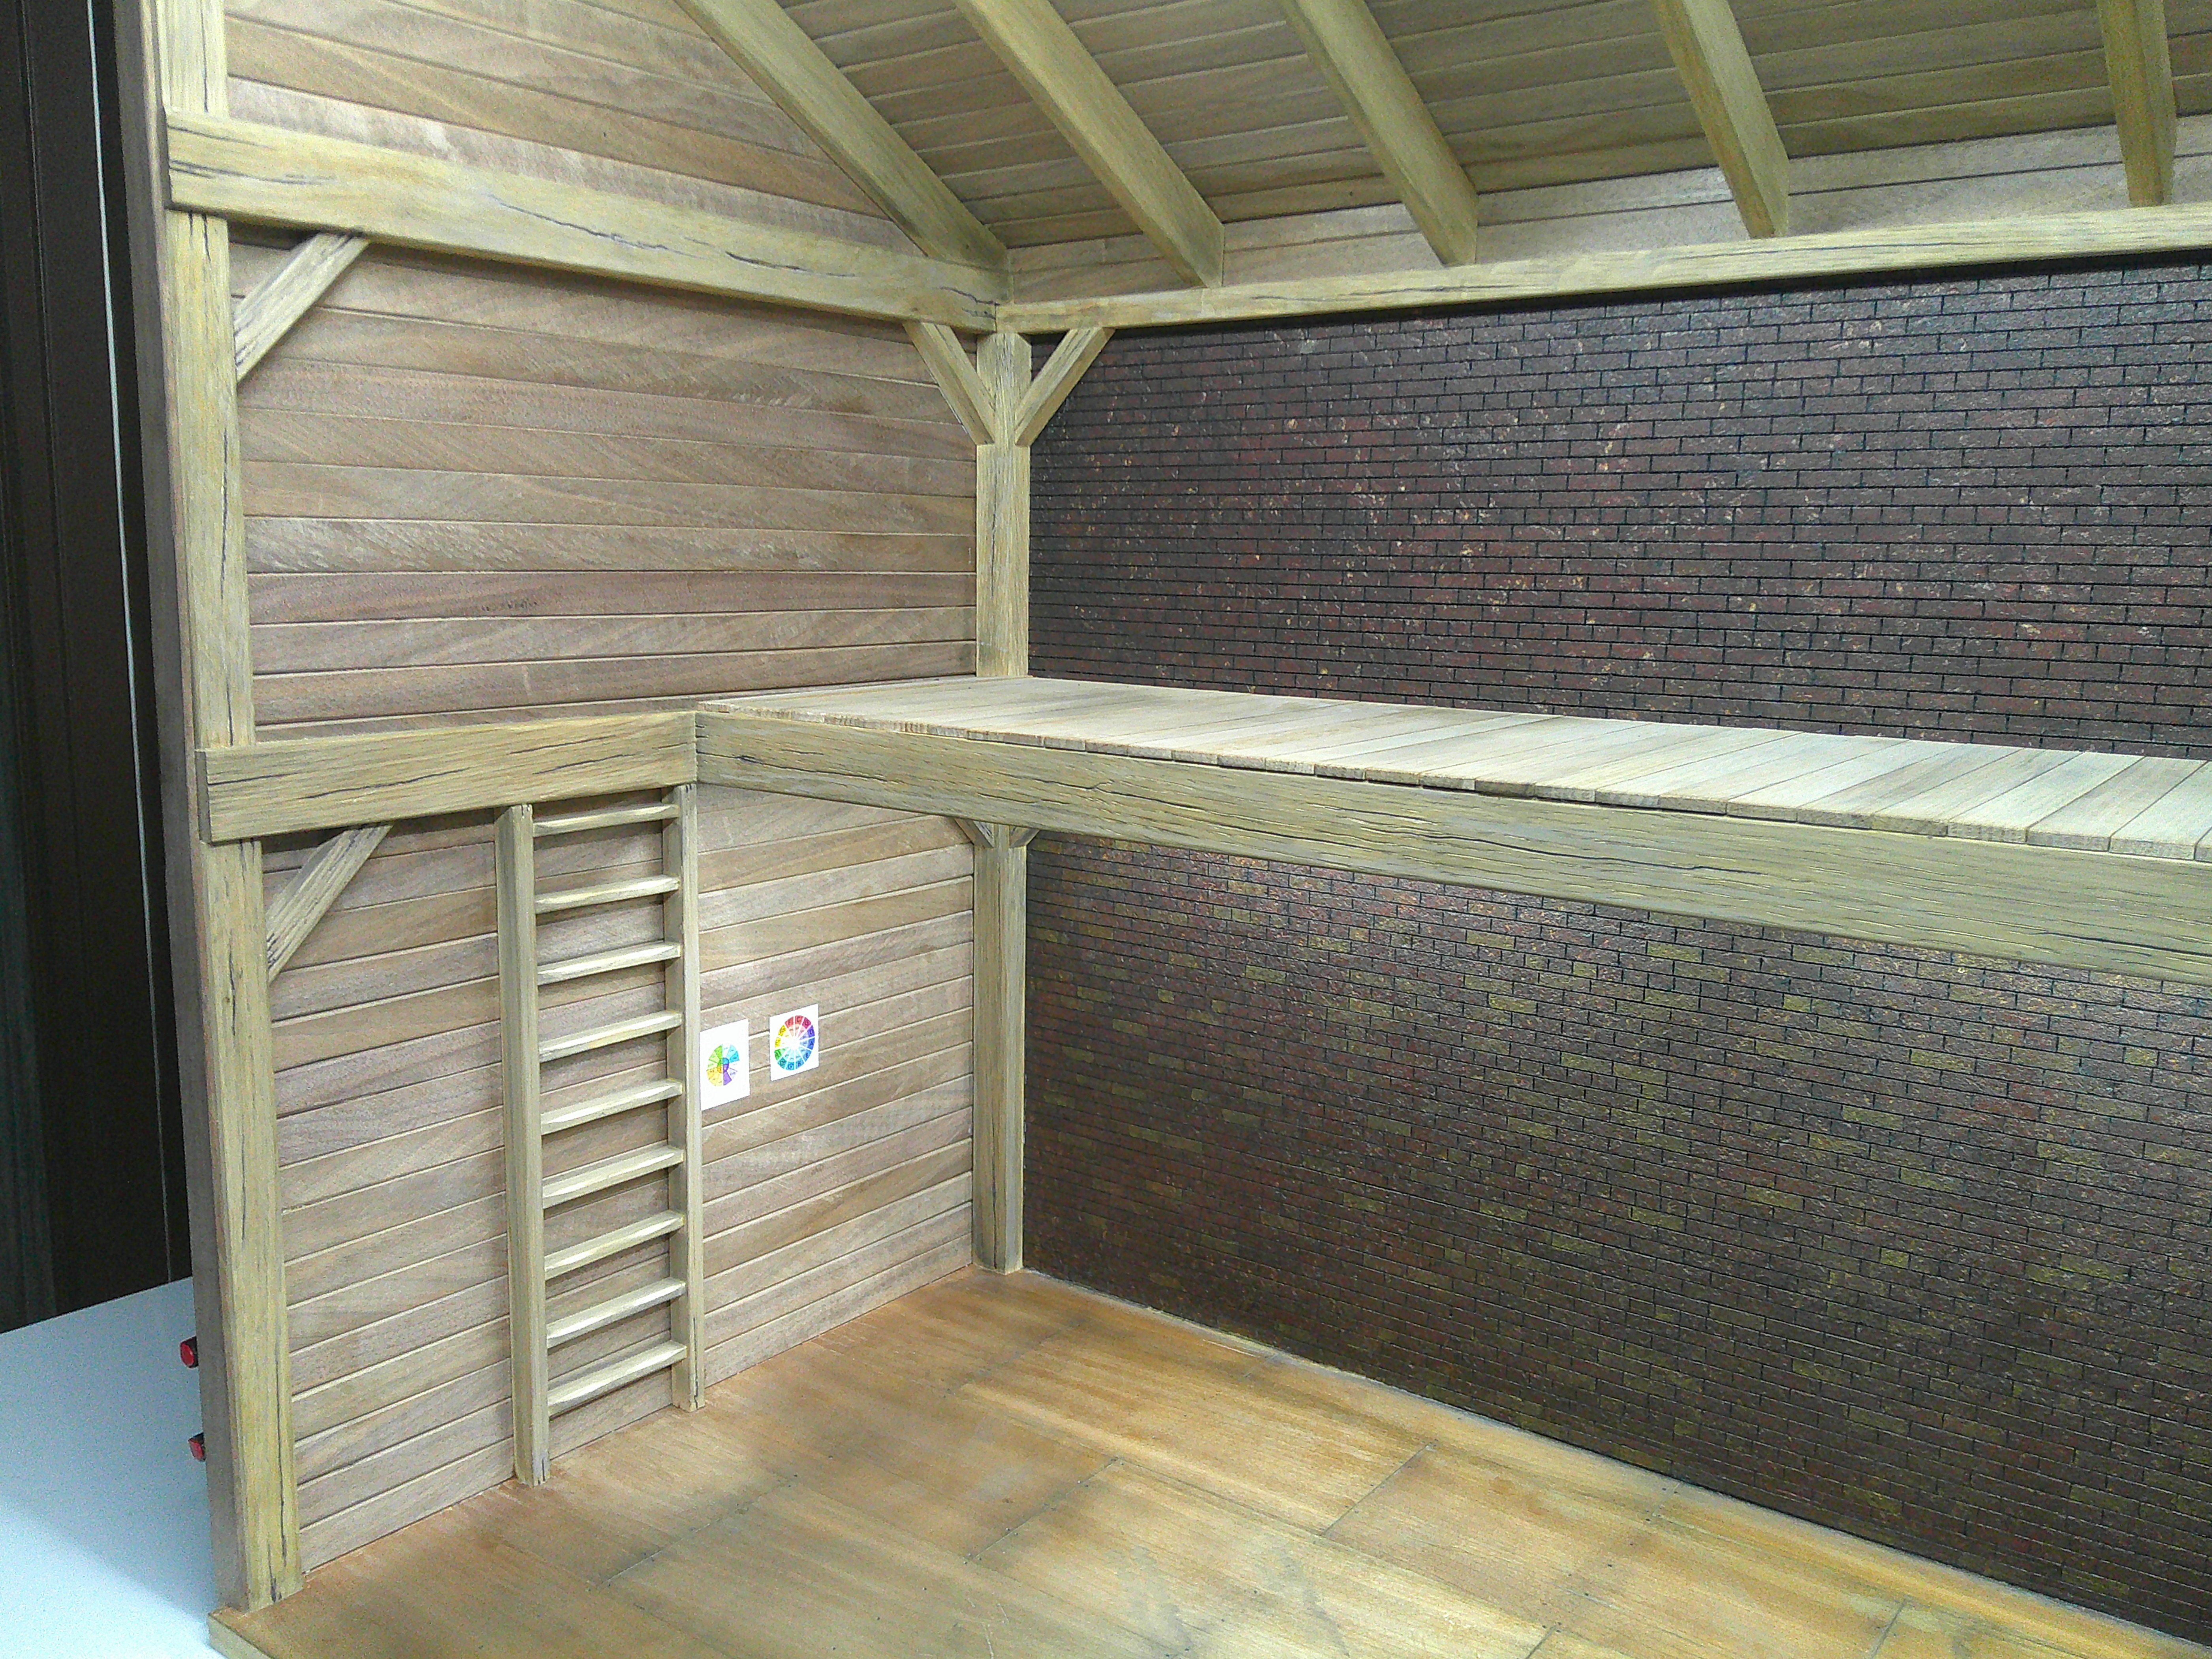
I get you. I am darkening all the wood, slowly, but I have to balance accuracy with scene requirements. I want it to look old, but it also has to photograph well. :)

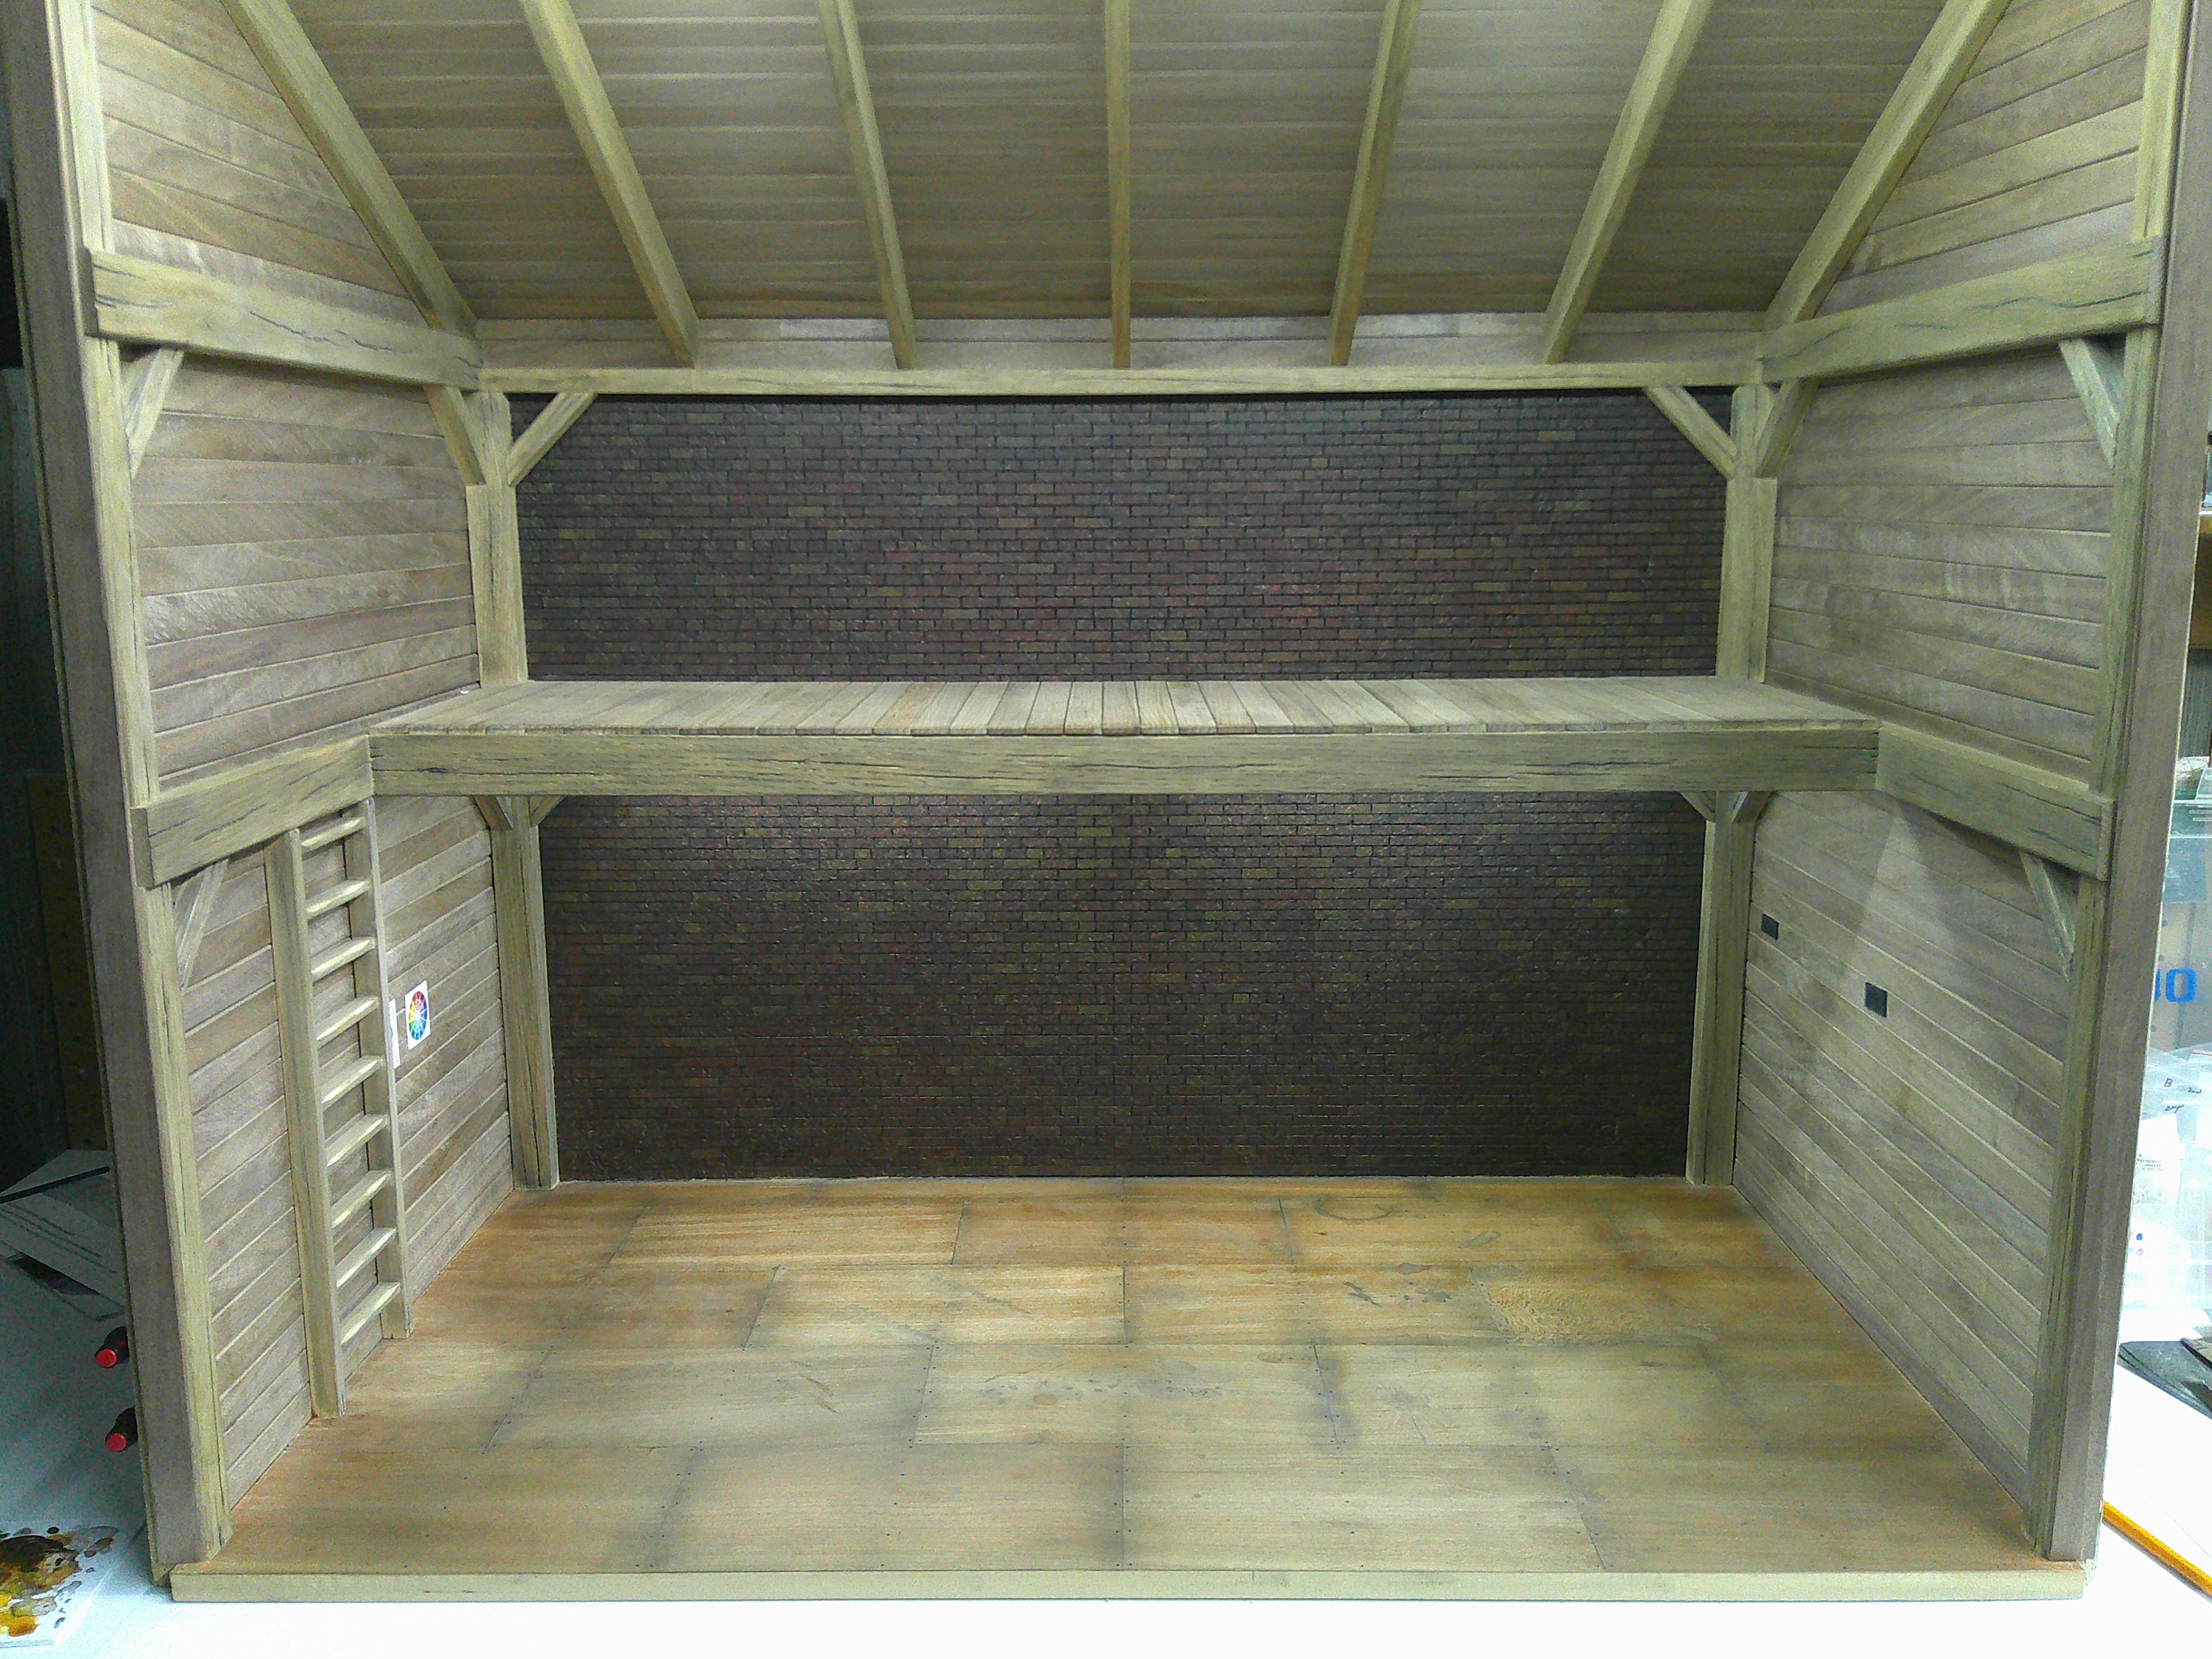
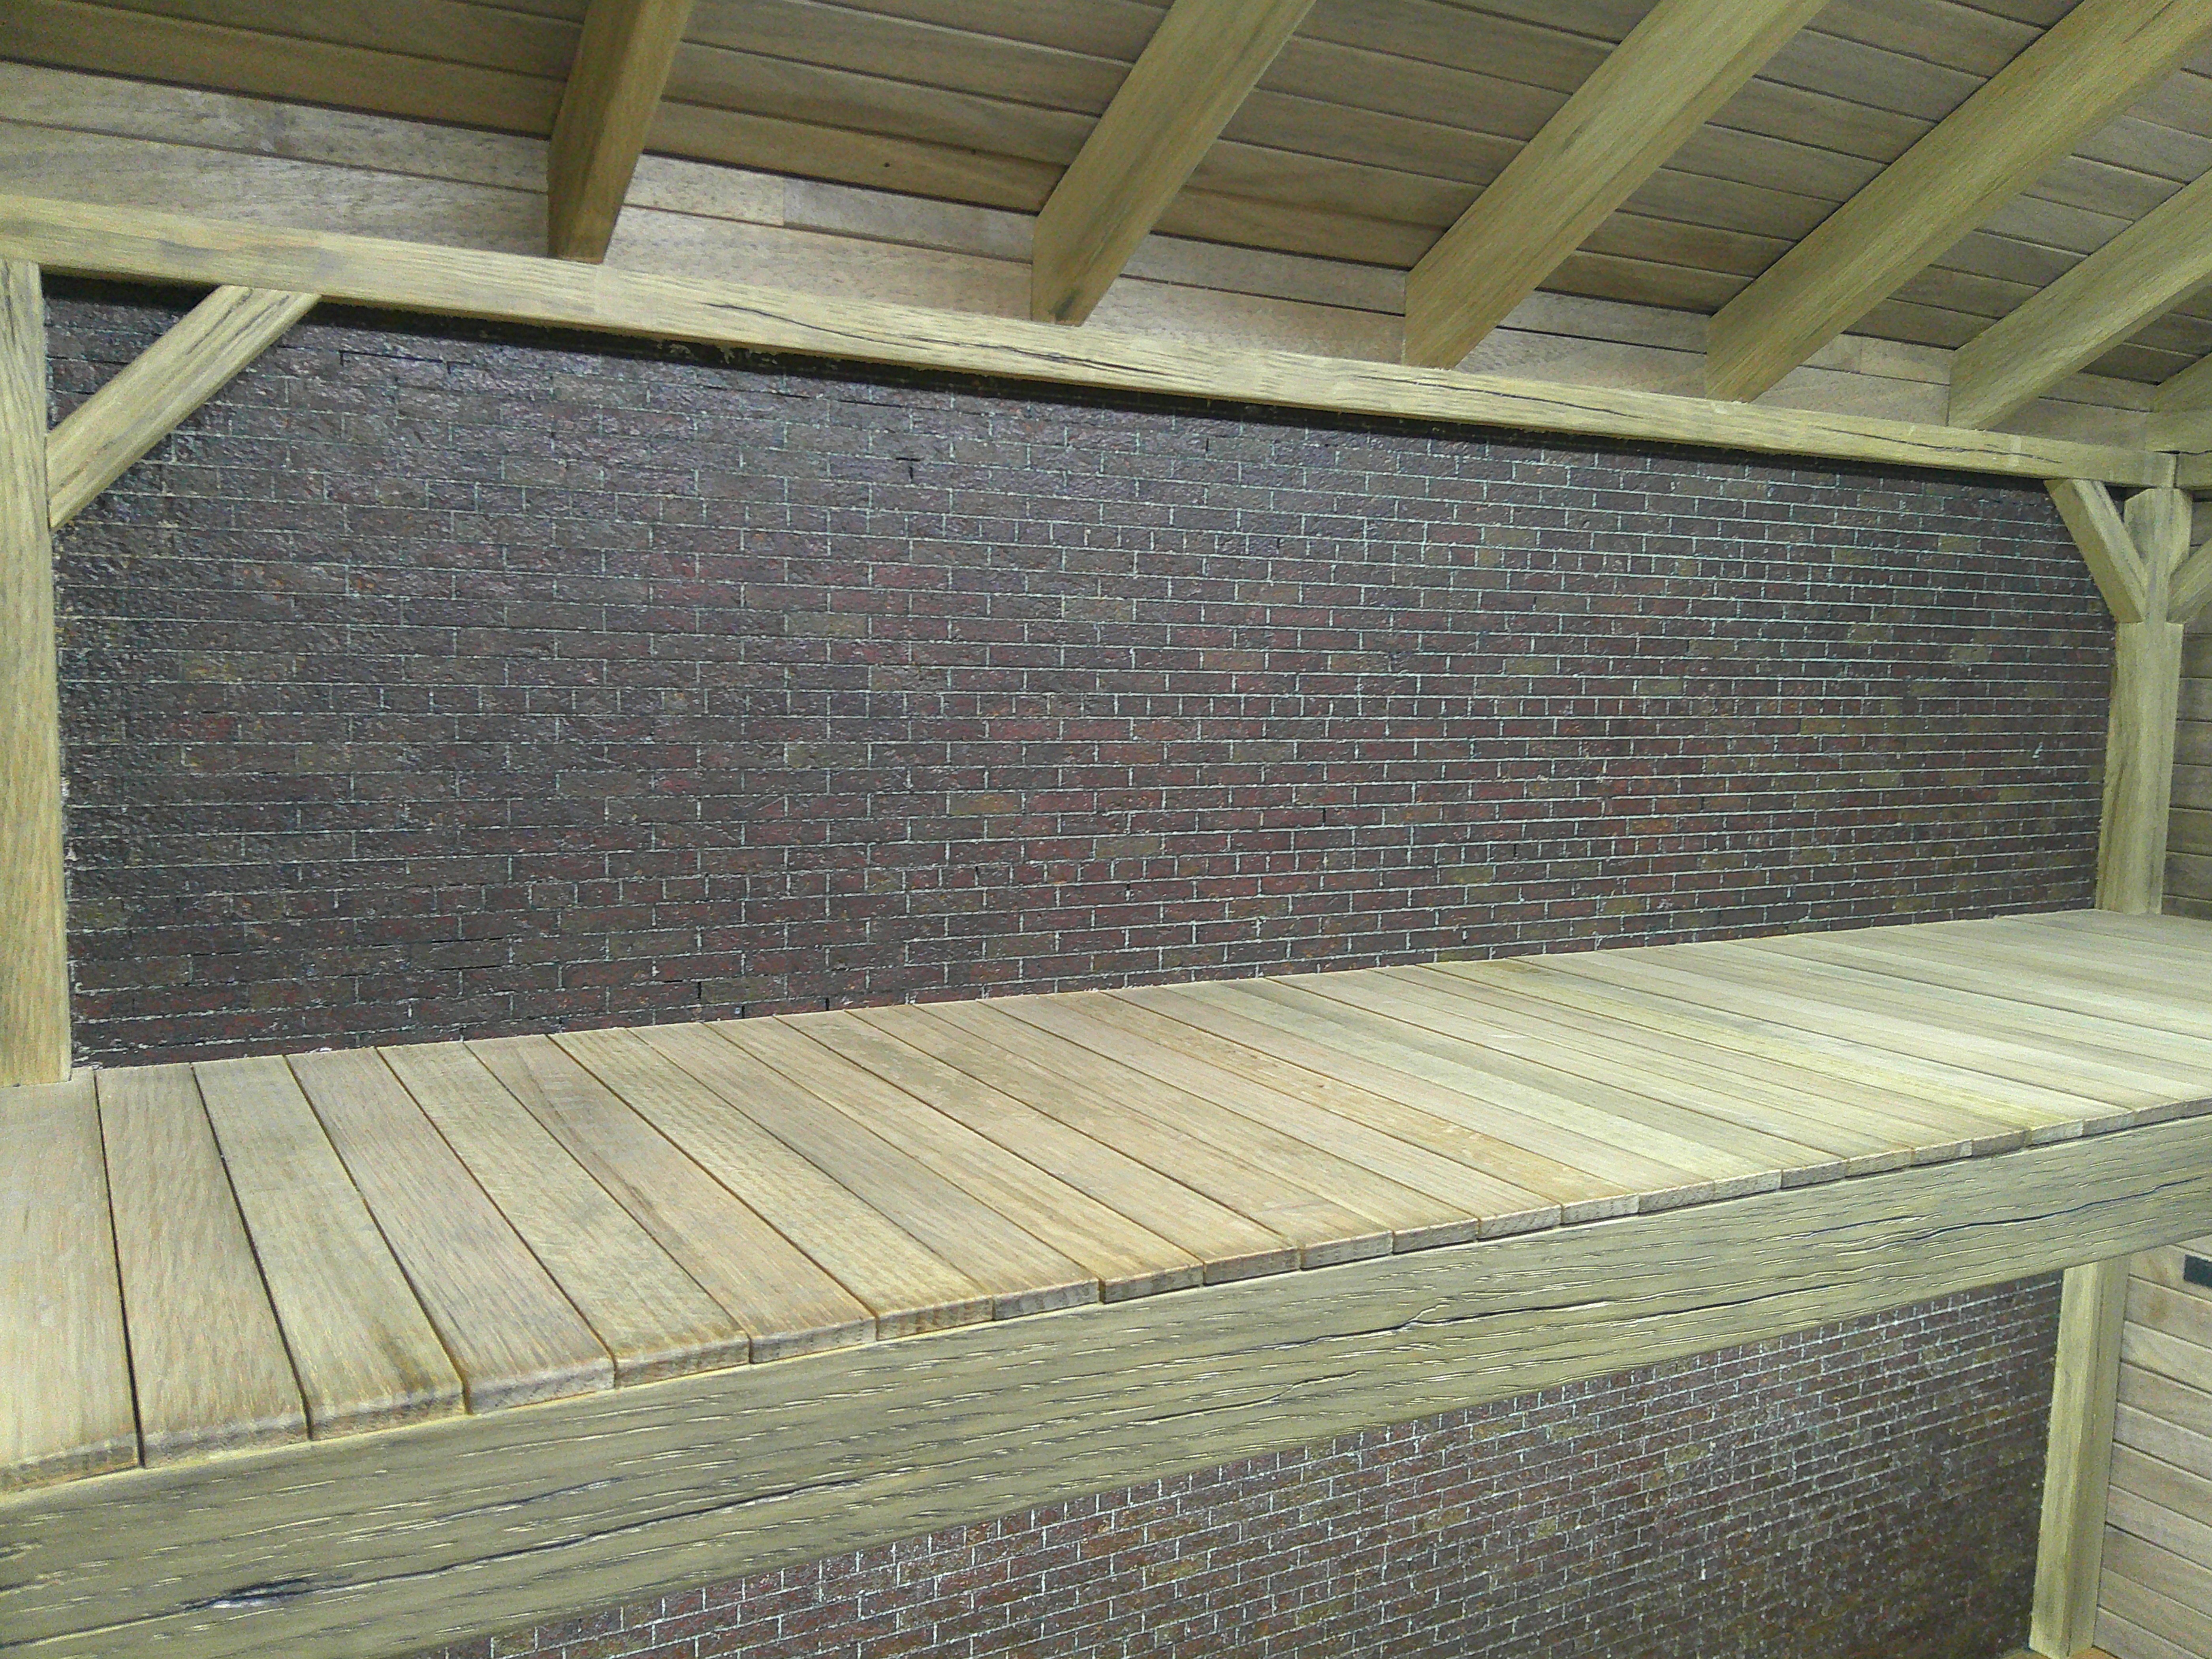
I worked on adding cracks to the timbers on the upper part of the building. I just have to work on painting the bricks up there to match the lower part.

DSCF0252.JPG
DSCF0253.JPG
DSCF0255.JPG
 
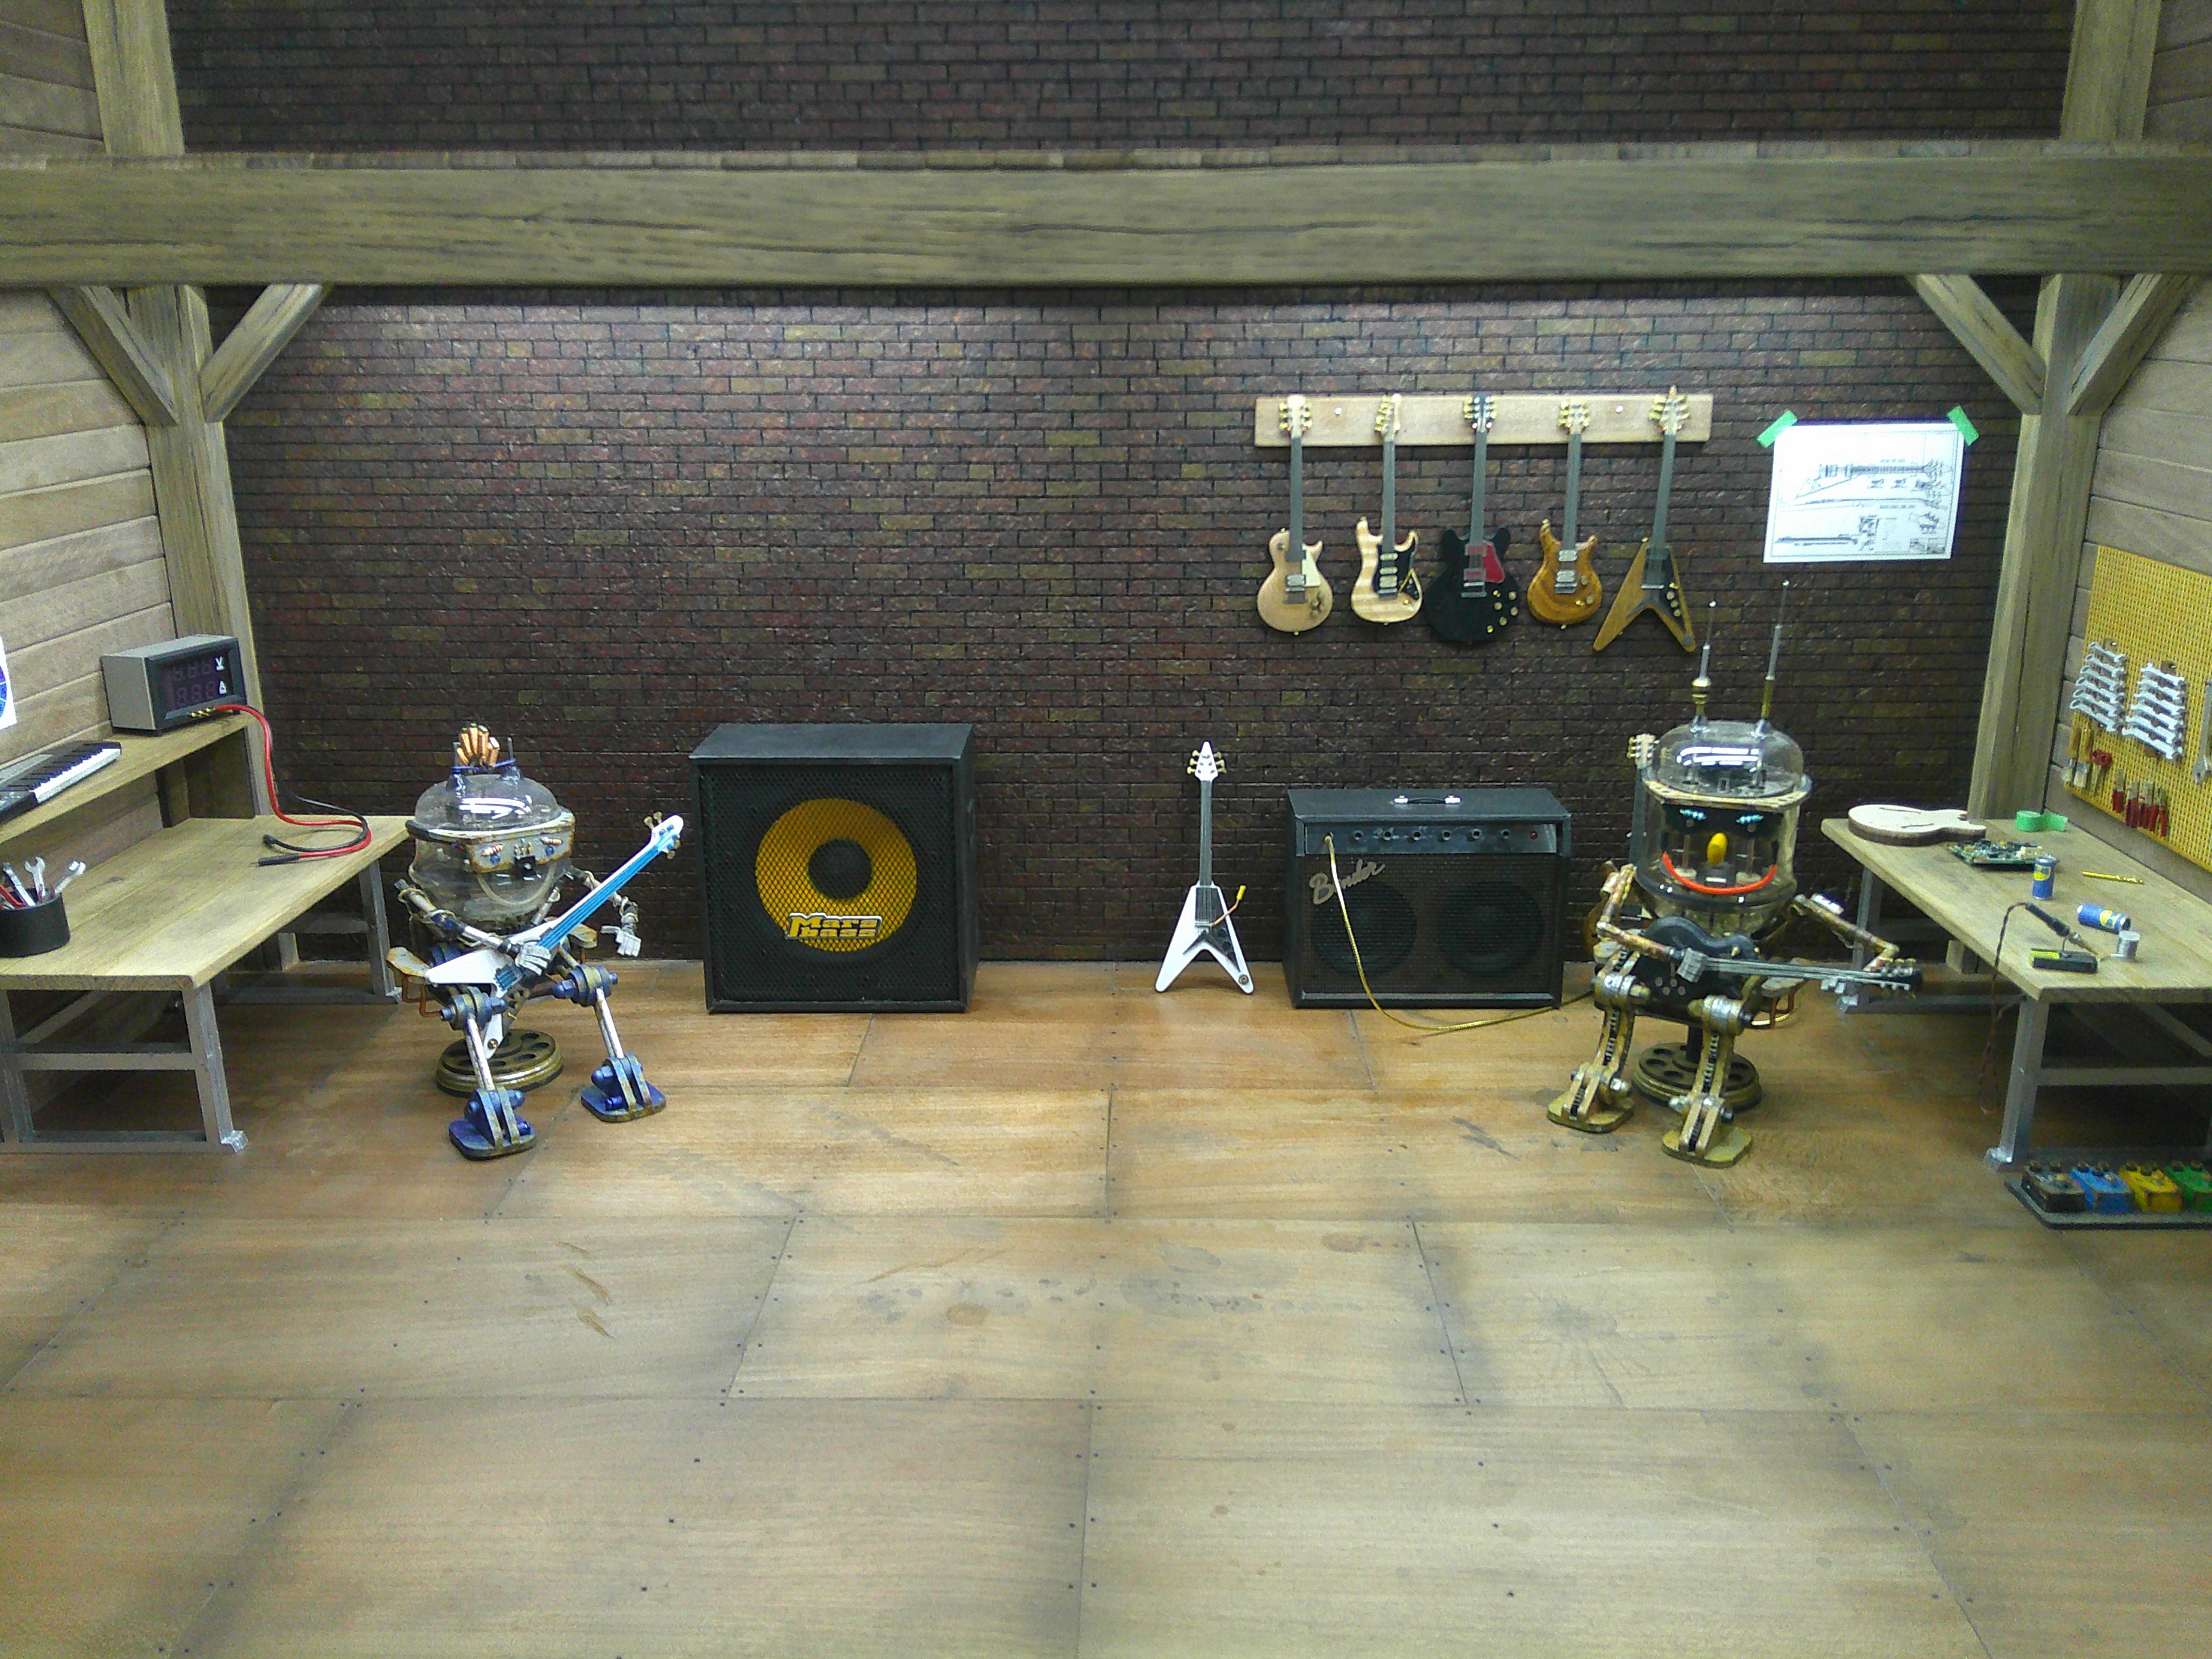
I finished up the bricks in the loft area today. I also added some more stains on the floor and the workbenches. I also set up a quick photo with Mike and Dave. I am talking myself out of adding mortar to the bricks. It looks a lot more realistic than it did.
DSCF0259.JPG
DSCF0260.JPG
 
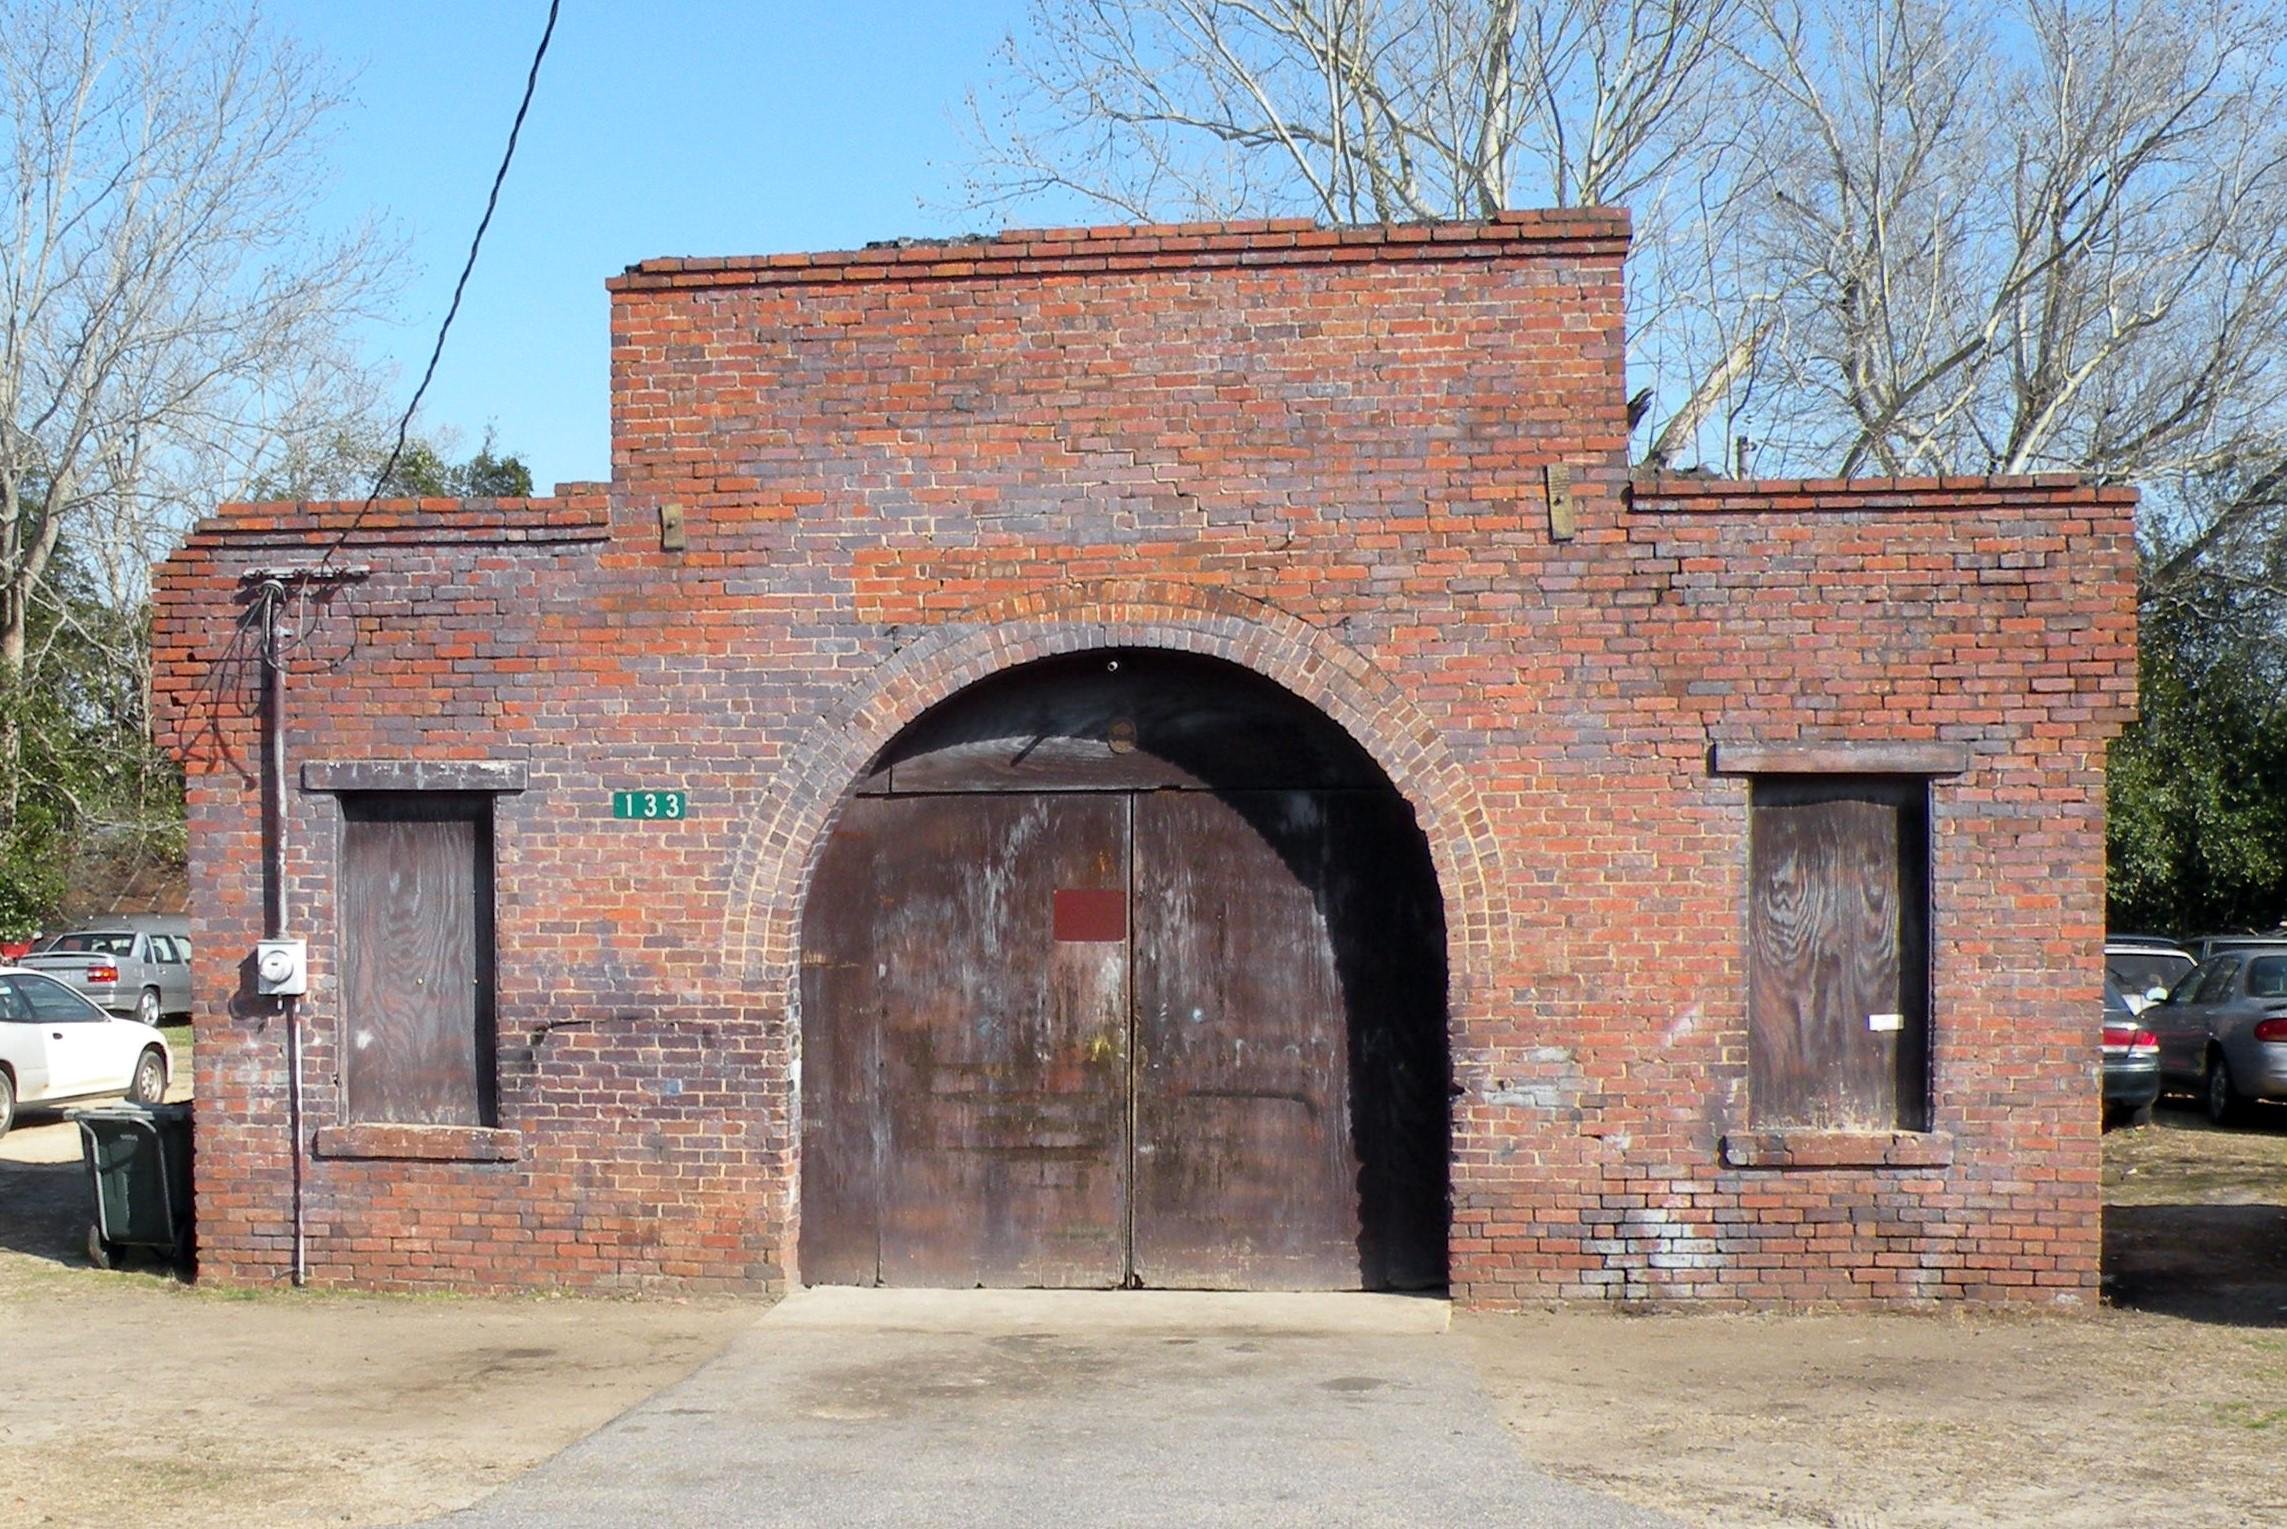
Black mortar, as this masonry appears to have, is not common in old structures, but is possible. However, such pigmented mortar usually appears gray, rather than black. What this could be, however, is that the mortar joints were coated with tar. This was occasionally done to prevent moisture infiltration, especially in masonry with mortars of low portland cement content.

I suggest adding a few areas of whitish efflorescence to the wall, particularly close underneath the horizontal beams. This can be accomplishe with a light gray, (NOT pure white) wash, which is easy to control. You don't want it heavy, just enough to be seen.
 
Black mortar, as this masonry appears to have, is not common in old structures
I know, I think I am talking myself back into the mortar. haha! :) I have a couple reference images. I may try for something in like these two images. Thanks for your comments and input on this project.
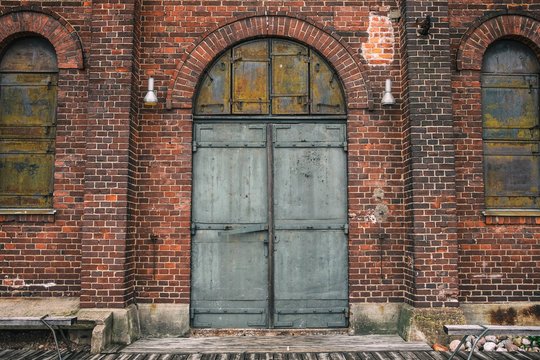
bricks-reference-1.jpg
bricks-reference-2.jpeg
 
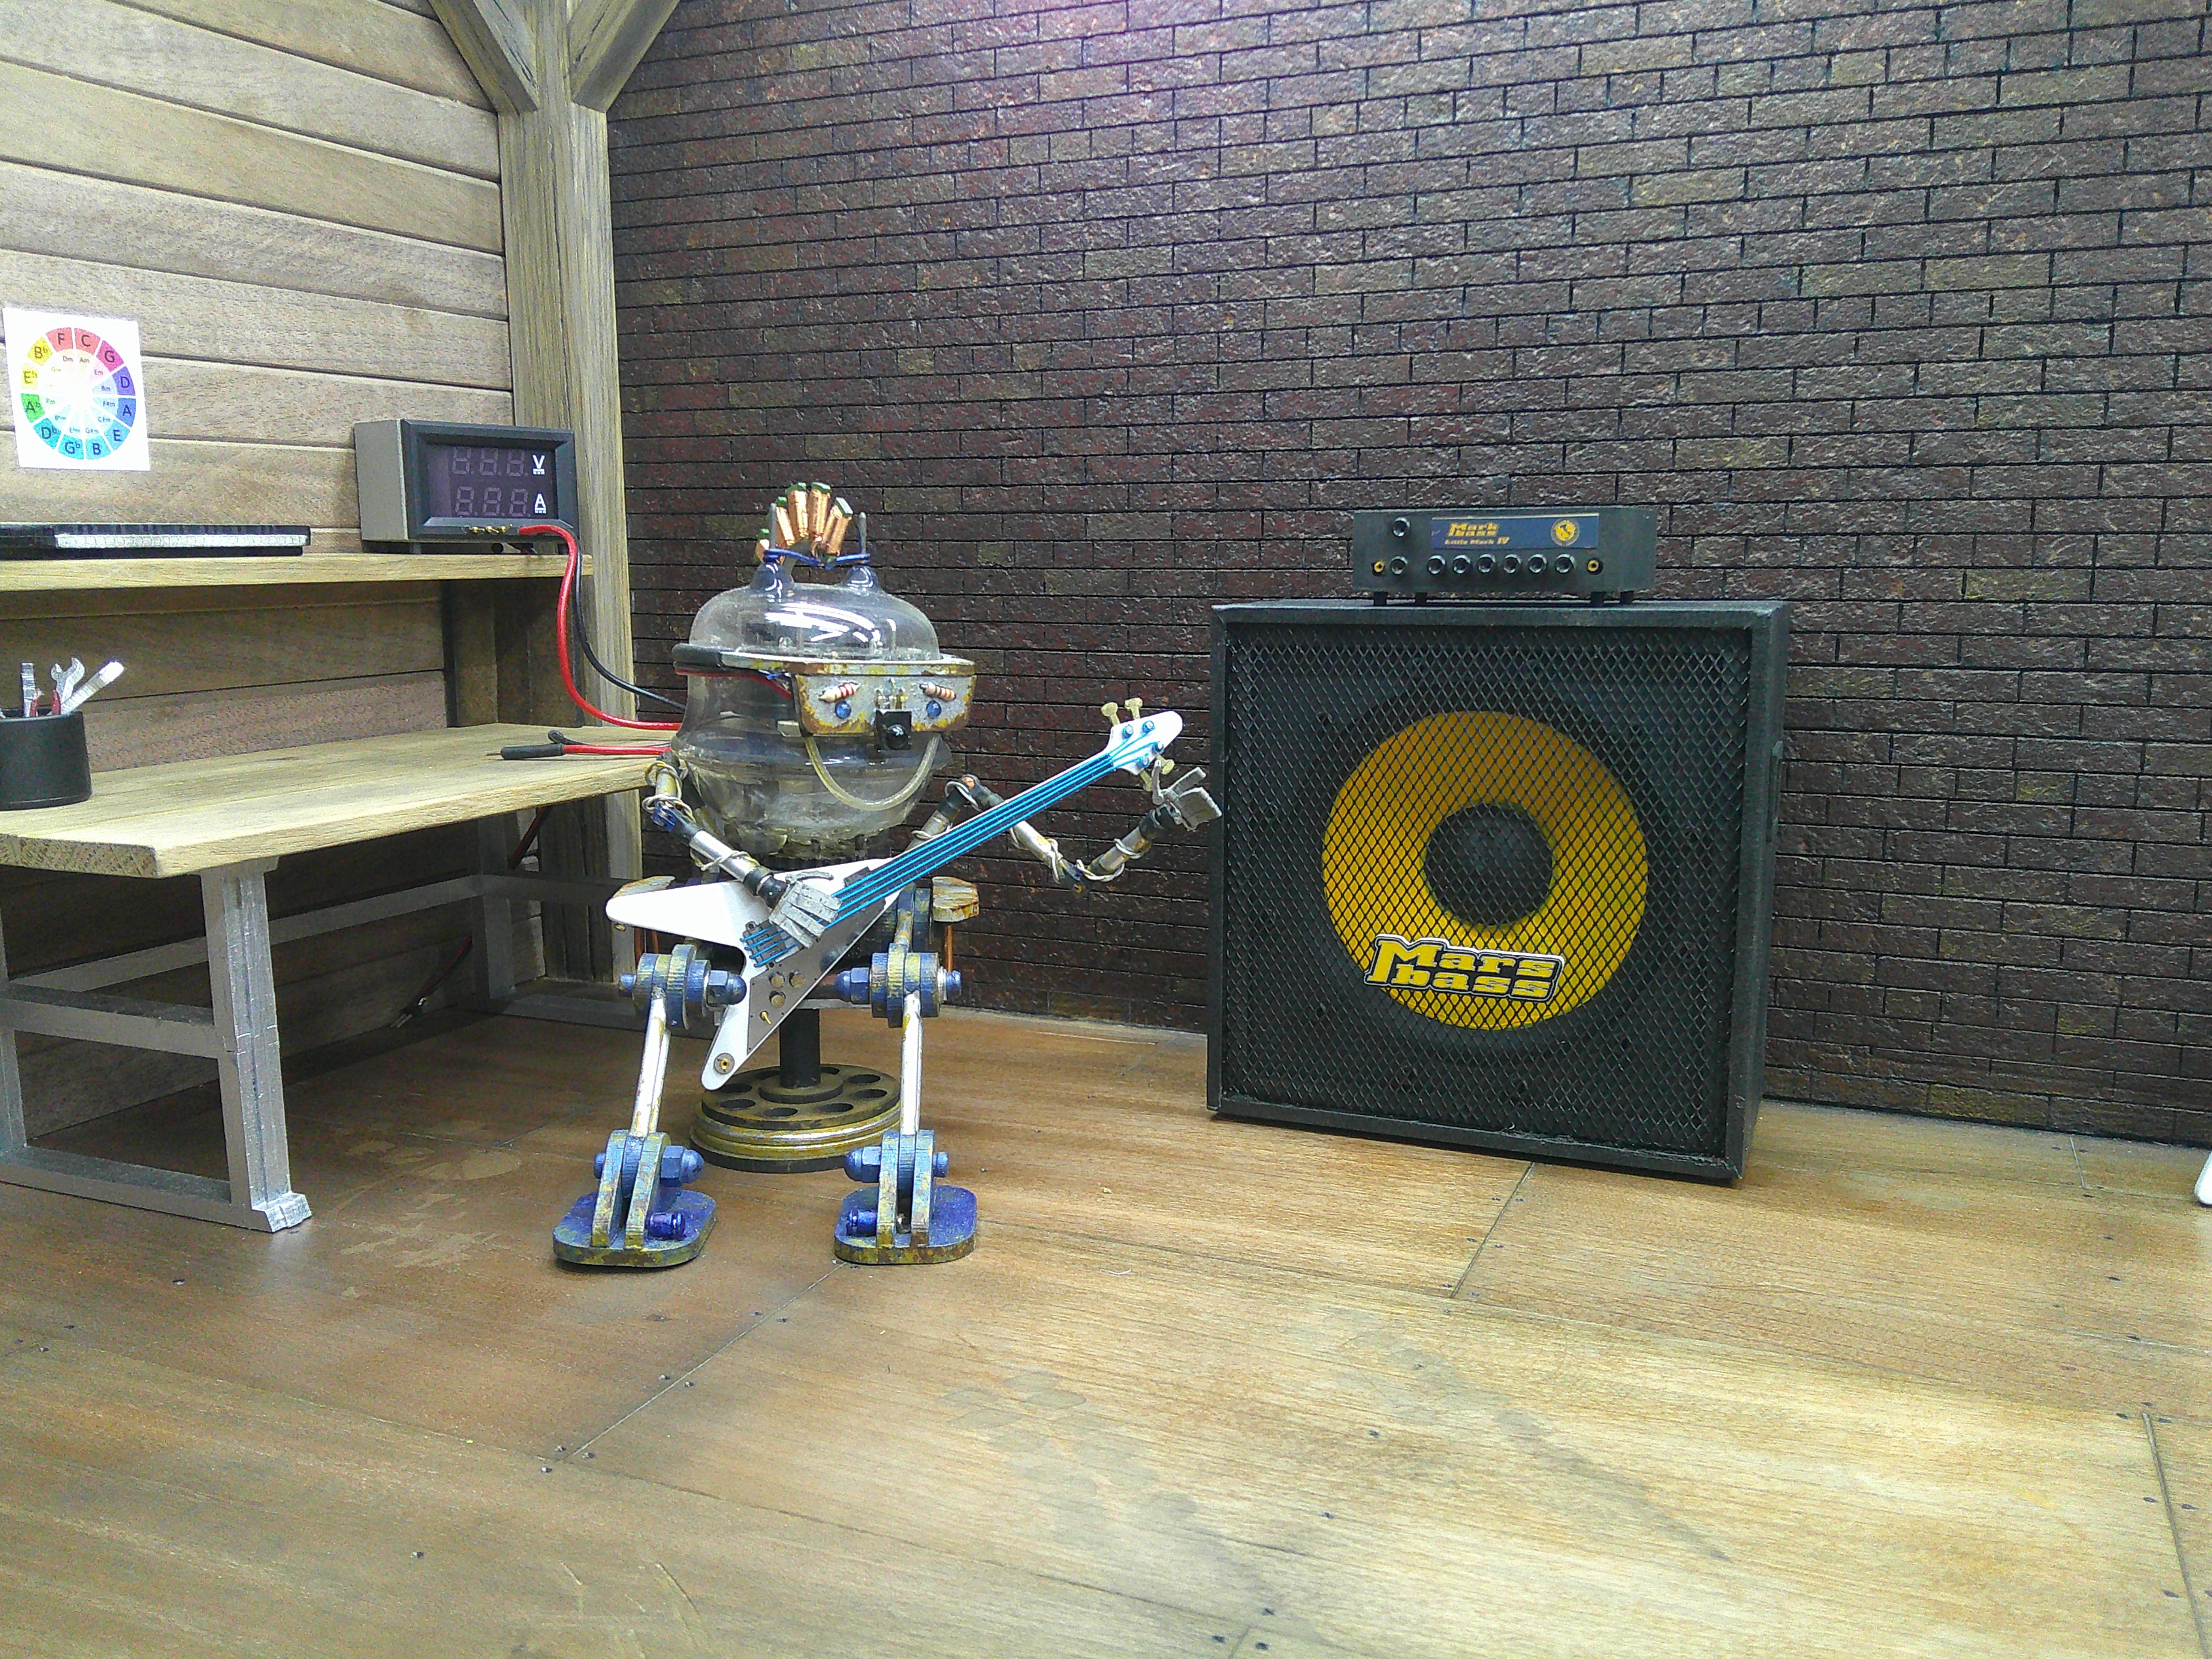
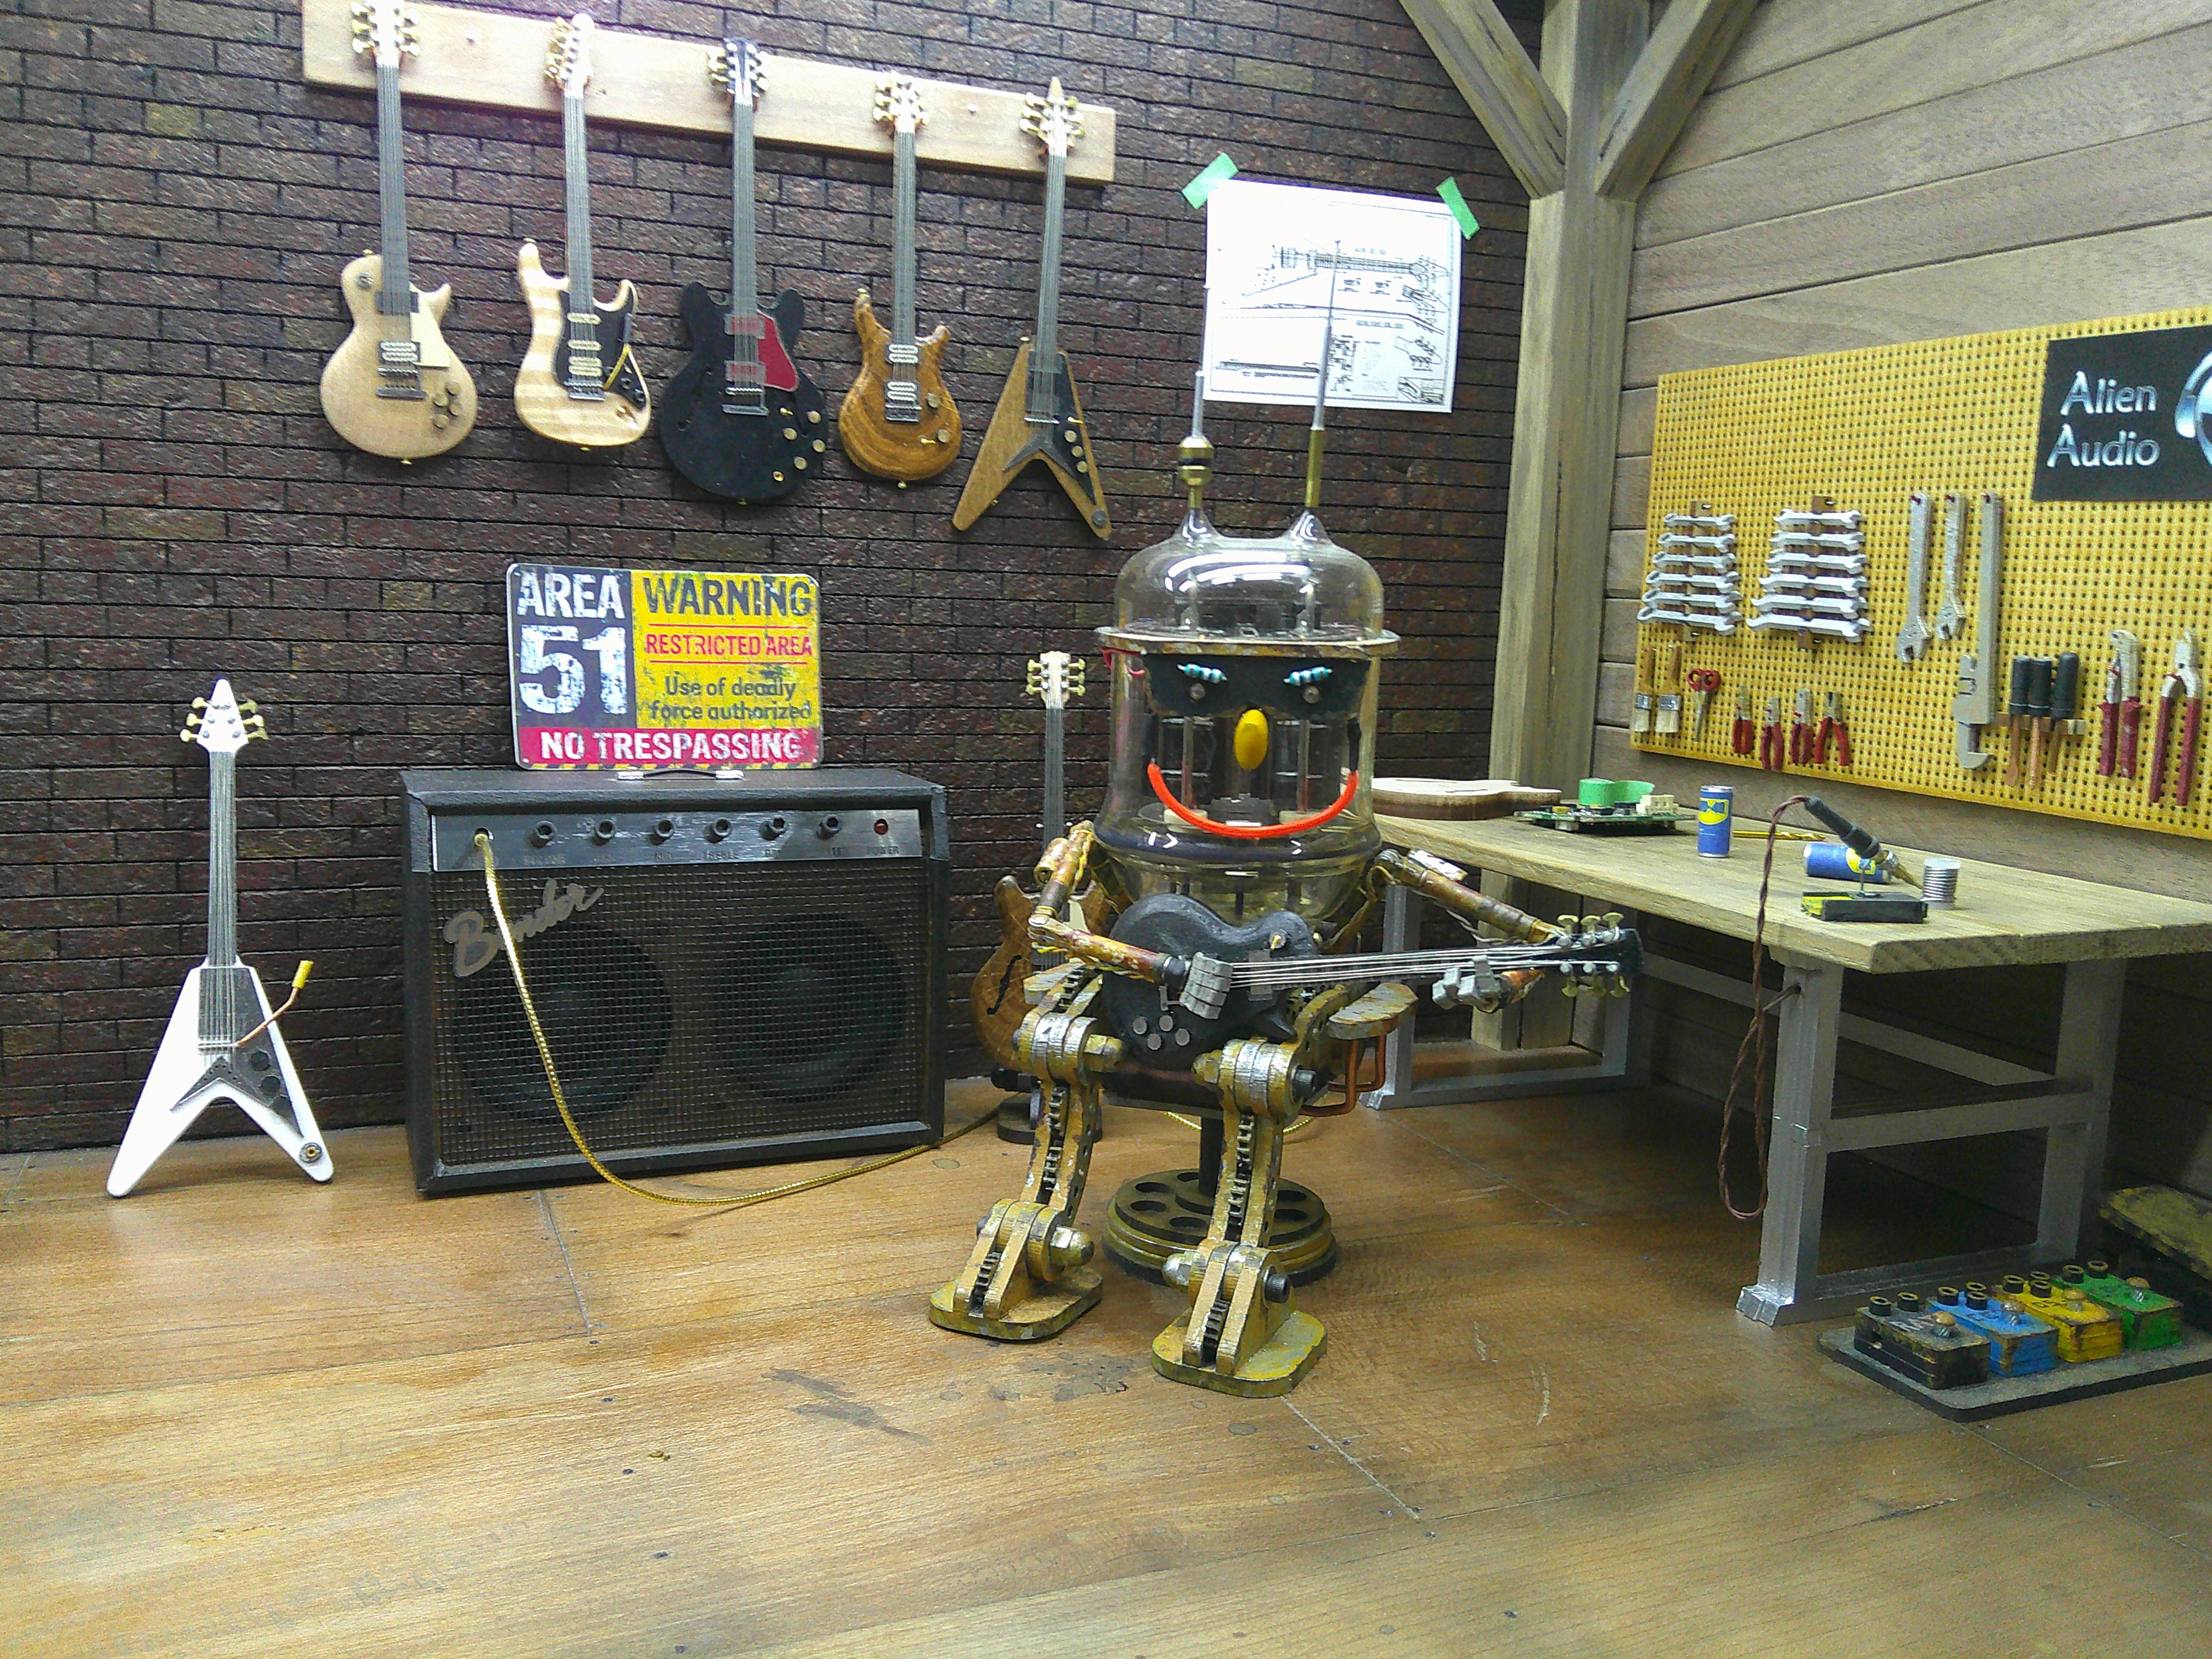
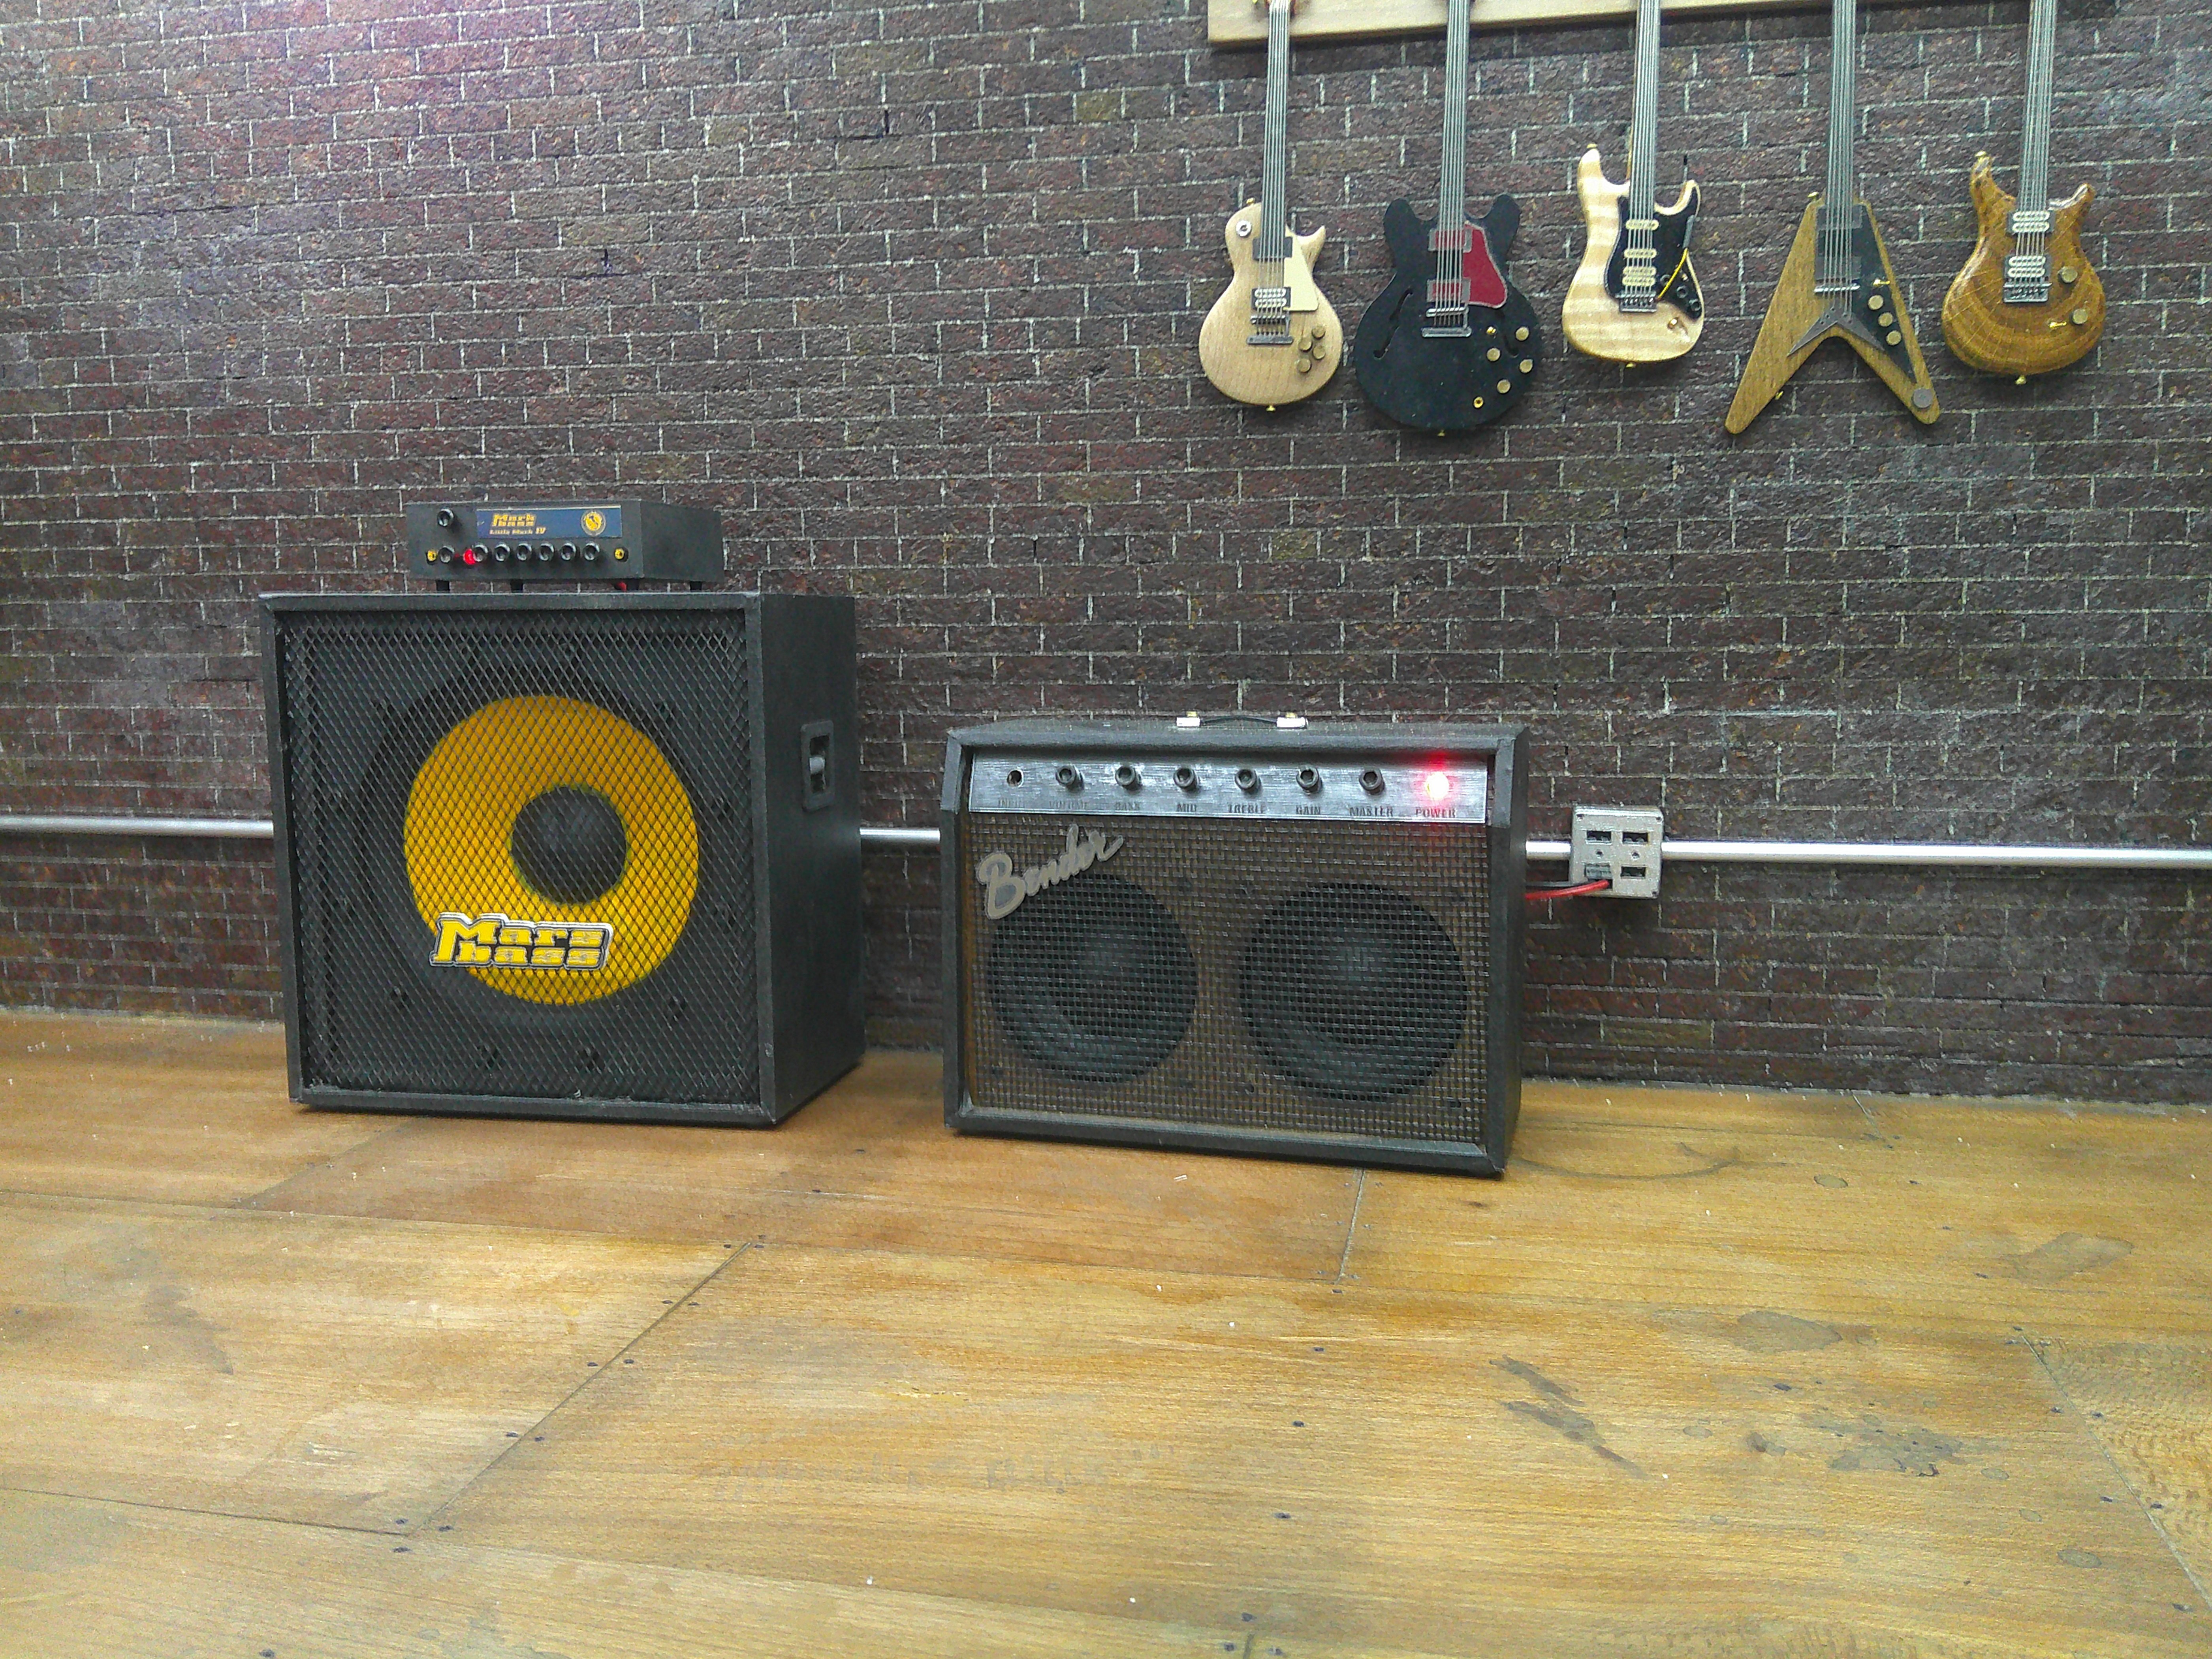
Today I made the amp head for the Mars Bass, (Mark Bass) cabinet I made a week or so ago. I also made an area 51 sign for the room. As for the mortar, I found a bag of "play sand" it's pretty fine and not too dusty. It's a light gray in color. I plan to set the room on it's back, pouring in some sand, brushing it into the cracks. I can seal it with super glue, but not sure yet. Everybody out of the room... ha ha!

DSCF0262.JPG
DSCF0264.JPG
 
I can seal it with super glue, but not sure yet. Everybody out of the room... ha ha!
Those are great reference photos for old masonry. Use diluted white glue, much easier to control. It will sink into the sand, and once cured will be invisible. But it must be diluted, IIRC, about 50%. You can also add a drop or two of Ivory™ dish soap to help it wet the sand. (Old model railroading trick.)
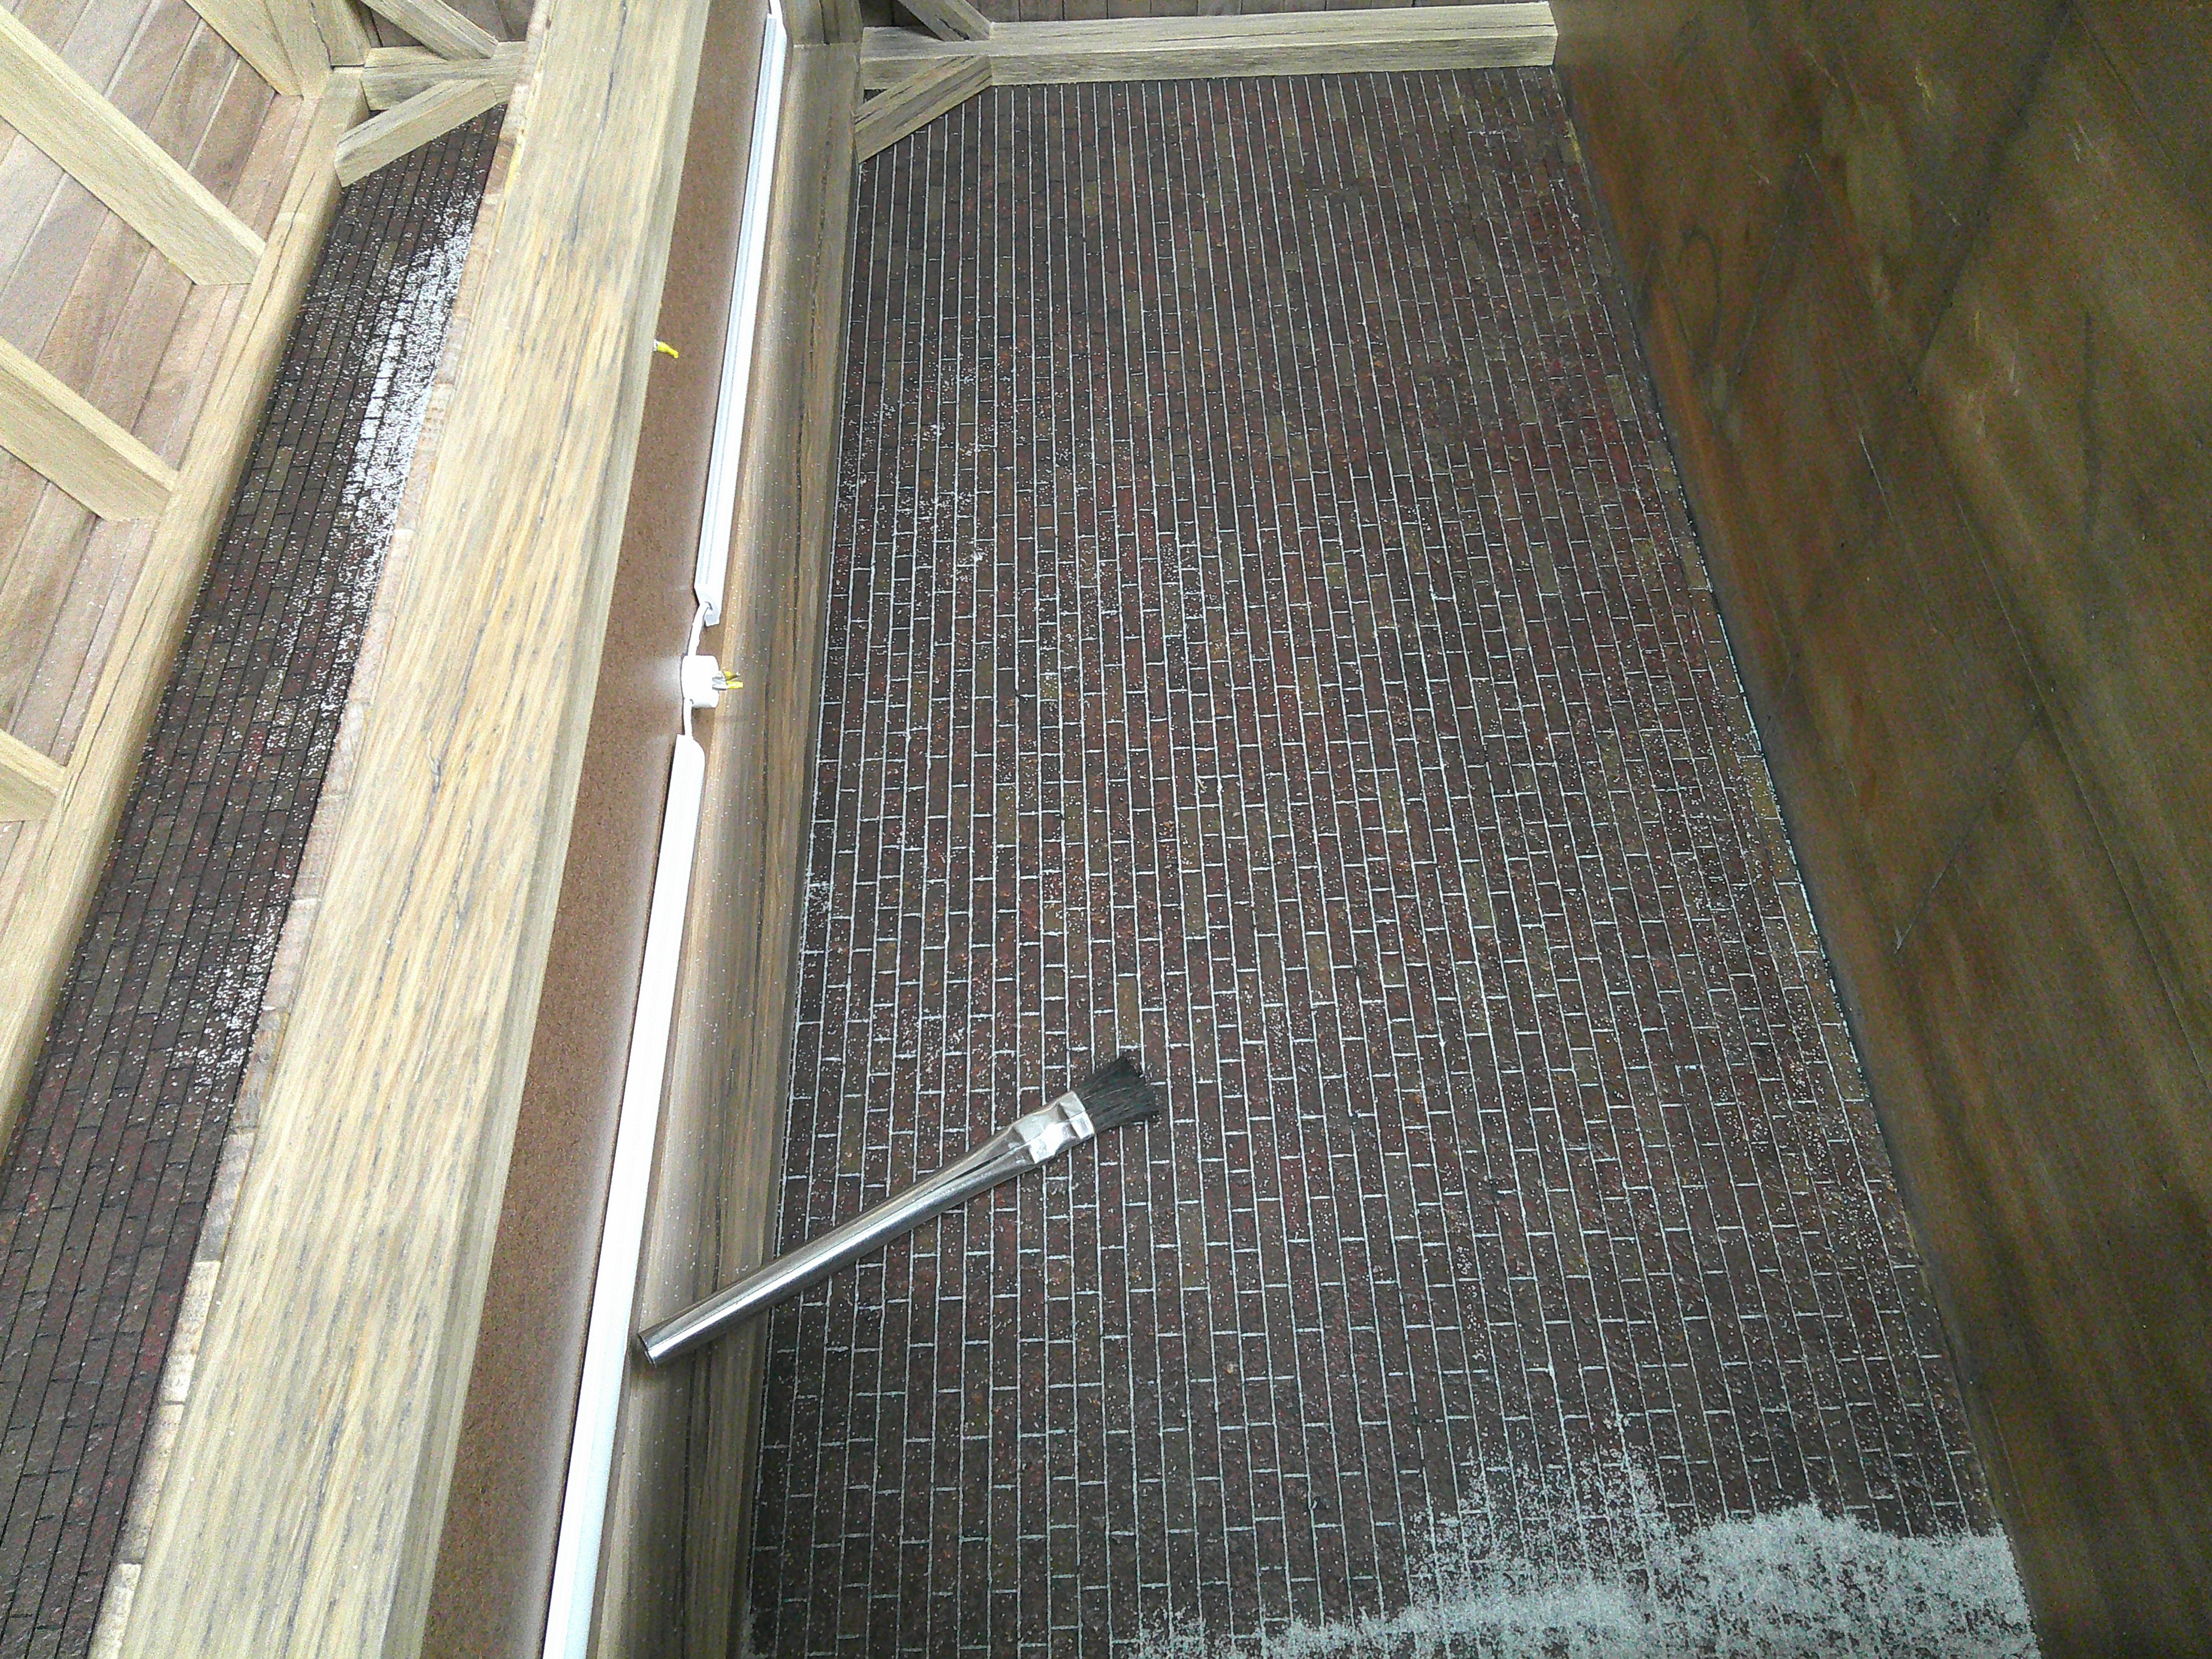
 
Those are great reference photos for old masonry. Use diluted white glue, much easier to control. It will sink into the sand, and once cured will be invisible. But it must be diluted, IIRC, about 50%. You can also add a drop or two of Ivory™ dish soap to help it wet the sand. (Old model railroading trick.)
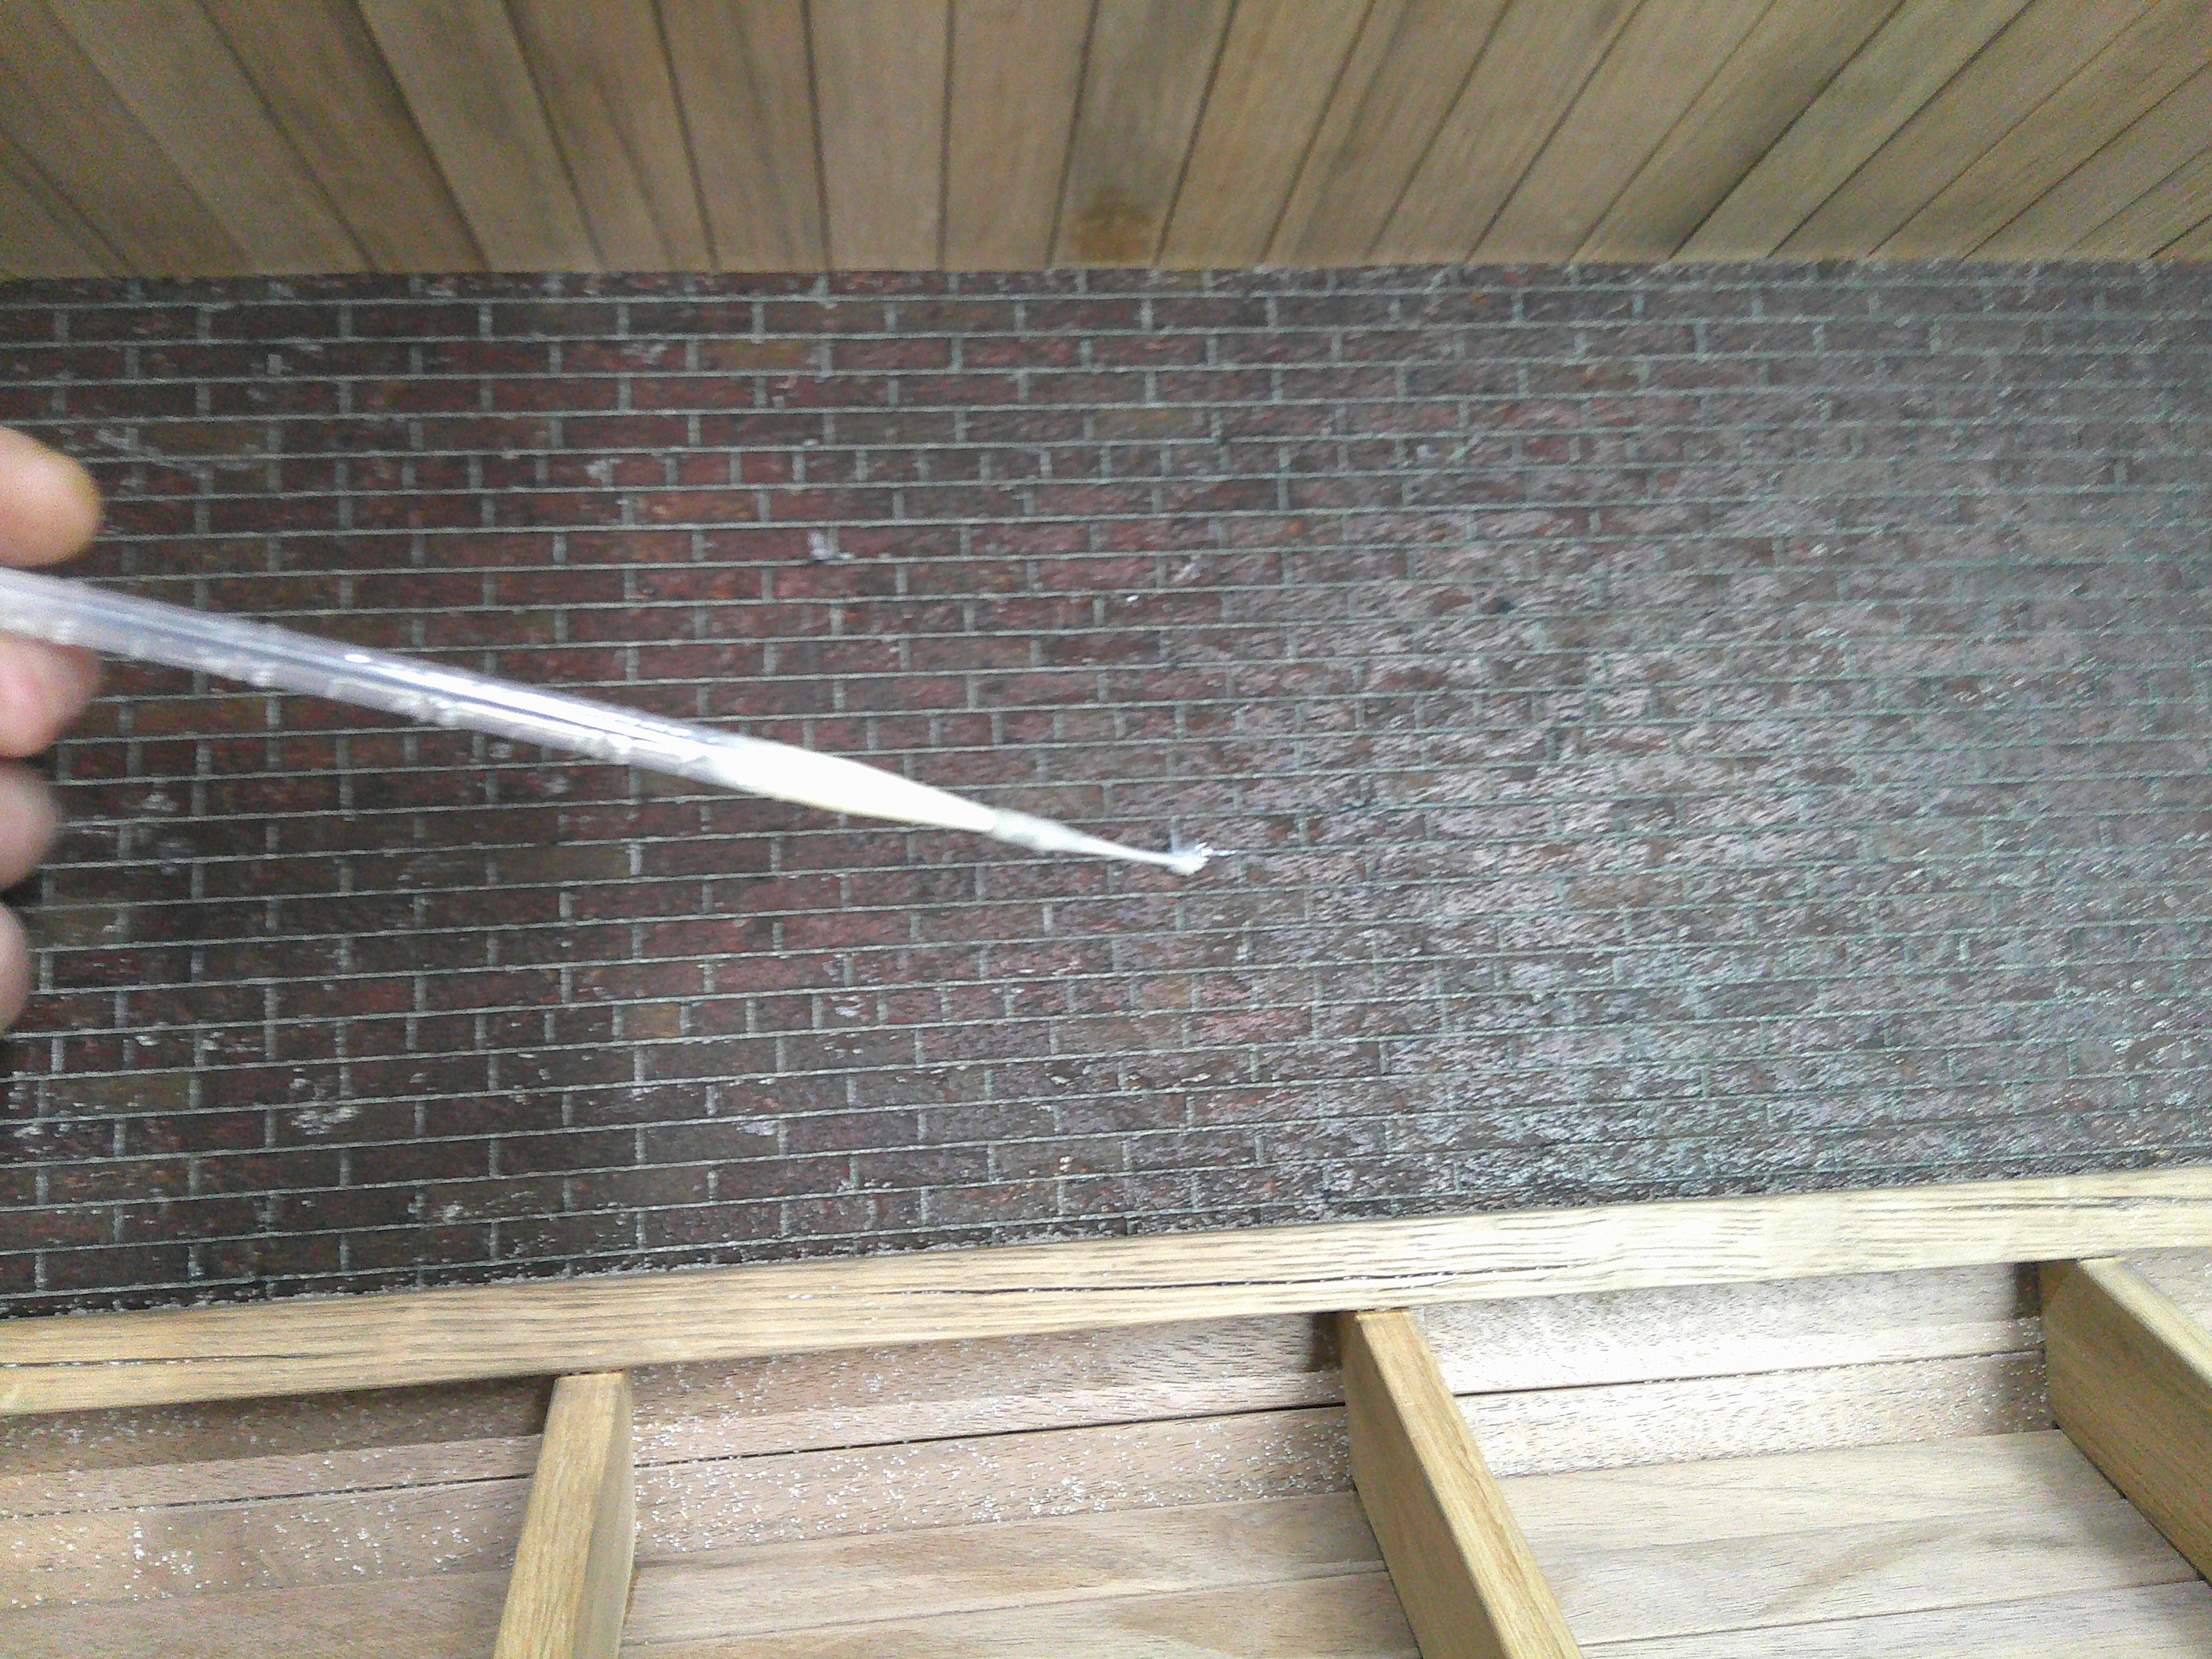
Thanks for the idea. :)
 
Last edited:
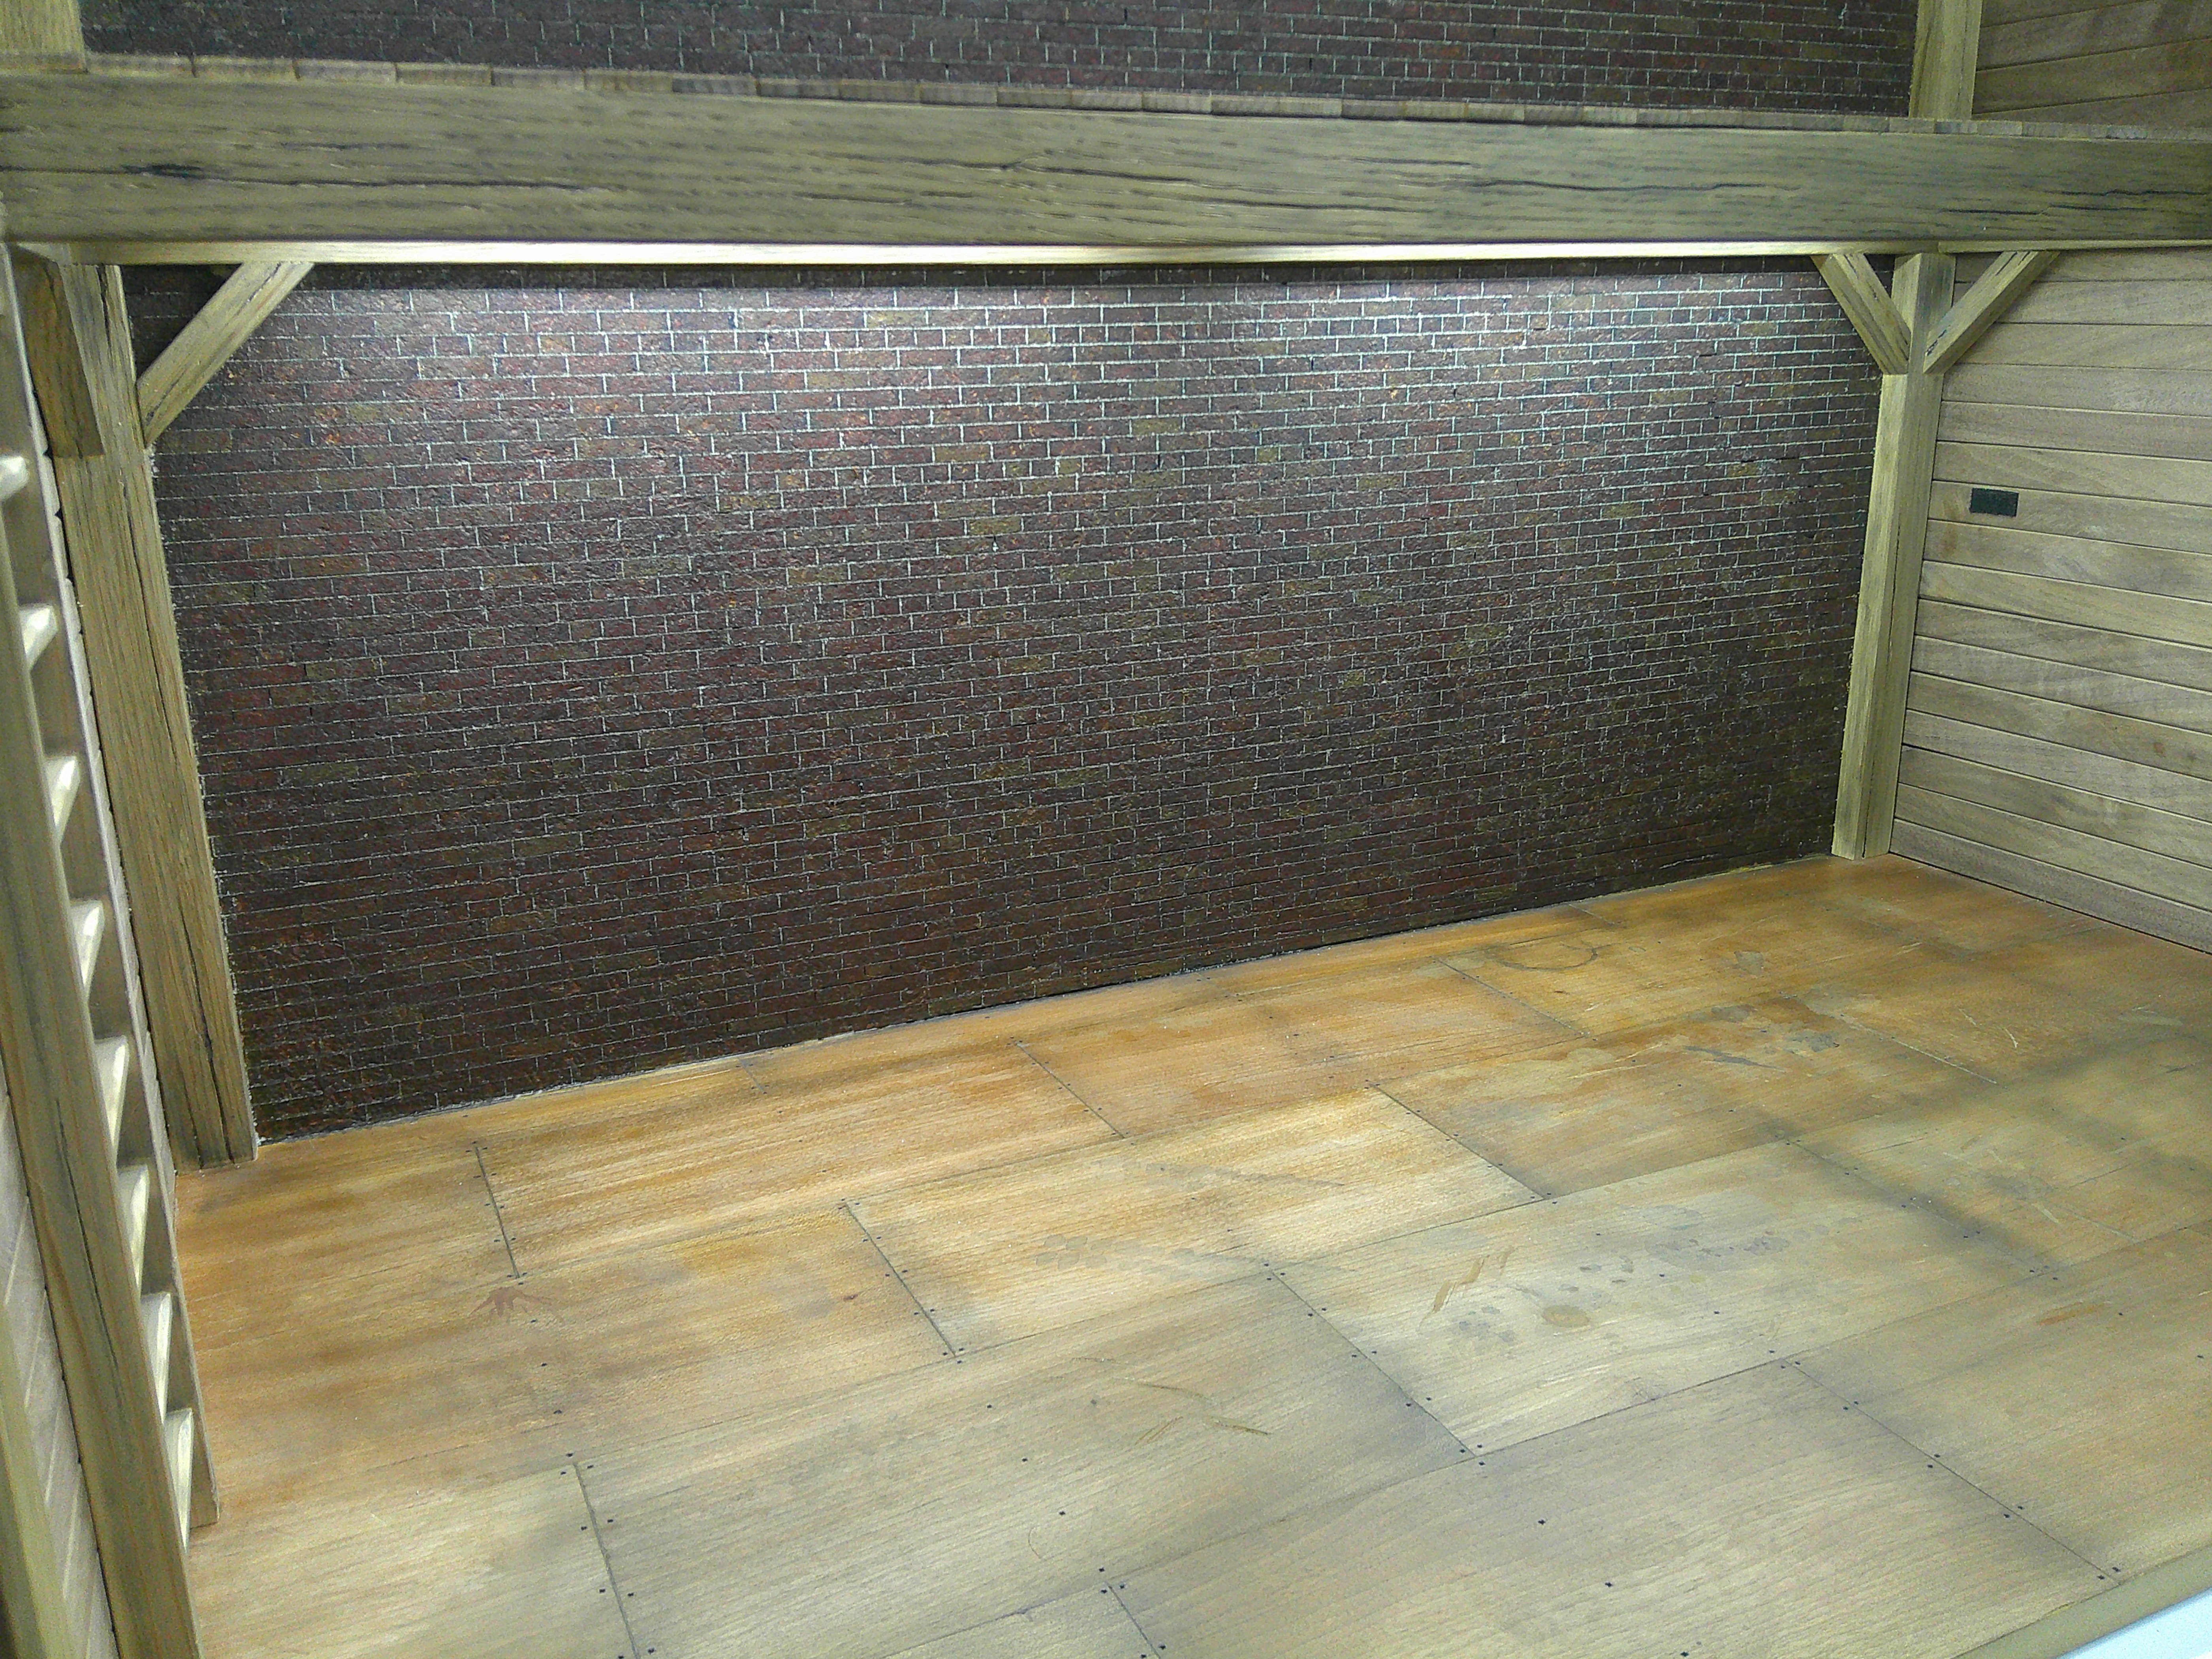
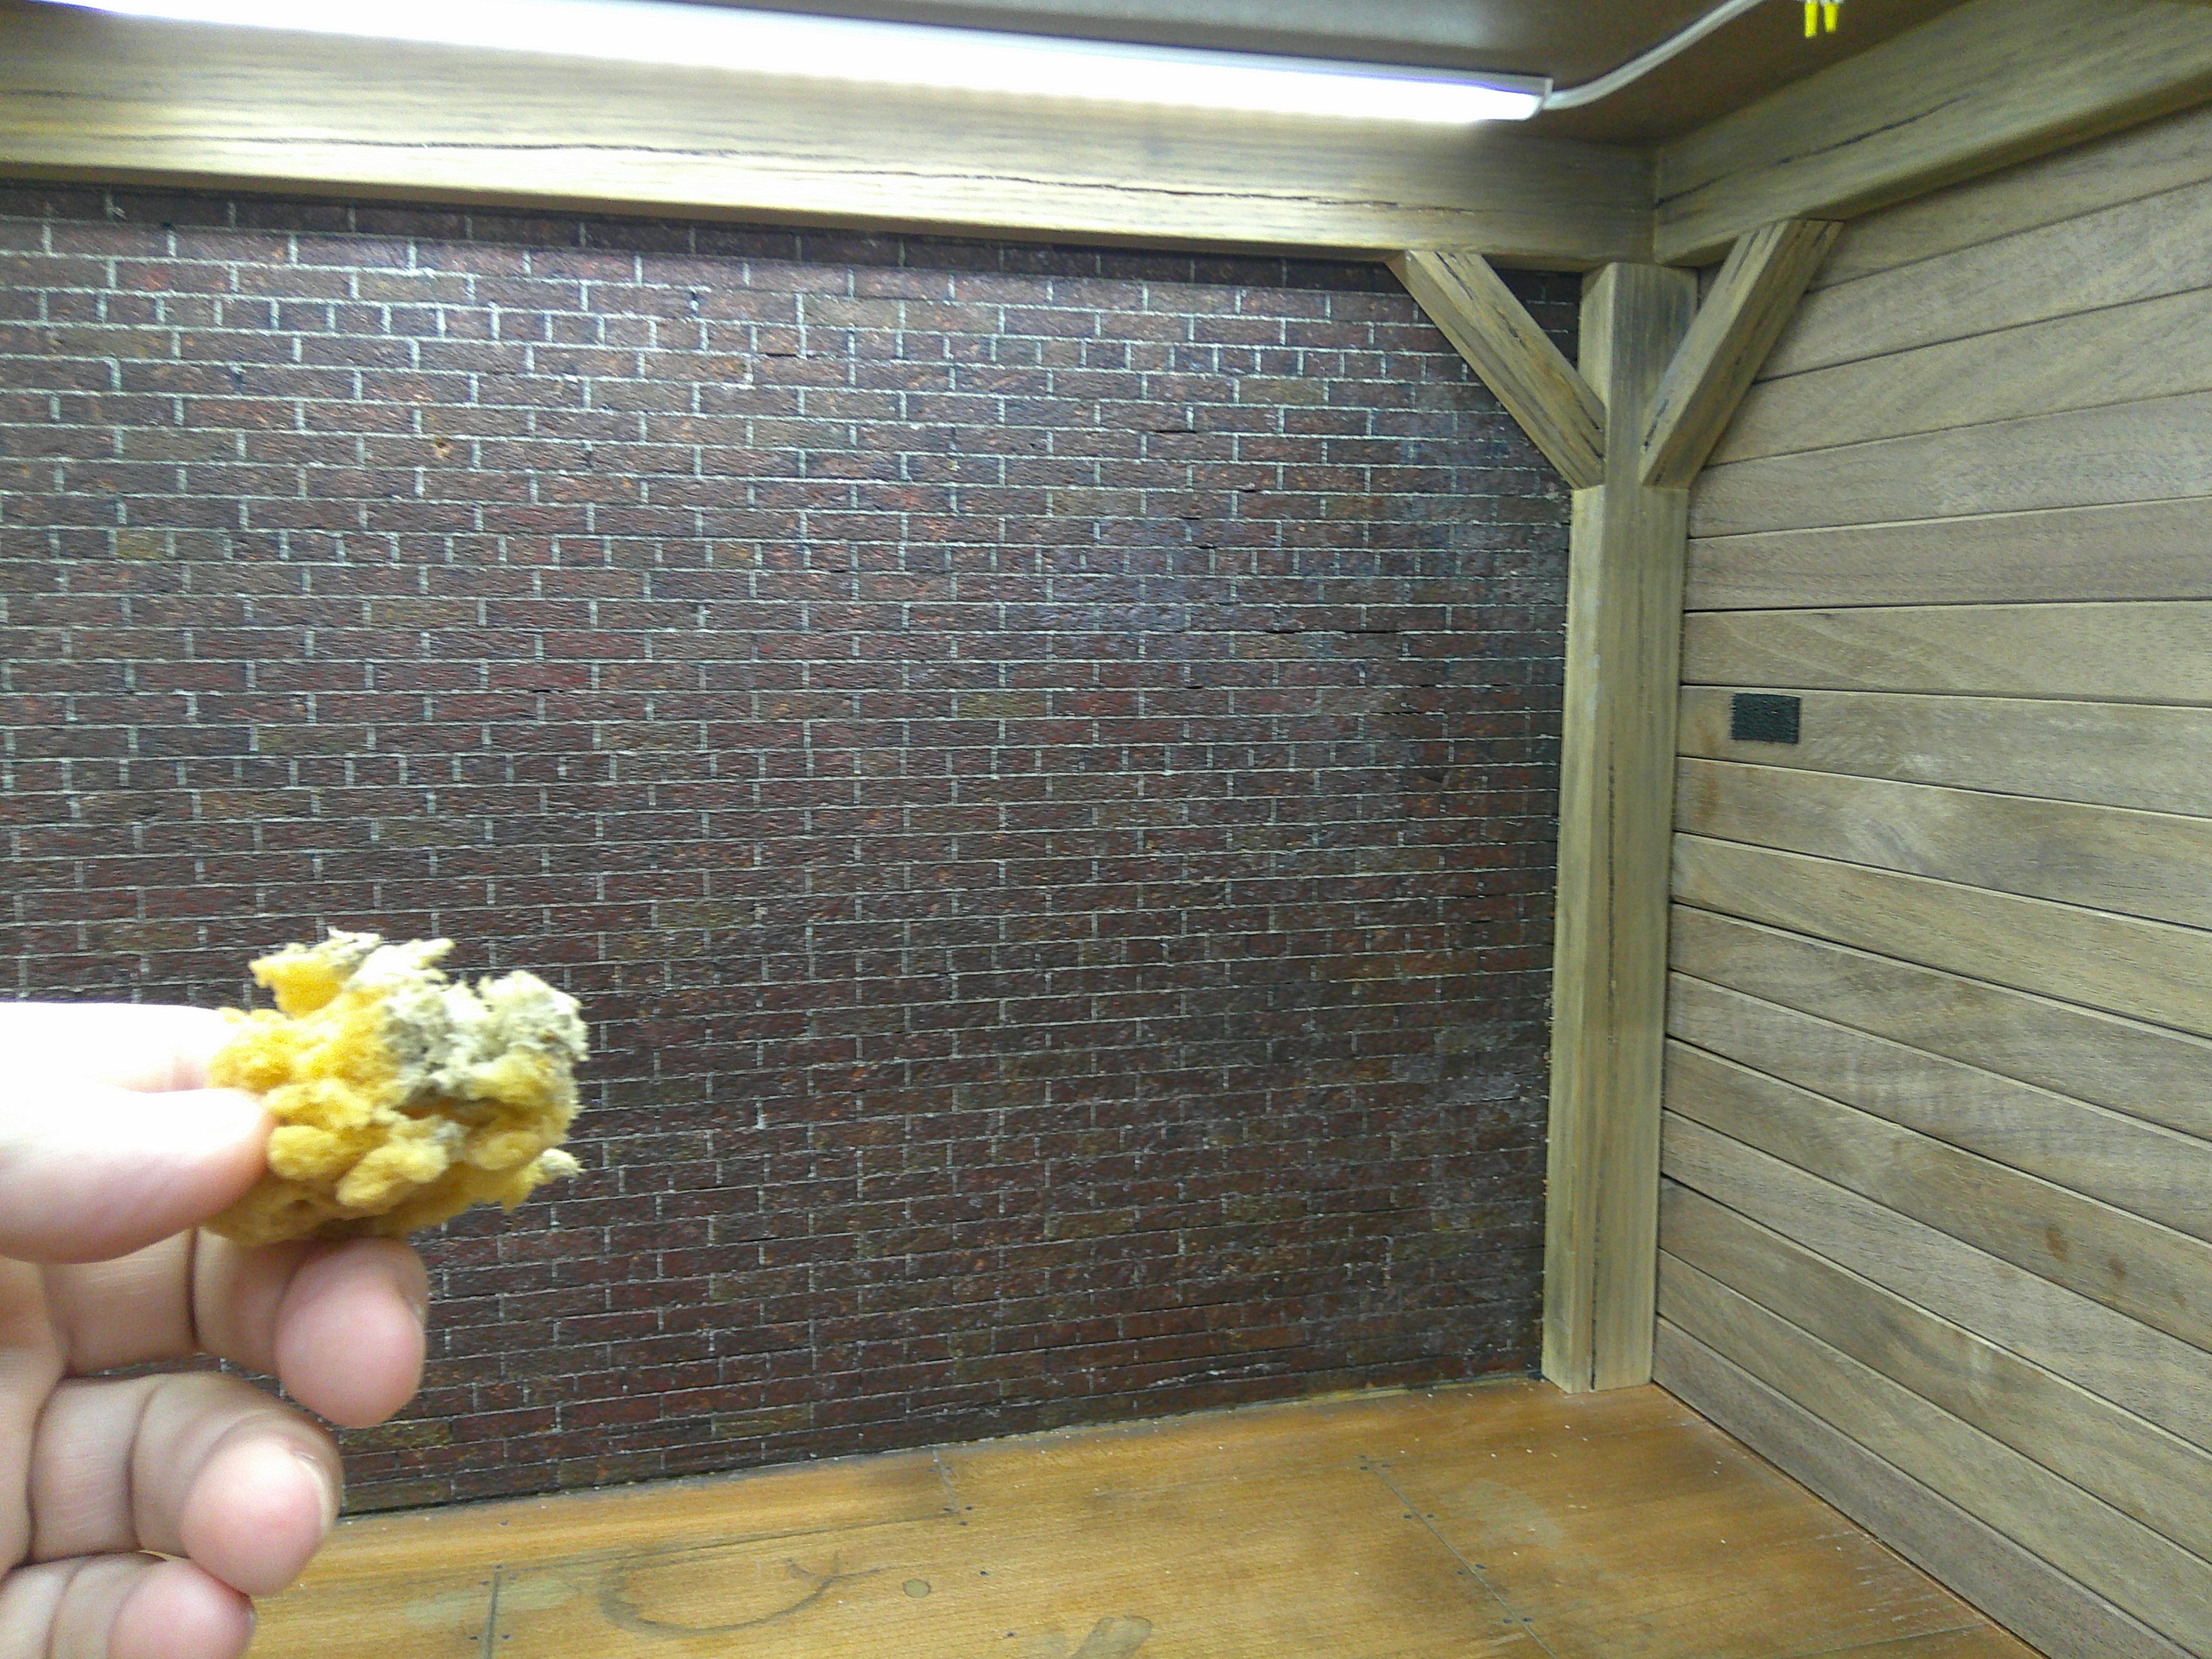
I decided to try the pva and water method. I used more like 4 to 1 water and pva with a tiny drop of dish soap. I used a dropper and applied it along the seams. It was challenging and did not go perfectly, but I think it turned out ok. I am deciding if I need to go further with the weathering.
DSCF0267.JPG
DSCF0269.JPG
DSCF0276.JPG
DSCF0277.JPG
DSCF0278.JPG
 
Definitely an improvement! Now I suggest adding a little efflorescence in random places, especially below the two large joists. Your second reference picture shows this very well. A thin, off white wash should do it. You can always apply more, but like the real thing, it could be a bear to get off if it gets too heavy.
 
I want to thank you guys for showing interest in my work. I appreciate the helpful advise and the words of encouragement. I think it helped me to keep going. The mortar step made me especially nervous as I have so much time involved and it could have been a disaster. :) Anyway thanks again!
 
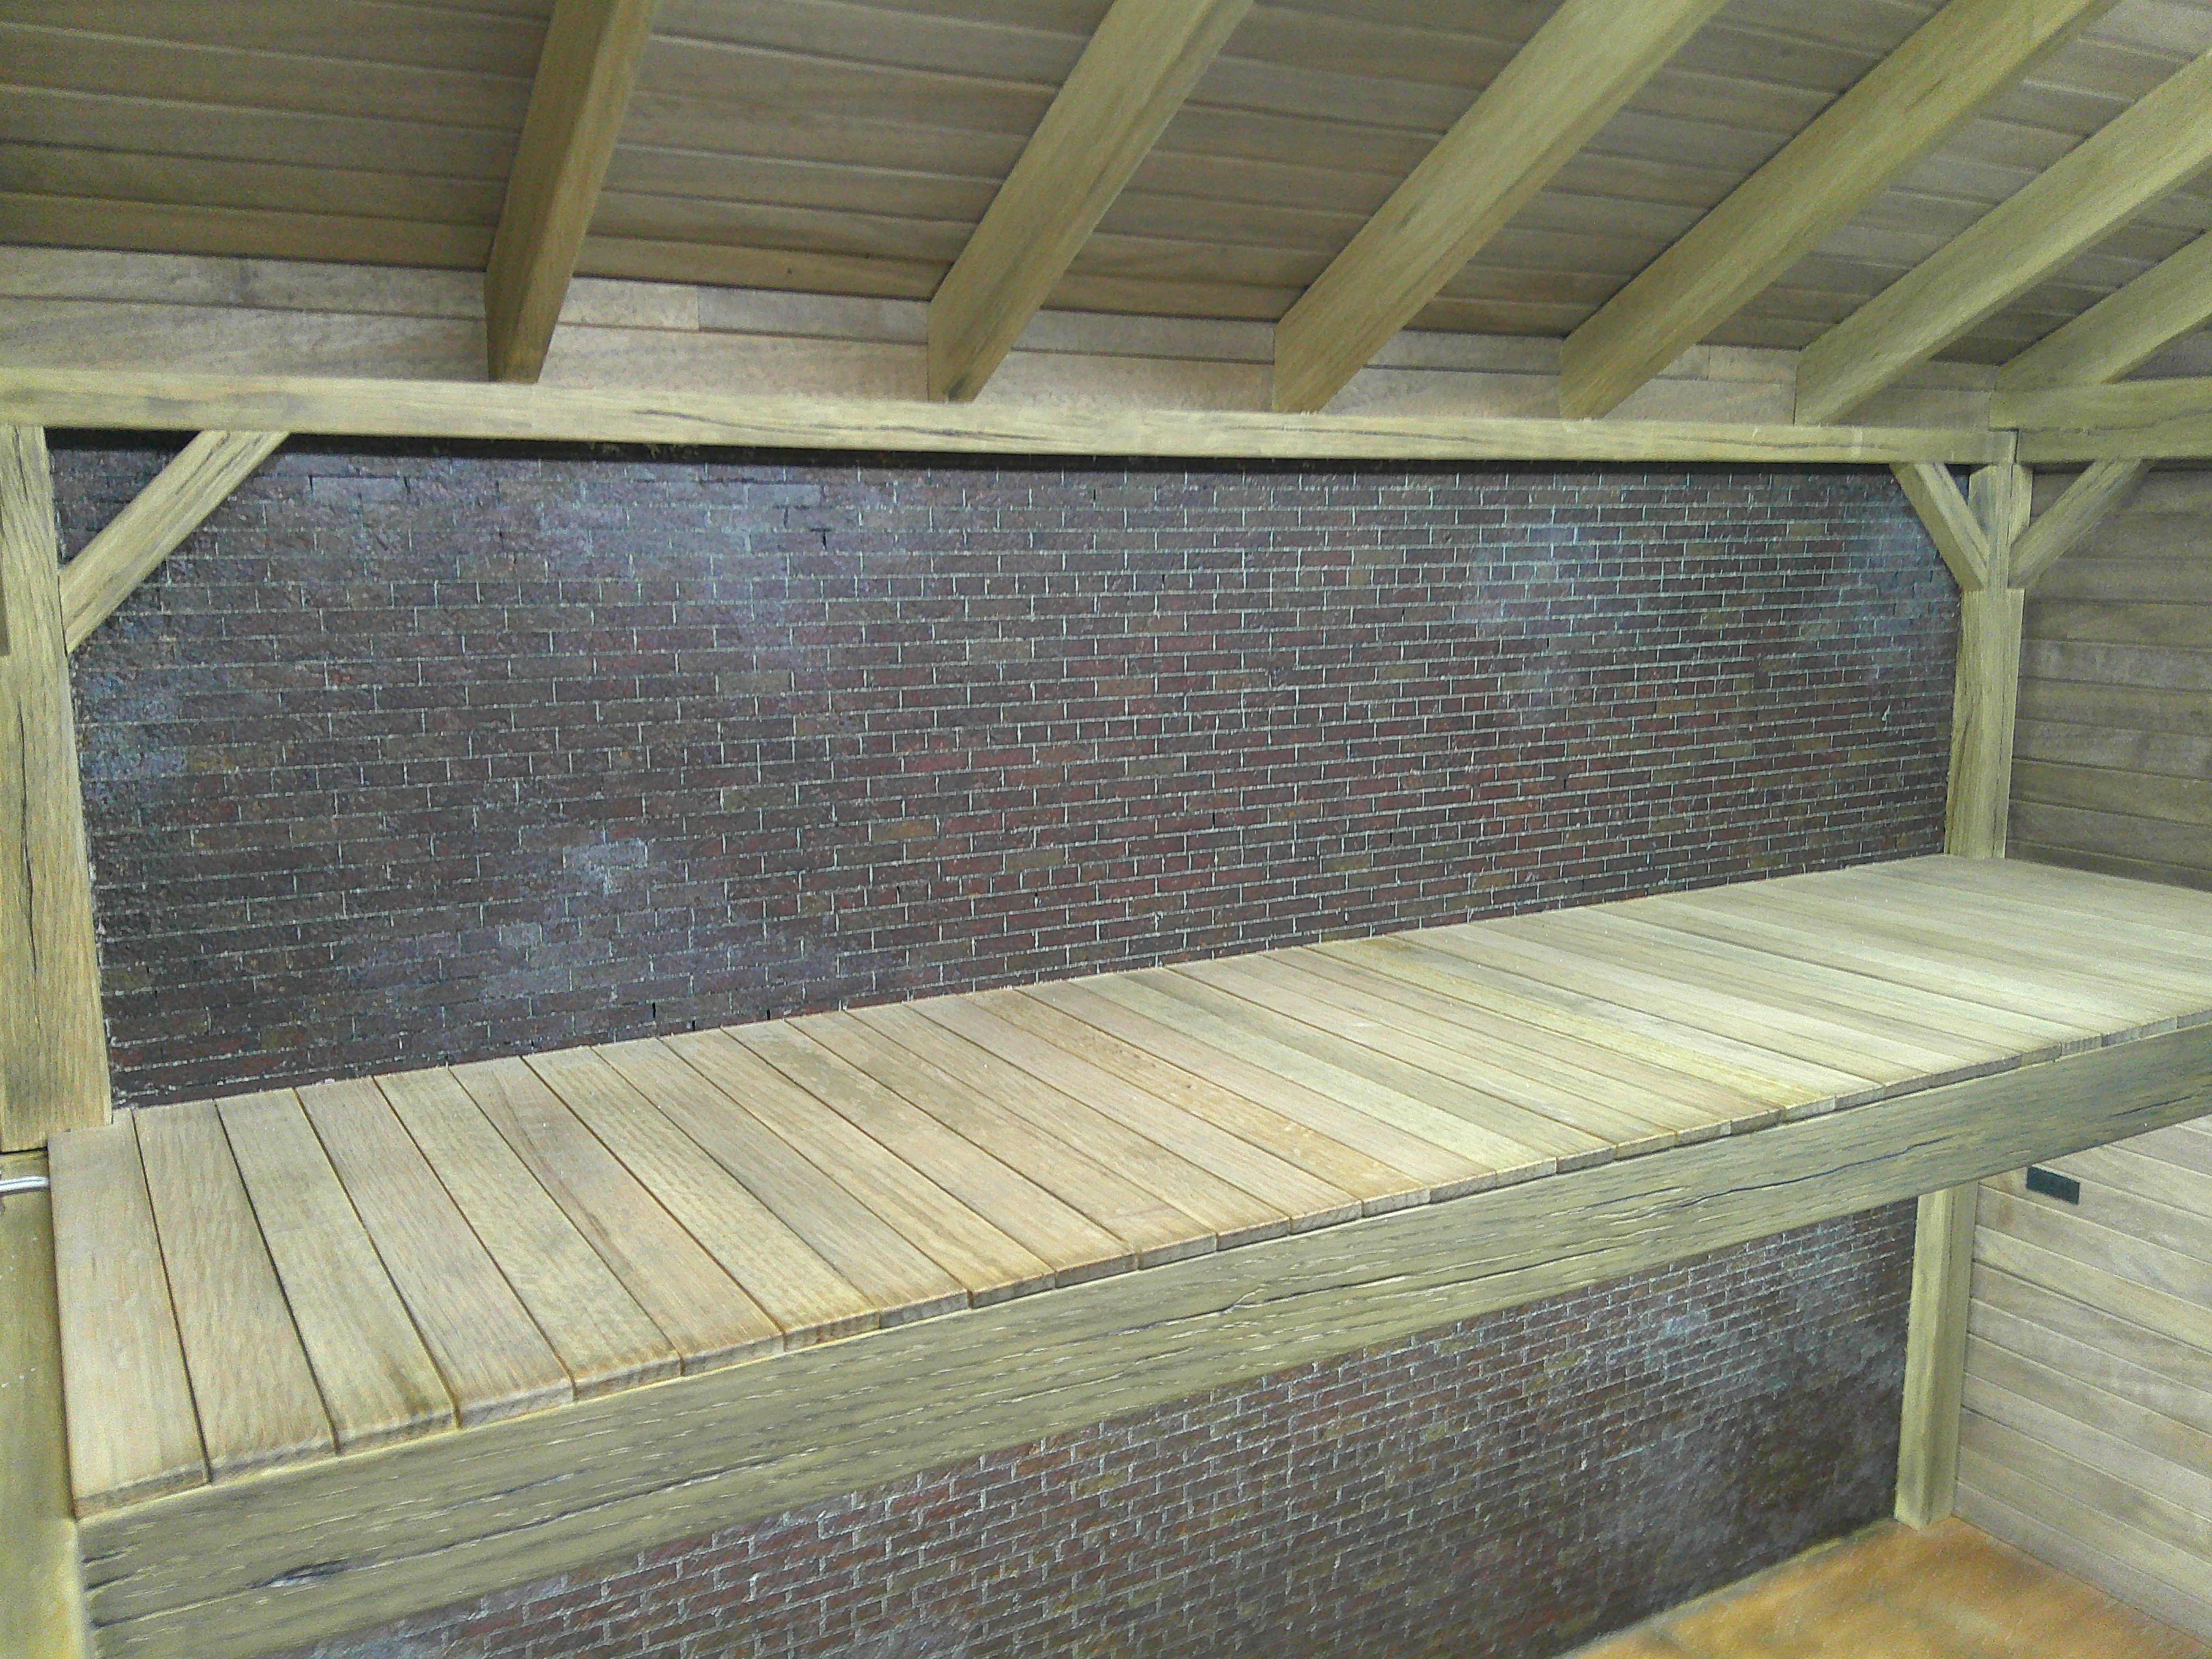
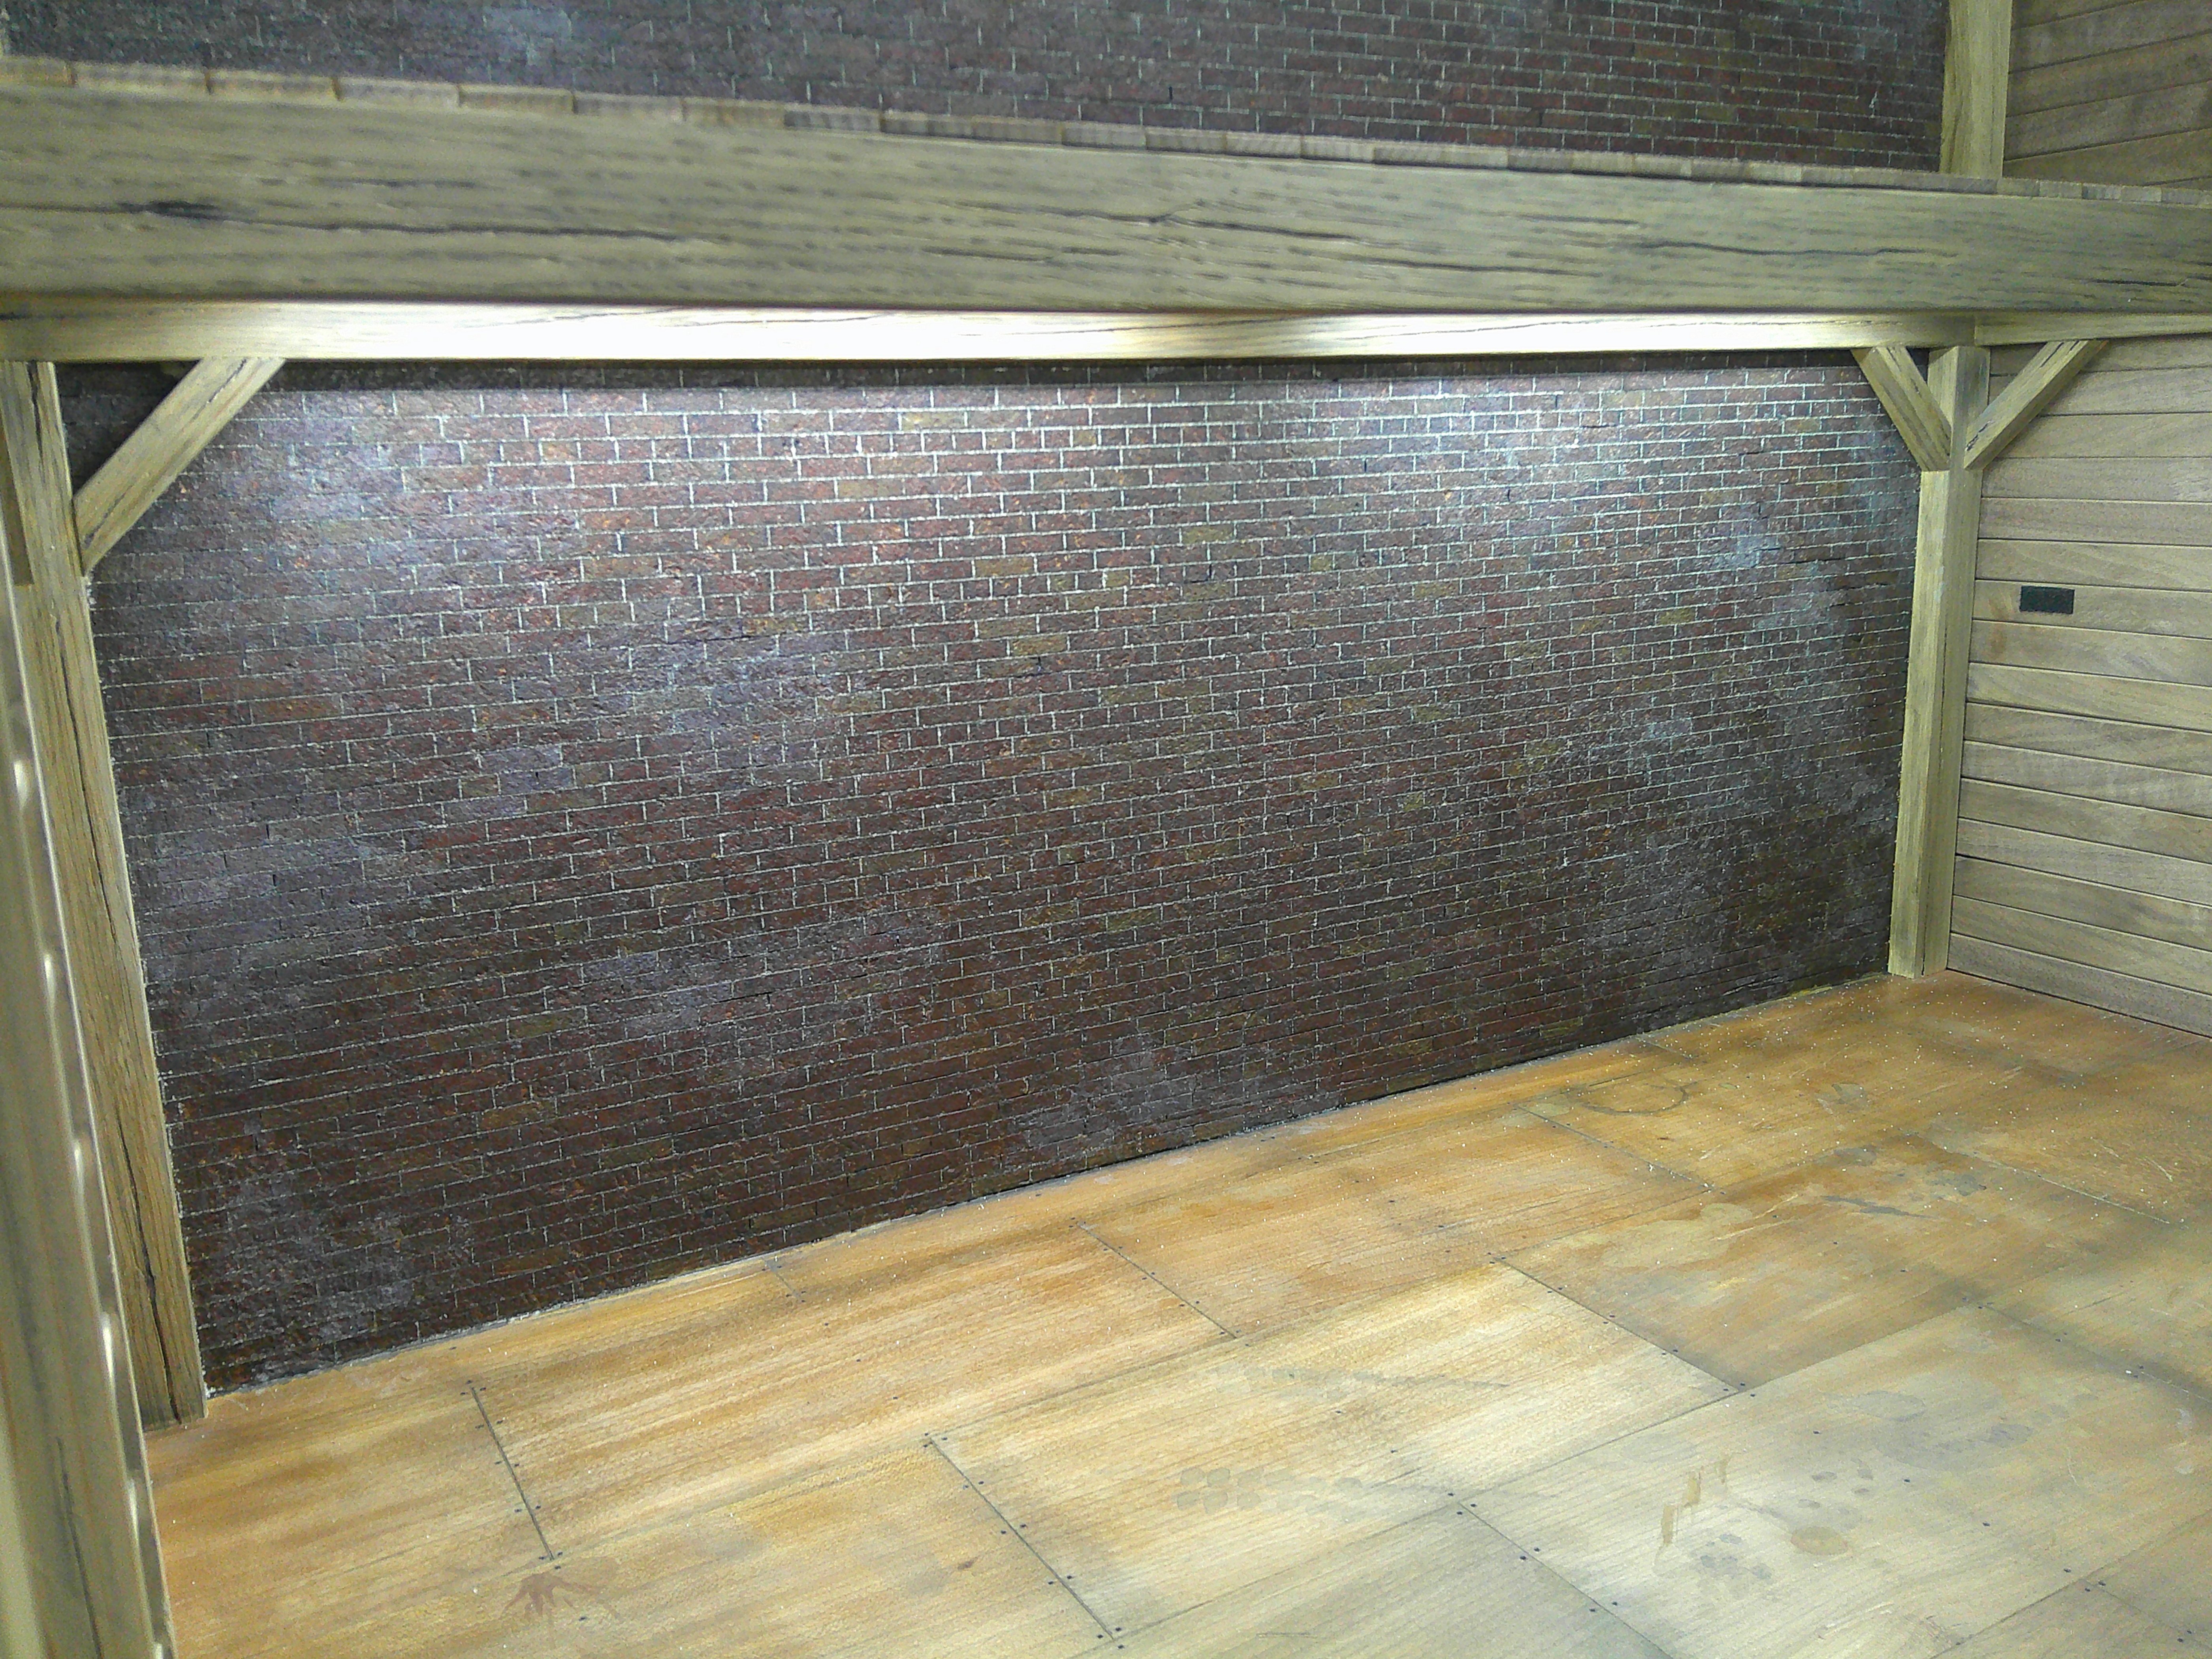
Here are the pictures of my attempt to add the efflorescence. I'm going to take a little time to decide what more to add, or not. It appears a little blotchy on the wide angle view, but there will be items that hide sections of the wall, and it won't be lit this bright in the video, so I think it will be ok. :)View attachment 184045View attachment 184046View attachment 184047View attachment 184048View attachment 184049View attachment 184050View attachment 184051
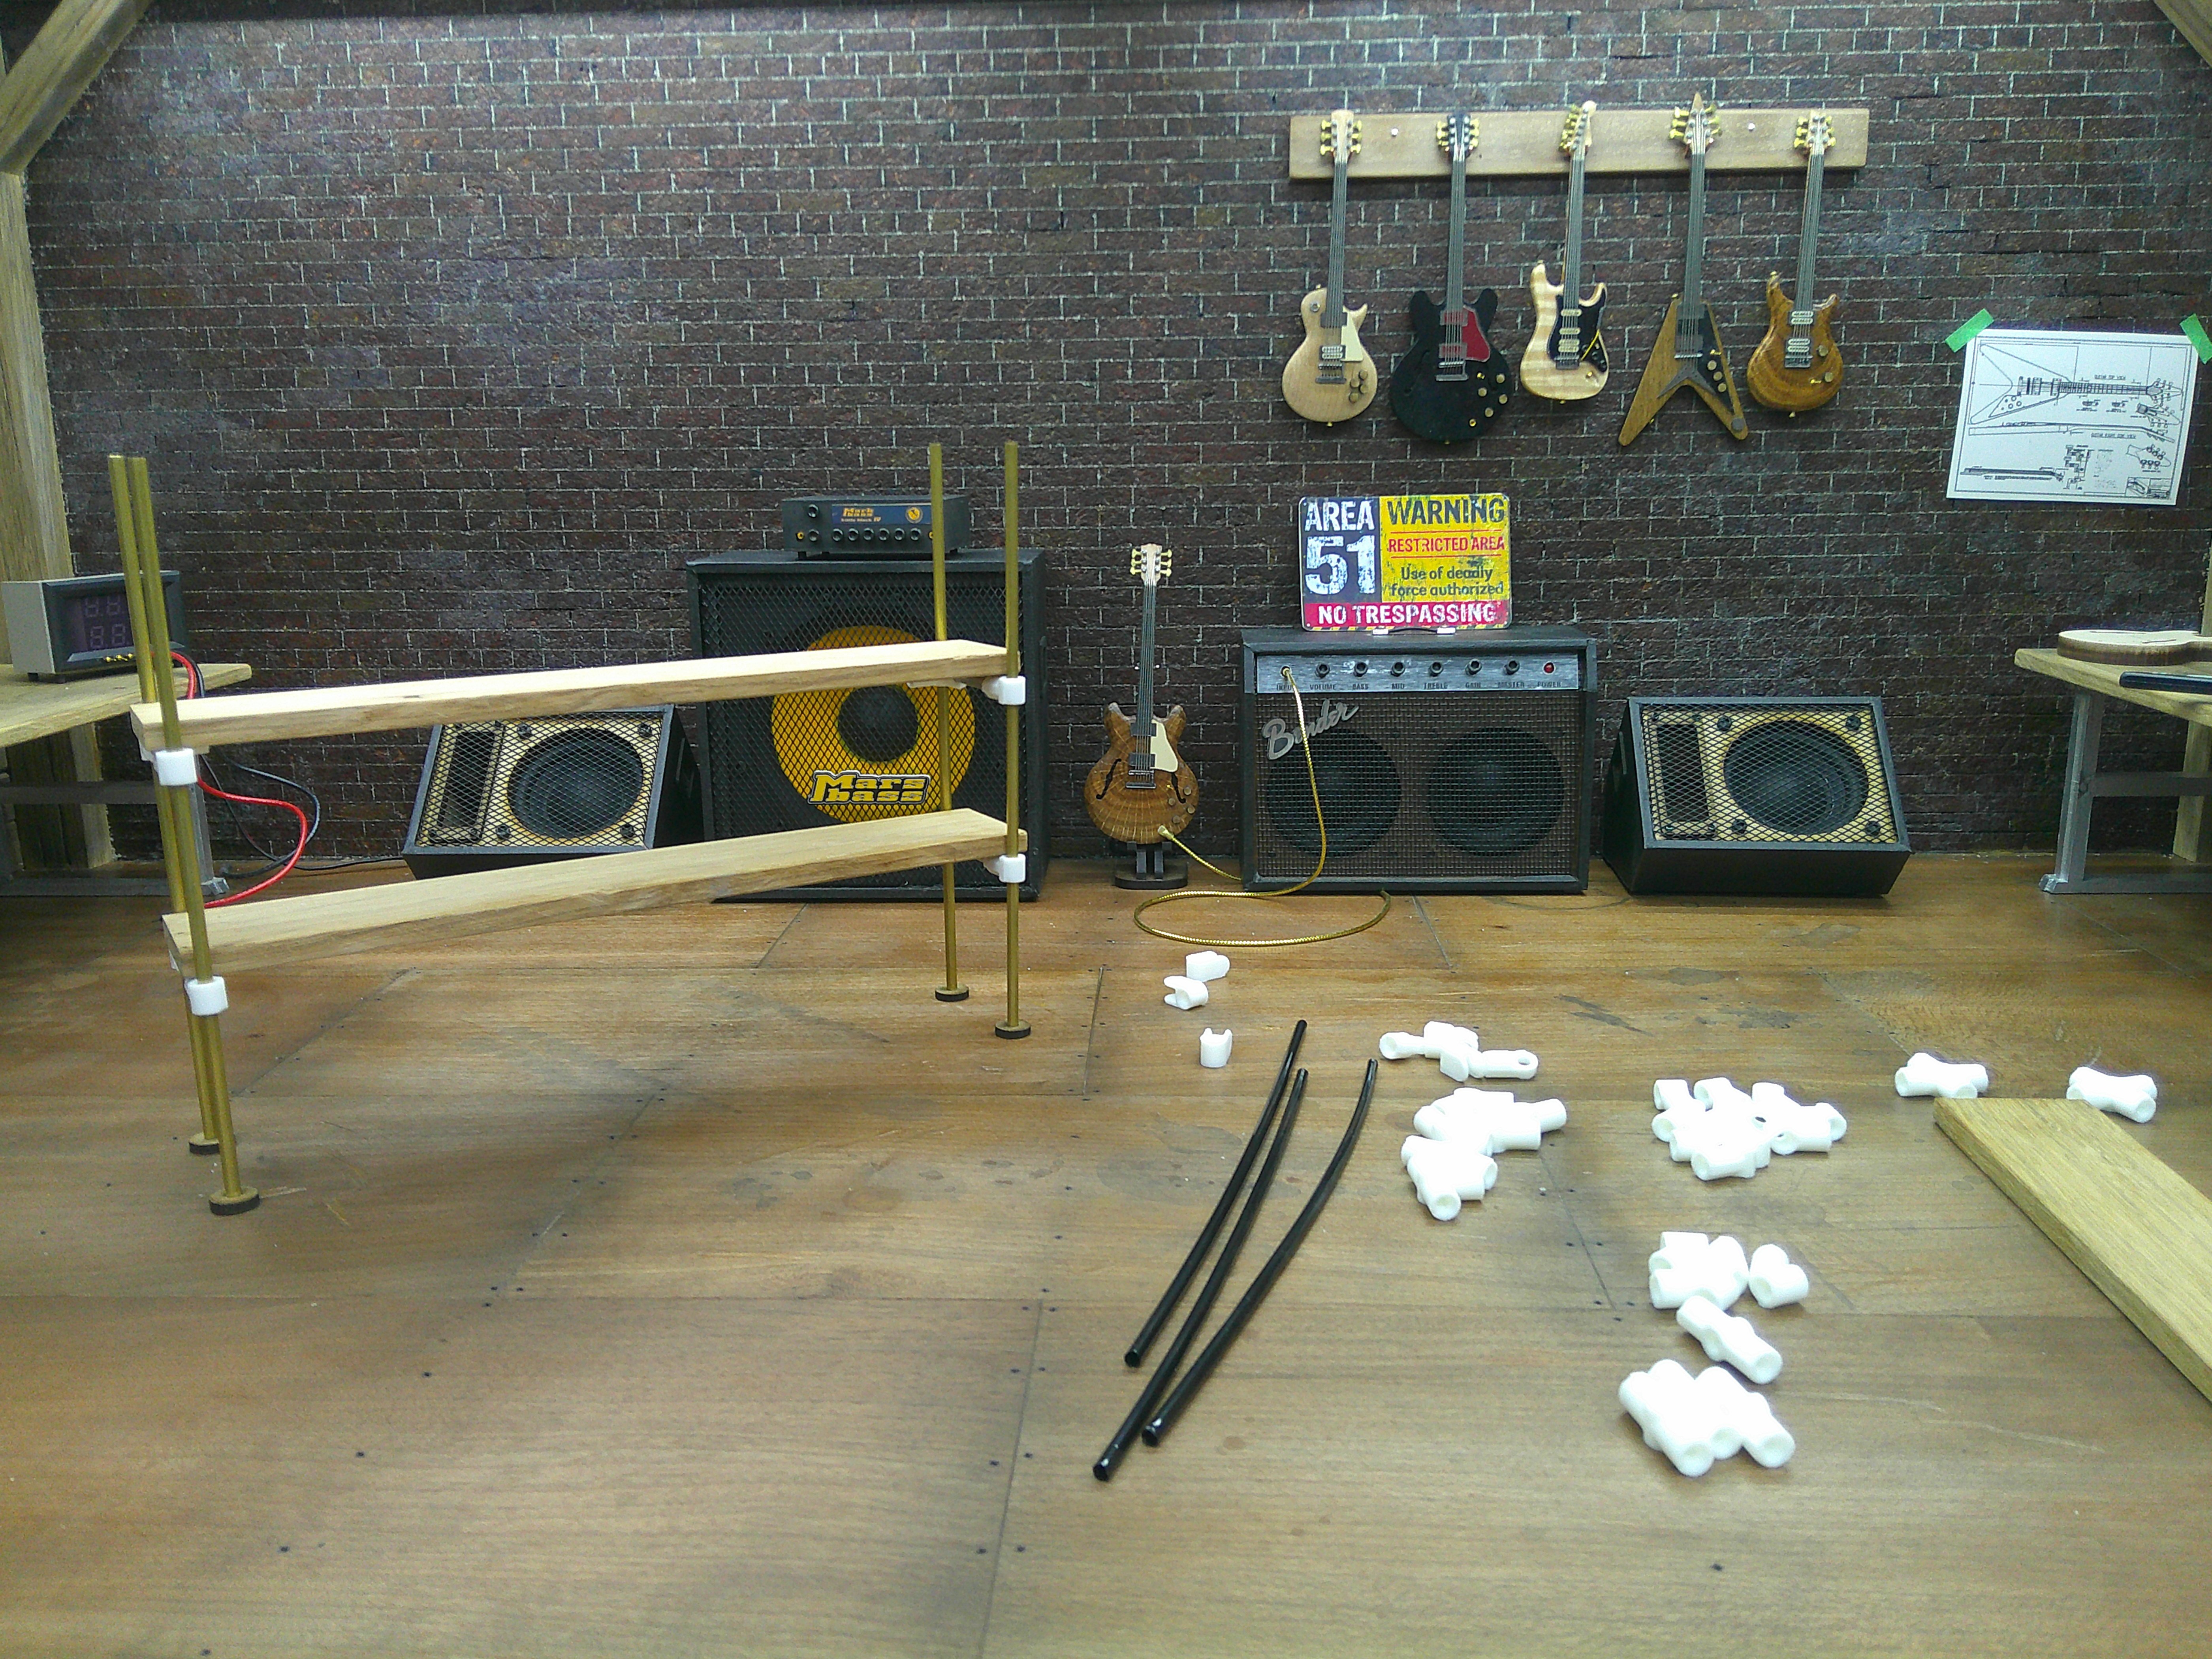
As an expert in masonry distress, I can only say: Excellent! It looks real—and I've seen a lot of masonry.
 
Thanks for the nice comments! :)

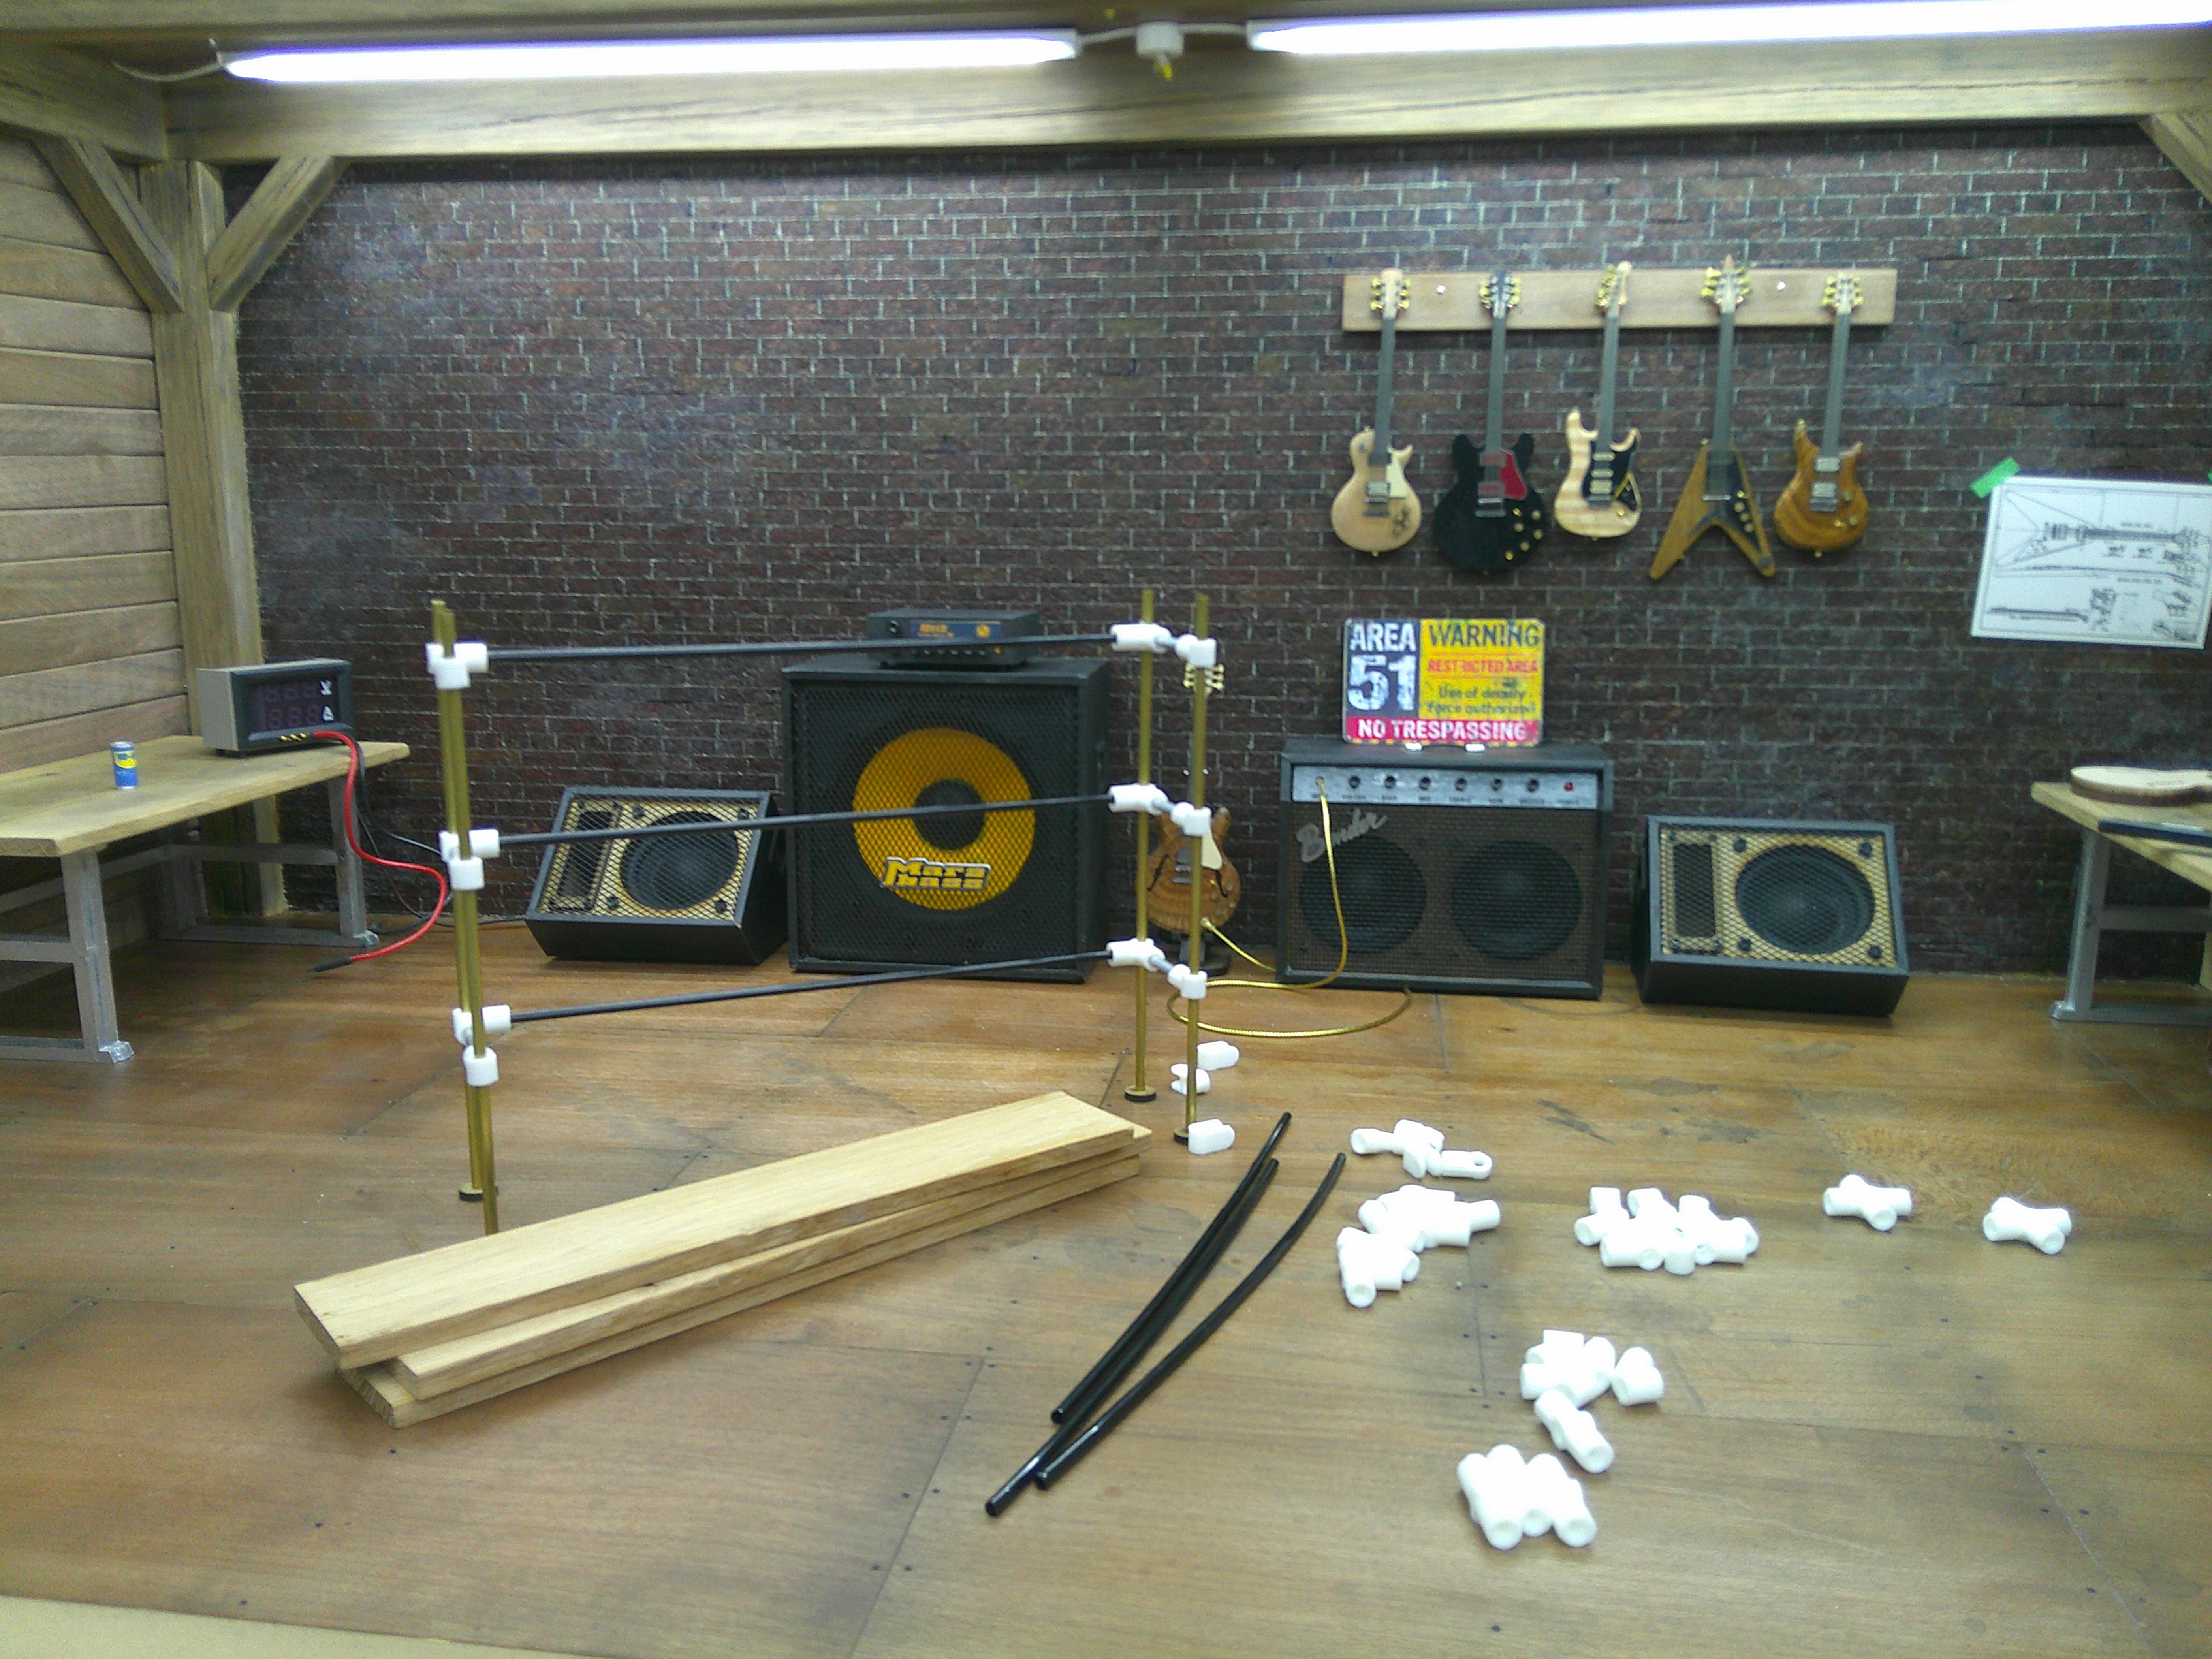
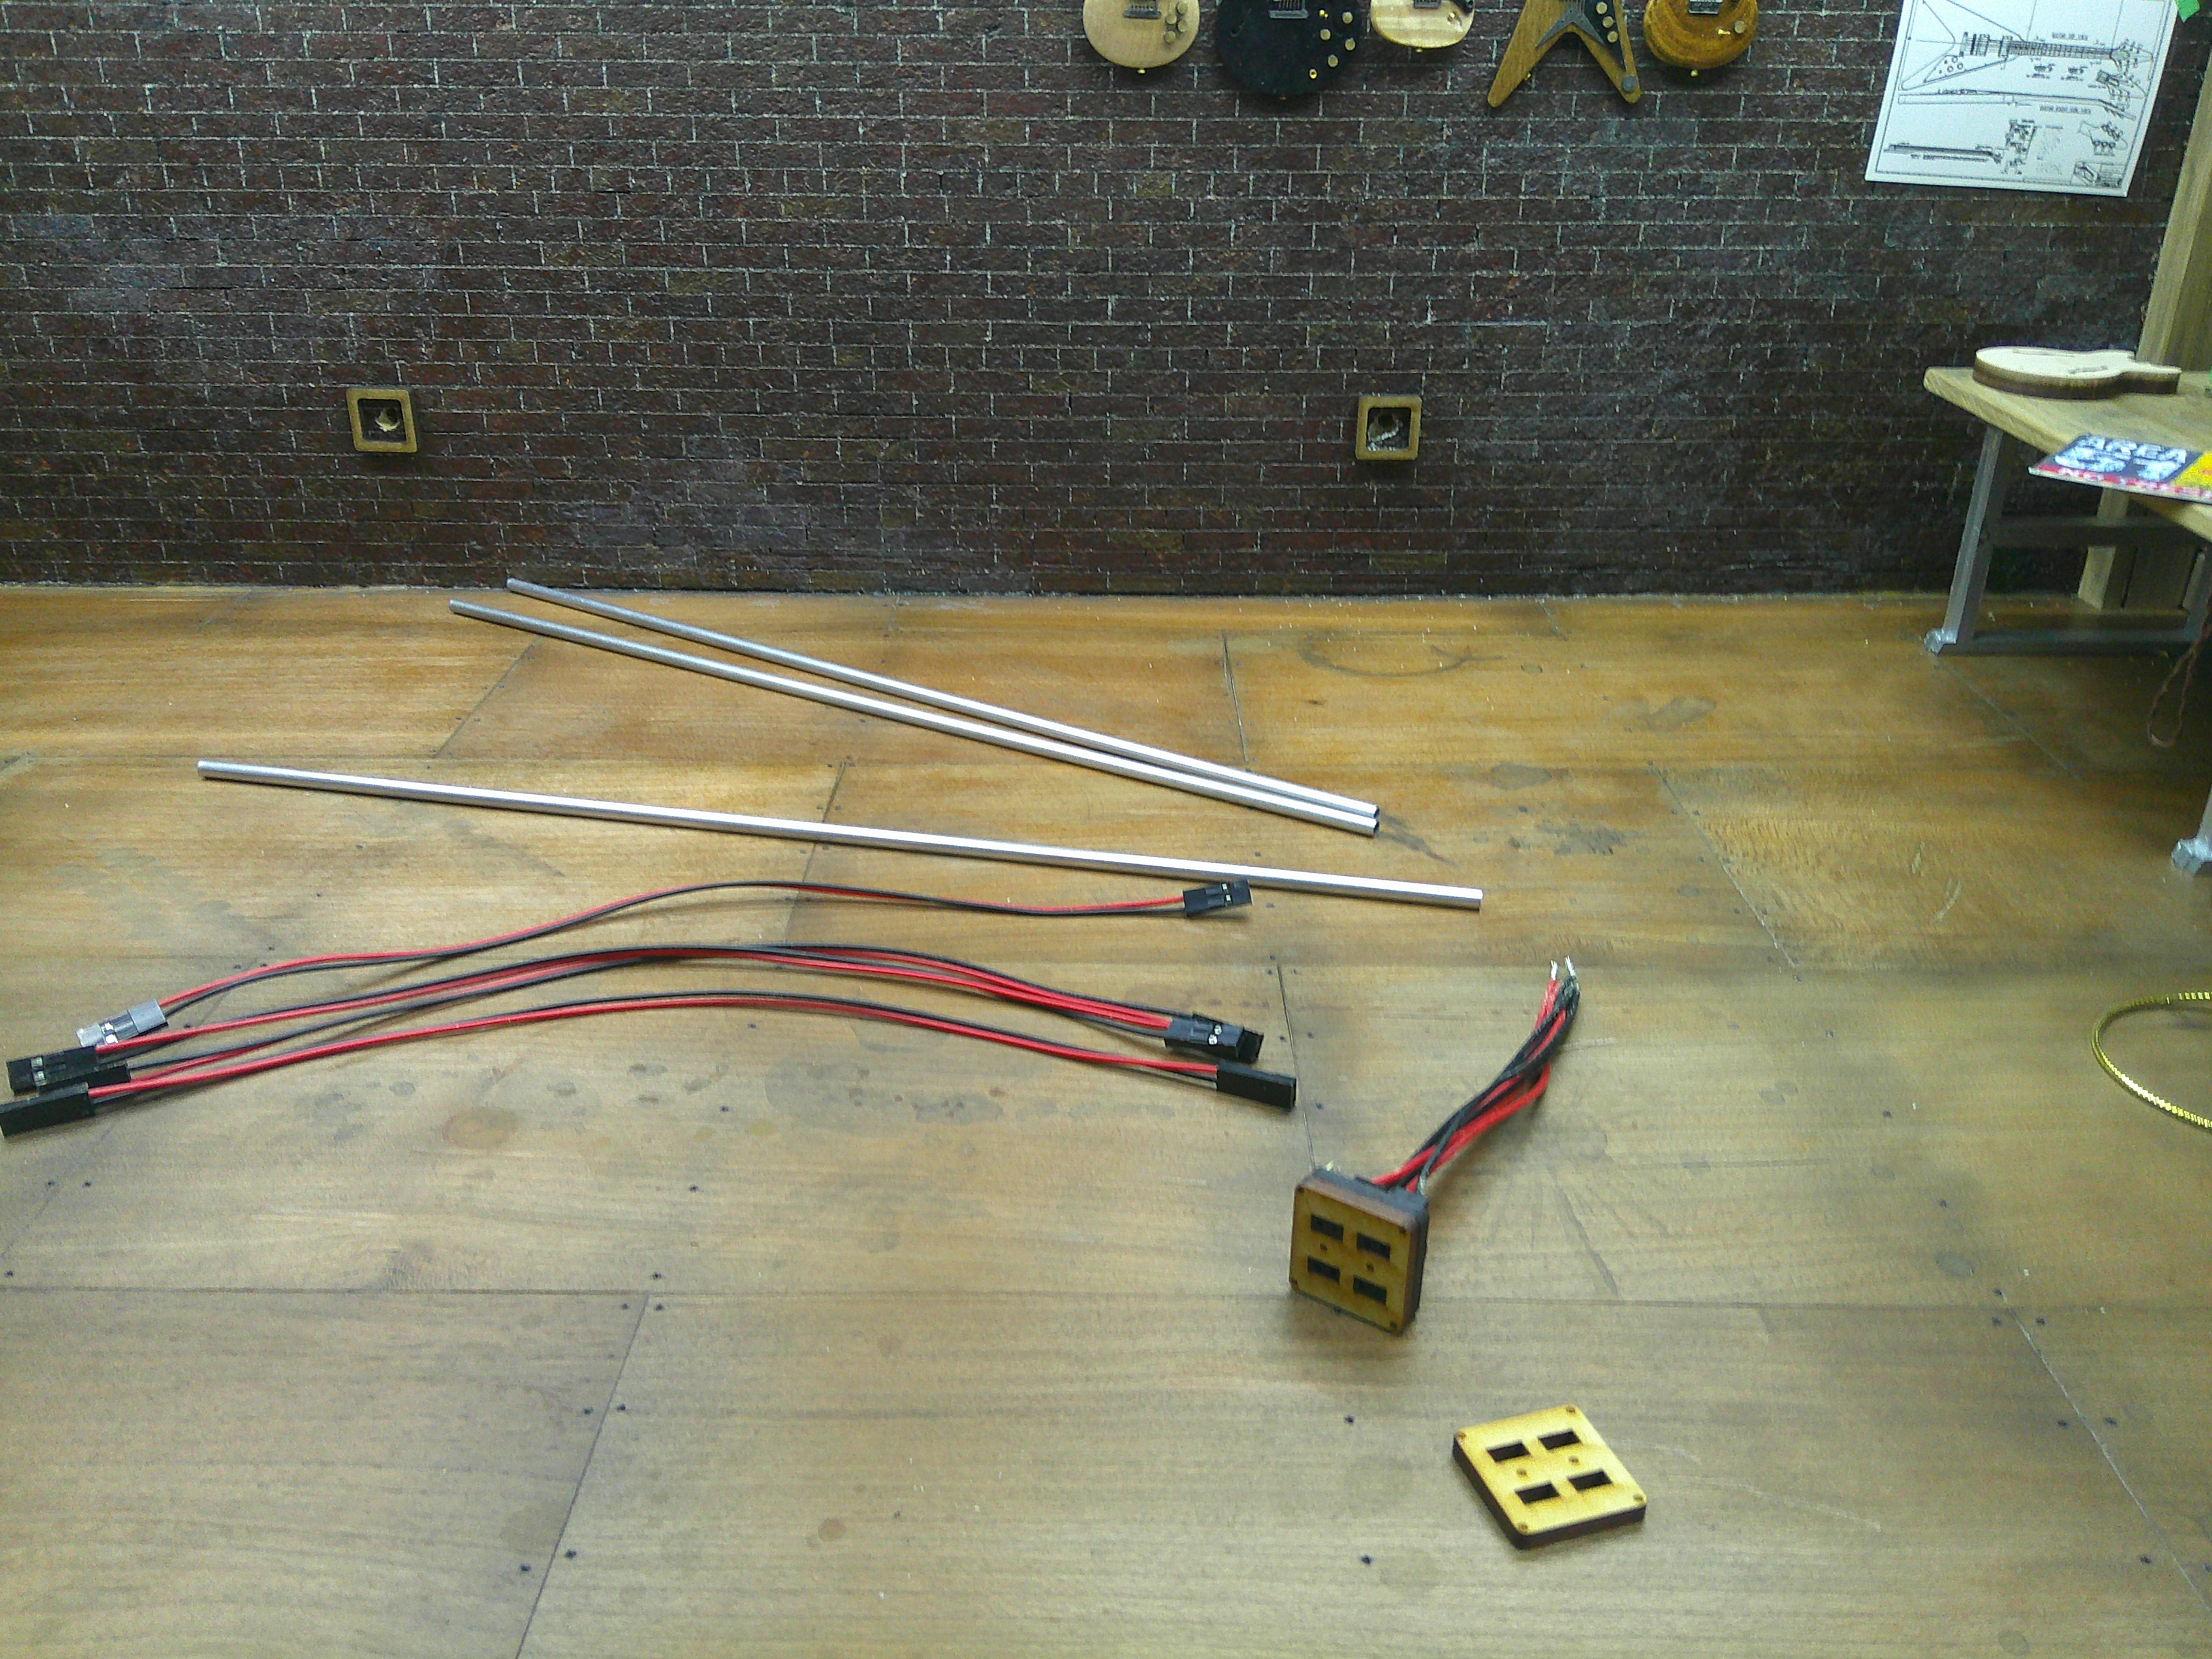
I bought this little kit of fittings a while back, and now I got to use them. They are a little large for the scale, but close enough I think. I will add some rust to them. I am still experimenting with what to put into the workshop. Thanks again! :)

DSCF0294.JPG
DSCF0295.JPG
DSCF0297.JPG
 
Now put a layer of gray dust on top of that conduit. Our house was built in 1911, and some of the "new" wiring (since replaced!!!) was installed with a system like this. Alternatively, paint the conduit dull aluminum.
 
Now put a layer of gray dust on top of that conduit. Our house was built in 1911, and some of the "new" wiring (since replaced!!!) was installed with a system like this. Alternatively, paint the conduit dull aluminum.
Yes, I just added some layers of dirt and dust to the conduit and outlet boxes. I may add more as they're still kinda reflective. I also added the dark burned marks from a short to one of the outlets. :)
 
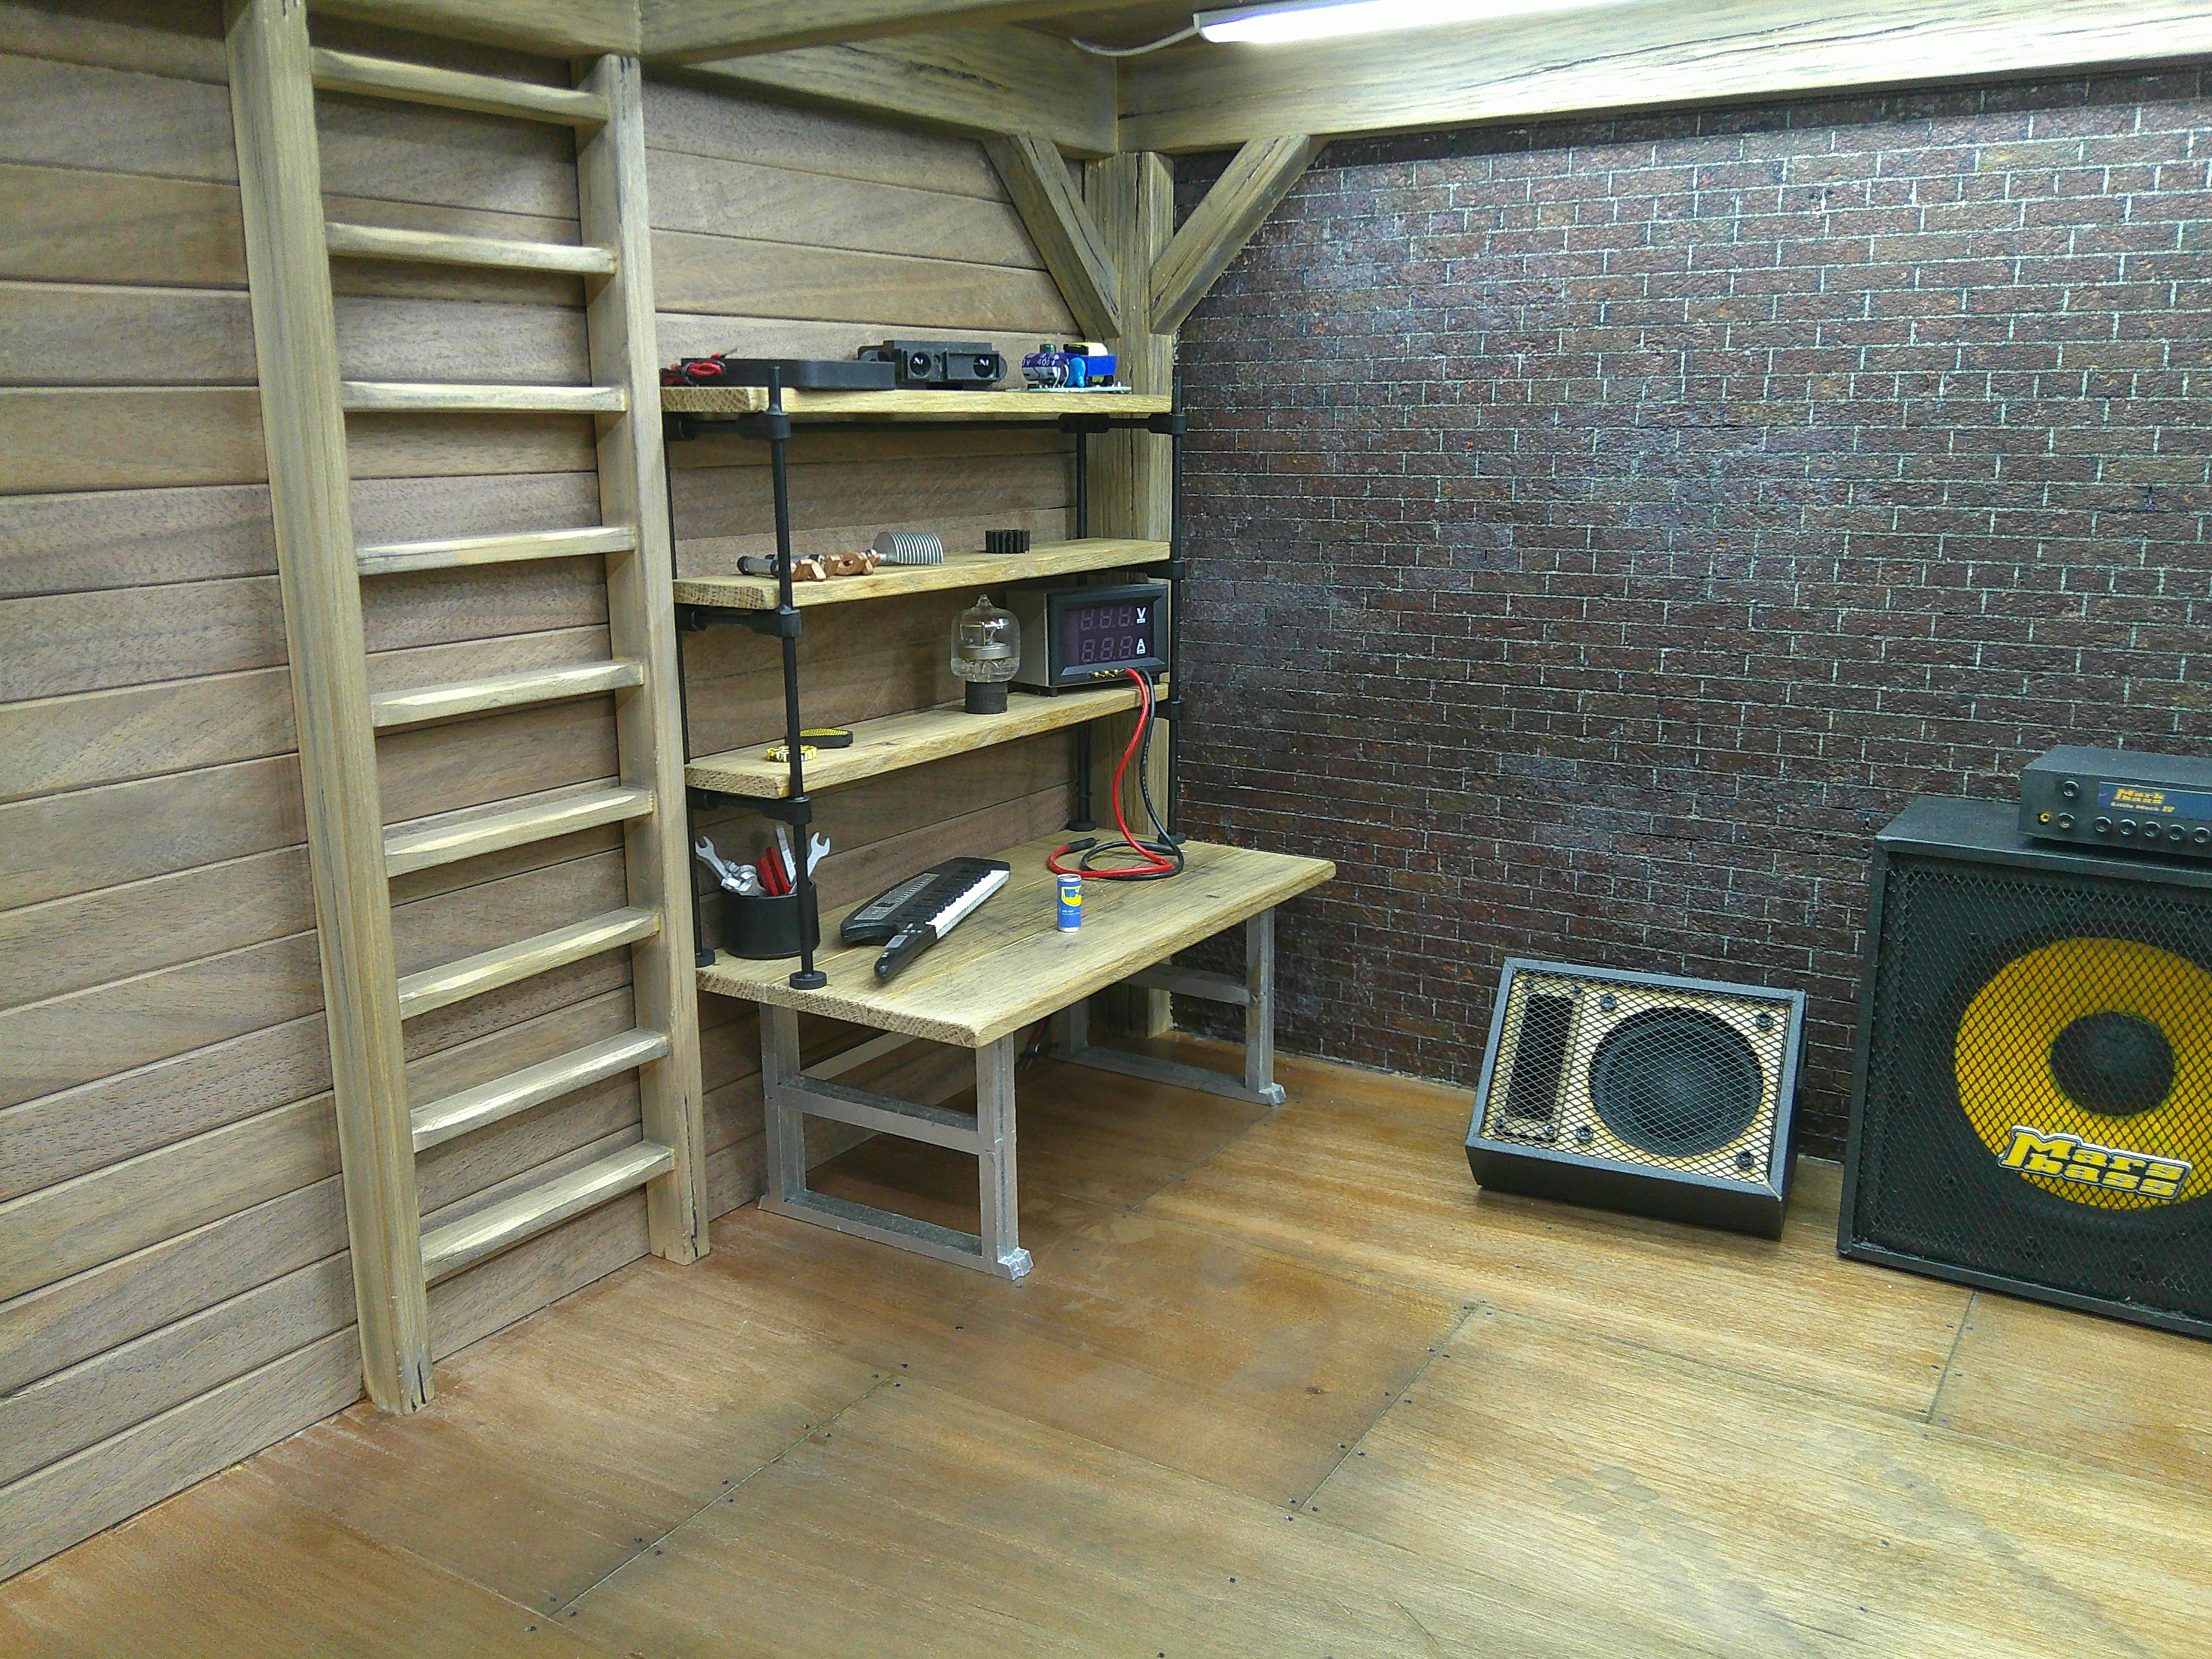
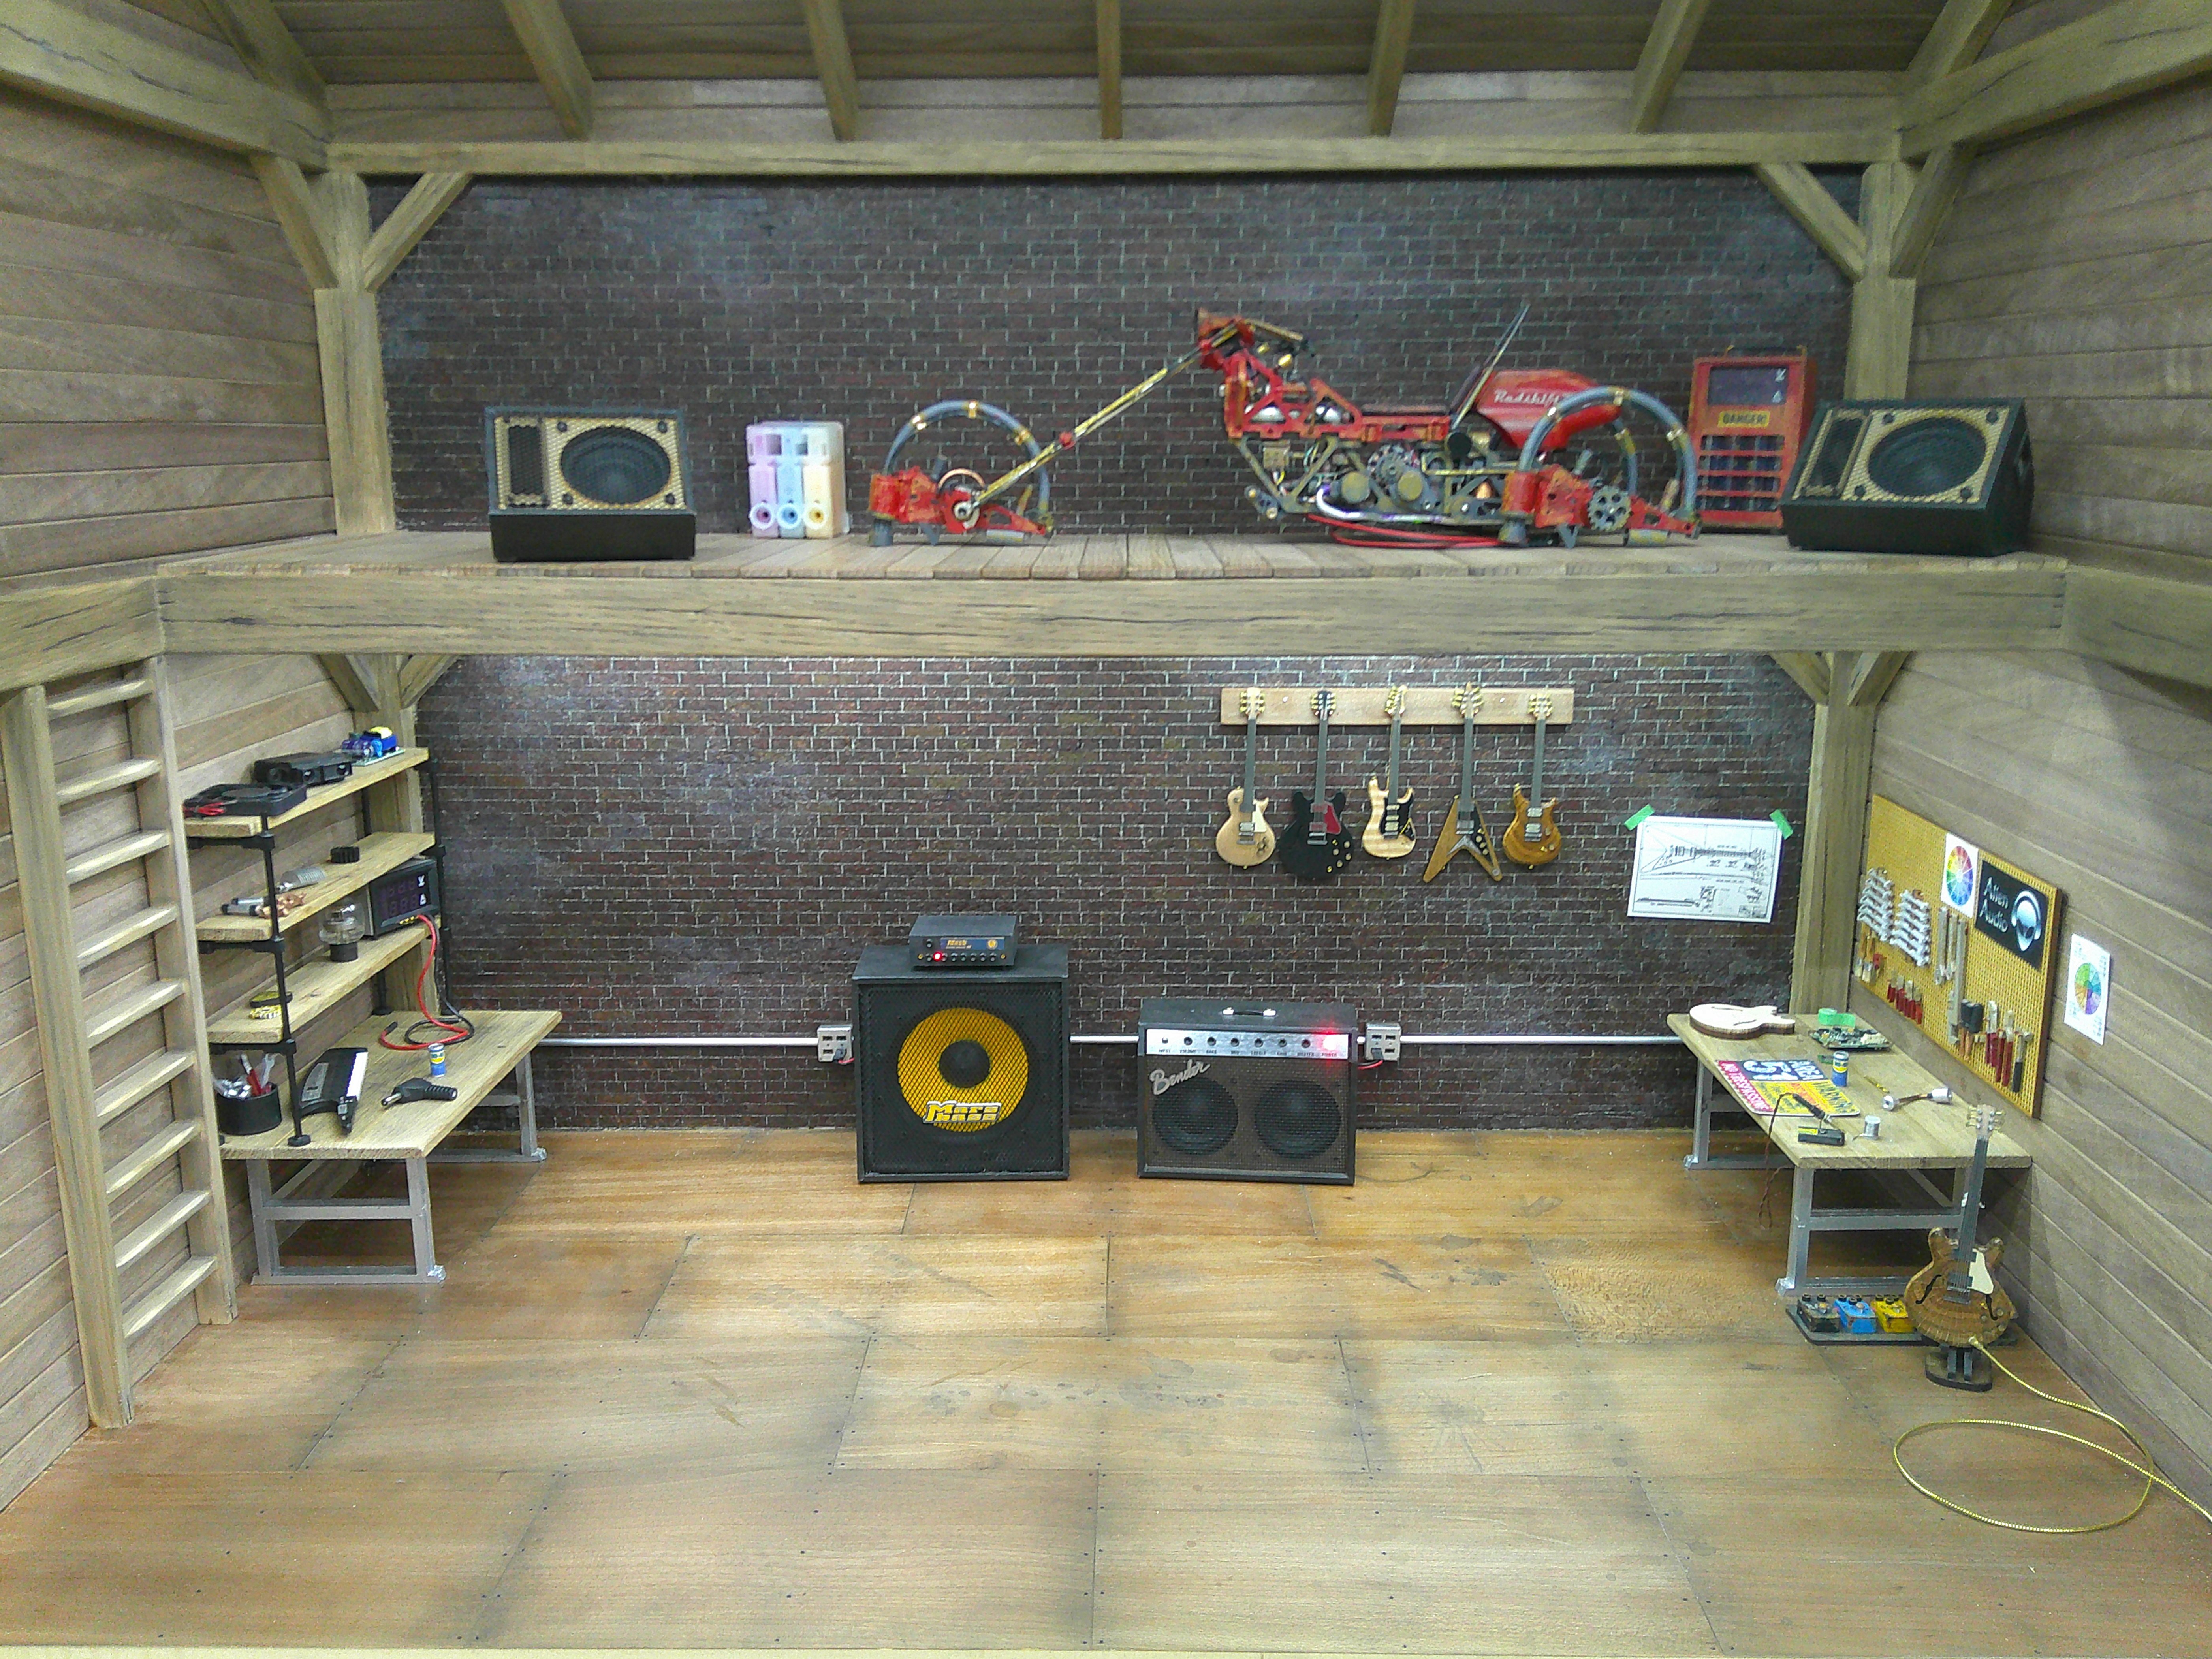
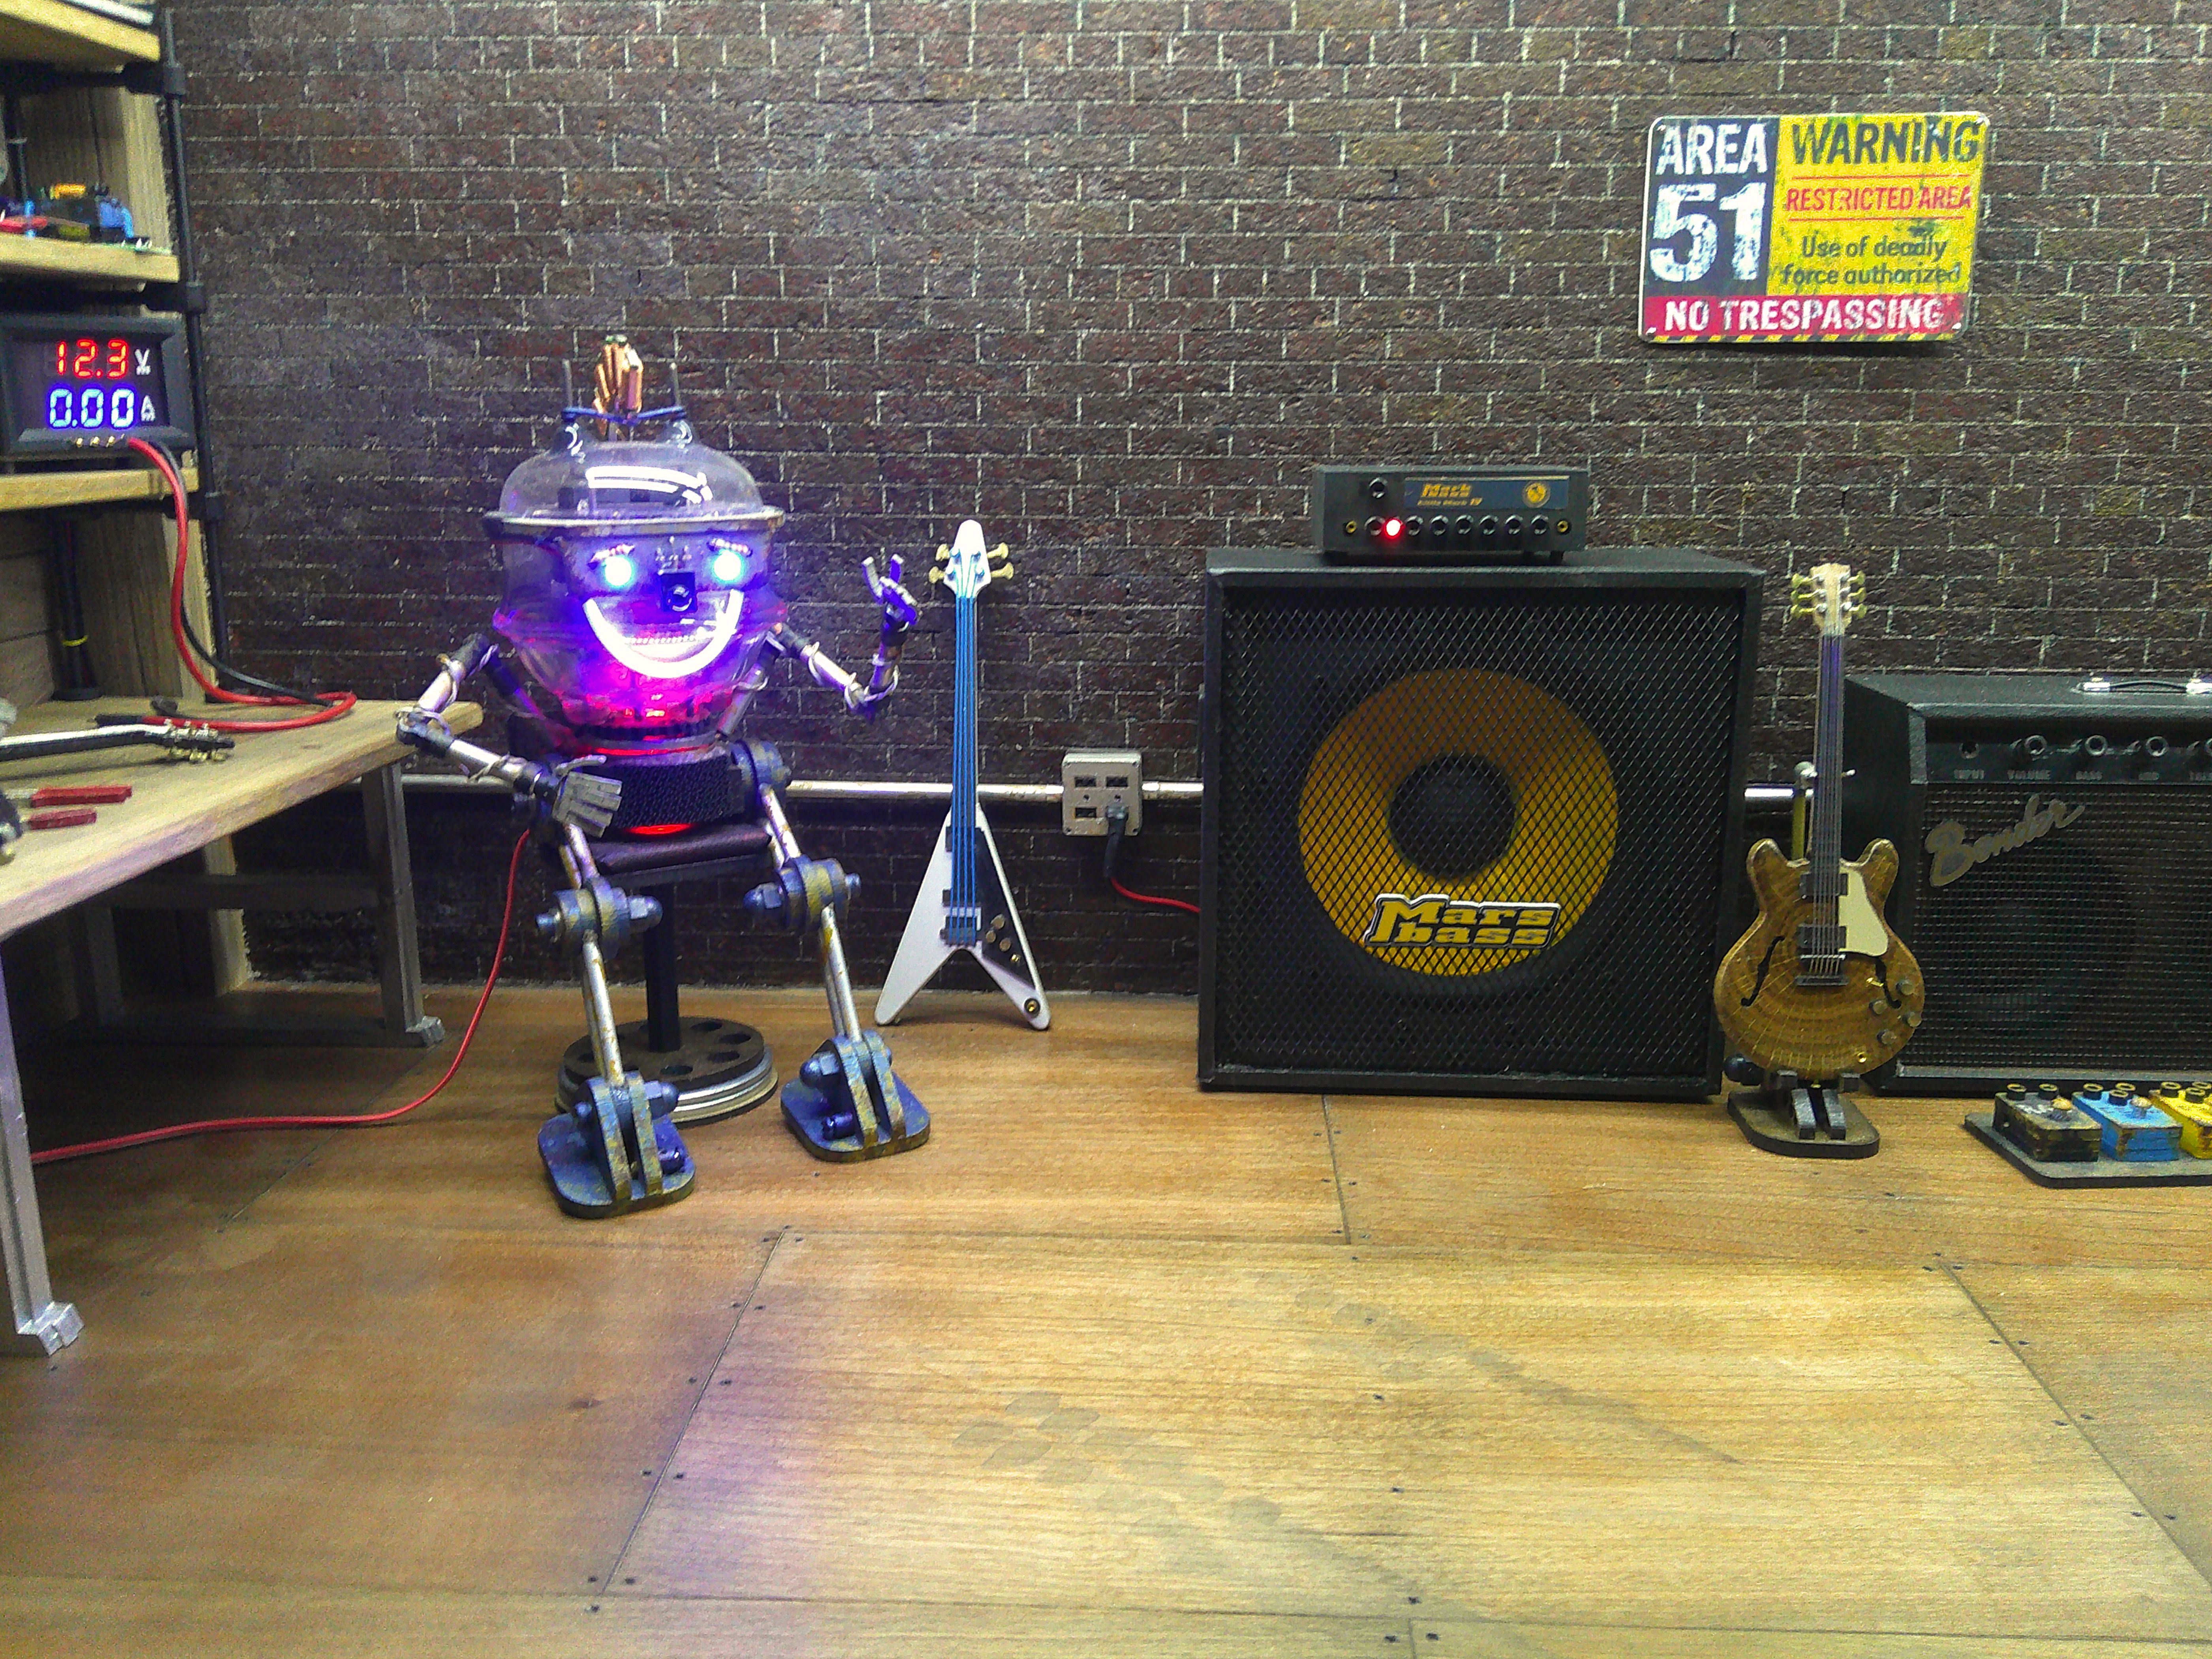
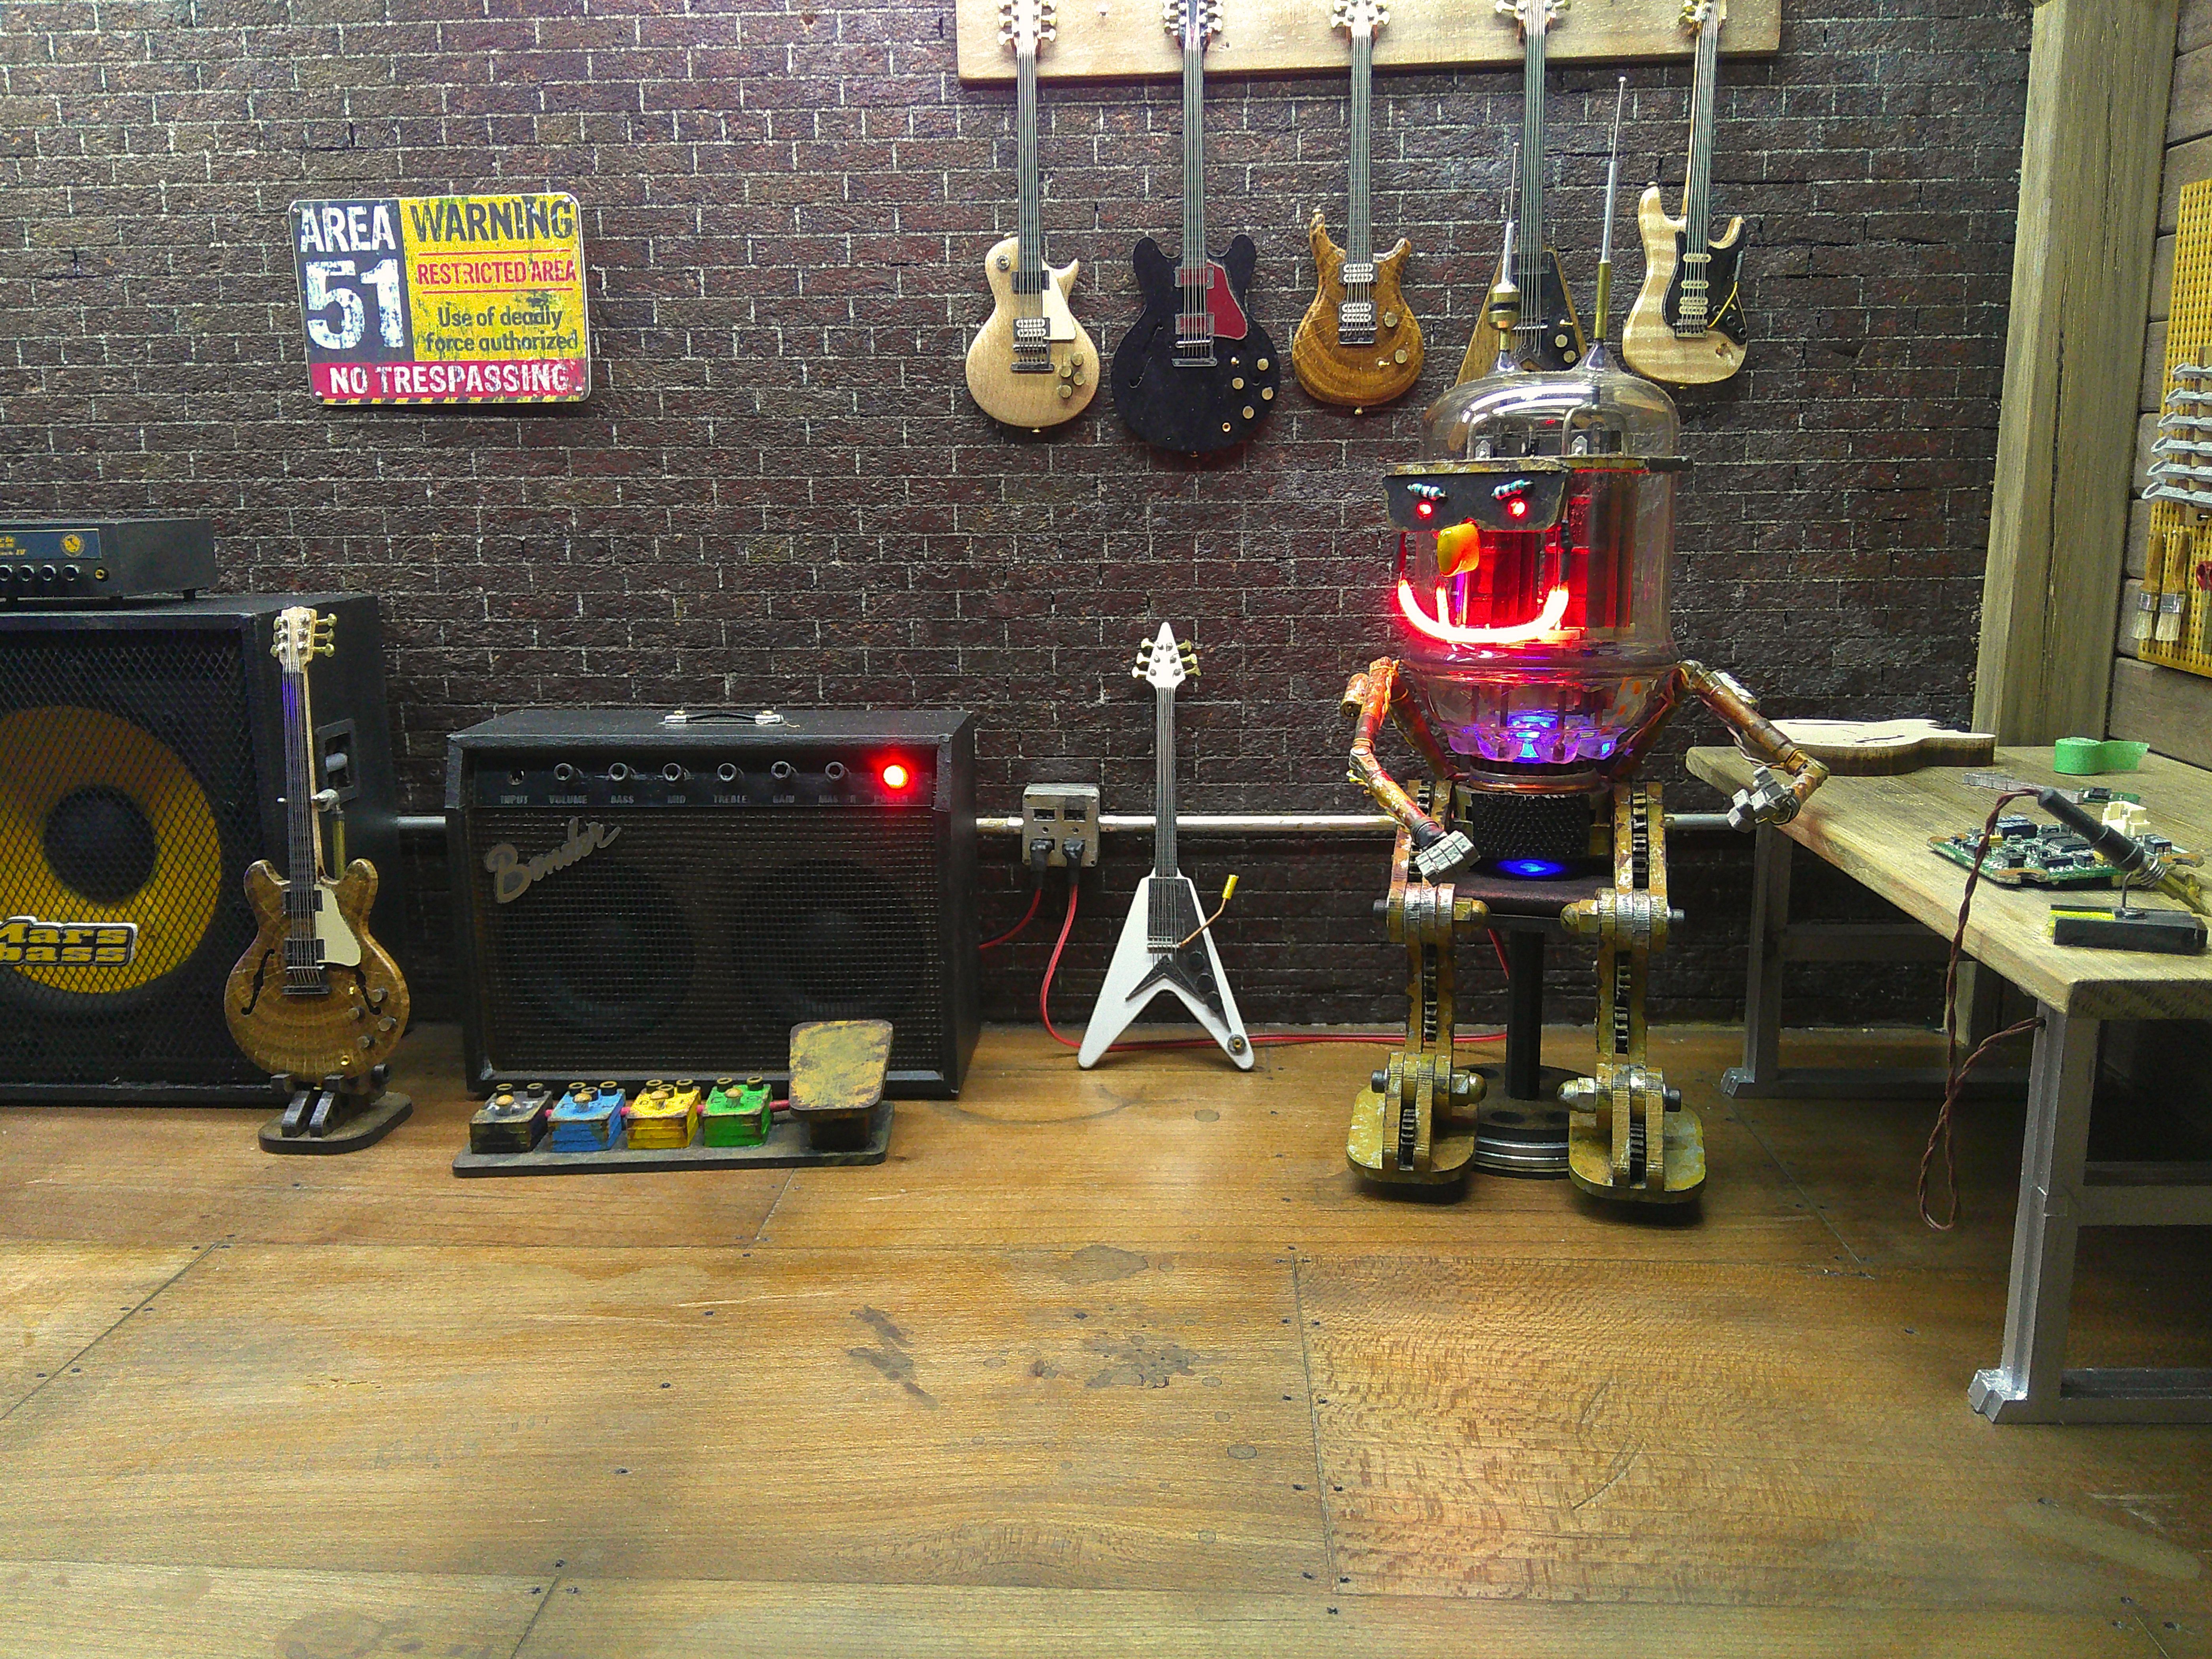
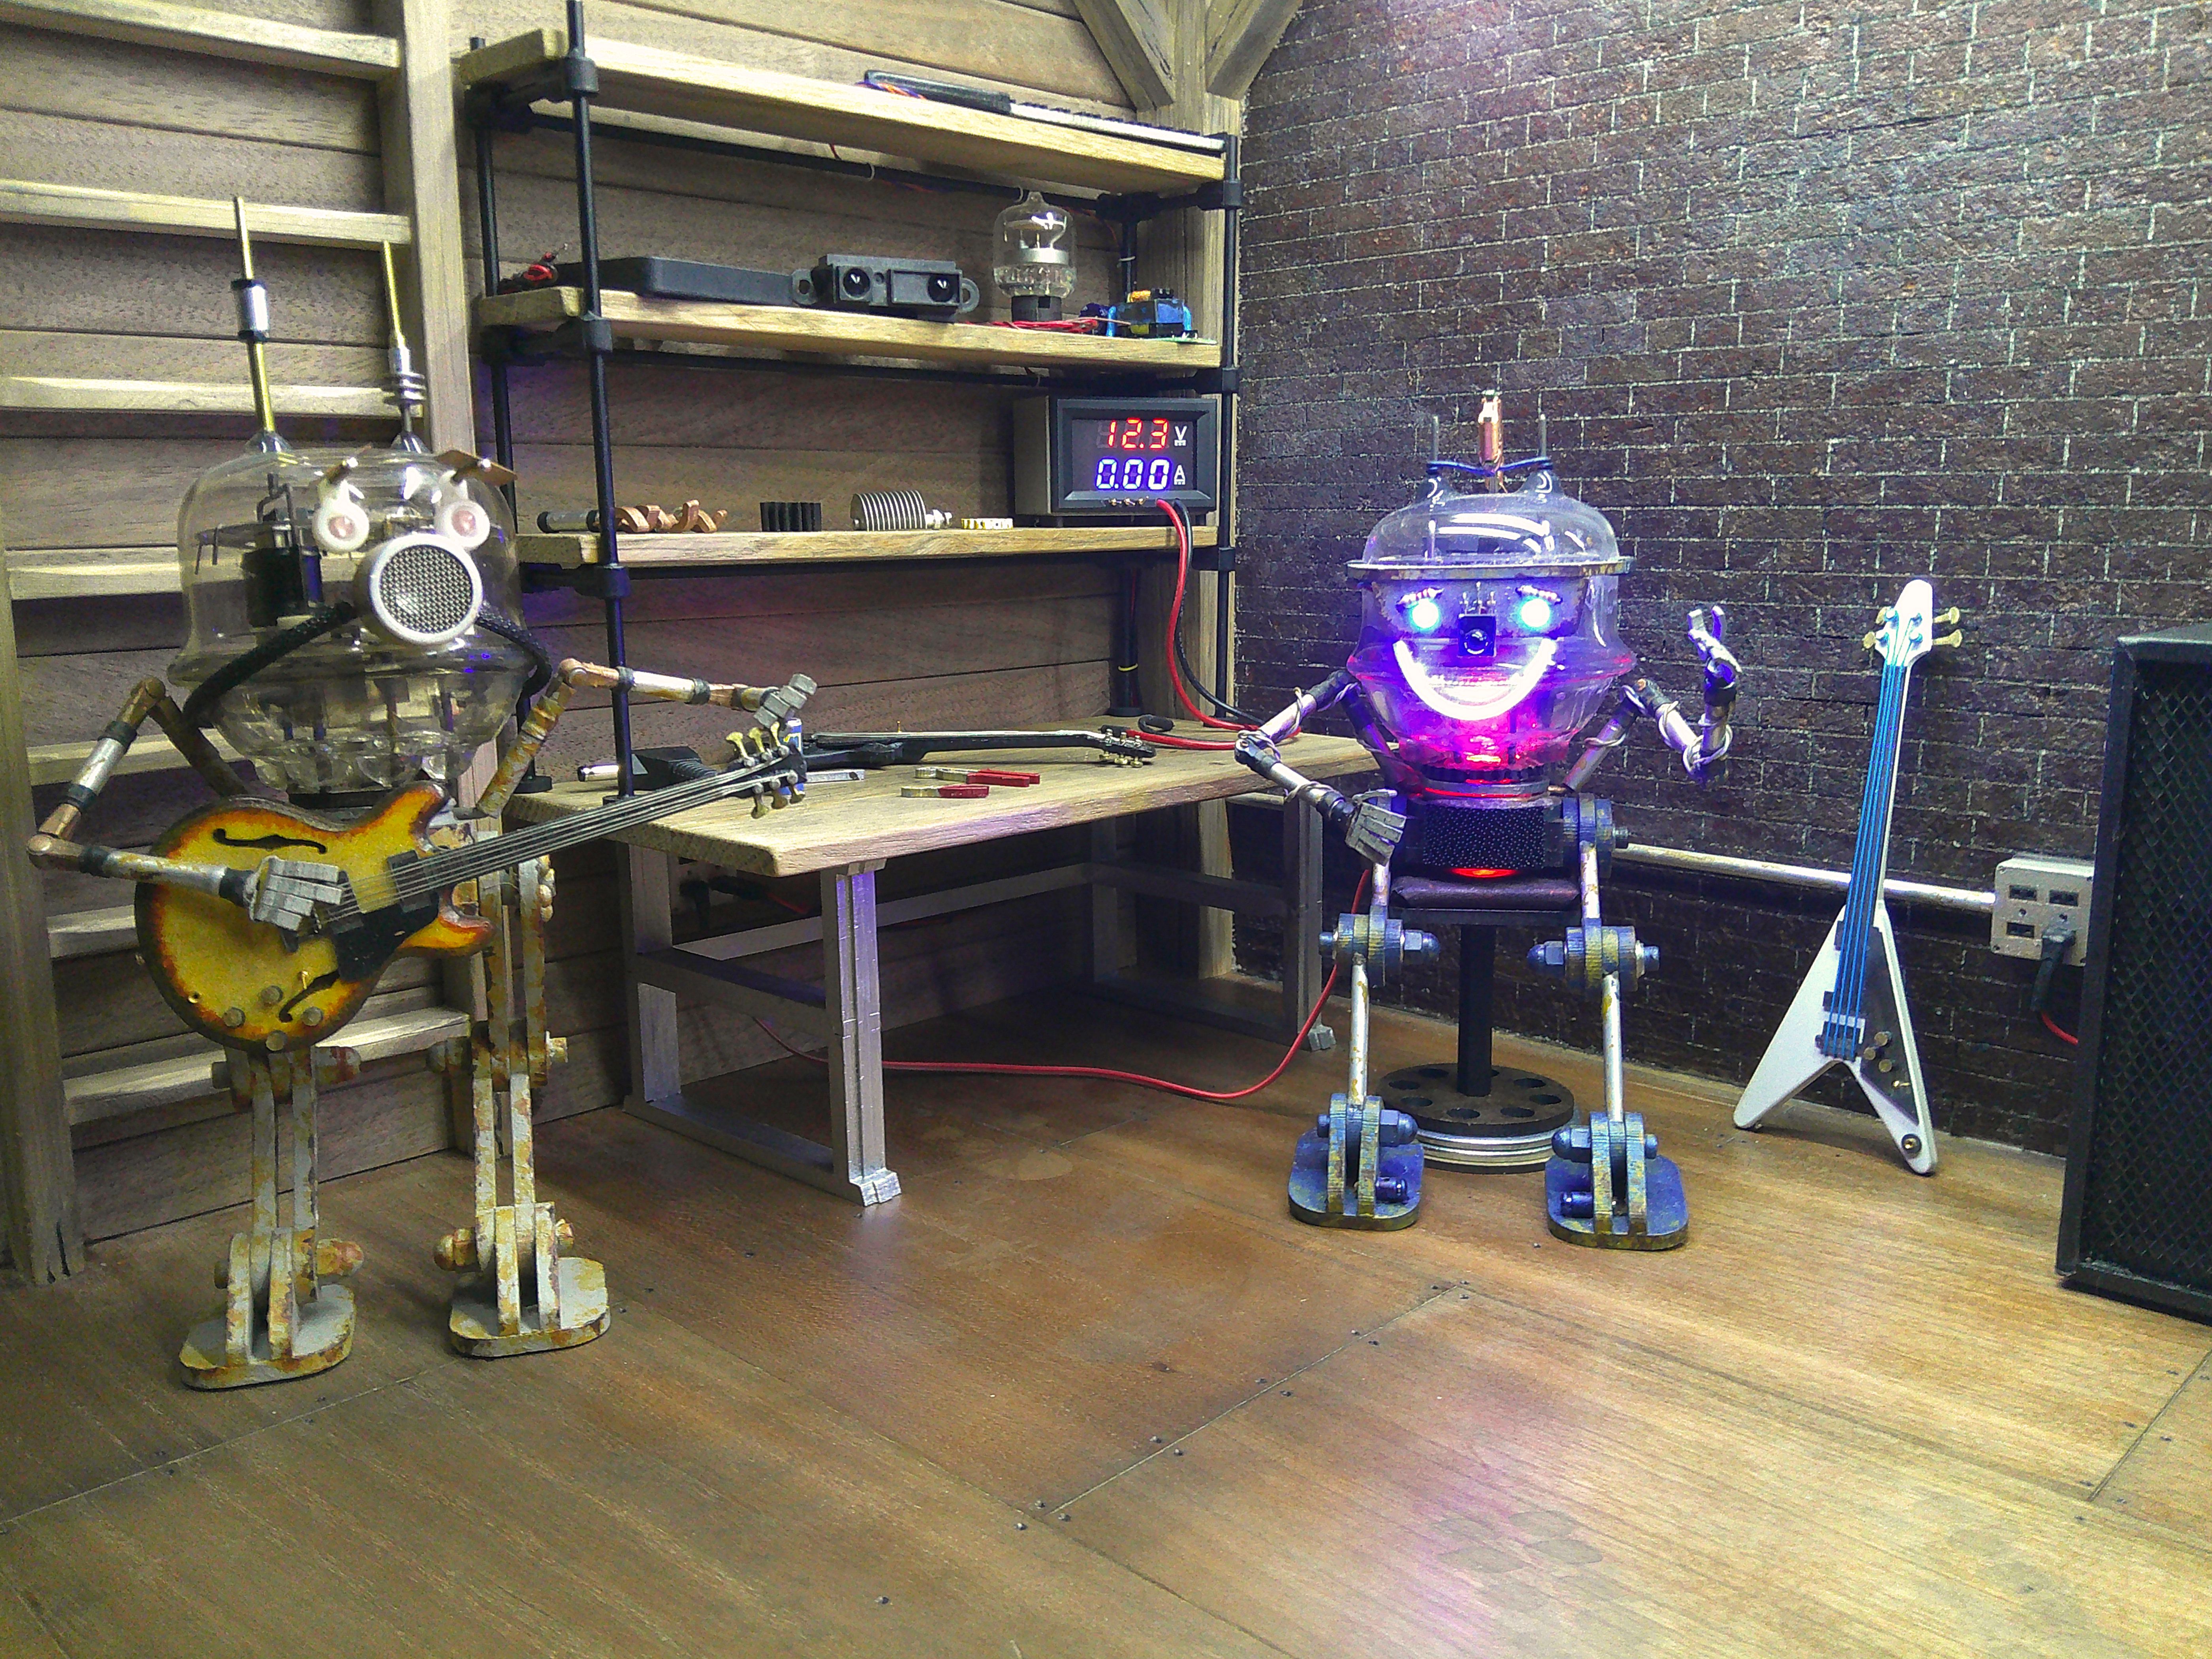
Here's a few pictures where I'm experimenting with the lighting and overall setup. I'm thinking about adding a TV on the wall, with a green screen so I can add video. I'm also looking for more interesting things to add to the shelves or workbenches. I should be able to start the stop motion recording soon. :)
workshop-18.jpg
workshop-19.jpg
workshop-20.jpg
workshop-16.jpg
workshop-17.jpg
 
I had to order some things from mcmaster carr, so I added this little 1" aluminum nut to the order. I paid 6 bucks. I'm going to try to etch the BB logo. yippy! :)

workshop-21.jpg
 
Back
Top