Space Robots from Outer Space

Scale Model Addict - Model Tips, Guides, Tools & Tech, Tutorials, and Community

Help Support Scale Model Addict:

After 4 months of building, painting, mock-up, filming, recording, and editing I am proud to release the Space Robots from Outer Space cover of Born to be Wild. In addition to creating all of the visual content I also created the music and sound effects using VCV Rack and Bitwig Studio. I hope you enjoy watching it as much as I enjoyed creating it!


Wish i could put a love and a laugh, the engines on the red bike are great, got a kick out of the campfire scene. Thank you for putting in the work its all awesome.
 
Thanks for the nice comments. I deleted my instagram account and quit facebook. I will try to replace the photos that are now missing in this thread. Although I have been working on things, I haven't really felt like posting anything because the world is exploding... I will try.
 
Thanks for the nice comments. I deleted my instagram account and quit facebook. I will try to replace the photos that are now missing
in this thread. Although I have been working on things, I haven't really felt like posting anything because the world is exploding... I will try.

I ditched facebook and most social media 11 years ago, one of the best things I've ever done 🤣😂
 
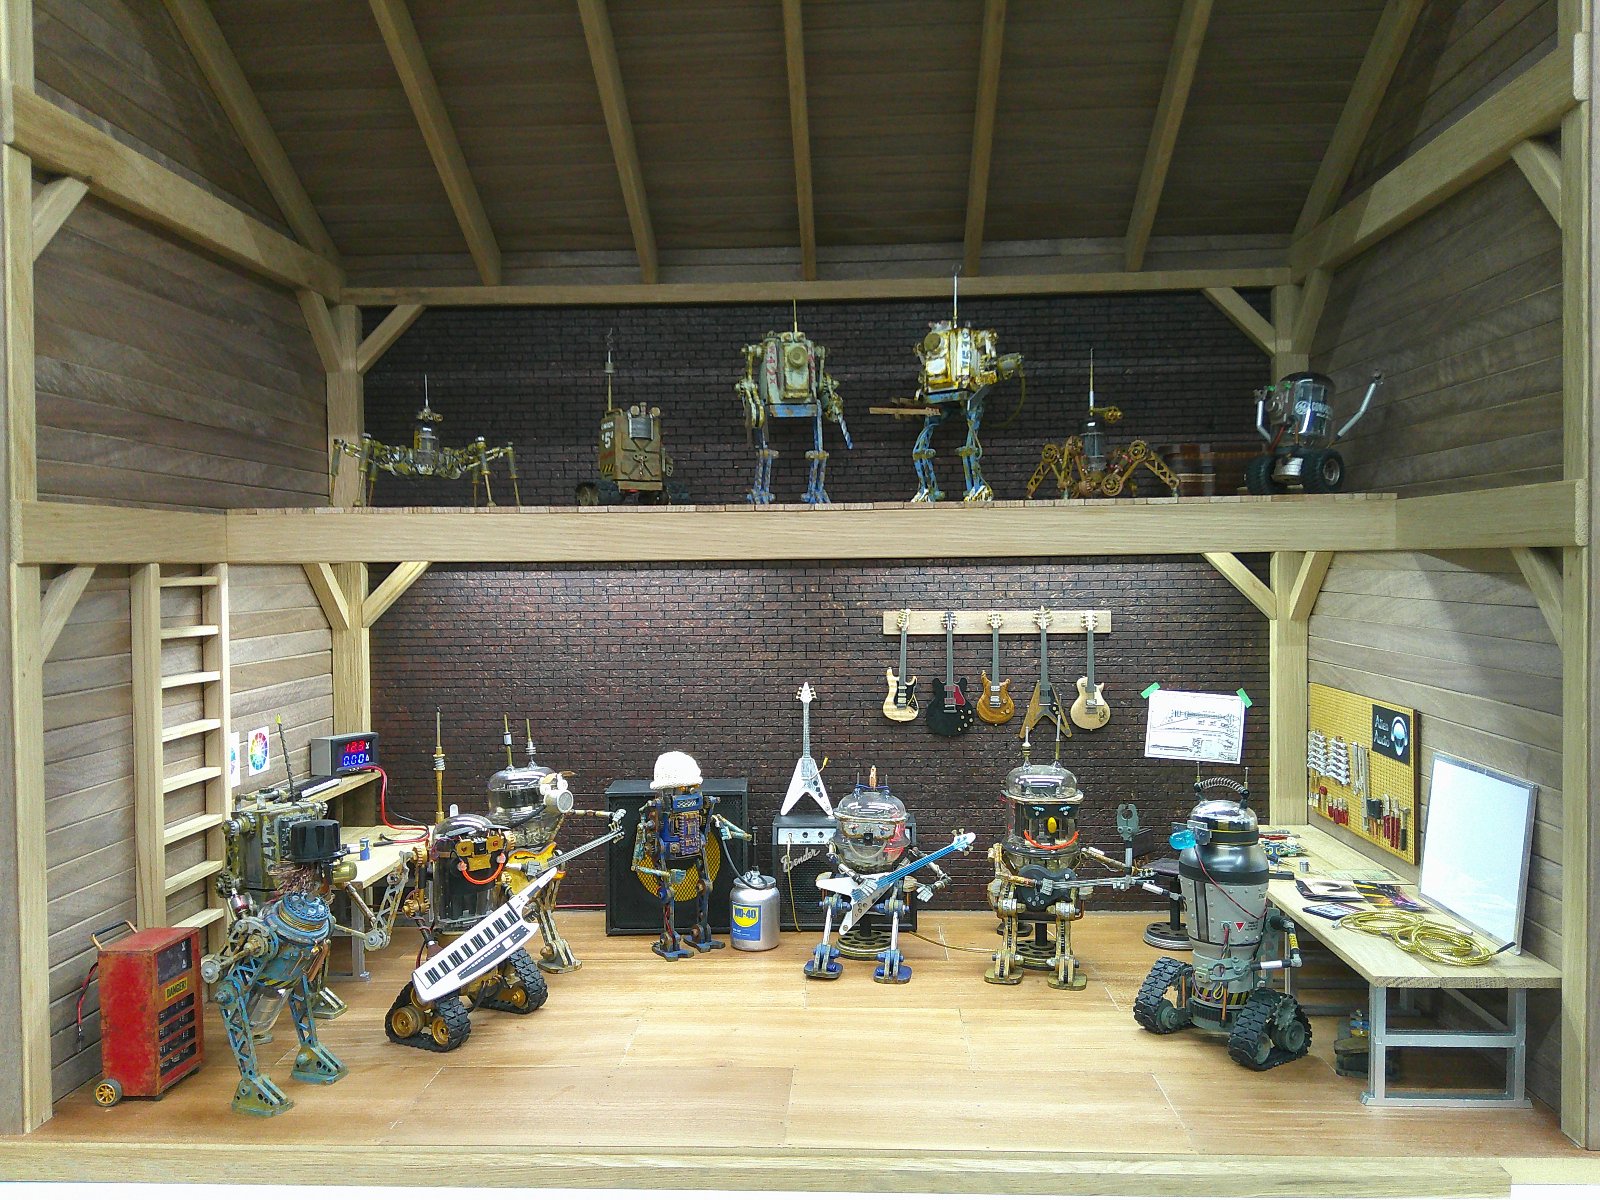
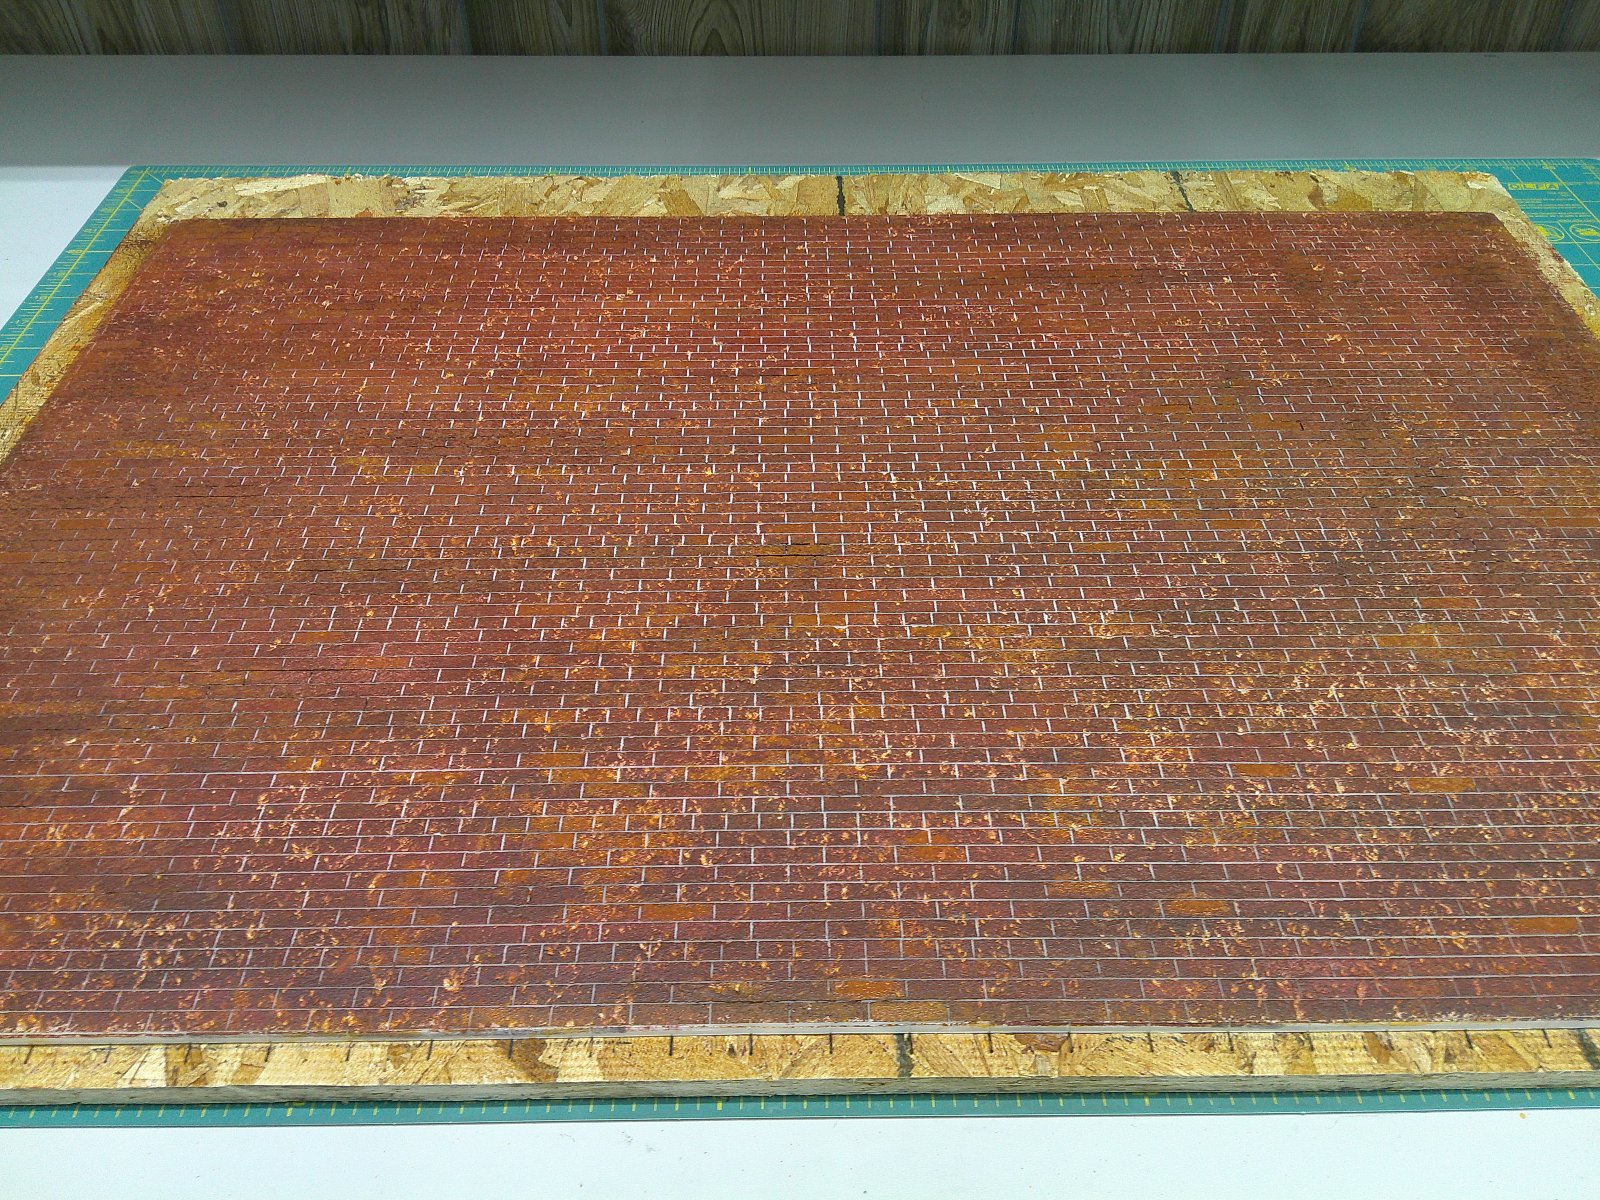
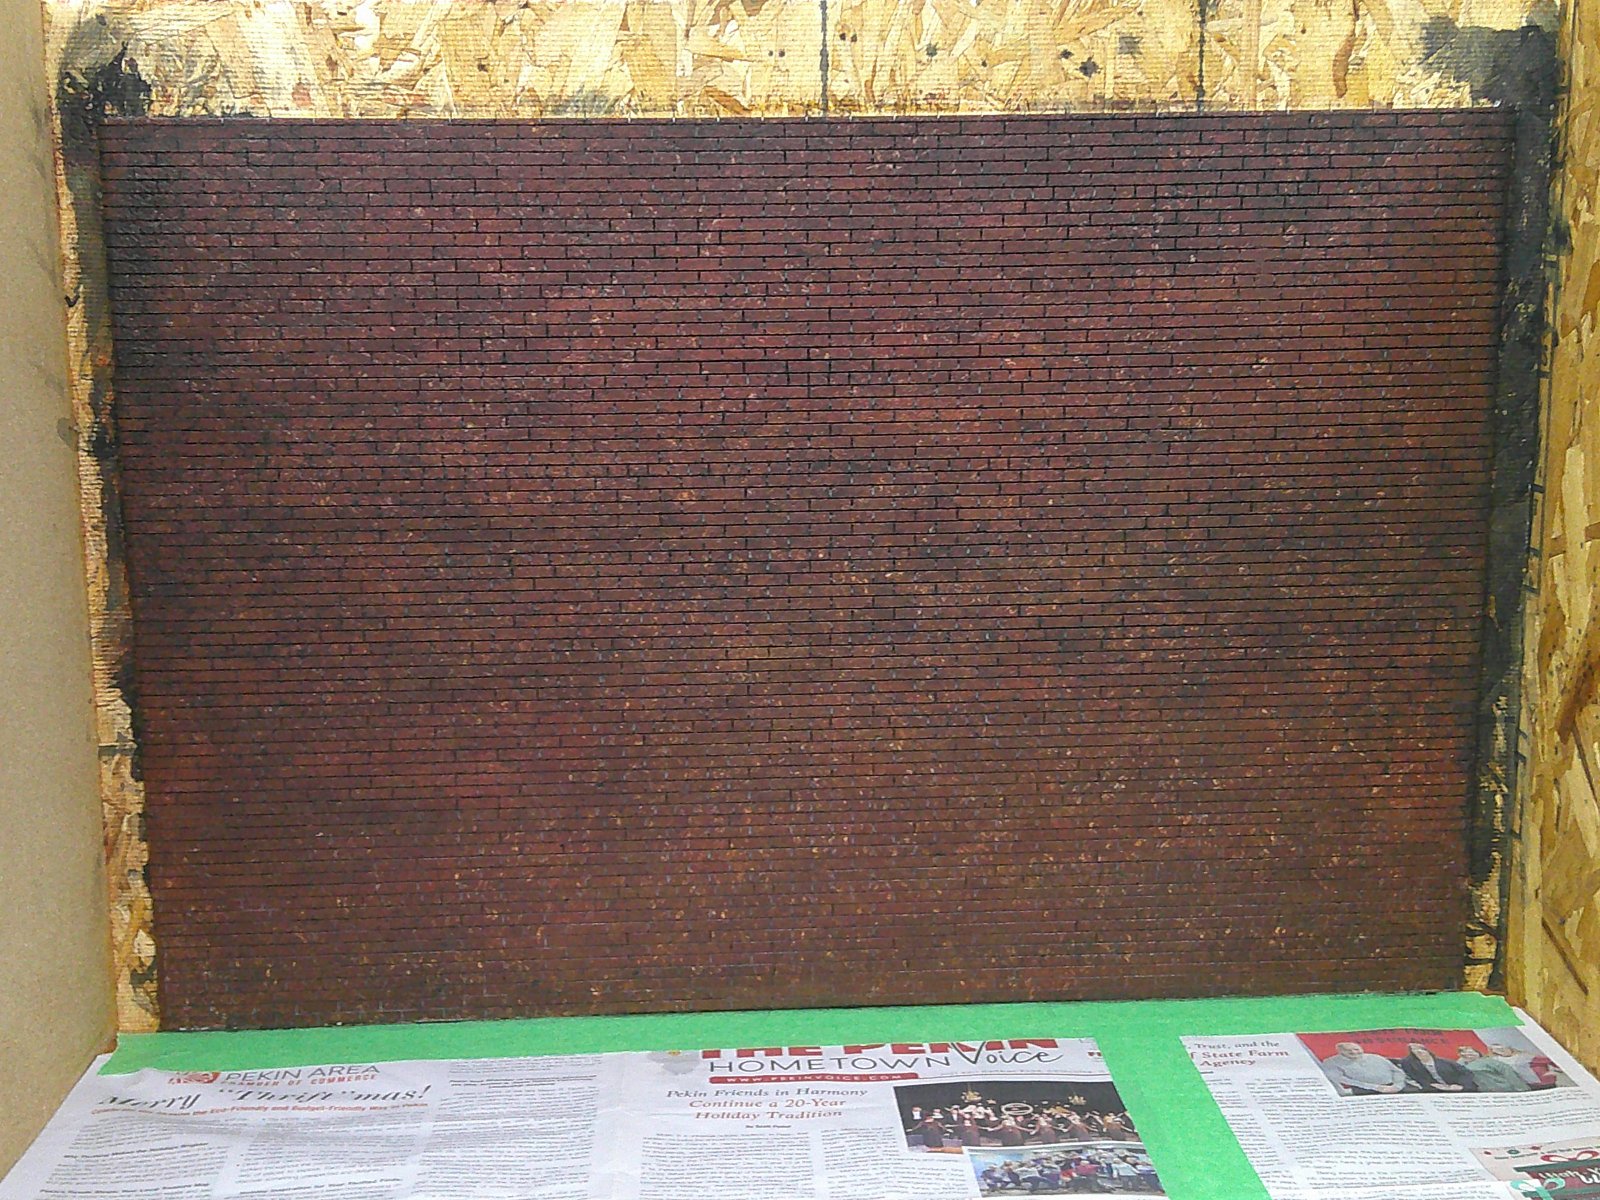
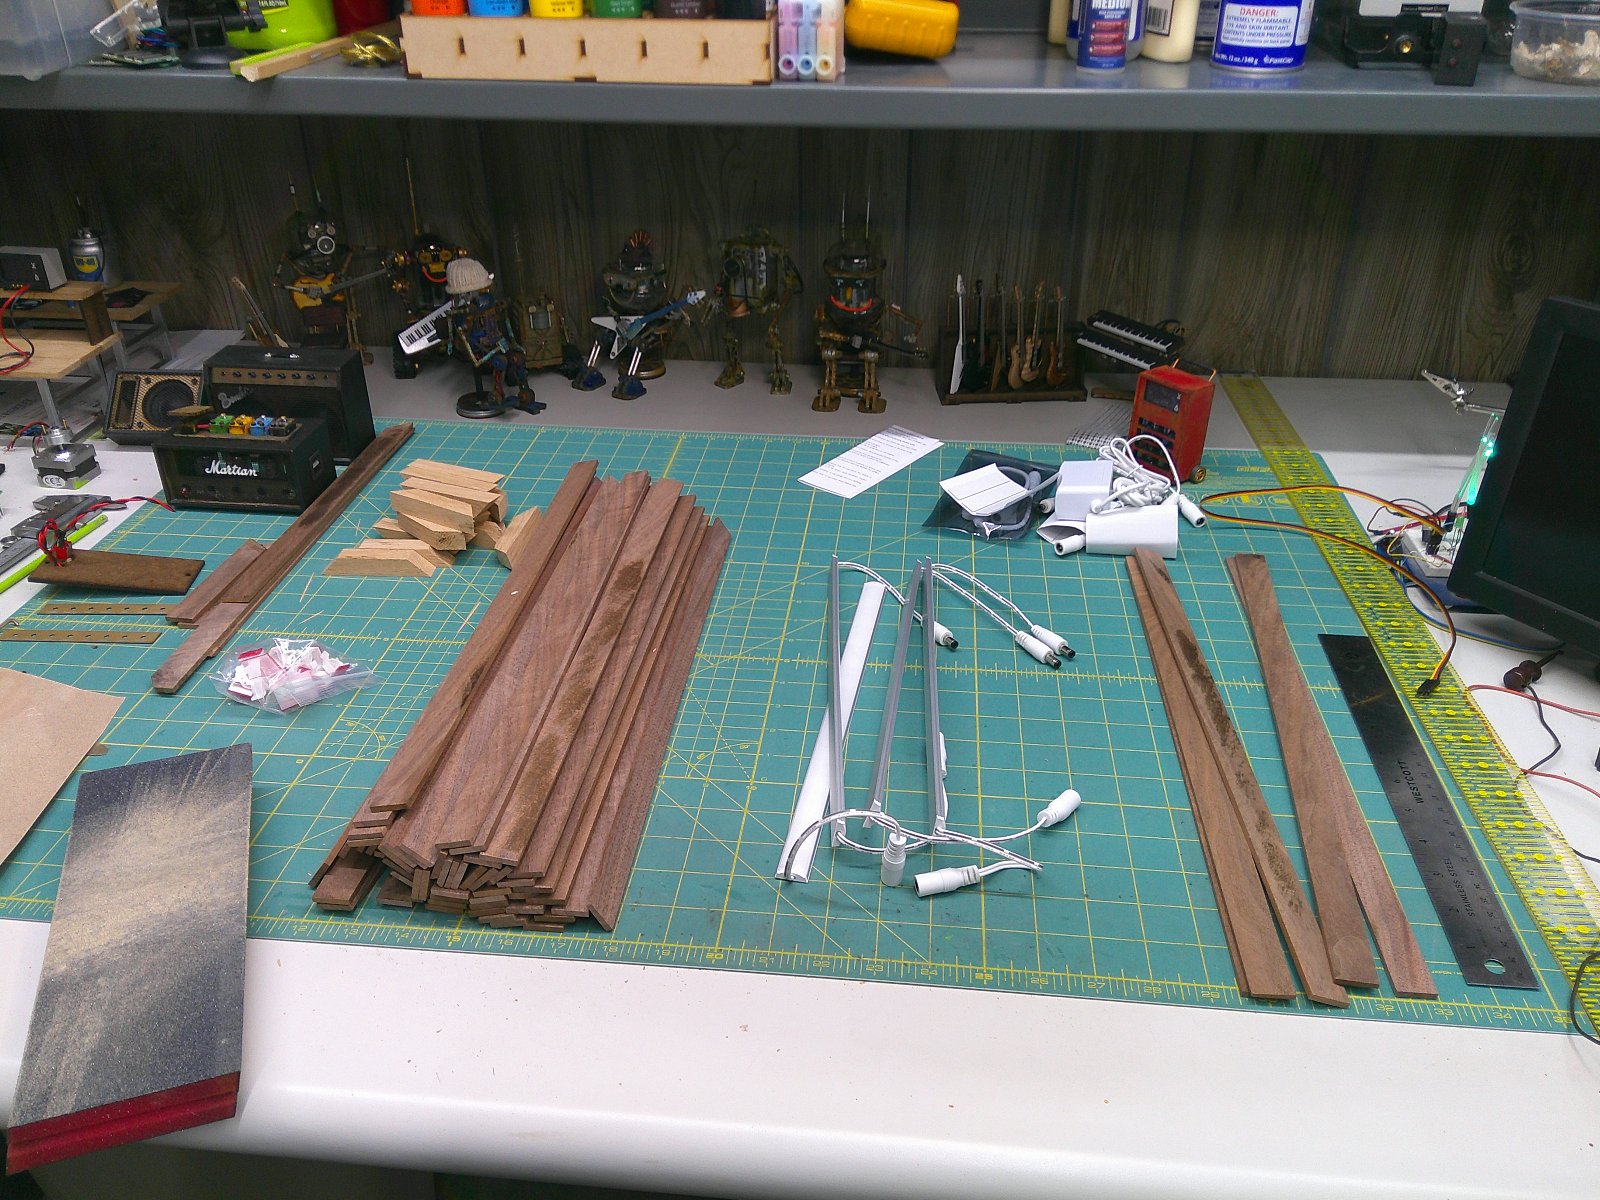
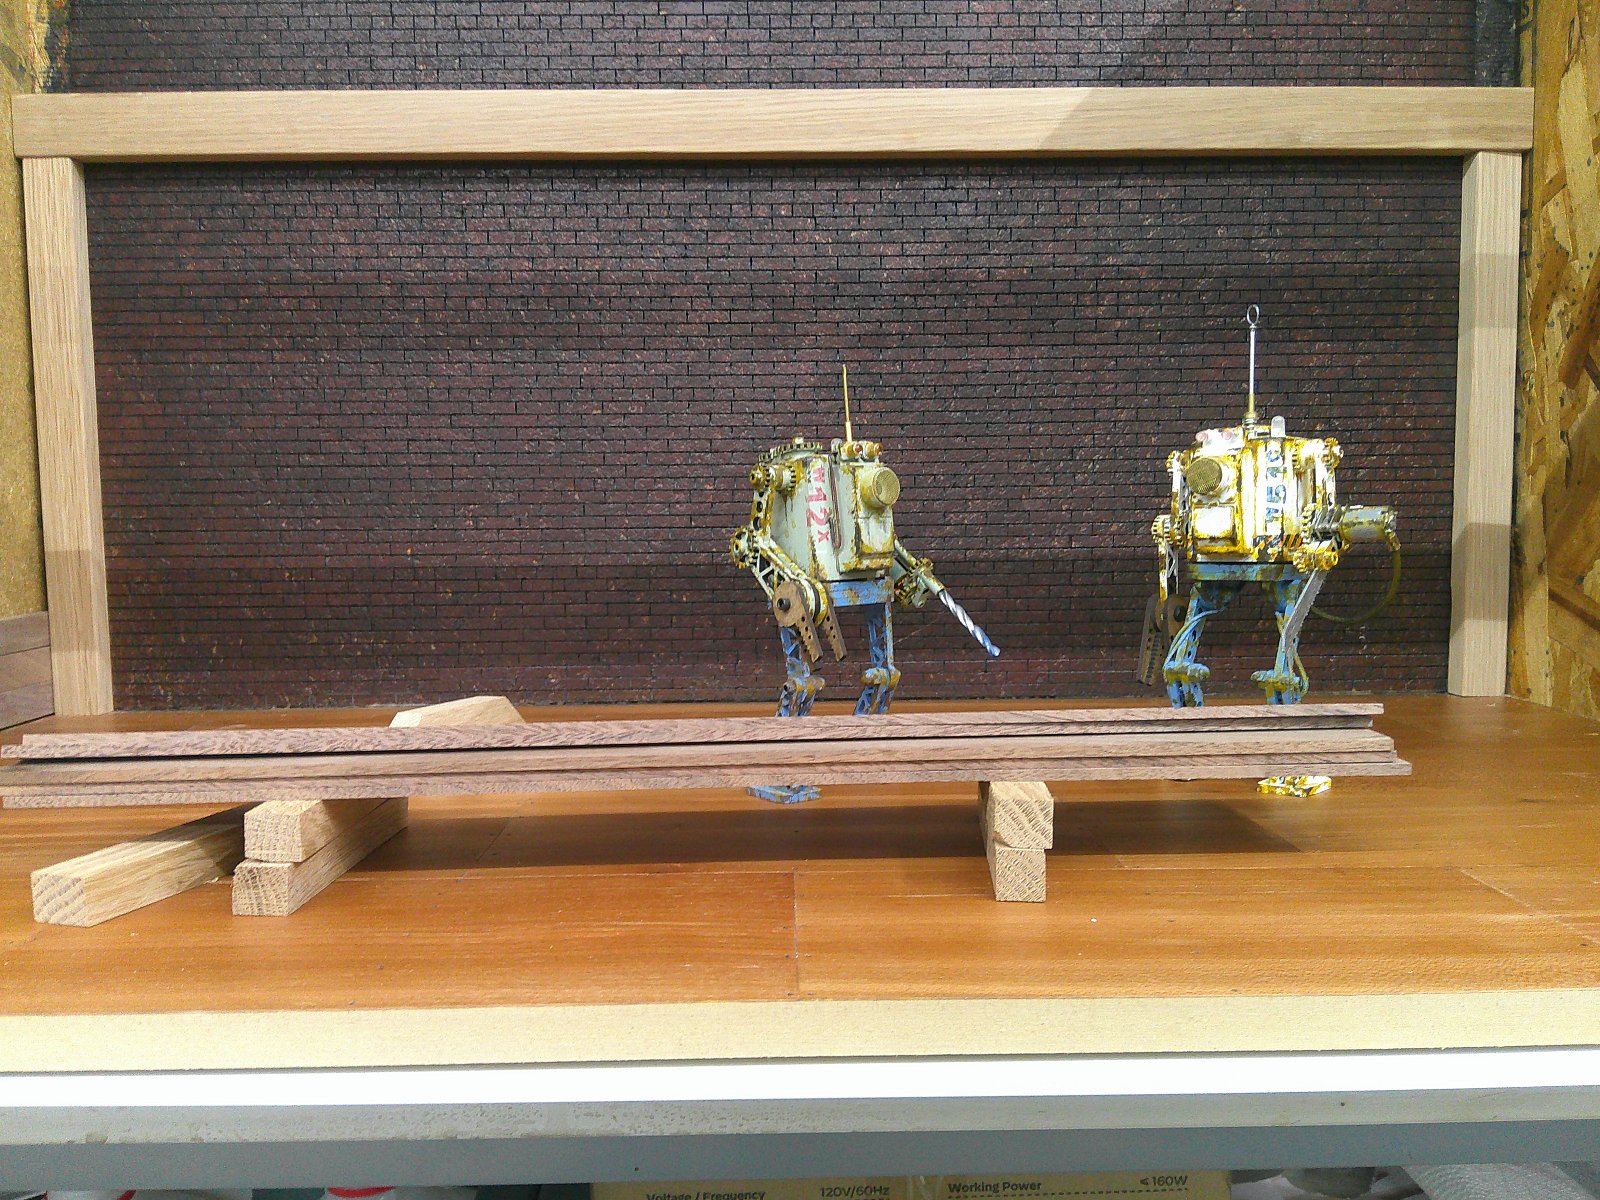
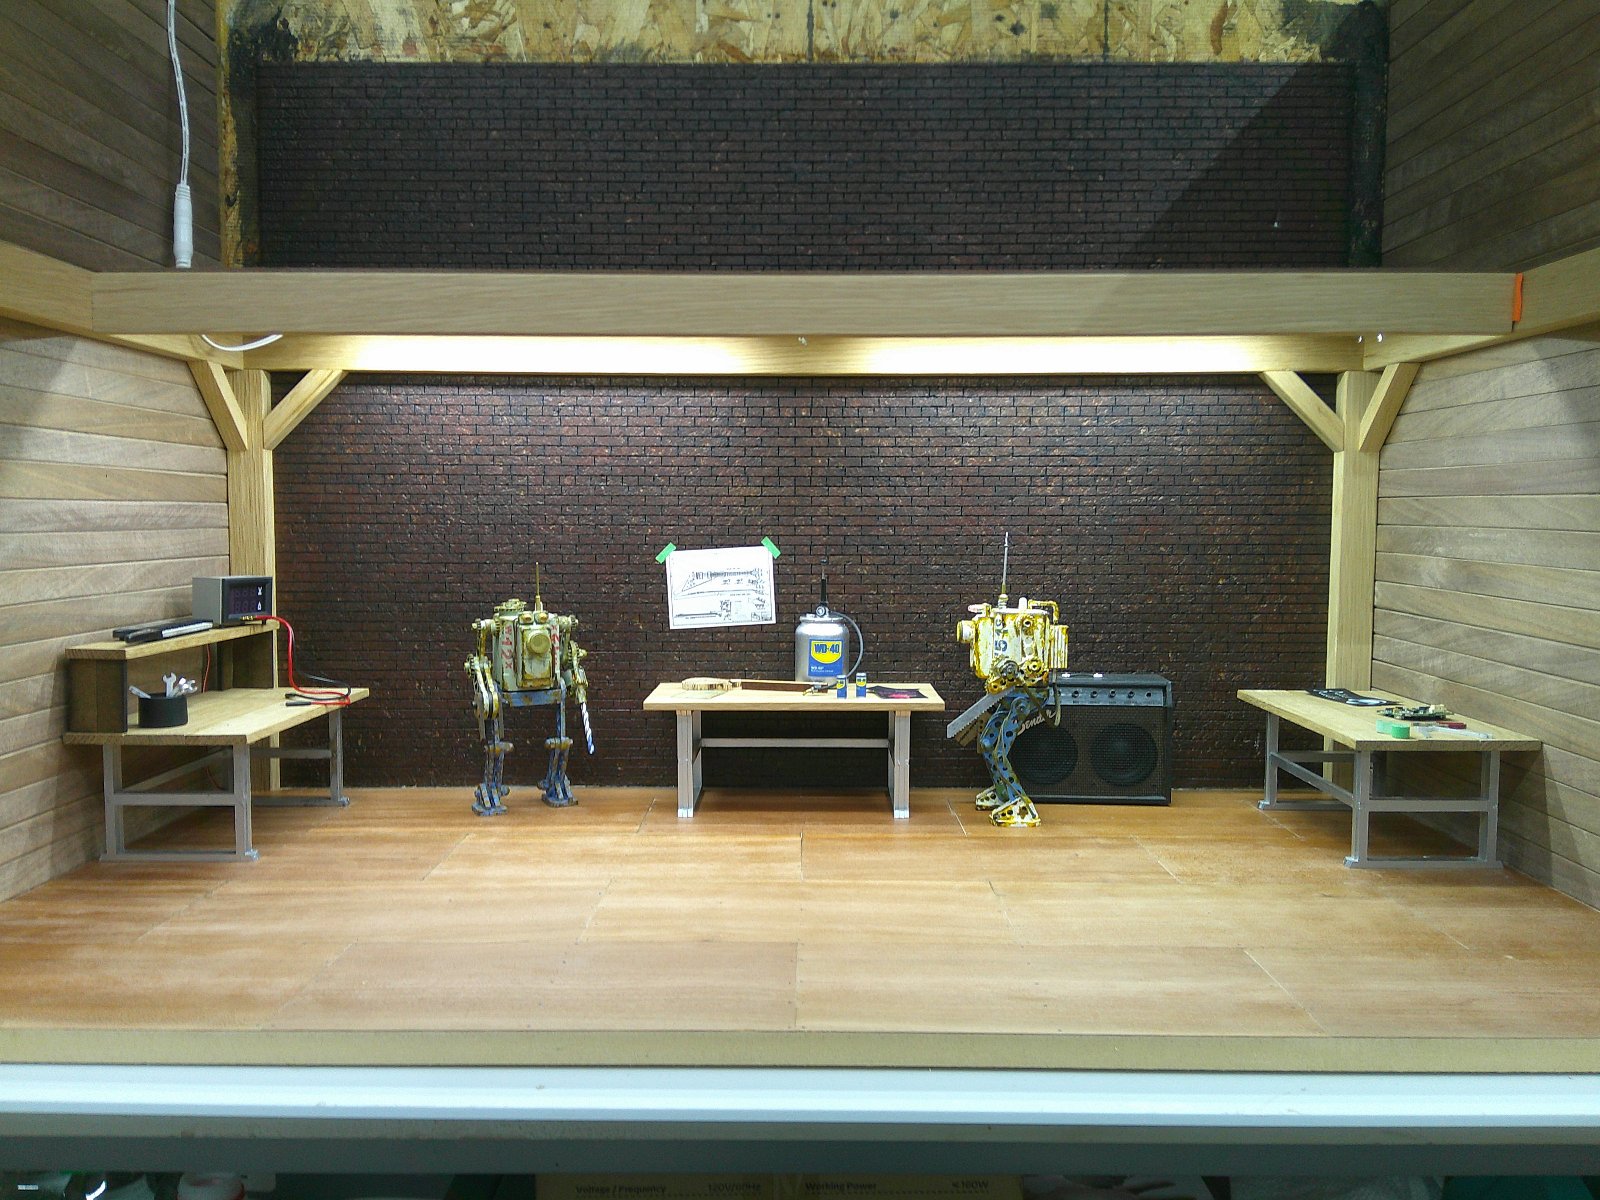
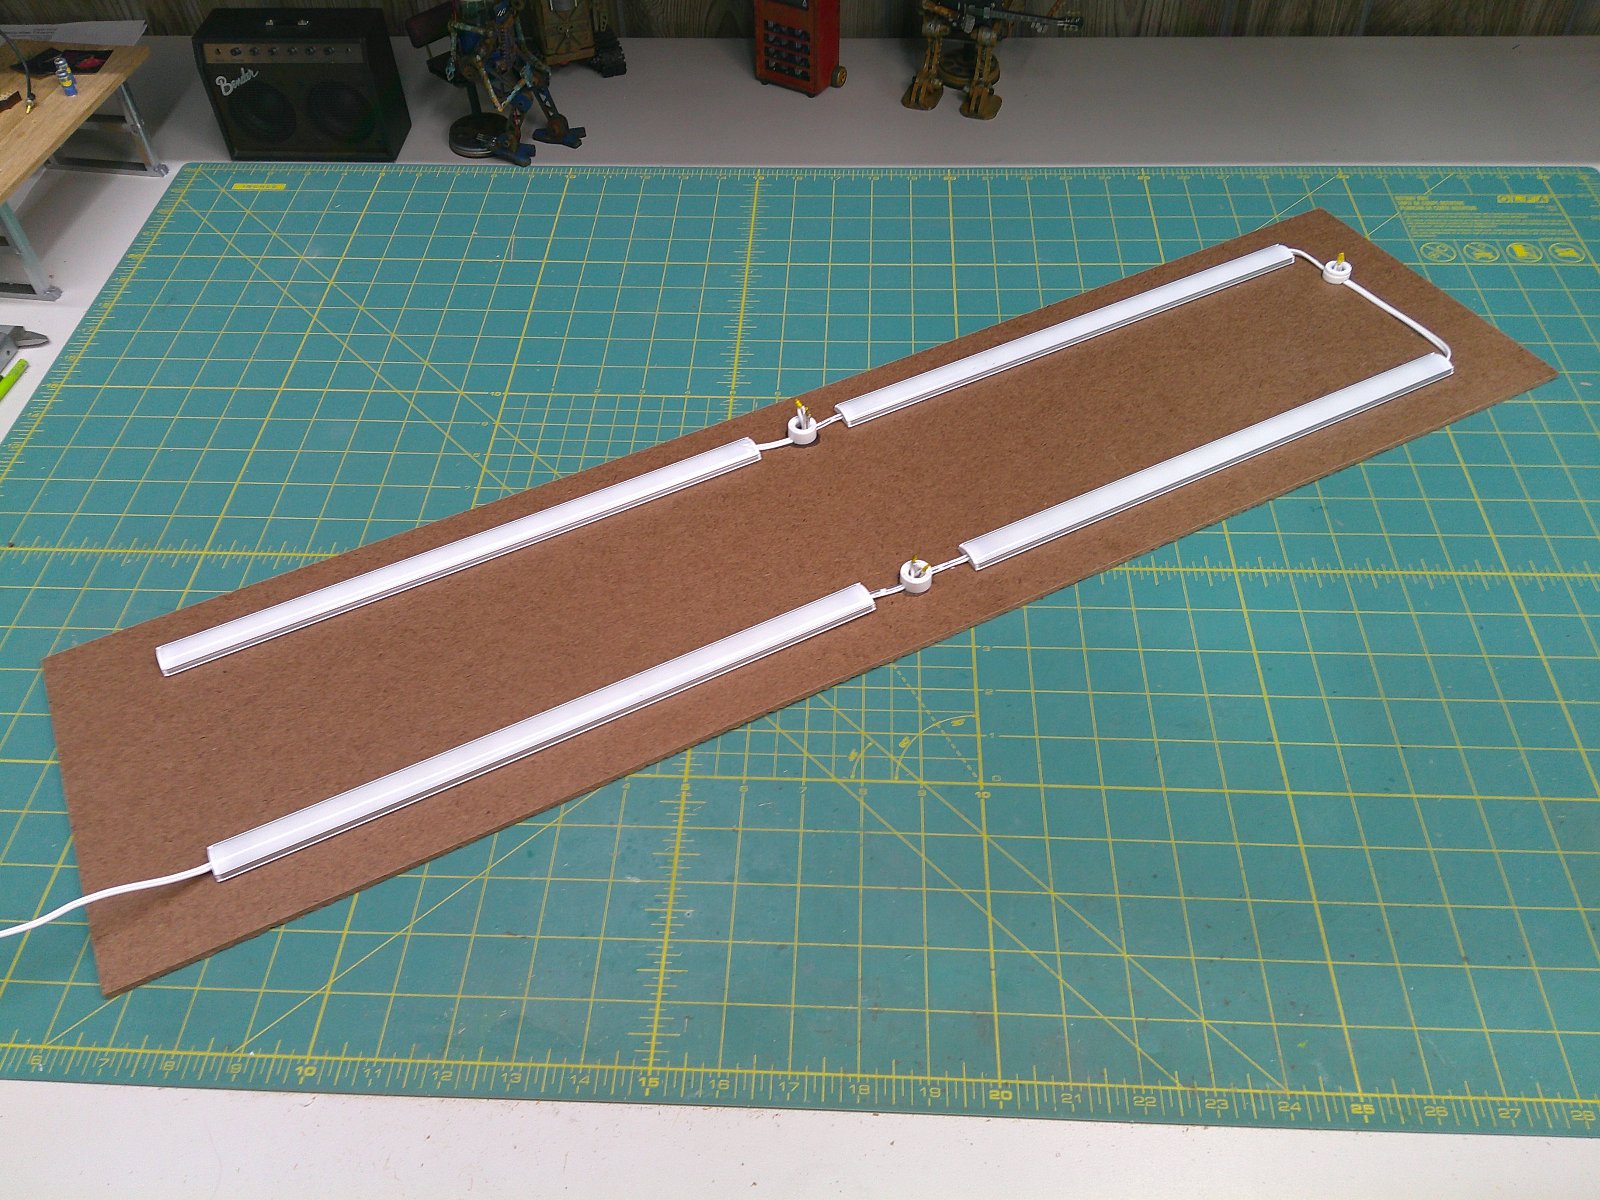
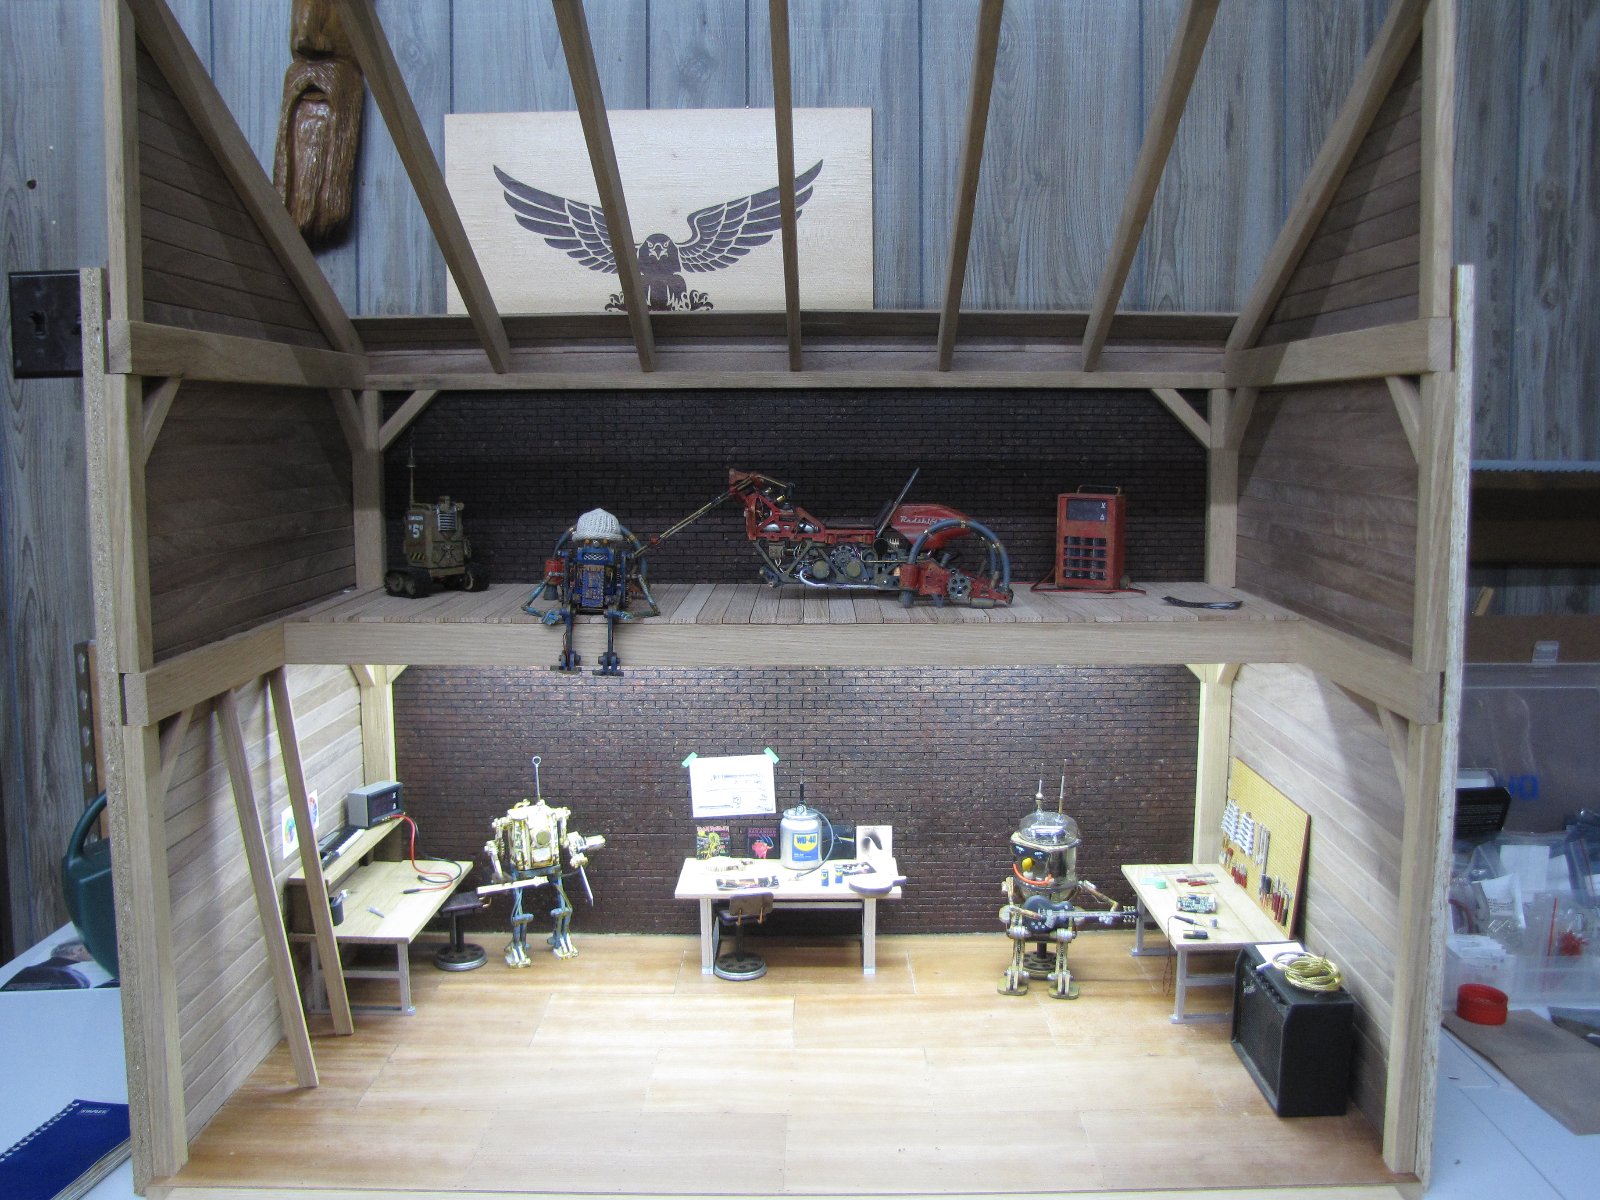
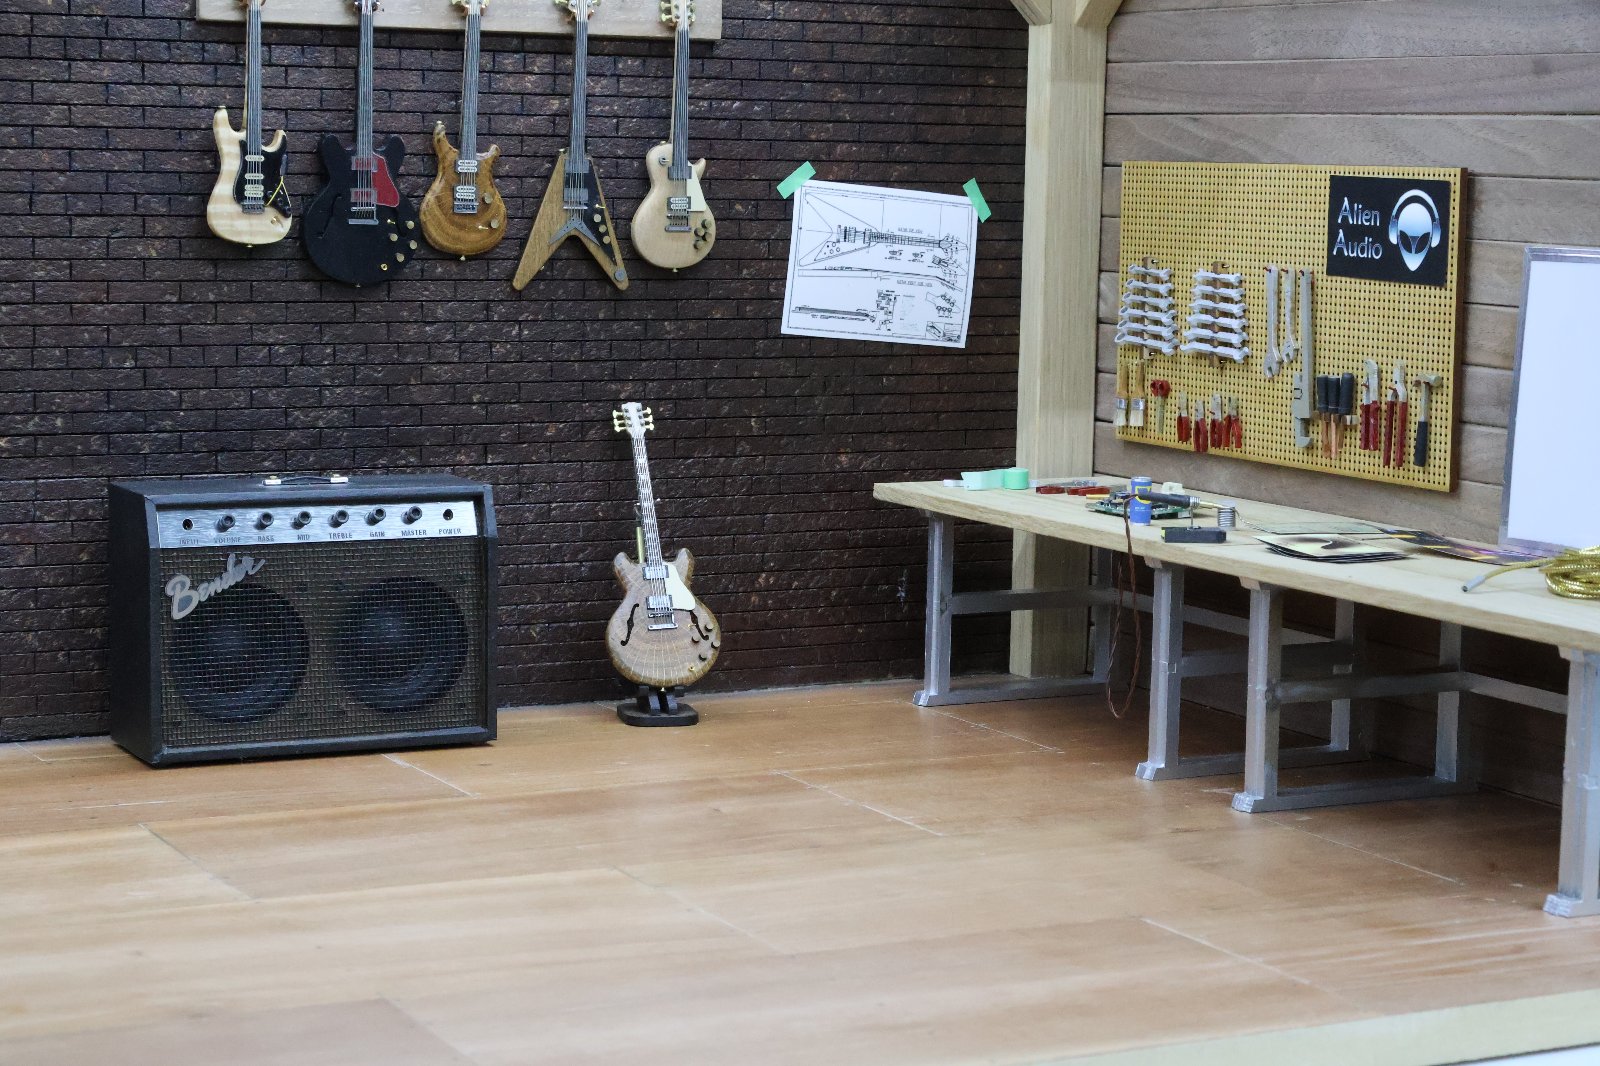
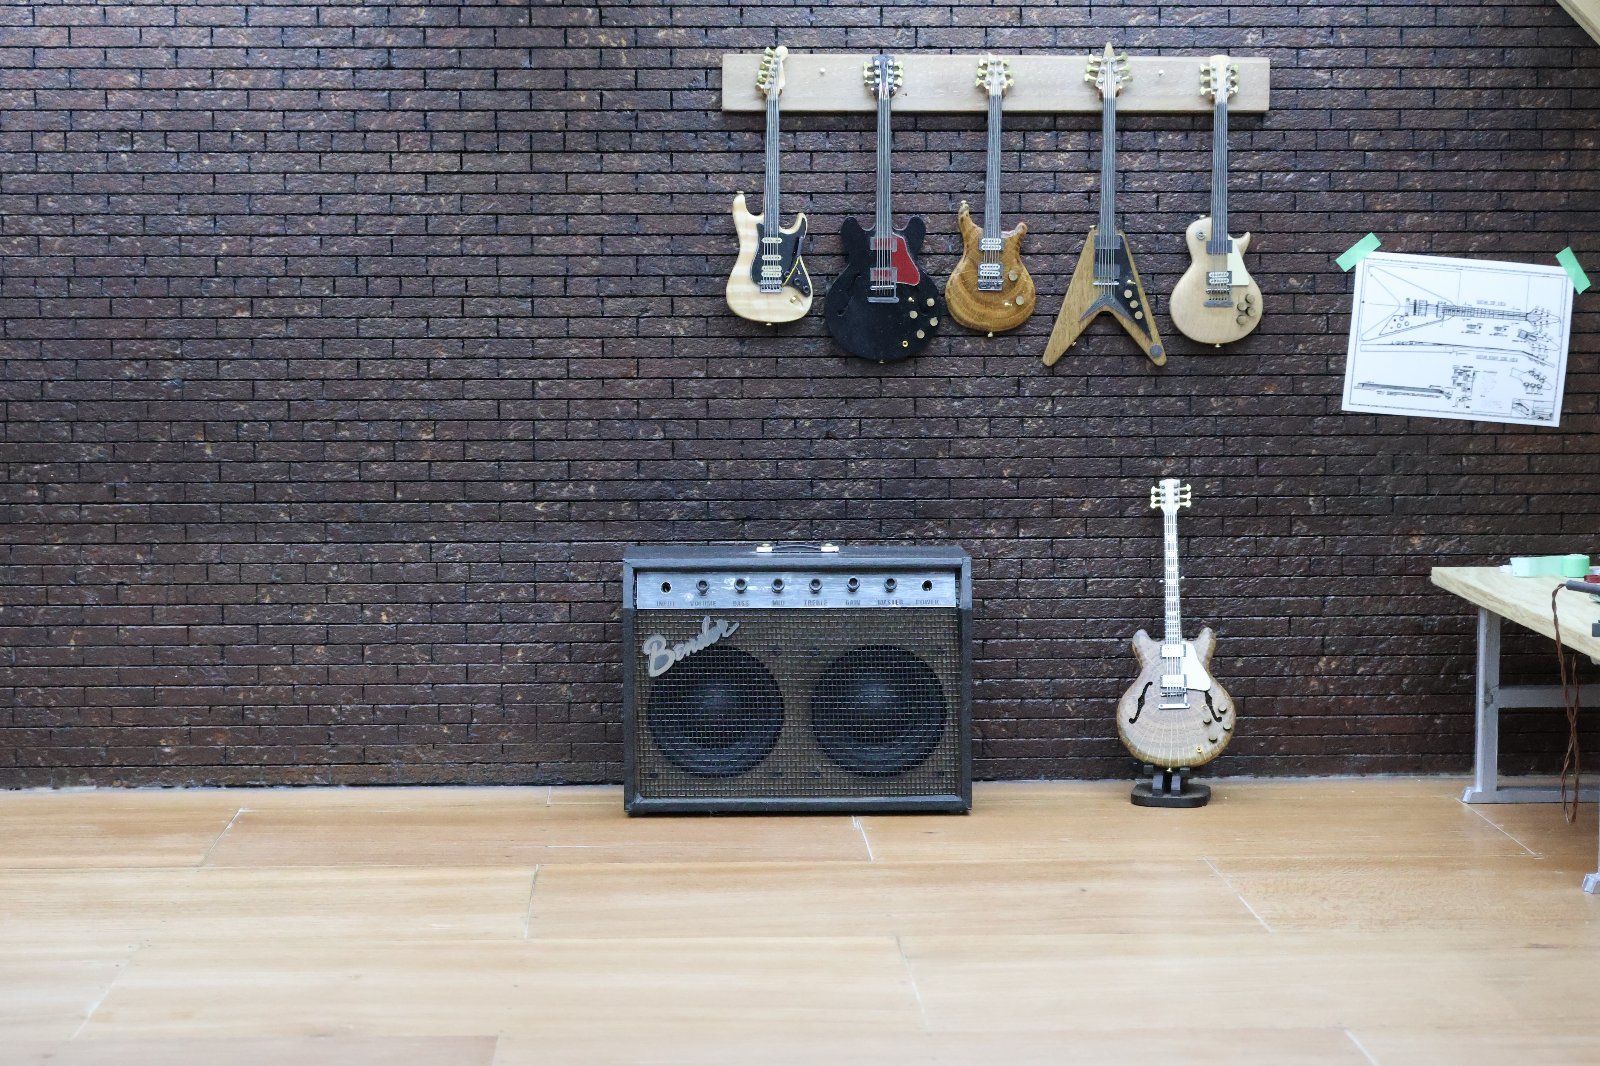
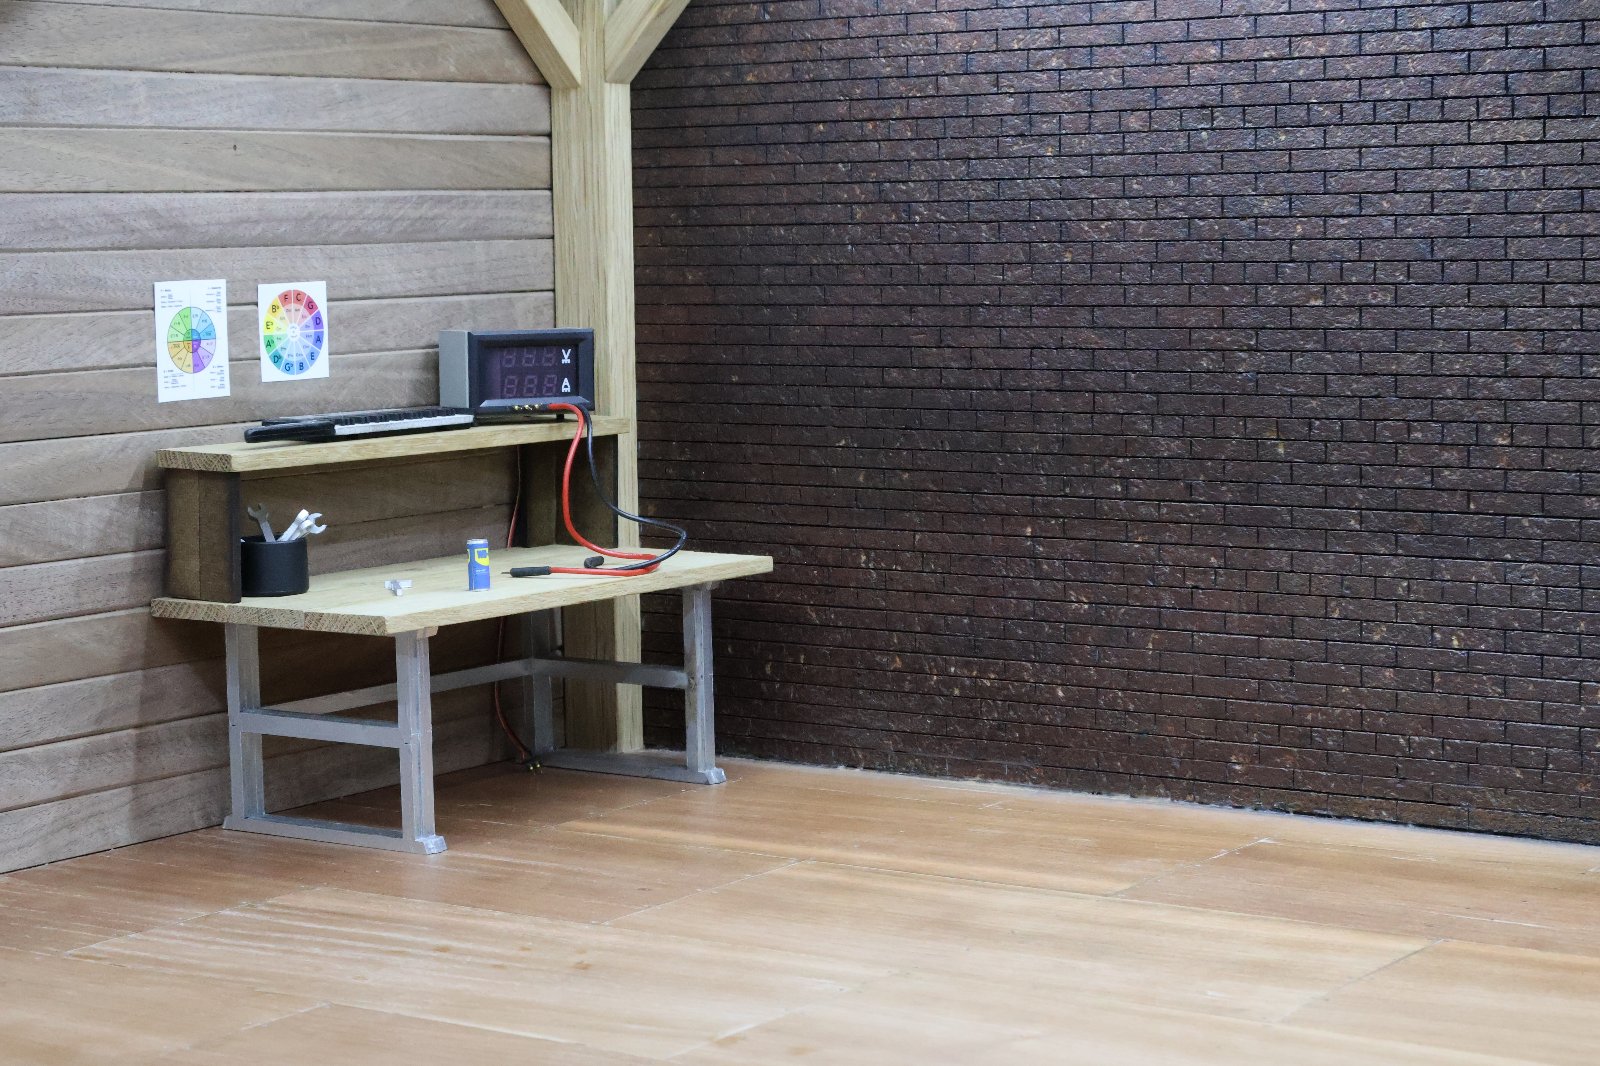
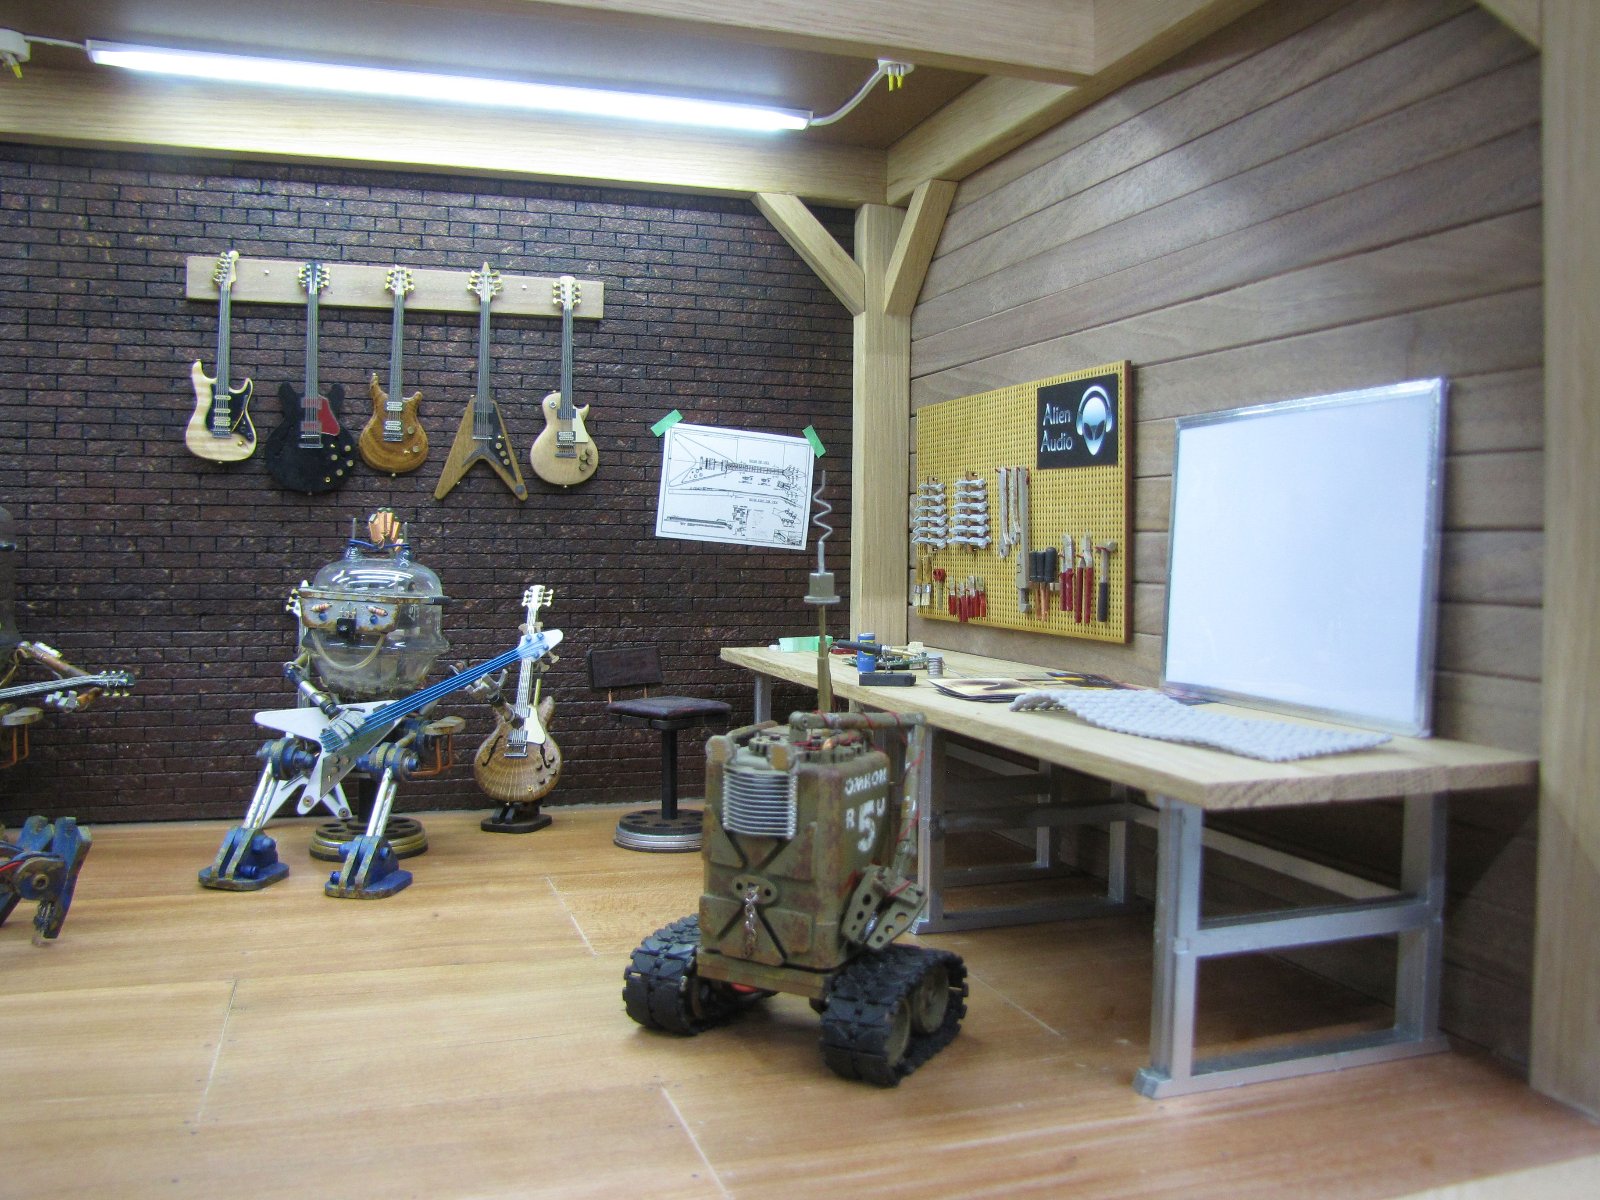
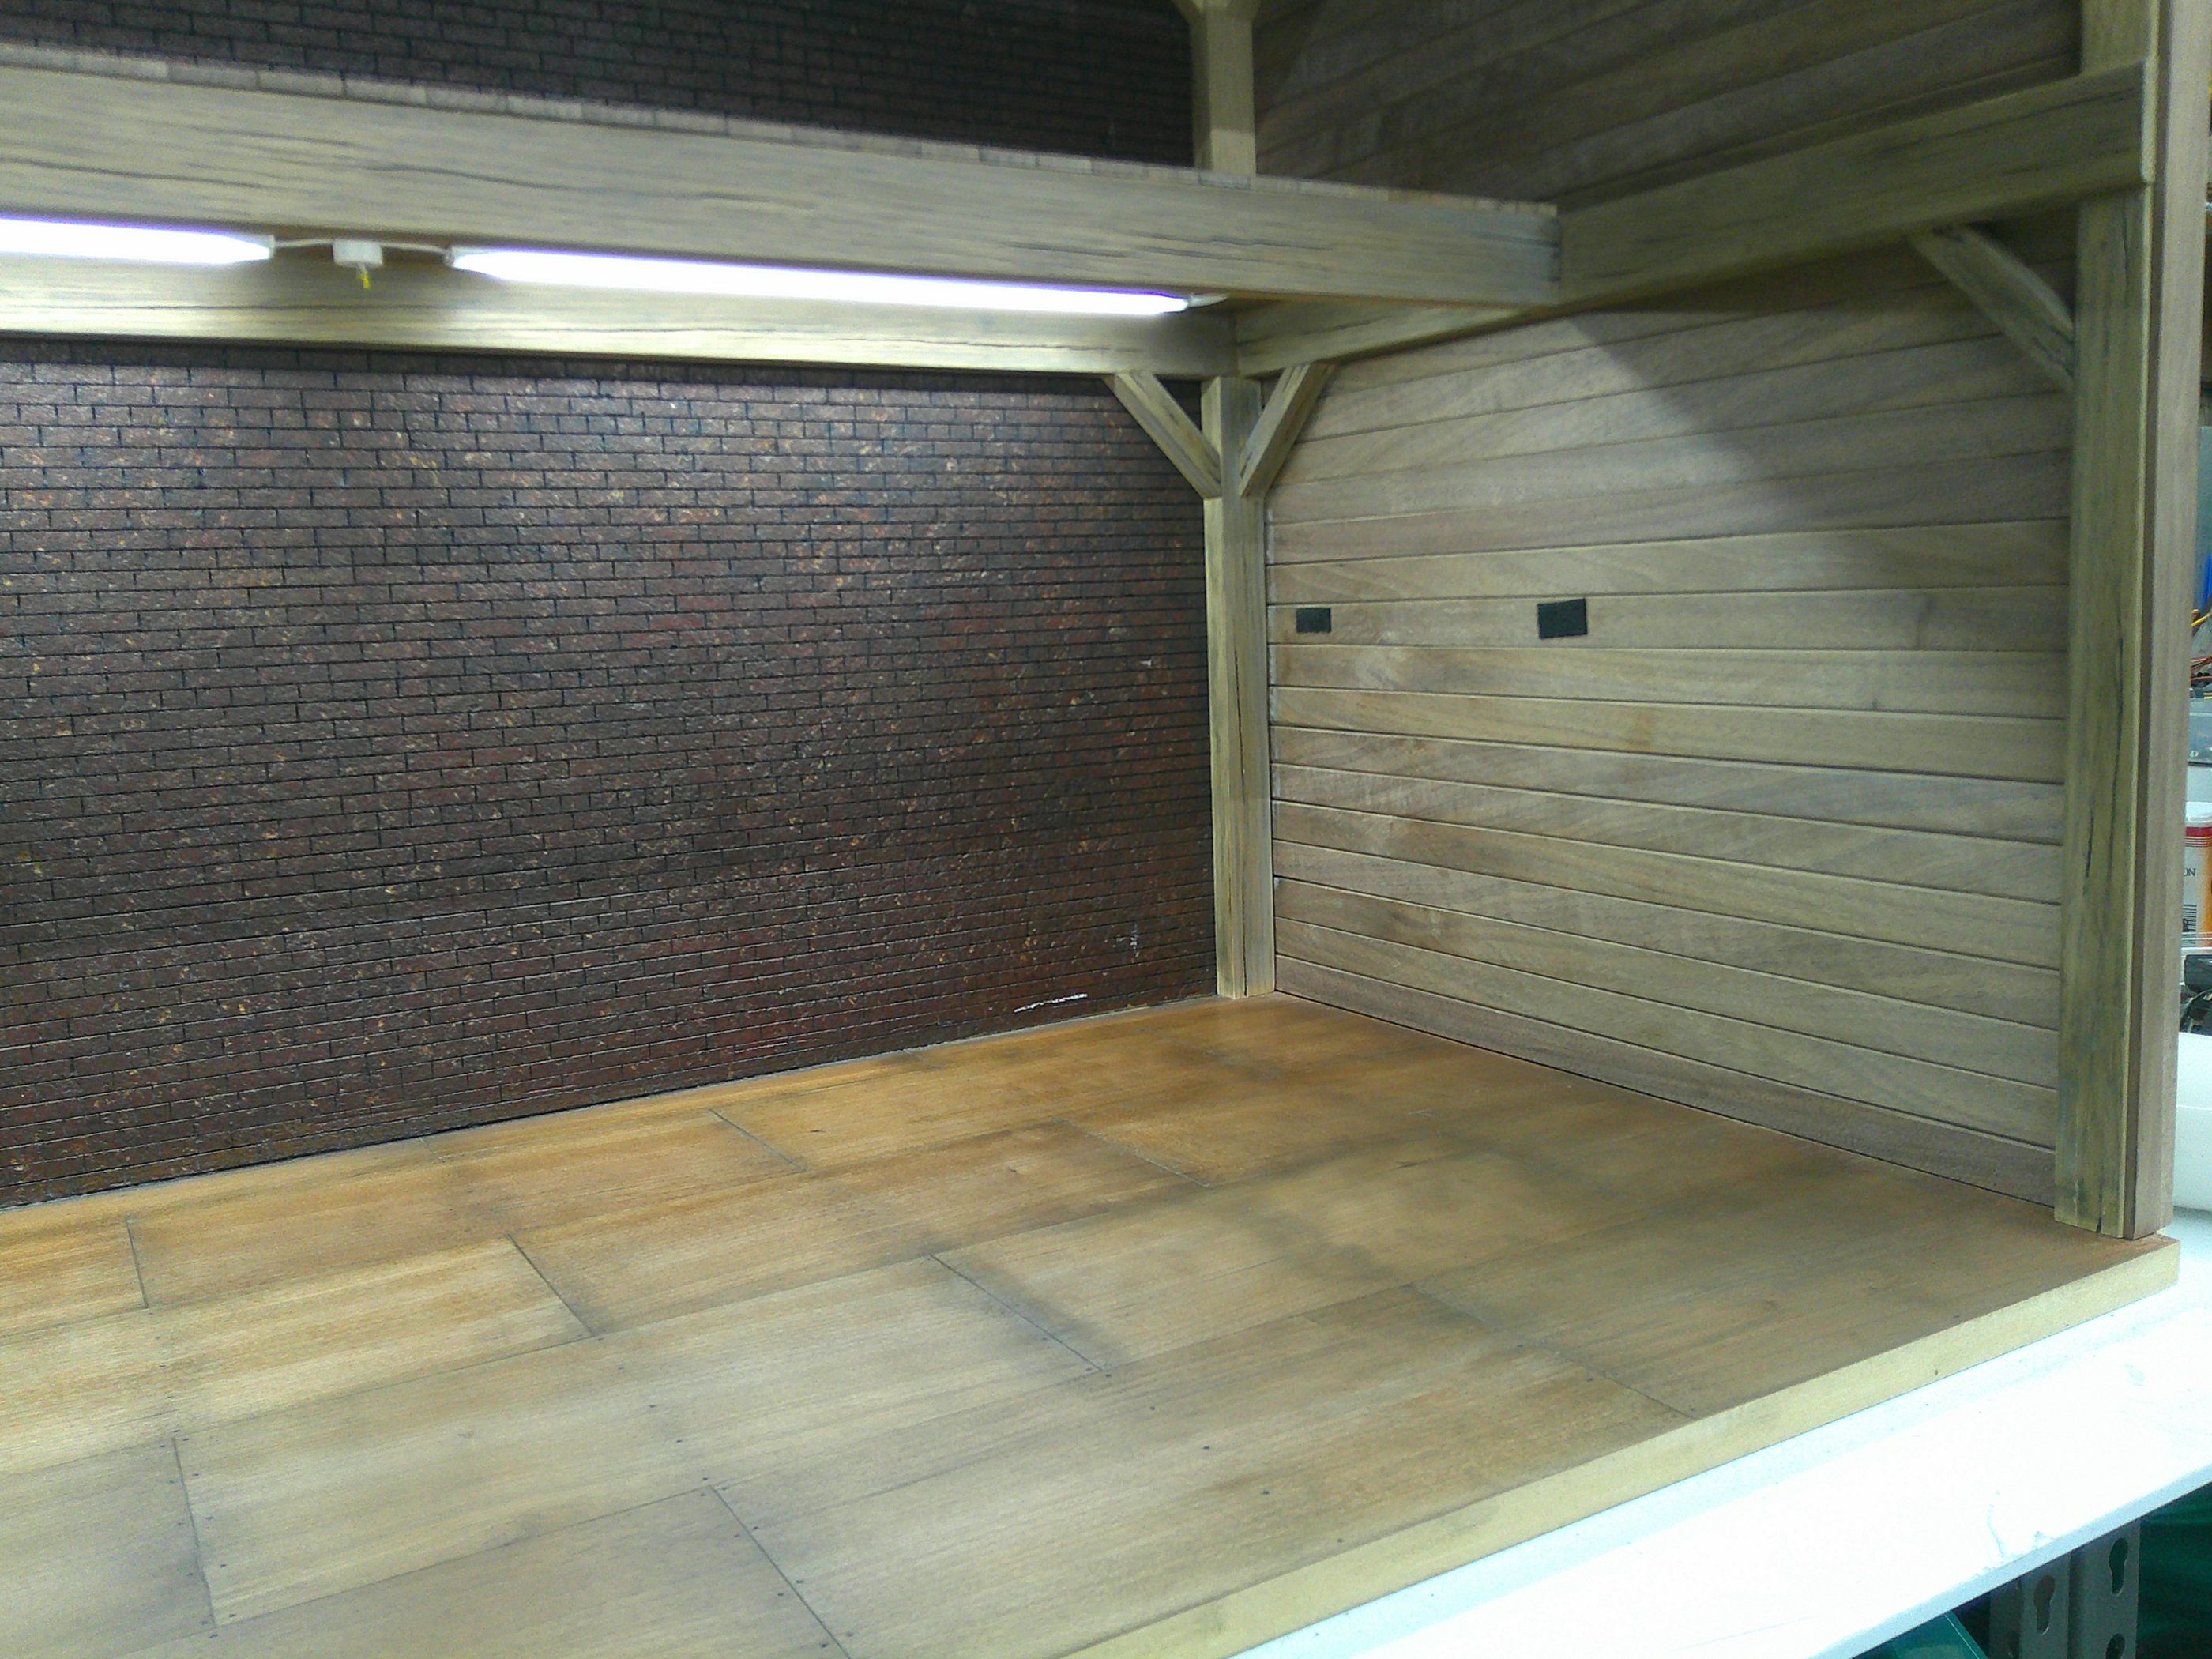
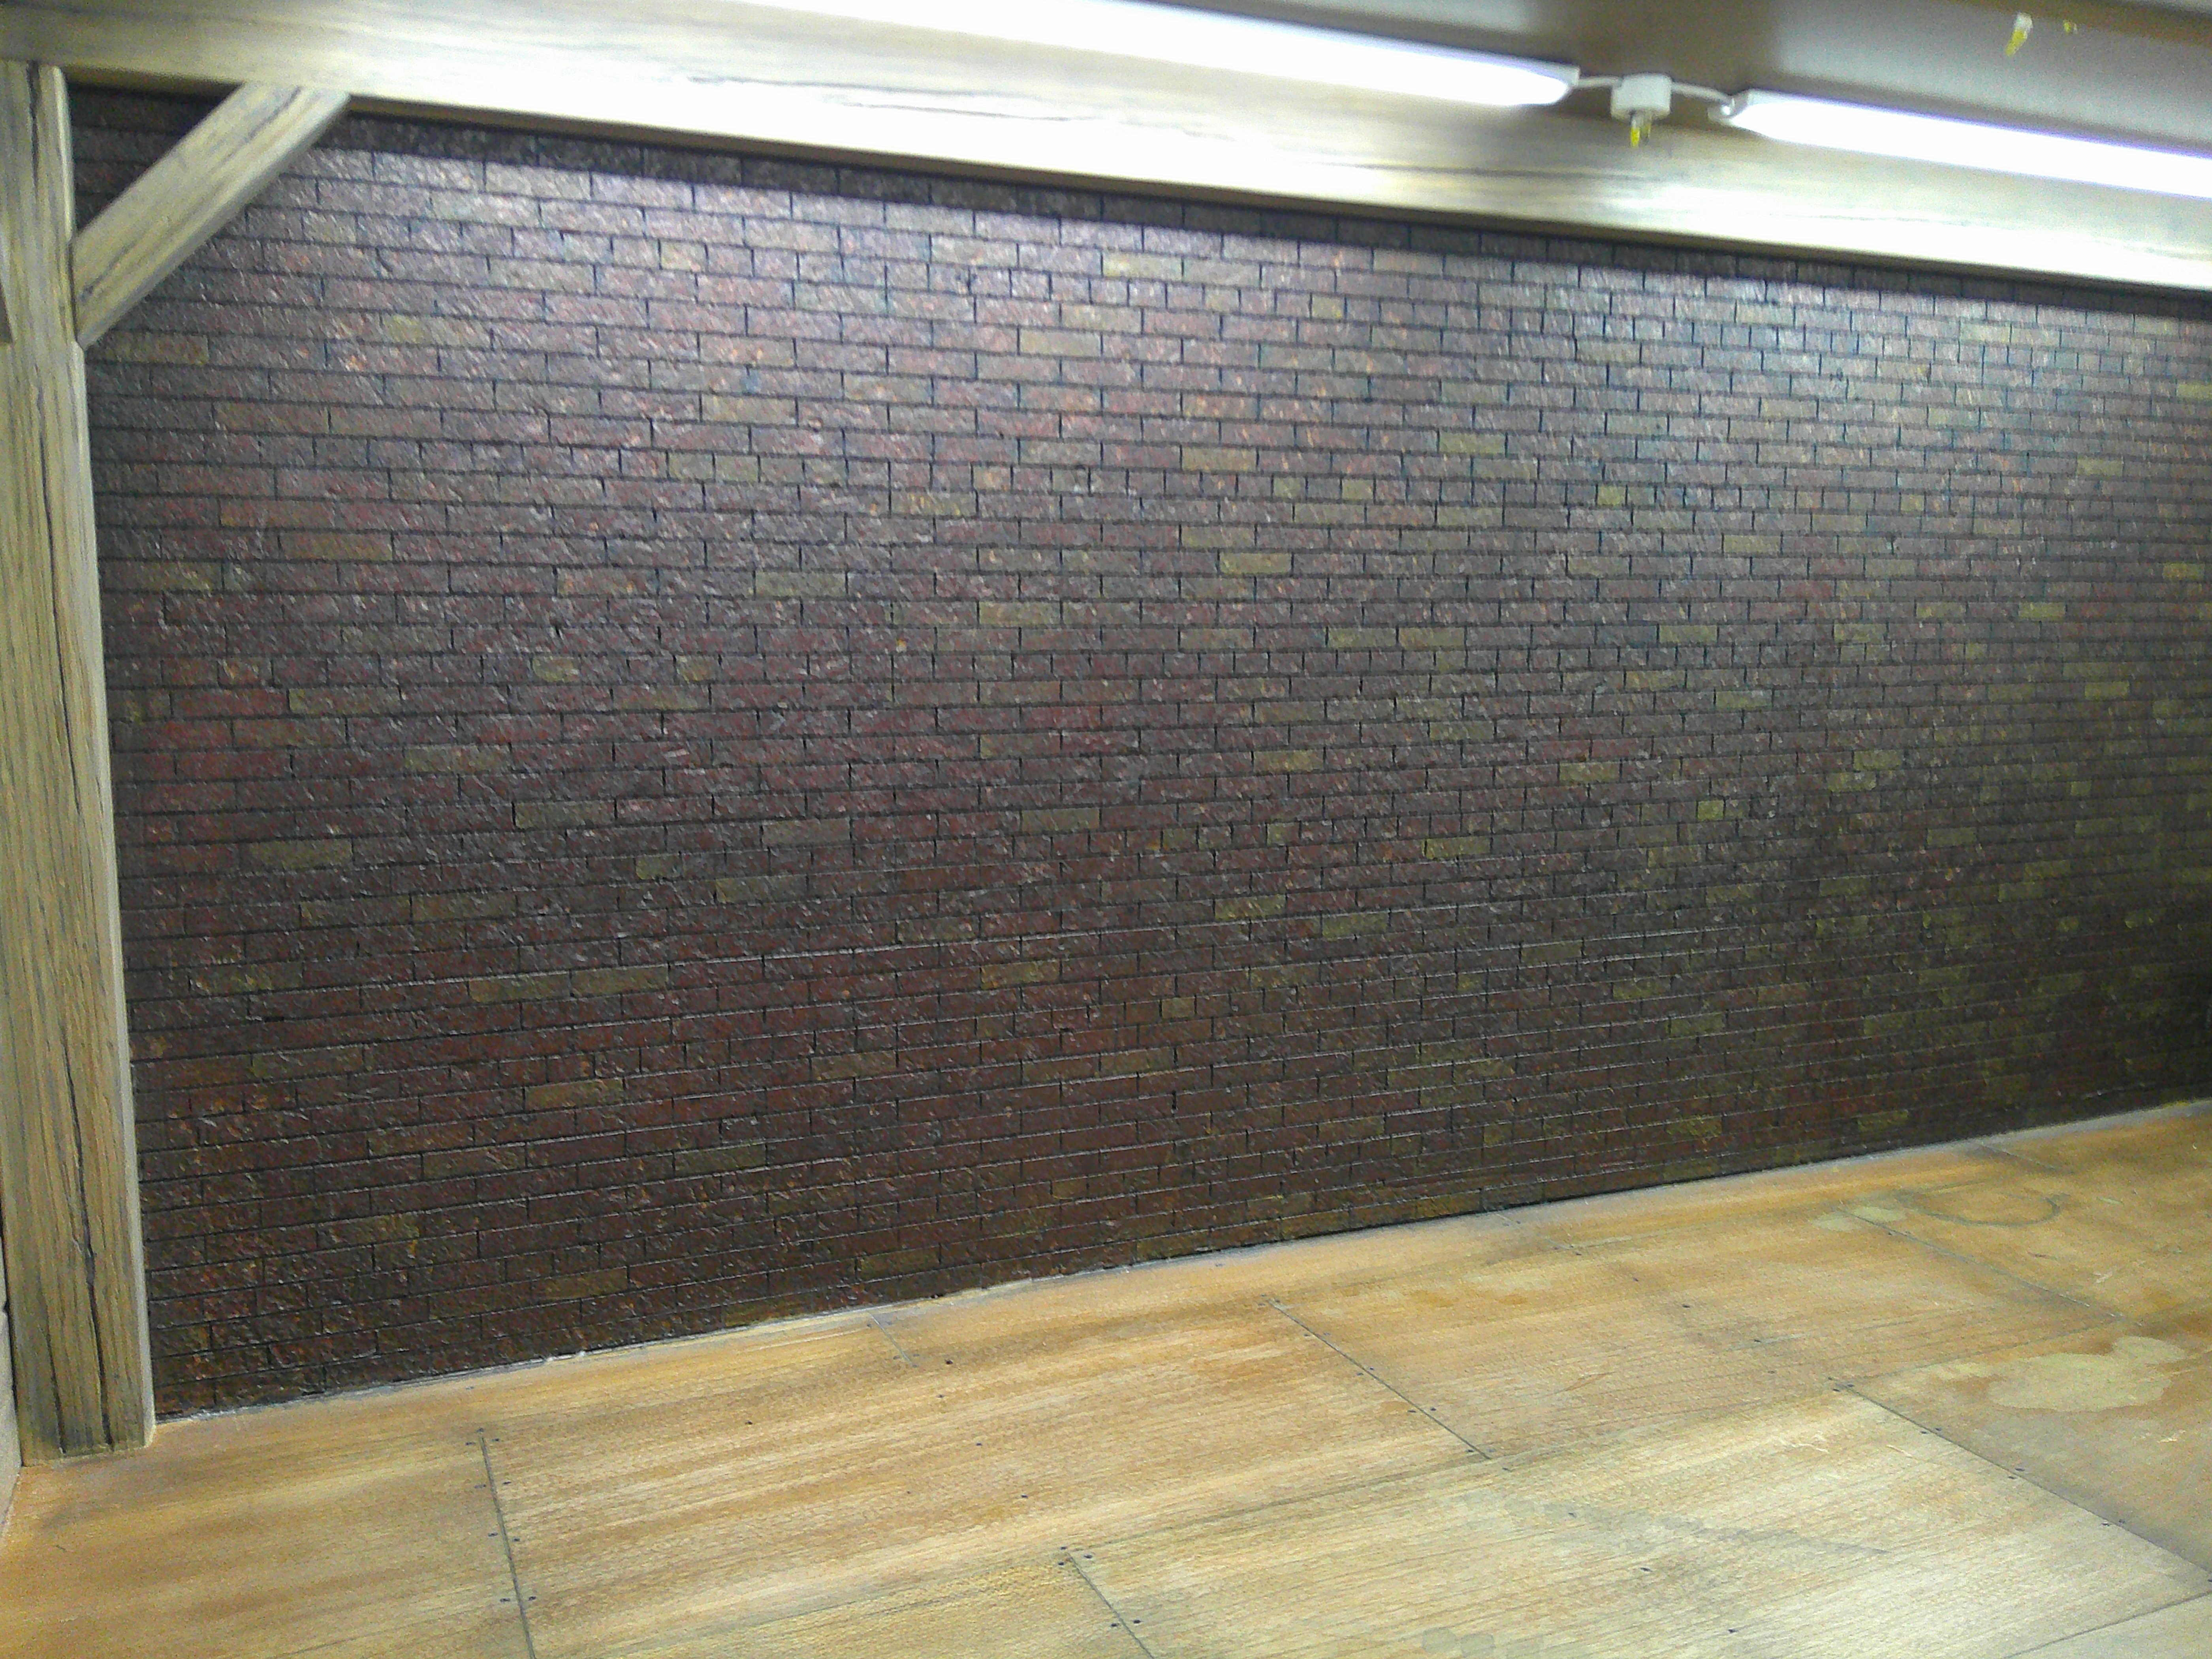
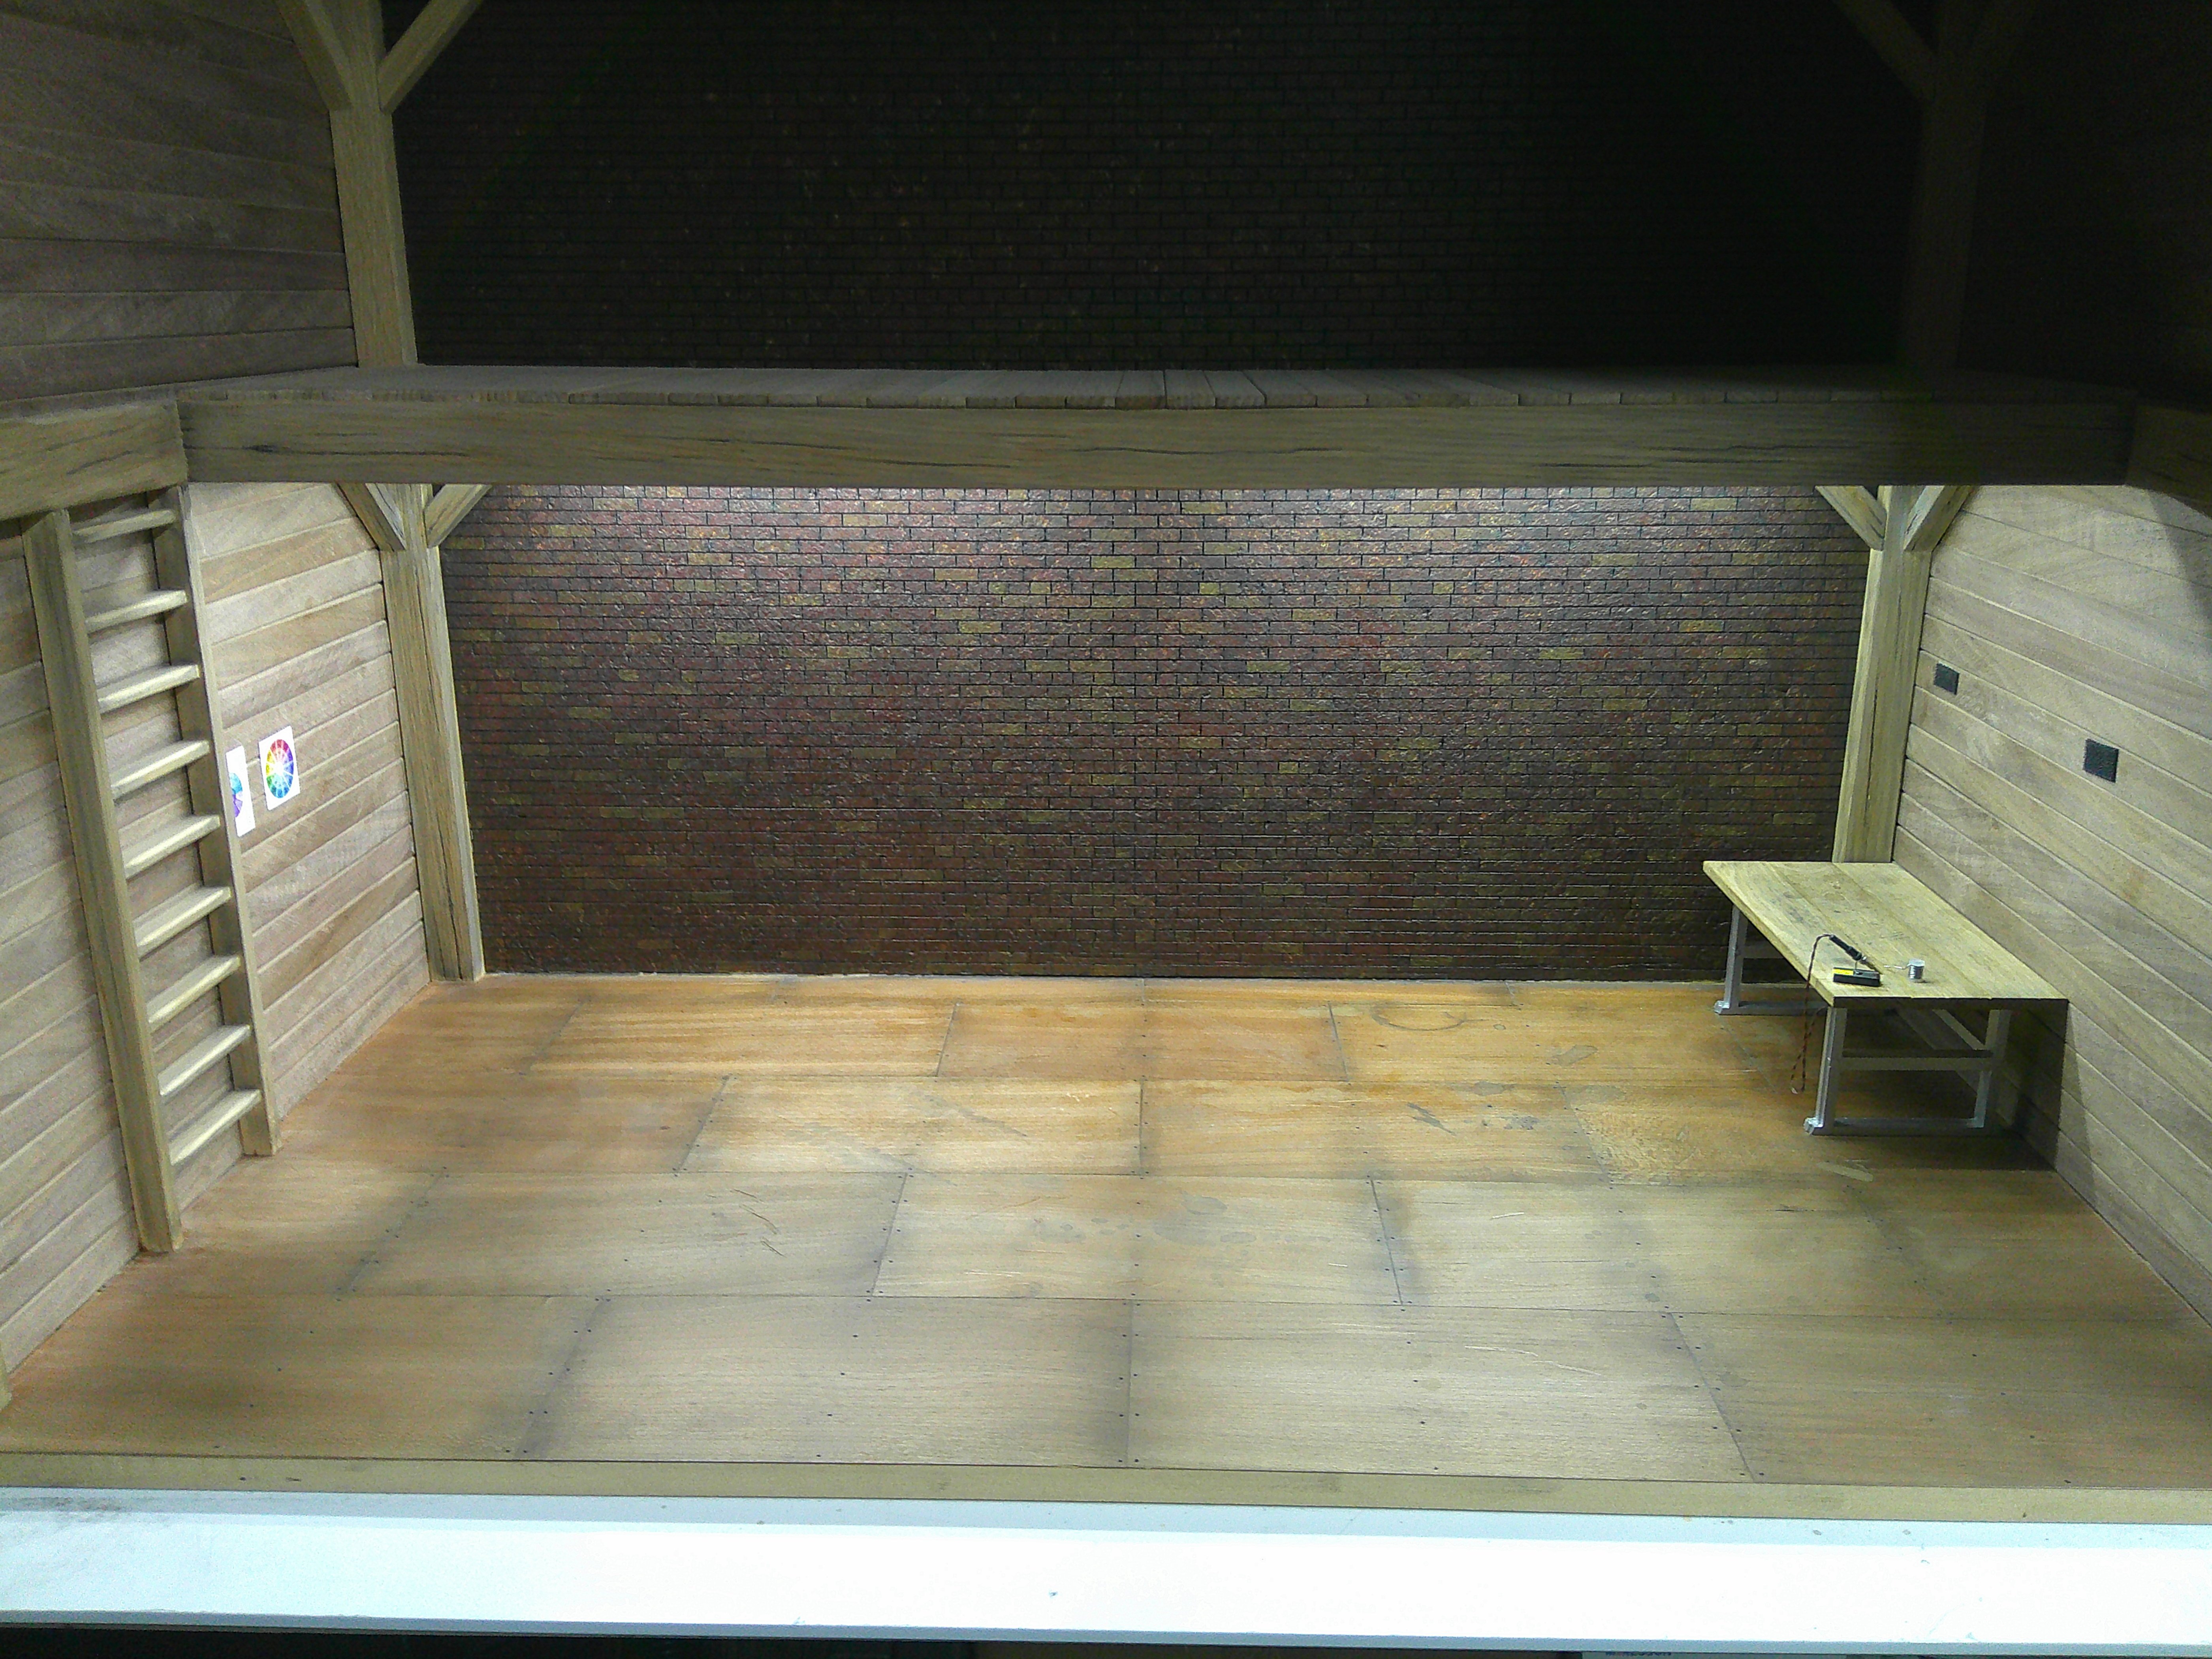
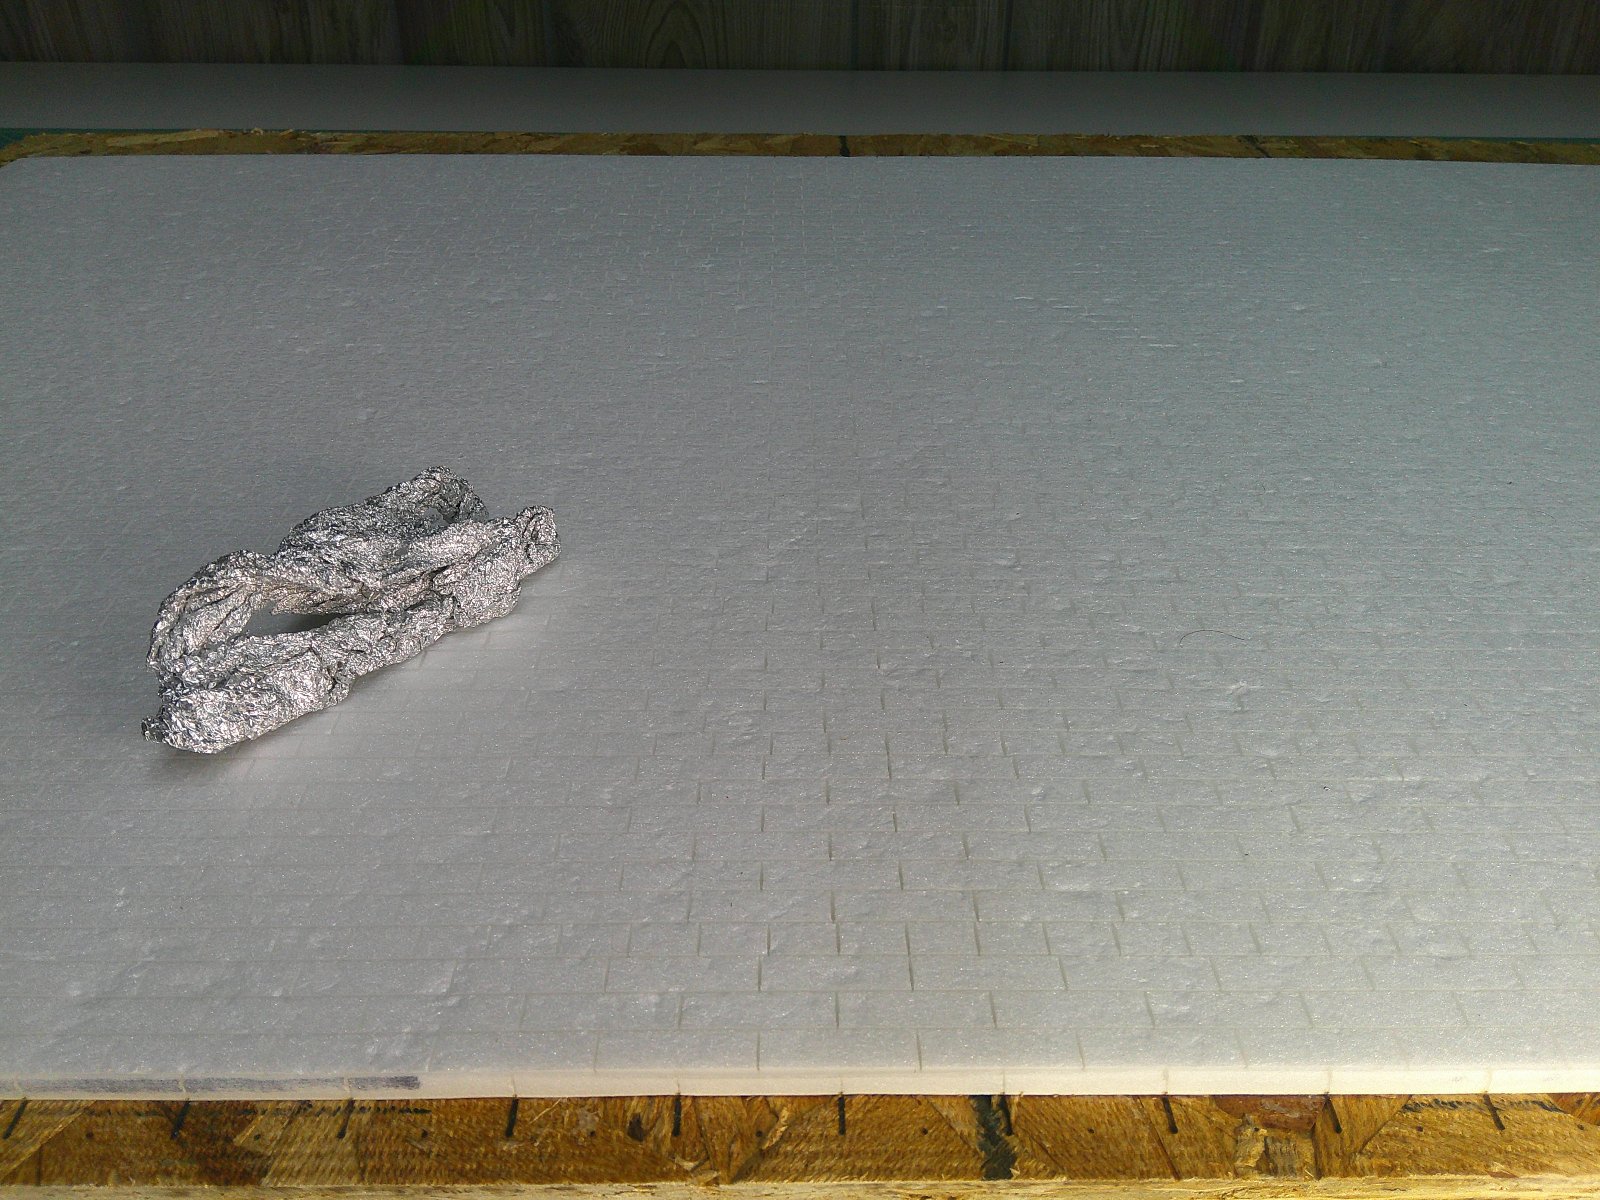
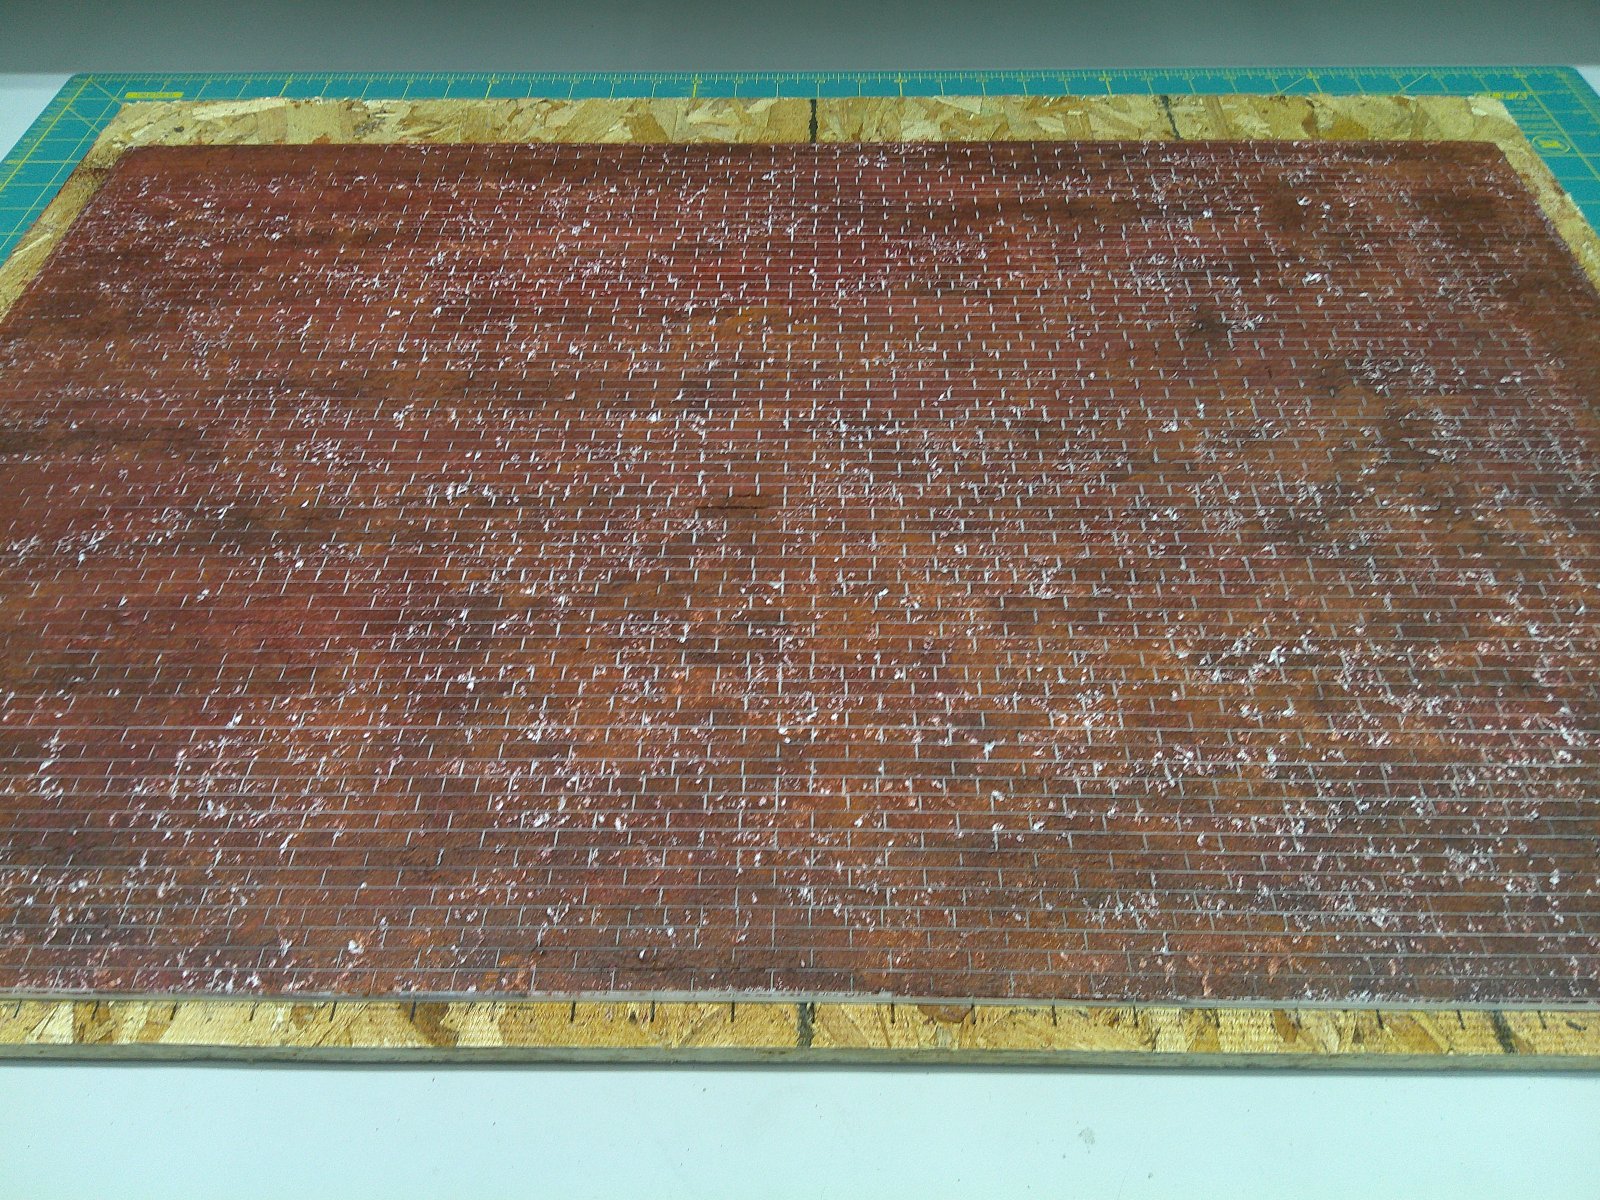
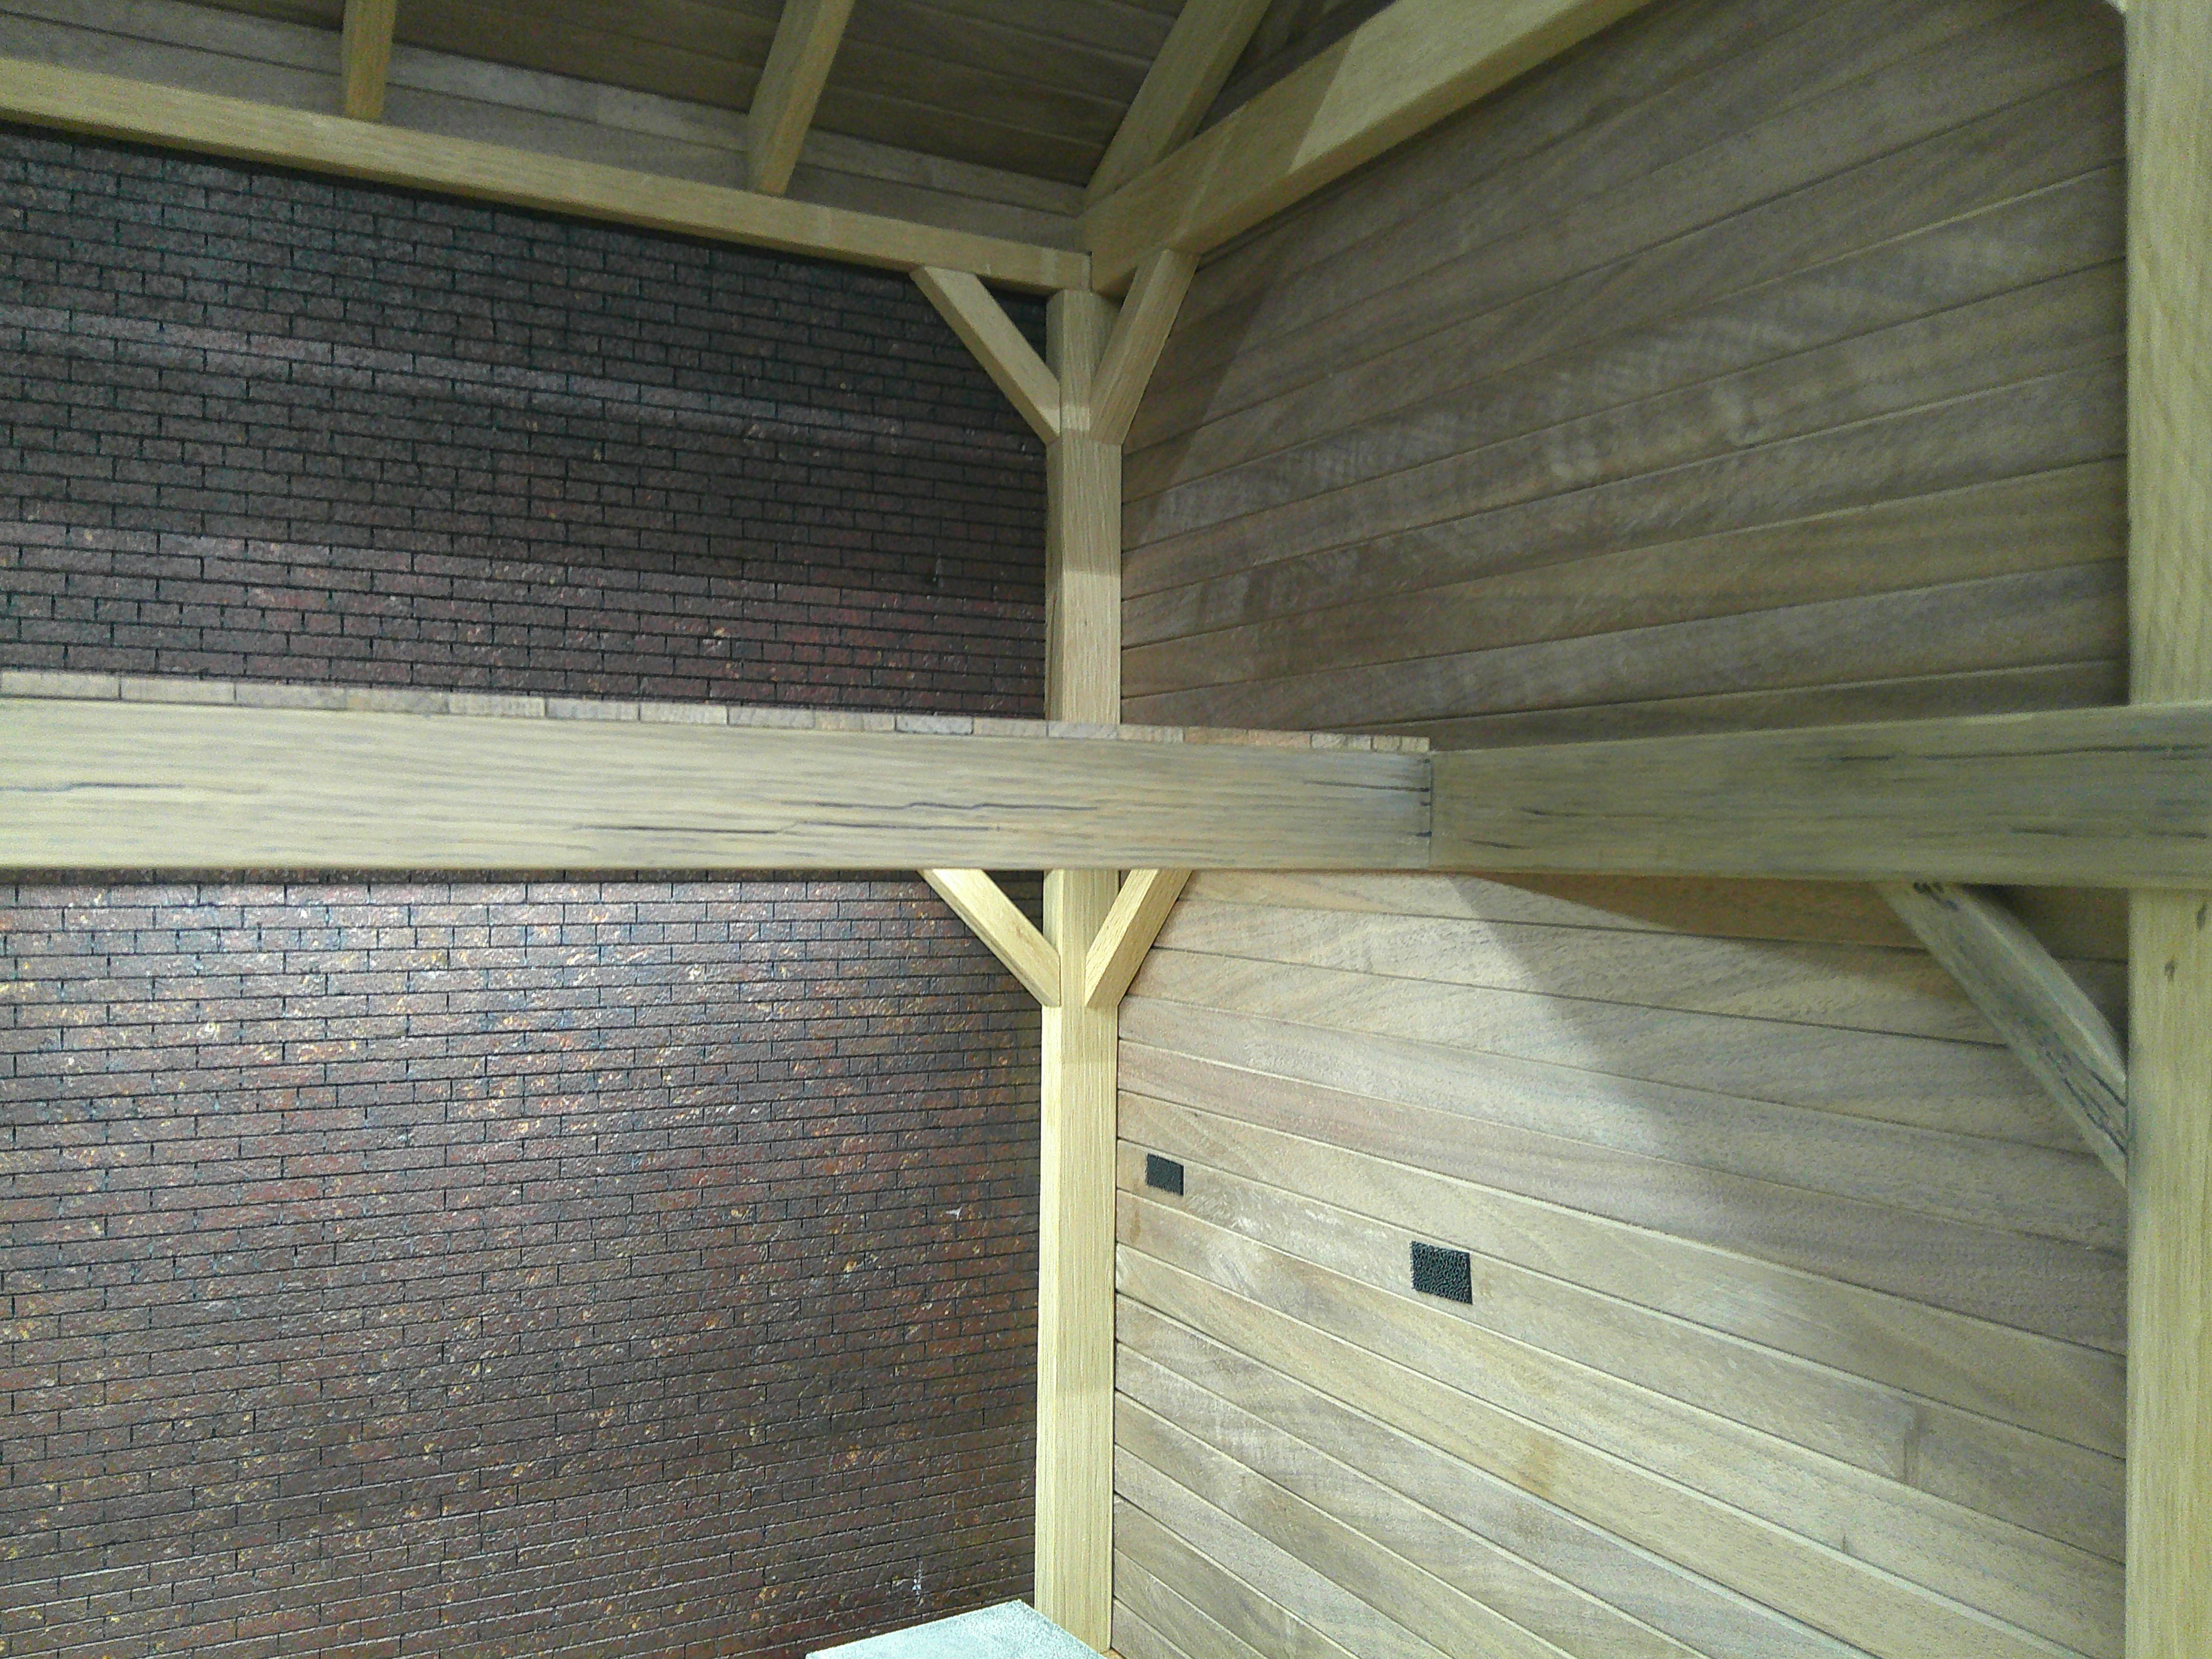
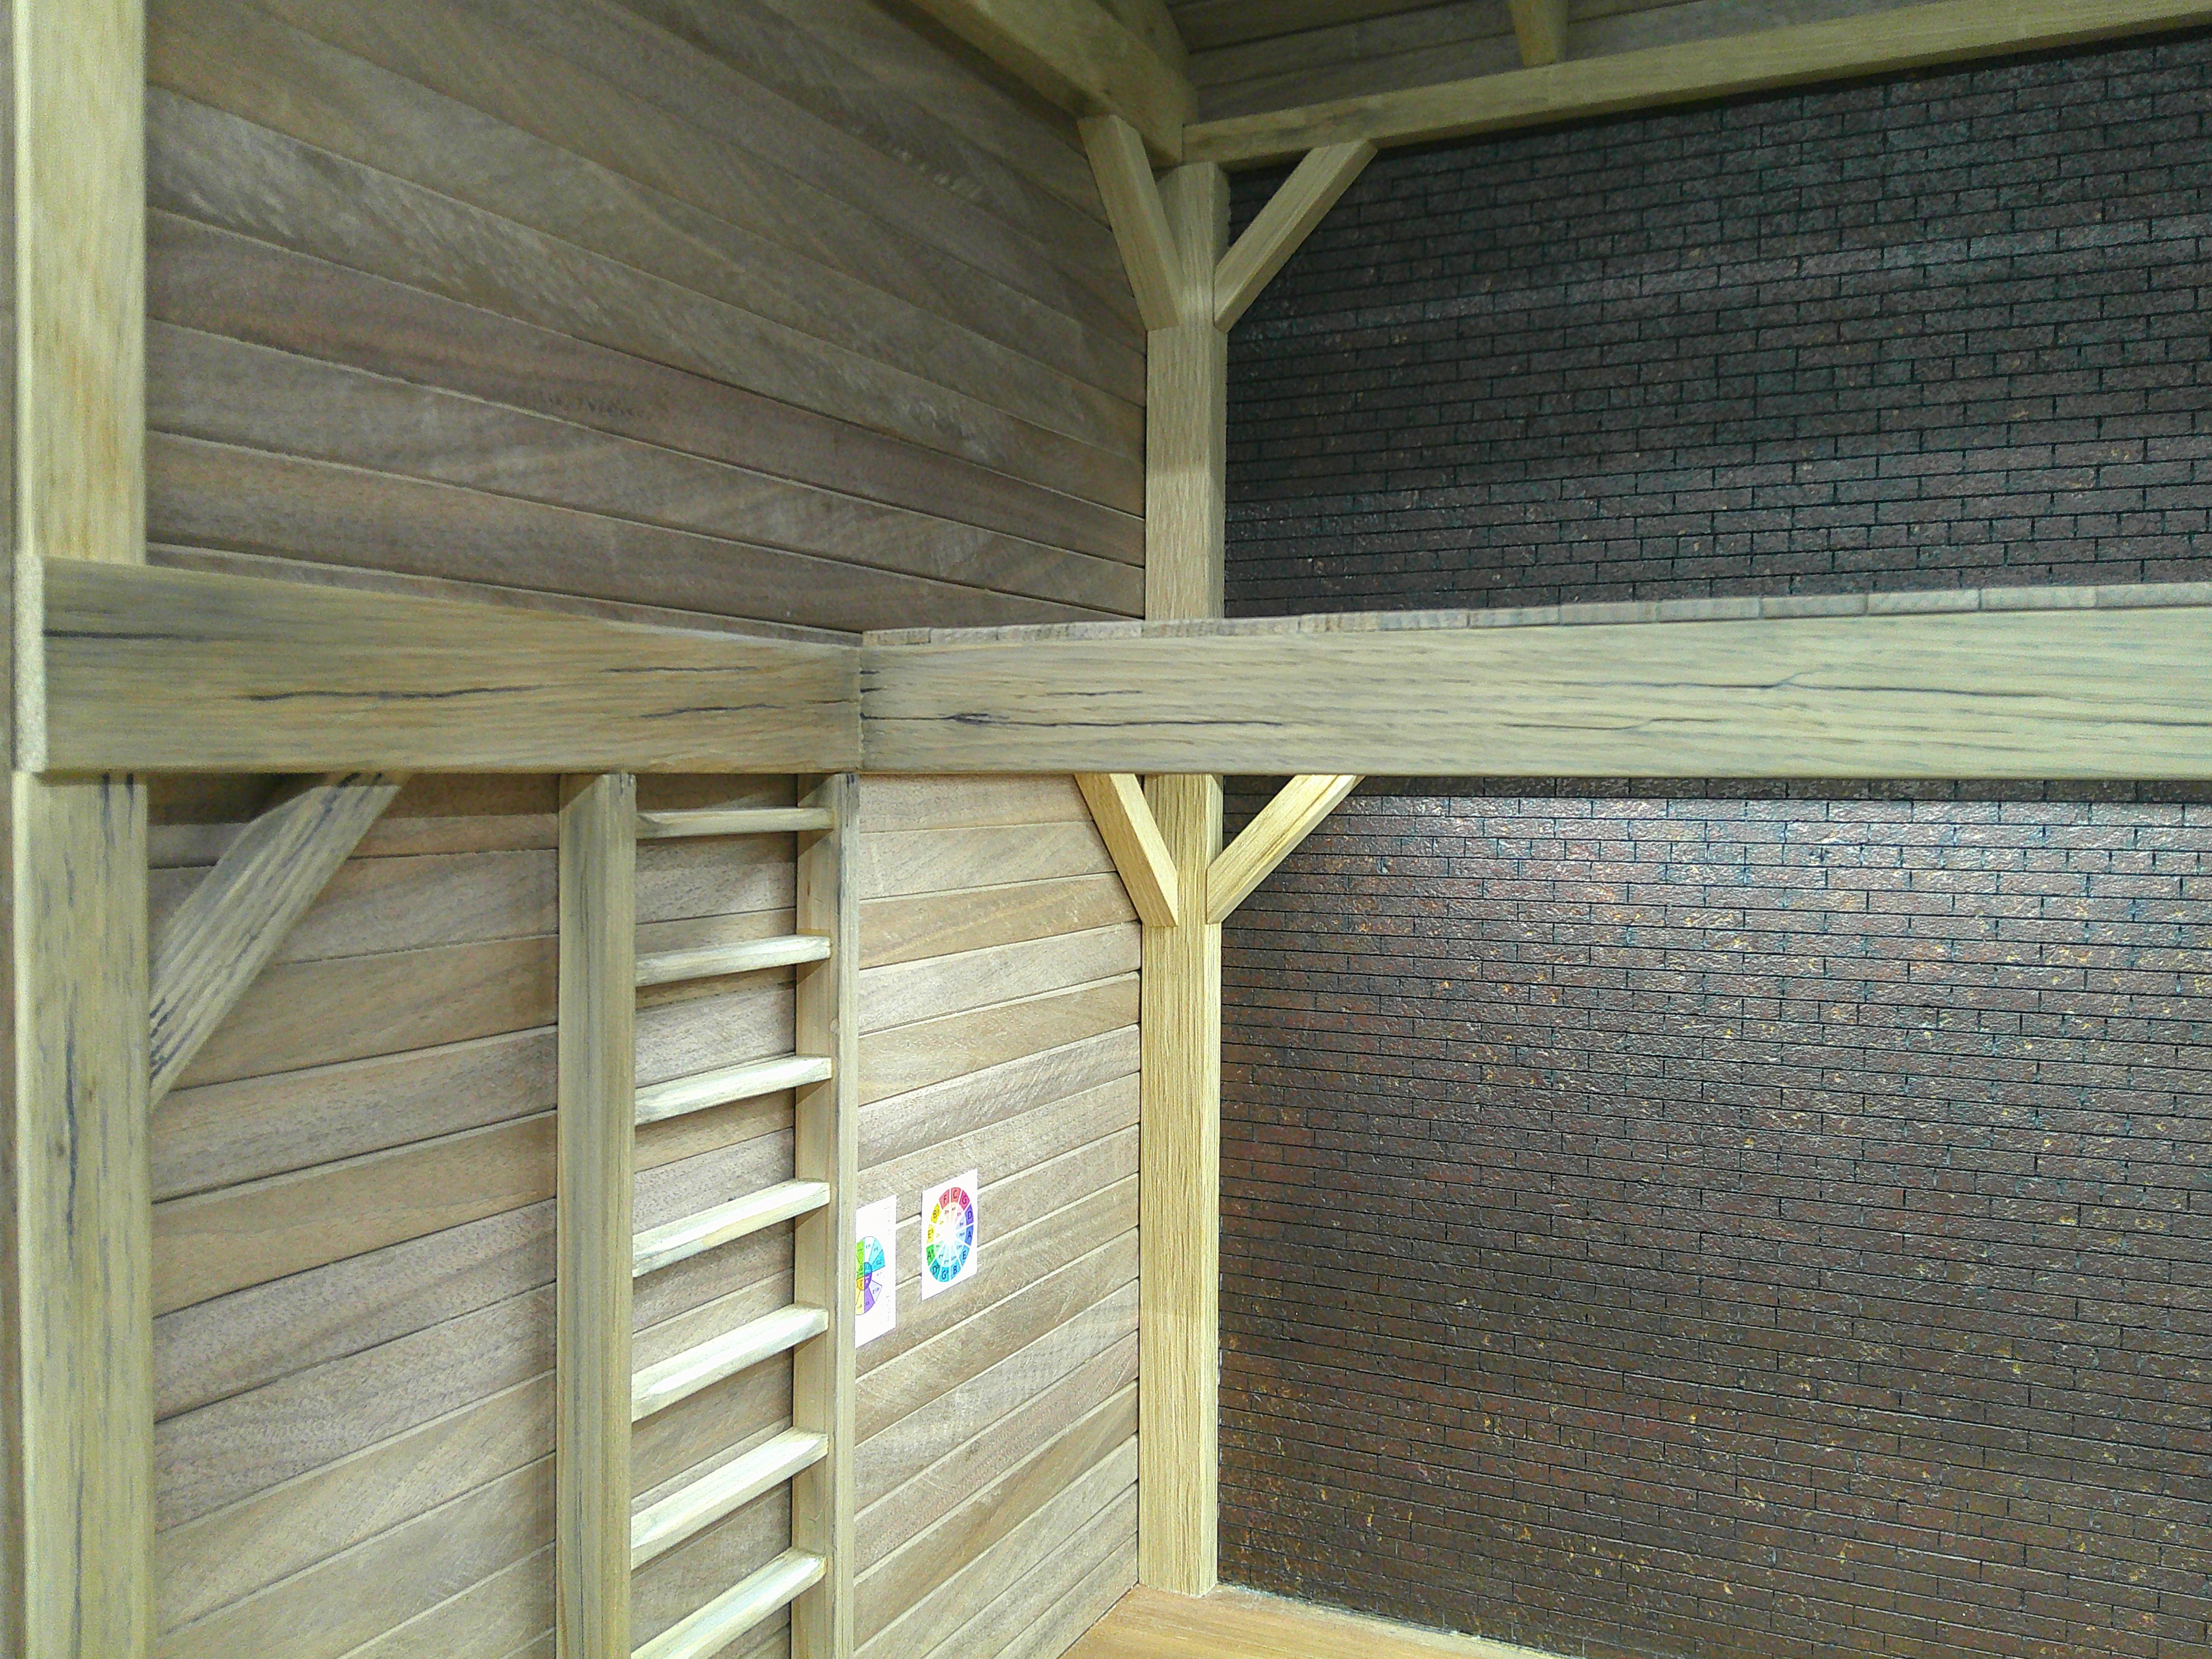
I kinda went nuts and built a robot workshop / hangout thingy. I will post some of the progress shots here. I wanted to make the background interesting, so I tried making a brick wall. I used my laser to engrave the lines on a sheet of foam board after pealing the paper off one side. It cut a bit too deep so I had trouble getting the paint into the grooves. It did not turn out how I wanted, but it looks ok. I was thinking about going back and adding some variation to the bricks colors, but not sure if I will. I used my table saw to cut the pieces of wood. I used stuff I had laying around. Oak for the timbers and decking, walnut for the wall and ceiling planks. Still in progress.

DSCF0187.JPG
 
Brilliant contrast between your post and beam construction and the futuristic robots!

Had to laugh at the loft-a-gogo! 😝

I love the brick wall, in fact, when we rehabilitated our Victorian home, we added a room to the exterior and kept the brick wall, now inside!
 
Brilliant contrast between your post and beam construction and the futuristic robots!

Had to laugh at the loft-a-gogo! 😝

I love the brick wall, in fact, when we rehabilitated our Victorian home, we added a room to the exterior and kept the brick wall, now inside!
Well i'm on the fence on this building. I really need to add some weathering, or something to add more age. It needs to look older. I never build old, I build new and then age it. Maybe it just needs to be not as clean... haha
 
Last edited:
🤣 W.D. is hilarious!
Great build shots.
... That's your call!

In the hypothetical, exposed timbers might have some colour variations, chinks, scratches, nail holes, even some splitting... The floor would likely be newer, or sanded and finished, especially in a repurposed space like this.

The look of the bricks really depends on whether they were 'recycled', having been exposed to the weather, the amount of blackening, spalling, and original colour variations, along with hasty mortar repairs that would also be in different colours. Our neighbourhood has many buildings with a reddish brick, likely sourced at the same factory, 150 to 100 years ago.

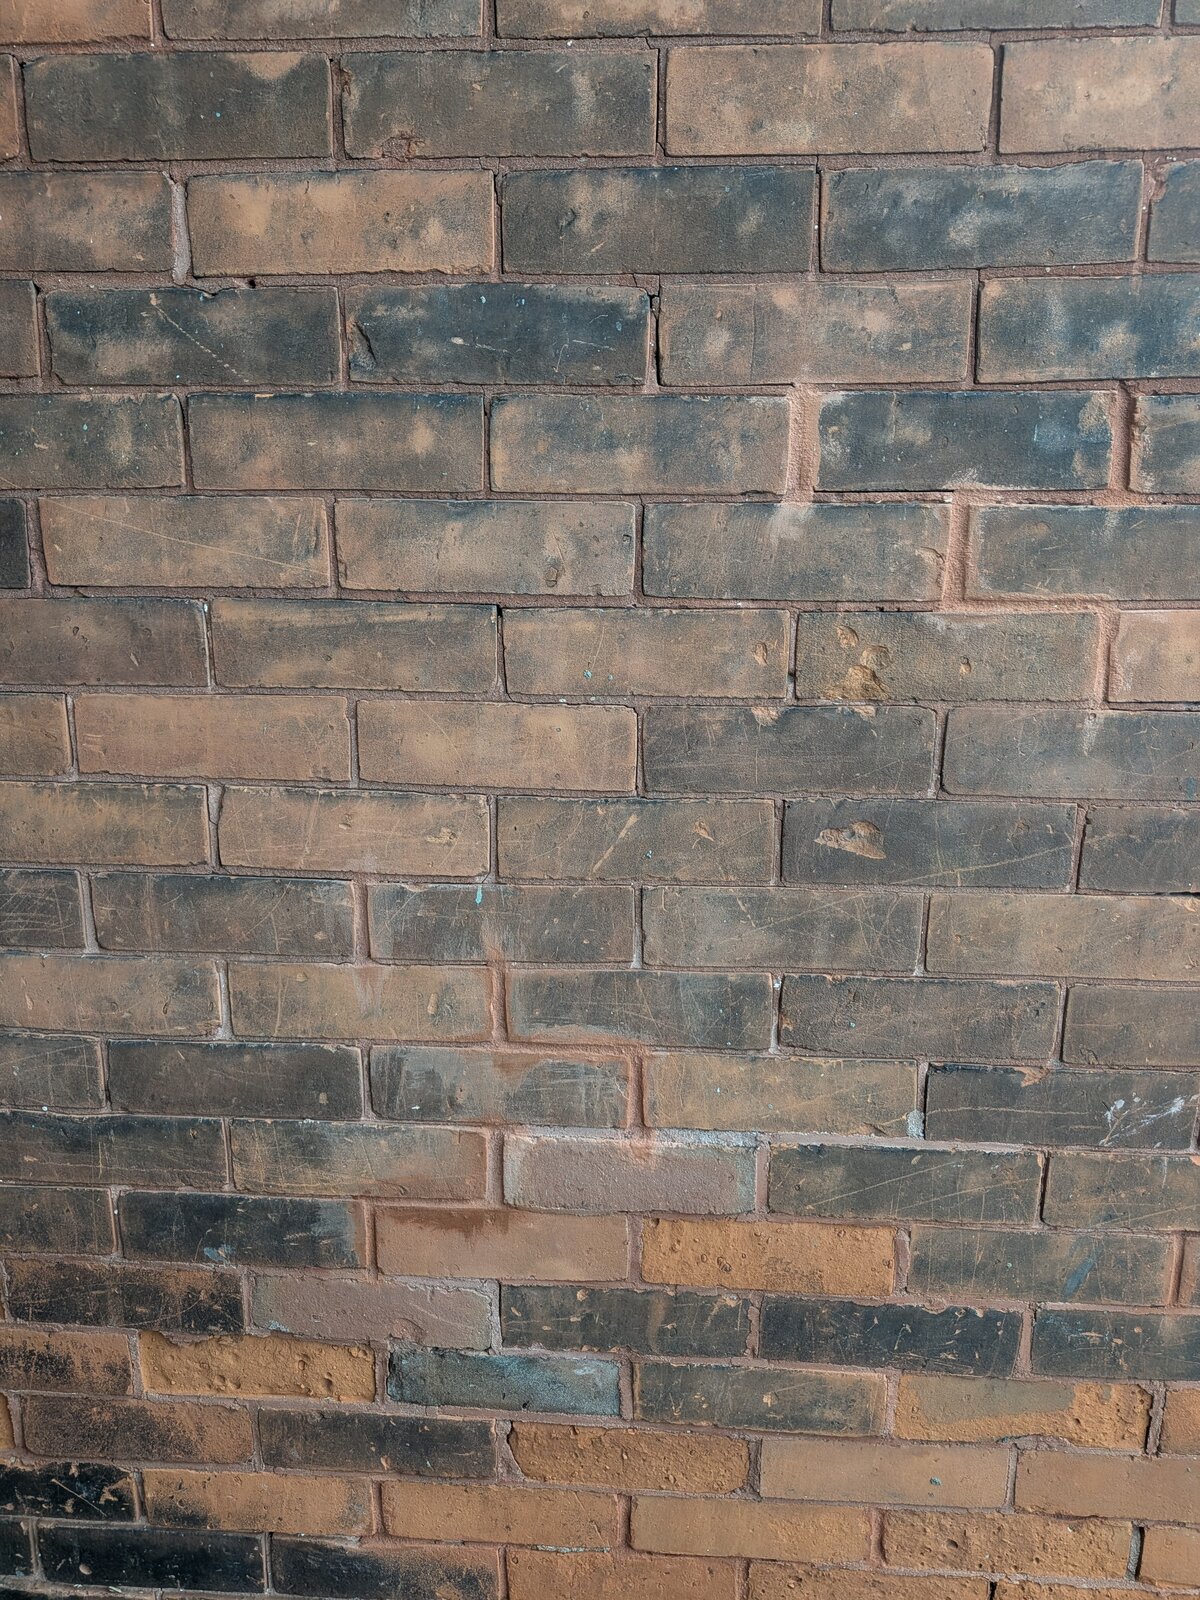
Here is a shot from the house next door, of a wall that abutts right on our inner city lot line... in a city that never had heavy industry, after over a hundred years. The brick is actually more of an orangy red, but my phone is over-compensating.

1347.jpg


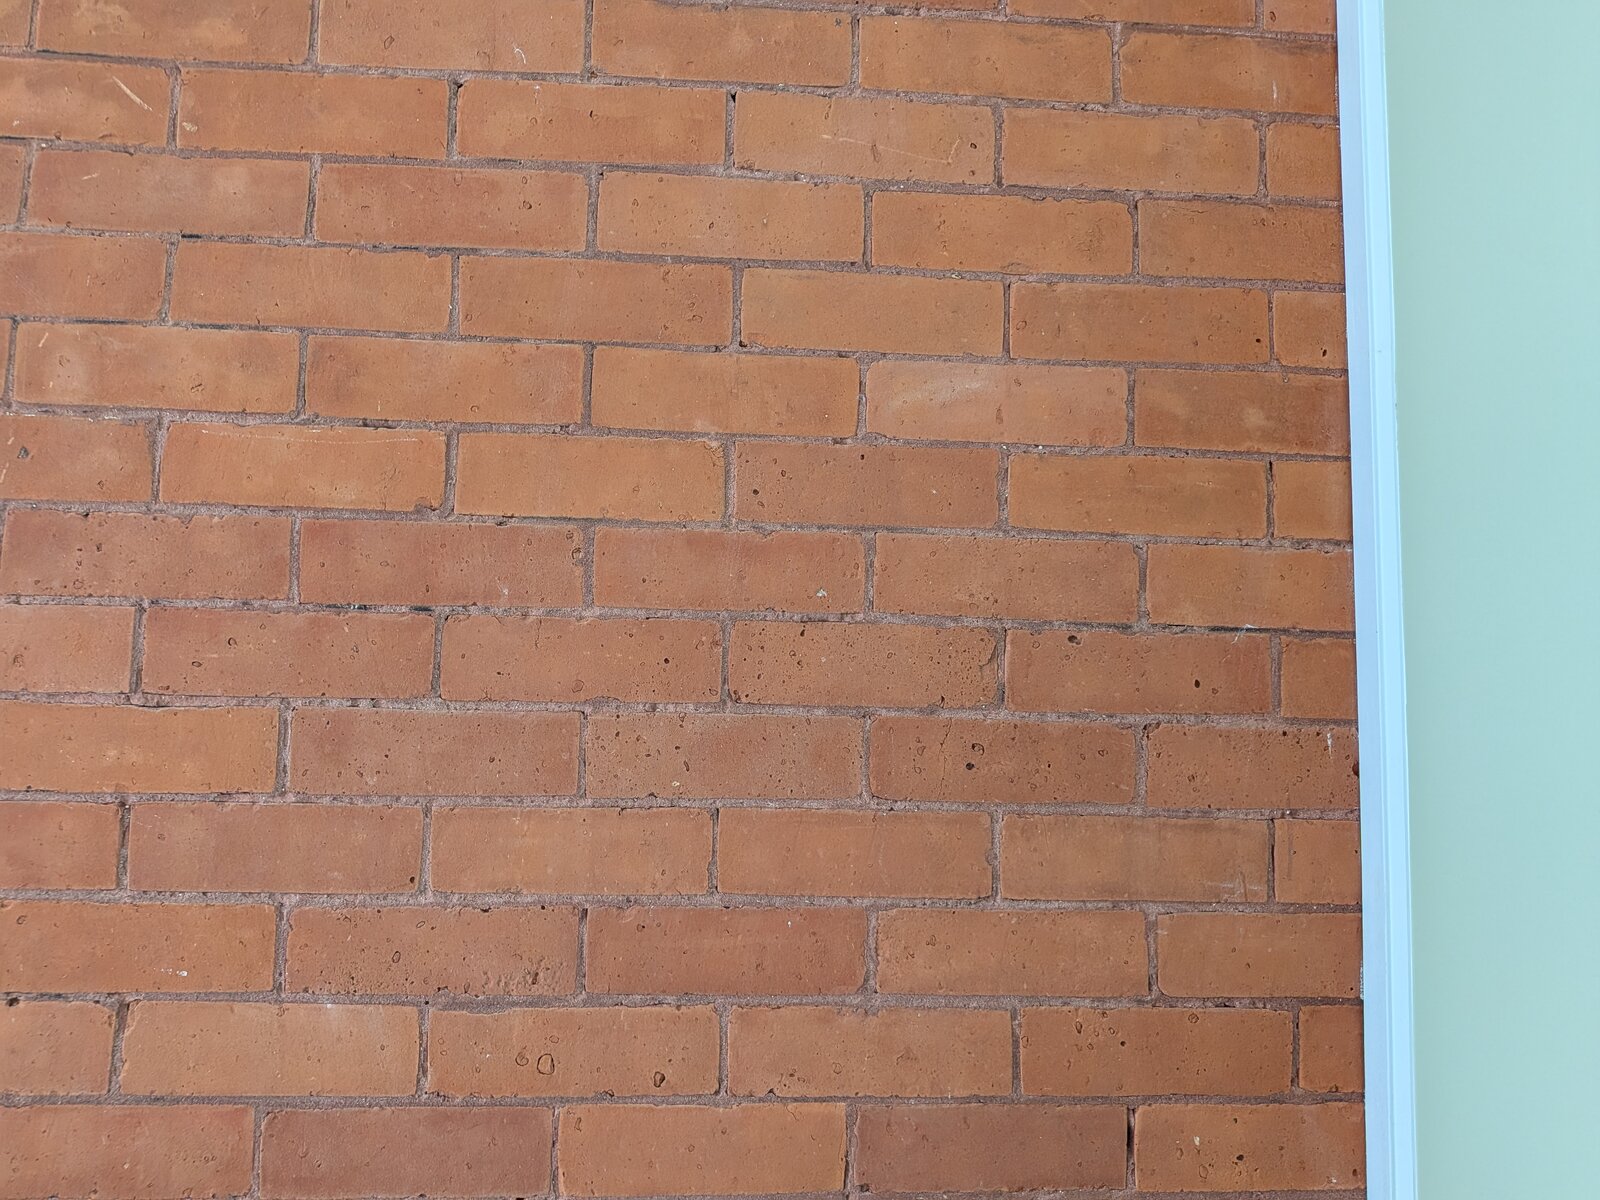
Compared to 'cleaned' brick in our front room... Probably of a similar vintage:

1348.jpg
 
Here's a little test video of a corner of the room, where I green screened the characters into the scene. No audio. :)

 
Well i'm on the fence on this building. I really need to add some weathering, or something to add more age. It needs to look older. I never build old, I build new and then age it. Maybe it just needs to be not as clean... haha
In my past profession, one of my areas of expertise was masonry. The wall already has some characteristics of age: bricks that dark are usually old, sometimes called "high fired" meaning the kiln temperature was very high. I can't tell if the joints are dark because of the color of the mortar, or because they are partially empty from being originally "raked" or because they have lost mortar. Let's go with the latter. In that case, applying white or gray to them in different, but large areas would represent attempts at repointing (replacement of lost mortar. This should be sloppy and irregular to indicate partial repair at different times by people of varying but generally low skill. White to very light gray washes applied to the surface of bricks below the repairs would represent efflorescence from the repair, and a general but light wash of similar colors, especially on the lower walls would represent moisture migration through the wall.

If you can find a way to make the brick surfaces look chipped, that would also help.
 
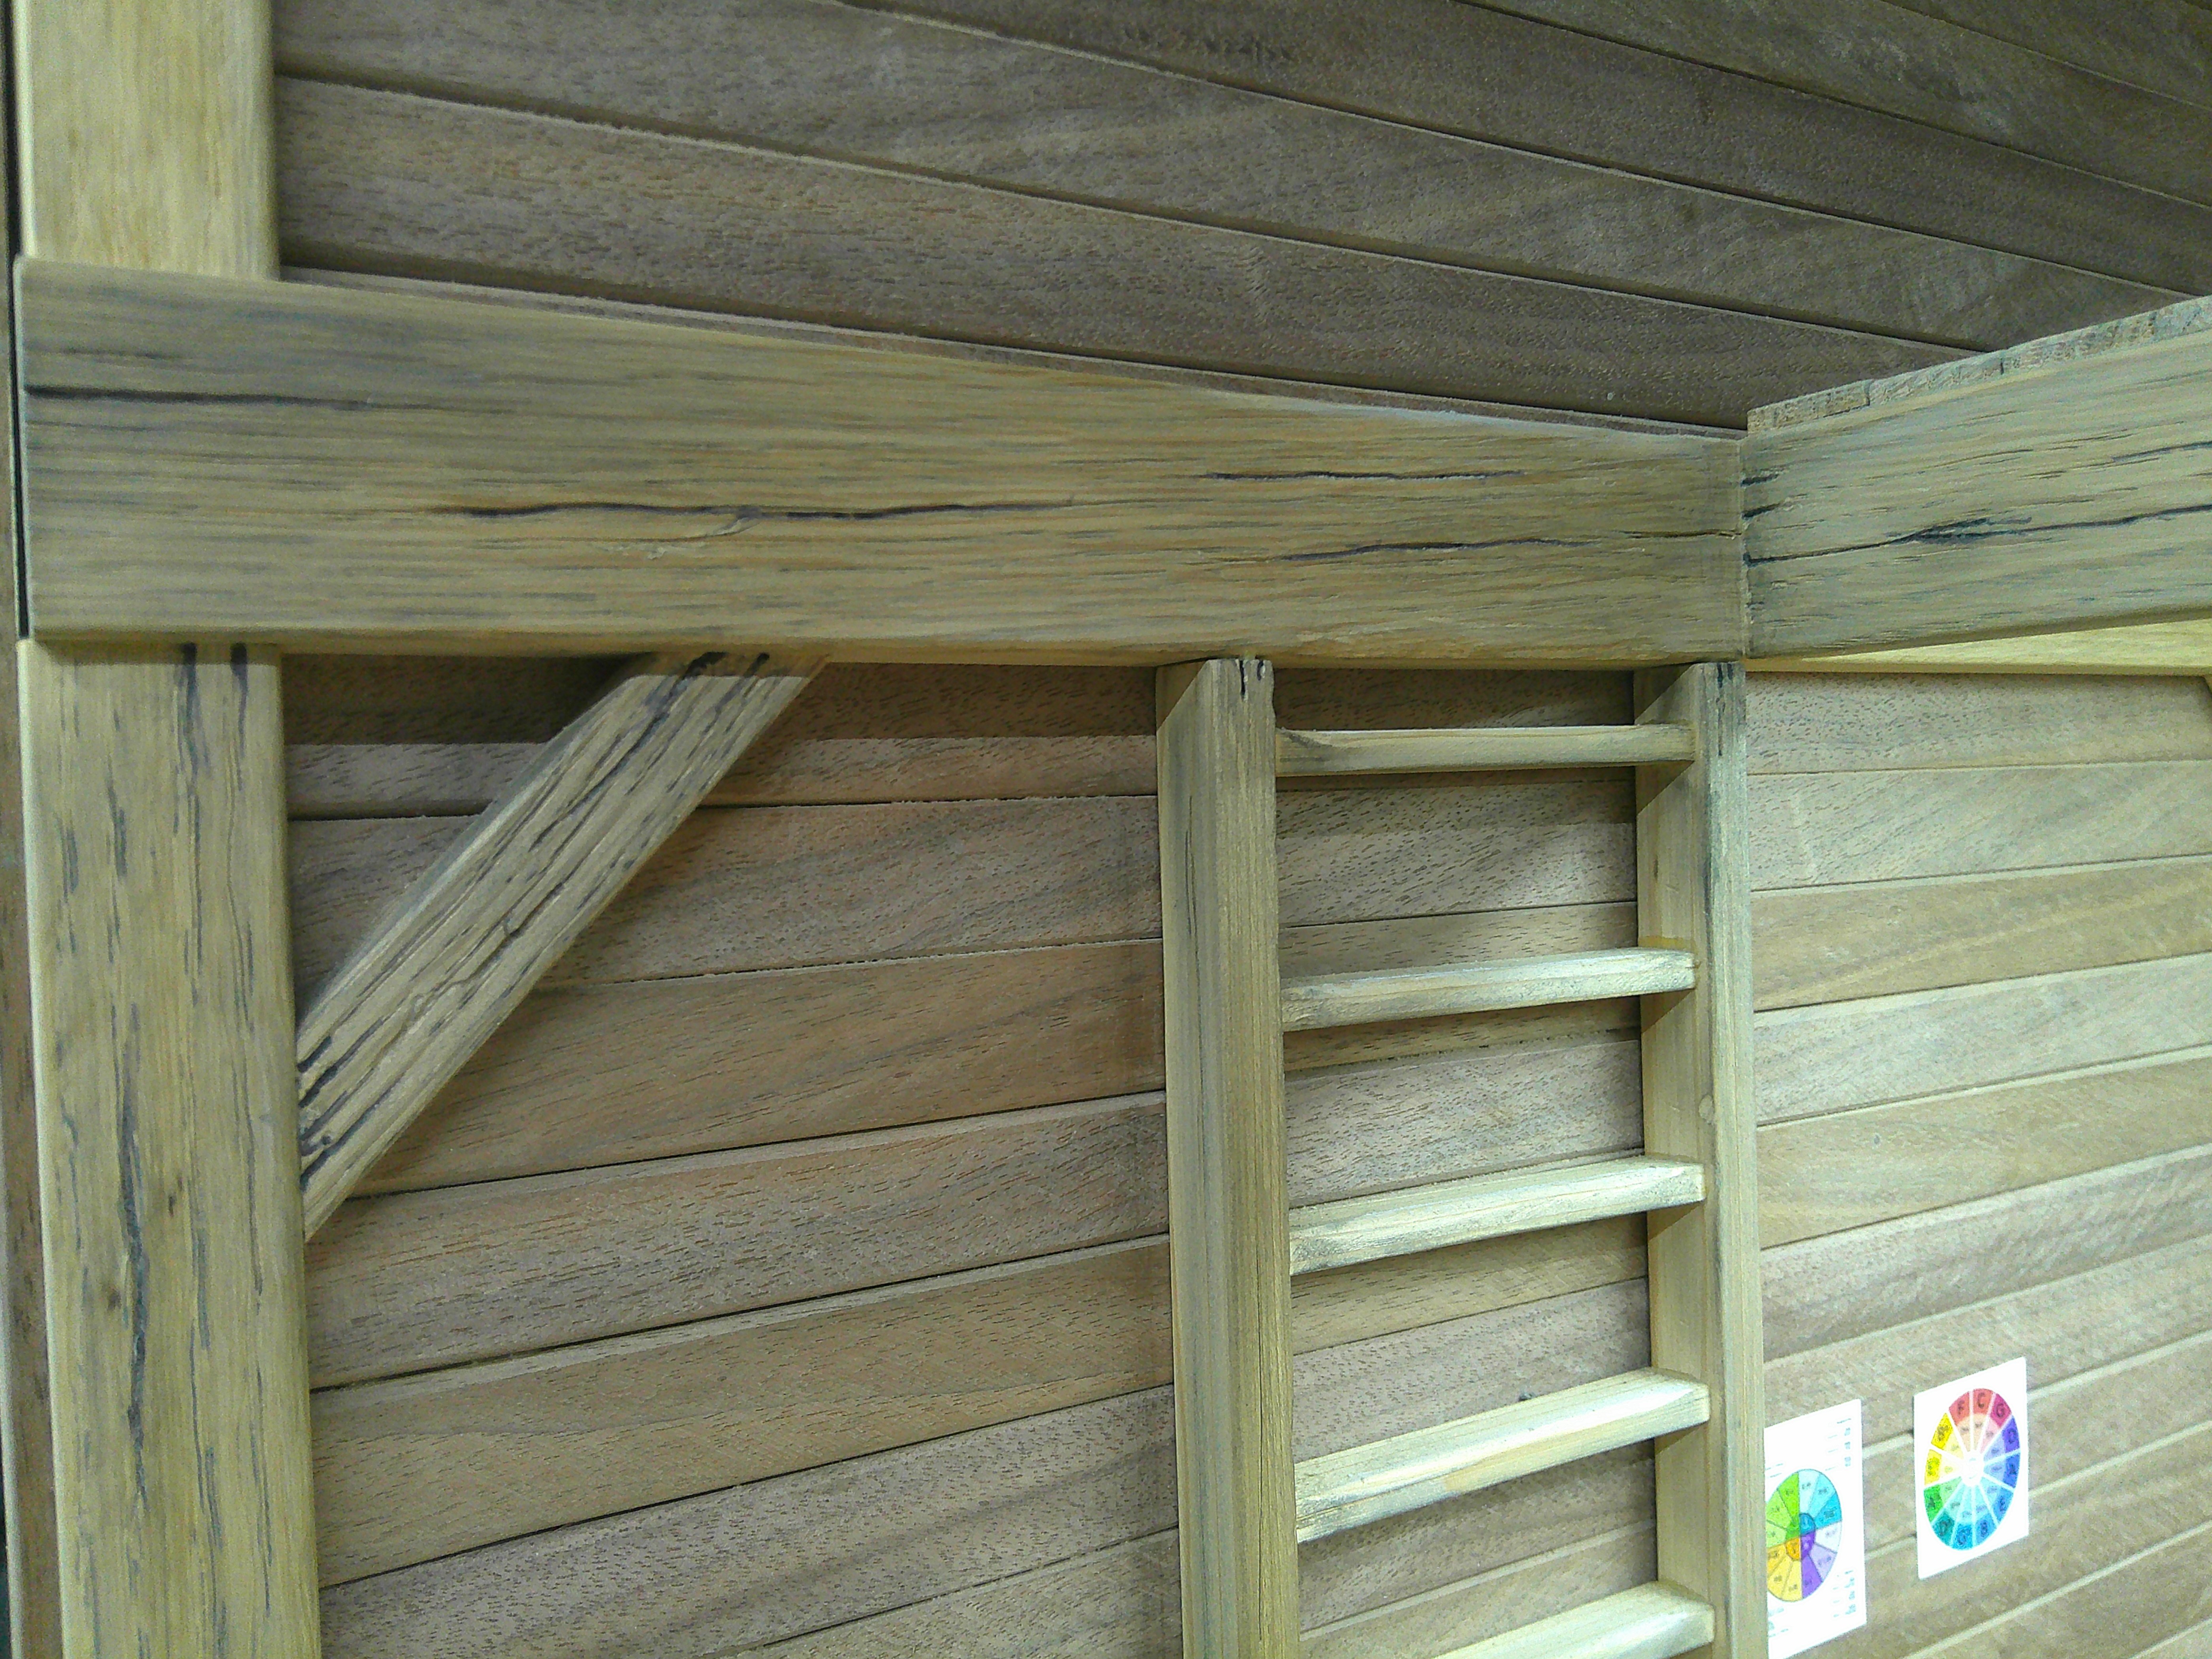
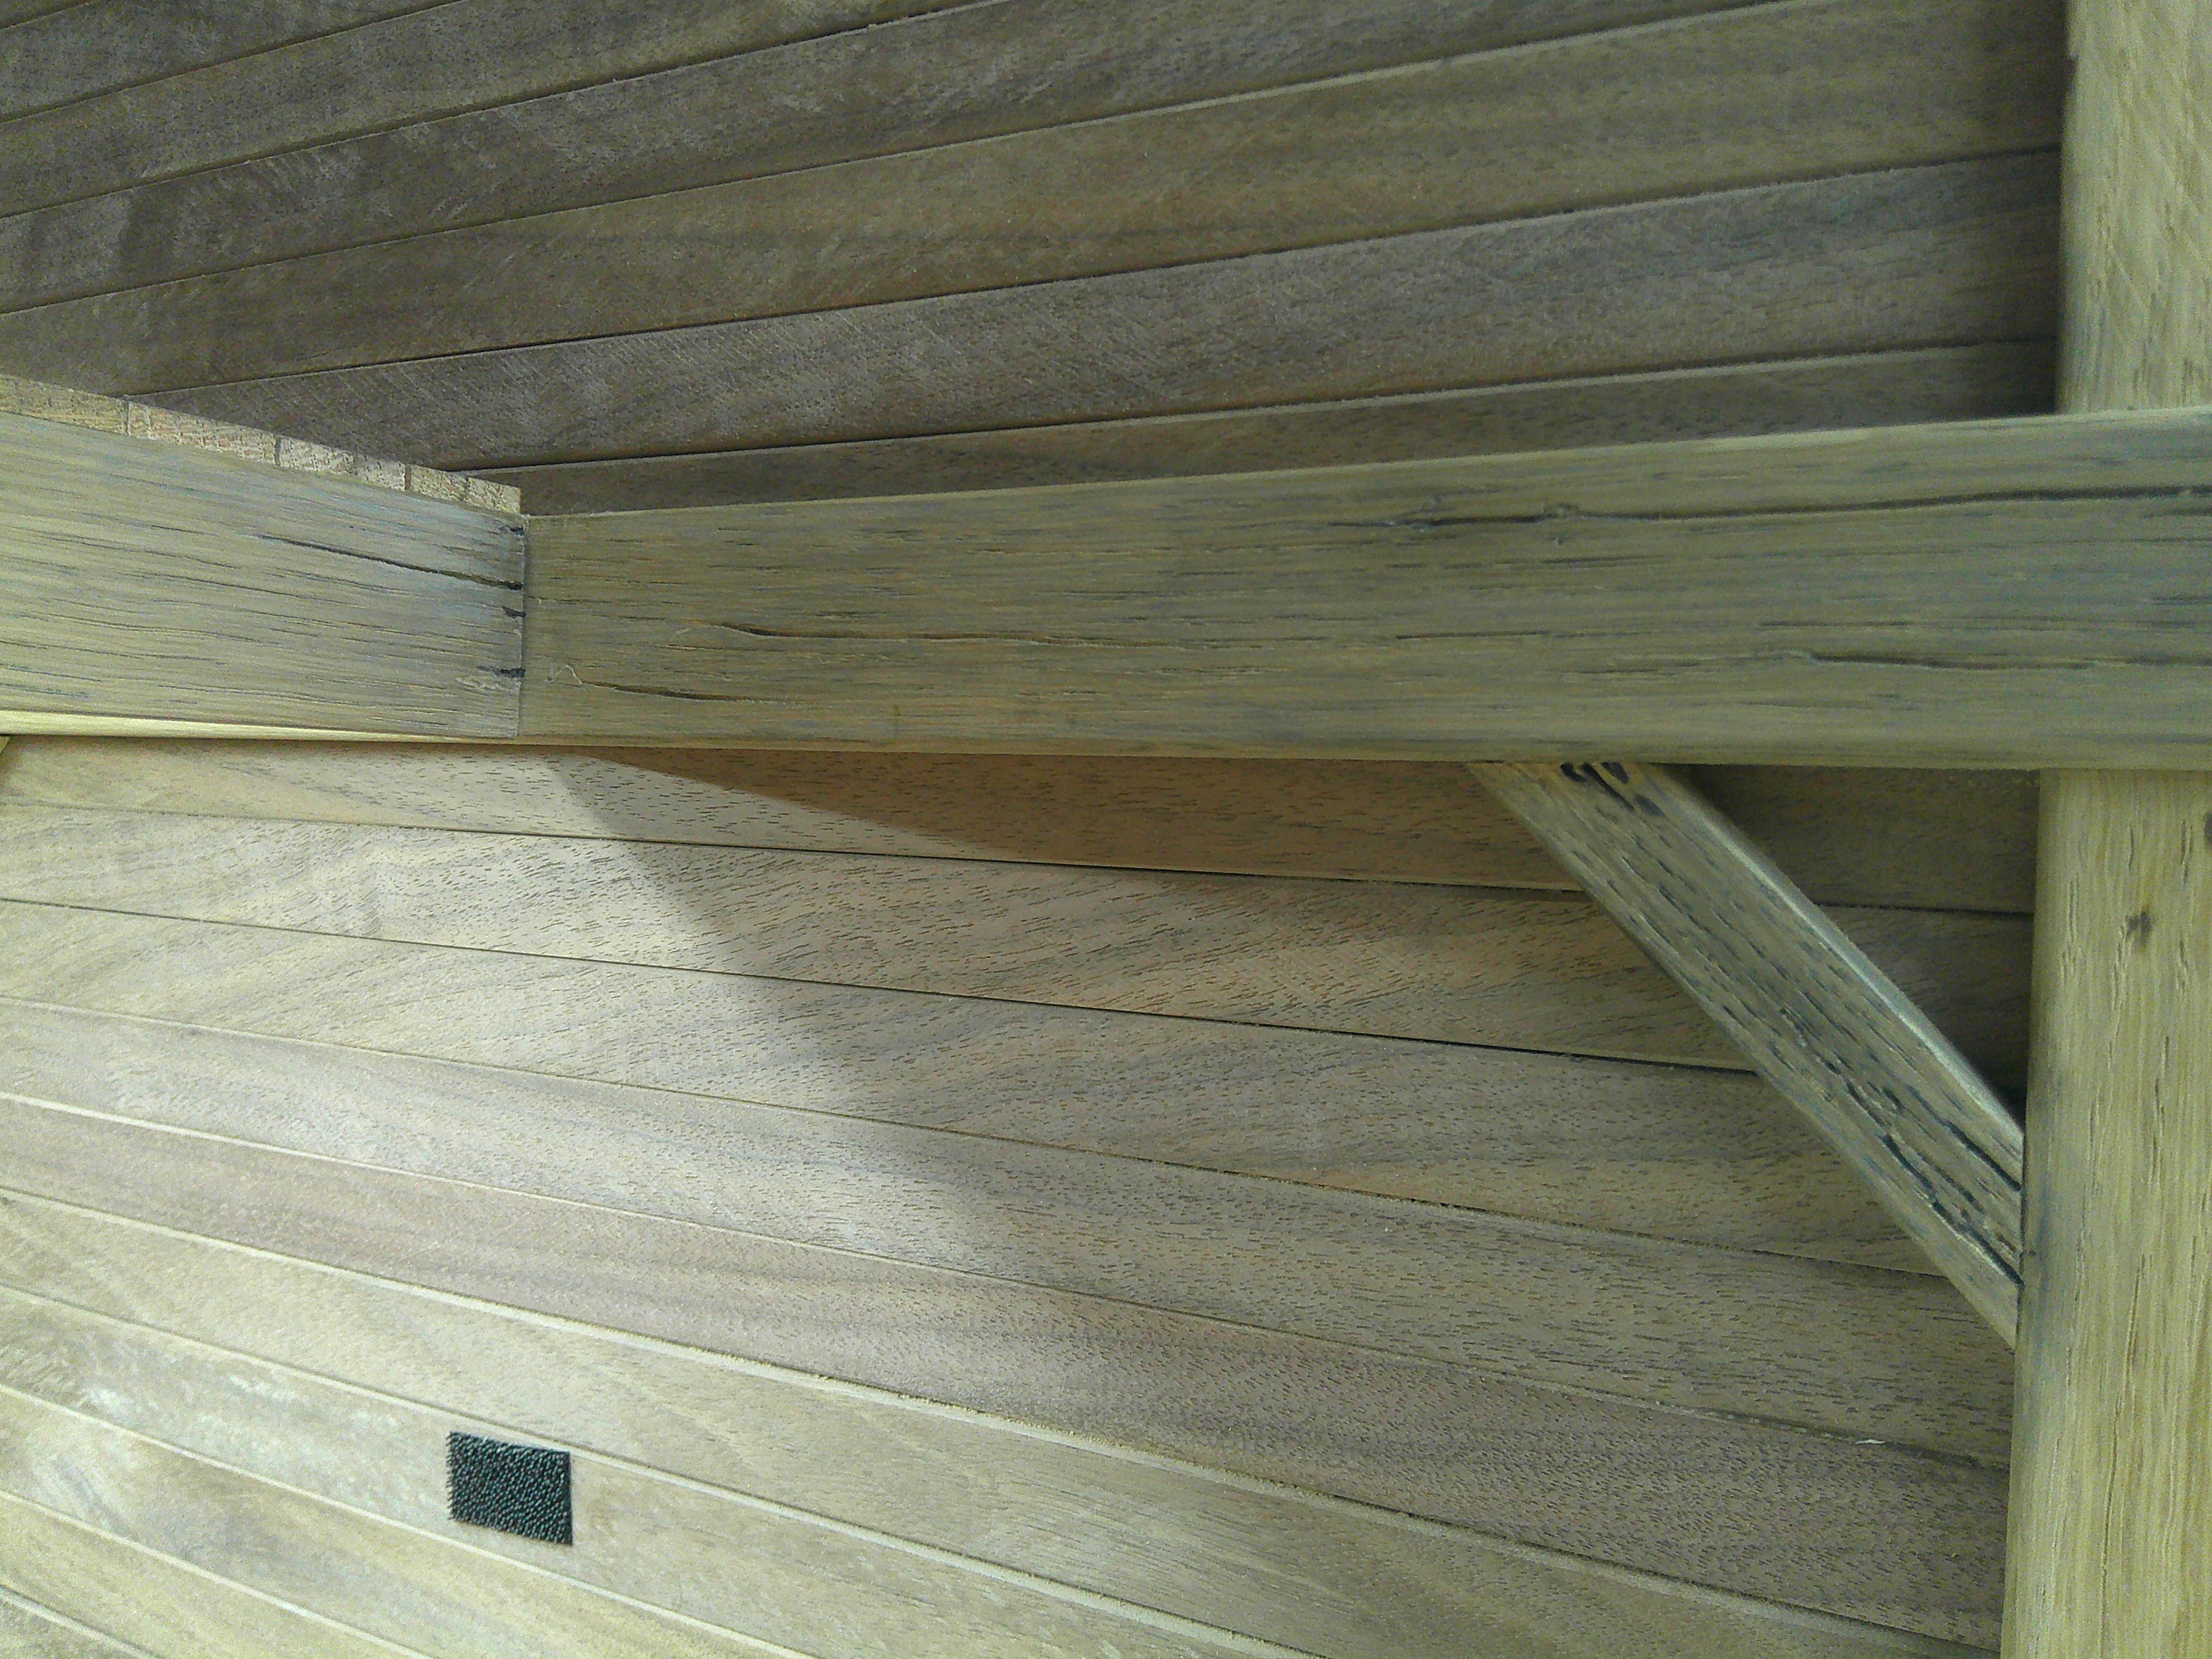
Ok, so today I worked on some of the timbers, and the ladder. I'm cutting cracks using a dremel and exacto blade. I used a fine tip sharpie to darken the cracks. I'm also using black charcoal sticks to add depth to the cracks and grays to make the wood look older. Now I need to do the rest of the timbers. haha! o.o

DSCF0202.JPG
DSCF0203.JPG
DSCF0204.JPG
DSCF0205.JPG
 
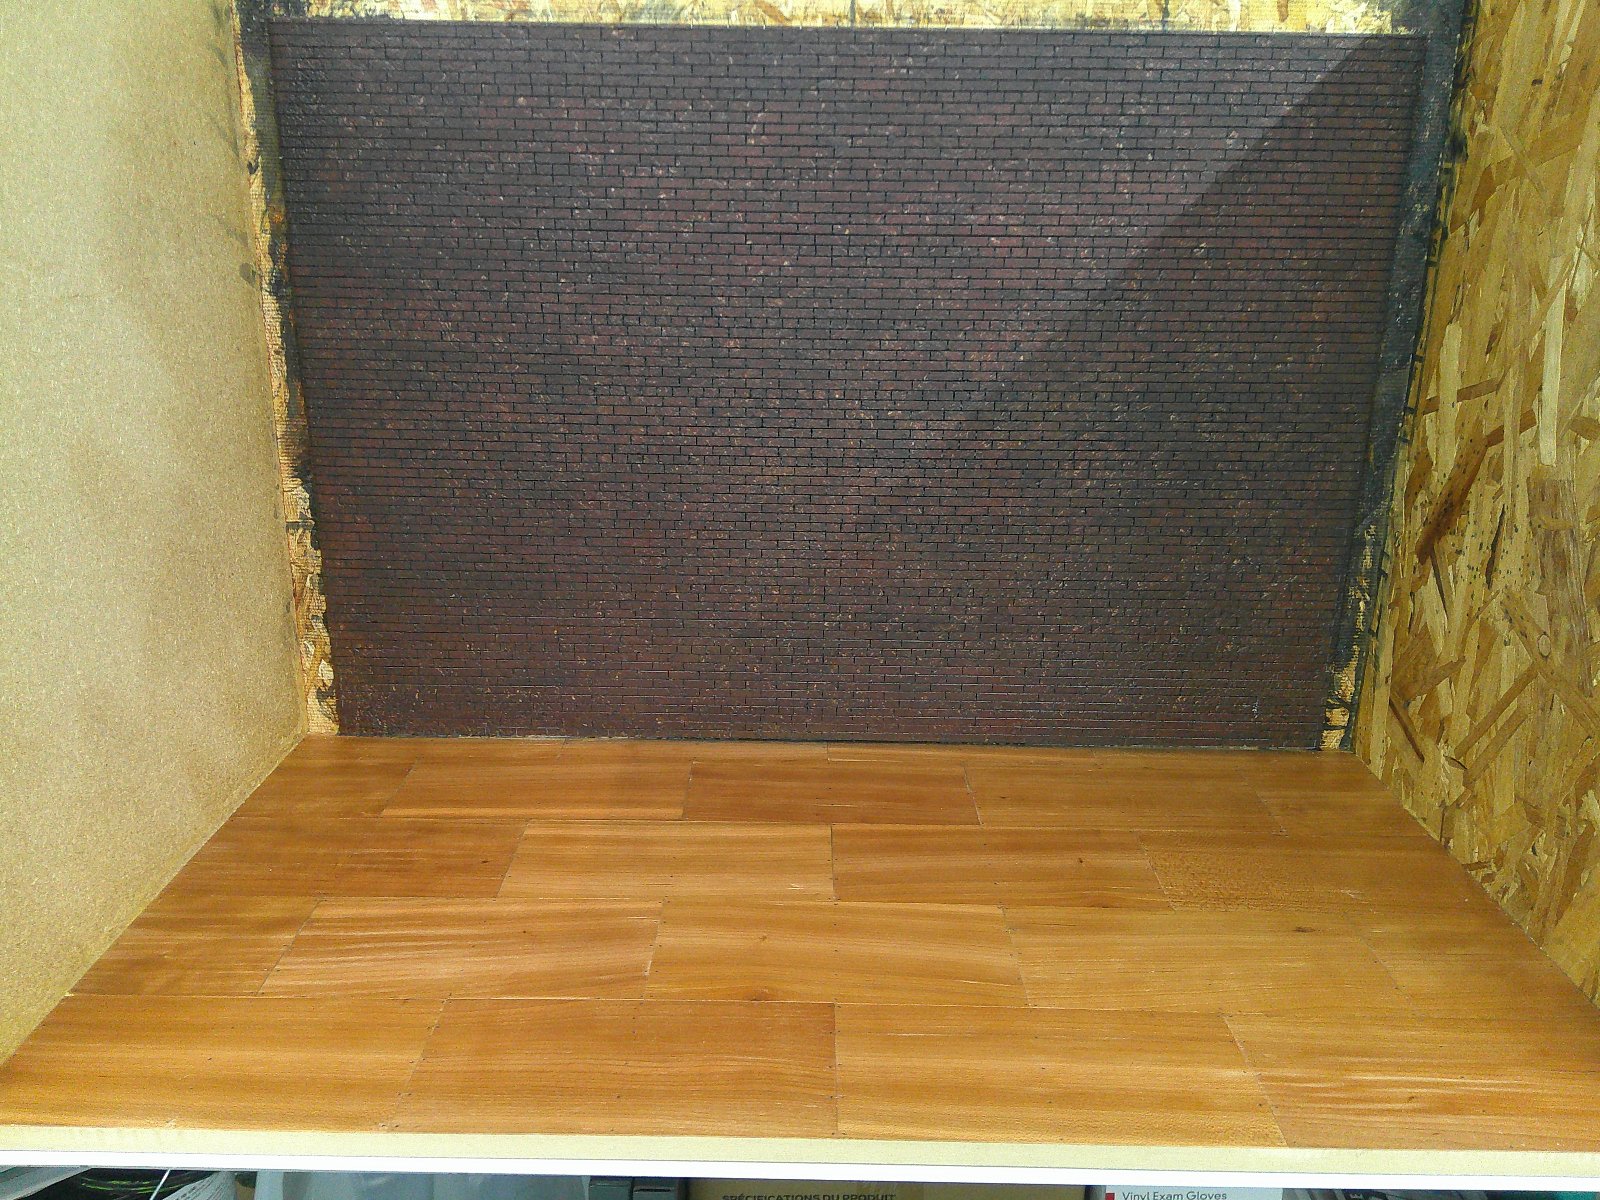
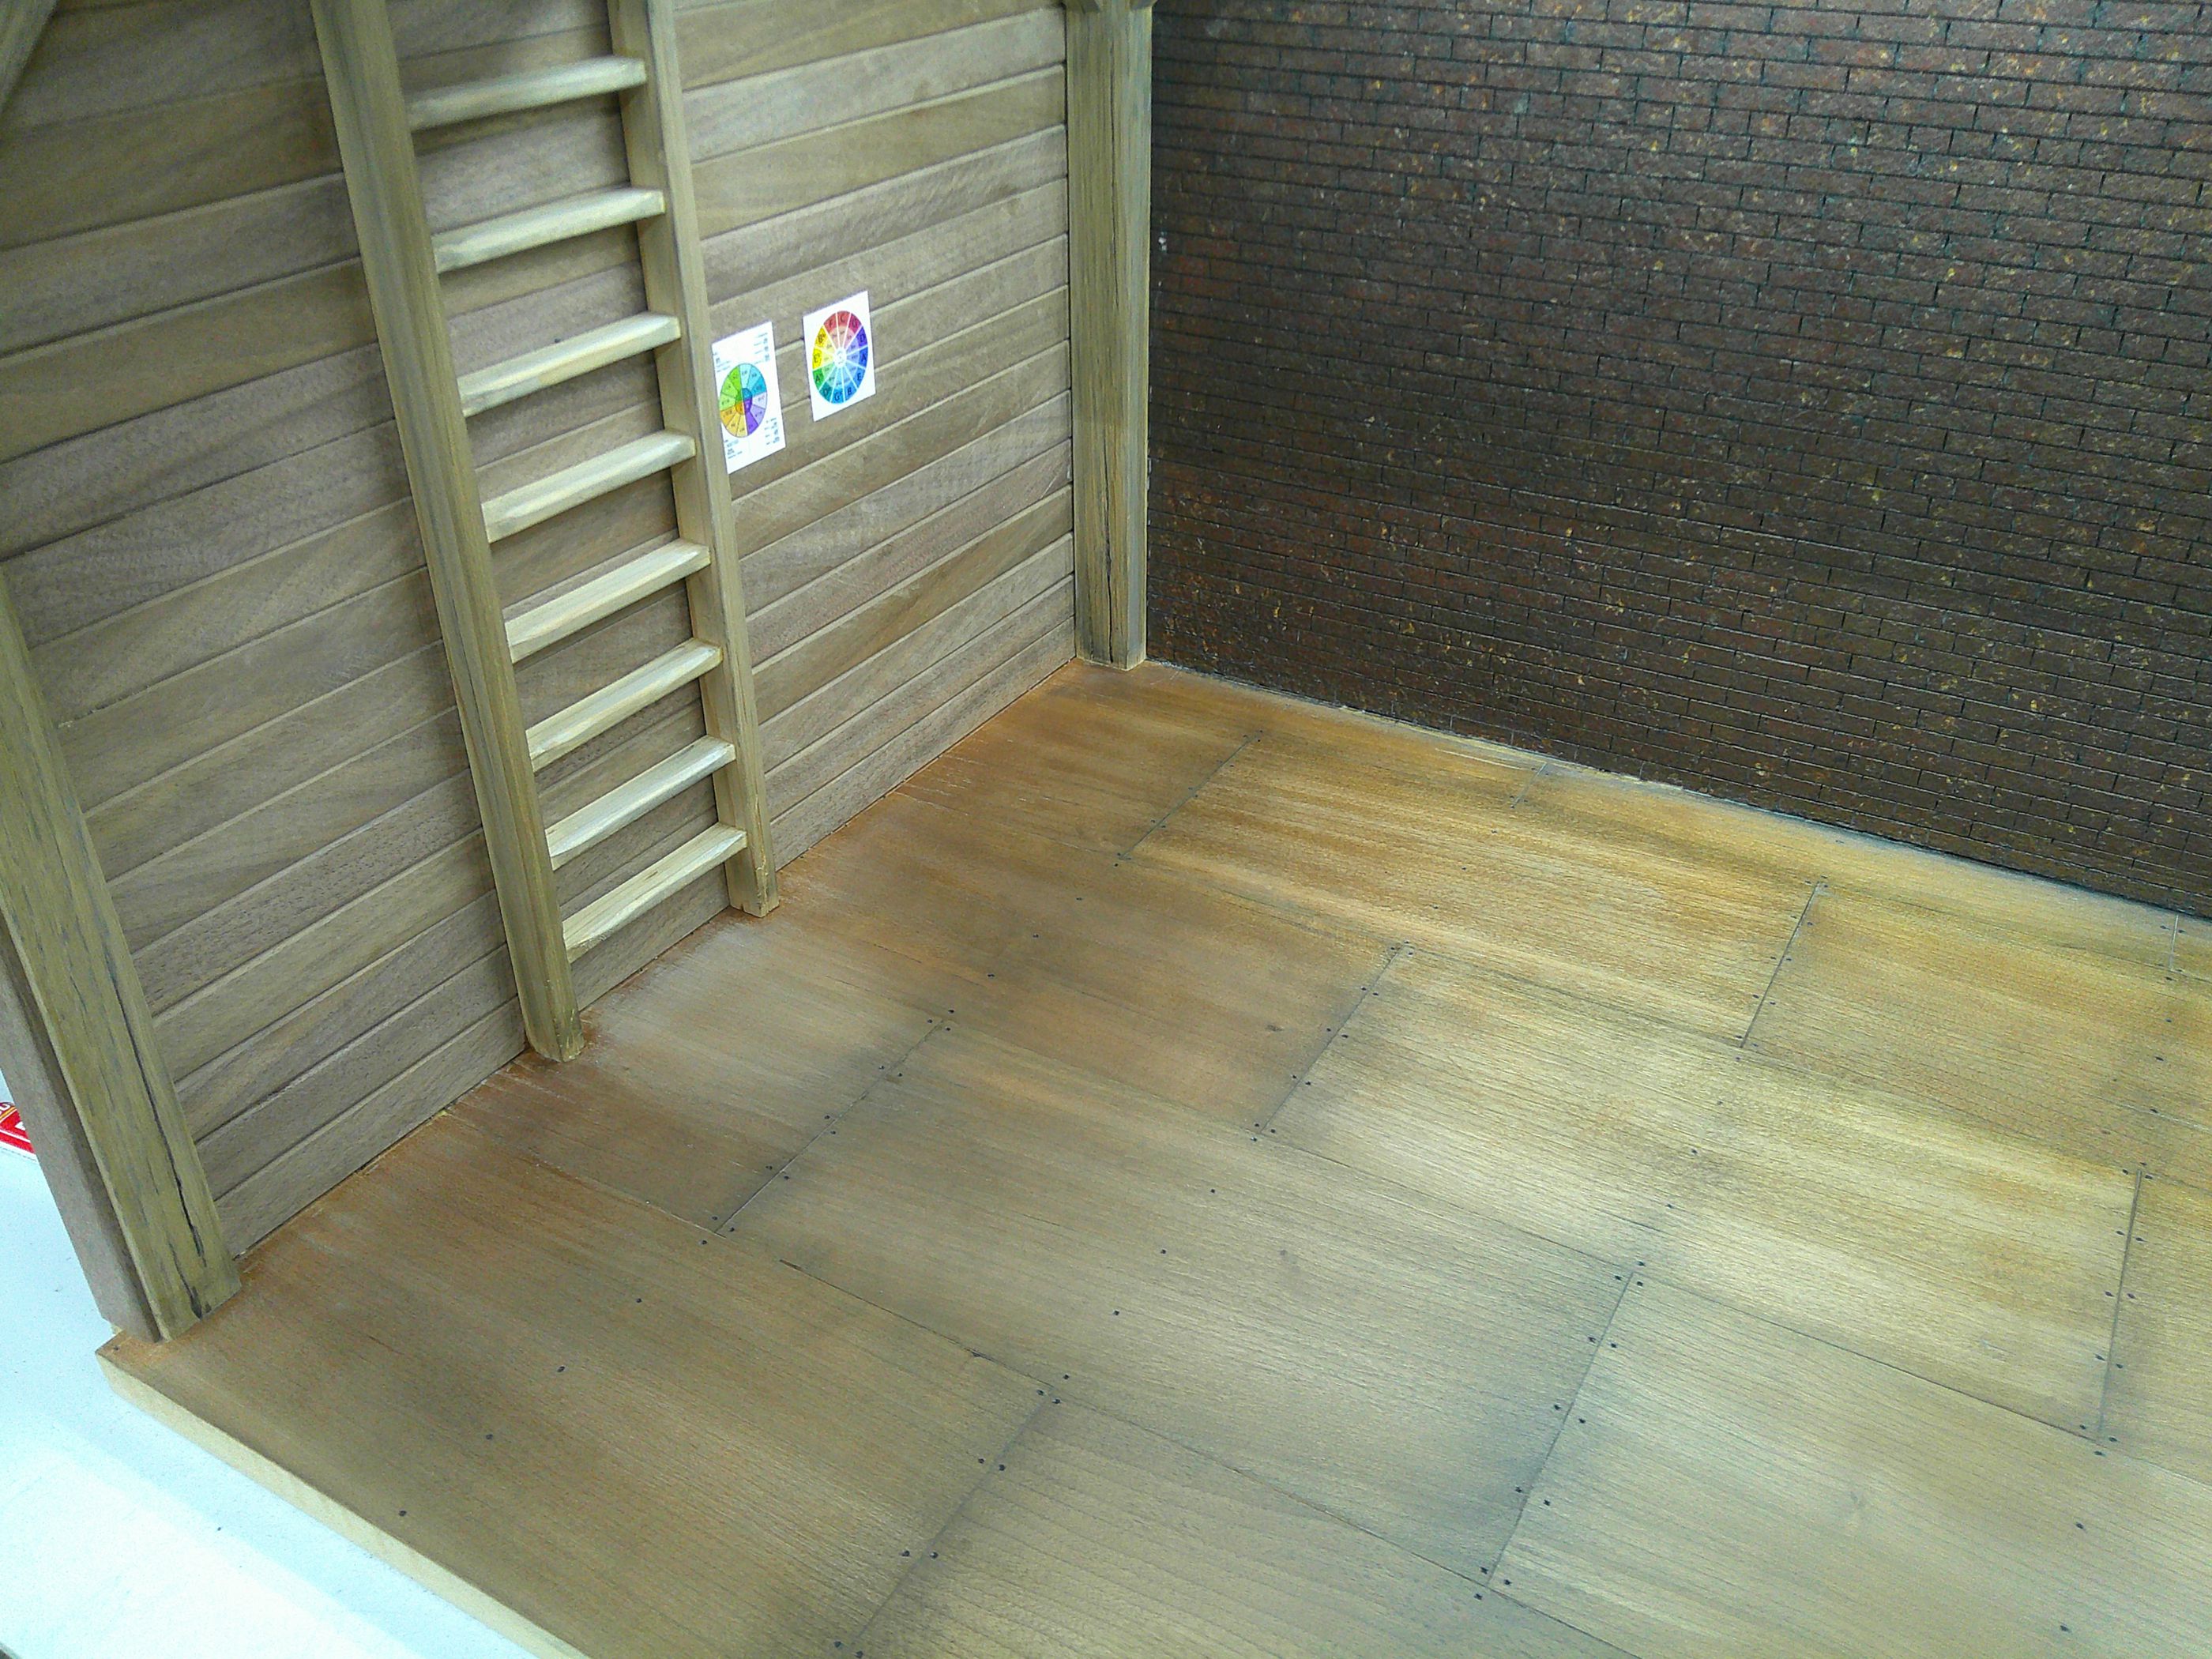
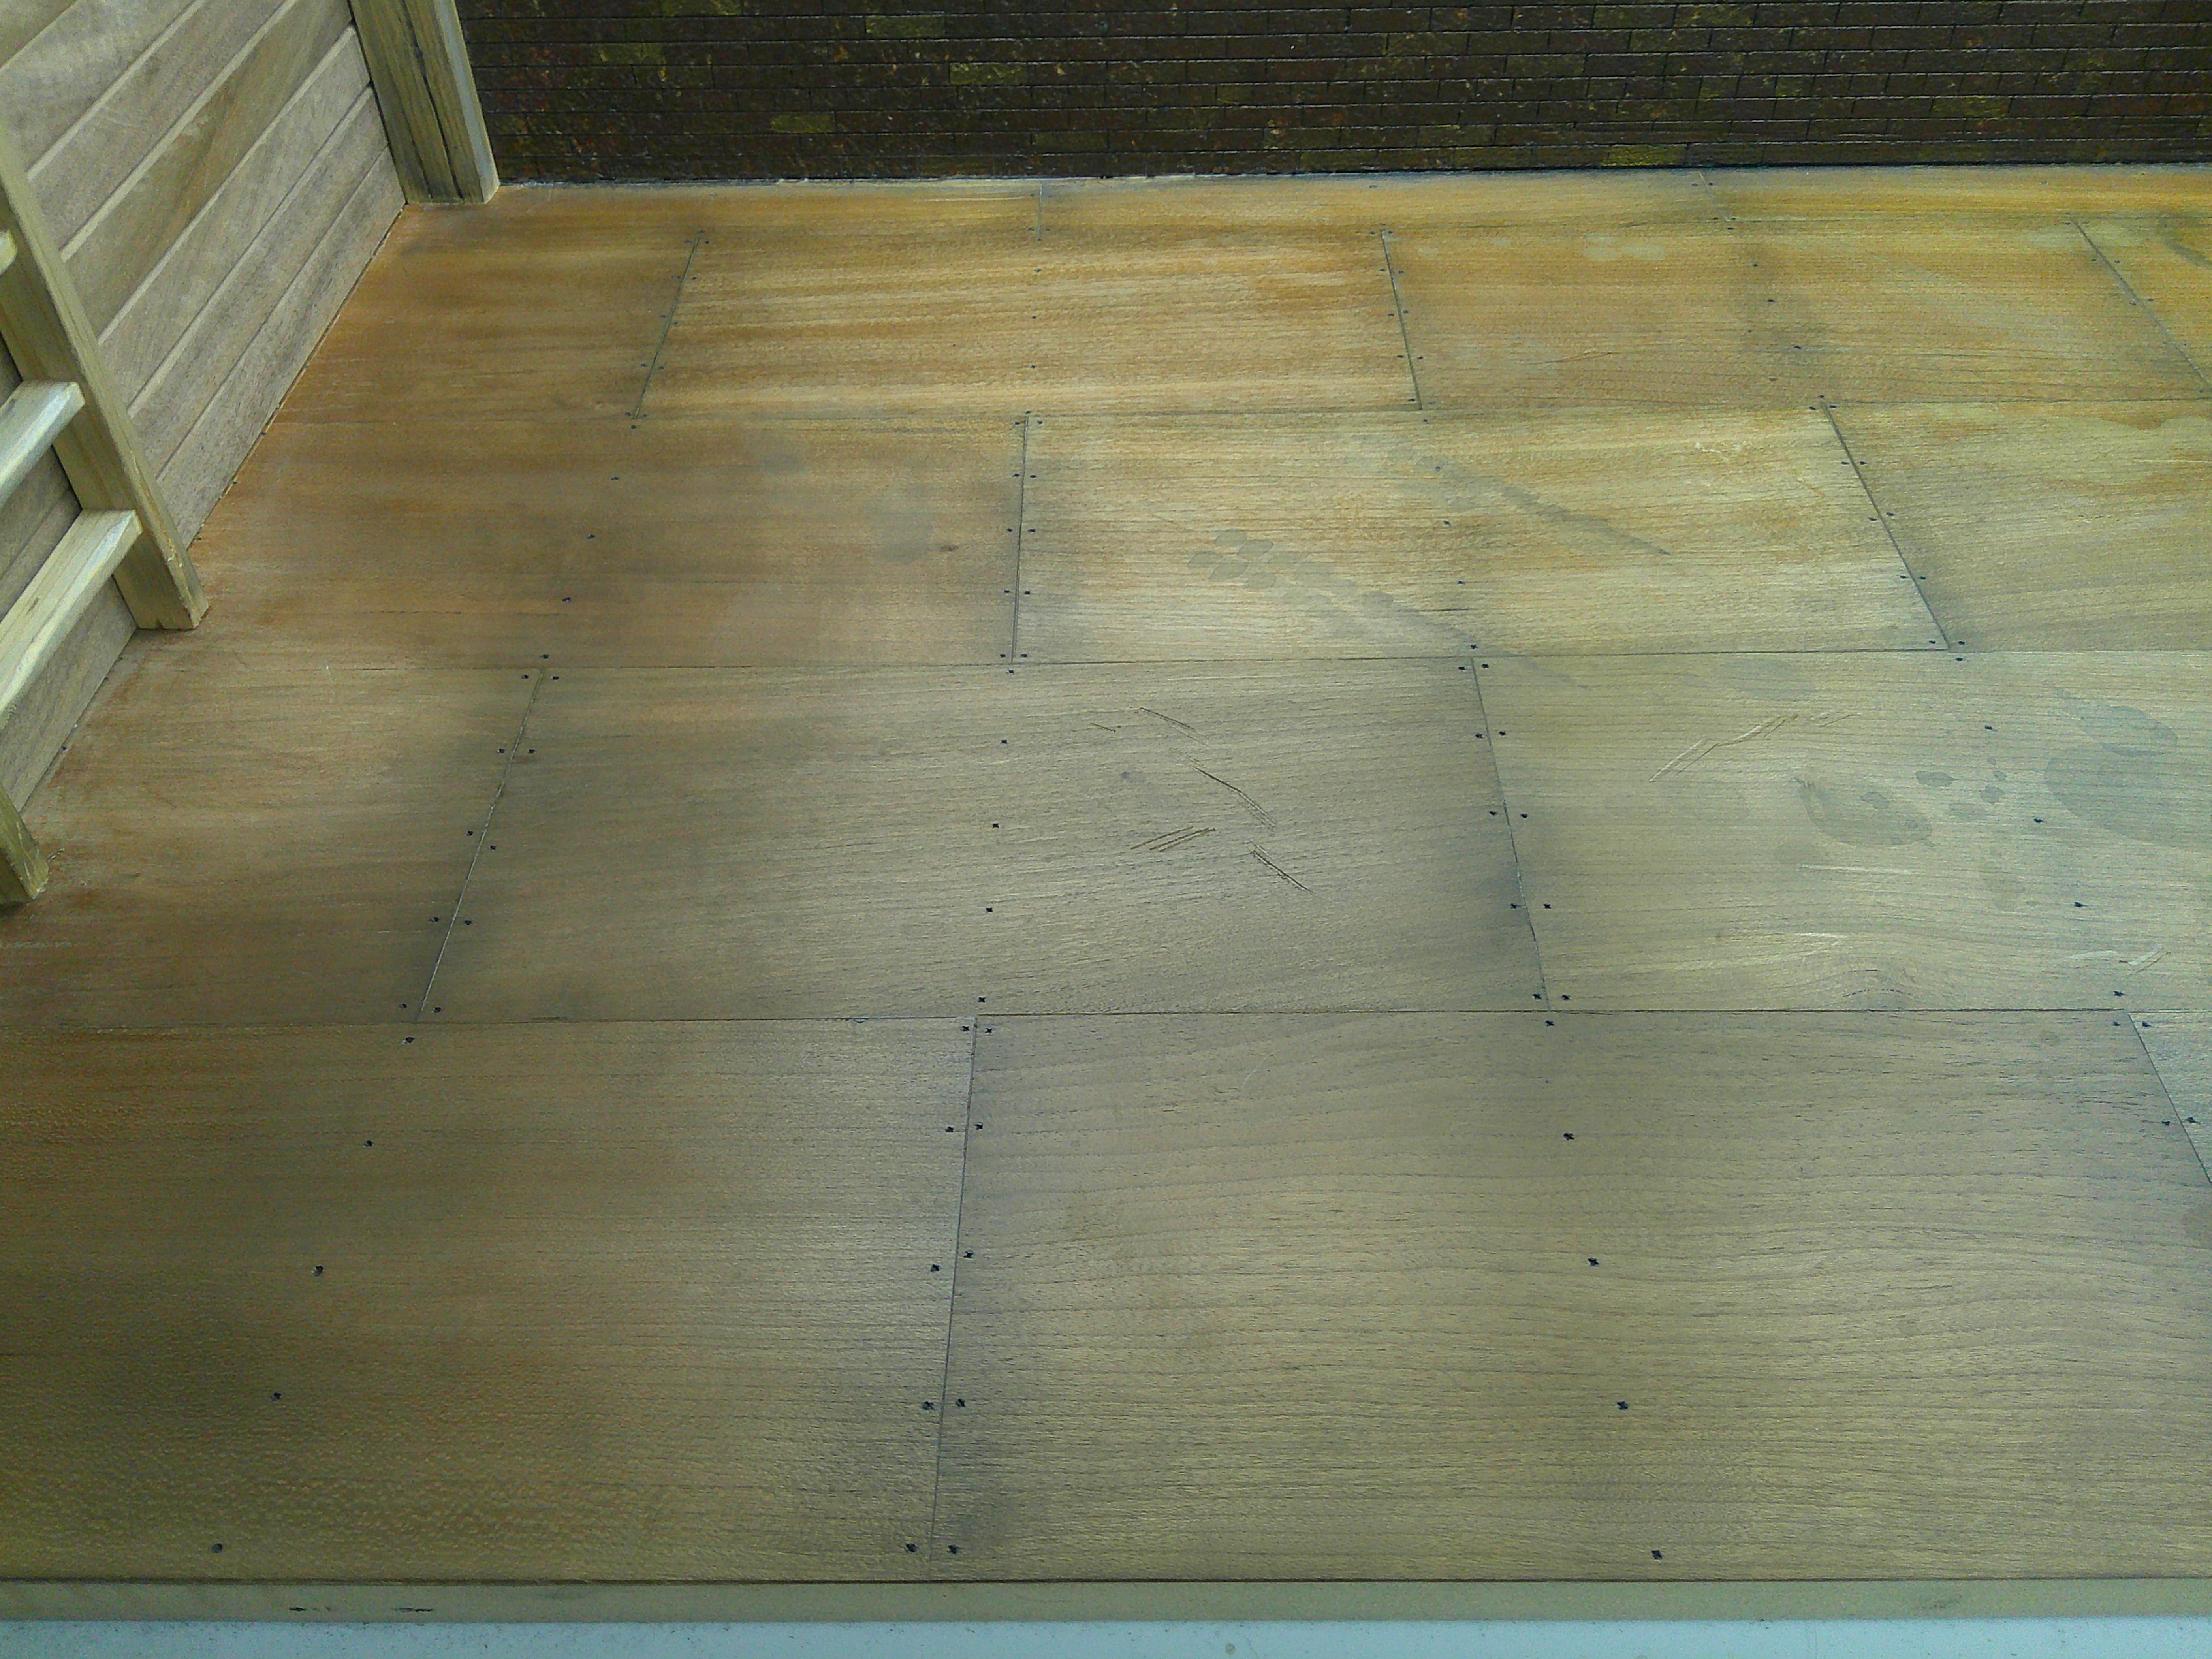
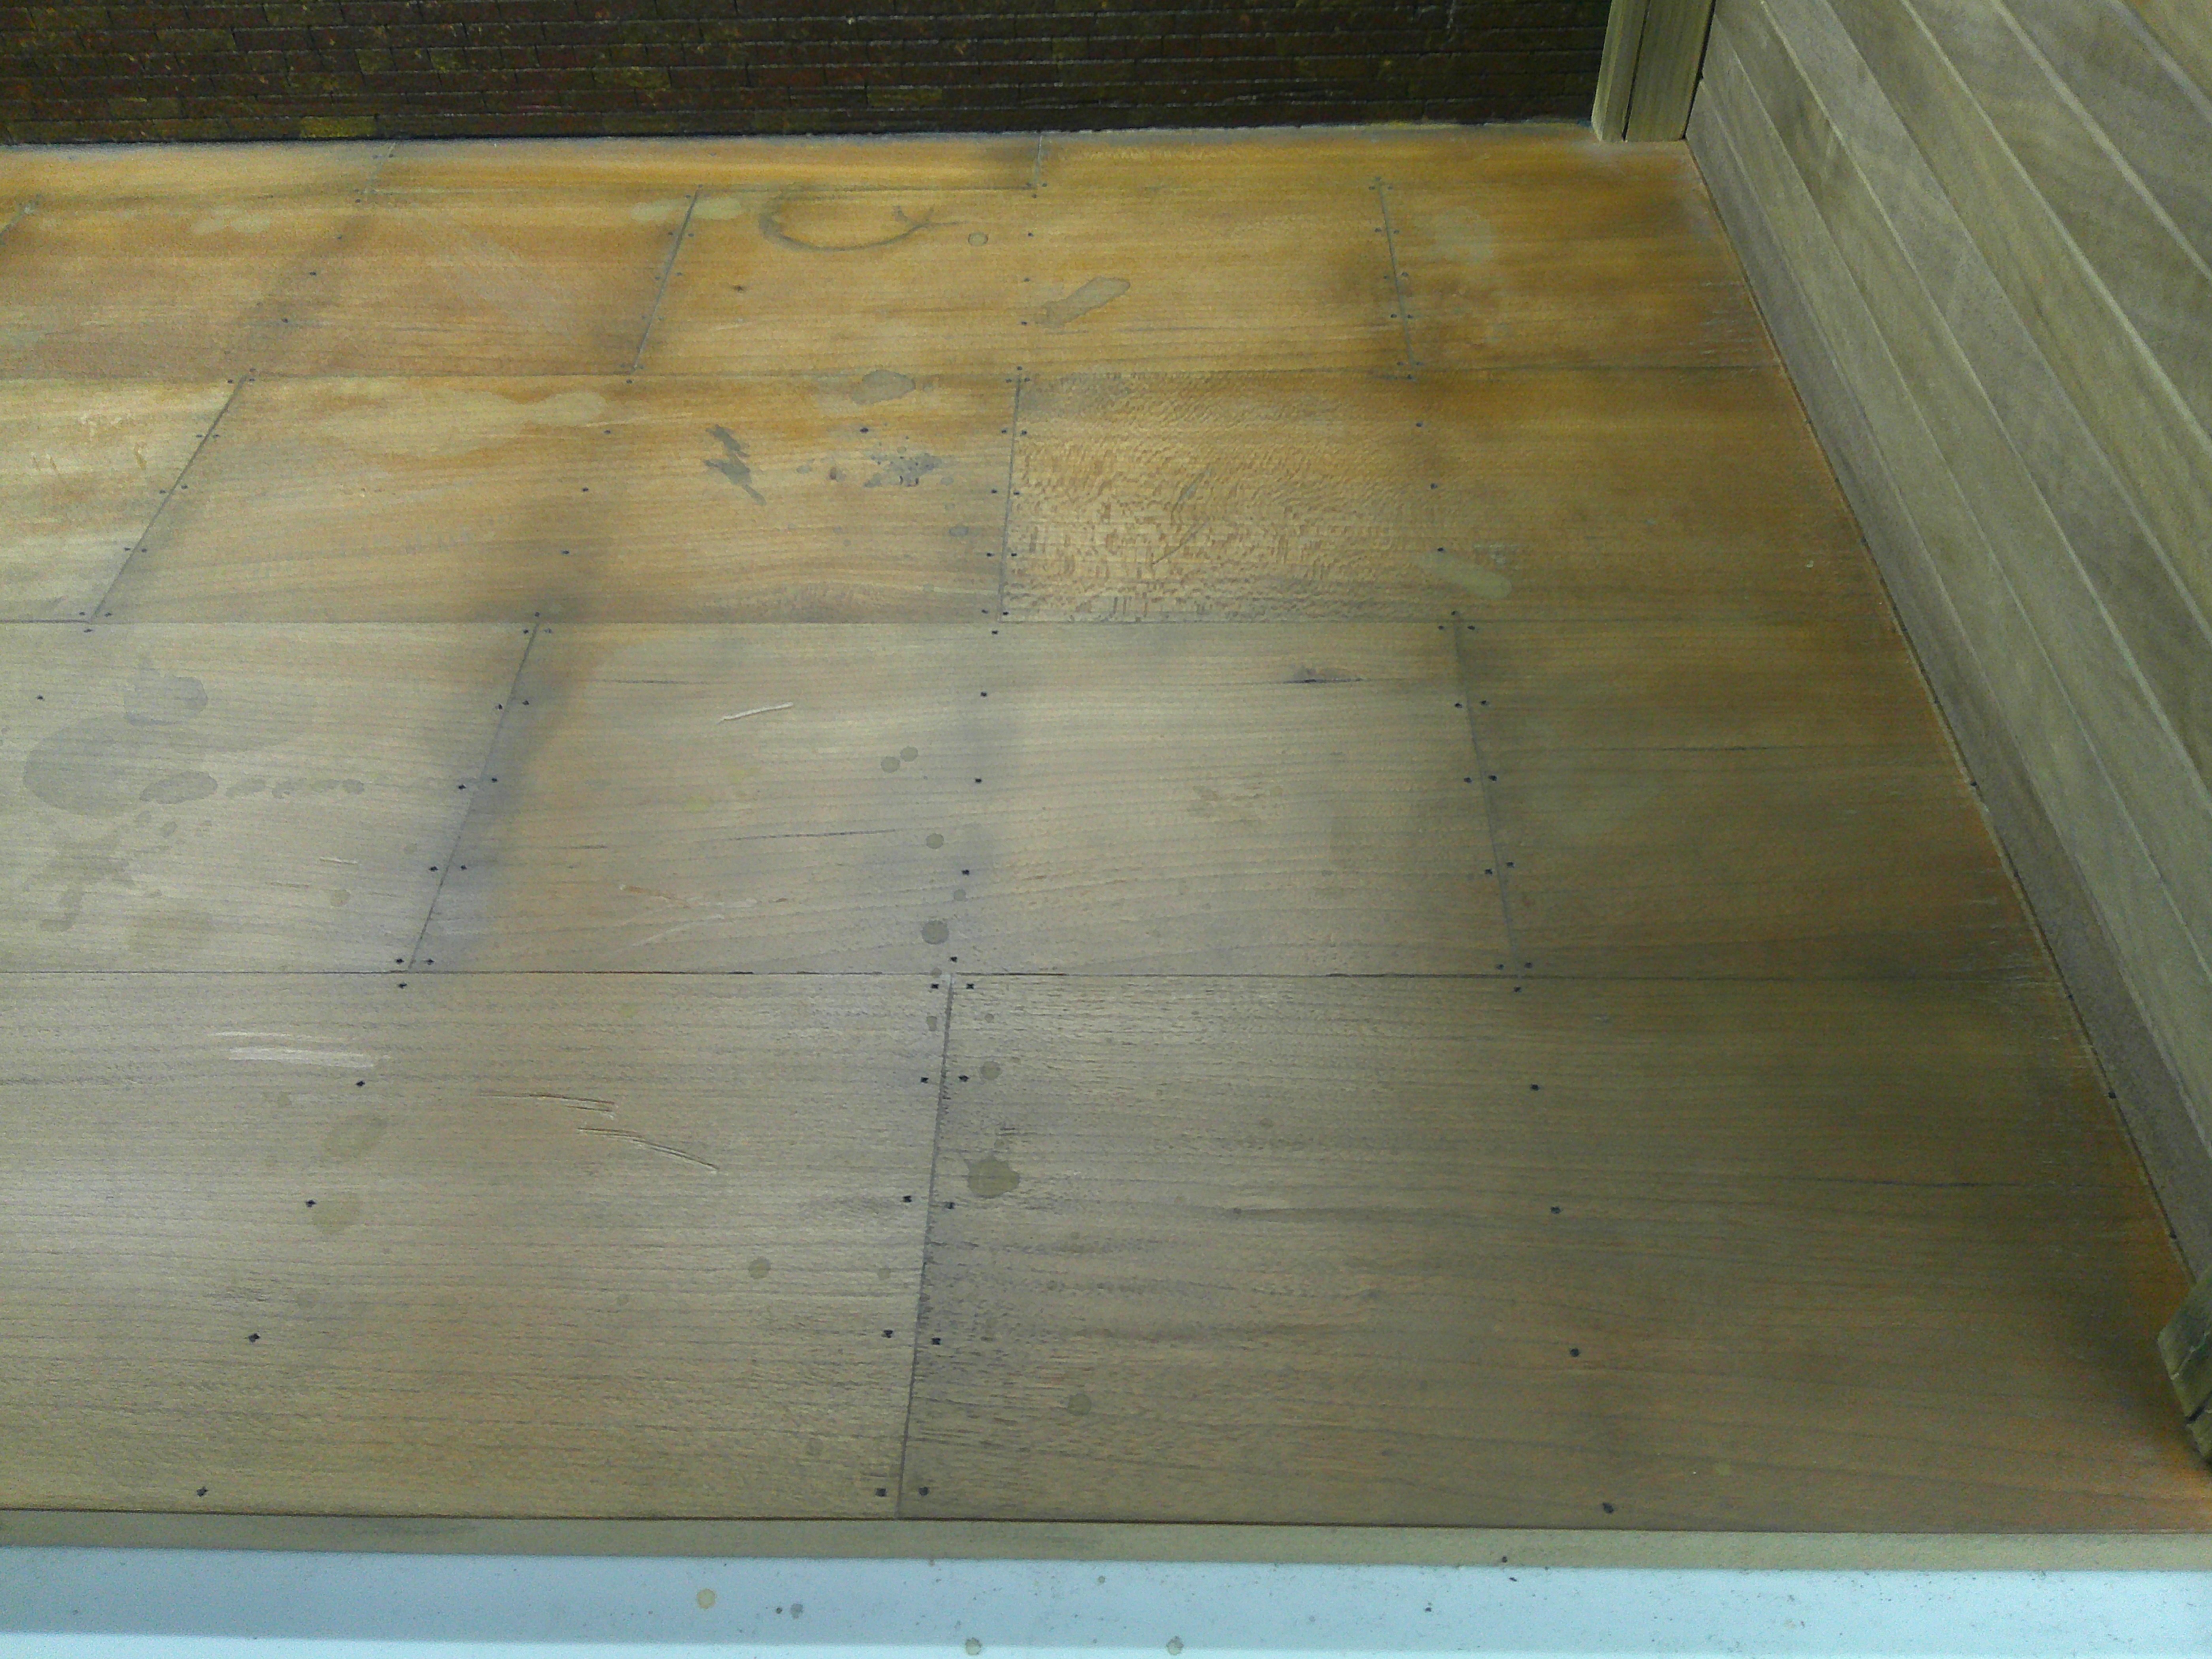
I finished adding the cracks on the lower level timbers. I also started to work on the floor. I tried to increase the darkness of the lines between the plywood sheets. The floor is worn out at the bottom of the ladder. Making some progress.
DSCF0208.JPG
DSCF0212.JPG
 
The cracks look great. Try using a mix of gray and brown stains on the wood. Gray and lighter brown at and near the ends of each piece.
Thanks! I would be too afraid to try stains because they can really change the appearance, and it'd be sort of irreversible. I'm finding these charcoal sticks are easier to control the look in layers.
 
The cracks look great. Try using a mix of gray and brown stains on the wood. Gray and lighter brown at and near the ends of each piece.
Thanks! I would be too afraid to try stains because they can really change the appearance, and it'd be sort of irreversible. I'm finding these charcoal sticks are easier to control the look in layers.
I was thinking of the Vallejo washes. With the exception of the black, it takes a lot of repeated application to get too dark. I should have said so, rather than using the word "stains." Regular wood stain will be too strong for this application.
 
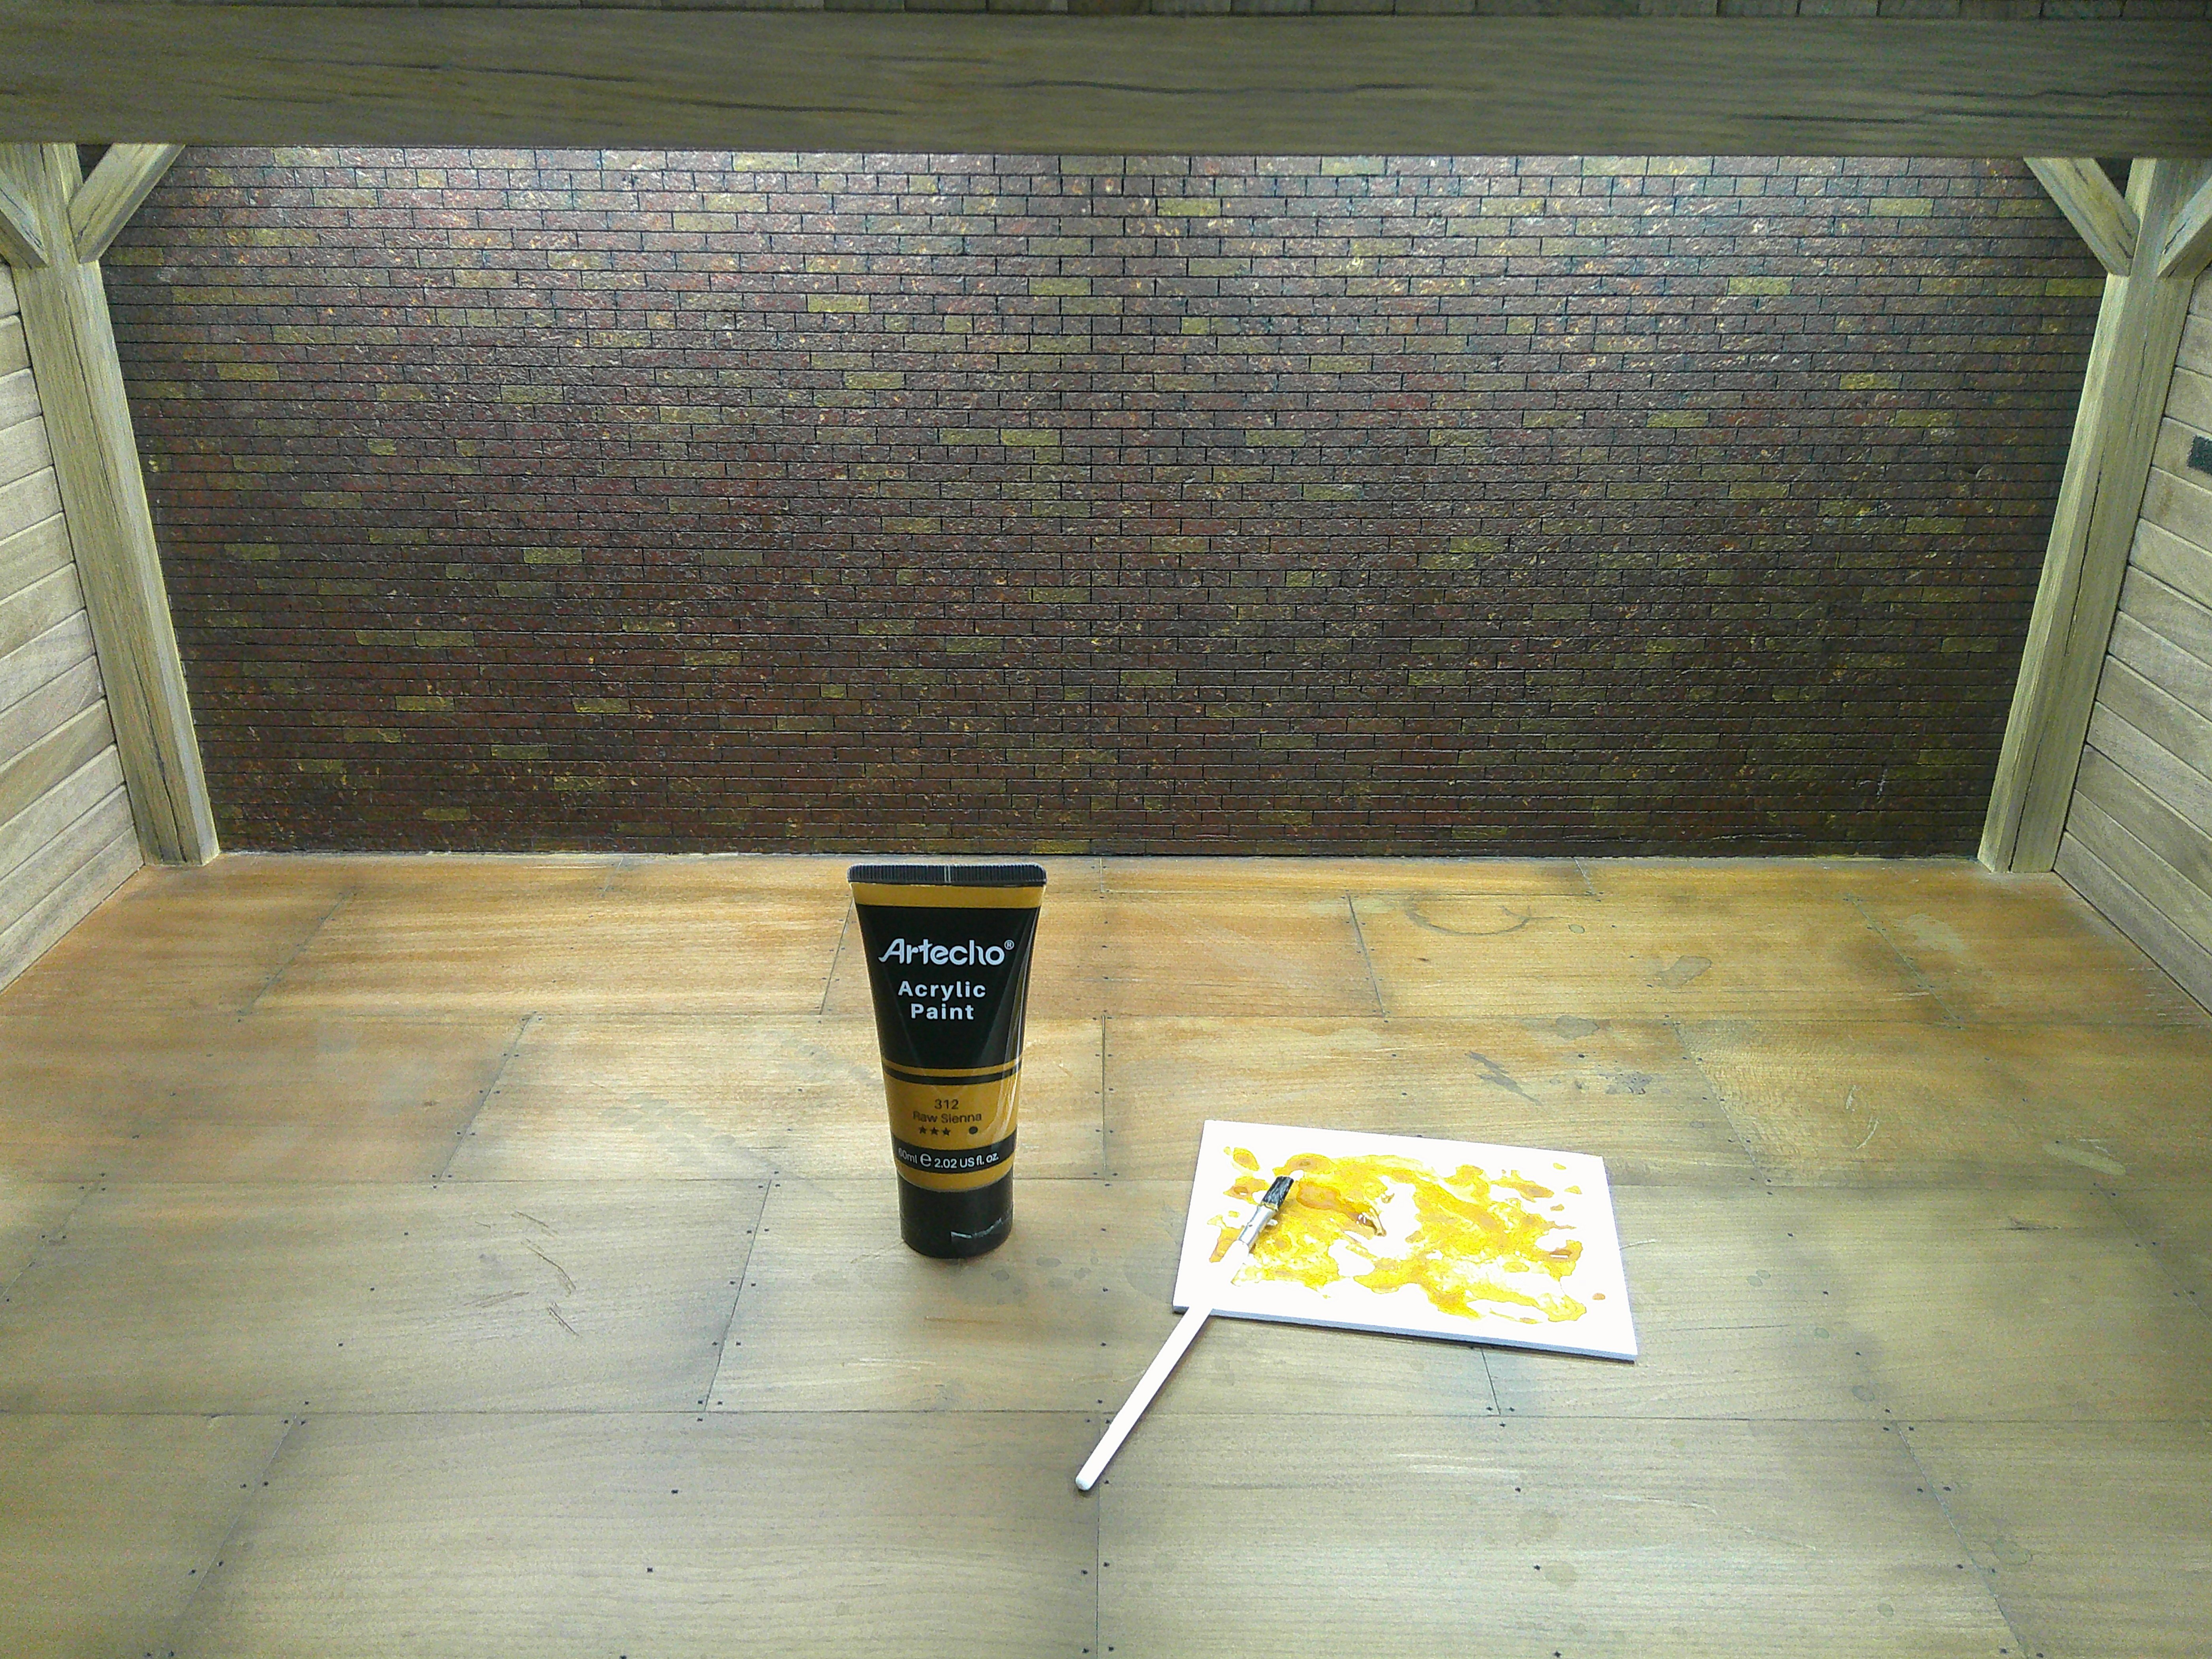
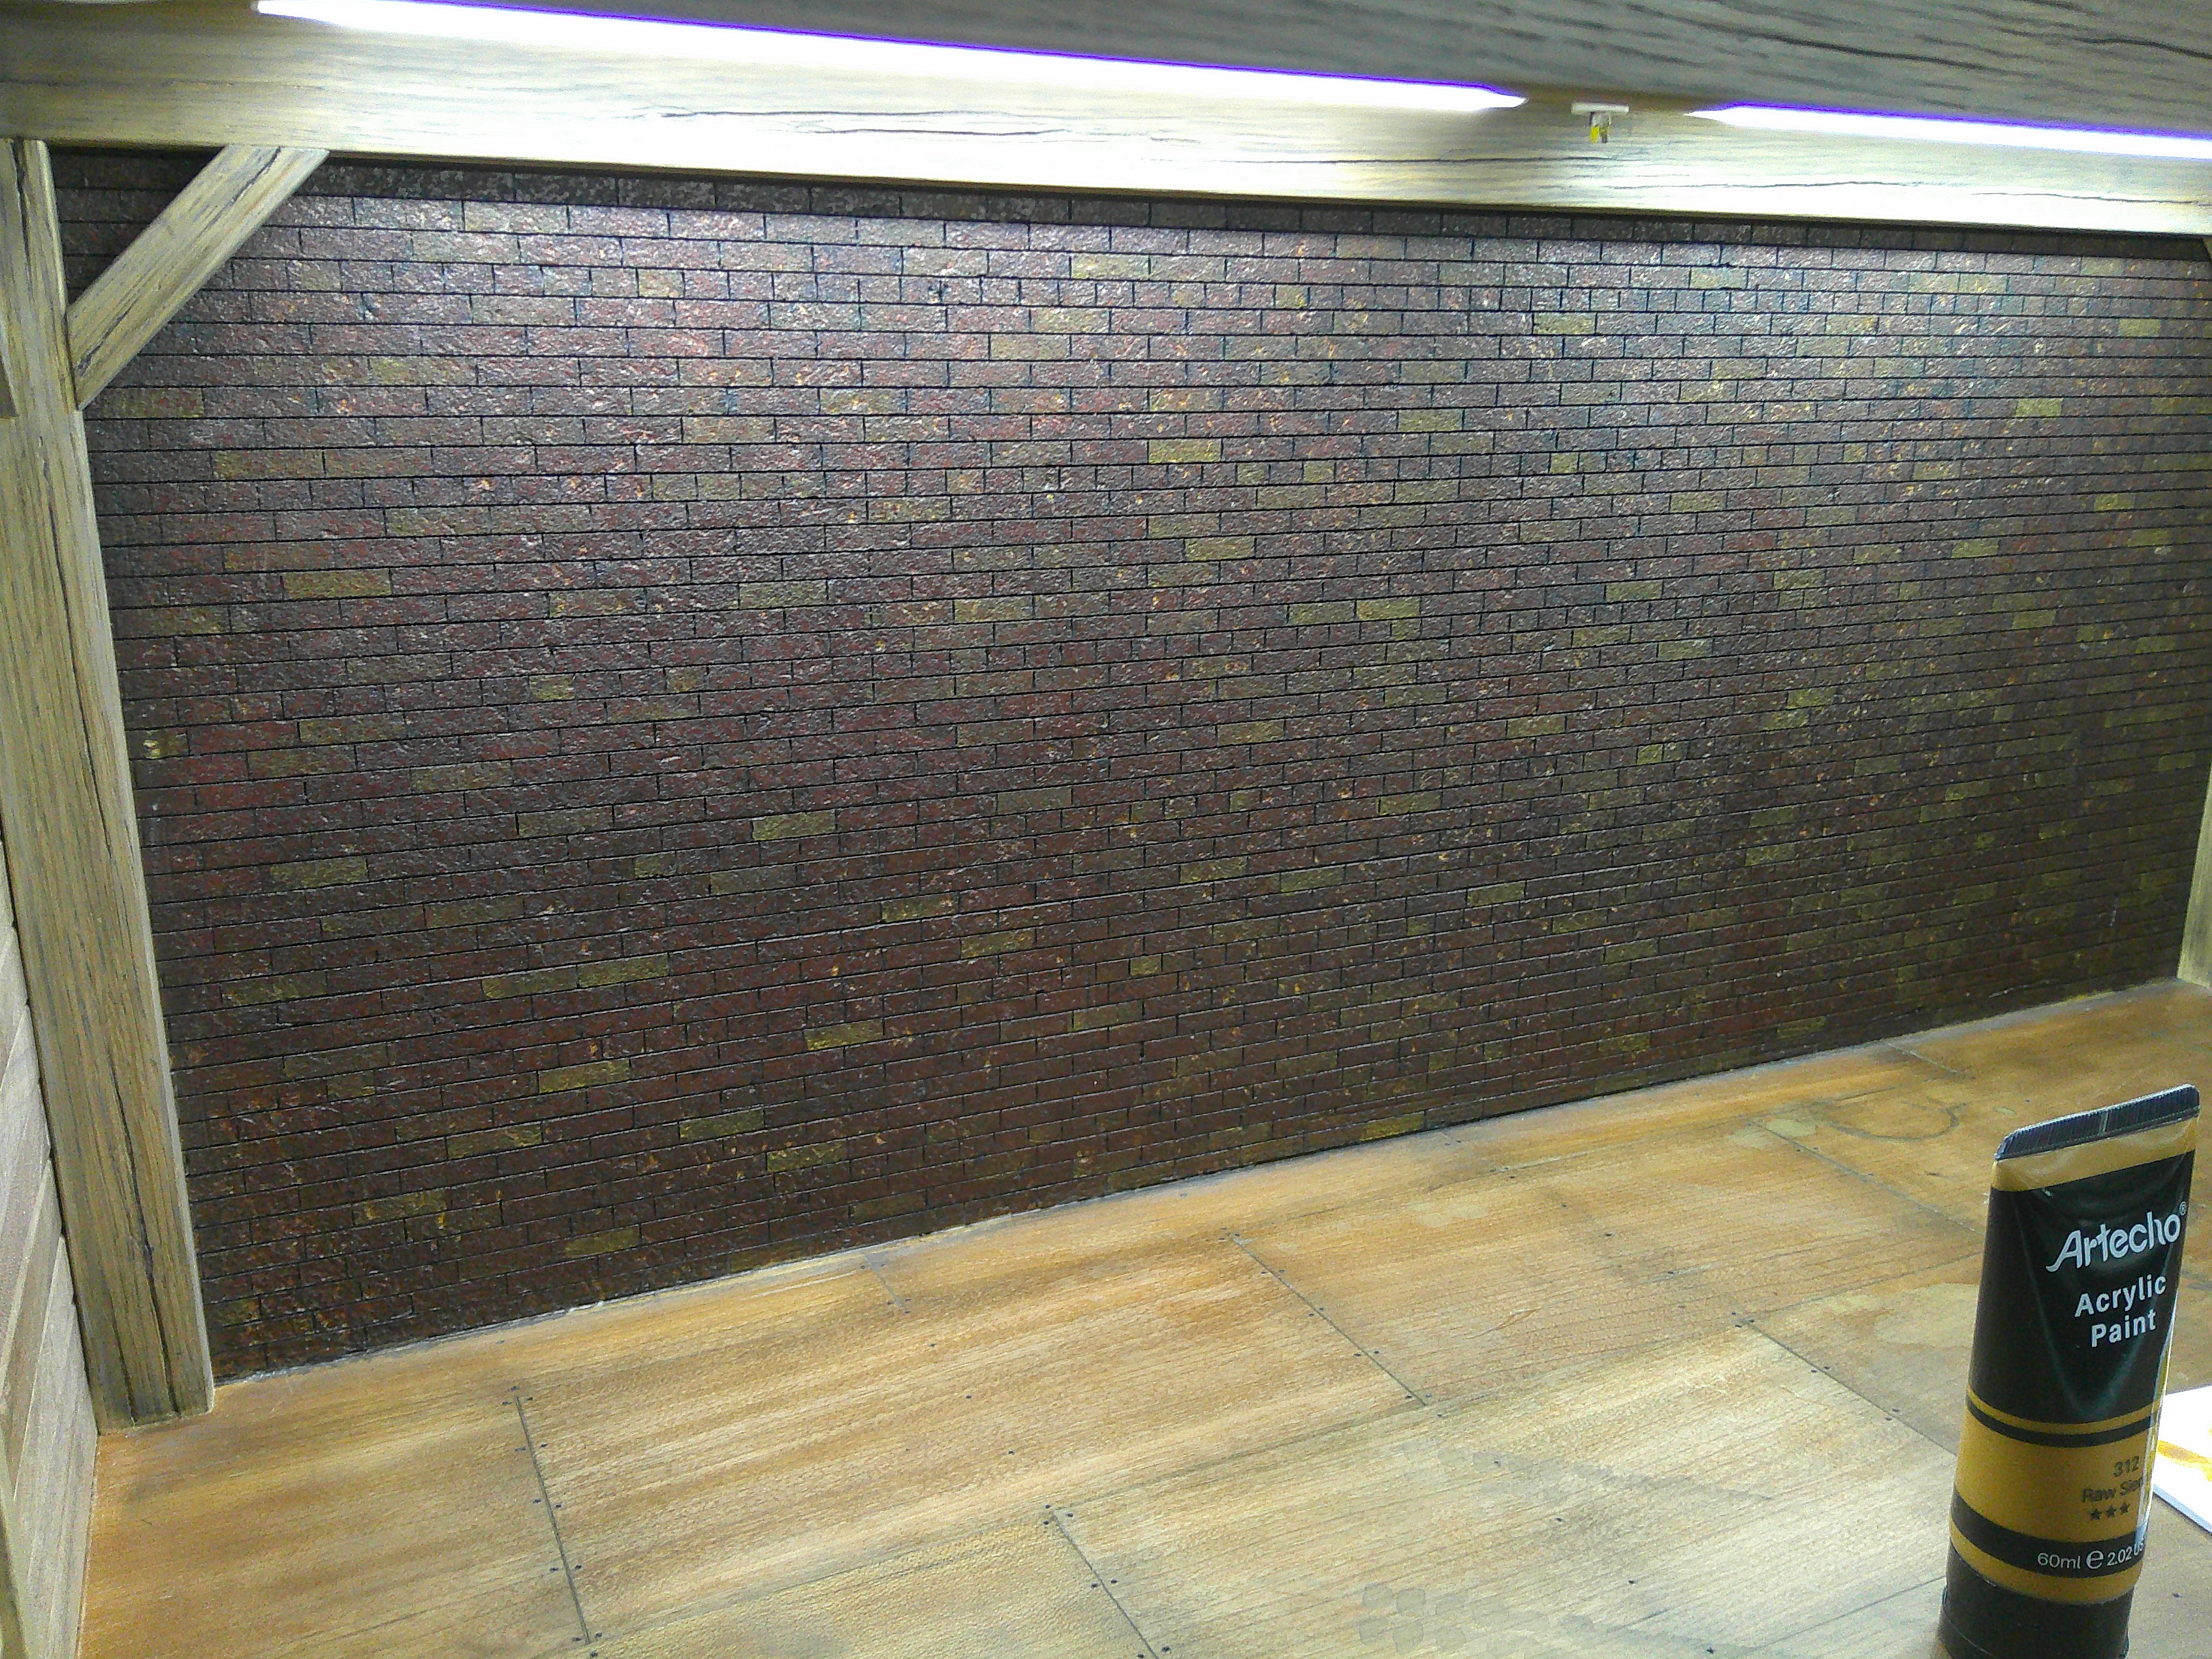
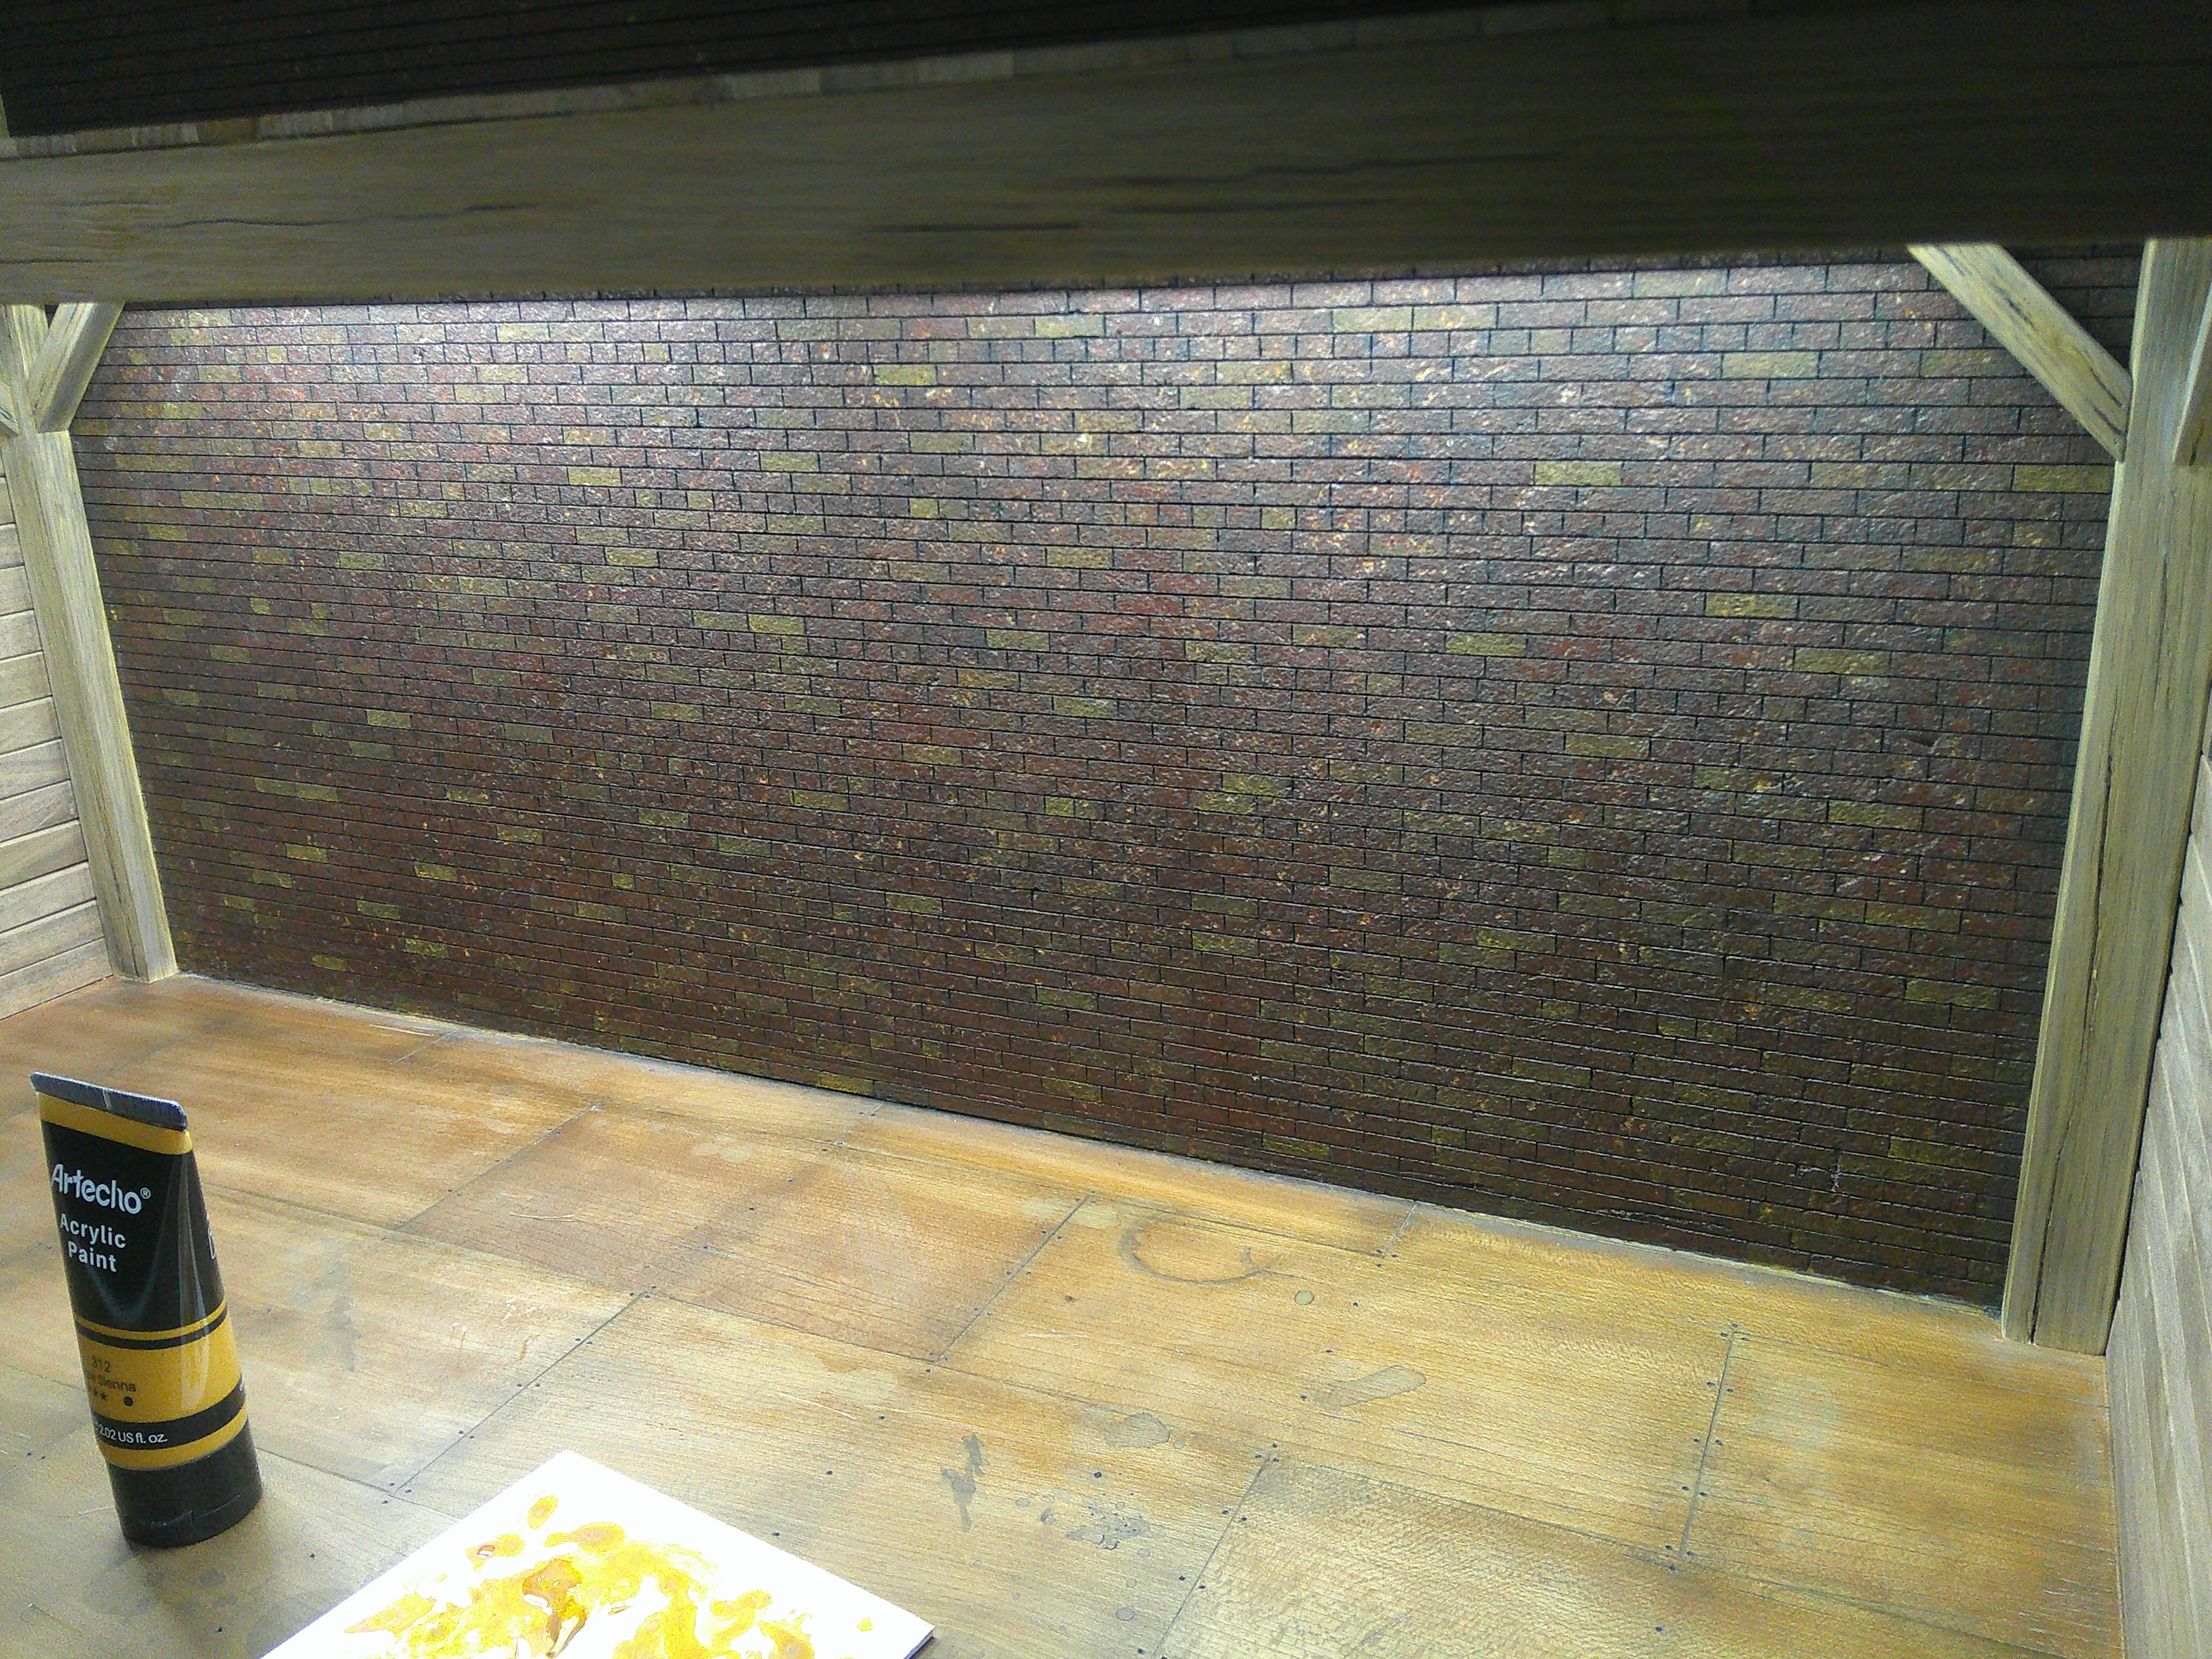
I worked on the floor and the bricks a bit. It was a really weird feeling to purposefully add spill stains and scratches to the floor. haha! On the bricks, my idea was to use only watered down raw sienna painted onto individual bricks. Luckily I found the perfect brush, it's the right width, and it's fairly rigid. After 2 days of detailing the timbers I was looking forward to doing some painting. :)

DSCF0229.JPG
DSCF0230.JPG
DSCF0235.JPG
DSCF0236.JPG

DSCF0231.JPG
 
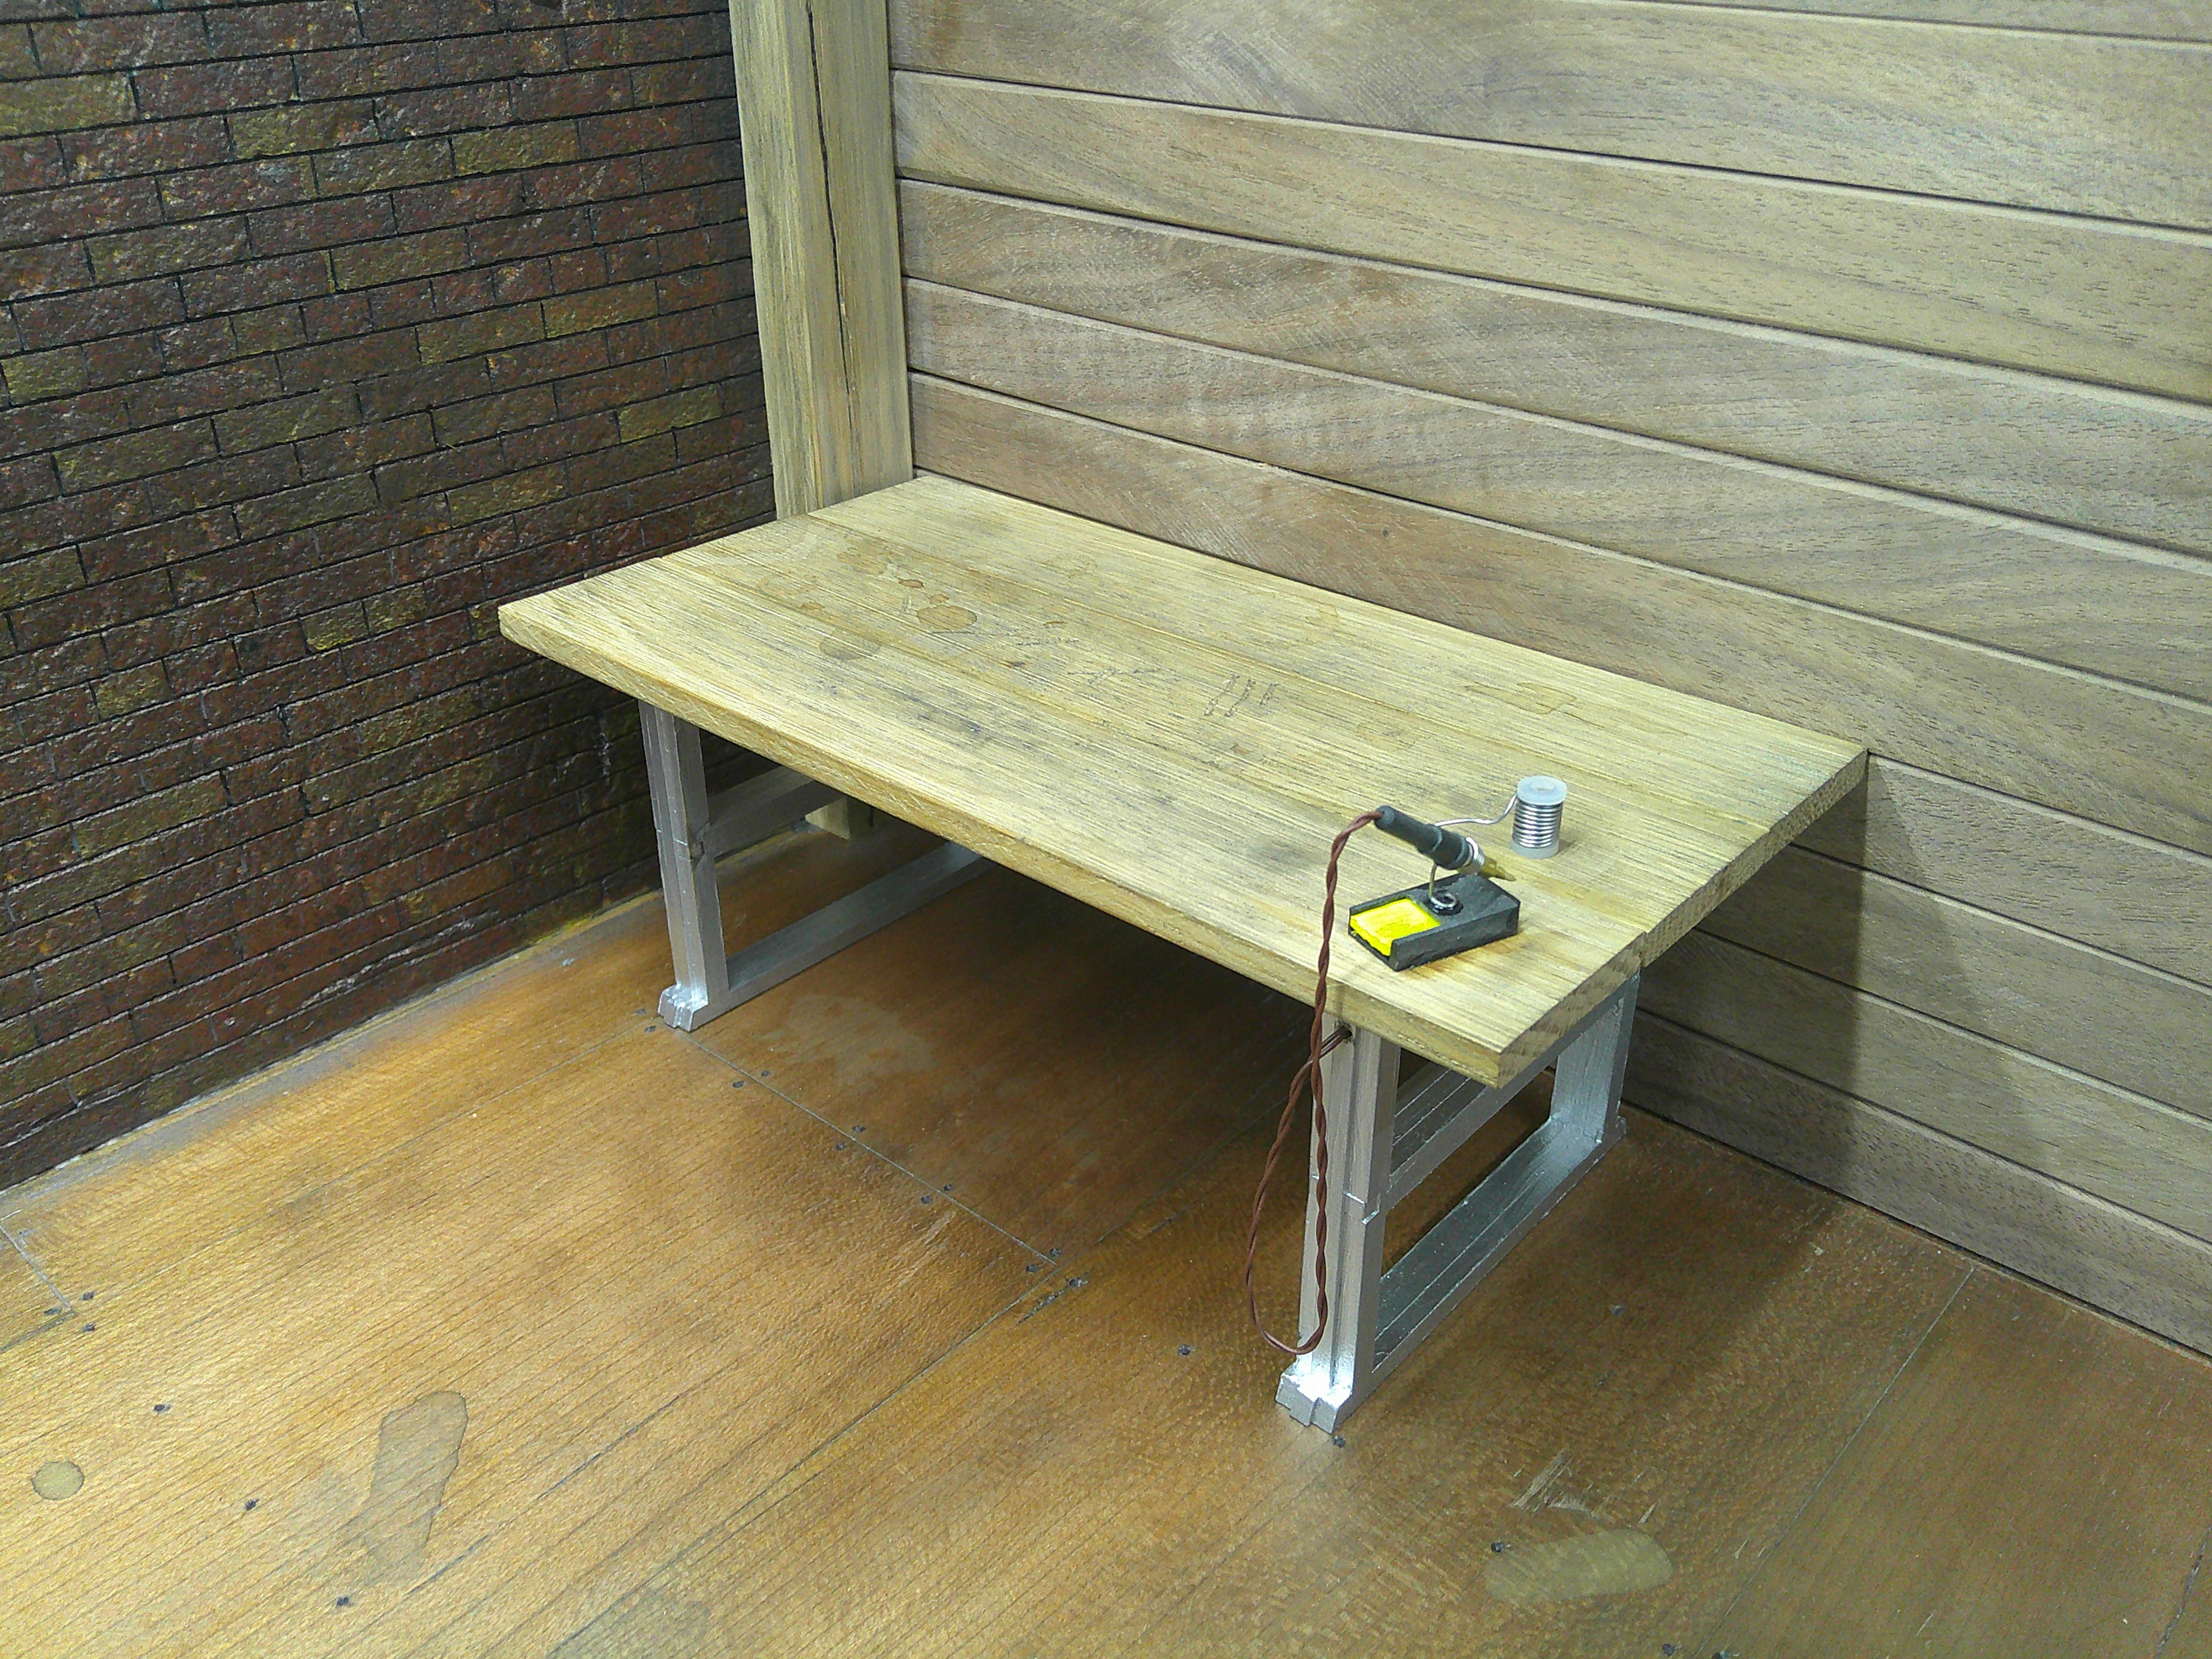
I didn't get much shop time today, but I was able to add some aging to one of the workbenches. I also added another layer to the bricks. I tried to tone down the brightest ones, and lighten the darkest ones. I'm starting to think about the mortar. :)
DSCF0241.JPG
DSCF0242.JPG
DSCF0245.JPG
 

Latest posts

Back
Top