
You are using an out of date browser. It may not display this or other websites correctly.
You should upgrade or use an alternative browser.
You should upgrade or use an alternative browser.
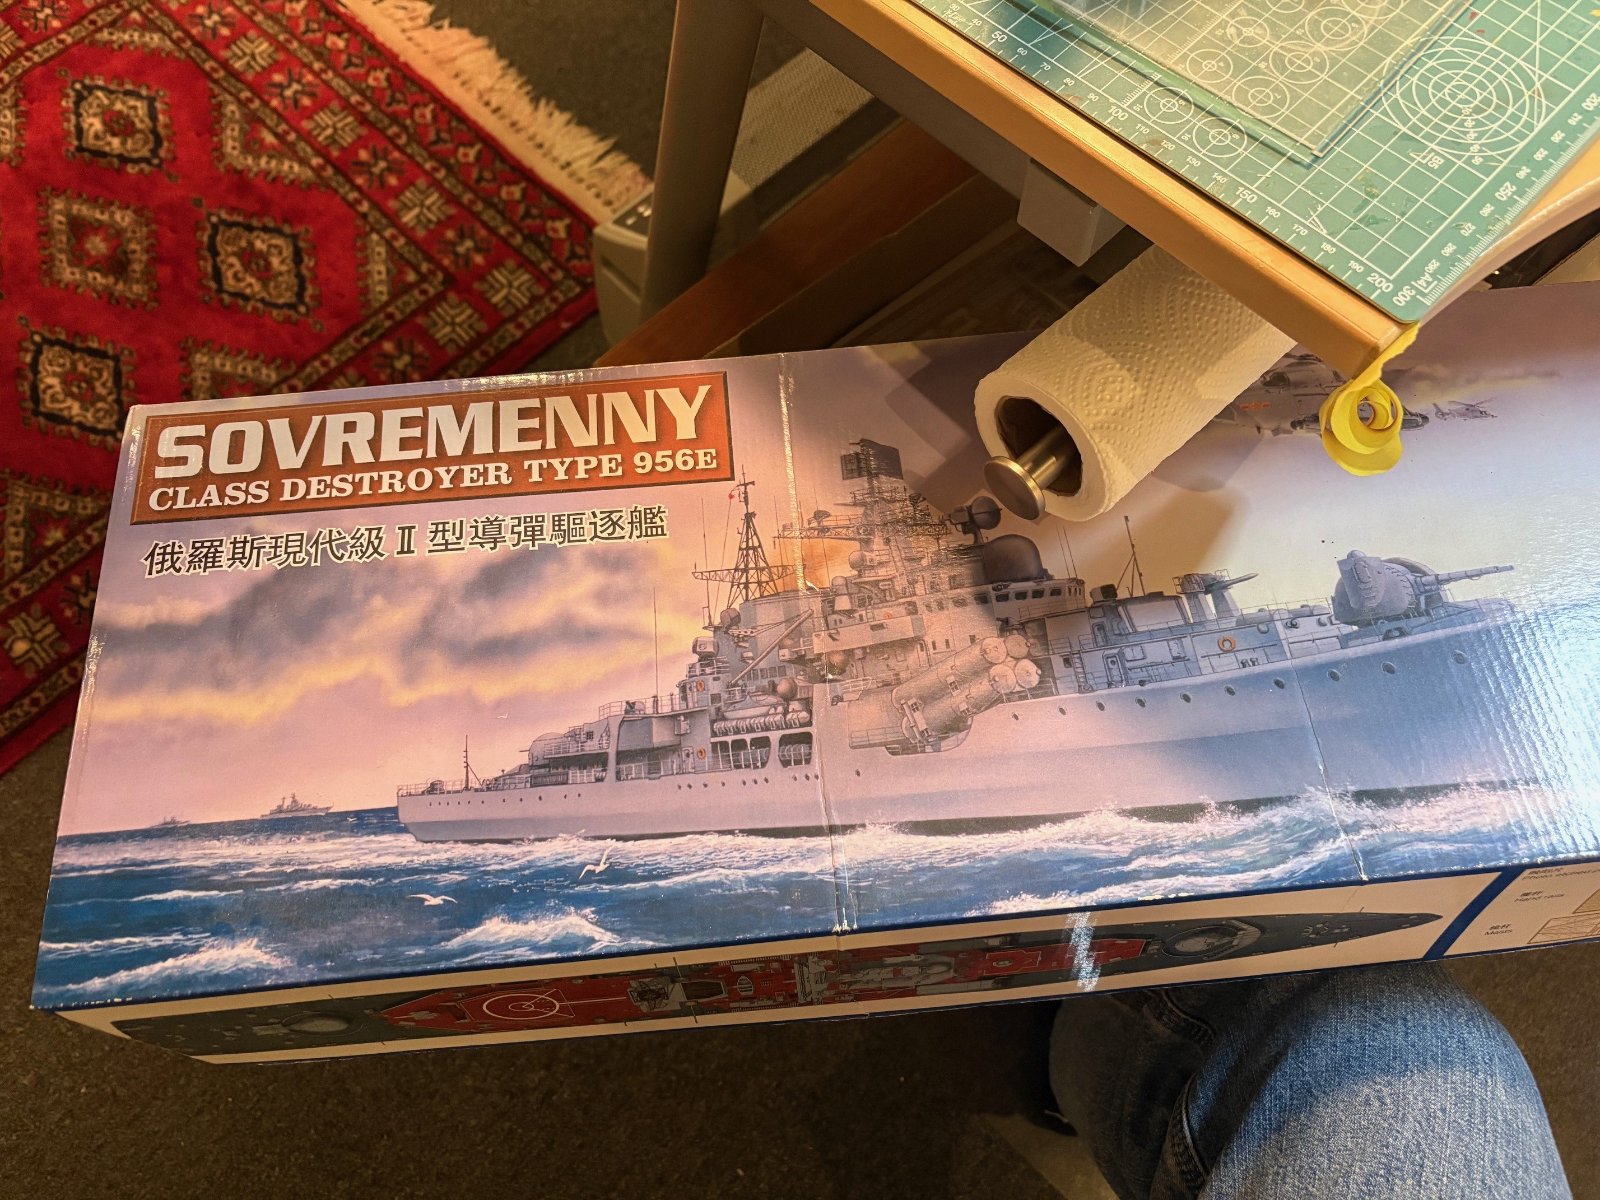
Sovremenny class destroyer trumpeter 1/200
- Thread starter domer94
- Start date

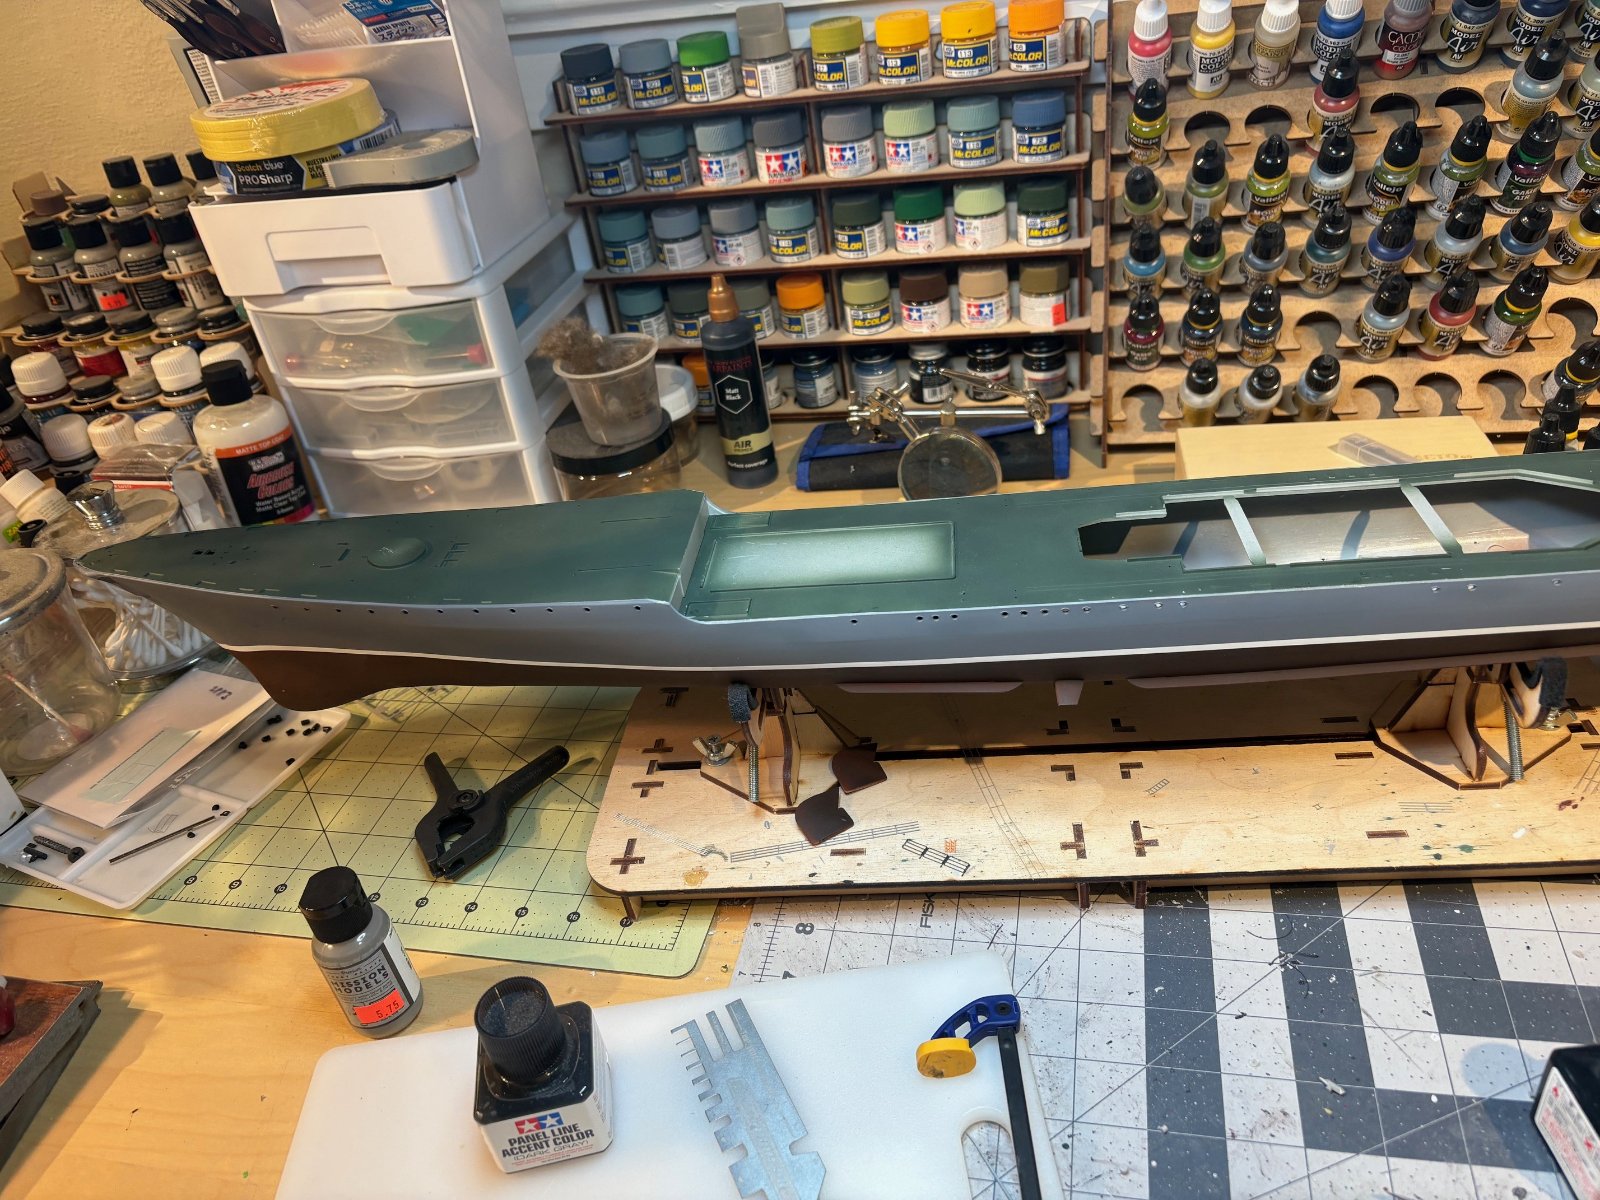
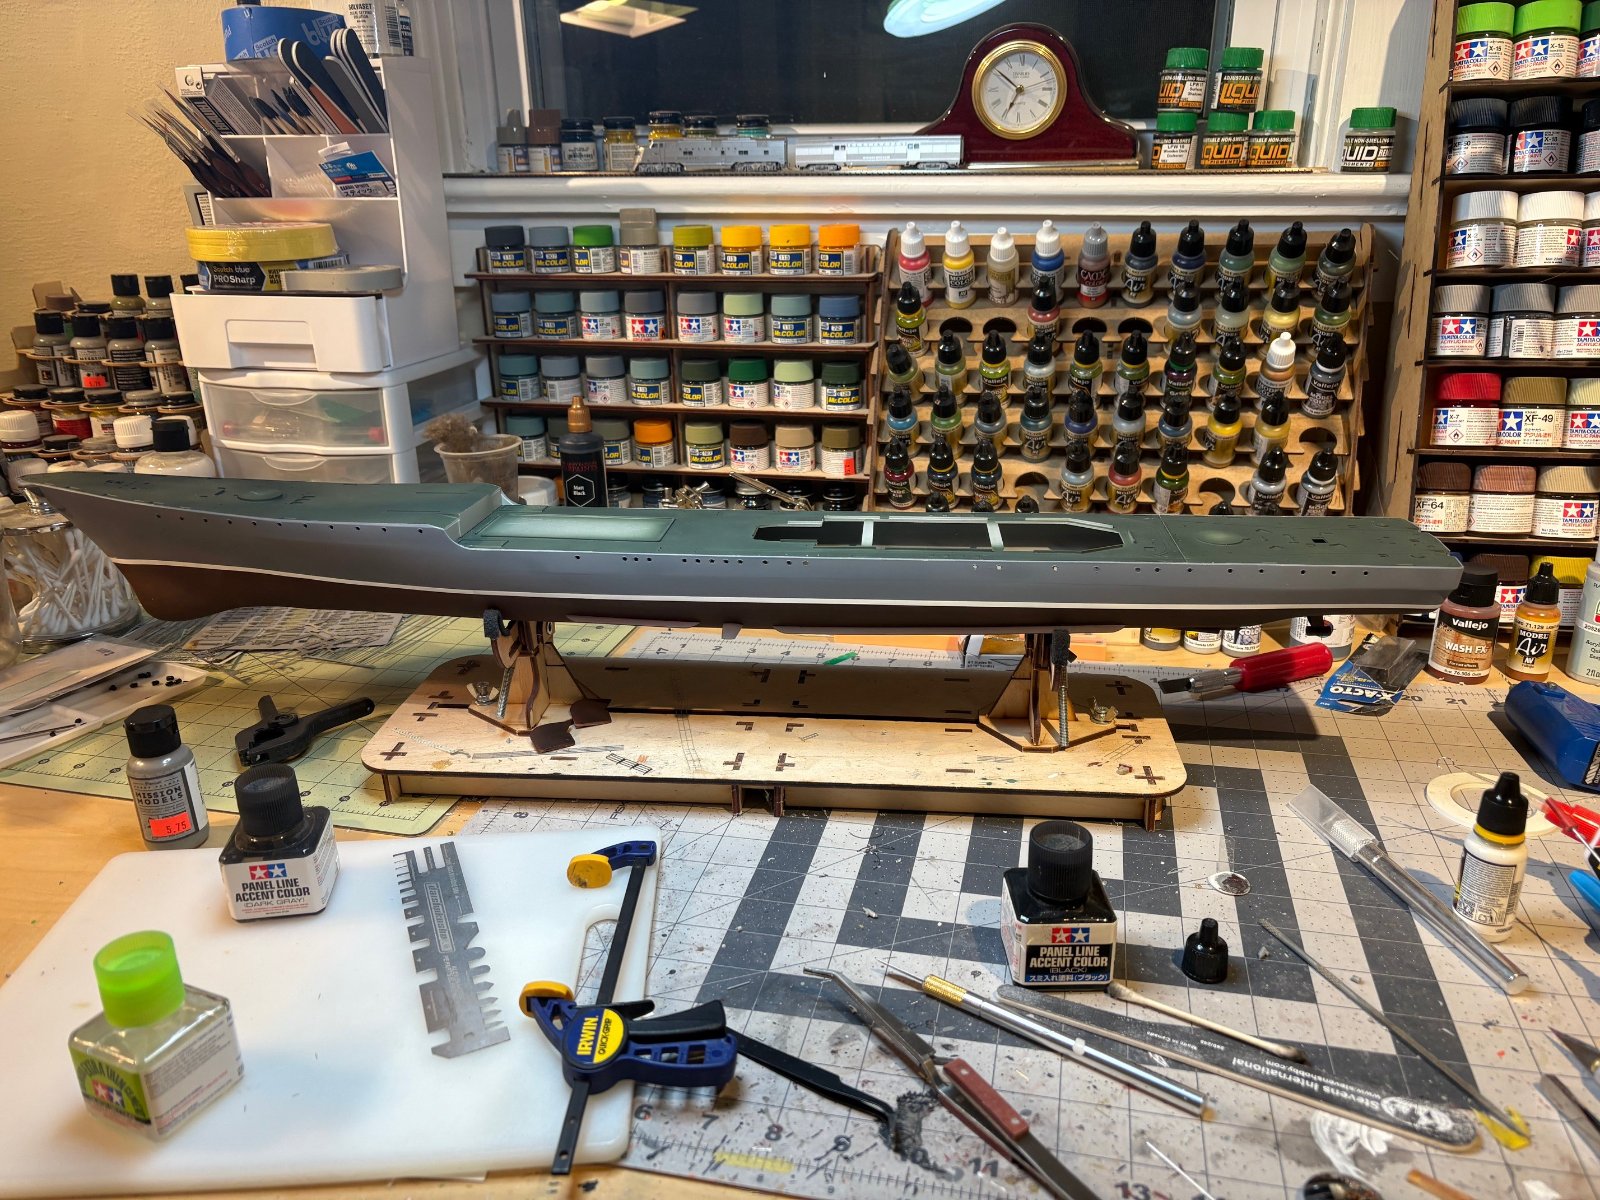
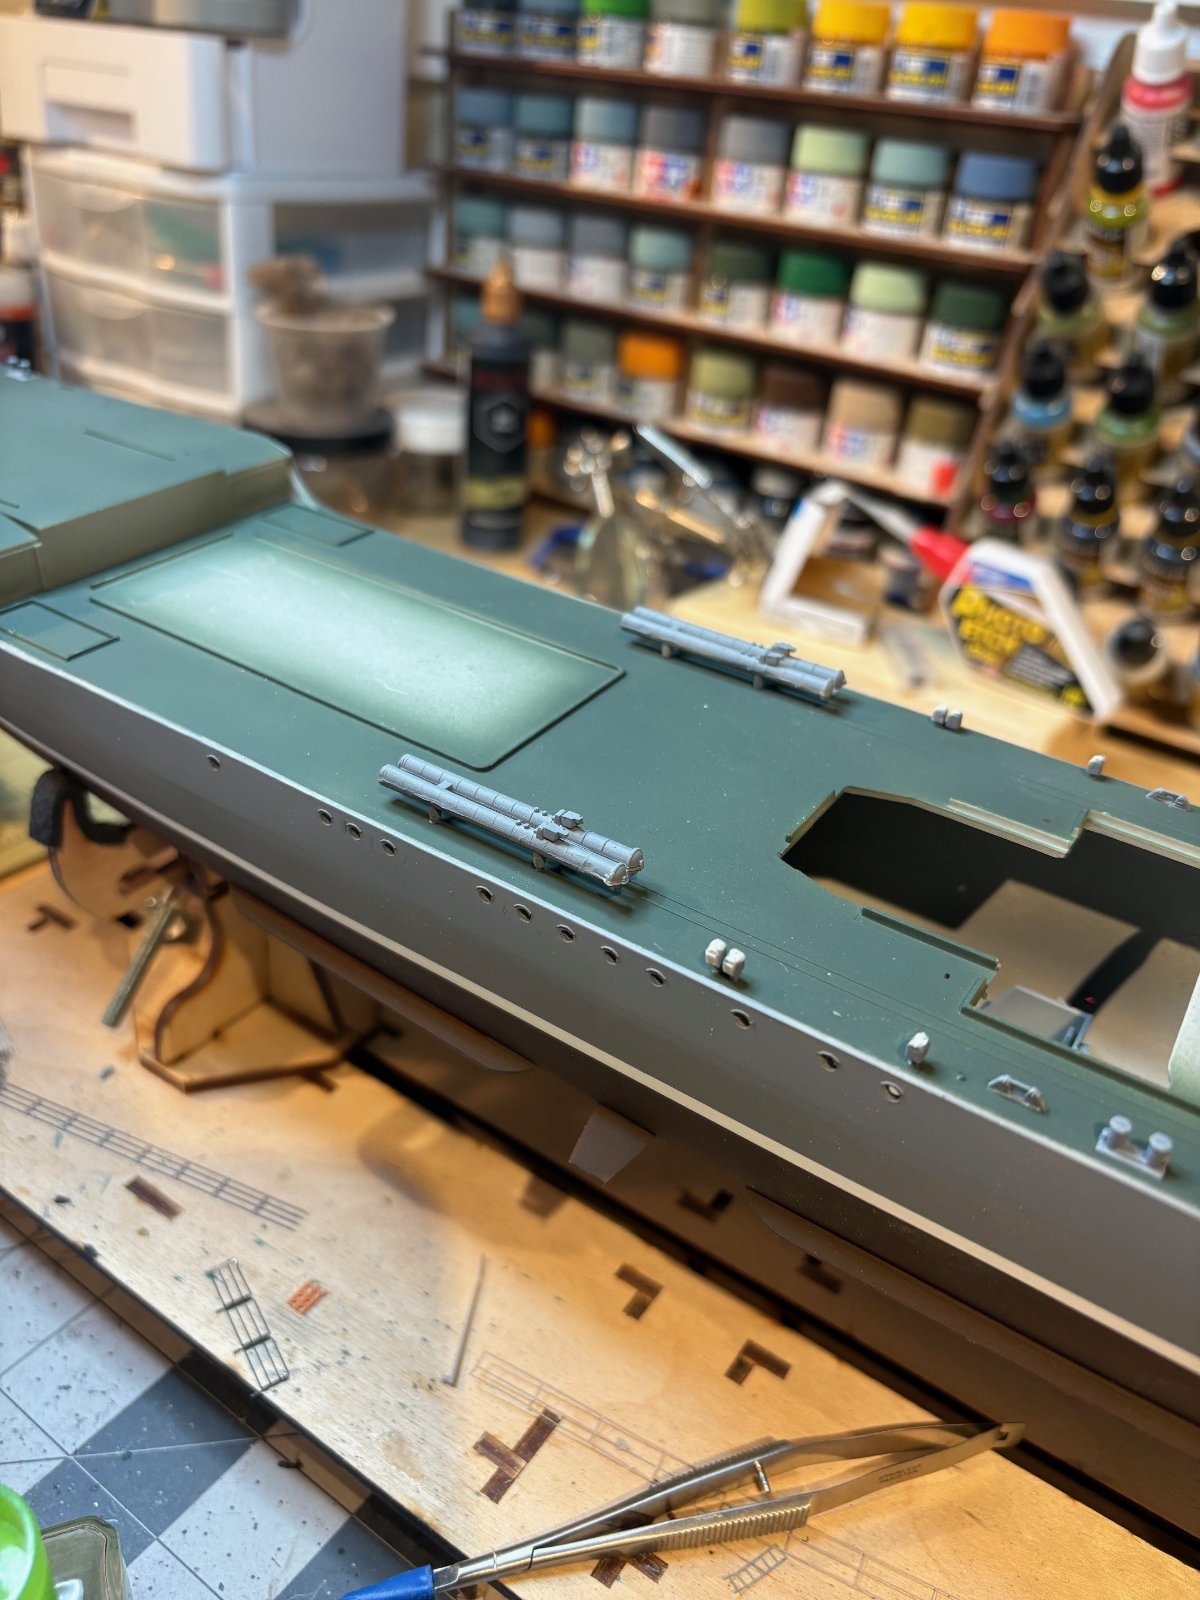
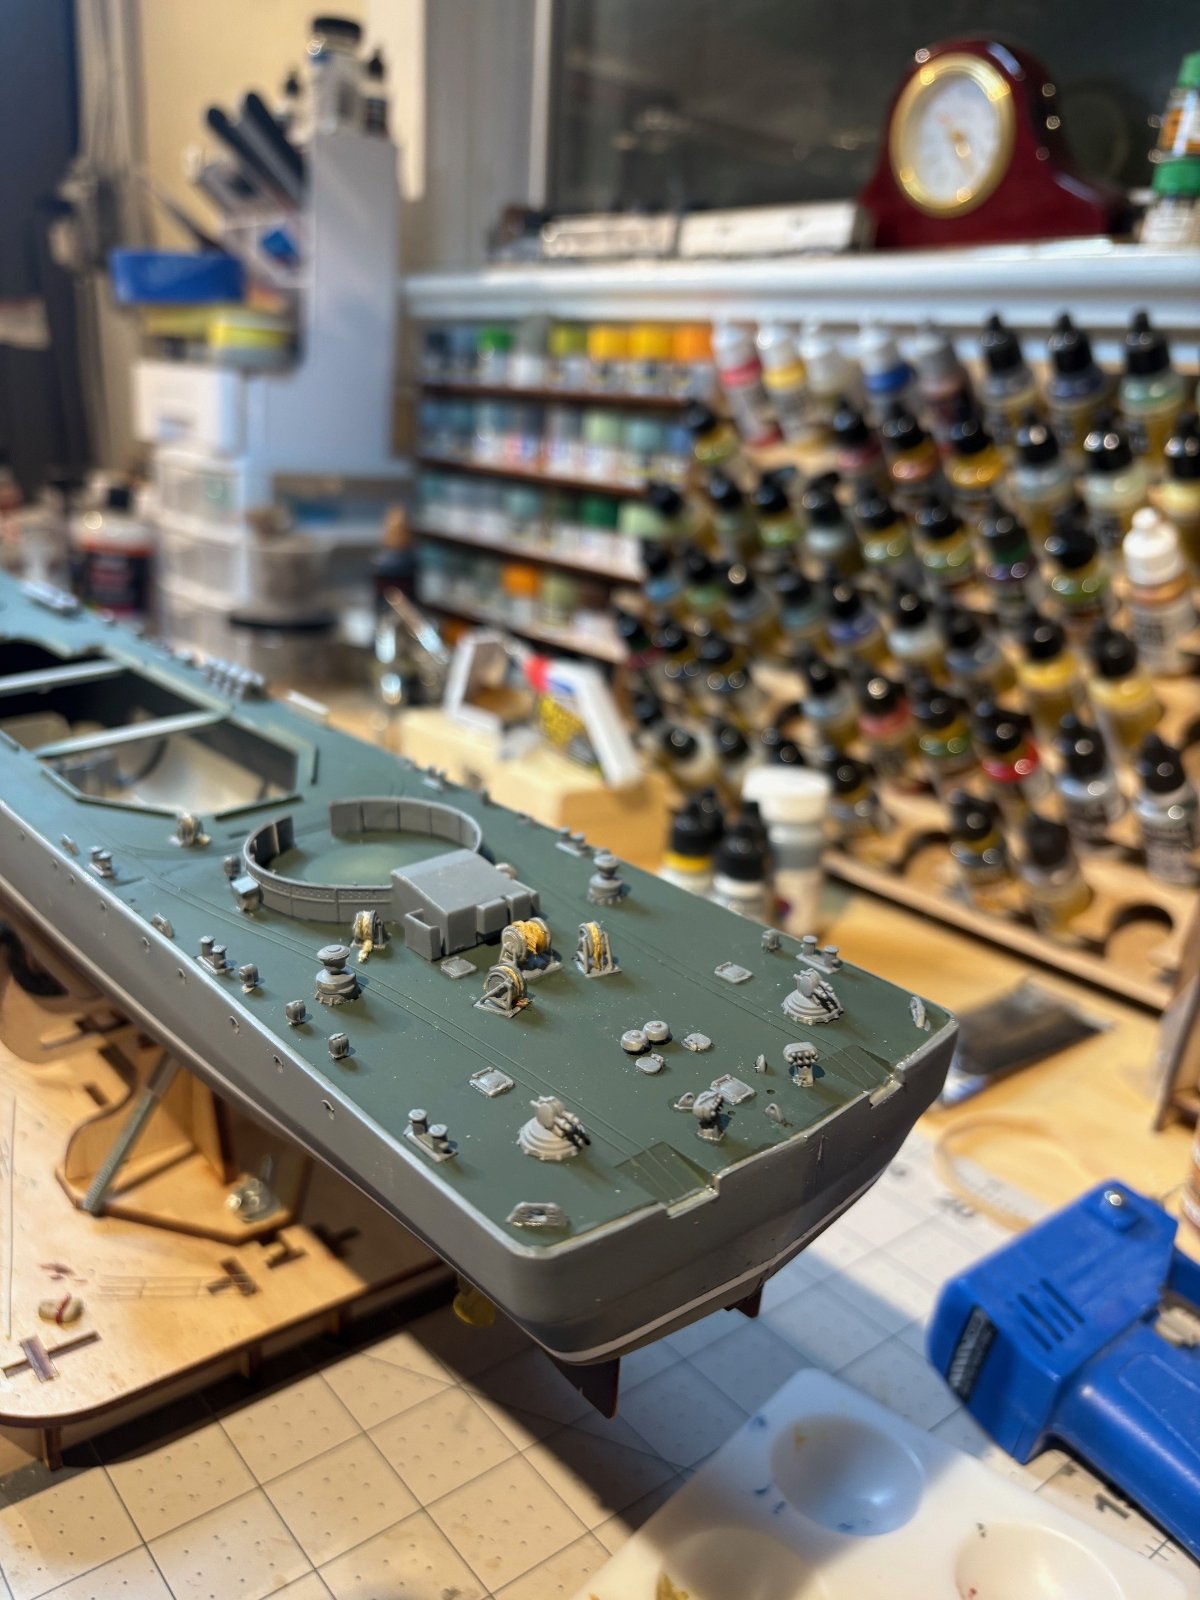
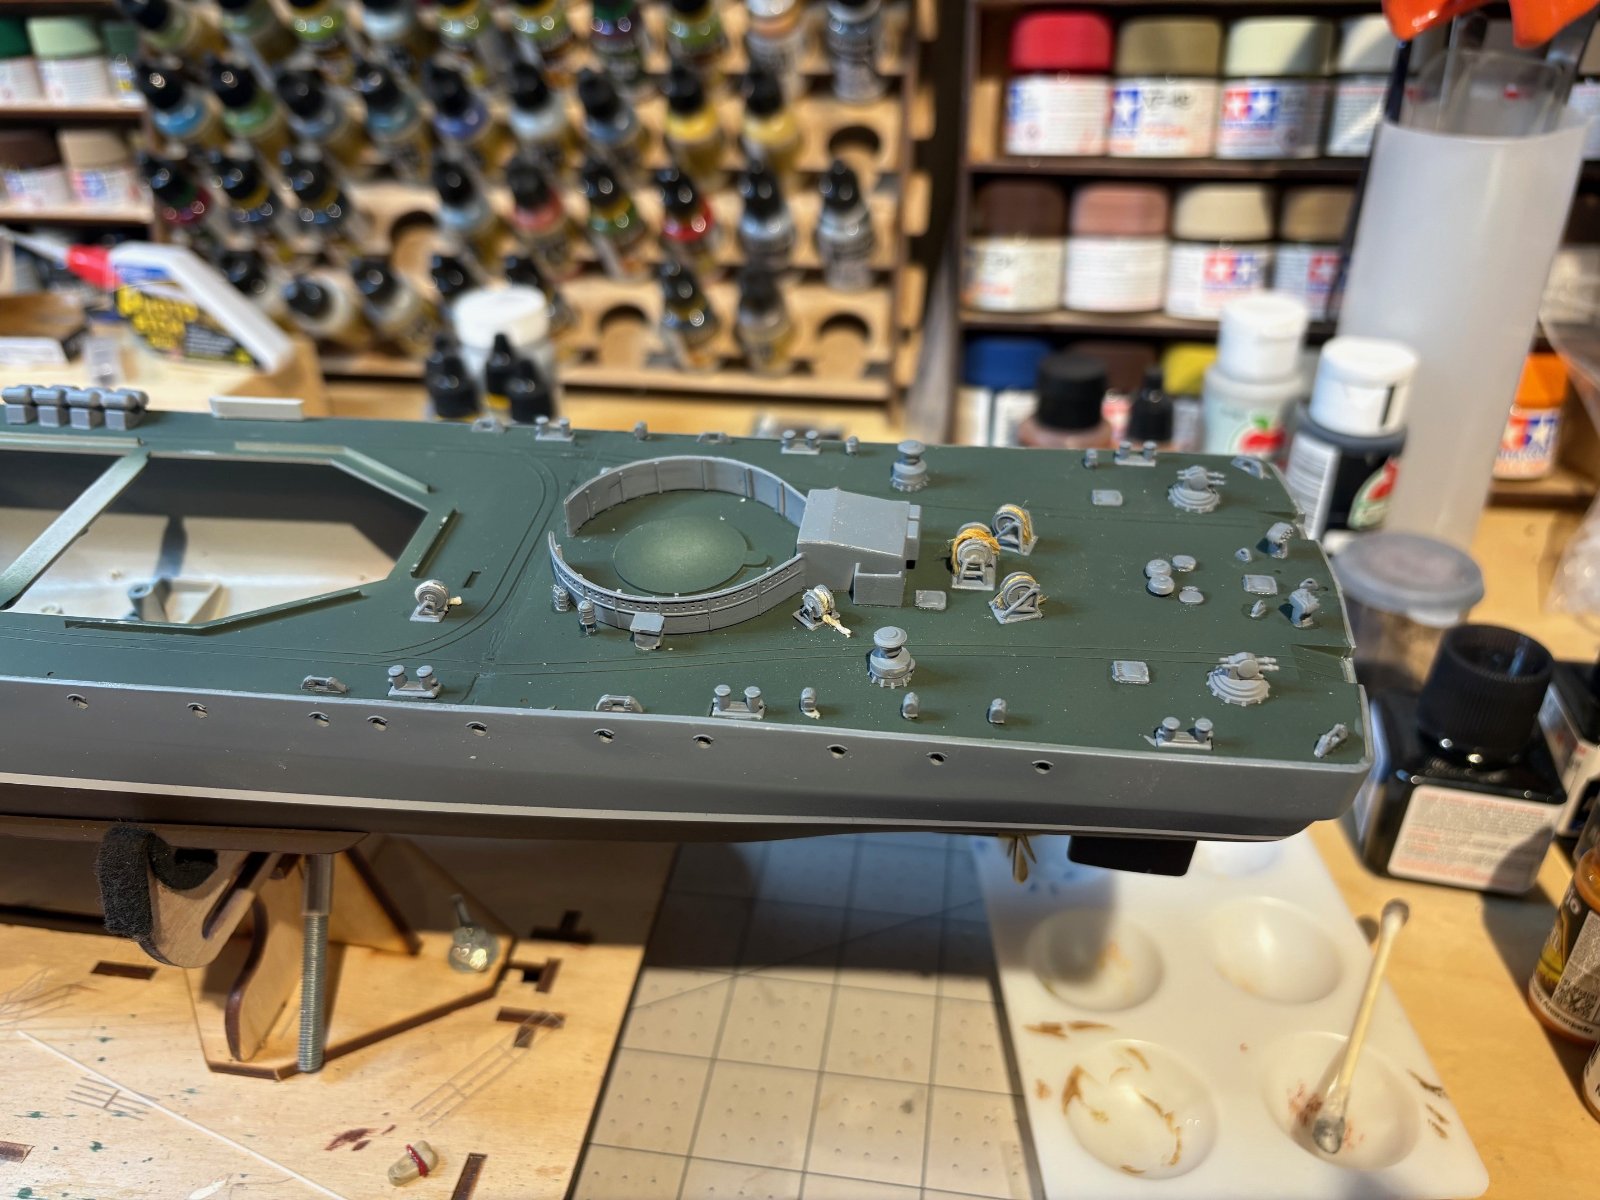
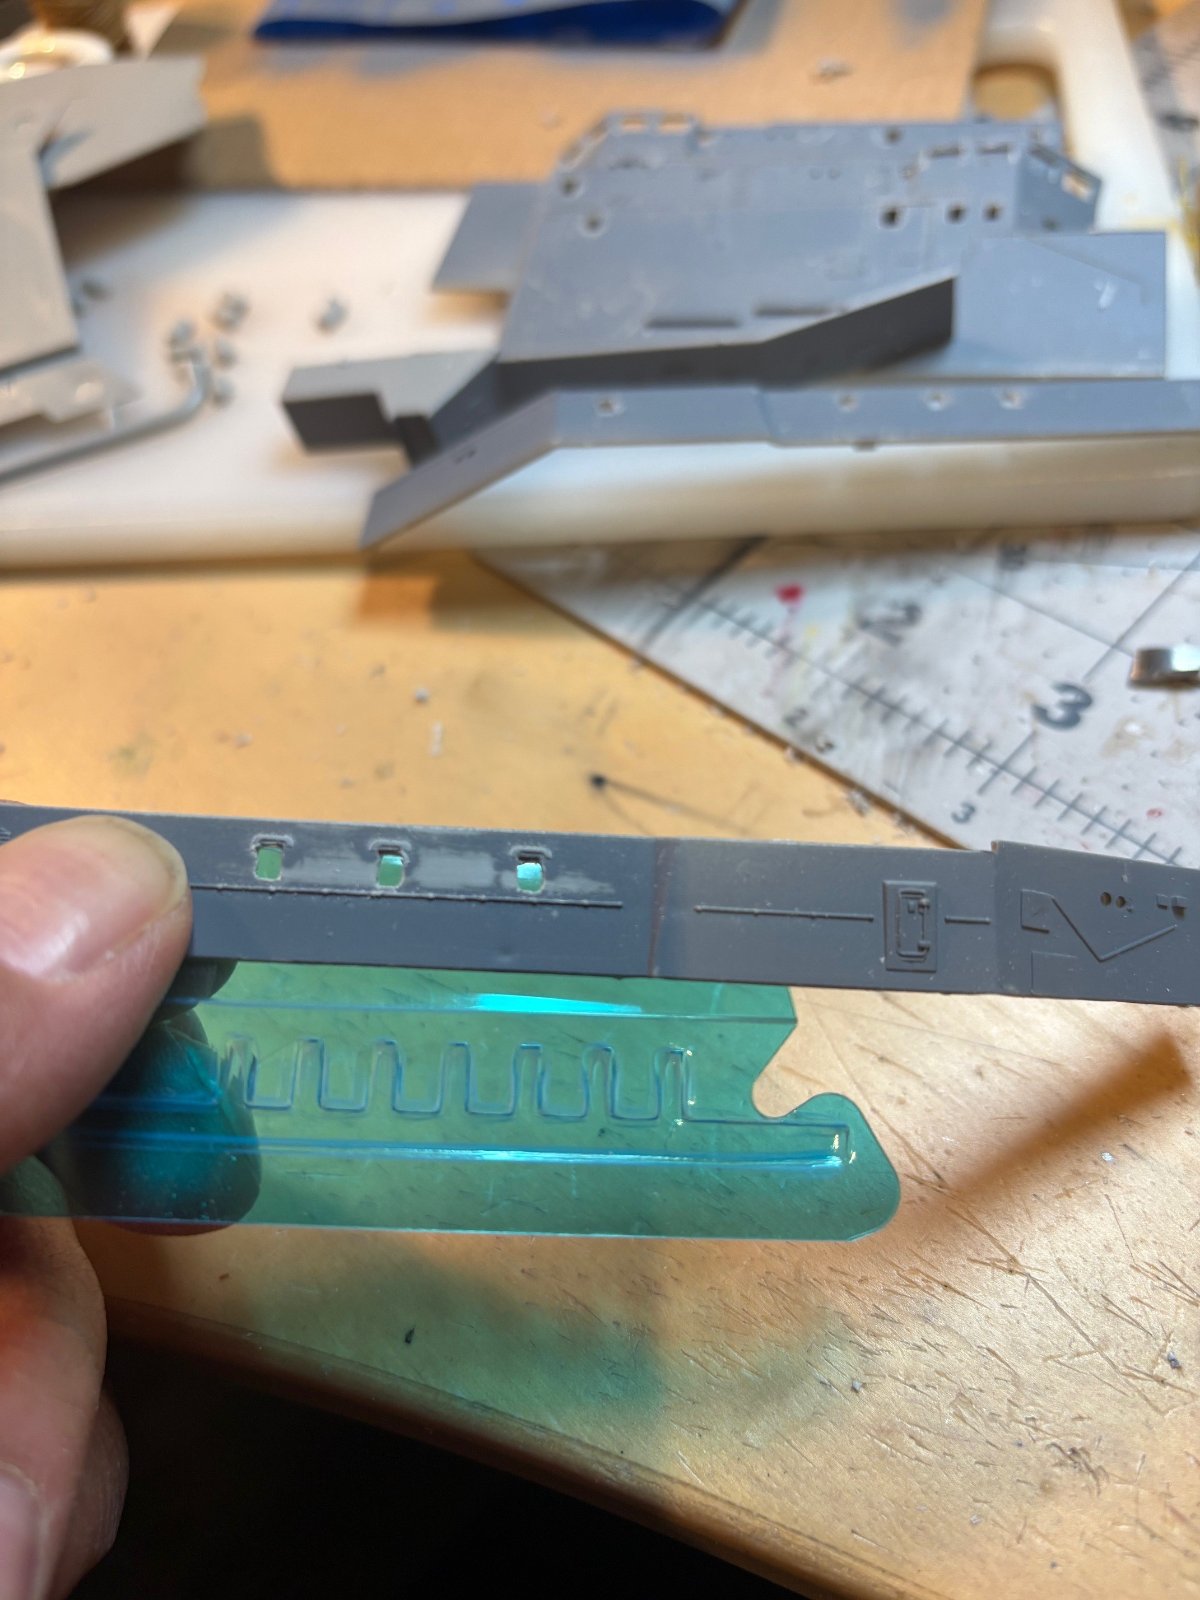
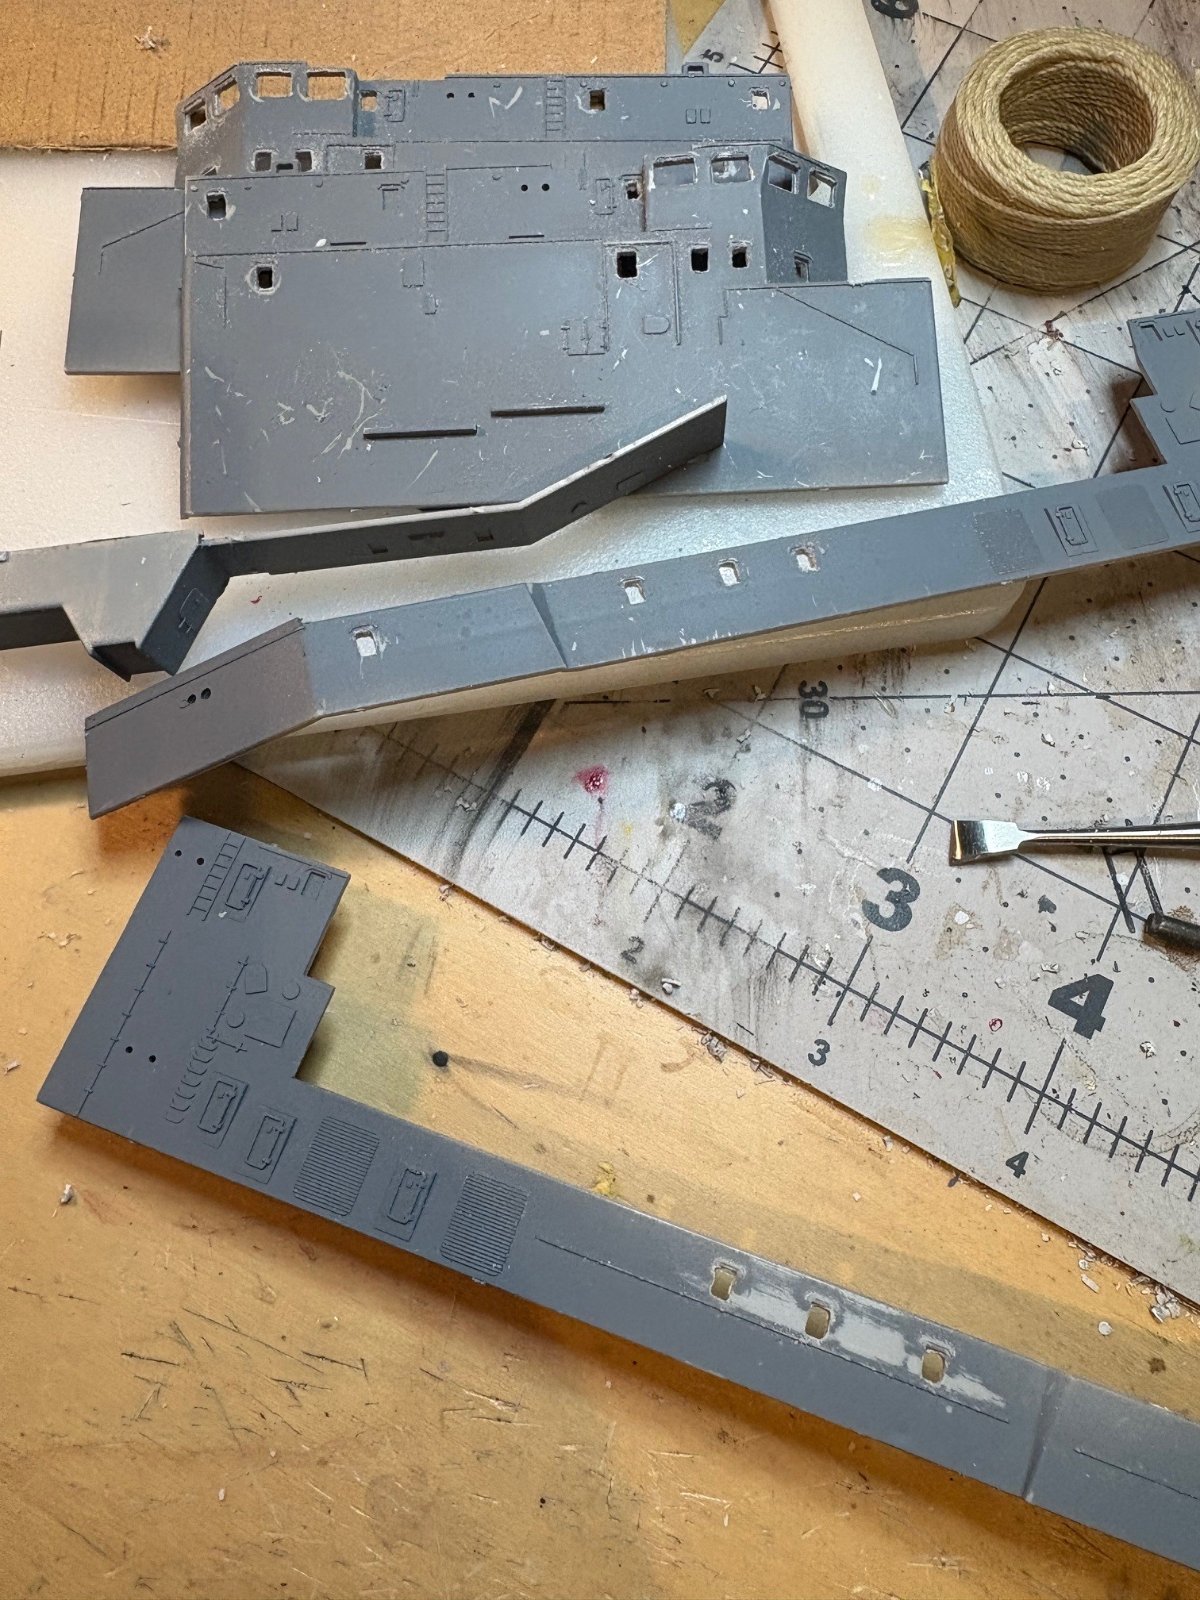
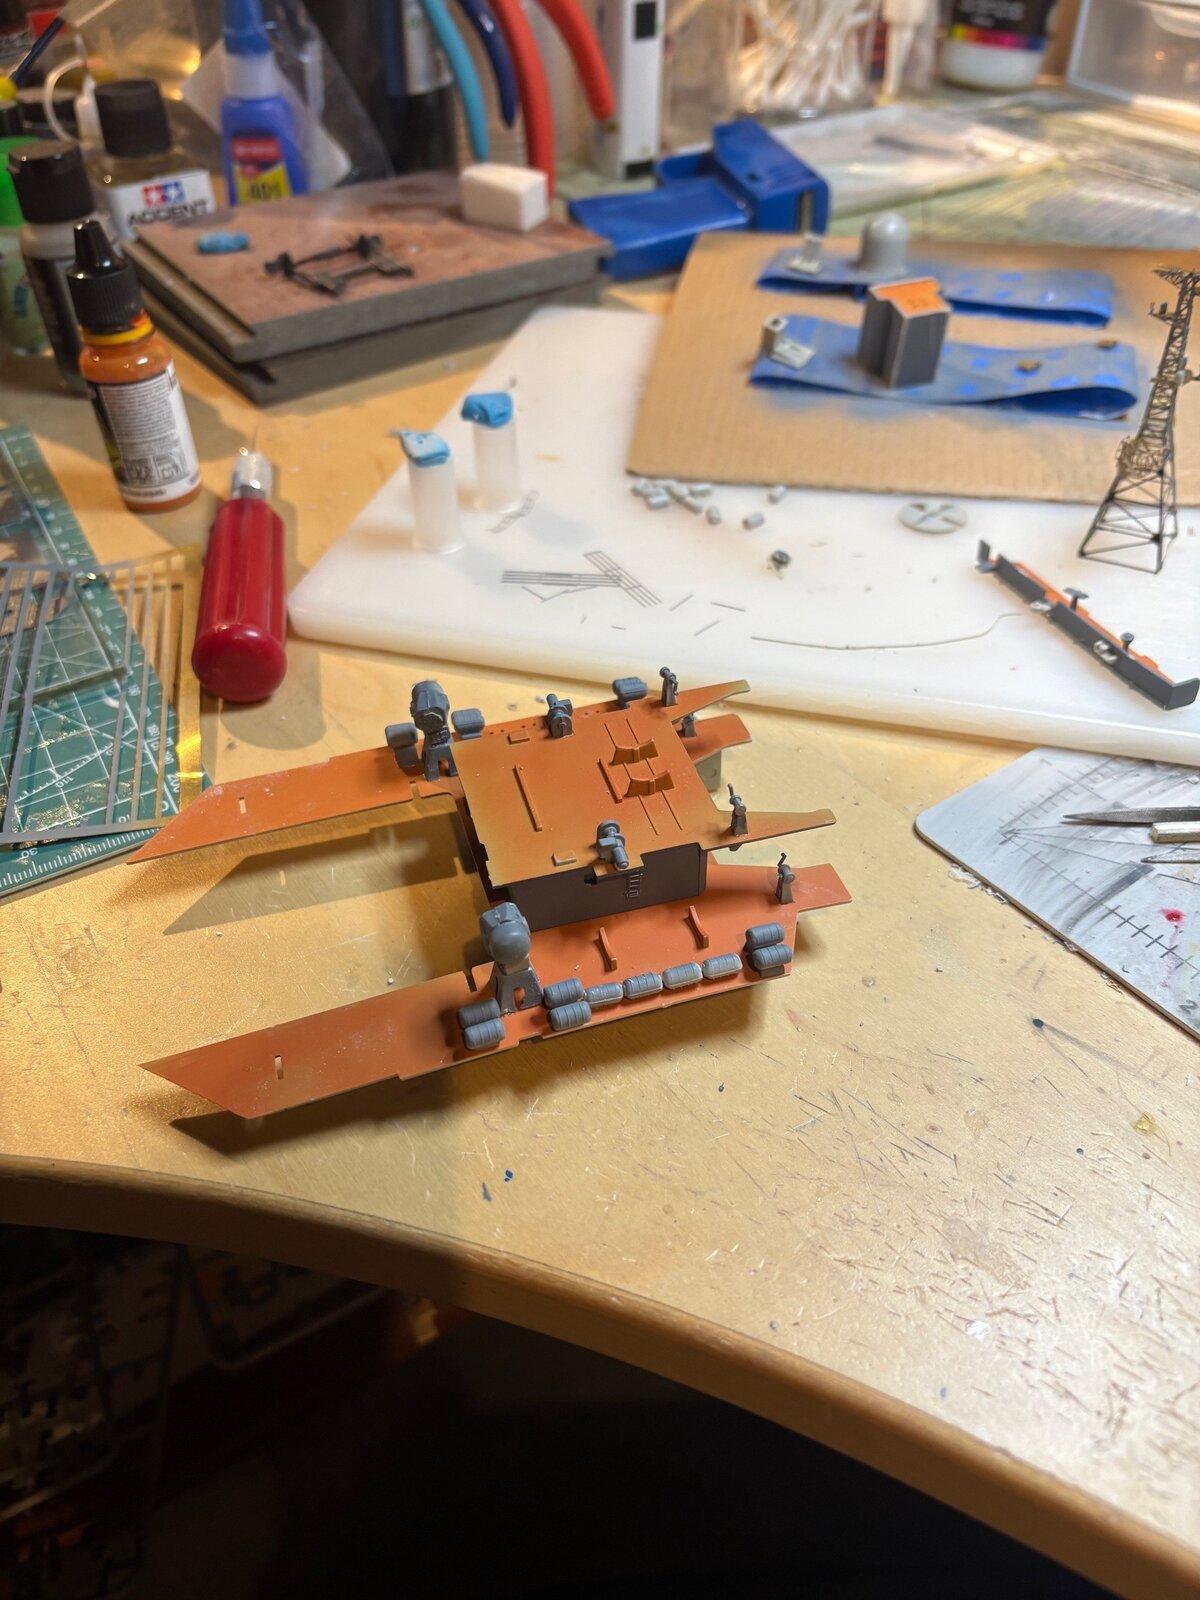
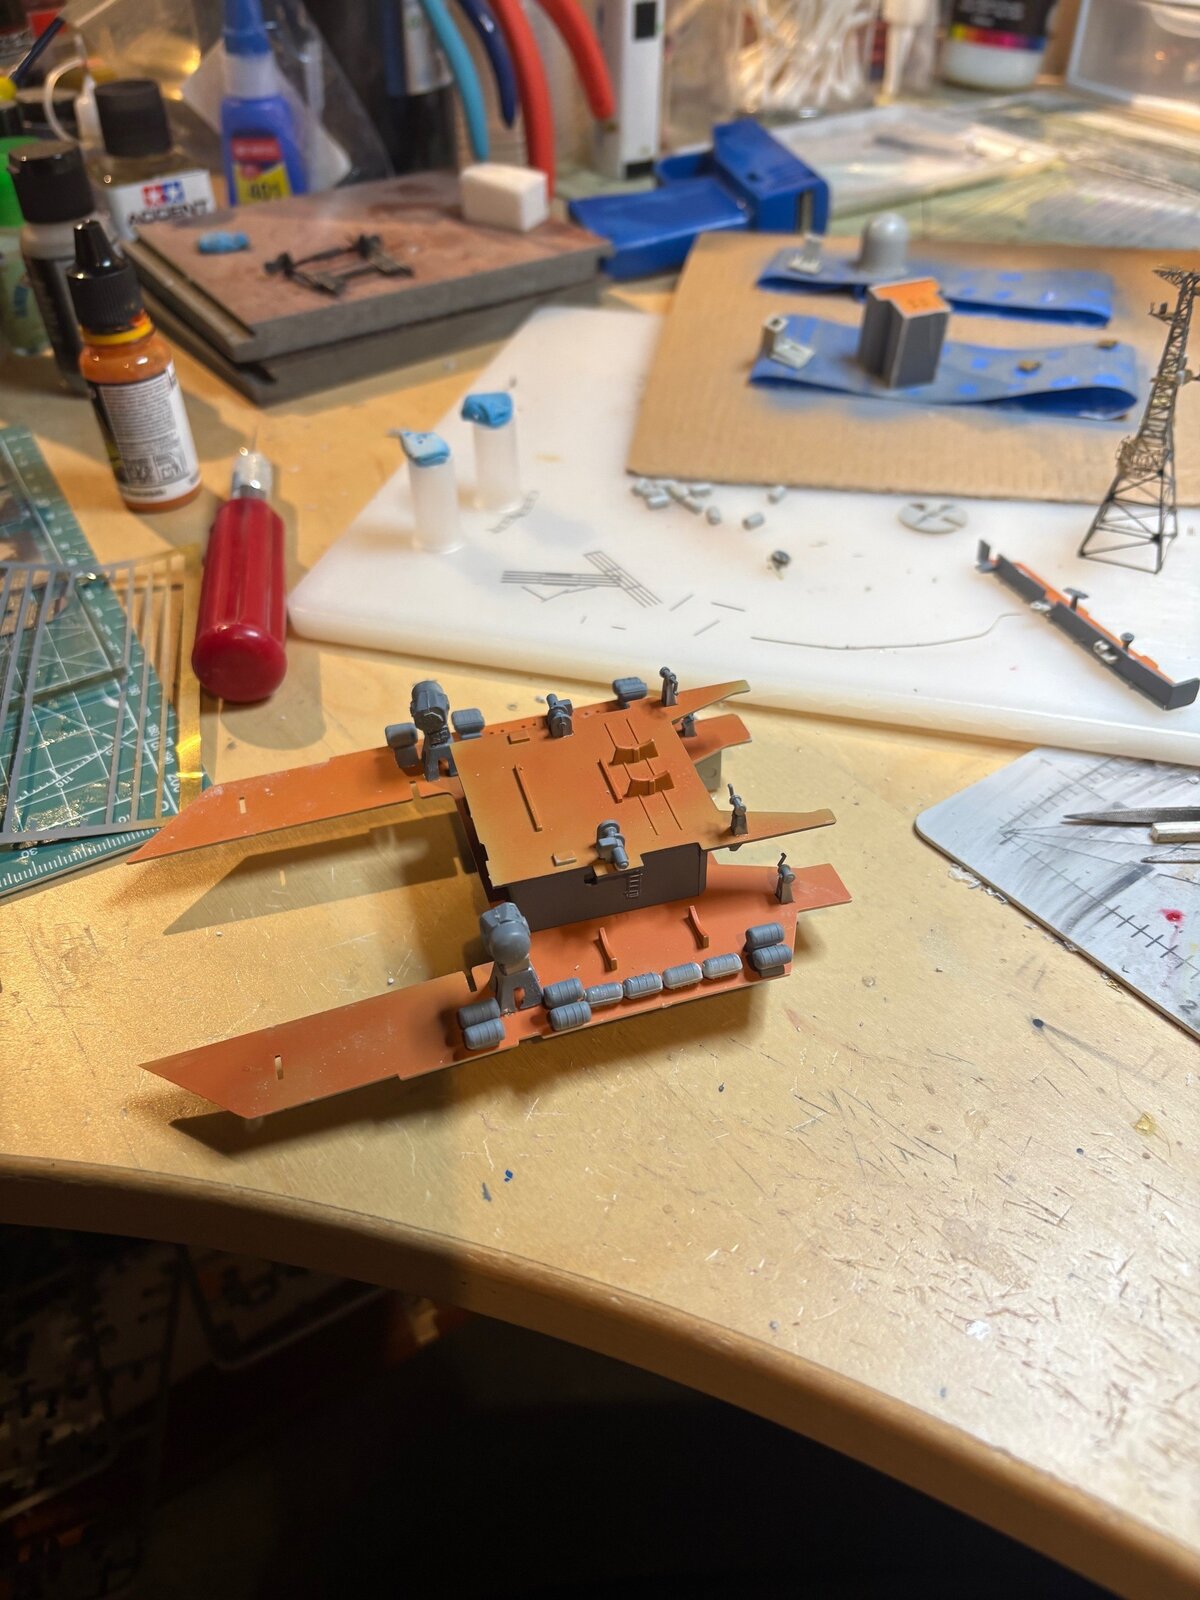
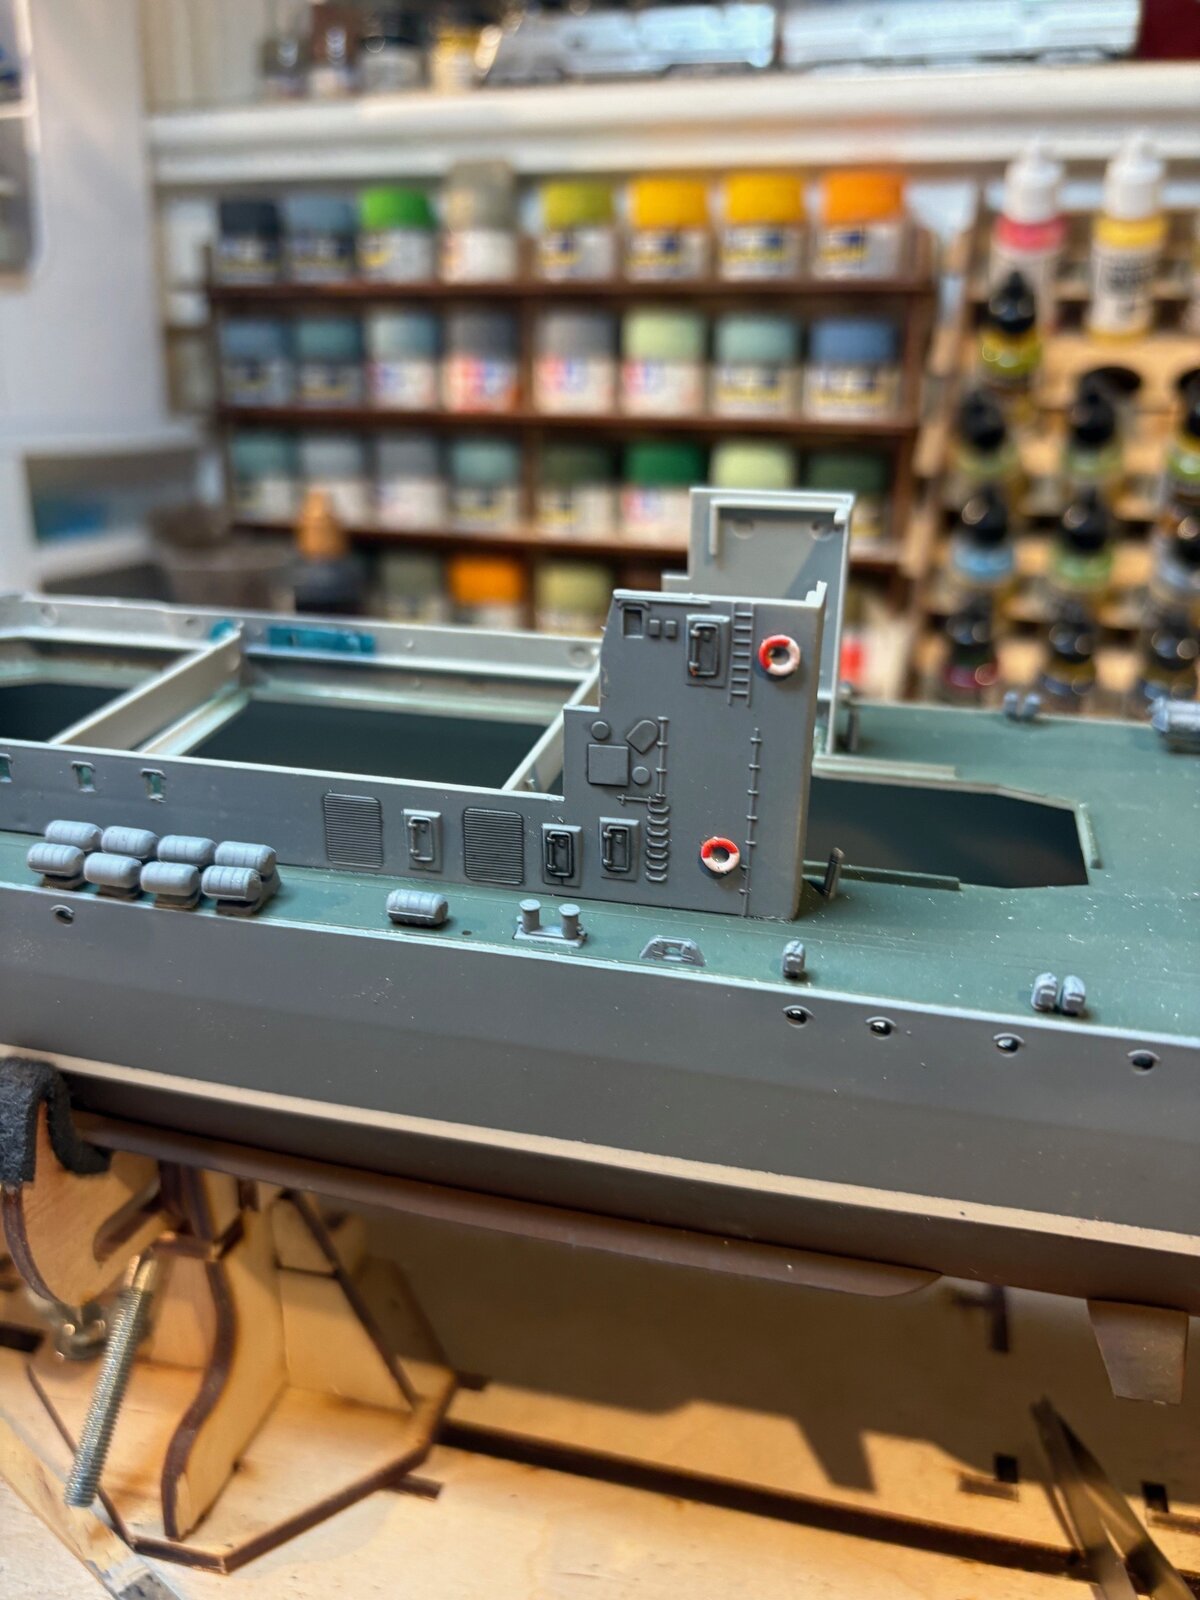
been working on deck fittings... many deck fittings... have to go back and touch up here and there.. i dont know if this is an older trumpeter kit.. some of the sprue work and moldings seem crude. i do have a PE kit with it... seems to be the bigger parts and antennas.. no tiny gussets etc etc
Attachments
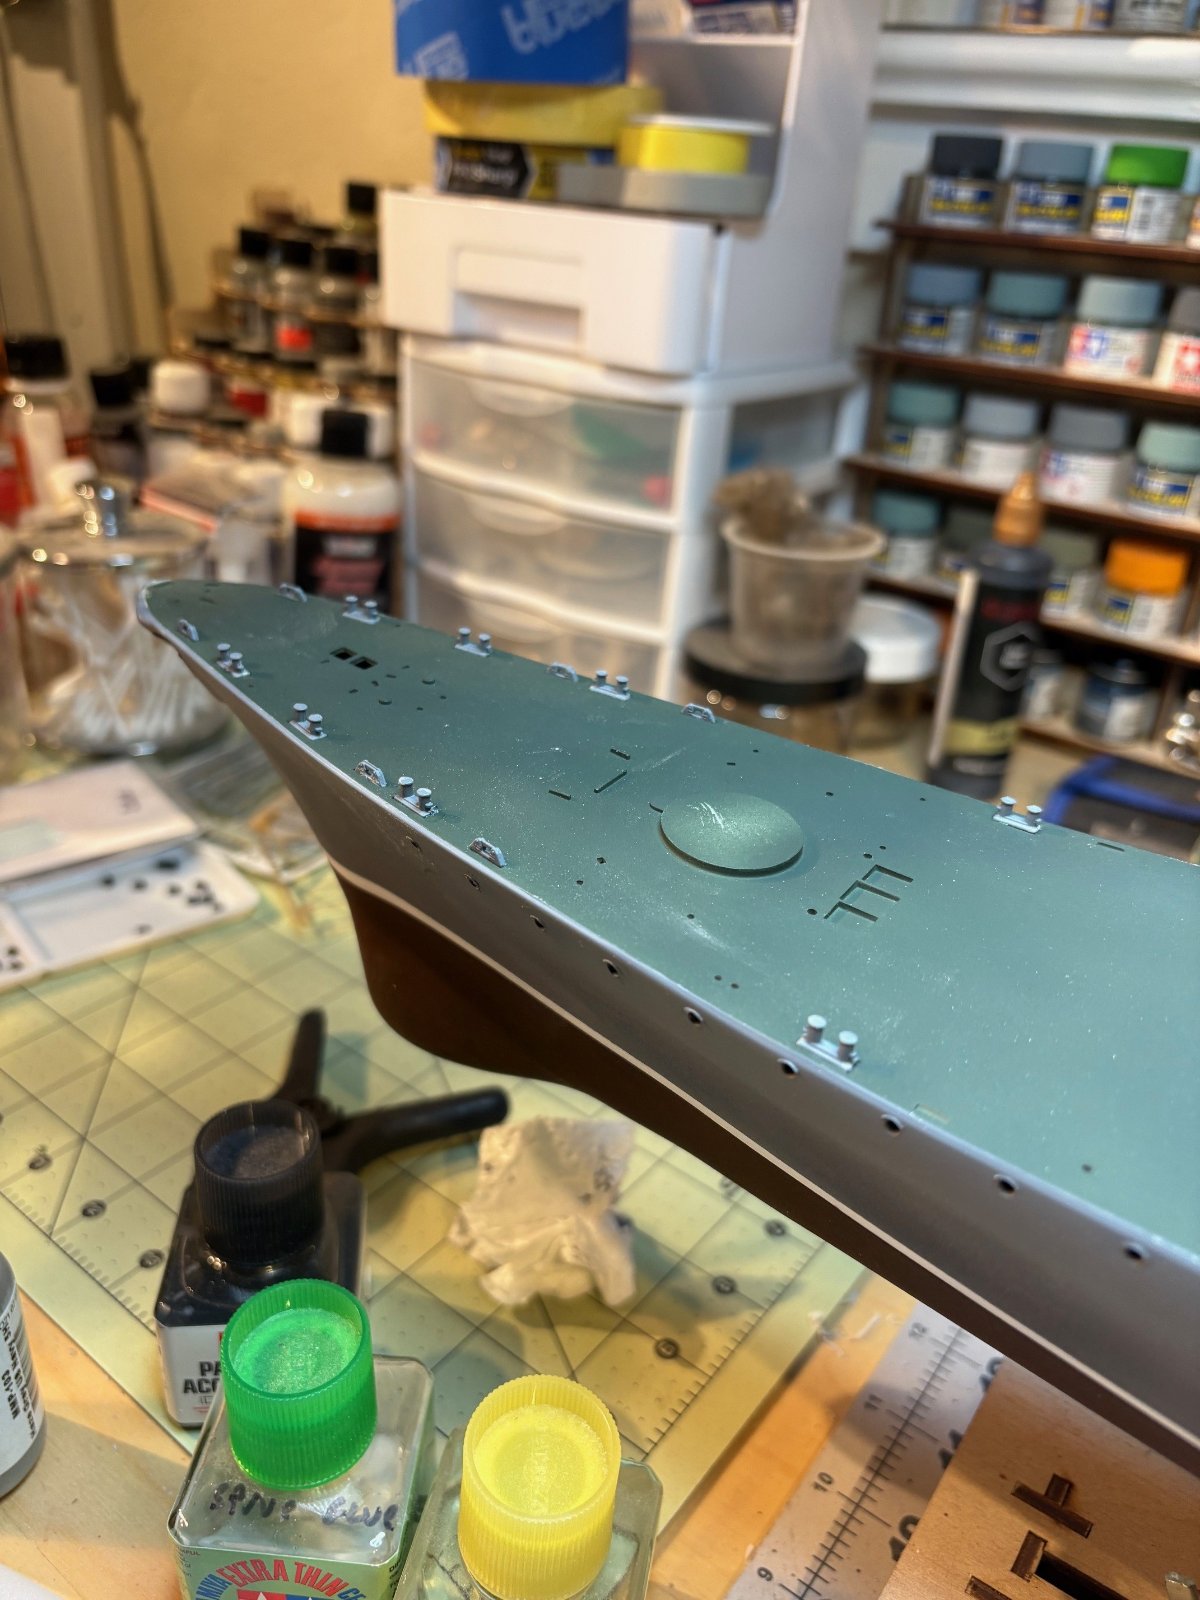
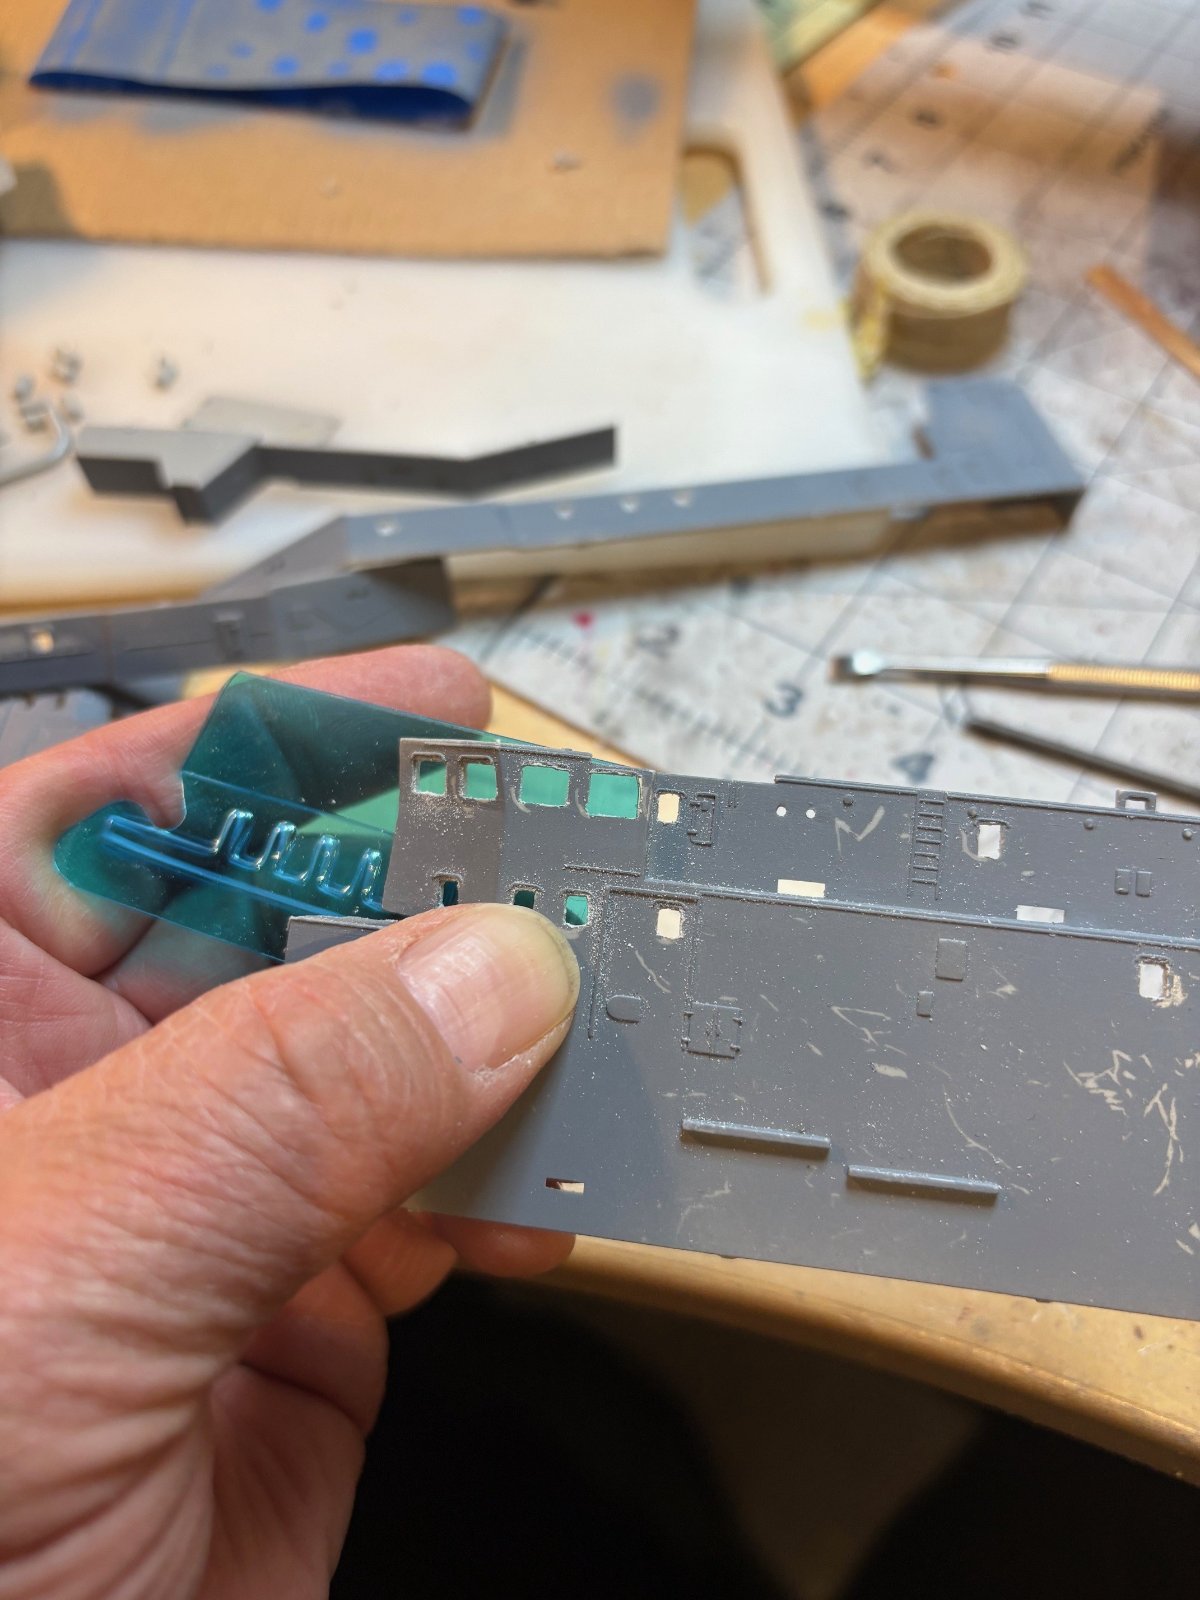
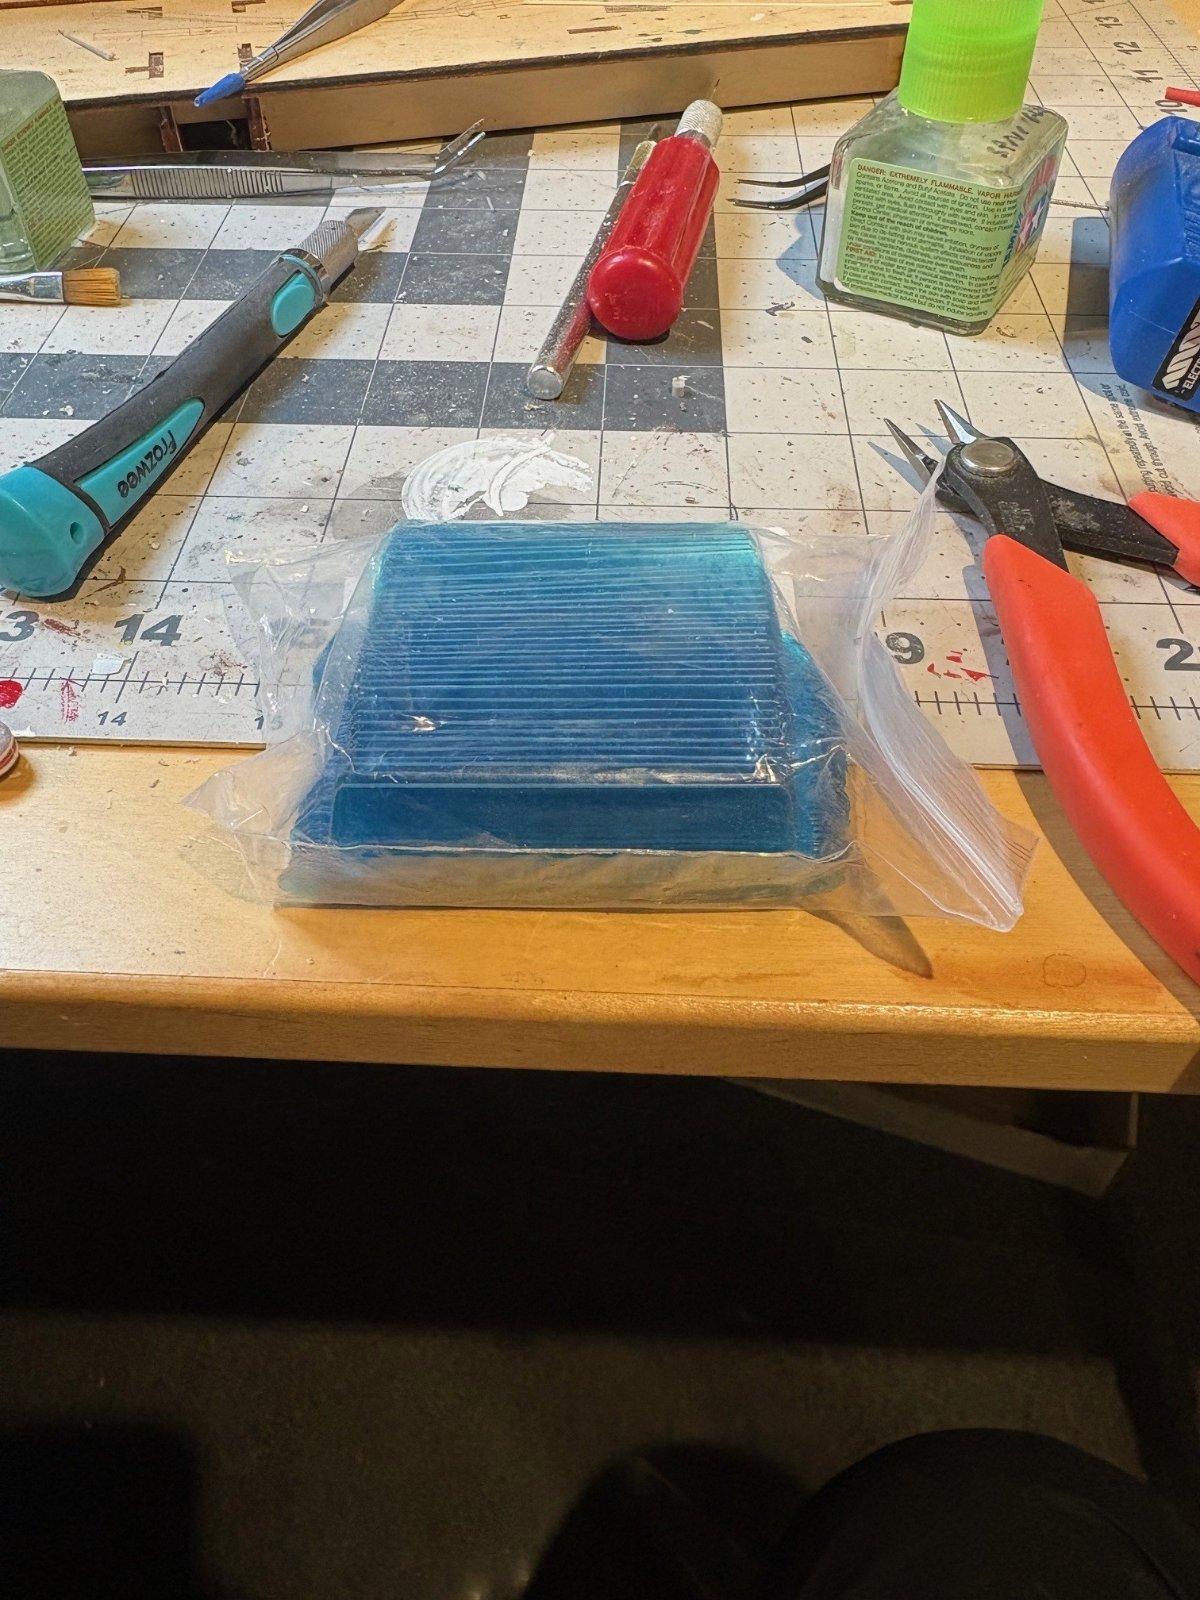

... that is a great hack! and I have a drawer full of them... who has paper anymore?... even if I wanted to, just about everything is electronic these days!trusty file folder material
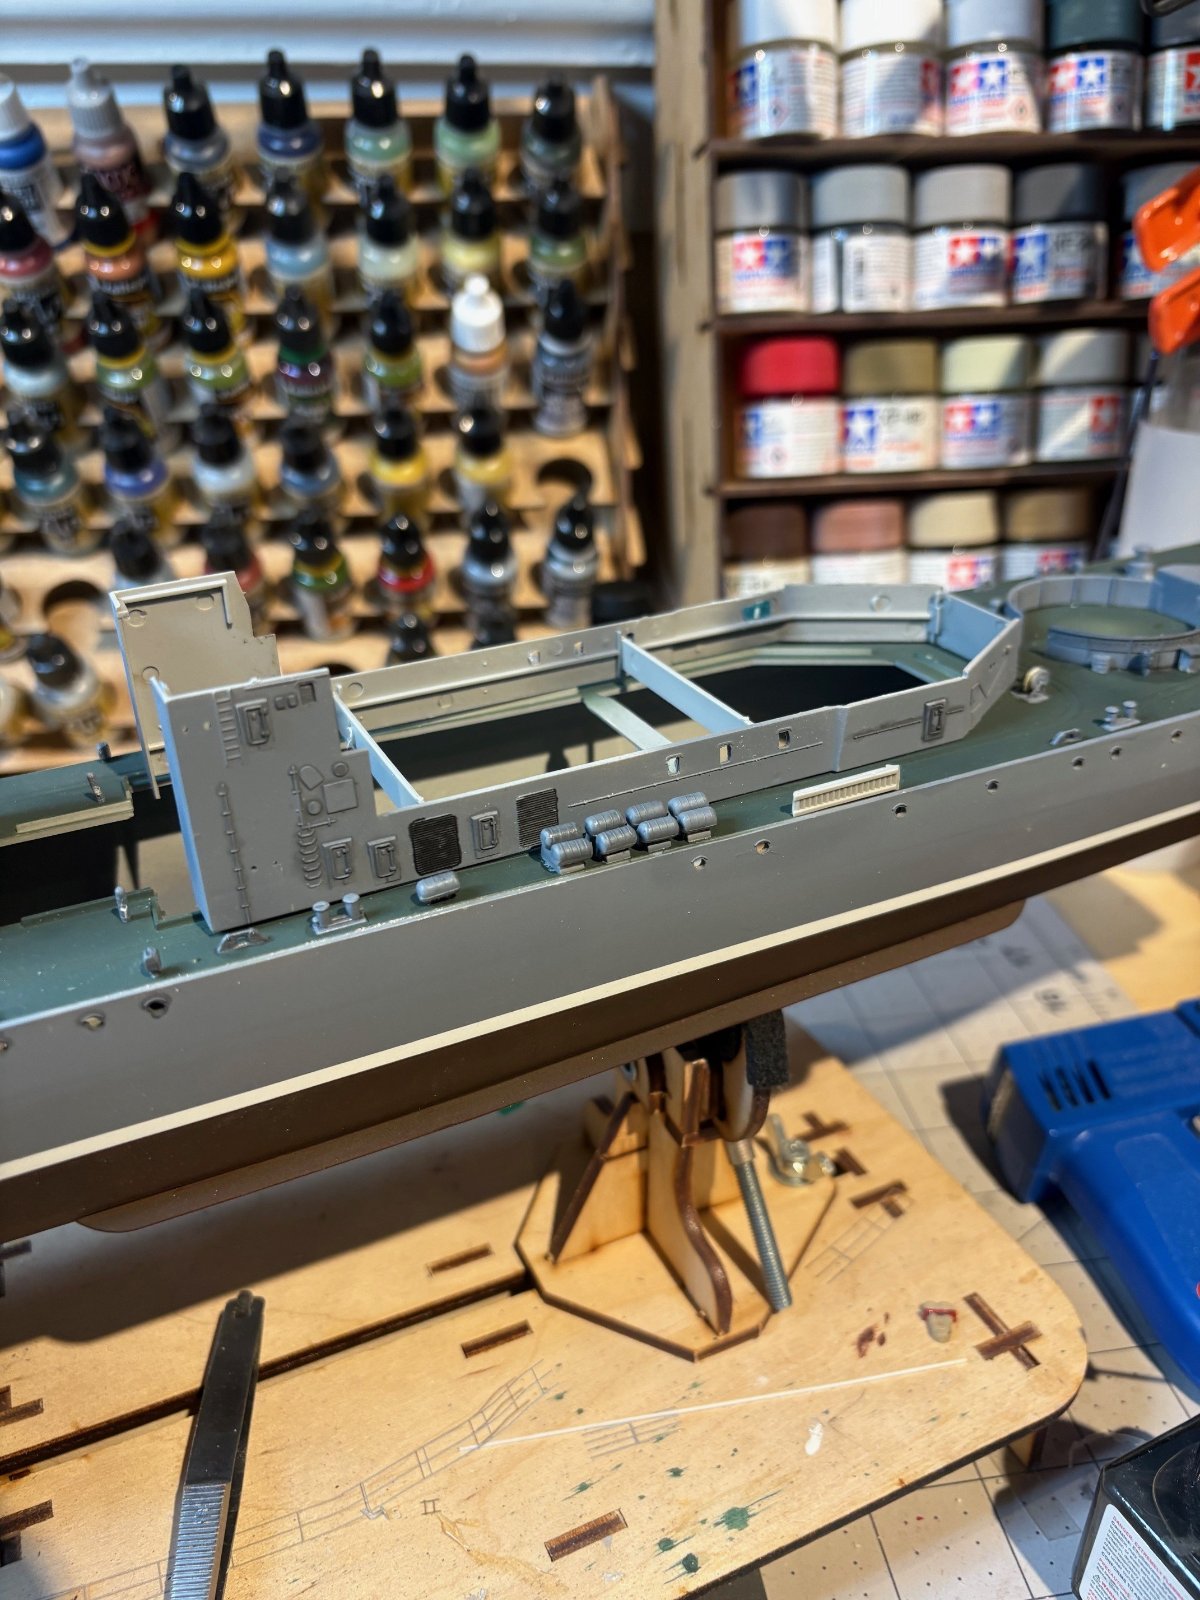
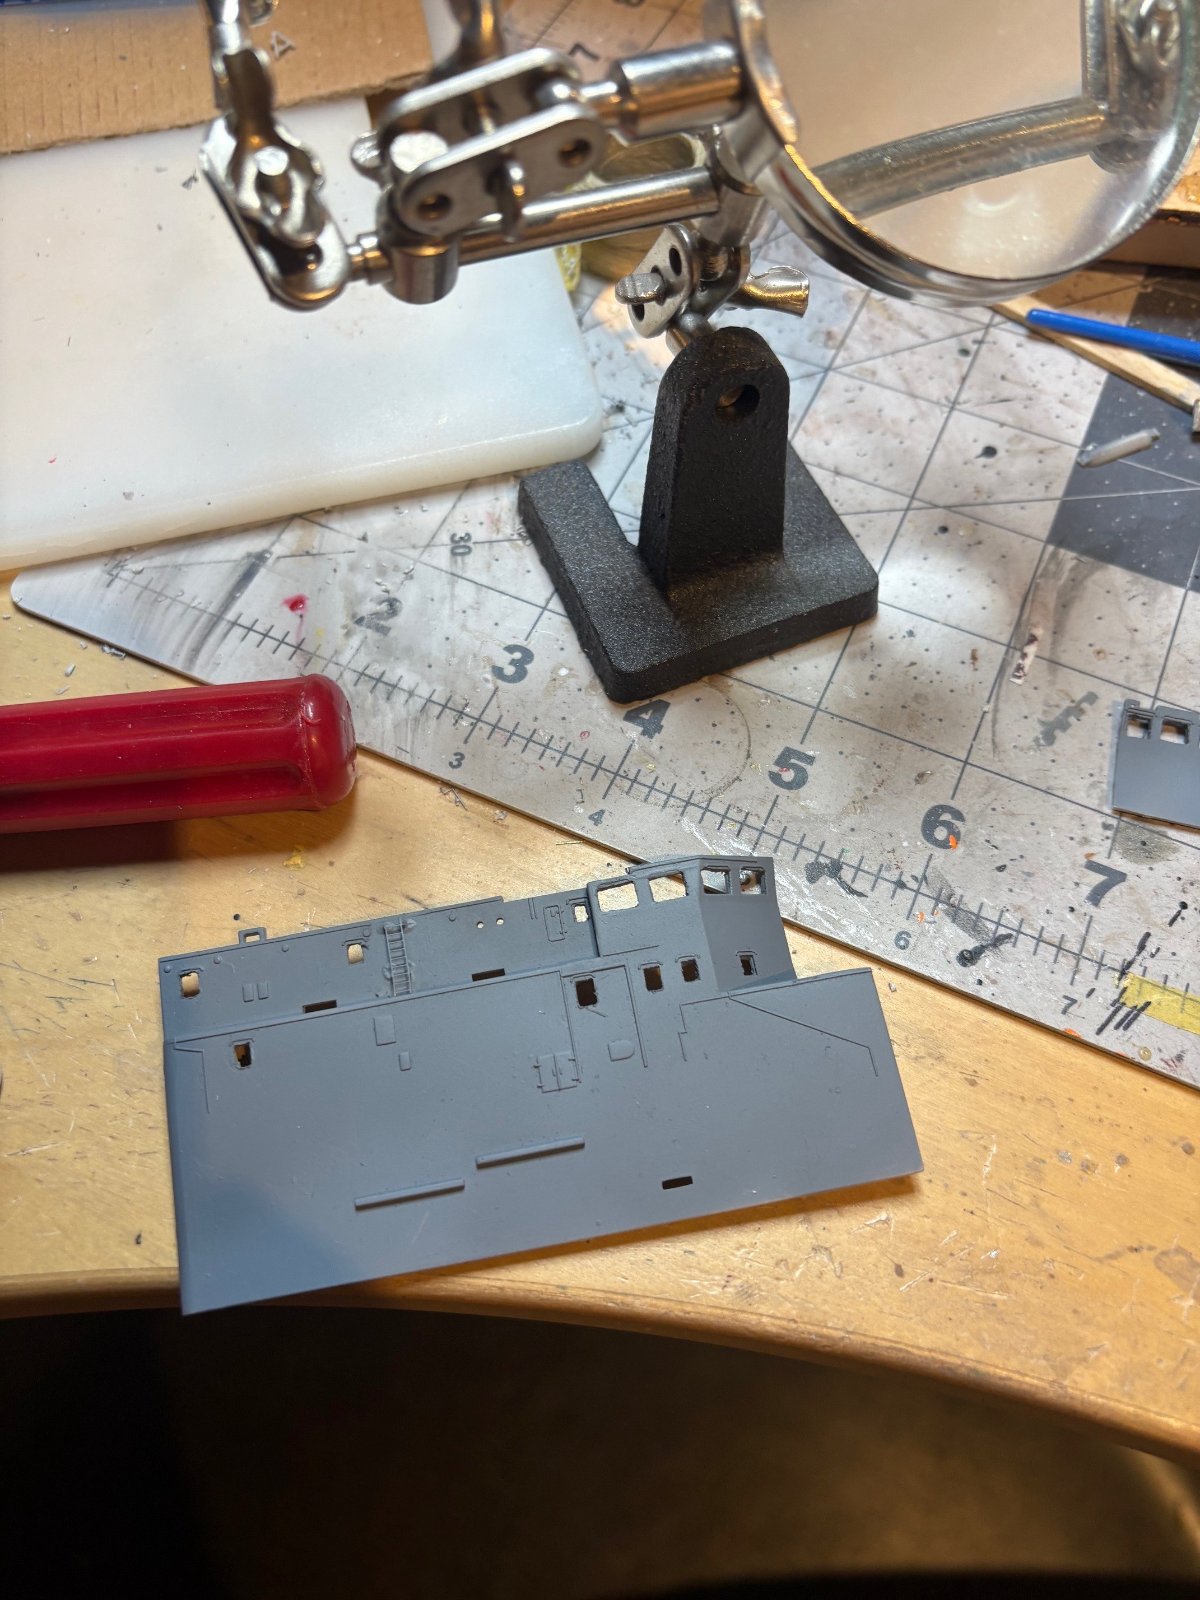
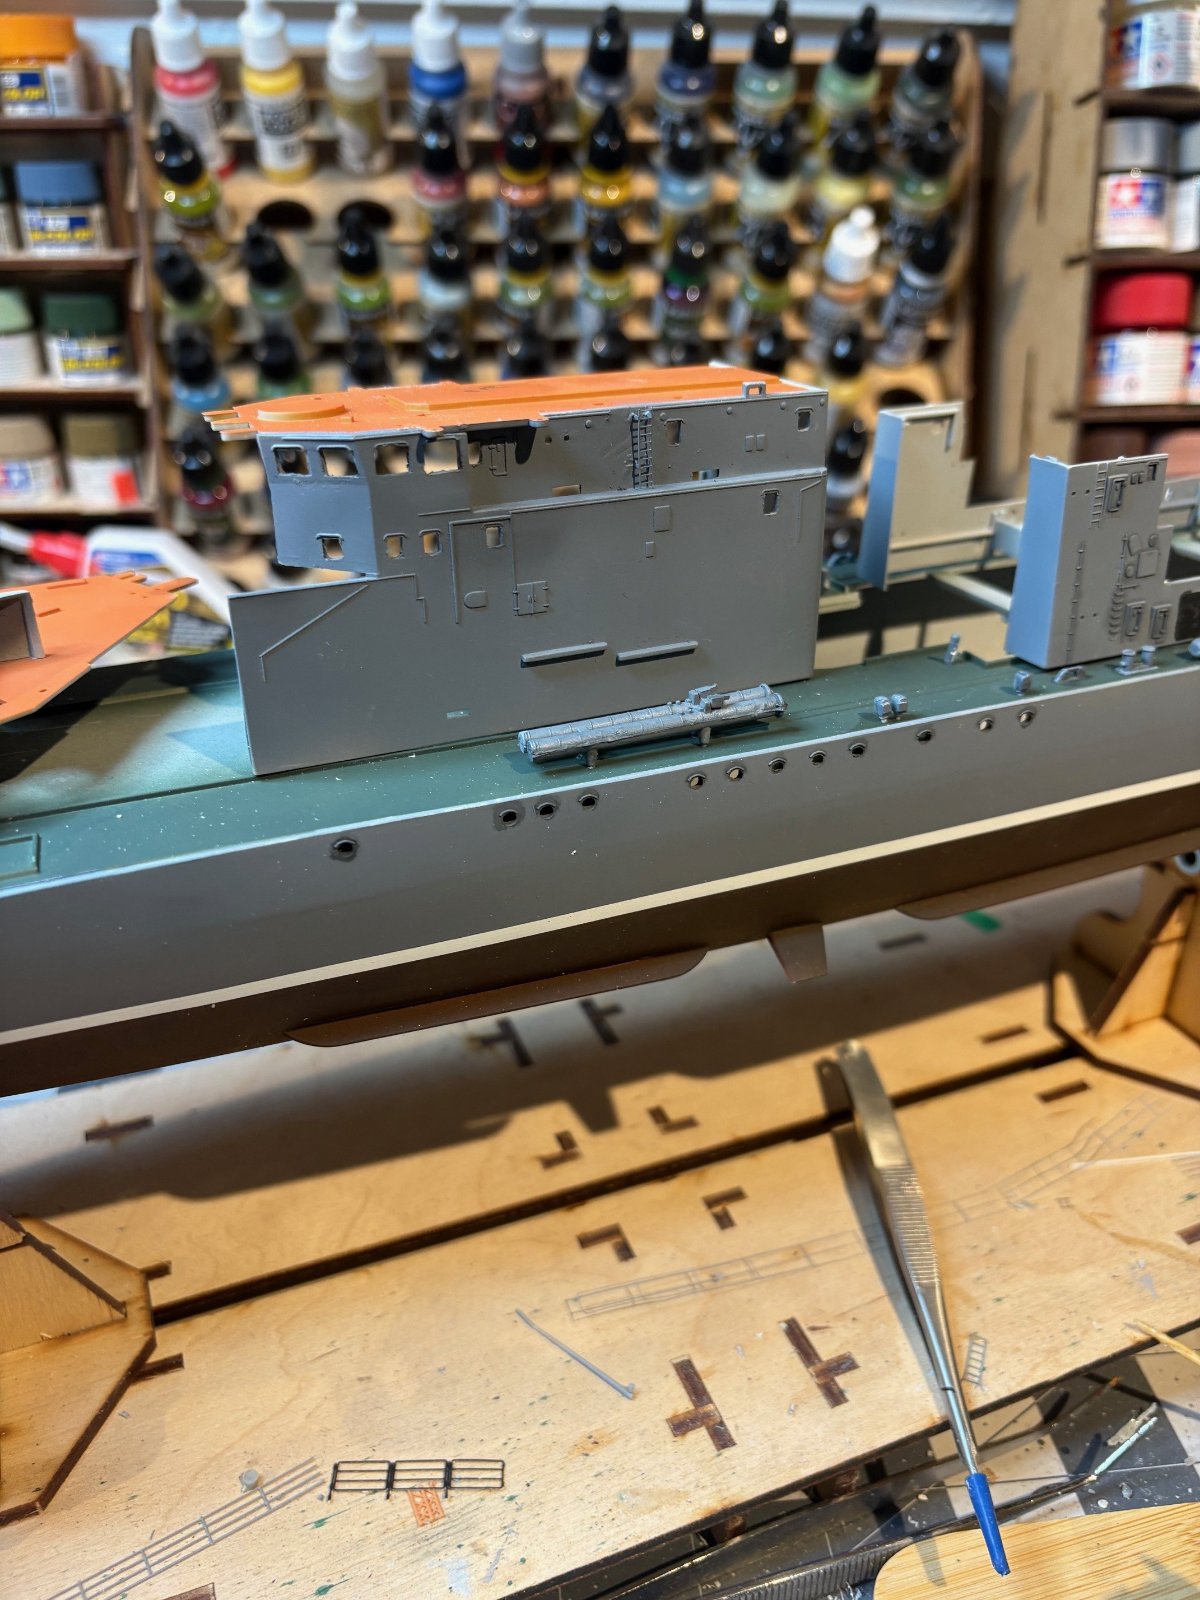
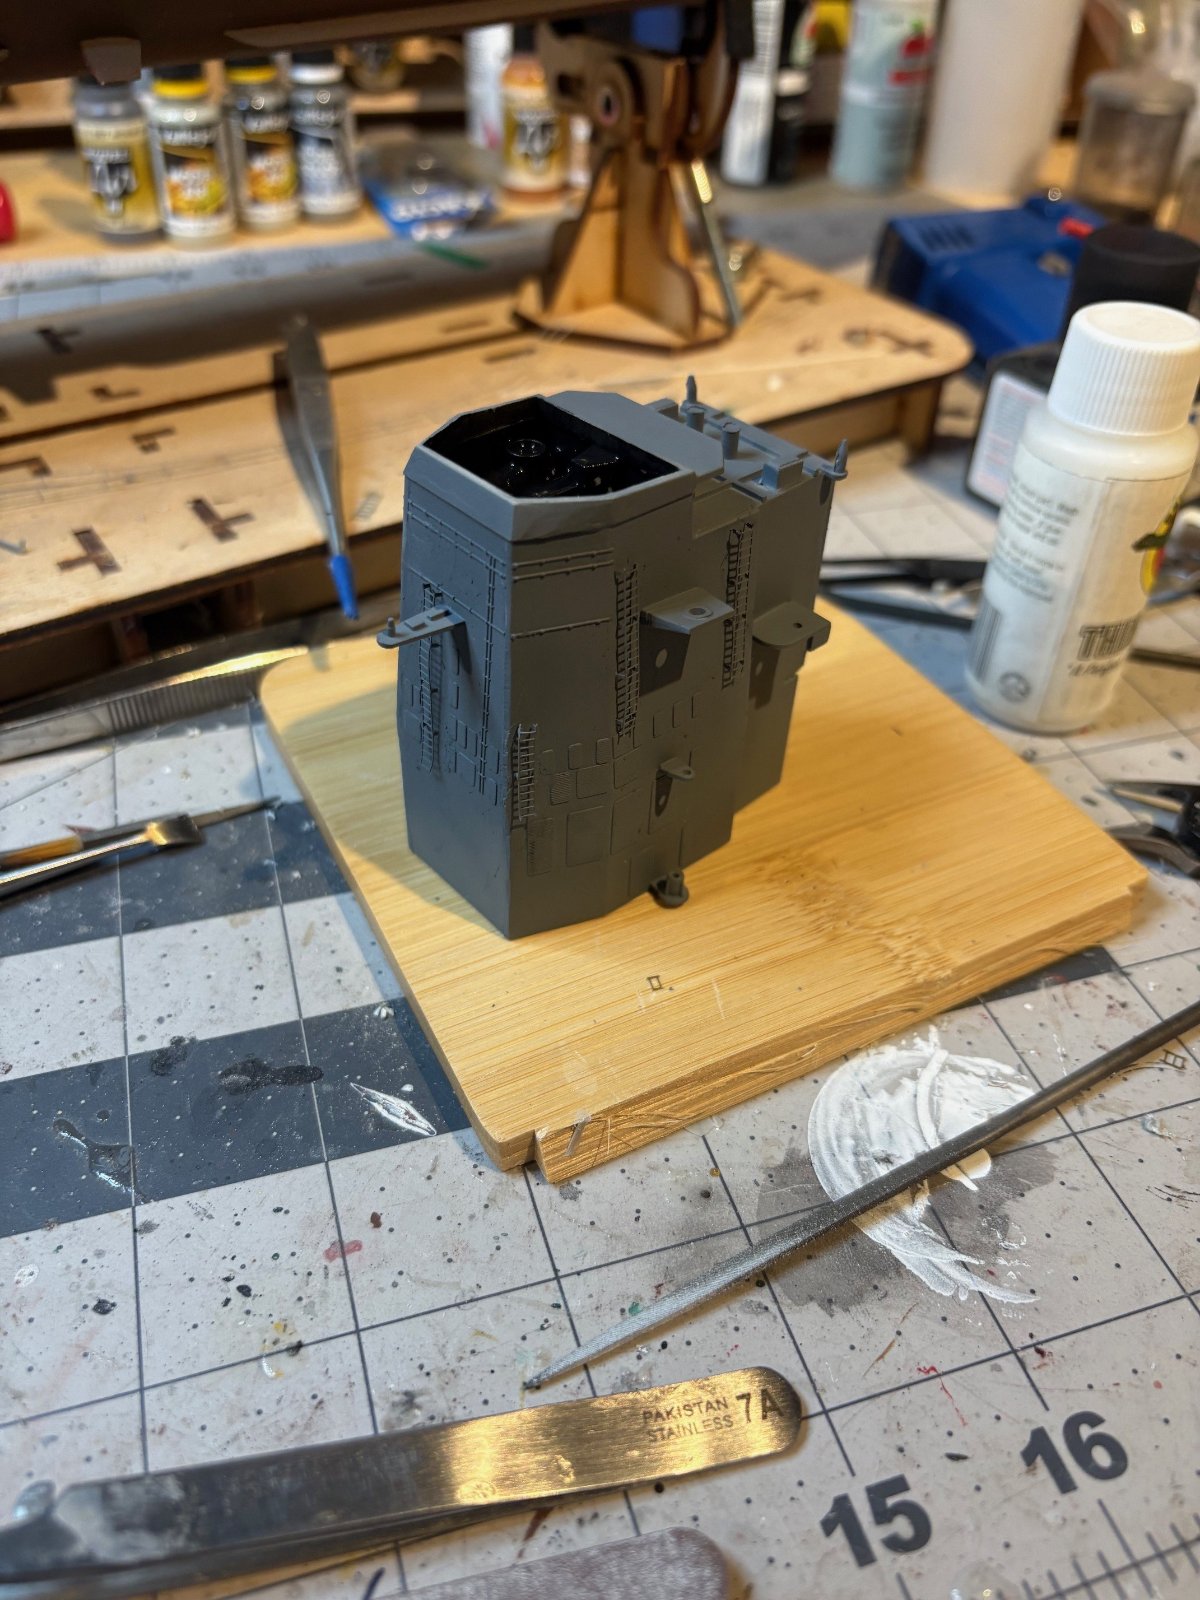
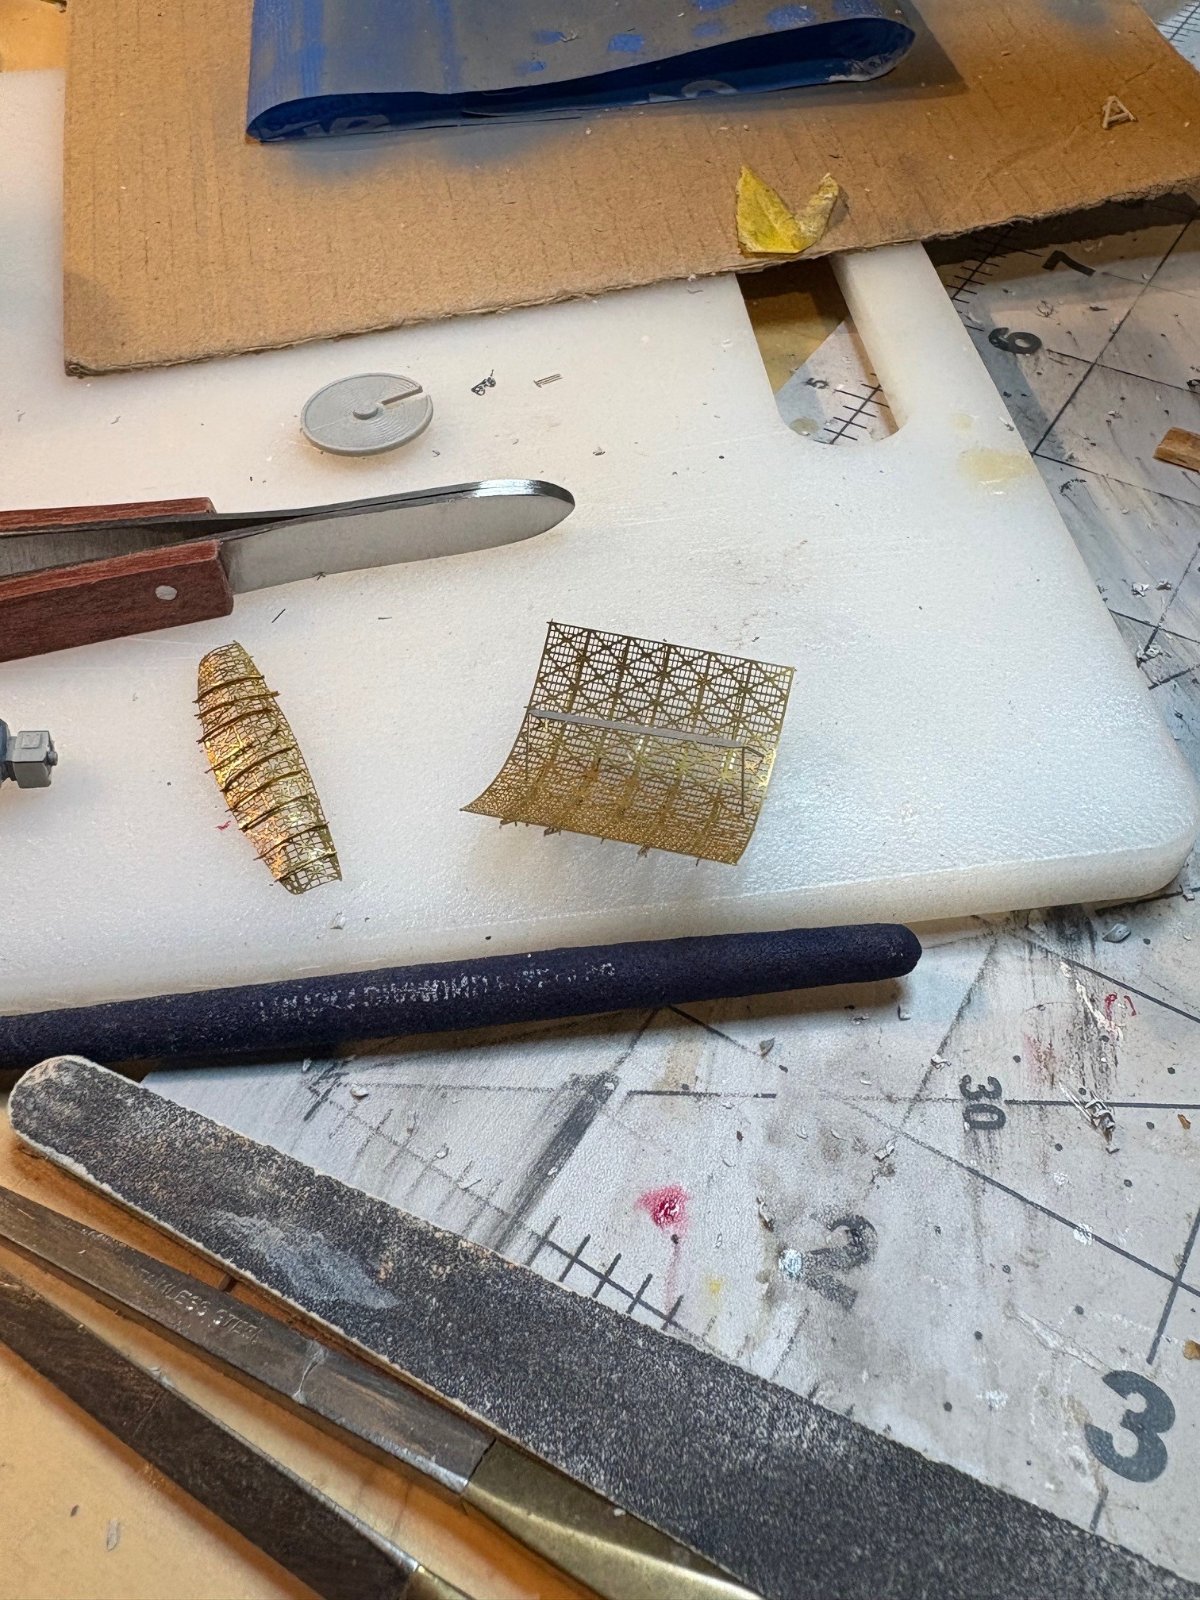
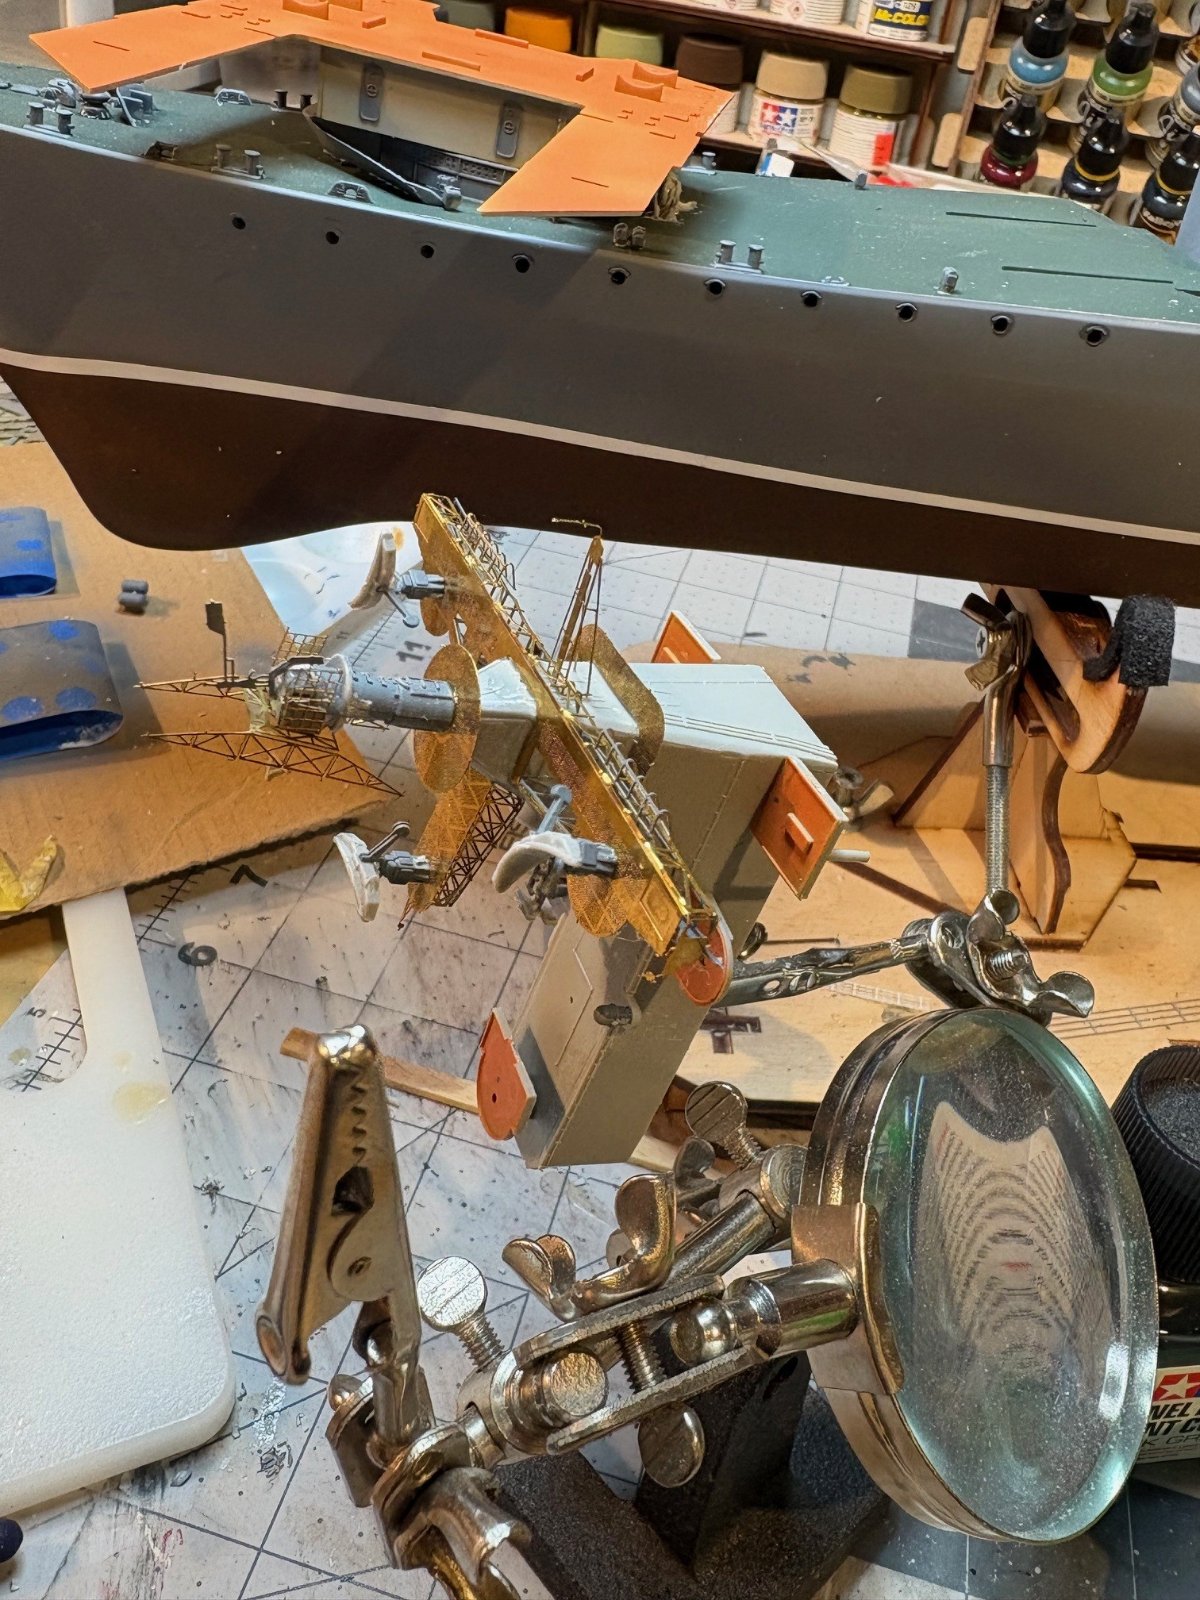
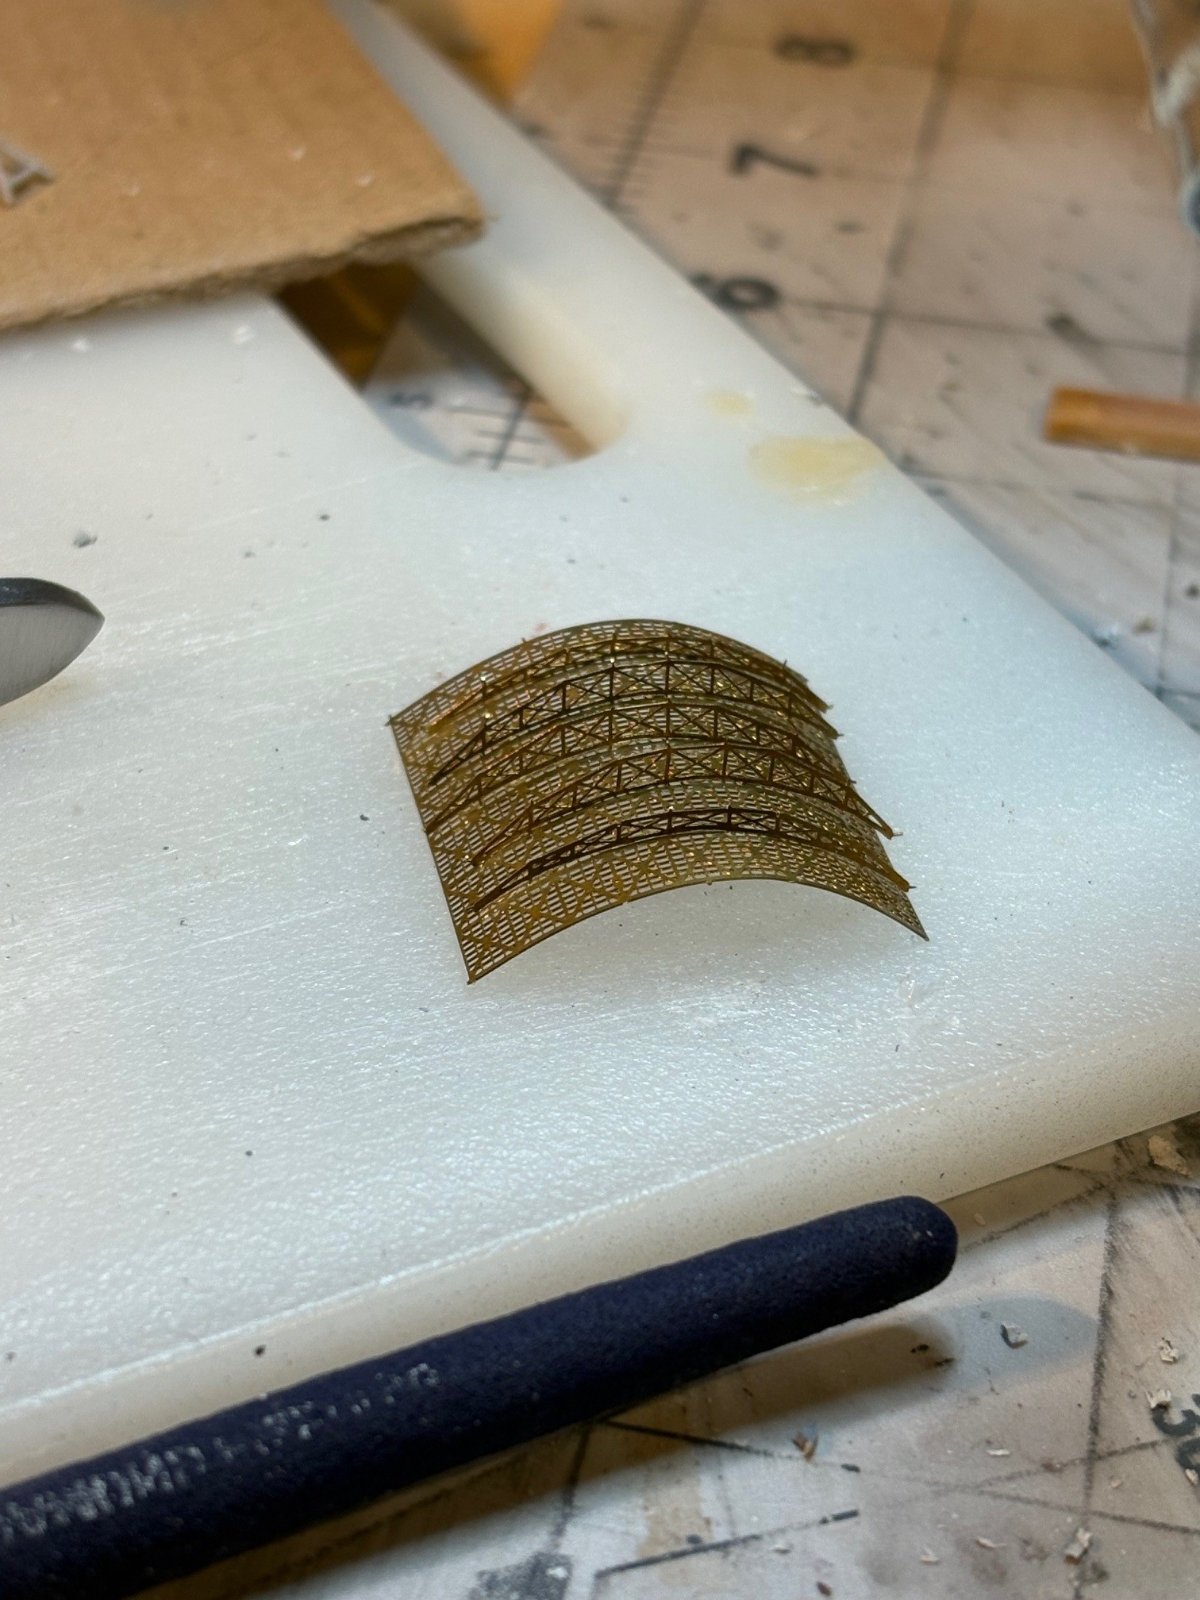
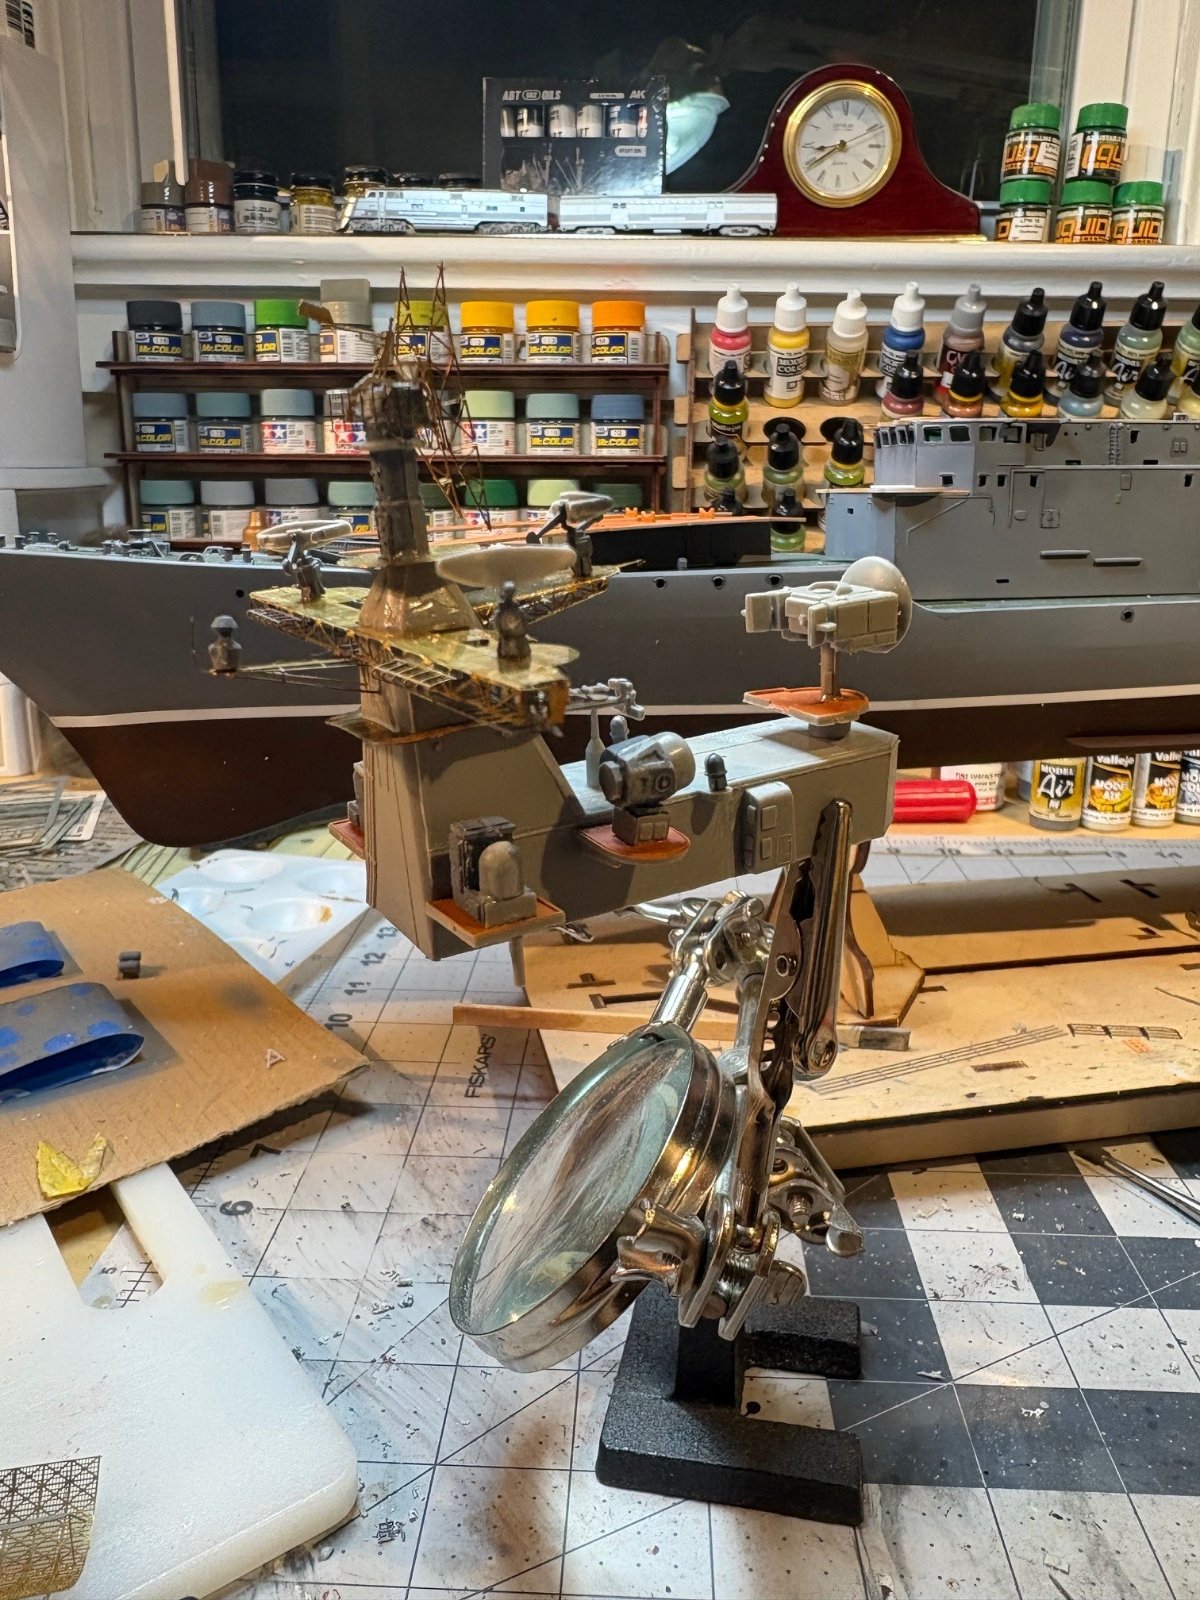
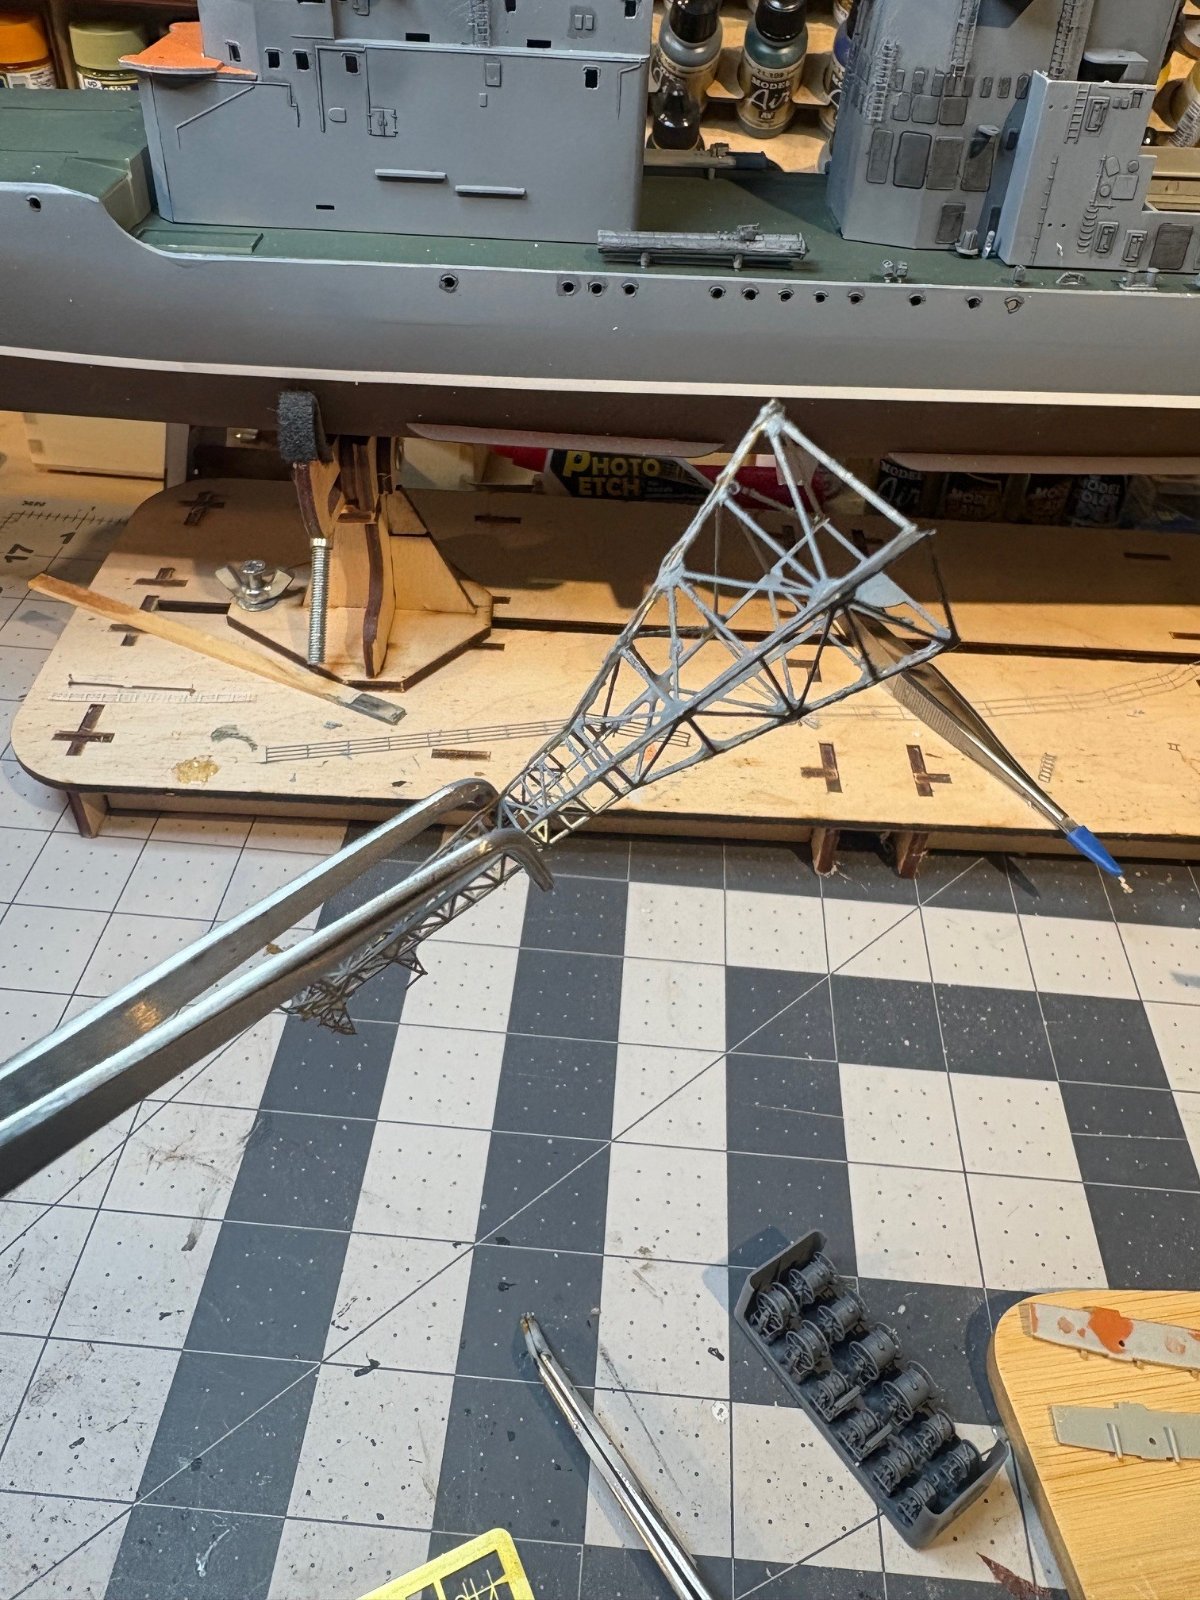
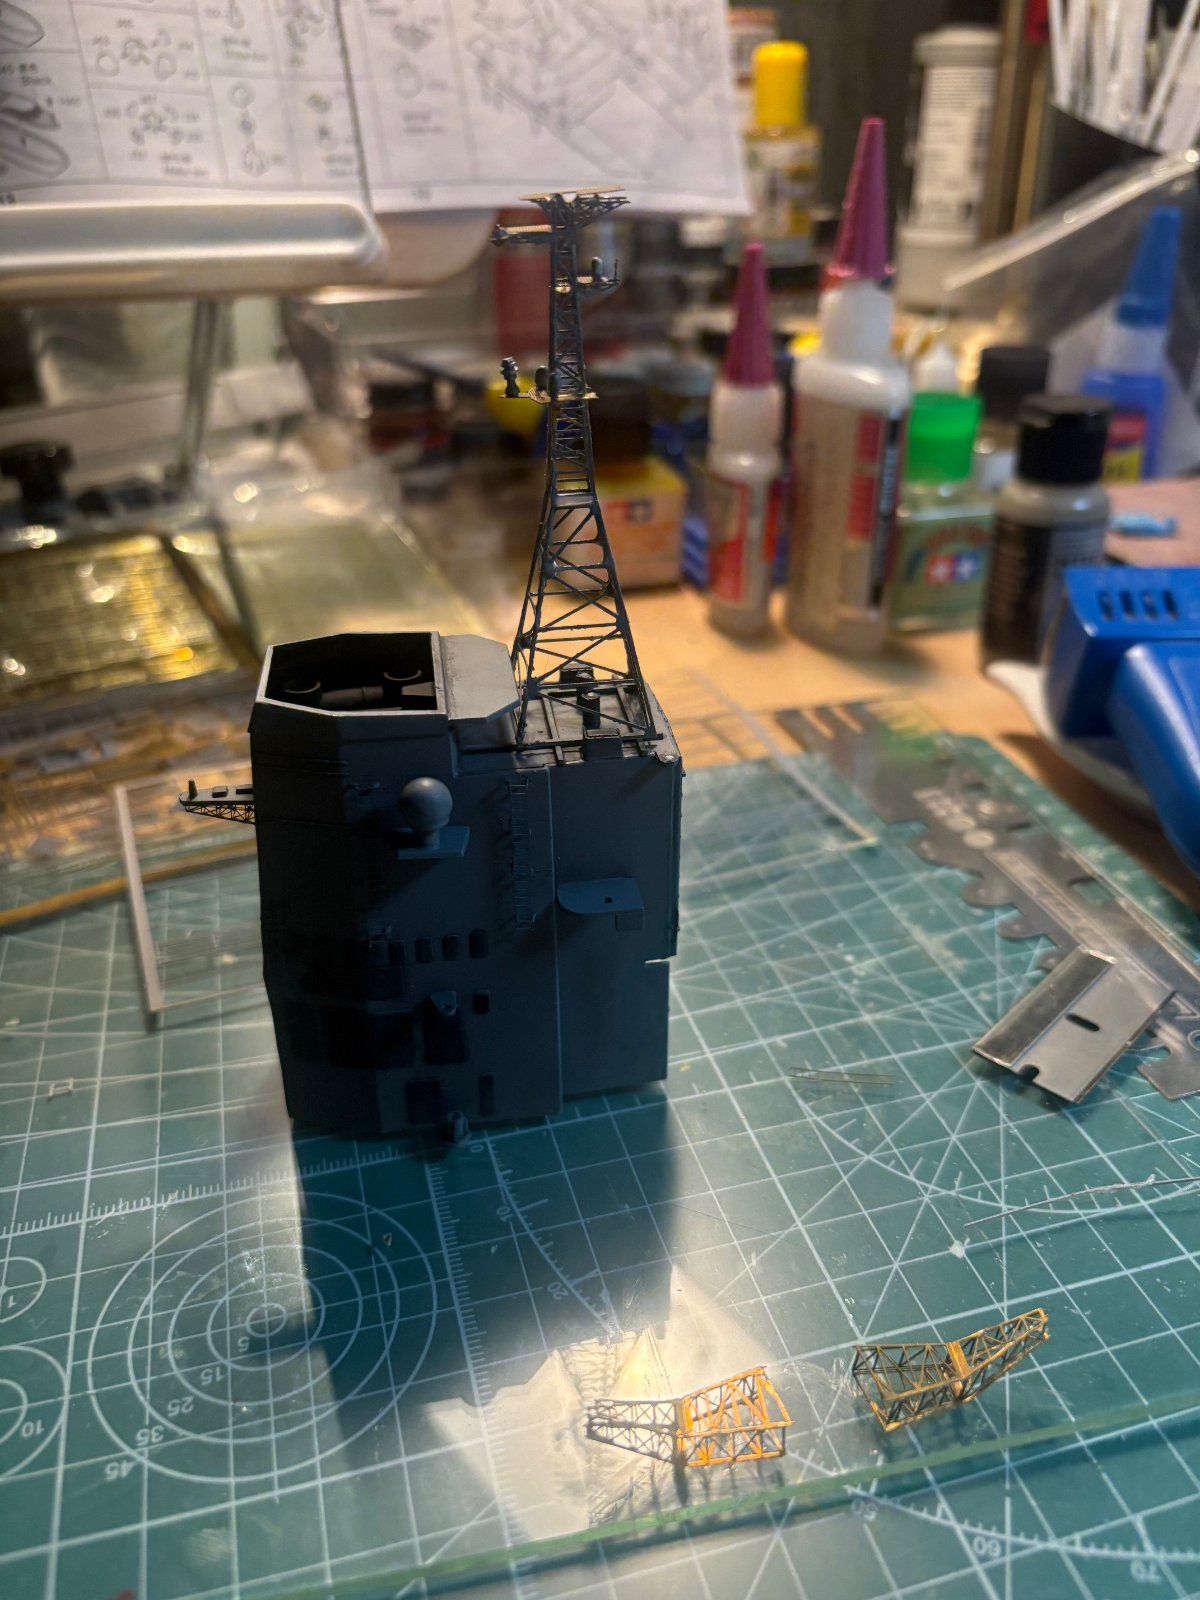
spent a few hours today on the mainmast and PE... i forgot how fiddly this mast work was! just glad it was 1/200 and not 1/350. i have some things setting up before i can mount the main radar sets and paint. i cant believe where the time goes... but slow and steady yields the results i guess
Attachments


![Pampers Sensitive Baby Wipes, Clinically Proven, Fragrance Free, Unscented, Water Based, Hypoallergenic, Multi-Use, Hand Wipes 336 Wipes Total (6X Flip-Top Packs) [Packaging May Vary]](https://m.media-amazon.com/images/I/41KLBHu9CAL._SL500_.jpg)






As an Amazon Associate we earn from qualifying purchases. Product prices and availability are accurate as of the date/time indicated and are subject to change.

BOATMAN
Well-Known Member
- Joined
- Oct 7, 2024
- Messages
- 2,175
HI Domer94 looks good what you have built well done sirspent a few hours today on the mainmast and PE... i forgot how fiddly this mast work was! just glad it was 1/200 and not 1/350. i have some things setting up before i can mount the main radar sets and paint. i cant believe where the time goes... but slow and steady yields the results i guess
chrisb
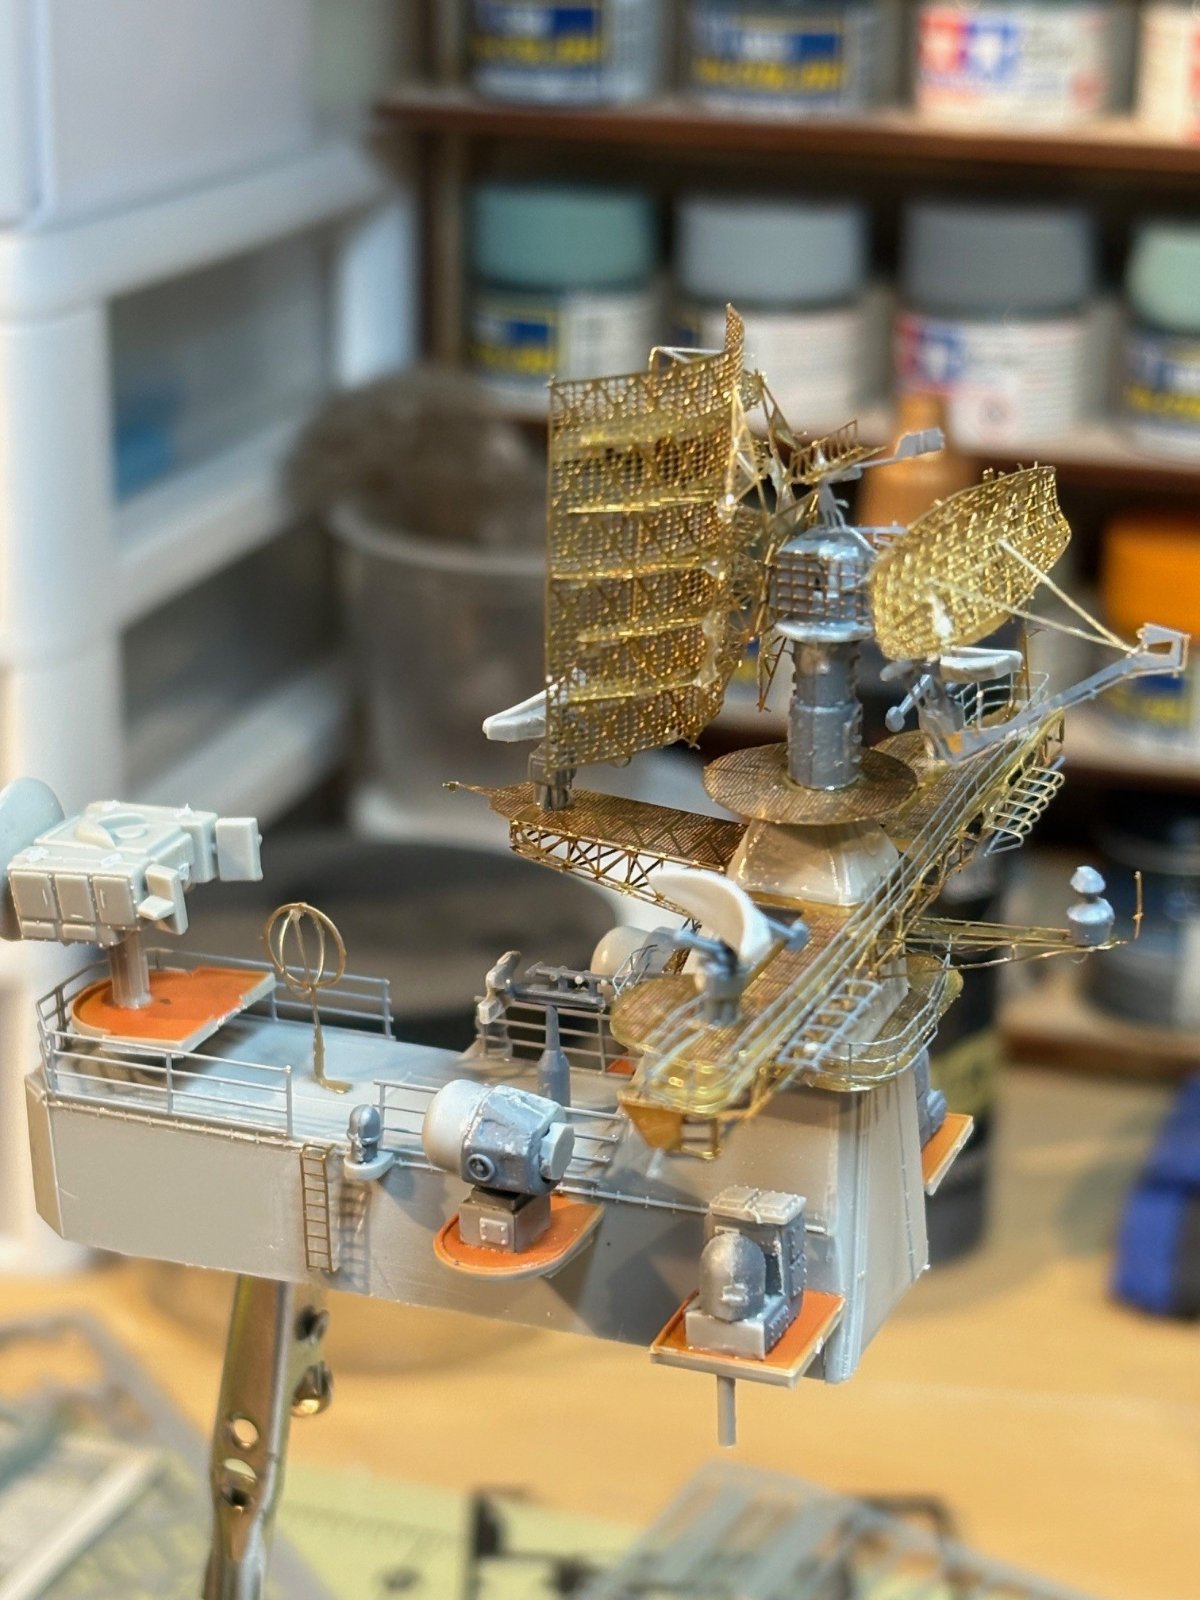
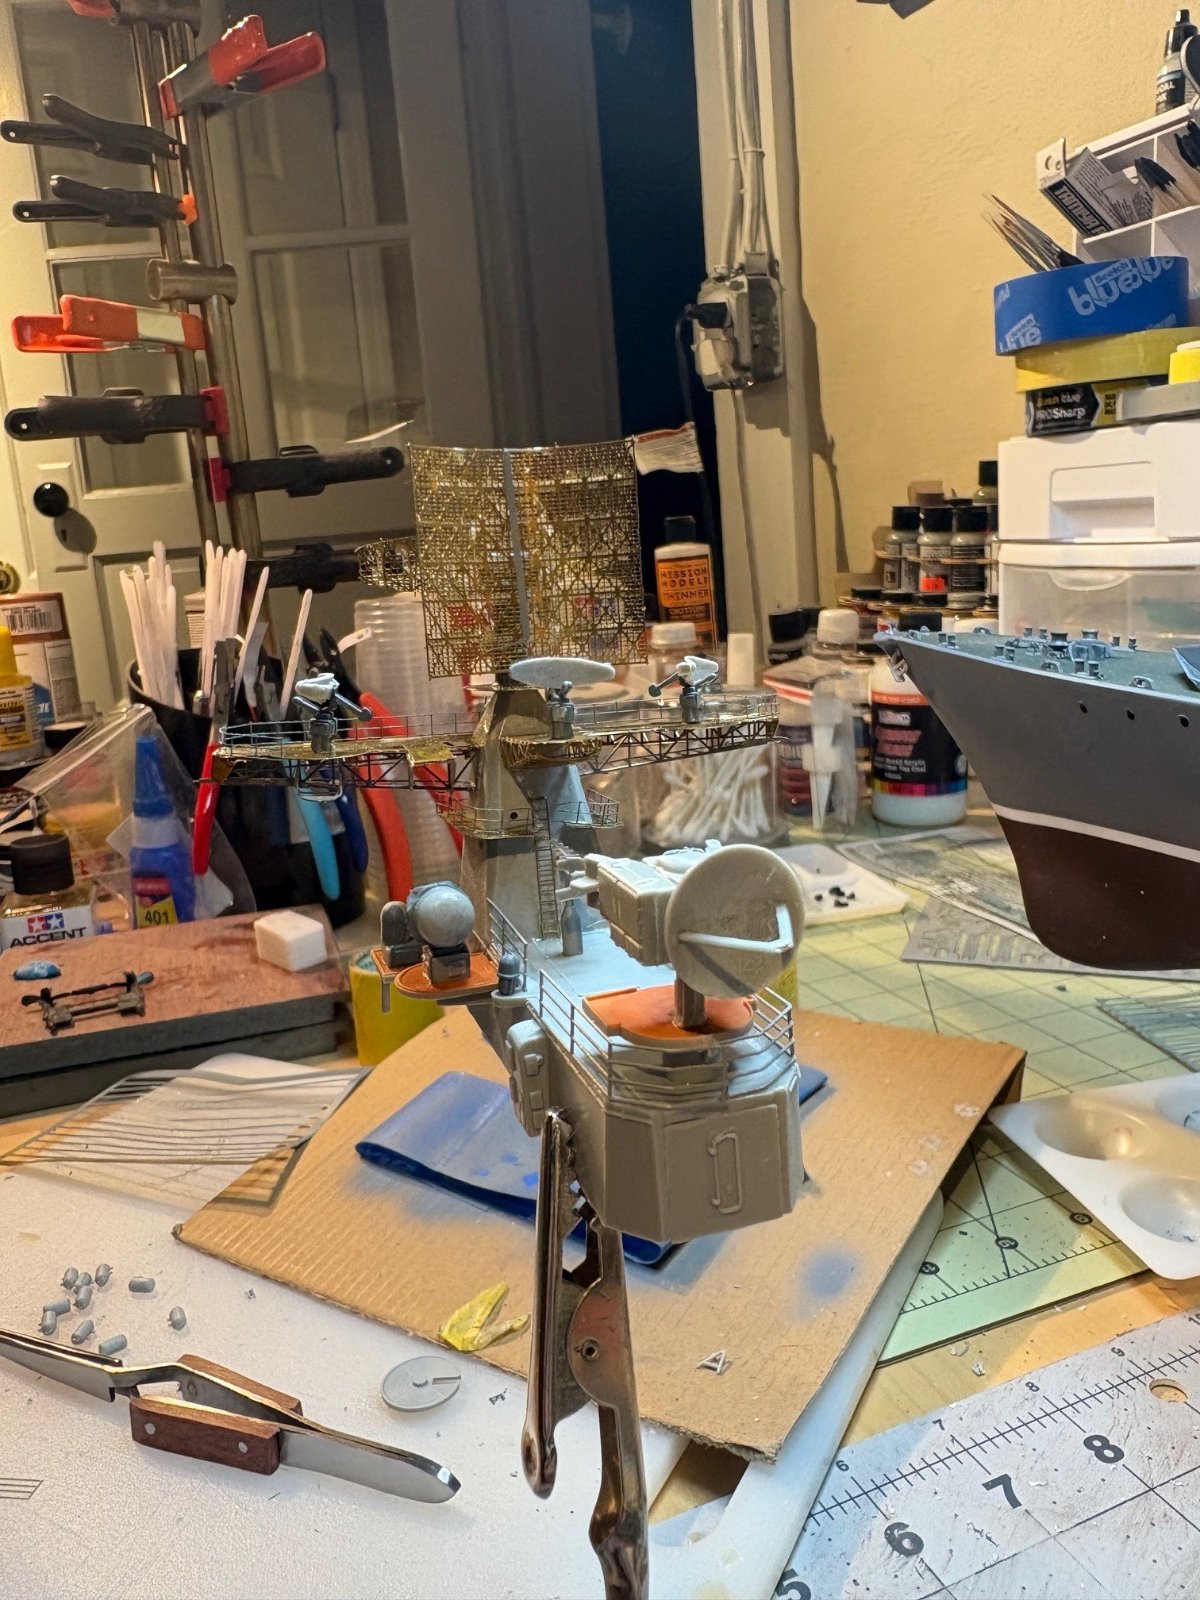
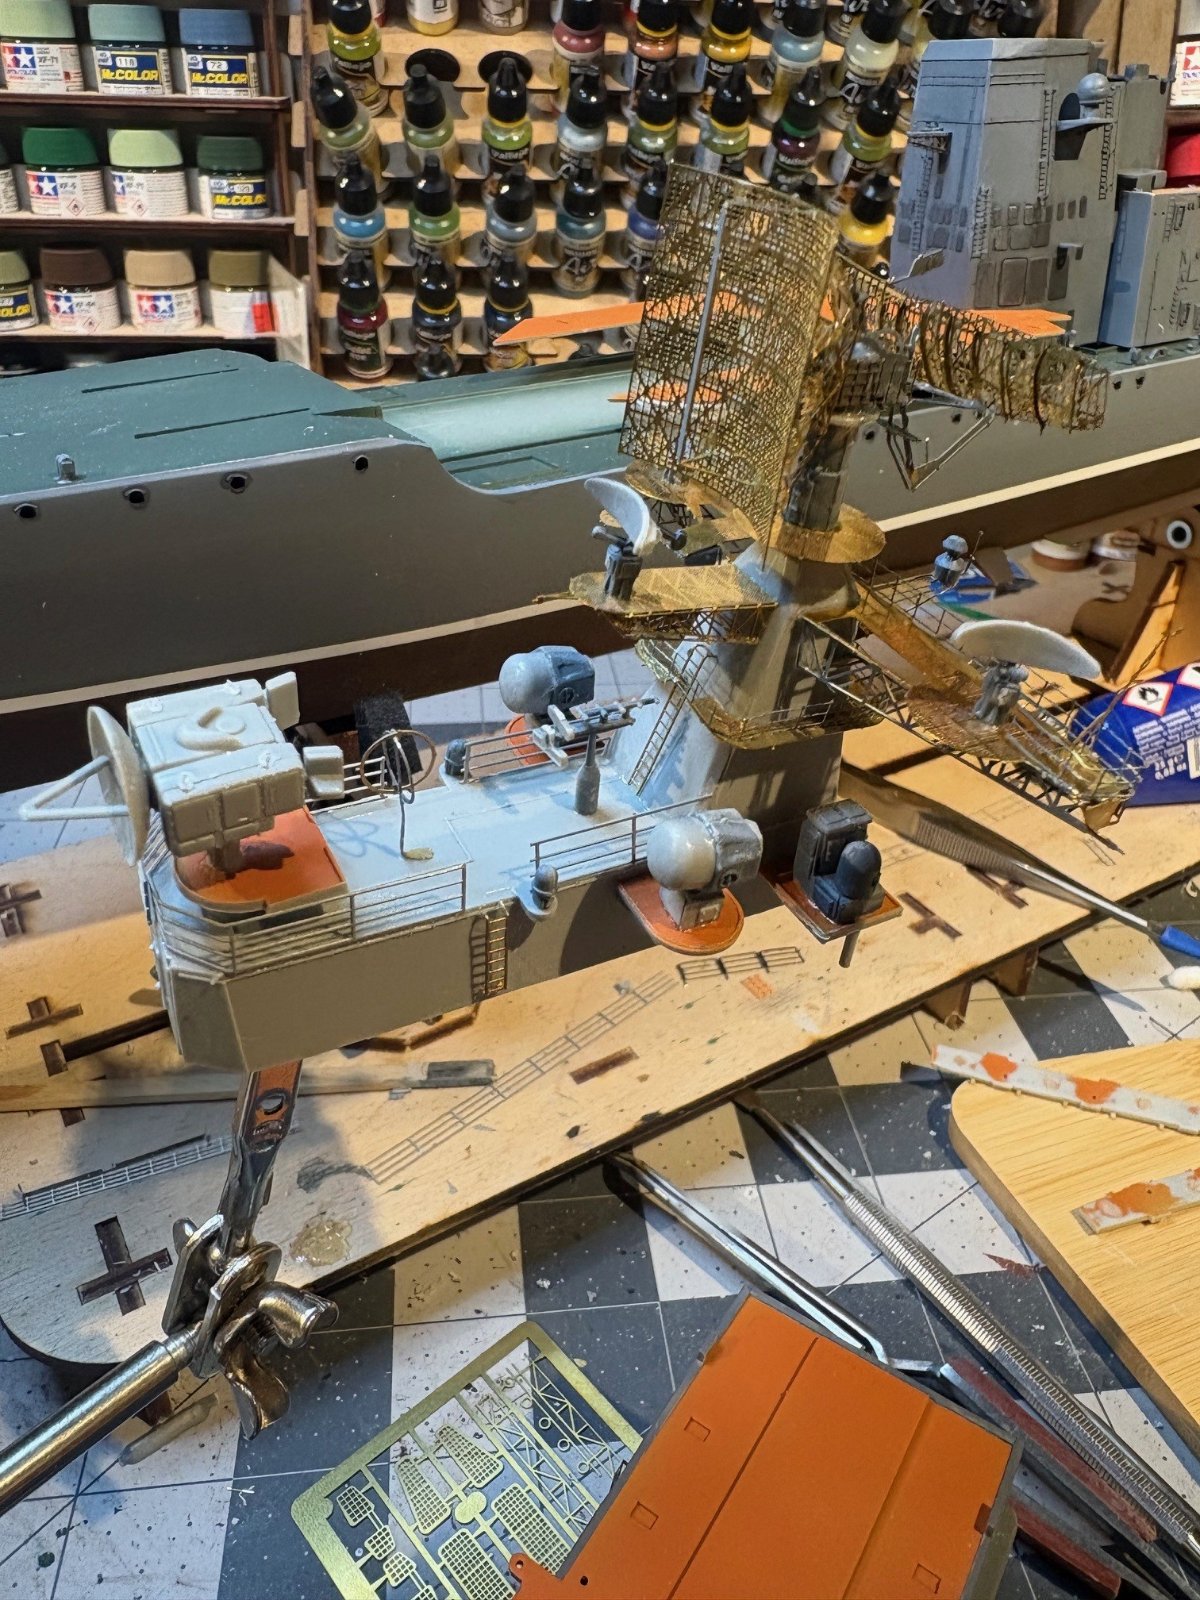

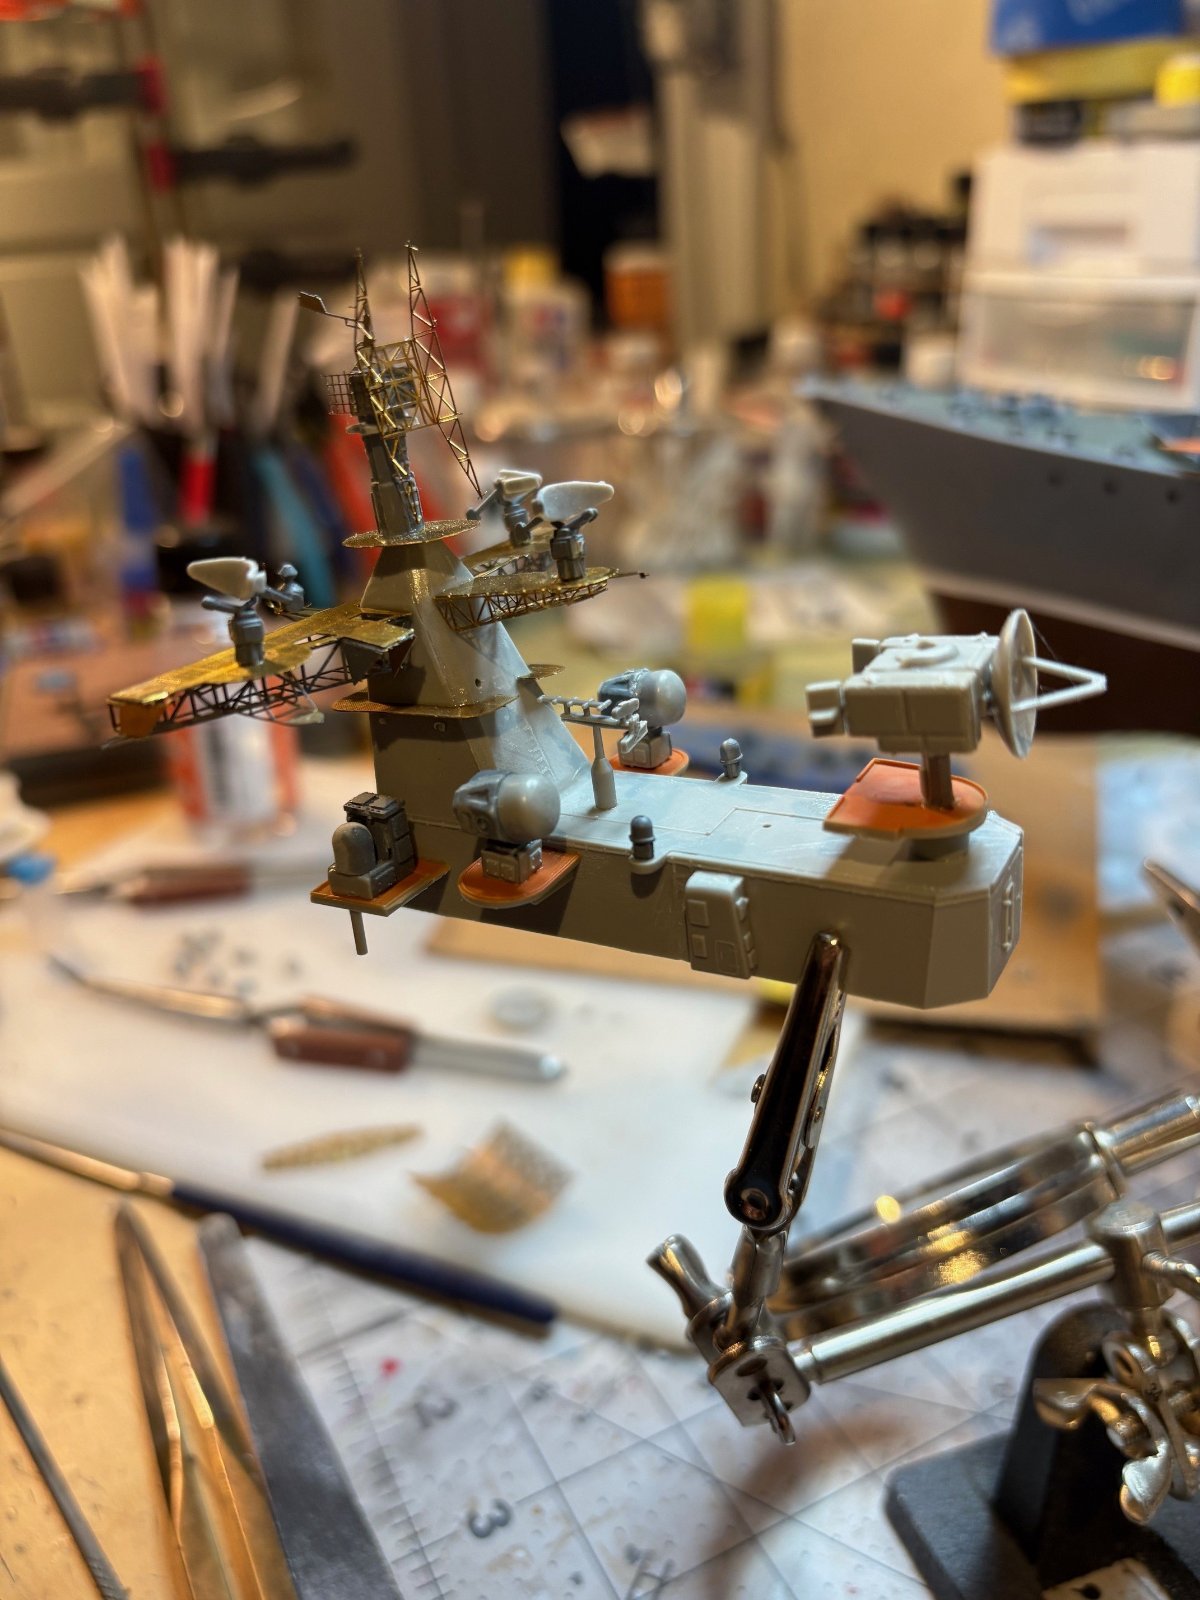
Great fun, isn't itfinished up the mast assembly.... im terrified to put an airbrush to this thing! i hope the parts behave. i have re applied glue in key spots.. but will have to be careful. anyhow i feel like i just gave birth to a PE mast
 . Pantherman
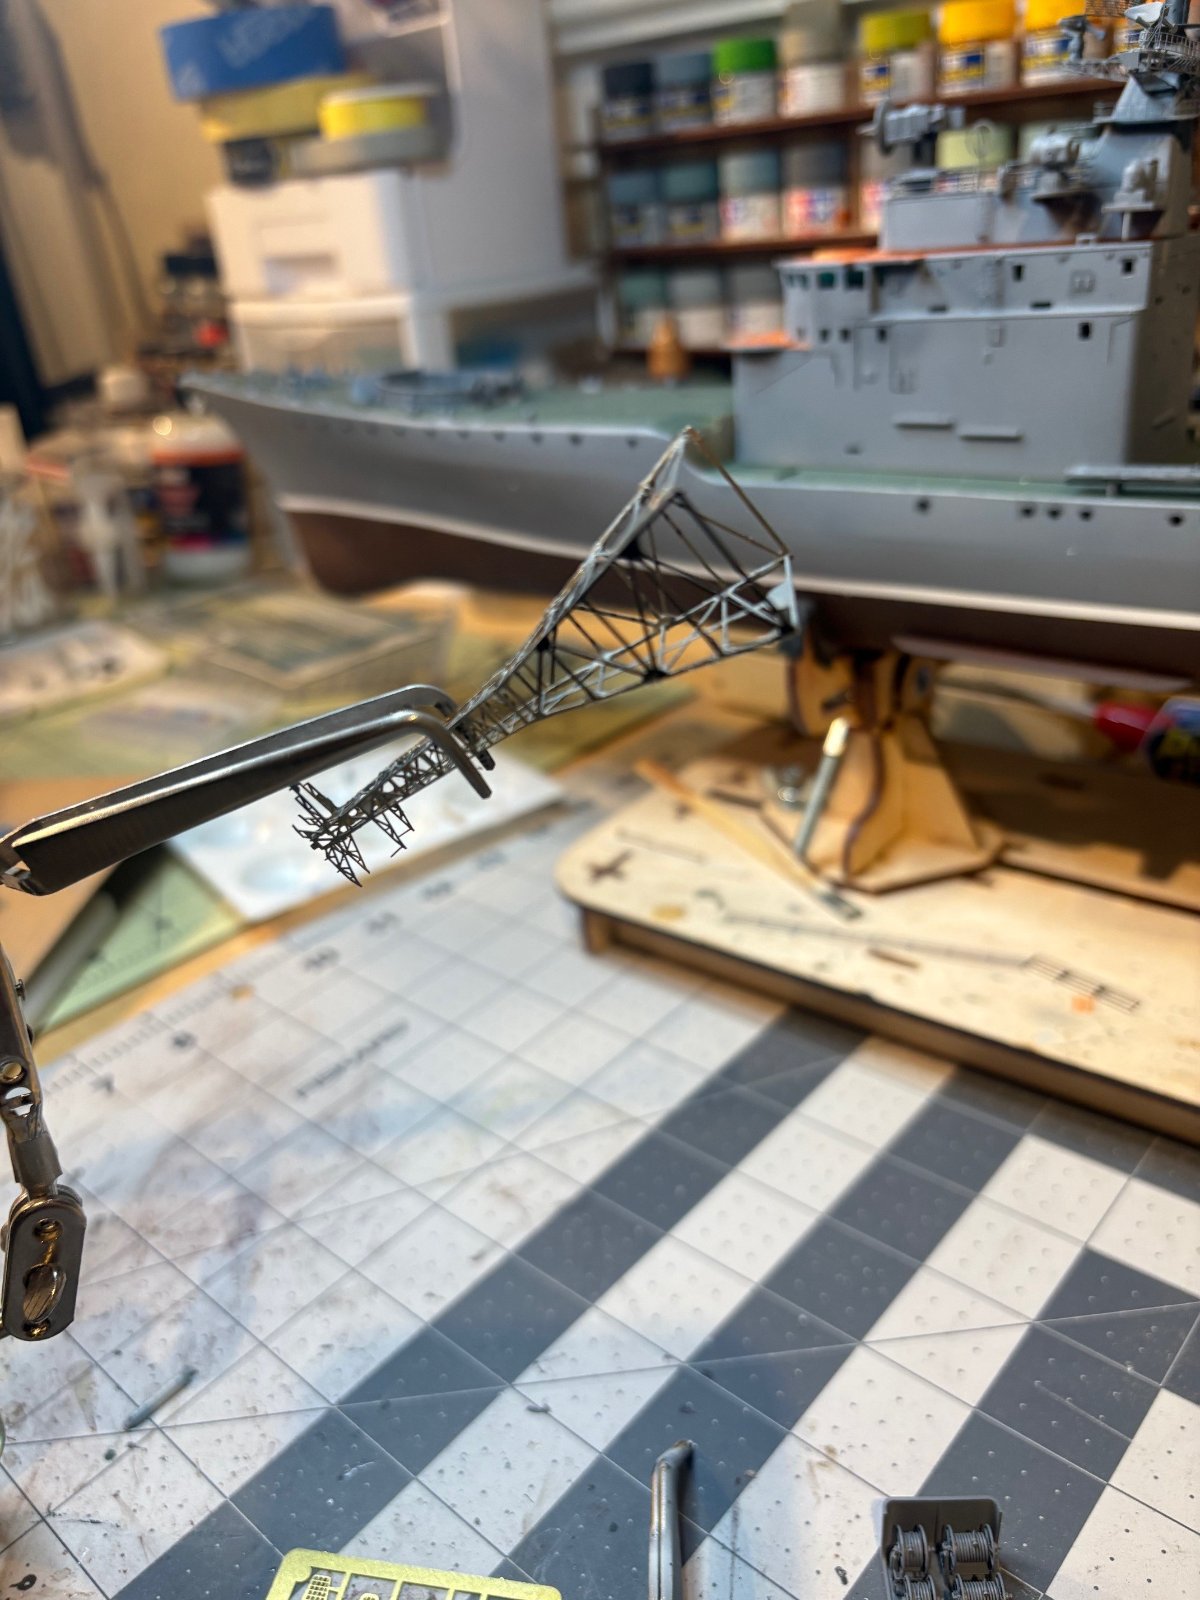
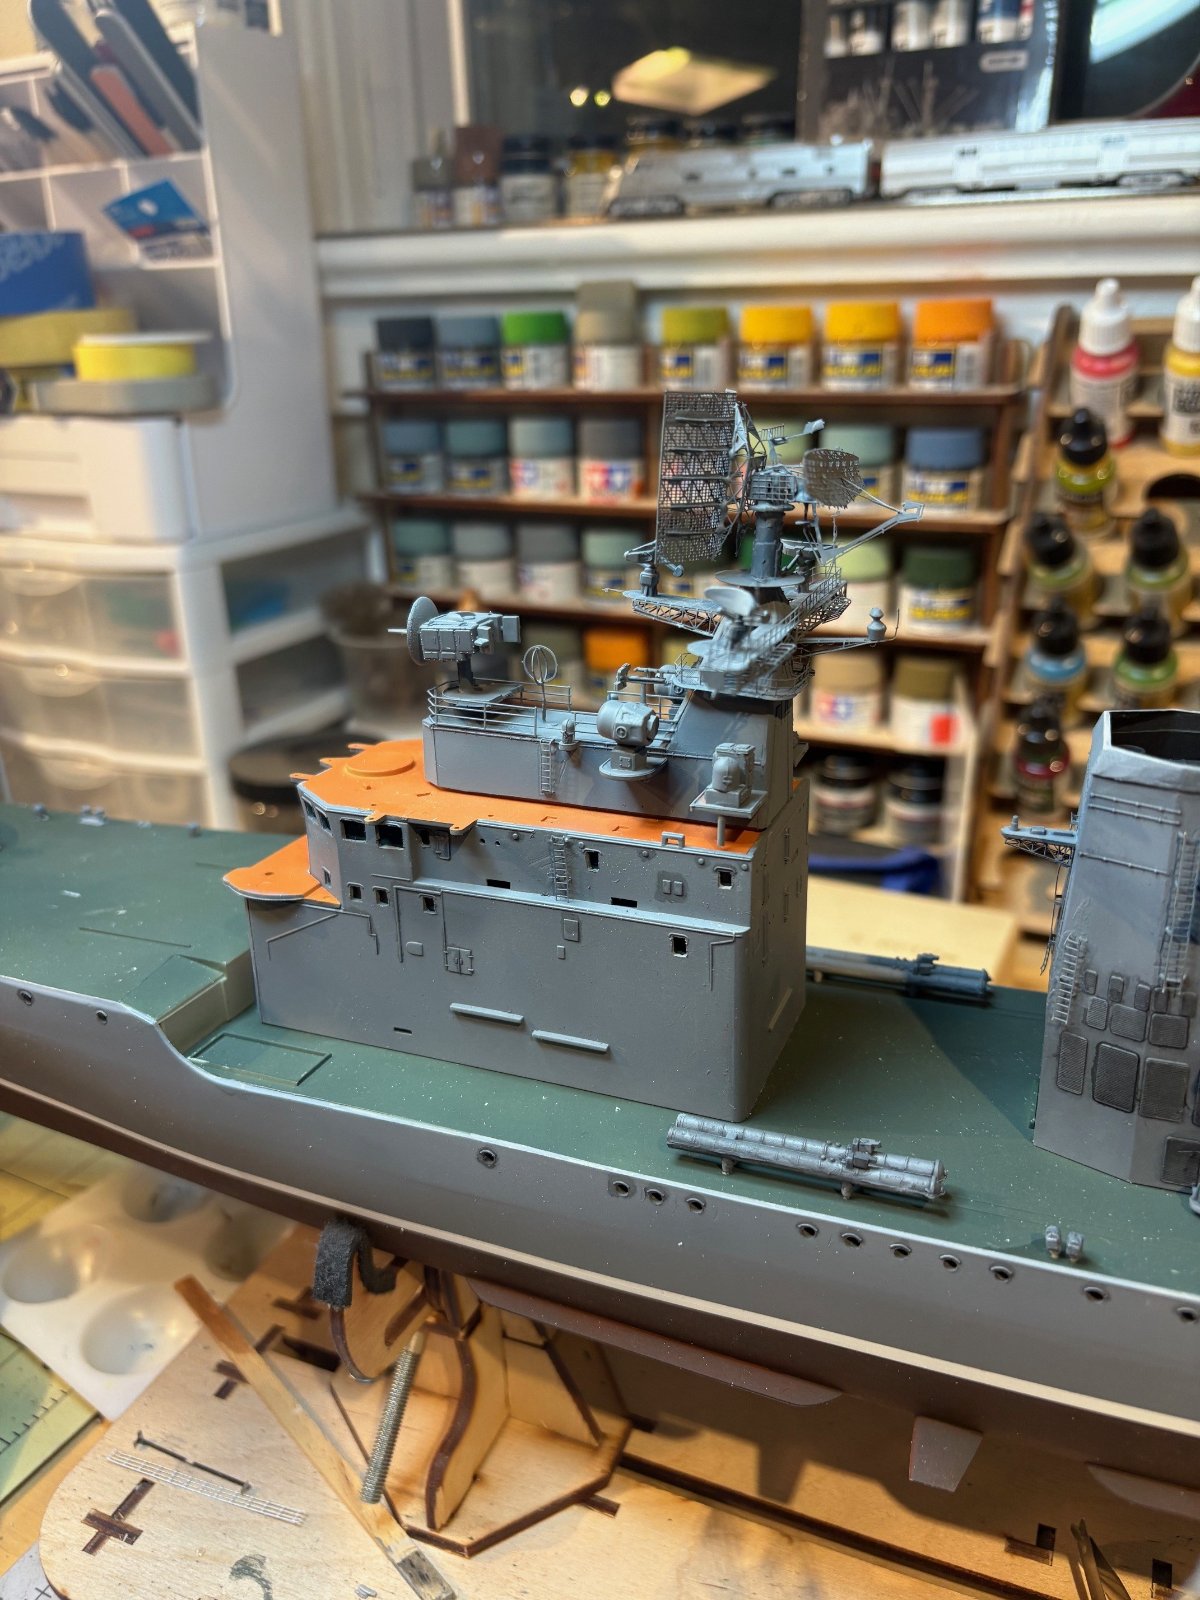
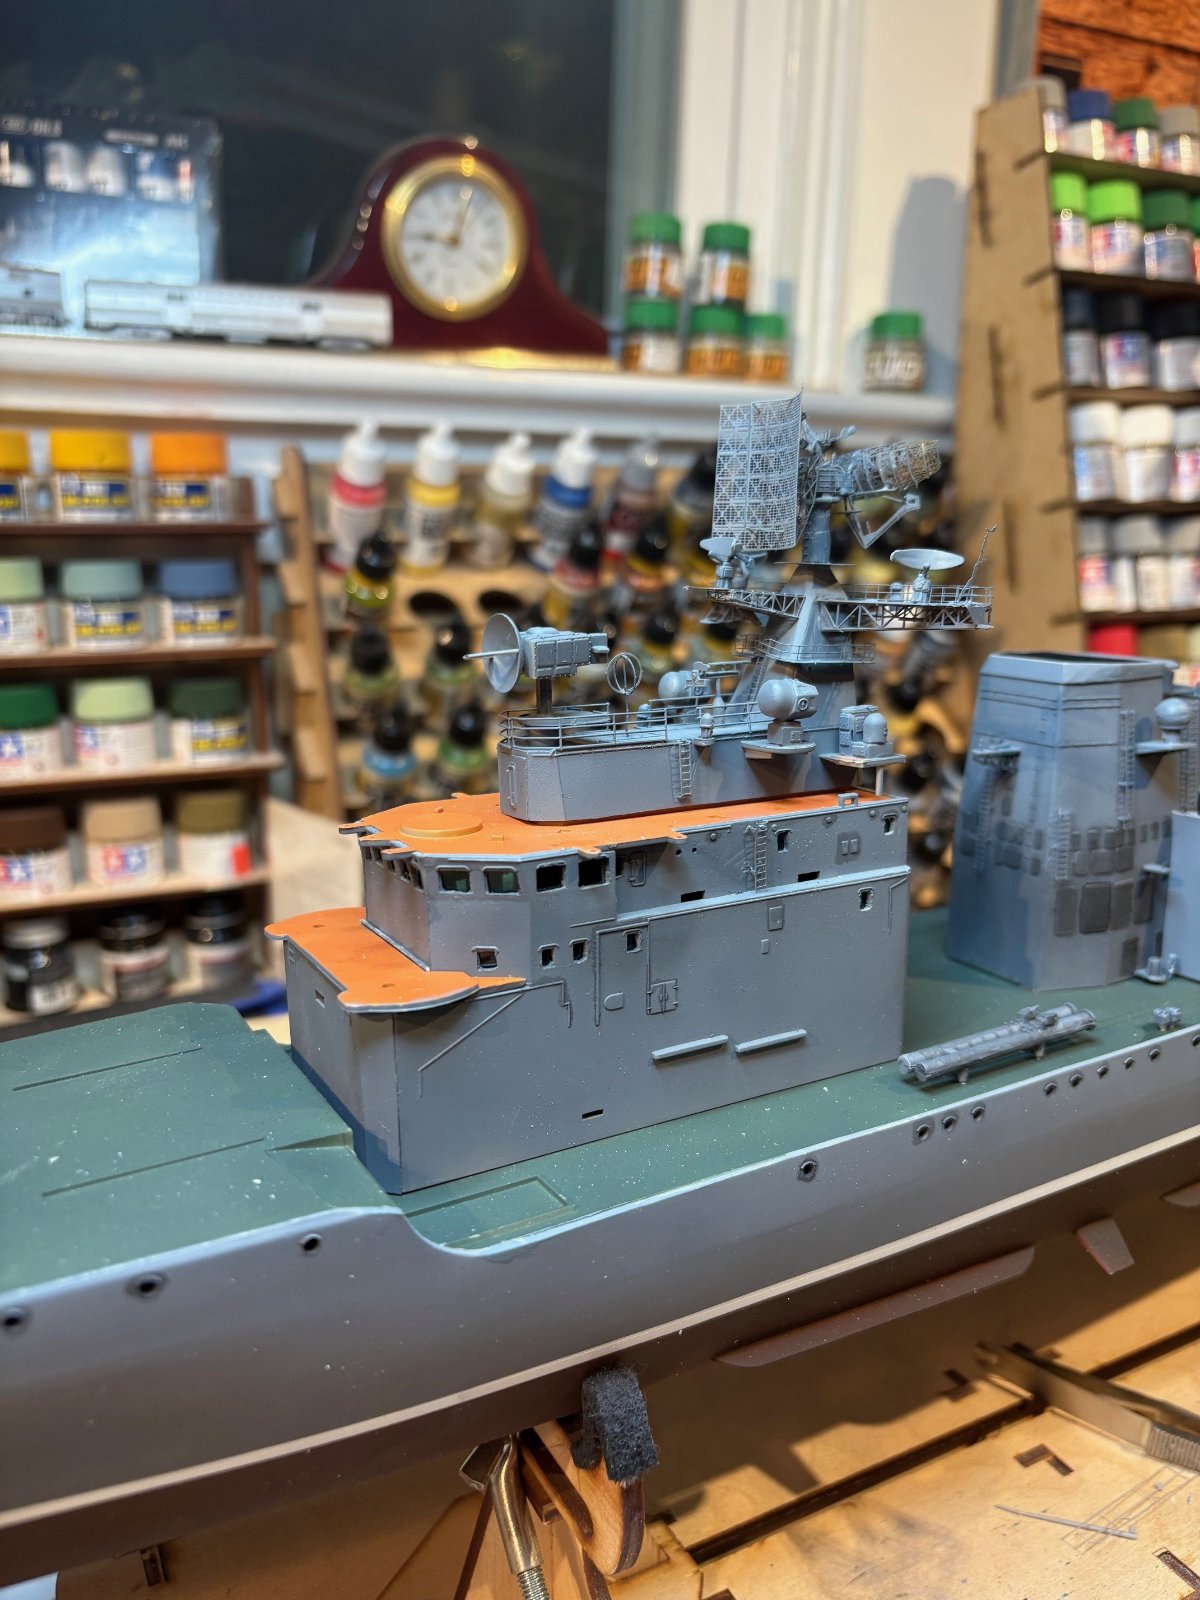
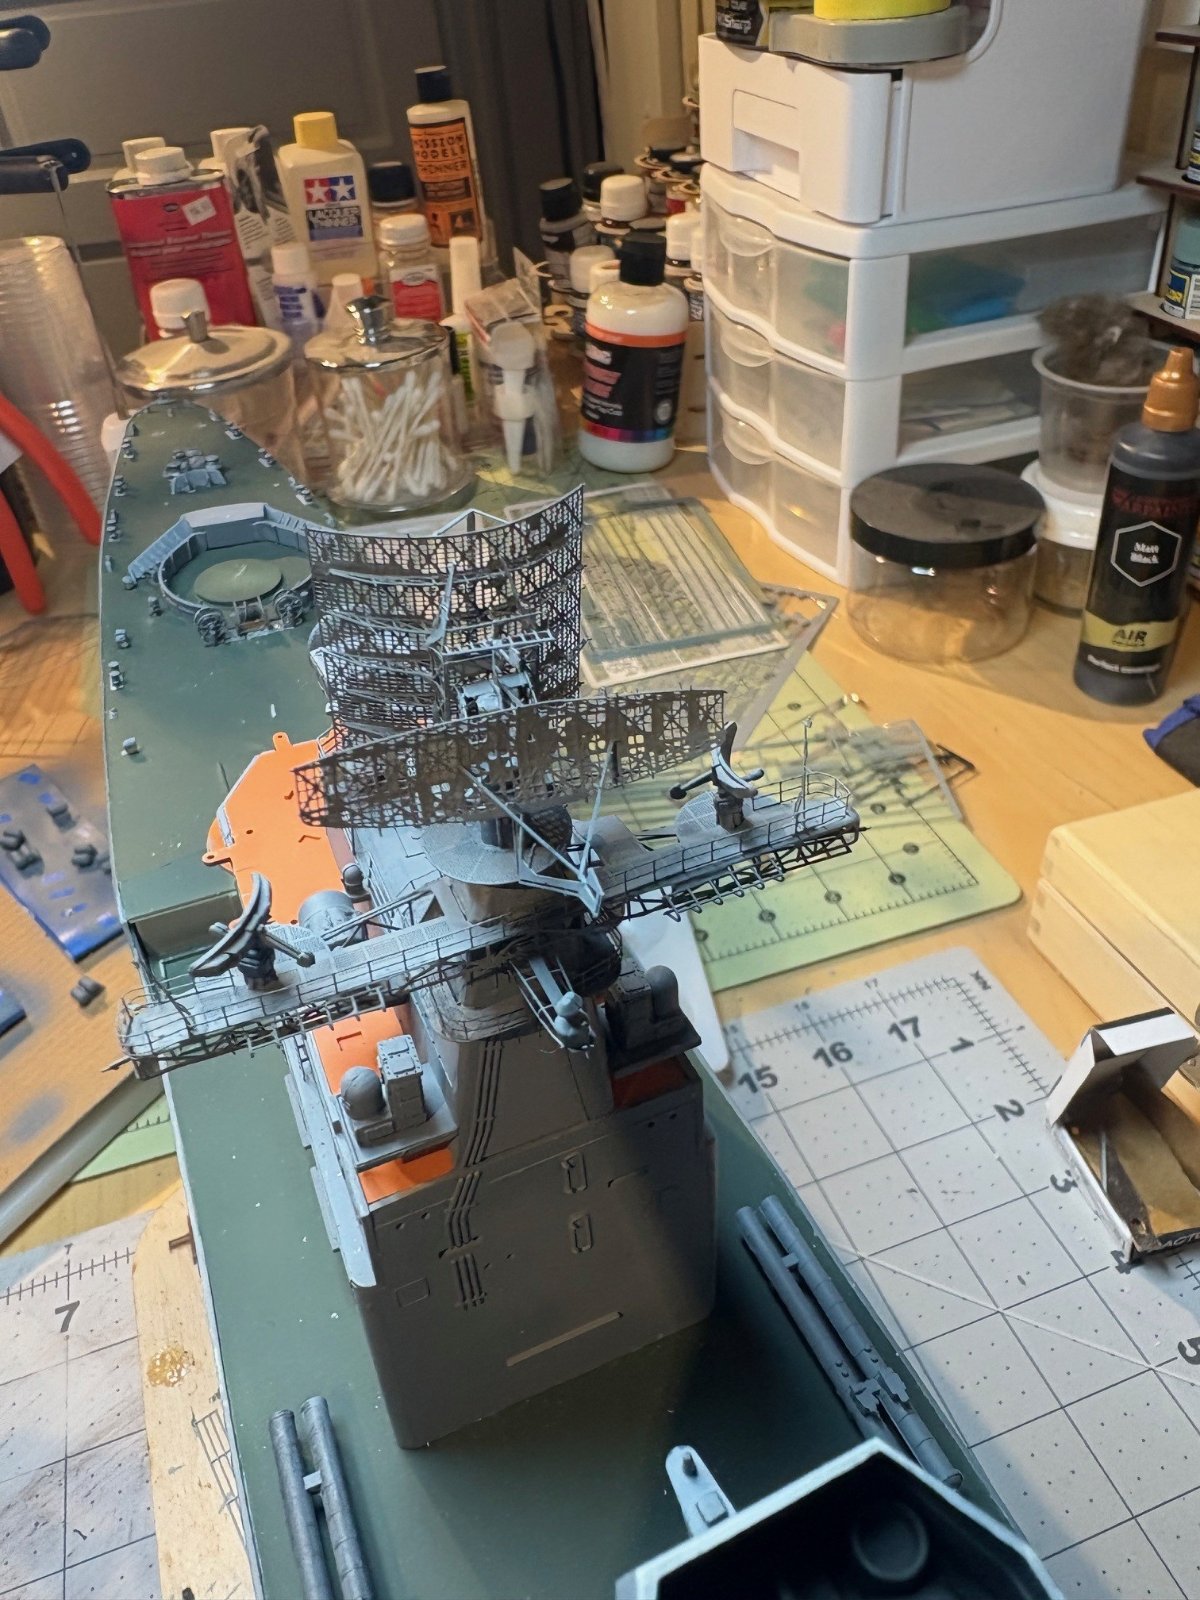
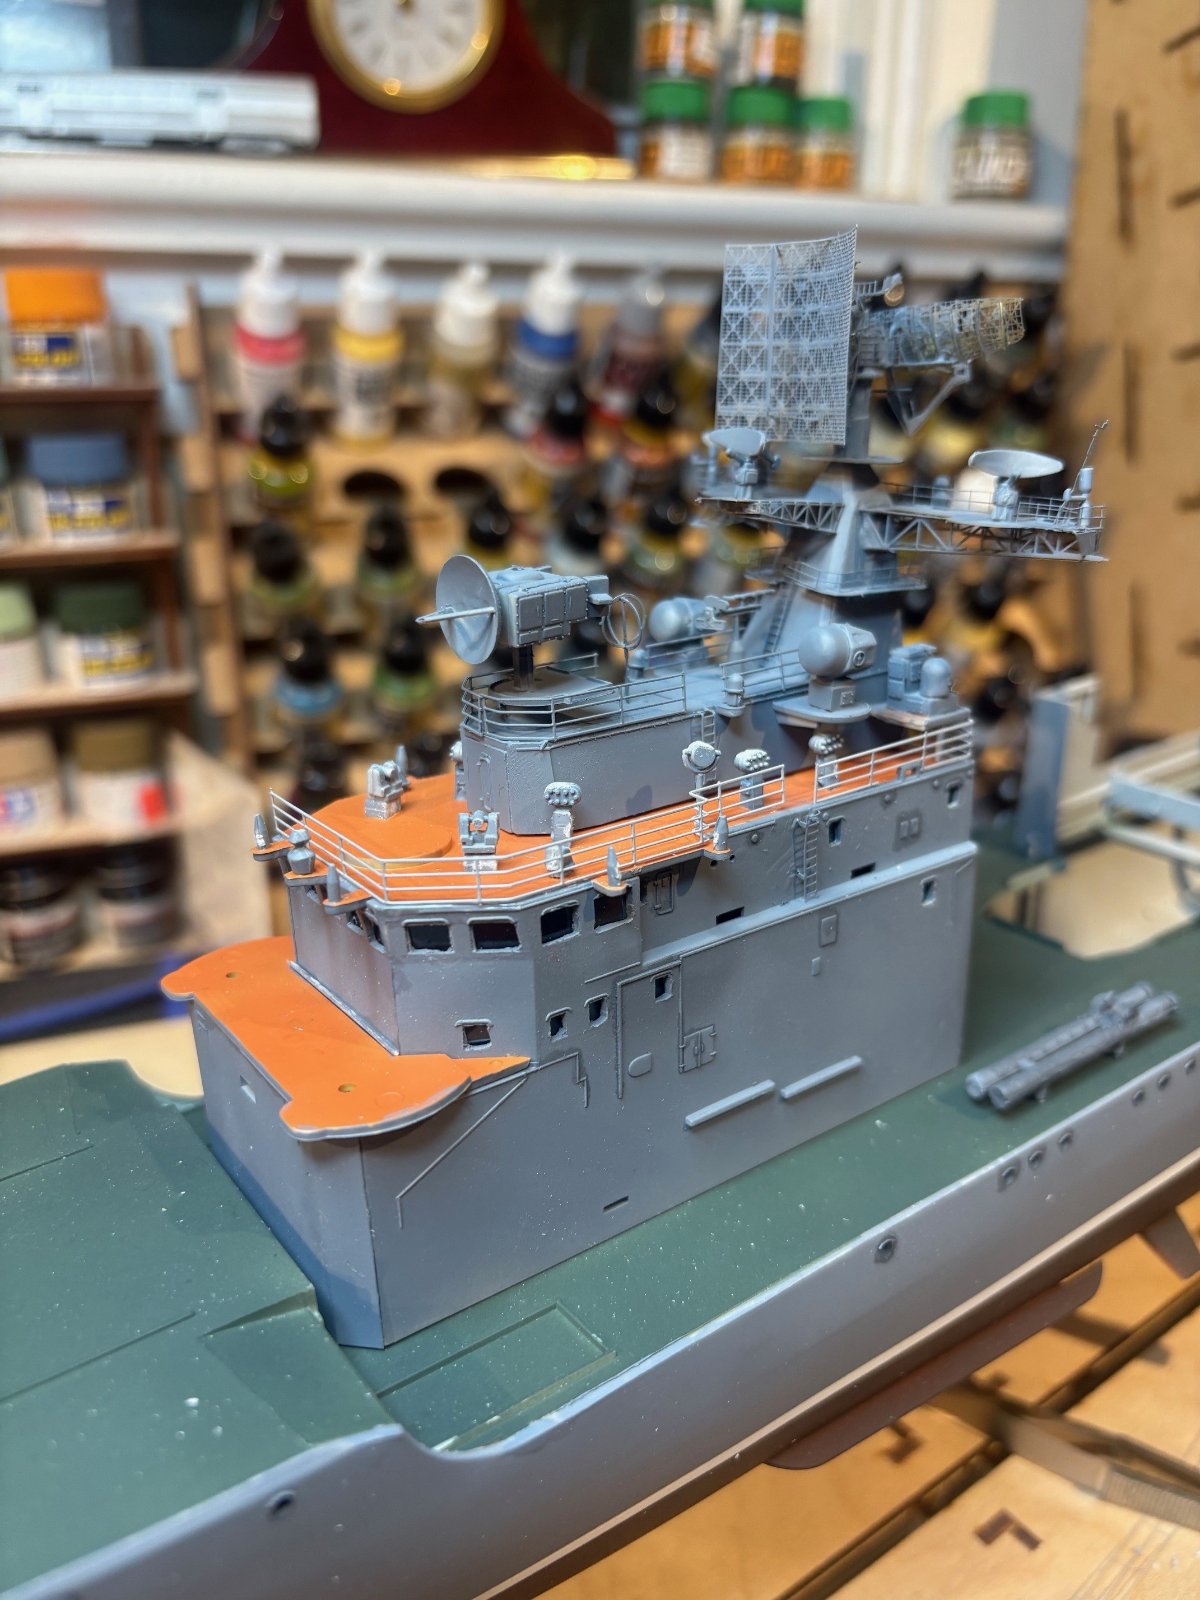
getting there.... i painted up the mast structure which didnt go as bad as i thought except the paint revealed some gloppity glooks on the radar array from the glue. i dry fitted it and thought it came out ok overall. decided to replace some of the kit deck reels that i thought didnt come out well with some aftermarket. finally started putting together the after mast which some masochist decided to make a 4-piece build. would have been a great candidate for a 4 way fold type of assembly... talk about fiddly... jeez
Attachments
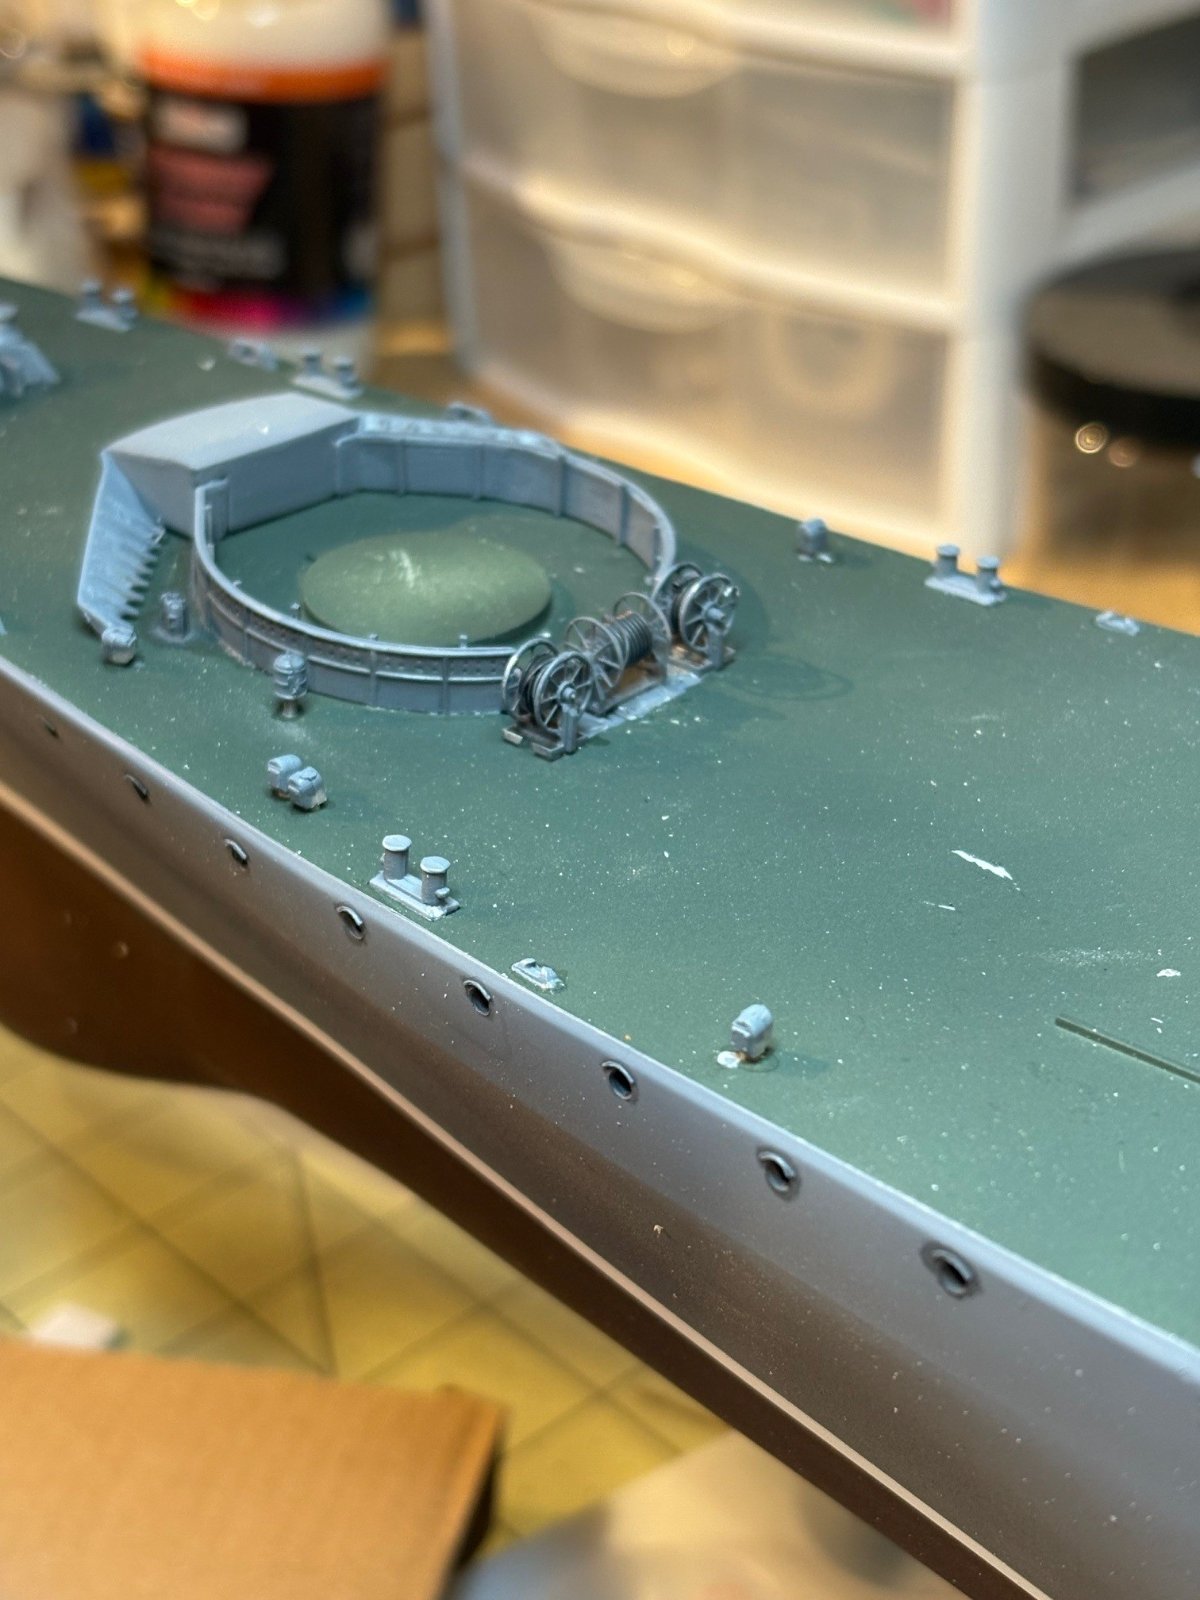
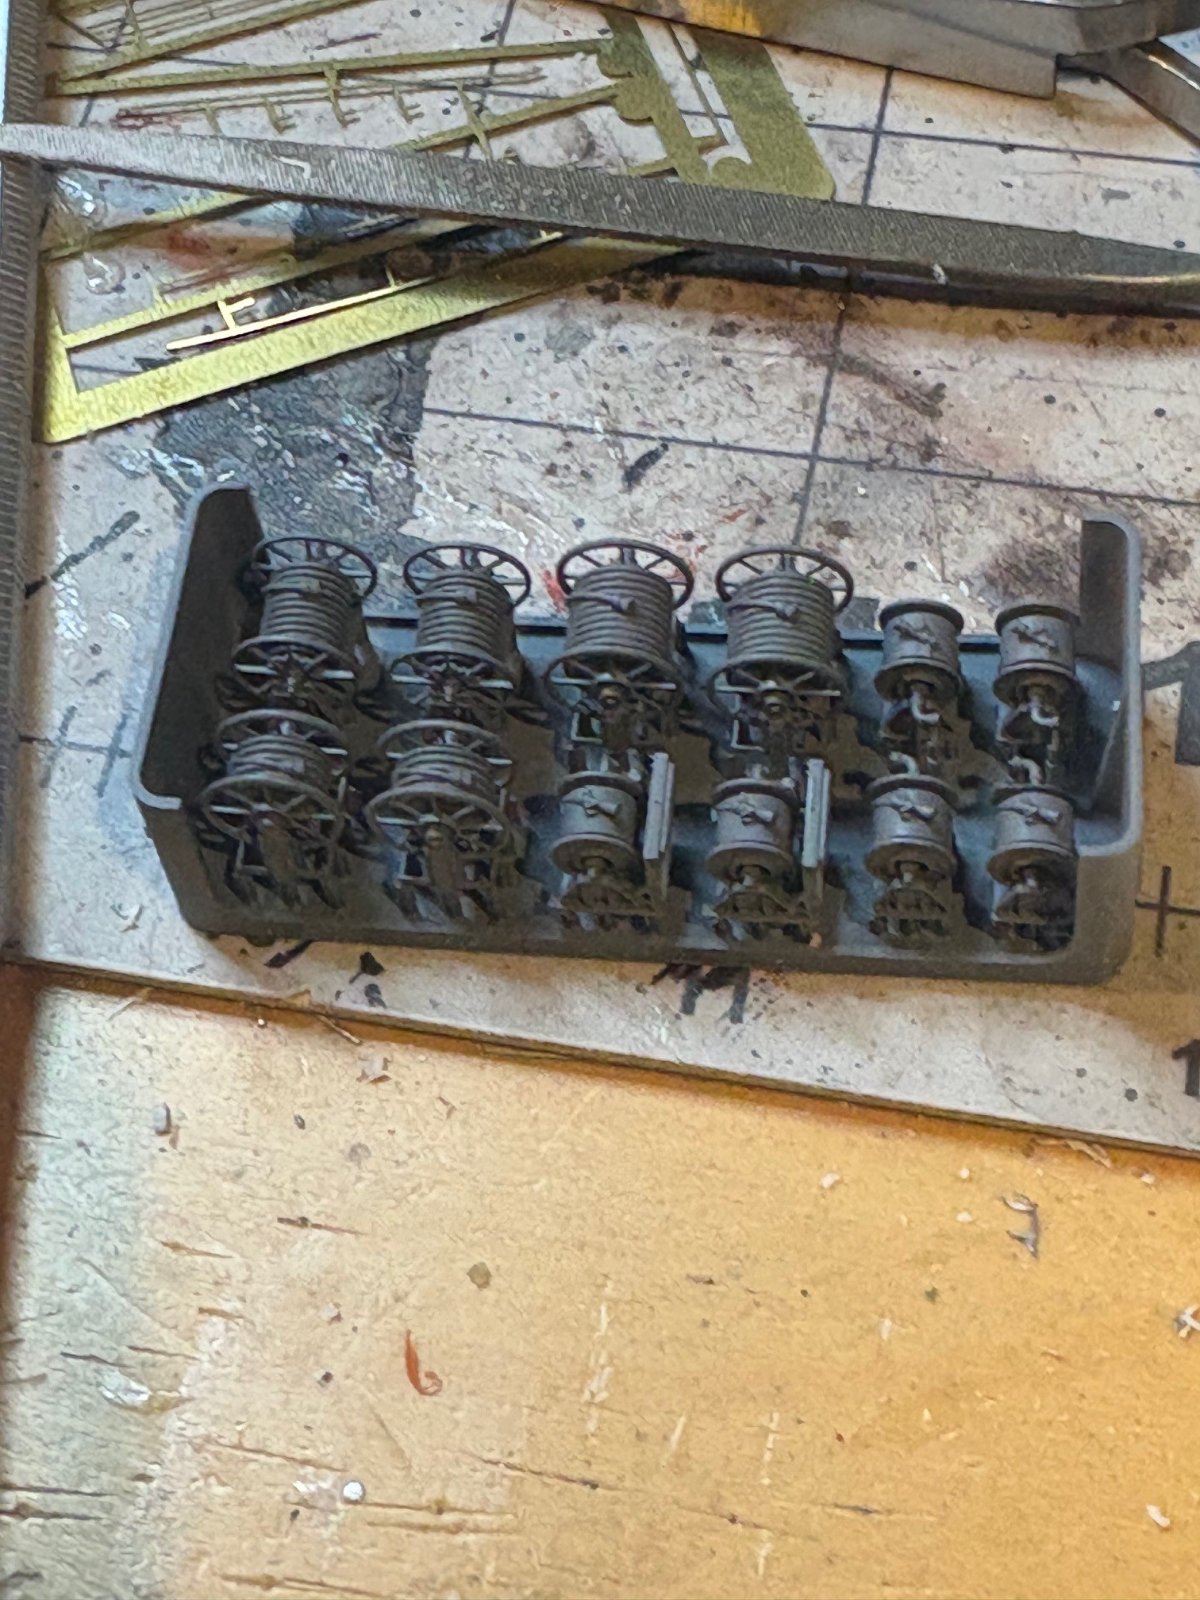
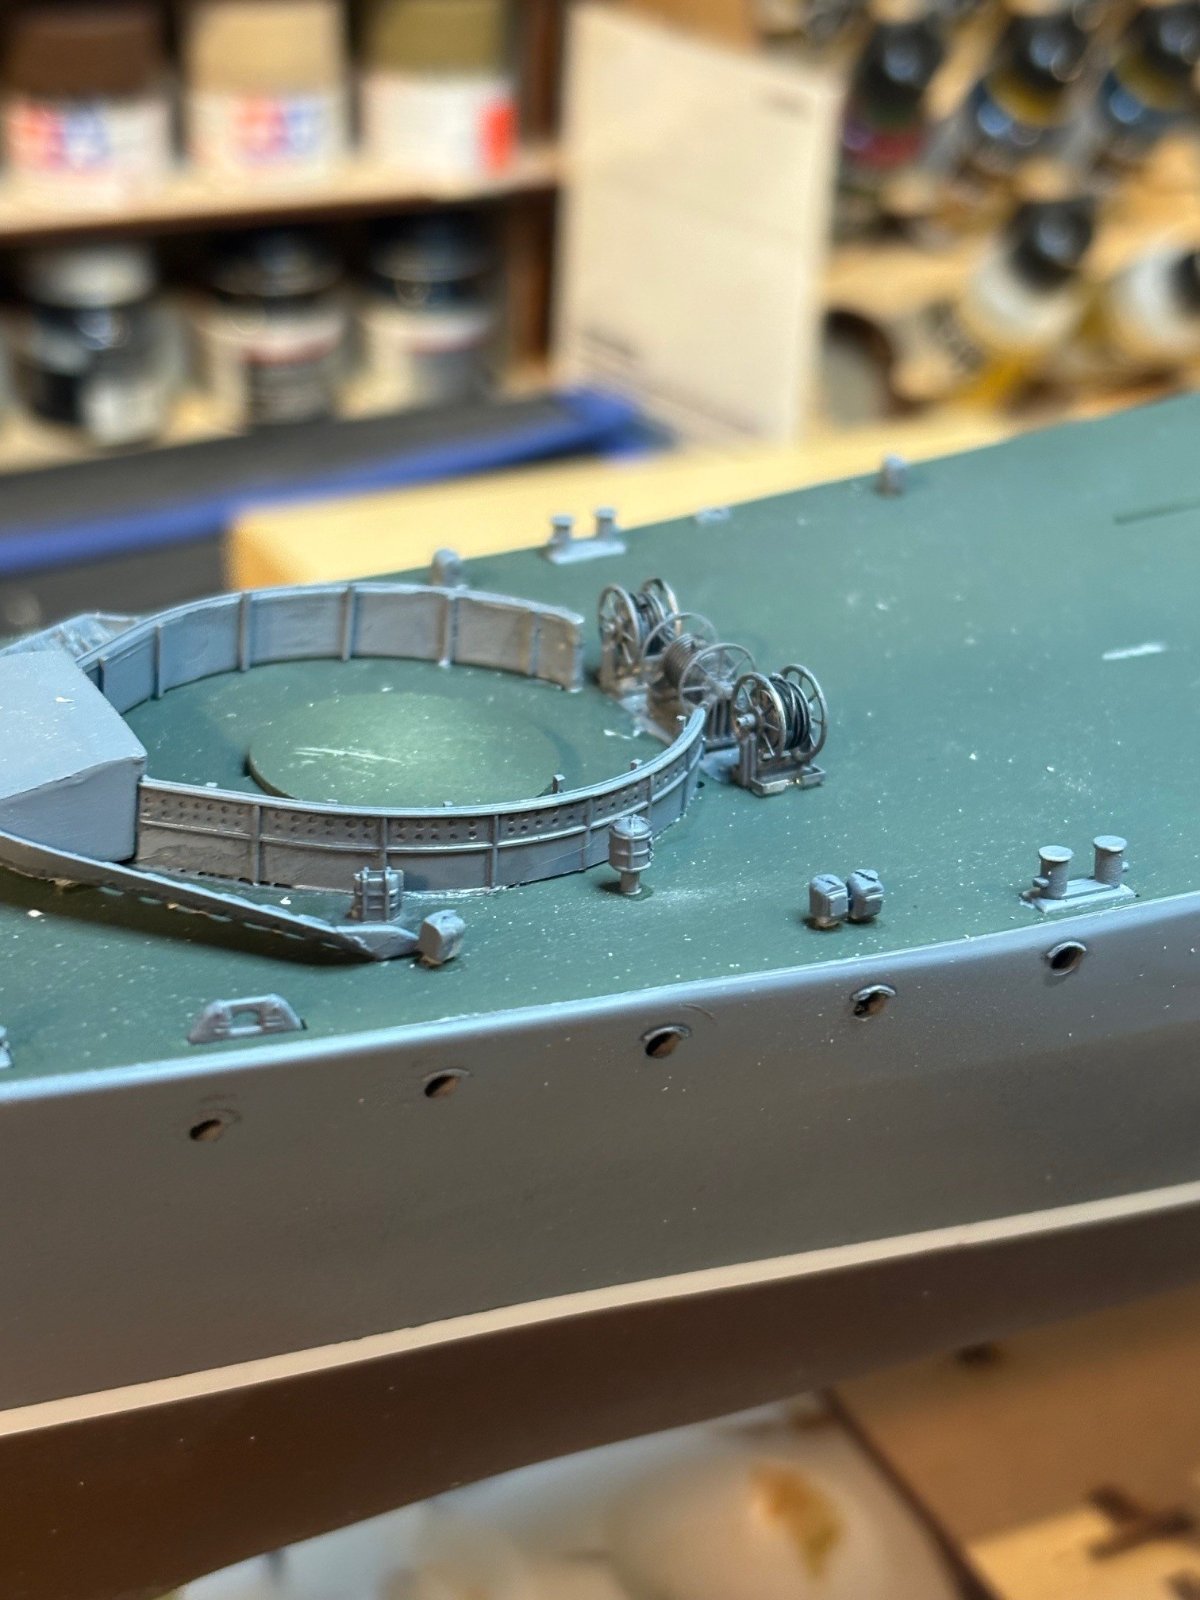
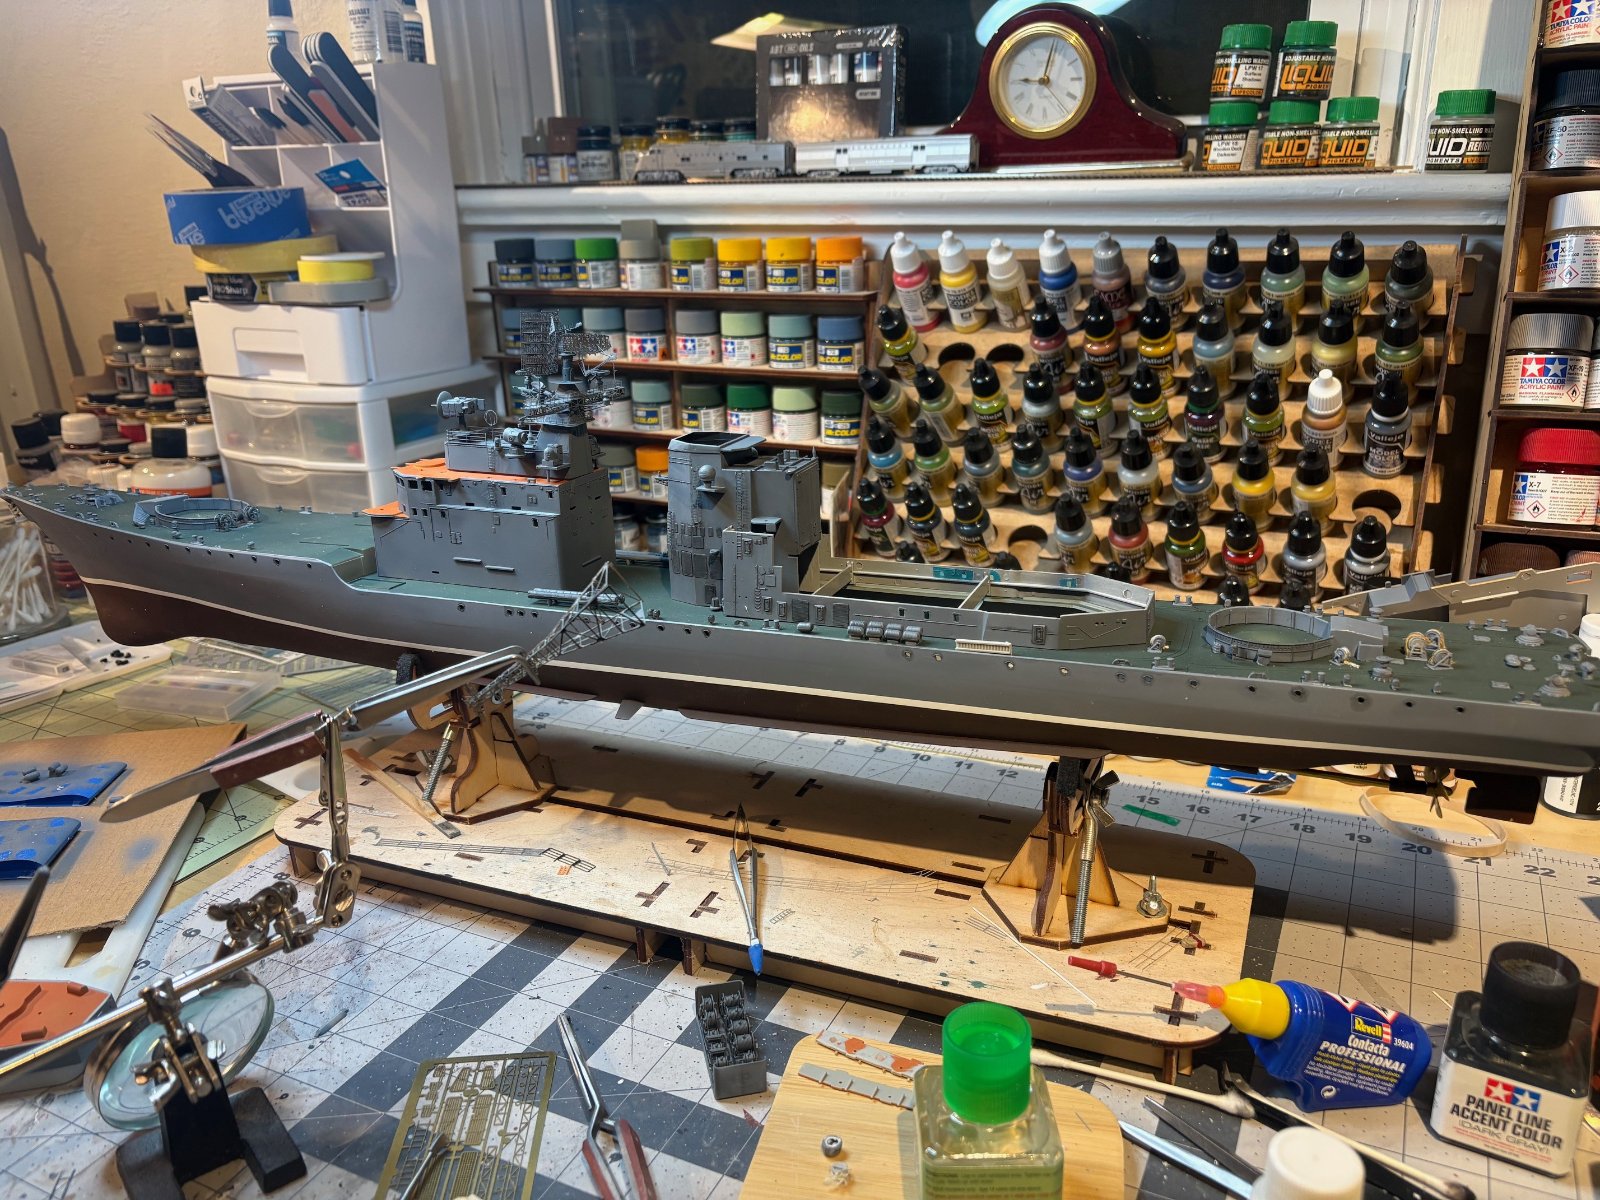

kevin
Well-Known Member
Been there, done that.except the paint revealed some gloppity glooks on the radar array from the glue.
Still looking good, though. Interesting green deck color. I like it.
i searched images on this ship and most showed some sort of green.. others a dark deck red. i thought the green was a bit more interesting. i plan to fade it out and slightly weather eventually. as far as the radar array , i was tempted to try to open up the holes with a pin , but if it fell apart , the neighbors would hear me scream. if anybody has another method or hack to take care of the clogged areas, im all ears!Been there, done that.
Still looking good, though. Interesting green deck color. I like it.
Last edited:
I can throw out some random ideas, who knows, maybe it will tweak a thought in someone else's brain! 
Pin was my first thought as well...
Pin was my first thought as well...
- removing CA and paint with one product sounds tricky and risky...
- there are CA debonders which I have used, though controlling the super thin liquid would be a challenge in this situation...
- and so-called CA eraser fluid which I haven't tried...
- camouflage, like painting what should be the 'holes' in a matte dark colour with a fine tip brush? Might work from a distance?
- fill in all the holes and paint them as above... sounds crazy, but the issue isn't so much the filled in ones now, as much as some are filled and some are empty, which emphasizes the difference
- don't use a pin, which uses force to push the CA / paint through, but a micro bit to gently drill to remove material. Steady hand required!
...if I ever make the leap into a big ship build, those words will be my guiding mantra!work and dry fit
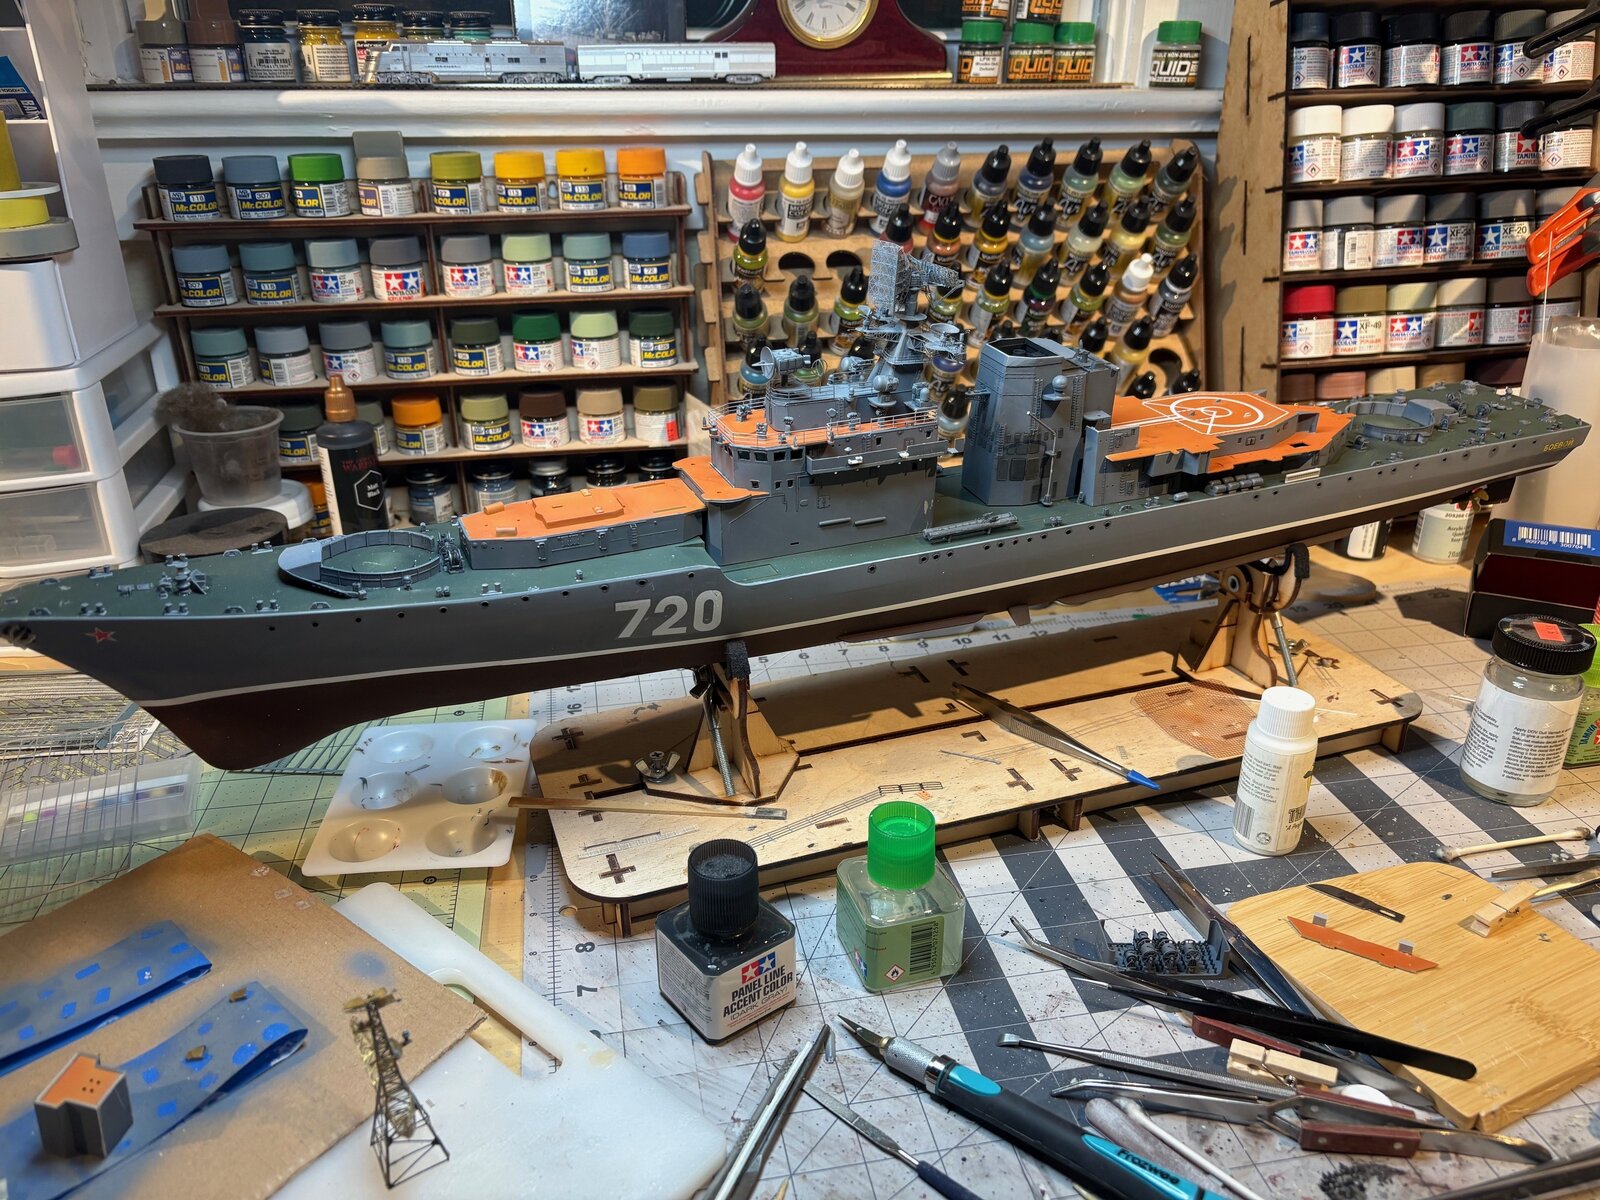
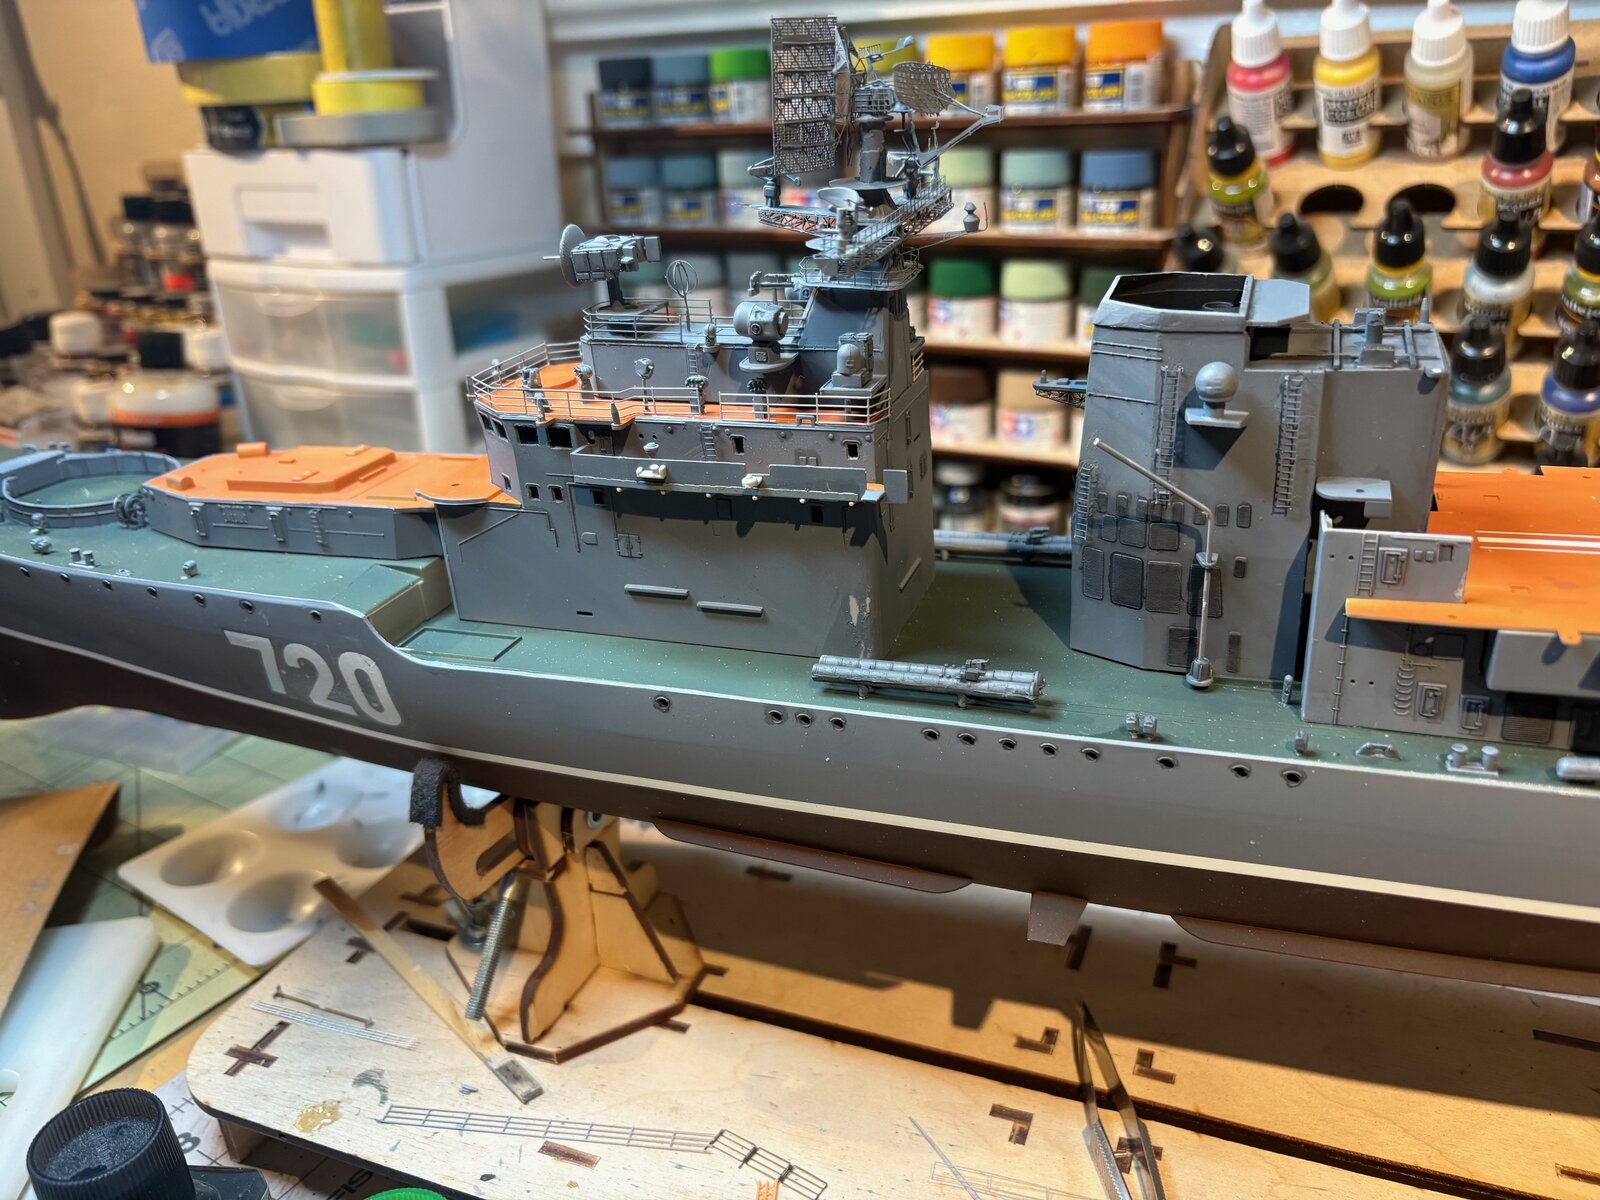
it used to do that automatically when i posted.. then one day it stopped. i dont know why and havent figured out how to change it back....Domer 94 could you please post this build with full size pics as yes i know if i click on the pics they come up a bit bigger but to me all the detail is still lost but full size pics brings it all up which is great
chrisb
ok... i got it.. i remebered i had to use the "insert image" thingy...Domer 94 could you please post this build with full size pics as yes i know if i click on the pics they come up a bit bigger but to me all the detail is still lost but full size pics brings it all up which is great
chrisb
cheers
BOATMAN
Well-Known Member
- Joined
- Oct 7, 2024
- Messages
- 2,175
WELL done Domer yes thats how the pics should be now the detail can be seen if you had asked me how to put up full size pics i would have told you an you have done nice work on this russian ship as i must admit they do have a lot of radars an detail much more than the west ships
chrisb
chrisb
Last edited:
they definitely had some interesting designs and configurations. the US ships aesthetically i found were more utilitarian and purpose driven.. that being said, the US cold war cruisers and frigates had some eye pleasing designs, but i only find them in 1/700.. which i tend to shy away from. i find the cold war eastern block and modern chinese stuff to have some cool "style" if you will which is why im drawn to the subjects for modelling.WELL done Domer yes thats how the pics should be now the detail can be seen if you had asked me how to put up full size pics i would have told you an you have done nice work on this russian ship as i must admit they do have a lot of radars an detail much more than the west ships
chrisb
on a side note... the arleigh burke class, i think they are good looking ships, but the one thing that absolutely drives me nuts is that wonky sheer line which starts at the forward end of the superstructure and comes up at an awkward angle to the prow. just a little effort to smooth that out would have made all the difference. i have a 1/200 alreigh in the stash which is on the short list. anyhow... just talking ship here
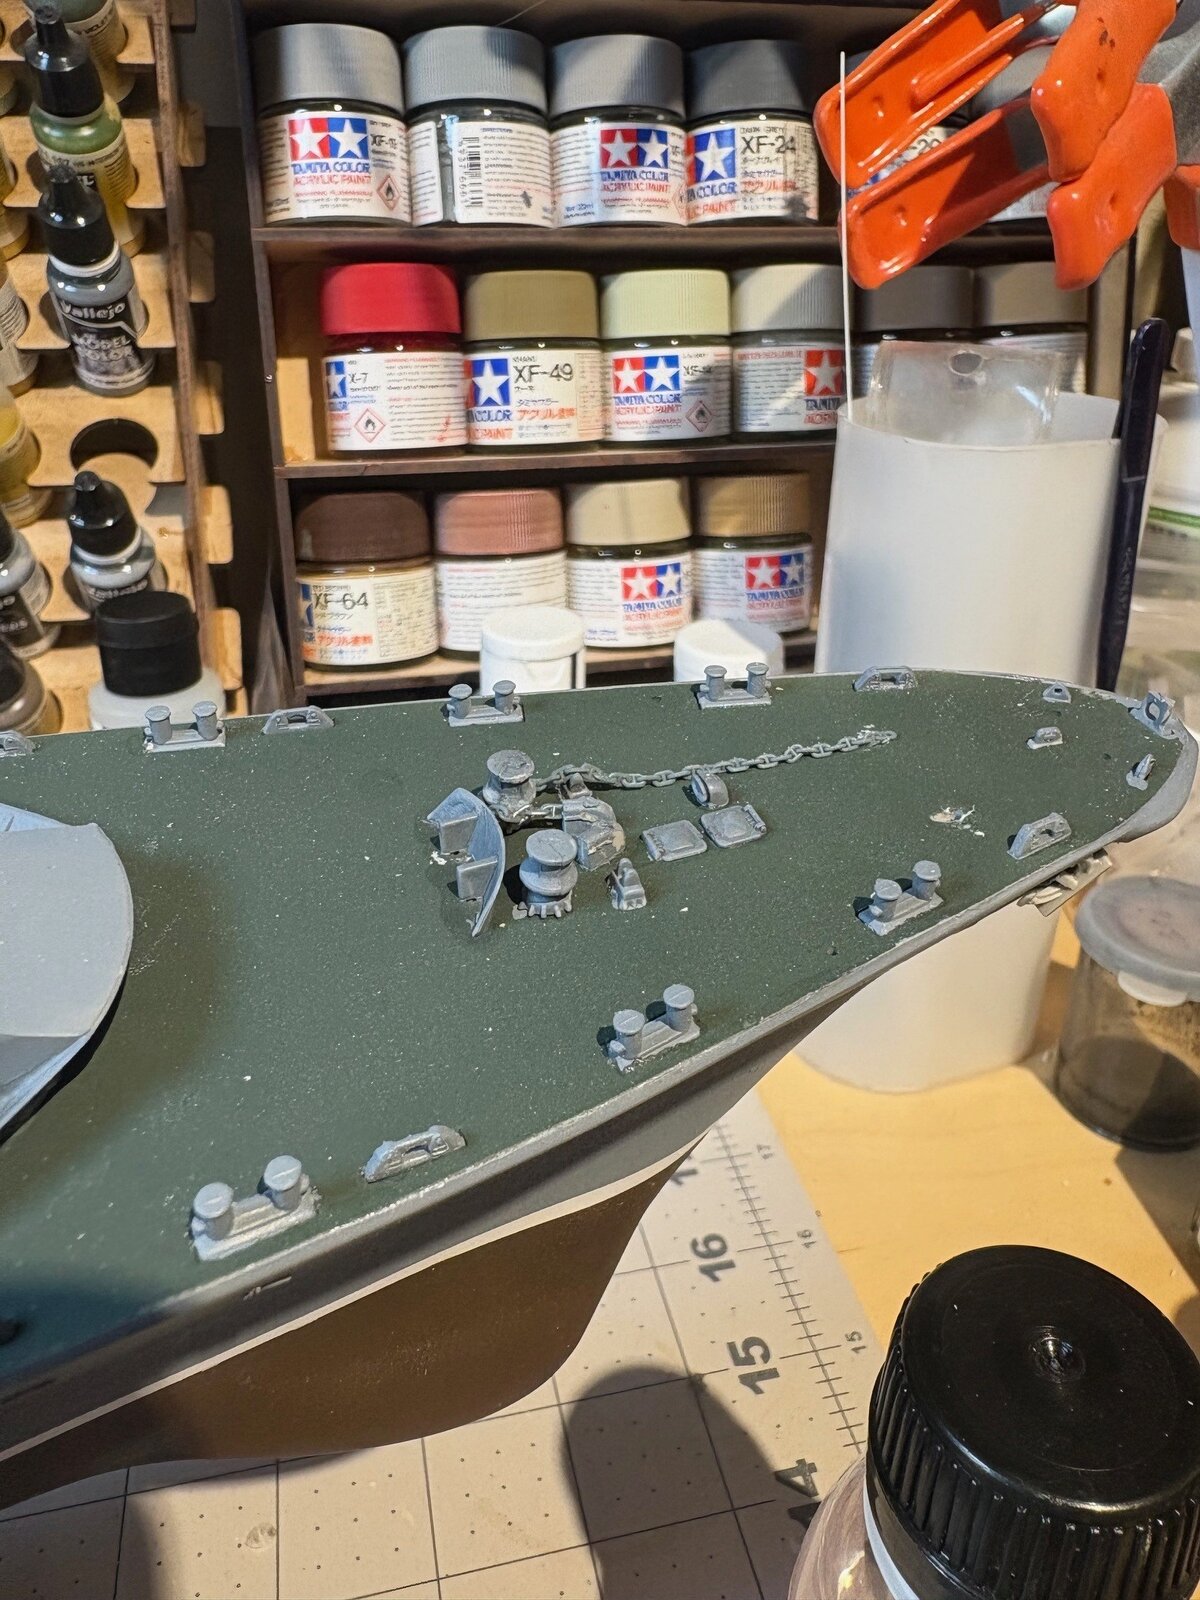
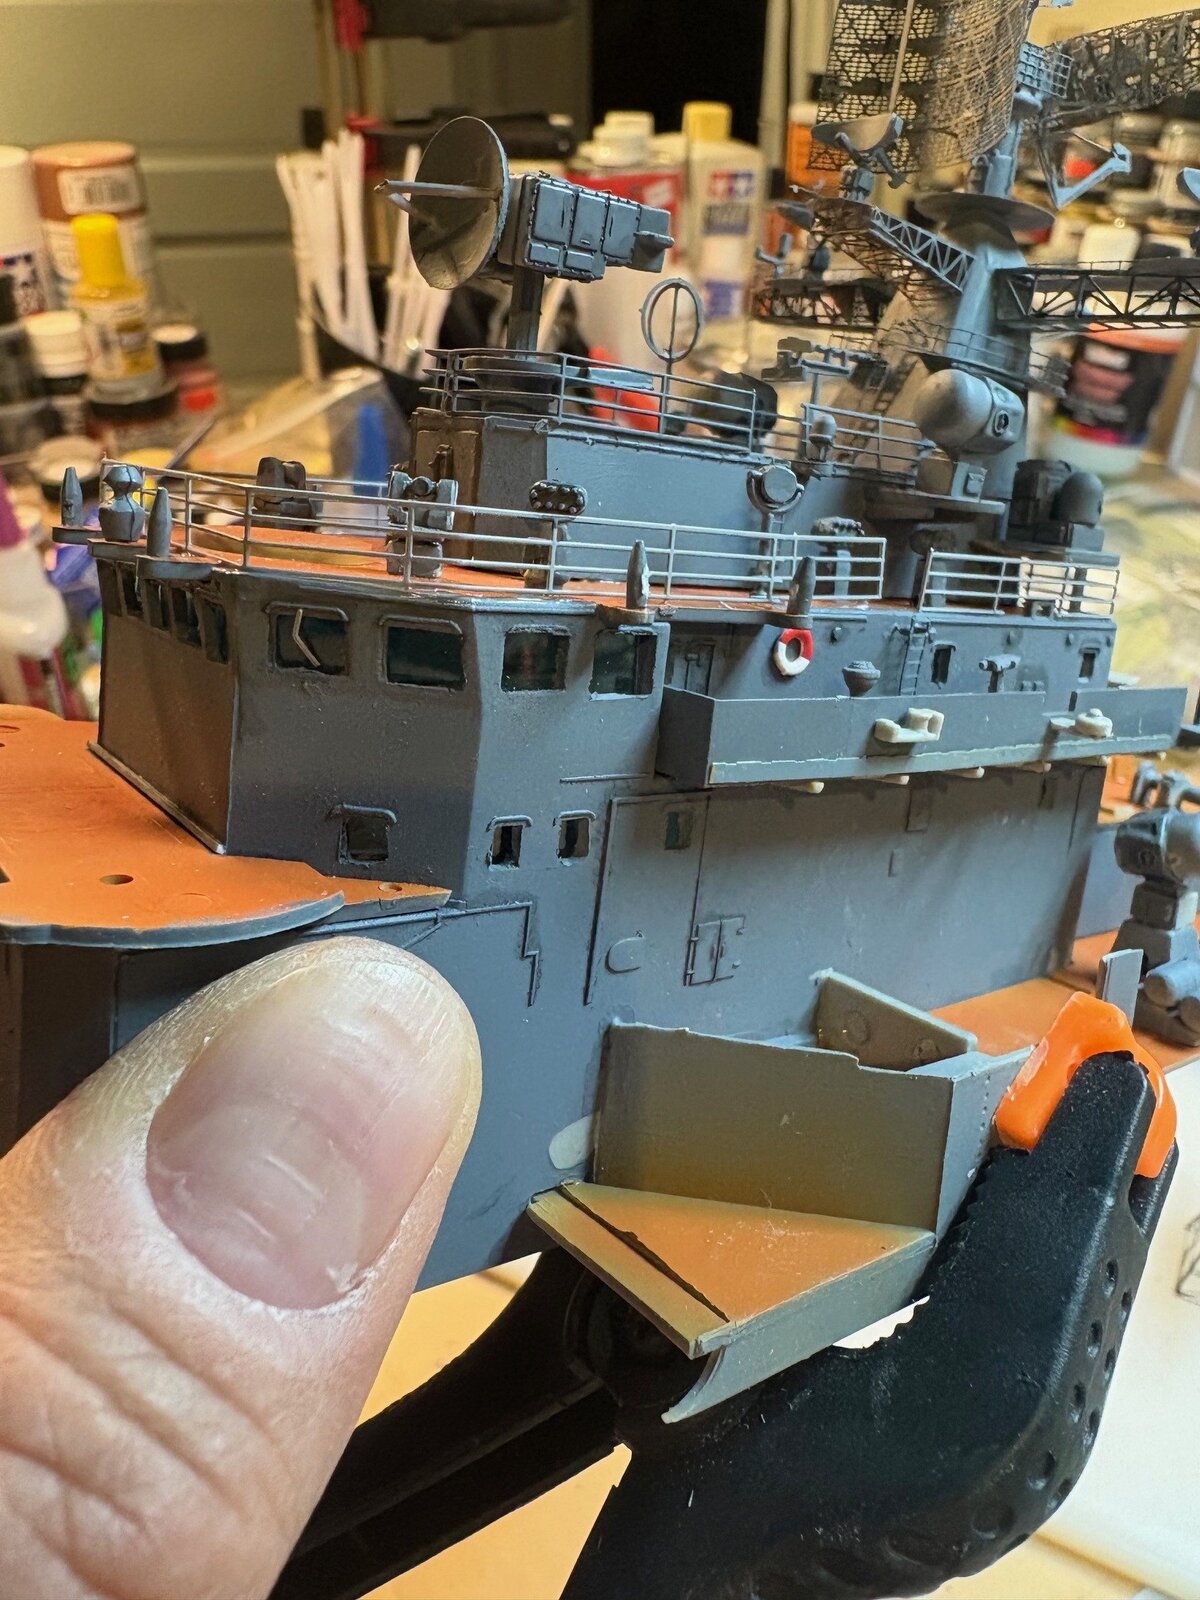
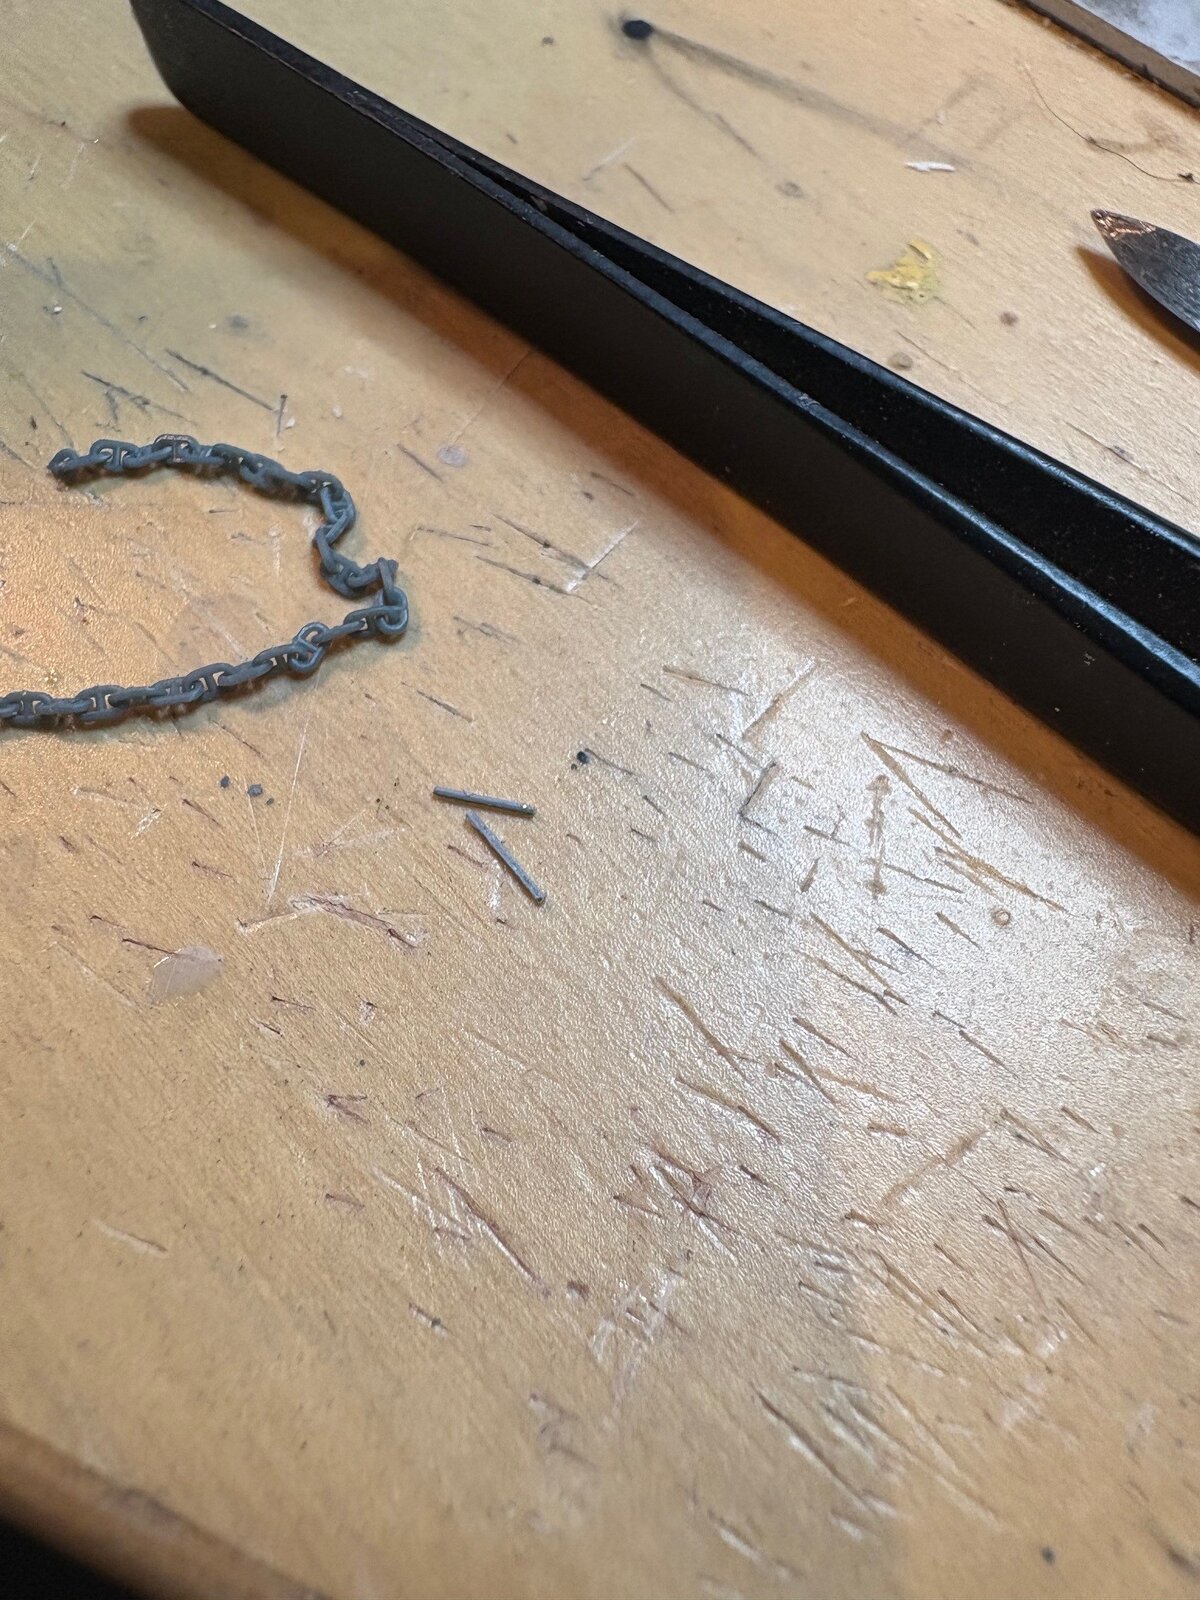
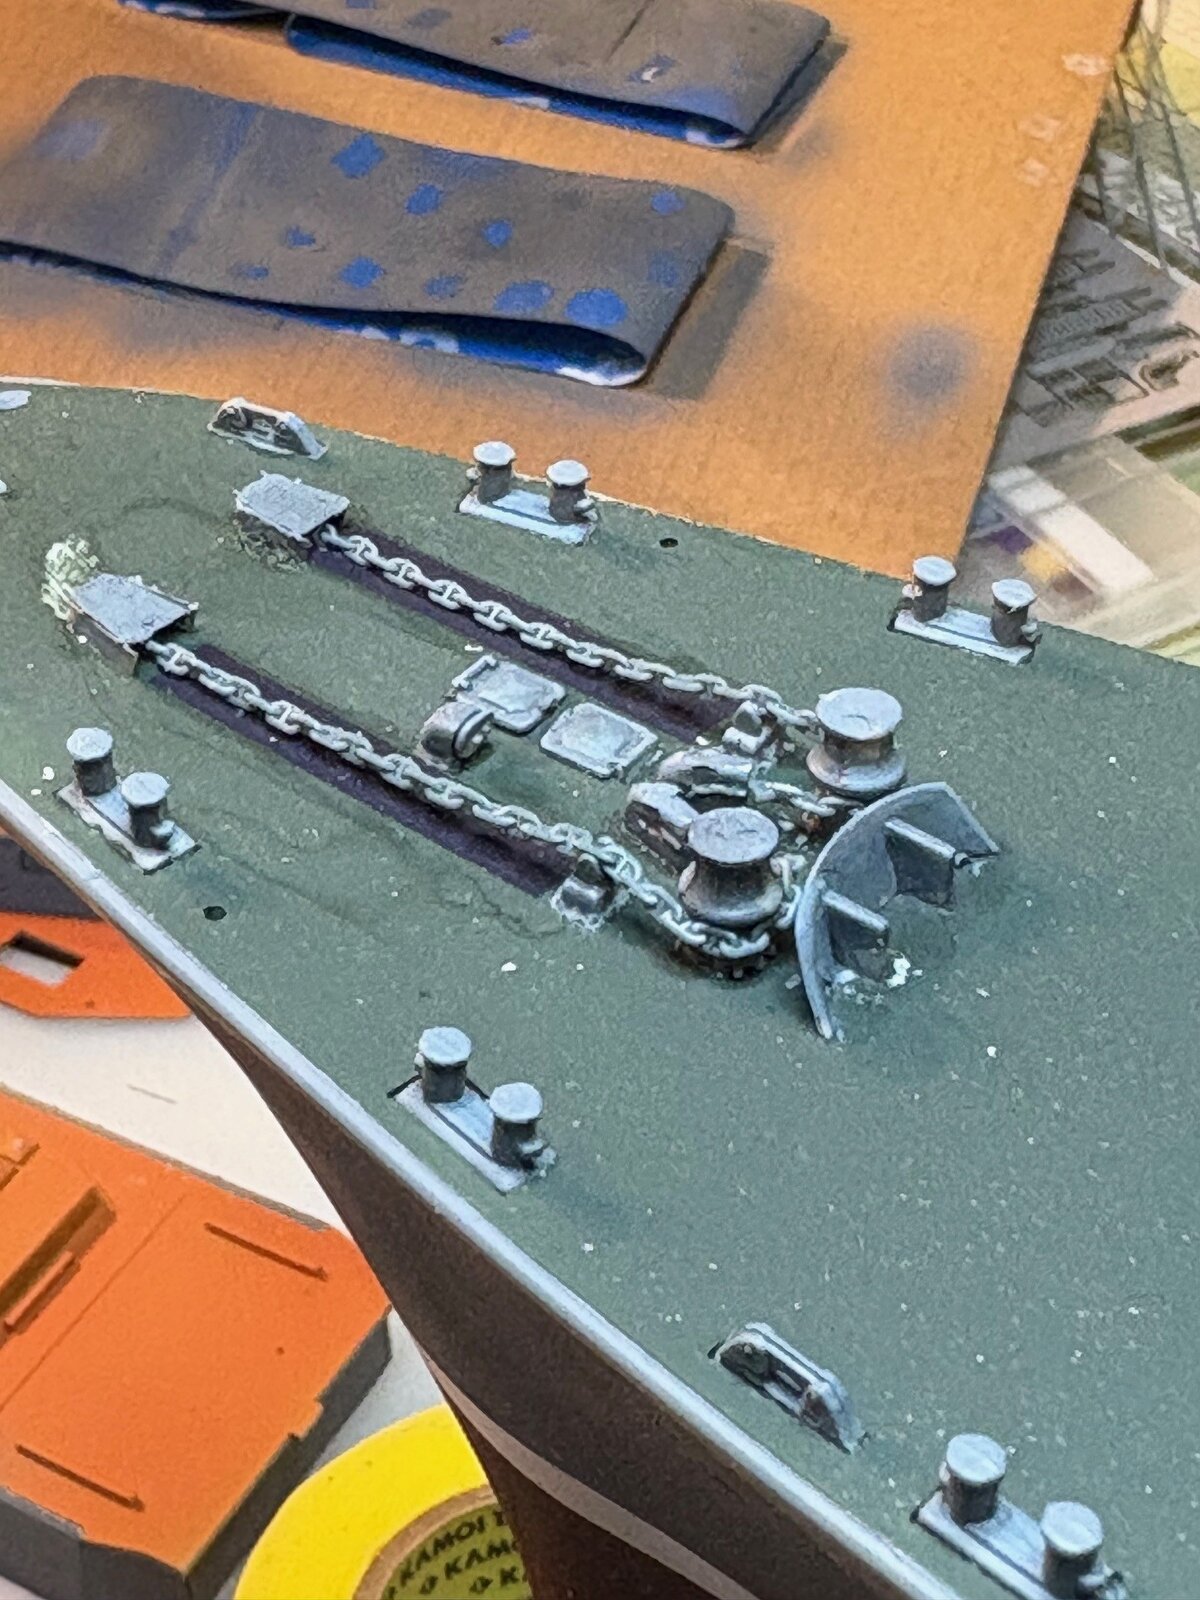
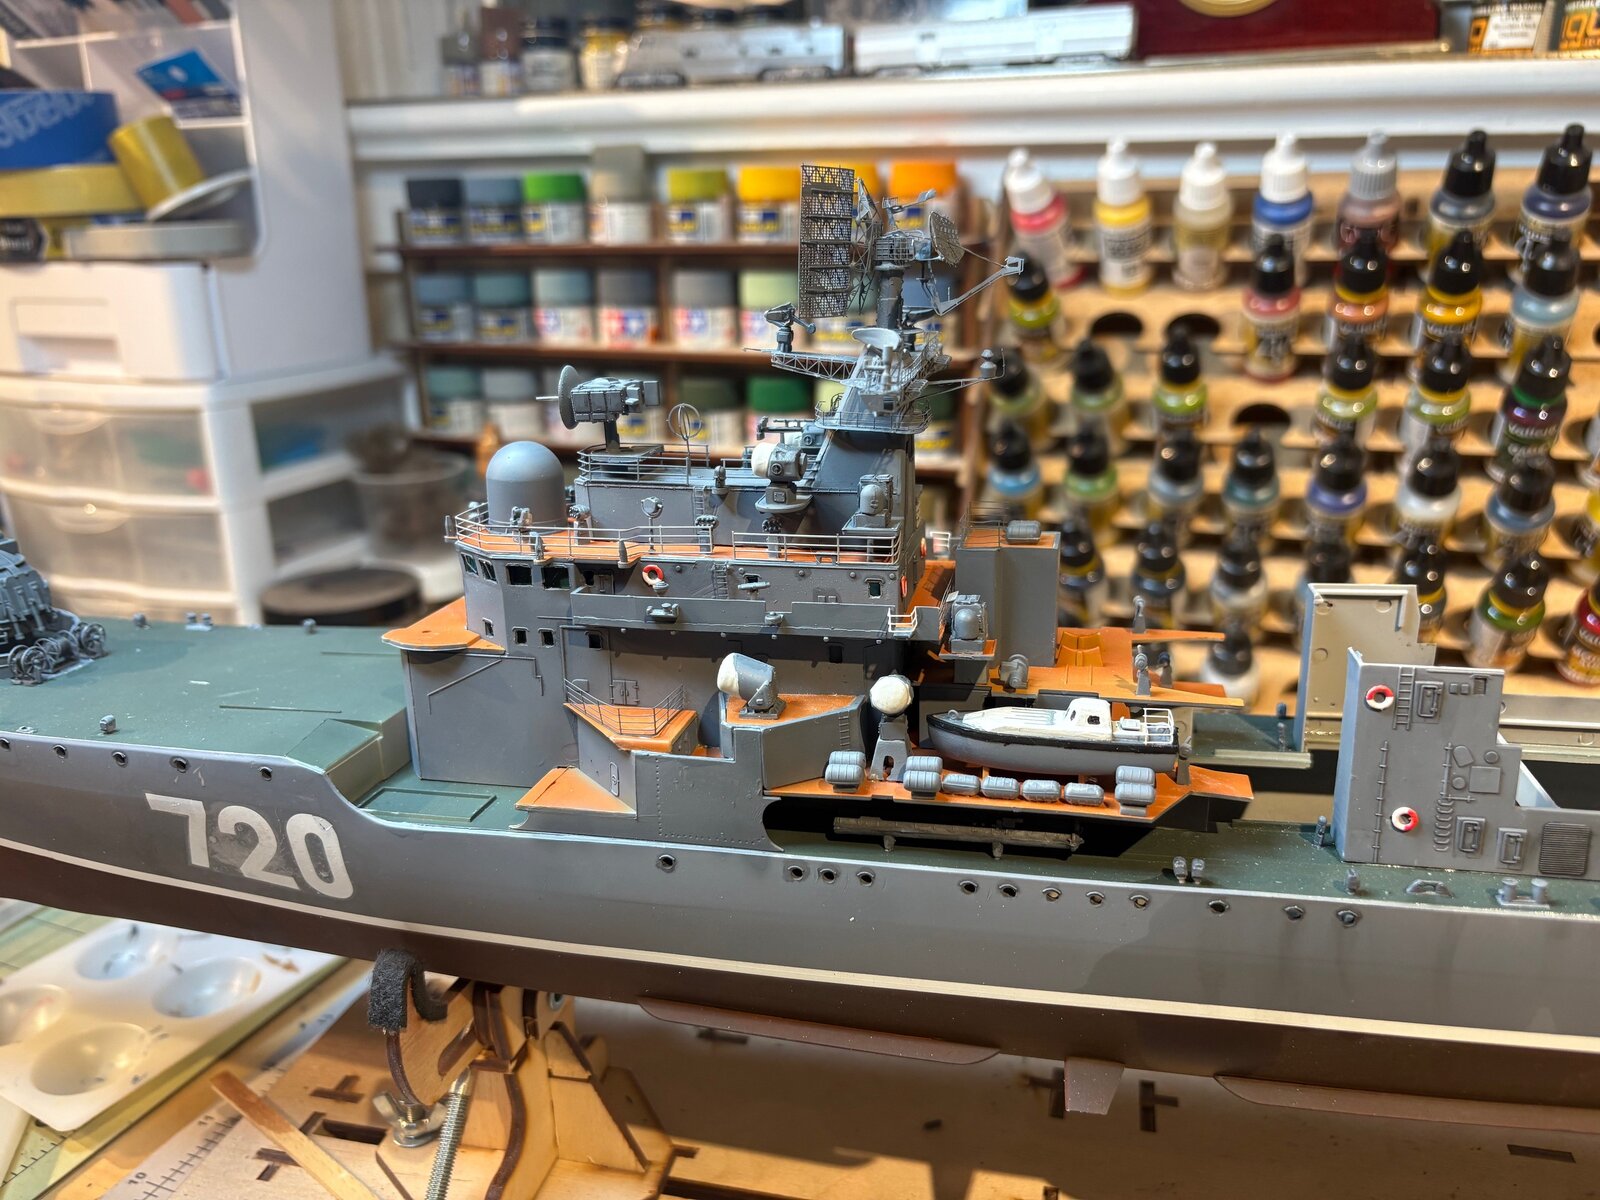
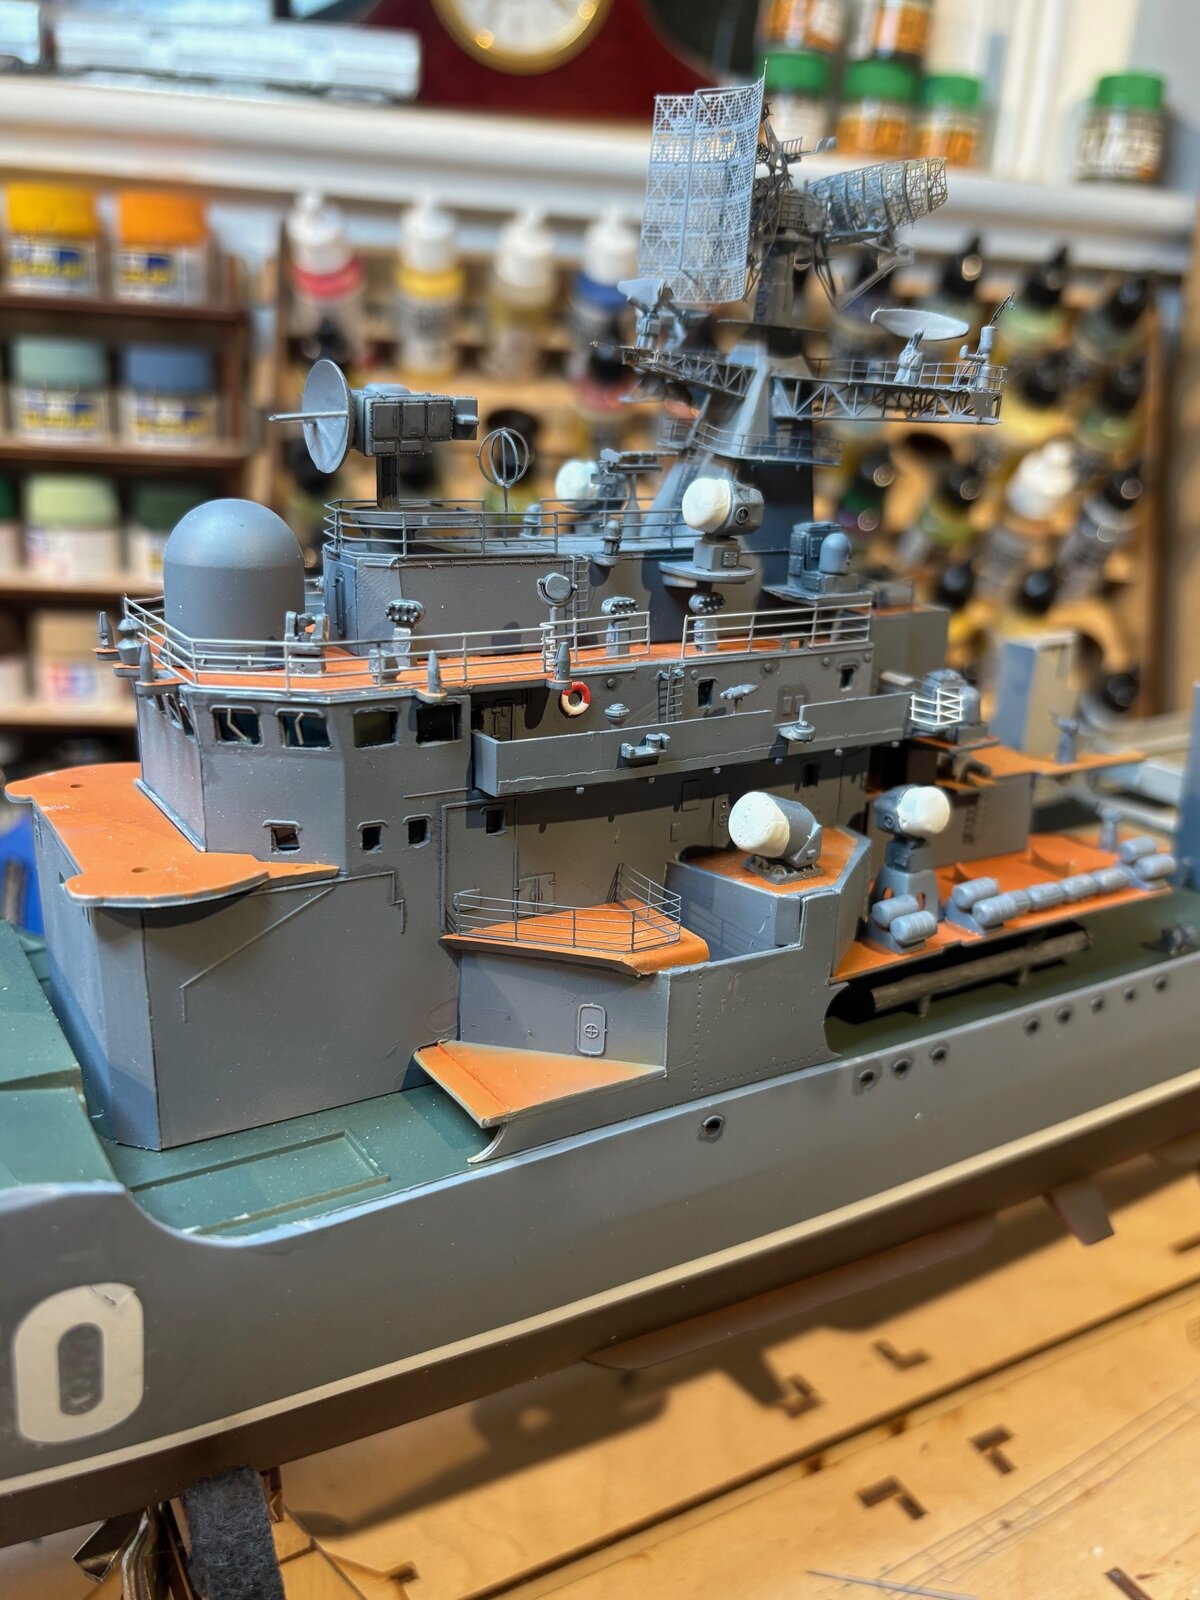
worked on the lower levels of the superstructure . mounted some liferings i had bought pre painted. they are a little pricy but i think worth it. its basically a pe structure with some rubberish material on it to make it 3d. they are nice quality. i fashioned some windscreen wipers out of pieces of PE railing.. i think it gives a good effect. finally received my 3d printed anchor chain from china.. i put a black strip decal down from an old kit and scratched up a hawspipe fish plate guard... will post pics when its all mounted.
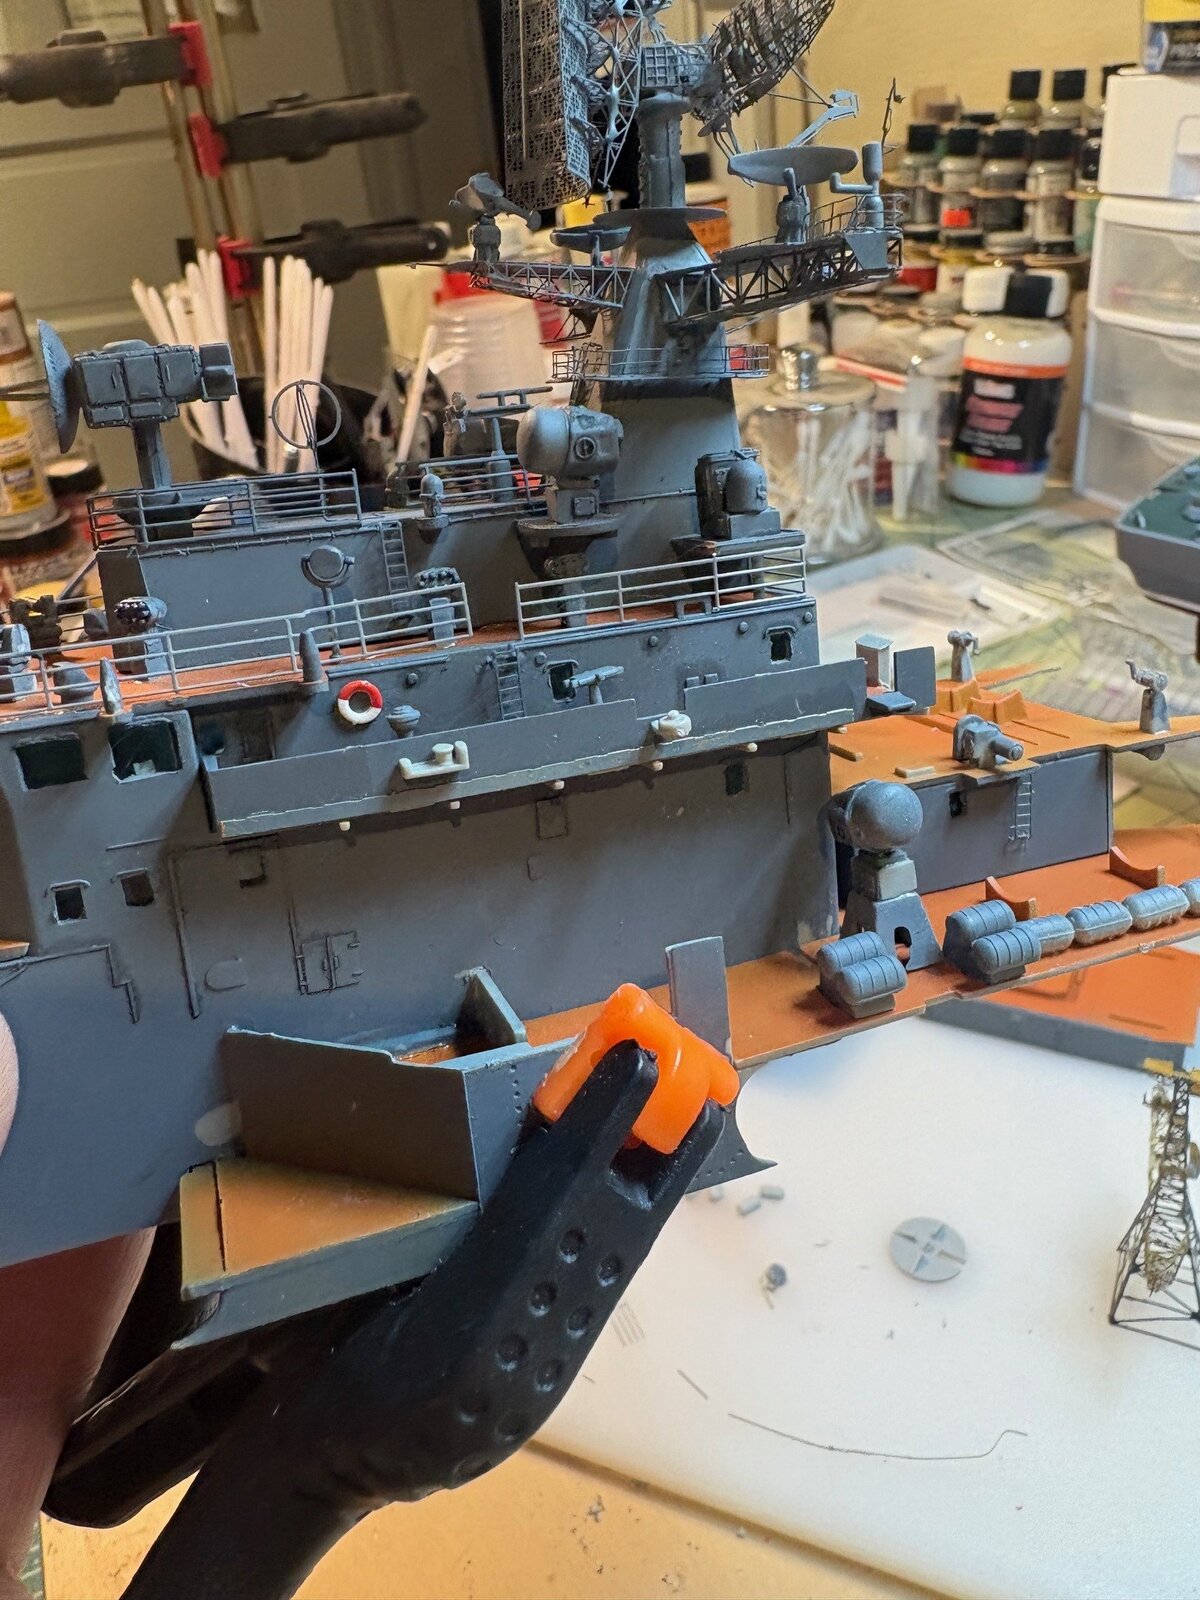
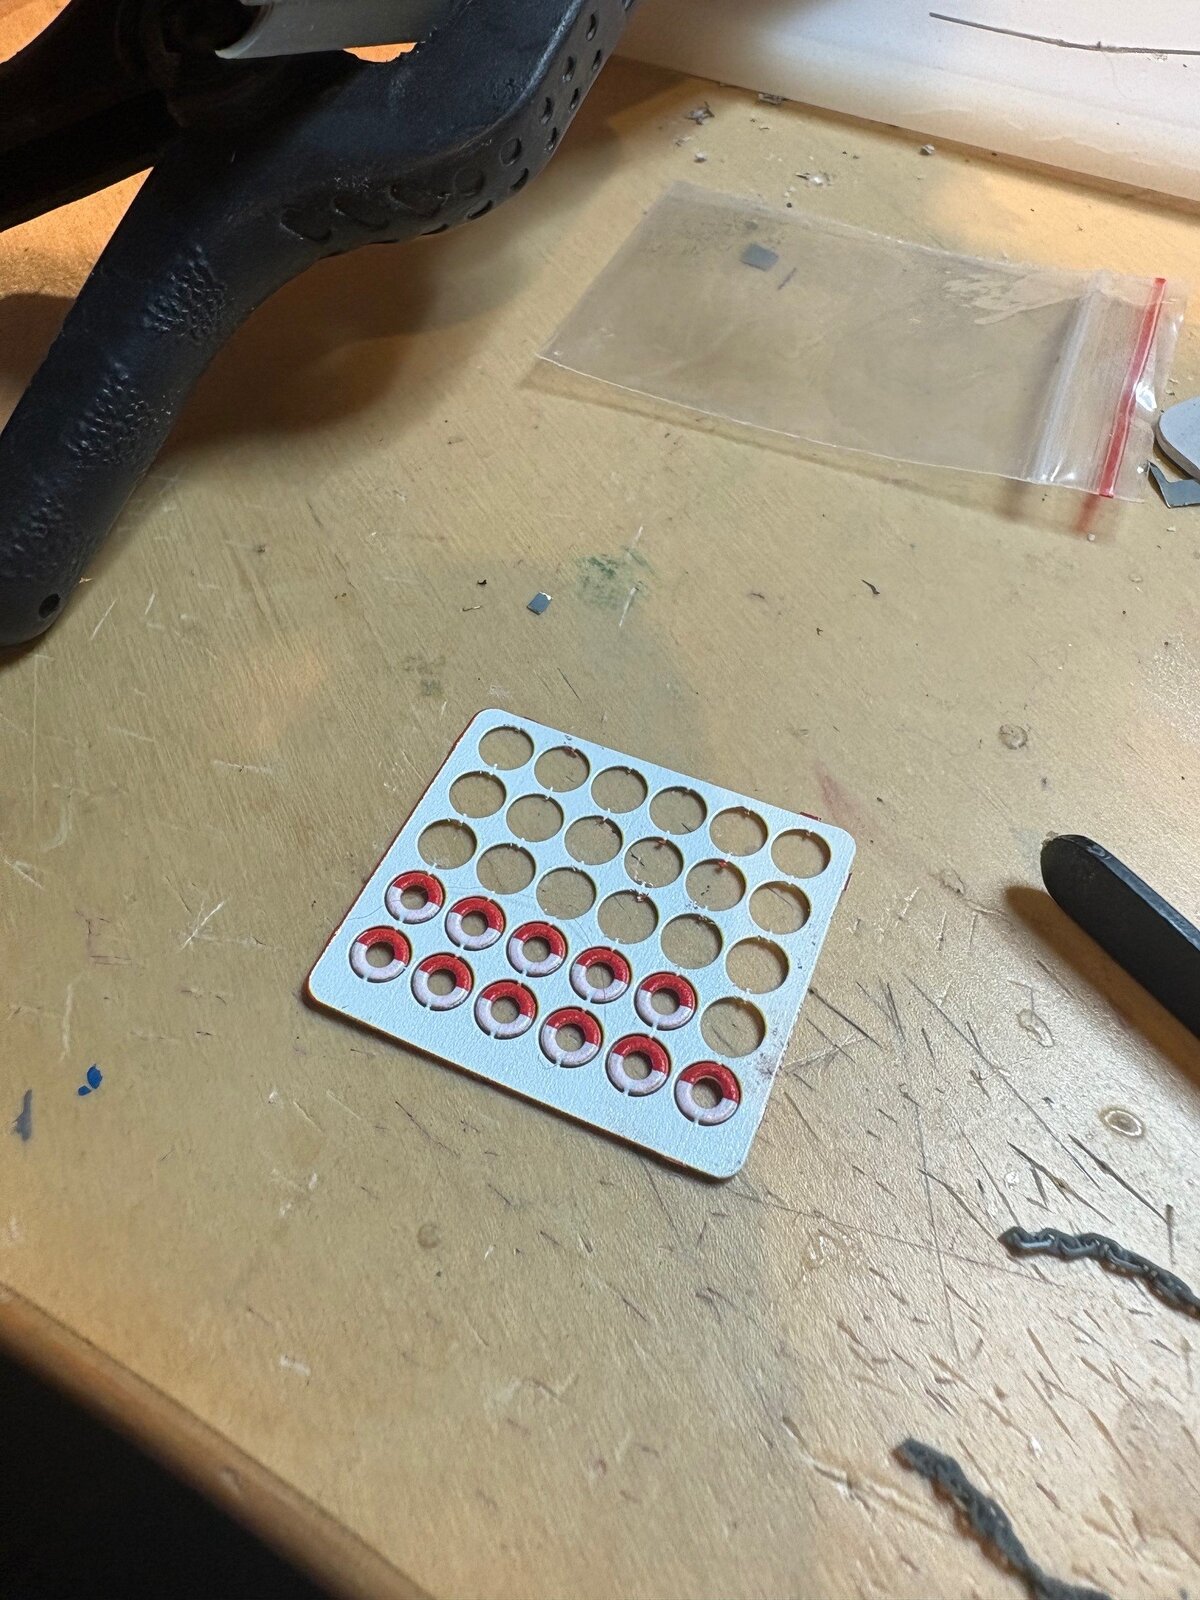
...nice additions! That will be a handsome build.
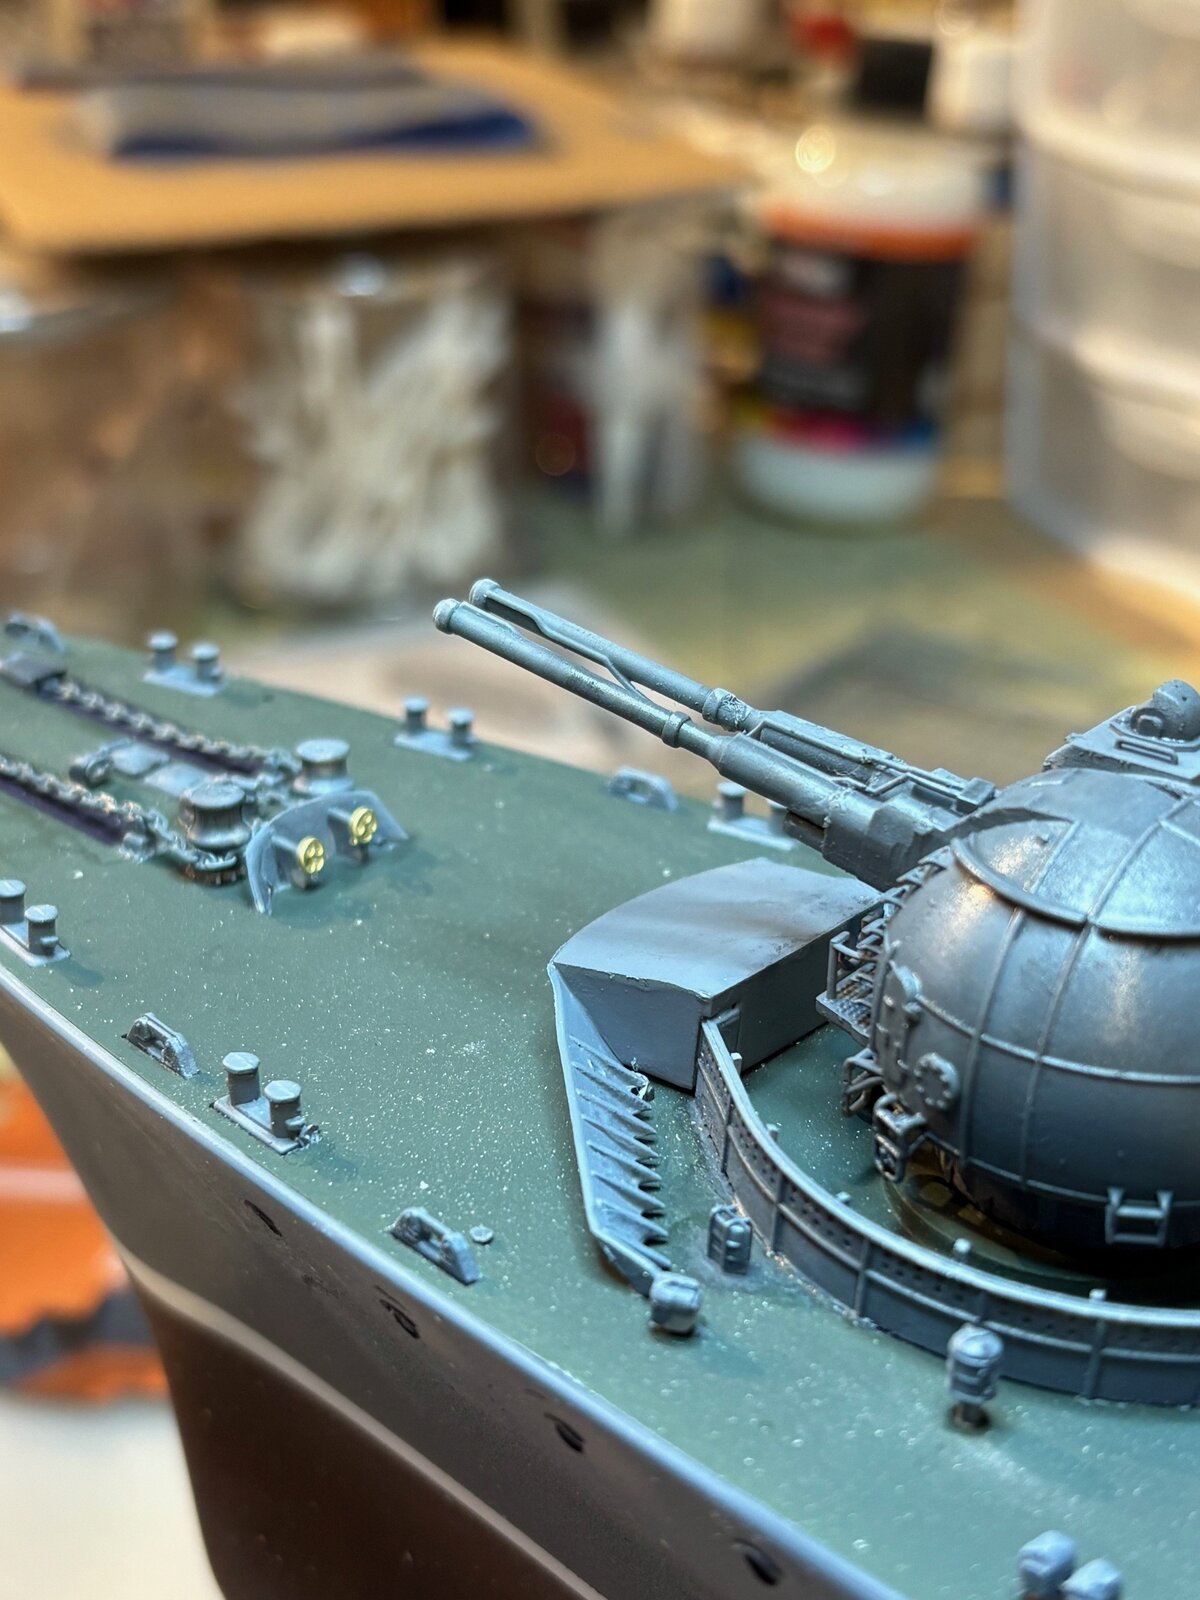
mailman brought the turrets today. great detail , but the material is almost like a pliable rubber... doesnt take well to glue , but in the end the detail vs the kit is no argument. i fitted the anchor chain and fish plates.. the glue smudged some deck paint.. will have to touch up
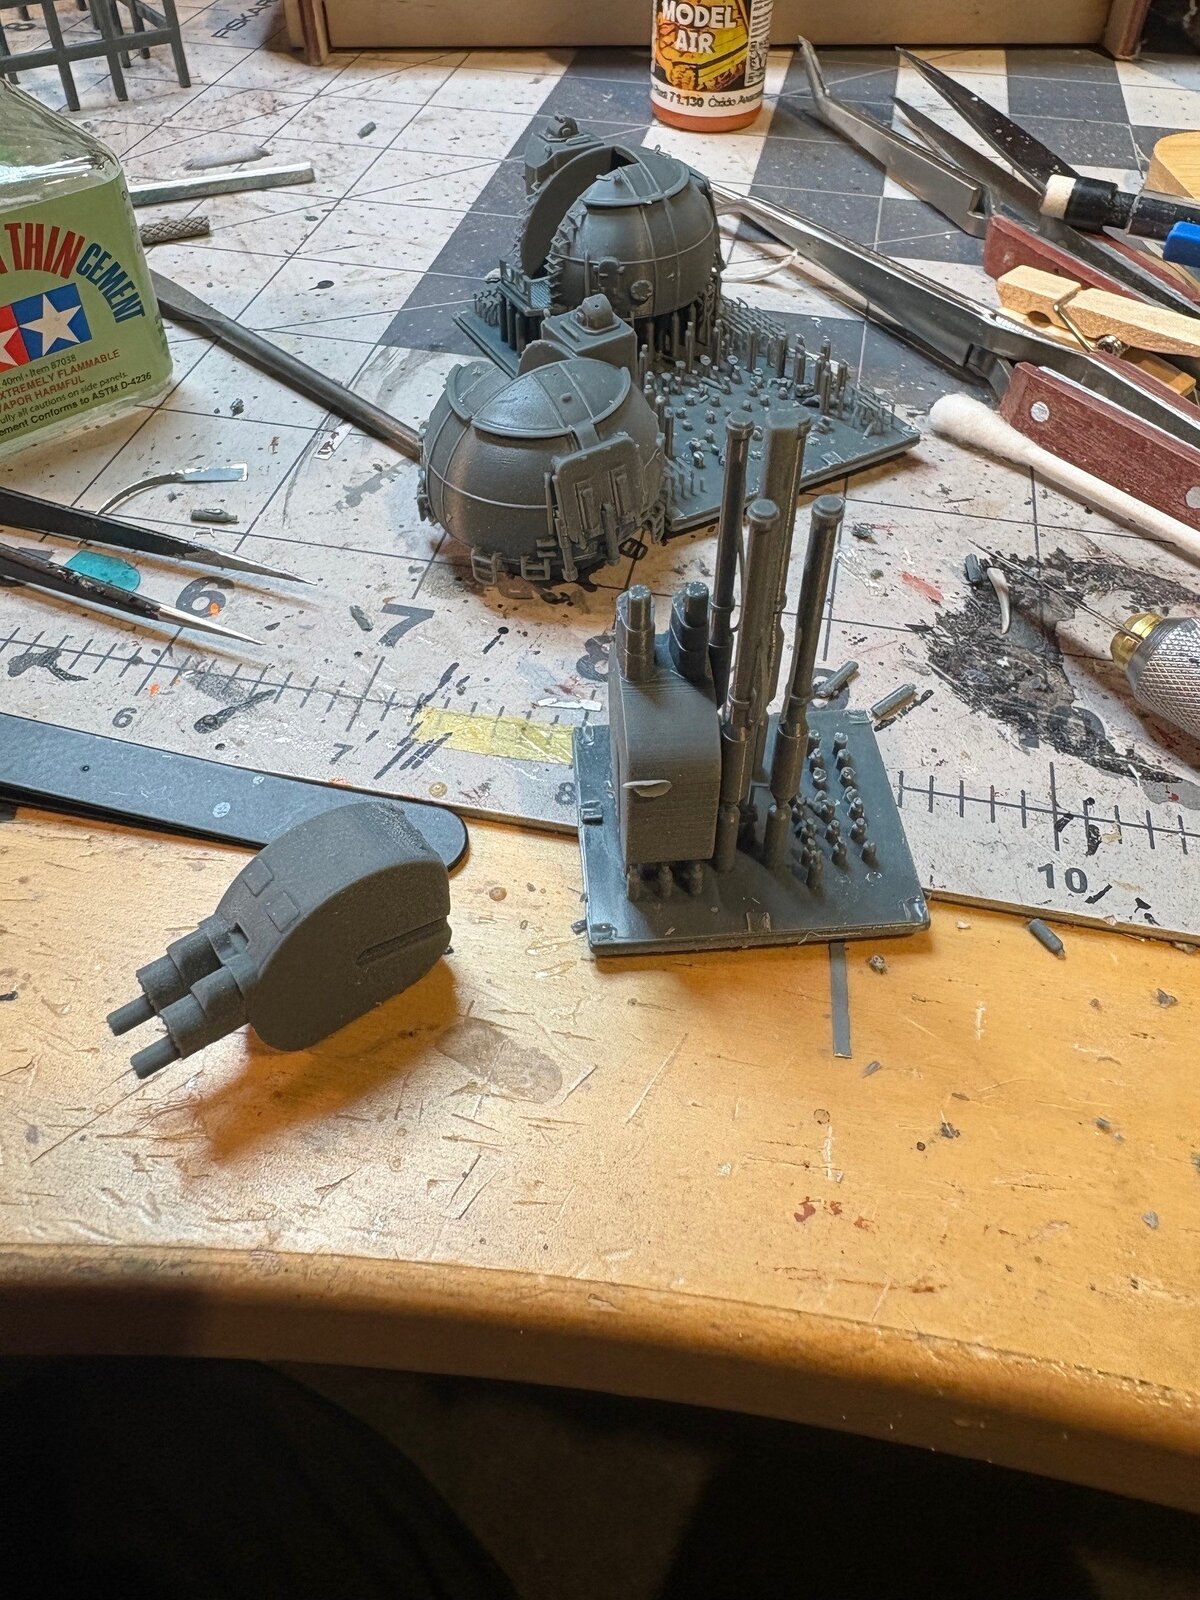
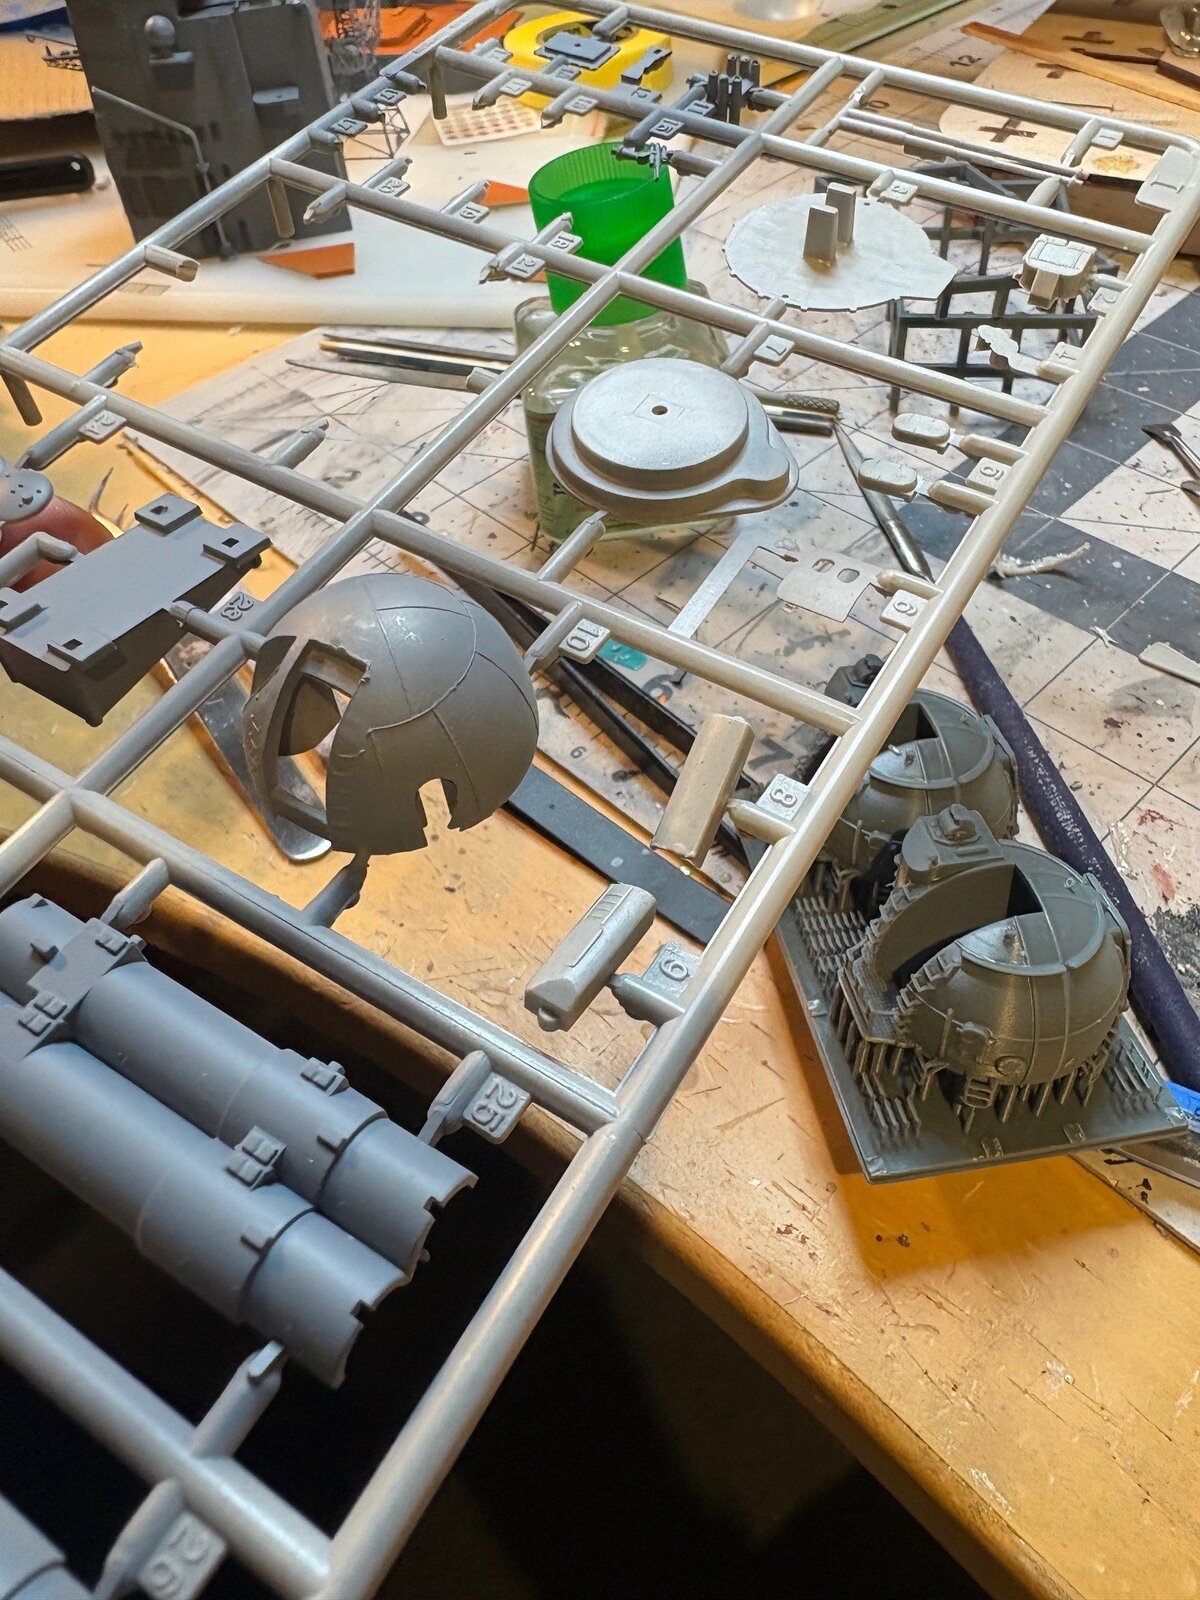
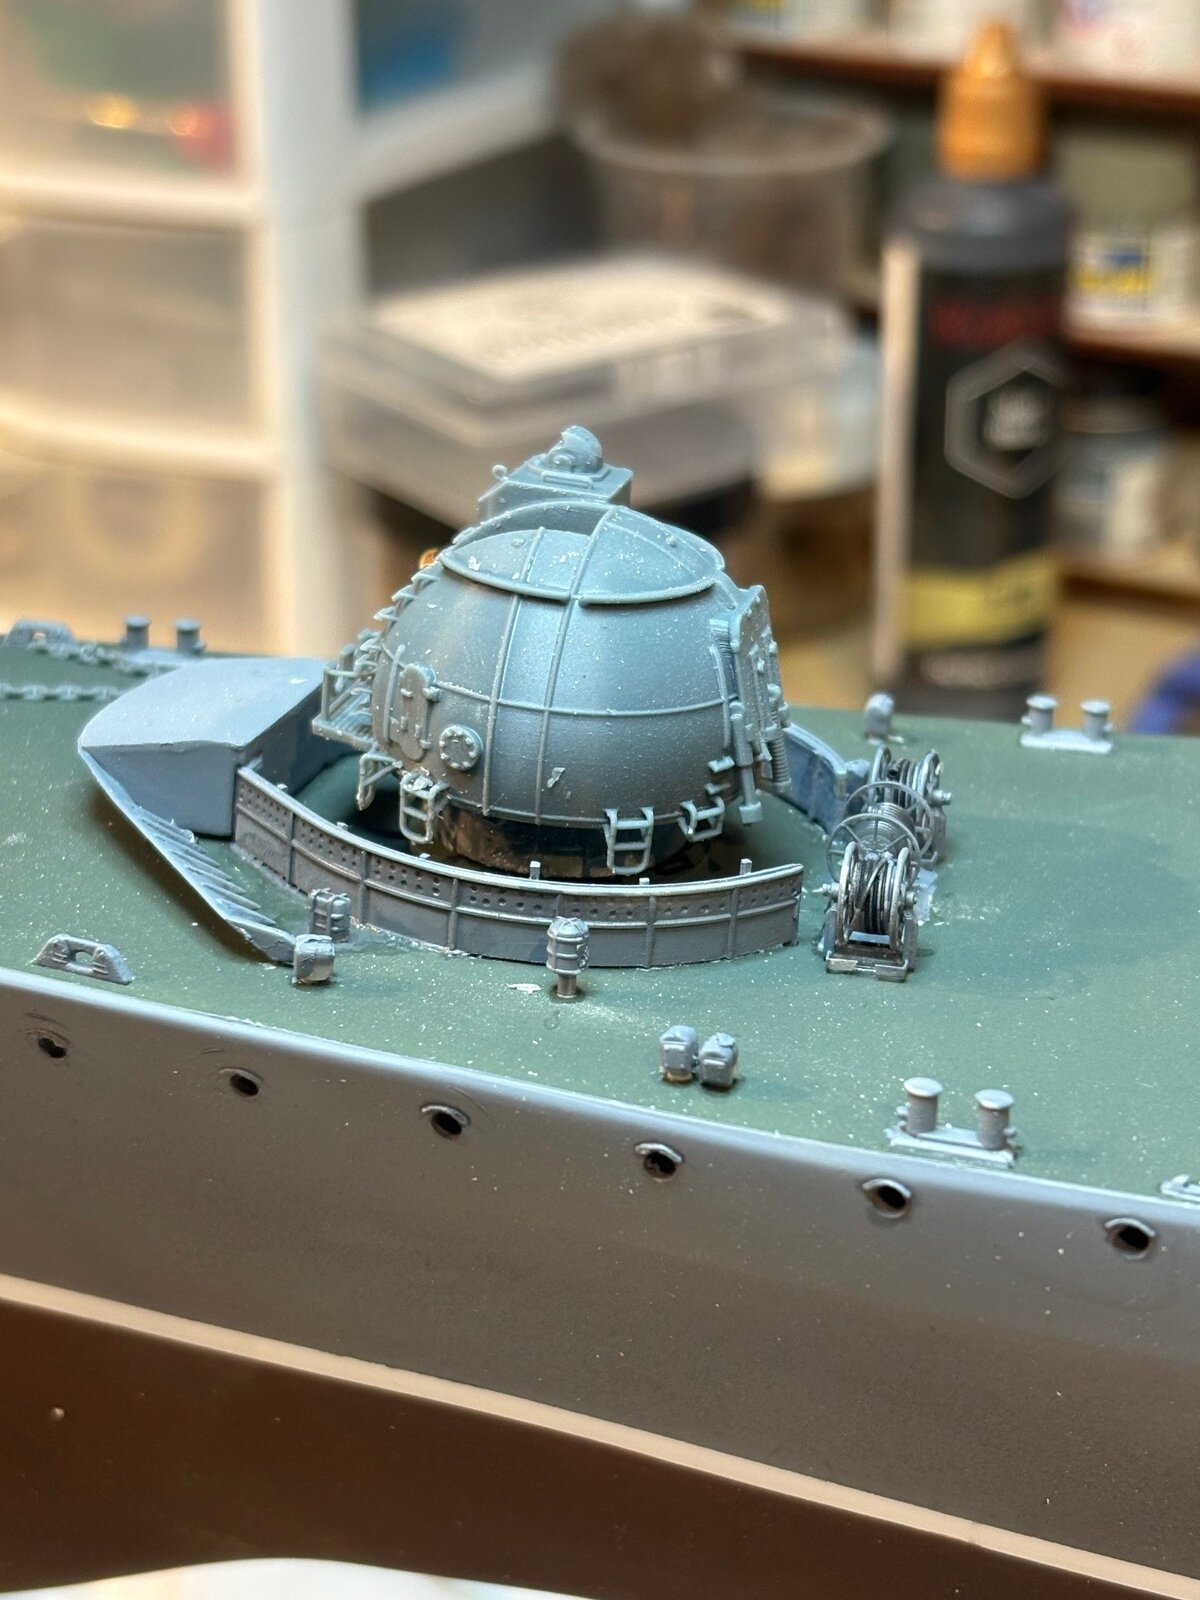
Wow, looks more like a spherical bathysphere than a turret! Amazing detail, good call! 
they are quite a departure from the other designs we are used to. probably a good shape for deflecting incoming rounds. ive had the barrels drying overnight. will see how the CA set up after all... it was really fiddly to handle. i broke one barrel trying to fit it in the main structureWow, looks more like a spherical bathysphere than a turret! Amazing detail, good call!

... Oooh!broke one barrel
Dealing with a repair is one thing, but that millisecond between that 'snap!' and your brain registering what just happened, is truly nauseating...

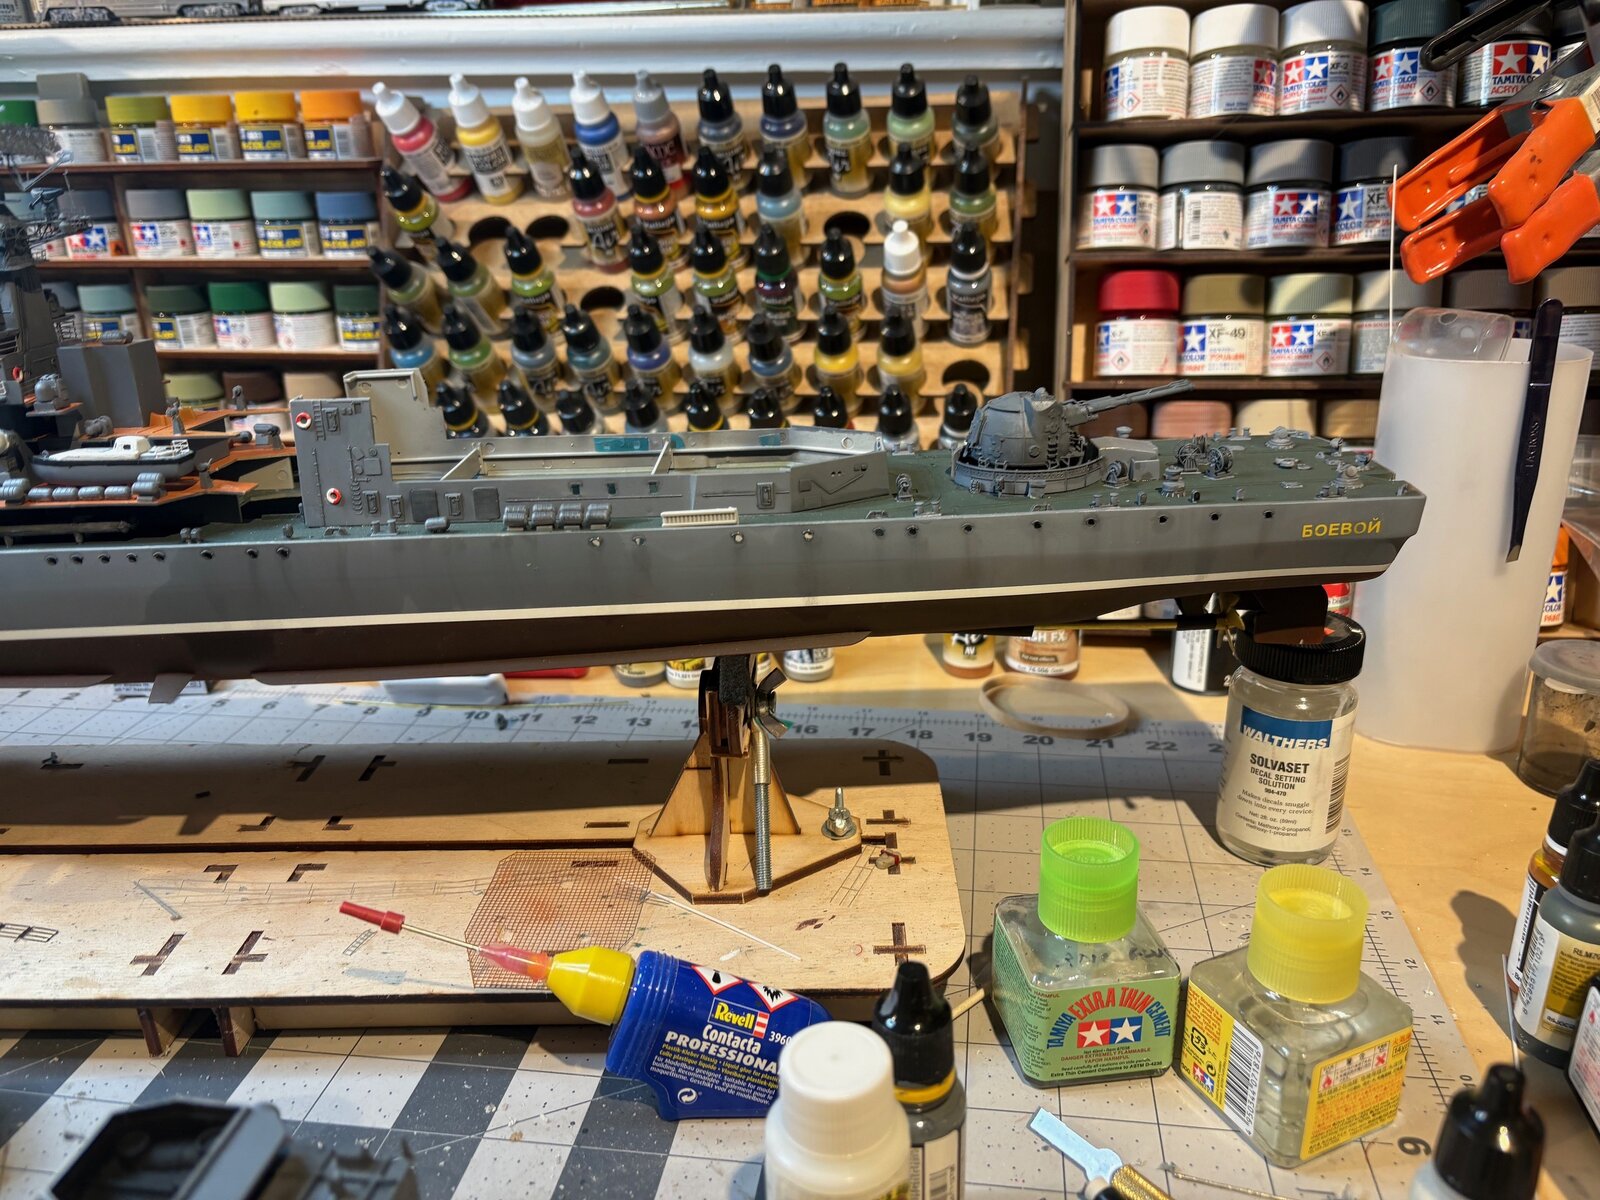
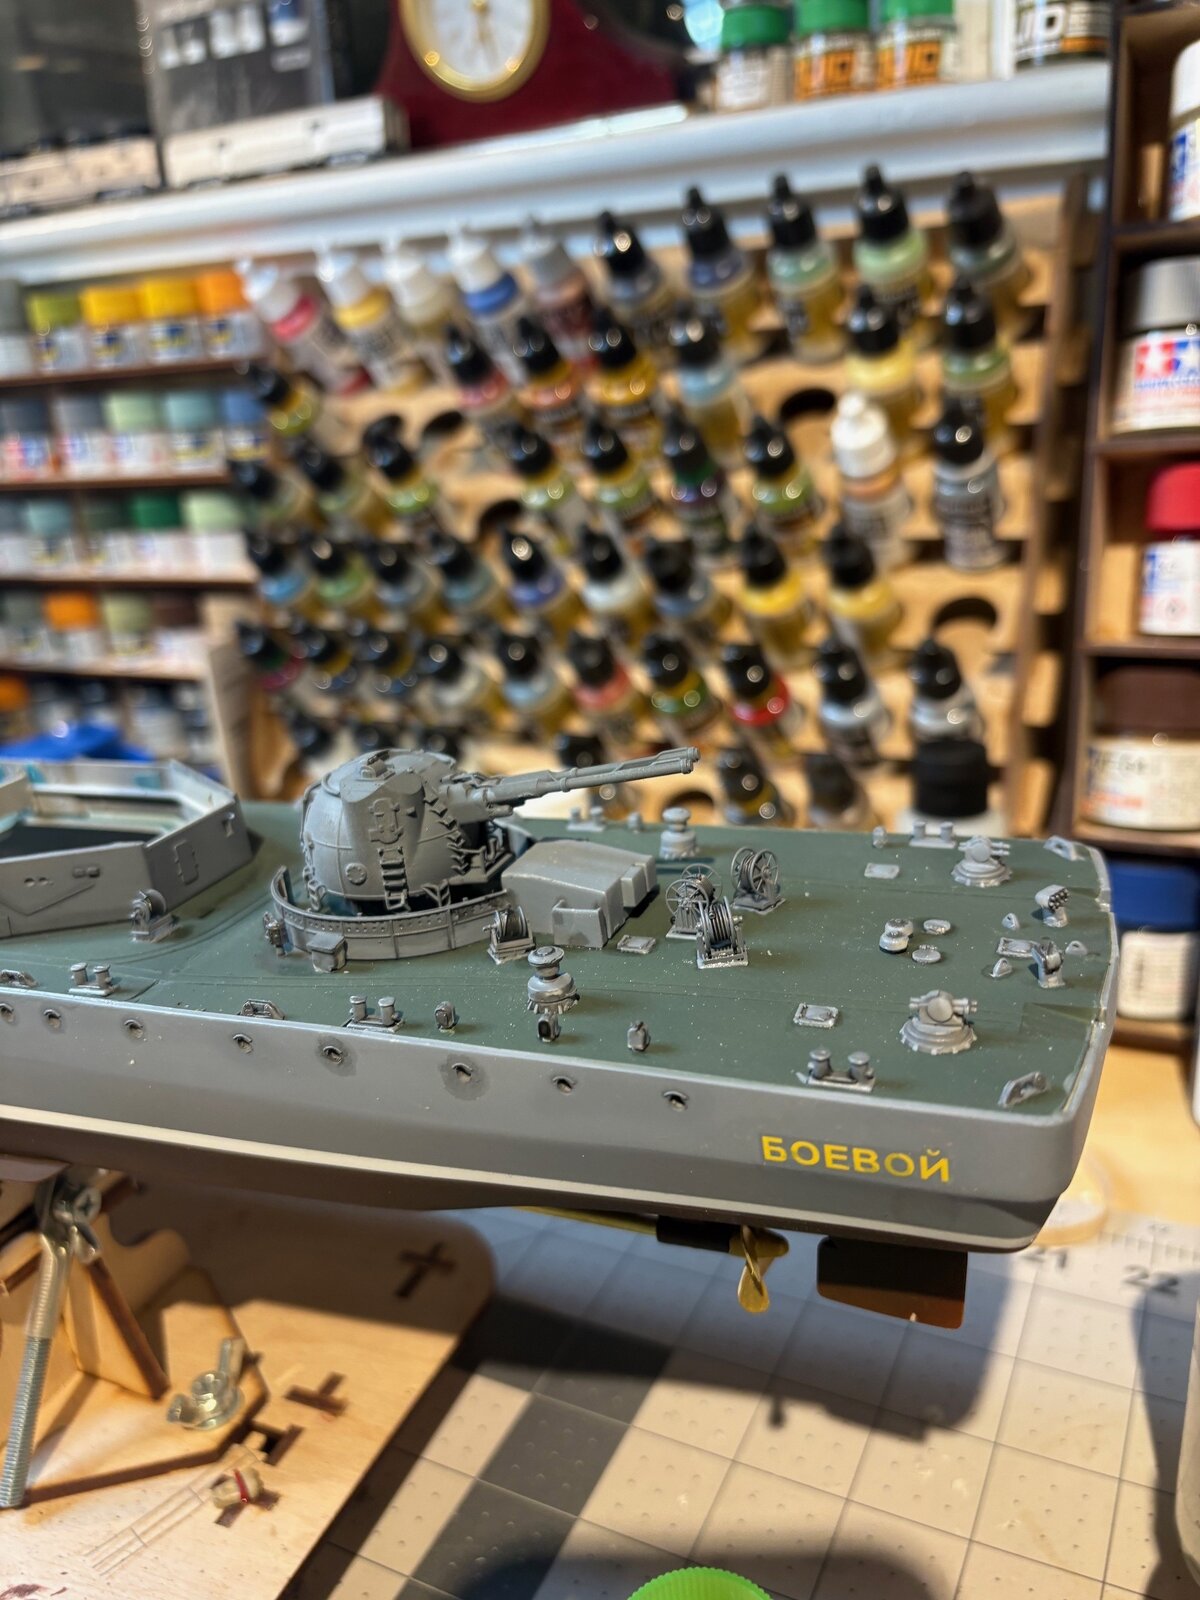
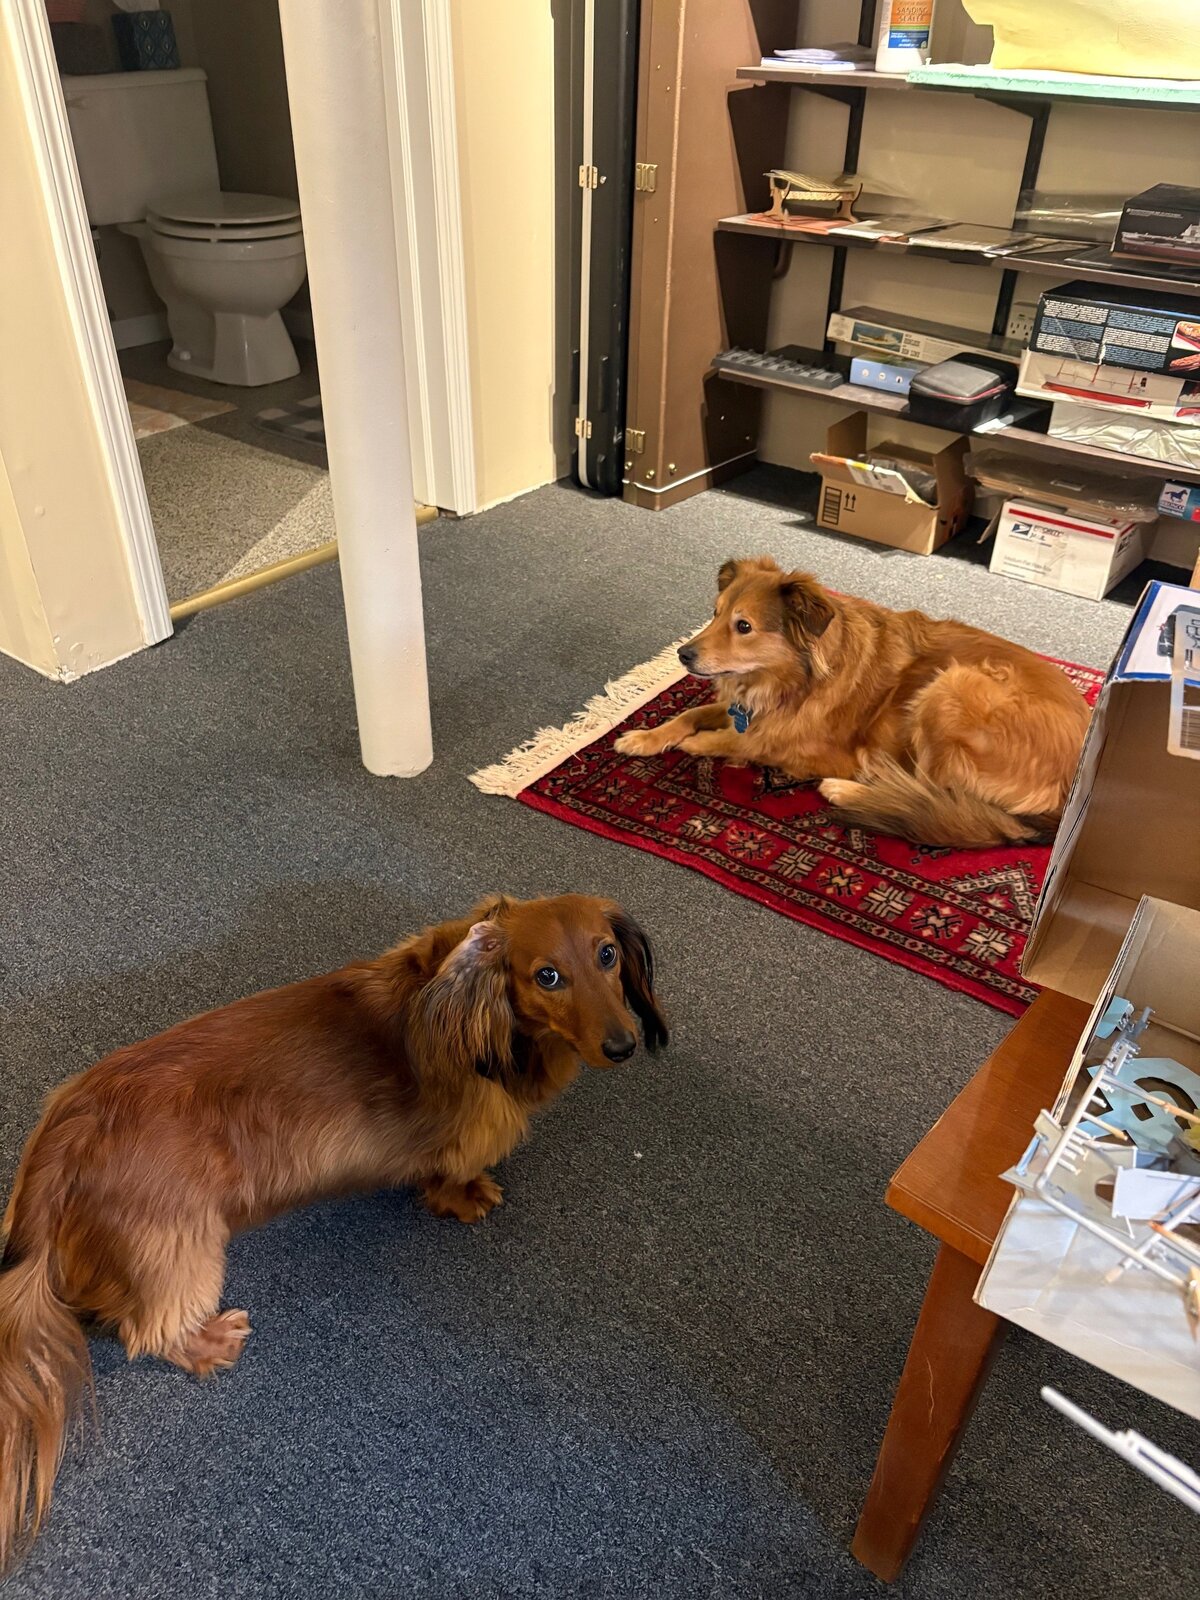
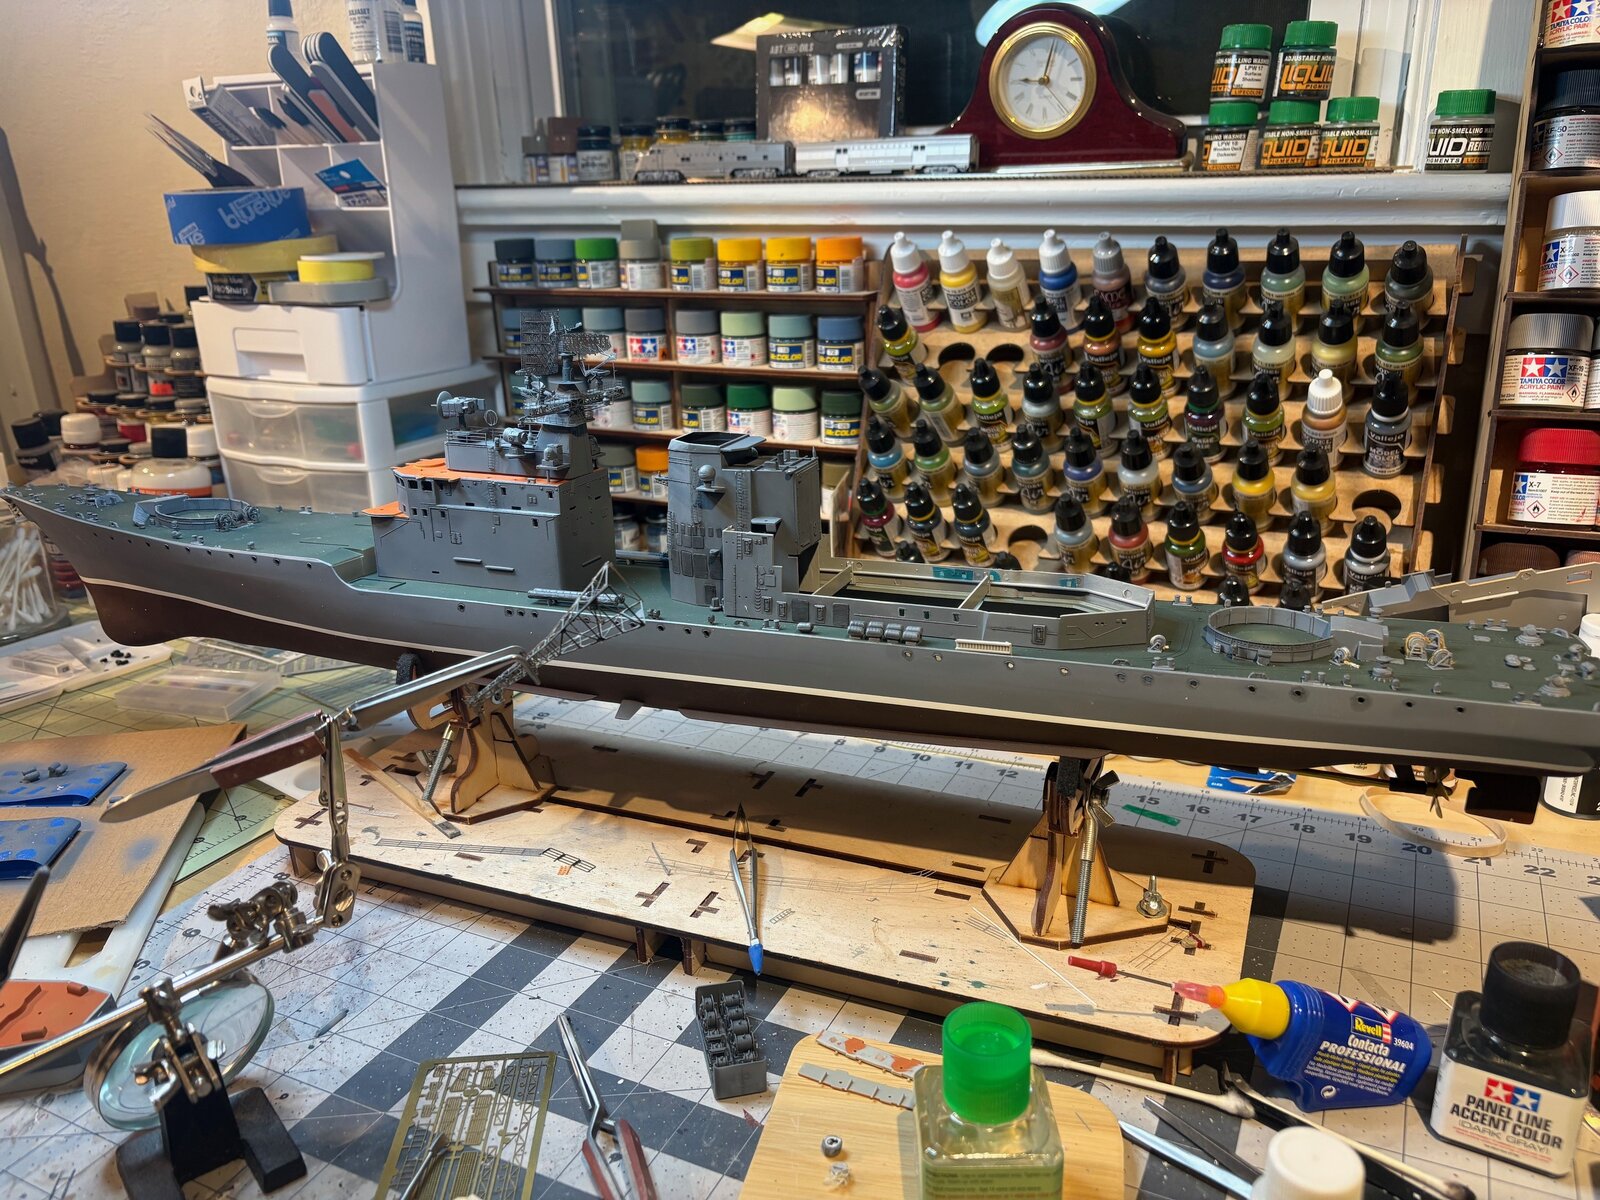
got the barrel fixed up and mounted the turrets. i will just be careful around them. tonight mounted some anchor windlass brake wheels , some more rails and details on the fwd superstructure... did up the ships boats. actually made the call to glue down the first major piece! finally just did some light weathering with dark grey panel liner and white spirits. i dont want to go to heavy on this one. had a couple of yard helpers this evening.. but i think they were on strike
Attachments
Similar threads

- Replies
- 225
- Views
- 4K


- Replies
- 16
- Views
- 530


