
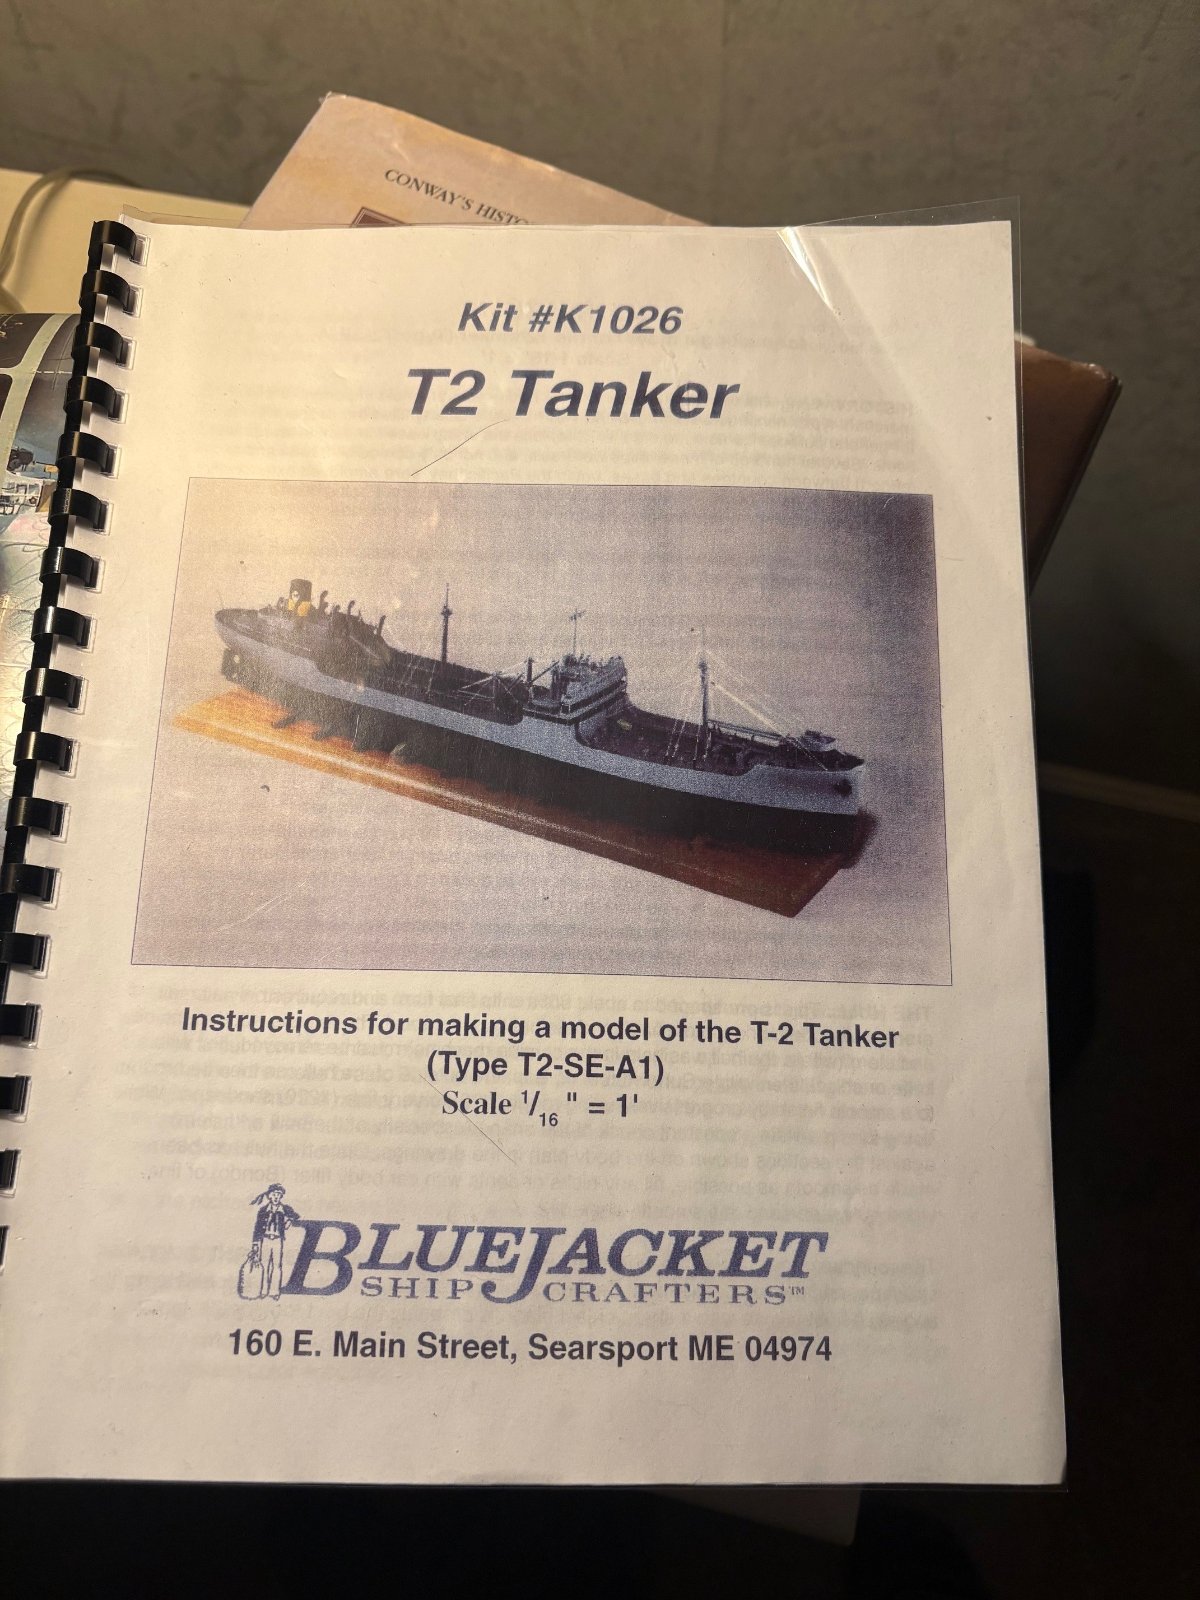
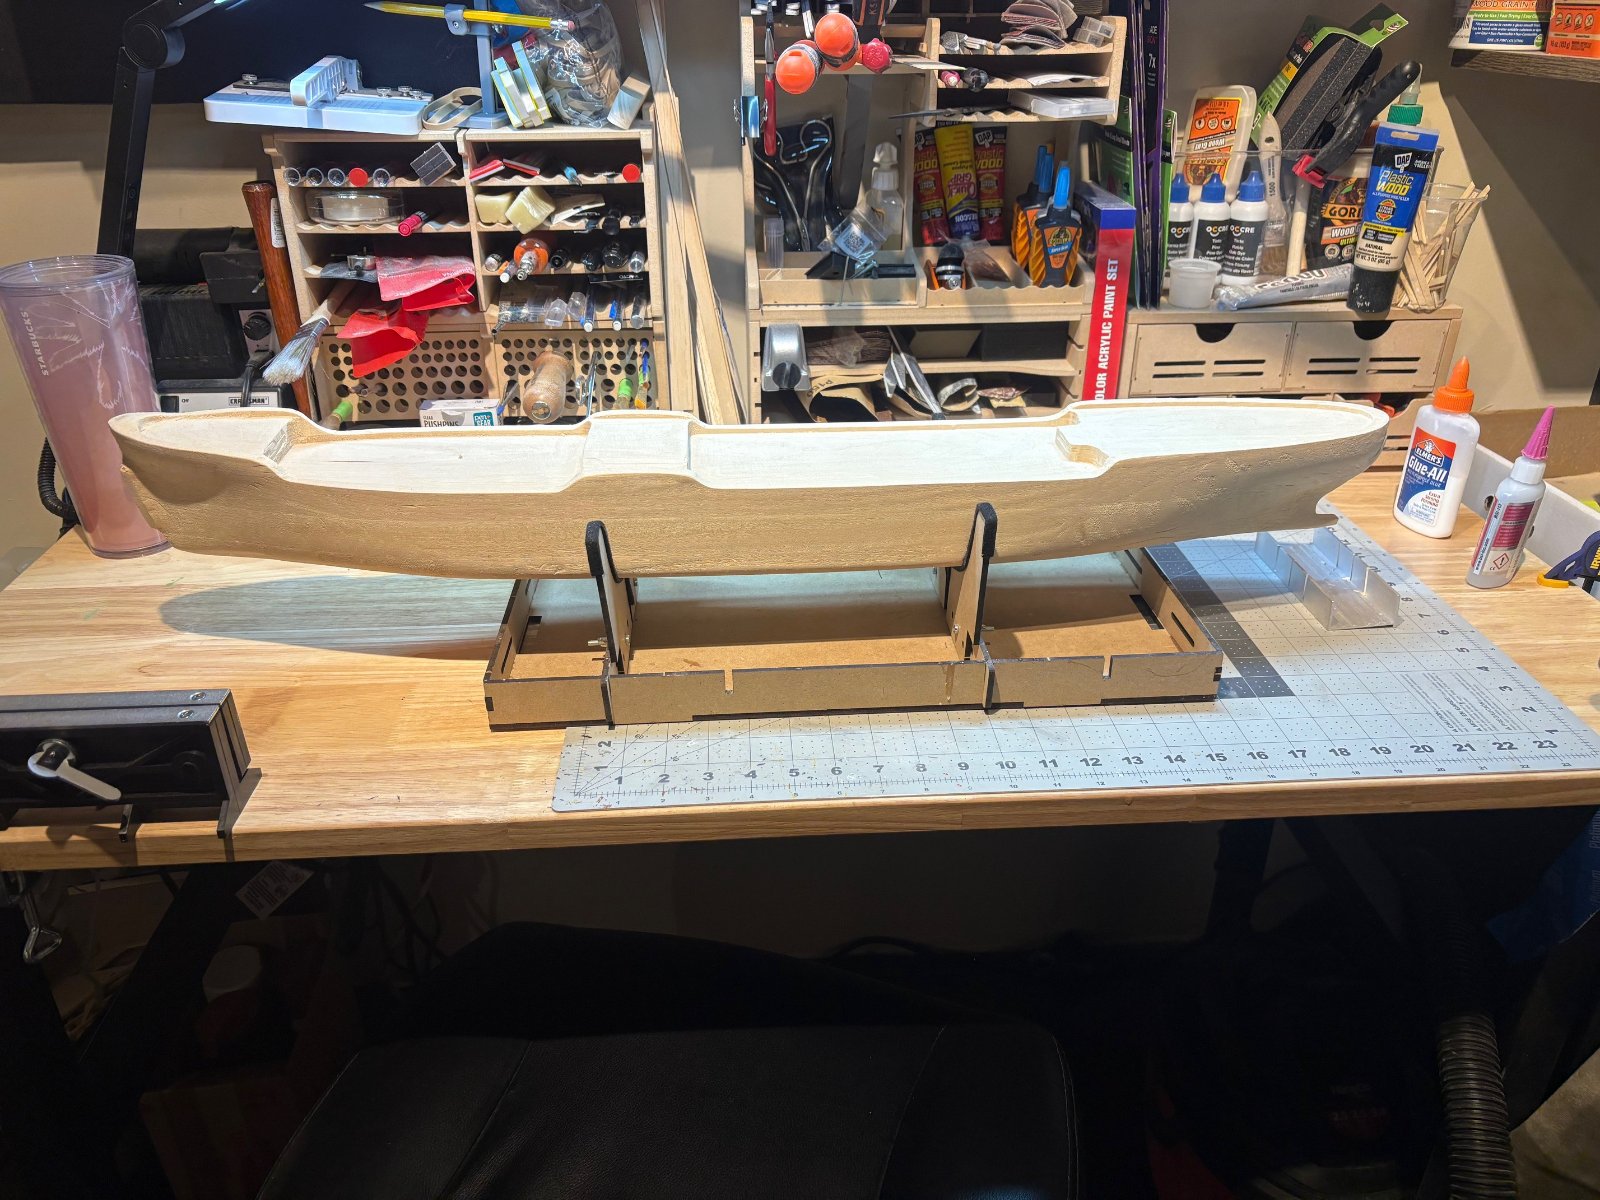
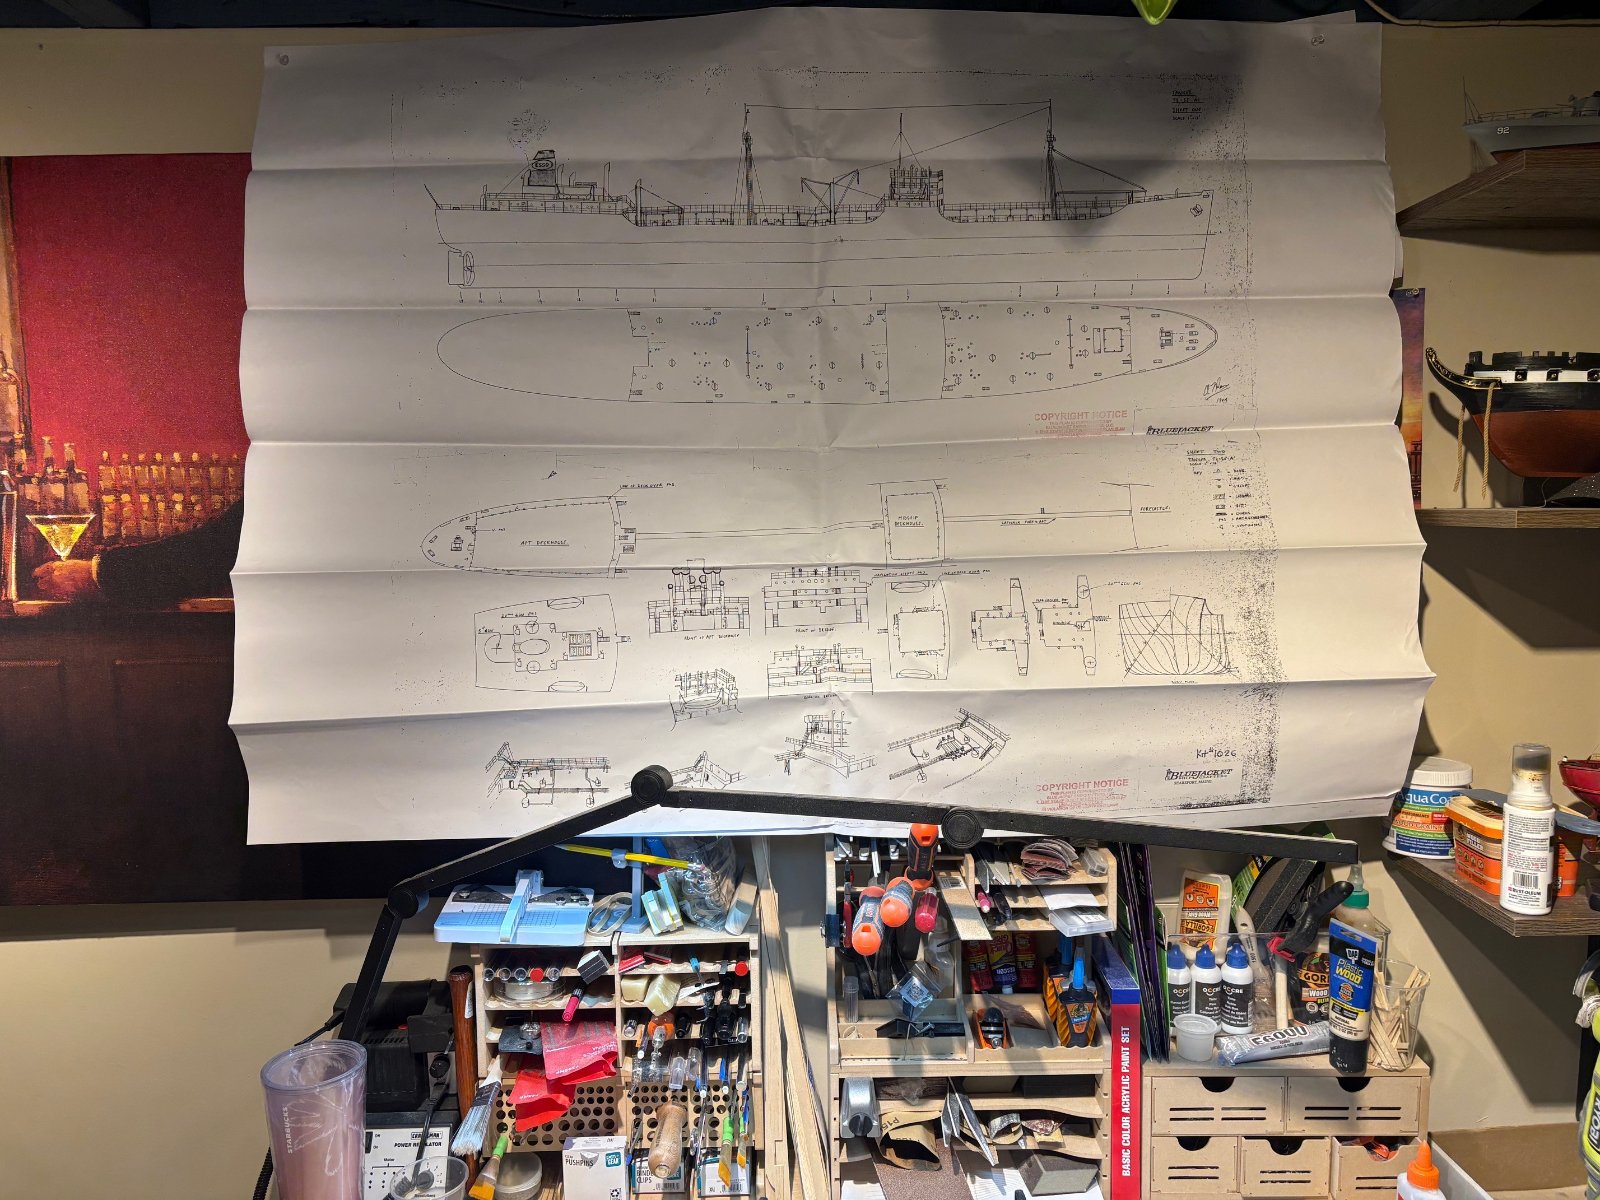
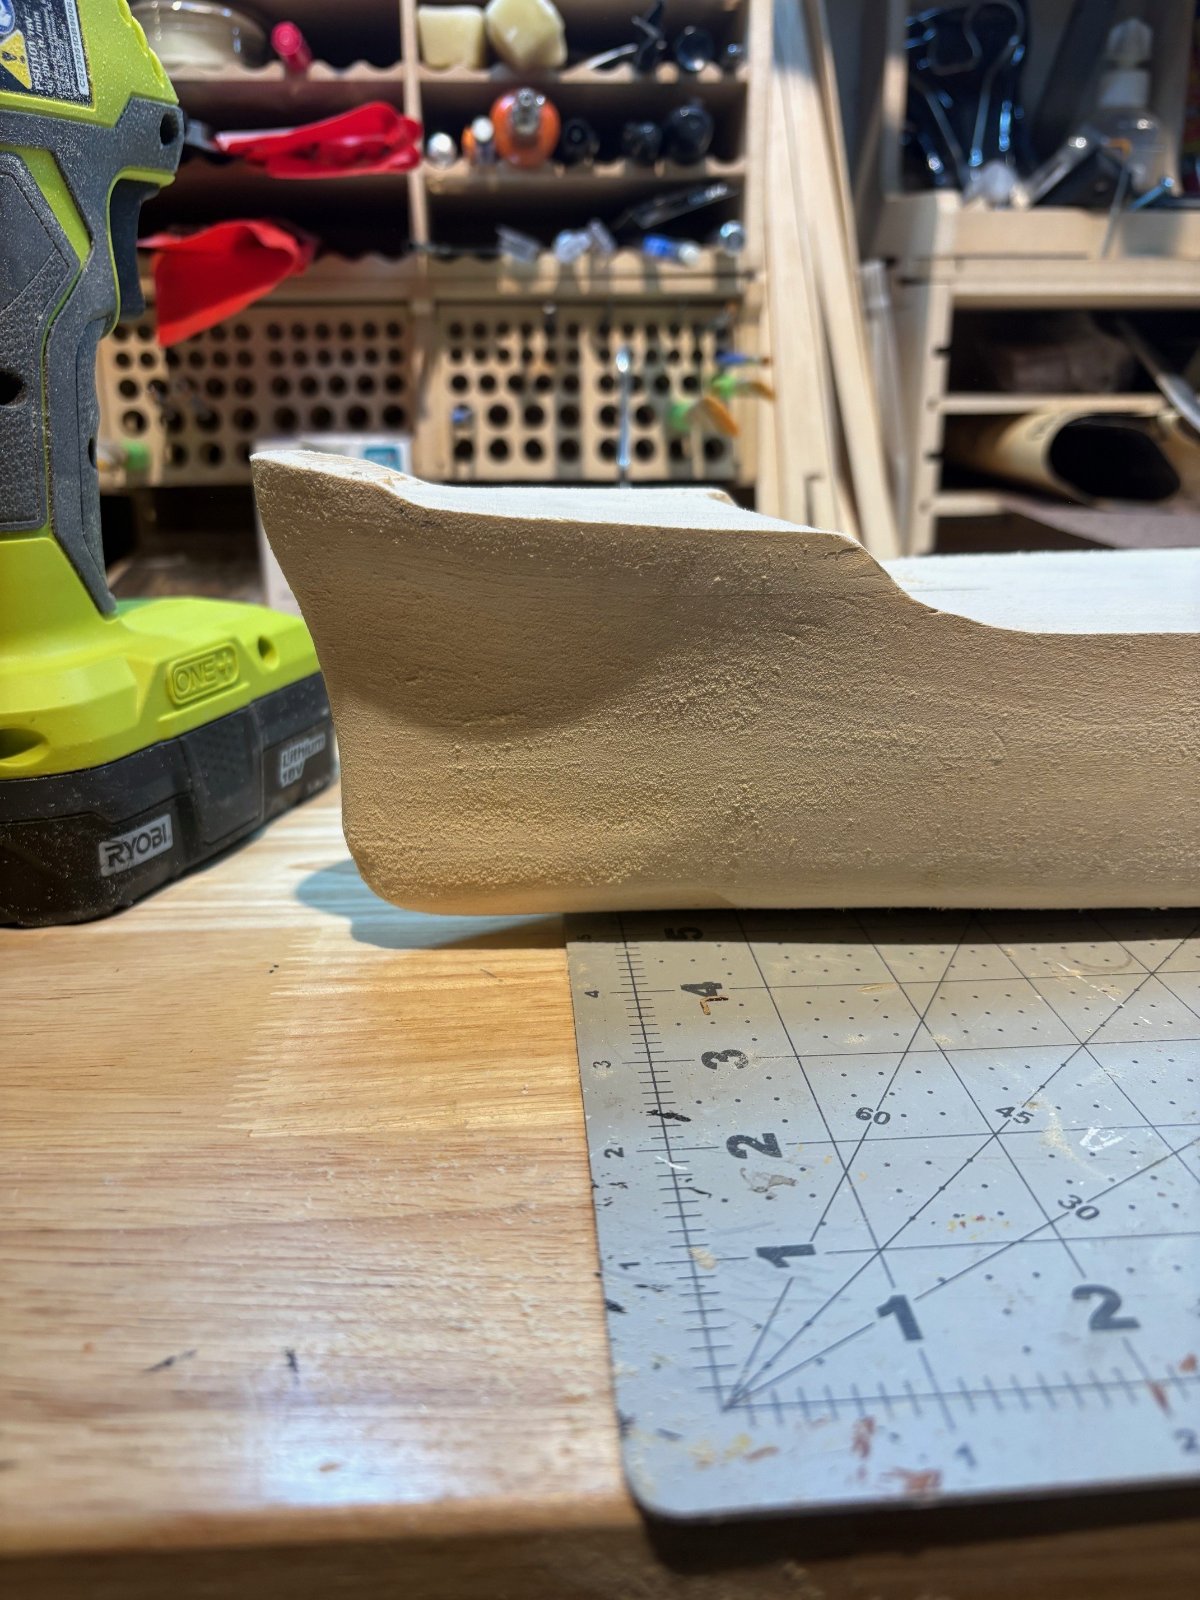
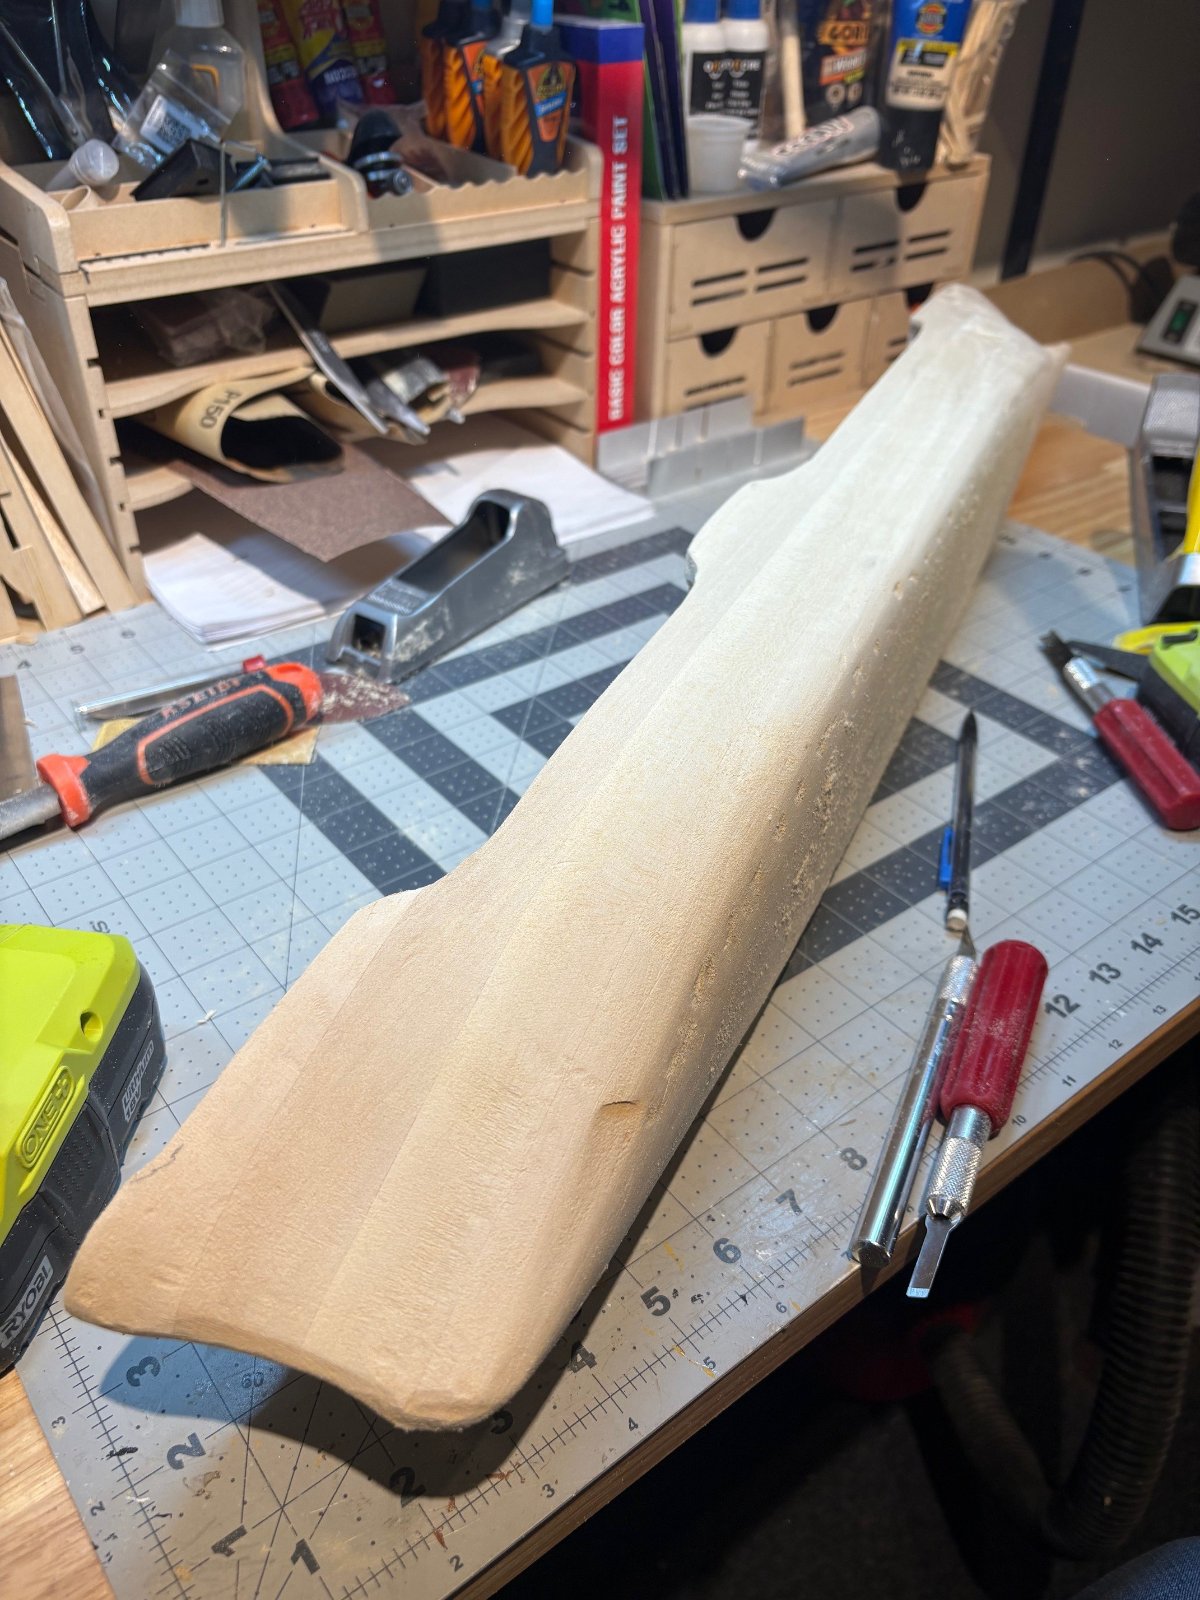
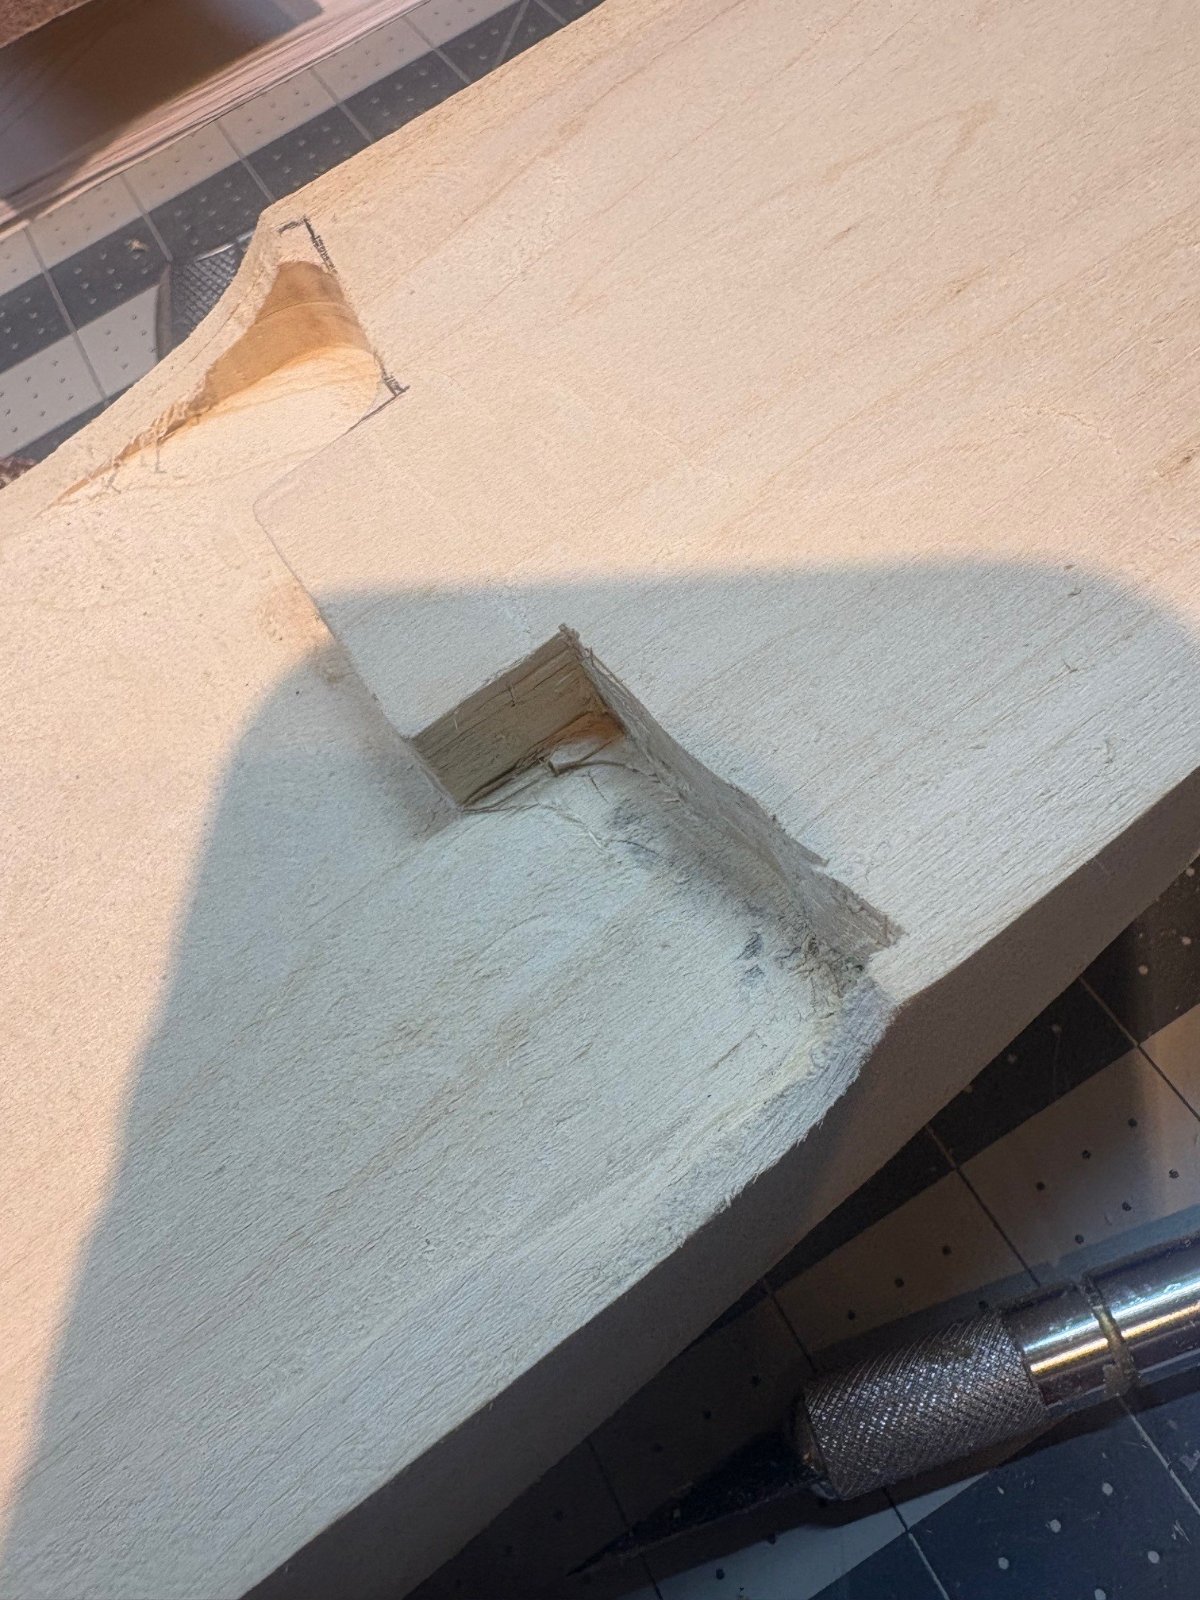
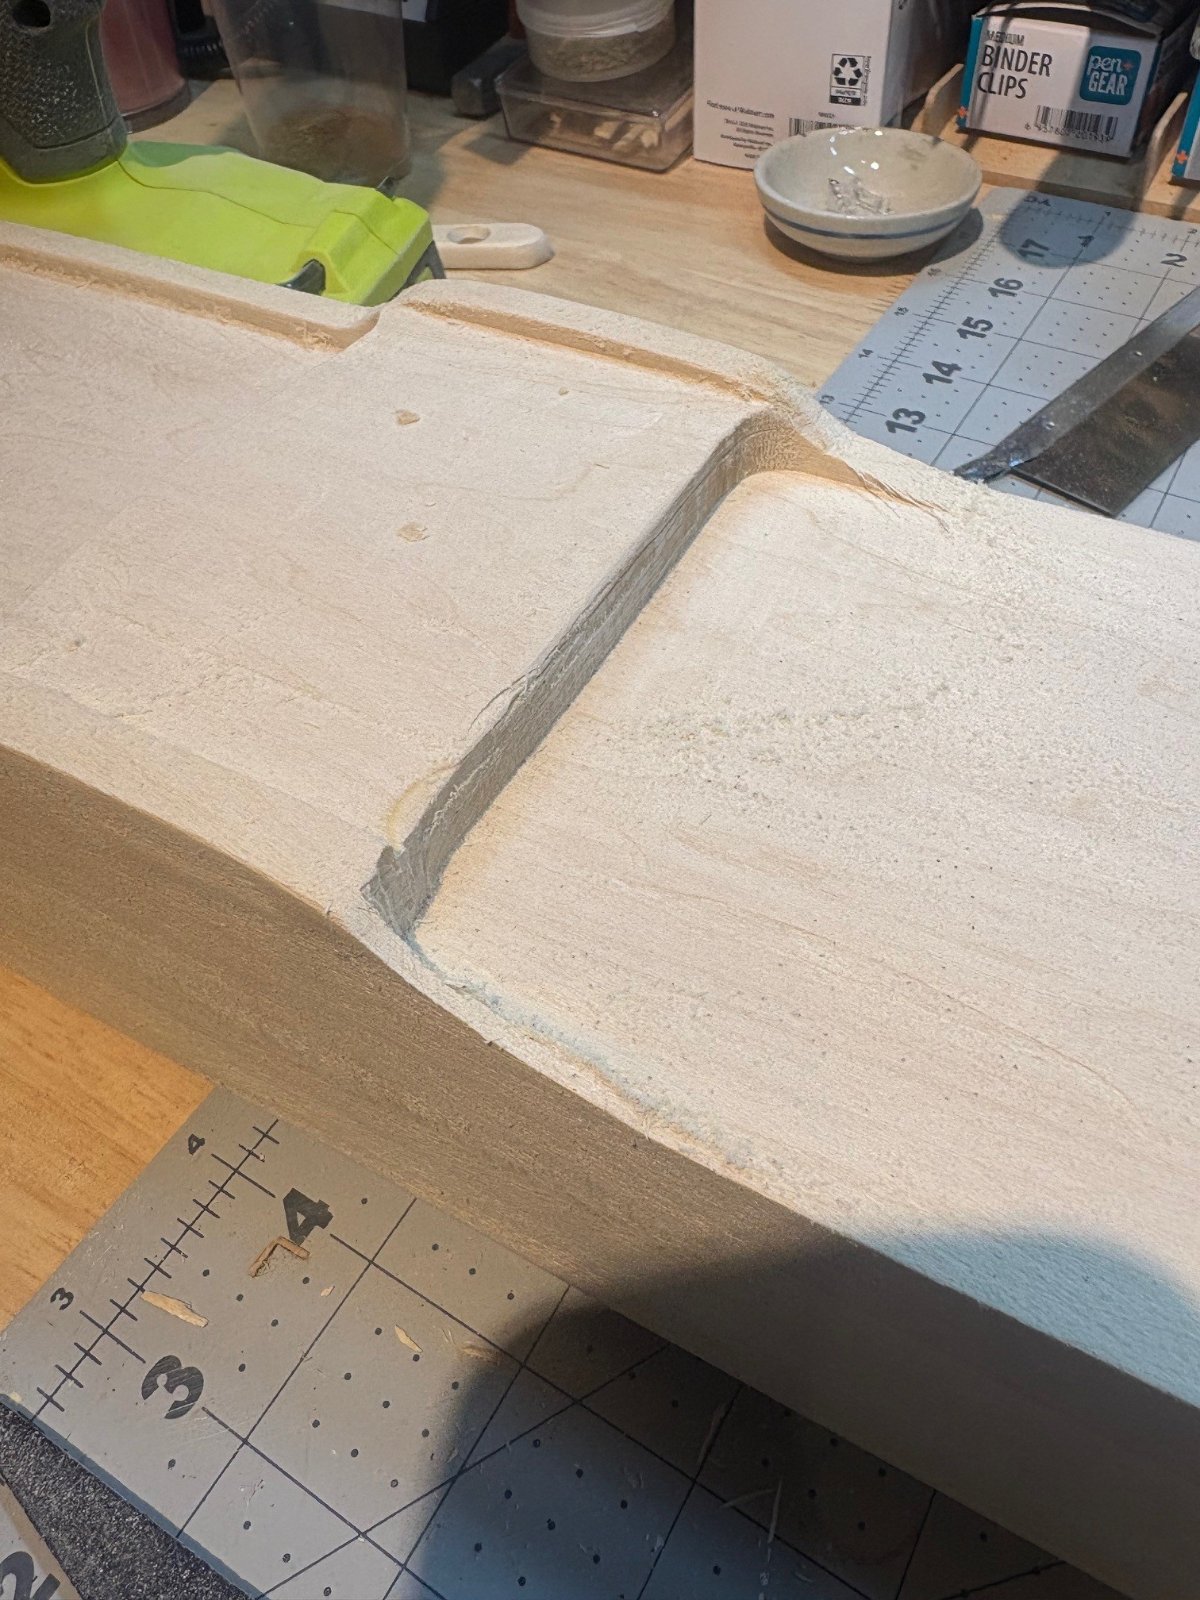
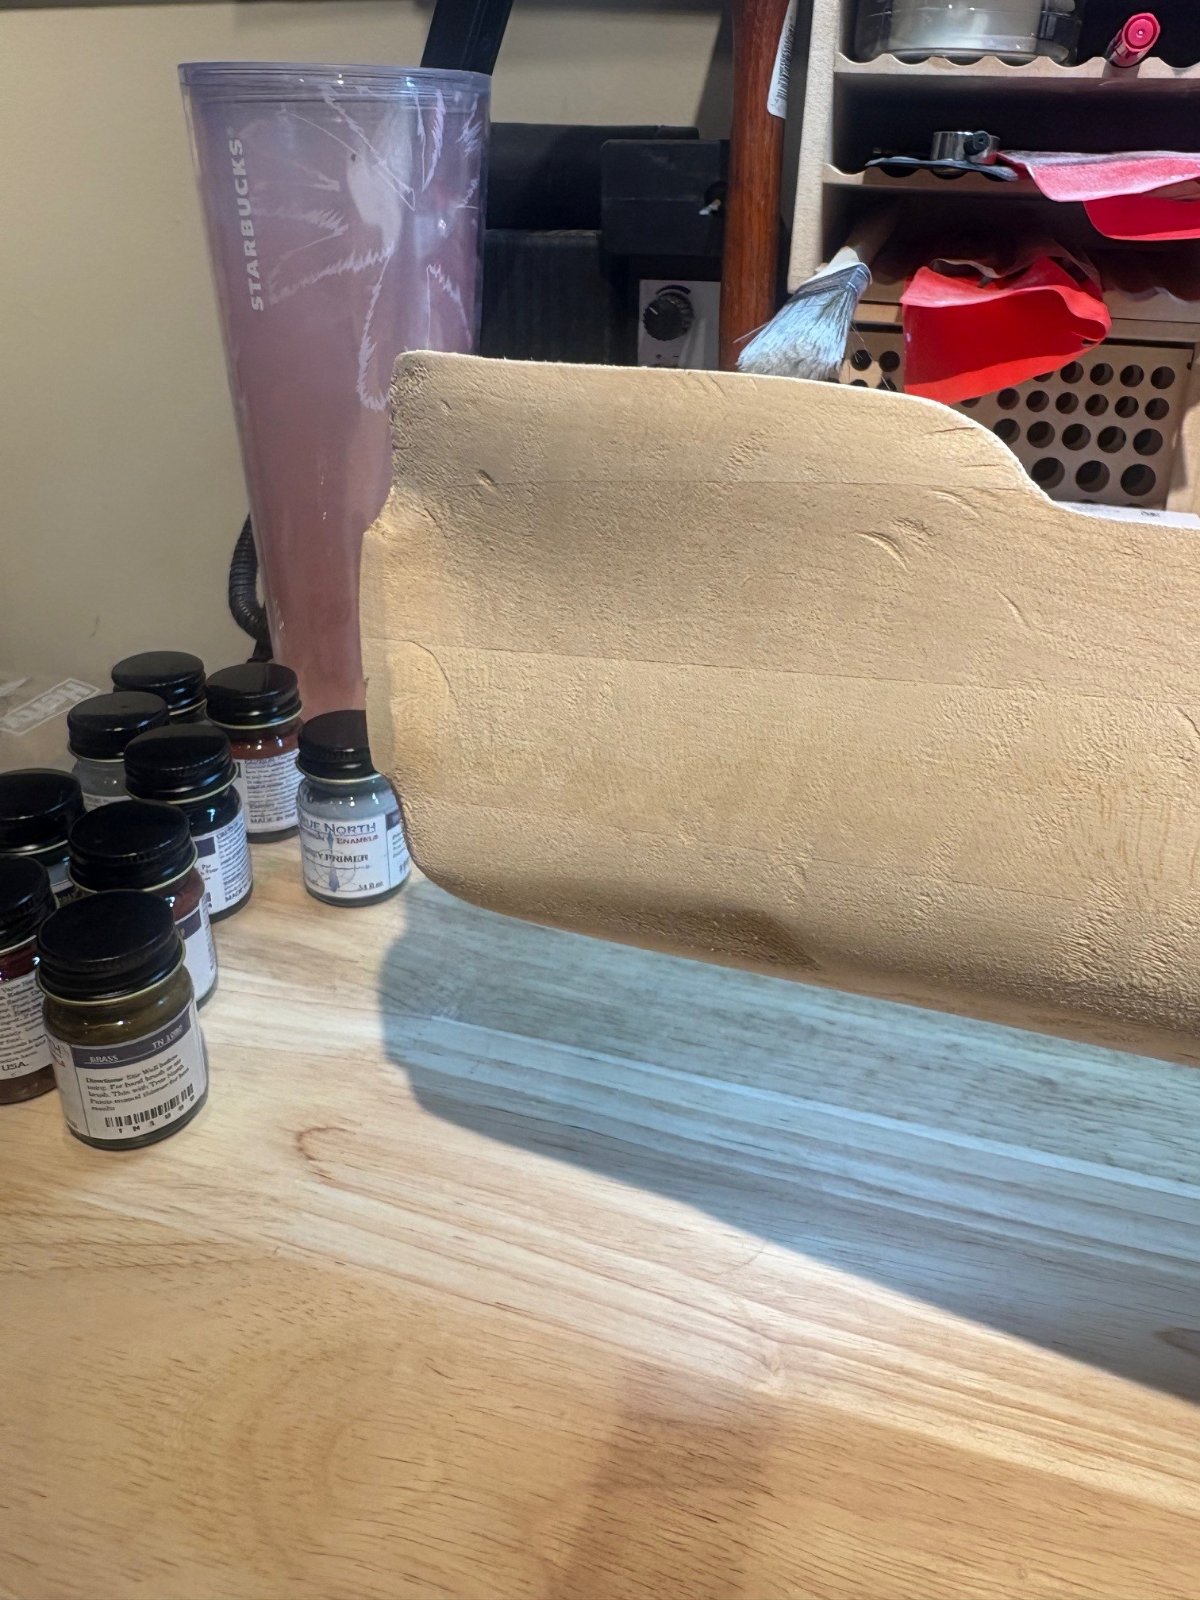
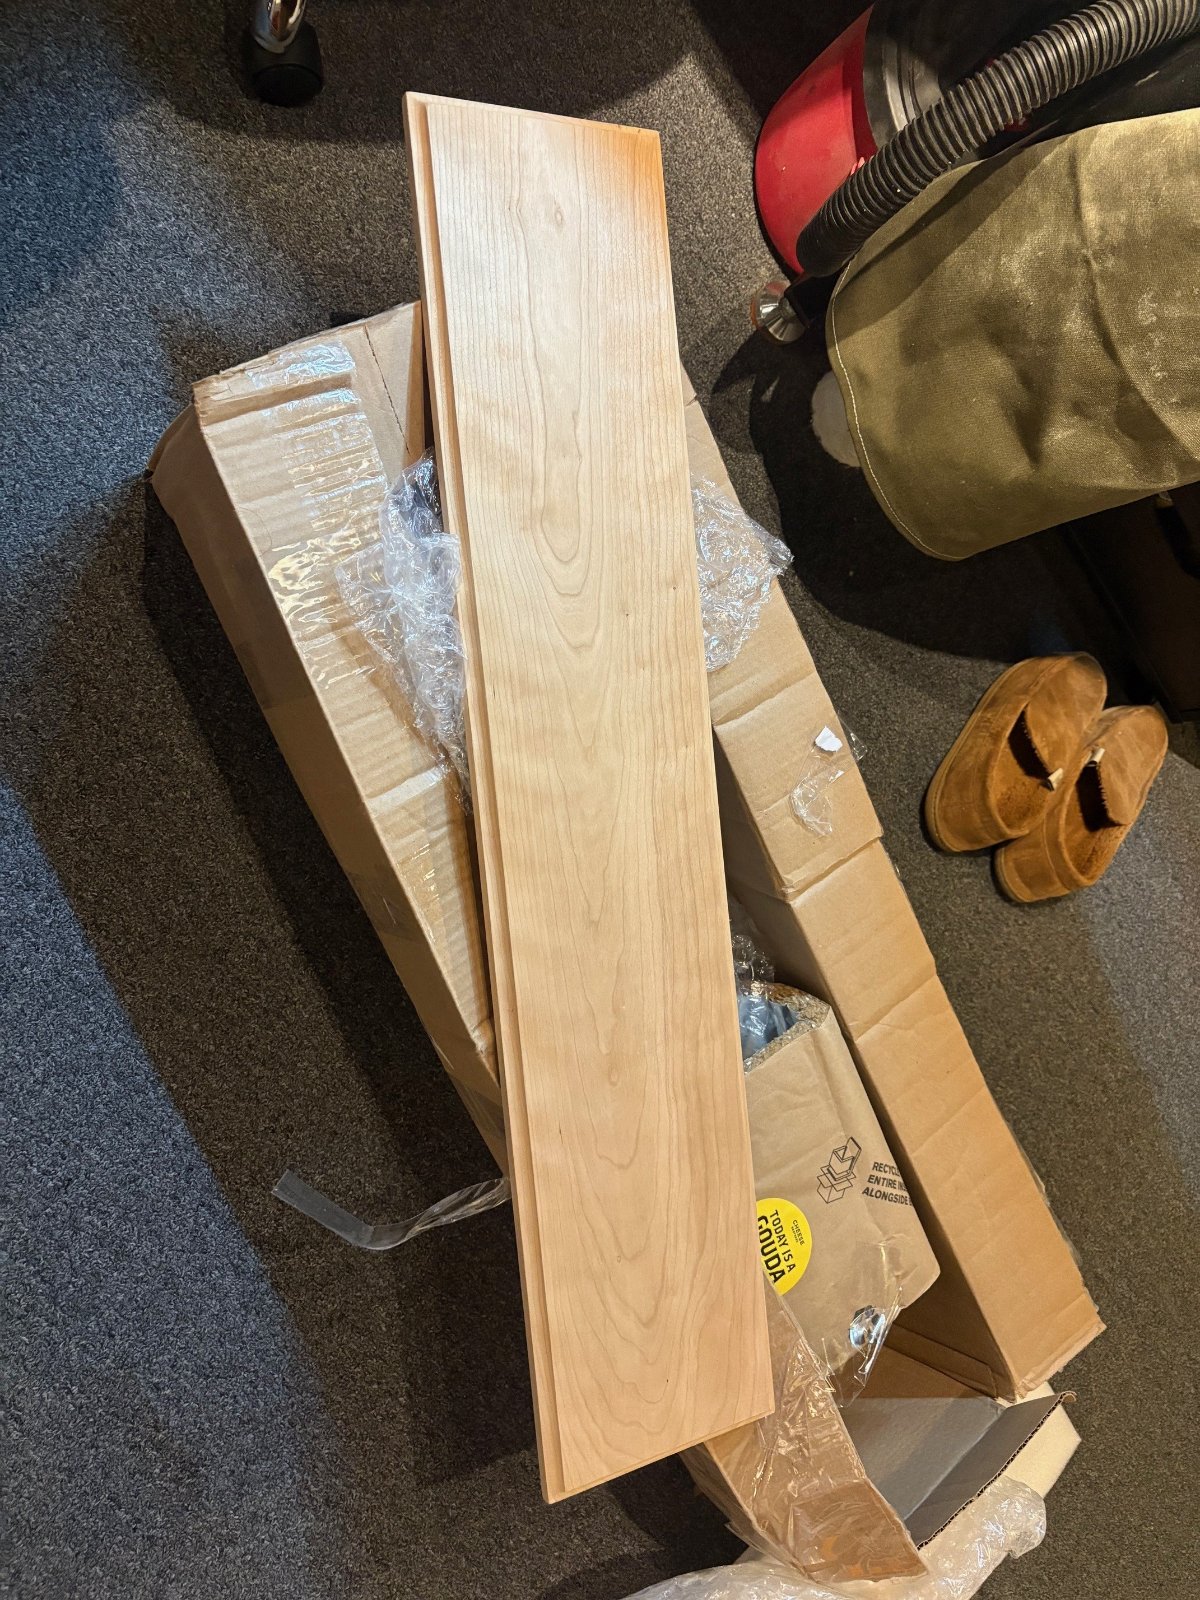
cleared the ways today and officially laid the keel so to speak. always interesting to see these wood kits in their parts form knowing that someday it will actually resemble something. i got off to a good start... LOTS OF CARVING. even though the hull is crudely formed, it takes a lot of tweaking. spent the evening removing the thick bulwarks and where the deck house structures meet the outer hull , the angles have to be cut in and the bulwark thinned by hand. also the bow area... i decided to modify the shape of the traditional T2 bow and give her a more pronounced forefoot and rake which i think looks right (to me). its going to take more sculpting and i think i will have to source some different kinds of micro sanding tools to get in small places. the kit actually comes with a nice display board that is routered and ready for stain basically. this hull is solid balsa and will take A LOT of work to get to presentable shape, plus its actually soft.. so when you are flipping it over on the bench if it rests on a tool or something , it gets dented! i have to treat it with kid gloves

You are using an out of date browser. It may not display this or other websites correctly.
You should upgrade or use an alternative browser.
You should upgrade or use an alternative browser.
Bluejacket T2 Tanker 1/200 scale - solid hull wood
- Thread starter domer94
- Start date

BOATMAN
Well-Known Member
- Joined
- Oct 7, 2024
- Messages
- 2,175
HI Domer you say the hull is soft see if you can from your model shop or off line an buy some sanding seal an if you paint the hull with this its clear an it will harden up your hull so no worryies of dentin the hull while you build as thats what i use on my big hulls like the tiger an such lookin forward to following this build so far very well done sir
chrisb
chrisb
Last edited:
boatman , yes i picked up a couple of products... i think this balsa will soak up a large amount before i get to that nice smooth paintable surface. i picked up some sanding sealer and wood grain filler. question , after sanding smooth before paint, should i coat with some sort of gloss varnish before putting down color?HI Domer you say the hull is soft see if you can from your model shop or off line an buy some sanding seal an if you paint the hull with this its clear an it will harden up your hull so no worryies of dentin the hull while you build as thats what i use on my big hulls like the tiger an such lookin forward to following this build so far very well done sir
chrisb
BOATMAN
Well-Known Member
- Joined
- Oct 7, 2024
- Messages
- 2,175
HI well i dint as when the hull is painted all sanding sealer it fills all the tiny holes in the balsa wood so i did a couple of coats the got the ole eletric sander out with a fine paper on an sanded the whole hull down an never bothered with glooss varnish an then gave the hull 5 spray cans of gray primer the sort used on cars as remember my will be goin into the H /20 SO the big cans did the job so you wont need to as yours is just goin to be static isnt it ?boatman , yes i picked up a couple of products... i think this balsa will soak up a large amount before i get to that nice smooth paintable surface. i picked up some sanding sealer and wood grain filler. question , after sanding smooth before paint, should i coat with some sort of gloss varnish before putting down color?
chrisb

I haven't touched it since I was a teenager, but I seem to recall that a careful use of humidity could be helpful in dent rehabilitation... both on the Bluenose I built back then and the Spitfire cowling and prop nose cone.it gets dented
But that was a long time ago, and I may be mis-remembering.







As an Amazon Associate we earn from qualifying purchases. Product prices and availability are accurate as of the date/time indicated and are subject to change.
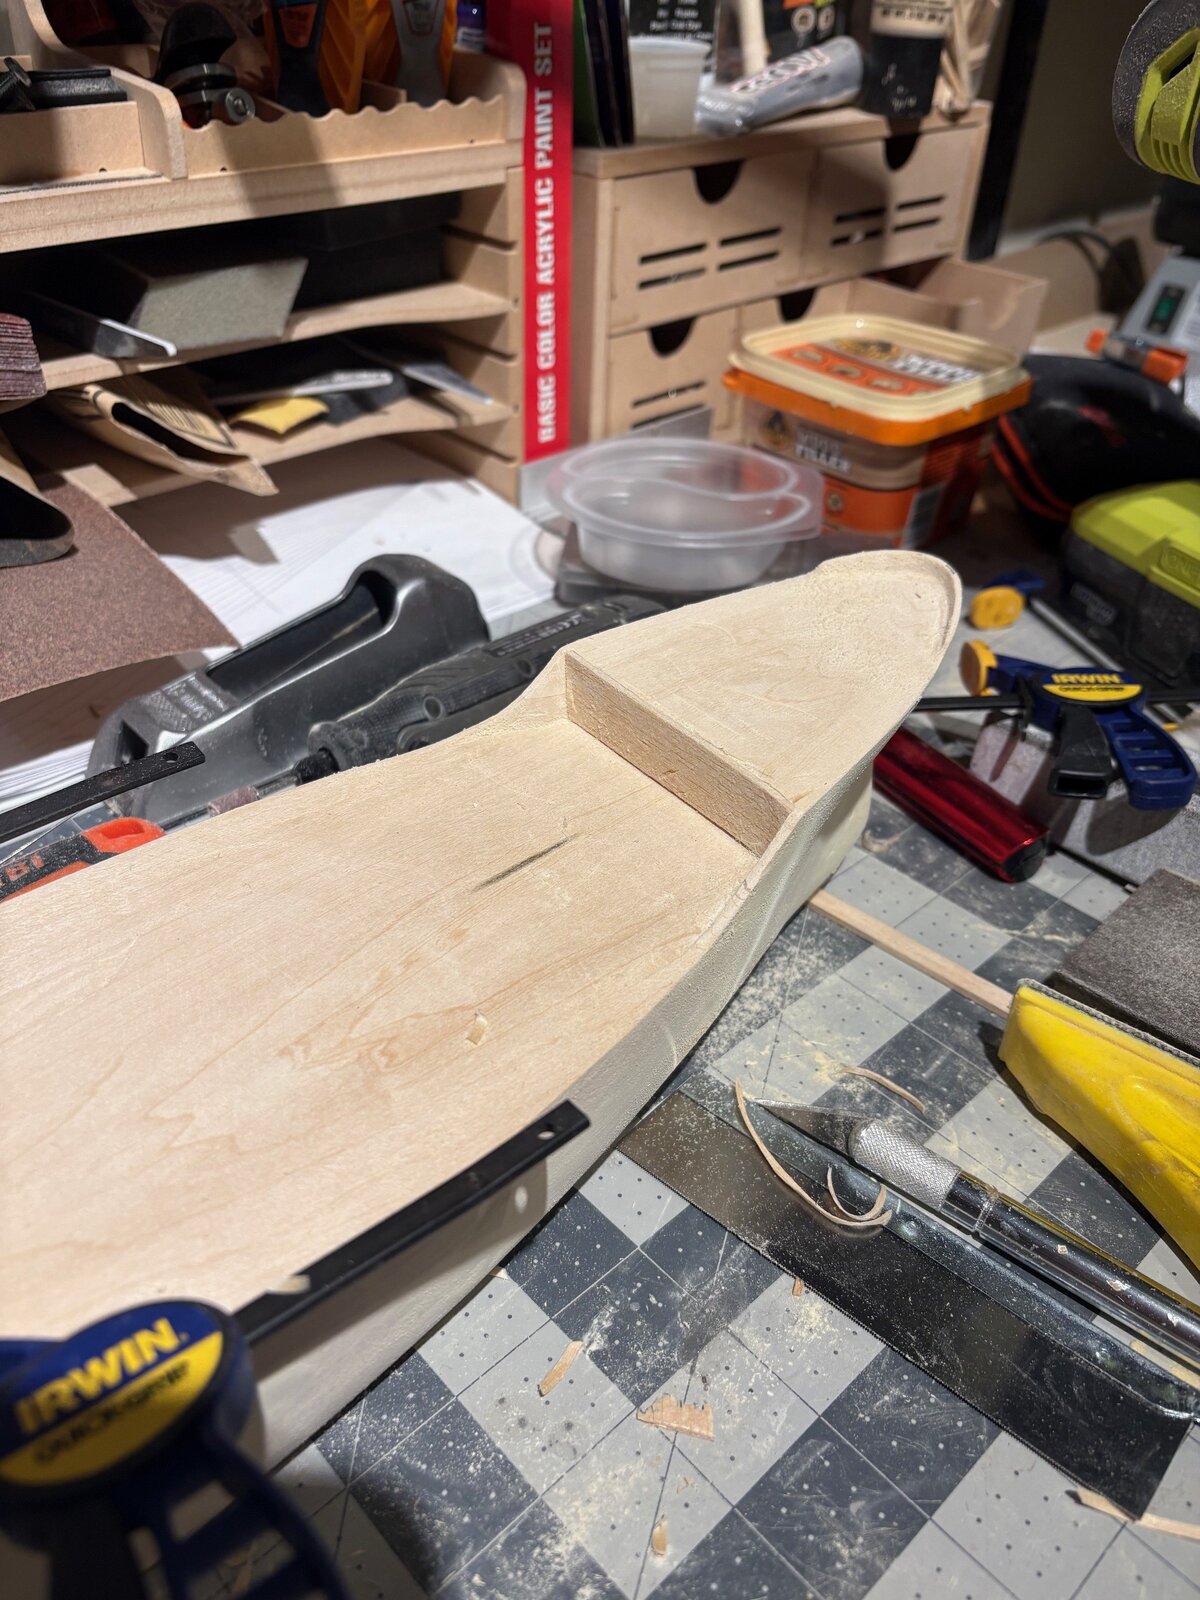
ive been pecking away at the t2 tanker.... after shaping out the main deck bulkheads out of the solid block , the grain was a little too rough to leave open. i decided to apply some wood strips to clean it up. that will just leave some joint work to finish off
- Joined
- Apr 29, 2024
- Messages
- 1,569
Back in the day I built radio control airplanes out of Balsa kits. If it ever got dinged I would take a drop of water on the ding and it'll swell back up then sand it and sanding sealer and paint itI haven't touched it since I was a teenager, but I seem to recall that a careful use of humidity could be helpful in dent rehabilitation... both on the Bluenose I built back then and the Spitfire cowling and prop nose cone.
But that was a long time ago, and I may be mis-remembering.

bushman32
Member
The hull should be basswood, not balsa.
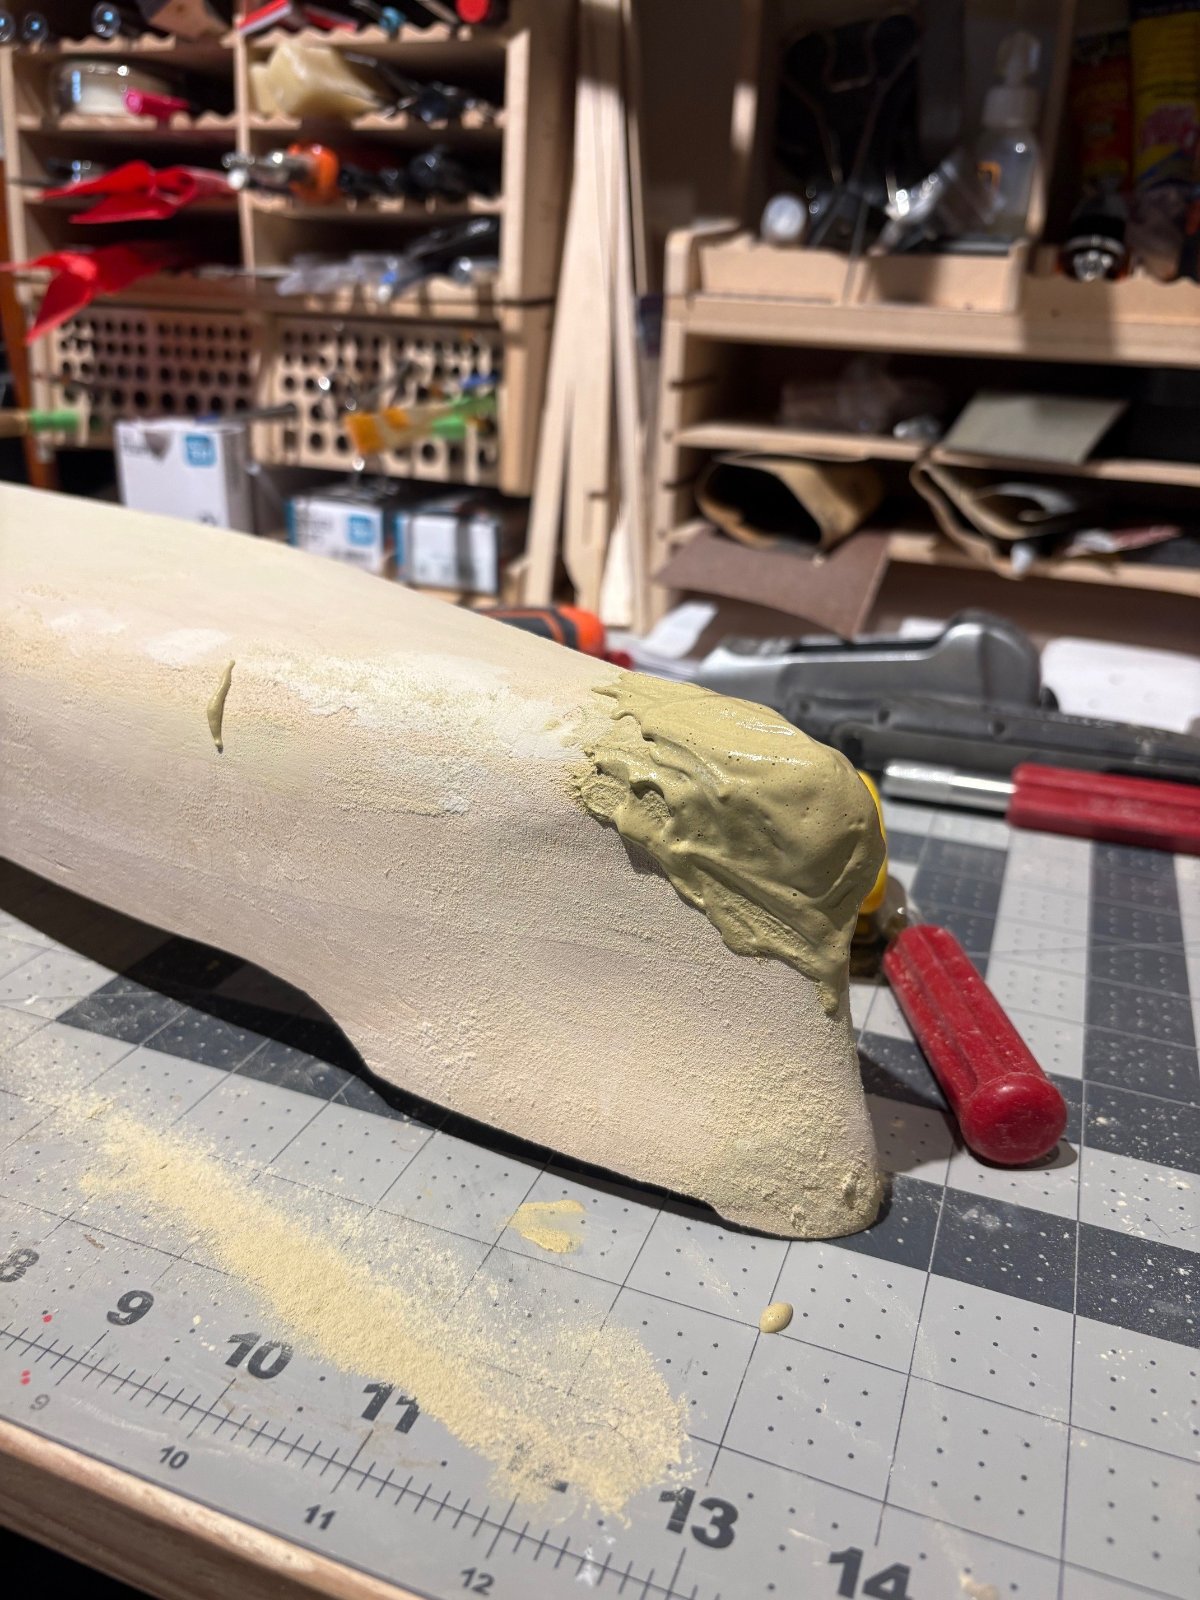
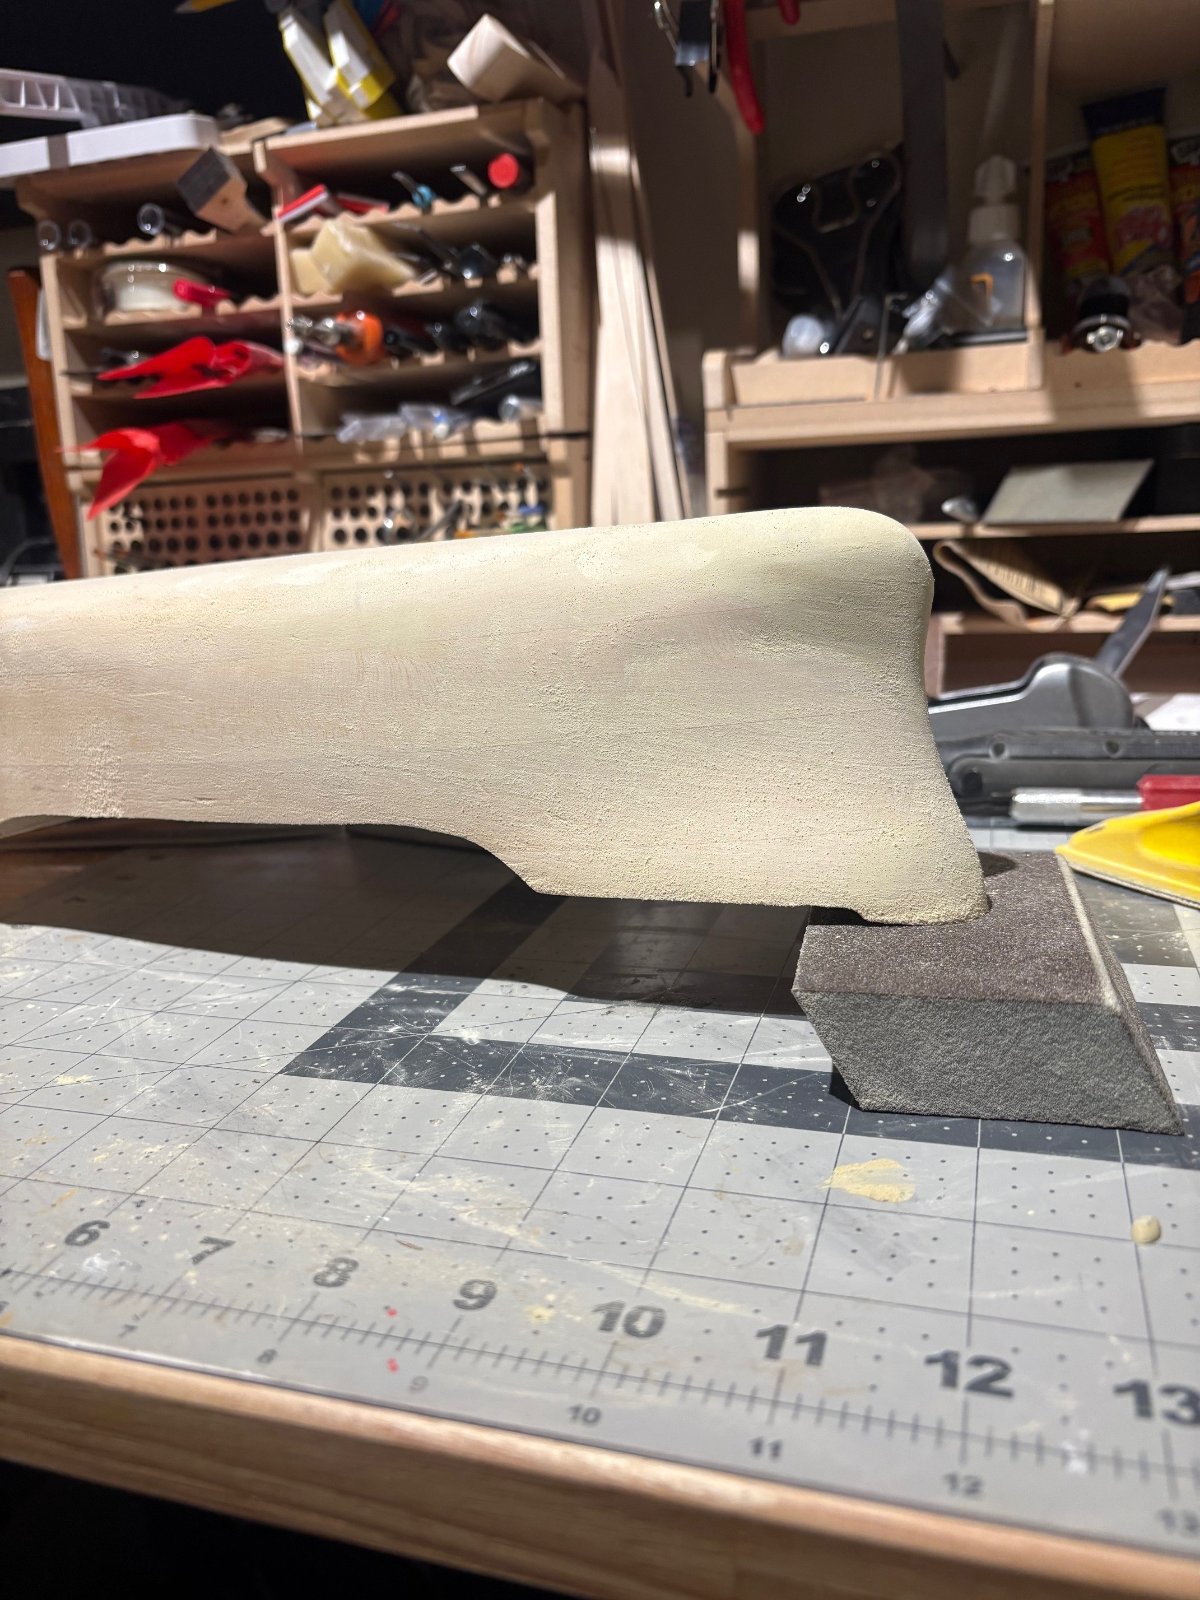
turning some attention on the tanker now that i finished the last plastic ship. ive been applying coats of wood grain filler / light sanding. i applied the first coat of primer today... first of many until everything is smooth. i shaped out the aft main deck house. its interesting to see how a collection of wood blocks starts to look like a ship.
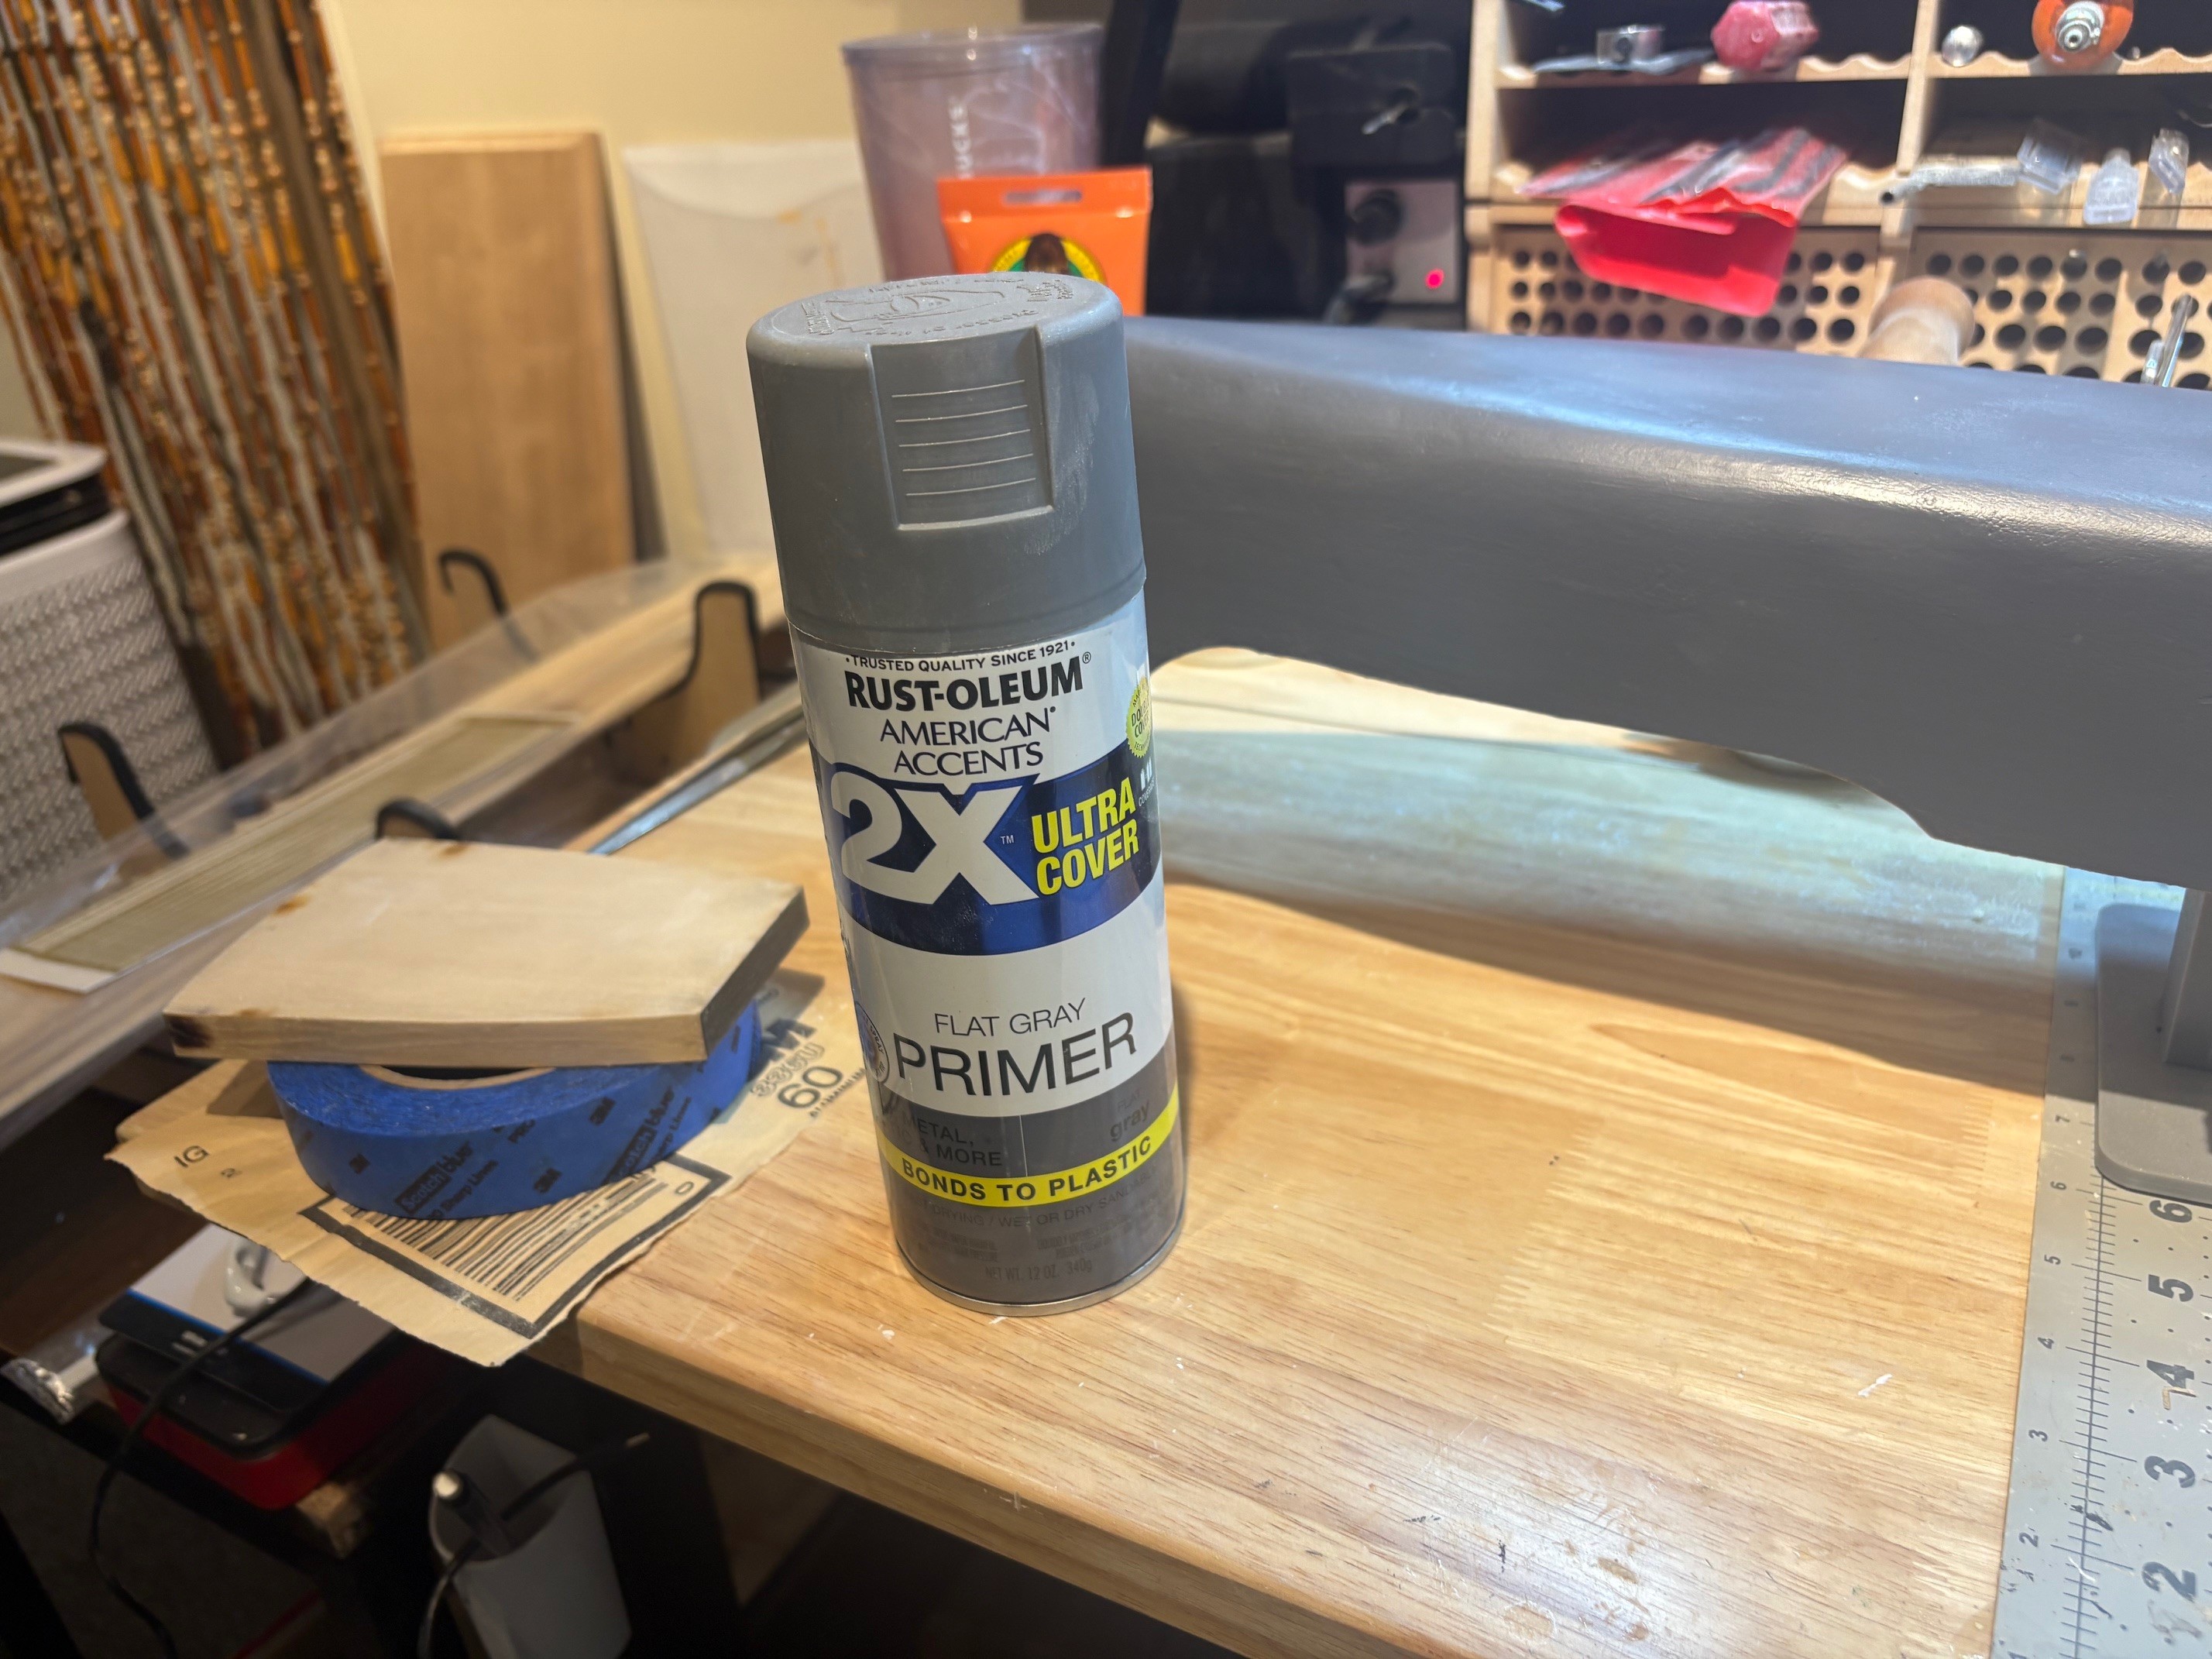
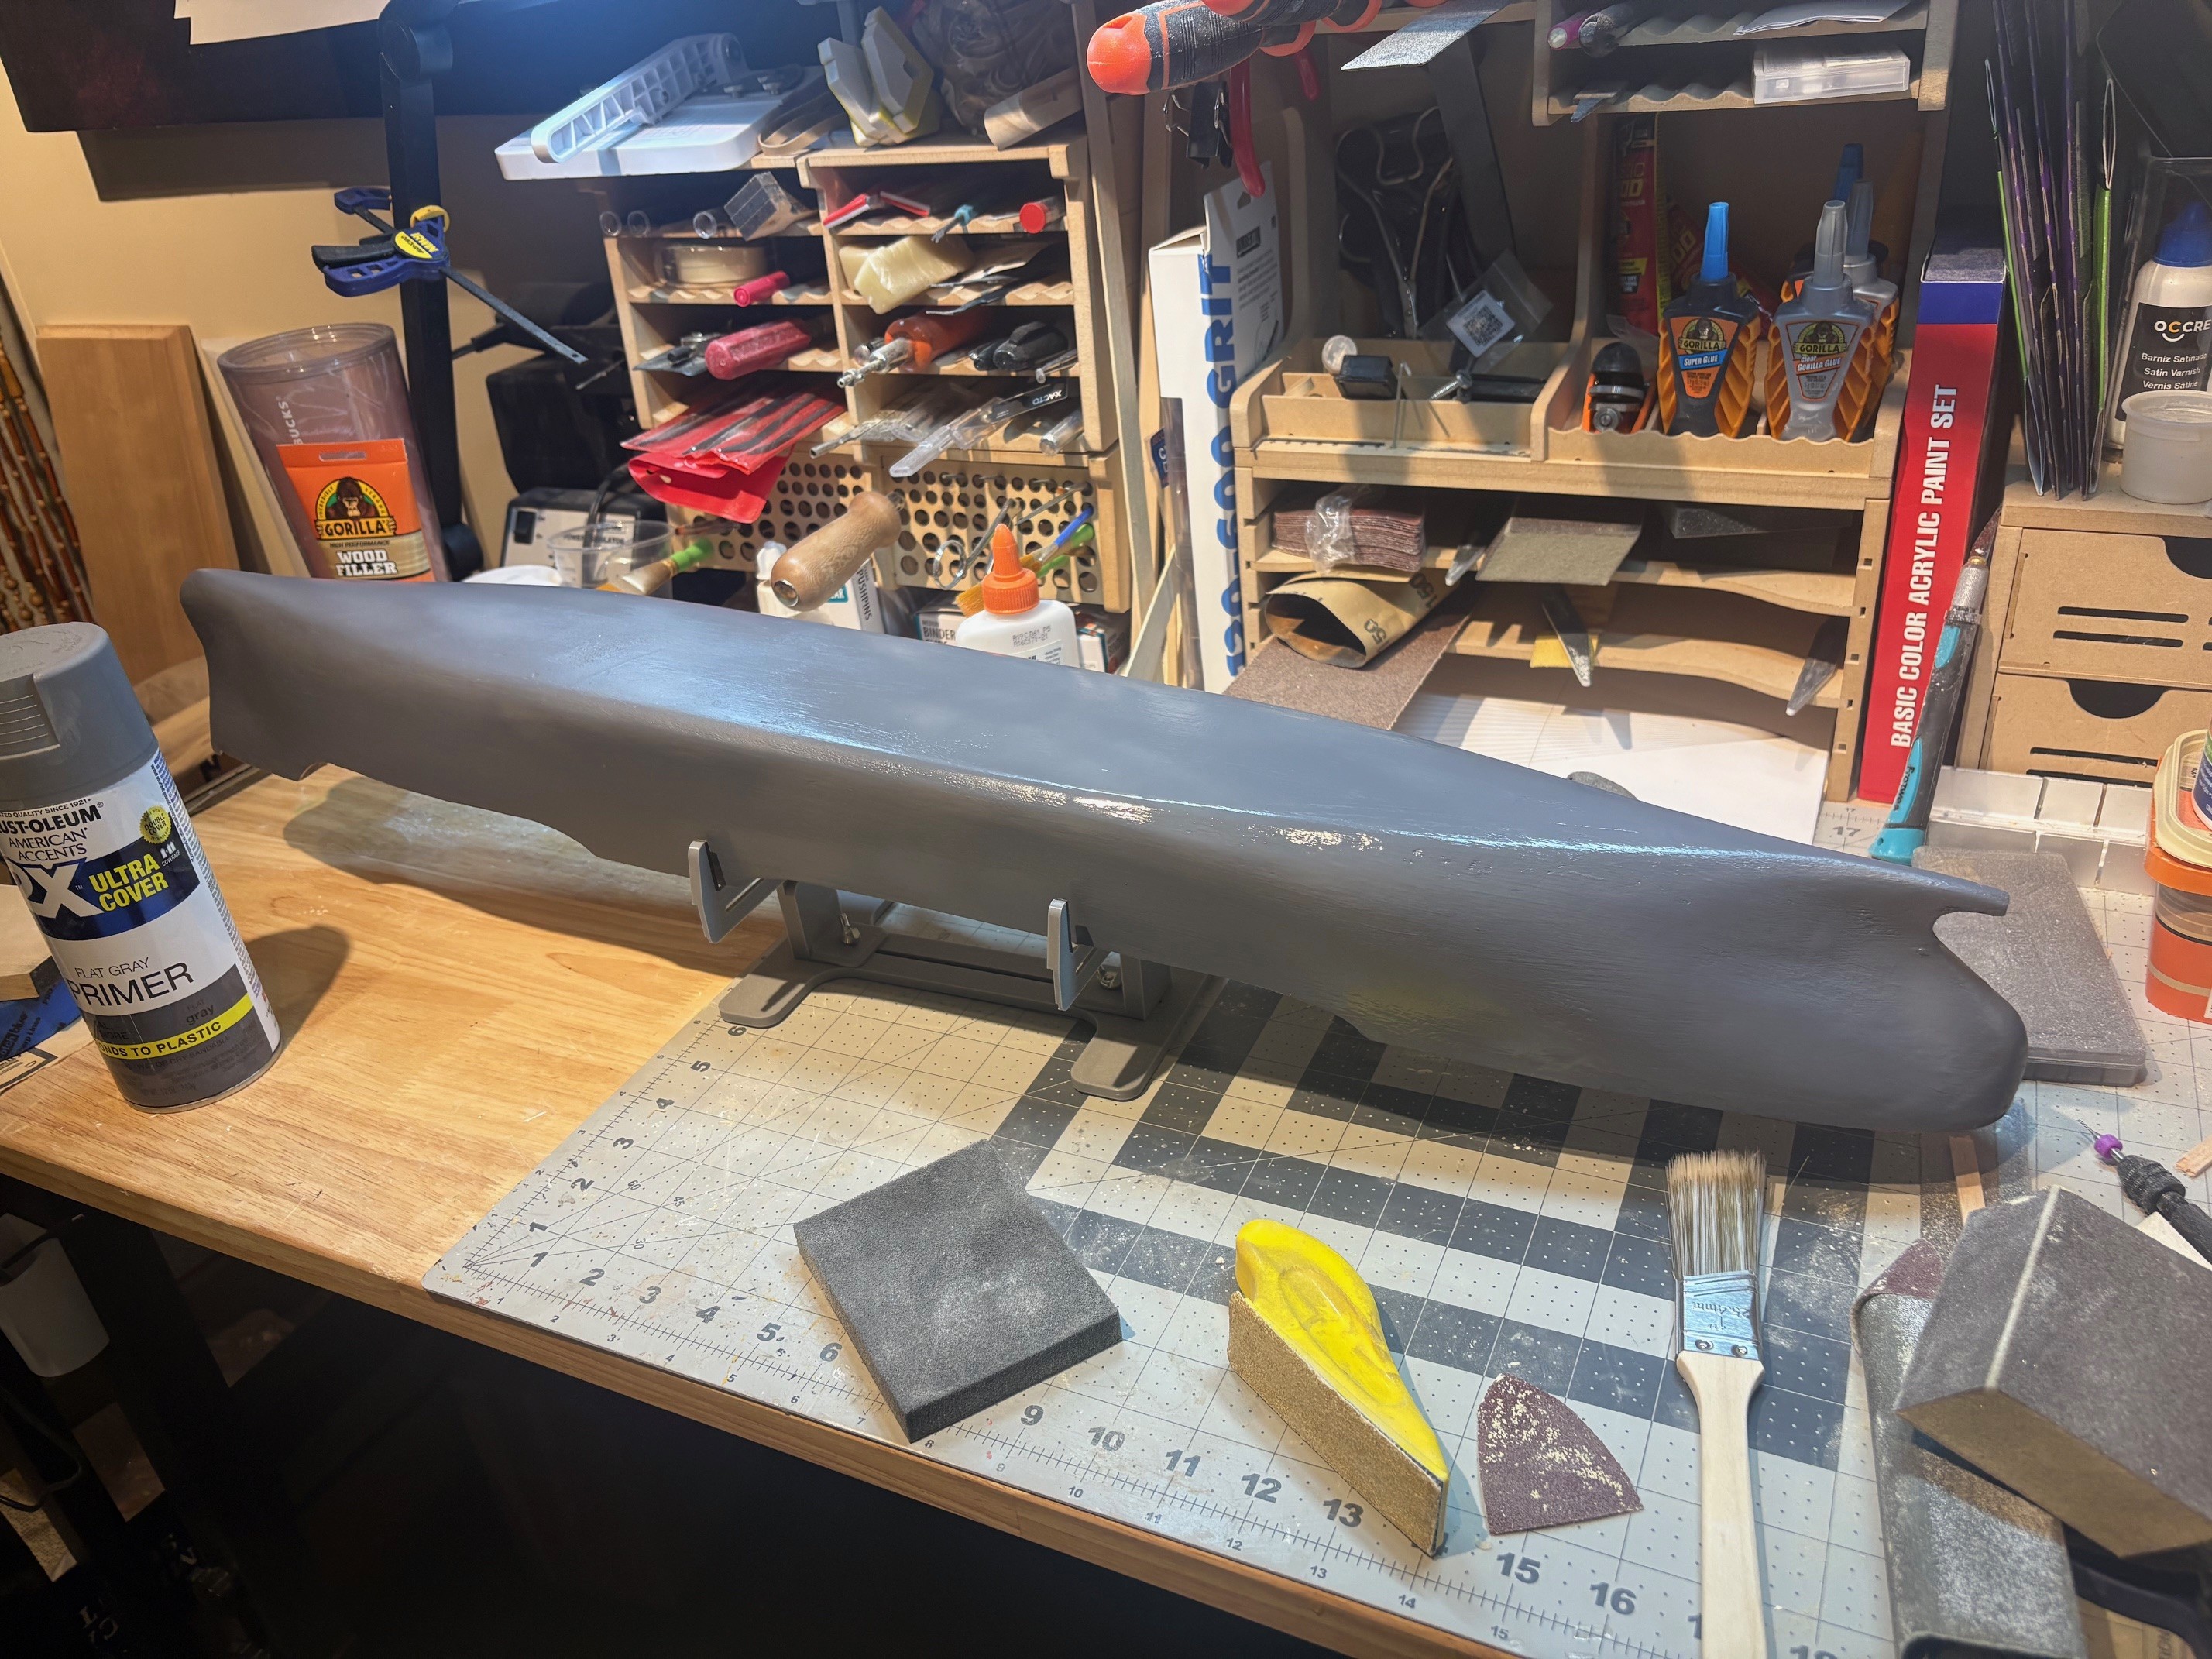
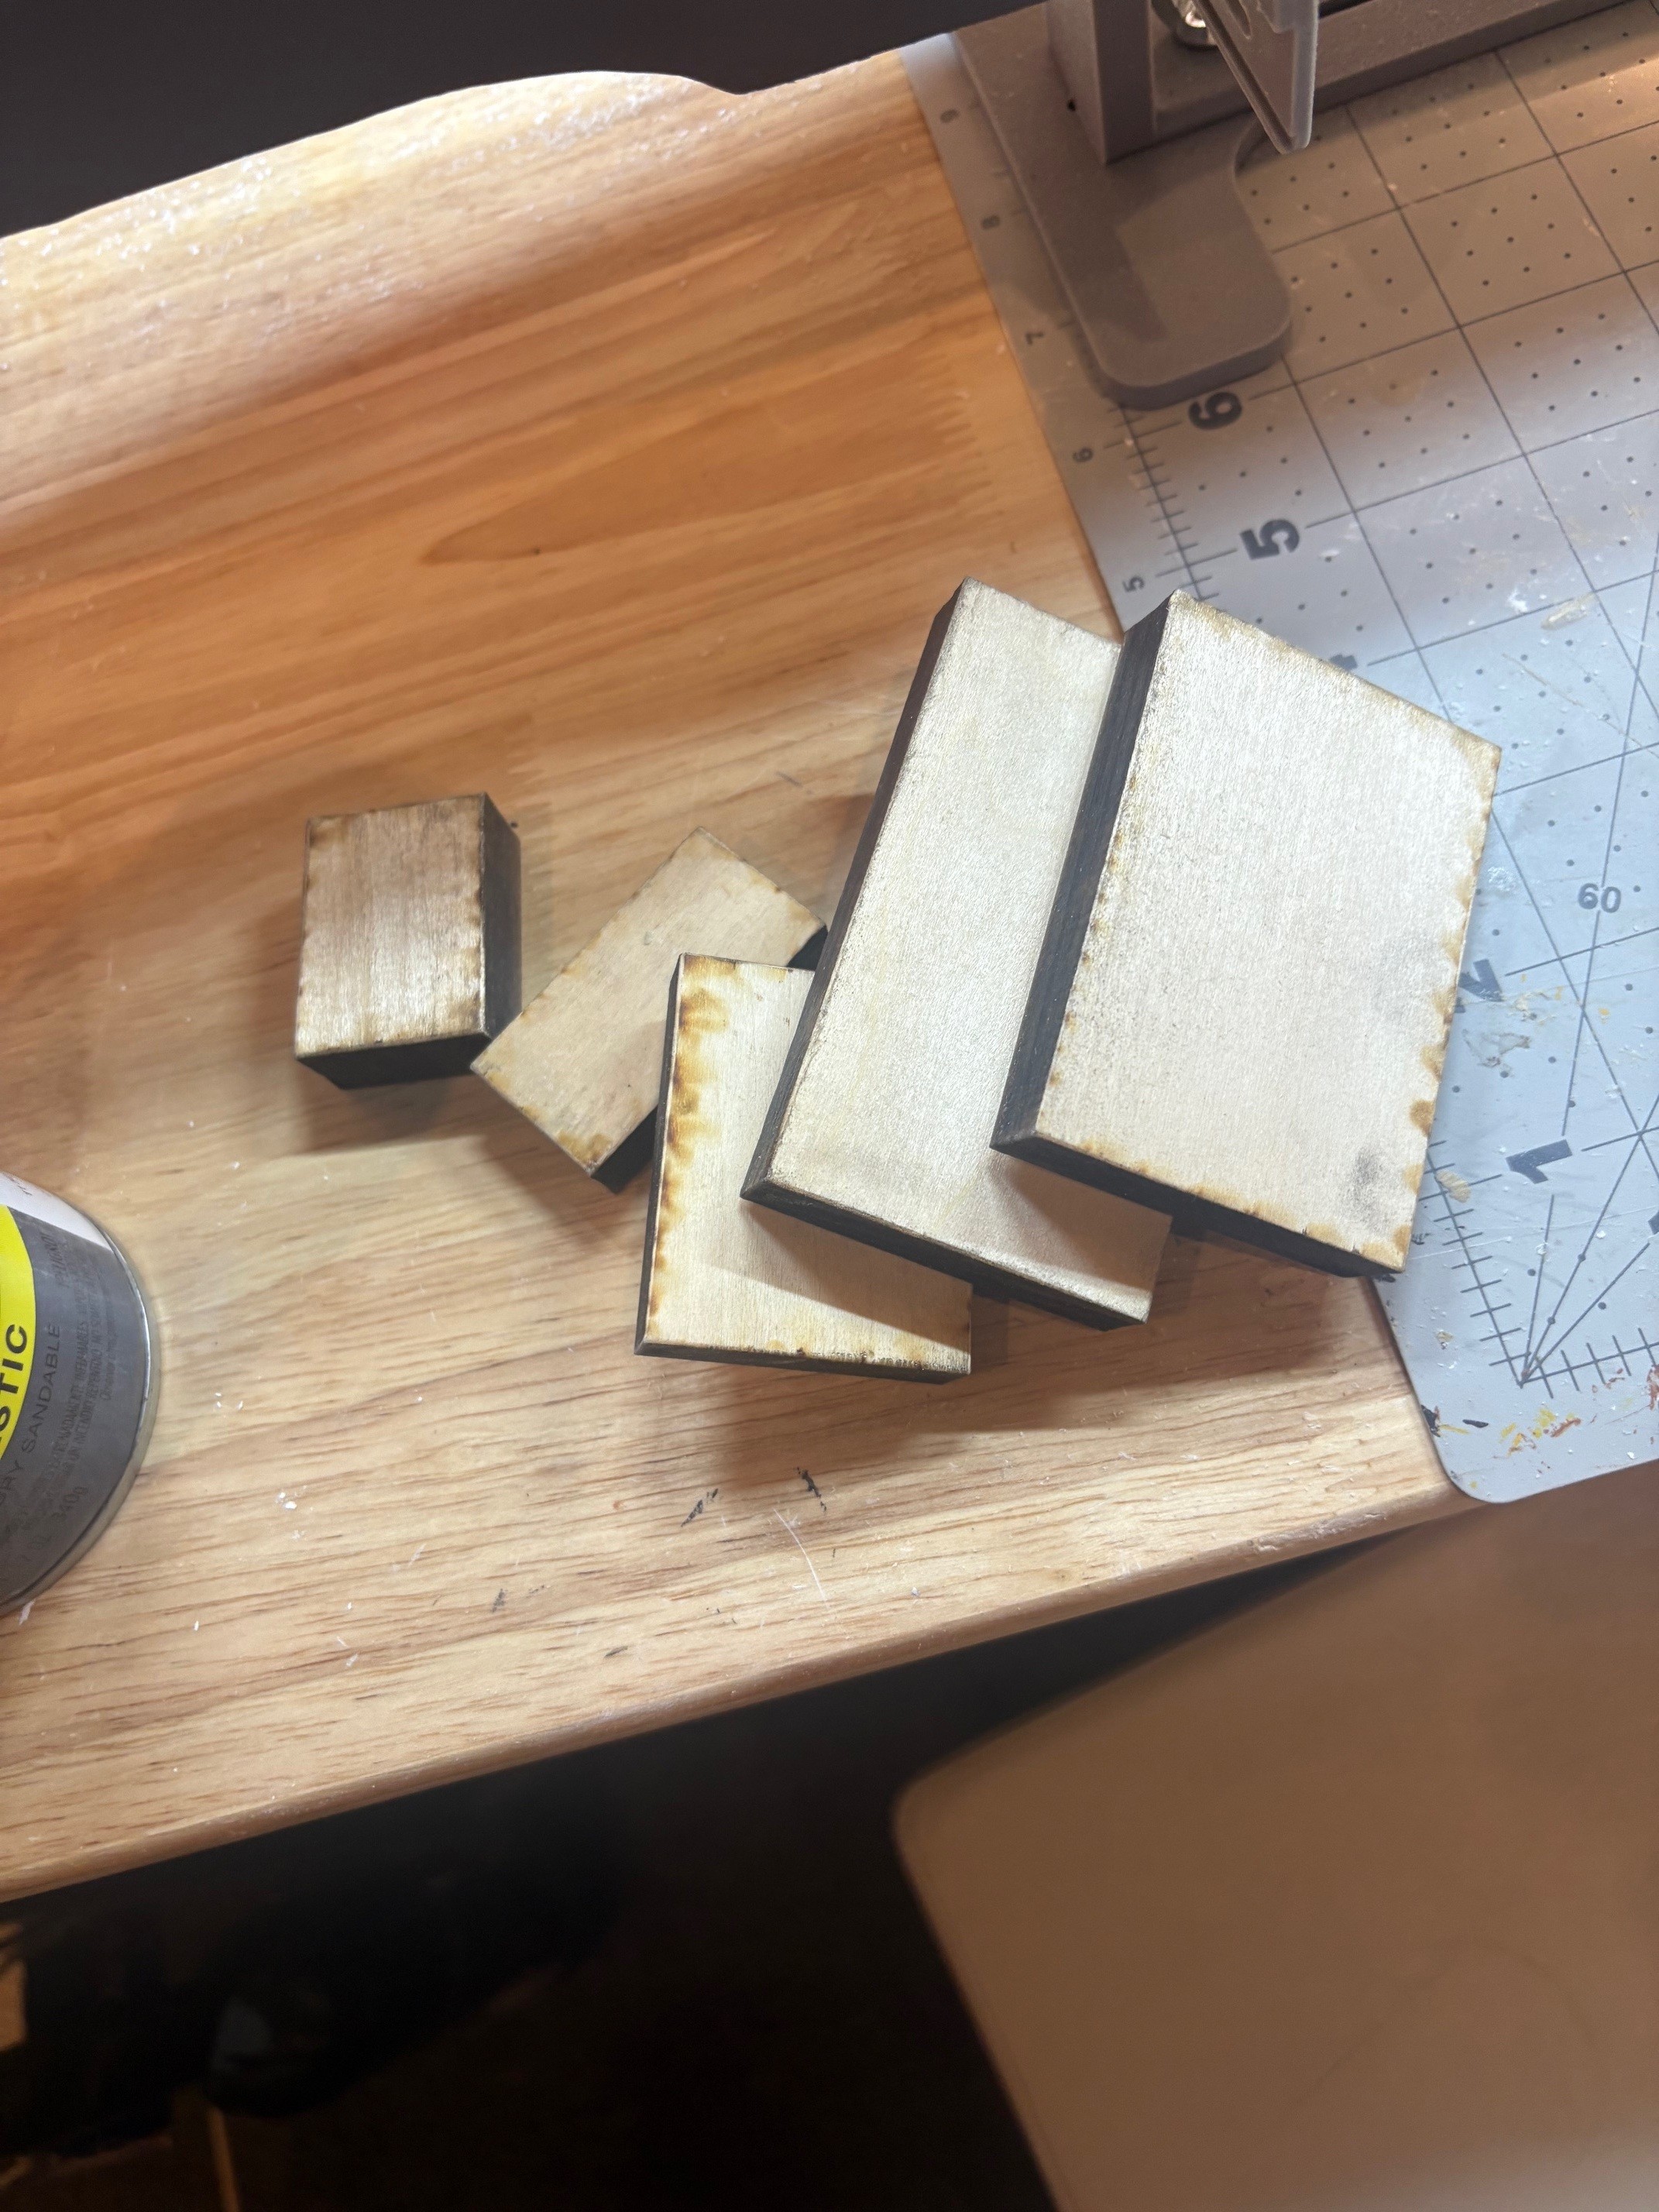
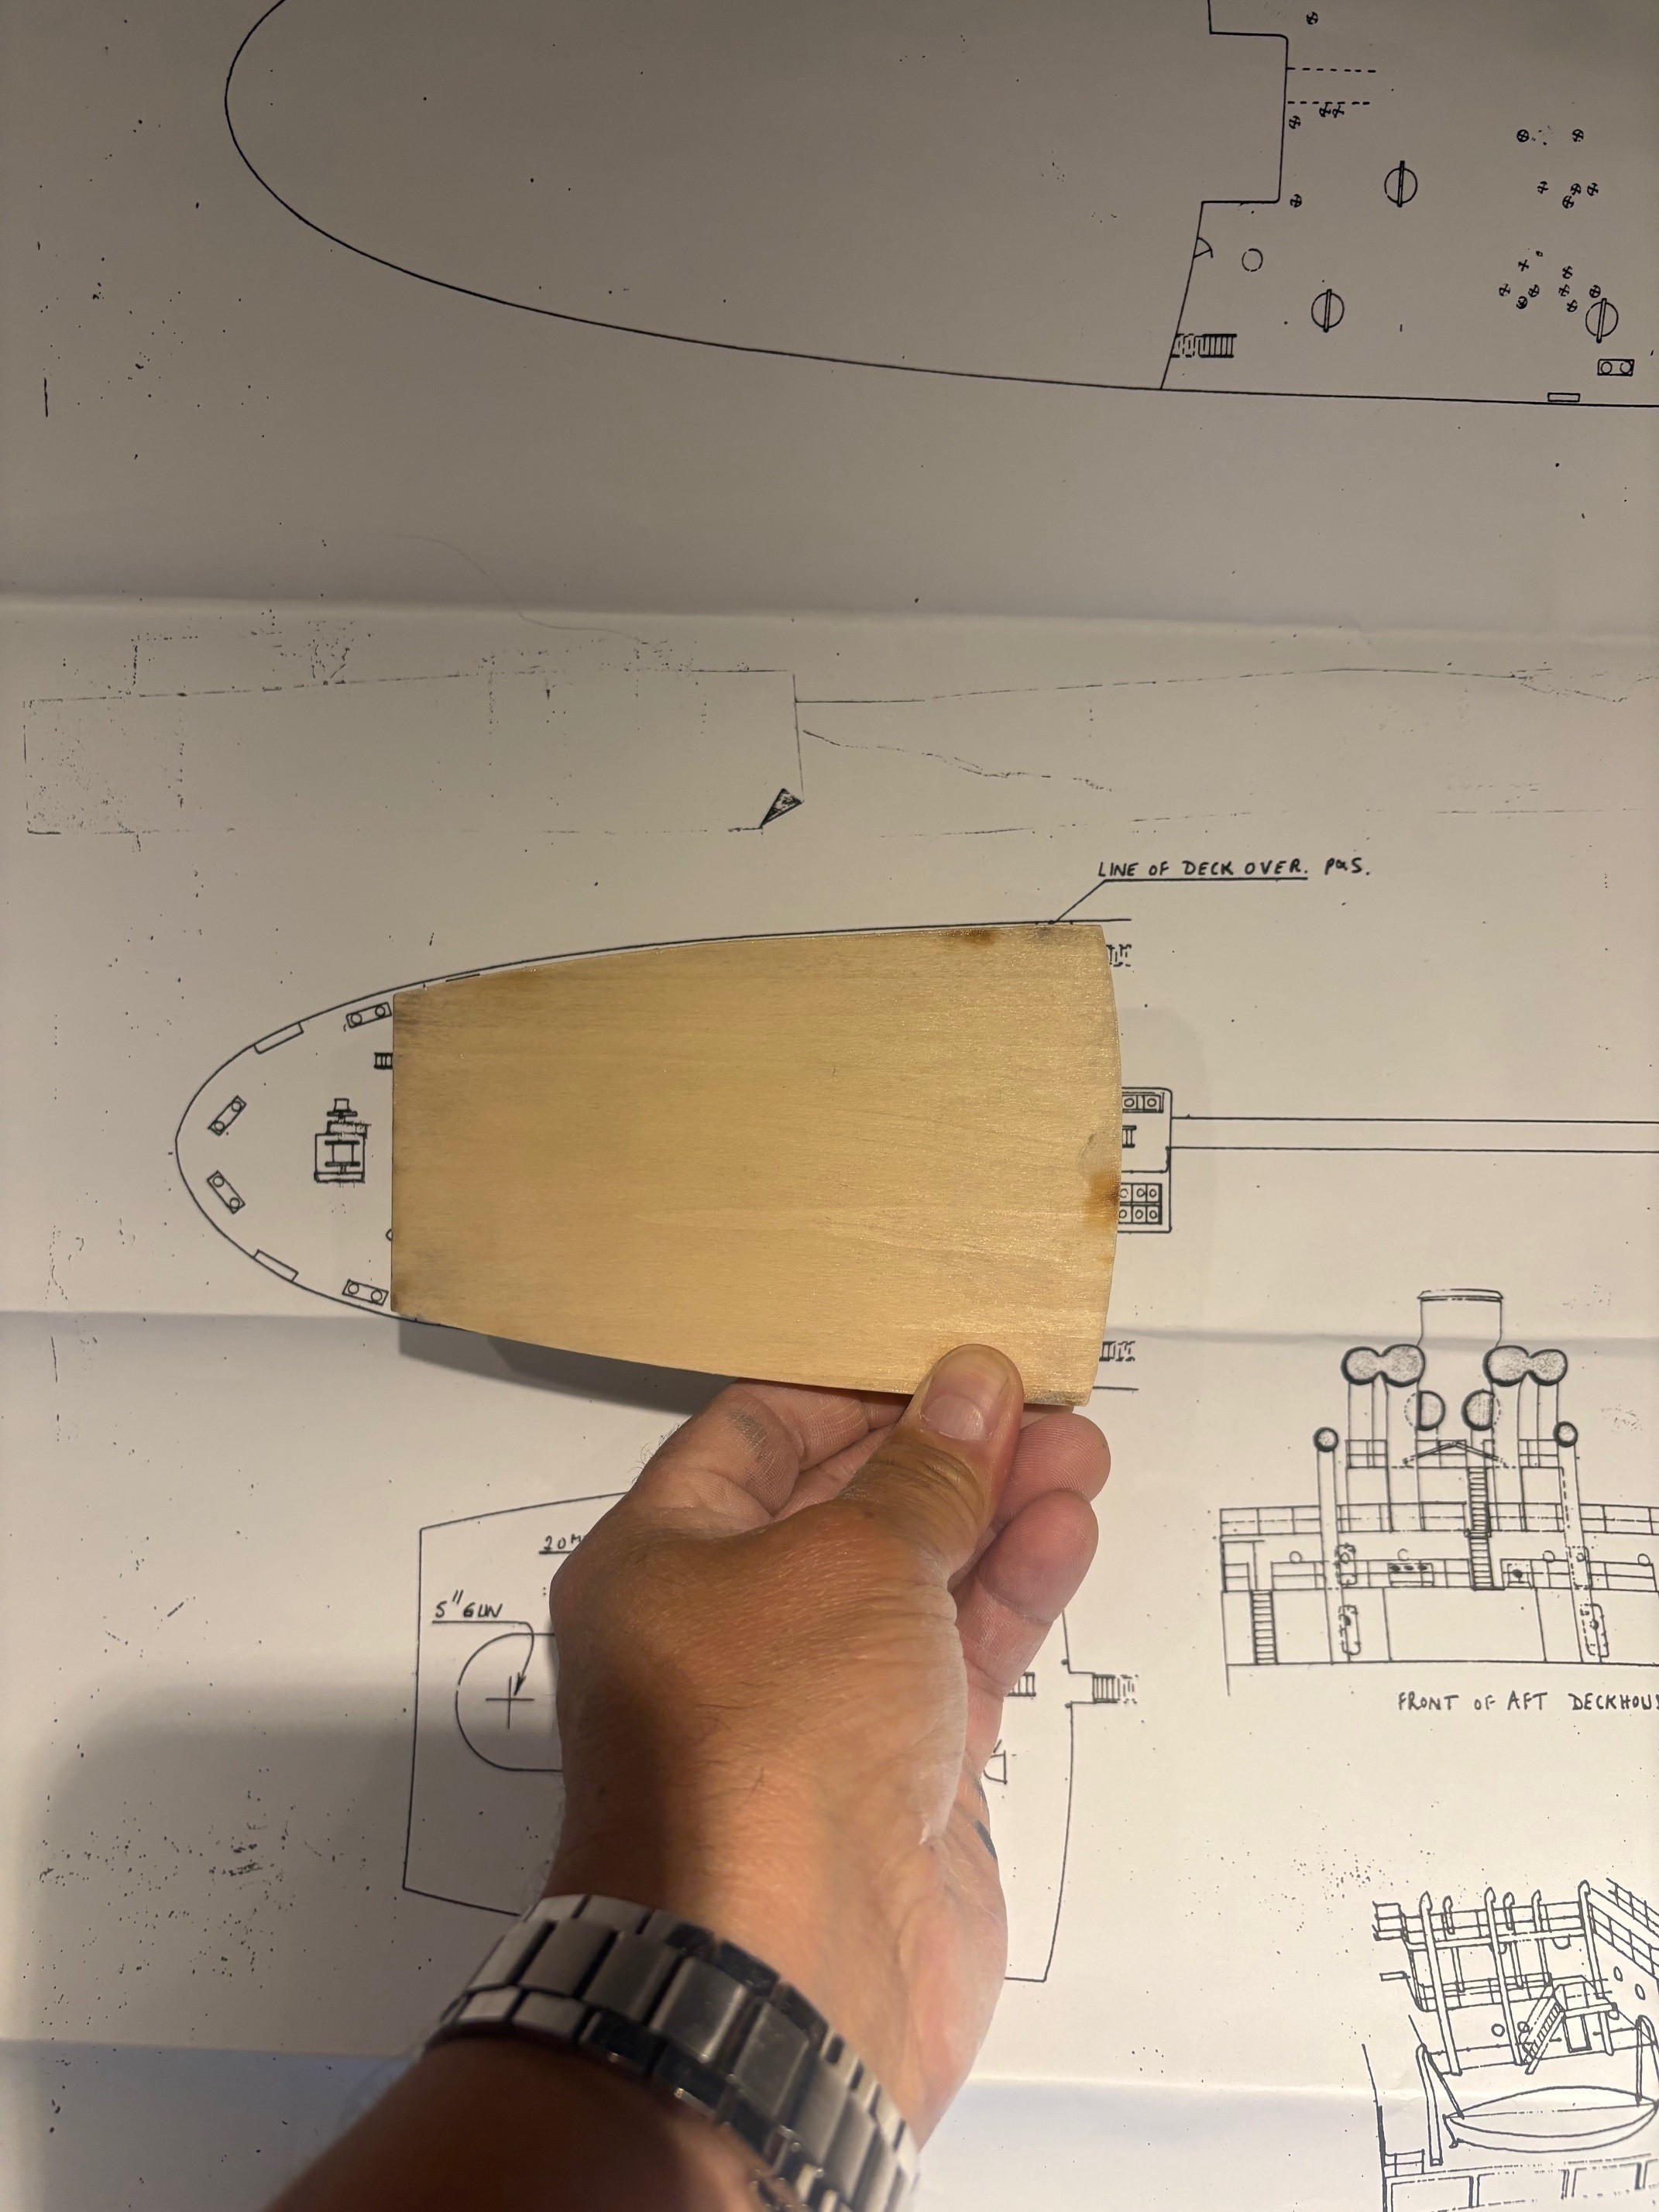
very well could be. all i know is its really soft like balsa and gets knicks and dents from even handling on the bench. at least the wood grain filler is hardening up the surface.The hull should be basswood, not balsa.
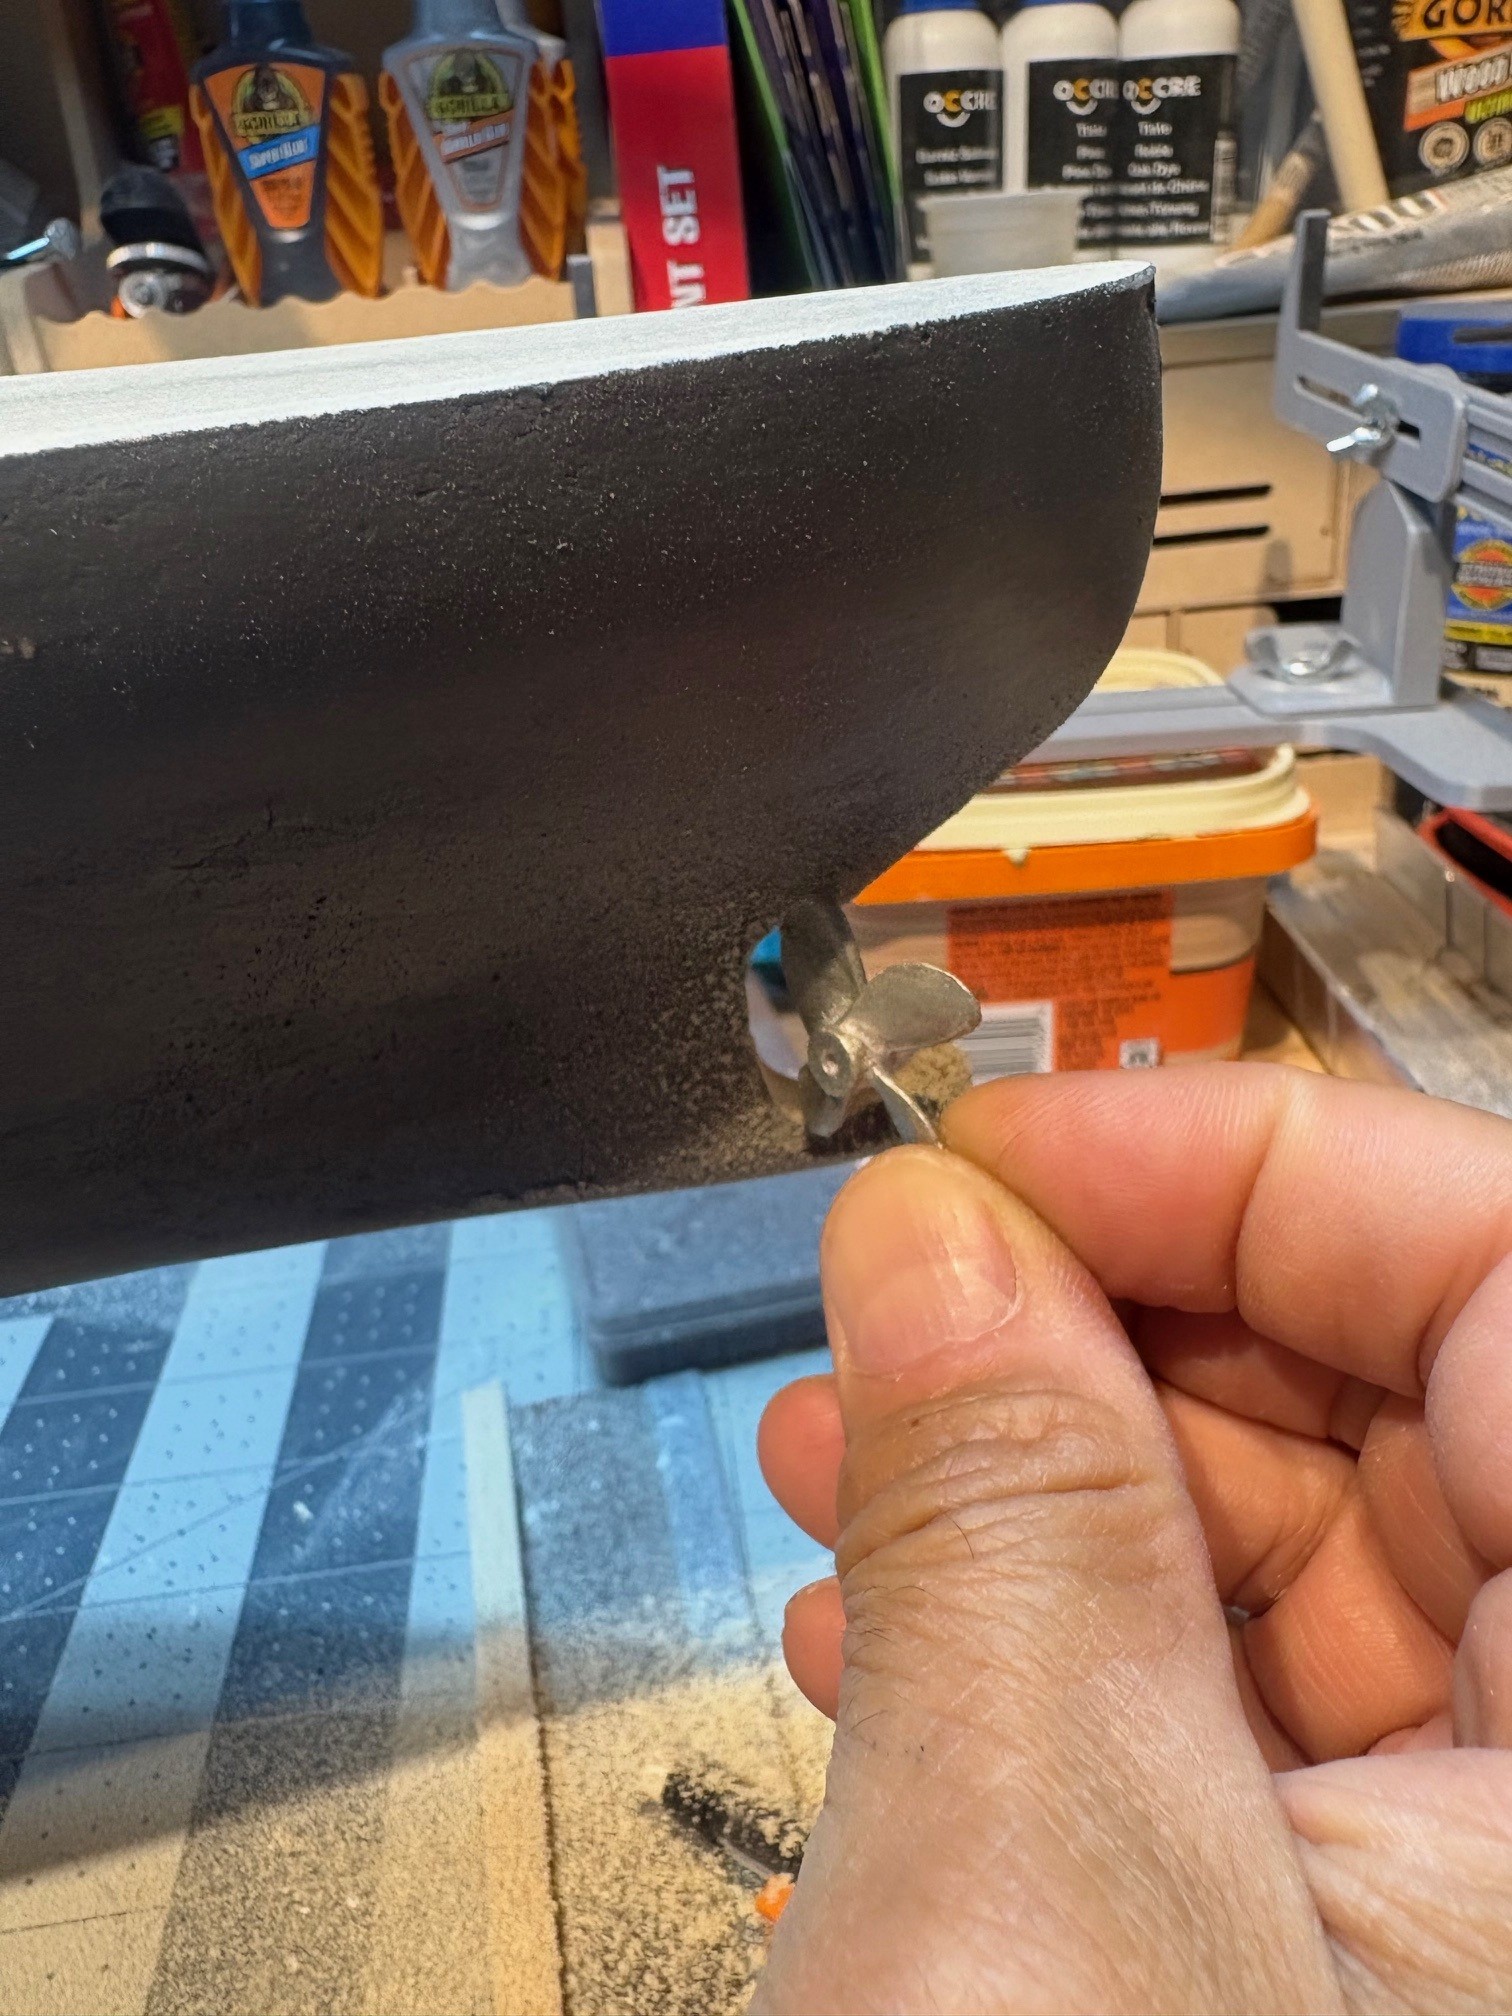
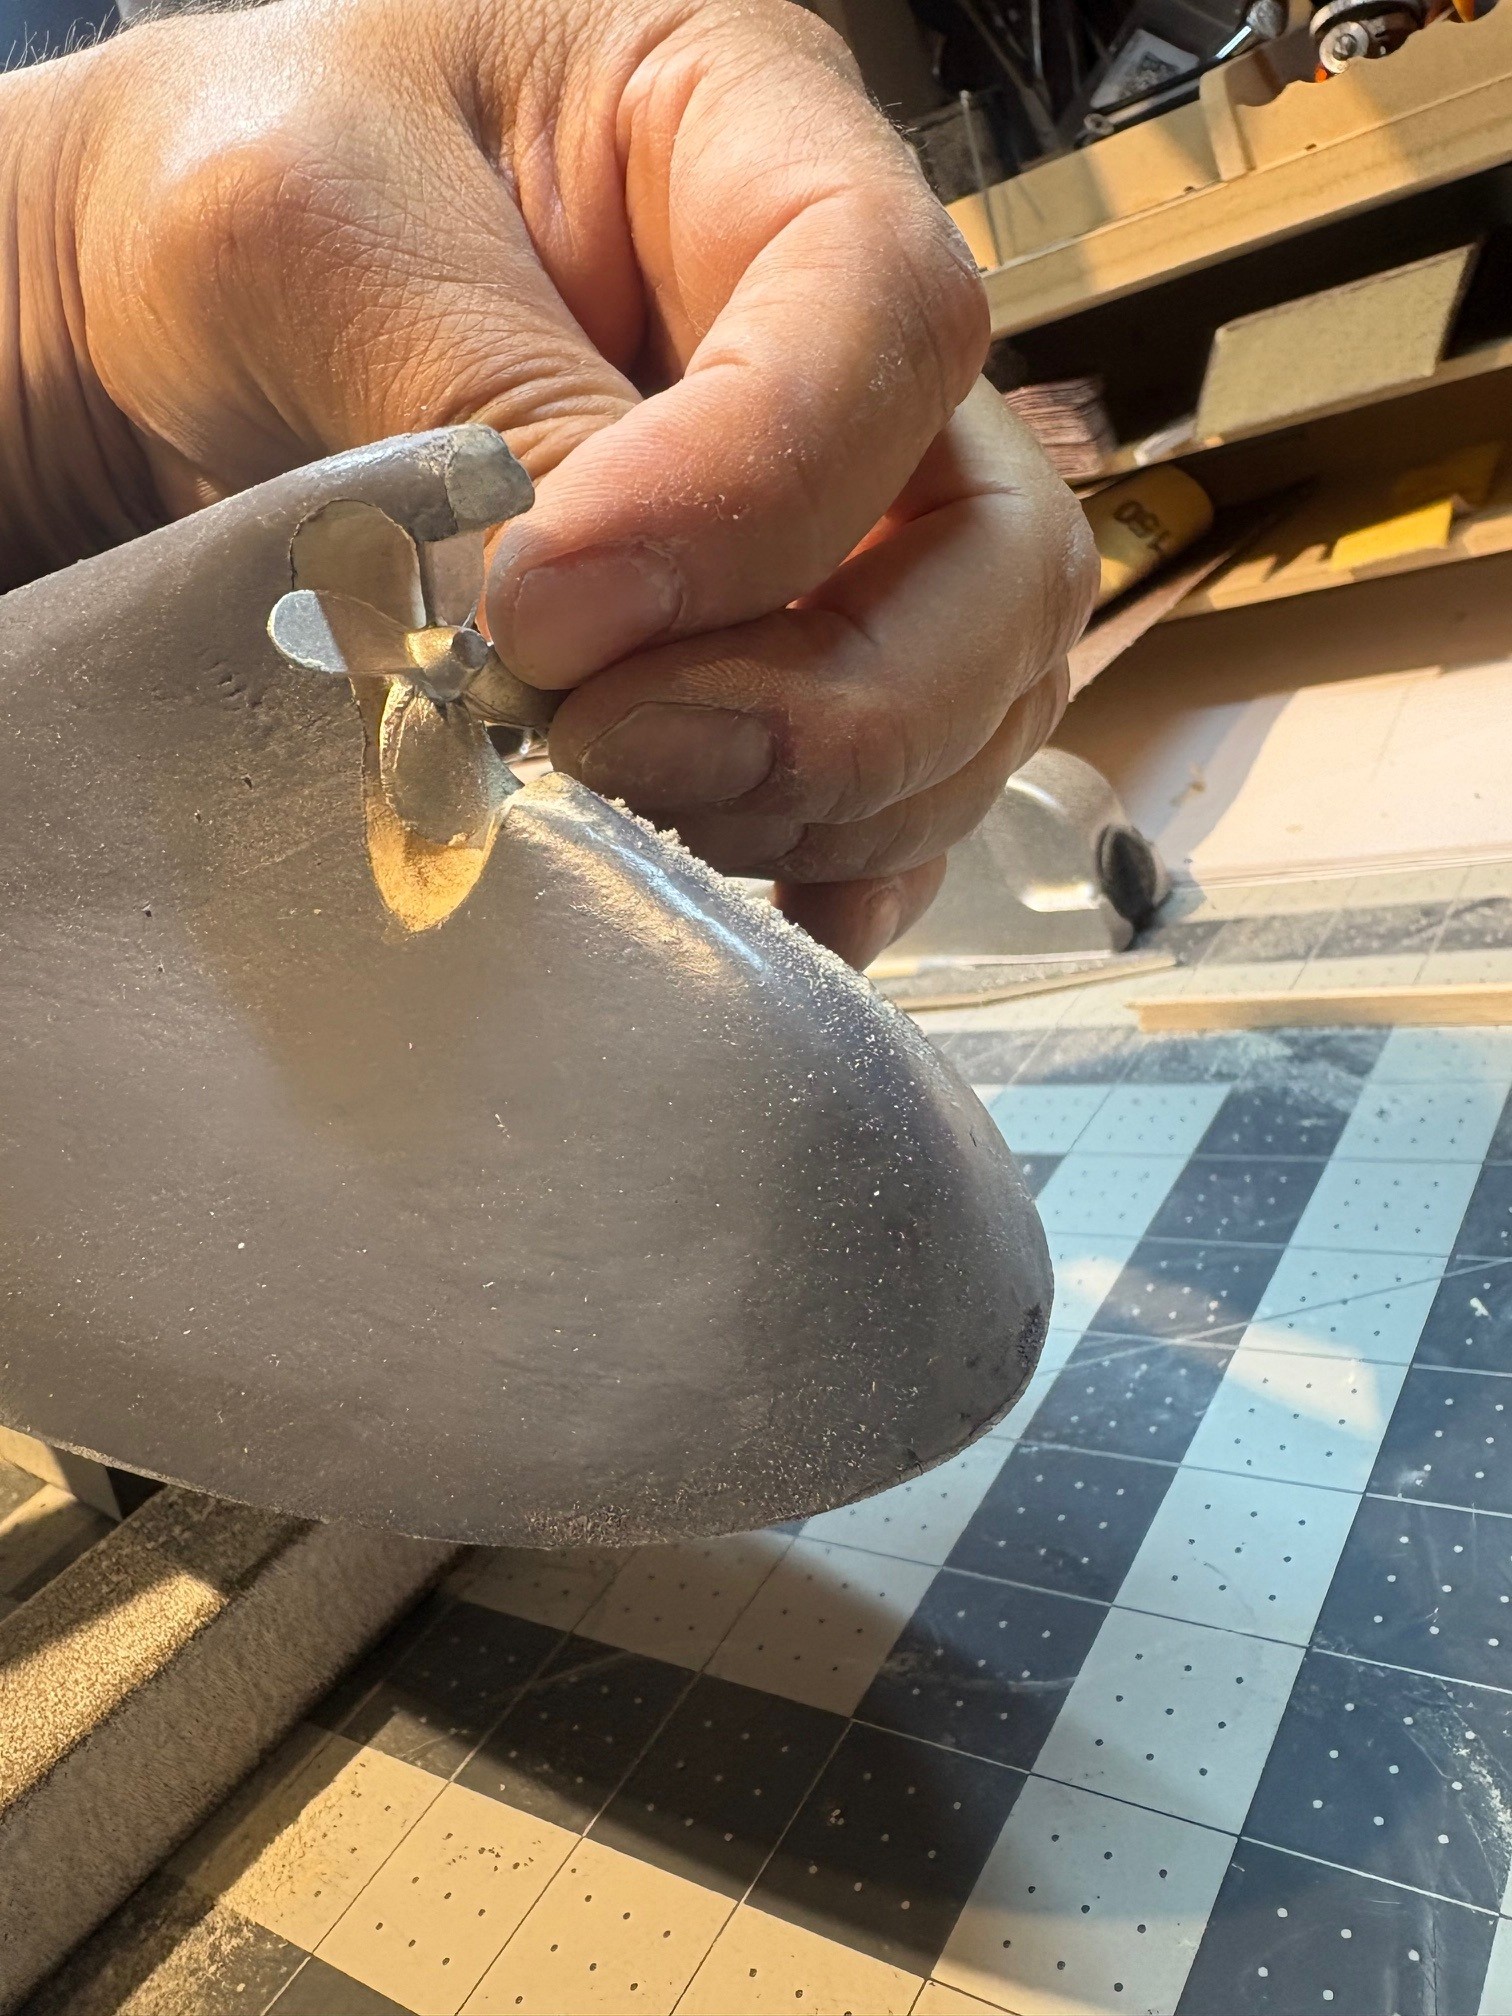
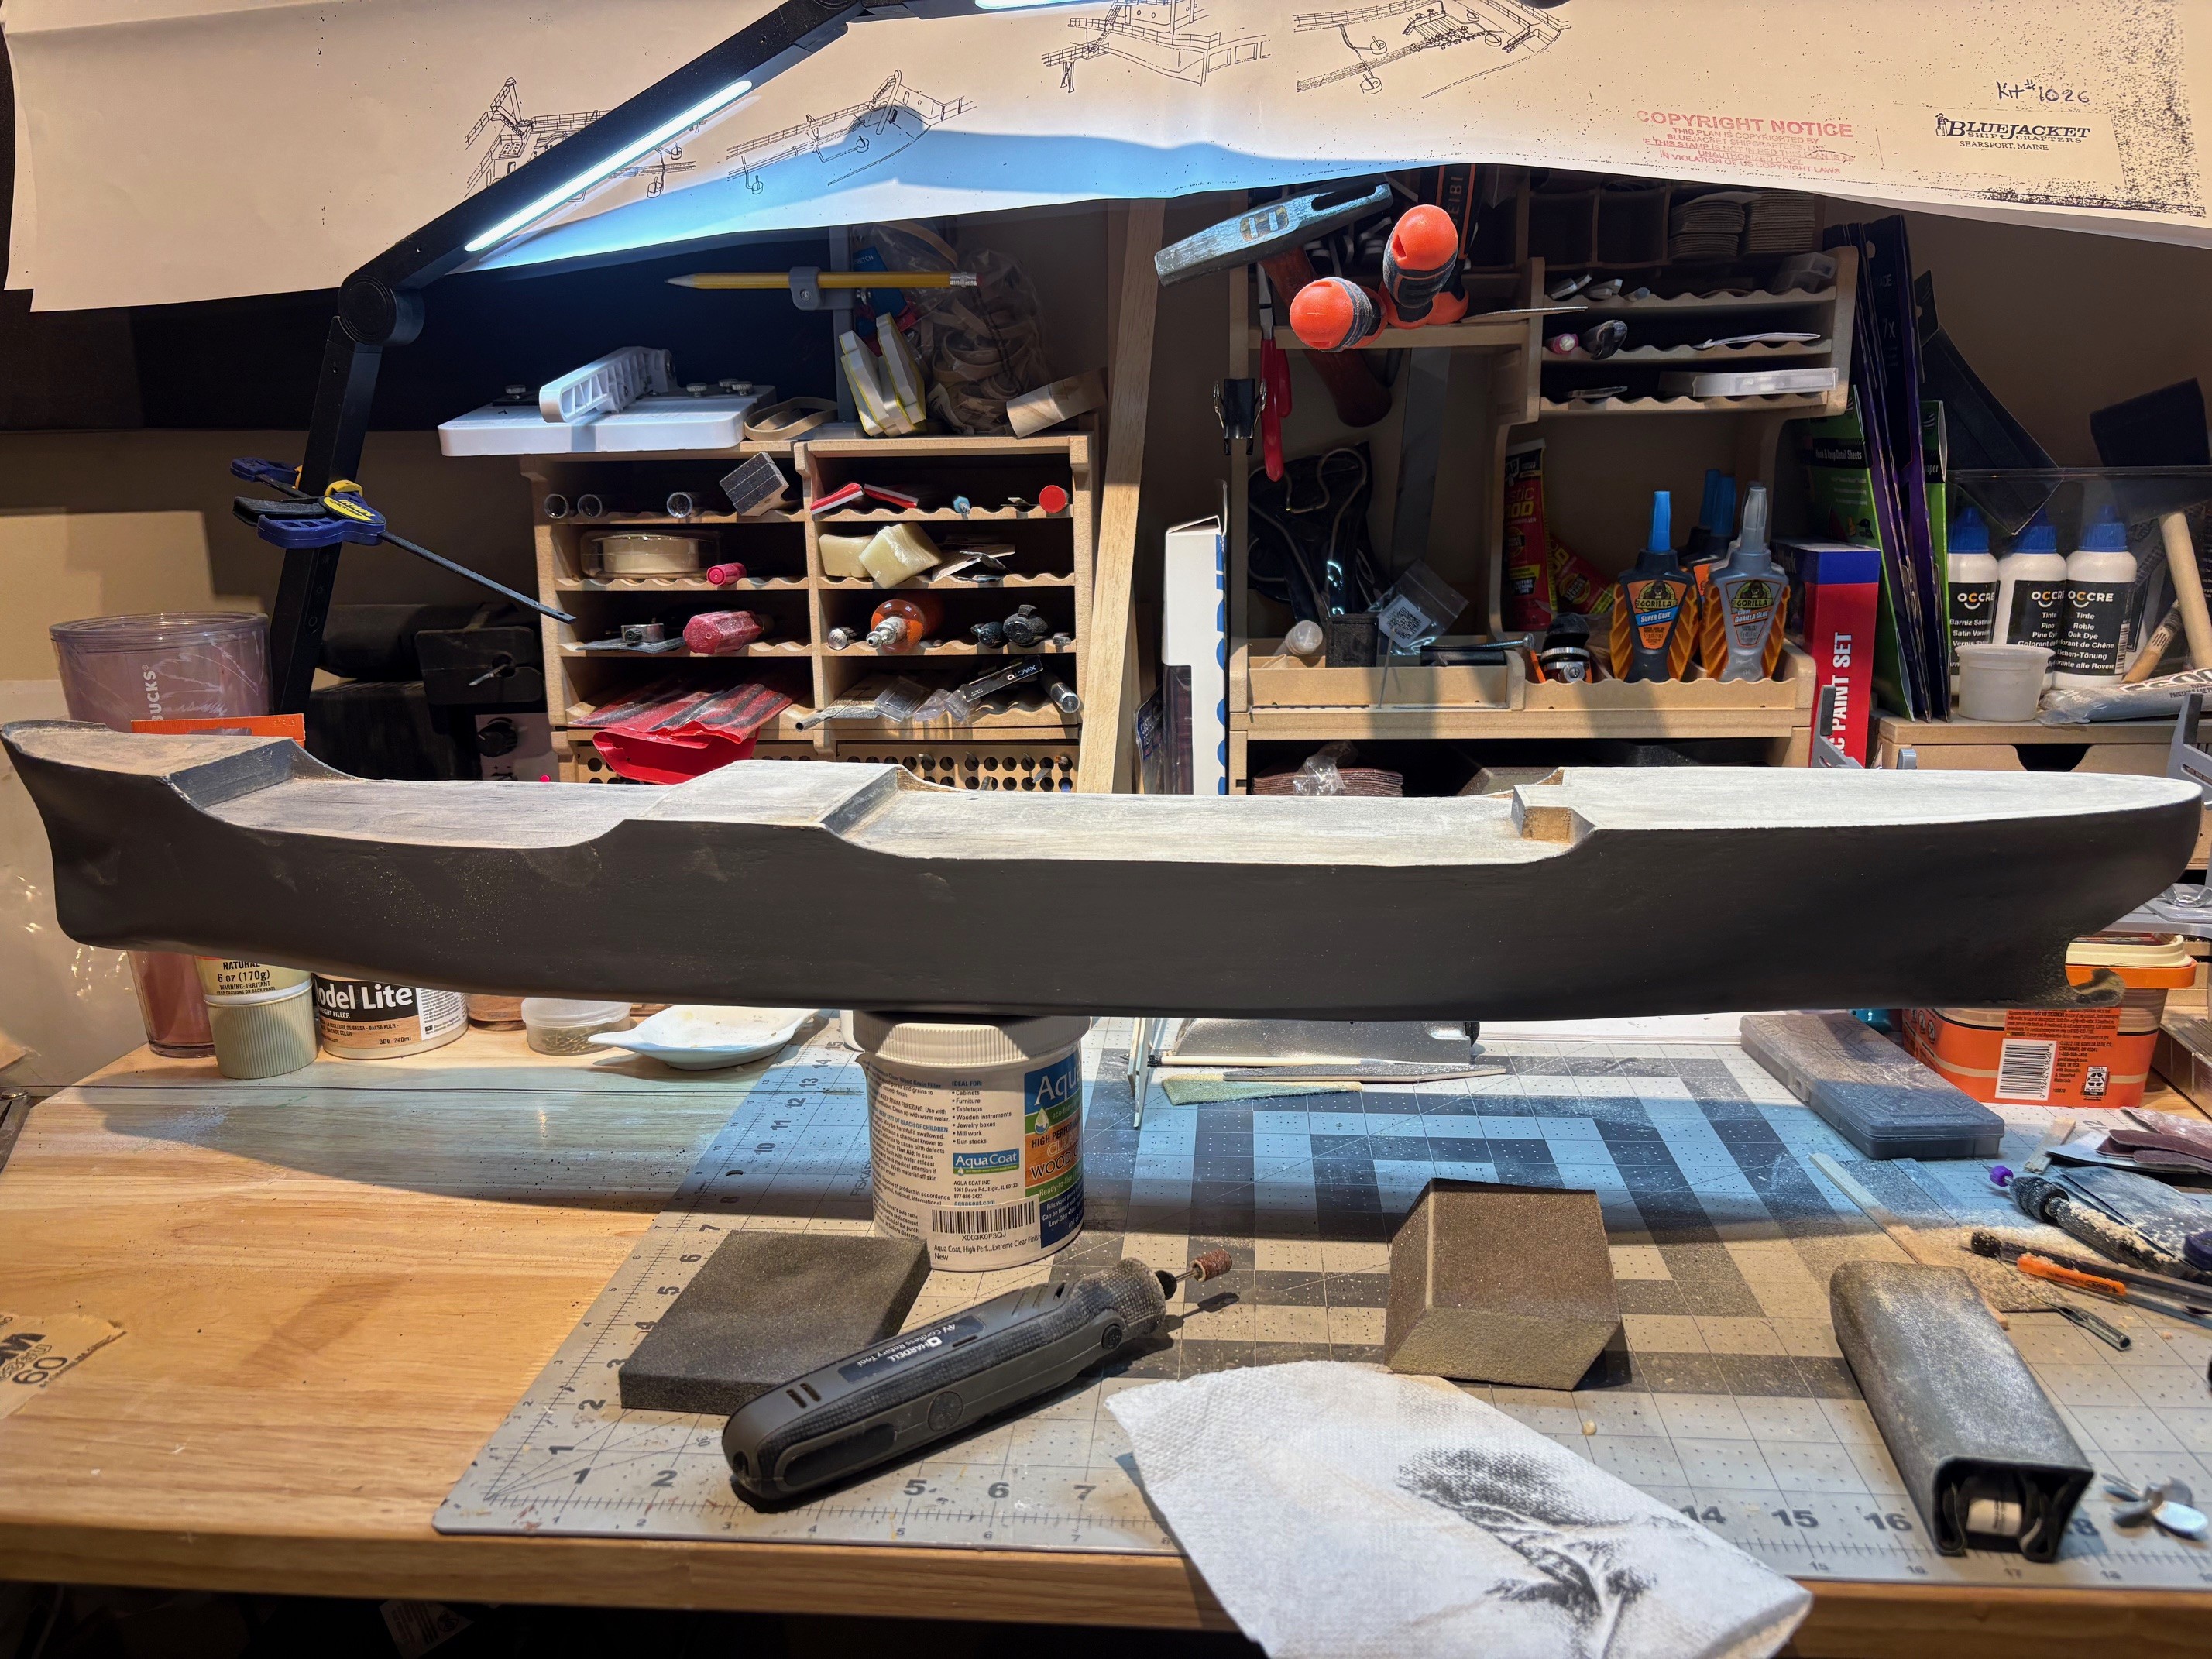

well... i have hit a nightmare scenario. i had ordered some fairing compound which i thought was pre-mix ready to spread. i went about spreading it over the model as needed. came down next day and it was still soft and tacky. i found out it was two part - my fault for not being more thorough , but now i have tried to scrape and clean it off.. but it is not too promising. i tried mineral spirits, varnish remover ... nothing is working to remove this sticky mess. does anybody have ideas on how to remove uncured two part epoxy fairing compound? if i cant get this cleaned up , i may end up ending this project which will kill me inside... but it is what it is. i was hoping to find a cheap second hand kit on ebay or something.... i got this one for a bargain.. as they are still $500 new from blue jacket.
update... i had some success with some various substances... i think i have mitigated the tackiness enough to get a decent working surface that can be once again smoothed out. its going to take some more sessions of work for sure. jeez.. its like 2 steps forward 5 steps back. no second hand kits on ebay ... and bluejacket wants $600 !! for a new kit (checked for giggles). i had scored this kit for about $200 so i hope to make it work. i was going to post pics of the carnage , but was too involved in the process.
...thank goodness.some success
Paraphrasing a familiar refrain on this forum:
"While a superbe build may be an indication of a fine modeler, successful recovery from disaster is the mark of a great one!"
Similar threads


- Replies
- 225
- Views
- 4K


