Omegaman's MPC Falcon build.

Omegaman55

Member
Joined
Nov 12, 2011
Messages
76
Hi guys and girls,

Ok, so I joined this forum a little late to join in on the group build, and I have been away from building kits for such a long time, I don't think it was worth taking up the space anyway....

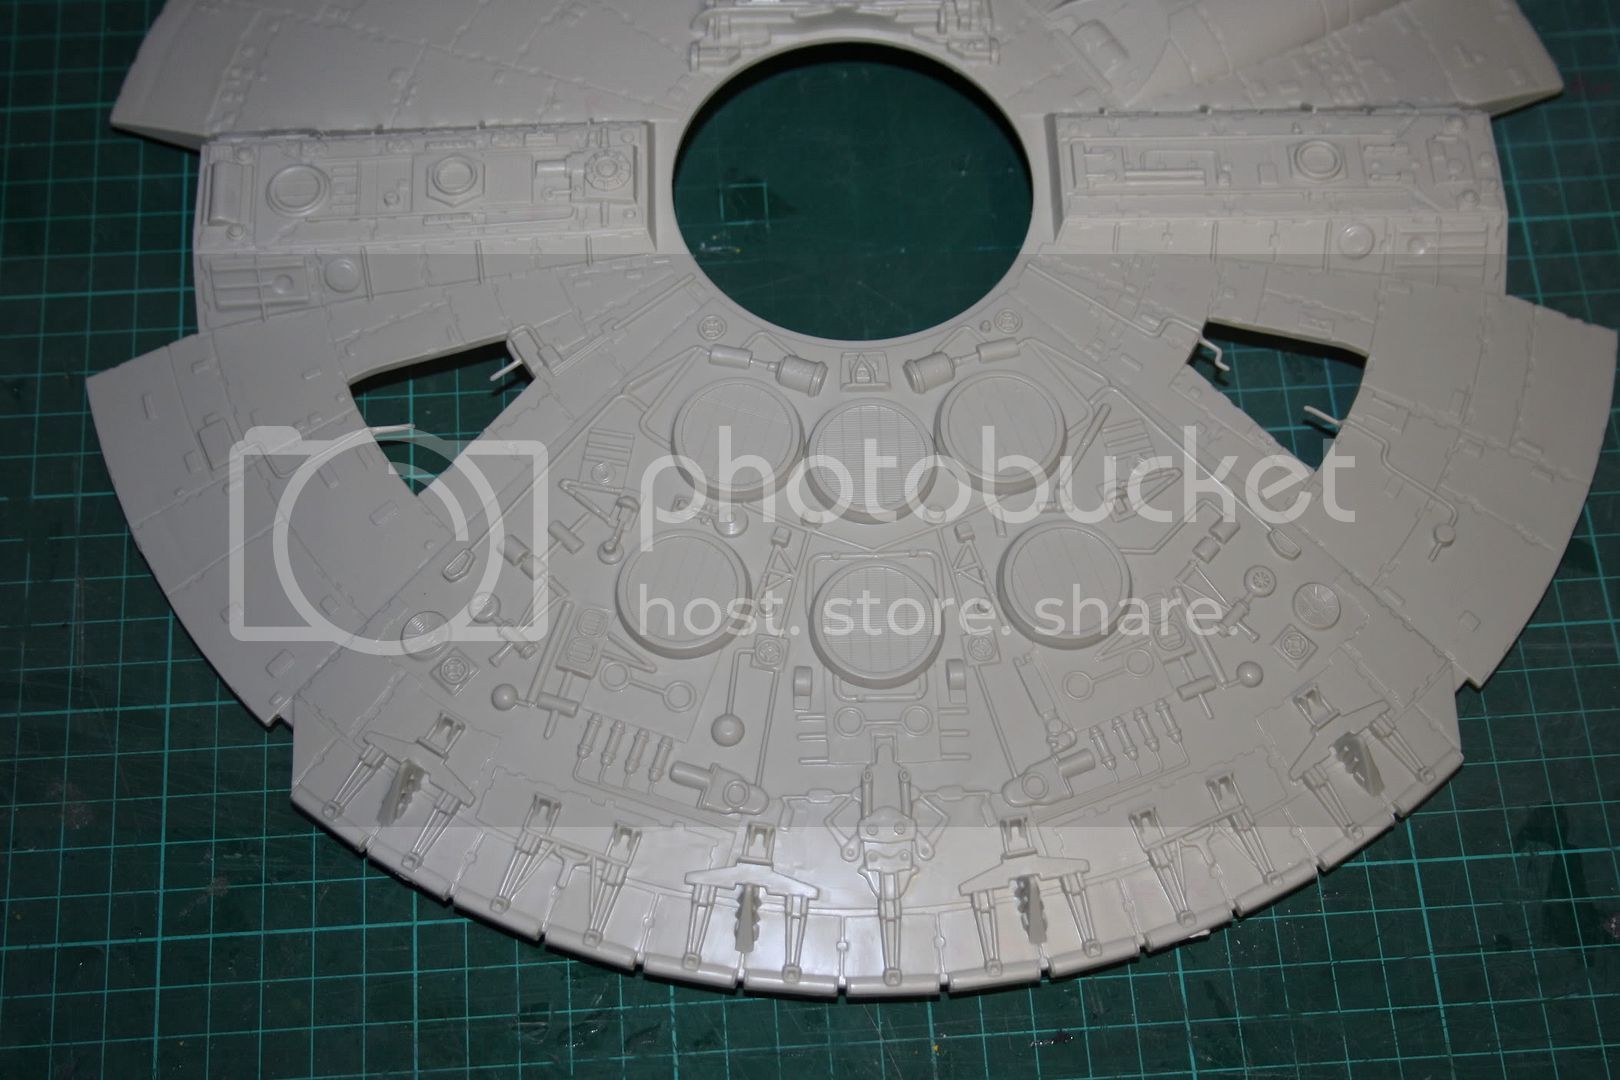
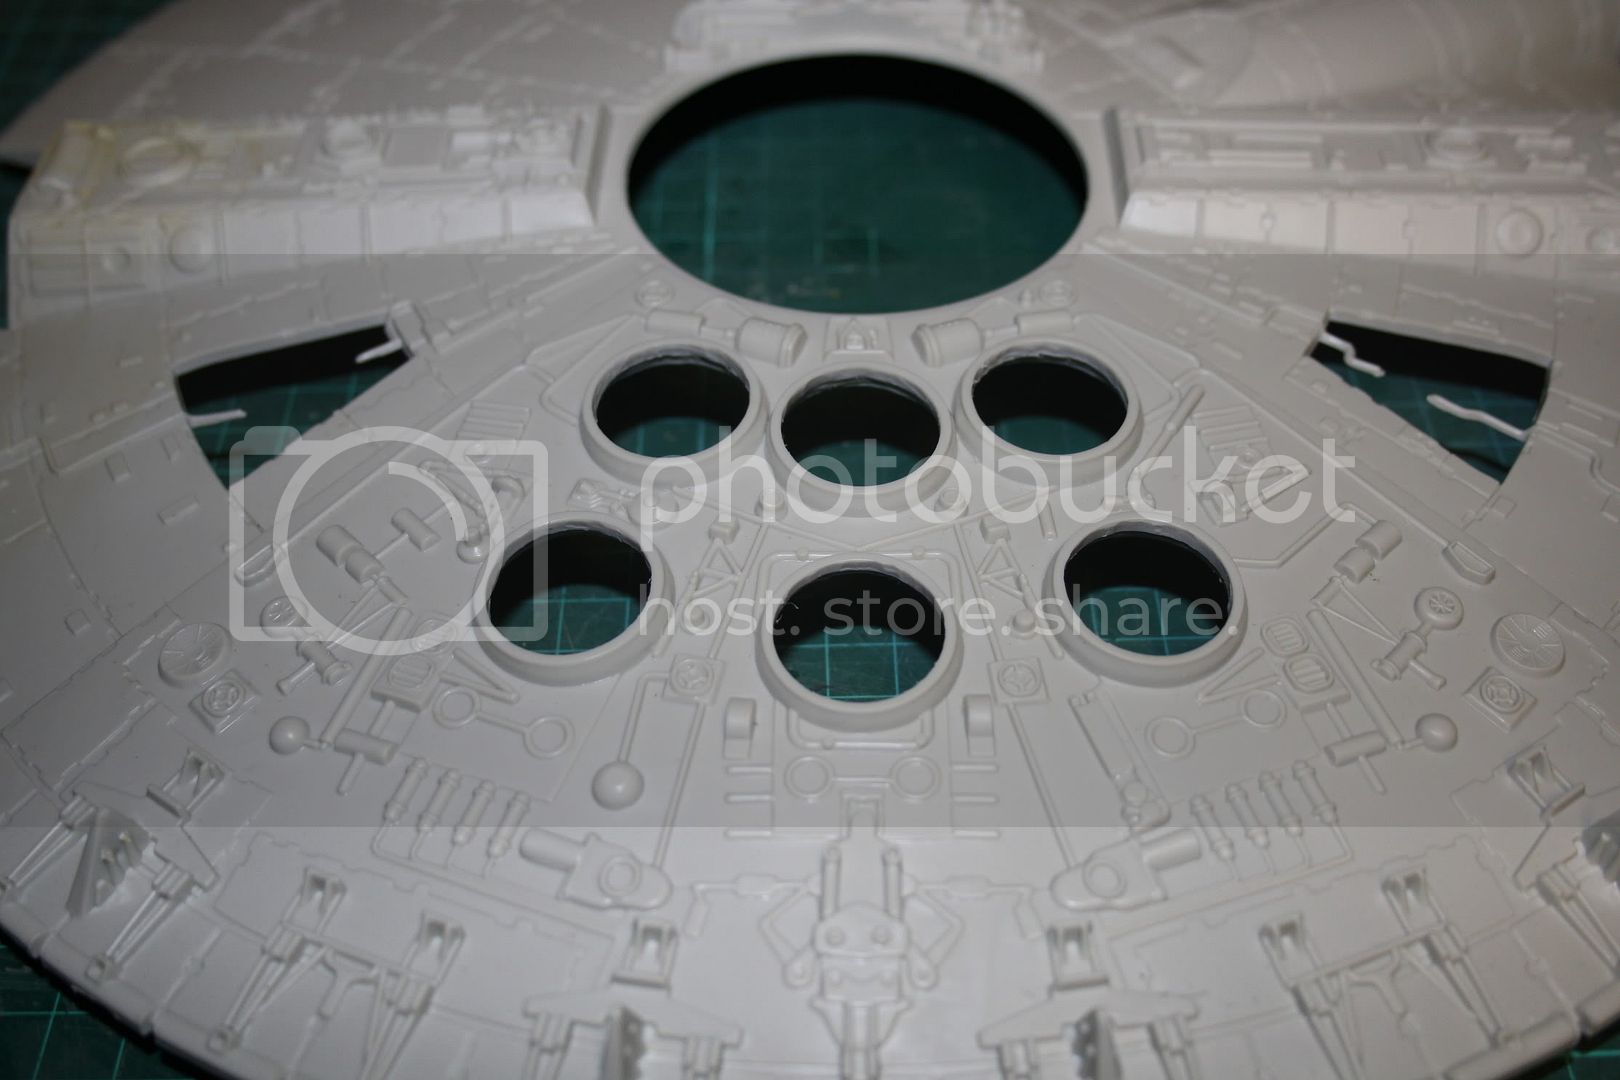
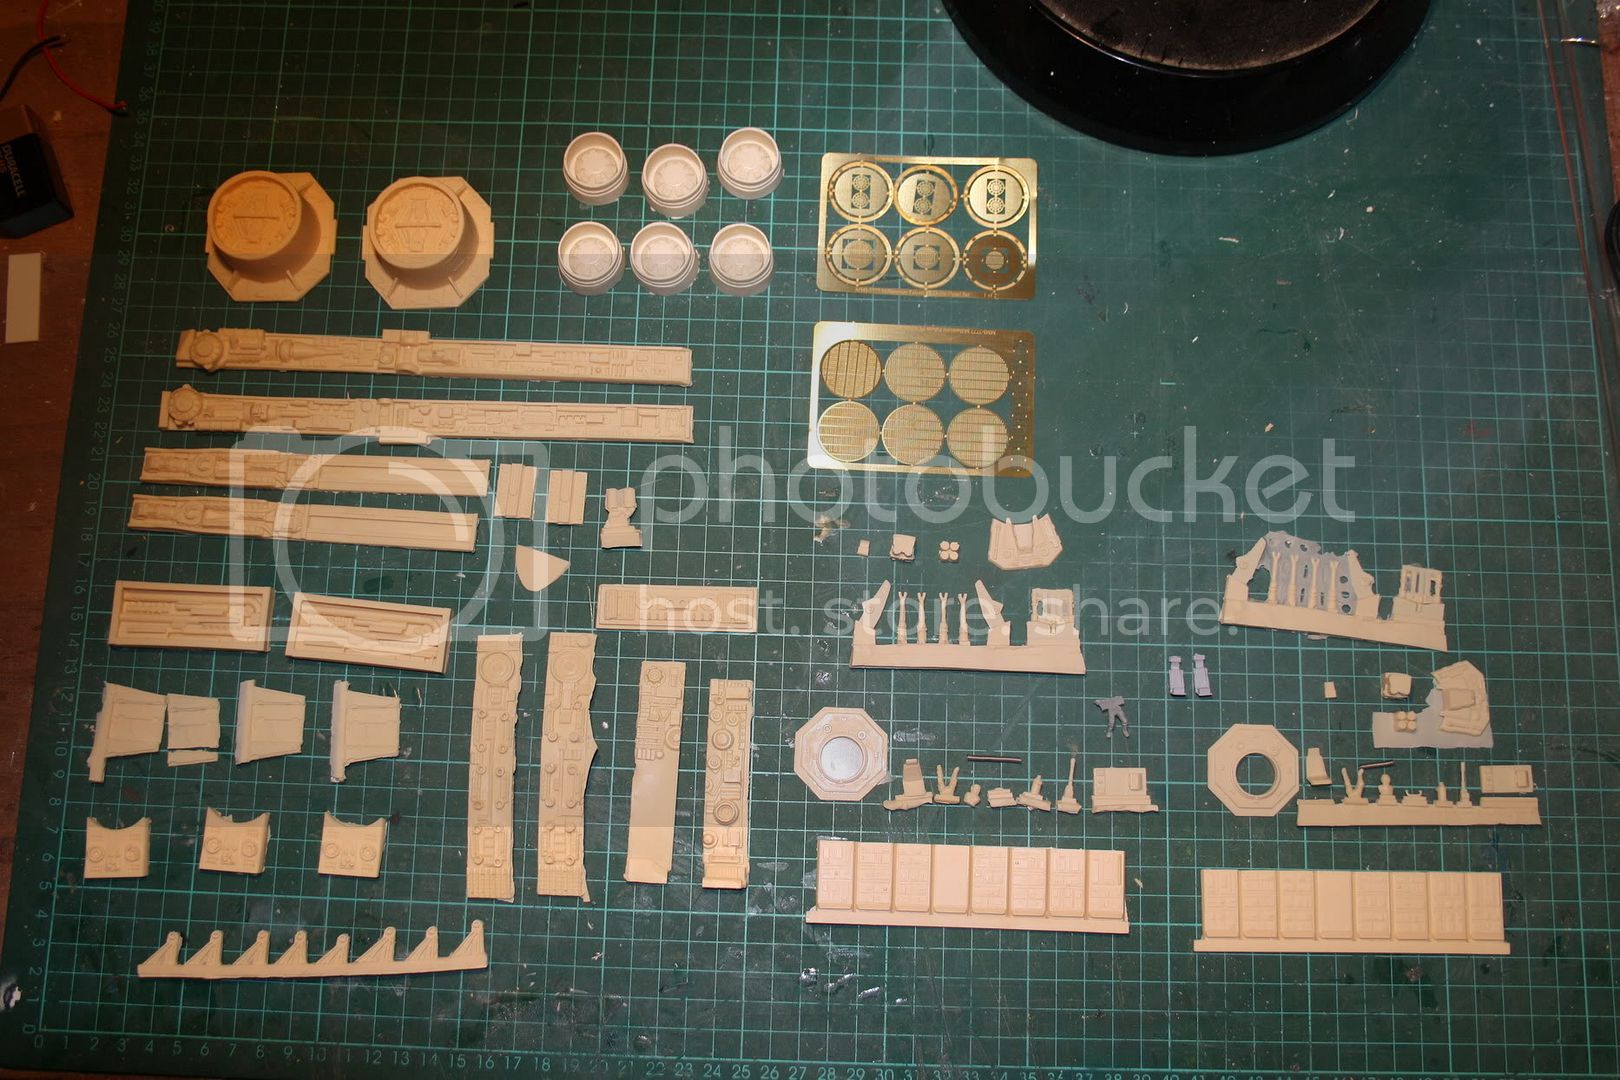
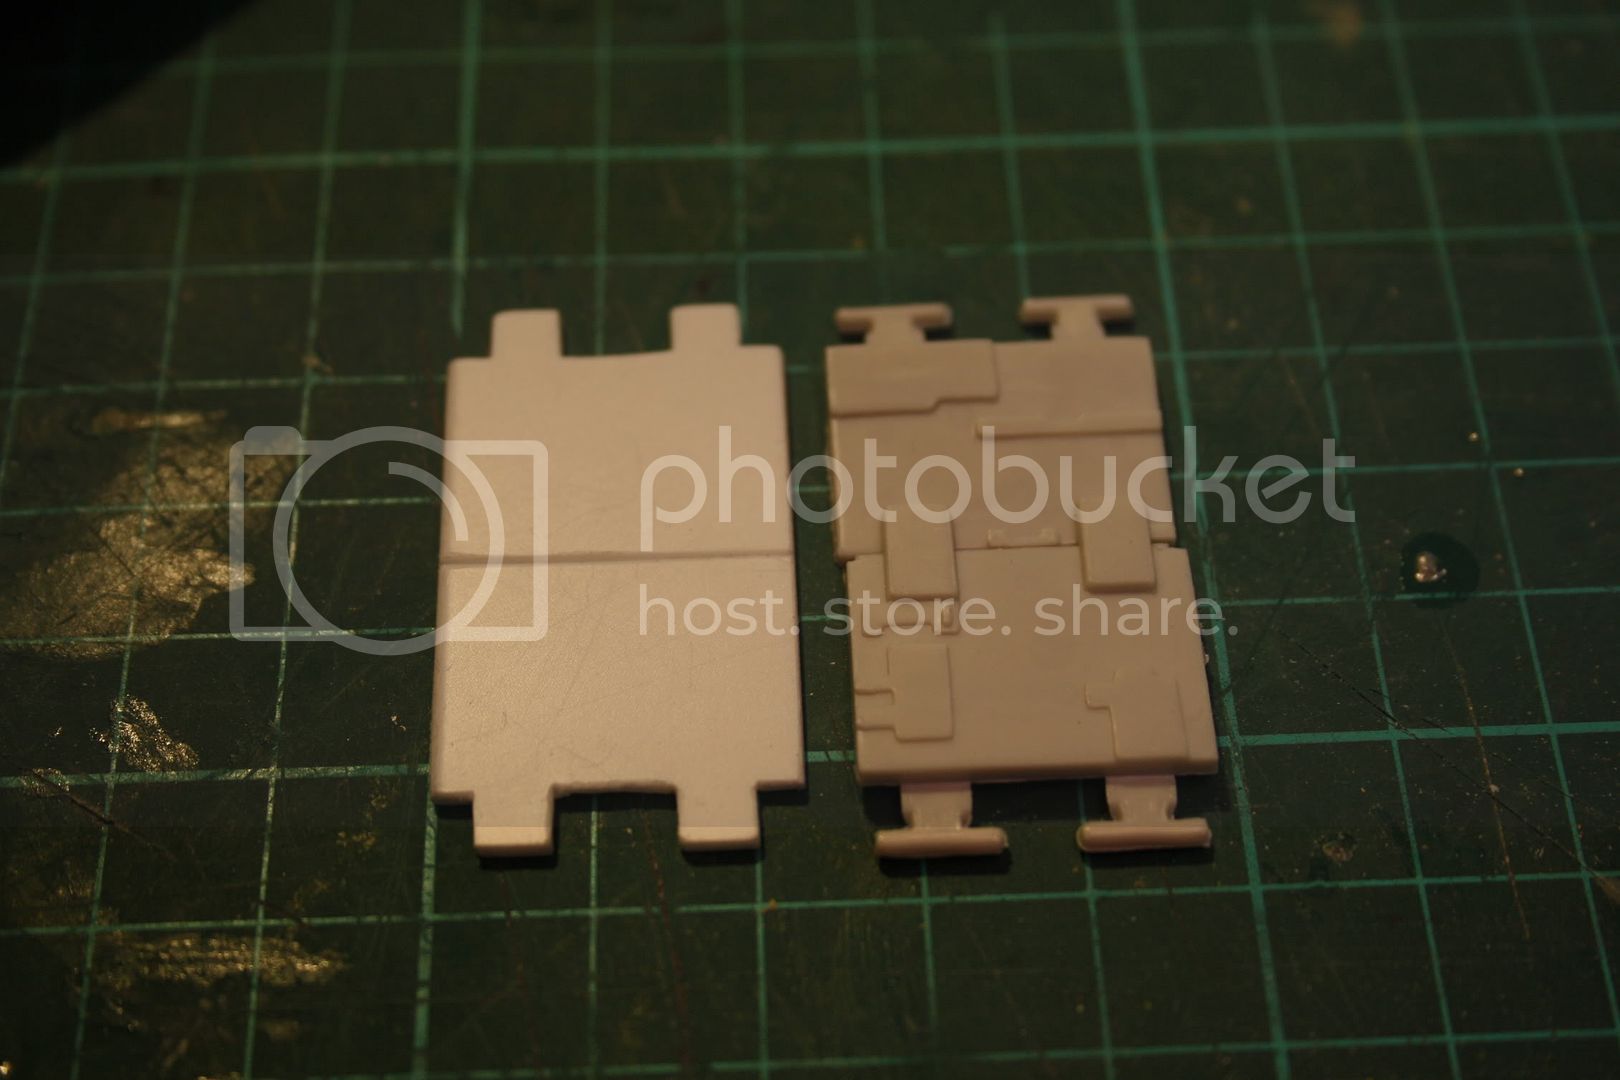
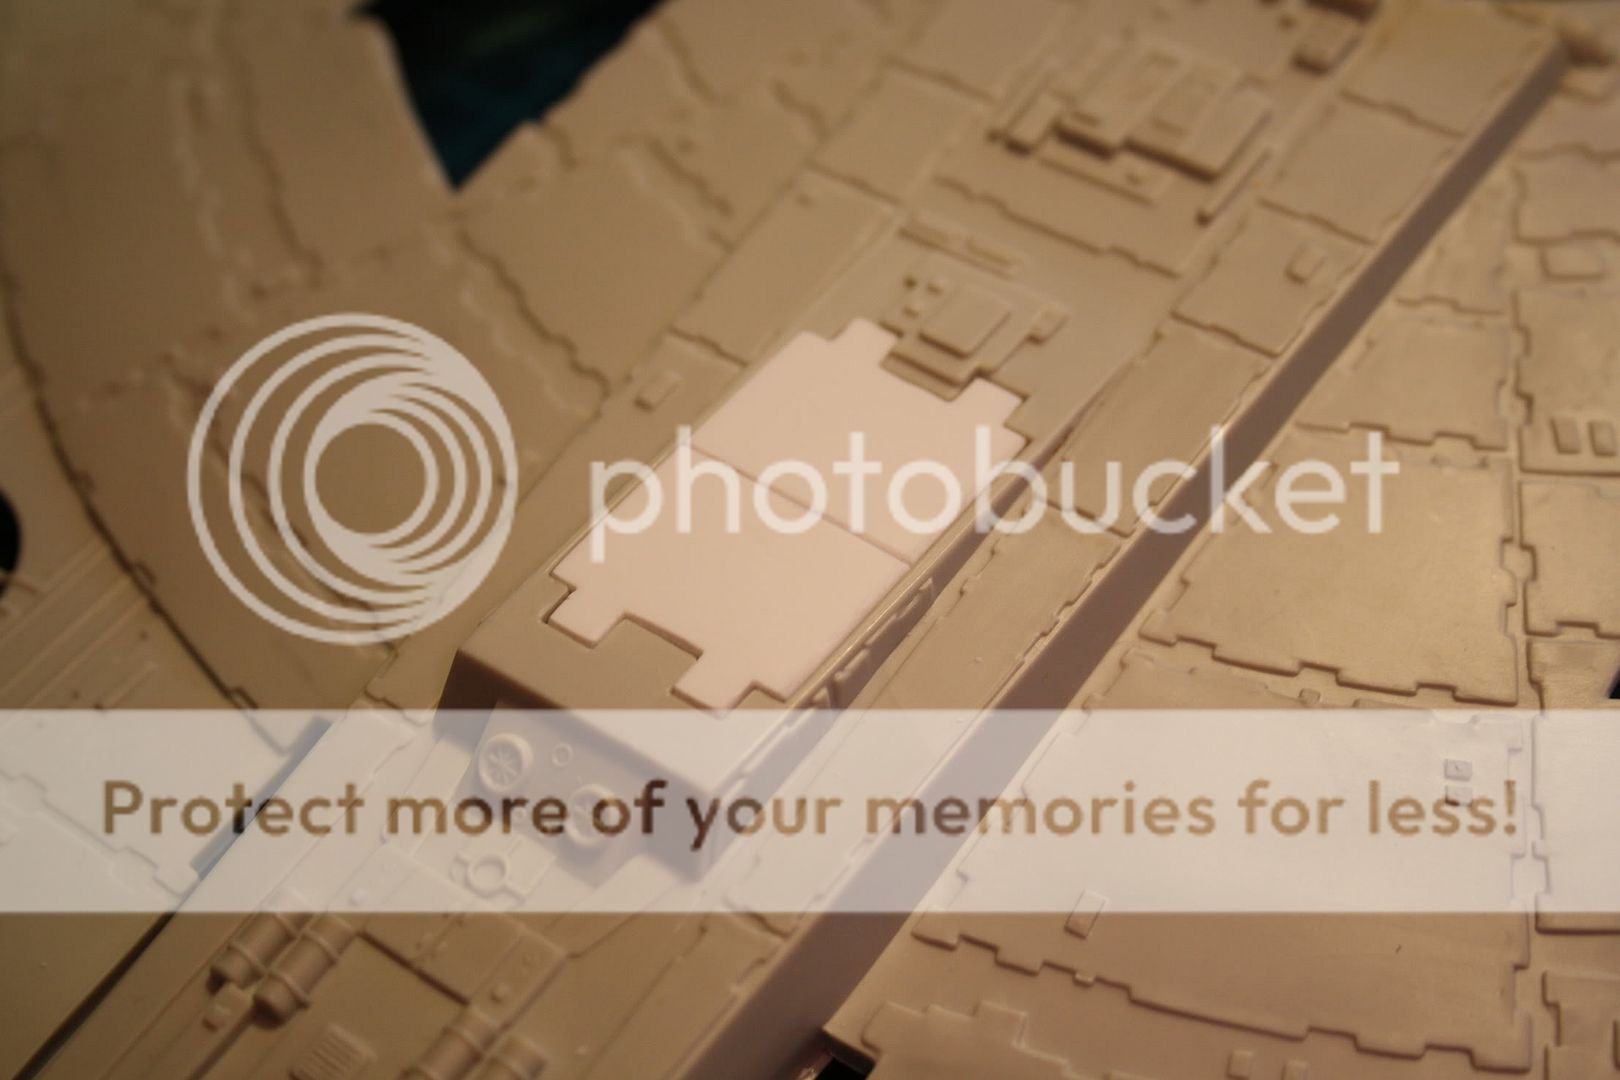
So, a while ago, I picked up two MPC Falcon kits from eBay, two gun wells and canon kits from Trilliance and the Sidewall And engine cooling vent kits from our friends at SSM.

The plan is to just build one of the kits using the upgrade parts in flying mode.
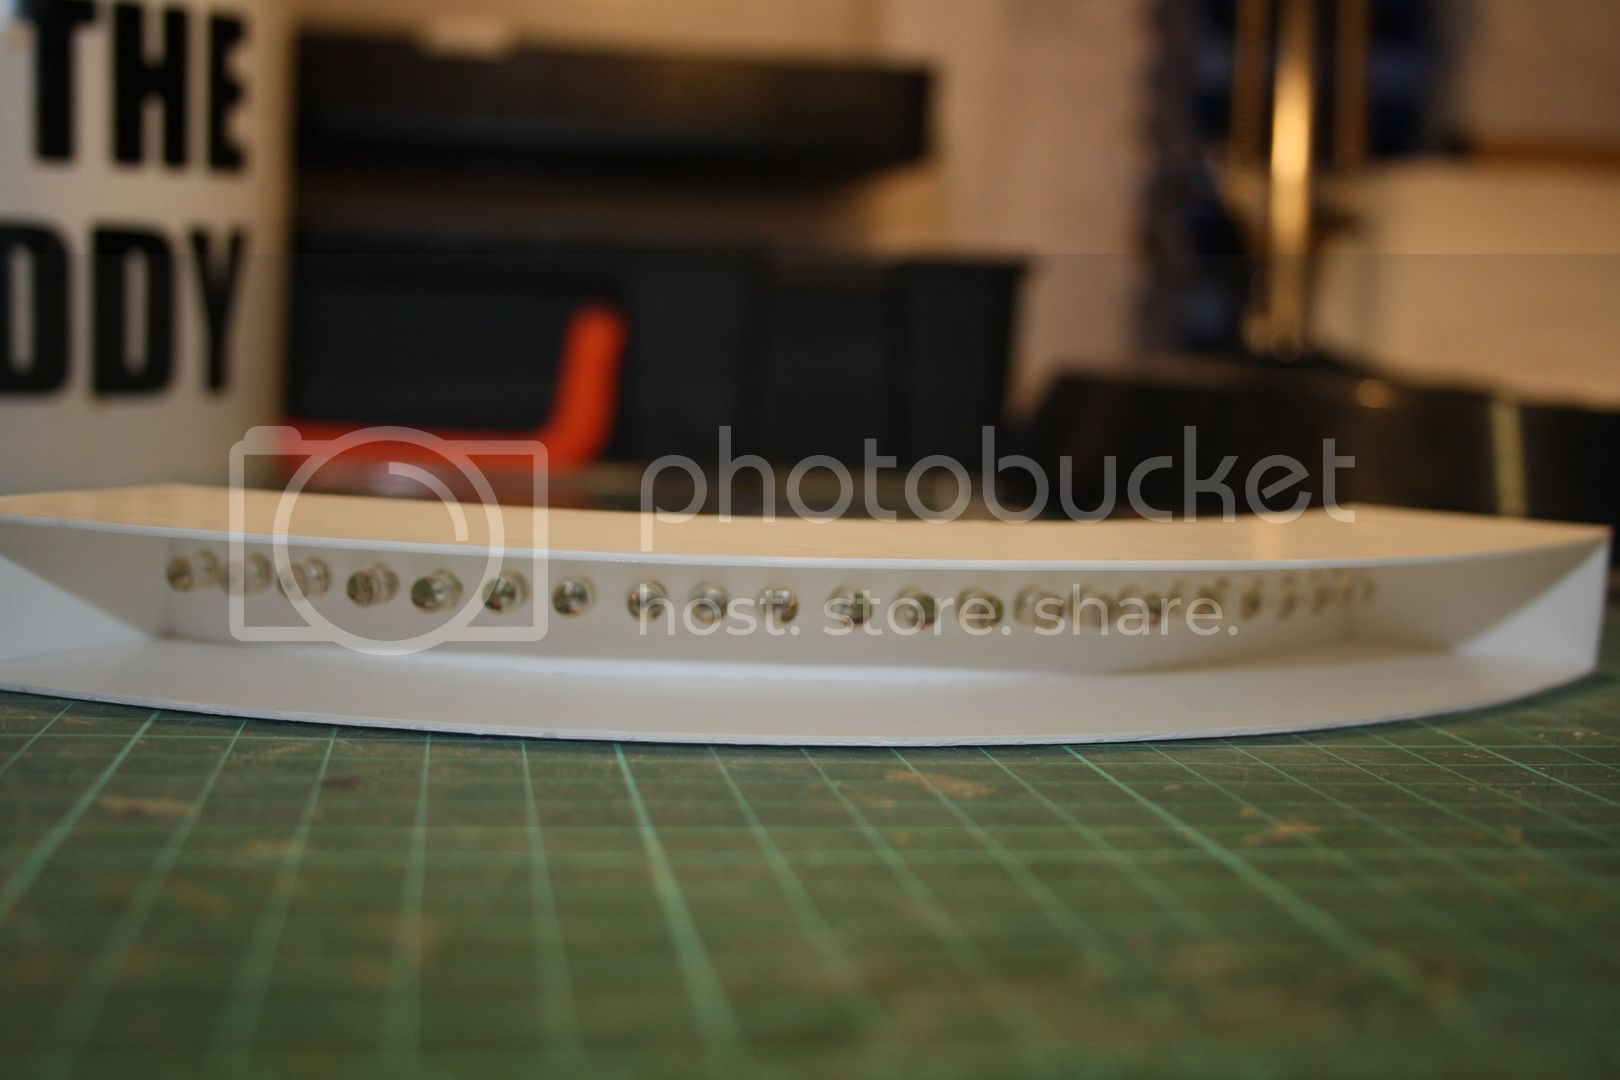
On top of this I'll be lighting the cockpit, engines and gun wells (never done lighting before) :-\

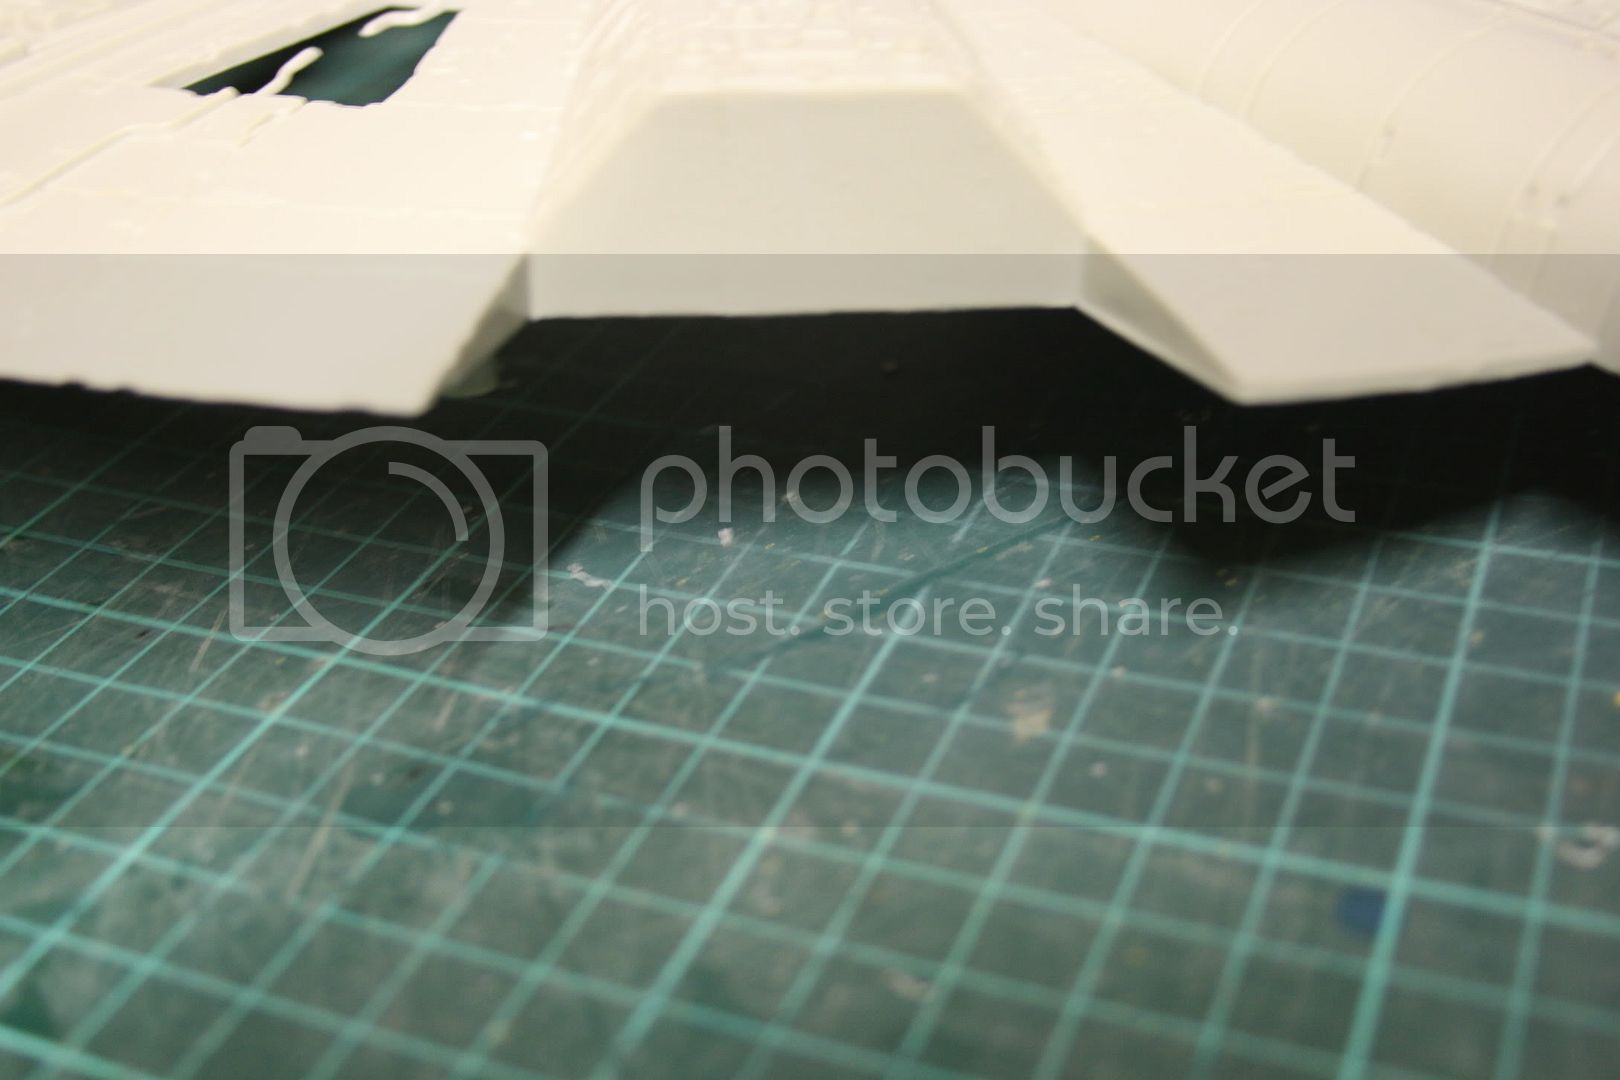
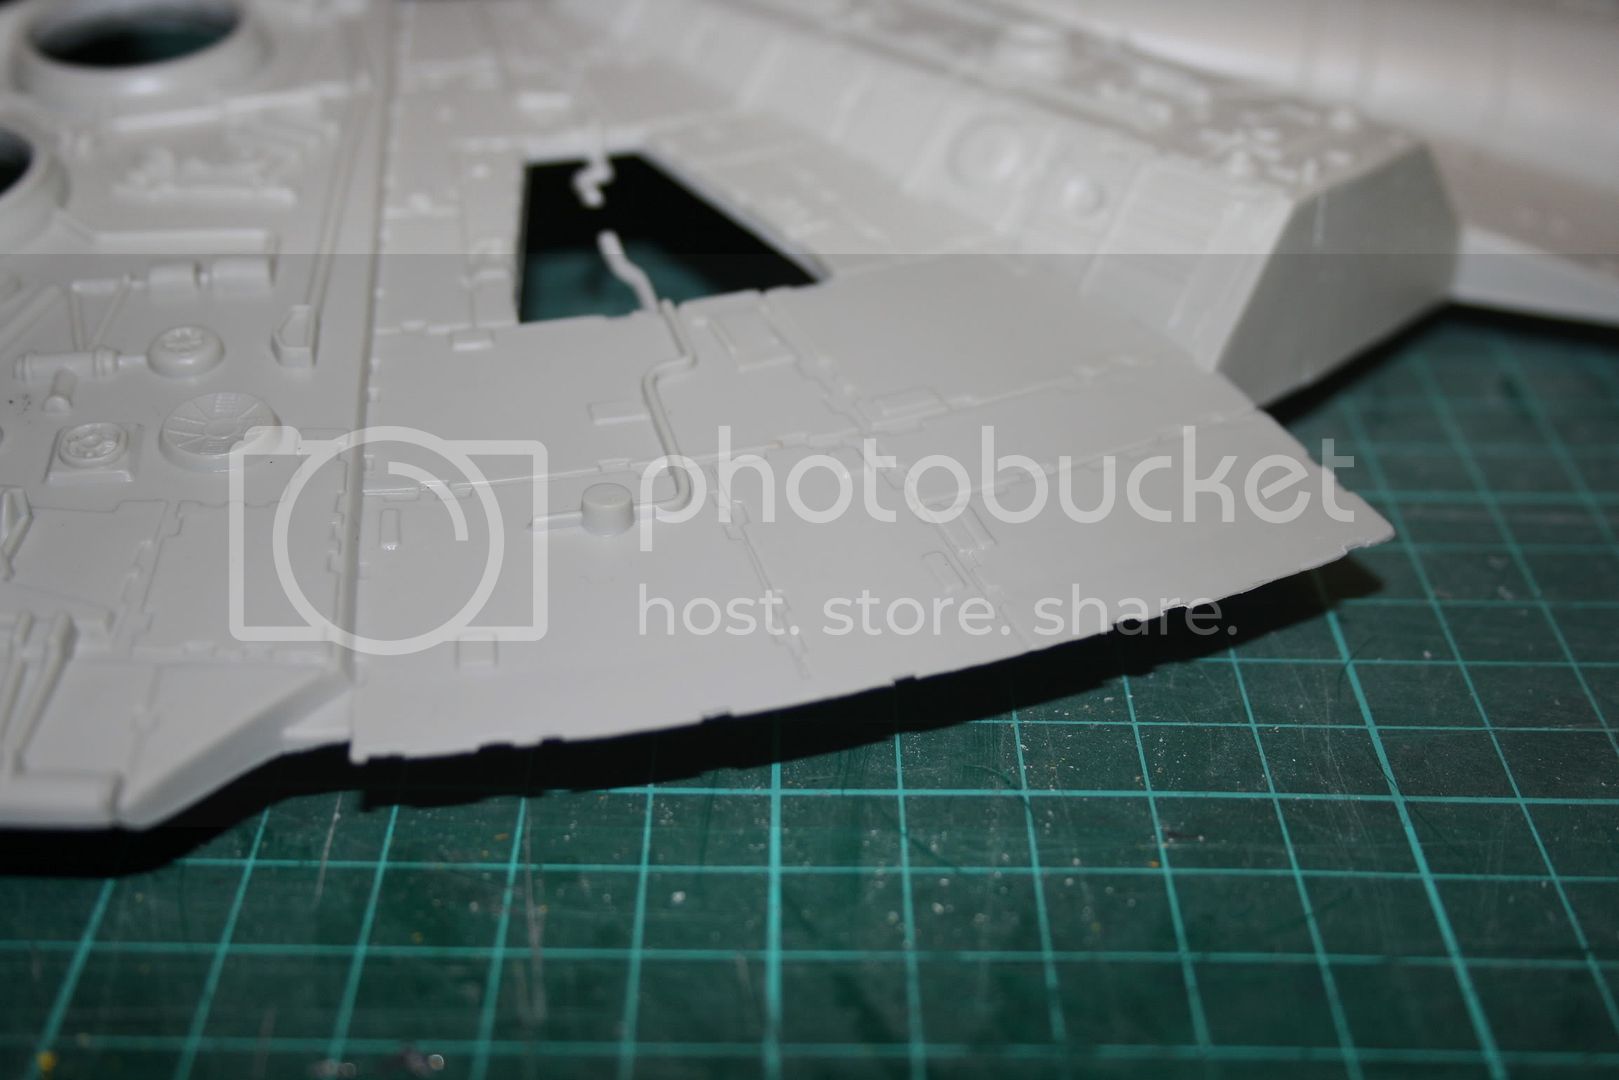
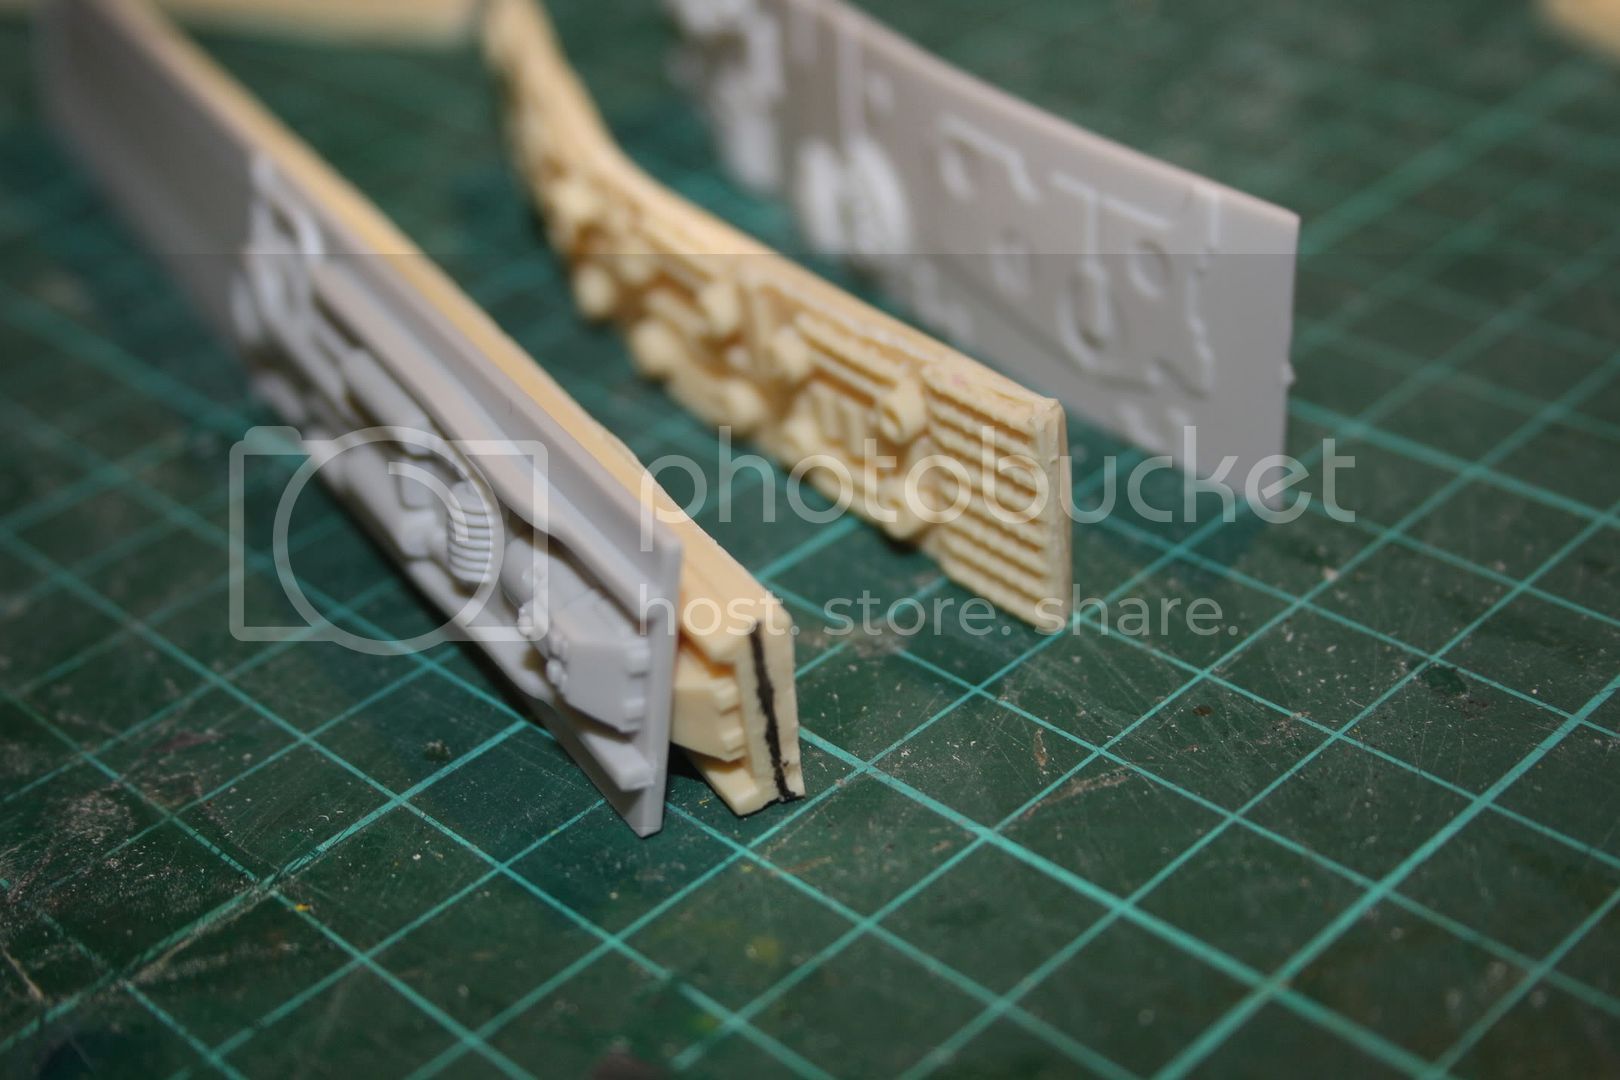
IF I'm brave enough, I'll do some other stuff like thinning the edges, adding more detail and maybe giving her some damage too.

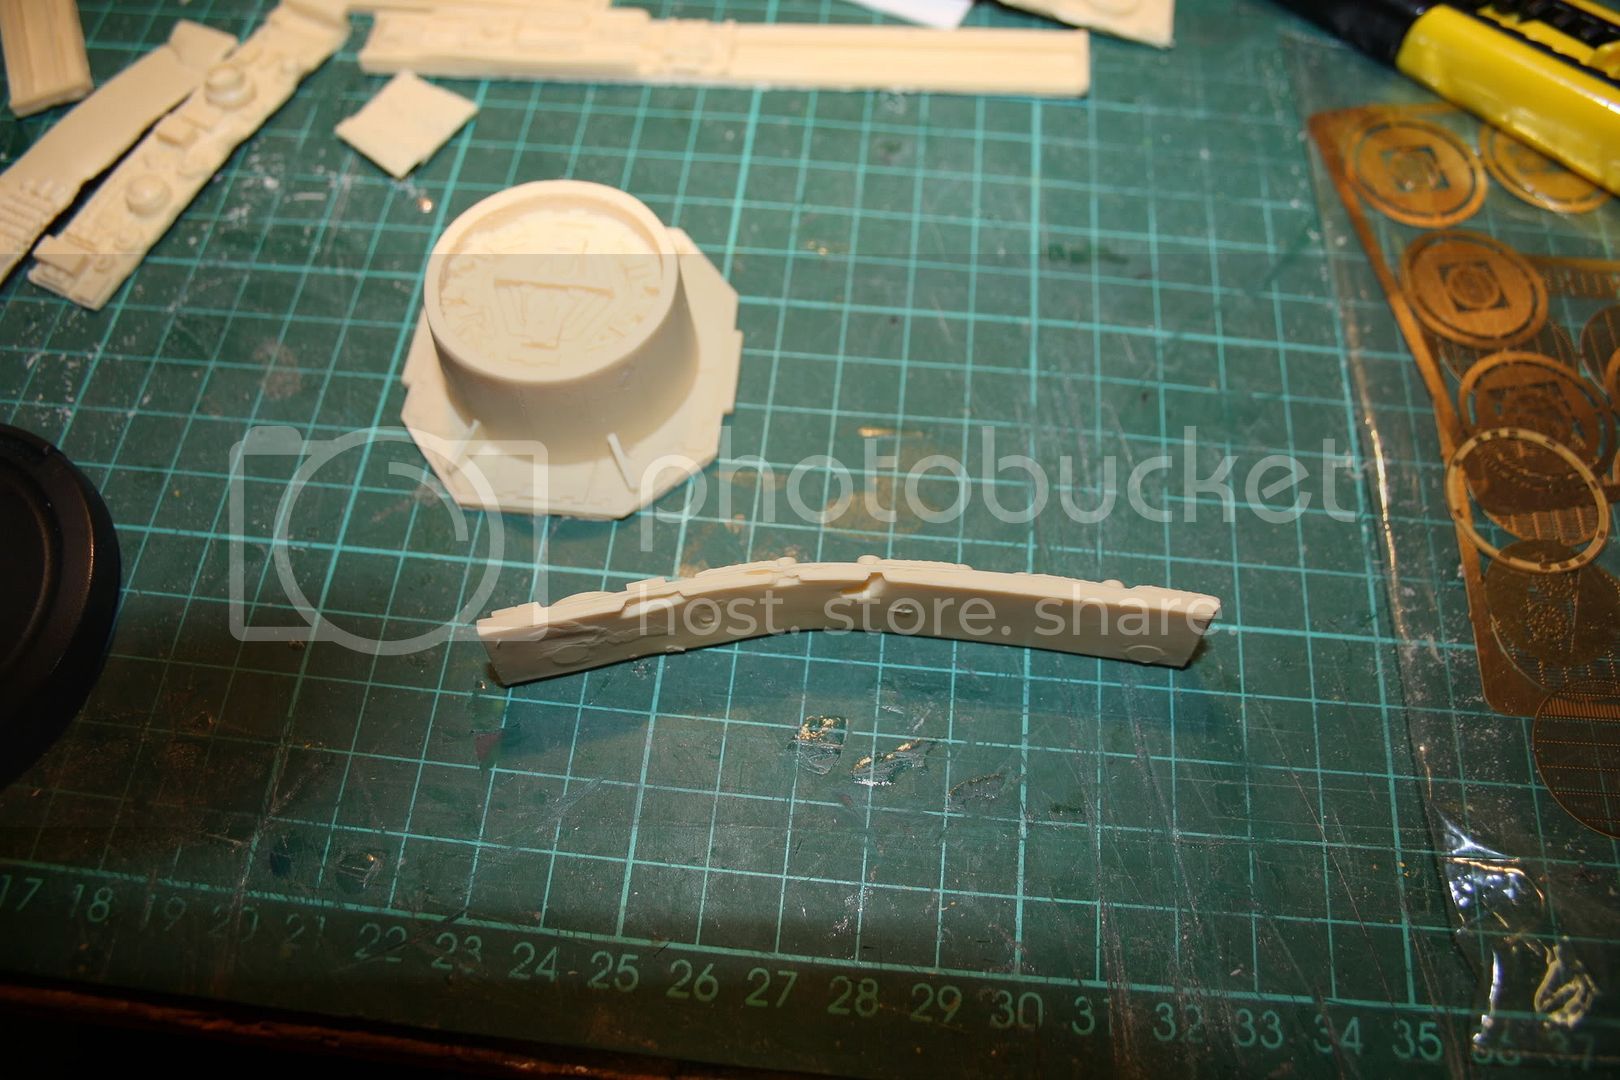
I have made a start of sorts, playing with lighting, had a go at thinning the edges and I've been cleaning up the resin parts, this is also a first so I'll be asking for pointers with this lot too.

So, that's where I am for now, I'll get some pic's up later and get on with things.
I do think I need to put a plan together and stick to it.

Thanks for reading and Happy New Year to you all.
 
The Falcon is my all time fav Sci-fi ship, i have a model to make too but dont feel brave enough to start it yet so i'll be watching this with interest.

Lighting isn't as bad as it may seem, all i'd say is plan it out before starting it, i tried winging it on my A-Wing build and ran into problems with fibre optics that could have been avoided if i'd done my research better. ::)

Good luck. :)

TTFN Matt
 
So, I just thought I would throw up some pictures and show what I have and what I've done so far... As I say, What I have done is just trying things out like thinning the edges and so on...
I'm not sure how well this is gonna go as this is the first build I've done in 15 or so years and I never really got into the finer side of the hobby... Let's see how it goes????

1st up is two boxes filled with Falcon loveliness!
IMG718.jpg

IMG719.jpg

IMG_5571.jpg


I did some thinning of the edges and I guess it looks ok??? Sorry about the picture quality... :-\
IMG_5565.jpg

Next I had a go at the rear deck, CUT OUT THOSE VENTS I said to myself!
IMG_5559.jpg


IMG_5561.jpg


Then I looked at getting the engines fired up....
IMG_5583.jpg


IMG_5586.jpg


IMG_5590.jpg


Friday before Christmas, Mr Postman dropped my parts off from SSM.
There are also other stuff from Trilliance but this is most of what's going into the Falcon....
IMG_5594.jpg

I have to be honest, I wasn't too happy with some of the parts, Not sure what to expect as this is my first go at resin???
Some parts needed warming up ot get them either flat or to the correct curve and I needed to do alot of sanding to get the thickness correct.... I guess this is standard work required when working with resin???
IMG_5596.jpg


IMG_5601.jpg


Next I looked at the landing bay doors, I thought they need work as when closed, the panel gaps were huge and the hing just didn't look rithg to me so I'm hving a go at scratch building... Also a first!!! Loll.... What am I getting into???
IMG_5605.jpg


IMG_5607.jpg

So that's me for now...
A new year, A new hope (See what I did there) Loll... And a new start on the Falcon.
I'm going to put an action plan together because, as you can see, I've been doing bits here and there but not getting on with it so....
1, Clean all the flash.
2, Thin all the edges....... and so on....
Happy new year guys!
;D
 
Wow you sure been busy already. ;D

I like the look of the engines, how bright are they when on. I'm a big fan of REALLY bright engines on Star Wars ships....ultra bright LED's are my favs. 8)

Nice work thinning the edges, what are you using to do that?

Keep up the great work dude.

TTFN Matt
 
Gods, you have to deal with many parts, hehe!
Nice work on that engine section. I also compared the sidewalls. They looking great. Give the Falcon a racy design ;D
 
Wow great start mate! Engines look fab, your scratch work looks spot on and yeah the resin parts can get warped, try heating them with a hair dryer and leave them lying on a flat surface with maybe some books on top to weigh them down.
 
@ Fubar, Thanks again. The engines are bight, you wouldn't want to look straight at them for too long! Loll.... To thin the edges, I am using a Dremel type multi tool with a sanding drum. set at a low speed (lowest) and using a gentle touch, I "sweep" the matrial away until I get to where I think it looks good.

Thanks also to Grendals! in fact I owe you a pint, you just need to come a collect! ;) Without your help, I would've struggled with the lighting. Thank you.

Thank you Chiefpettyofficer, Still some work to do befoe I get to stick the sidewalls in.

And to Merseajohn, Thank you, I have all but sorted out any warping of the resin parts by pacing them into hot water and bending them while comparing to the original parts, Also, one of my frying pans has the same curve but I wouldn't use that! it's kitchen ware you know! Shhhh! ;)
 
That scratch building is brave and sublime.

Your a mental!


I shall be watching with interest!
 
smusno said:
That scratch building is brave and sublime.

Your a mental!


I shall be watching with interest!

Thank you smusno. It's my first go at it so it could go either way, let's hope it's for the better... :-\
 
Darn it! I just can't leave things alone!!!
I got done with thinning the edges round the top section and jumped straight in and put the cooling vents in...
While I was at it, I thought "these are cooling vents, Why not light them too?"
Please give me your thoughts before it's too late and I over do it.....
IMG781.jpg
IMG783.jpg
IMG784.jpg
Any thoughts are welcome good and bad.... My thought was, as they are cooling vents, they might get hot from all that Imerial attention and .5 past lightspeed must cook things up a little????
 
Sweet idea with the coolin' vents, what about an icy blue colour instead of red?

Just a thought. ;D

TTFN Matt
 
Fantastic work, dude!! Really nice idea with the vent heating. Cool!! 8)
 
Nice idea with the cooling vents! A nice red glow.... The only thing I would do is tone down the brightness a bit. Too much of a glow might look fake, reminds me too much of a toy. Maybe just a touch of red around the edges.

Don't be surprised if one day I jump the "pond" and get that pint!
 
Thanks for the coment's guys, I really do appreciate it :)
Grendals, you would be more than welcome for that pint ;)
As far as the brightness goes, remember that there is no paint or grill so I'm not sure it will work after paint is in there???
 
Nice idea, it never crossed my mind that they could be lit. But it makes sense I suppose....a nice red glow round each fan/engine would look cool.
 
merseajohn said:
Nice idea, it never crossed my mind that they could be lit. But it makes sense I suppose....a nice red glow round each fan/engine would look cool.

Thank you, I think I'm going to go ahead with it, paint up just the insides, turn on the LED's and see how it looks. The only thing is, I think I'll need to shoot the paint real thin so the light comes through???
 
I would be very careful with the paint. A lot of paints will block light. For example, metallic paints and black paints will block light. I don't think it will matter how thin those paints are either. I would experiment if you can.

Or you can just leave the rim of the fan unpainted. It will be hard to see too much detail under that photoetch vent.
 

Latest posts

Back
Top