Odysseus Twins-Revisited

Quaralane

Well-Known Member
Joined
May 22, 2009
Messages
11,263
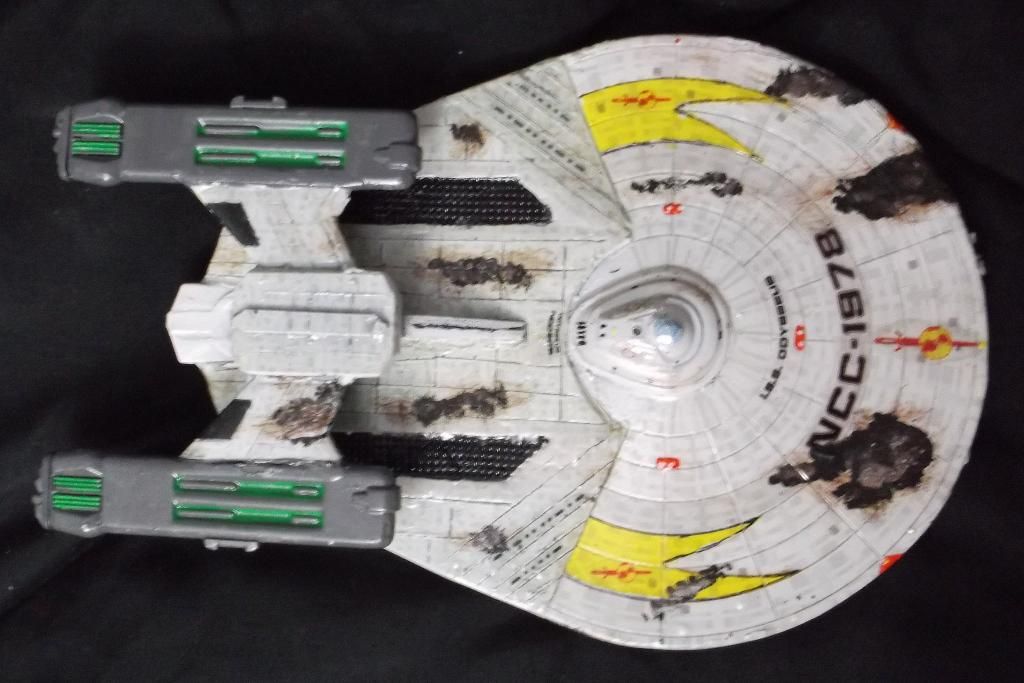
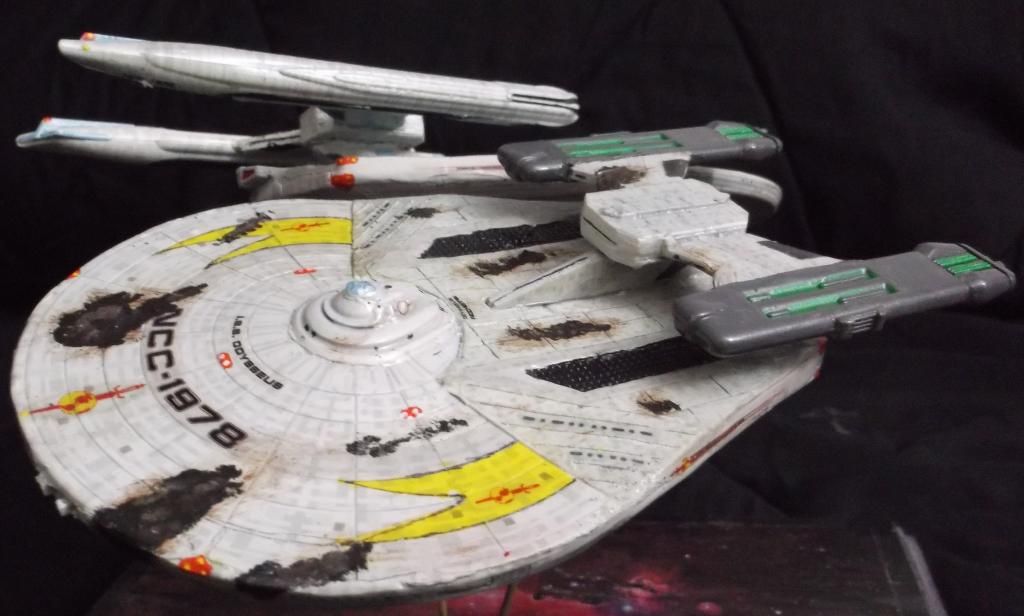
Okay, next up on the bench is, well, an older project that needs some serious love.
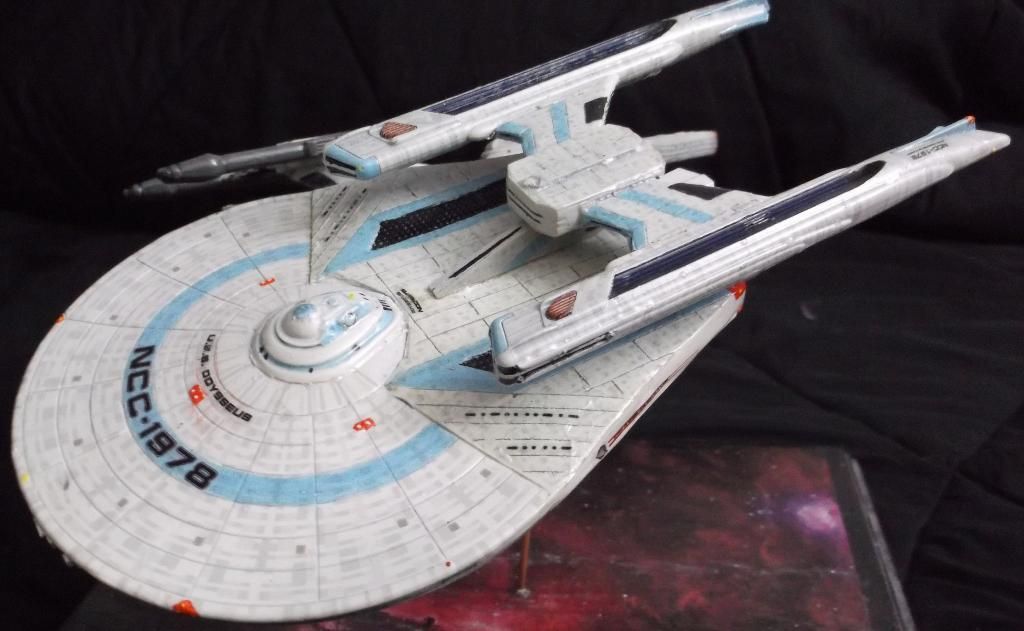
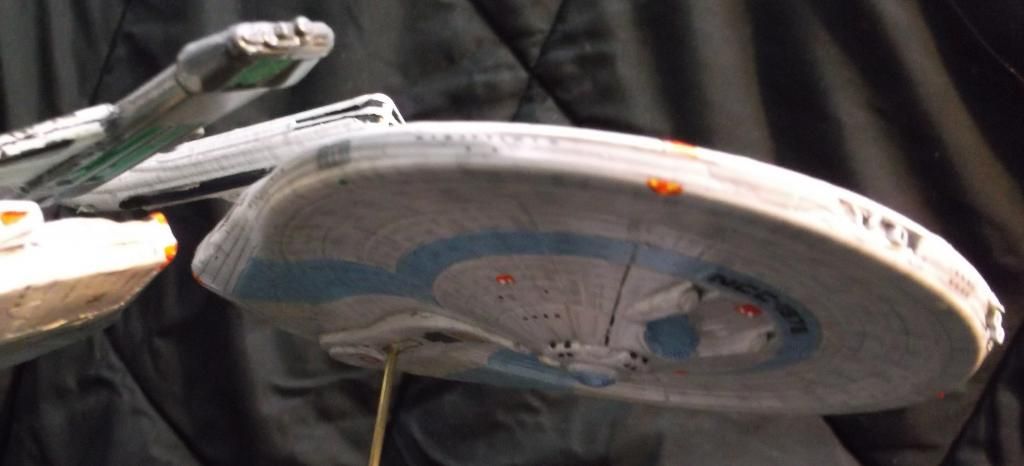
Namely my "Mirror Has Two Sides" Odysseus Twins build from the Big Spring Contest a couple of years ago.

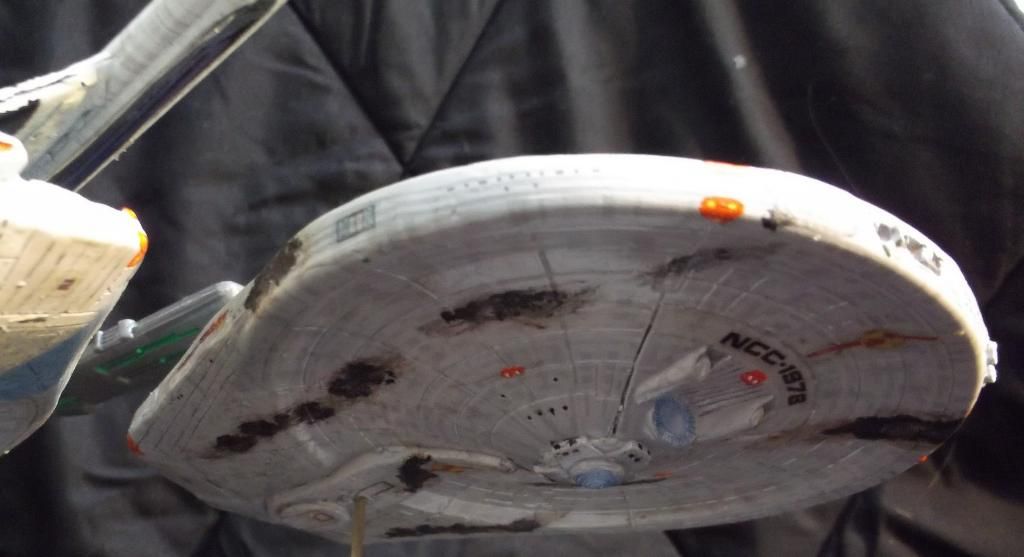
This started off with me trying to "finish" the lower hull mold from the original build.
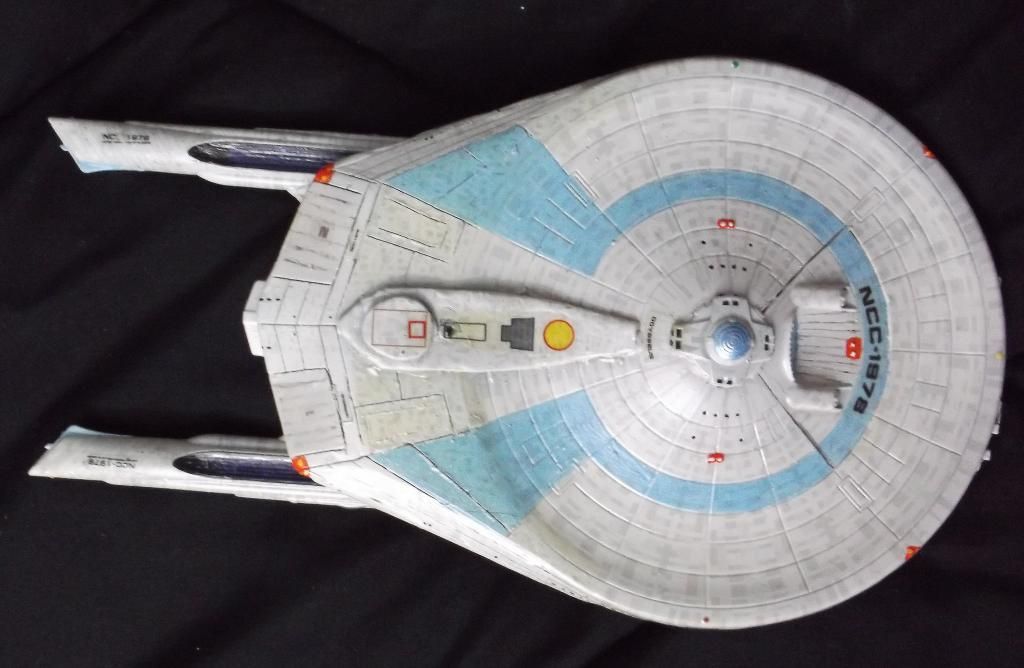
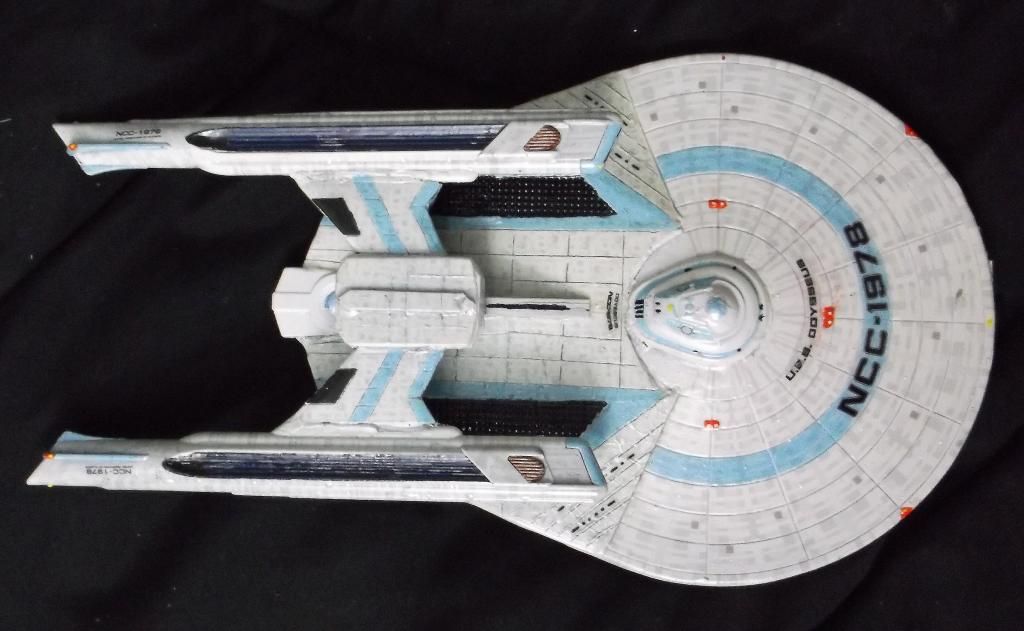
Turned out that there was no way I could make it work, so I set to working up a whole new mold.

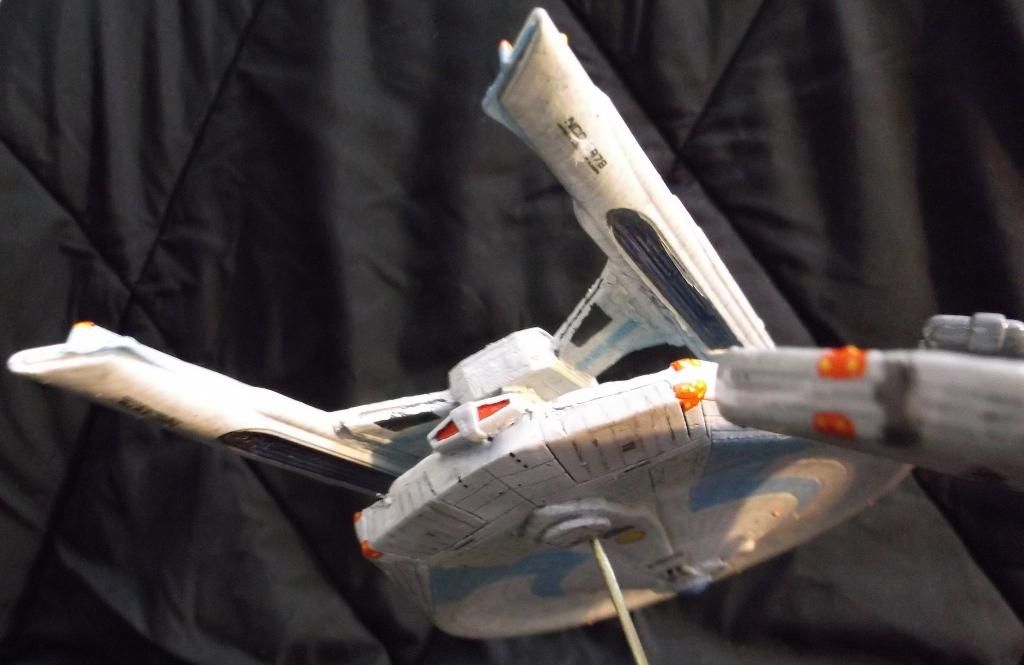
Started that by separating the vertical strut from the main hull, and testing the fit of the upper hull into the old mold
odysseus-twins-a21.jpg

I also took the opportunity to go in and scribe some of the lines I had skipped in the lower hull.
odysseus-twins-a22.jpg

I then worked up a mold box from Legos that would fit the previous mold
odysseus-twins-a23.jpg

Started filling the mold with rubber, only to find that I didn't have enough for the job.
So, I cut up the old mold to add some volume. In the end, I'd wind up getting more rubber for the job.
odysseus-twins-a24.jpg

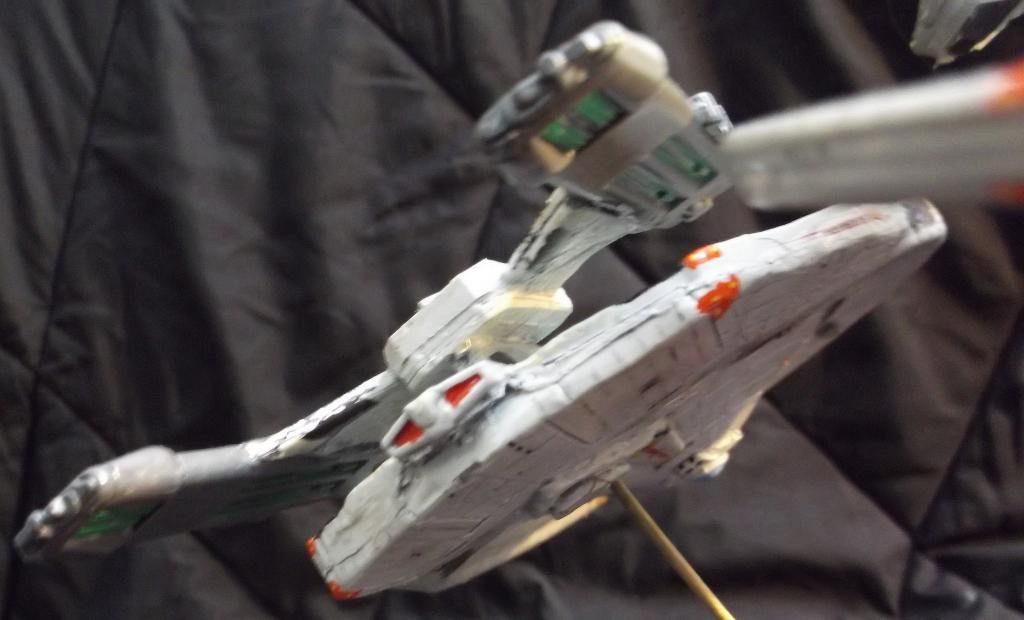
While waiting for the new rubber to come, I turne my attentions to replacing the balsa strut assemblies with something more...presentable.
I printed out new patterns for the strut/pod assembly, then set to cutting the new master from styrene
odysseus-twins-a25.jpg

With those made, (and I apologize for not showing more process shots) I finished up the hull molds as well as making the molds for the struts and pod. (I have had to go in and redo the strut mold since this, as it wasn't level and the resin wanted to run out of it.
odysseus-twins-a26.jpg
odysseus-twins-a27.jpg

With molds ready, I set the main hull mold aside, and cast up the pieces for the struts and pod
odysseus-twins-a28.jpg
odysseus-twins-a29.jpg

Youtube link:
http://www.youtube.com/watch?v=EtOTpO6SPQc

For those interested, the original build log can be found here:
http://www.scalemodeladdict.com/SMF/index.php/topic,2409.0.html
 
Update time:
Went to cast up the new hull for the ISS Odysseus, and ran into a serious problem with the mold leaking (I'll deal with this in future castings)
As a result, there were a number of voids in the upper surface of the hull.
To address this, I went in and filled the voids with Aves Apoxie Sculpt and then pressed the piece back into the mold.
The result, while not perfect, was an excellent alternative to trying to sculpt in all of the missing detail
odysseus-twins-a30.jpg
odysseus-twins-a31.jpg

Did some rough sanding and filling along the edges as well as working the transitions a little
odysseus-twins-a32.jpg

Separated the nacelles from the old pods with my razor saw and, after cleaning them up a little, super-glued them to the new strut/pod assemblies.
I also went ahead and attached the vertical struts at this point
odysseus-twins-a33.jpg
odysseus-twins-a34.jpg

Went in and shot all of the sub assemblies with a coat of primer.
USS Odysseus Hull top
odysseus-twins-a35.jpg

ISS Odysseus Hull top.
I deliberately did not fill the smaller bubbles and voids in the top to aid me in placing my planned battle damage on her

odysseus-twins-a36.jpg

The underside of both hulls
odysseus-twins-a37.jpg

And the nacelle/strut assemblies
odysseus-twins-a38.jpg
odysseus-twins-a39.jpg

Youtube link:
http://www.youtube.com/watch?v=wdRh23q8eRI
 
Time for a little update on the twins.
Admittedly, it's not much. But I haven't really felt much like working on stuff after work.

Got the white base coat down.
odysseus-twins-a40.jpg
odysseus-twins-a41.jpg
odysseus-twins-a42.jpg

Started major area detail painting on the ships.
On the main hulls, I used a light grey for the accents on the ISS hull and a light blue for the same areas on the USS hull.
The insets were painted in with a very dark grey followed by black ink to fill in the little holes in the mesh
odysseus-twins-a43.jpg
odysseus-twins-a44.jpg

Same basic idea was followed with the nacelle assemblies
odysseus-twins-a45.jpg
odysseus-twins-a46.jpg

Youtube link:
http://www.youtube.com/watch?v=puN_AZMzj18
 
Okay, sorry for how long it took to get an update on this. Only really been doing bech work on the weekends lately.

Started working on the aztecs for both ships.
Using a combination of my original diagrams and the Excelsior aztecs that Carlos "Arthur Pendragon" Zangrando put up for download at starshipmodeler.com, I made the aztec panels for the hull additions.
odysseus-twins-a47.jpg

Now, using those decals and the aztecs supplied by the kits, I started aztec work on both main hulls.
odysseus-twins-a48.jpg
odysseus-twins-a50.jpg

I also came up with a way to deal with my custom decal curling problem: I print the decals backwards and then apply them face down to the model.
Details were added by hand with orange and white for the phasers, and yellow for the maneuvering thrusters.
The sensor domes and nav deflectors were painted in with a metallic light blue.
The hangar doors and deflector trenches were detailed with pencil.
odysseus-twins-a49.jpg
odysseus-twins-a51.jpg

Youtube link:
http://www.youtube.com/watch?v=KePeAY6abPg
 
Aztecking looks great, it does add a lot to the models ! Really like the blue on the sensor dome...
 
Okay, then. Time for an update on the rework of the Twins.

Before I could start the aztecs on the upper hulls, I remembered the Imperial banner sections that were decalled on the original ISS build.
This time, instead of decals, I decided to paint the banner sections.
I masked off the areas, then painted them in with Createx yellow
odysseus-twins-a52.jpg

Then, I lined the areas with a black fine-line Sharpie and removed the masking
odysseus-twins-a53.jpg

After that had been sealed, I applied the aztecs to the upper sides of both hulls using a combination of the Kit decalls and the ones I'd made
odysseus-twins-a54.jpg
odysseus-twins-a55.jpg

Got the aztecs on the nacelle struts for the ISS, and then painted the Klingon nacelles.
I started by painting the green insets with a green ink, followed by painting the rest of the nacelle with a custom grey mix
odysseus-twins-a57.jpg

For the USS version, I used the kit decals to aztec the nacelles and painted the fins a light blue
odysseus-twins-a56.jpg
odysseus-twins-a58.jpg

Then, I finished off the decals and detail painting
odysseus-twins-a59.jpg

ISS Odysseus before battle damage was added
odysseus-twins-a60.jpg
odysseus-twins-a61.jpg

Battle damage was added to the ISS Odysseus in stages.
First, I mixed some testors tube cement with black paint and dabbed it into the surface.
Then, I dabbed some silver into the black areas.
After that, I drybrushed the damaged areas with Vallejo Smoke.
Finished ISS Odysseus. top and bottom views
odysseus-twins-a64.jpg
odysseus-twins-a65.jpg


Finished USS Odysseus, top and bottom views
odysseus-twins-a62.jpg

odysseus-twins-a63.jpg


Completed build pics: The Mirror Has Two Sides
odysseus-twins-a66.jpg
odysseus-twins-a67.jpg
odysseus-twins-a68.jpg
odysseus-twins-a69.jpg

odysseus-twins-a70.jpg
odysseus-twins-a71.jpg

odysseus-twins-a72.jpg

odysseus-twins-a73.jpg

odysseus-twins-a74.jpg


Youtube link:
http://www.youtube.com/watch?v=BtMnaFxgv3Y
 
Well done! Like I said over on YouTube, the green on those Klingon Nacelles is very well done!
 

Latest posts

Back
Top