
You are using an out of date browser. It may not display this or other websites correctly.
You should upgrade or use an alternative browser.
You should upgrade or use an alternative browser.
Merkava Mk.3 BAZ 1/35 by Meng
- Thread starter Jaitea
- Start date


Jaitea
Well-Known Member
Thanks guys,....the hull straightened out ok,....the vent part on one side doesn't look completely right to me though
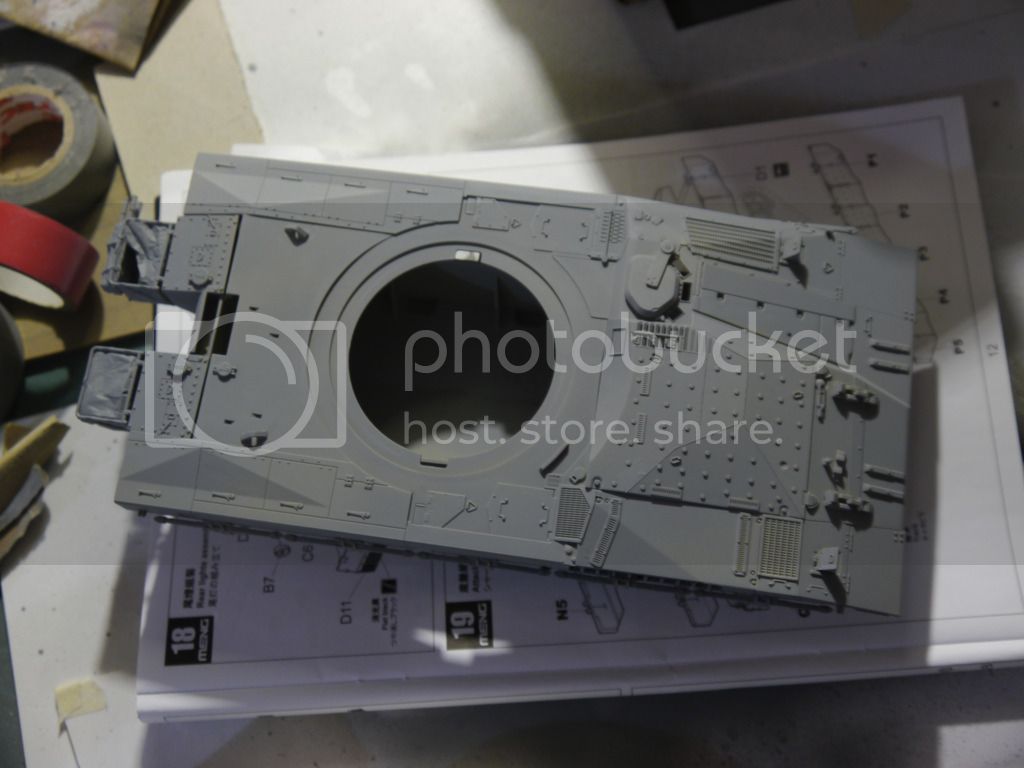
Primed top:
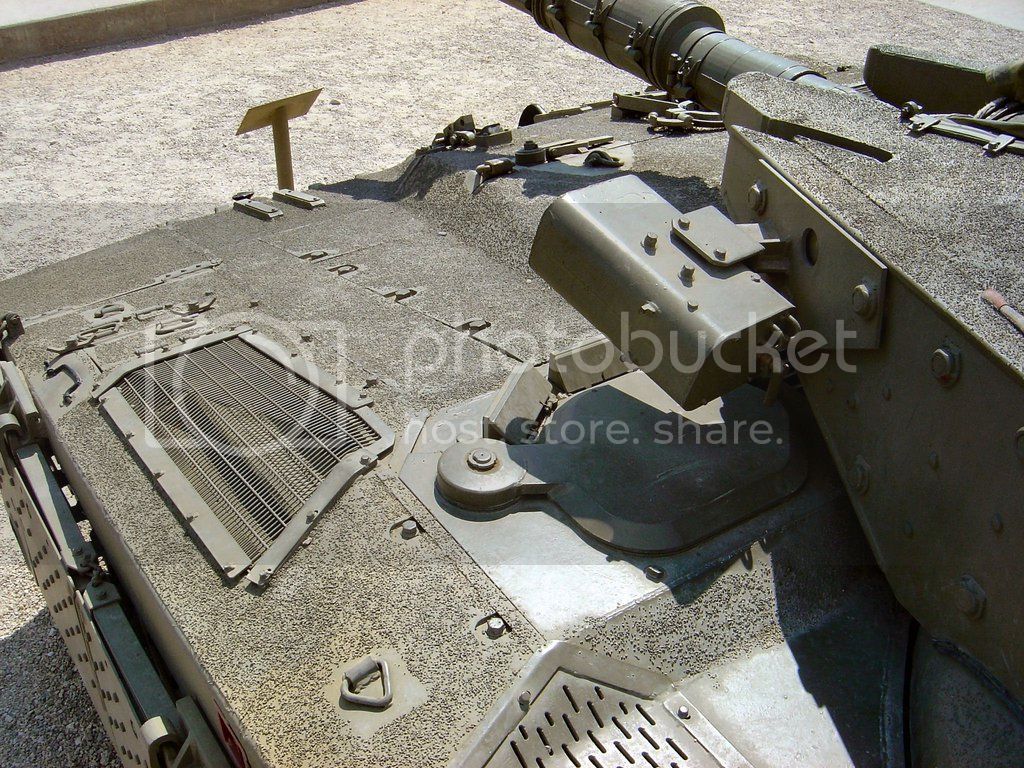
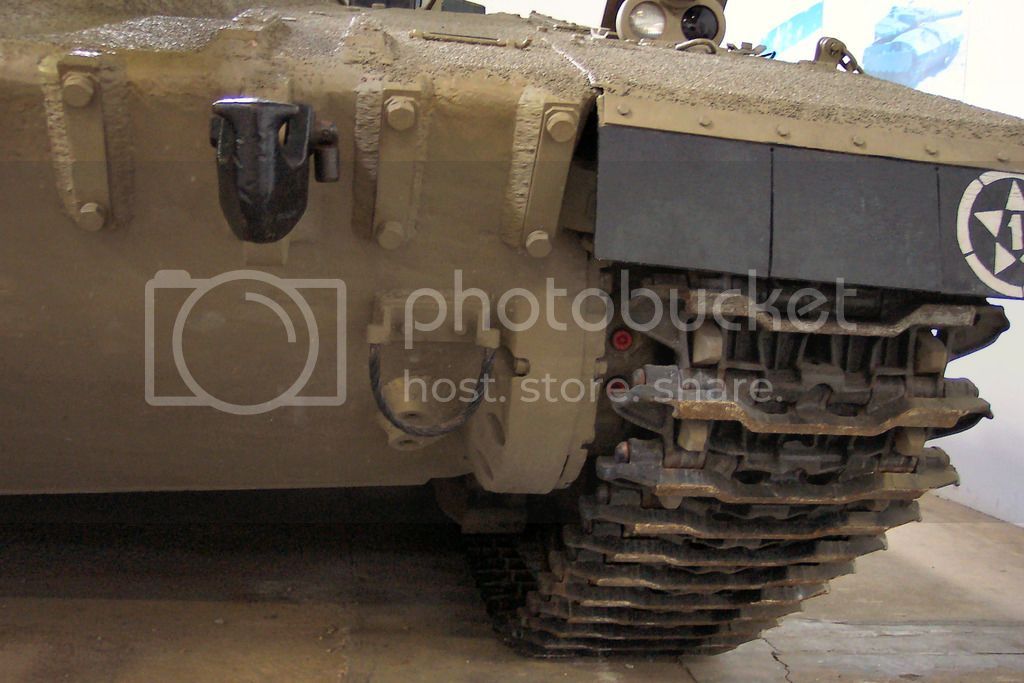
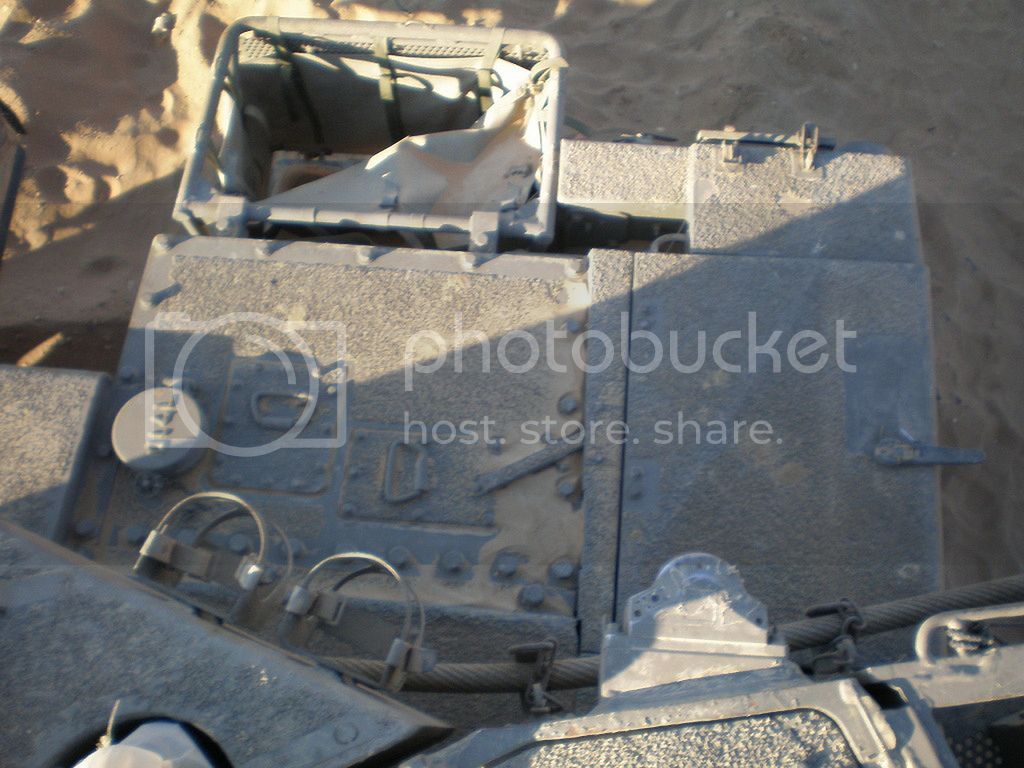
Everything proceeding ok,......until I try to create the non-slip surface on the top hull,.....like in these reference pics (one image is of a Mk2):
So I did a bit of research,......Chinchilla powder/sand:
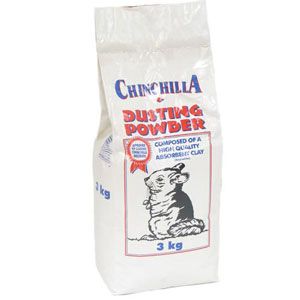
Its meant to be a very fine sand,...ideal for replicating the non-slip surface,.....so a bit of masking:
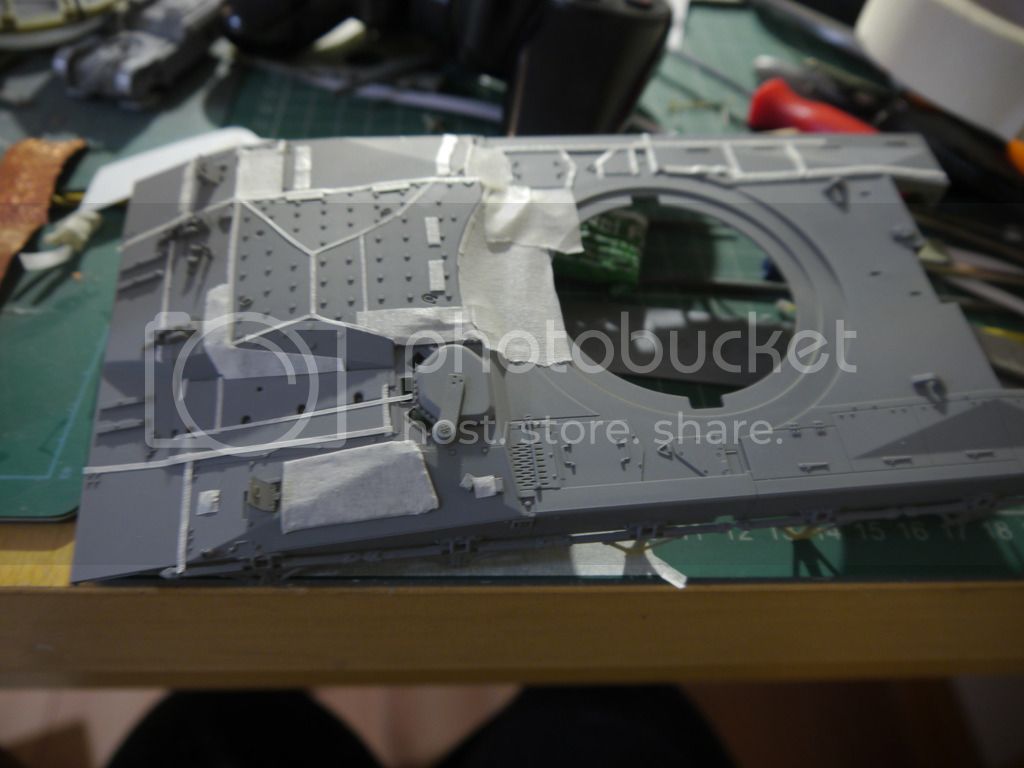
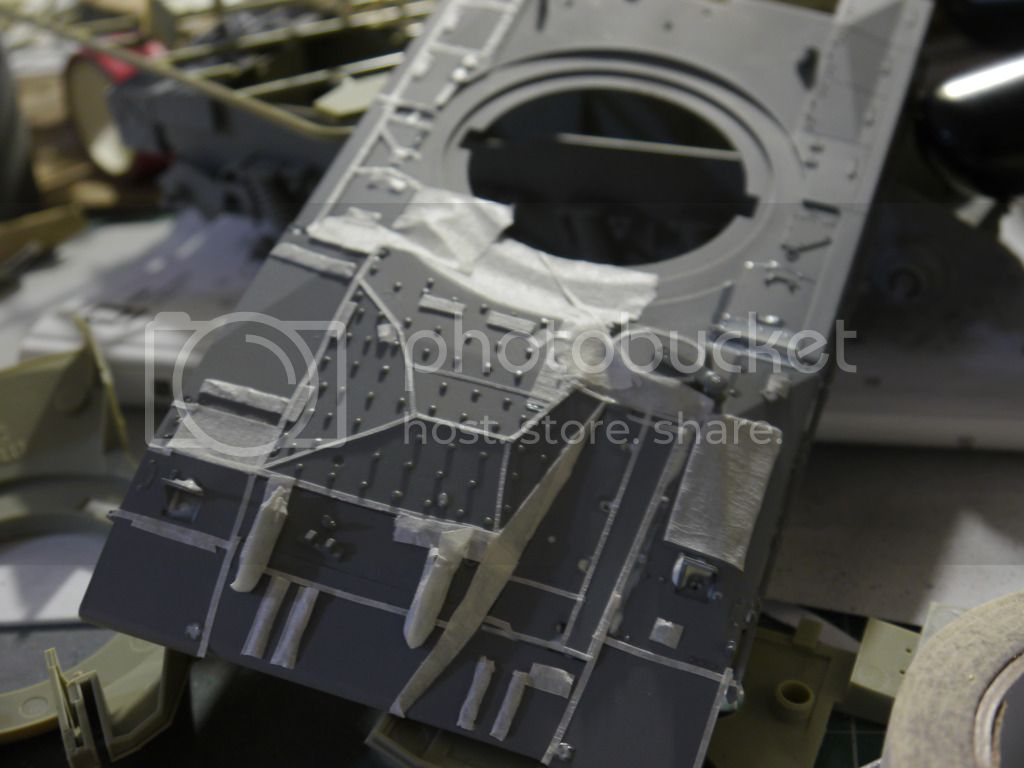
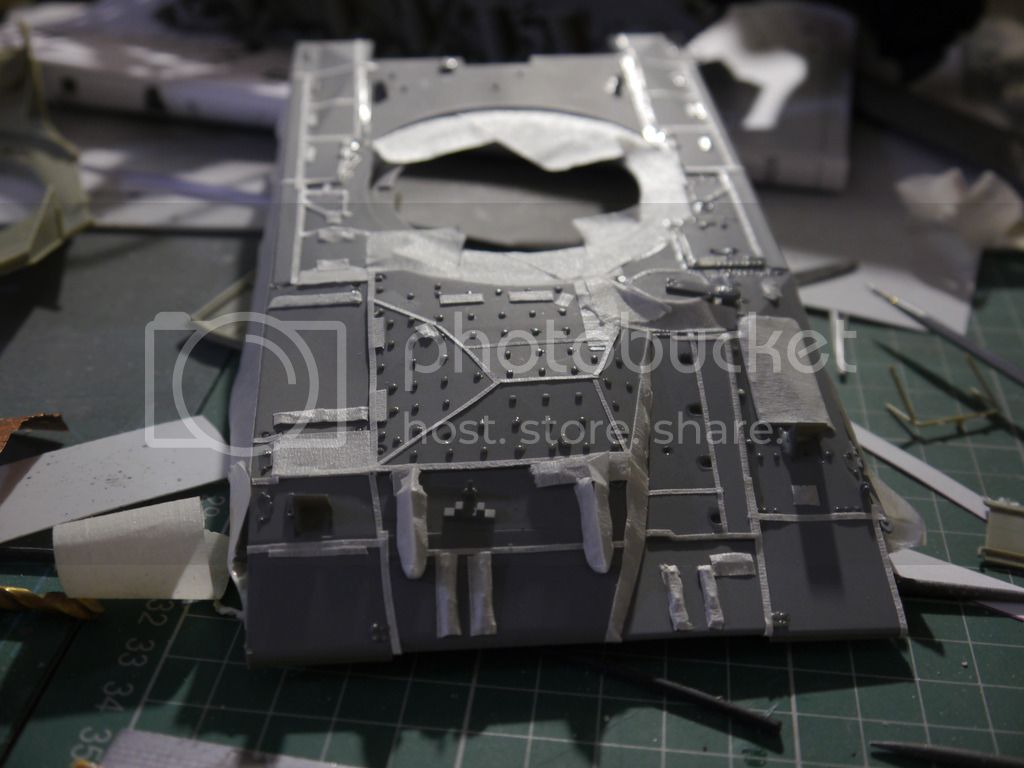
Then I sprayed it with hairspray,.....and dusted it with chinchilla powder
Then FAIL
I ruined it
The powder just looked too big in scale & a complete mess
I had to wash, scrub, sand & toothbrush all the sand off it
No photos of my panic,....sorry
Straight build again,....I'd decided that I'll try and replicate the effect with paint
Next day I had a brainwave,.....what if I applied really fine sandpaper with pva glue?
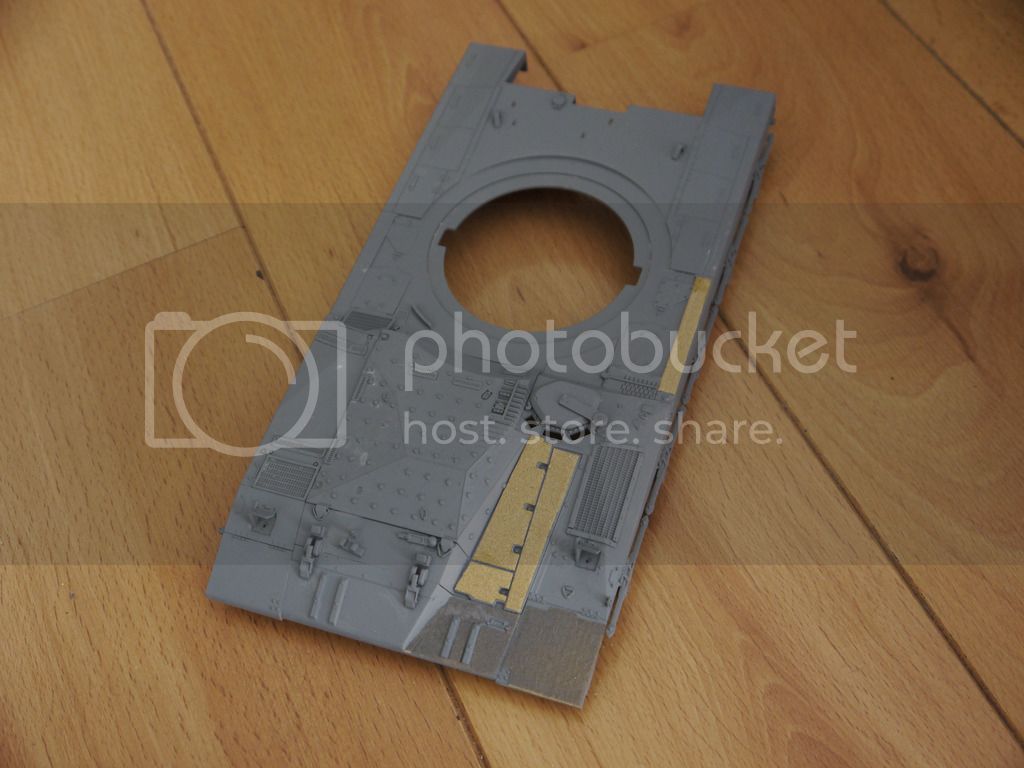
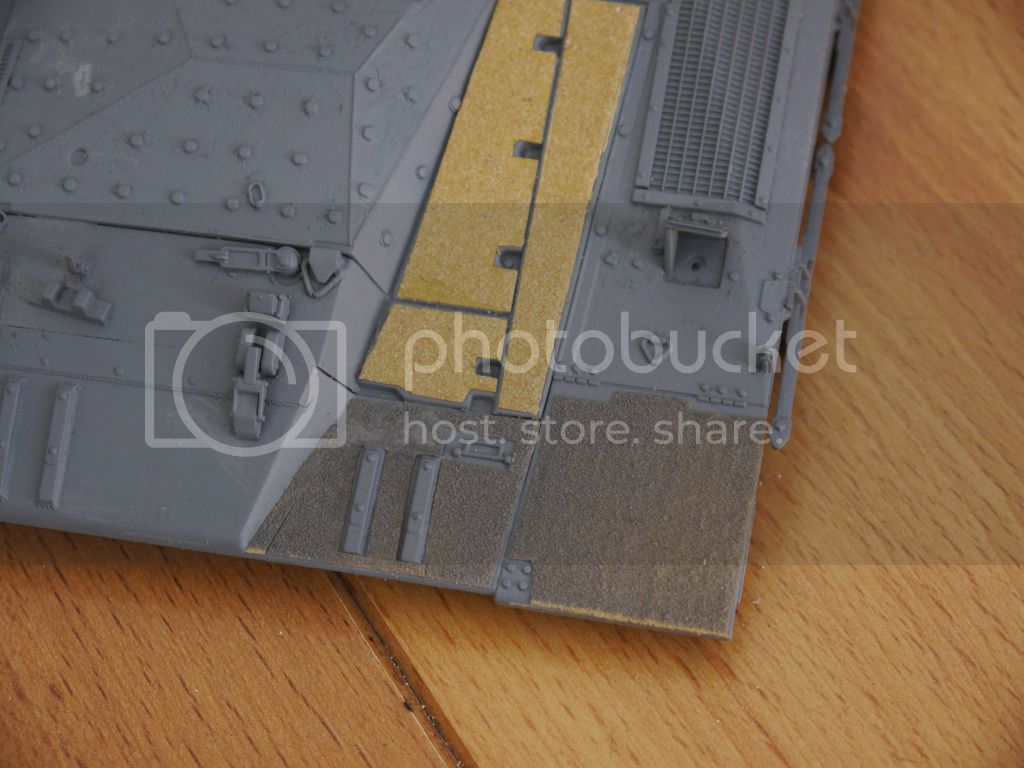
.....if this doesn't work out right,...I know all I have to do is put a scalpel blade under the paper and peel it off,....then revert back to using a paint effect
Thanks for looking
John
Primed top:
Everything proceeding ok,......until I try to create the non-slip surface on the top hull,.....like in these reference pics (one image is of a Mk2):
So I did a bit of research,......Chinchilla powder/sand:
Its meant to be a very fine sand,...ideal for replicating the non-slip surface,.....so a bit of masking:
Then I sprayed it with hairspray,.....and dusted it with chinchilla powder
Then FAIL
I ruined it
The powder just looked too big in scale & a complete mess
I had to wash, scrub, sand & toothbrush all the sand off it
No photos of my panic,....sorry
Straight build again,....I'd decided that I'll try and replicate the effect with paint
Next day I had a brainwave,.....what if I applied really fine sandpaper with pva glue?
.....if this doesn't work out right,...I know all I have to do is put a scalpel blade under the paper and peel it off,....then revert back to using a paint effect
Thanks for looking
John
Jaitea
Well-Known Member
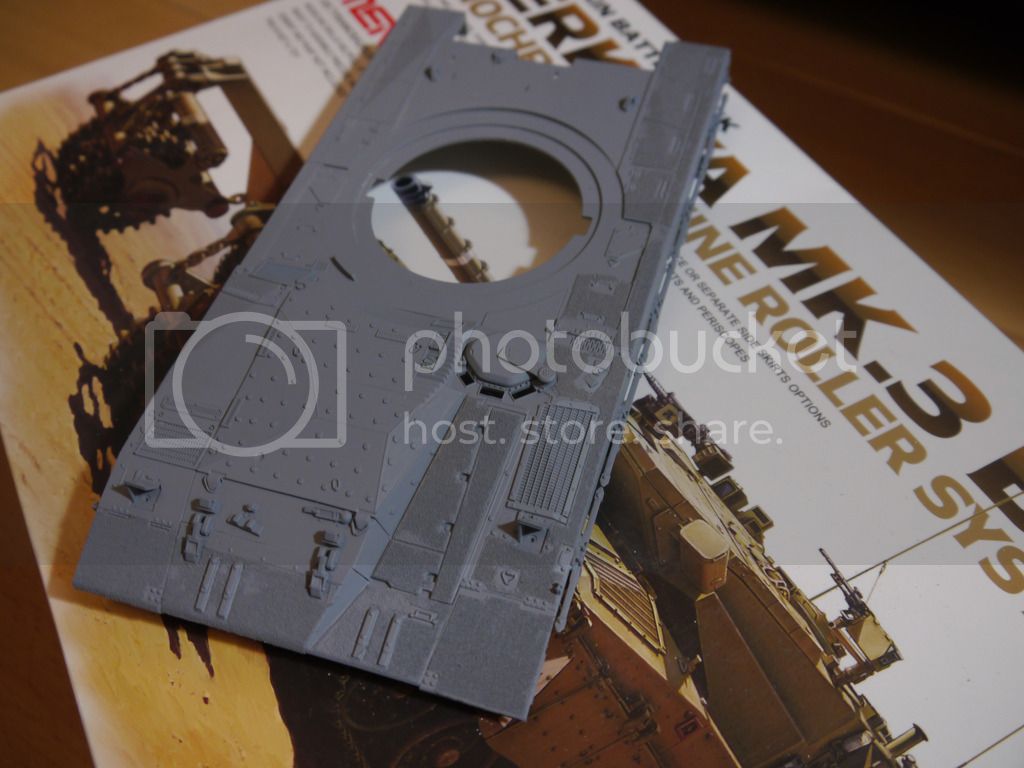
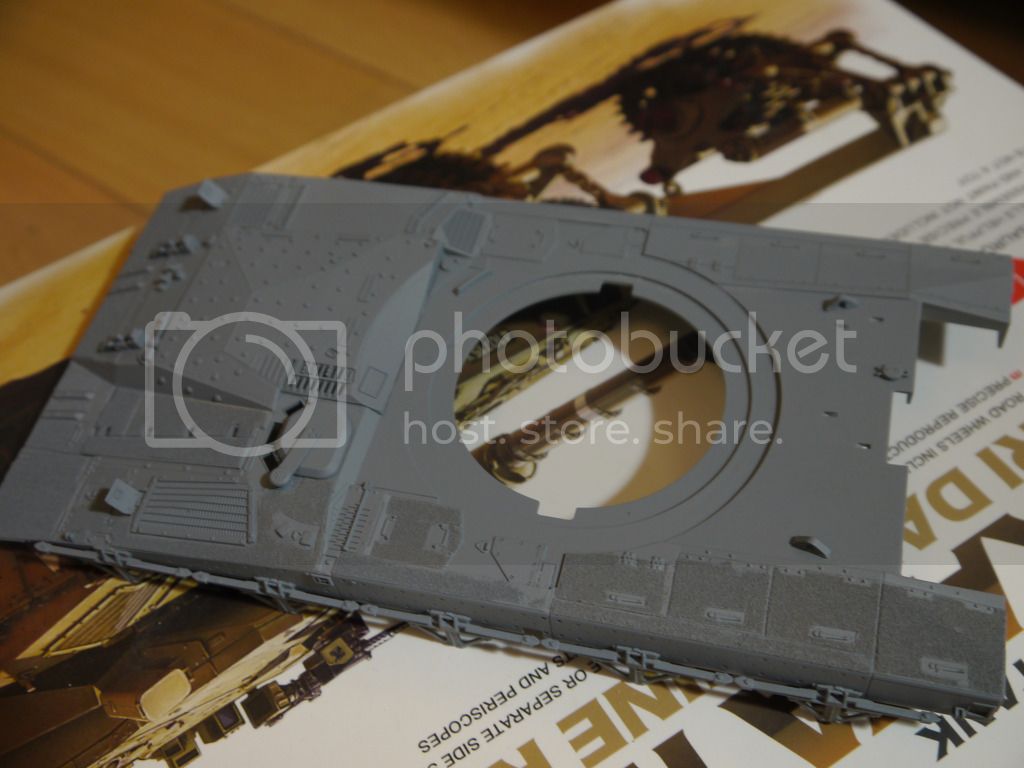
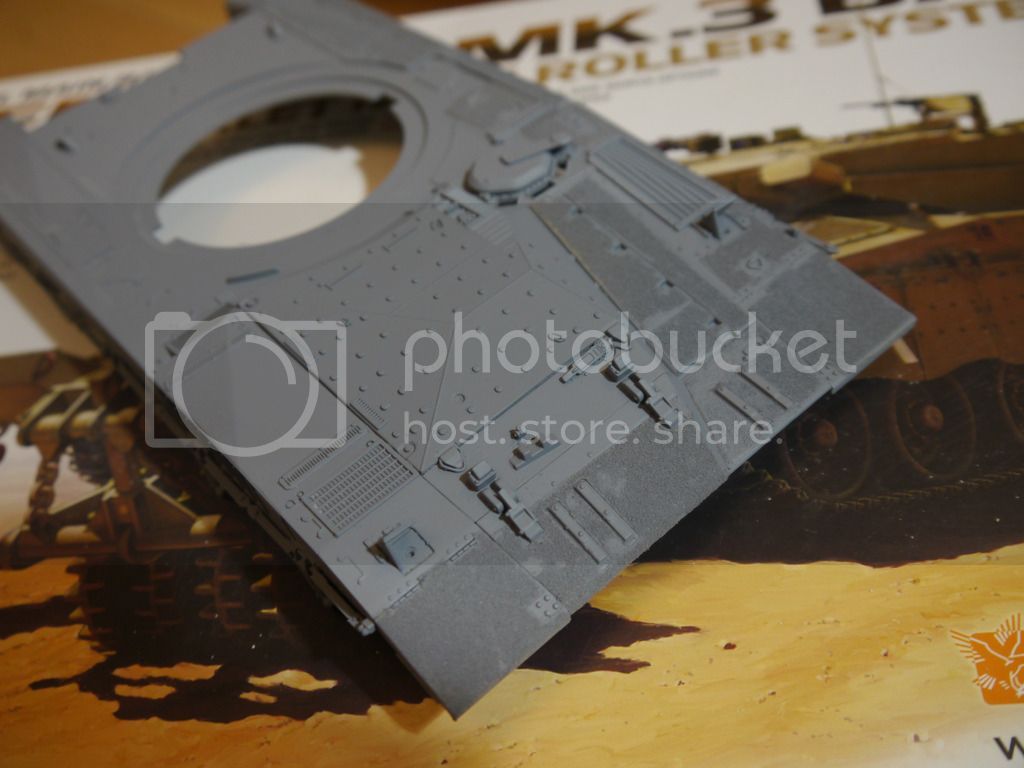
I've done a bit more this evening:
I'm pretty happy with the way it's turned out....theres some bald bits but I'm not too worried...it adds a bit of character
Thanks for looking
John
I'm pretty happy with the way it's turned out....theres some bald bits but I'm not too worried...it adds a bit of character
Thanks for looking
John

Scrach
Well-Known Member
Nice work with the sandpaper, that probably went a lot quicker than the route I took with my Mk.I.

Jaitea
Well-Known Member
Ah brilliant Scrach,.....I thought I was going mad!!......brilliant job,....how did it turn out?
Why doesn't these kits come with this texture?
How did you do yours? What did you use for the texture?
J
Why doesn't these kits come with this texture?
How did you do yours? What did you use for the texture?
J
Scrach
Well-Known Member
I sifted a fine aquarium sand to get the finest of the fine and 'glued' it with Mr. Surfacer 500.
I'm fairly satisfied with the results. Keep your eyes open toward the end of the BSC.
I'm fairly satisfied with the results. Keep your eyes open toward the end of the BSC.
Jaitea
Well-Known Member
Brilliant.....I don't mind the suspence ;D
J
J


Chris S
Its a bit like being handcuffed to a lunatic !
Looks good from where Im standing dude ;D ,seriously tho ,nice work John . I do like these Meng kits ,couldnt praise them enough !!
Cant wait to see where you go with this one
Chris.
Cant wait to see where you go with this one
Chris.
Jaitea
Well-Known Member
Thanks very much Cash....I wasn't so sure at first, but I think it adds to the look of the kit
Thanks Chris,.....I'm sure you're shocked that I've eventually got round to building this!
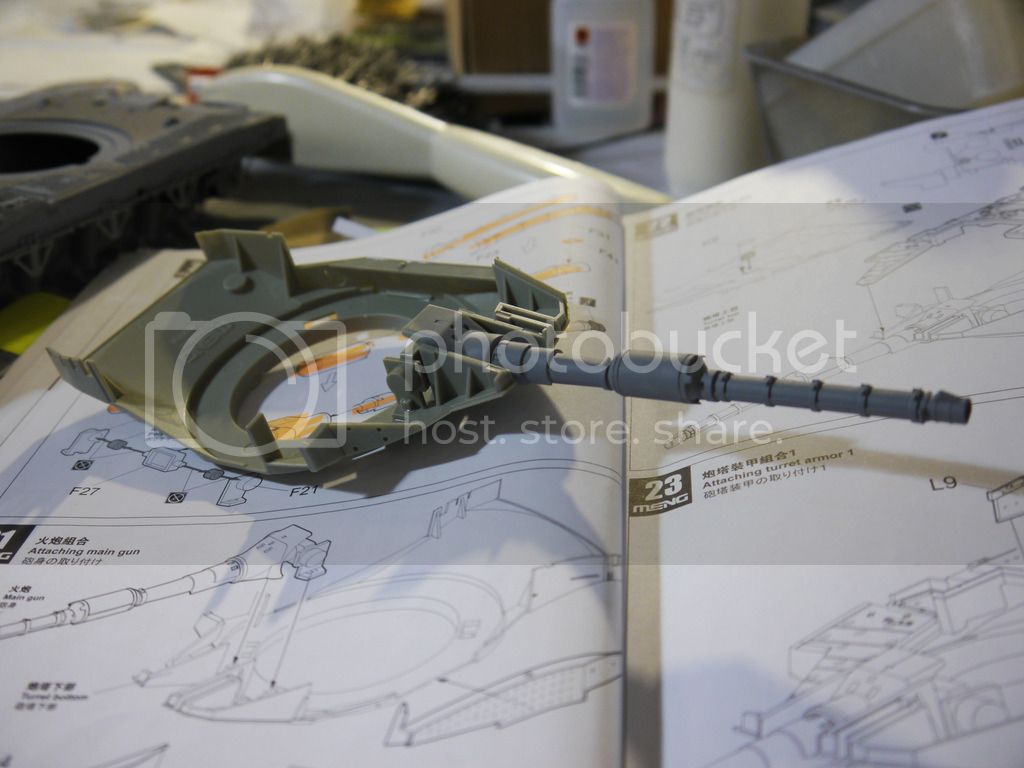
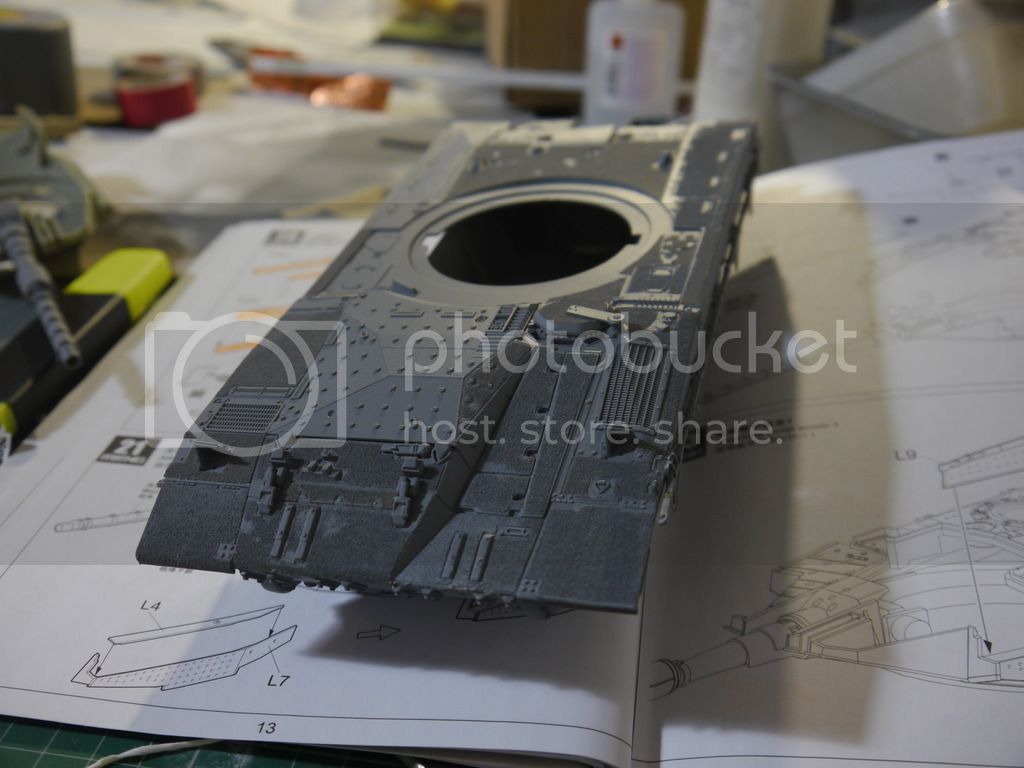
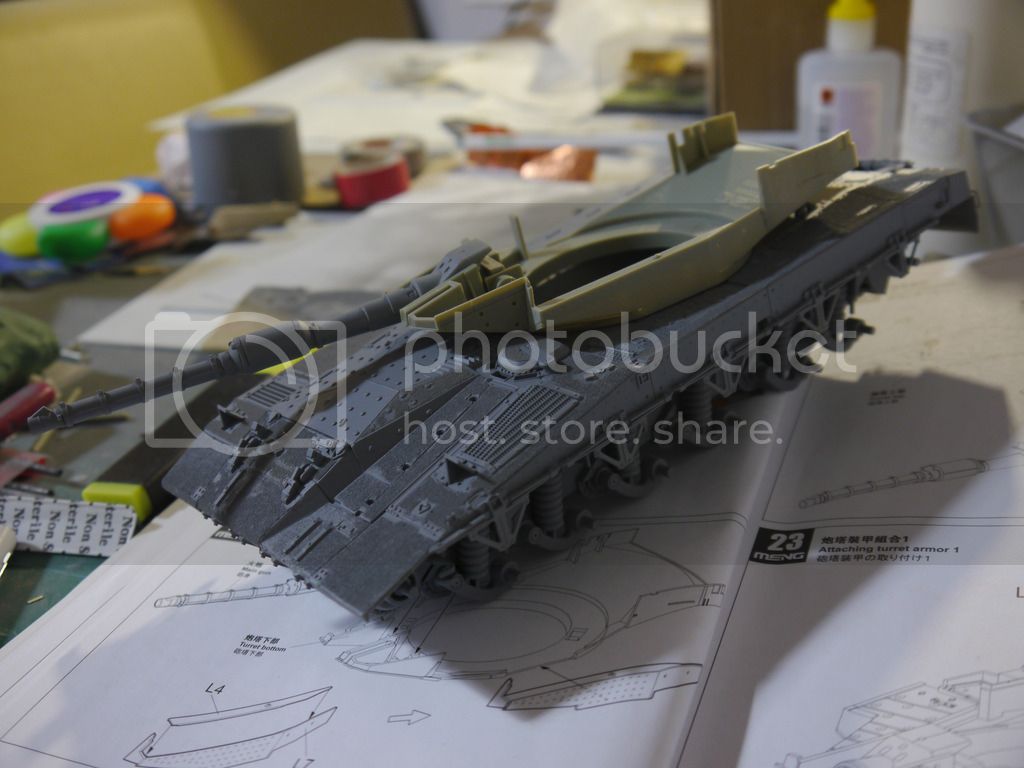
I've still got some more sandpaper to add to the main hull but I took some time off to do the turret (which will also need sandpaper :)
The cannon needed a bit of filling to get rid of the seam-line,....I also had to remove some of the locator pins because they were forcing a step down the barrel
Thanks for looking
John
Thanks Chris,.....I'm sure you're shocked that I've eventually got round to building this!
I've still got some more sandpaper to add to the main hull but I took some time off to do the turret (which will also need sandpaper :
)The cannon needed a bit of filling to get rid of the seam-line,....I also had to remove some of the locator pins because they were forcing a step down the barrel
Thanks for looking
John

adampolo13
Well-Known Member
Looking most excellent!
Scrach
Well-Known Member
Coming along great.

Grendels
Well-Known Member
Sandpaper did the trick!
Looking good.
Looking good.

JohnSimmons
For Spud: I was once Merseajohn
Yeah man this rocks!! 8)
Jaitea
Well-Known Member
Thanks very much guys.....definitely a break from the norm
J
J
Jaitea
Well-Known Member
Still taking a break from the sandpaper job,....to add some more details
After adding the balls & chain protection around the neck I discovered that you can't attach the turret to the main body by the tab & turn,....the body collides with the chains,....so I cut the tabs off
The turret just pushes down onto the body now
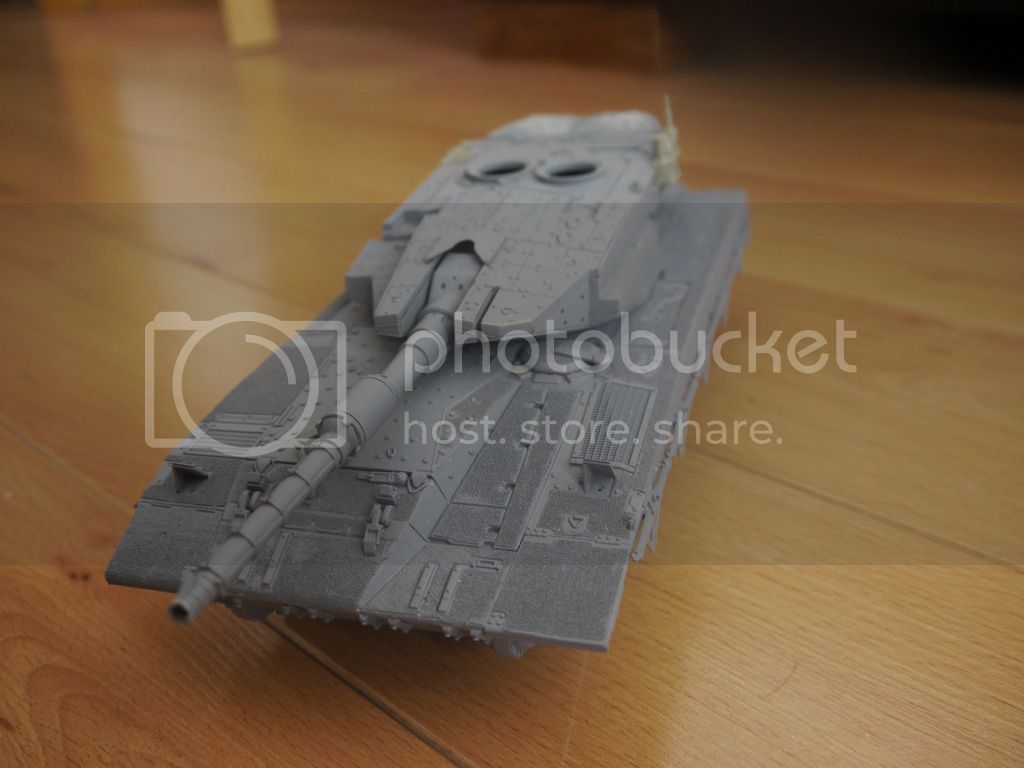
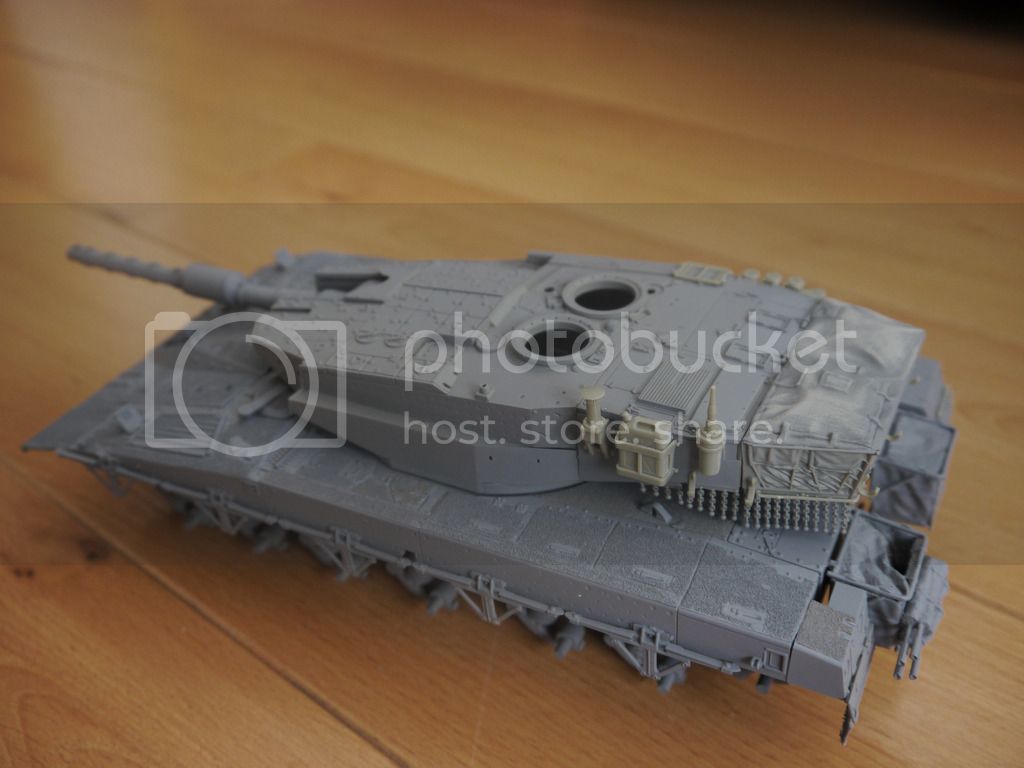
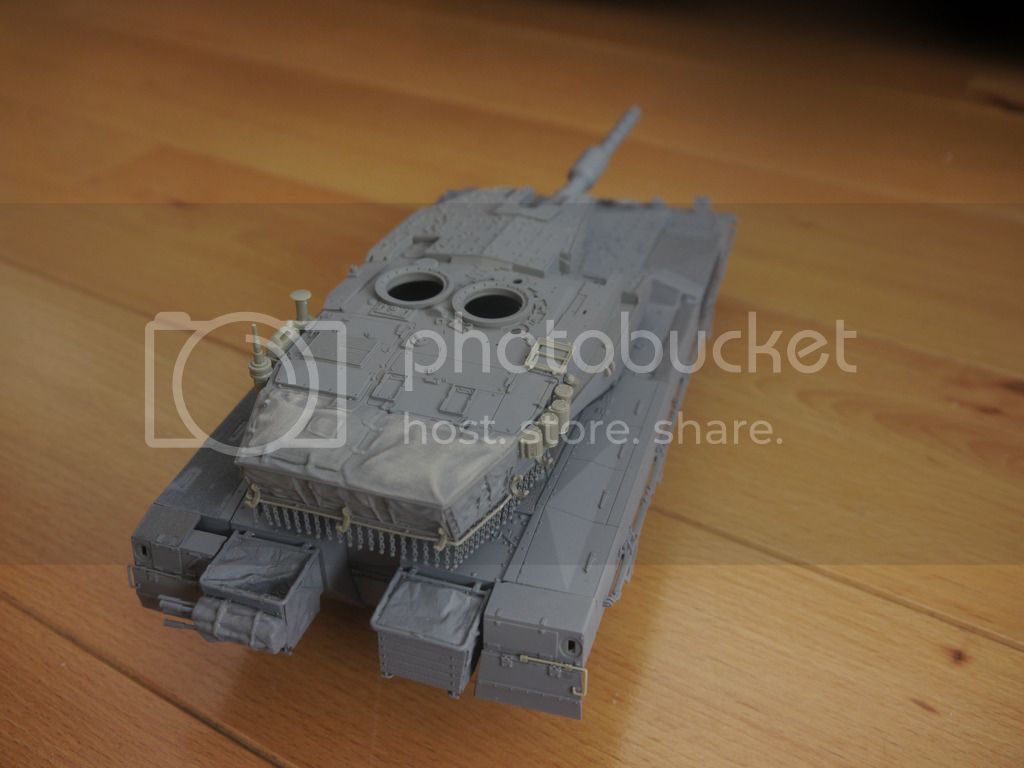
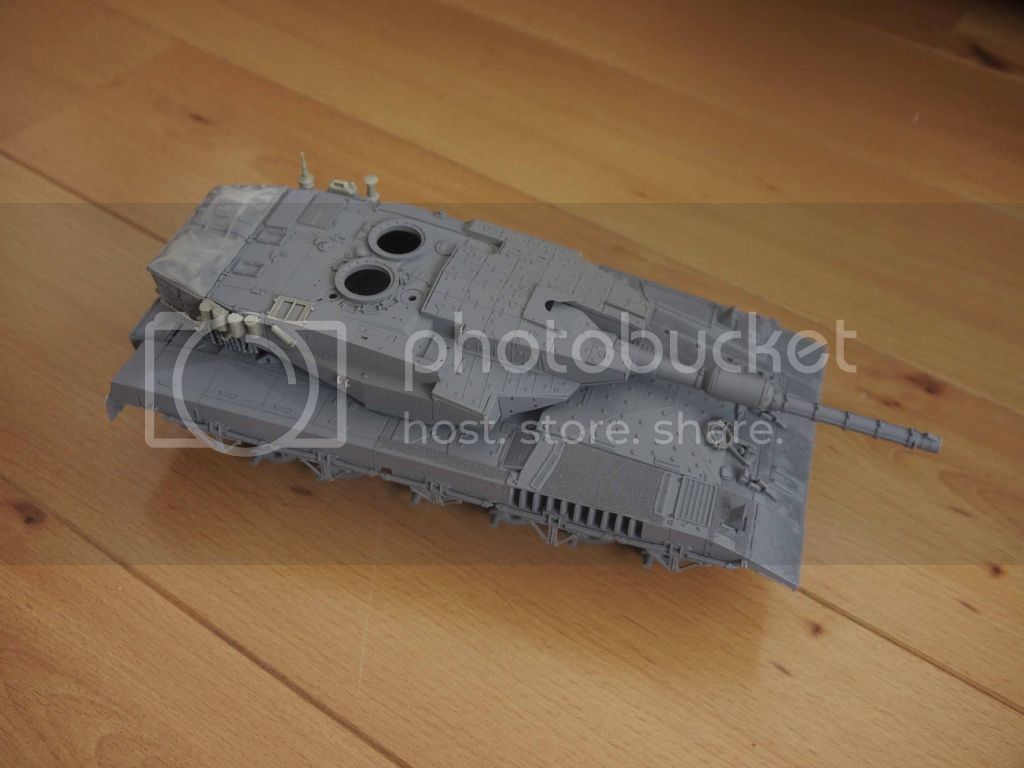
Gonna get back to the sandpaper texturing soon
Thanks for looking
John
After adding the balls & chain protection around the neck I discovered that you can't attach the turret to the main body by the tab & turn,....the body collides with the chains,....so I cut the tabs off
The turret just pushes down onto the body now
Gonna get back to the sandpaper texturing soon
Thanks for looking
John

cargoman5126
Anything in scale I'm into it...
Looks amazing.....
Grendels
Well-Known Member
Love those chains...
JohnSimmons
For Spud: I was once Merseajohn
Very cool looking tank
Scrach
Well-Known Member
Coming along very well.


Jaitea
Well-Known Member
Thanks very much guys,.....it really is a great fun kit,....loadsa tiny parts,....but so far none gone missing!!
I had a hold up on some of the anti-slip areas,.....whats left on the main body are sections with circular spots on them.....a real head scratcher
.....I ended up buying a hole punch,....used for cutting holes in leather:
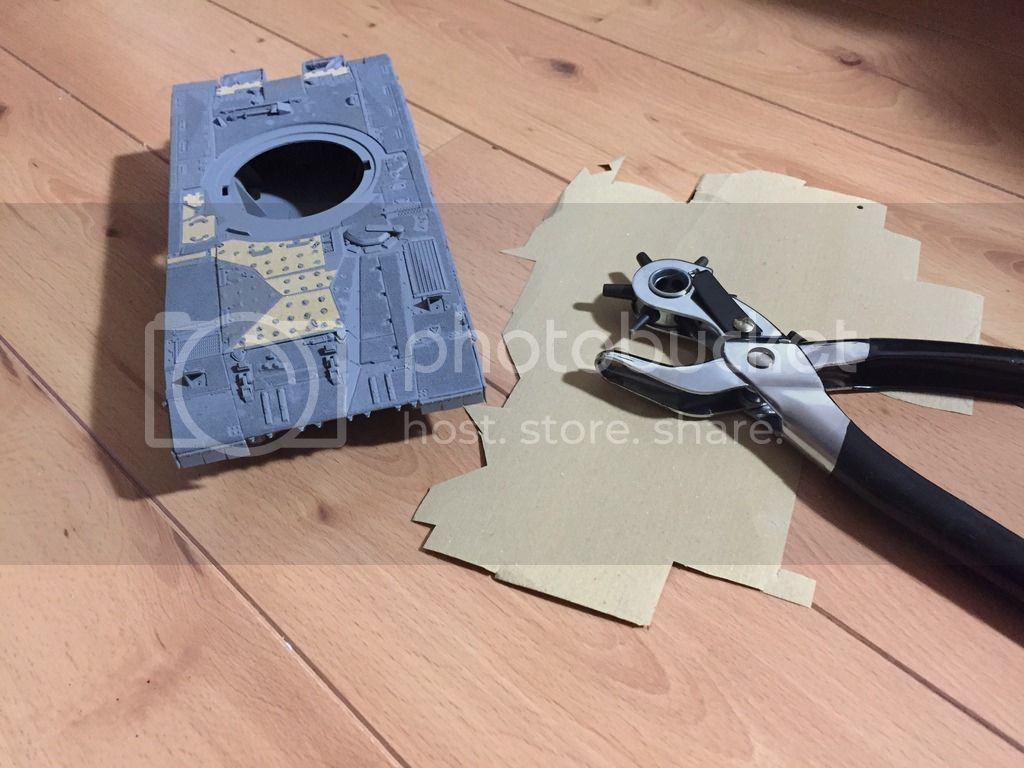
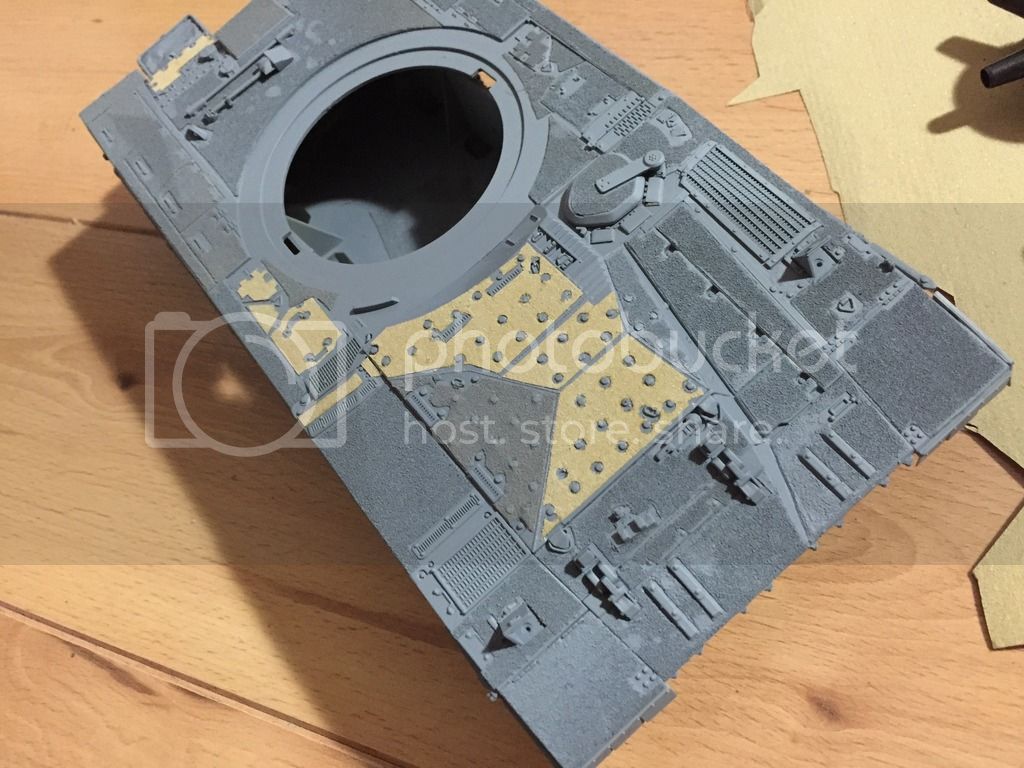
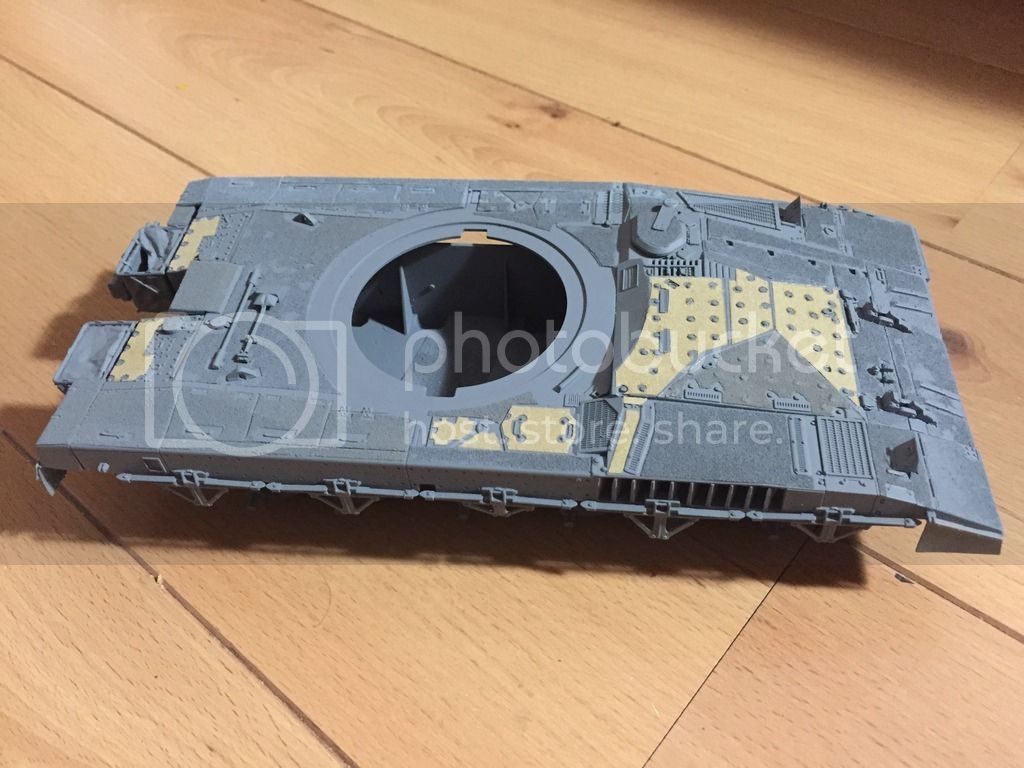
....thats the main body done,.....gonna do the turret next
Thanks for the support guys
John
I had a hold up on some of the anti-slip areas,.....whats left on the main body are sections with circular spots on them.....a real head scratcher
.....I ended up buying a hole punch,....used for cutting holes in leather:
....thats the main body done,.....gonna do the turret next
Thanks for the support guys
John
Scrach
Well-Known Member
The sandpaper looks great, way more consistent than my technique, yet probably more time consuming. Keep up the good work.

JohnSimmons
For Spud: I was once Merseajohn
Nice work man very clever!

suavetomcat
Well-Known Member
Looking great mate. Love the idea of the sandpaper. Genius!
Chris
Chris
Similar threads


- Replies
- 38
- Views
- 8K


