Mercury 9
- Thread starter Grendels
- Start date
Grendels
Active Member
- Joined
- Nov 24, 2009
- Messages
- 9,092
MrNatural said:Rockets rule!!! awesome build you got goin on here. 1/350 figures!!!oh boy oh boy oh boy
Thanks!!
A short update, work has kept me at the office quite a bit last week and this week. So not much progress has been made:
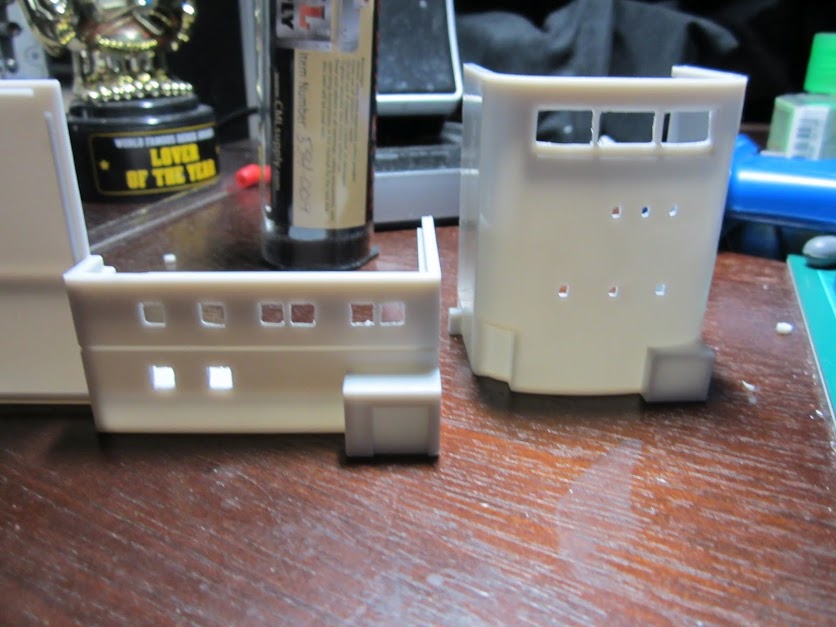
I have the windows cut out. They still need a bit of work getting them a uniform size and shape. Square windows are a bit harder than I thought they would be. I am going to try something I found on the net to fix them up later this week.
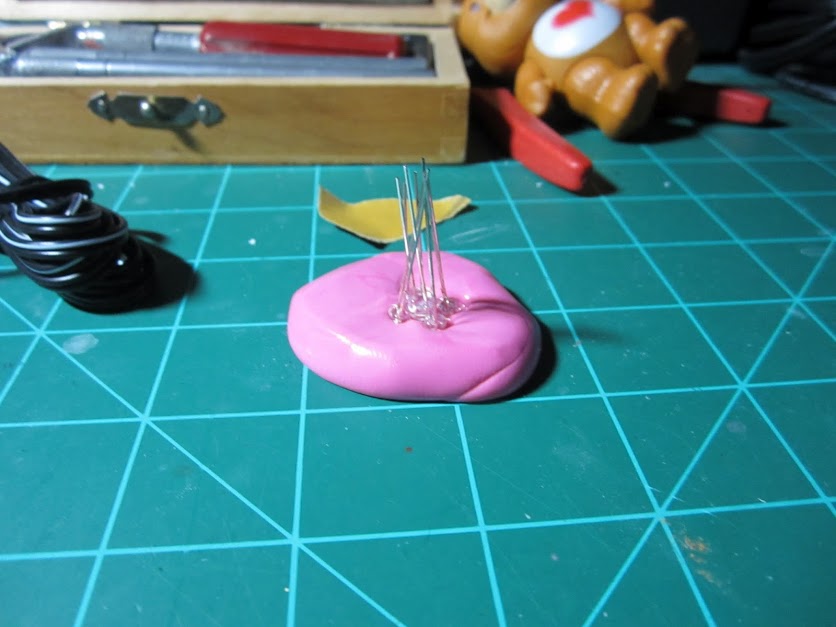
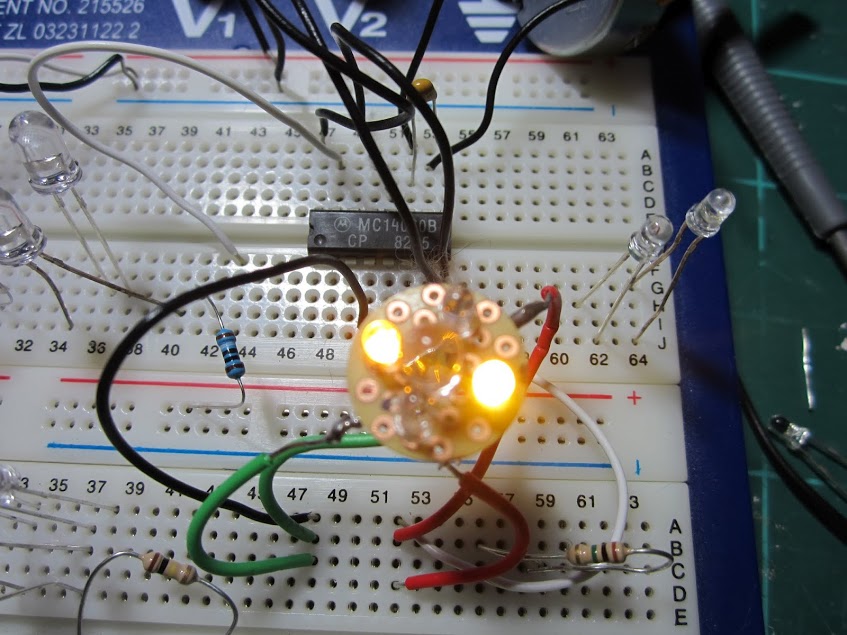
Got out the silly putty to hold some LED's for the engines, I need to make three of these:
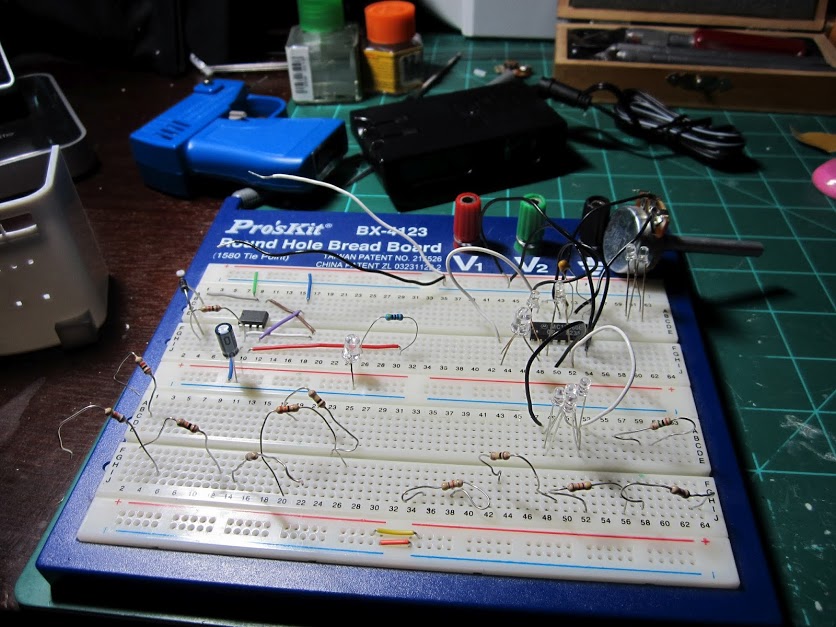
And the bread board to get things flashing. Up above the breadboard you can see the power supply I am going to use. The circuits had to wait until I had that power supply. I needed to know the voltage it could provide and the current it could handle. This one is a variable voltage model, so I can set the voltage anywhere from 3V to 12V. It will provide 1300mA of current. That is enough to light up 260 LED's I won't use that many LED's but I am going to use a few timing chips and the 555 will take too much power to use batteries. It consumes the same power as 10 to 20 LED's. That is why I am going with a wall wart. Not to mention there will be three 4060's in the main rocket to power the engines. I was going to use some RGB flashers in the engines, but I couldn't find three that would sync together. Out of 50 they all flashed at a different rate......
So this is the plan:
Three 4060's to power the engines
One 555 for strobing on things like the radar tower and the helipad
One 4060 for the landing lights on the helipad
This is just for the blinking lights, I still haven't mapped out the steady lights, or the ambiance lighting around the dio. I am waiting on a package of LED's from China for that.
The Nylon Gag
New Member
- Joined
- Nov 14, 2011
- Messages
- 829
This is going to be fantastic ;D
Can't wait to see how this progresses, very curious about the final dio layout.
Great stuff 'G' man 8)
Keep it up
Gag
Can't wait to see how this progresses, very curious about the final dio layout.
Great stuff 'G' man 8)
Keep it up
Gag
schweinhund227
New Member
- Joined
- Jun 24, 2009
- Messages
- 2,511
Never heard of that Kit before.... but ! it seems to be quite popular !!!
Even in other genre ! as this link shows.
http://www.inpayne.com/models/merkur9-3.html
Good luck with all the lighting .... you have your work cut out for sure ! but it will pay off I am confident !
Even in other genre ! as this link shows.
http://www.inpayne.com/models/merkur9-3.html
Good luck with all the lighting .... you have your work cut out for sure ! but it will pay off I am confident !
Igard
New Member
- Joined
- May 16, 2011
- Messages
- 2,004
Good job cutting all those windows out. I've done a few recently as you know, but I couldn't face that many. I considered finding some plastic channel and slicing it to make frames, then puttying them in place, but not sure if that'd work.
Anyway, looking very exciting now Grendels. This will be one sweet dio when all lit up. Can't wait.
Anyway, looking very exciting now Grendels. This will be one sweet dio when all lit up. Can't wait.
Grendels
Active Member
- Joined
- Nov 24, 2009
- Messages
- 9,092
Thanks Gag! I can't wait for the time to plan out that dio. Work has been kicking me these last two weeks. 10+ hours each day.....
I am NOT going in that direction. But thanks for the link. A very interesting take on the kit for sure. The second stage does remind me of a V2.
Eastrock, if you think this is the 4th, just wait until I show everyone my engine plans.....
Solander, you are correct, this kit is just begging to be lit. Once I figured out the voltage, I got started on her. The soldering iron was put to use tonight.
Funny you should say that.... I have something just like that in mind for those windows. Stay tooned to find out what.
schweinhund227 said:Never heard of that Kit before.... but ! it seems to be quite popular !!!
Even in other genre ! as this link shows.
http://www.inpayne.com/models/merkur9-3.html
Good luck with all the lighting .... you have your work cut out for sure ! but it will pay off I am confident !
I am NOT going in that direction. But thanks for the link. A very interesting take on the kit for sure. The second stage does remind me of a V2.
Eastrock, if you think this is the 4th, just wait until I show everyone my engine plans.....
Solander said:This kit is just perfect for playing with lights as I see. Already want one badly ;D
And You are doing great with all those circuit planning, waiting eagerly now to see how it will all look installed and running
Solander, you are correct, this kit is just begging to be lit. Once I figured out the voltage, I got started on her. The soldering iron was put to use tonight.
Igard said:Good job cutting all those windows out. I've done a few recently as you know, but I couldn't face that many. I considered finding some plastic channel and slicing it to make frames, then puttying them in place, but not sure if that'd work.
Anyway, looking very exciting now Grendels. This will be one sweet dio when all lit up. Can't wait.
Funny you should say that.... I have something just like that in mind for those windows. Stay tooned to find out what.
Grendels
Active Member
- Joined
- Nov 24, 2009
- Messages
- 9,092
Thanks Scott!
Got some work done on the engine lights. First up the PCB board that holds the 4060. Three of these are done:
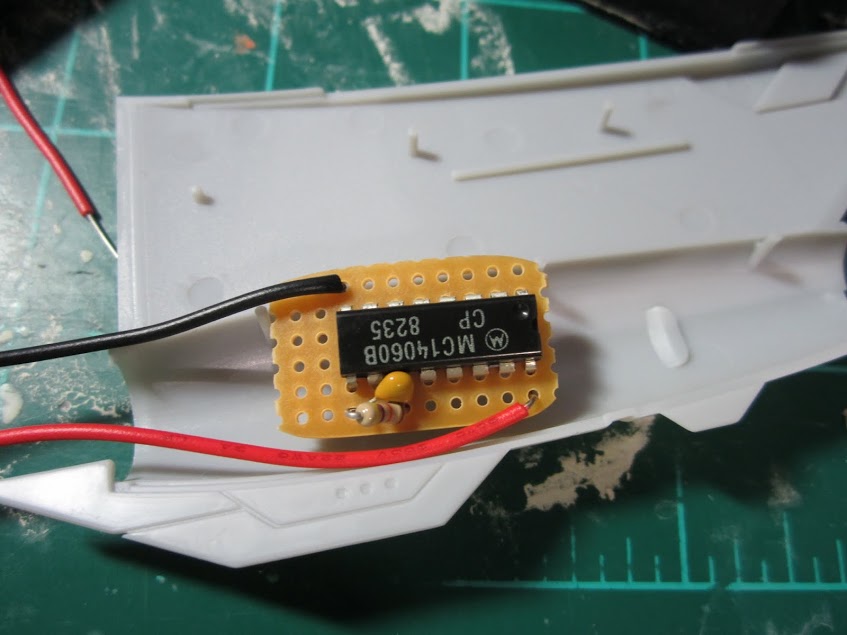
This board is to light up a sequence of LED's. The photo shows only two of them lit up. There are five total on the circular PCB. The center one is red.
This is what the competed unit looks like. I still need to solder up two more of them:
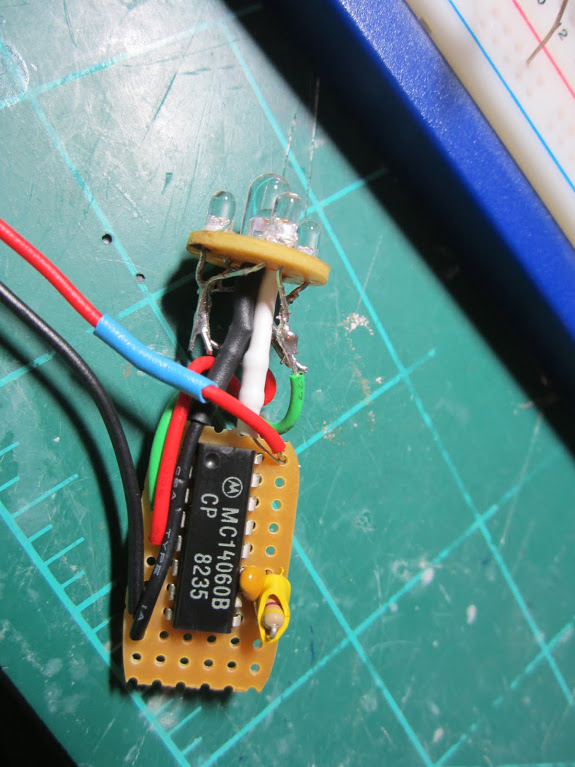
The hard work is making the first one. The other two will take about an hour to do.
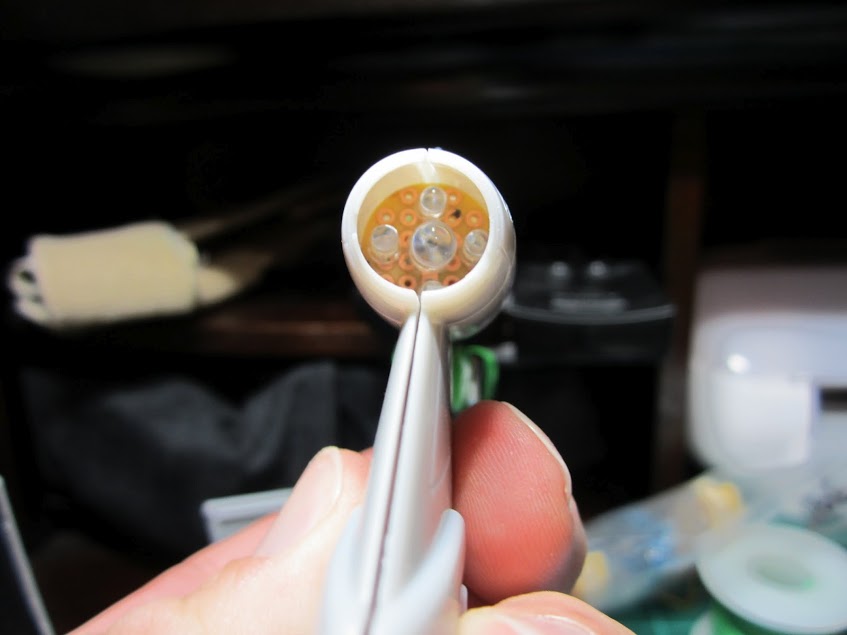
And it fits into the wing unit perfectly:
Got some work done on the engine lights. First up the PCB board that holds the 4060. Three of these are done:
This board is to light up a sequence of LED's. The photo shows only two of them lit up. There are five total on the circular PCB. The center one is red.
This is what the competed unit looks like. I still need to solder up two more of them:
The hard work is making the first one. The other two will take about an hour to do.
And it fits into the wing unit perfectly:
ScreamingSamuraiStudio
New Member
- Joined
- May 13, 2009
- Messages
- 257
Geez..that is some awesome electronic work!
NecronautDrummer
Member
- Joined
- Sep 25, 2011
- Messages
- 804
Very tidy work, G!
schweinhund227
New Member
- Joined
- Jun 24, 2009
- Messages
- 2,511
Nice little Setup withe the Mini boards...
Cool ! can't wait to see it lit up !!!
Later !
Cool ! can't wait to see it lit up !!!
Later !
Glorfindel
Active Member
- Joined
- May 2, 2011
- Messages
- 1,504
Nice work with the electrics John.
ModelMakerMike
"It's Slobberin' time""
- Joined
- May 28, 2011
- Messages
- 1,838
John....John......John.....
What can I say?....... With all the work you've put into it already, and the further plans you have for it...... I just couldn't compete.......
I will However enjoy watching you put yours together.
I have been formulating a scheme for what I want to build for the contest. I think you might like it.
What can I say?....... With all the work you've put into it already, and the further plans you have for it...... I just couldn't compete.......
I will However enjoy watching you put yours together.
I have been formulating a scheme for what I want to build for the contest. I think you might like it.
Grendels
Active Member
- Joined
- Nov 24, 2009
- Messages
- 9,092
Thank you all, I have the other two close to done, and the preliminary work done for lighting up the rest of the ship. So sometime tomorrow, I should be able to button her up. Then work can turn to the command center. I want to scratch build up a mission control.
I can't wait to see what you do Mike.
ModelMakerMike said:John....John......John.....
What can I say?....... With all the work you've put into it already, and the further plans you have for it...... I just couldn't compete.......
I will However enjoy watching you put yours together.
I have been formulating a scheme for what I want to build for the contest. I think you might like it.
I can't wait to see what you do Mike.