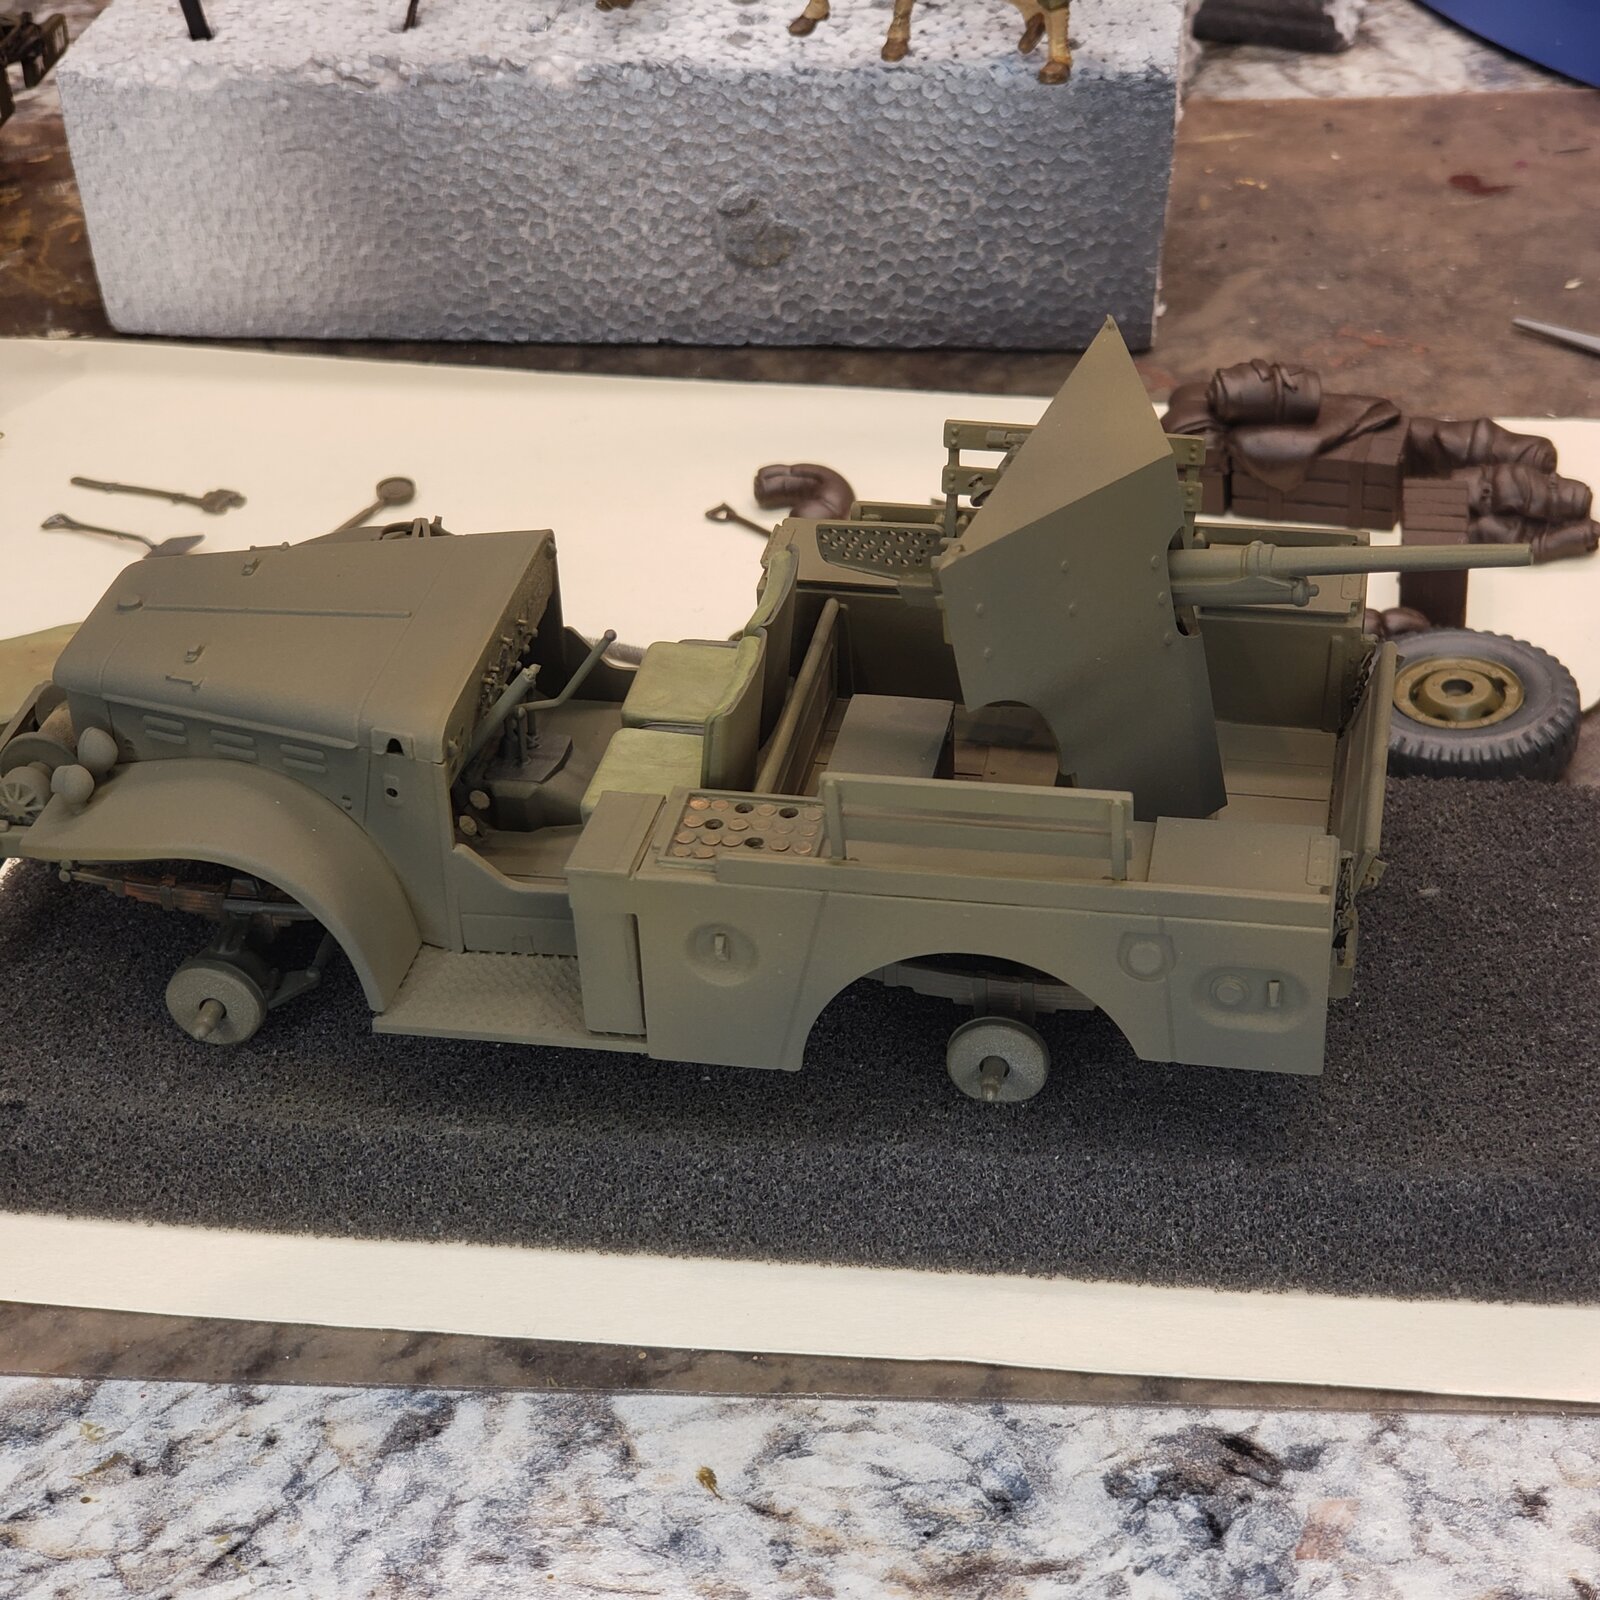
M6 Gun Motor Carriage WC-55 2025-06

Scale Model Addict - Model Tips, Guides, Tools & Tech, Tutorials, and Community

Help Support Scale Model Addict:

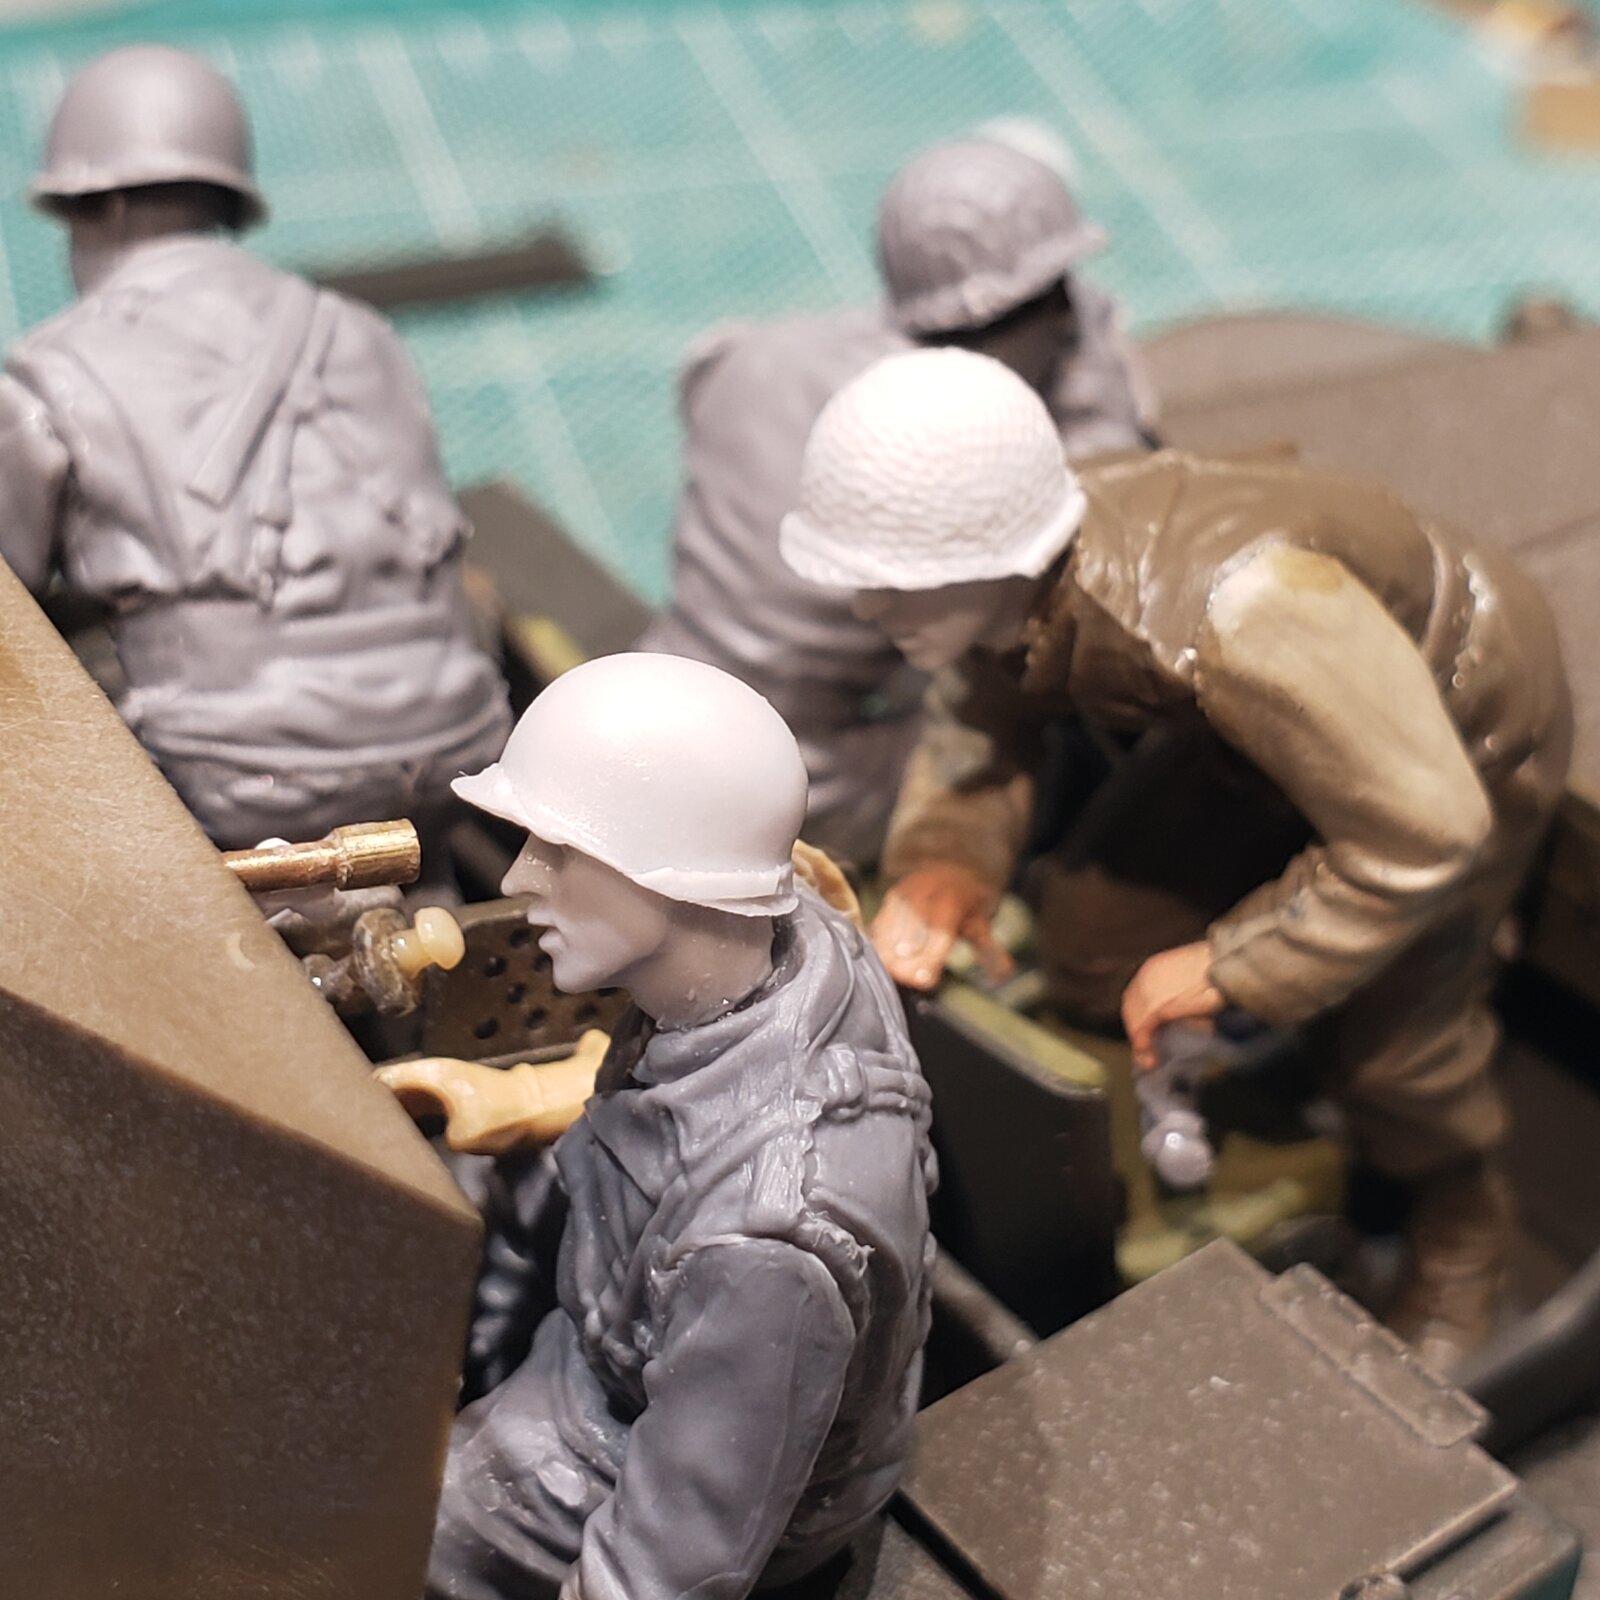
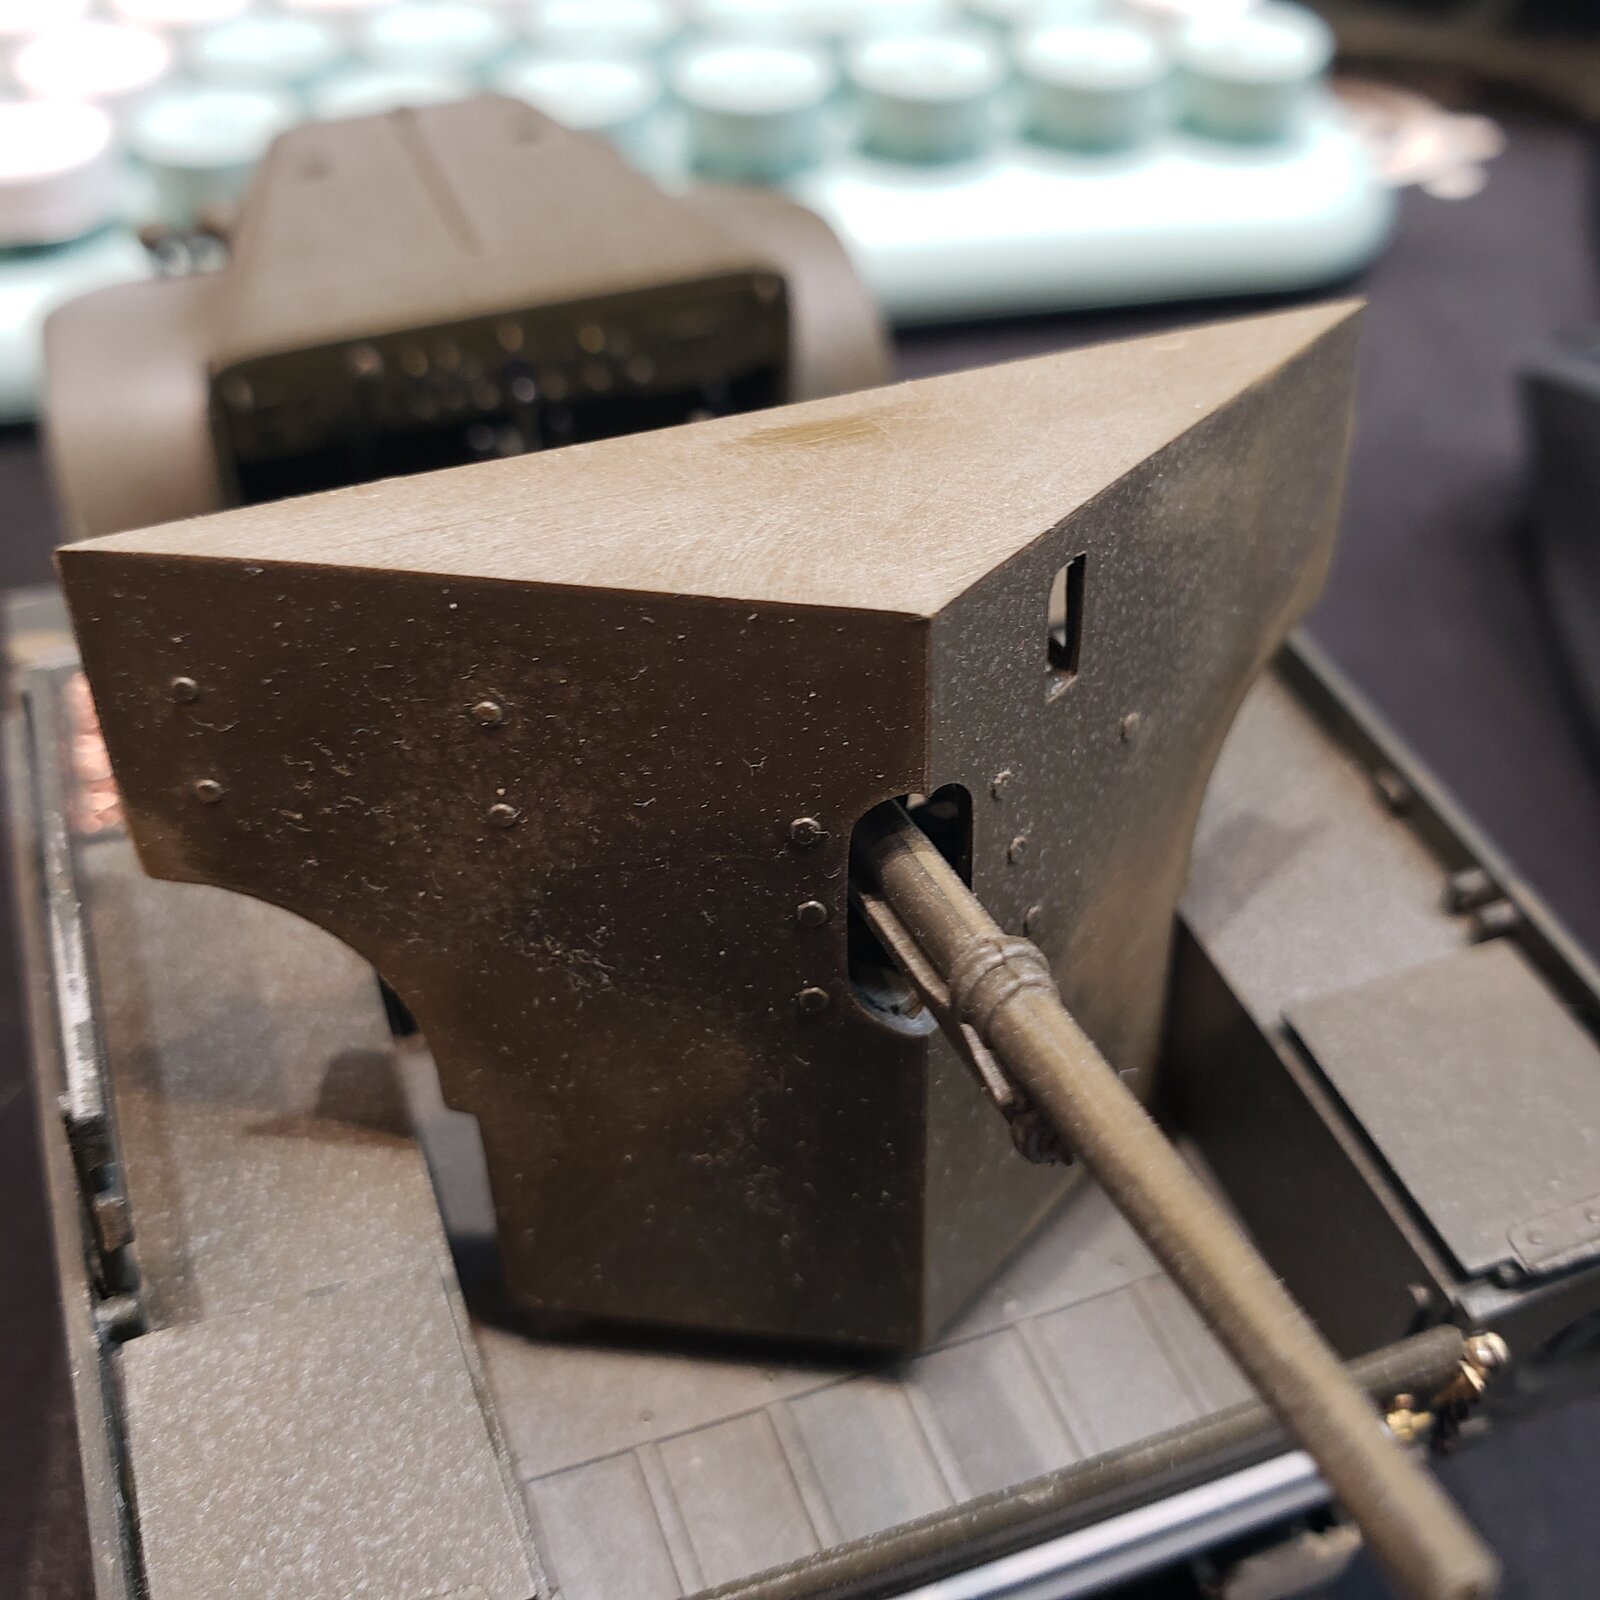
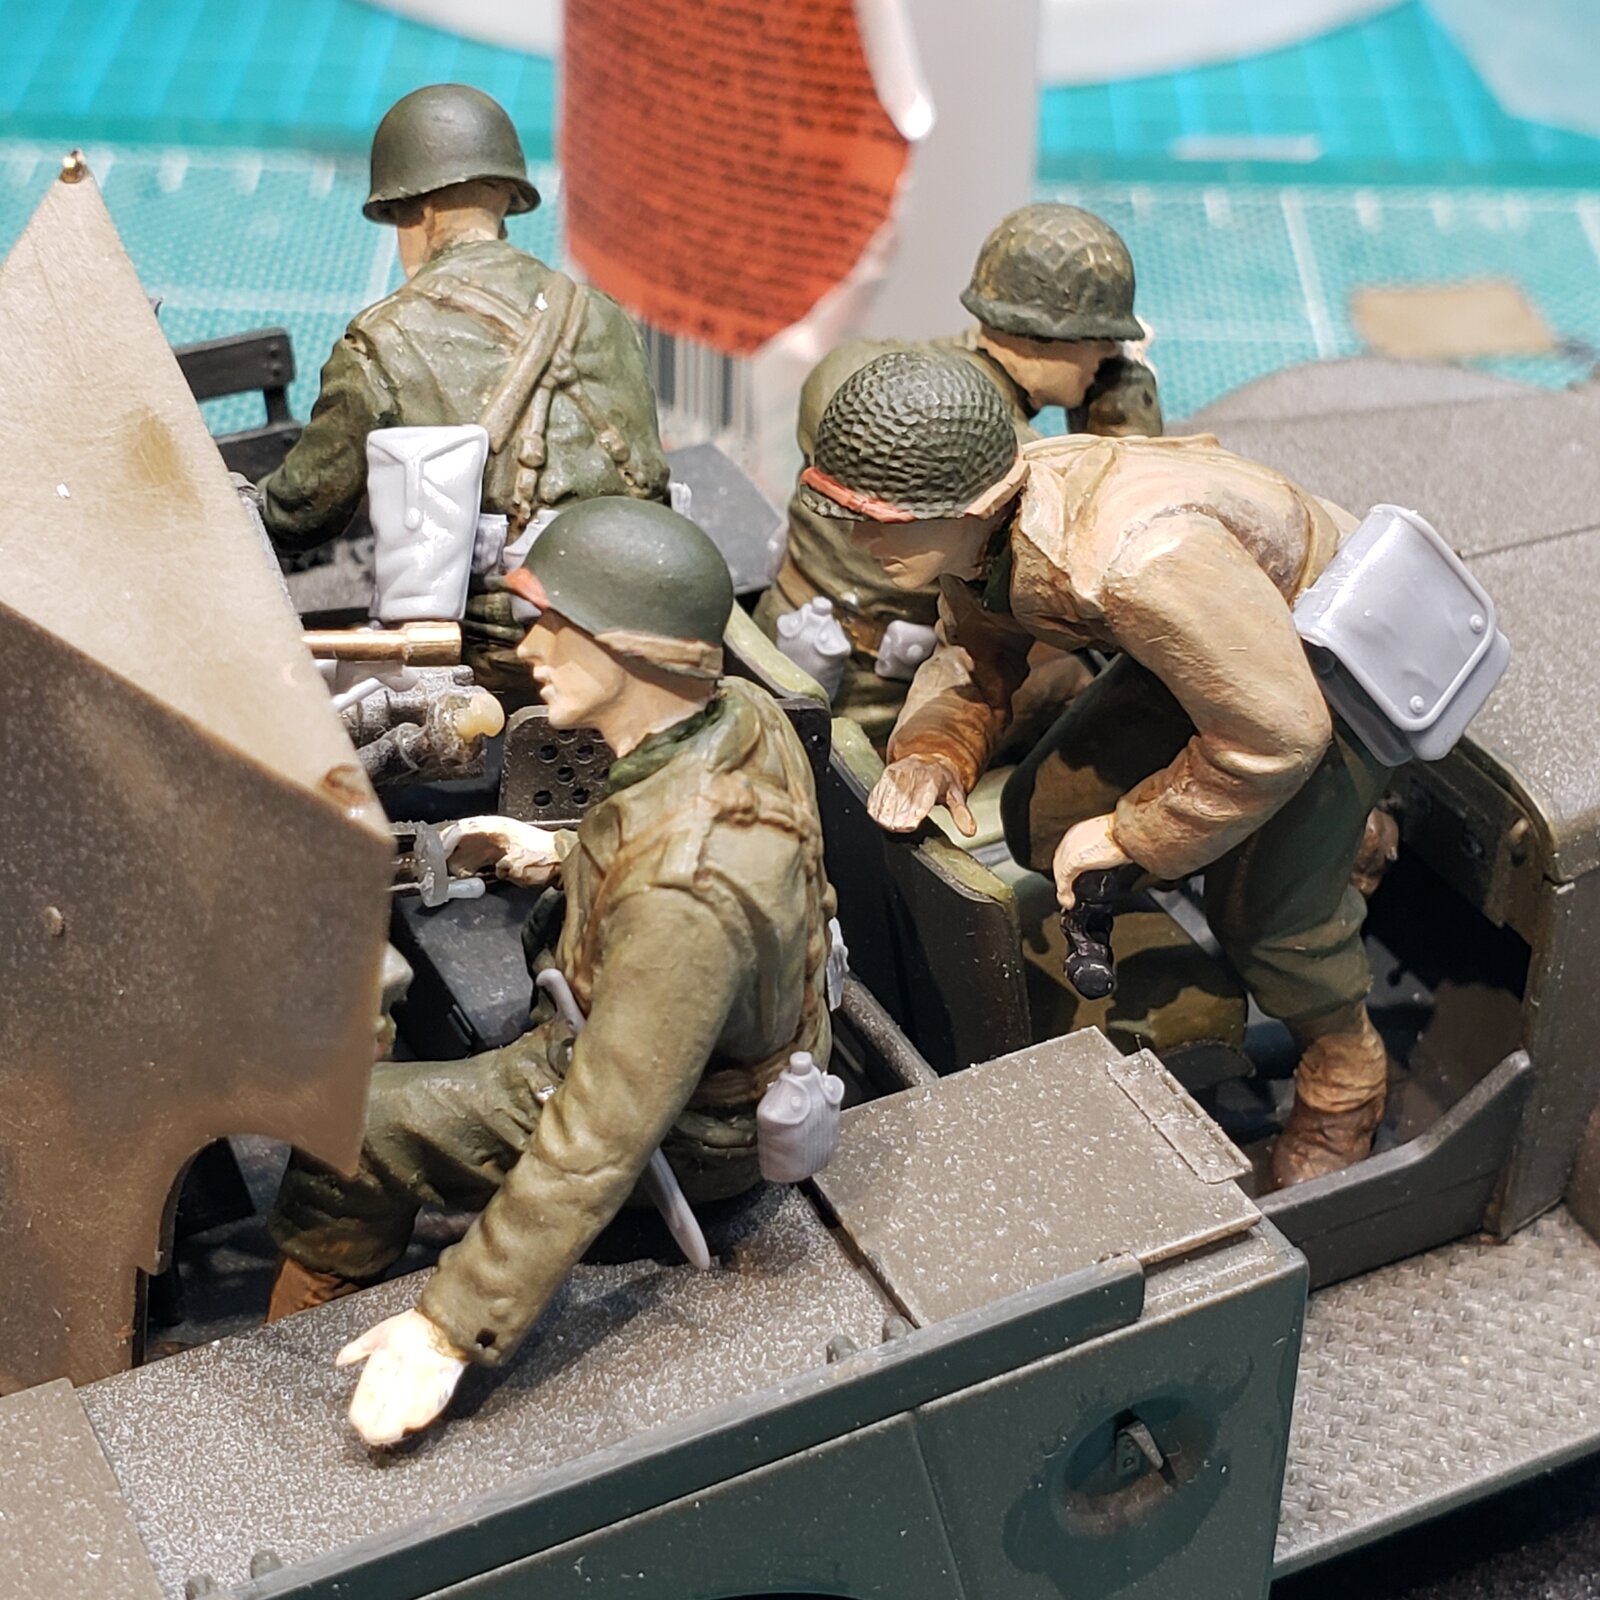
... a couple of passes through the chop shop:
17578985236267018265549081764126.jpg

Closer to the sights, and commander now has field glasses...
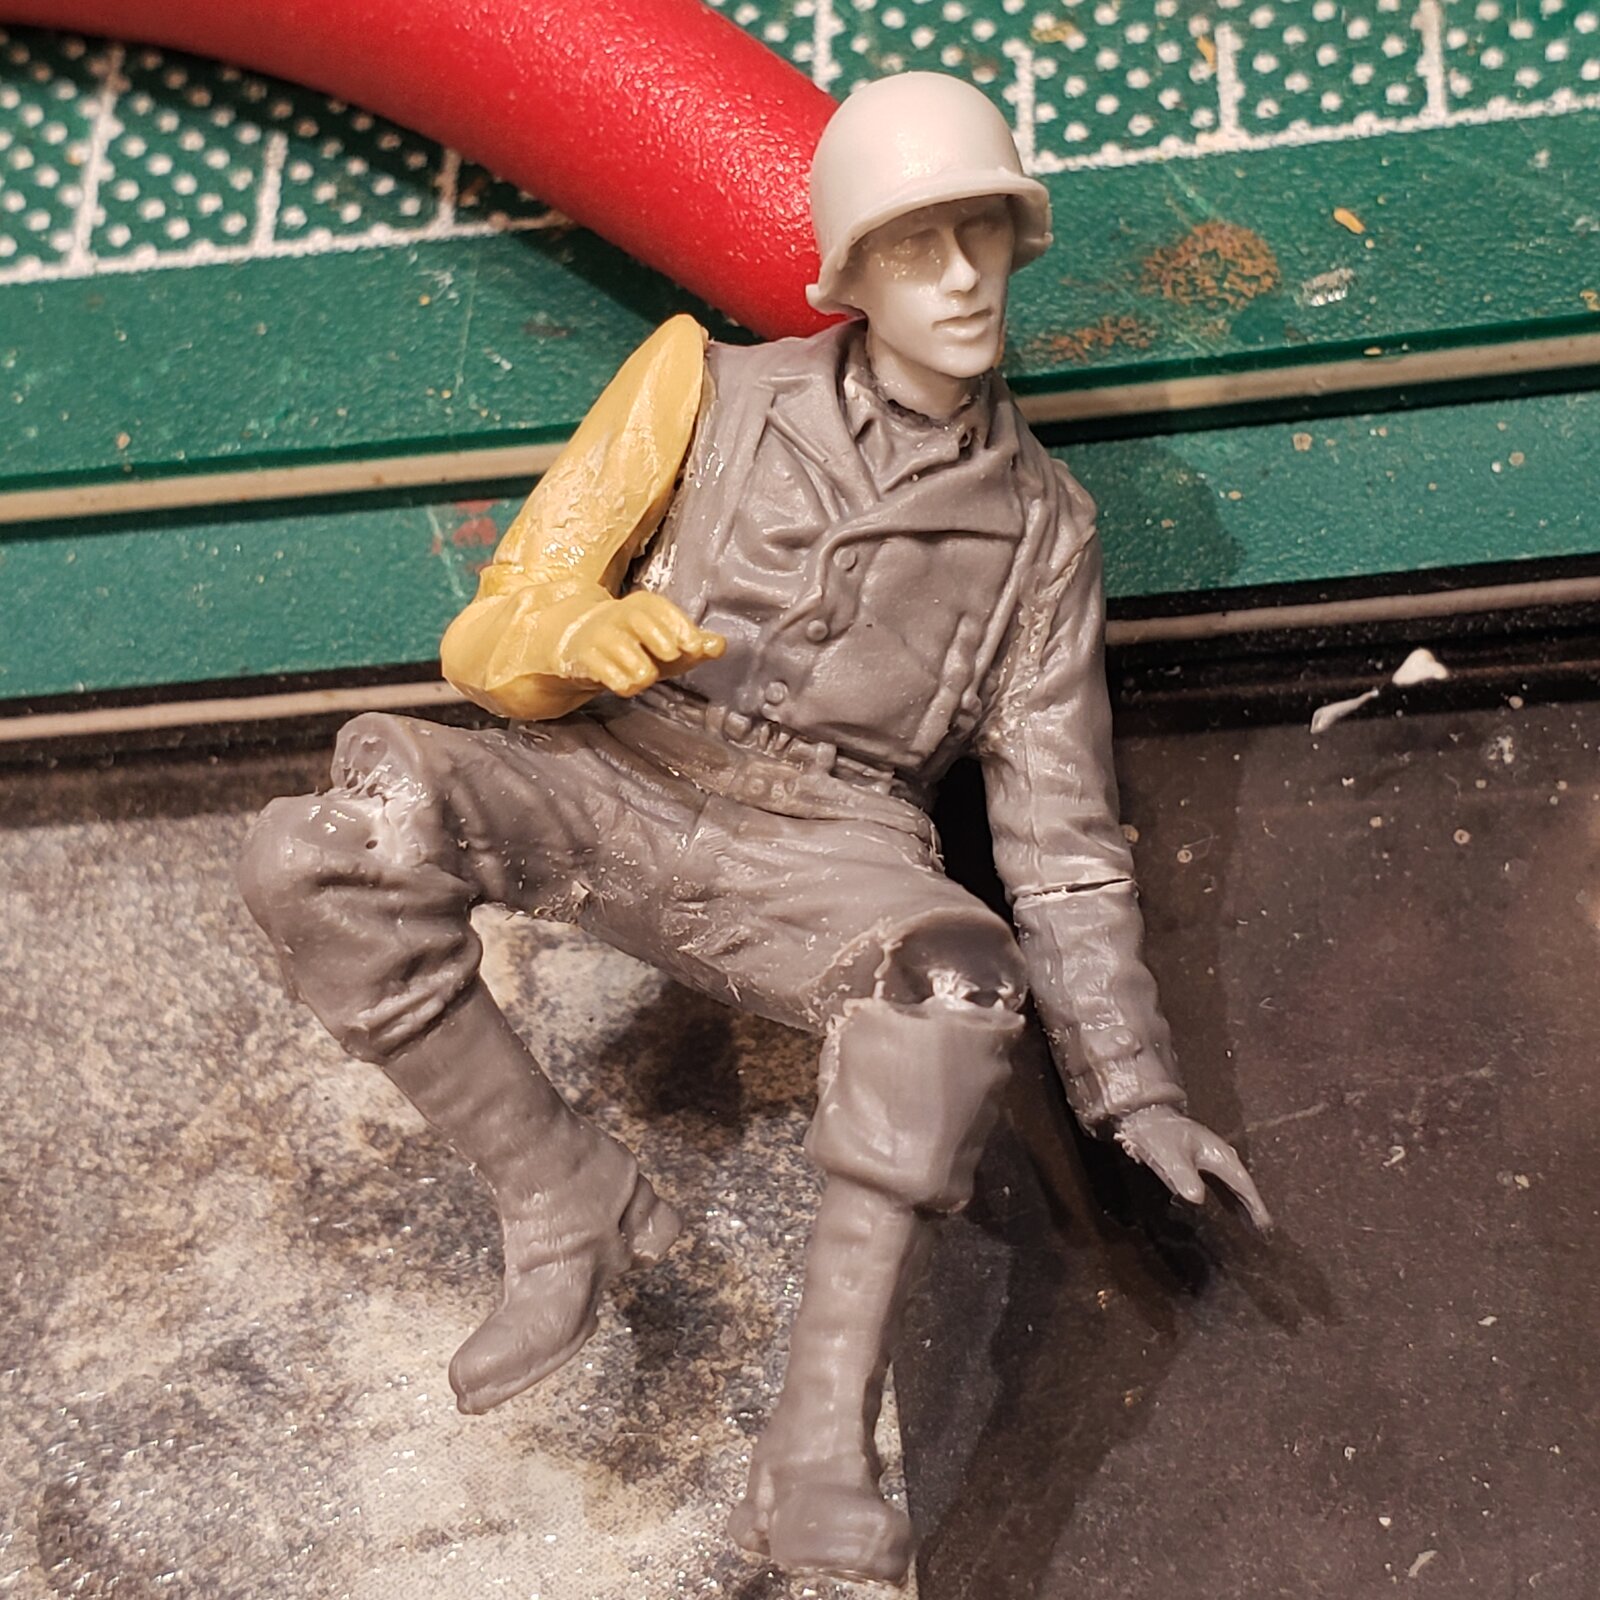
17578987022783936485461823697767.jpg

Talk about your plastic surgery!
Now to pretty him up along with his buddies.
 
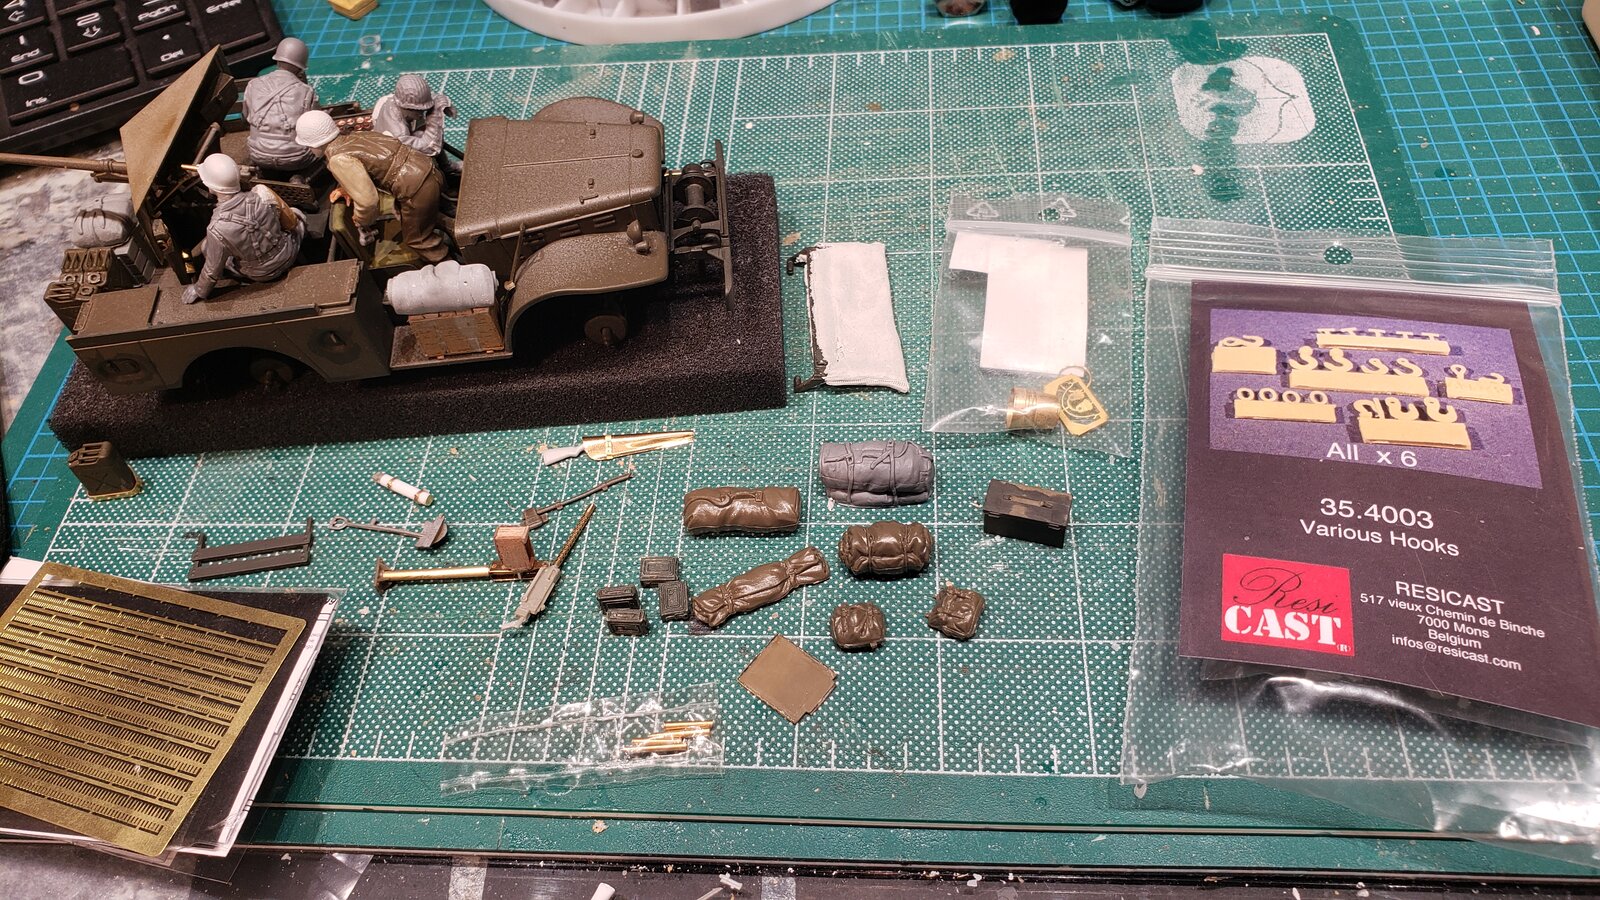
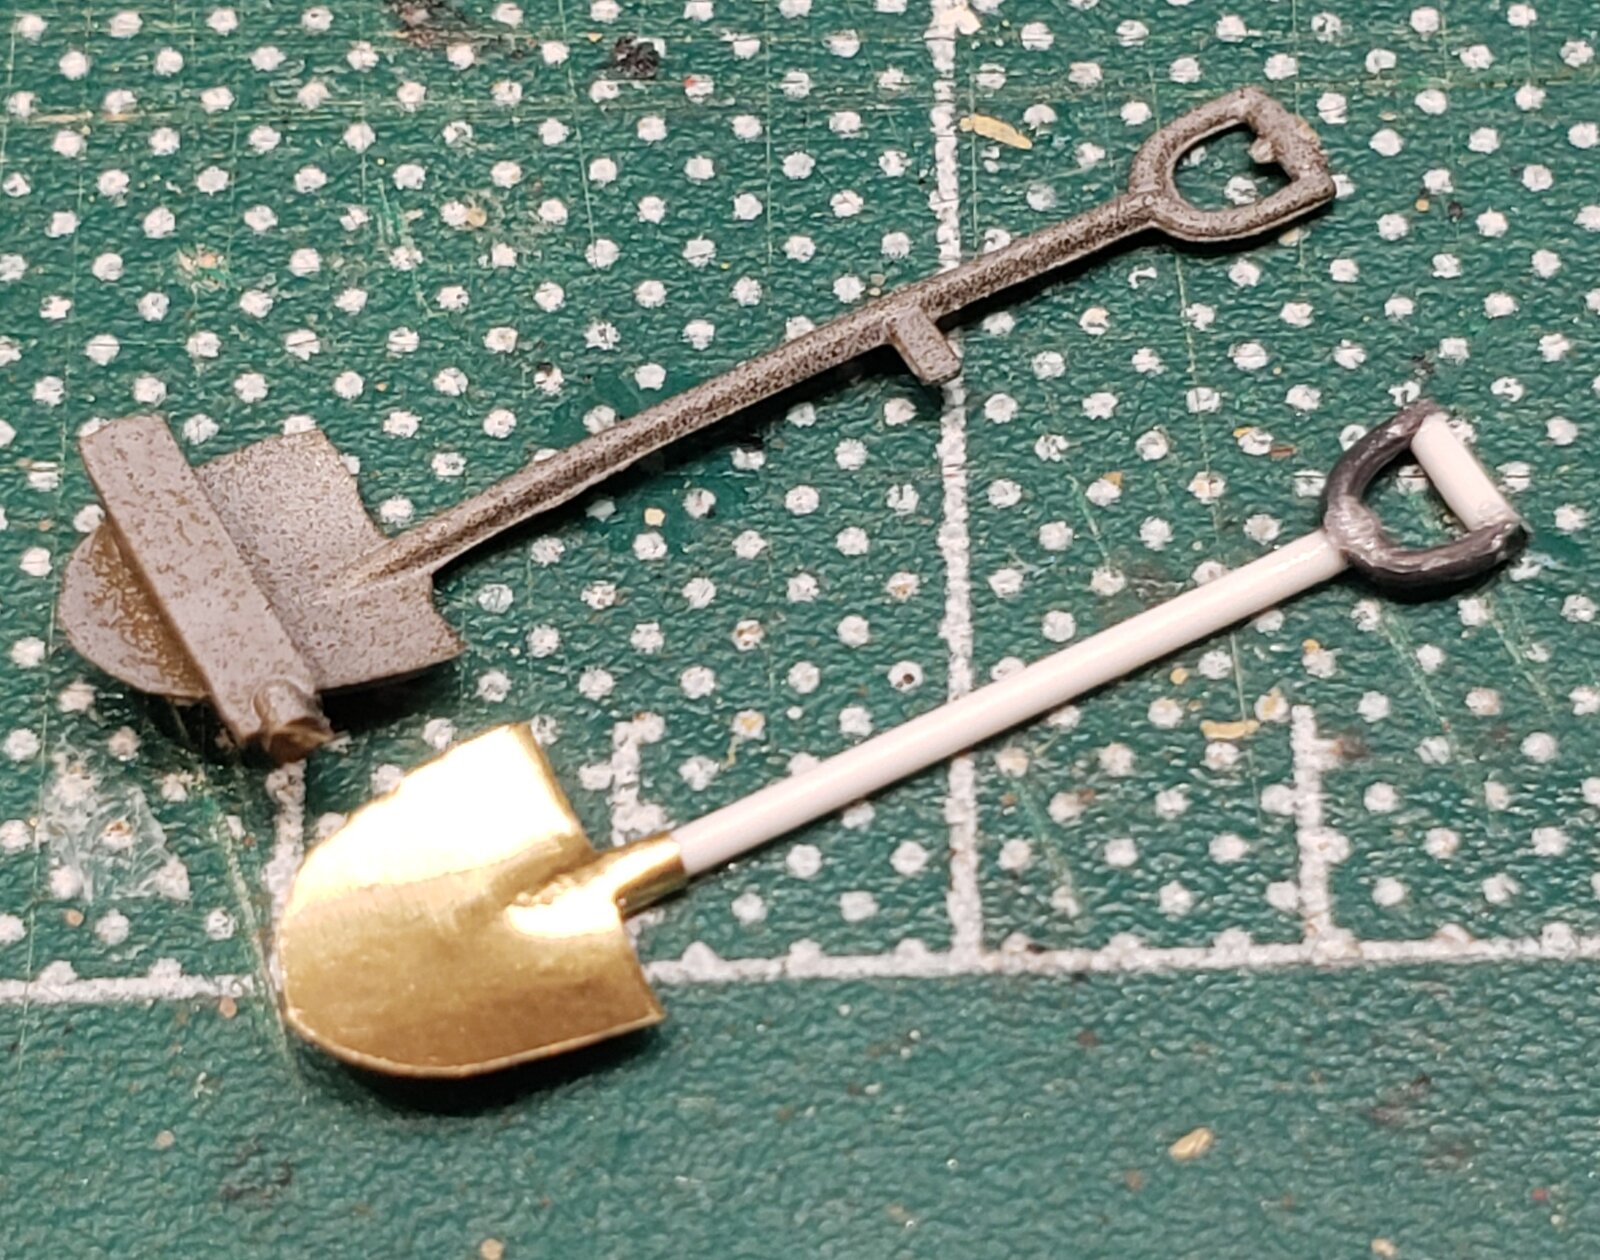
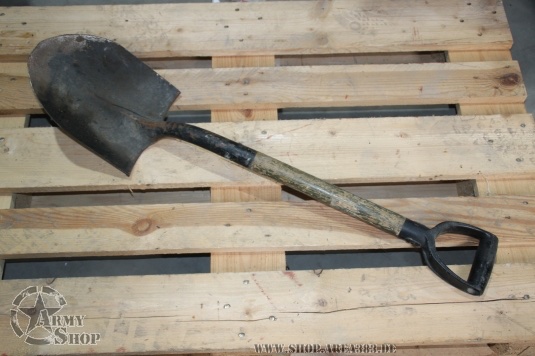
So going by the photo, looks like I may need up to three shovels! They are different than the one in the kit, but I still need two more...
What is it they say? "Cheapness is the mother of invention" ... well, scratch building certainly is!
The prototype:

20250925_172343.jpg


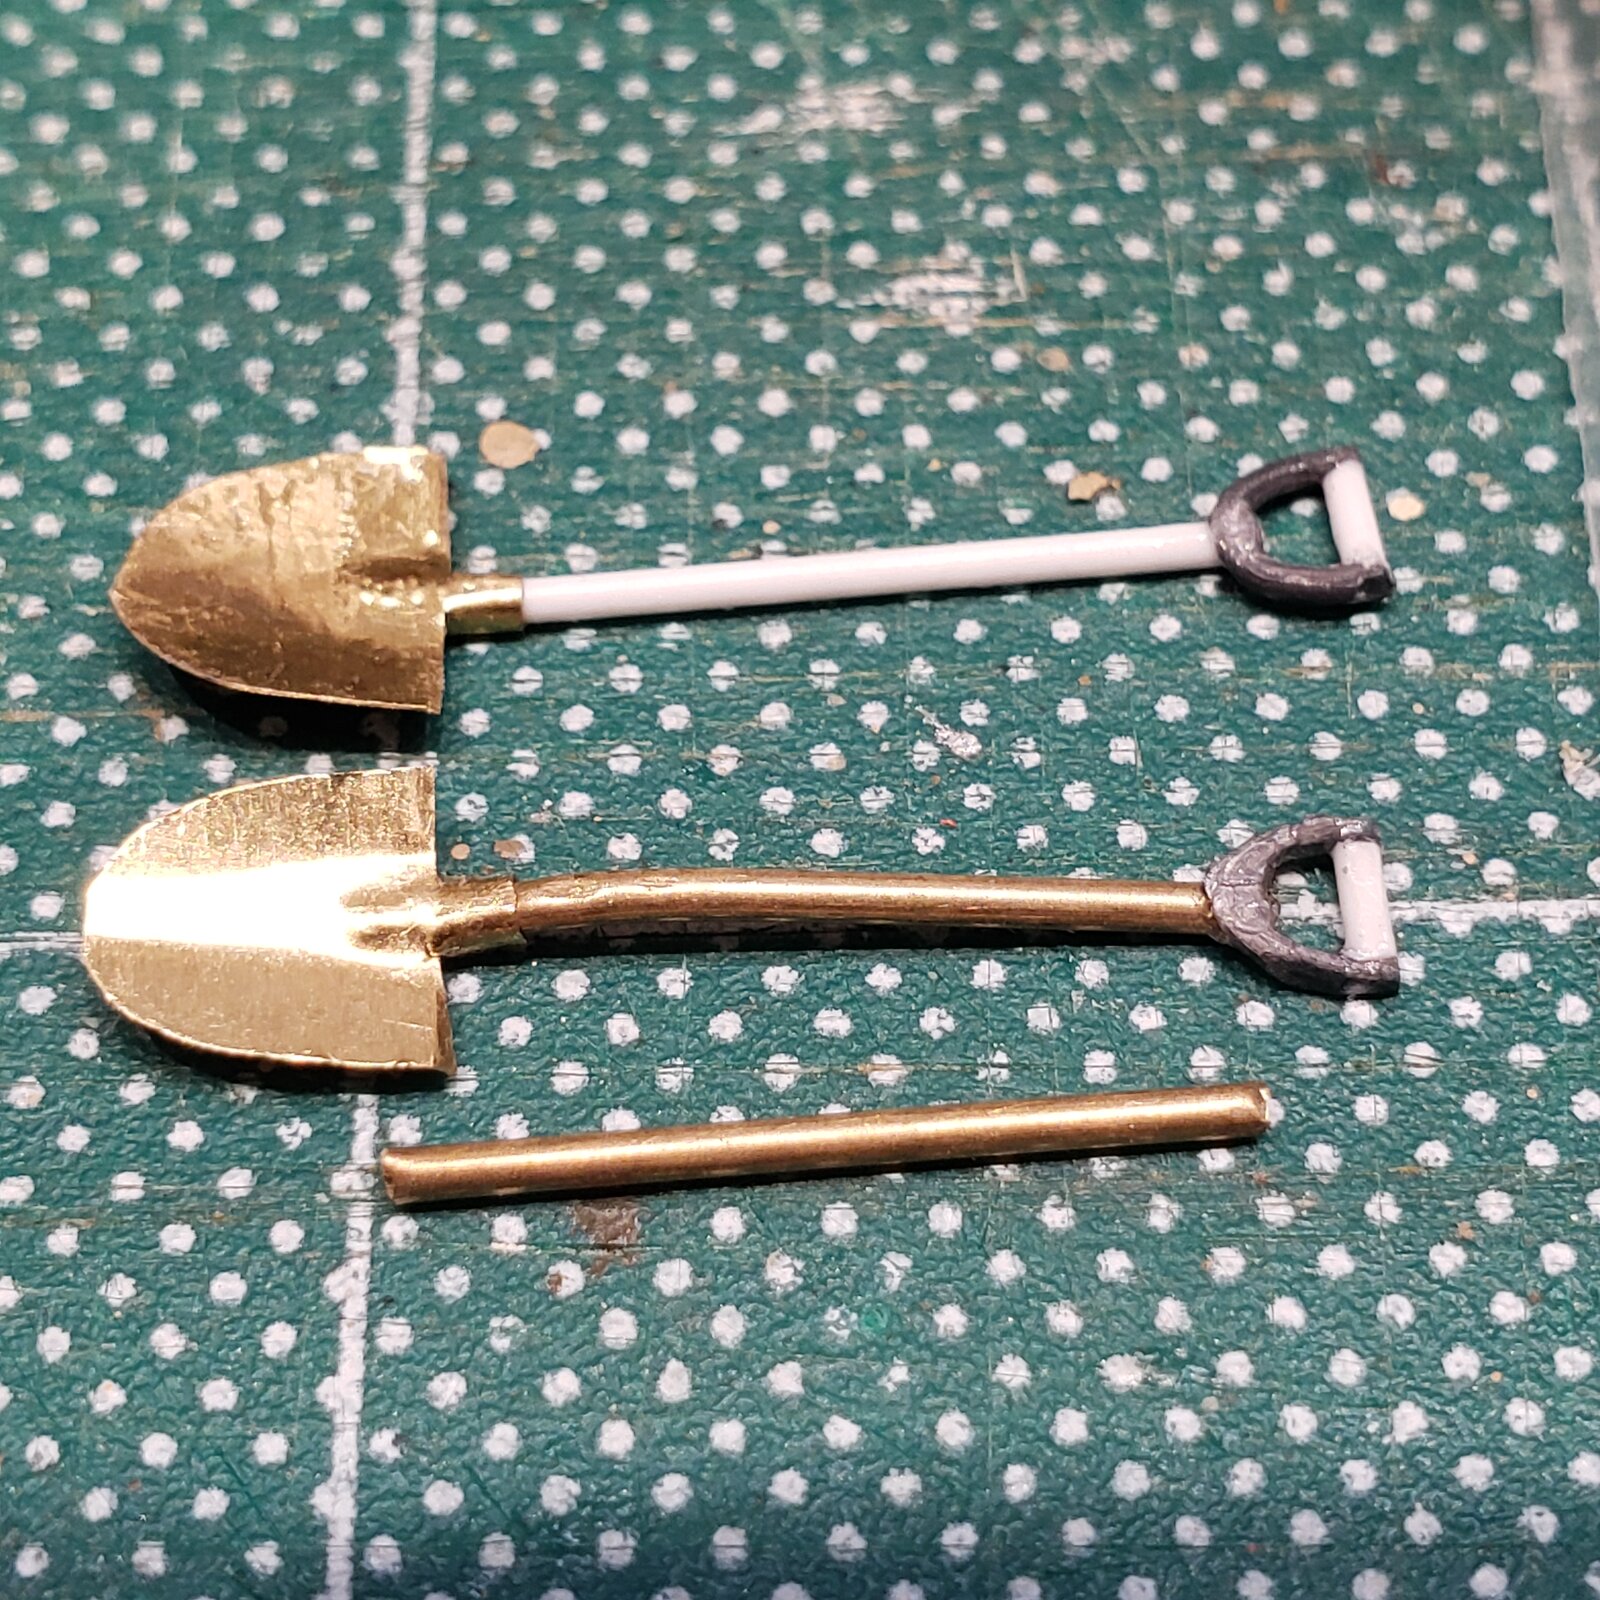
Brass foil, Evergreen, lead wire.
Let's see if I can do it again! ;)
 
As an Amazon Associate we earn from qualifying purchases. Product prices and availability are accurate as of the date/time indicated and are subject to change.
This is a fantastic build so far. I built this kit many years ago, and not with the results you're getting. The figures, scratch-built detailsand added stowage add so much. Looking forward to the finished product.
 
... yup, talk about throwing a "curve ball".
My first intention was to fabricate a reasonable replica of the kit provided shovel.
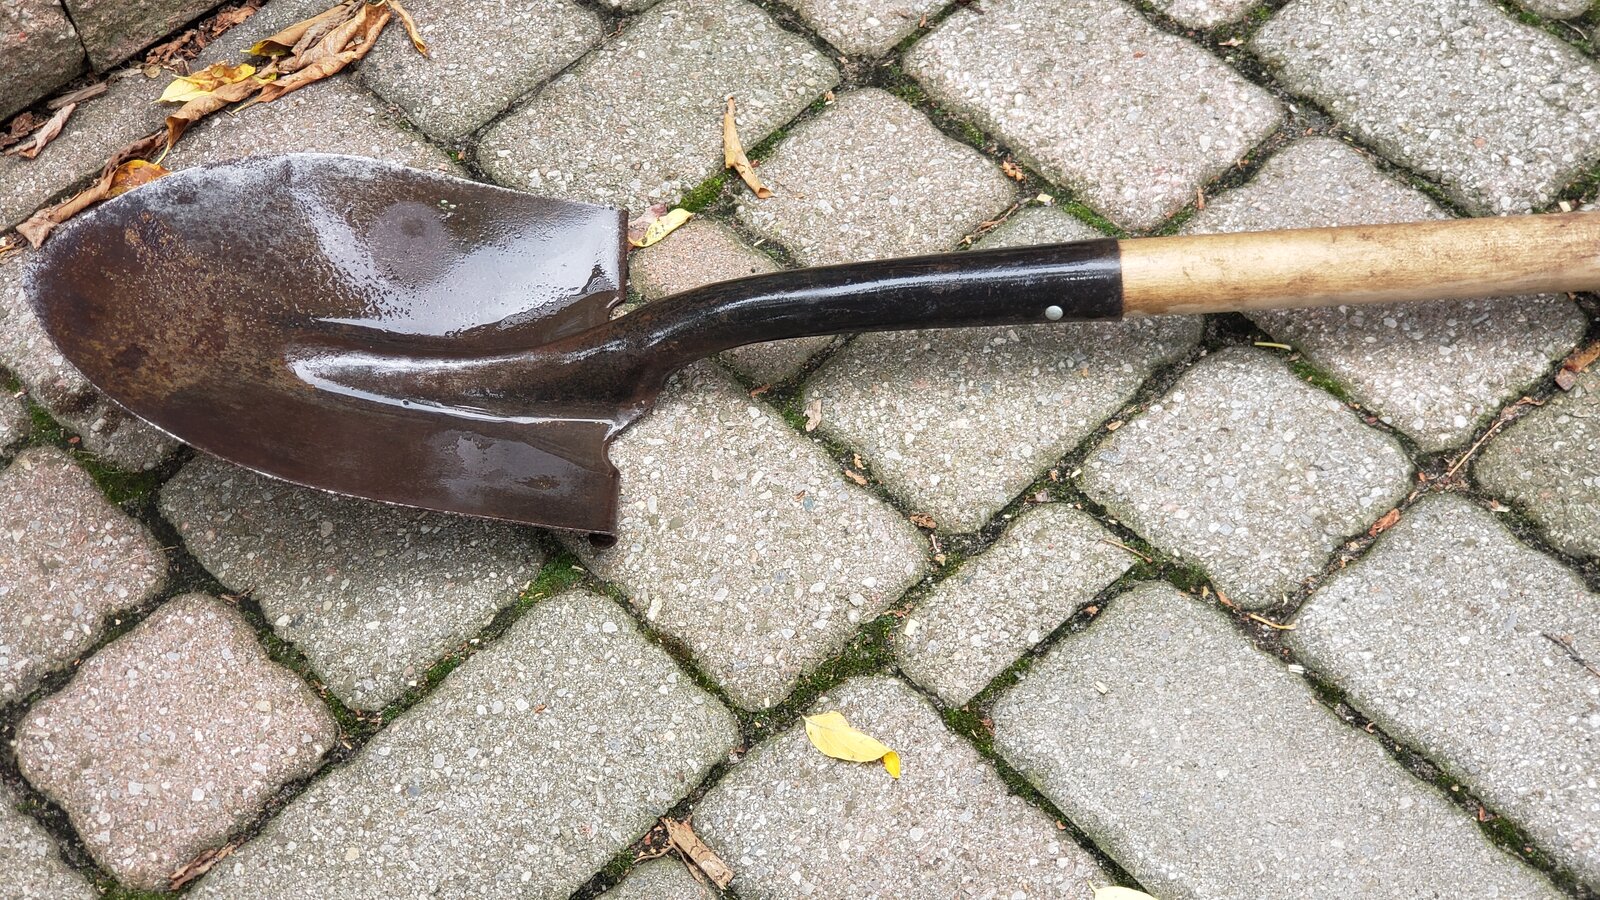
The issue with the curve is that it is the sleeve of the blade that is a compound curve!
So see two options: one is to fabricate new blades with longer integral sleeves that I try to compound bend; or, fake it by replacing the styrene shaft with a brass rod that is easy to bend.
I'm going with the latter.

A spade from my garden shed:
20250926_161330.jpg

I also shortened the shaft to be more like the proportions in the Tunisia photo.
Here is the upgrade beside the previous version.

20250927_202120.jpg

I wondered why they had the spades and pick axe mounted on the sides and behind the front fender...

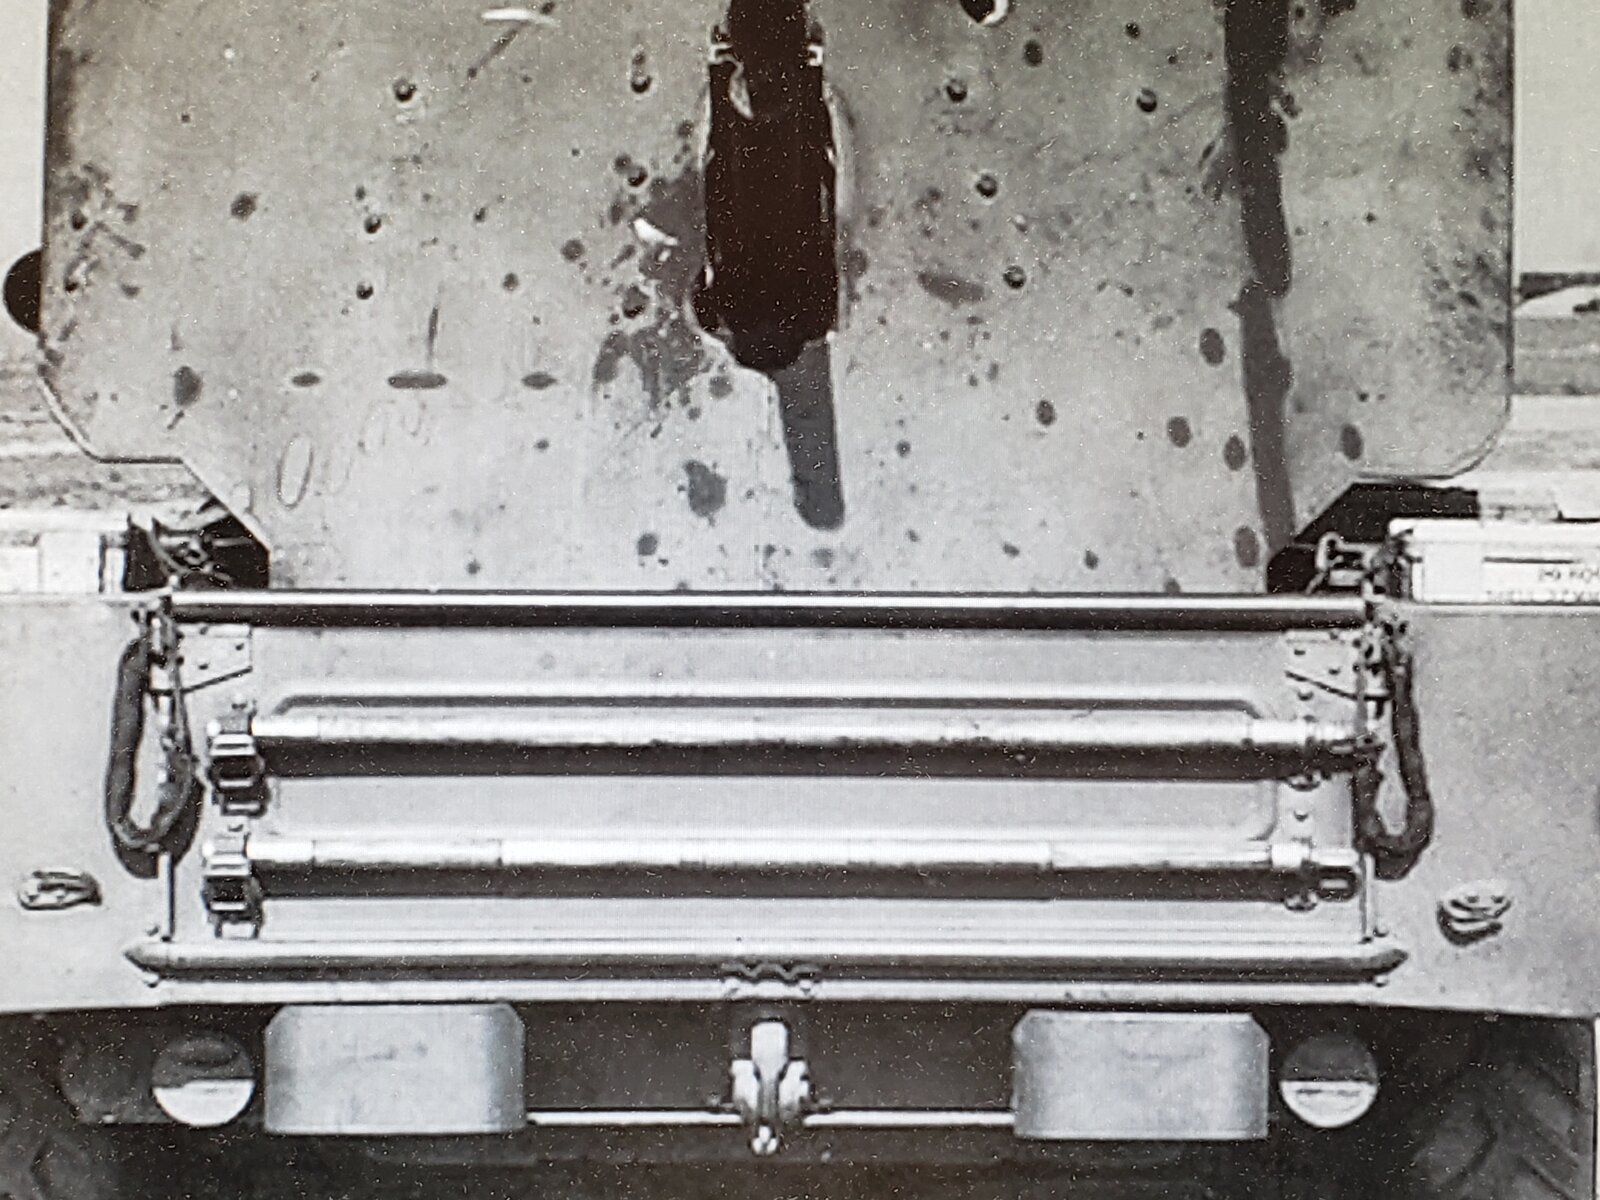
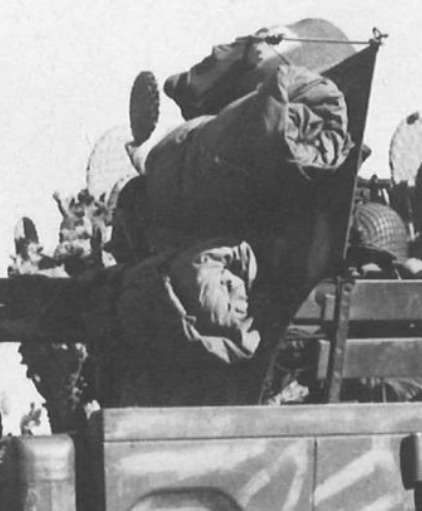
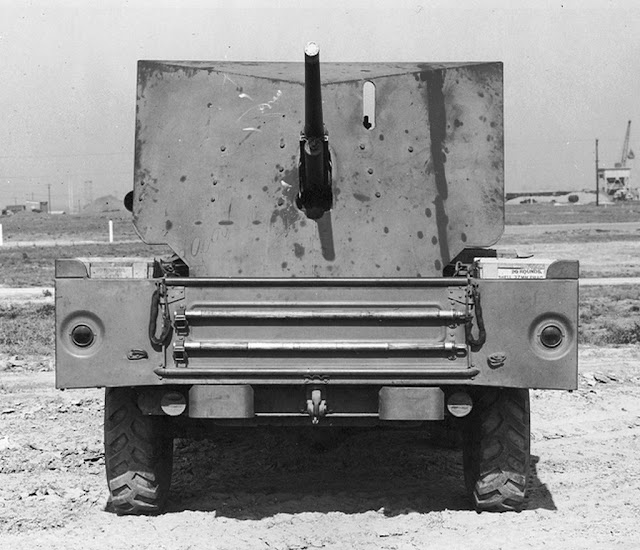
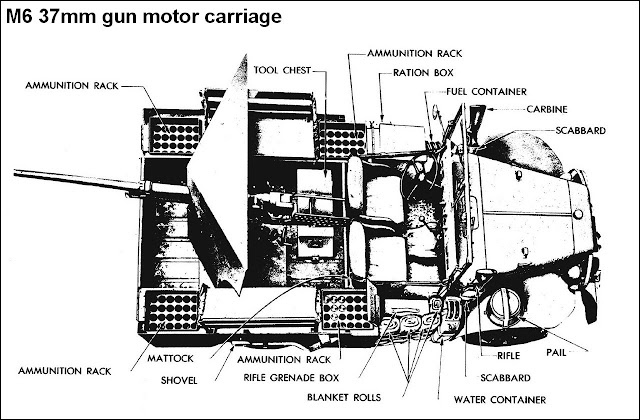
Then I found this image, showing a rack for the gun cleaning pole sections on the tailgate, instead of the pioneer tool rack as is often depicted (and in the kit).

20250927_202720.jpg

It also shows the tailgate chains and latches, which are not in the kit, as well as confirmation that the two blobs on the kit box rear are hooks!

"Look, and ye shall find... yet more details to scratch!" :rolleyes:
 
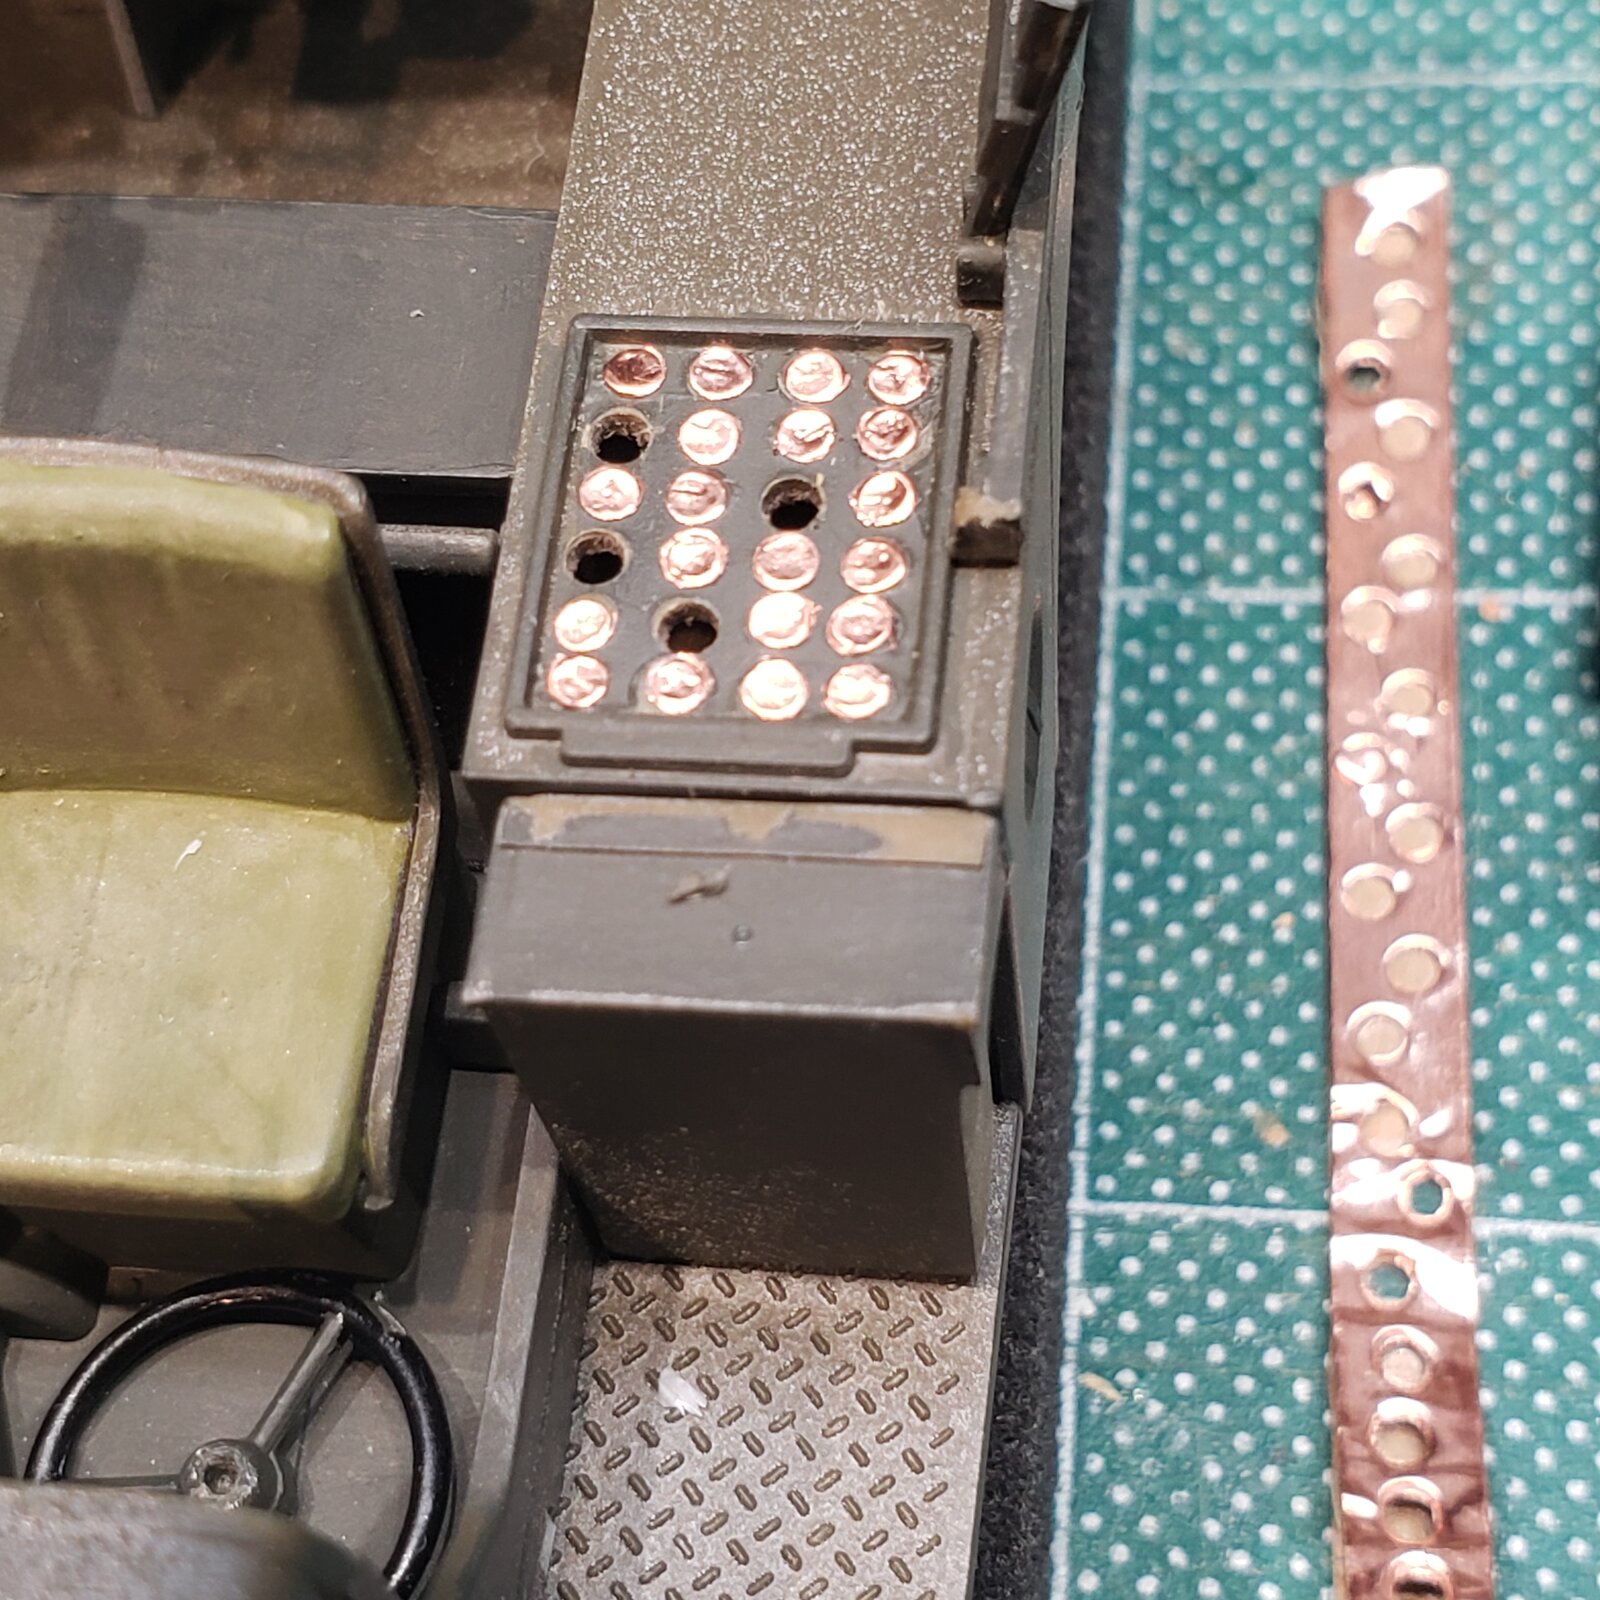
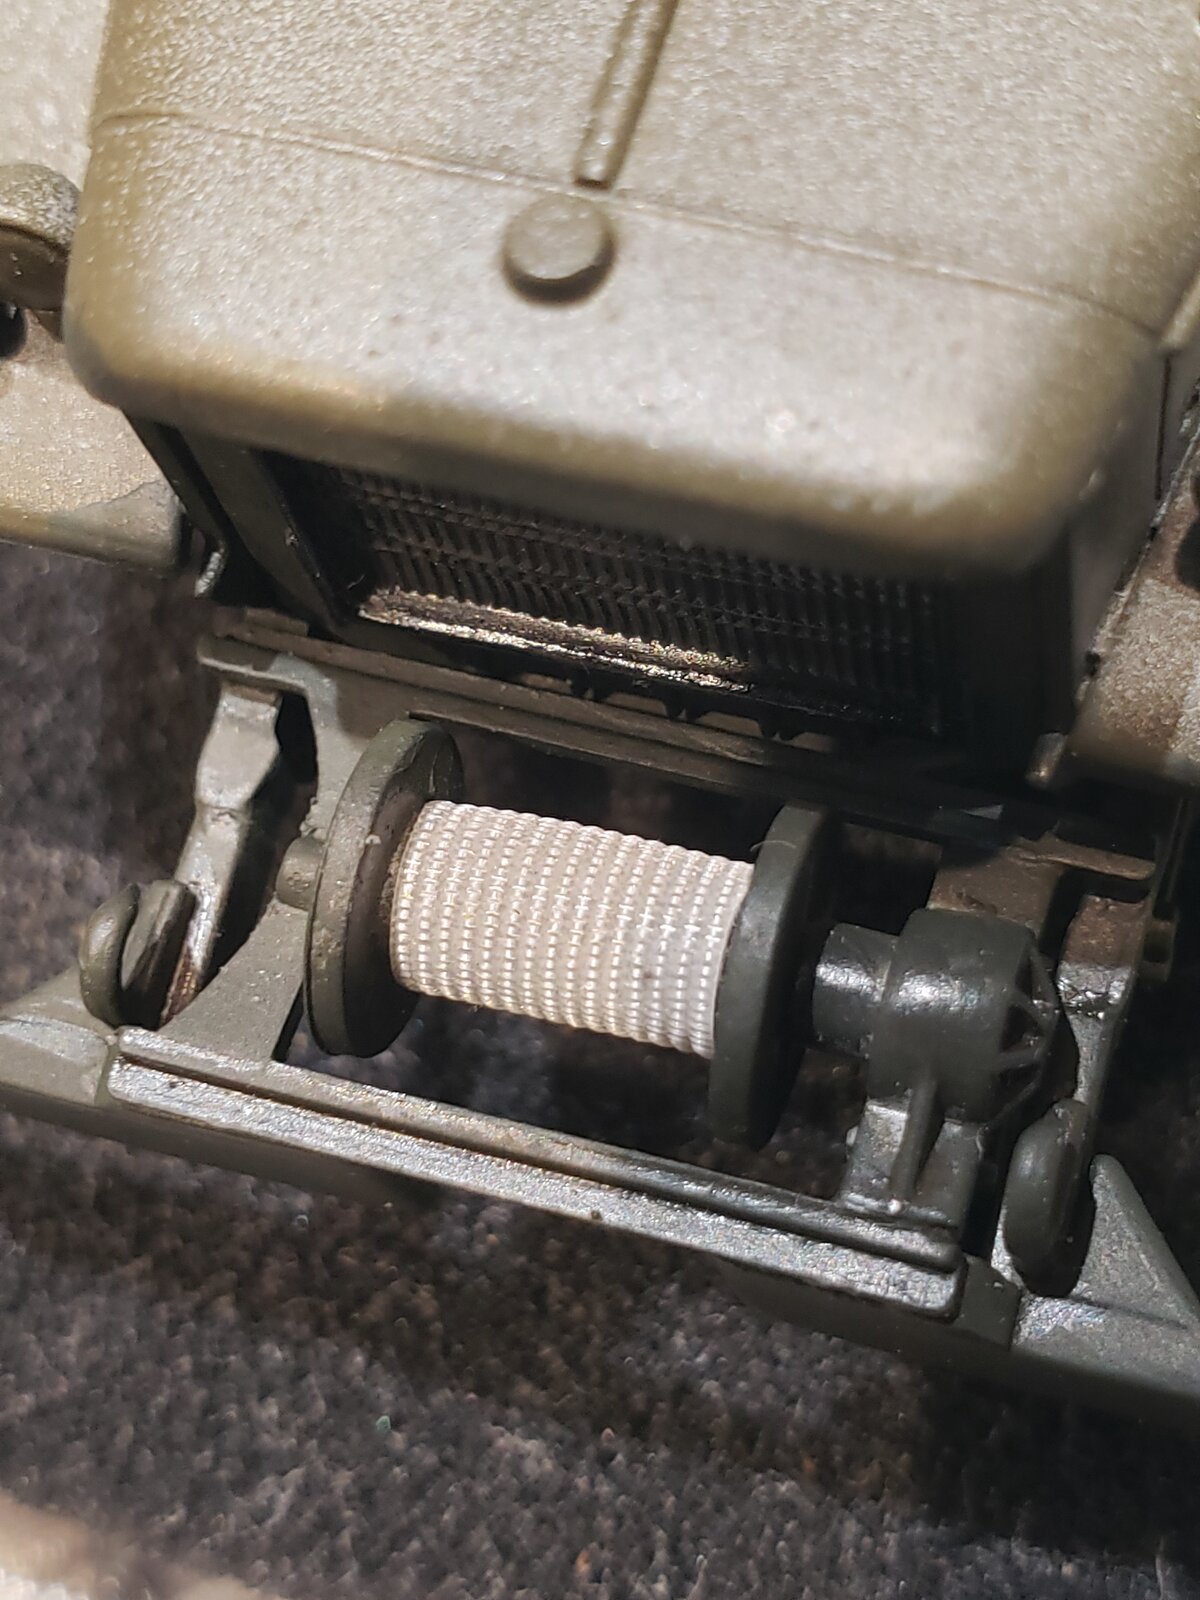
... it occurred to me that winch cable might be approximated, at least to the second to last layer on the drum, with ribbed bandage tape...
What I usually do for a winch is to cut some plastic tube of slightly smaller diameter than the wound-up cable will have, glue that around the drum and then wrap just one layer of cable around that.
 
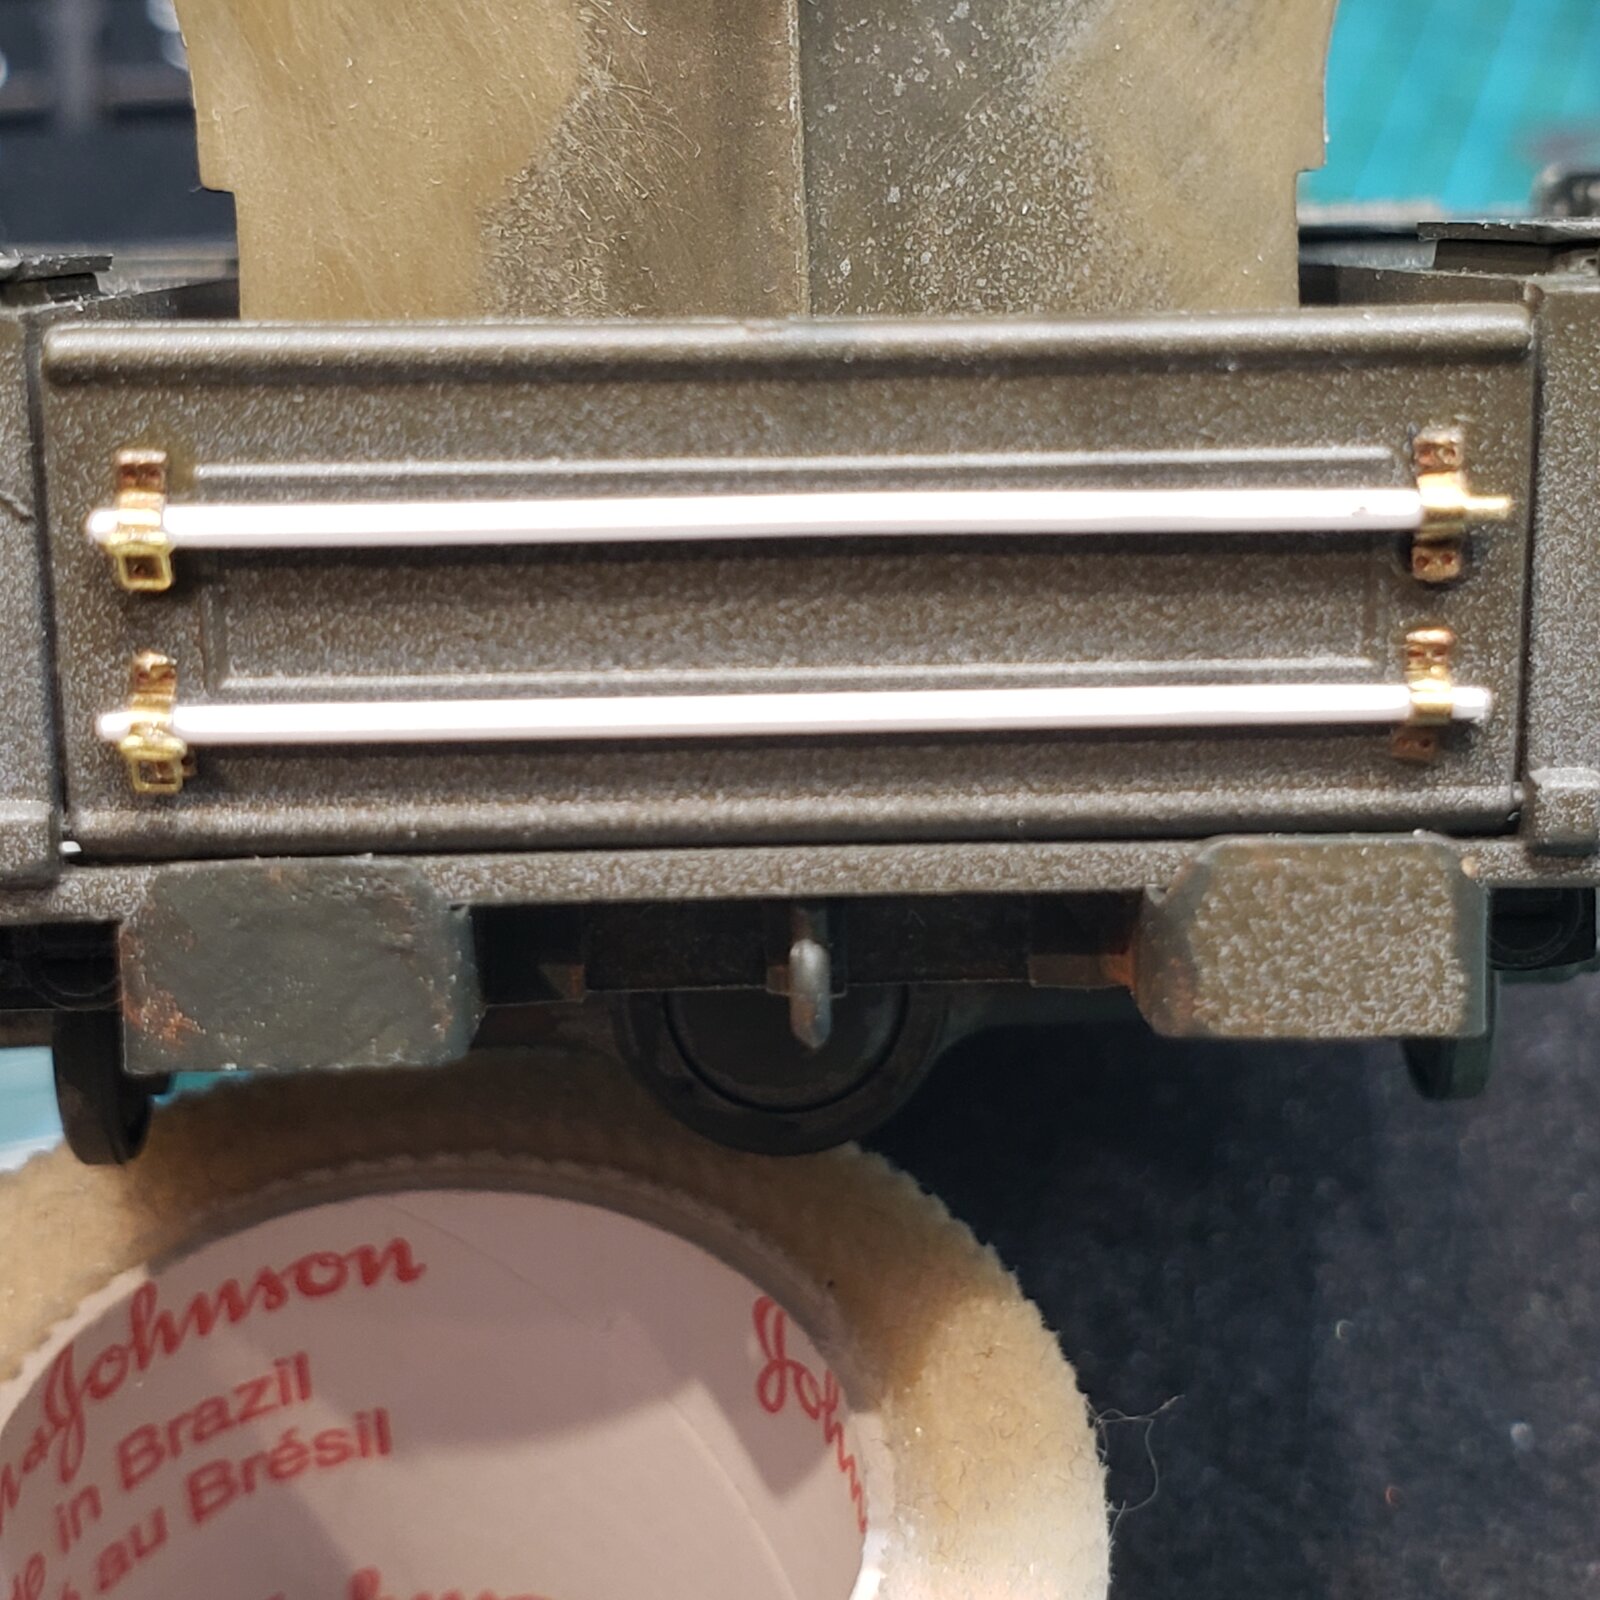
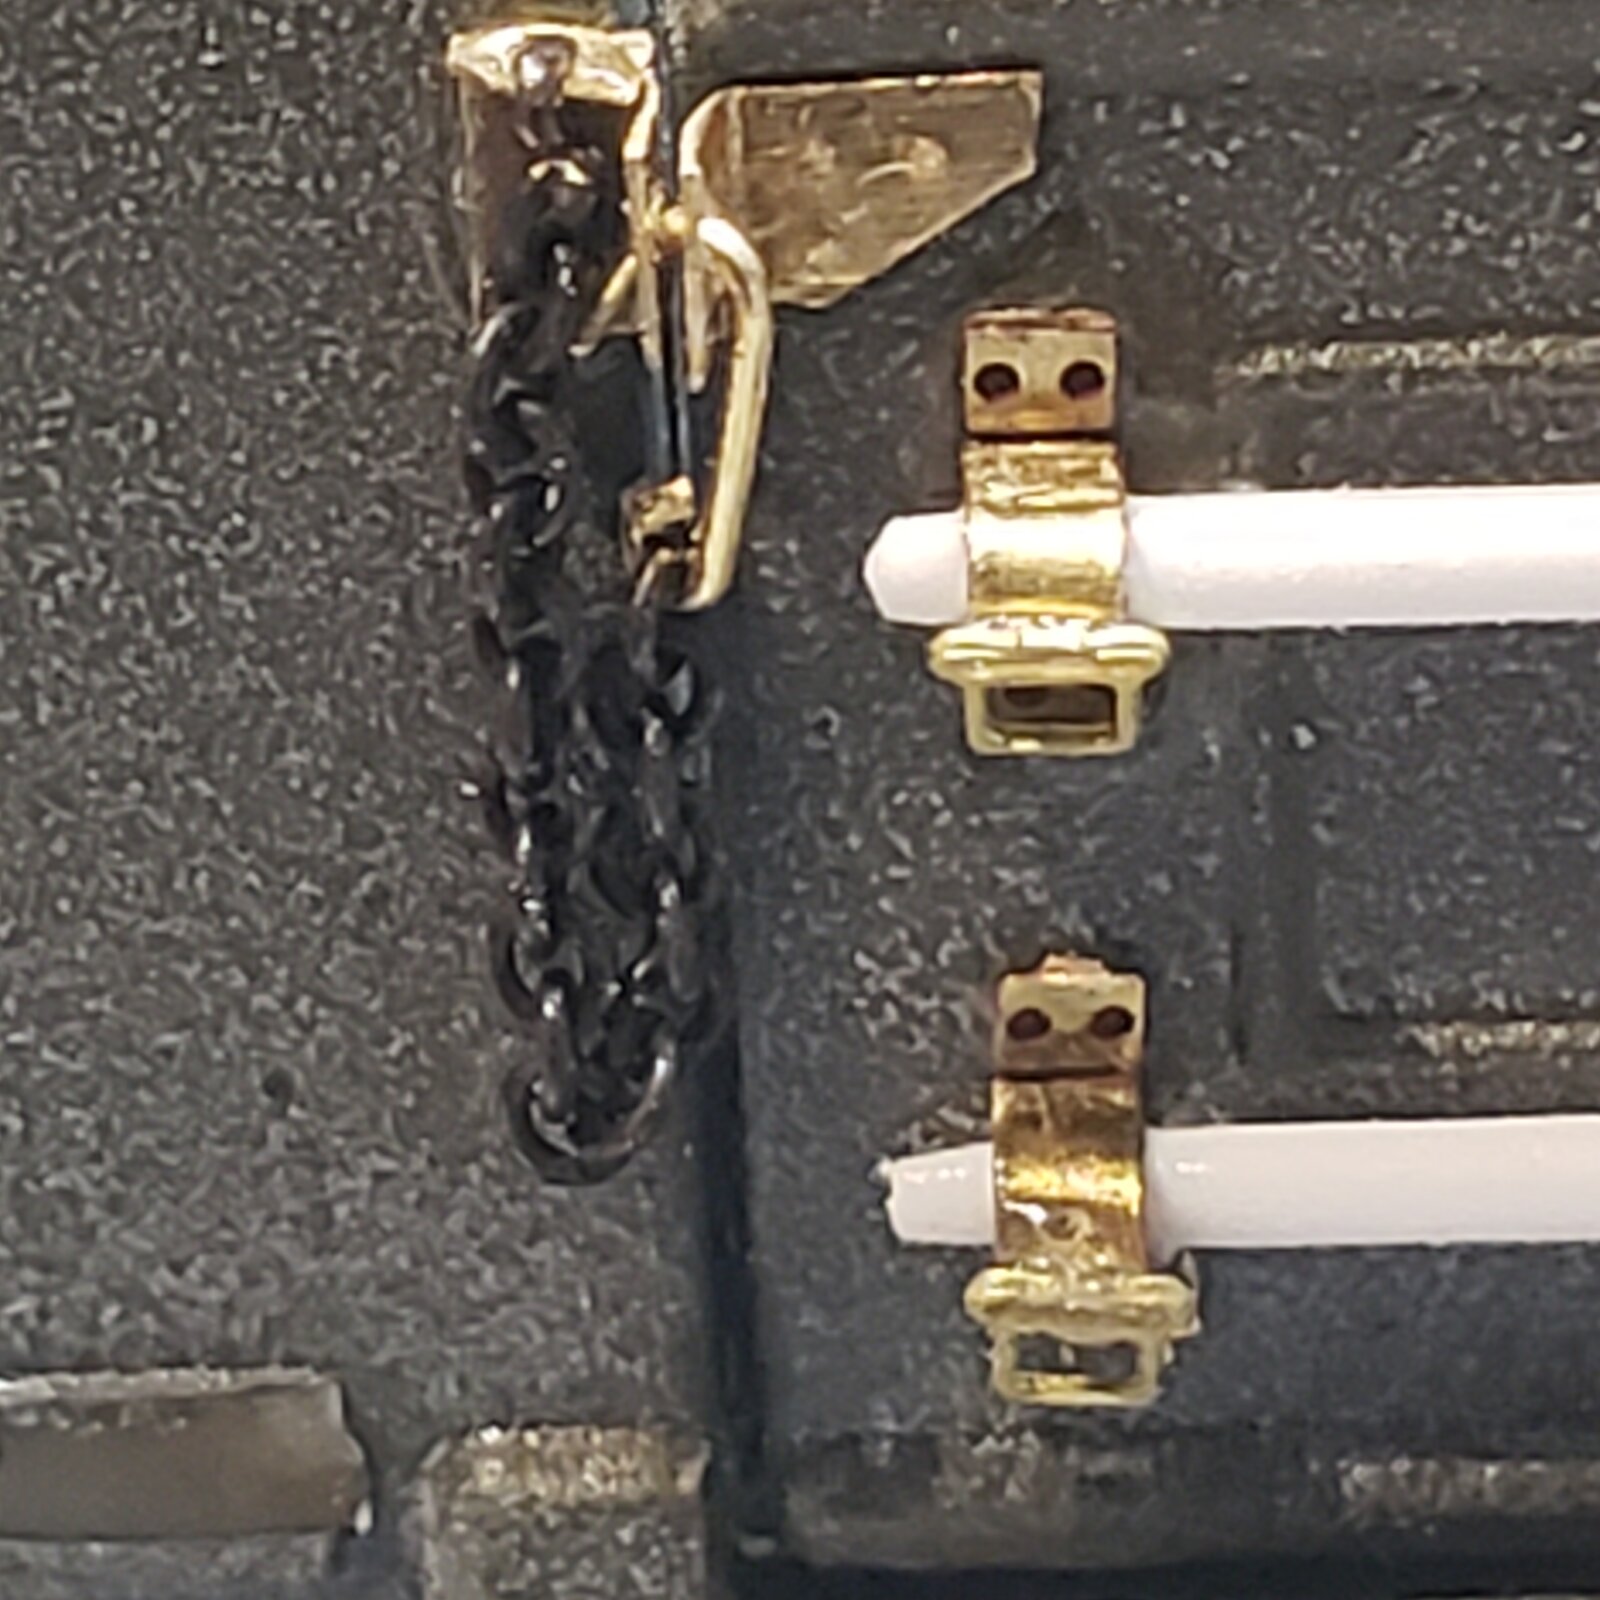
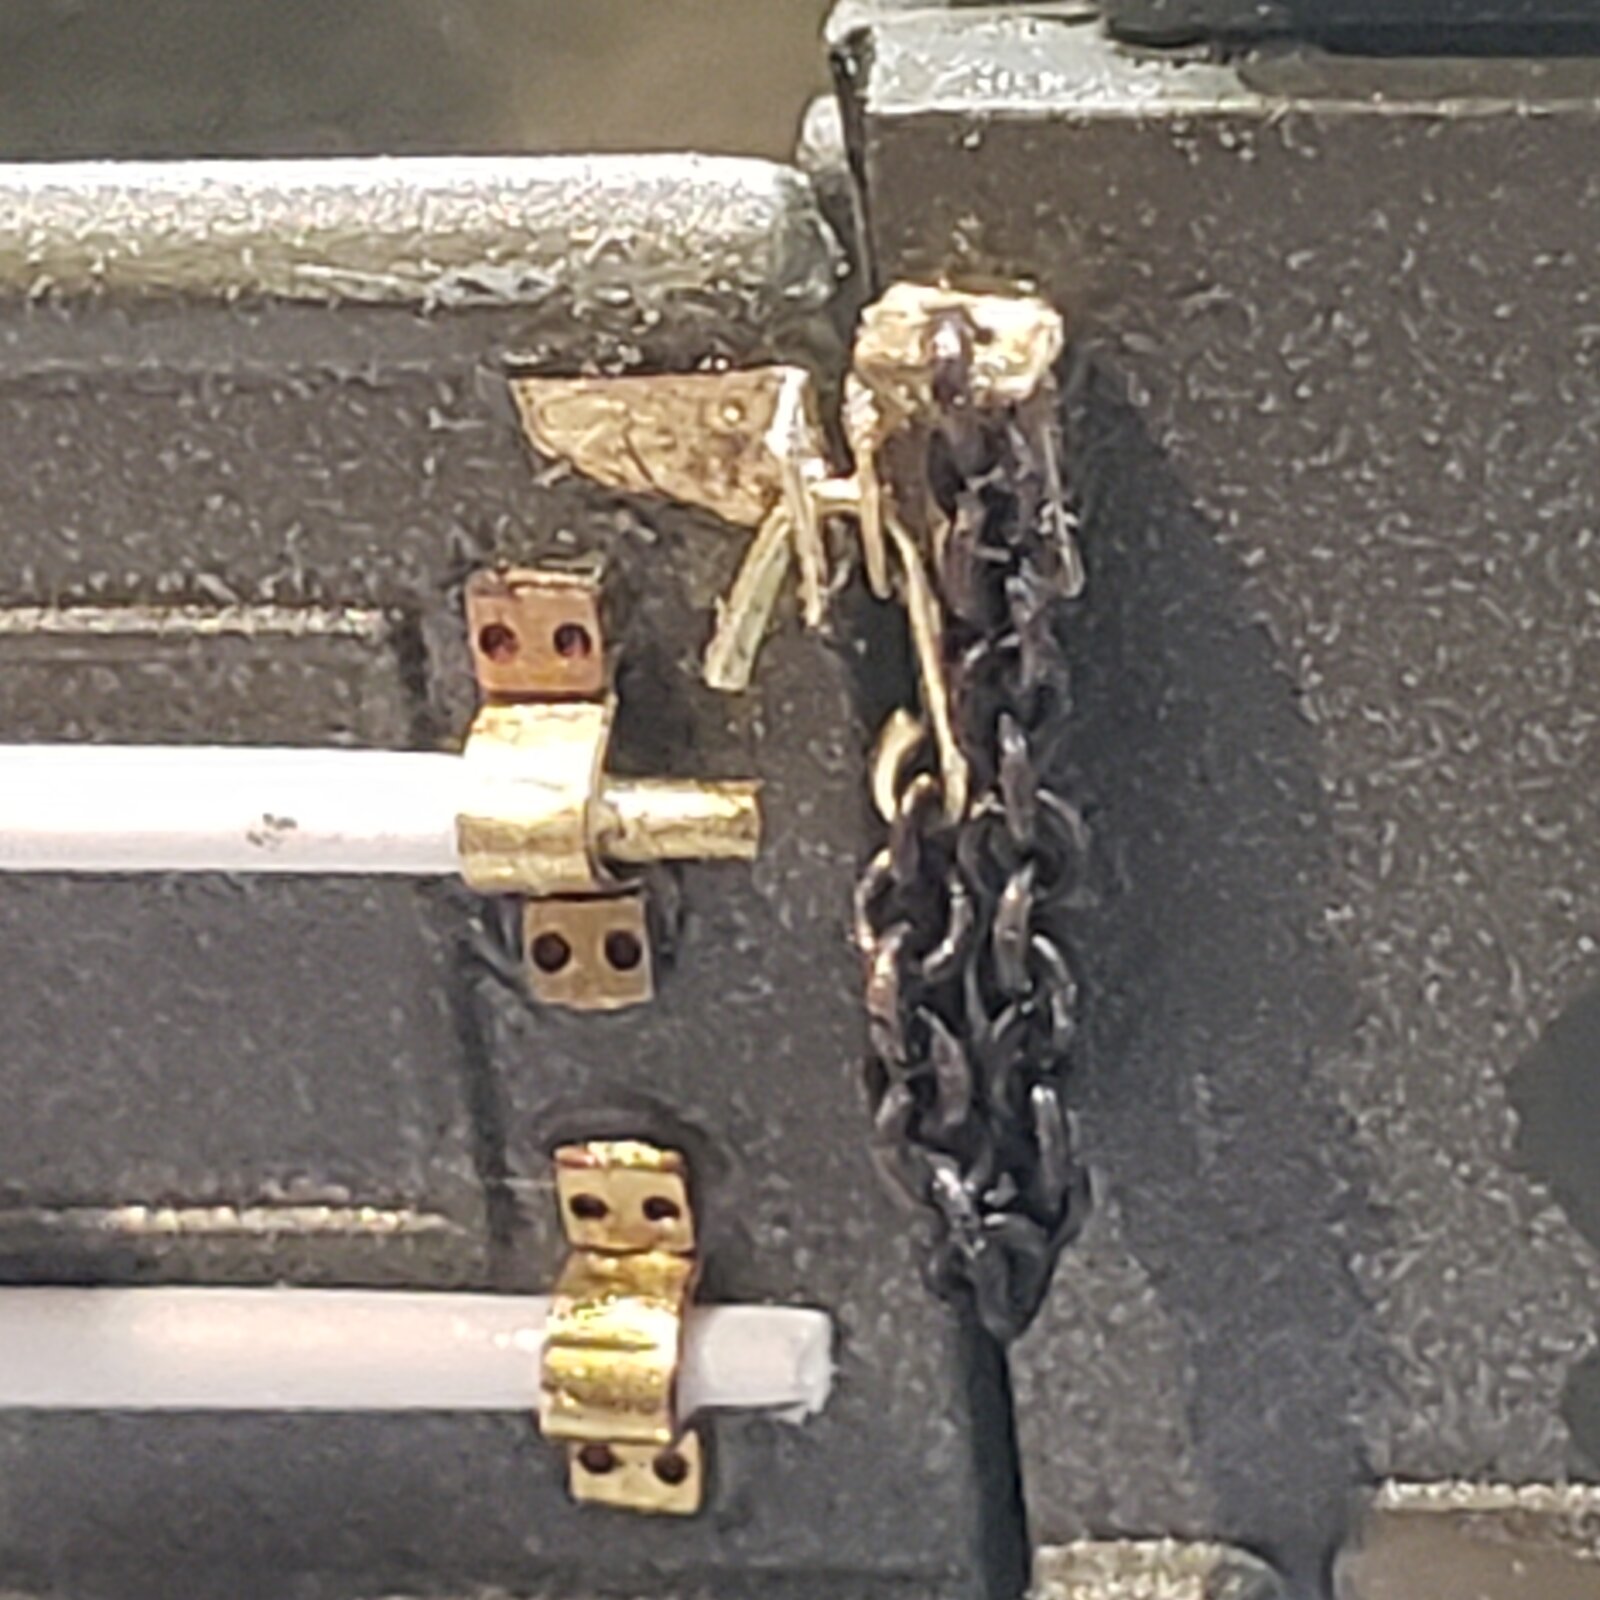
...so, five and a half hours later, shades of Topolino brass madness, I manage to fabricate rear gate latches and chain.
I don't know why, as the gate is going to be down and loaded up with stuff!
For the record, here it is, up, latched ready to go.

20250929_124926.jpg

20250929_125004.jpg

Time for a break from this guy, and to get into the Dive Bomber GB!
 
That's a very good question … I'd almost say, "Verlinden was accurate after all" ;)
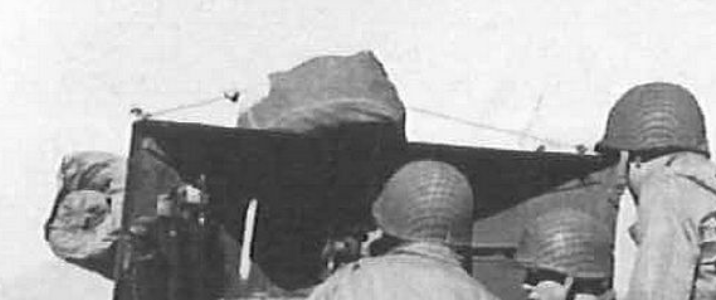
There's some kind of hook at the top corner of the vehicle with the stowage, perhaps the crew did weld some on. And perhaps some loops on the front of the shield too?
 
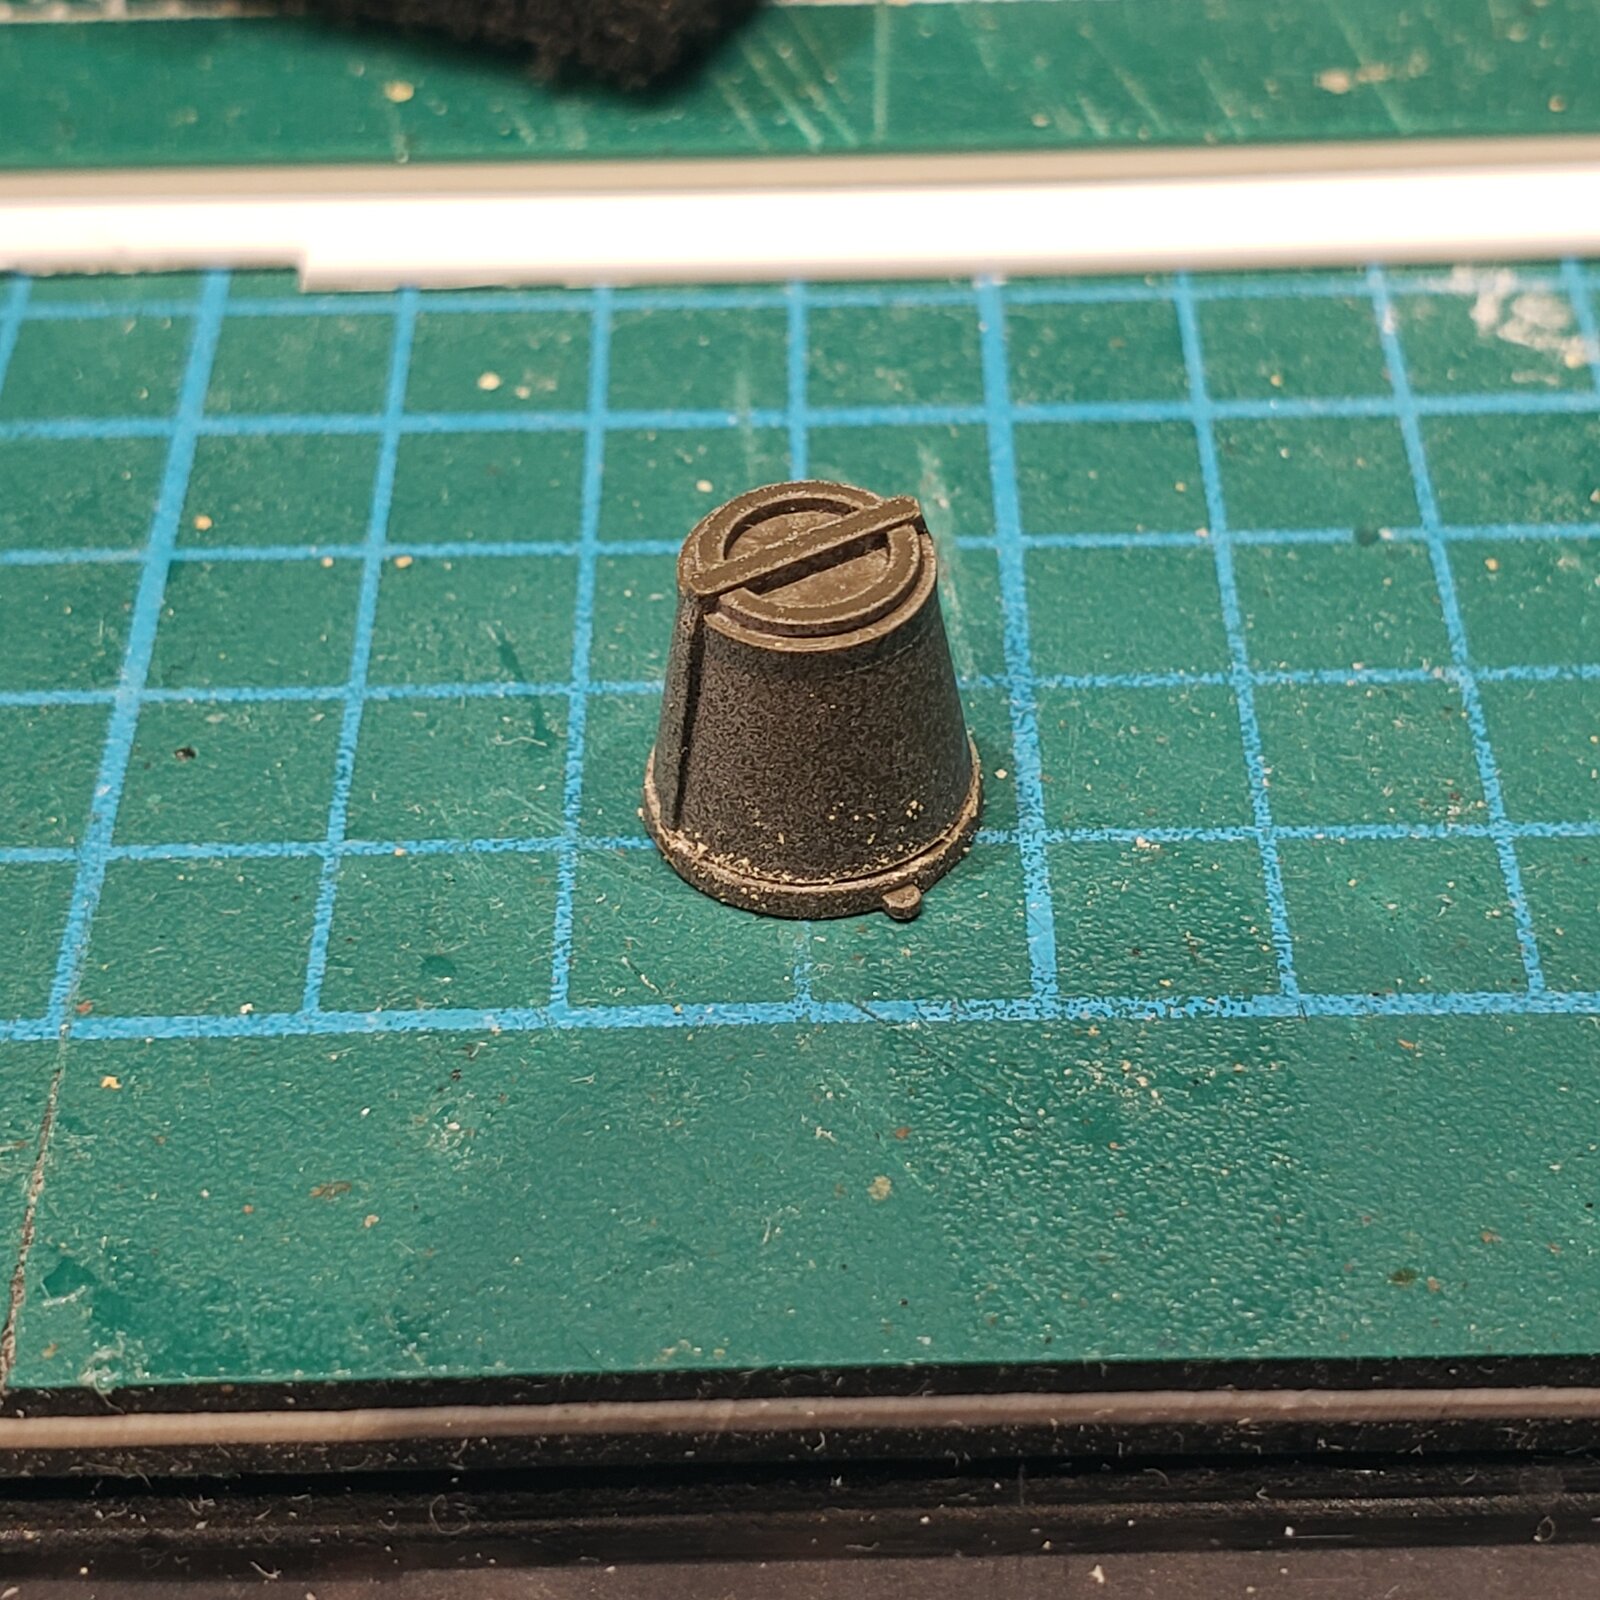
So my reference image doesn't seem to have bucket on the fender, however, like a few other photos I've uncovered, the mount may actually be there... sans bucket.
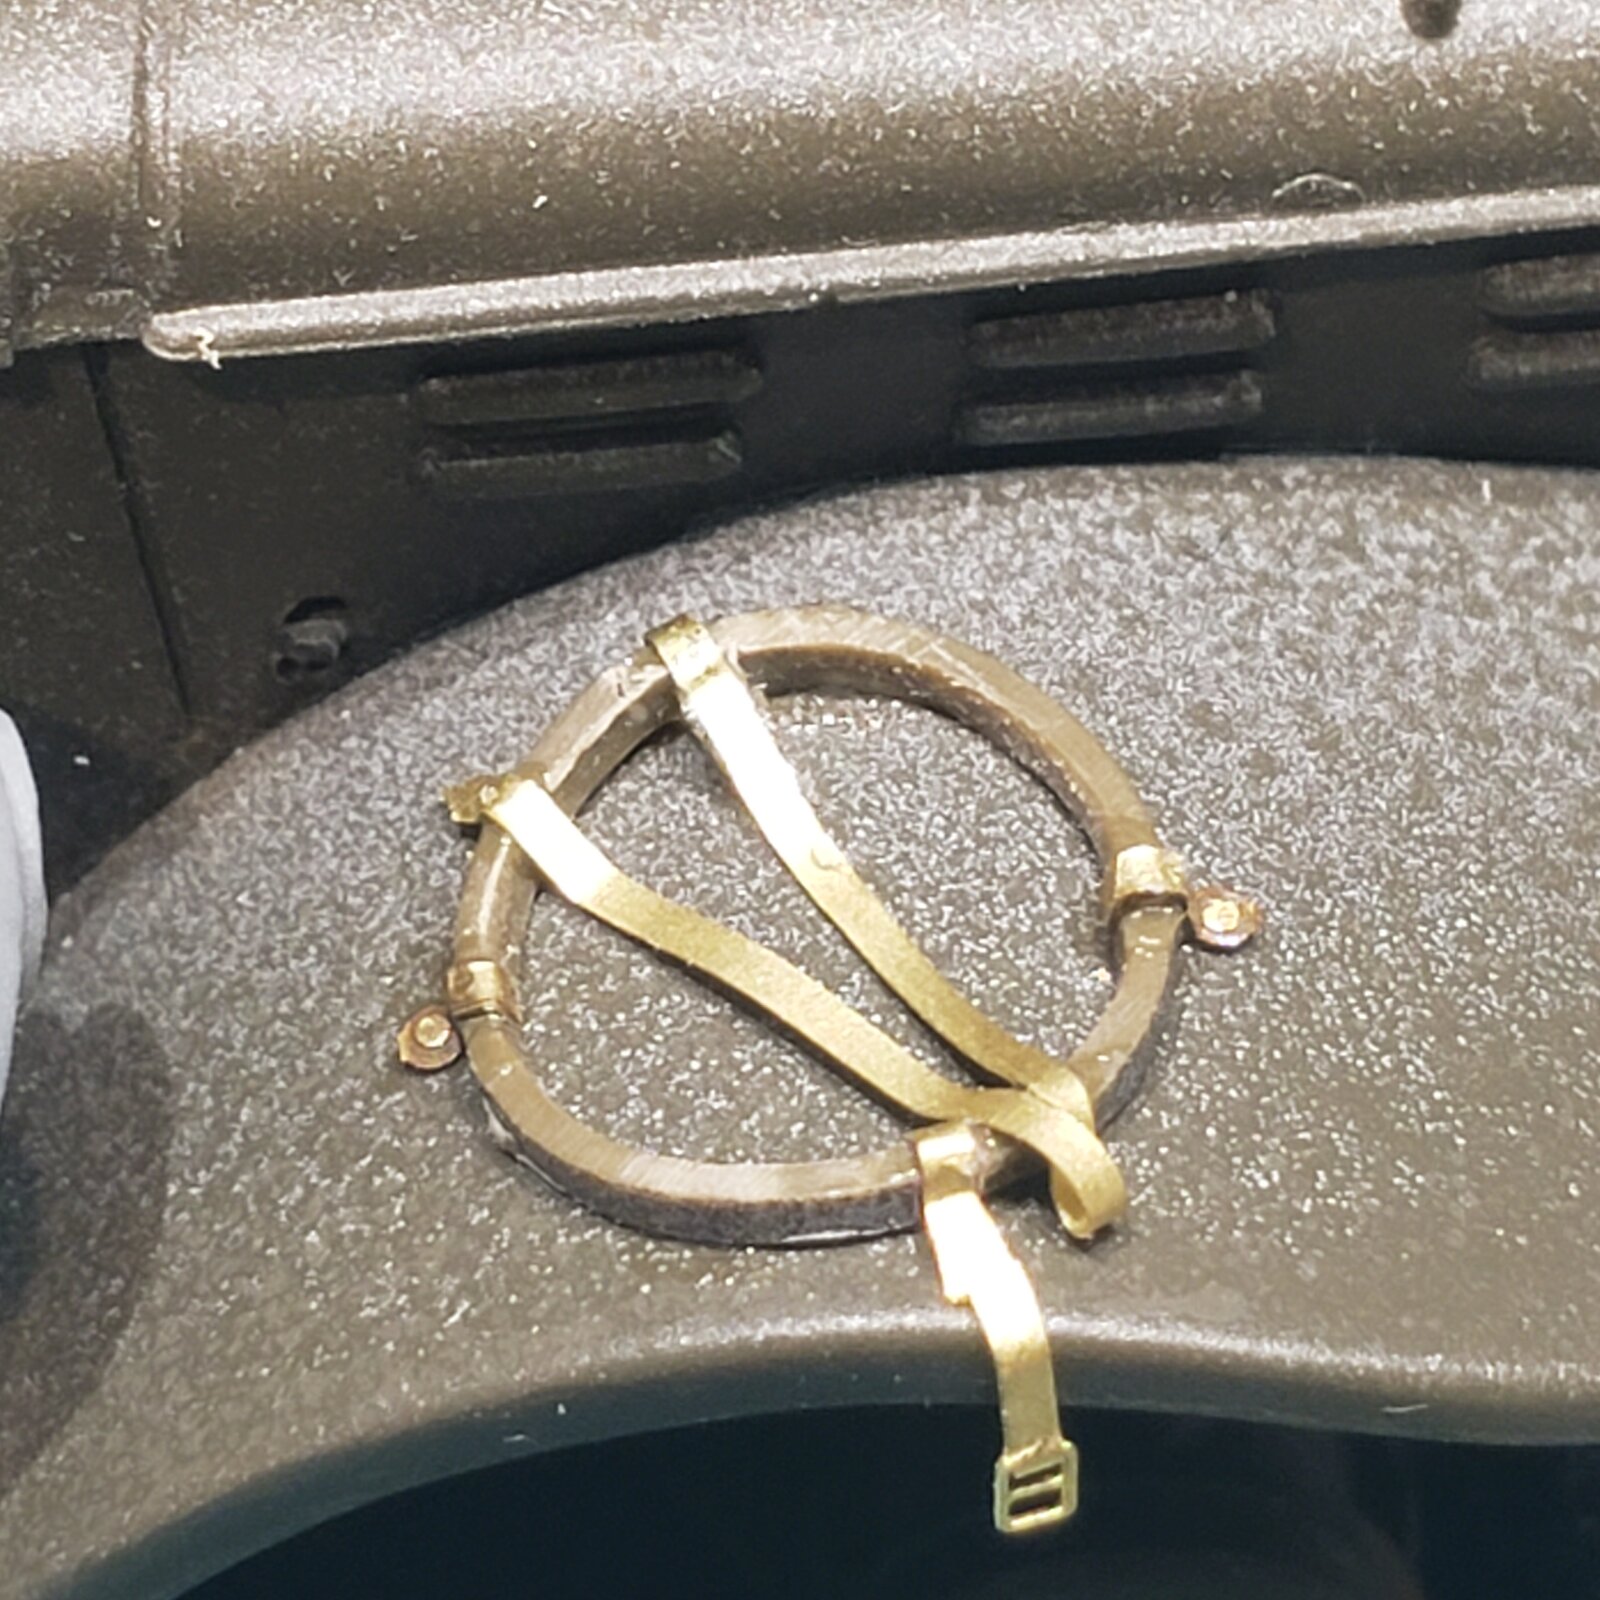
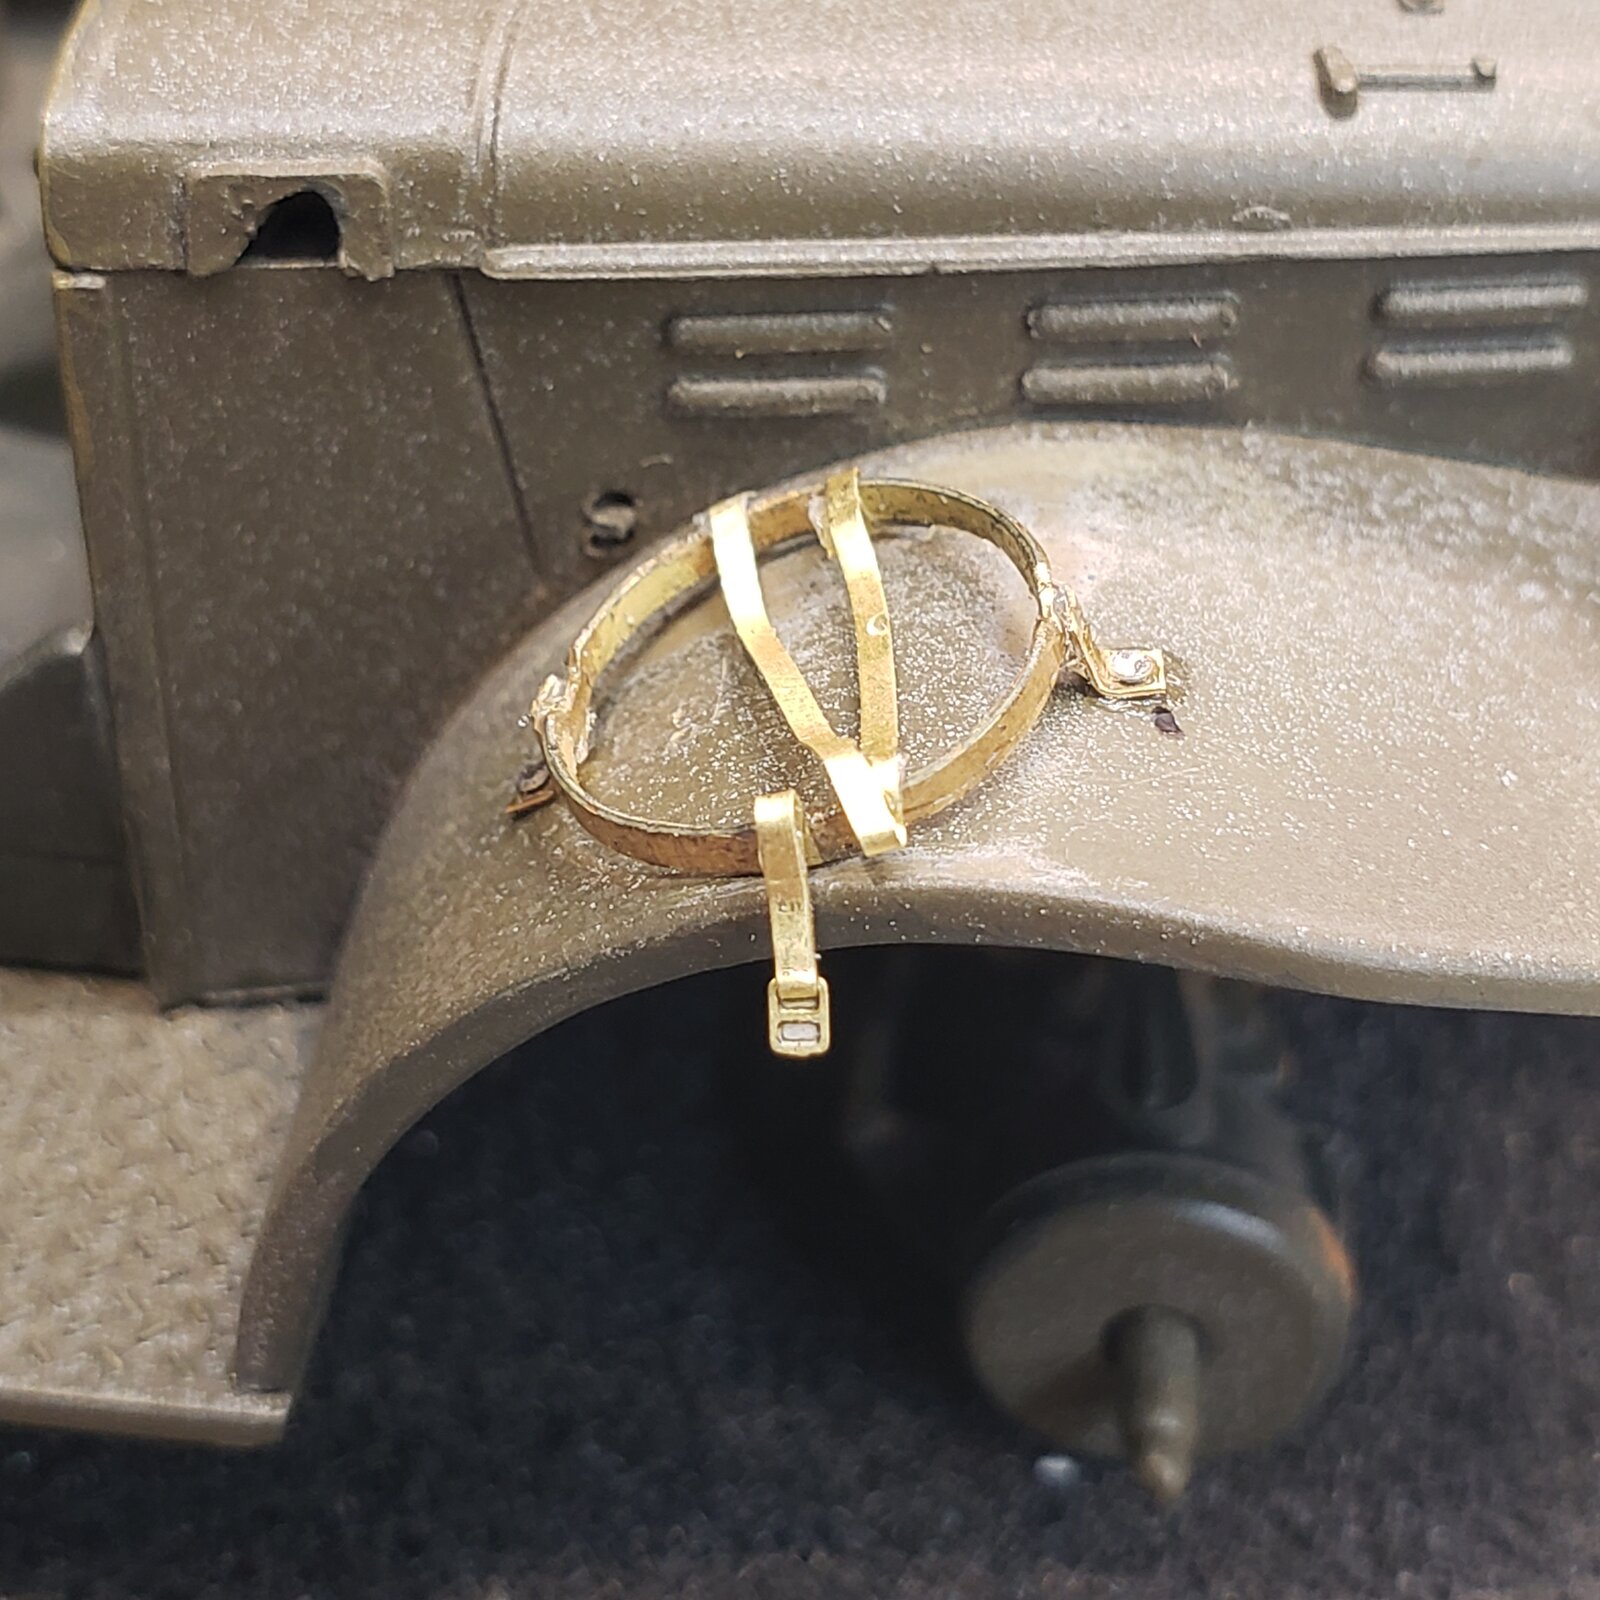
So the one piece bucket/mount in the kit being somewhat underwhelming, I decided to do a little 'rearranging'
You can see where I liberated the bucket from the mounting ring.

20260205_224042.jpg

My next step was to thin the ring, and remove the little tabs that are the attachment points to the fender.
Then, into the spares and PE bin for better straps and attachment tabs.

177035595833288235710819737892.jpg

...again, I find that 'scratch' doesn't necessarily mean engineered accuracy, but providing just enough detail to make it plausible.

Painted up, should be pretty sweet! :cool:
 
So my reference image doesn't seem to have bucket on the fender, however, like a few other photos I've uncovered, the mount may actually be there... sans bucket.
So the one piece bucket/mount in the kit being somewhat underwhelming, I decided to do a little 'rearranging'
You can see where I liberated the bucket from the mounting ring.
.......
...again, I find that 'scratch' doesn't necessarily mean engineered accuracy, but providing just enough detail to make it plausible.
Great scratch job 👍 Seems strange it would be on the curved part of the fender so the mouth of the bucket would not be flush though???
 
curved part
Ya, debated that myself: several photos seemed to show the bucket at an angle... my thought is that the holder was lighter metal construction, and the attachment points probably longer straps than I did, so could sit on the raised section.
I made it worse by slightly bending the plastic ring, when I should have just scooped it a bit to conform.
I may have to revisit...
 
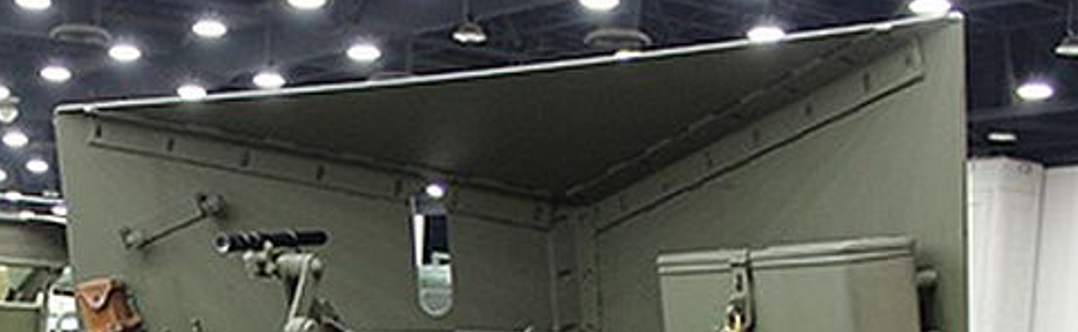
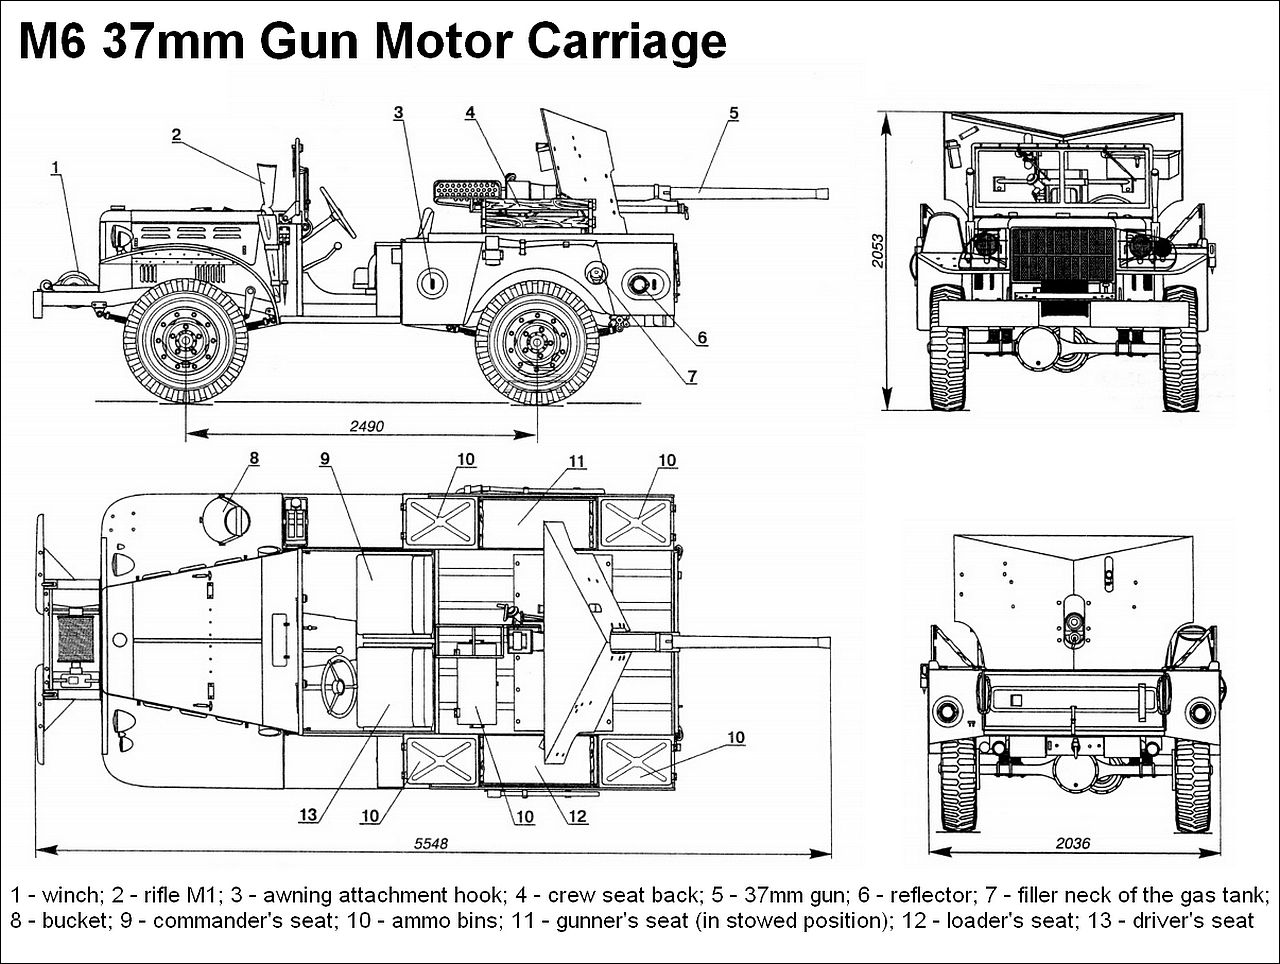
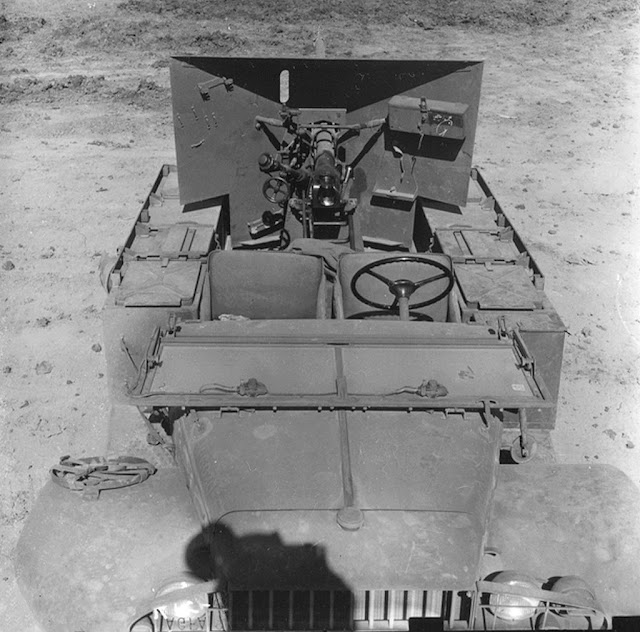
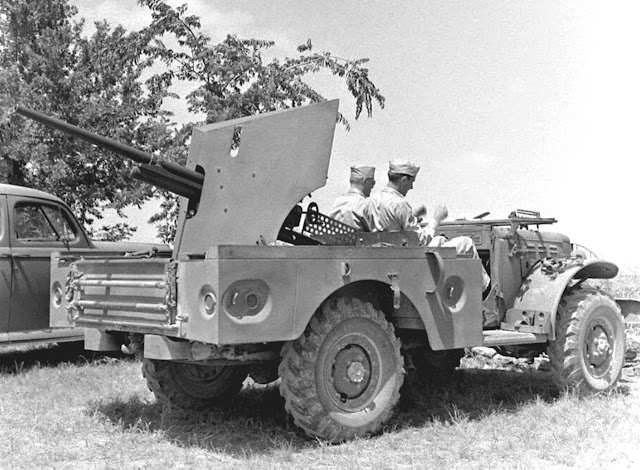
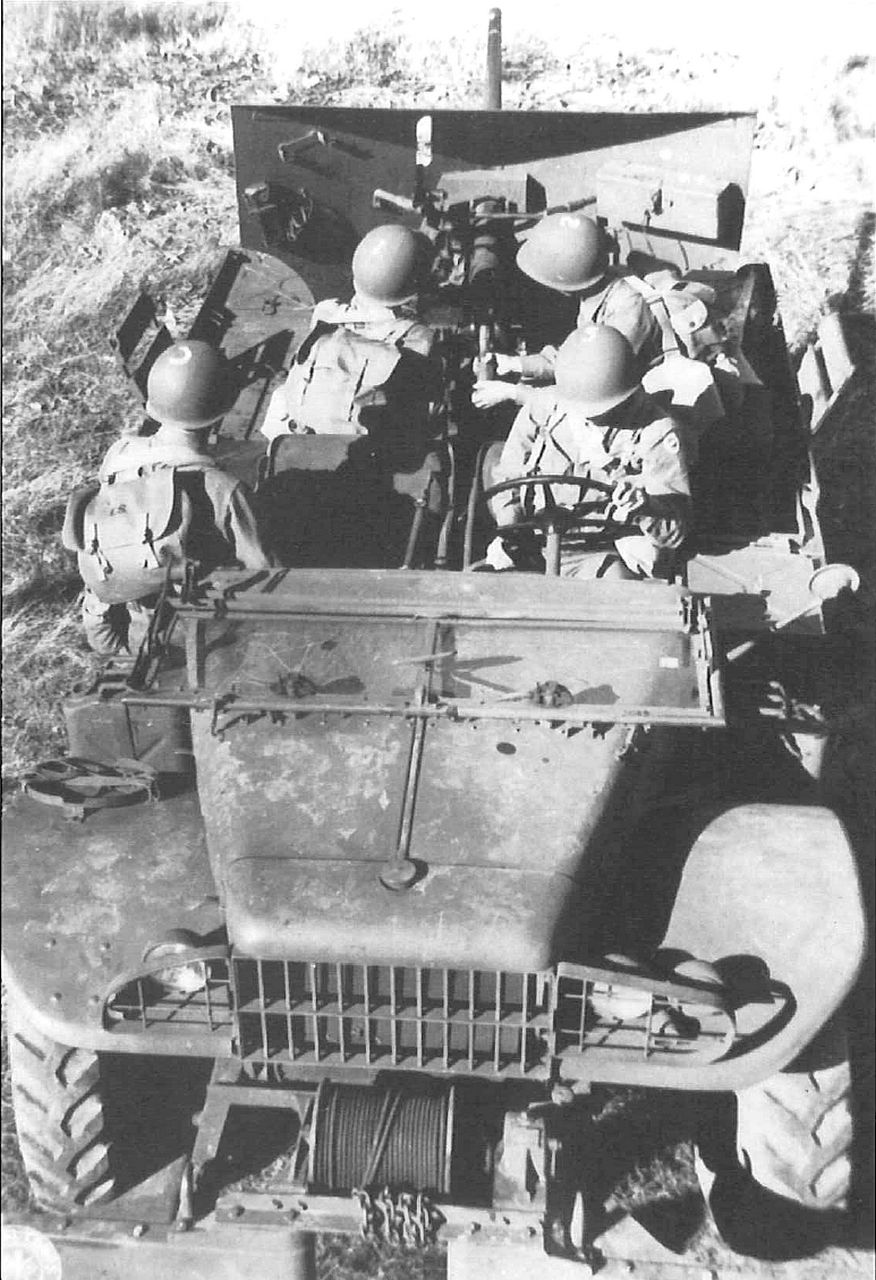
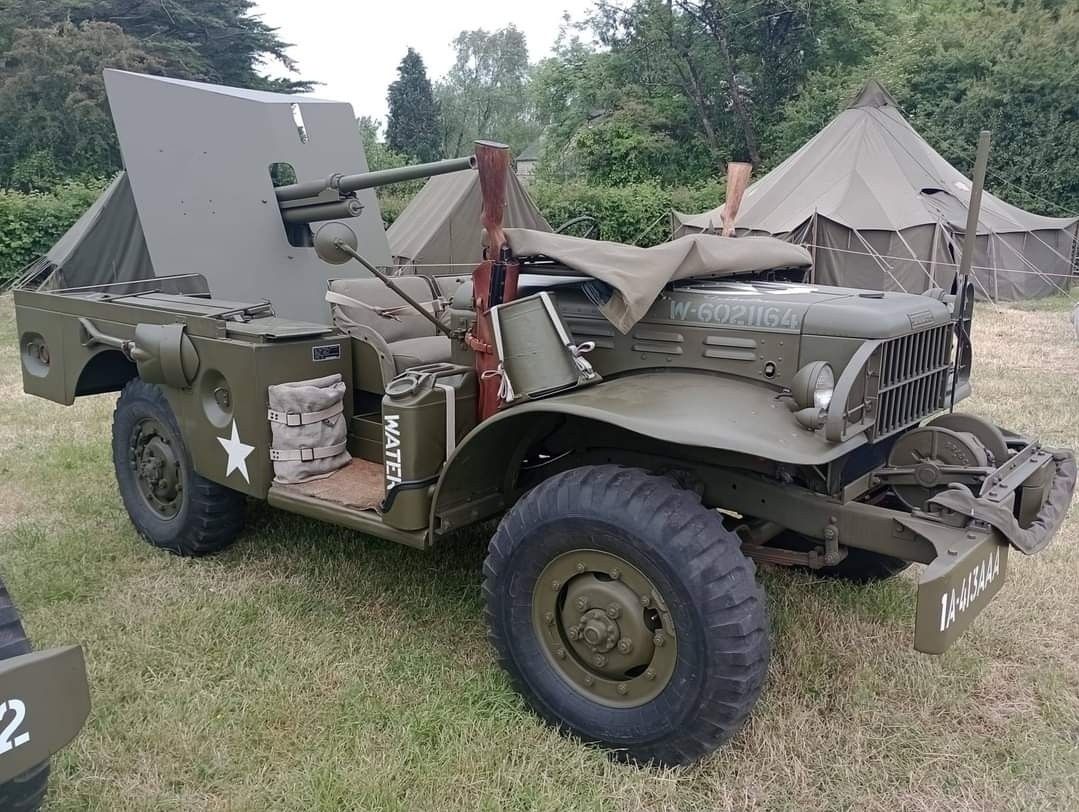
Some ref material: these are typical of the images I might collect, before and during a build. Sometimes it requires some inventive search prompts, and often ends in dead ends... sometimes you get lucky.

the first two show relative position... clearly not on the level section

1770593205948.jpeg


1770593314128.jpeg


these offer some detail, the period photos appear to be depicting a similar configuration (I call it the leg trap).
the second one shows the shovel straps over the real wheel quite clearly!

1770593361595.jpeg

1770593436121.jpeg

1770593467586.jpeg


this one looks functional, but perhaps with restoration liberties?

1770593577419.jpeg


in any case, I will attempt a rebuild of the hoop, and possibly add a second set of straps, though it may be one set wrapped twice...
 

Latest posts

Back
Top