M6 Gun Motor Carriage WC-55 2025-06

Scale Model Addict - Model Tips, Guides, Tools & Tech, Tutorials, and Community

Help Support Scale Model Addict:

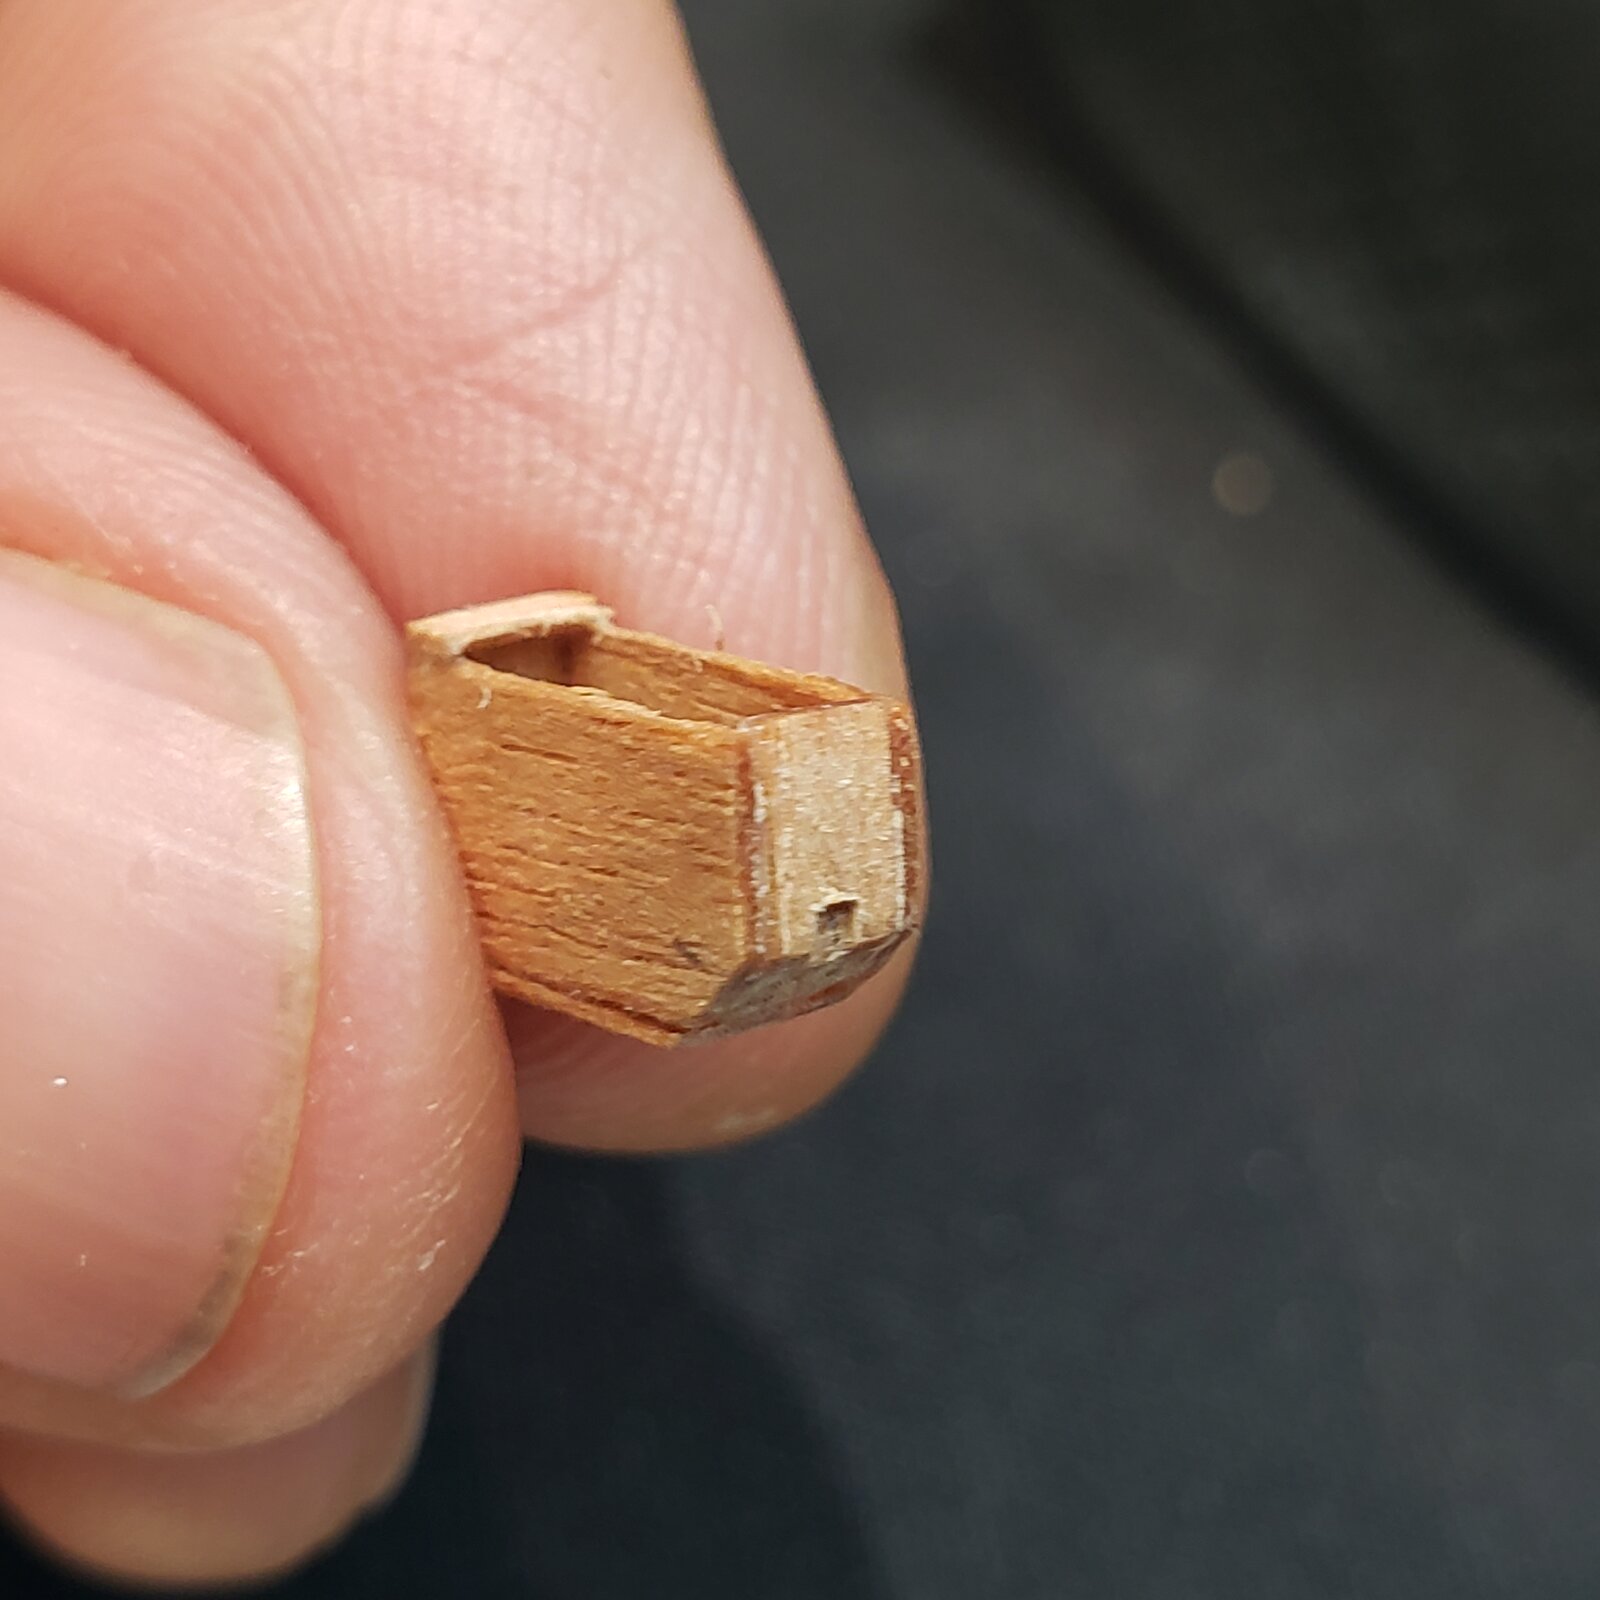
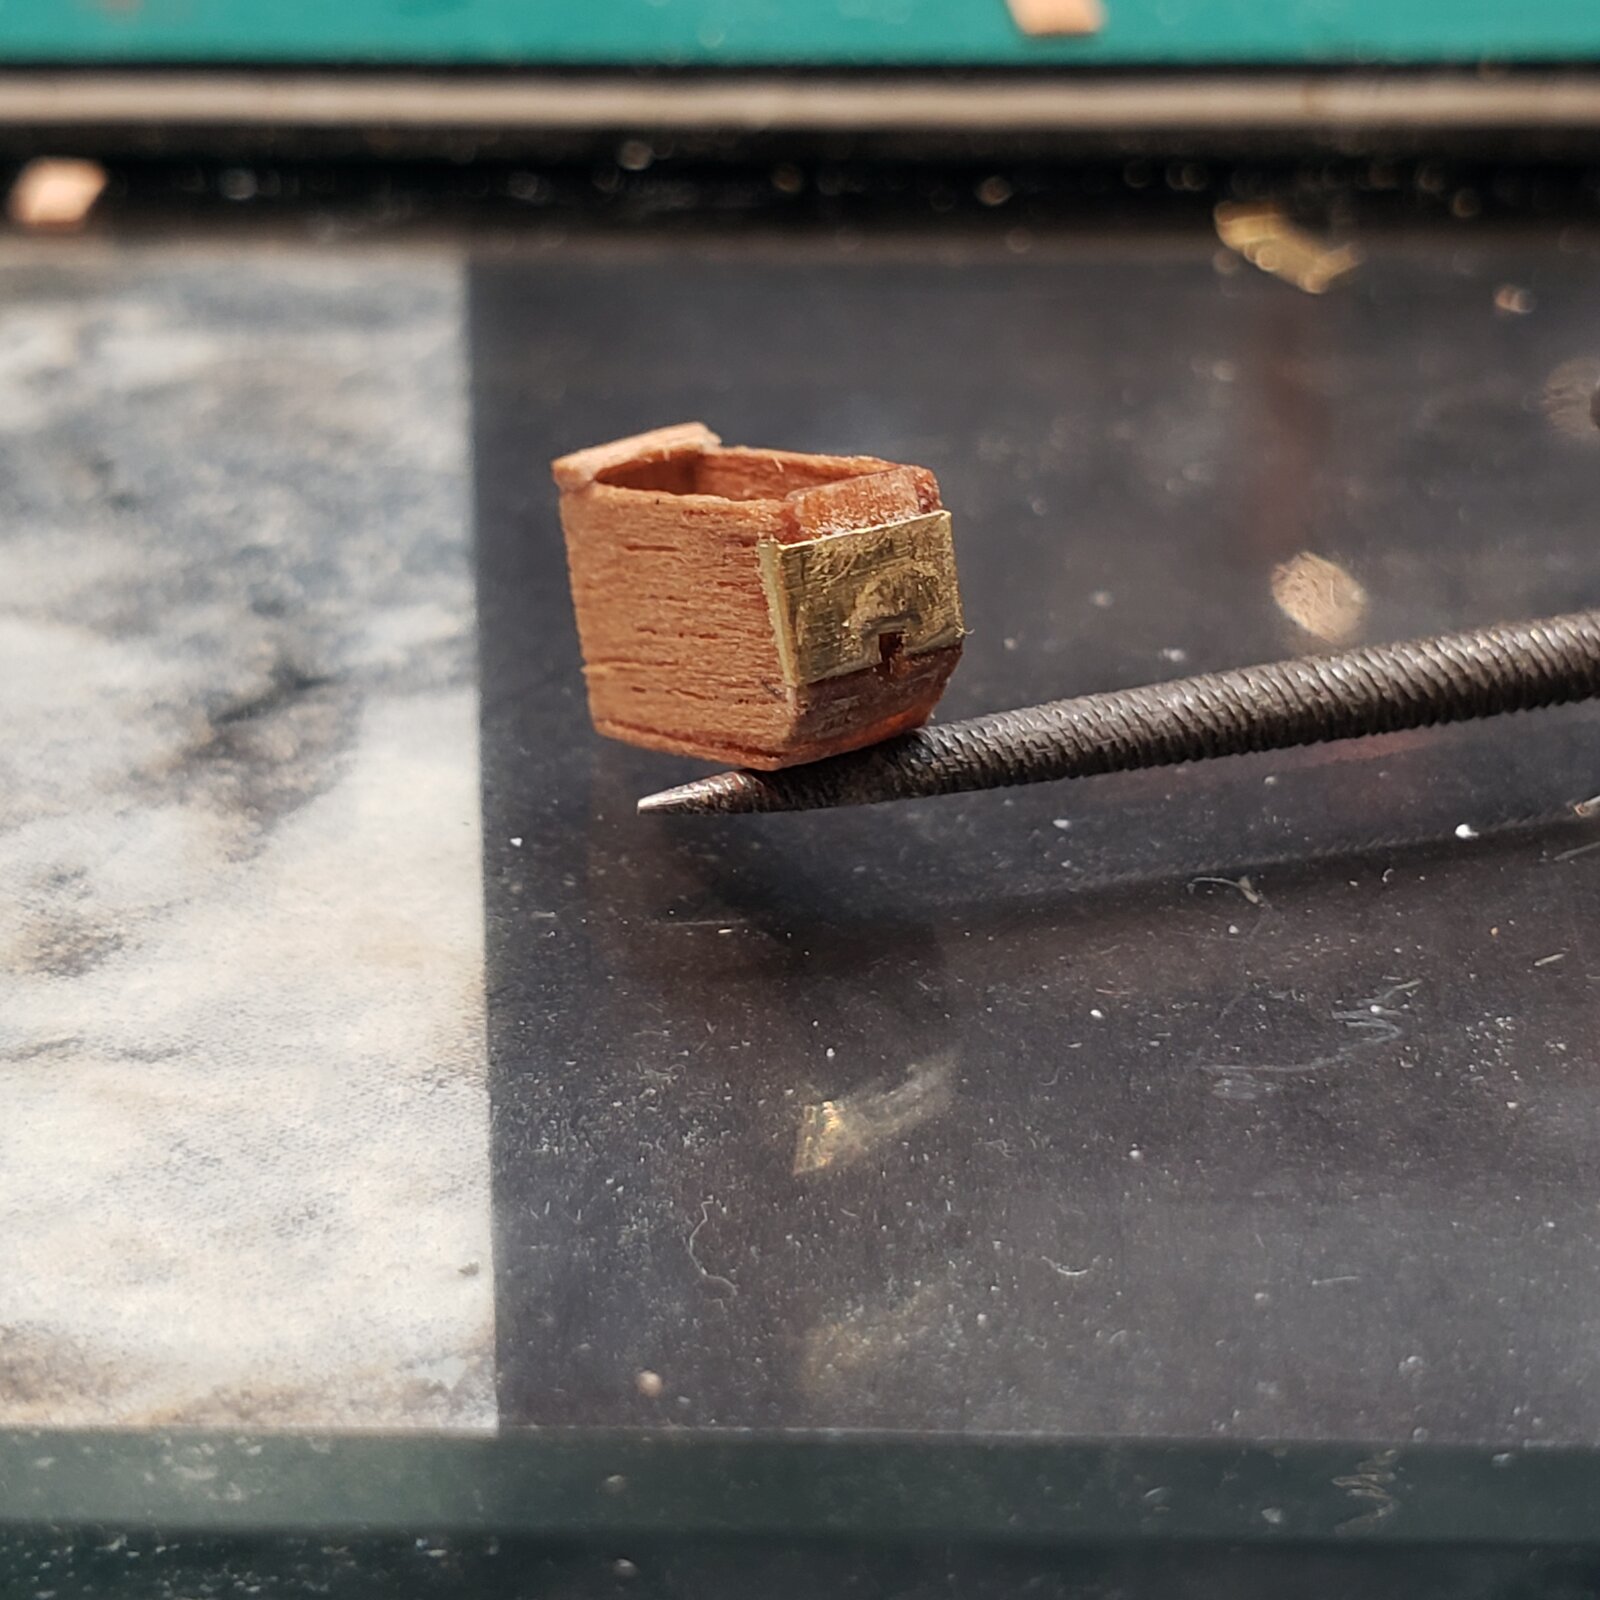
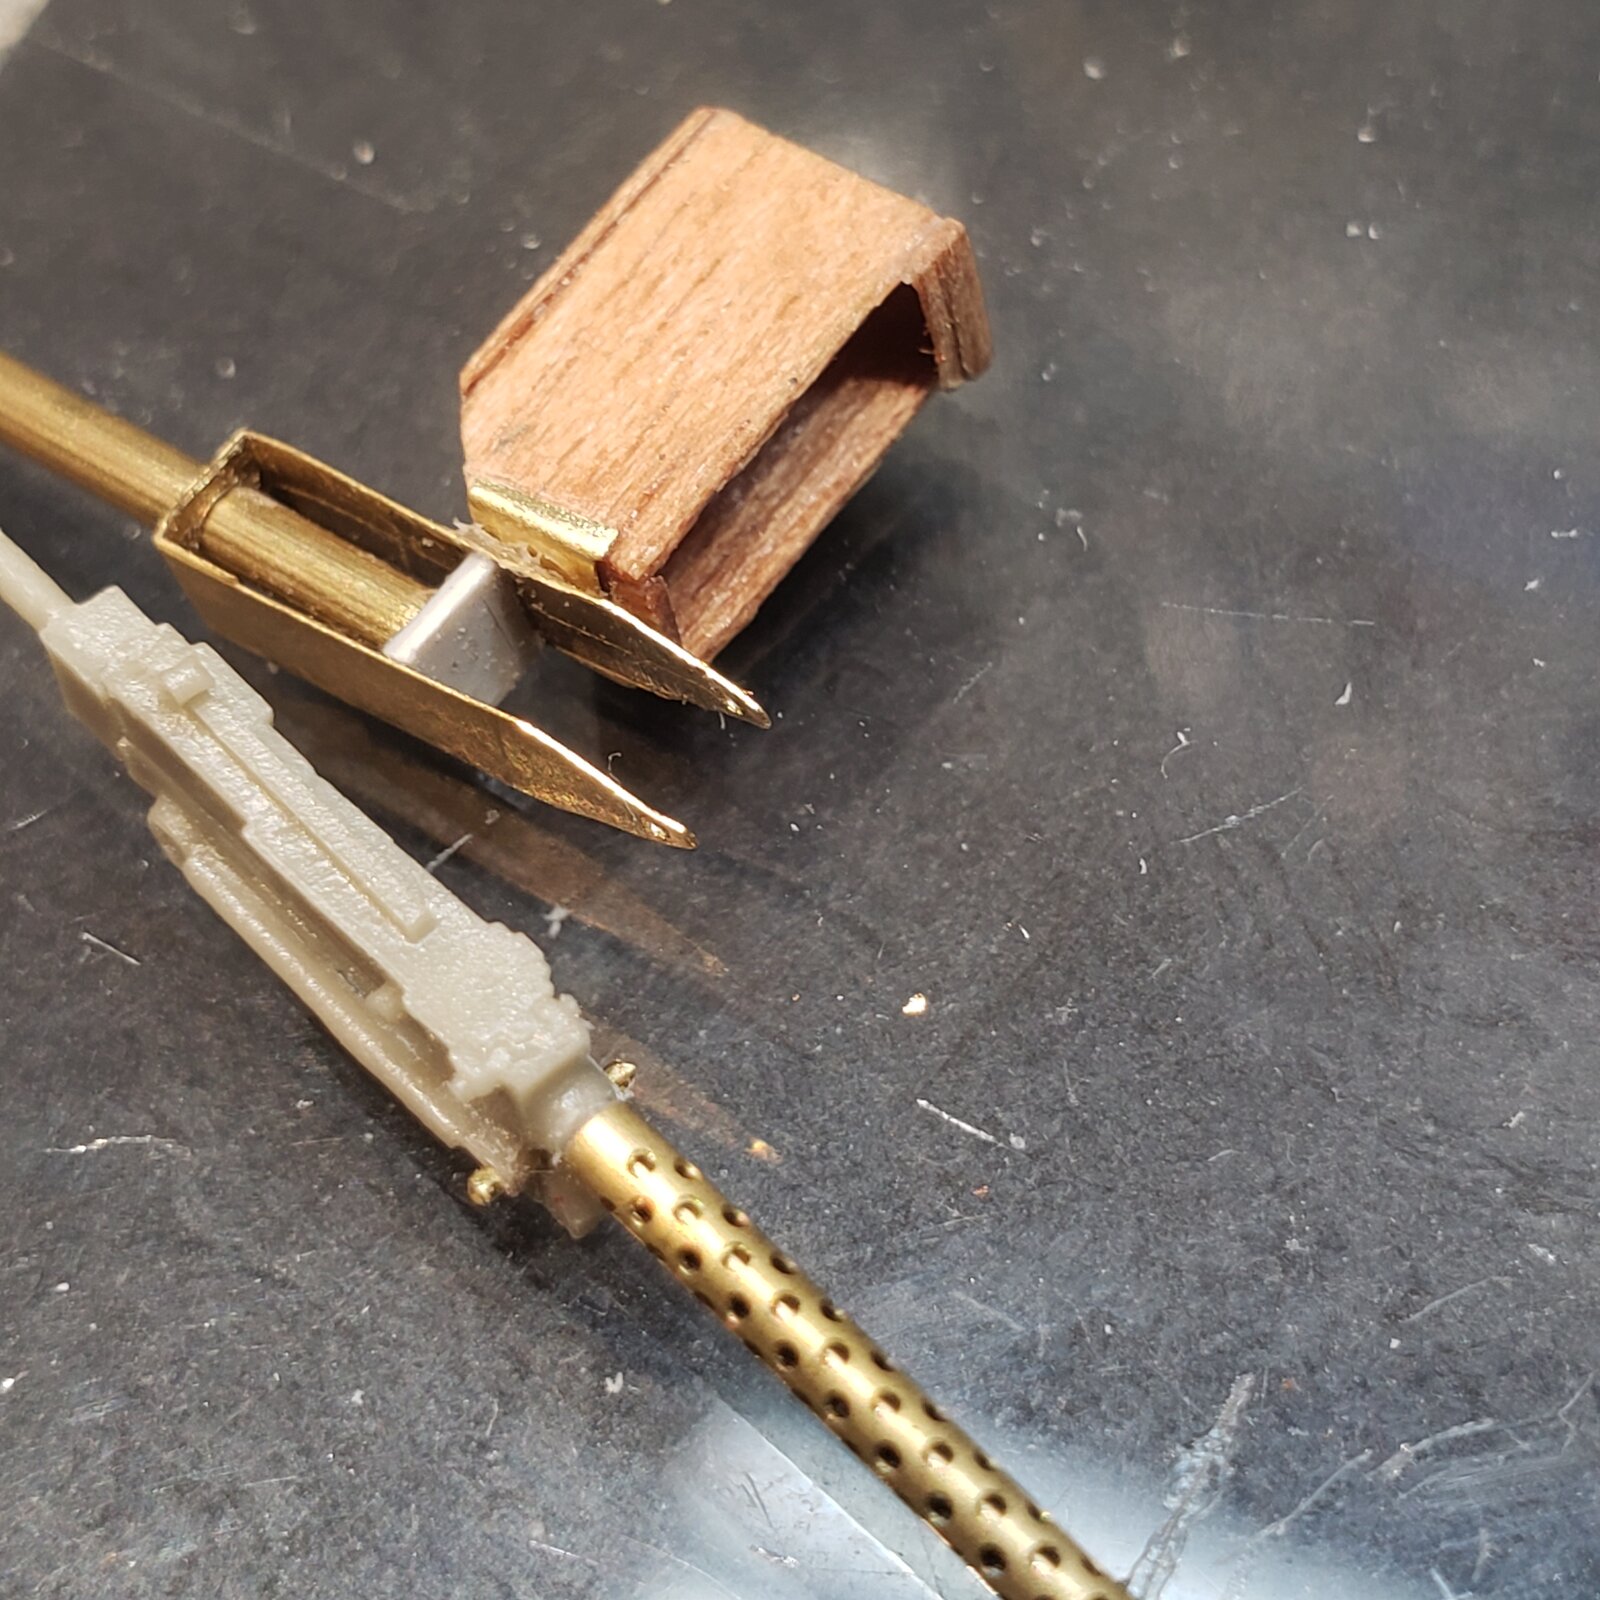
Basswood .30 cal ammo box.
Will put slots along front edge once the brass hanger is built for attaching to the pintle.

17501316260576868293014630020139.jpg

I've made it a tad wider to accommodate my .30 cal PE ammo belt
 
Last edited:
As an Amazon Associate we earn from qualifying purchases. Product prices and availability are accurate as of the date/time indicated and are subject to change.
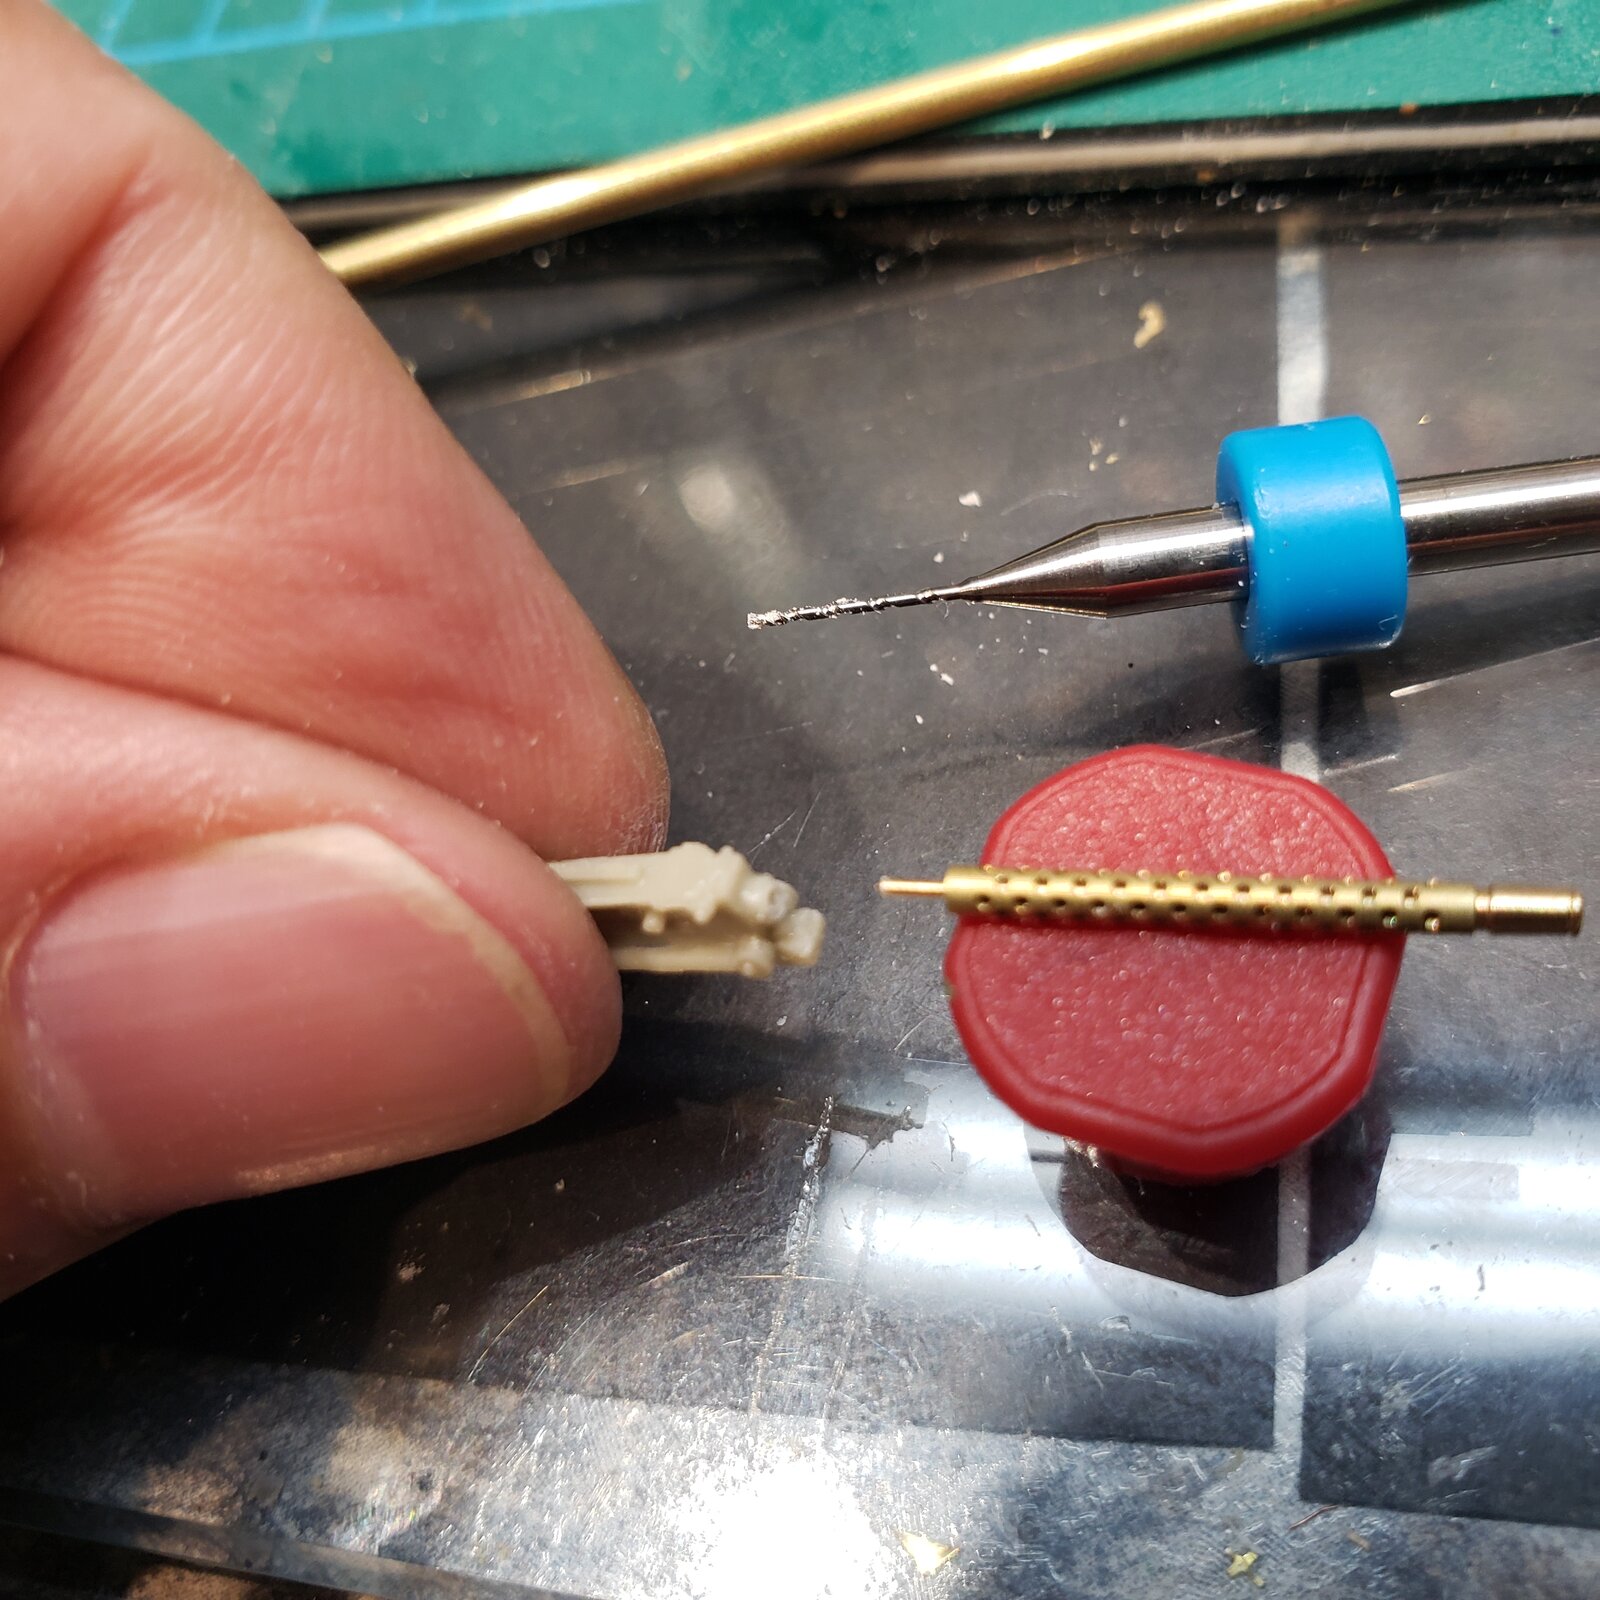
Drill out the .30cal for the brass barrel

20250618_220812.jpg


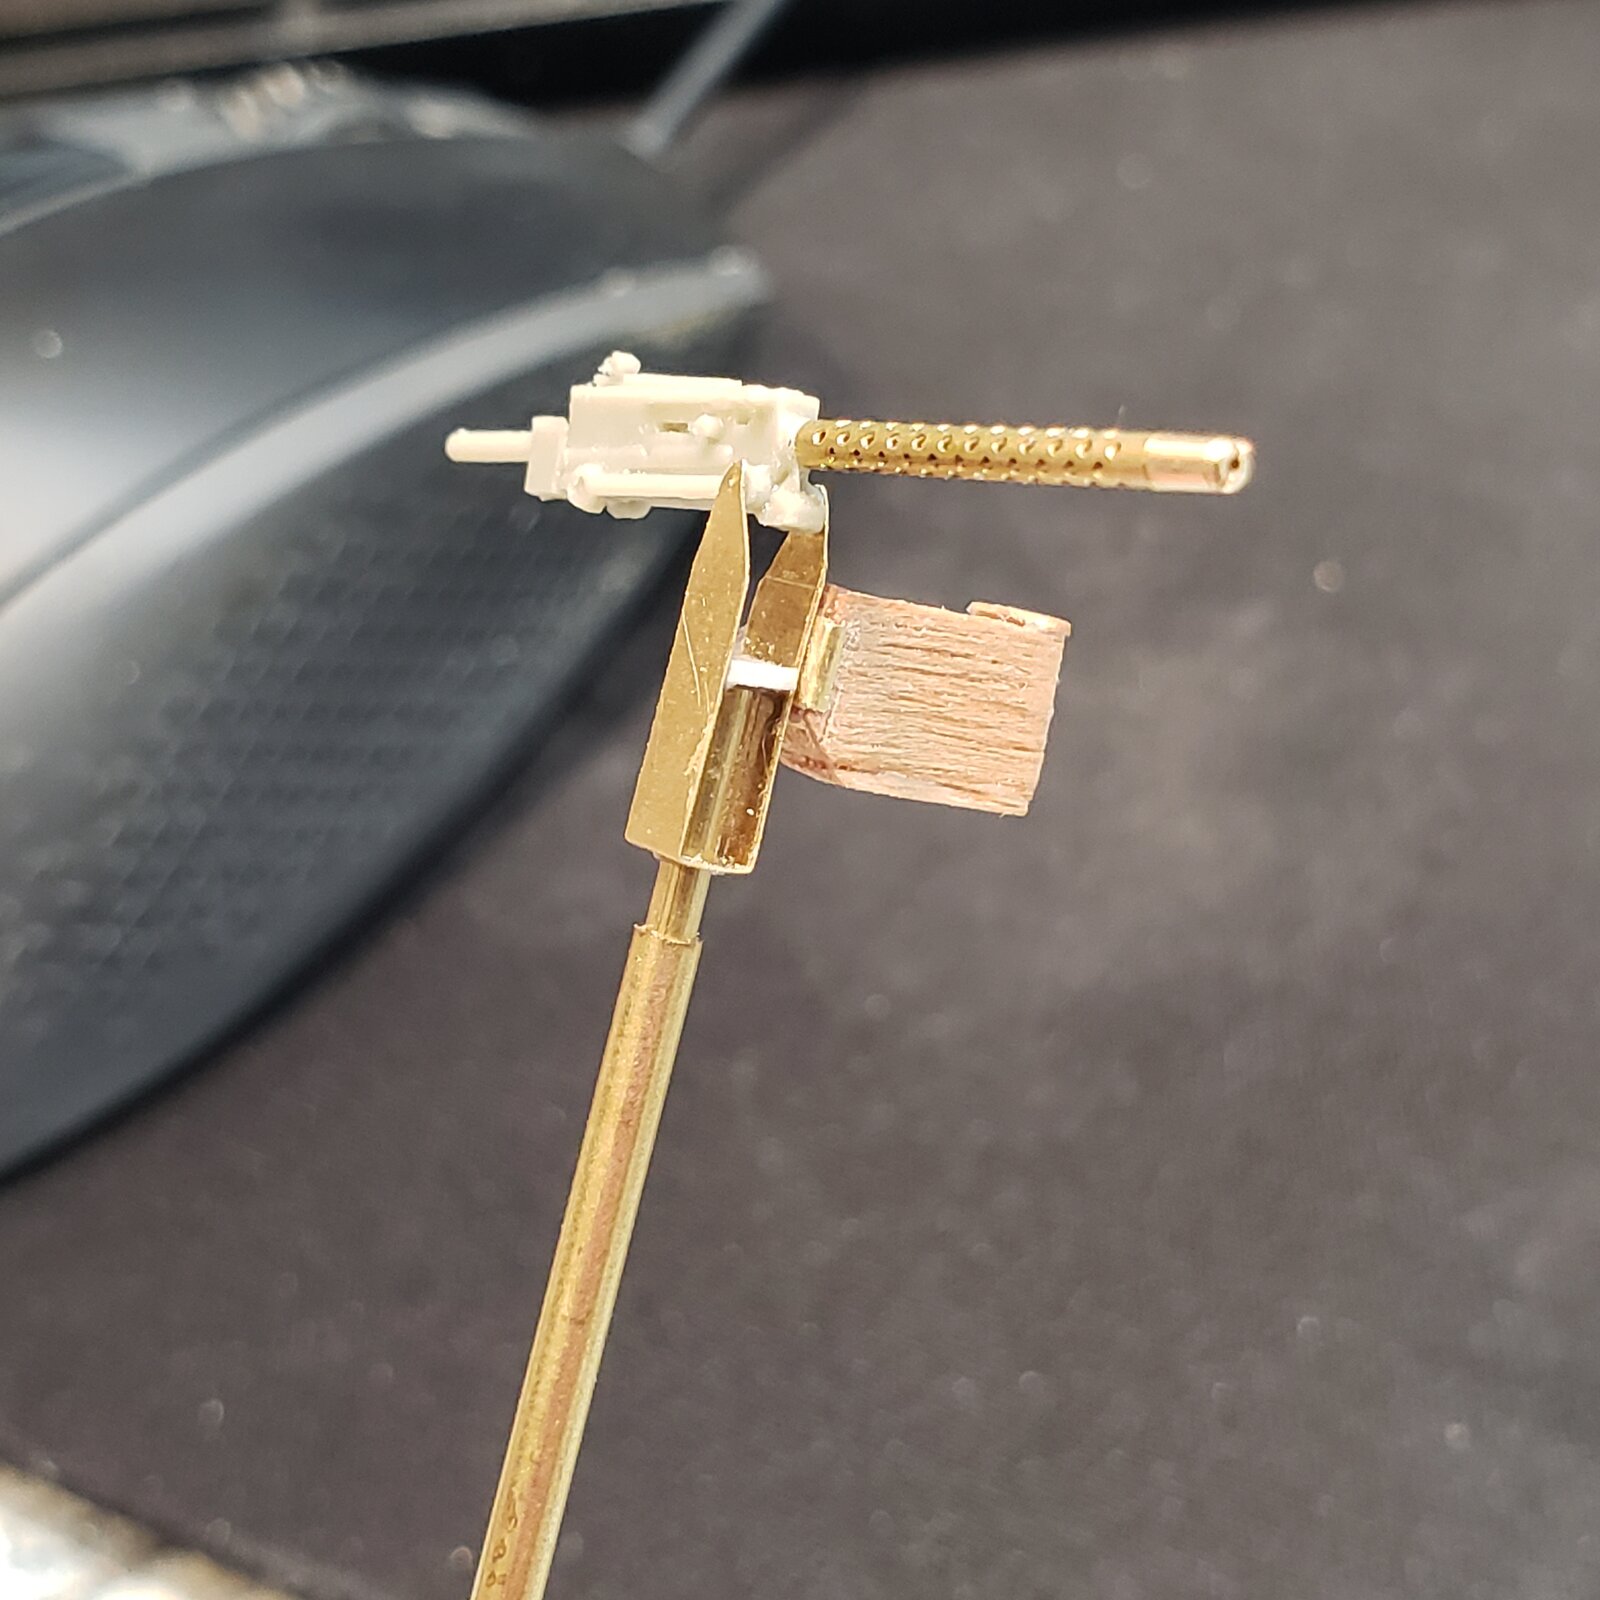
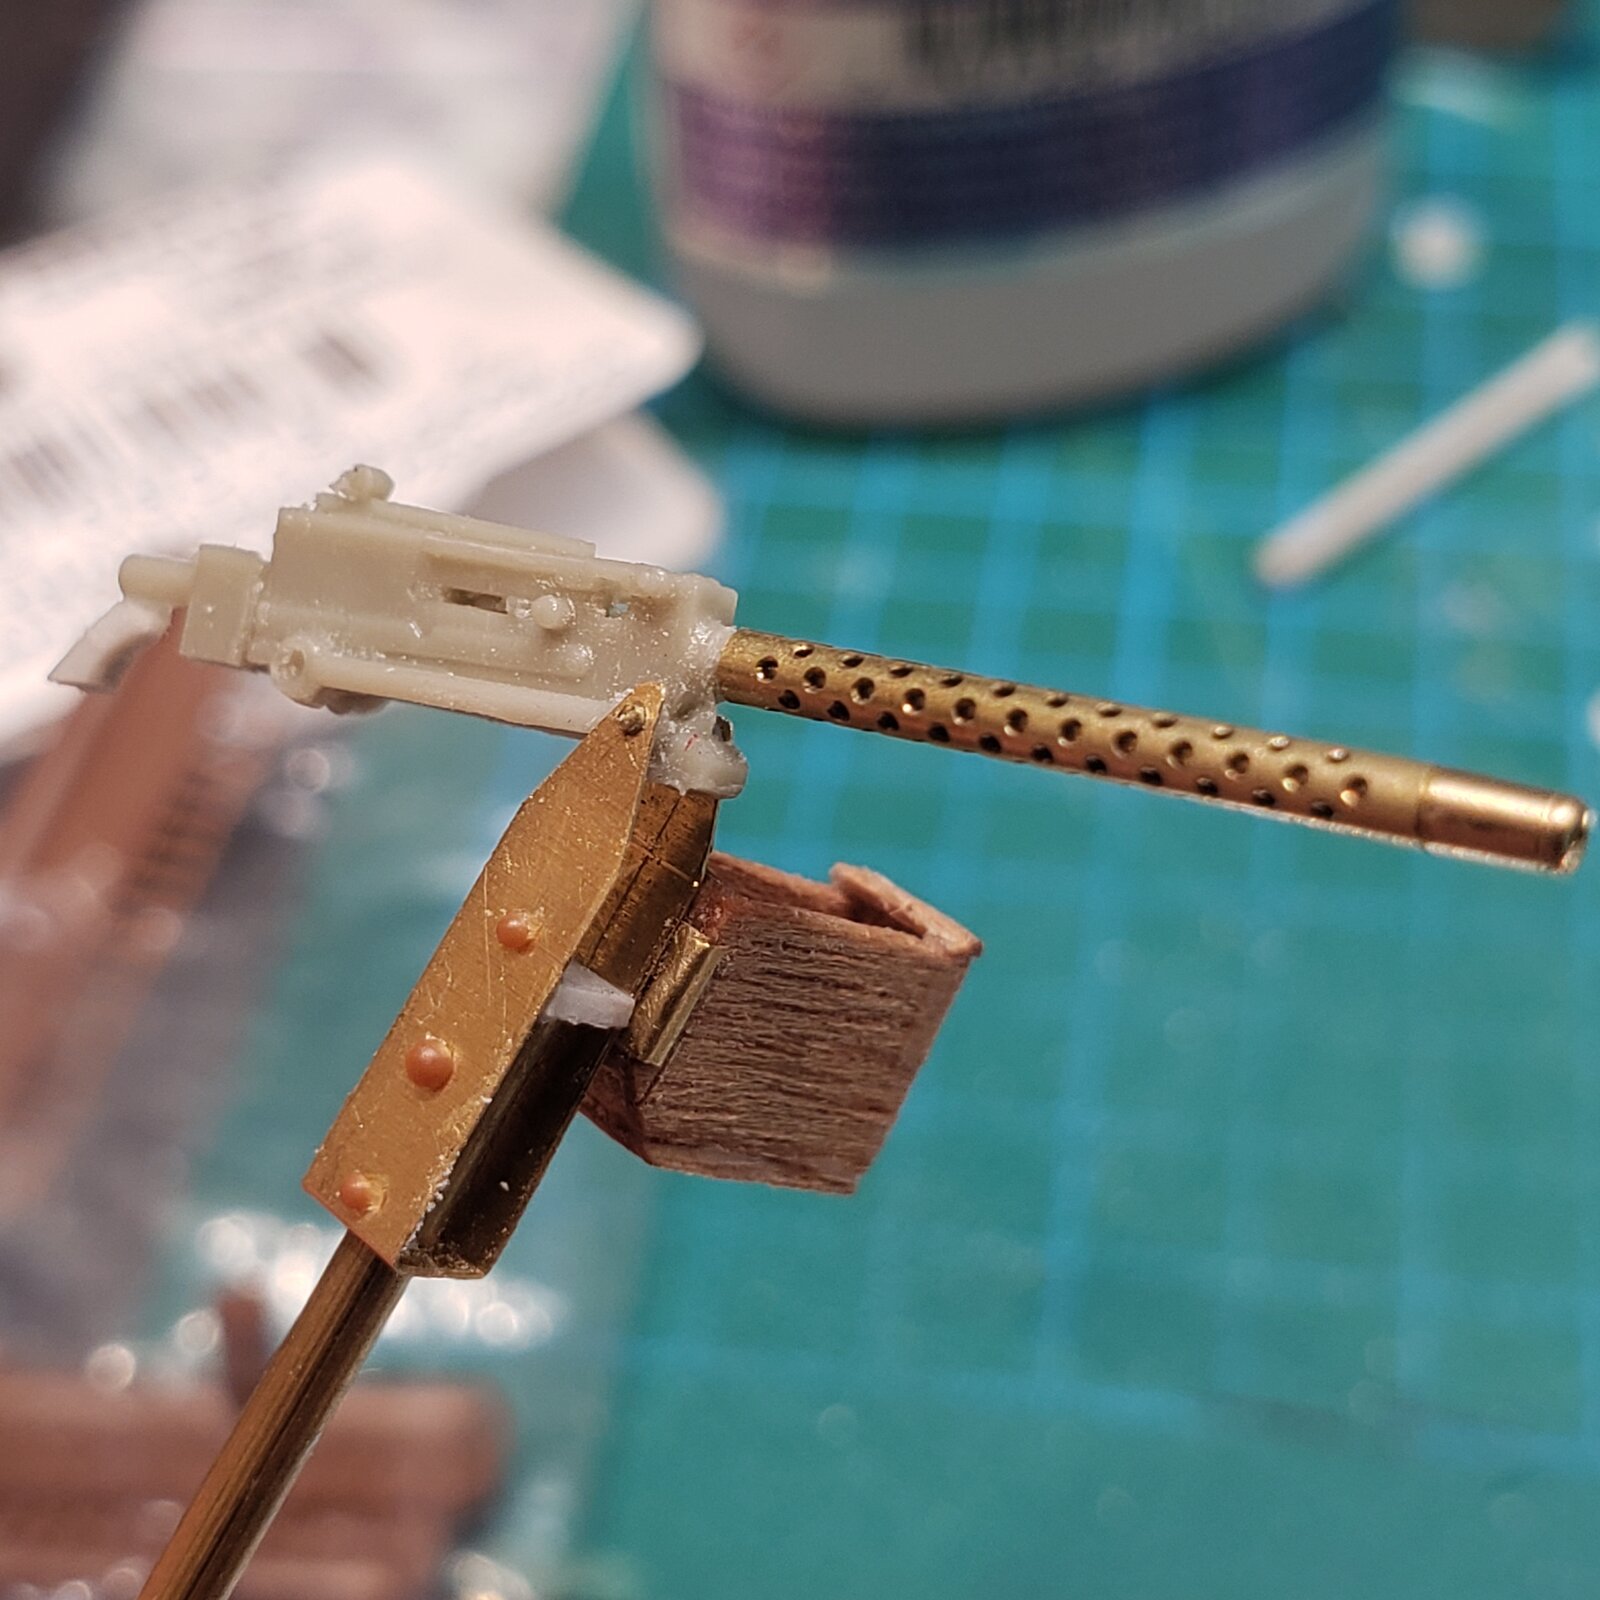
Mount on pintle, along with ammo box, into two part post that can extend. I will cut to length when time to mount post in WC55

20250618_221344.jpg

... still needs pistol grip, and ammo belt which will be added at the end.
Though it can't be seen in the ww2 photo, looks like bolts go right through the pintle and post. I may settle for adding carriage bolt heads on the pintle for detail.
 
That's gone very well, my only observation is that the upper parts of the mount seem to be bent outward. You may want to thin the gun a bit so it doesn't push against them?
 
Better to drill holes through the mount as well as the gun and fix it in place with a piece of brass or plastic rod, IMHO.
 
If you're looking for constructive criticism, I think the wood grain is too large and distracts from the beauty of the other bits. If not, just say he word if you want me to shut up.

Can you fill in some of it with putty/glue? I'd suggest making the ammo box out of evergreen and paint the woodgrain on. I've found that to be surprisingly easy to pull off with a base brown of acrylic and some very thin streaking of oil paints (sienna and umber) to simulate the grain.
 
wood grain
To your point, it still needs light sanding, priming and painting.

I have to say that I am discovering that a large part of my enjoyment of this hobby is working with different materials, trying different techniques, and lateral explorations of the historical aspects of the subject matter. I was delighted to find out that they were indeed made of wood, and holdovers from WW1.
So ya, for me, the experience of the build is as at least as important (if not more) than the final product... after all, that is why I love the process and the art so much!
 
Just catching up with this build - all I can say is WOW. love the MG and its mount.

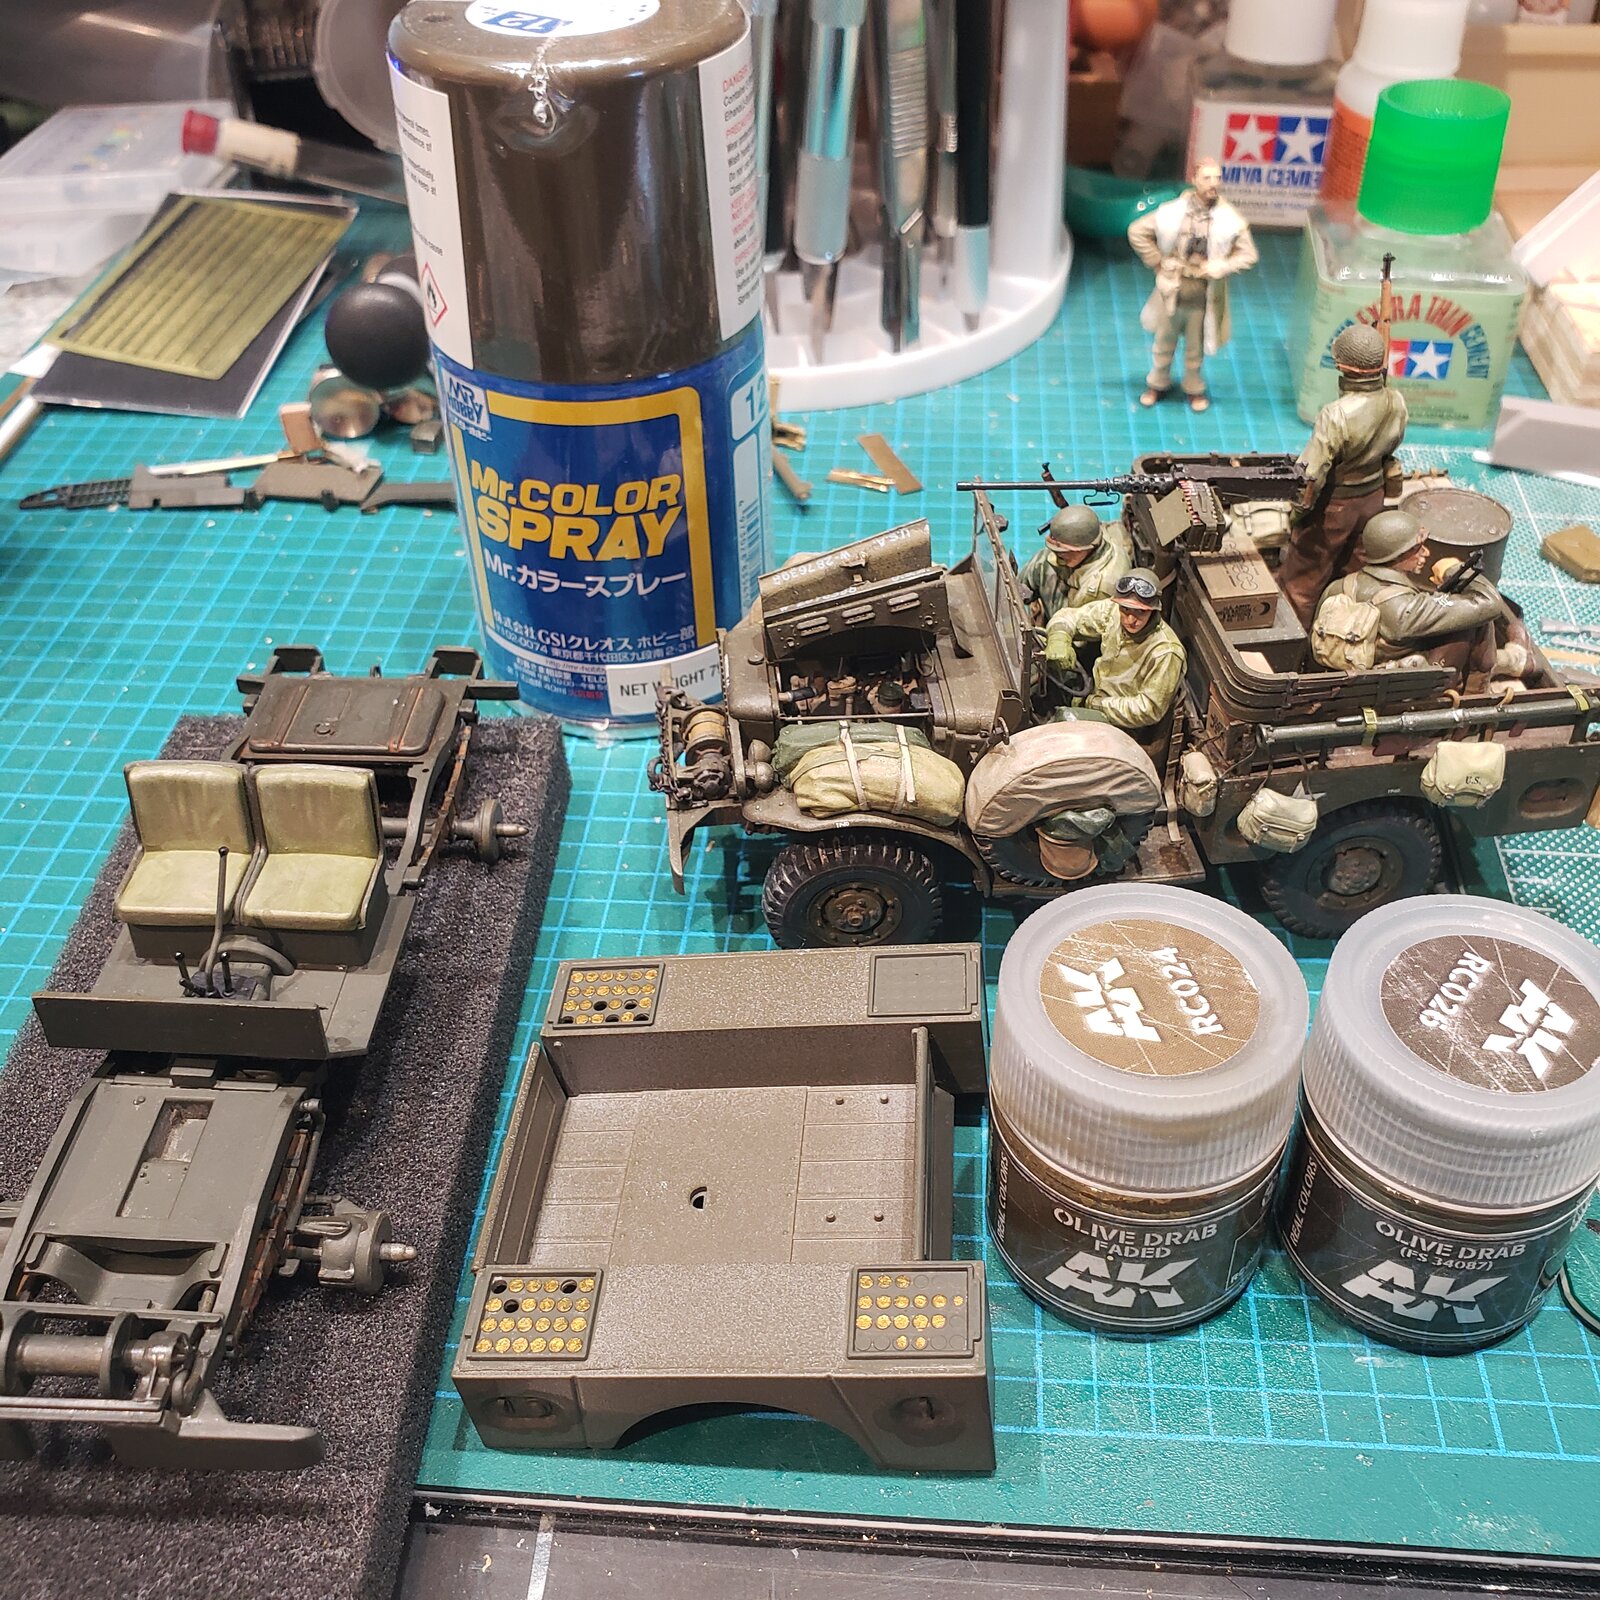
As one who brushes paint to another. That OD looks superb. What paints did you use? So far I've only rattle canned my WWII US OD, but it would be nice to have a go at brushing one.
 
What paints
as mentioned above, using OD for under carriage and places in shadows, will be using faded OD everywhere else (not done yet).
I used a similar combo on my earlier WC52.
This time, I was out of my Aqueous 1000 black primer, so I used a MR. Color #12 OD to prime.
I will work some drybrushing of the darker and lighter OD for subtle blending, with a dark panel liner for details and then a lightened up faded OD for surface highlights.
Then bite the bullet and slather their DIY mud camo as in the Tunisia photos... :oops:

17508753540093462277495696325104.jpg
 
as mentioned above, using OD for under carriage and places in shadows, will be using faded OD everywhere else (not done yet).
I used a similar combo on my earlier WC52.
This time, I was out of my Aqueous 1000 black primer, so I used a MR. Color #12 OD to prime.
I will work some drybrushing of the darker and lighter OD for subtle blending, with a dark panel liner for details and then a lightened up faded OD for surface highlights.
Then bite the bullet and slather their DIY mud camo as in the Tunisia photos... :oops:

View attachment 151472
Feckin' awesome!
 
Woohoo! back on the bench!

With Pavesi driver figure being subjected to protracted torture by oil, and the Mini still sulking in a corner time out for a less than acceptable complexion, might as well move the ball on this one.
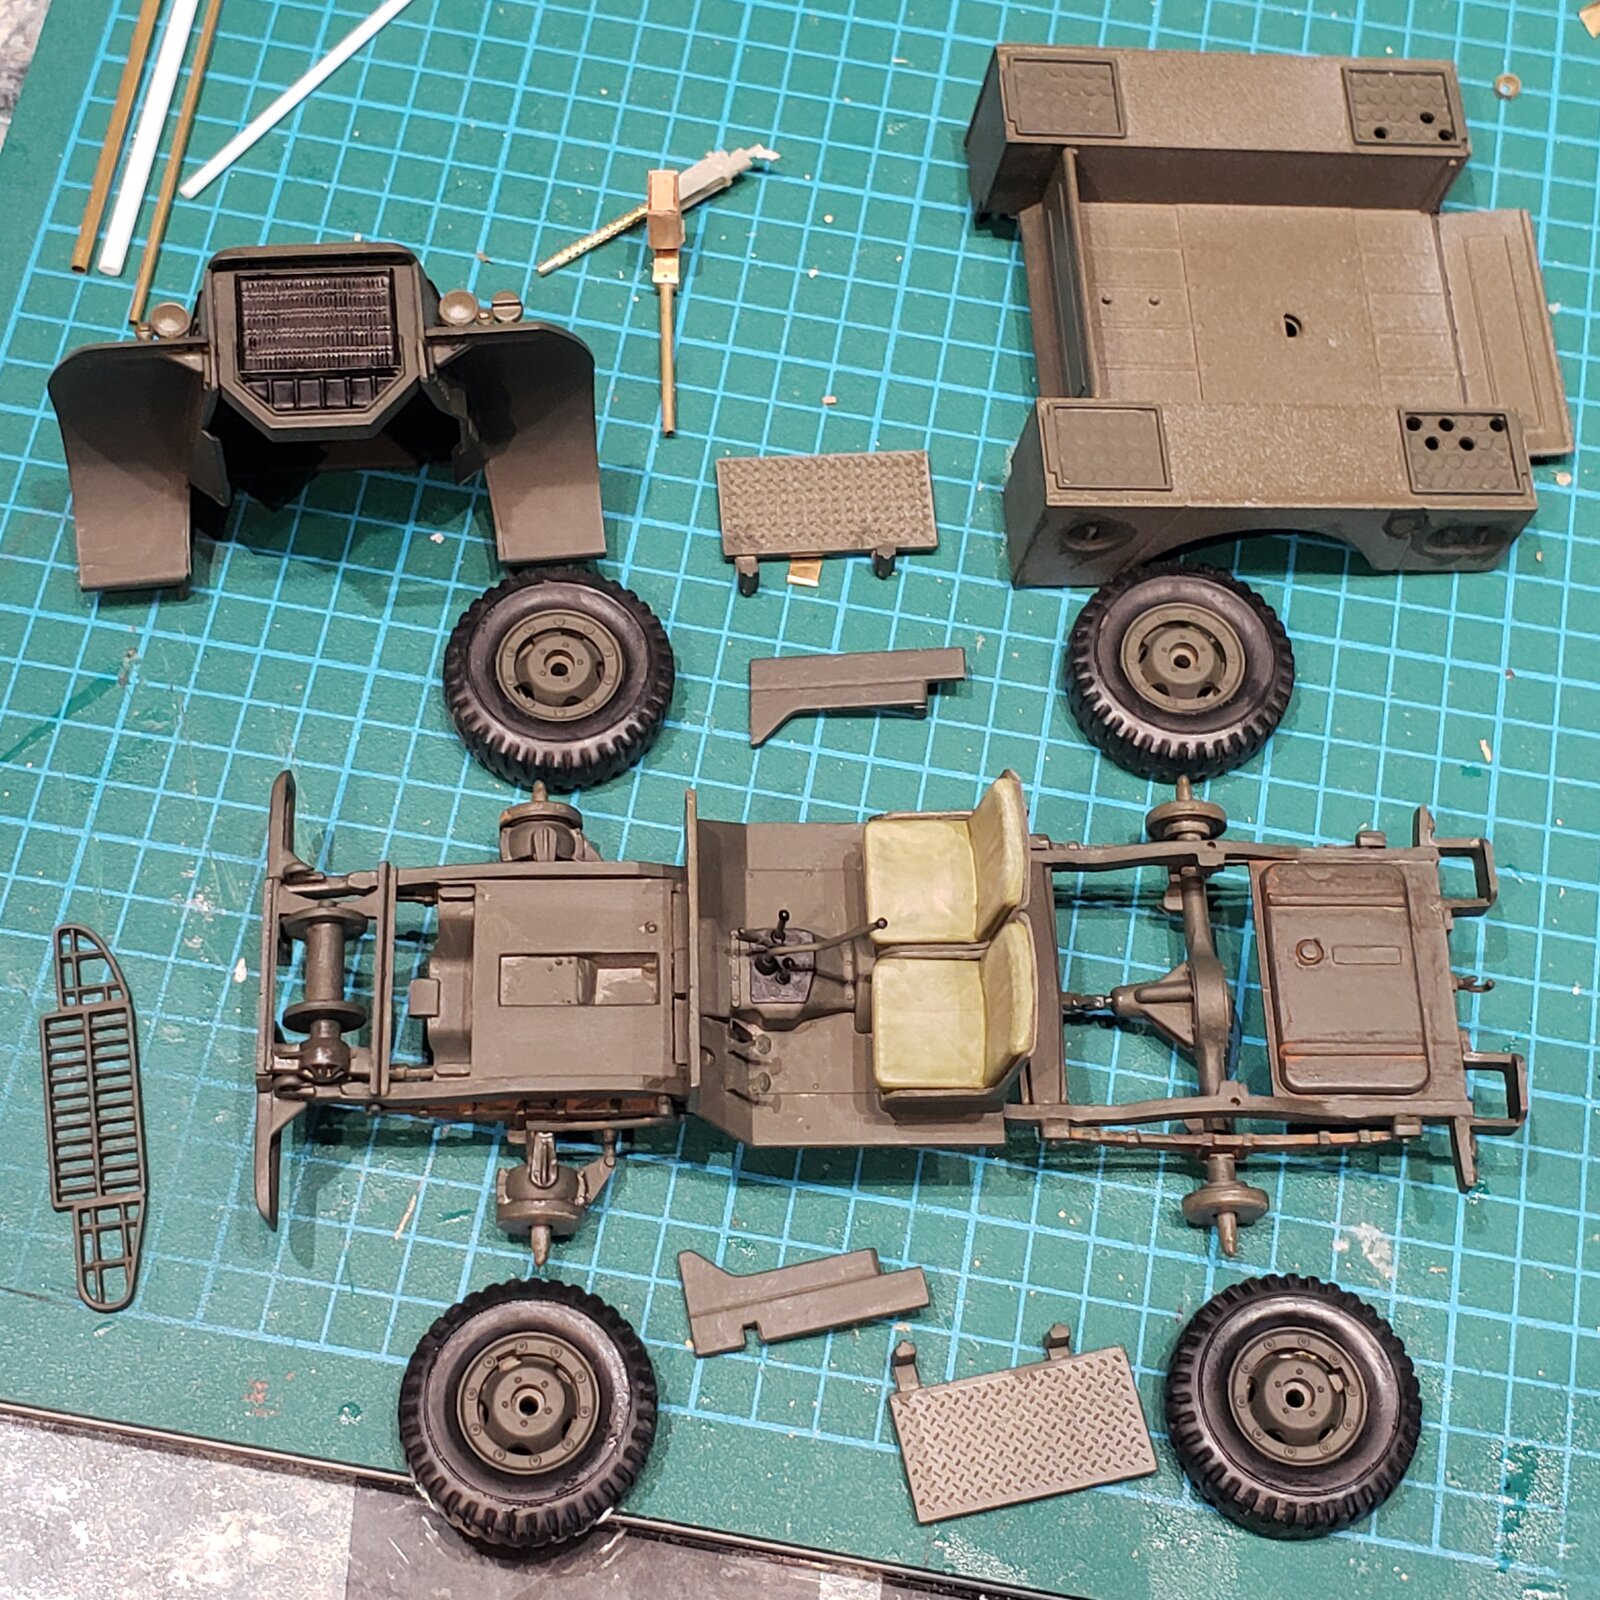
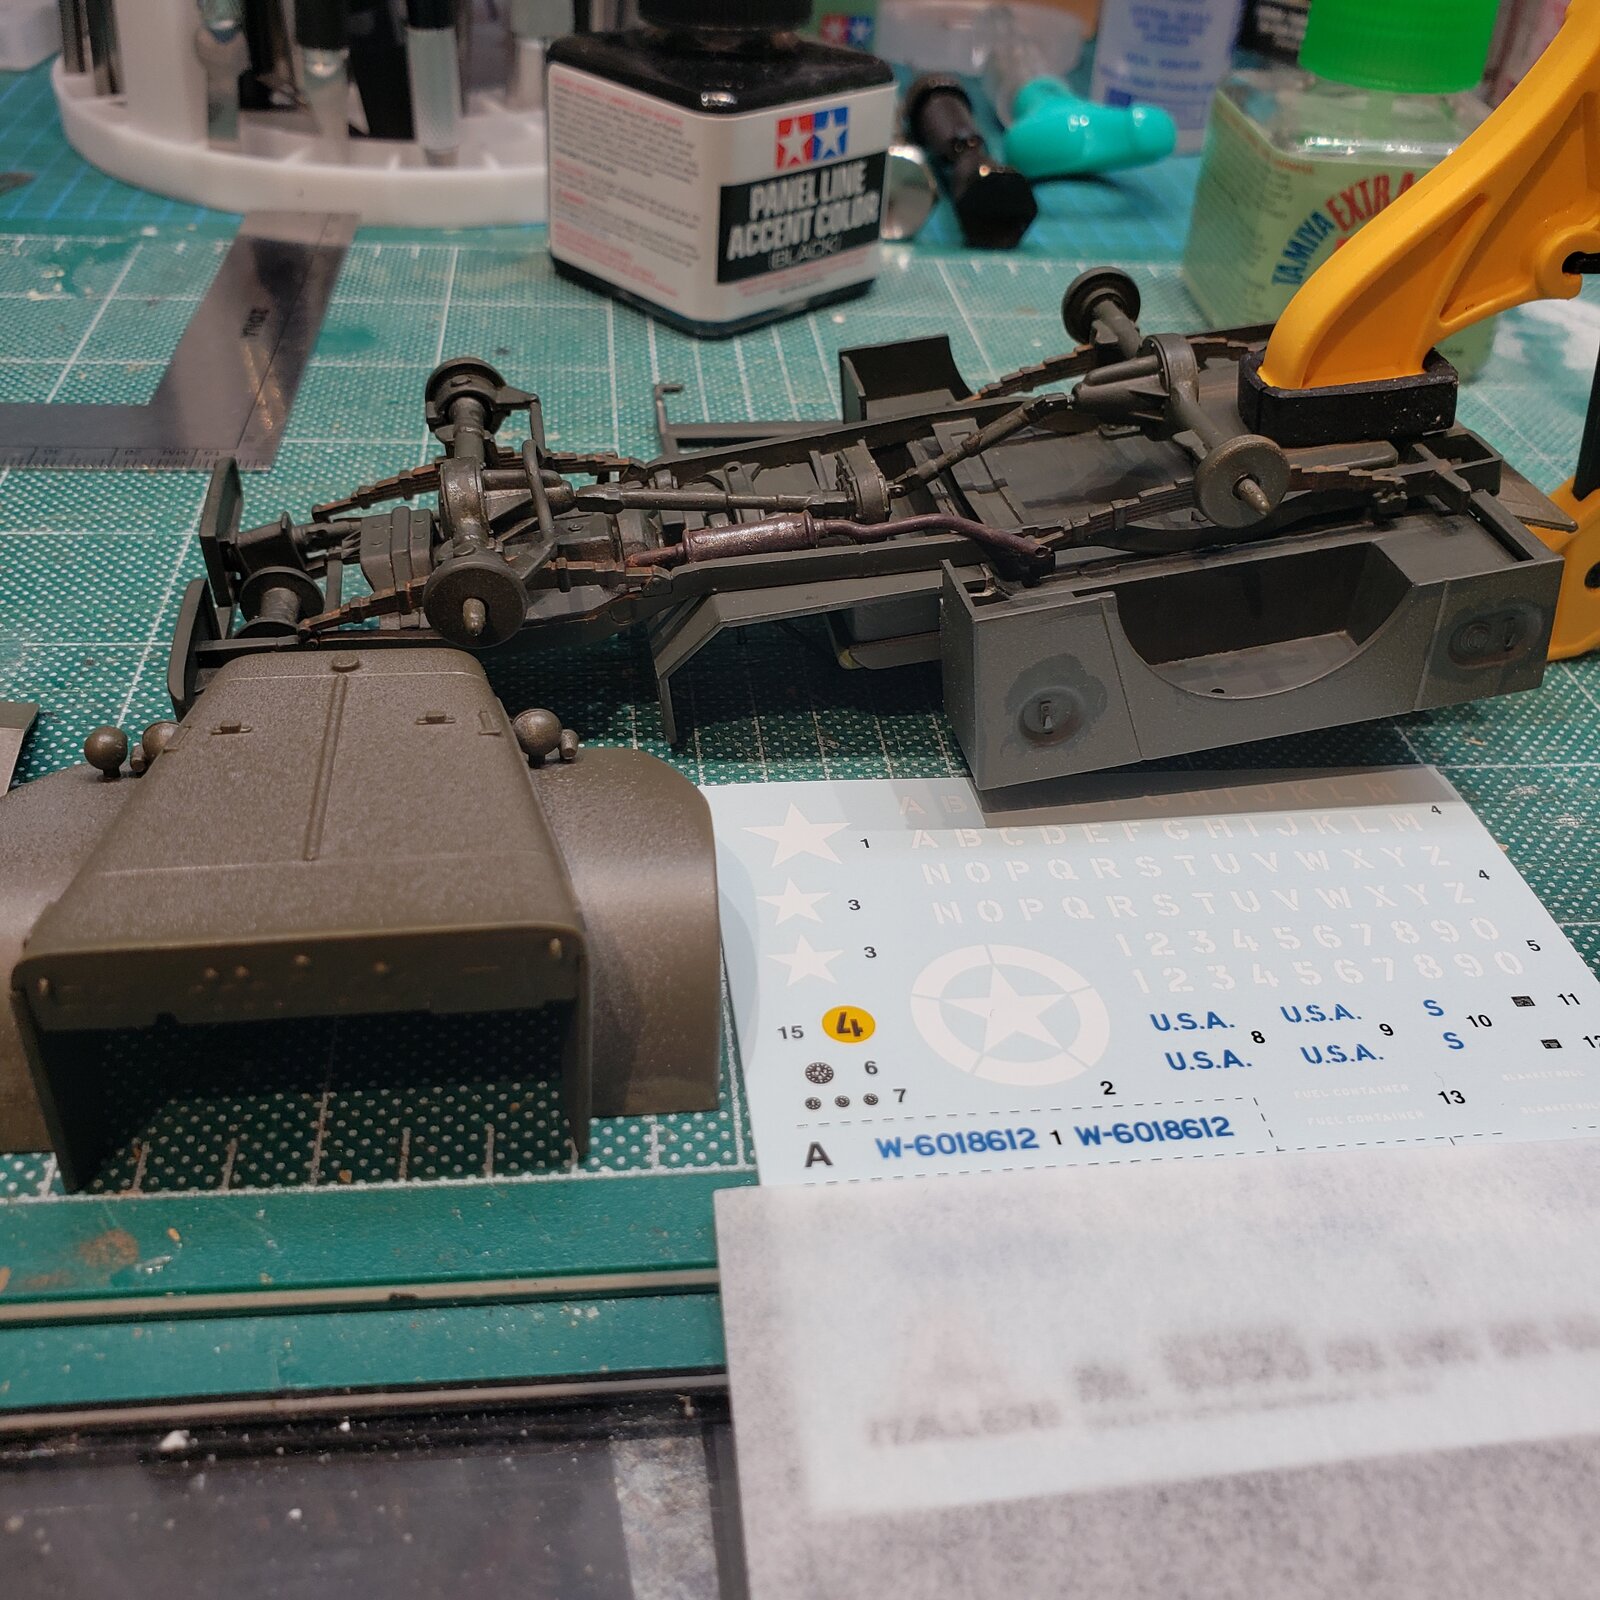
Have some dash decals and detailing to do before assembly, but the bed can be put on... needing a bit of coaxing, but done.

17539316273576025575716308001228.jpg

Unfortunately (did I say unfortunately?), I mean looking forward with anticipation to family get-togethers over the upcoming long weekend, so it might be next Monday night before I make any more progress... on any of my current projects.

Possibly in the next couple of days... but given that the preparation required is directly proportional to the number of people to be entertained, we'll see...
 
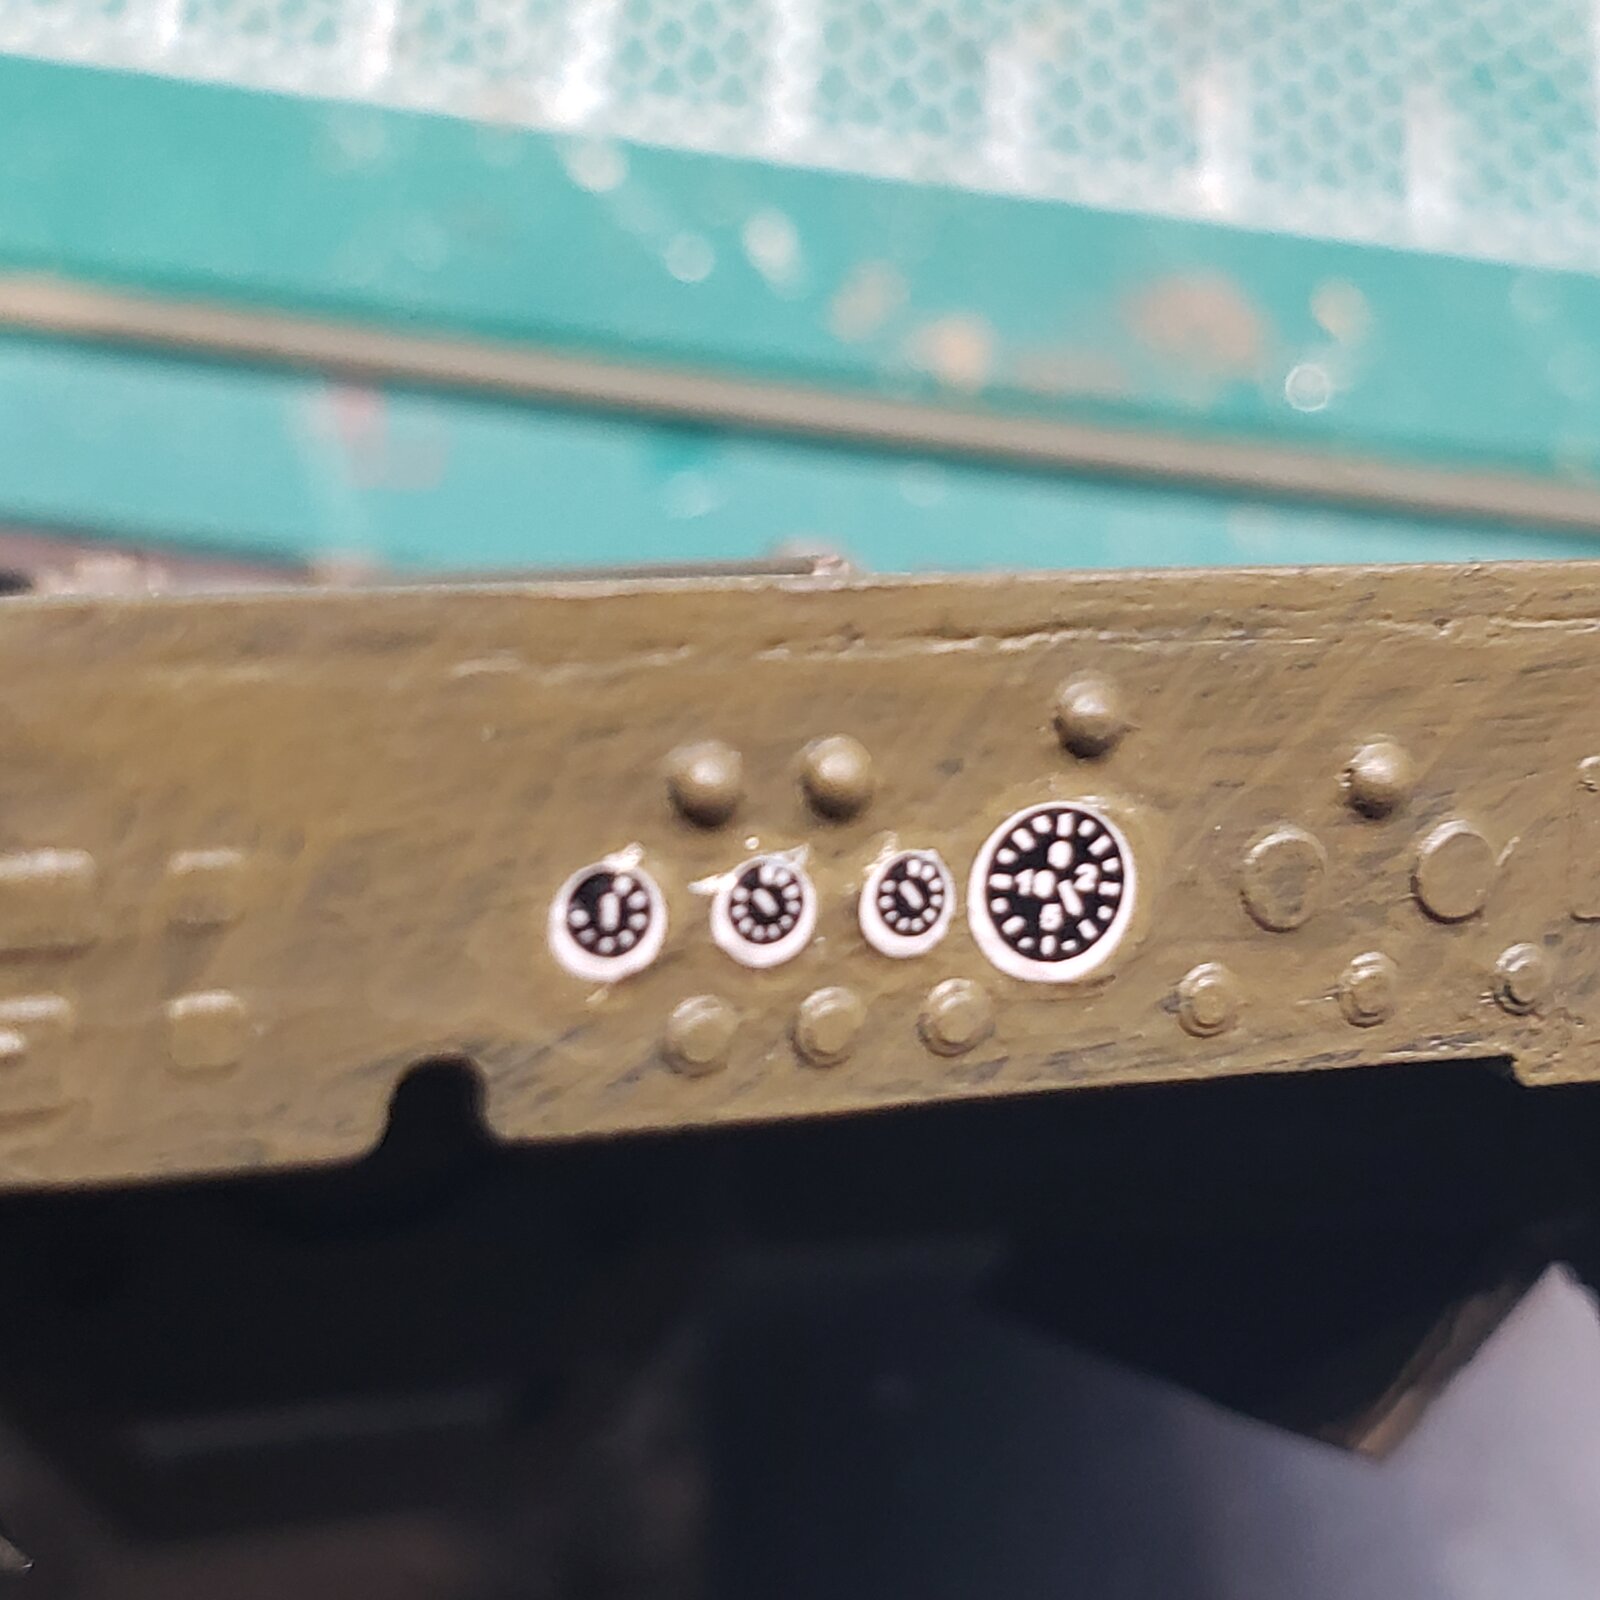
So I placed the dash dials decals from the kit. Looking at them before final placement, nope, they're not doing it for me.

20250731_213415.jpg


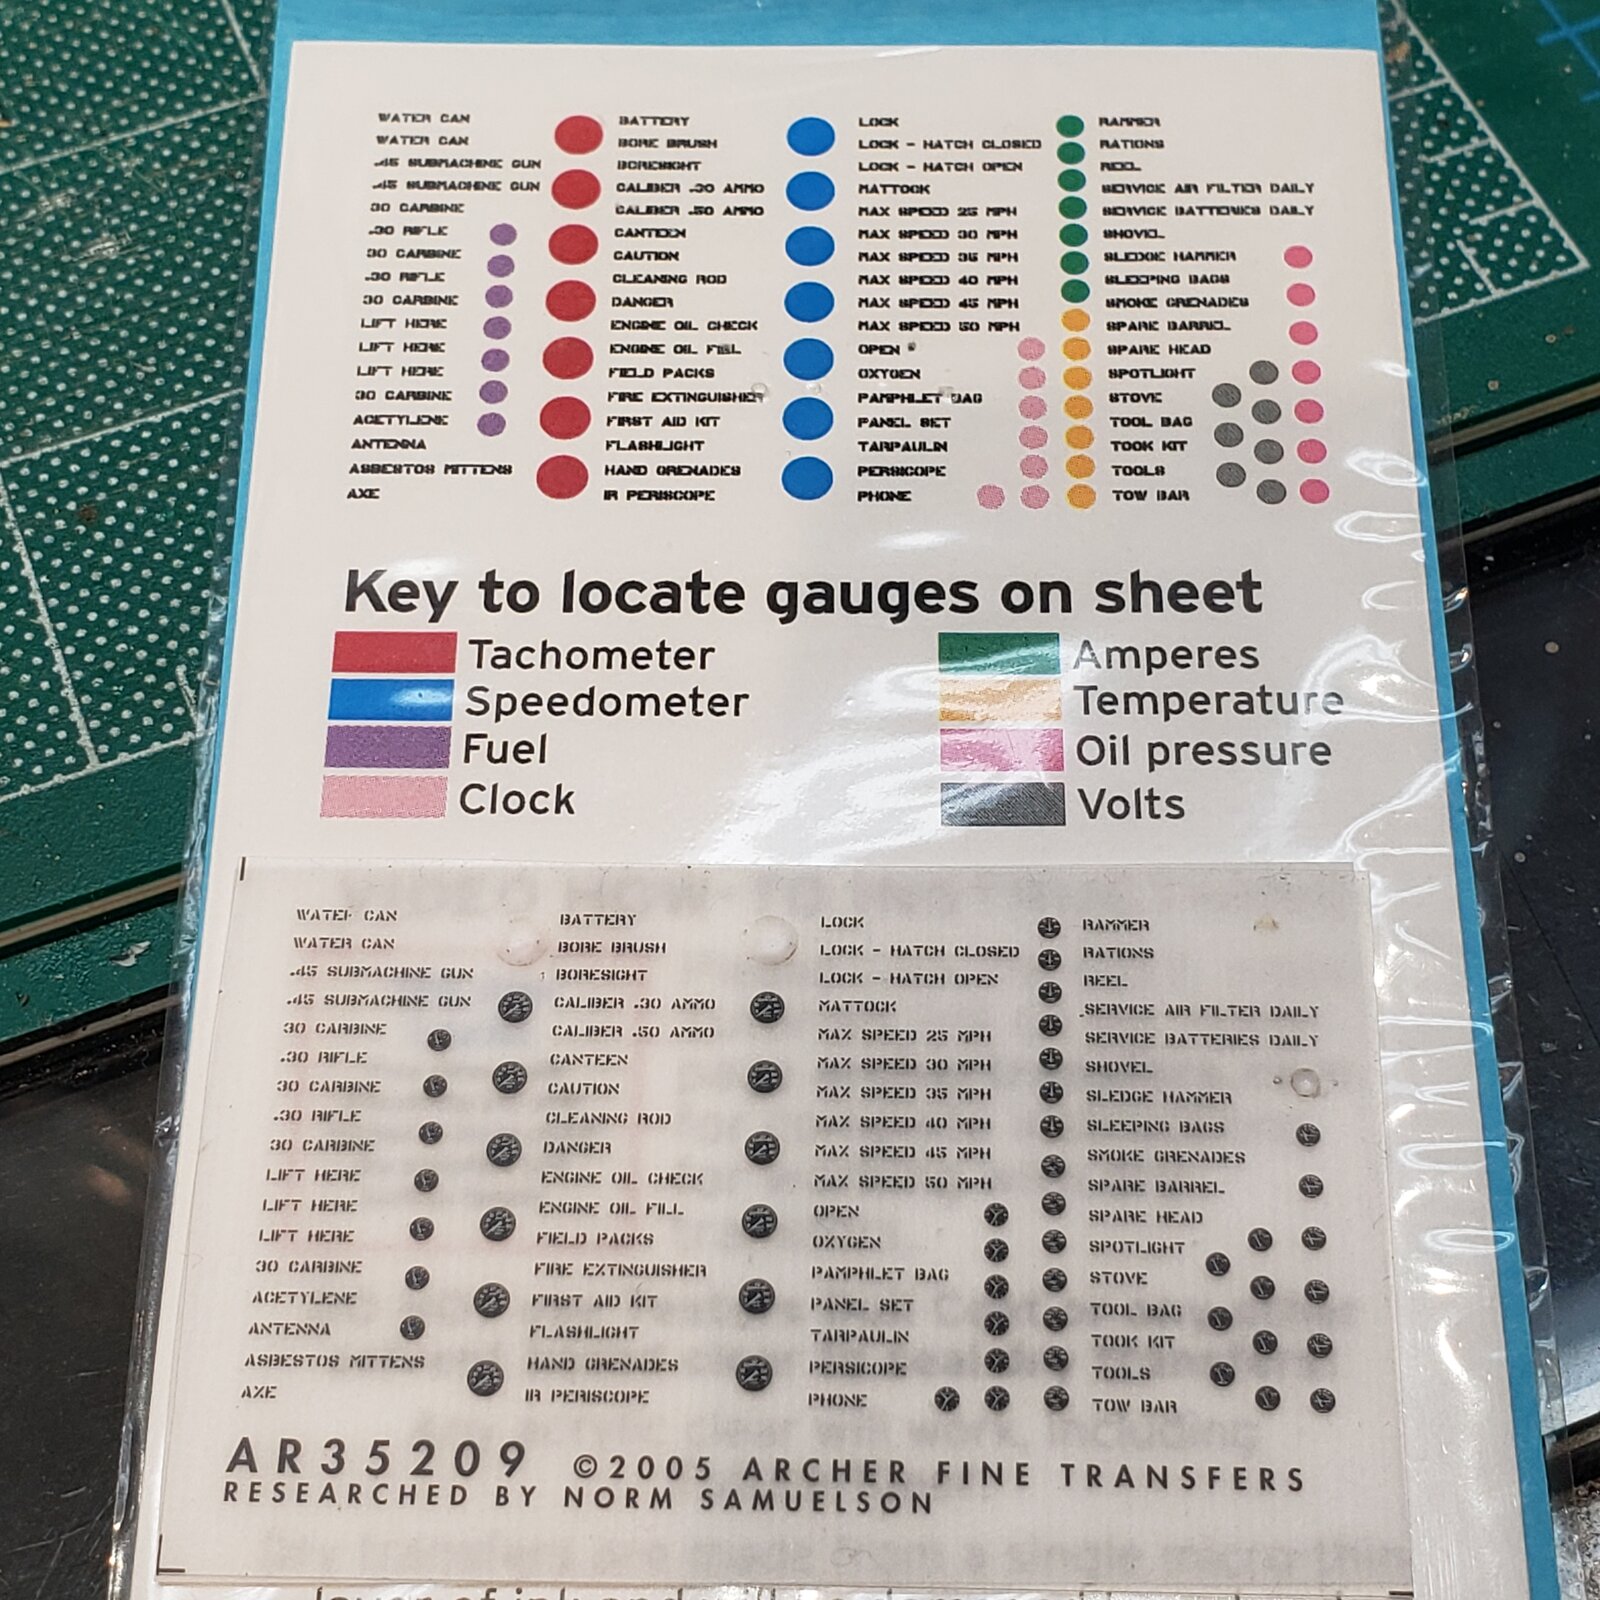
Then I remember my Archer dry transfers - US gauges and interior stencils:

20250731_214853.jpg


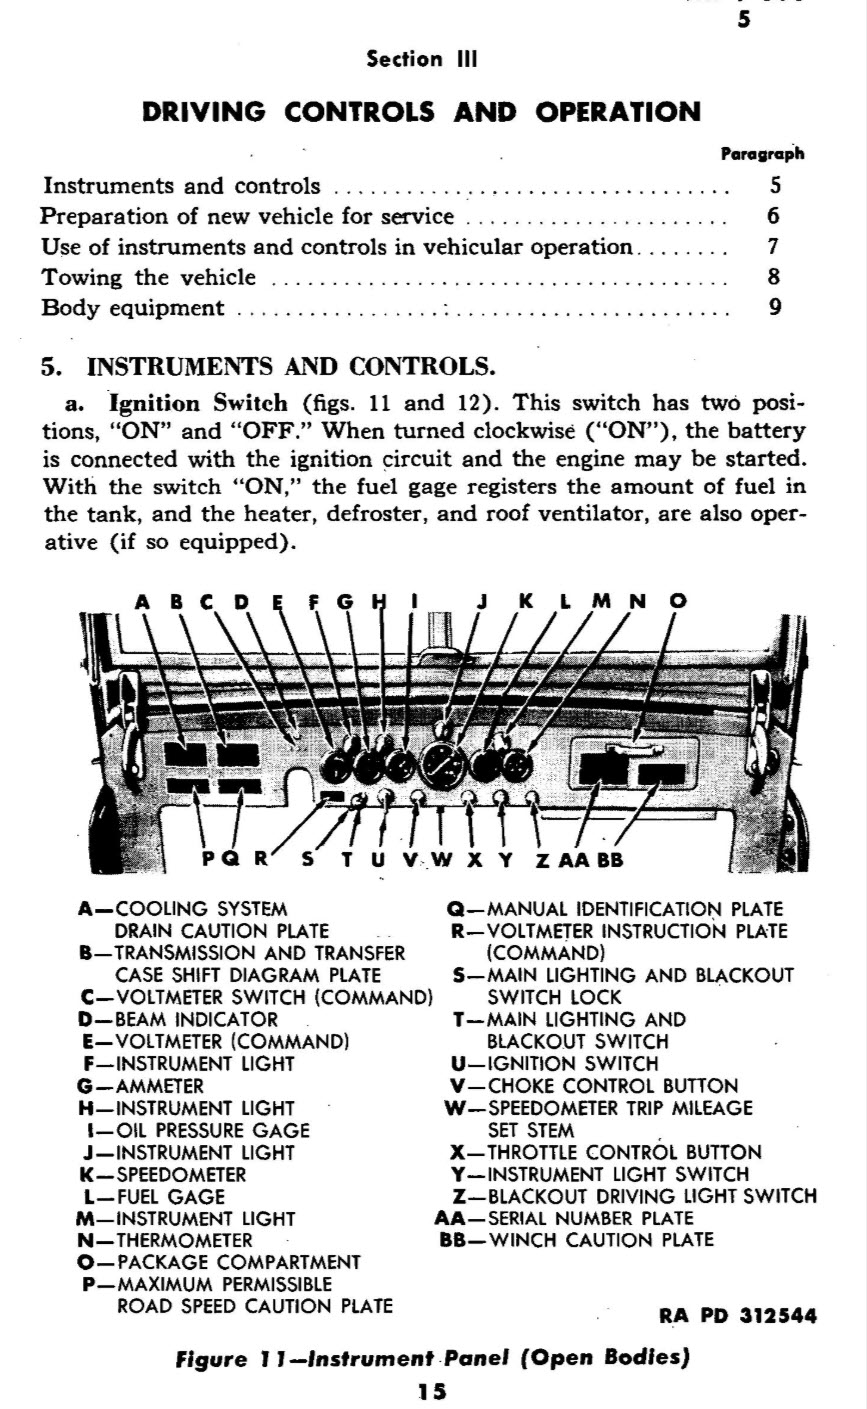
... but what goes where? A question I have asked before, for another vehicle.
With an offering to the Google of Delphi, pdf please, I find a operator's manual, with this:

2025-07-31_21-43-48.jpg


Sometimes I feel like the research is as fun as the build!

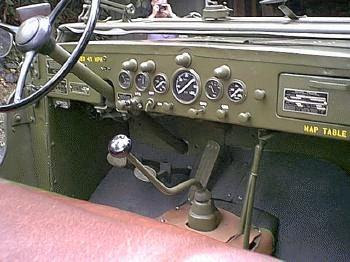
and from my reference pics

unnamed.jpg
 
Last edited:
For American vehicles, trying to find a technical manual is usually a good way to research details like this. Anything the crew actually has to operate or service will be explained and often shown in it.
 
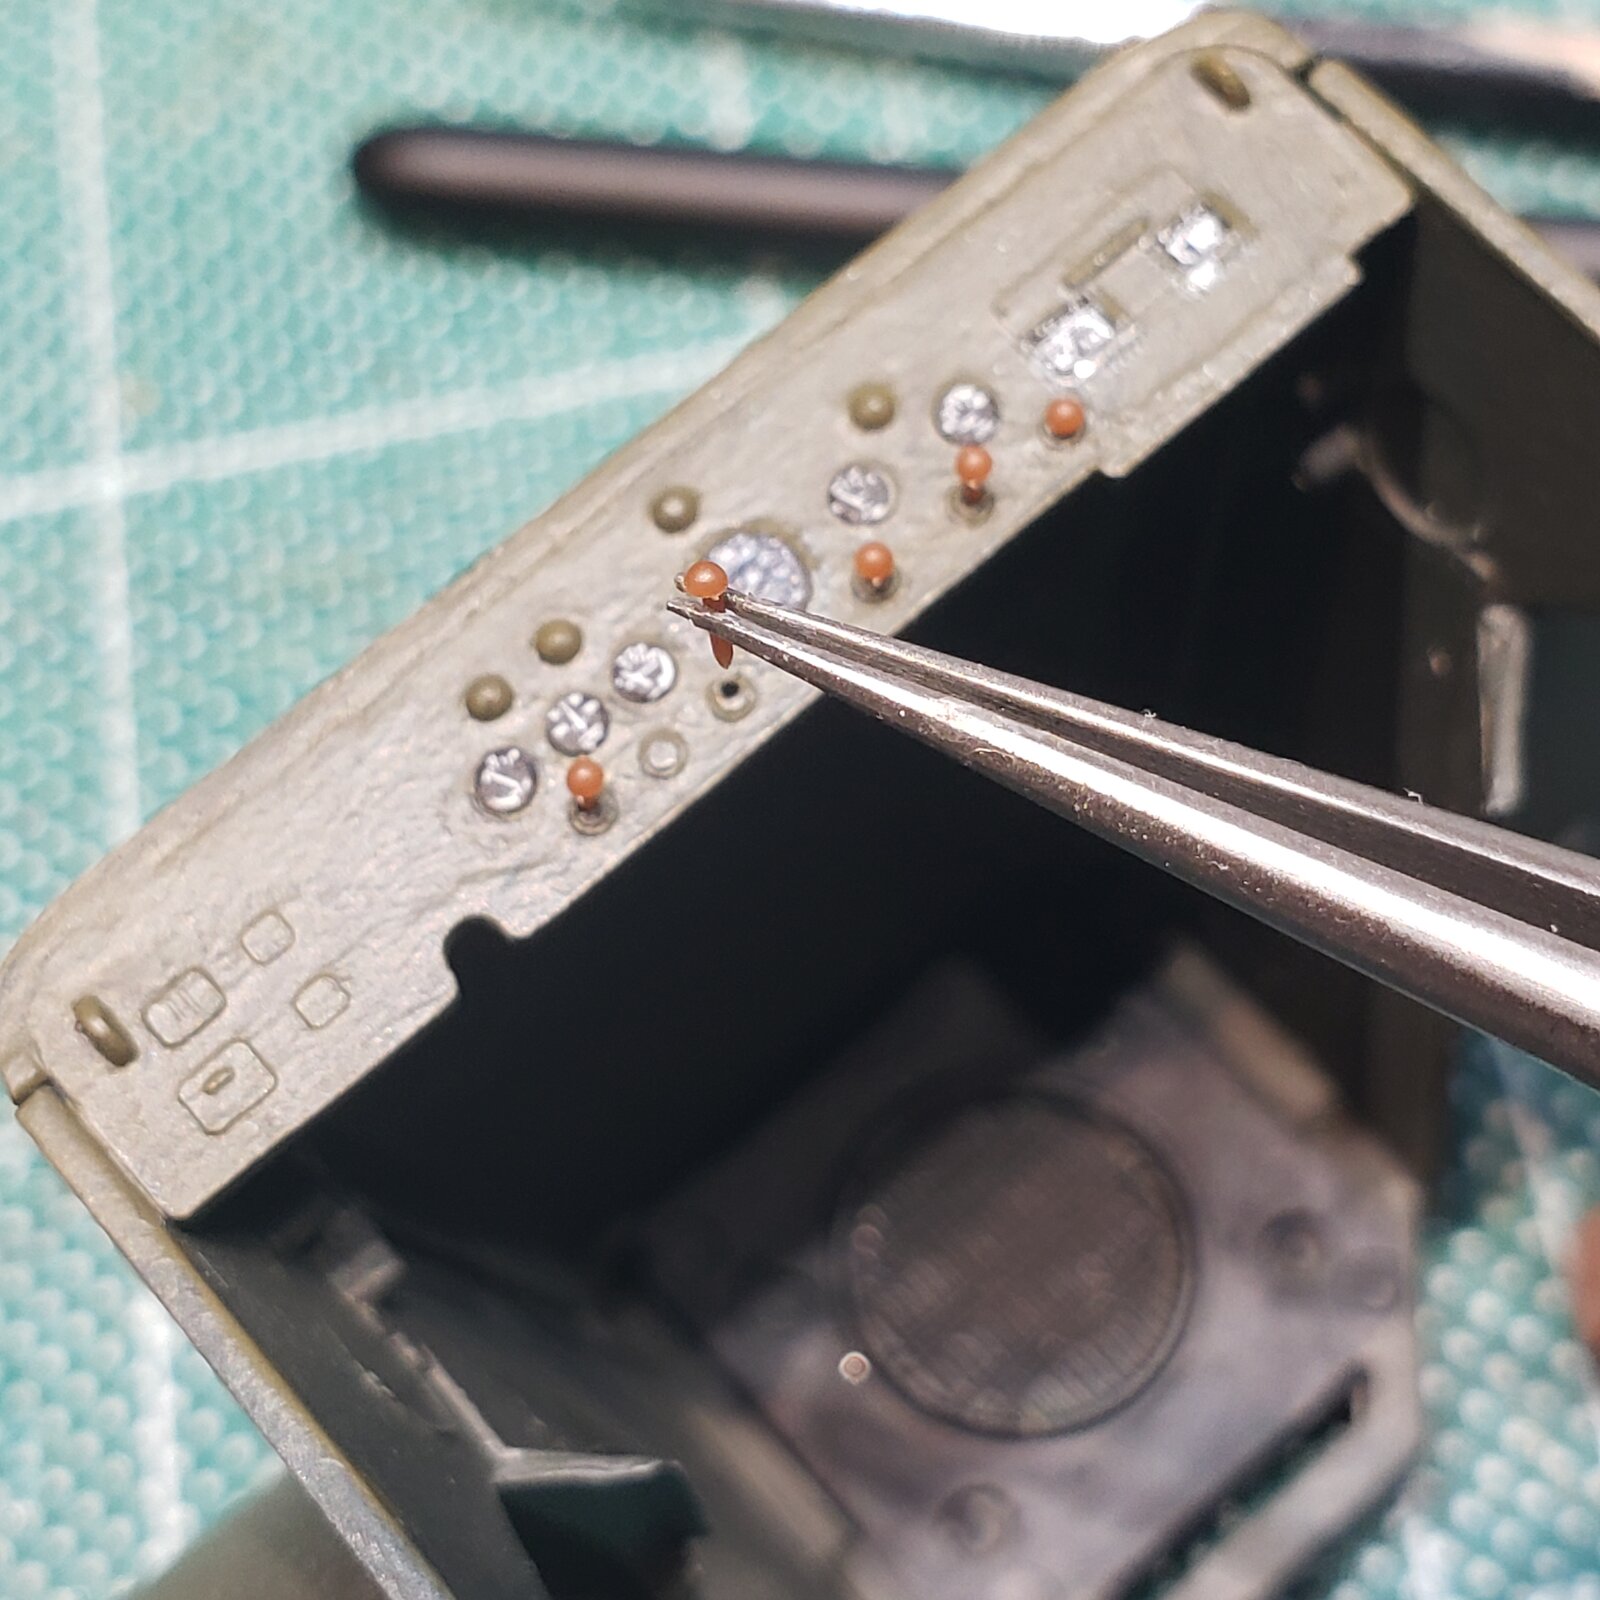
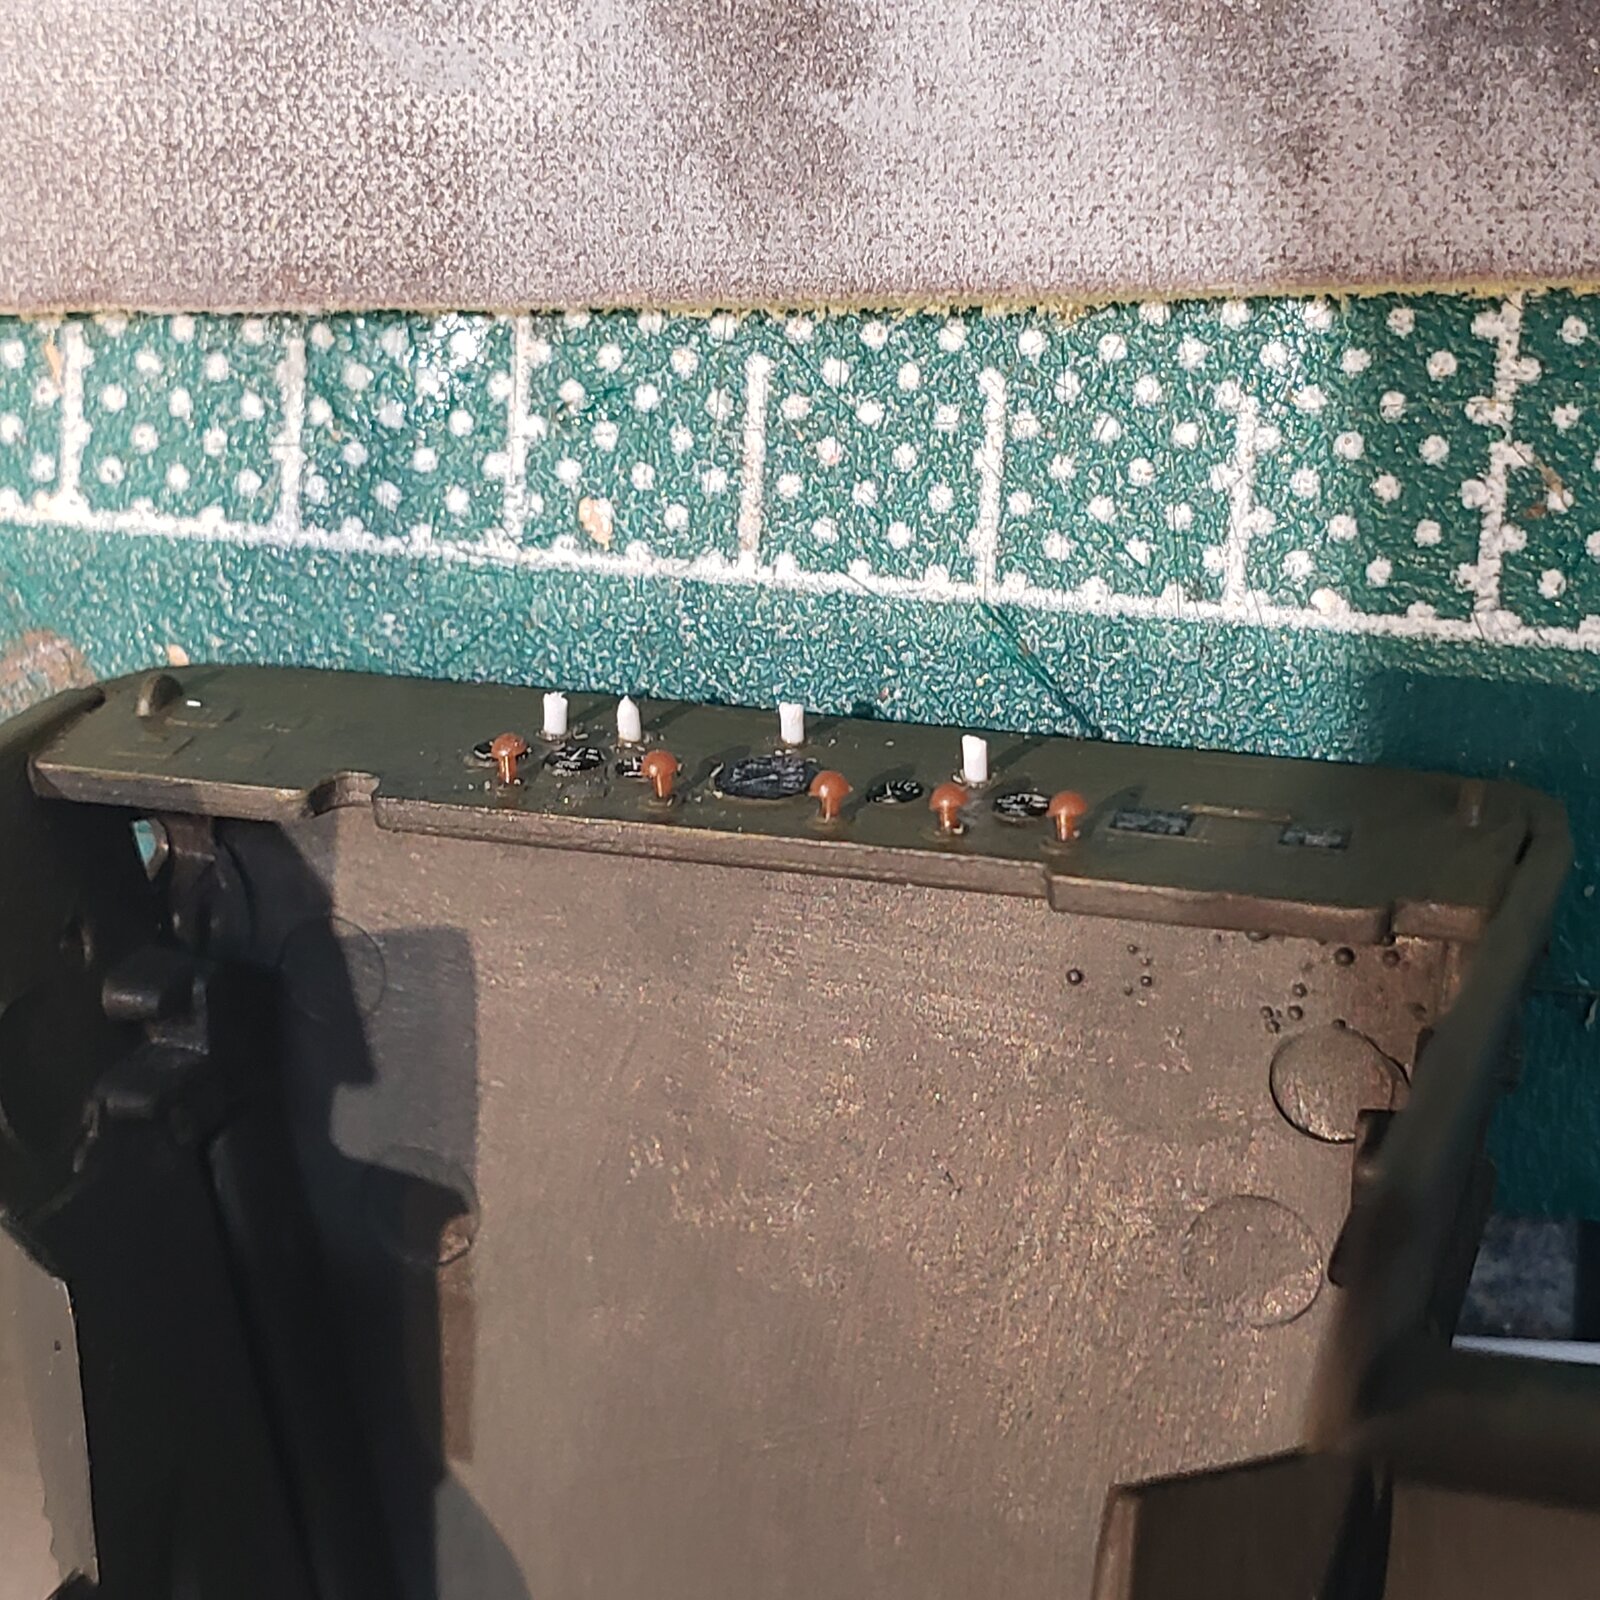
Will have to sand the ends to round them off a bit, but styrene extensions should do the trick for dash lights. Tomorrow... tonight I have to get some shut eye after what sounded like a herd if raccoons ran across the carport roof that connects to the wall at the head of my bed... at 4 am... after which I couldn't sleep.

17545347528832097928693440266010.jpg
 
Nice work.
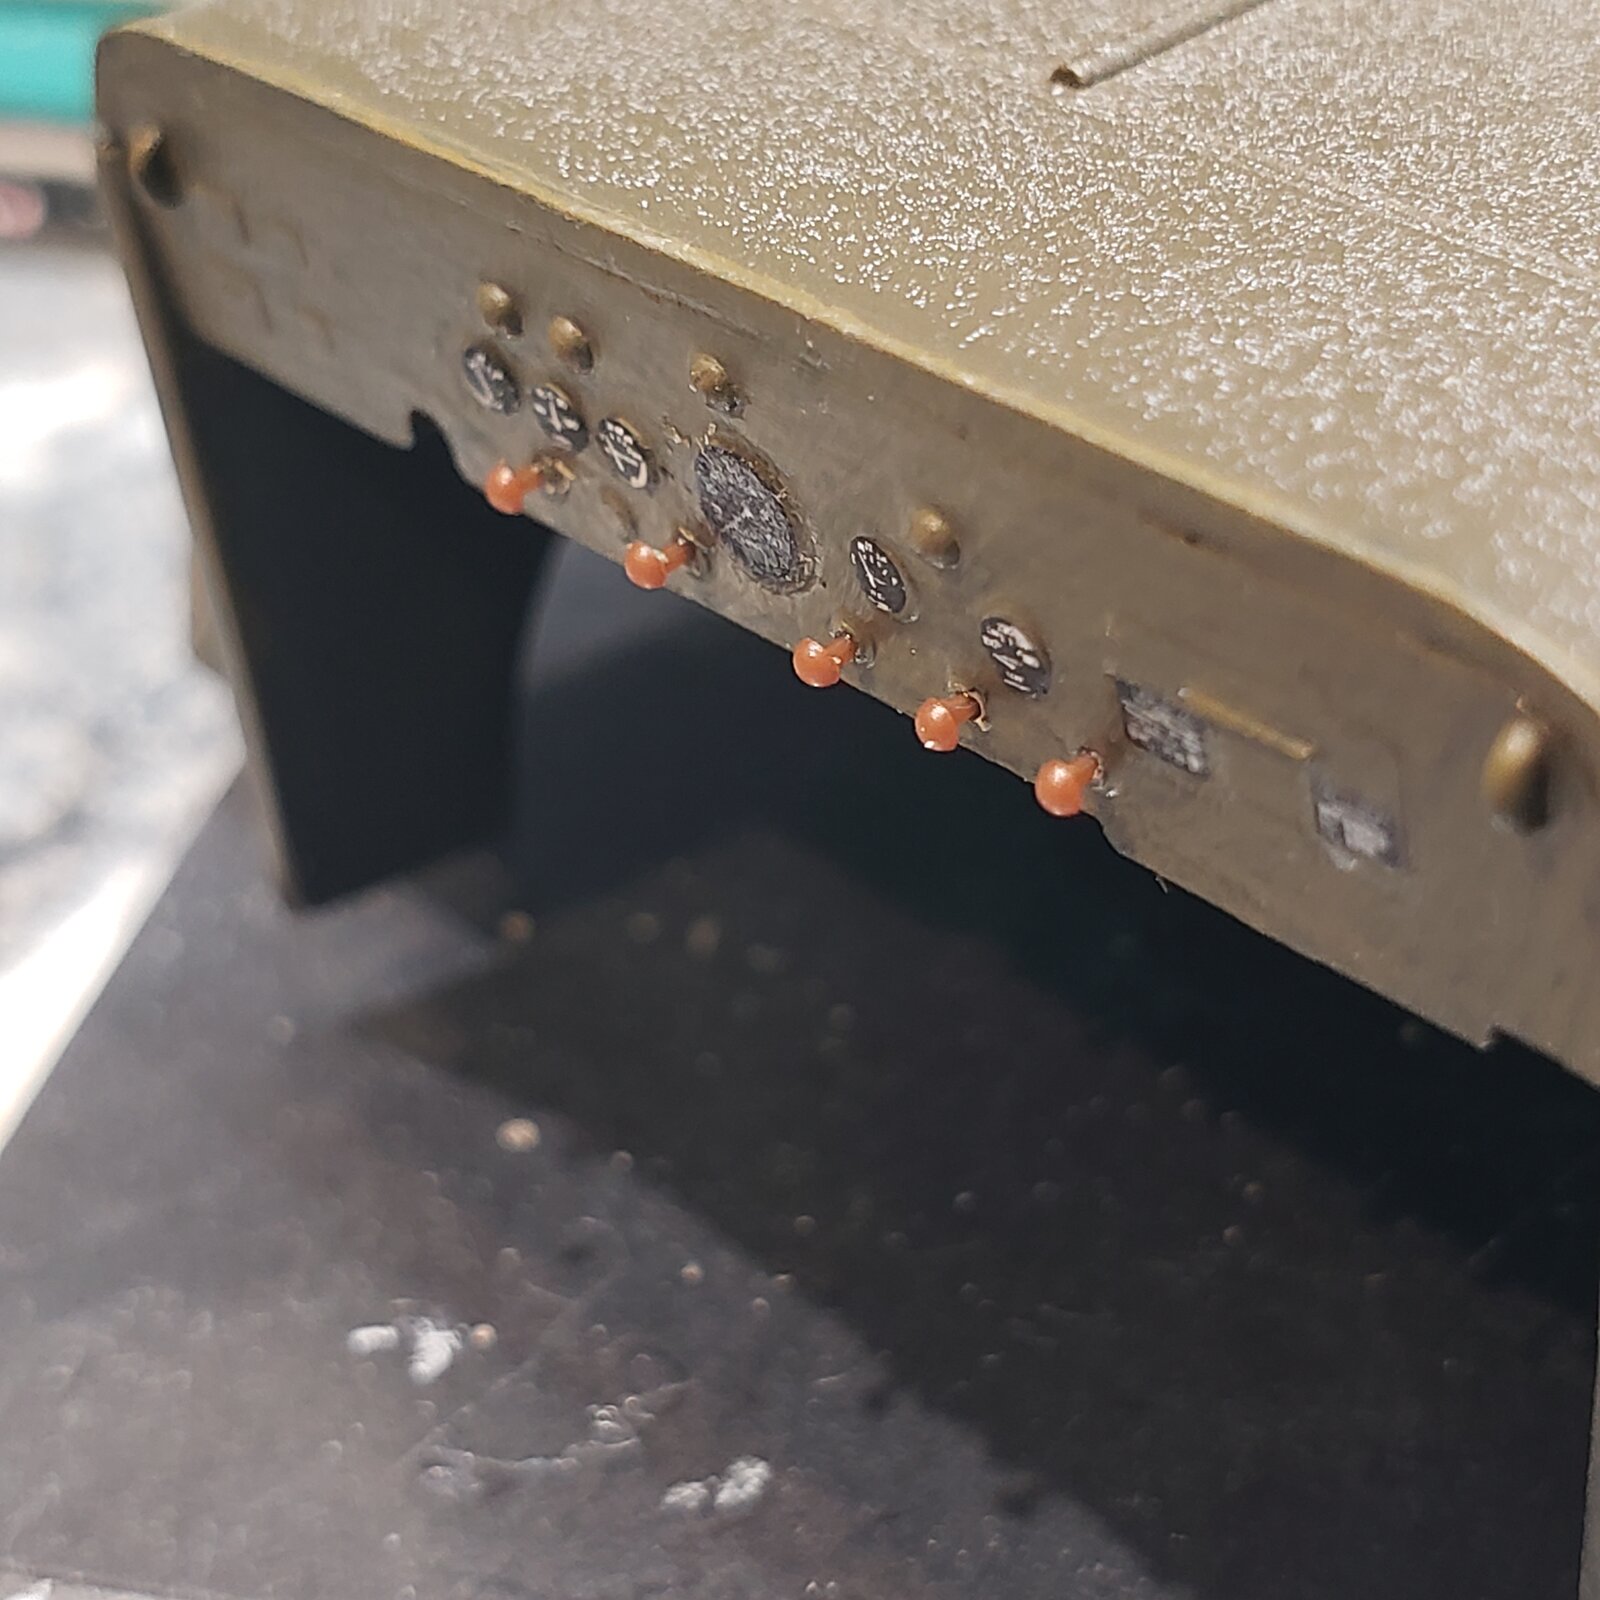
Did you repurpose those "rivets" or fabricate them?
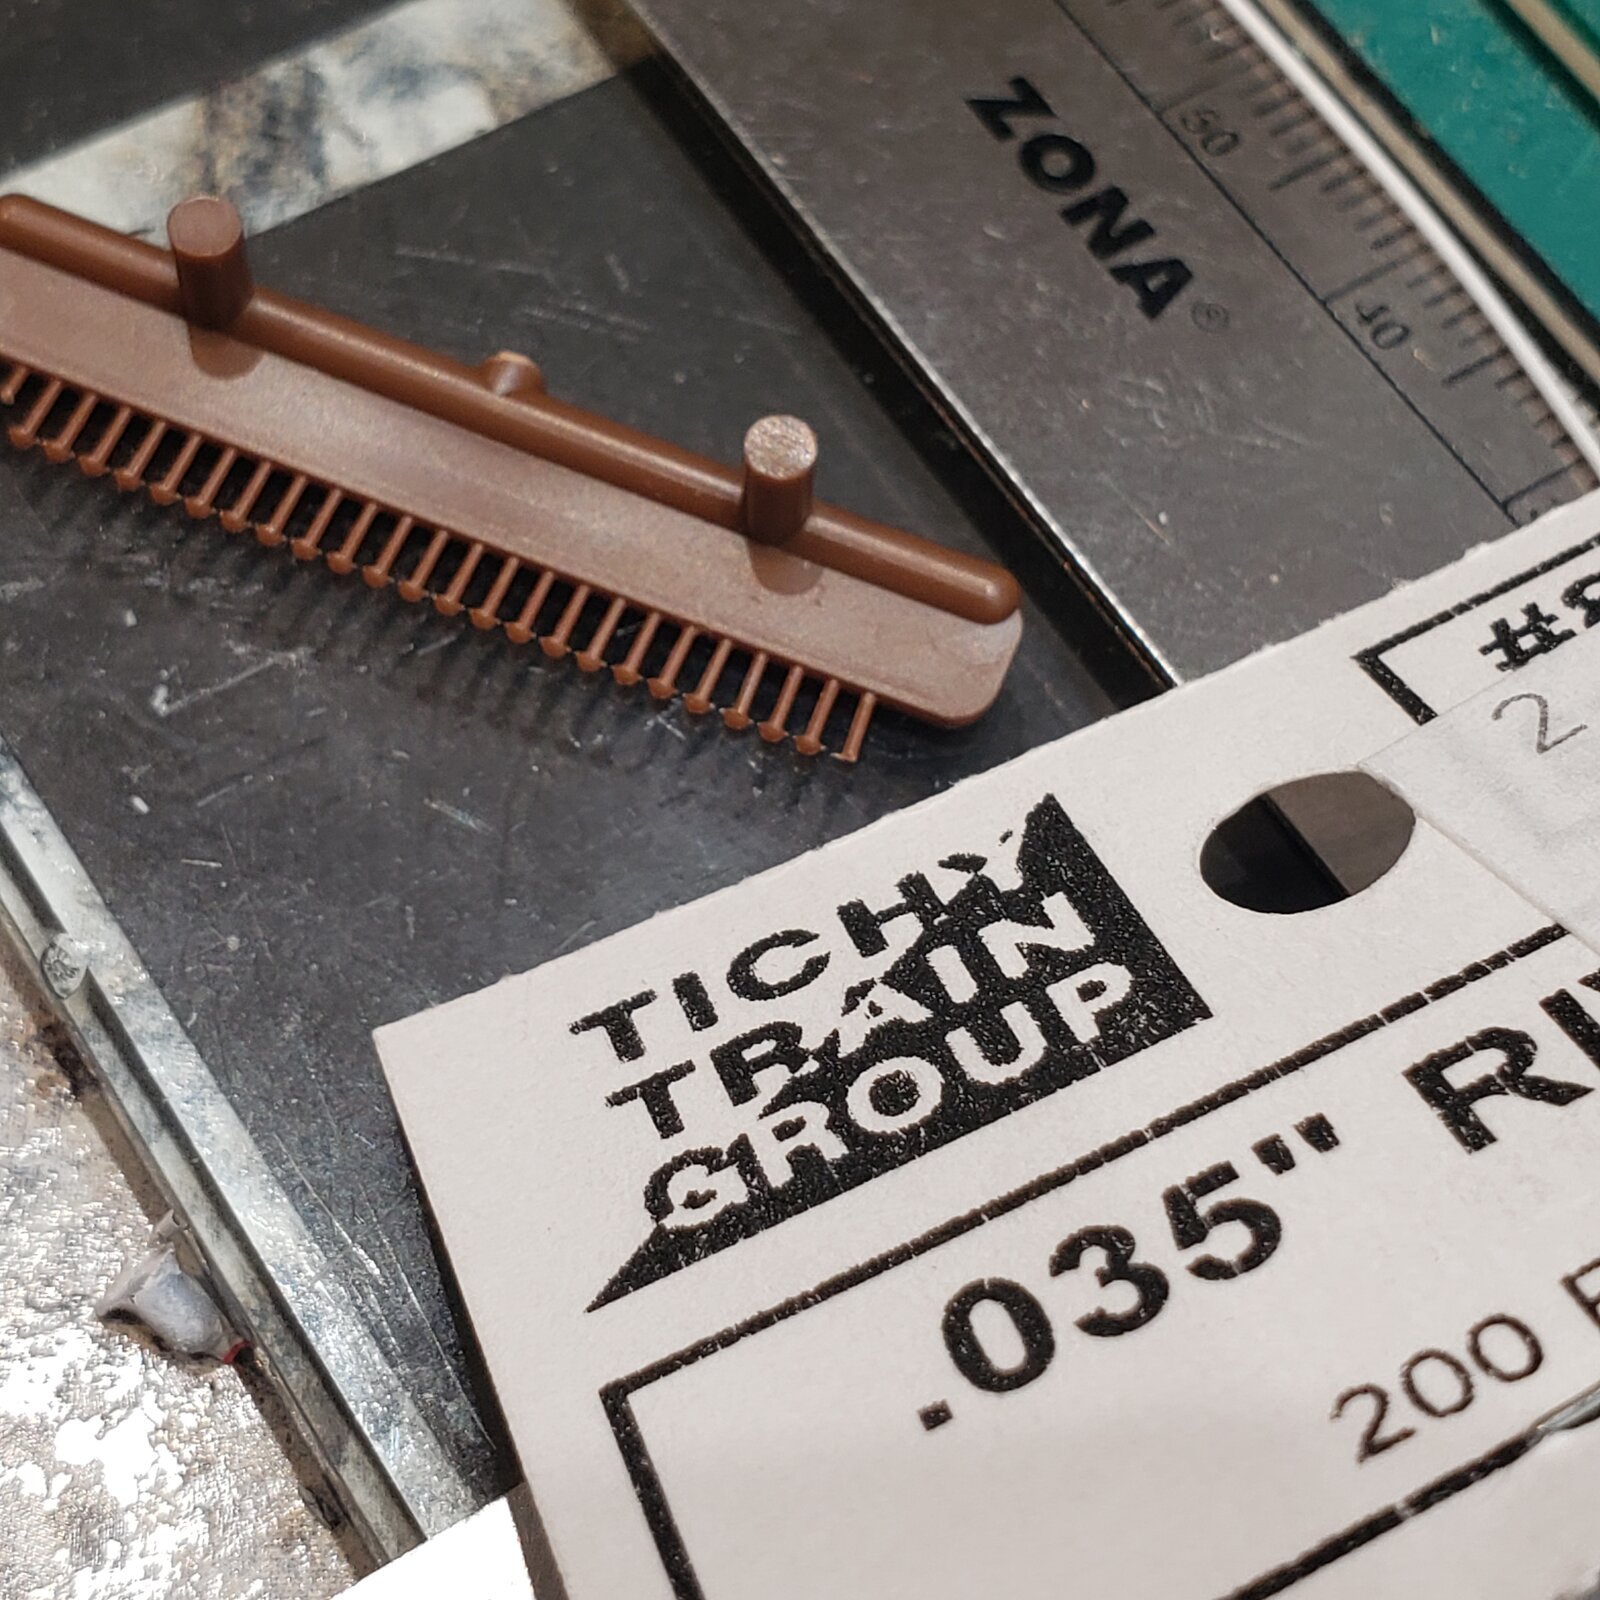
17545349166405558664336519749986.jpg

I have a stock of different sized rivets for this purpose, and as actual rivets...haha... at the LHS, I always check what sort of stuff is available in all the sections, RC, planes, armour, cars and trains.
I find that browsing in person I'm better able to imagine uses for the stuff I find.
 

Latest posts

Back
Top