M6 Gun Motor Carriage WC-55 2025-06

Scale Model Addict - Model Tips, Guides, Tools & Tech, Tutorials, and Community

Help Support Scale Model Addict:

BarleyBop

Well-Known Member
Glue Member
Joined
Sep 4, 2022
Messages
5,418
City & State/Province
Ottawa, Canada
...so the 'quick-build' Pavesi hit a snag (while I wait for a part), and I really wanted to build something that wouldn't take months...
So ta-da!
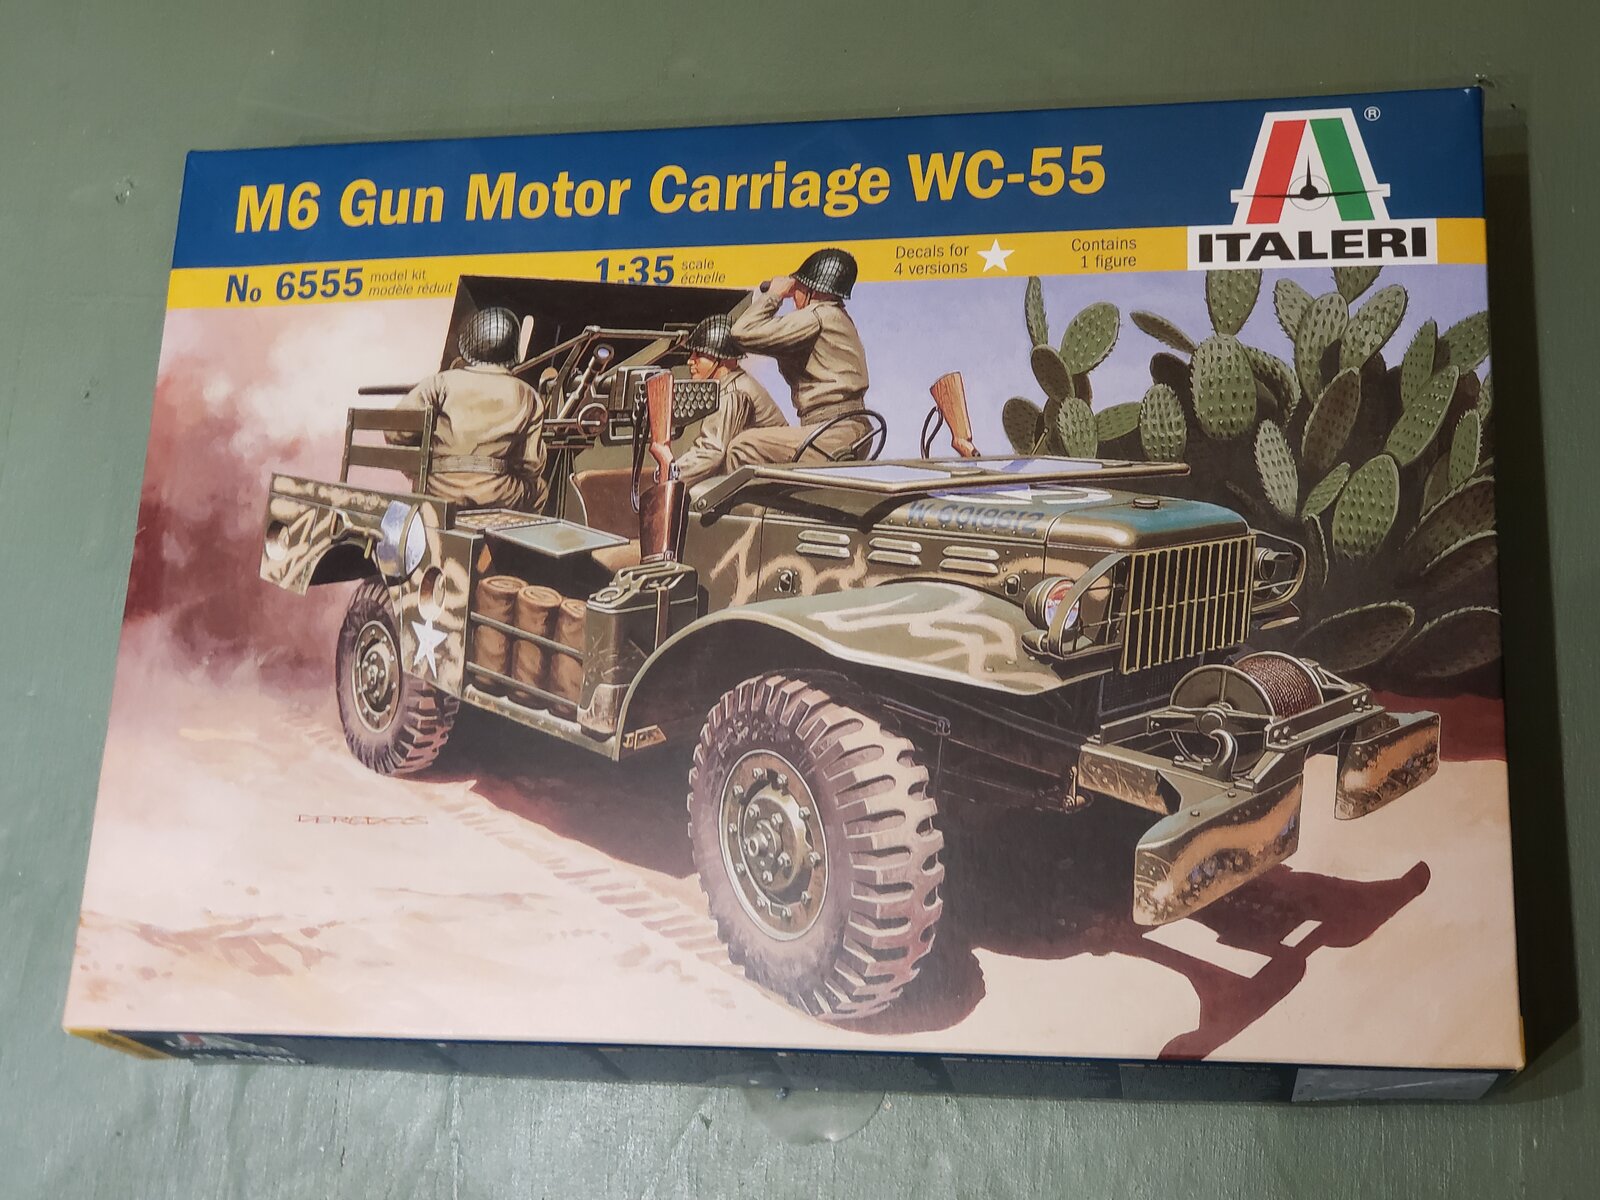
Checked the stash and this should fit the bill.
I've already built the Weapons Carrier 52, so I'm thinking this should not be too scary.
17492672221865439189410923889025.jpg

As part of Operation Torch, the US and Brits have landed in the northwest of Africa, and after some skirmishes with the Vichy French in Morocco and Algeria, the French have come onside and the Axis forces are now caught in a pincer with Monty advancing from the east.

The Americans will now have their first encounters with the combined German and Italian forces as they press into Tunisia.
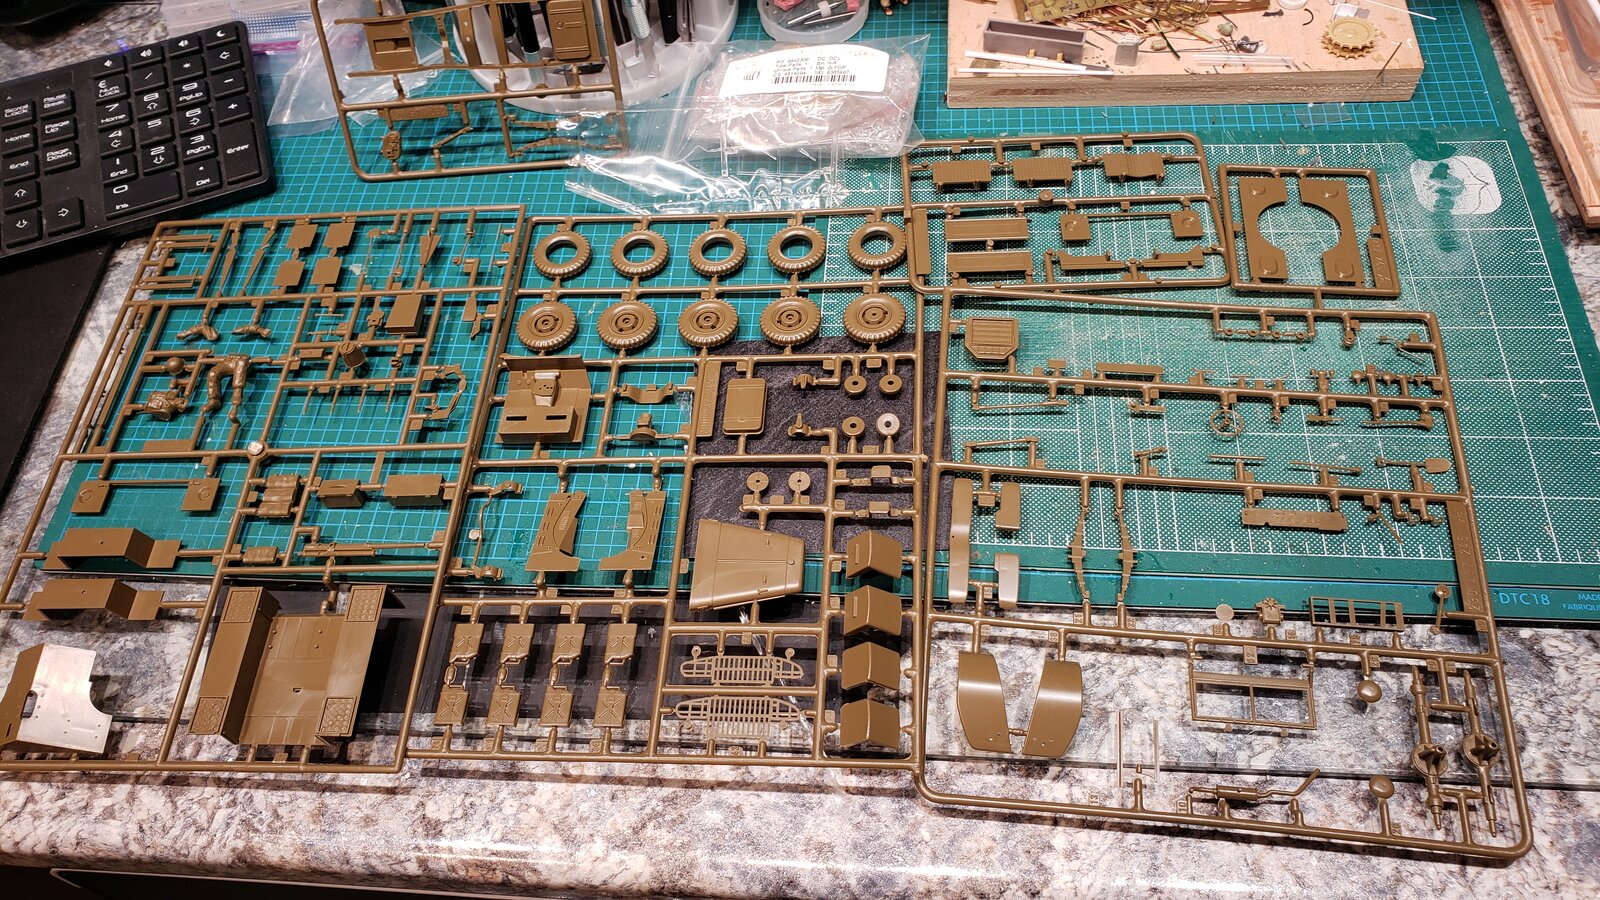
 
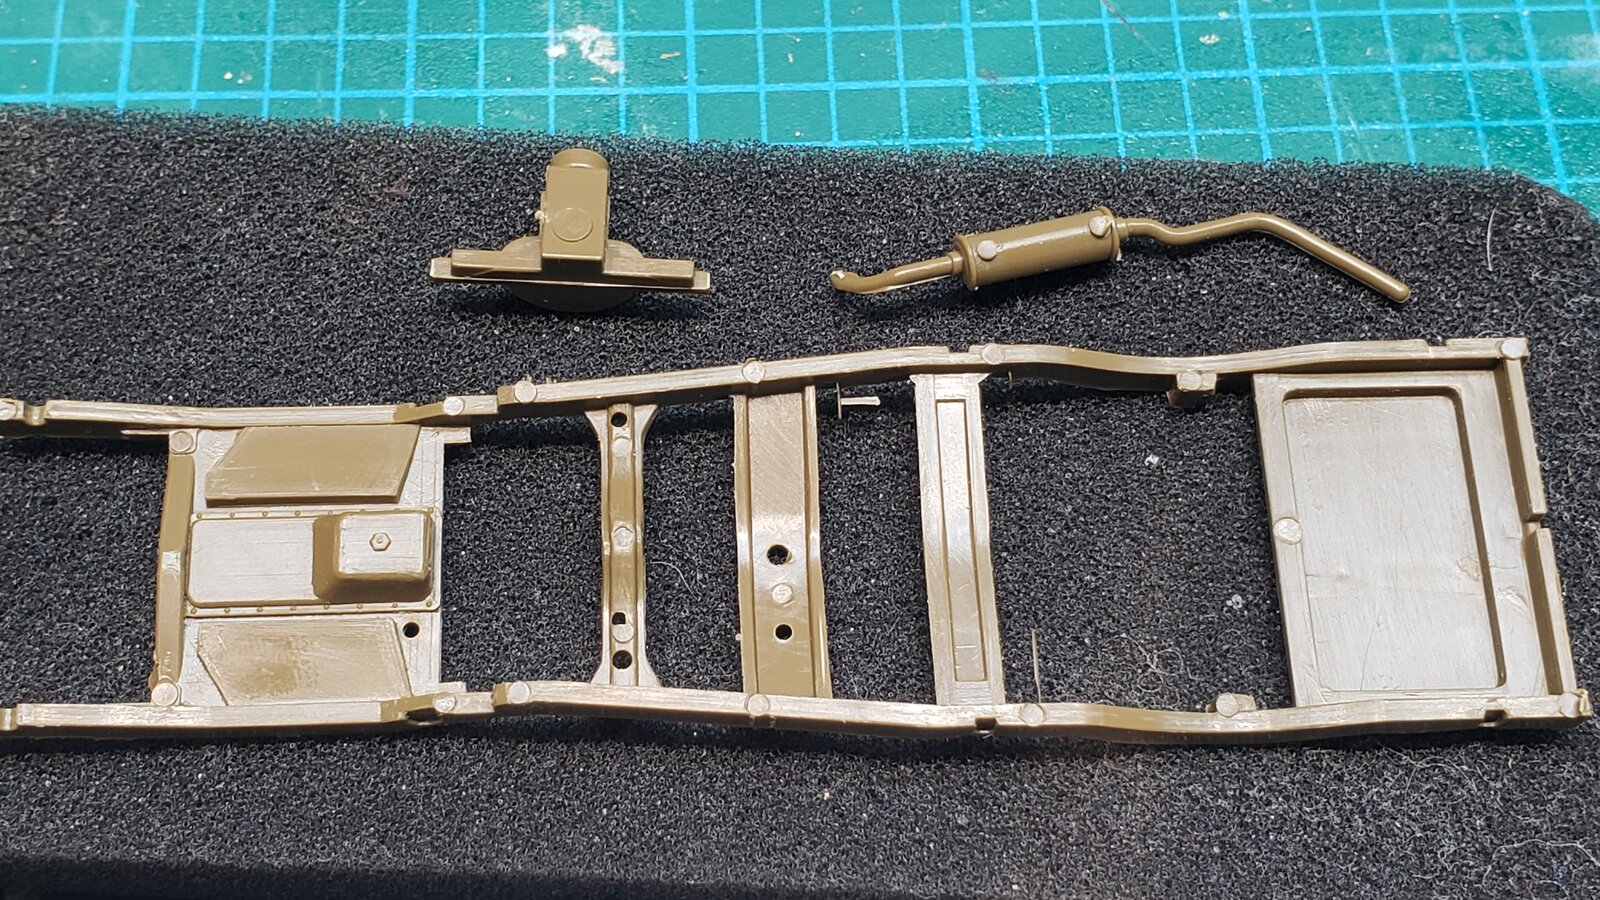
Not going to record all the issues with seams, injection marks and flash as I go; just a few pics so you can know what to expect with this kit.

20250607_154158.jpg

Granted, the frame will be under the truck.
The overall quality, m'eh. Look at the muffler and tail pipe. Misaligned halves, pin marks, seam, and a rounded tail pipe end!

20250607_223132.jpg

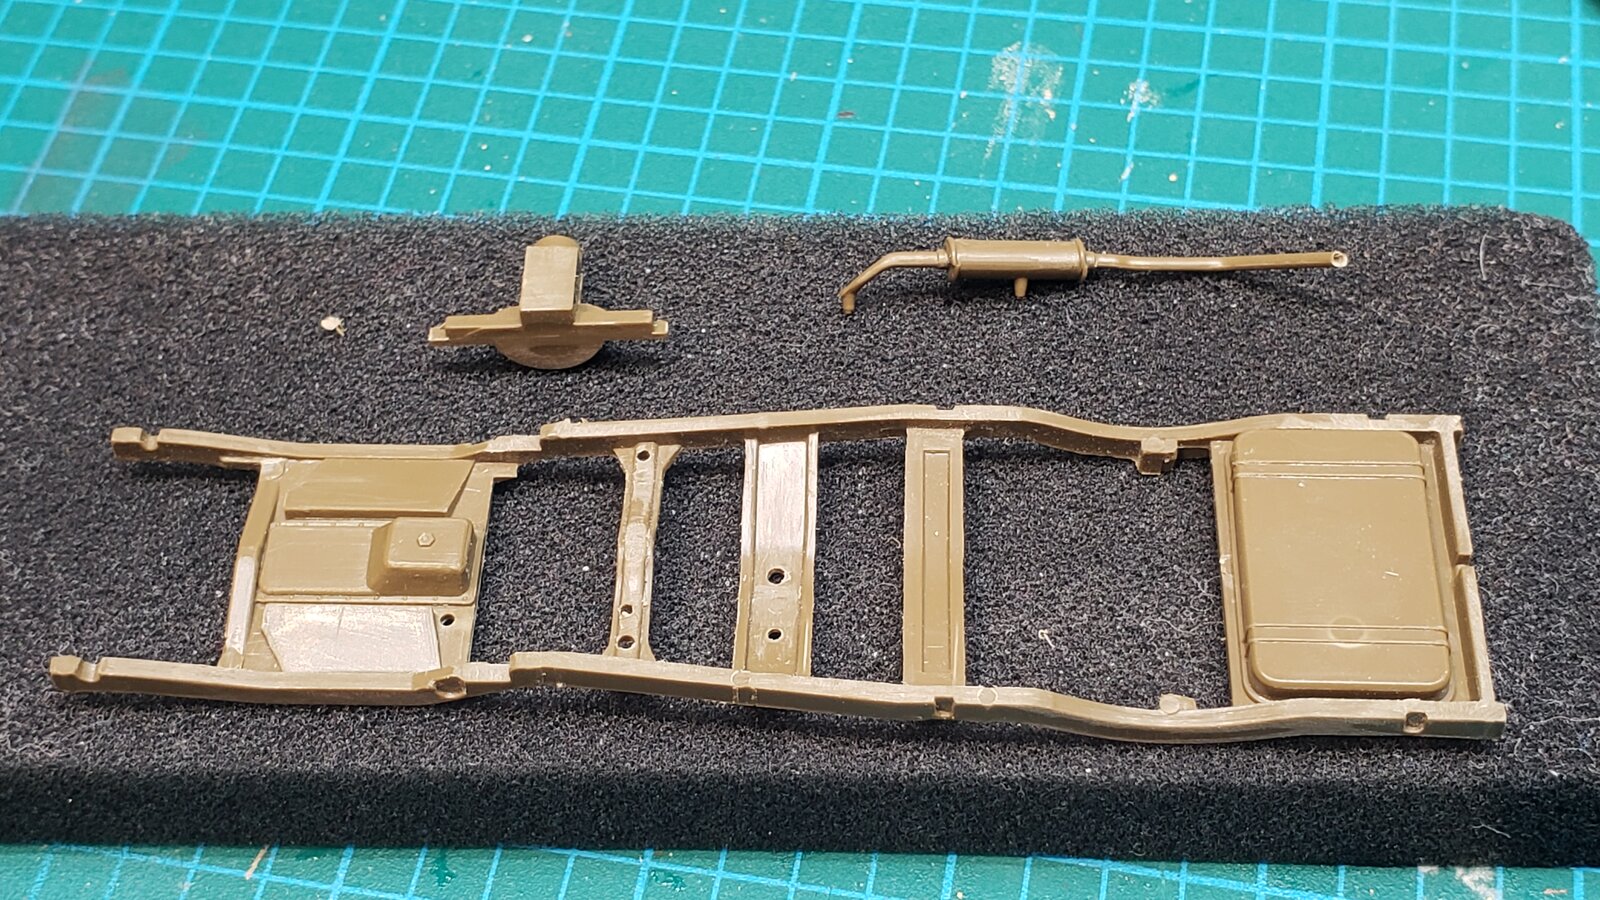
...after an hour of futzing, a bit better.
I'm not going to sweat it too much though :rolleyes:, this is supposed to be a quick build!
 
Not too surprising, of course — this kit is 50 years old, give or take. If you want a better WC-50-series kit, probably the best choice right now would be the recent Zvezda one, but if you then graft the 37 mm gun onto that it will probably look crude.
 
As an Amazon Associate we earn from qualifying purchases. Product prices and availability are accurate as of the date/time indicated and are subject to change.
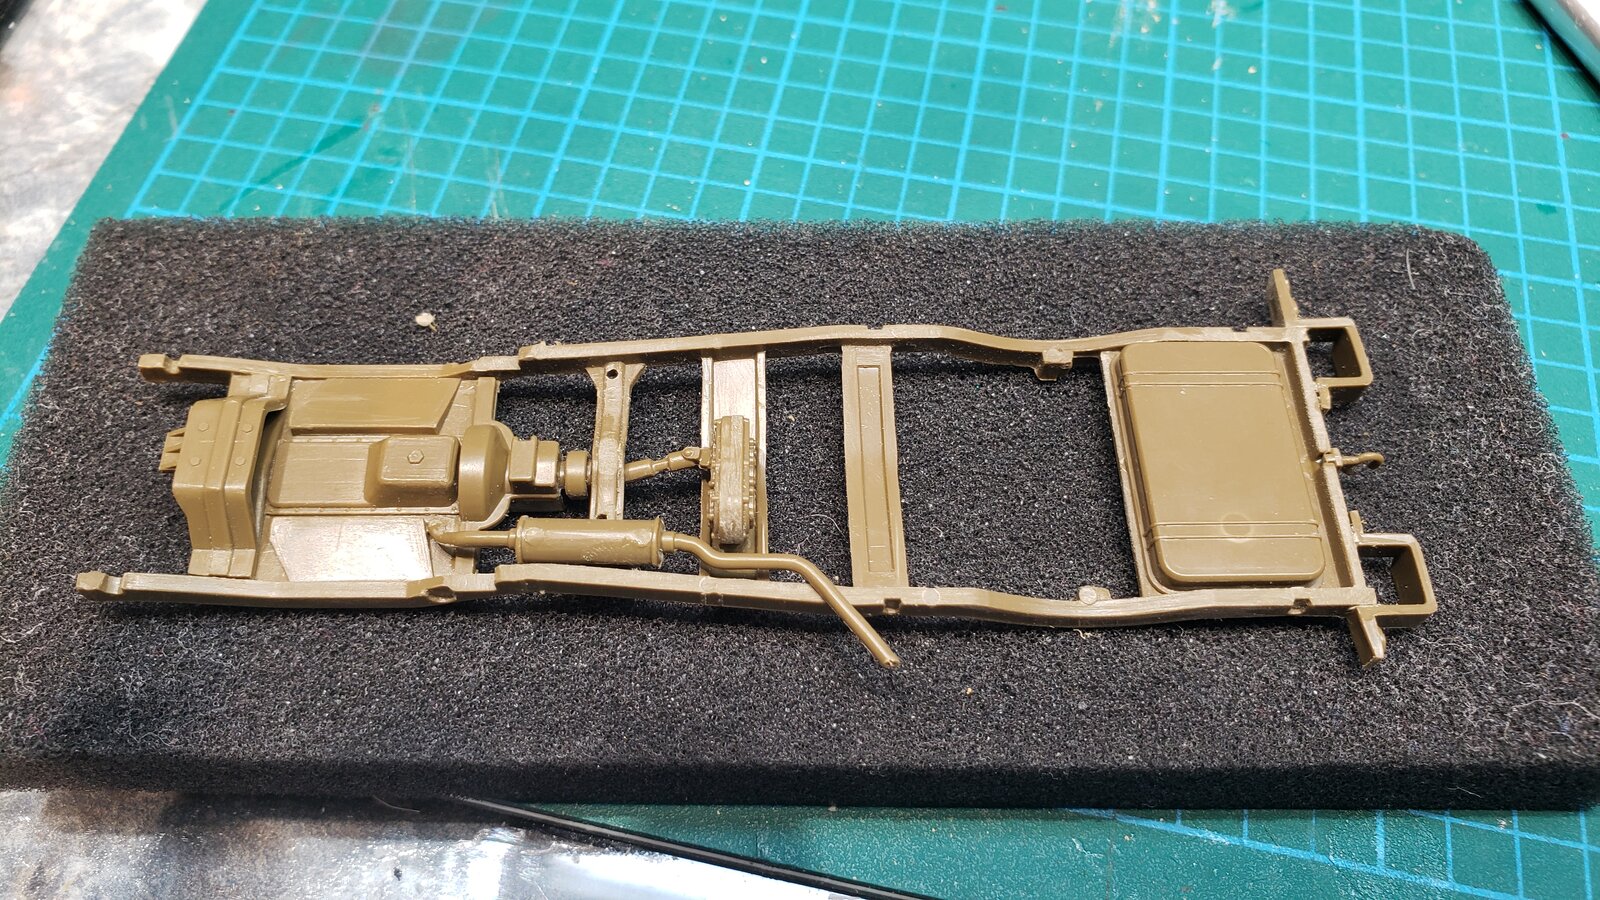
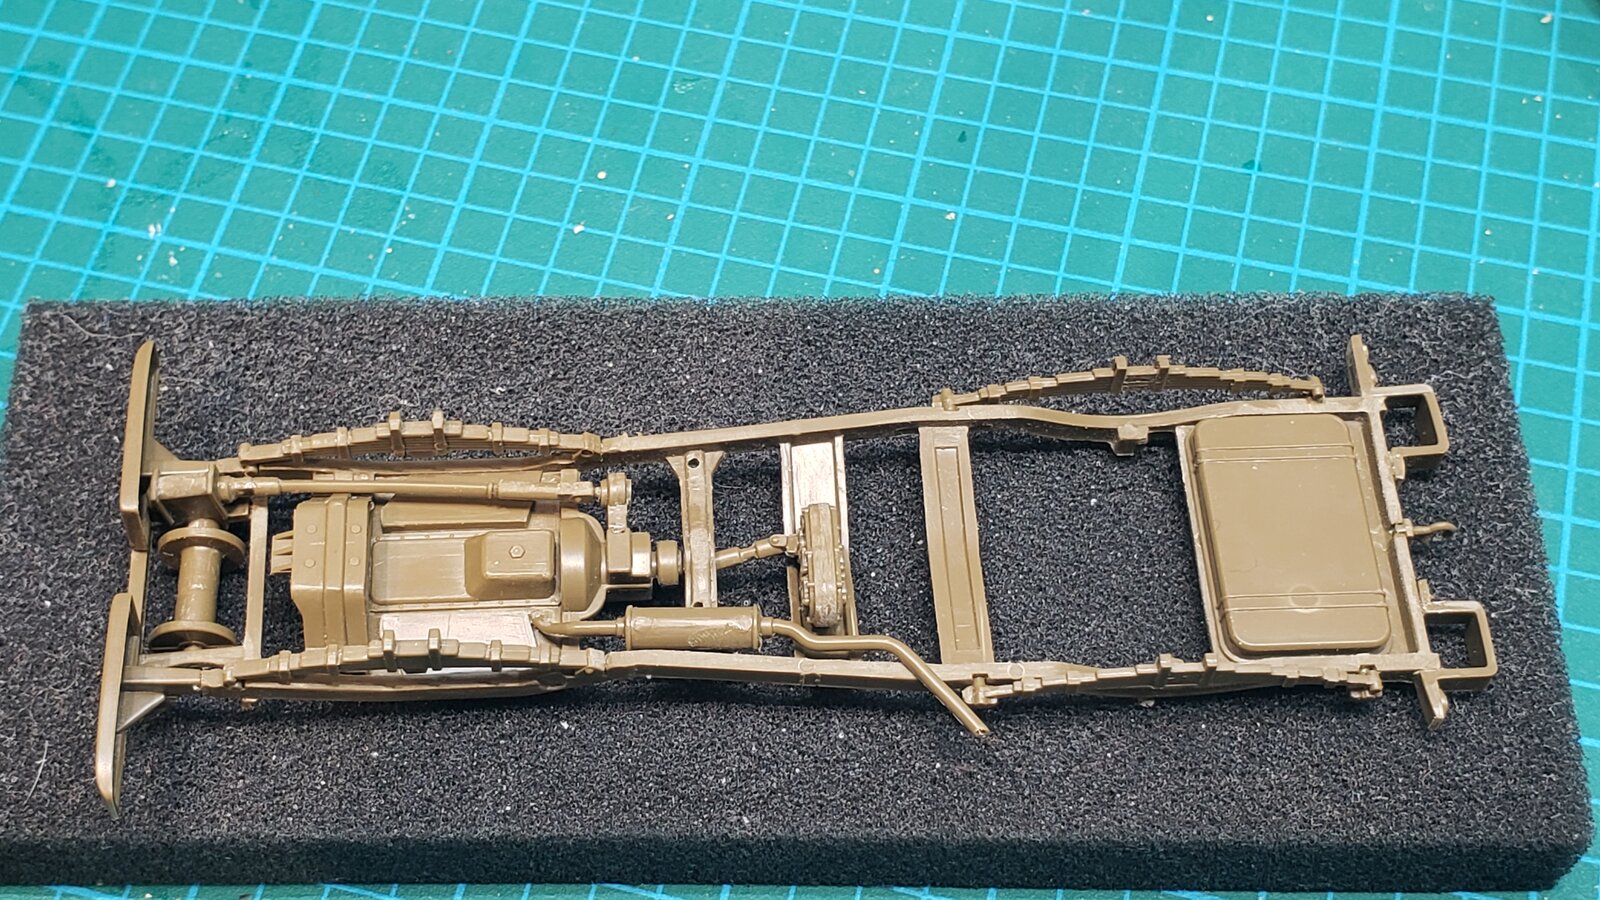
Steps 2 and 3

1749436820479689214101722825161.jpg


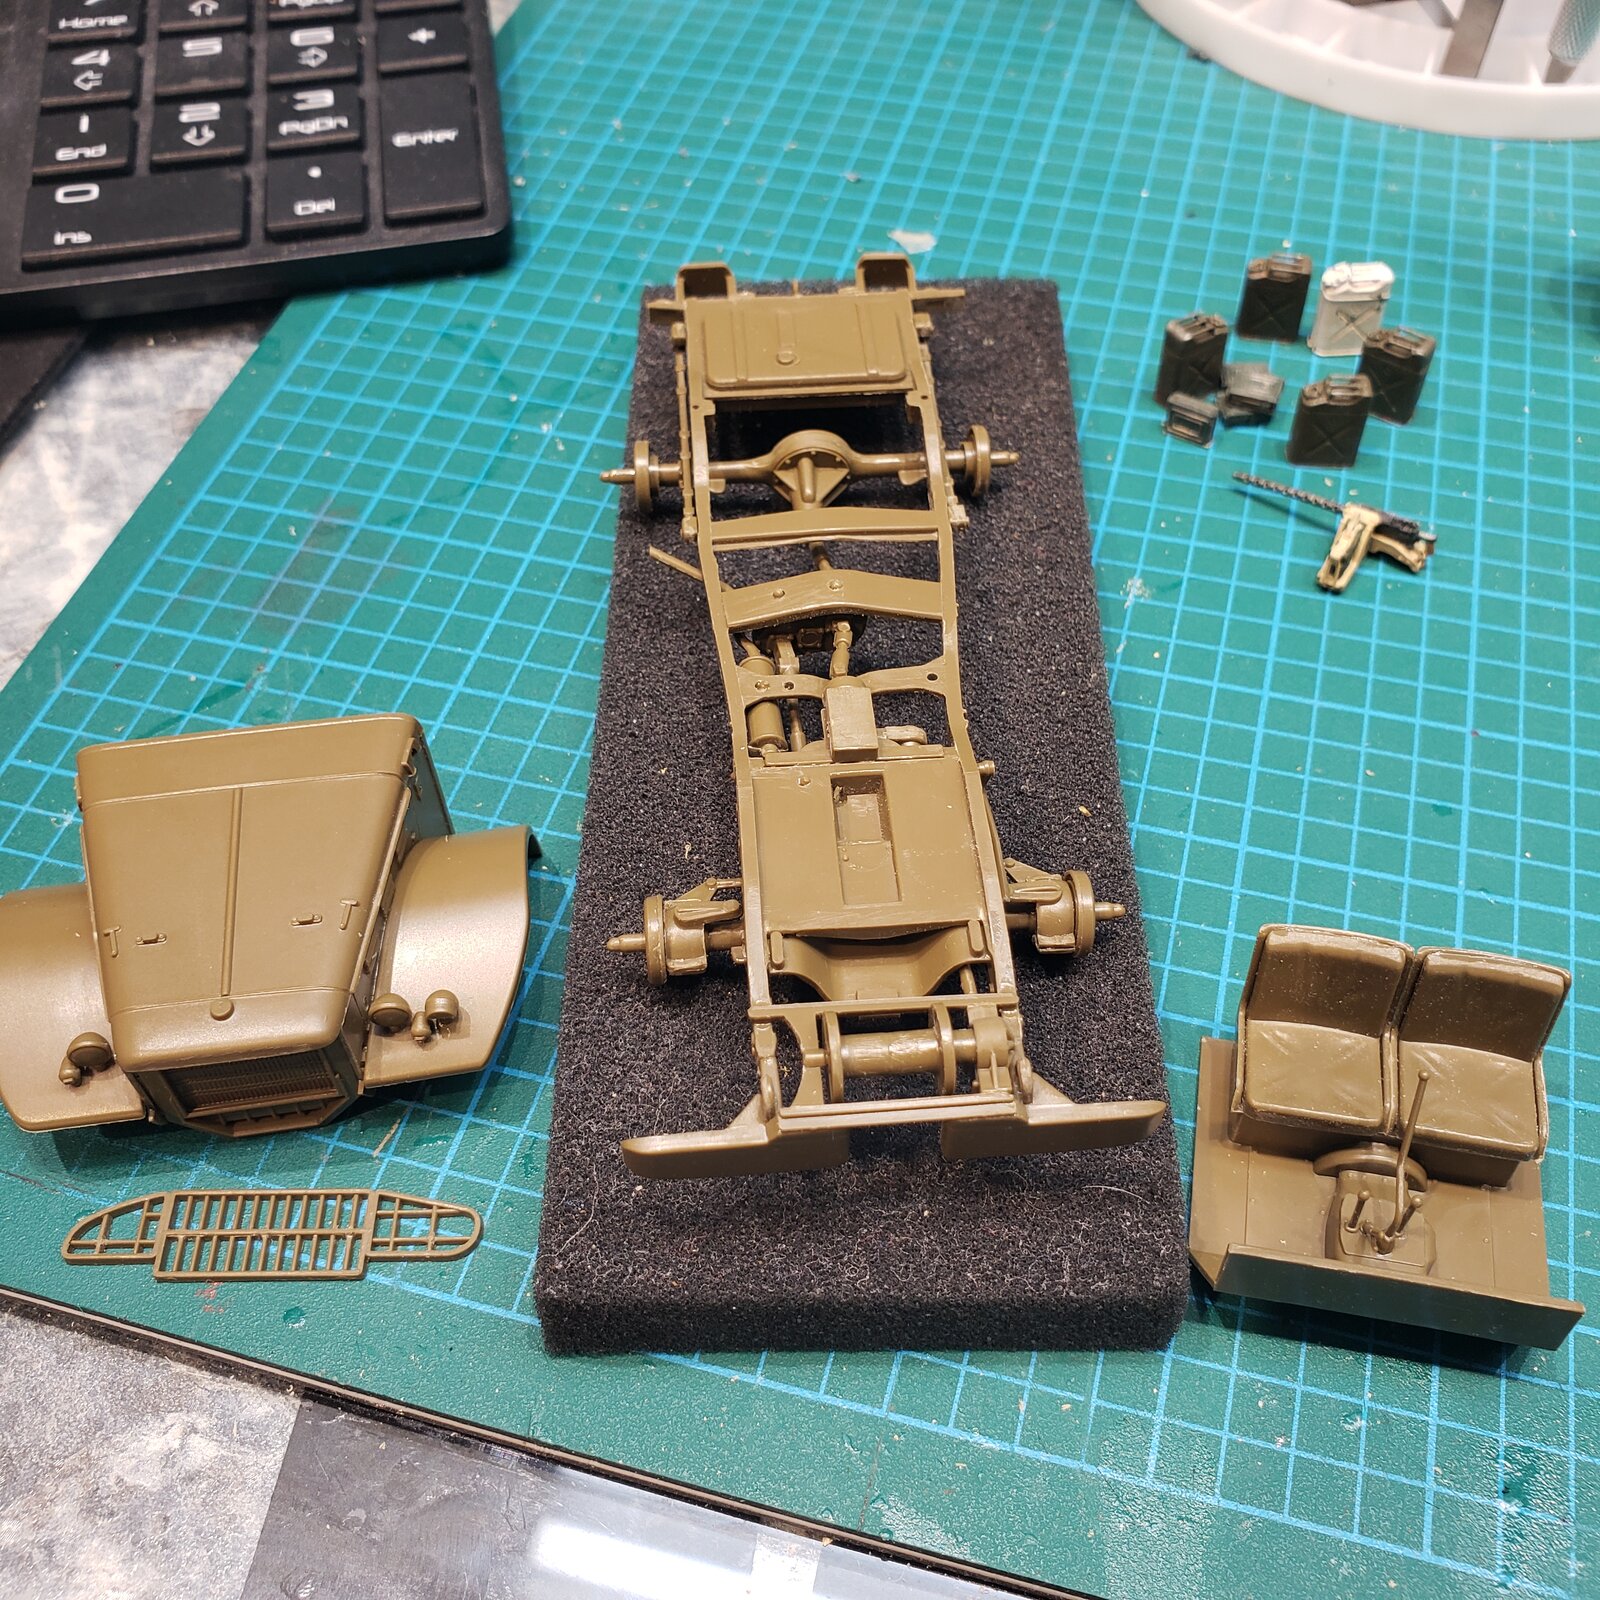
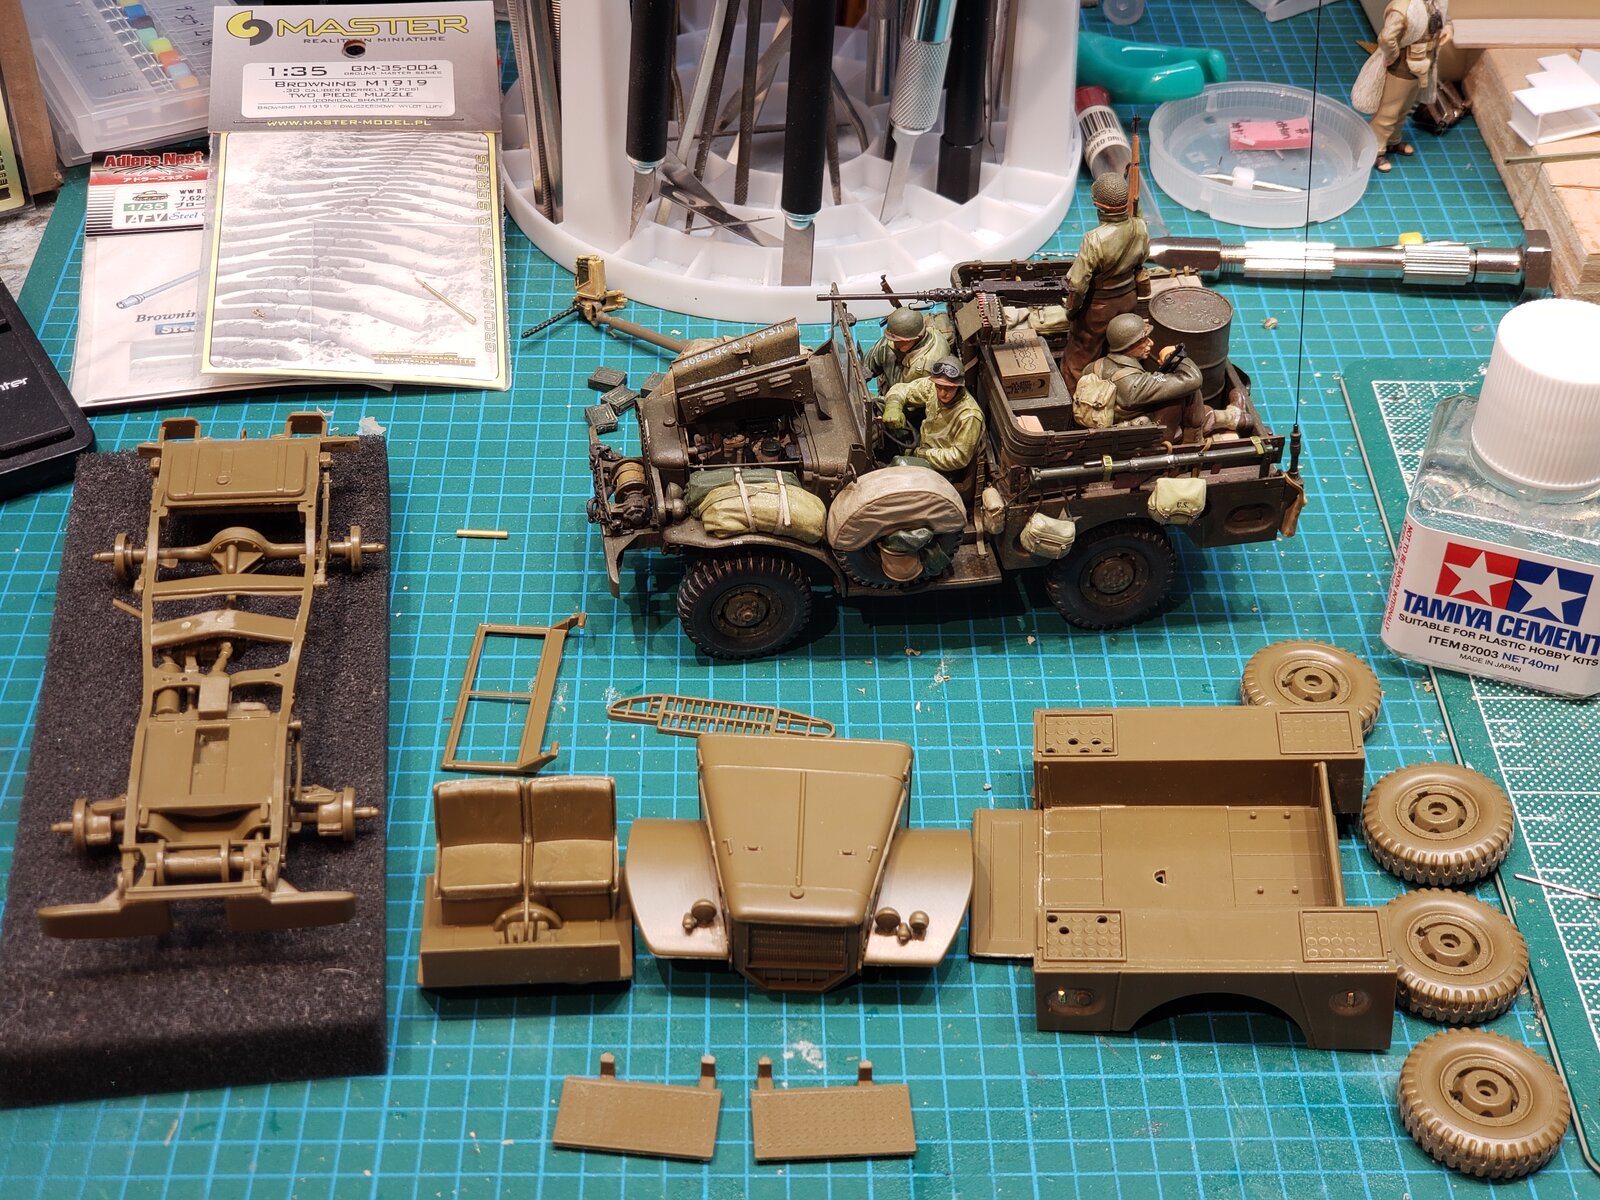
I've prepped for steps 4 and 5, some decisions to make soon, and some primer as well.
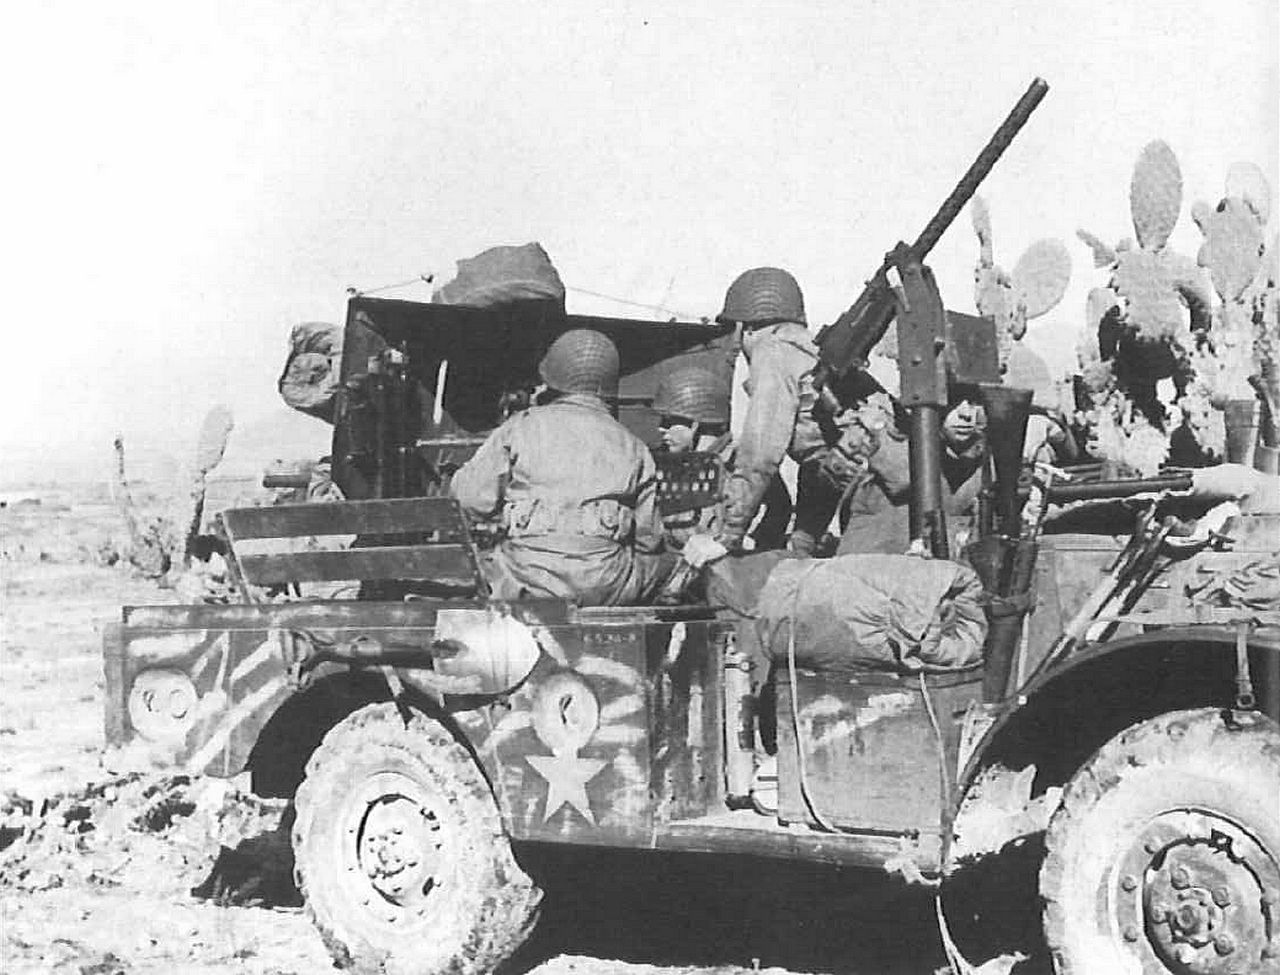
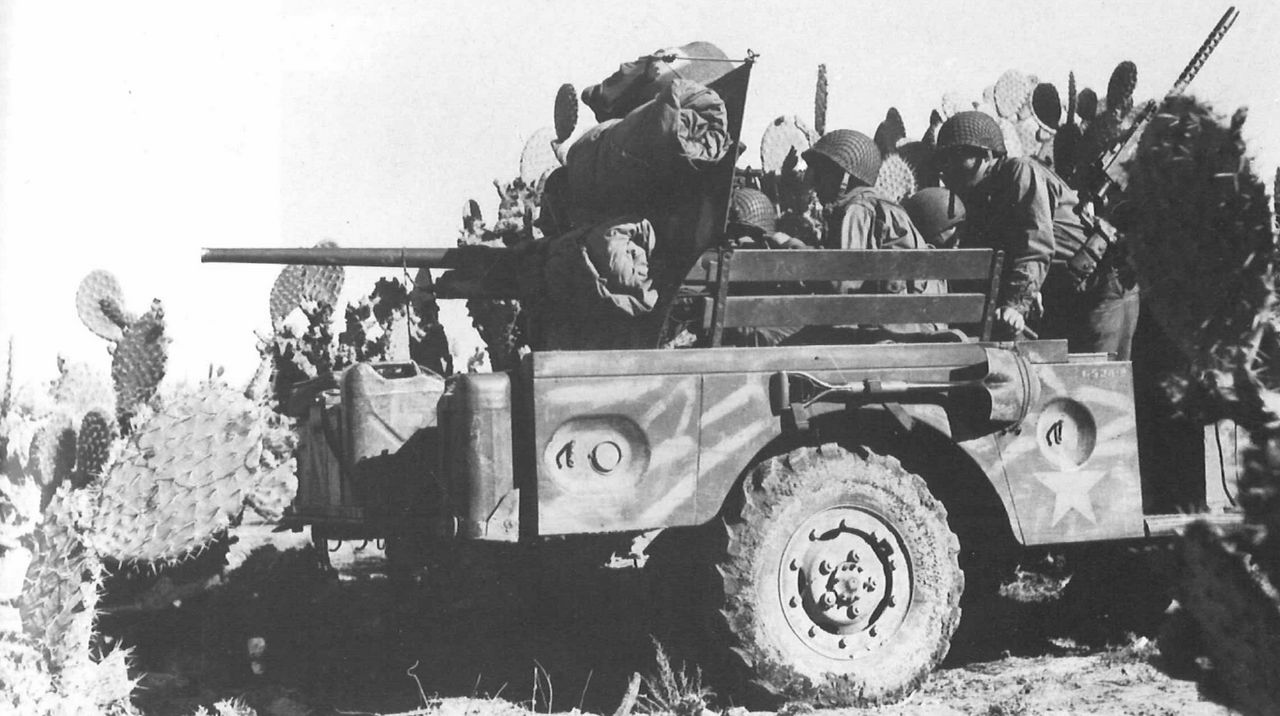
One of my earlier research photos when building the WC52, was of this vehicle in Tunisia with an extra 30cal mounted beside the right passenger seat. So I've gone through my accessories stash and found some likely candidates, as well as PE American fuel can holders.

M6 Tunisia .30 - 2.jpg


I've seen other modeler's version of this configuration, and I'd love to try it too. Check out all the kit on the gun shield!

M6 Tunisia .30.jpg
 
I probably would :) The camouflage is mud, BTW. Just some local dust mixed with water and smeared onto the vehicle. To get the colour right, work out where (approximately) the photo was taken and research local soil colours.
 
Pretty cool pics, are you going to paint that camo pattern as well?
local dust mixed with water
Yup, will give 'er a try!
This was the build I was referring to at some point, and now the reference eludes me, but I had read of crews mixing gasoline and dirt. Makes sense in an arid area...
 
Ya, ya, I said I wouldn't and I am: posting about kit quality.
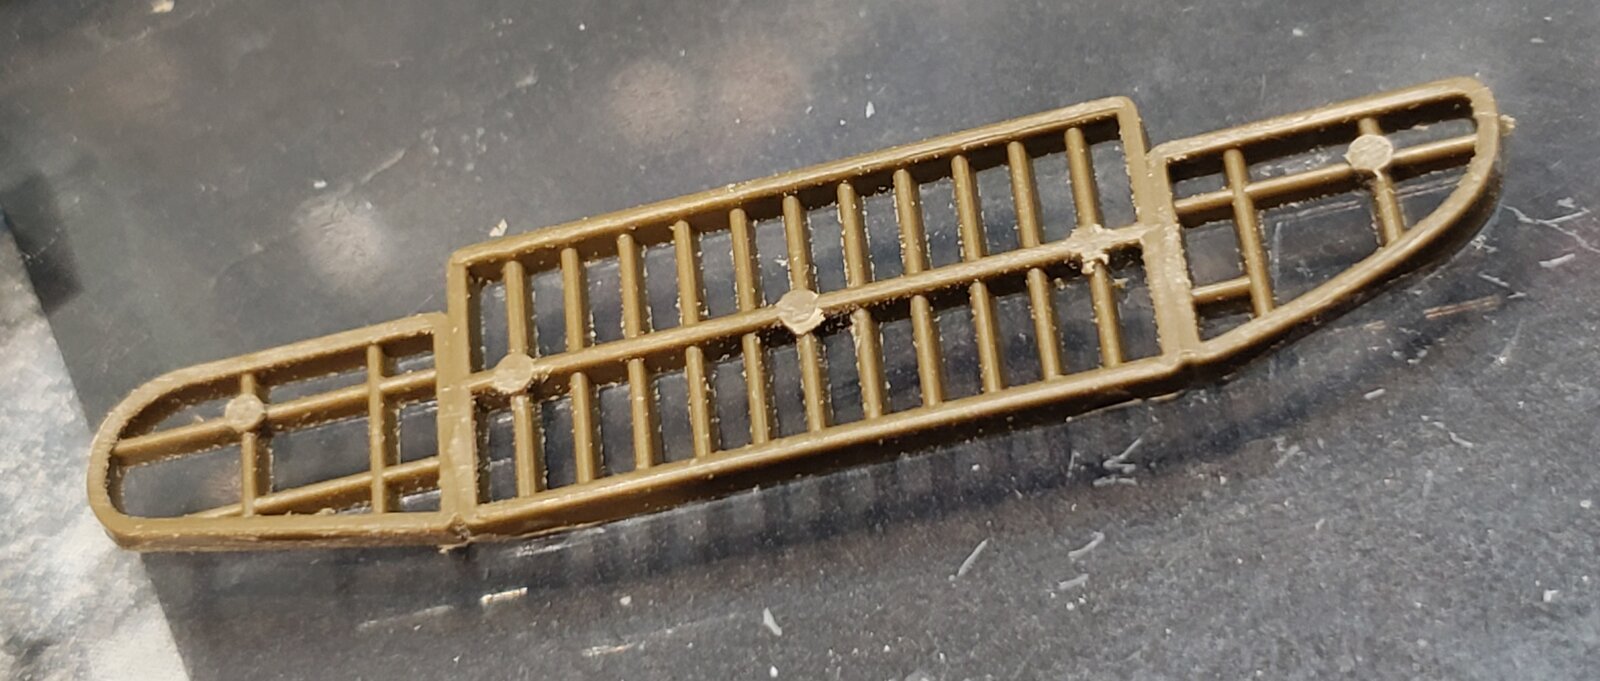
In this instance, however, it isn't to gripe about the quality, but to touch on how we, as modelers, get these lumps of plastic past the point of looking like lumps of plastic.
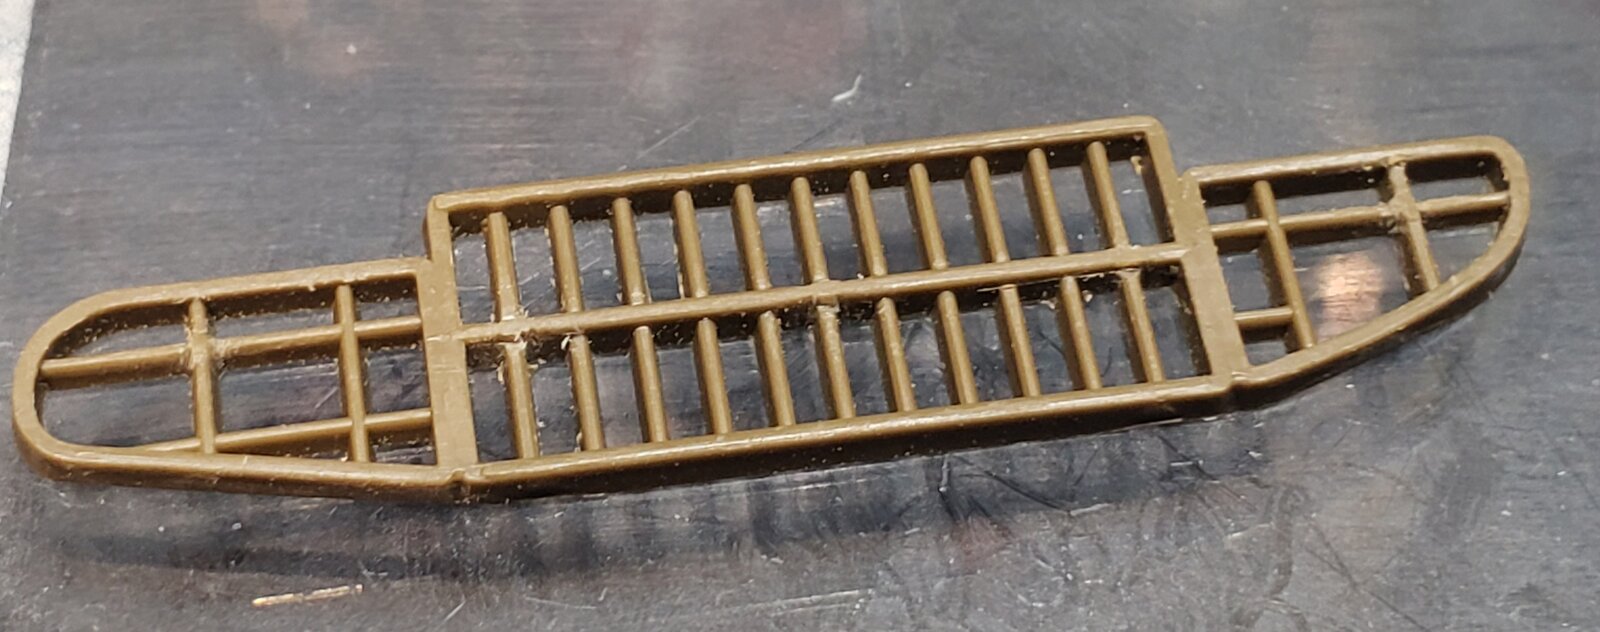
One of the surest ways is precisely to remove the visual artifacts of the fabrication process.

Here is the grille, out of the box:
20250609_145226.jpg


Now with a shave and a haircut:
20250609_145300.jpg


... granted, not perfect, too thick for scale, but to my eyes, so glad I picked at it for a while. :D
 
Ha!
I guess you can't see everything at once, when there is so much to see!
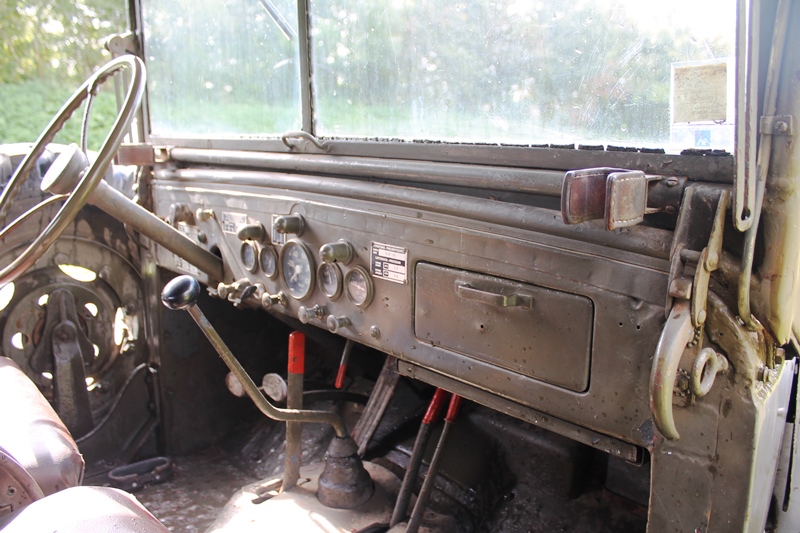
In my Topolino build, we spent some time pondering the utility of what turned out to be a dash light.
I never noticed them in this photo I had referenced during my BEEP build.

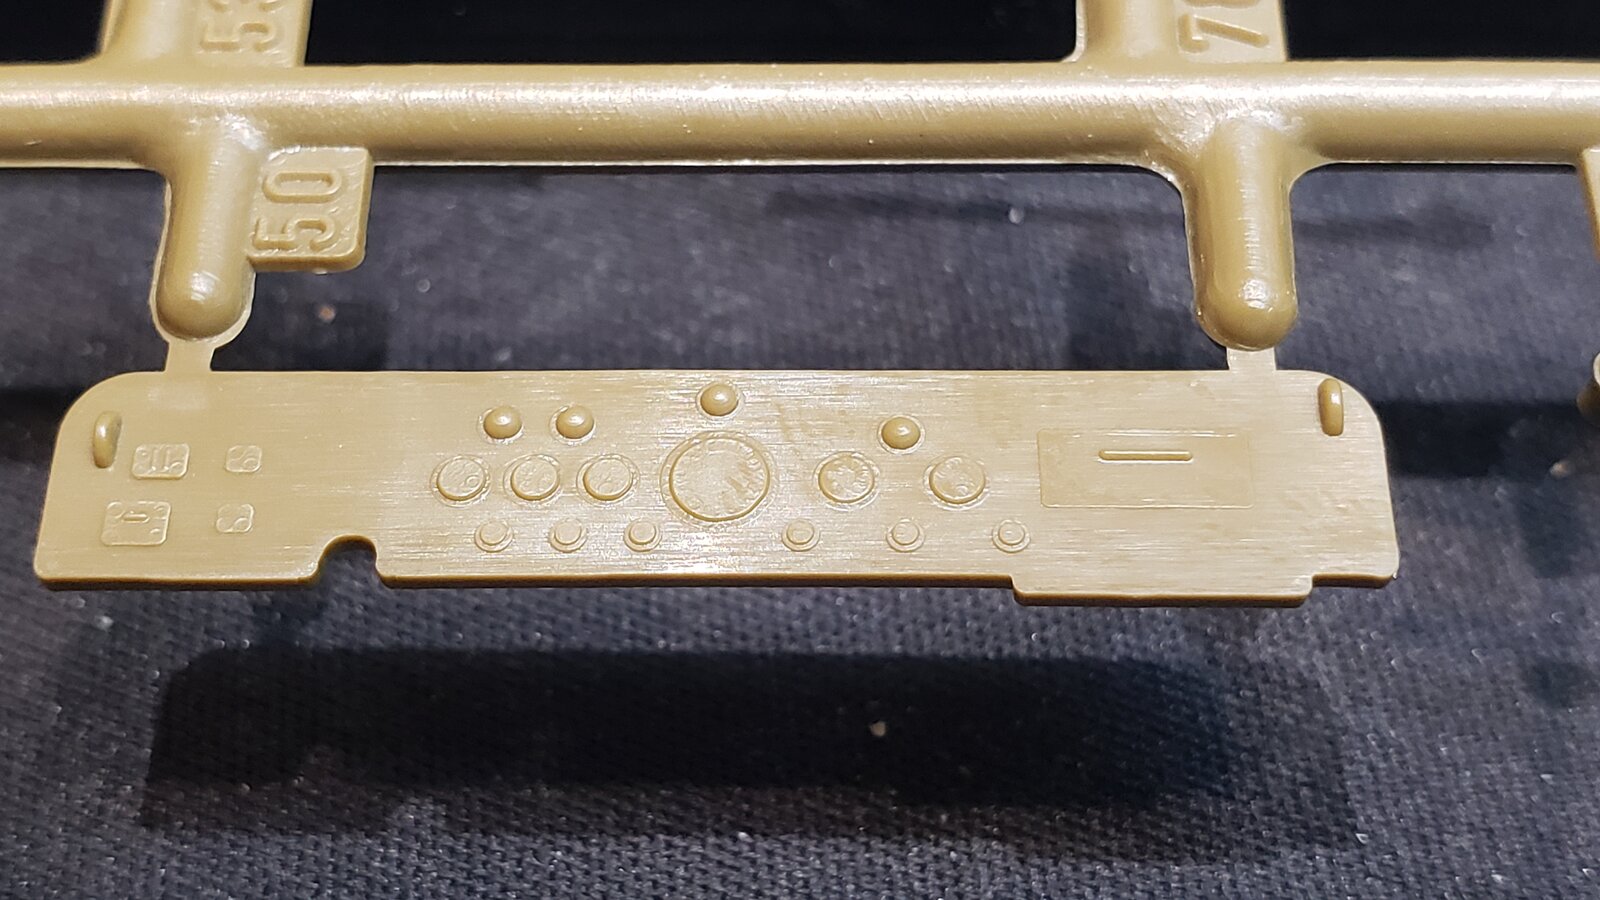
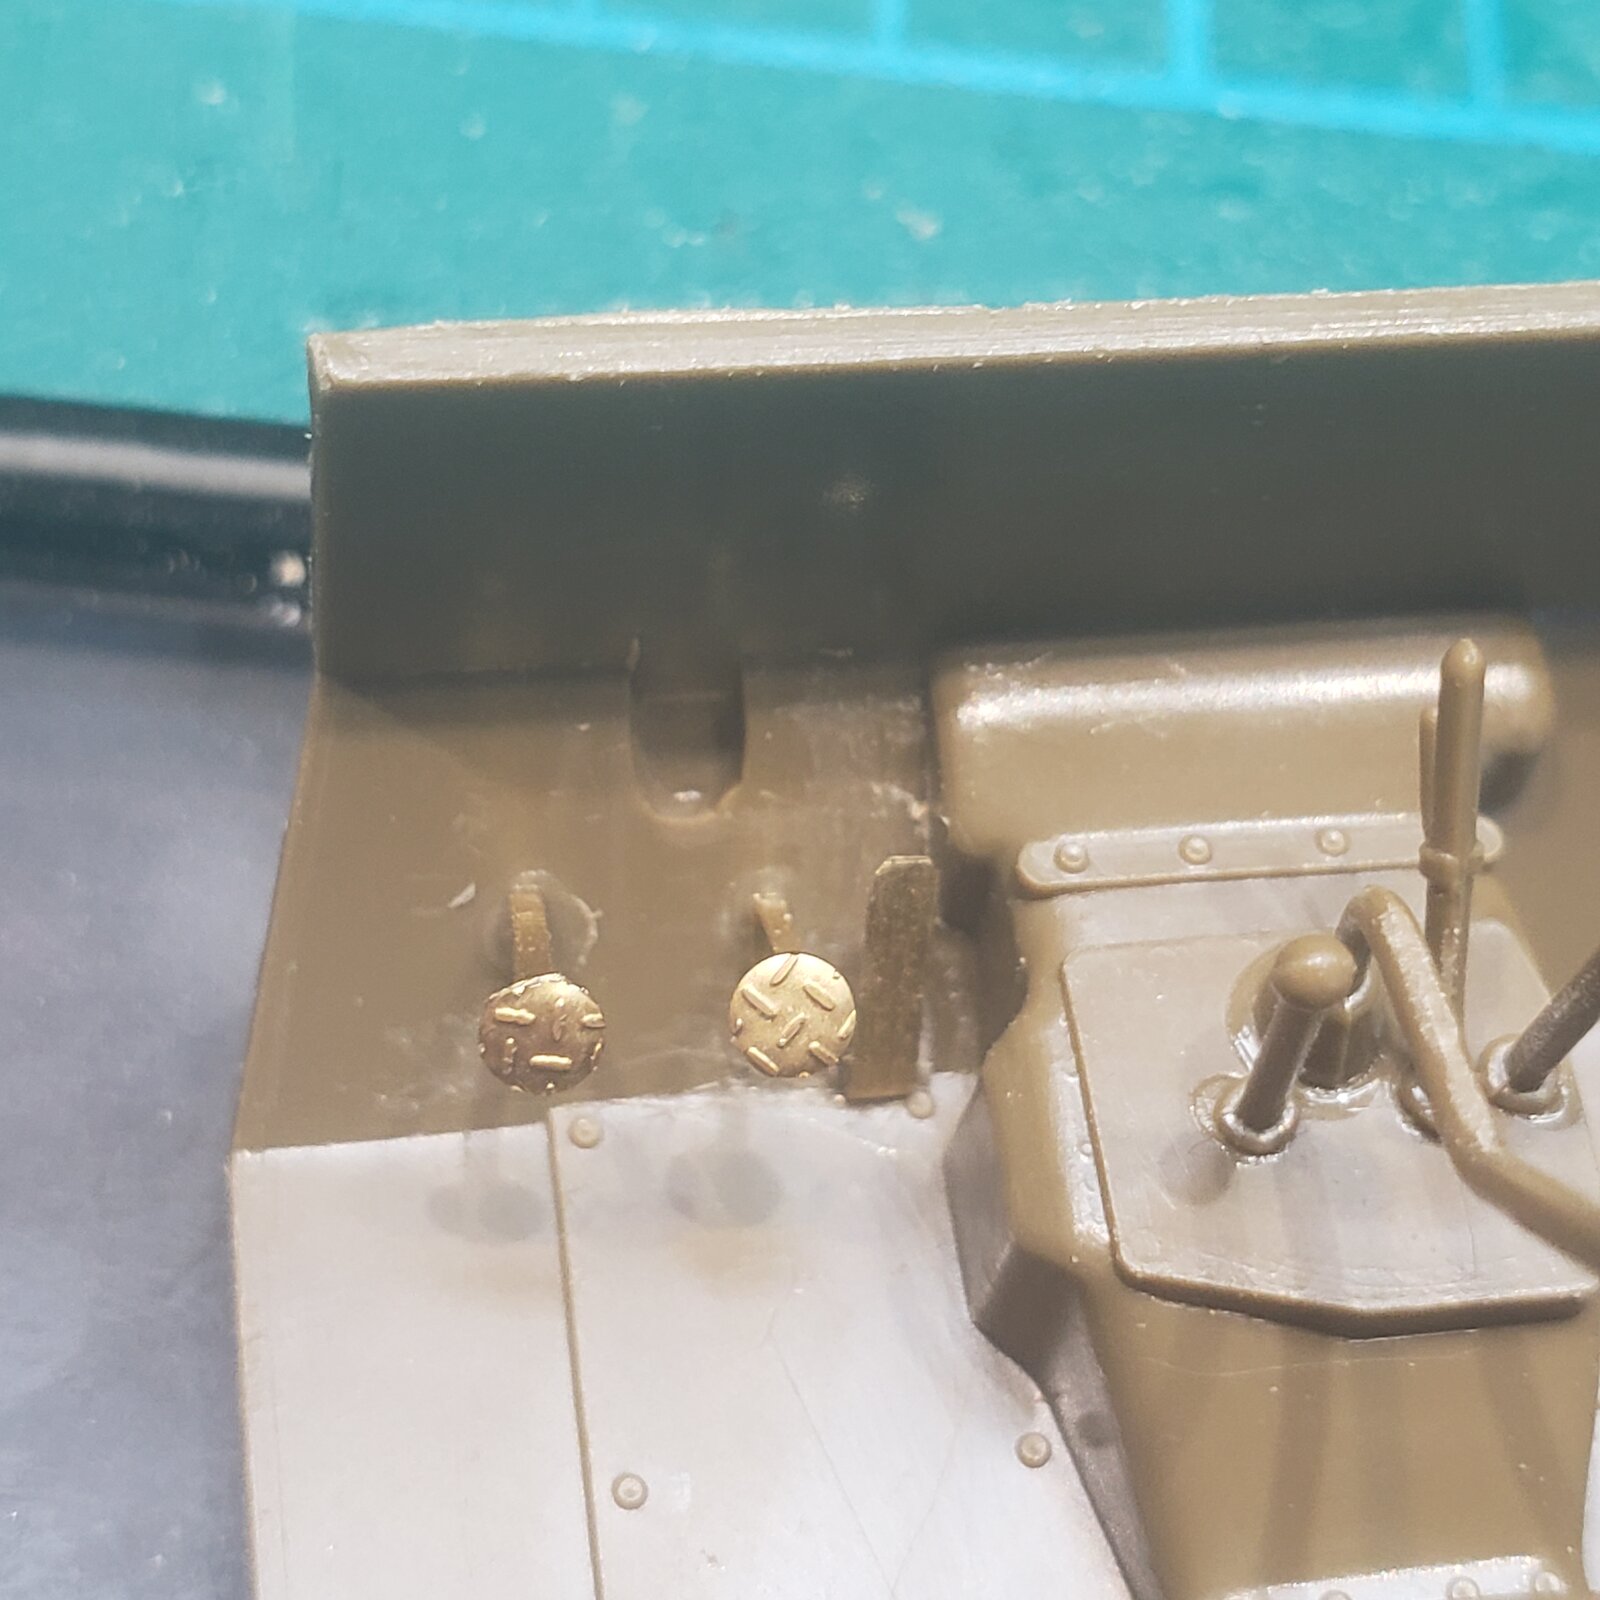
Dug it up as the kit has the brake, clutch and accelerator molded almost flush with the firewall.

IMG_2960.jpg


Looks like the dash is also in line for some sprucing up. :rolleyes:

17494997675688783874202289050686.jpg
 
Puzzle:
I've not had any luck finding out with any degree of certainty what the markings were early in the war, of US gerrycans used for water.

Painted all white
A white X
The word '
WATER'
Other?


Of course, a photo in Tunisia would be tops!

For now, I have a white can, but it would be easy to paint a white X in the indentation of a regular OD can.
 
I've not had any luck finding out with any degree of certainty what the markings were early in the war, of US gerrycans used for water.
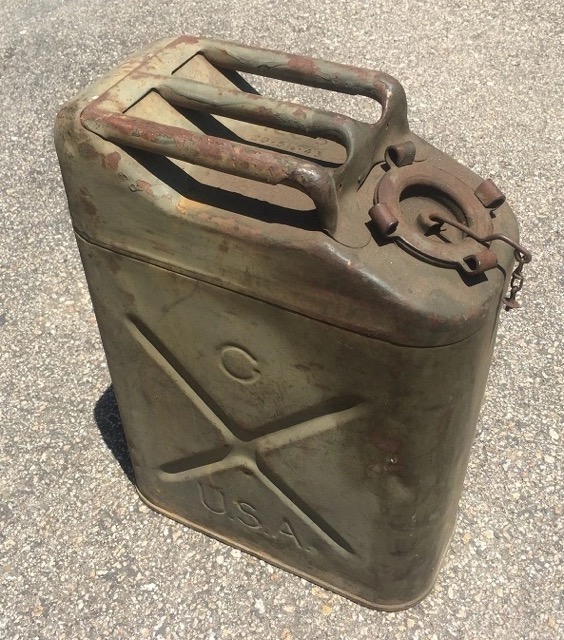
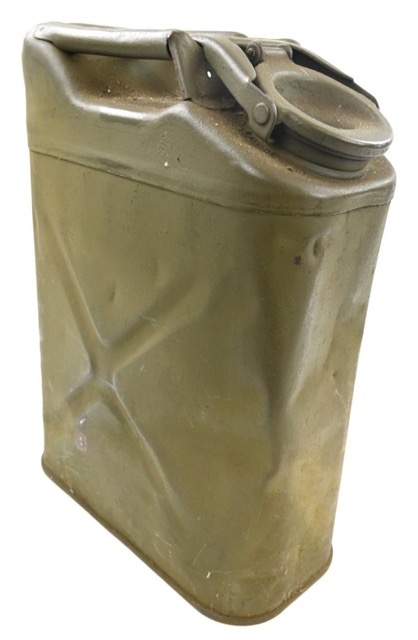
None, most likely. American water-jerrycans had a different lid than the ones used for fuel.

Fuel can:
Fuel can.jpg


Water can:
Water can.jpeg


That is, the fuel can had a screw lid that came off entirely, the water can had a flip-up lid that remained attached to the can.

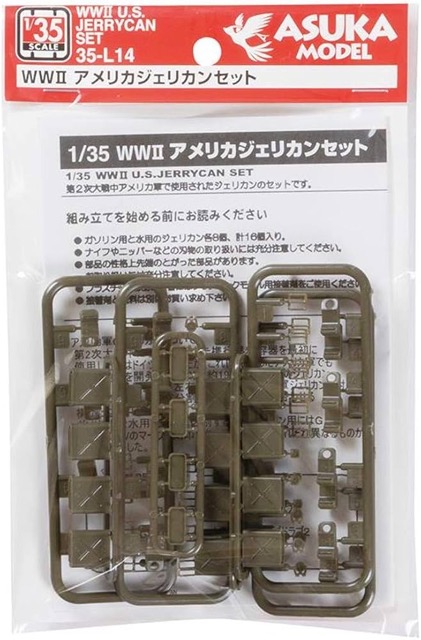
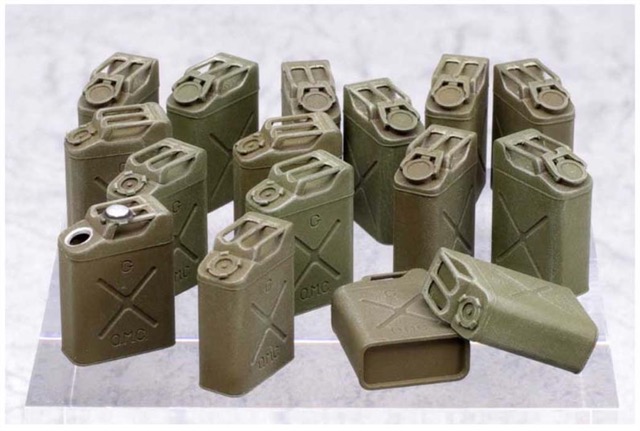
Asuka has a set of American jerrycans that includes both:

Asuka 35-L14 set.jpeg
Asuka 35-L14 cans.jpeg
 
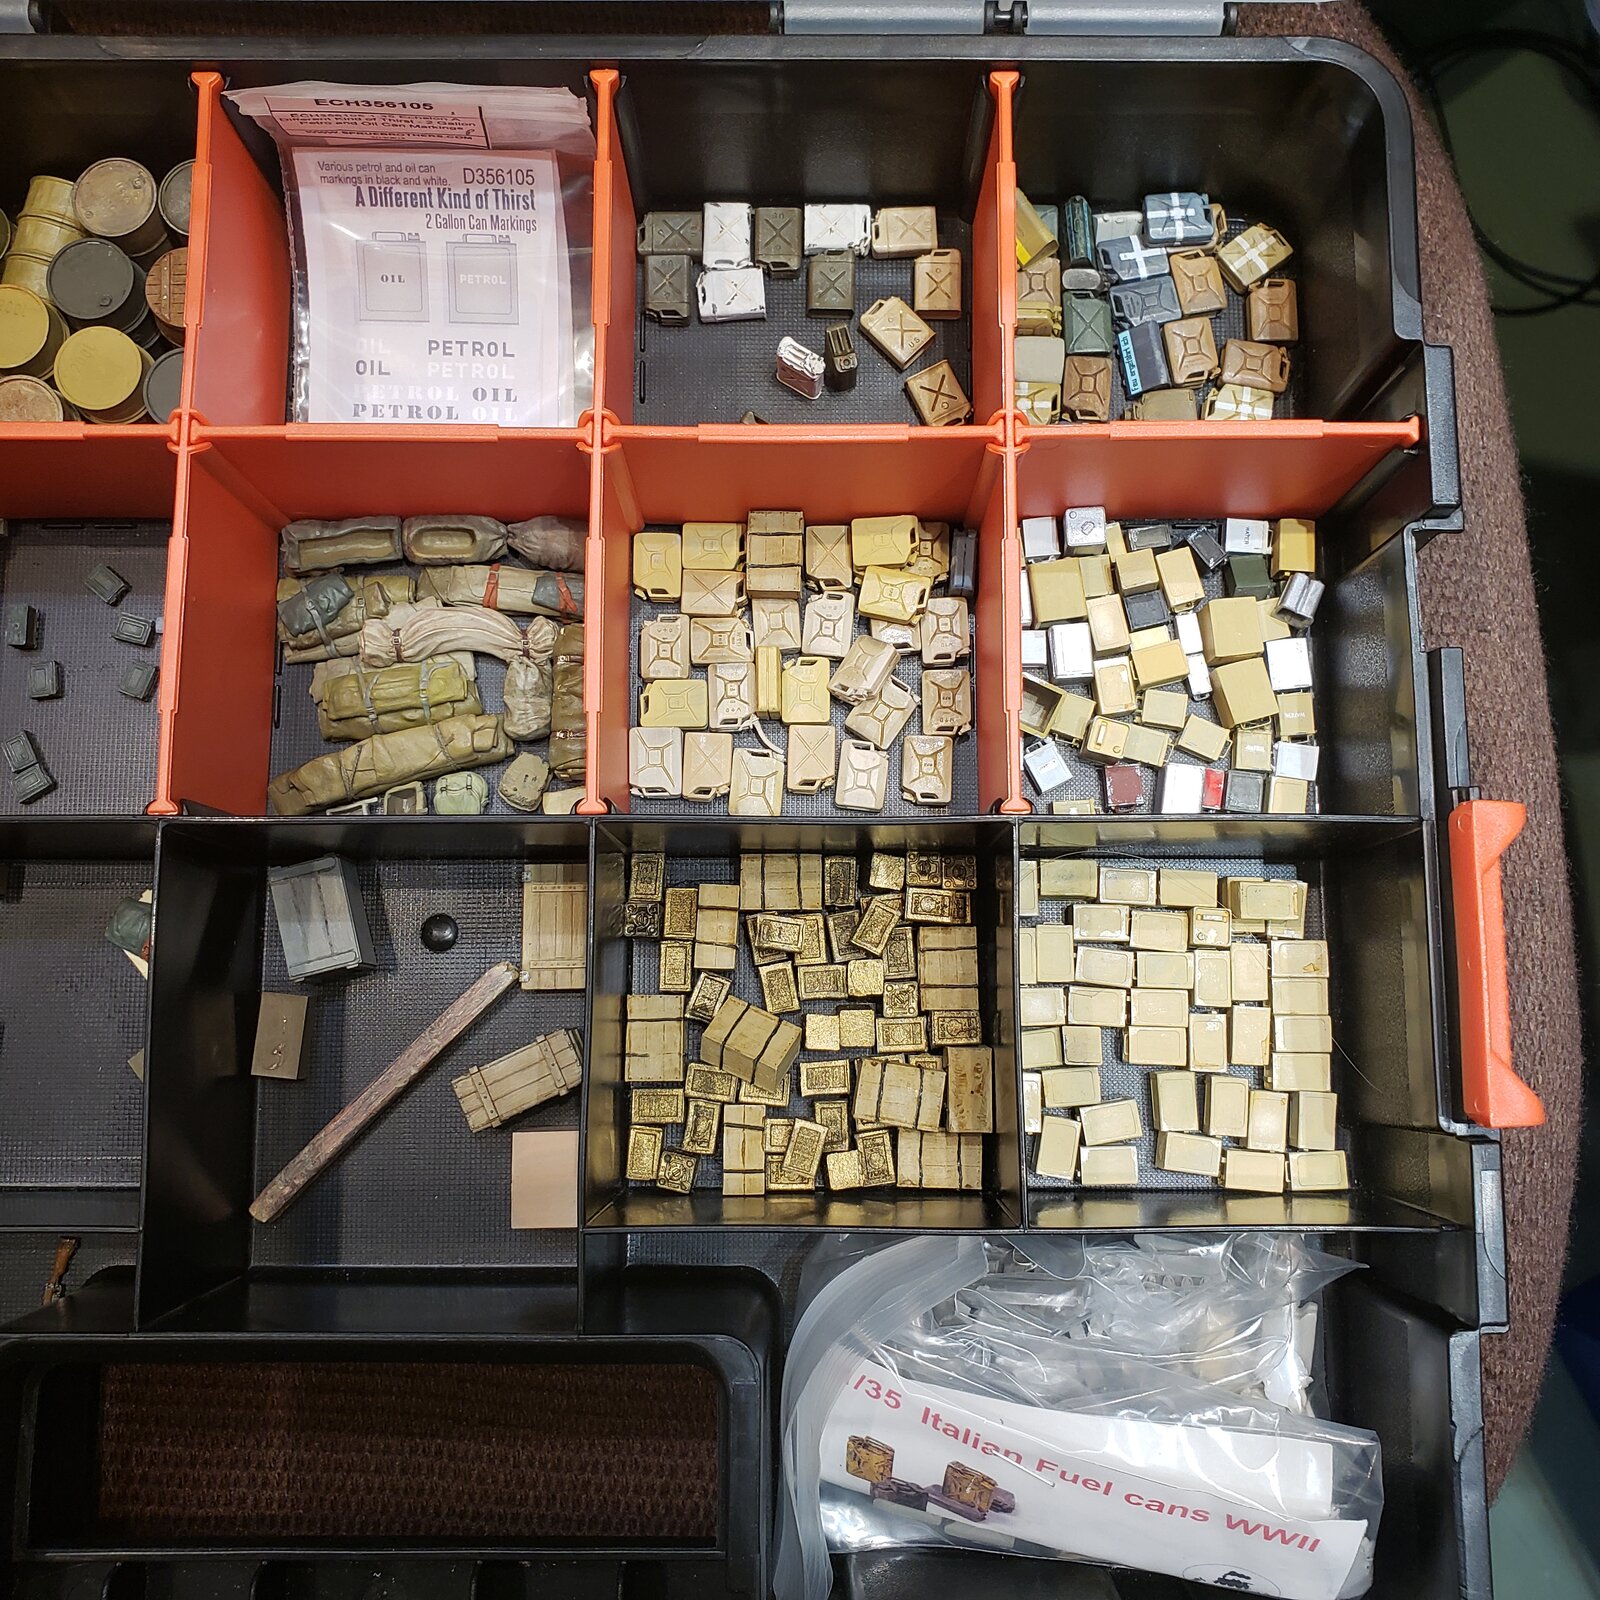
Haha, I guess I must have known that when I assembled my fuel can depot several years ago... I had a mini project assembling British, American, German and Italian cans of all types... for some reason, painted the water cans white.

And the Asuka definitely looks familiar. Probably had collected a set at one point.

17495602358727979143881401513562.jpg


I think the British would have done it more consistently... maybe I was on a roll with the white paint one night! :rolleyes:

More recently I know I have seen the white X in a photo, perhaps in the Pacific theater? In any case, that was likely a random occurrence, not dictated by policy.
 
British water cans usually had the word WATER painted on or stamped into them, yes. German water cans had WASSER stamped into the metal and normally had a white cross painted onto both sides of the can to make their contents much more obvious.
 
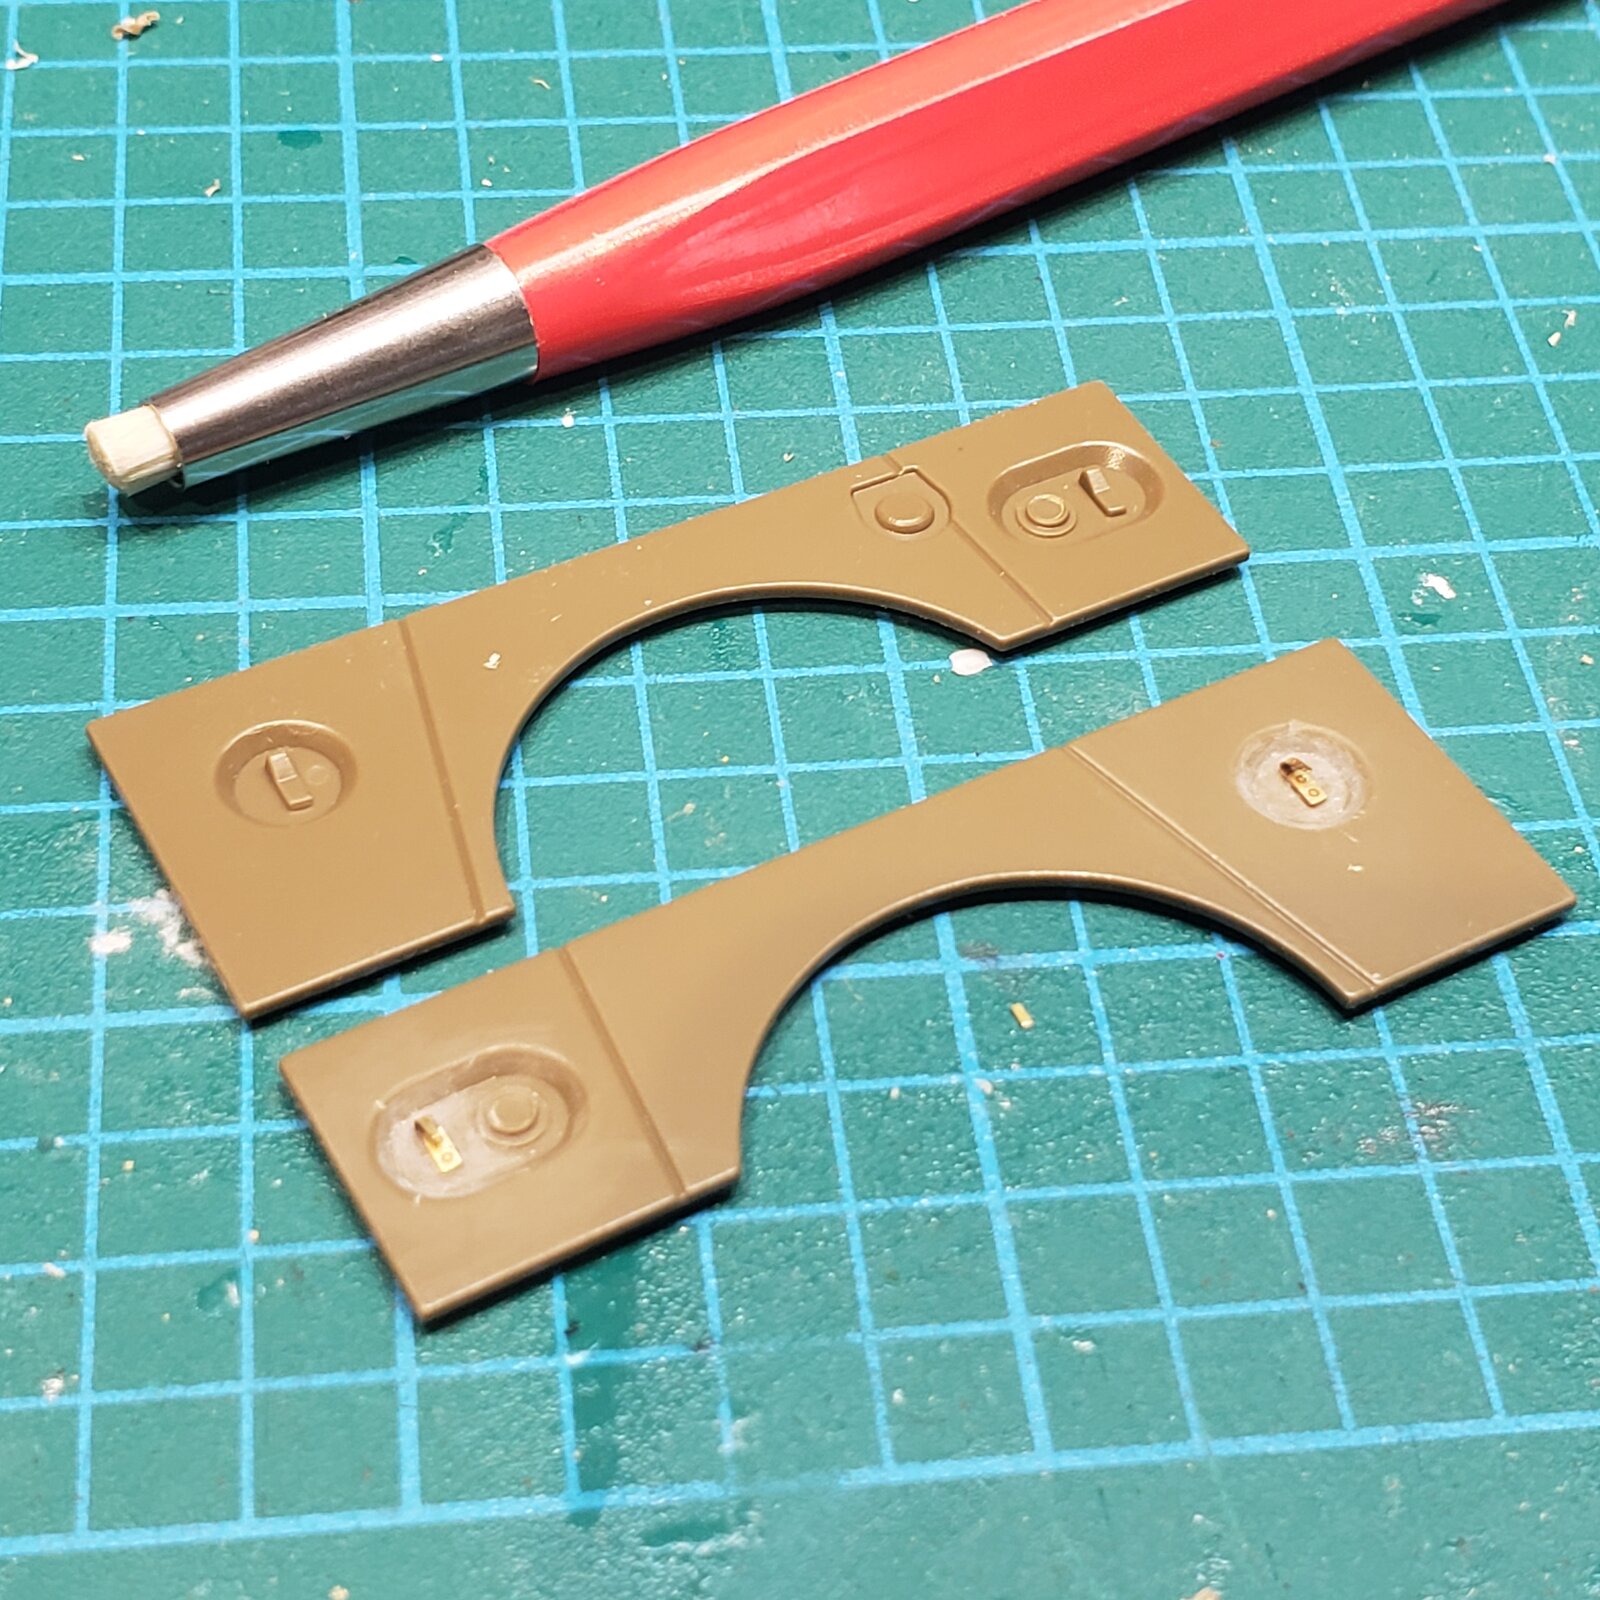
... so I found some leftover PE from the BEEP build... BONUS!

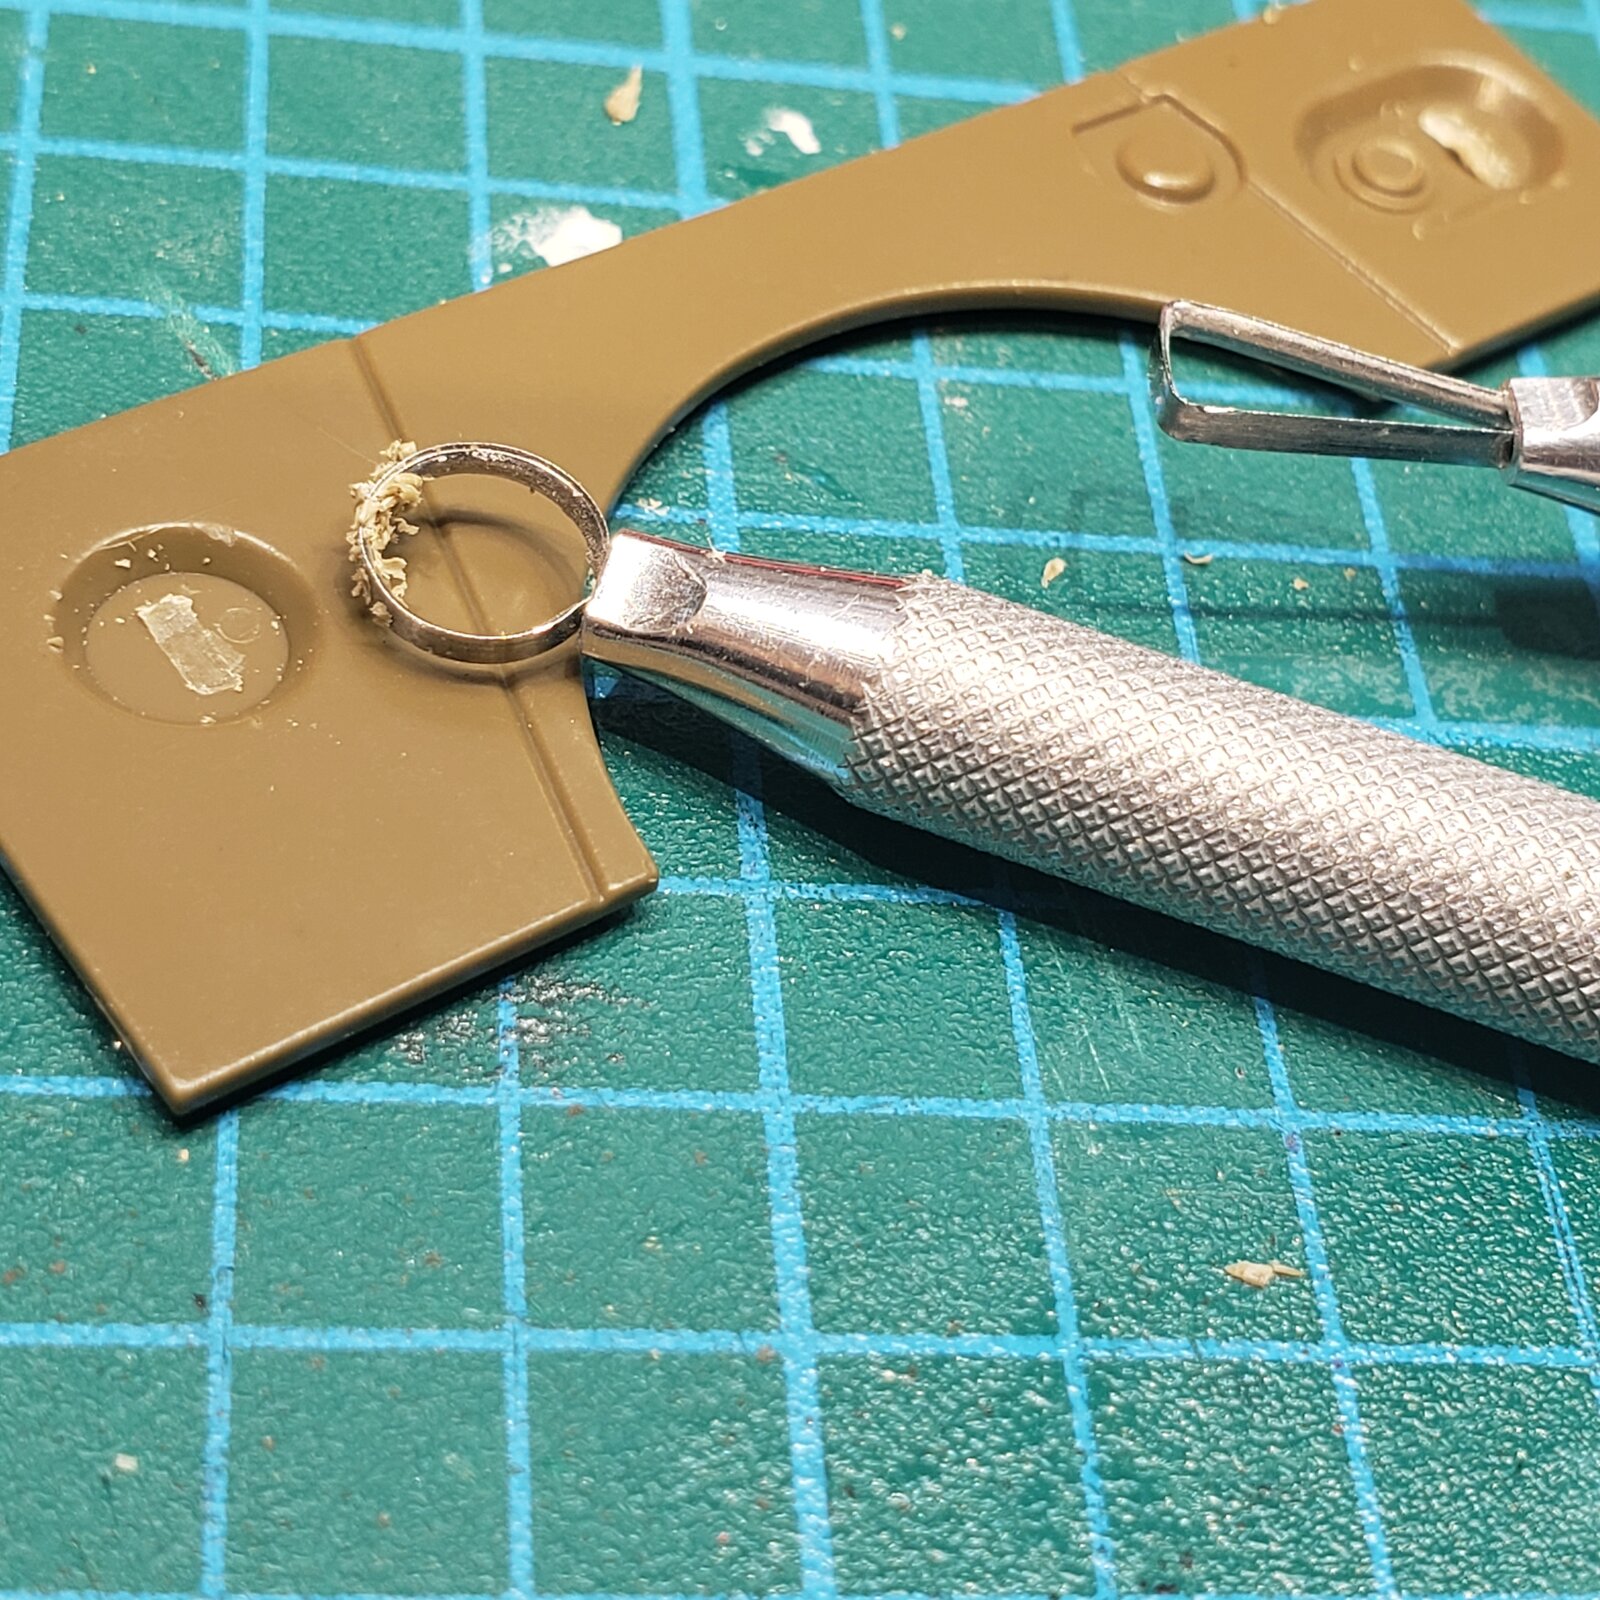
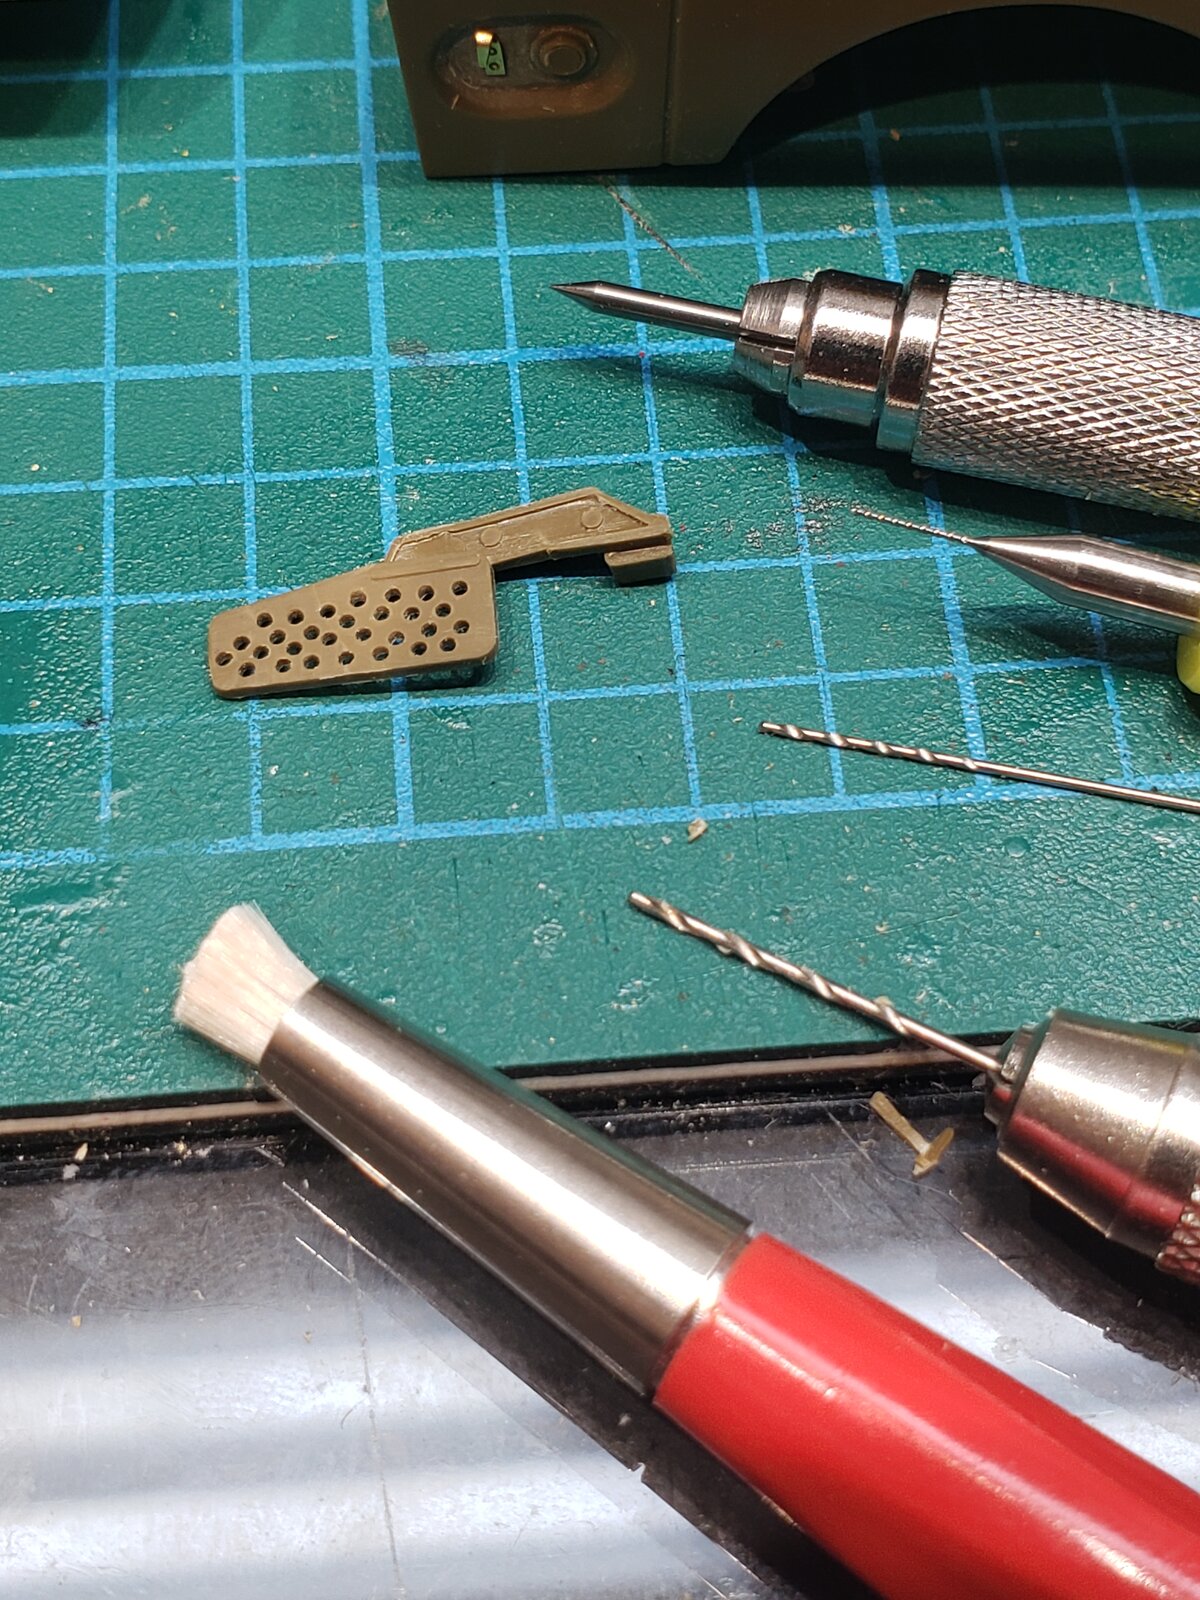
The hard part is scooping out the plastic blobs for tie-down hooks, because they are at the bottom of bowls...
First two done, four more to go...
Turns out the fiberglass brush pen was well suited to cleaning up the bottom of the bowl after some careful scraping.


17496776928243769384108015497611.jpg


...so how do I keep finding stuff to use?
NEVER throw anything away
Organise the stuff, at least a little bit
Know your stash to recognize good accessories when you see them on sale or at the LHS
Collect and revisit reference photos when a build is on deck
... and in my case, having a 'narrower' focus: North Africa, softskin (now some armour); that really helps!
 
This project is going to give me a chance to try out a different panel liner application method.
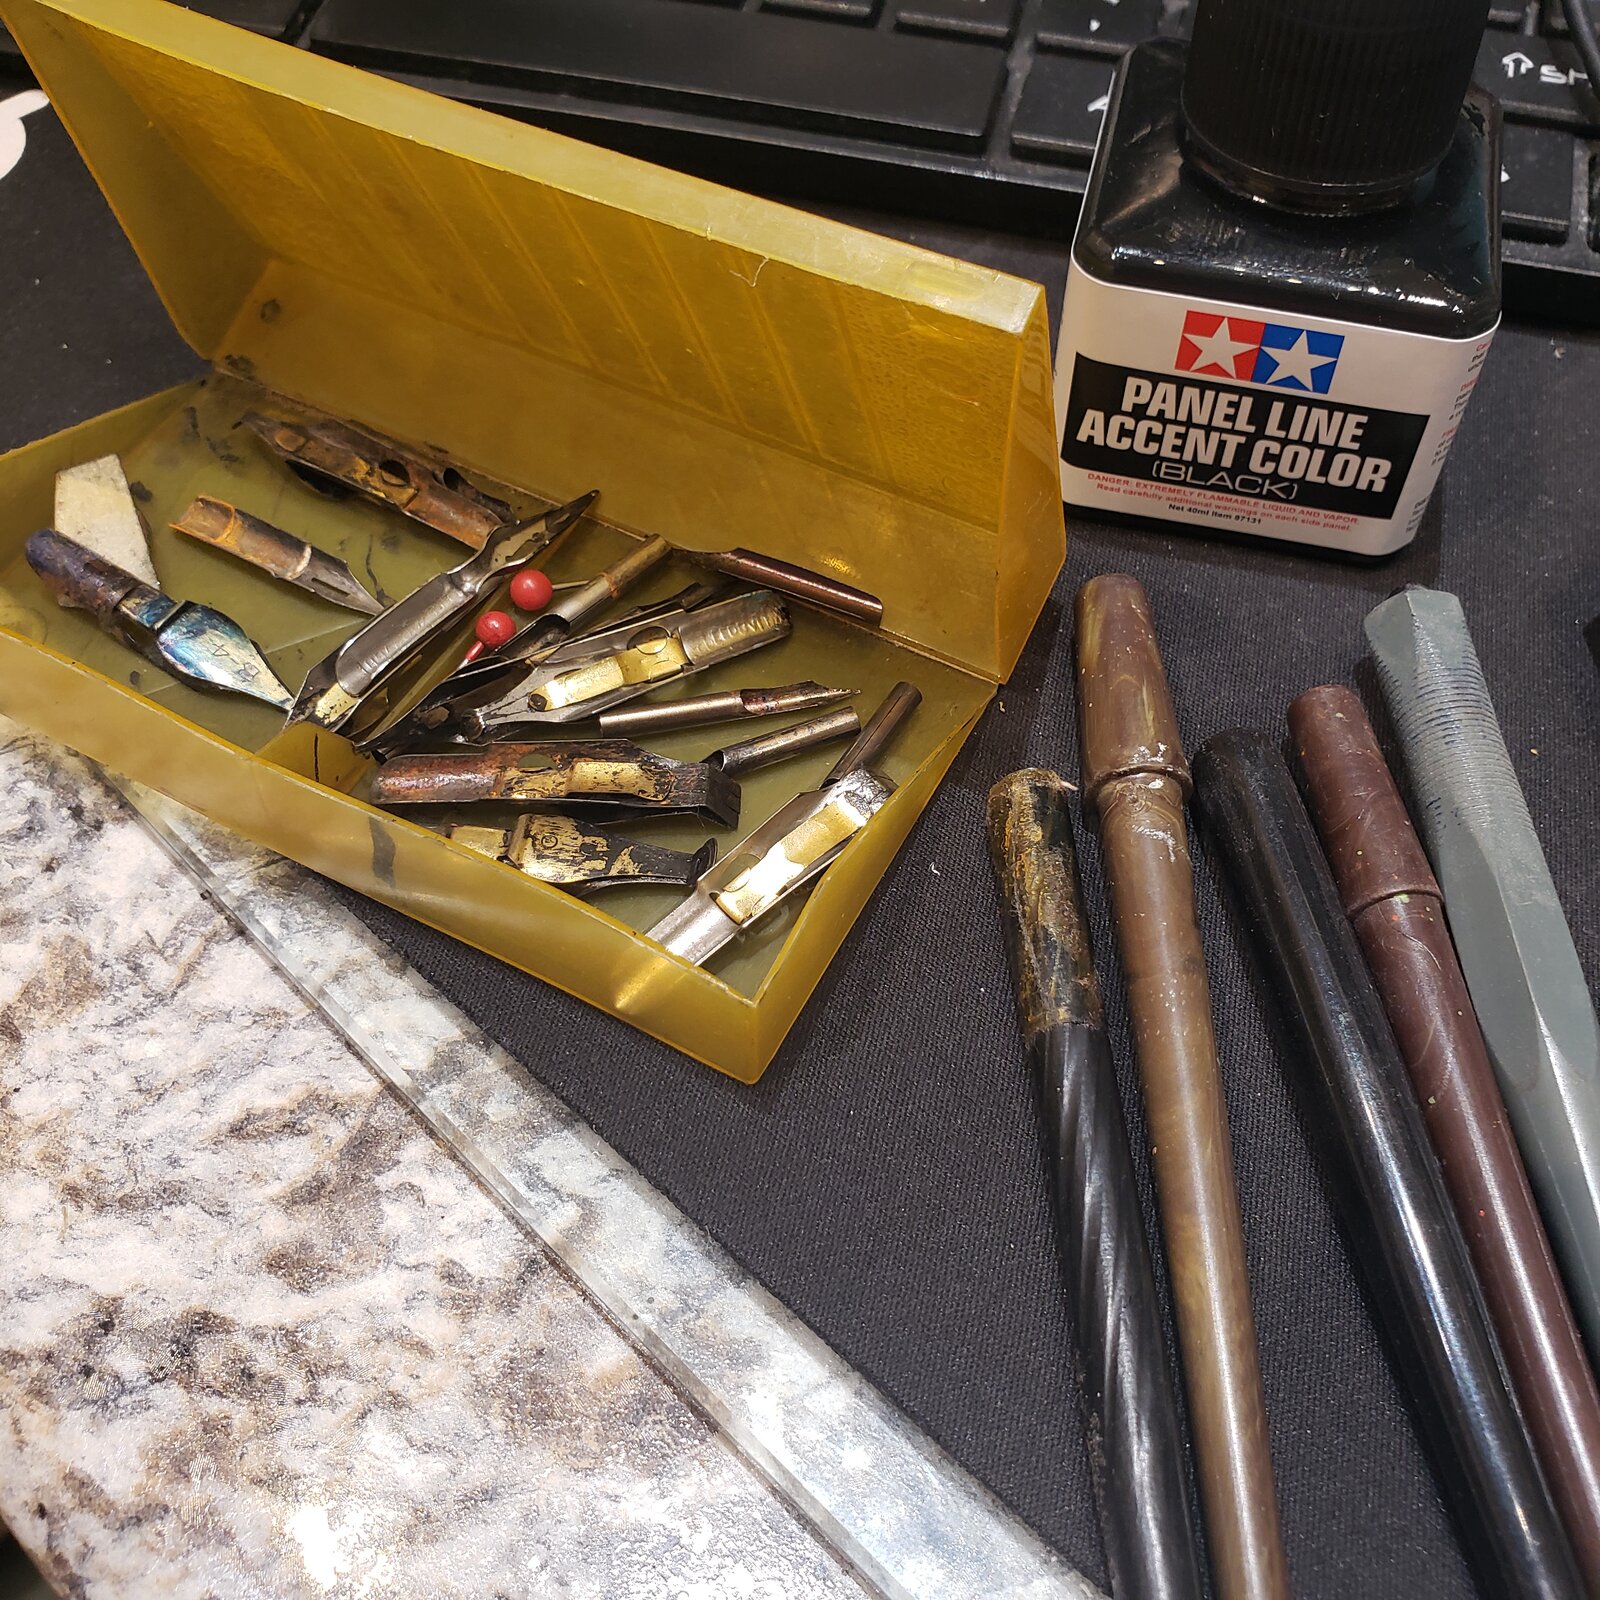
I haven't been super happy with my application by brush. Recently I saw what looked to be pen nibs (rebranded) as panel line pens.

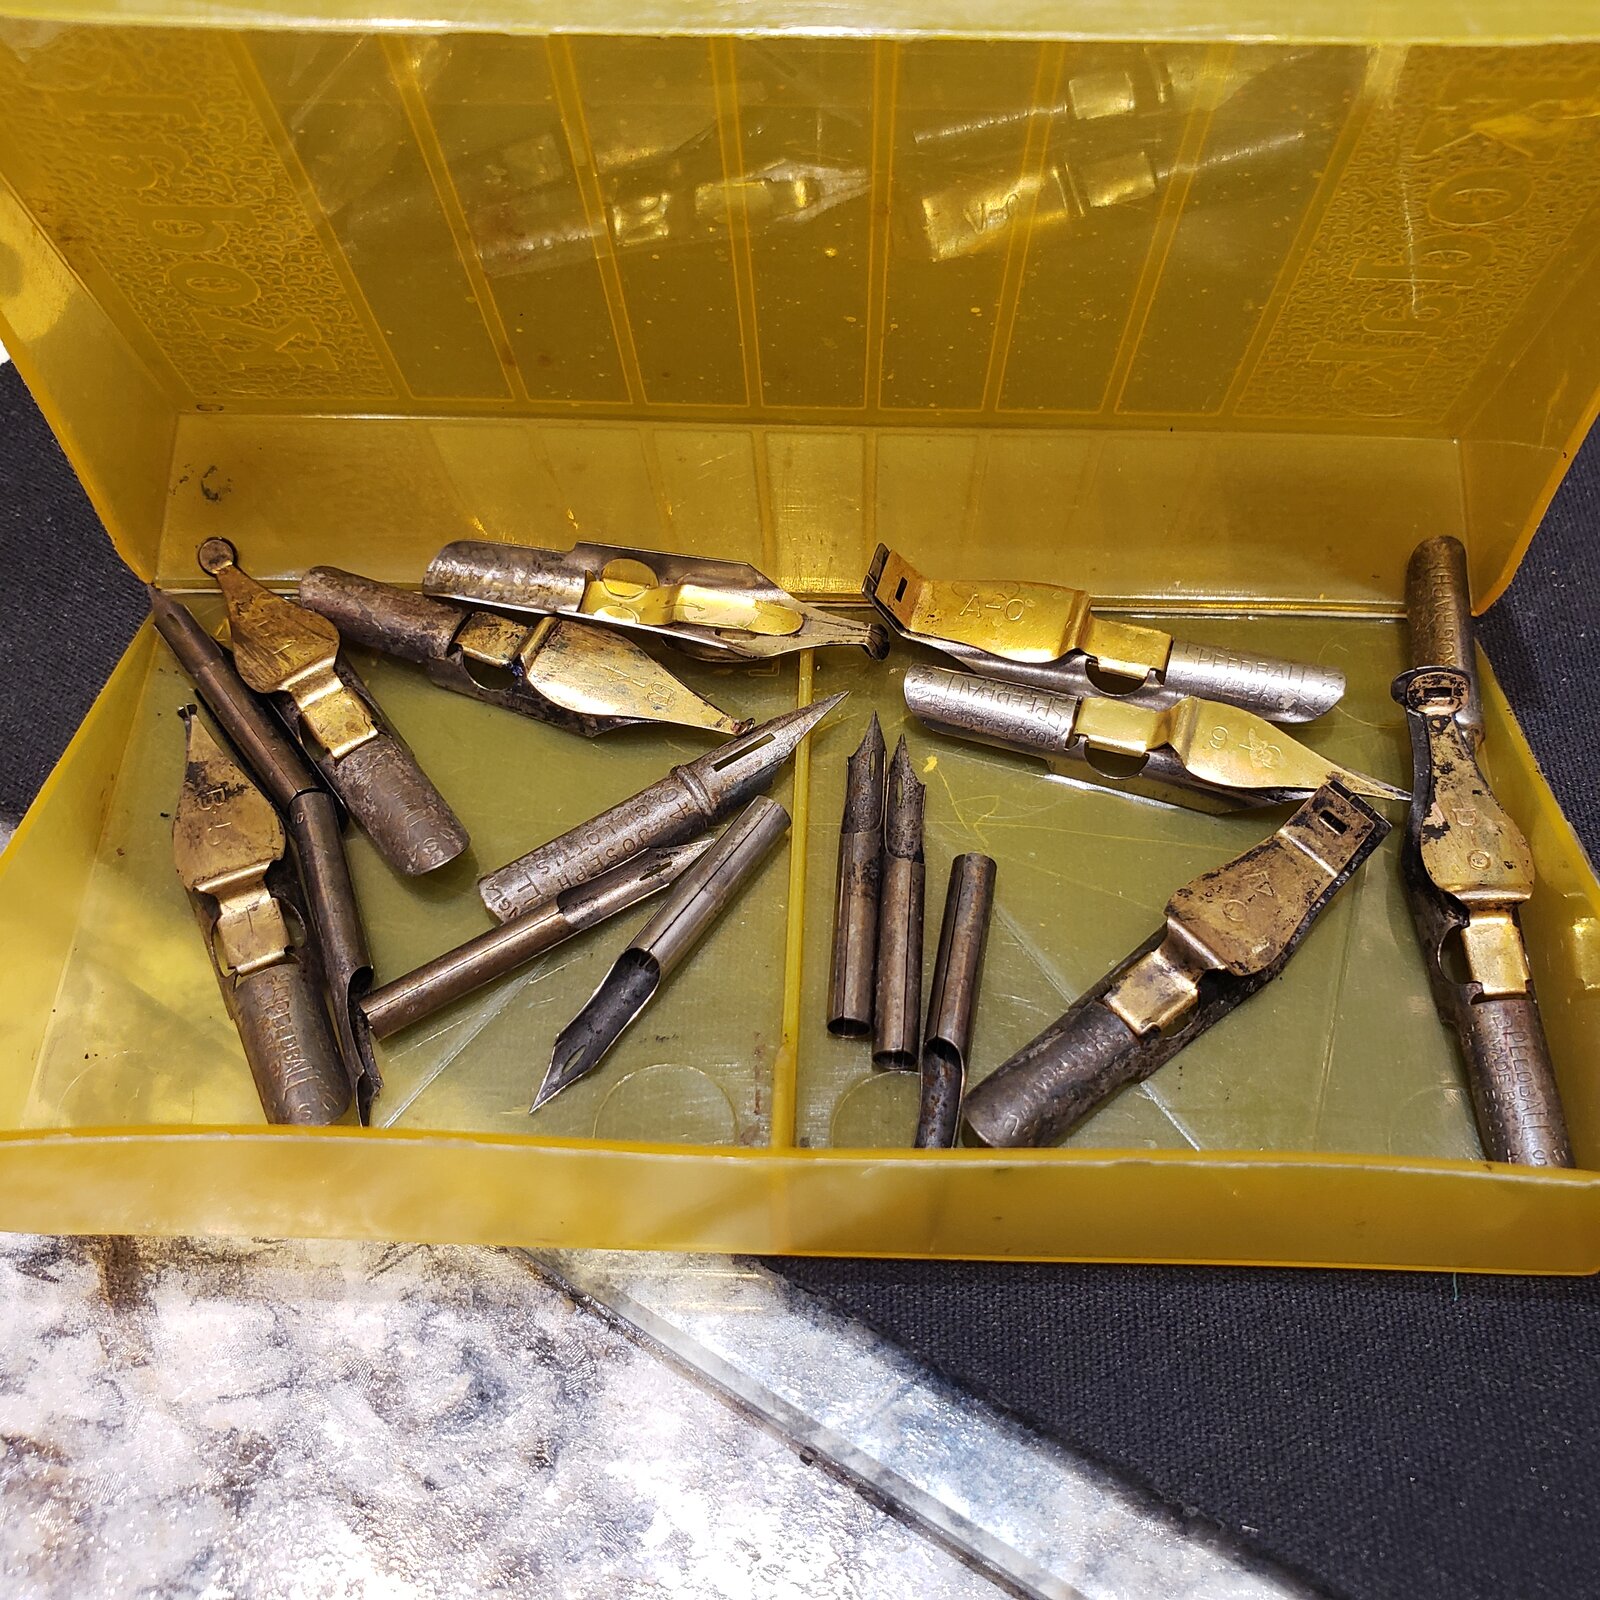
So, you guessed it, I dug out my old art toolbox, and there they were! Nib handles and an assortment of nibs (though I'll only be using the fine quill point ones).
They have traveled with me since my dad showed me how to do cross hatching with India ink around 1968.
I don't have the drawings anymore, but I remember two that had turned out pretty well: one of a Japanese zero, and the other a cavalry Lancer from the charge of the Light Brigade.

17497012941975825194523216290154.jpg

You can tell I didn't have an ultrasonic cleaner back then, when I was 10, but I do now!
So into the bath they go!

I have no idea if this idea will work for panel lines and detailing, but if it doesn't, I can always pick up a bottle of India ink and see what I might draw... ;)
 
So after a ultrasonic bath, a soft toothbrush rub down, a soak in in isopropyl alcohol, and a rinse, these are as clean I'm going to get them in a batch process.

17498469137746460468206225677121.jpg


Now to see how well the finer tipped ones perform with the Tamiya panel line color when I get to that step!
 
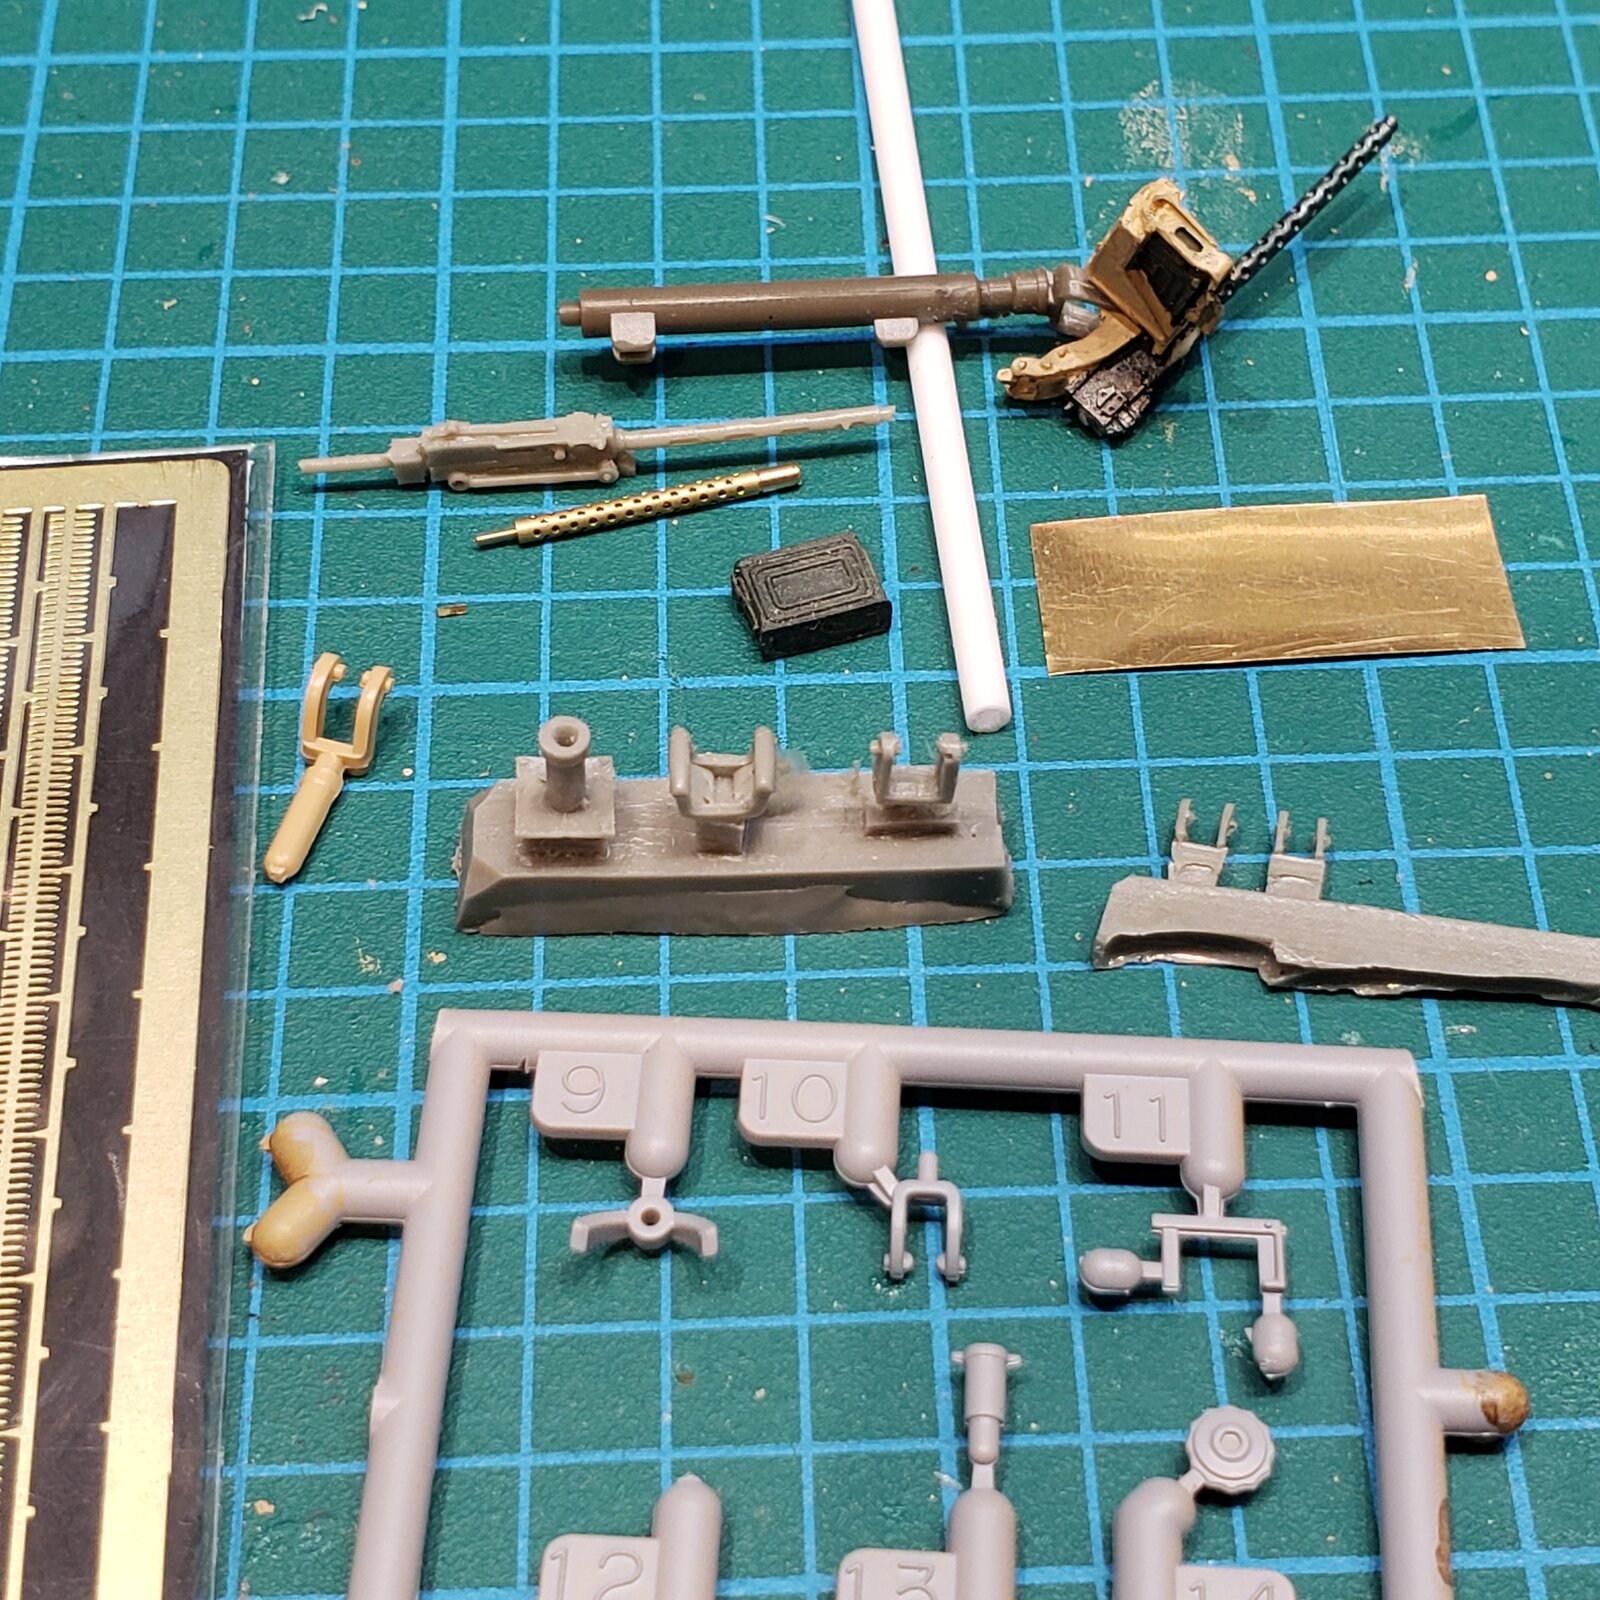
Collection of parts I could use for the .30cal MG I'd like to mount as in the photo...

1749871743492868413262314922068.jpg


Originally, I'd thought of using the gun, mount and ammo feeder box shown at top of pic, but it is a more sophisticated design than in the reference photo.

So I'll have to build an alternate with a selection of parts shown.
Resin gun with brass barrel.

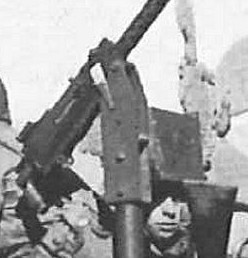
The box will be brass, and welded to the pintle, not the gun itself. I would like to think that it is just a standard ammo case that has been secured to the pintle somehow, but the blurry photo looks more like a box that might have the ammo case in it?
I doubt they would have transferred the belt from the case to the box... Hard to know with these field modifications...

I will probably scratch a simple pintle as well as per ref.
I also found .30 belt to feed into it. (photo below shows the lead has already been passed in.
I will also have to fabricate a handle for the gun.

M6 Tunisia .30 - 3.jpg
 
Last edited:
The box in the photo is a wooden M1917 ammo box with its lid missing. It has two vertical slots near the edge above the bevelled underside, with which it slides into a bracket on the gun mounting; it looks like they added something similar to the improvised (?) mount on the M6 GMC.

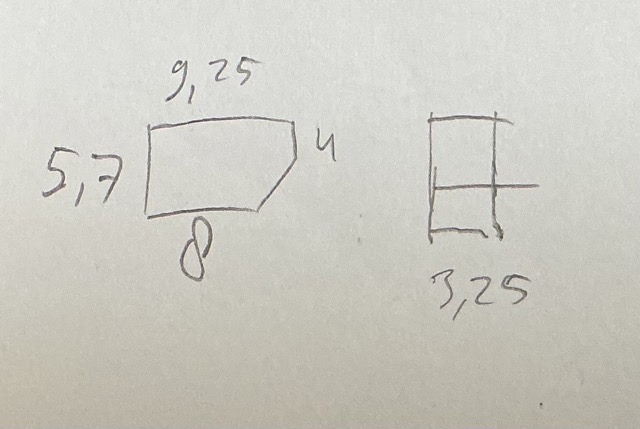
When I built my M2 half-track, I made a bunch of these boxes for it, using photos and dimensions I found on a militaria or gun auction site, but I can't find that again now :( If you search for wood M1919 ammo box or wood Browning ammo box you'll get plenty of hits with photos, but the site I found six months ago also had dimensions. I should still have those converted to 1:35 somewhere, though.
 

Latest posts

Back
Top