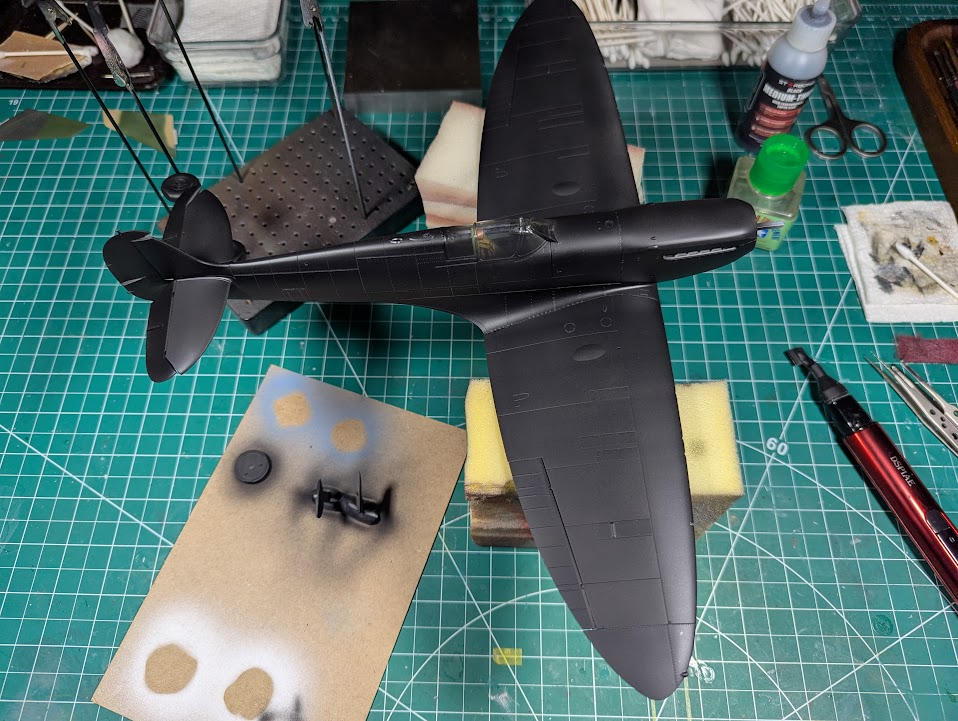
Kotare 1/32 Spitfire Va as flown by Douglas Bader

Scale Model Addict - Model Tips, Guides, Tools & Tech, Tutorials, and Community

Help Support Scale Model Addict:

There's a relatively new casting technology called side-loading or slide-loading (I think, too lazy to research) that enables engineers to cast parts that would be impossible through traditional methods. Kotare is using this technique on at least part of their parts.

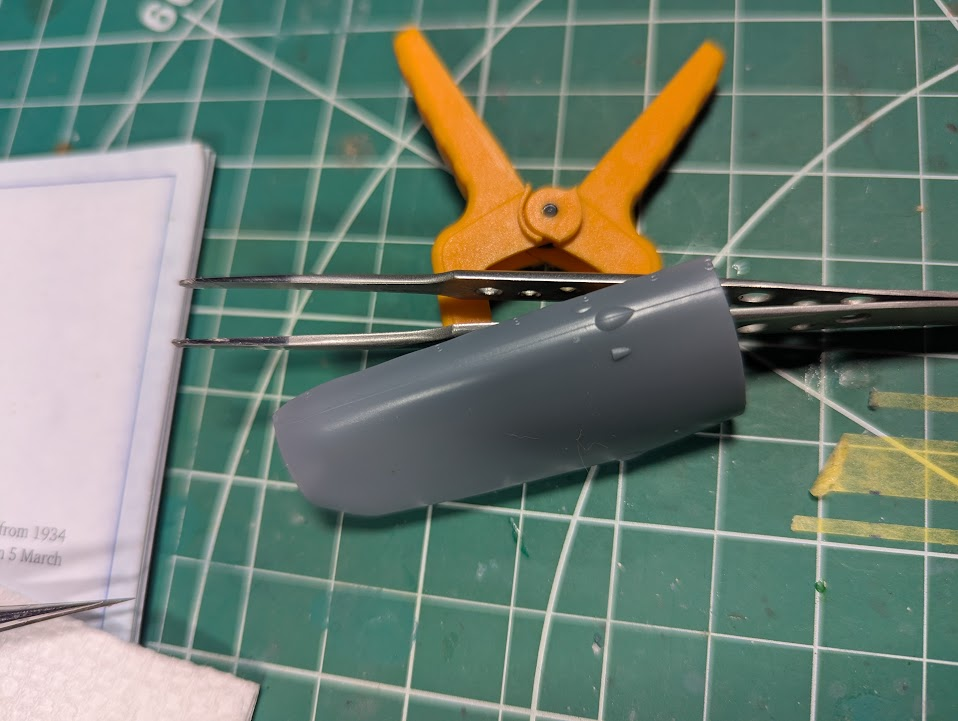
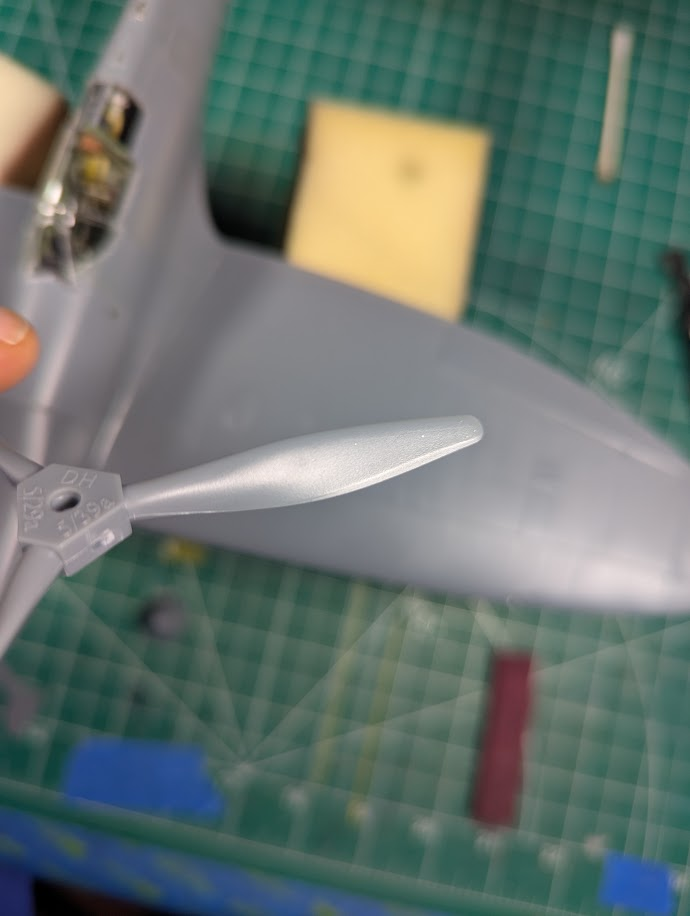
It does have a drawback, what appears to be seams show up in places were not used to. Maybe they are not seams per se, but the lines/ridges that come out visible on parts, like landing gear struts.

In this case I found some on the engine cowl and even the propeller blades. They are small and hard to photograph with a phone, but I think you can see them in these two images. We're all used to looking for them in the traditional places, like the landing gear. But with this new thing you have to look everywhere.

1750877143326.png

1750877170957.png


The way I understand it is; that cowling is made in two parts for just about all Spitfire kits since the real-life seam is near the exhaust, so there's a pronounced curve. This is one reason that many folks use resin aftermarket parts for this. I have never seen a seam like that on a prop blade before. The new technology prevents me from having a large seam to hide, I just needed to knock these thin lines down a bit.

I used Scotchbrite pads in order to be gentle and not mar the surface.
 
Last edited:
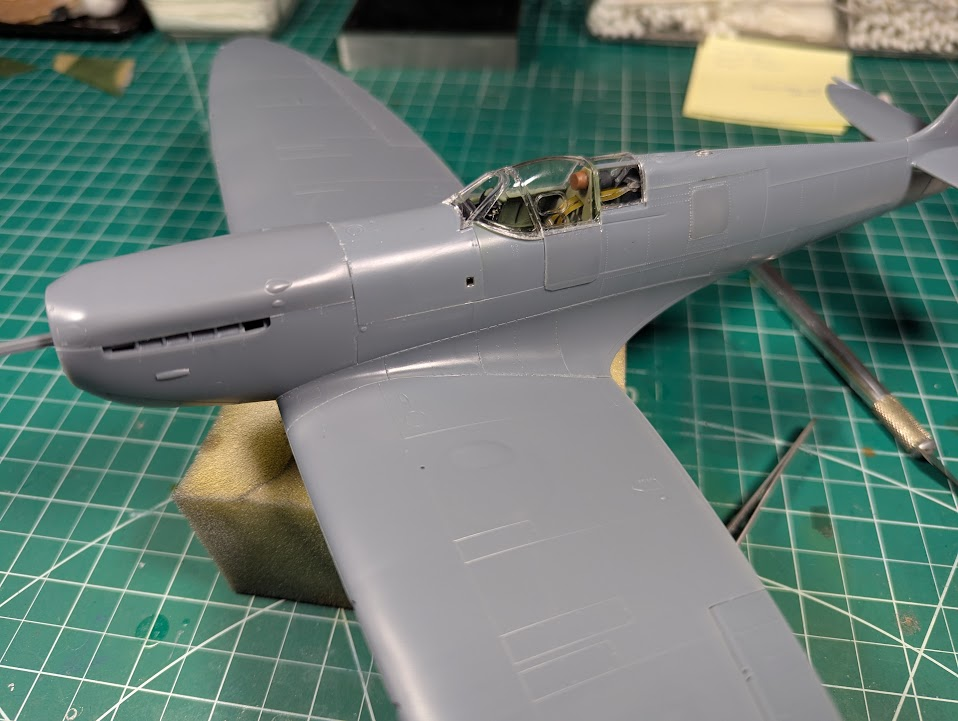
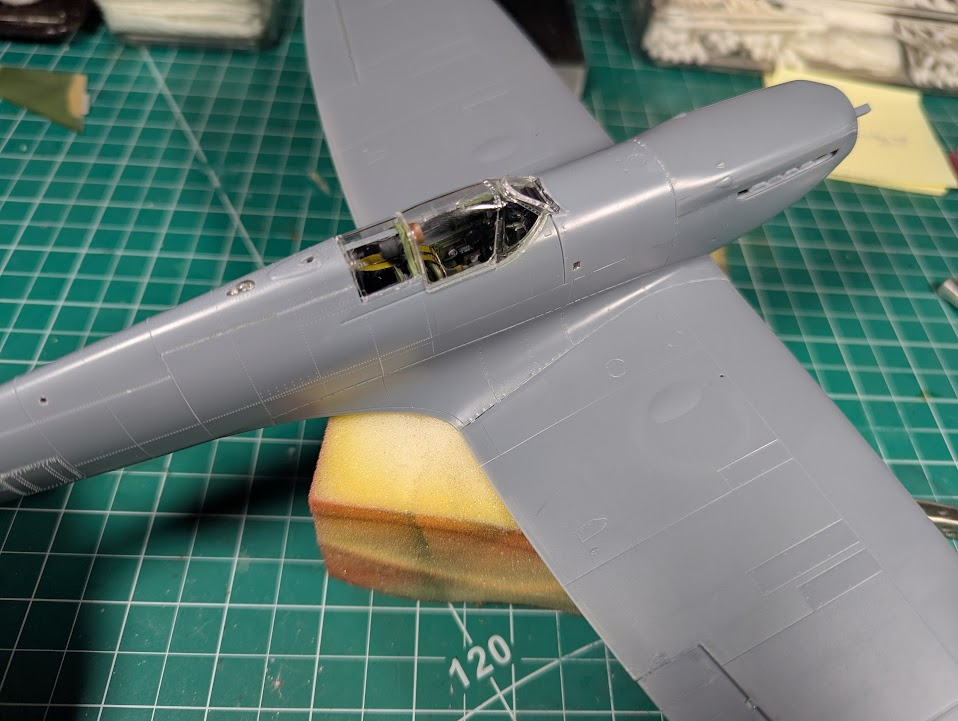
I attached the pilot-door and one-piece canopy using white glue. Both will be discarded after painting in favor of the open-door and open-canopy look when finished.

1750877489631.png

1750877506055.png


Not shown, I also put some of that liquid mask on the large marker light behind the antenna and the tiny side marker lights my previous posts were about.
 
Also decided I will not do Douglas Bader's airplane, instead I'll build one of those famous A-wing night fighters.

1750877666319.png


Totally kidding of course, that is just a layer of 1500-surfacer.

The surface detail on this kit is SUPER thin, I'm worried about filling it in.
 
I think my biggest problem with modeling is laziness. I enjoy the work, but want to finish too much, and that causes me to skip details or not pay enough attention sometimes. I think the most evident case of this is my inattentiveness to seams, but I also skip some things in the instructions if I feel they are too esoteric or that the effort is not worth the result.

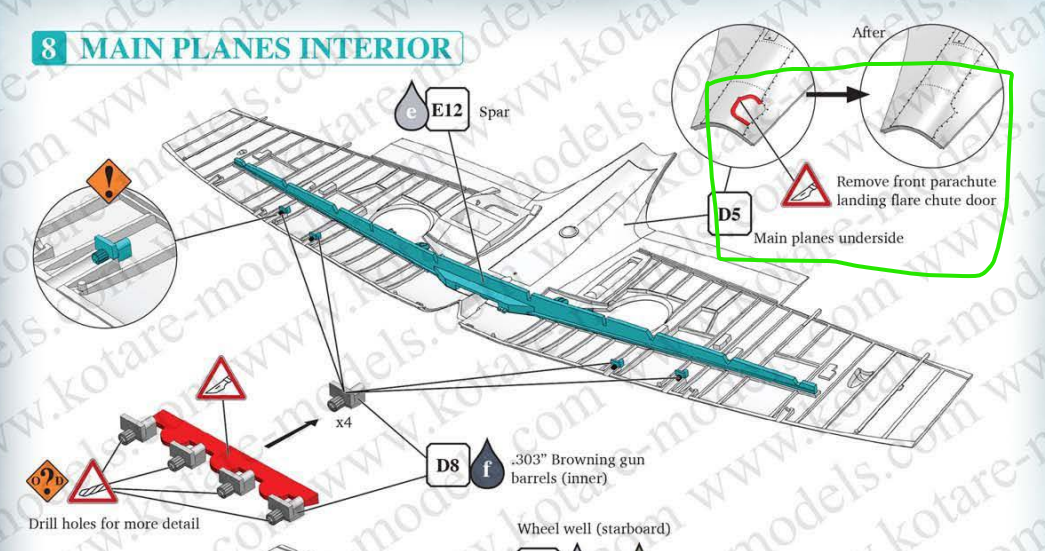
One case is this part of the instructions...

1750948240672.png


The portion circled in green there, it asks that I shave off the detail for 3/4ths of the trapdoor. I figured, why bother, nobody will know or care. That reminds me of the active discussion in another thread about accuracy and who will notice. Anyway, I skipped that part completely. Only to find out why I was supposed to remove that.

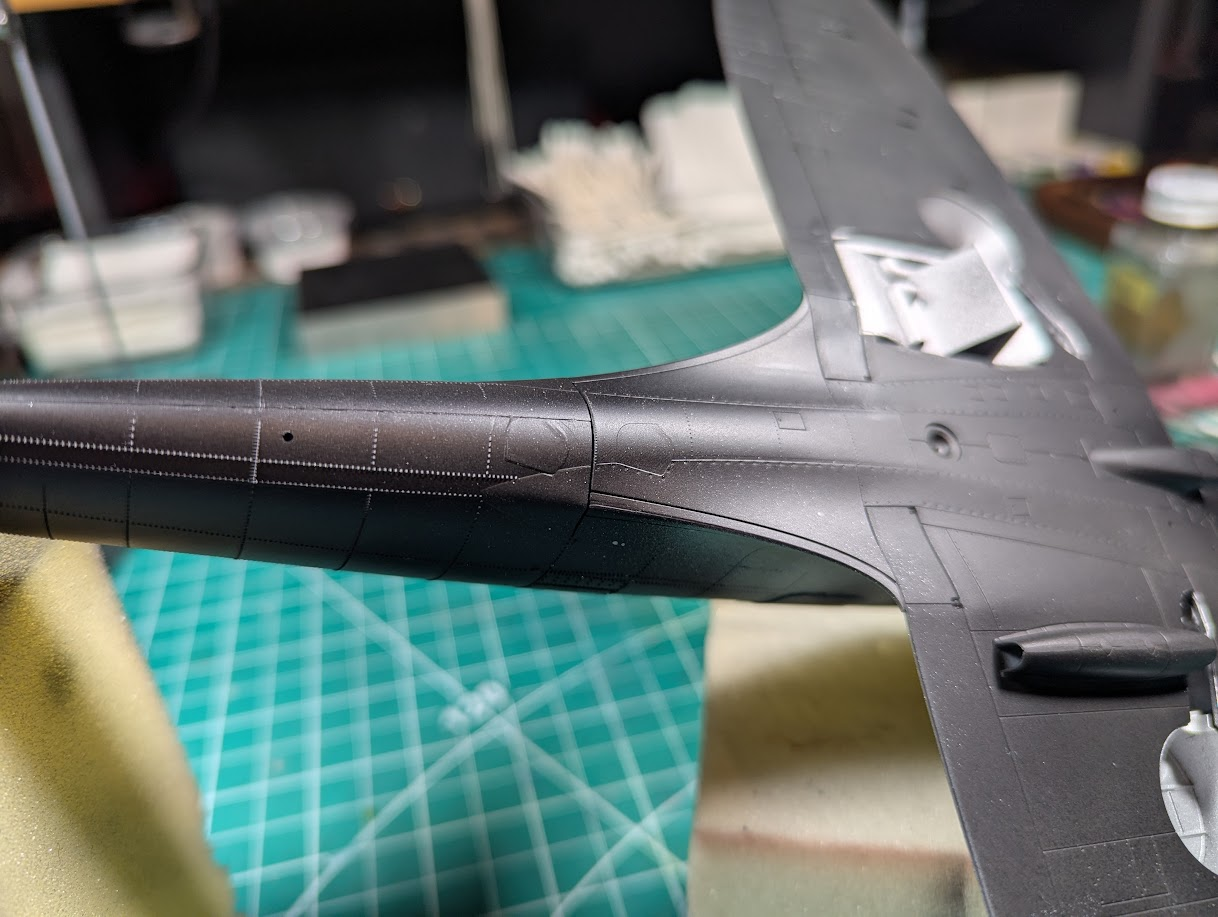
The Spit Va is a bit of an odd-duck, they only used them for a short period of time before the B-wings came out. So for Kotare I have a fuselage of the "5" but the wing of their earlier kit the "1". If I were building the Mk.I that door is in the right part of the underside, but for the Mk.V they moved it further back which Kotare has molded onto the fuselage (not shown in the diagram), which results in my model having two of the trap doors, grrr.

1750948711785.png


This shows what I mean. While some might not notice that, it is the kind of thing that really sticks out for others. So it had to be addresses. Also in that icture above, it the only seam that I feel needs to be addressed. There were others I looked hard at, around the cowling mainly, but I think Mr. Surfacer rescued me on those.

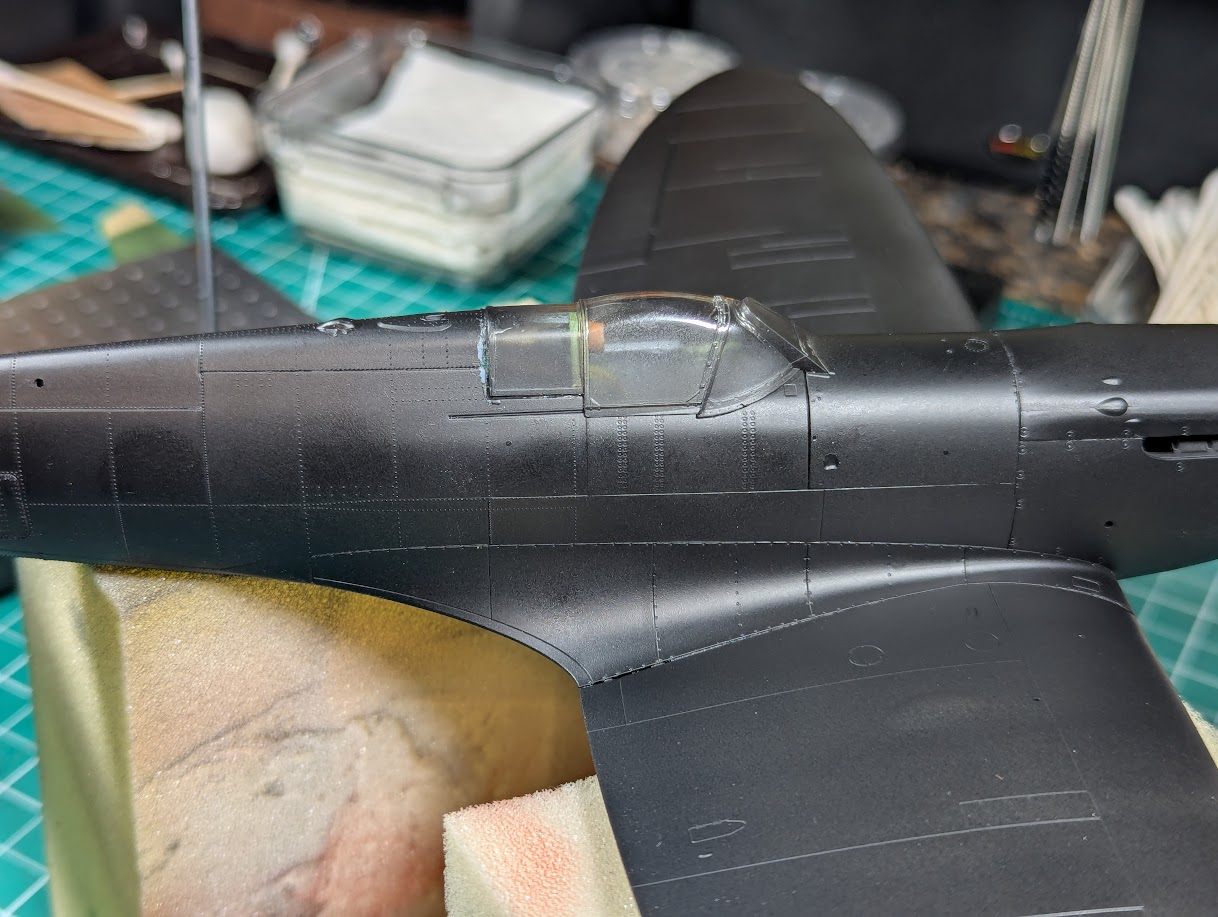
1750949671581.png


This is the 2nd worst seam I could find, the one right in front of the canopy, was much tighter on the other side.
 
As an Amazon Associate we earn from qualifying purchases. Product prices and availability are accurate as of the date/time indicated and are subject to change.
skip some things in the instructions
Know what you mean... I've been burned a few times as well... now, when I feel the urge to skip, that's a good indication that I haven't familiarized myself enough with the instructions and should look ahead. Often there's no issue, but when there is, it can be a doozy!
A variant of the old "measure twice, cut once" dictum.
 
Is every part of a Spitfire Va included in the kit? No. Are you building it for a contest, or for a museum display? Or are you building for the pleasure of it? While I'm all in favor of patience (have to be, at the glacial rate that I build) sweating all the details is for people who do contests. I don't. I also don't always follow the instructions, but I always study then carefully before I start—mostly to find the places where I think they could be better, or a different sequence. Build first for yourself.
 
These were taken with one side panel at a time, during the test-fit period. It is TIGHT, all the parts must align perfectly or there will be gaps.

First two are with the starboard fuselage half in place, bottom three with the port half.

View attachment 151059

View attachment 151063

View attachment 151060

View attachment 151061

View attachment 151071
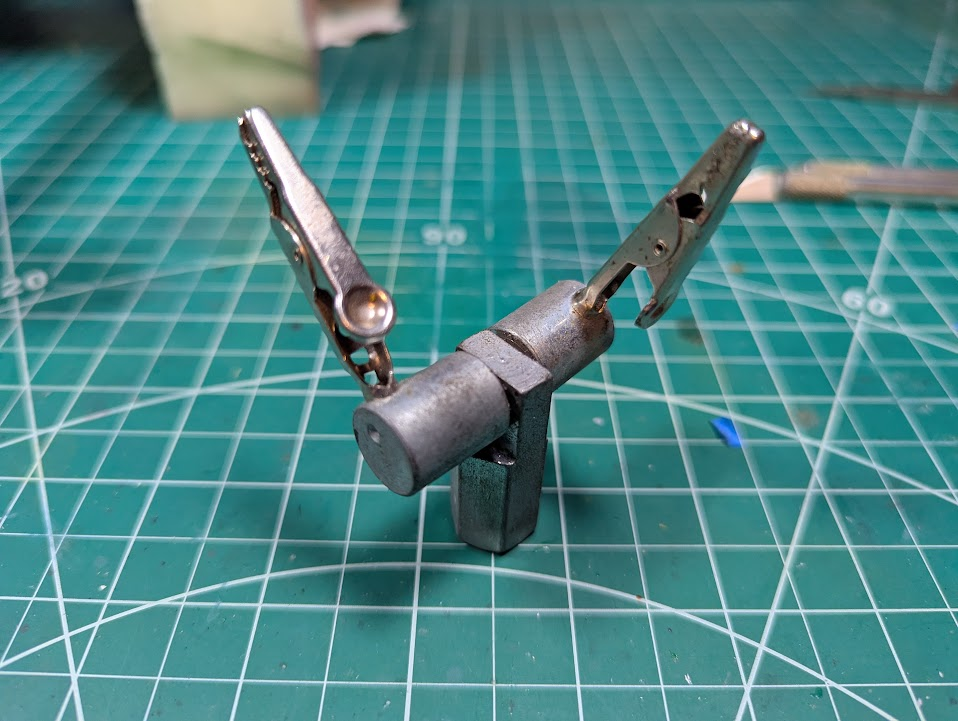
I really love your build. The interior cockpit and GTL came out splendidly. You should be proud of this work. By the way, that vice type appliance that you have holding the fuselage. Where did you get it. It's an awesome little tool. Could you share where you got it and what it might cost and how to get one. All the best. Keep going!!!
Docsudy
 
Is every part of a Spitfire Va included in the kit? No.
Technically yes, but in the case of the door used for flares I got both the Mk.1 and the Mk.5 versions. Guess I could have shaved off either one and been fine. I am generally on the "it doesn't matter" side of the maximum accuracy debate, but seeing the two doors side by side triggered me into fixing what I had decided to ignore.
 
Where did you get it. It's an awesome little tool. Could you share where you got it and what it might cost and how to get one.
I do not remember where I got it, too long ago. But I found one that is pretty much the same thing.

https://squadron.com/sq10256-squadron-tools-2-deluxe-part-holder-vise-with-heavy-metal-stand/

Those pins (visible in my picture) are just chrome-steel, the soft vinyl tips are from my alligator clips on-a-stick set. They offer more cushion of course, but the bigger reason to use them is they grip 100x better. Plastic against steel is quite slippery.
 
I do not remember where I got it, too long ago. But I found one that is pretty much the same thing.
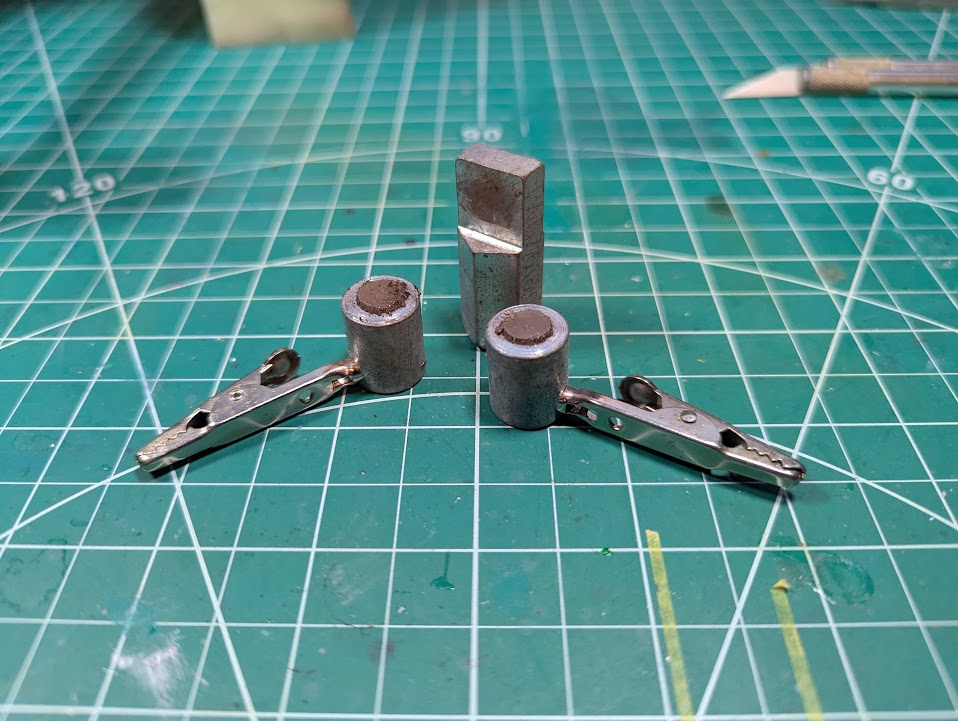
I've had one of those with a wooden handle instead of a base for something like twenty years, and hardly ever used it beyond some initial trials. This mainly because the wooden handle makes it almost useless: you can hold what you're working on well enough, but you can't set it down and you can't work on it with both hands.

Since discovering some years ago that there is also a version with an adjustable base, I have thought occasionally that maybe I should rig up something similar, but never have so far :)

The rubber caps over the pins are a good idea. Maybe I should find some and make a stand for it …
 
I used to use it for soldering stuff, definitely nice to have both hands free. I have a different one for soldering two wires together without burning fingers, just two alligator clips screwed into a base, same basic purpose though, hold something still while keeping both hands free.

1751039605002.png


1751039622897.png


I did see they have these desktop vise things on Amazon, might make shipping to the EU a more attractive purchase.
 
Last edited:
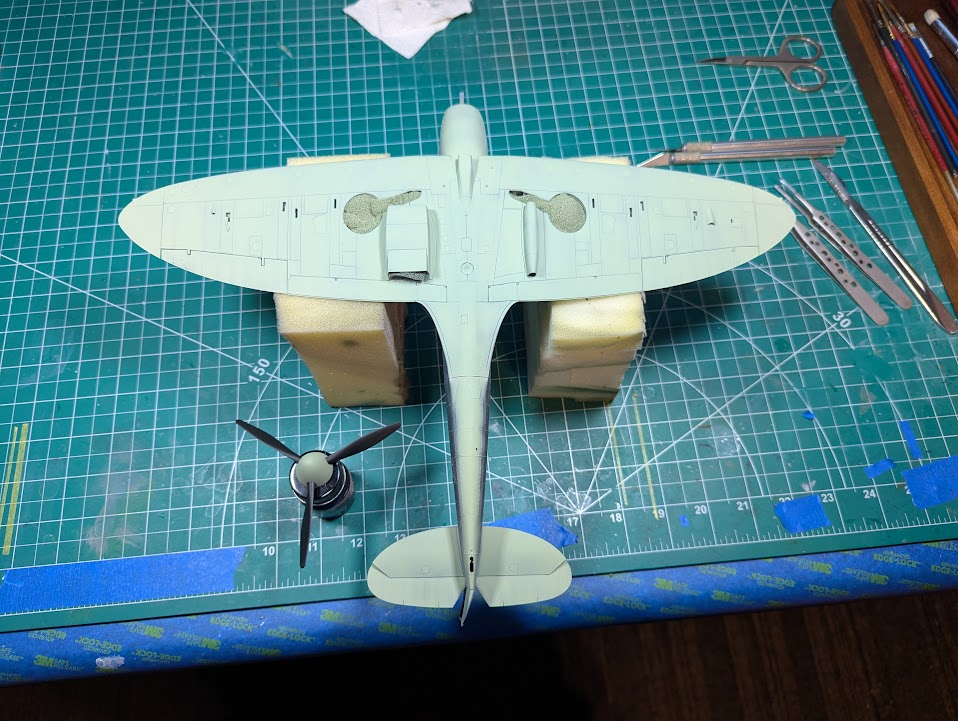
Back to the Spit, I got the underside color down, trying to keep color variations there but not dramatic. I'm planning on very light weathering, but might go a bit heavy on panel lines due to the details Kotare gave me.

1751039755327.png


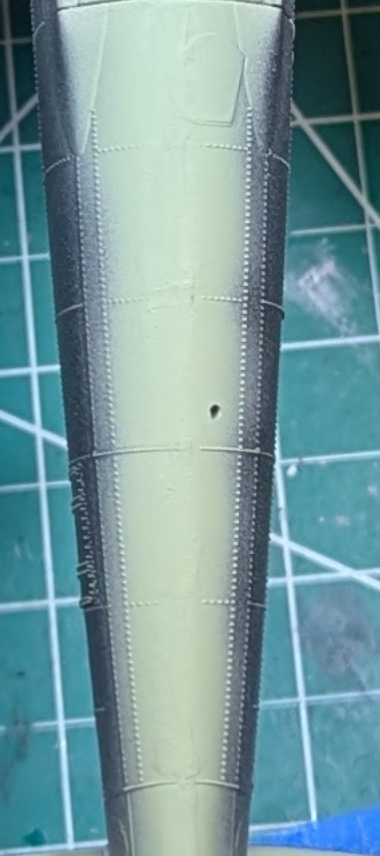
I'm trying to improve my game on seams, gave this kit extra effort, and think I am getting better, but this (below) shows I need more work.

1751039841178.png


The raised rivets and raised panel-lines...not sure how I can repair those.
 
not sure how I can repair those.
... hmmm, unlike armour where you can often get away with repairs to be obfuscated with weathering, dunno how you'd go about it now that colour is down, and plane surfaces usually so smooth...
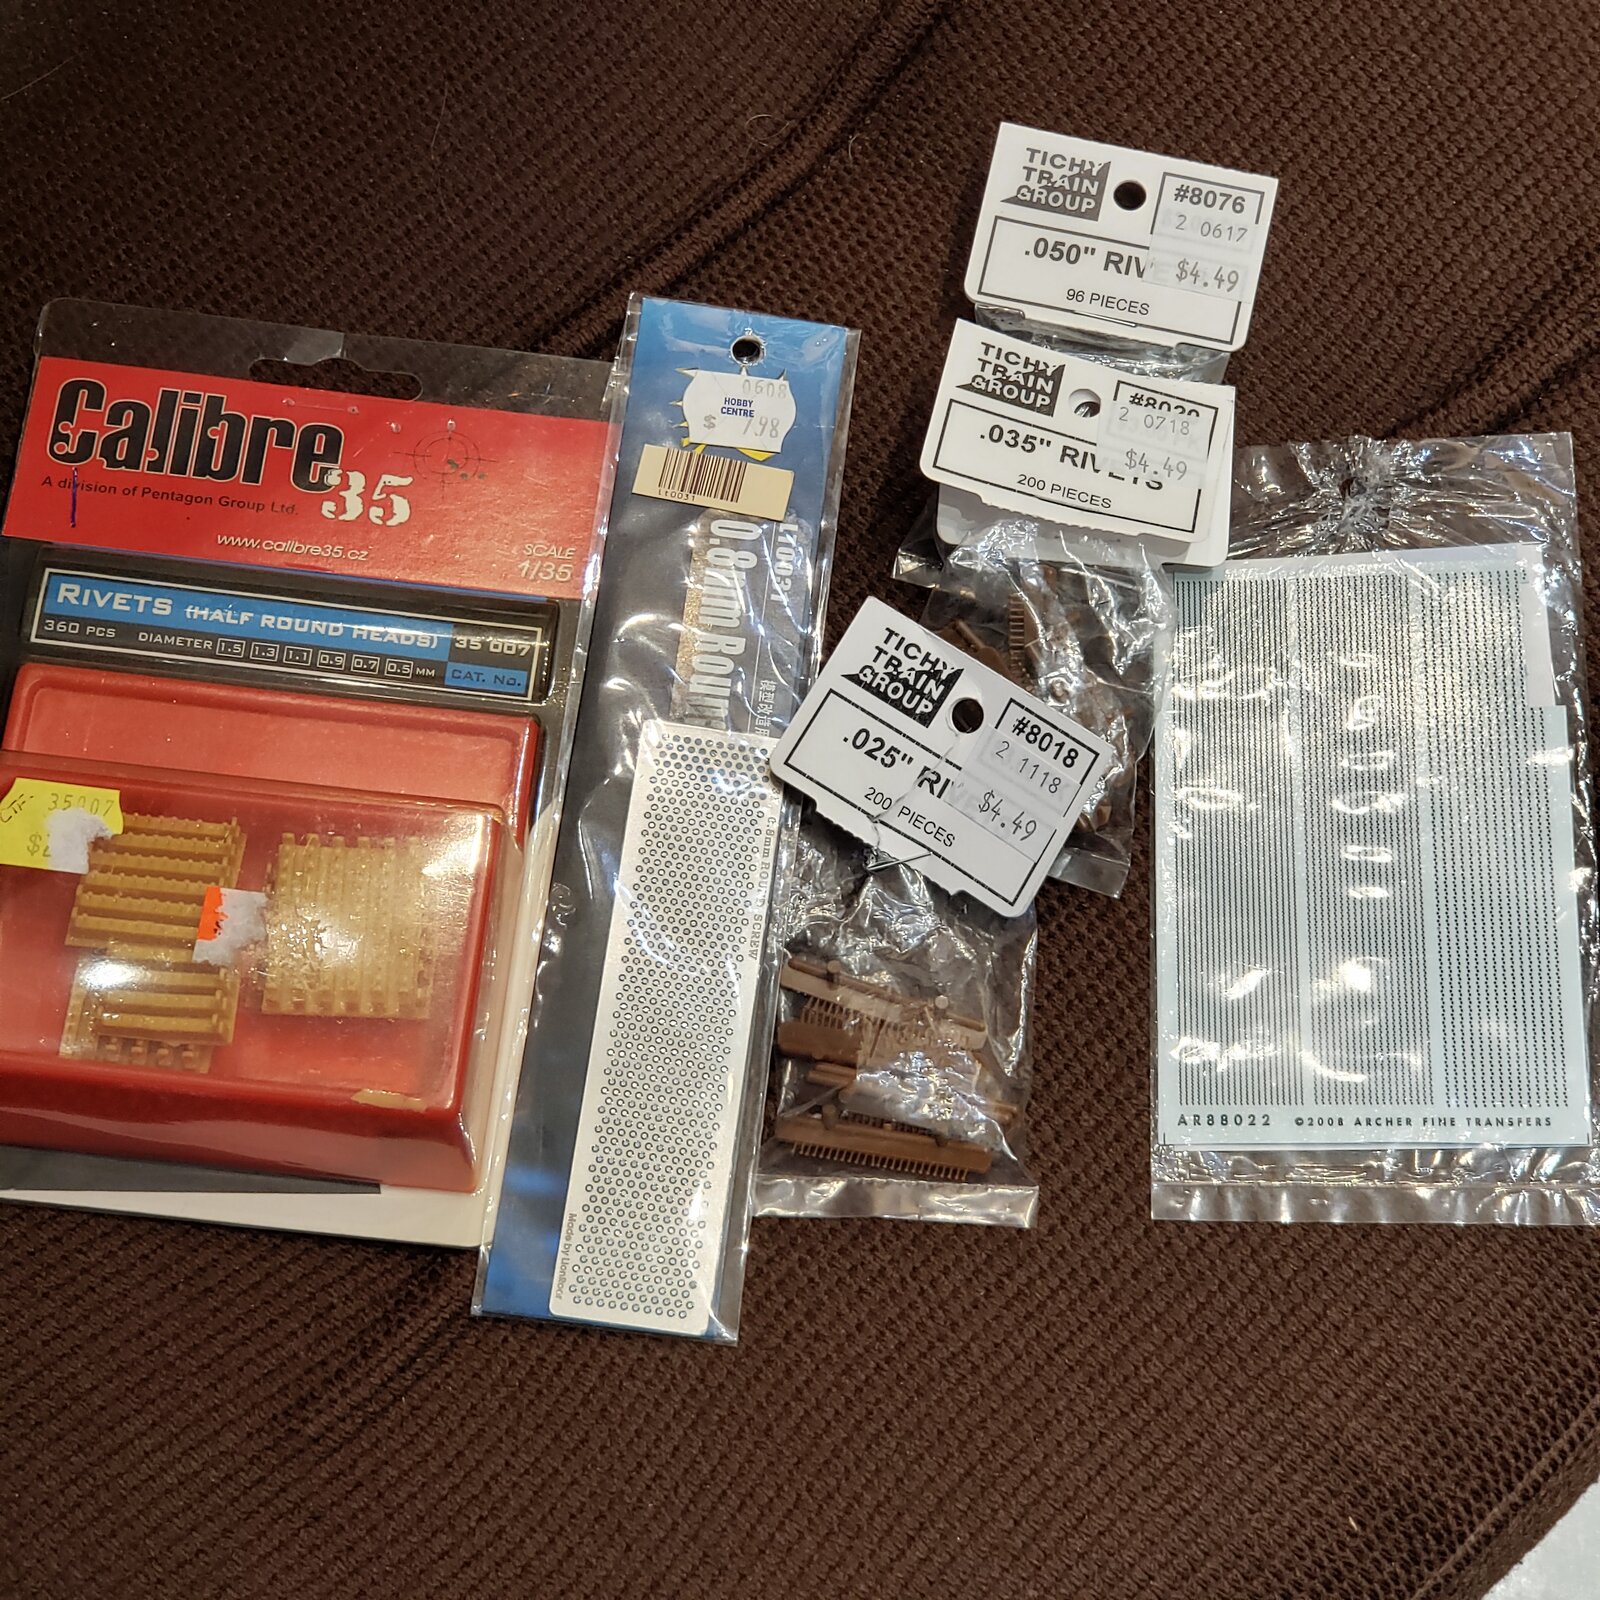
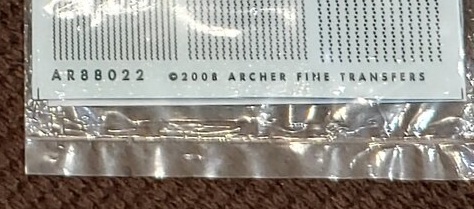
In my limited experience, I've used low profile 'decal' rivets in the past to fix overzealous sanding, and I'm thinking there must be raised panel lines too. Again, probably too late in the process in this instance.
 
I have found that if you remove the raised lines, you can cut recessed lines to replace them and it doesn't look bad at all. I've used the rivet decals, too, and they work. The only problem is removing the raised lines to the point they meet another raised line, so the transition isn't as obvious.
 
Back in the old days guys used to stretch sprues with a candle or cigarette lighter. I never tried it since it looked hard to control, but I'm thinking it might be a good option here. Looking into those rivet decals now.
dunno how you'd go about it now that colour is down
I'm prepared to sand that section down again, if I want it right there's not much choice since it is not just the missing detail, I did not get the base layer smooth enough.
 
Stretching sprue mainly requires a little practice, and you get plenty of material to do that with in any kit :)
 
My rivets will get here Saturday, so I'm working on my Pearl Harbor trio.

Already thinking about what I'll do if they are too large. Thinking of trying to sort out some grains of sand, they'd be sharp-edged so maybe a coating of thick CA?
 
My rivets will get here Saturday, so I'm working on my Pearl Harbor trio.

Already thinking about what I'll do if they are too large. Thinking of trying to sort out some grains of sand, they'd be sharp-edged so maybe a coating of thick CA?
Why not just CA? Apply accelerator to the model surface, then apply tiny drops of medium viscosity CA to the surface with a fine point.
 
Neat idea, definitely practice first!
If you have any gel, you can even shape it before the accelerator.
I've used the technique to sculpt broken off fingers and other details on 1/48 scale figures. It's actually like an acetylene welding technique. For things that have to be precise (rivets), practice and experimentation with different applicators is a good idea.
 
Back in the old days guys used to stretch sprues with a candle or cigarette lighter. I never tried it since it looked hard to control, but I'm thinking it might be a good option here.
Very old school. I used to do it a lot when a kid.
Mostly because I like burning stuff…. But that's a different story…
 
I've used the technique to sculpt broken off fingers and other details on 1/48 scale figures. It's actually like an acetylene welding technique. For things that have to be precise (rivets), practice and experimentation with different applicators is a good idea.
CA mixed with talcum powder makes a good cement/plaster kind of material for making stuff.
 
Wow, the Kotare 1:32 Spitfire VA looks stunning! Douglas Bader's Spitfire has such a legendary history, and this scale really shows off all the fine details. Have you built this kit yourself, or are you just admiring it? I've always wanted to try a 1:32 scale fighter—heard it's a rewarding but challenging build.
 
Have you built this kit yourself, or are you just admiring it?
I am currently building it, most construction is complete, lots of paining yet to perform. Waiting on aftermarket bits to help me clear up the mess I made of the lower seam right now.
 

Latest posts

Back
Top