

Some interesting info from these guys:marker lights
https://www.britmodeller.com/forums/index.php?/topic/234940983-mk1-spitfire-light-colours/
In typical forum fashion, you have to read through a ways for a better understanding.

Some interesting info from these guys:marker lights

Know what you mean... I've been burned a few times as well... now, when I feel the urge to skip, that's a good indication that I haven't familiarized myself enough with the instructions and should look ahead. Often there's no issue, but when there is, it can be a doozy!skip some things in the instructions

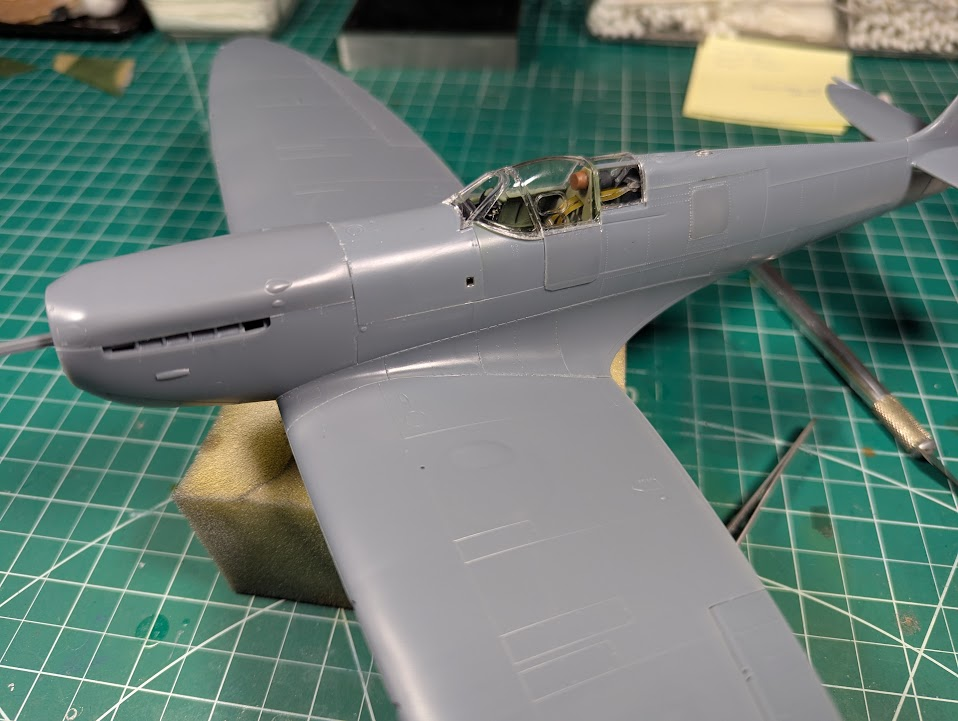
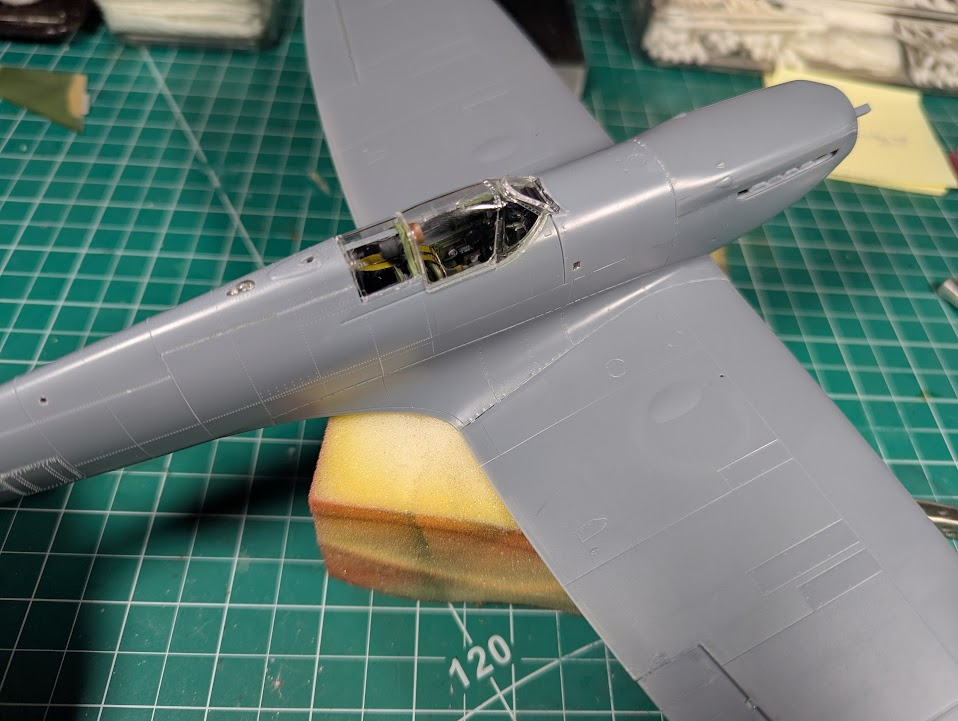
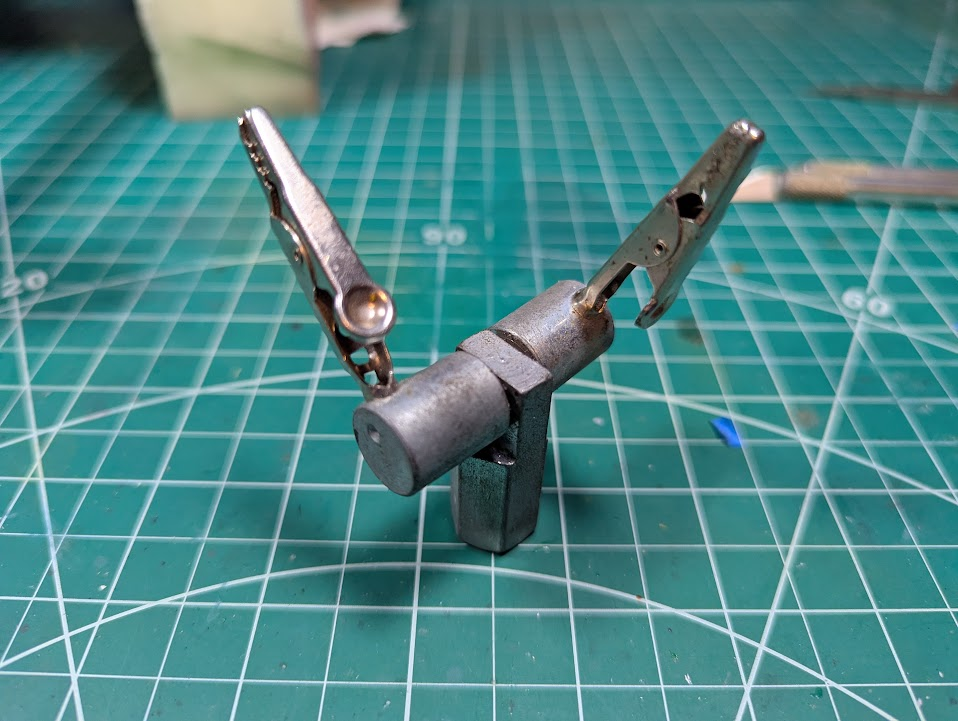
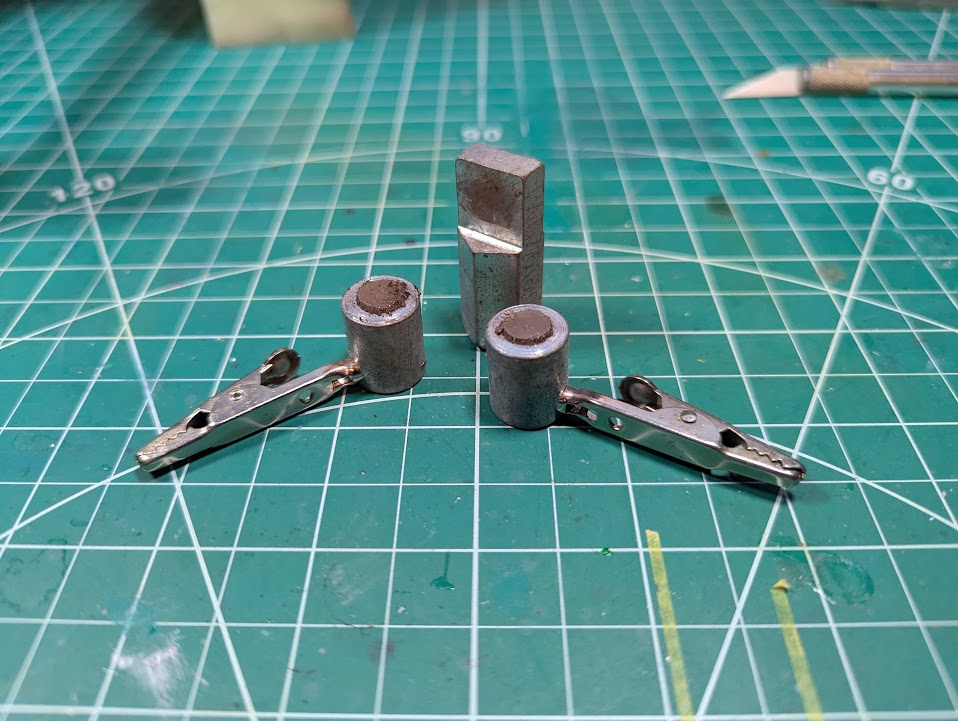
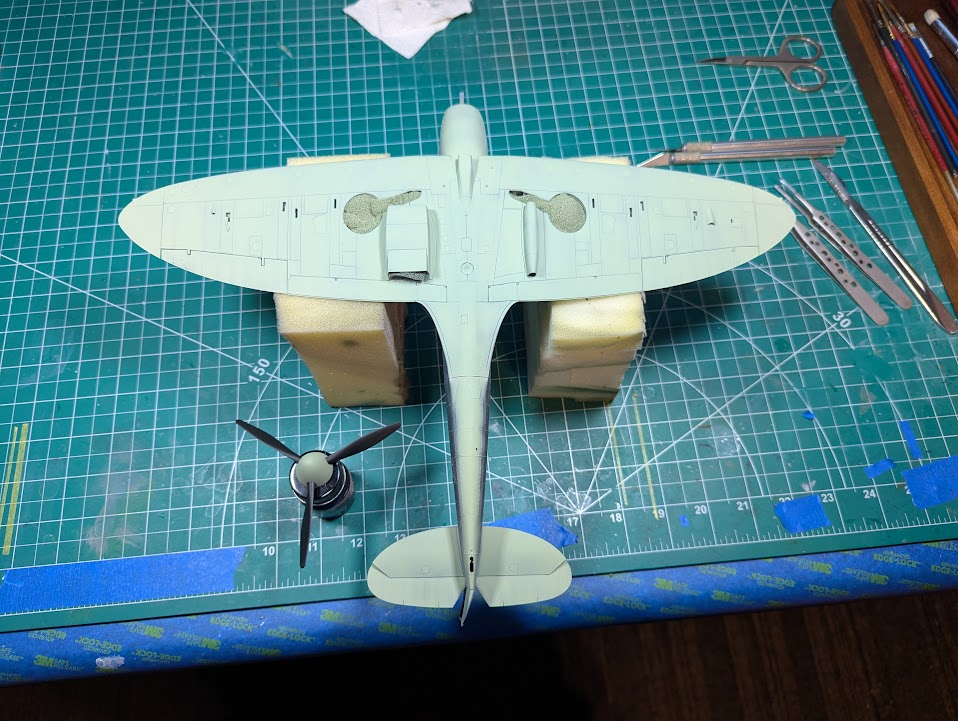
I really love your build. The interior cockpit and GTL came out splendidly. You should be proud of this work. By the way, that vice type appliance that you have holding the fuselage. Where did you get it. It's an awesome little tool. Could you share where you got it and what it might cost and how to get one. All the best. Keep going!!!These were taken with one side panel at a time, during the test-fit period. It is TIGHT, all the parts must align perfectly or there will be gaps.
First two are with the starboard fuselage half in place, bottom three with the port half.
View attachment 151059
View attachment 151063
View attachment 151060
View attachment 151061
View attachment 151071
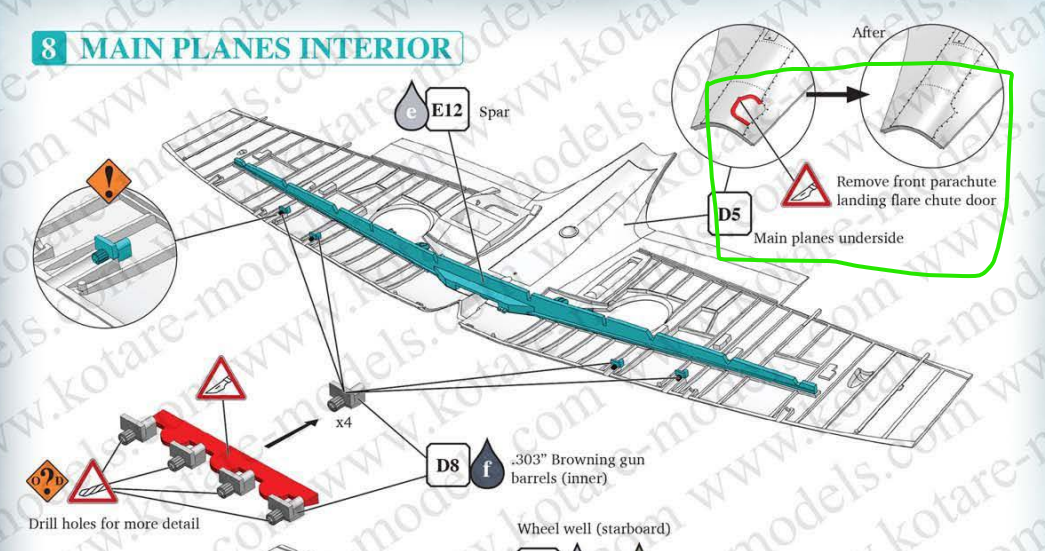
Technically yes, but in the case of the door used for flares I got both the Mk.1 and the Mk.5 versions. Guess I could have shaved off either one and been fine. I am generally on the "it doesn't matter" side of the maximum accuracy debate, but seeing the two doors side by side triggered me into fixing what I had decided to ignore.Is every part of a Spitfire Va included in the kit? No.
I do not remember where I got it, too long ago. But I found one that is pretty much the same thing.Where did you get it. It's an awesome little tool. Could you share where you got it and what it might cost and how to get one.

I've had one of those with a wooden handle instead of a base for something like twenty years, and hardly ever used it beyond some initial trials. This mainly because the wooden handle makes it almost useless: you can hold what you're working on well enough, but you can't set it down and you can't work on it with both hands.I do not remember where I got it, too long ago. But I found one that is pretty much the same thing.

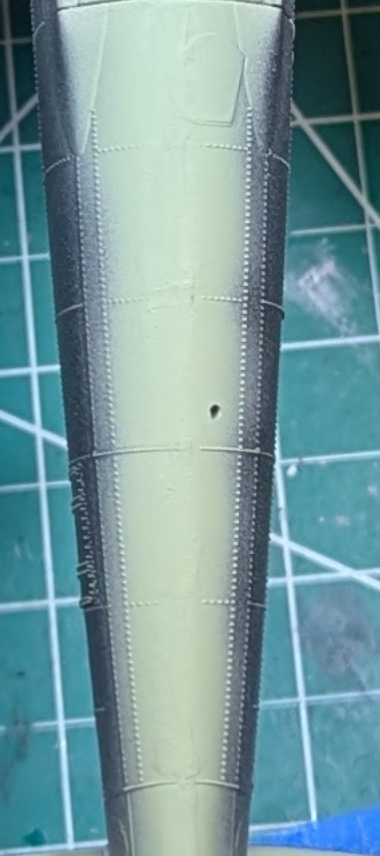
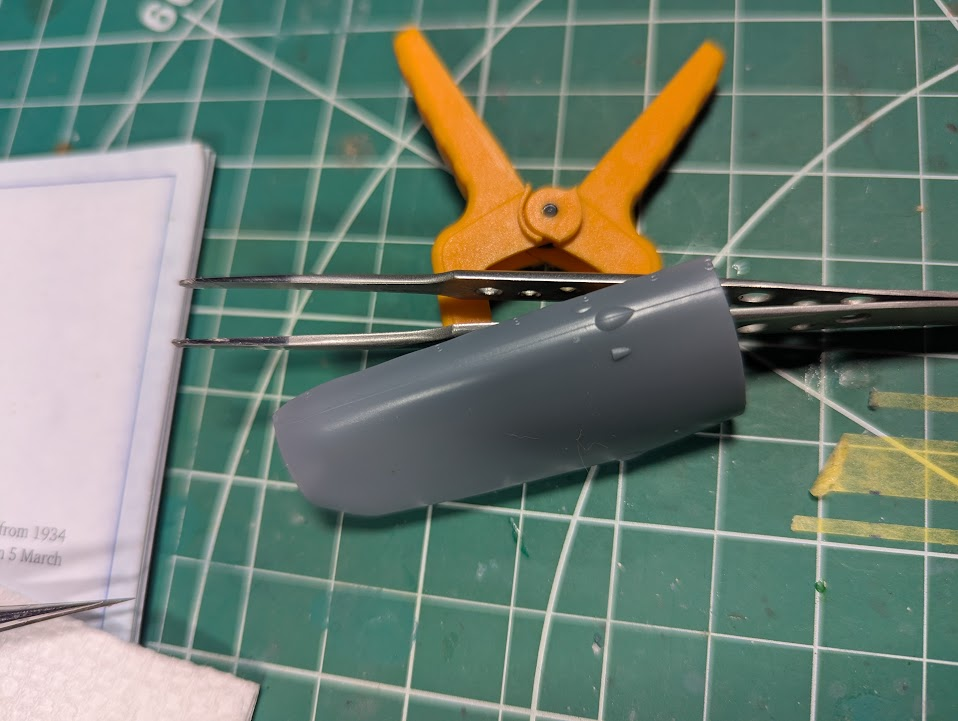
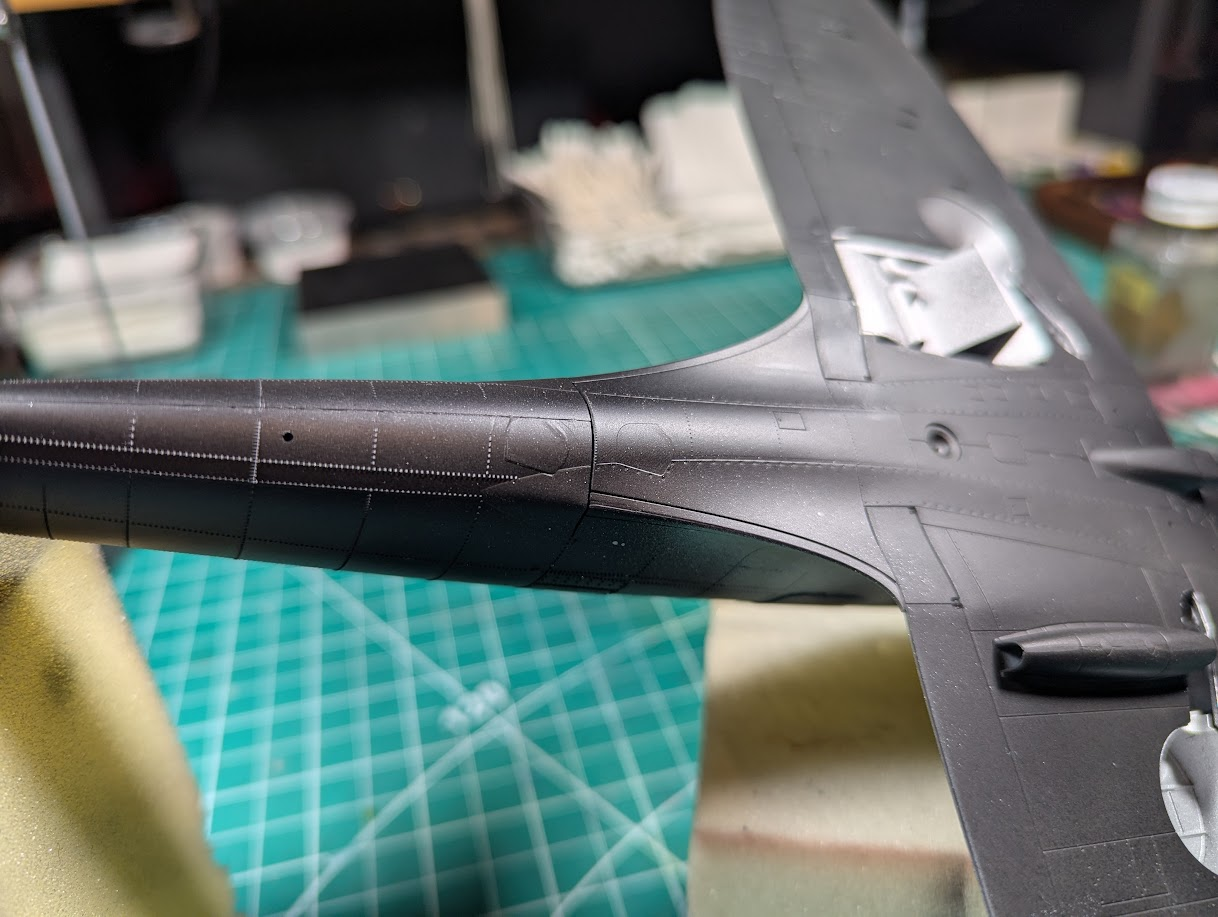
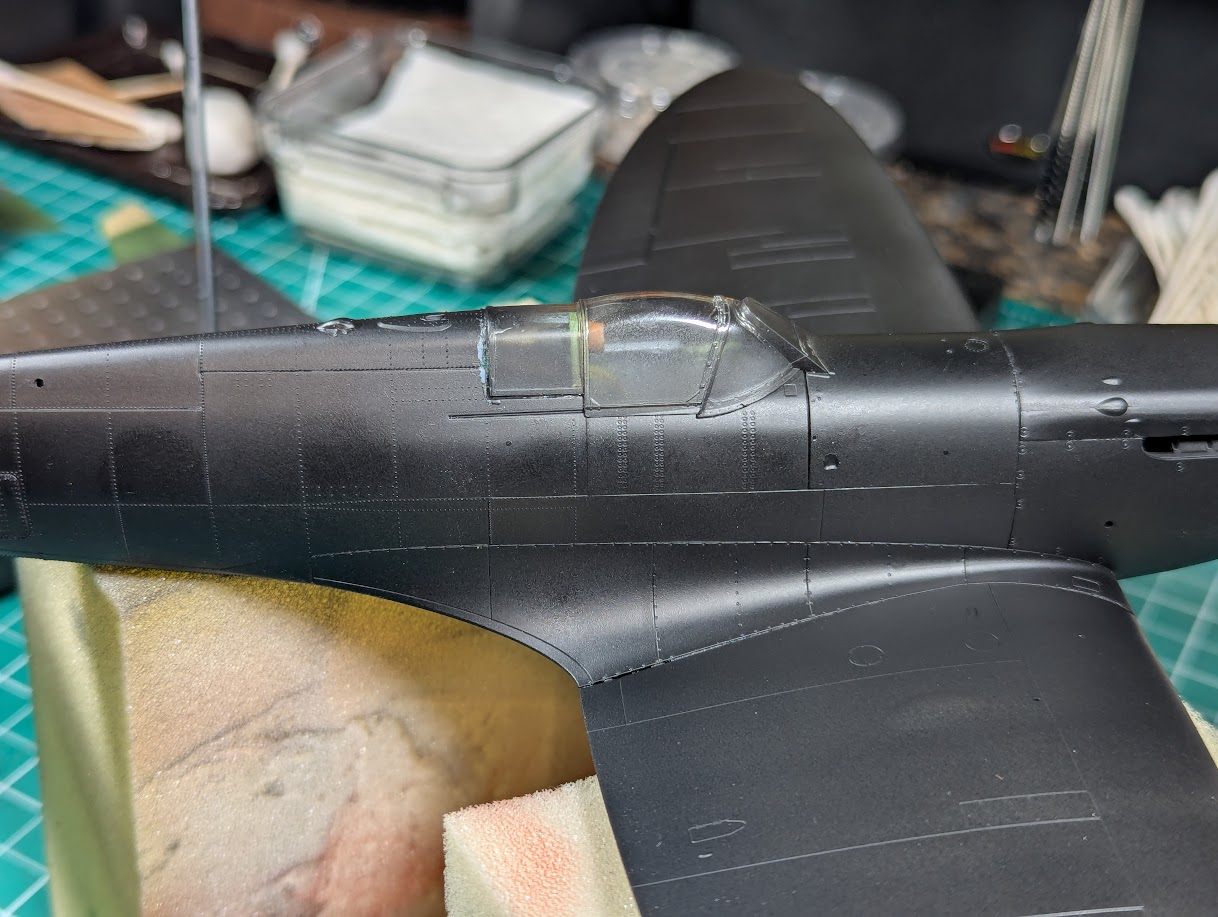
... hmmm, unlike armour where you can often get away with repairs to be obfuscated with weathering, dunno how you'd go about it now that colour is down, and plane surfaces usually so smooth...not sure how I can repair those.
I'm prepared to sand that section down again, if I want it right there's not much choice since it is not just the missing detail, I did not get the base layer smooth enough.dunno how you'd go about it now that colour is down
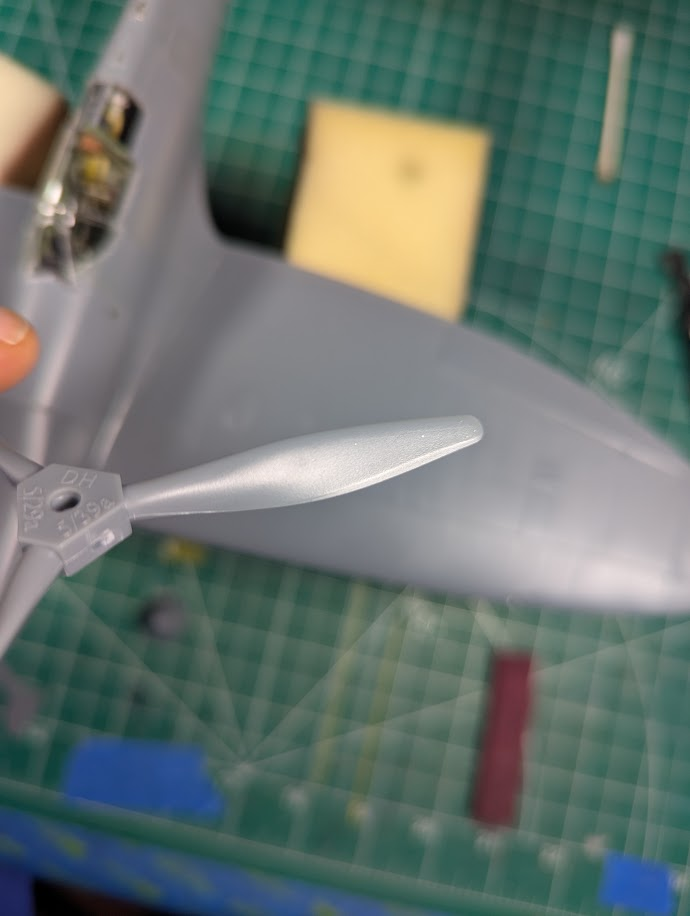
Here is an assortment: decal, resin, plastic and metal... each has their use.rivet decals
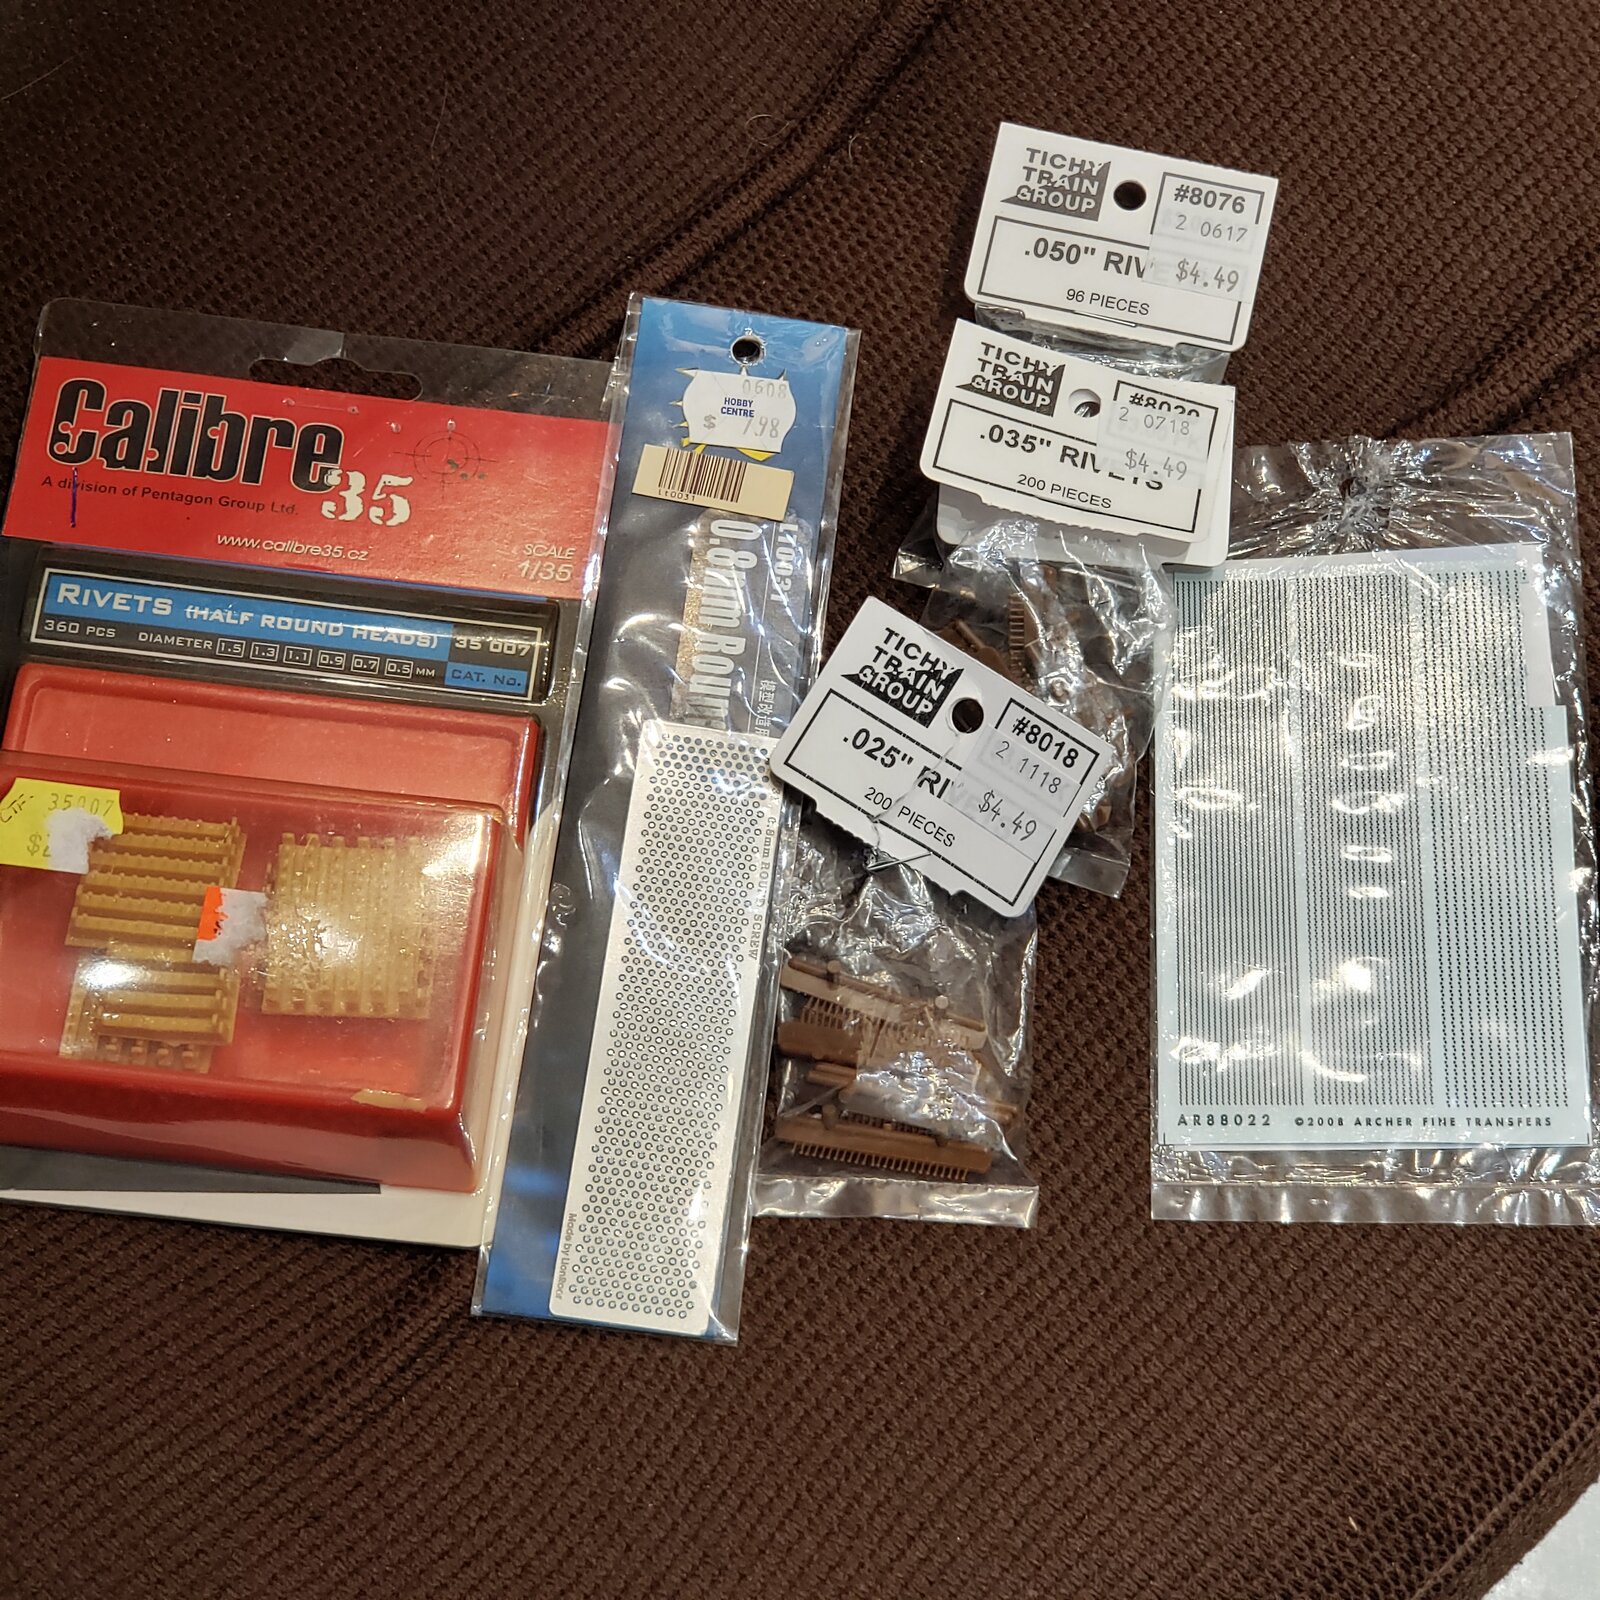
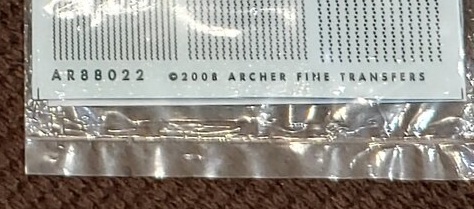
Ever heard of this outfit https://www.archertransfers.com/?Here is an assortment: decal, resin, plastic and metal... each has their use.

Why not just CA? Apply accelerator to the model surface, then apply tiny drops of medium viscosity CA to the surface with a fine point.My rivets will get here Saturday, so I'm working on my Pearl Harbor trio.
Already thinking about what I'll do if they are too large. Thinking of trying to sort out some grains of sand, they'd be sharp-edged so maybe a coating of thick CA?
Neat idea, definitely practice first!Apply accelerator to the model surface,
I've used the technique to sculpt broken off fingers and other details on 1/48 scale figures. It's actually like an acetylene welding technique. For things that have to be precise (rivets), practice and experimentation with different applicators is a good idea.Neat idea, definitely practice first!
If you have any gel, you can even shape it before the accelerator.

Very old school. I used to do it a lot when a kid.Back in the old days guys used to stretch sprues with a candle or cigarette lighter. I never tried it since it looked hard to control, but I'm thinking it might be a good option here.
CA mixed with talcum powder makes a good cement/plaster kind of material for making stuff.I've used the technique to sculpt broken off fingers and other details on 1/48 scale figures. It's actually like an acetylene welding technique. For things that have to be precise (rivets), practice and experimentation with different applicators is a good idea.
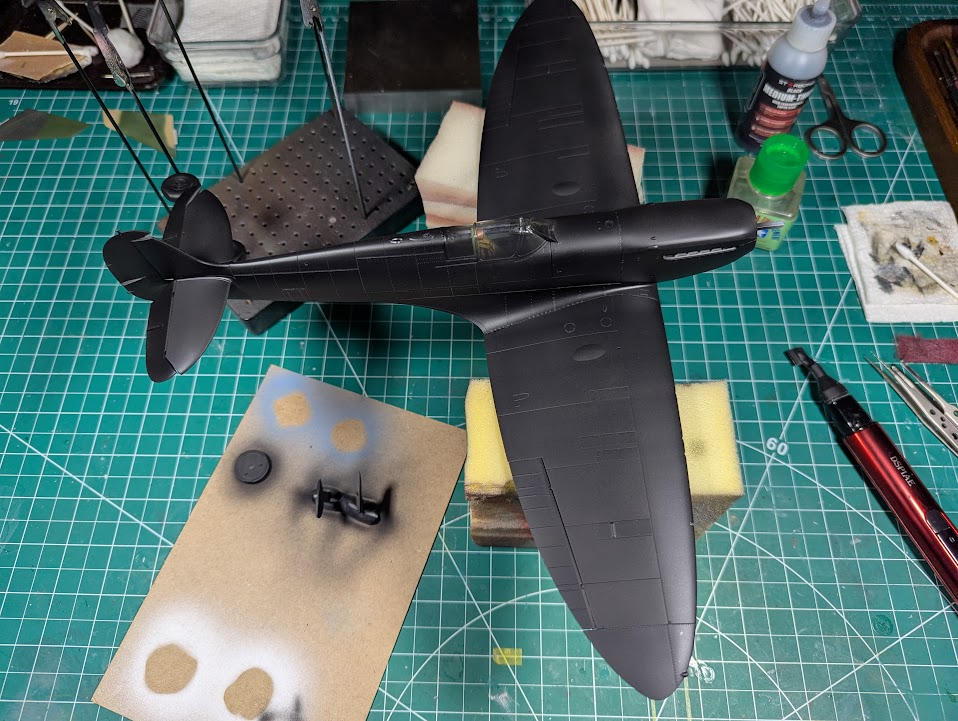
I am currently building it, most construction is complete, lots of paining yet to perform. Waiting on aftermarket bits to help me clear up the mess I made of the lower seam right now.Have you built this kit yourself, or are you just admiring it?


![Pampers Sensitive Baby Wipes, Clinically Proven, Fragrance Free, Unscented, Water Based, Hypoallergenic, Multi-Use, Hand Wipes 336 Wipes Total (6X Flip-Top Packs) [Packaging May Vary]](https://m.media-amazon.com/images/I/41KLBHu9CAL._SL500_.jpg)






