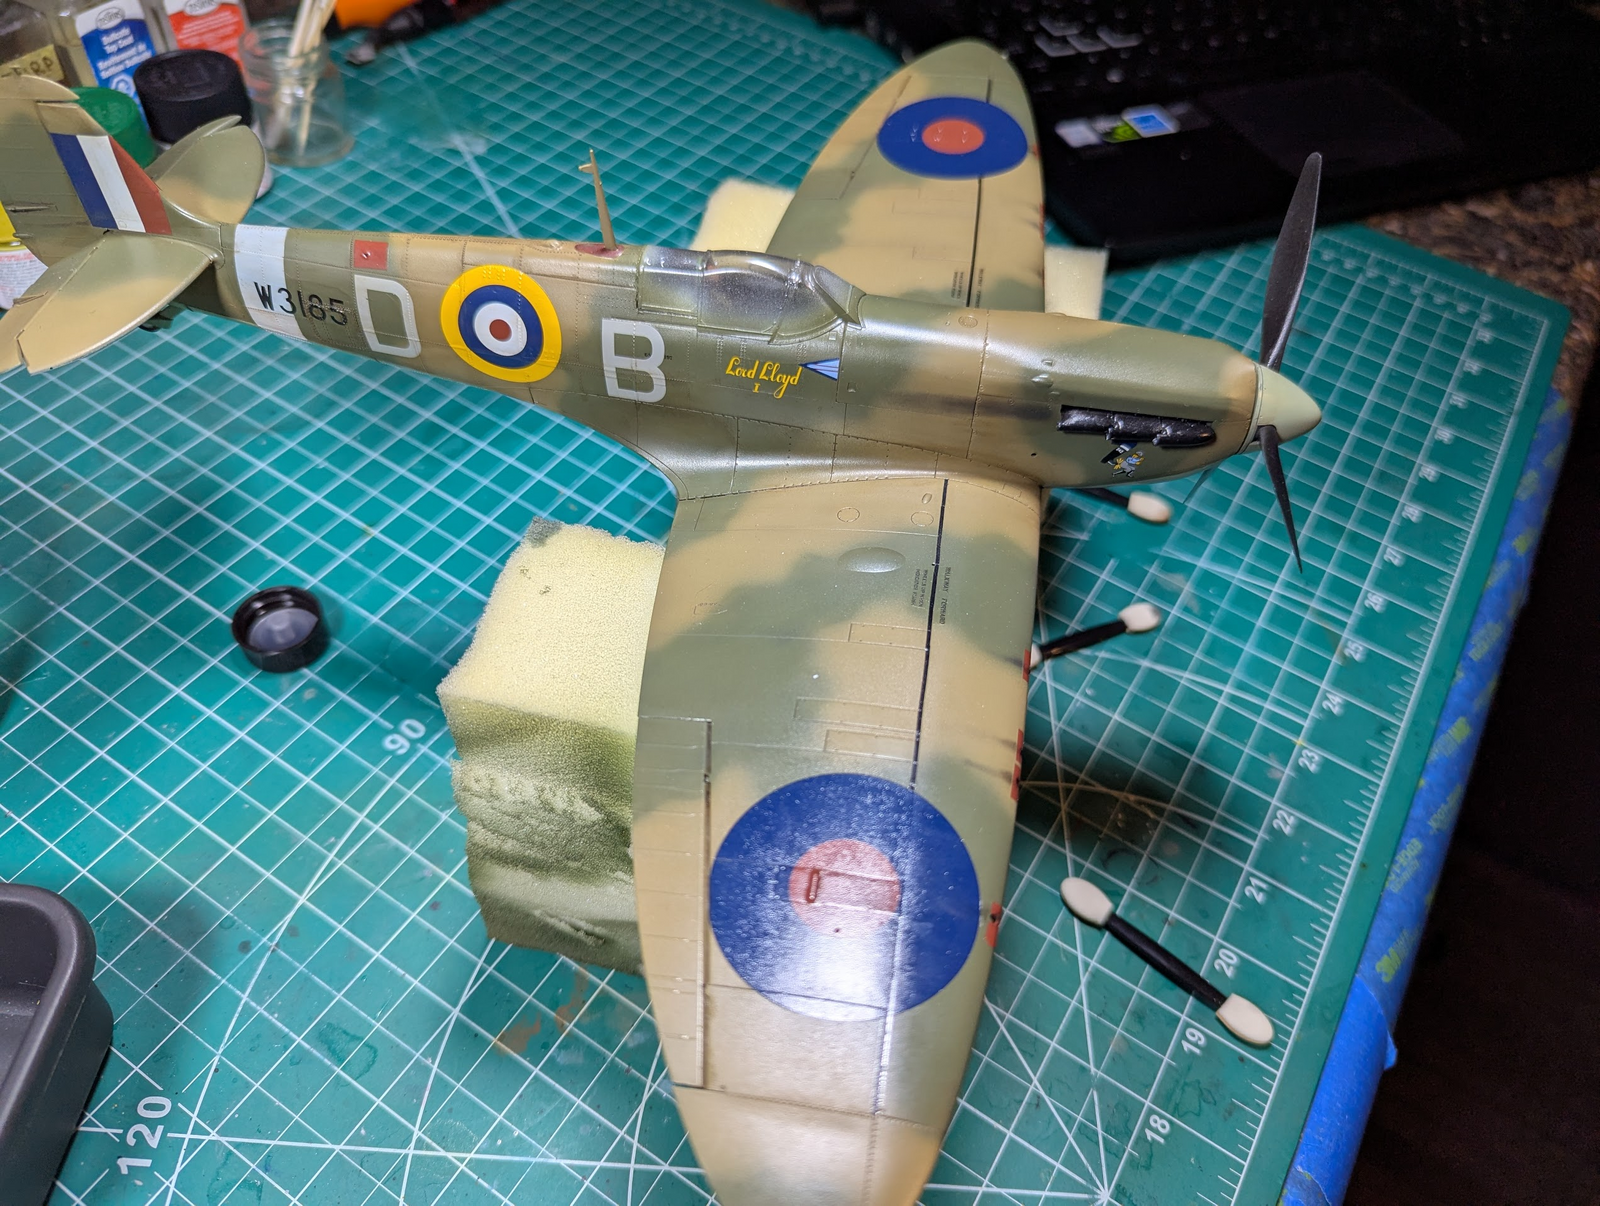
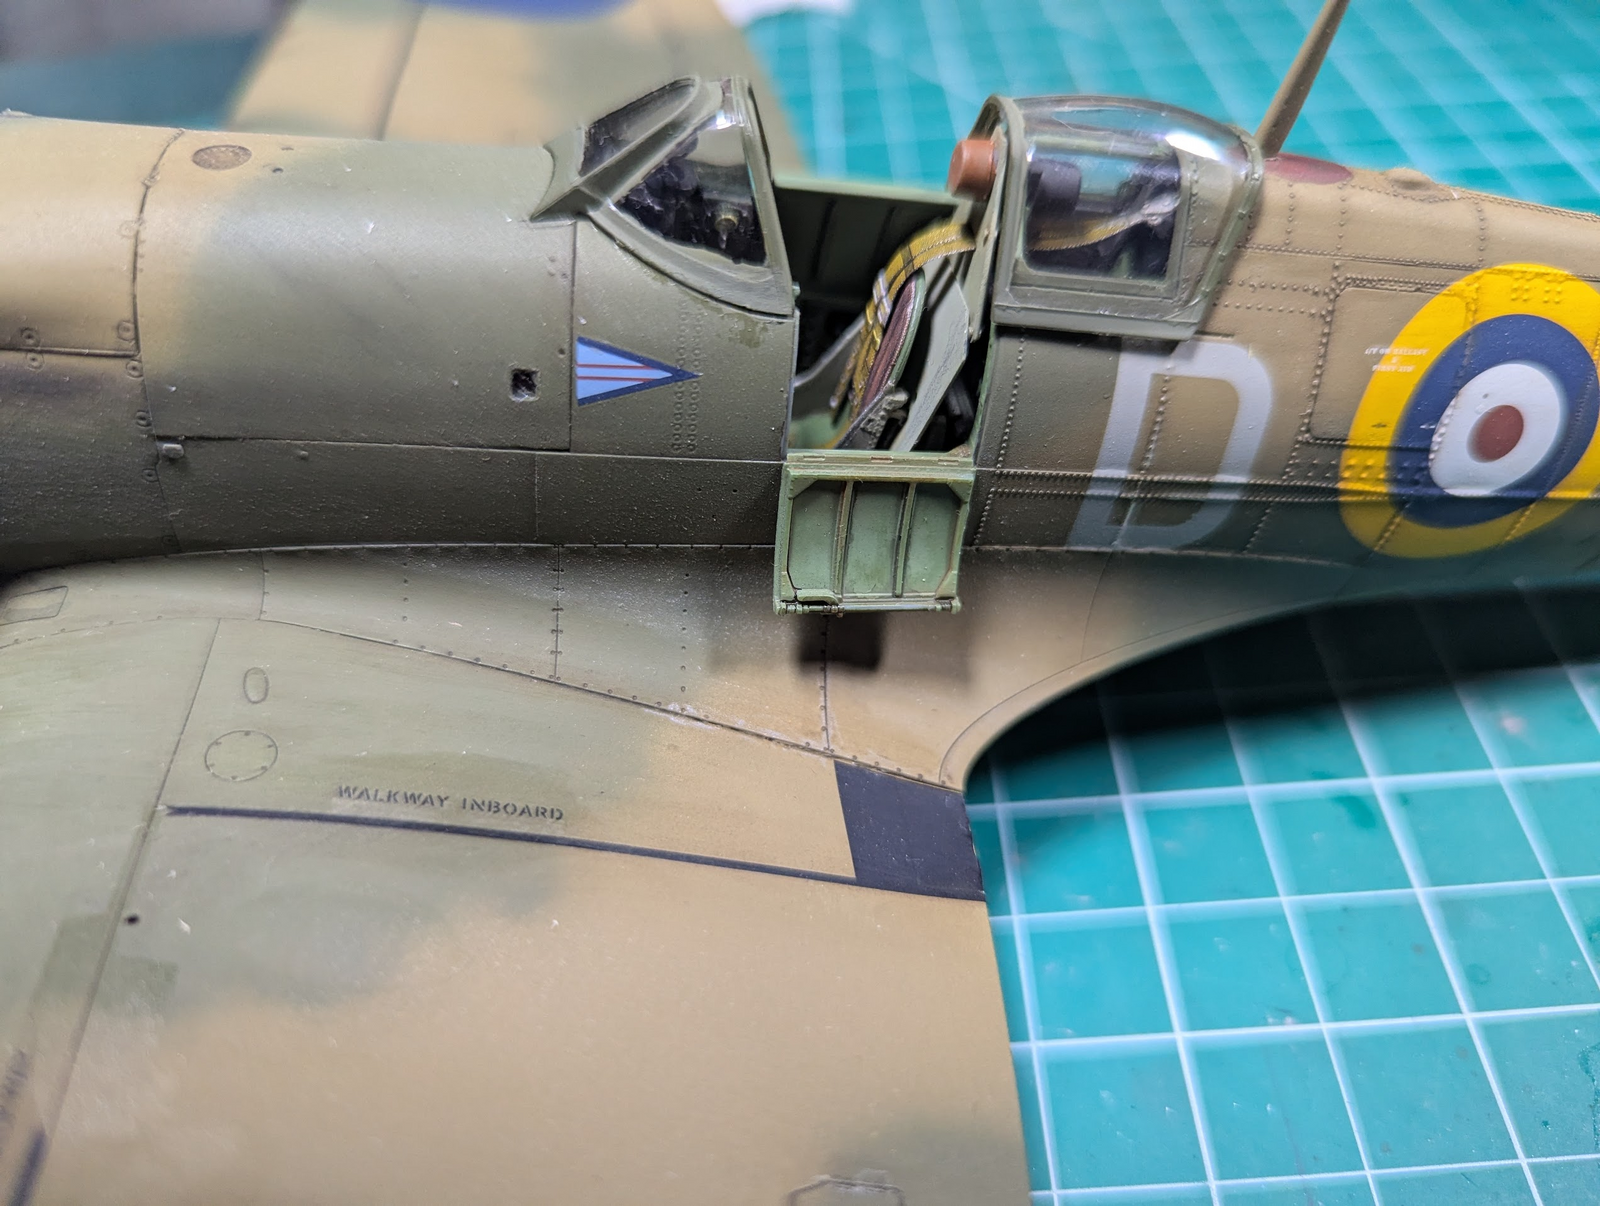
Kotare 1/32 Spitfire Va as flown by Douglas Bader

Scale Model Addict - Model Tips, Guides, Tools & Tech, Tutorials, and Community

Help Support Scale Model Addict:

On detail that bugs me about Spitfire builds is the common mistake of following the panel line as the demarcation up front. Almost all models use that line which is an error, at least I got that part right.
This is only true for early Spitfires (early Battle of Britain and before) and some tropical color schemes and other random oddballs. The vast majority of Spits used the upper chin cowling line as the demarcation for the underside paint.

Fun fact about Bader: he hated the 20mm cannon as a result of their early tendency to jam in combat and demanded machine gun-only armament on his personal kite. After the war he returned to active flying and had a non-standard IX or XVI (I don't remember which) without cannons.
 
Something I heard recently on a modeling podcast (calm down BarleyBop, I mean plastic not bikinis, LOL) all members said they do weathering before stickers.

What do the SMA members do?

I always applied weathering after stickers, because they (insignias etc.) need to show wear and tear too. But thinking more, that is what burned me here. I'm thinking it is time to switch up.
 
I weather after stickers installed. I've been focused on armour the last few years, not many stickers and relatively small.
Were the podcast guys talking about aircraft stickers?
 
Last edited:
Weathering generally comes after decals, I would think, for the simple reason that markings get dirty, too. However, they come after shading and highlighting (though I might go back and add a little of that to decals as well, it if seems necessary).
 
all members said they do weathering before stickers.
SAY WHAT?!?! Be careful what you read on YuteTube. Take a look at the real thing. Those aren't decals/stickers/whatever. They are painted on using stencils and a spray gun. They get dirty. They get worn. They get scratched. They get exposed to UV, oil, grease, and fuel. They are not a product of Immaculate Conception, and rarely a product of Immaculate Application. (I doubt the Pope is a scale modeler, but I could be wrong.)

That said, sometimes they get changed and reapplied. Look at the changes in US insignia during the first months/years of WWII. When that occurs, the surface is cleaned, first, which can produce an interesting effect on the previously applied paint, as well as a section of surface distinctly cleaner than the rest of whatever it is. This is the only scenario in which I would weather before decals.

Preshade (if you are doing that)
Paint
Seal with gloss clear coat
Apply decals
Seal again with clear coat. This protects the decals.
Weather
Seal again with clear coat (probably flat, but that depends.)
Final weathering (optional)
Final seal with clear coat, depending on what you did for final weathering.
 
I weather after stickers installed. I've been focused on armour the last few years, not many stickers and relatively small.
We're the podcast guys talking about aircraft stickers?
Yes. Mainly the "Model Geek Podcast" guys, all of who have won 1st place at "the nats". Not that I intend to enter any contests (not my thing) but I always seek advice.

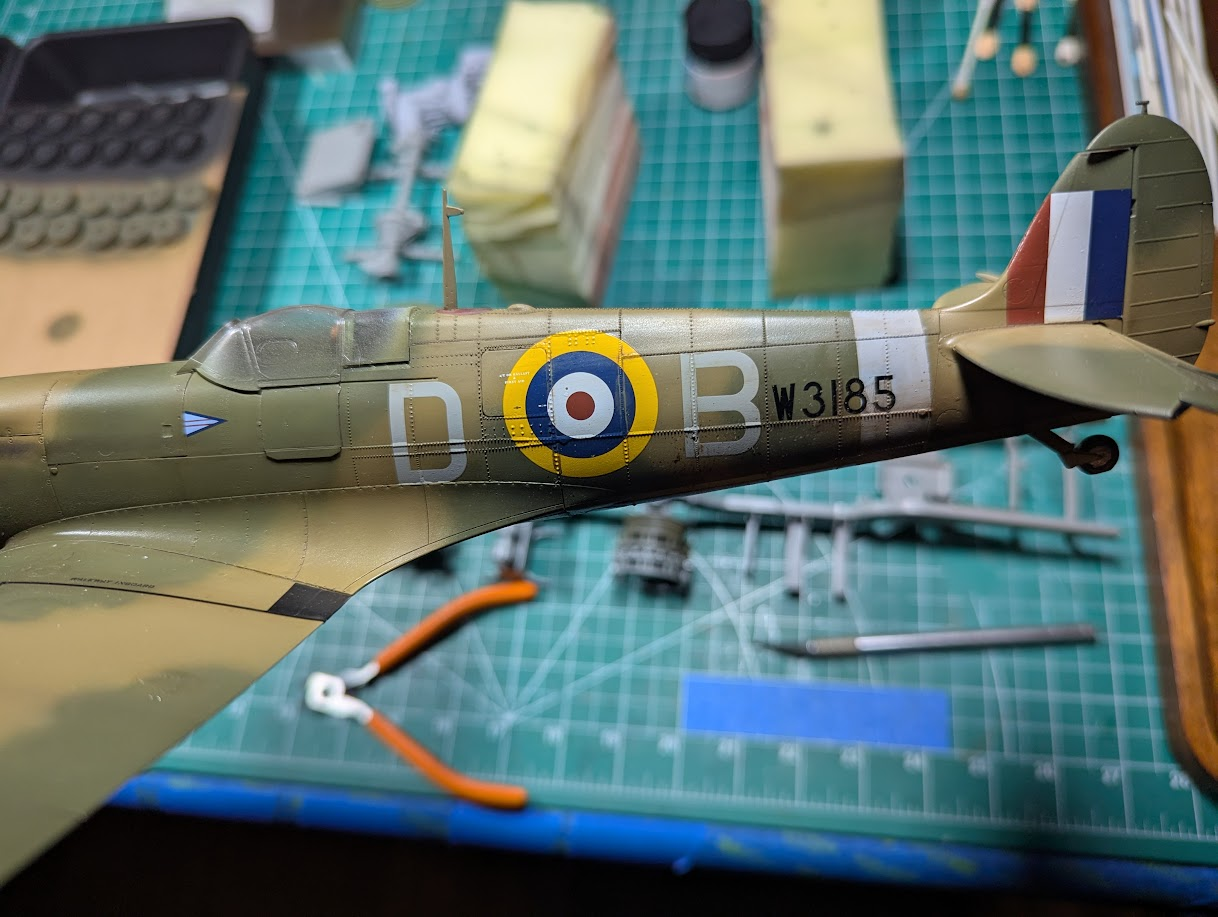
I think that if I clear below and above before weathering it would be okay. I did that on this kit, except I cut a corner on that vertical band (see above behind) and it bit me.

Guess I should change my post to say that I failed to clear that one sticker before weathering, and the wash slipped underneath.
 
As an Amazon Associate we earn from qualifying purchases. Product prices and availability are accurate as of the date/time indicated and are subject to change.
I ain't no you-tubby, and don't know about planes, and don't airbrush, but with rattlecan and plain old hair on a stick, I'm most likely to panel line, shade and highlight (with touchups later like Jakko), with Microset before, and MicroSol after decal application if necessary.
Then overall weathering; figures and stowage added, already weathered.

Maybe a final light weathering (especially if dust/ sand) to tie the figure and vehicle look.

Perhaps the reason they do it is for the decal clear areas to show the same weathering as the area around them, and that doesn't mean an overall weathering can't be applied afterwards...
Fine for smooth colour variations on planes, but problematic for armour when the weathering is likely textured as well.
 
The wash was enamel/turpentine. Core issue was my cutting the corner and not putting clear on the vertical band, did not happen on the other stickers since they were laid on top of the clear/acrylic.

Cutting corners = lack of patience = regret.
 
Better to take your time than having to go back, fix it and then do it properly, taking more effort and time than doing it right right away would have.
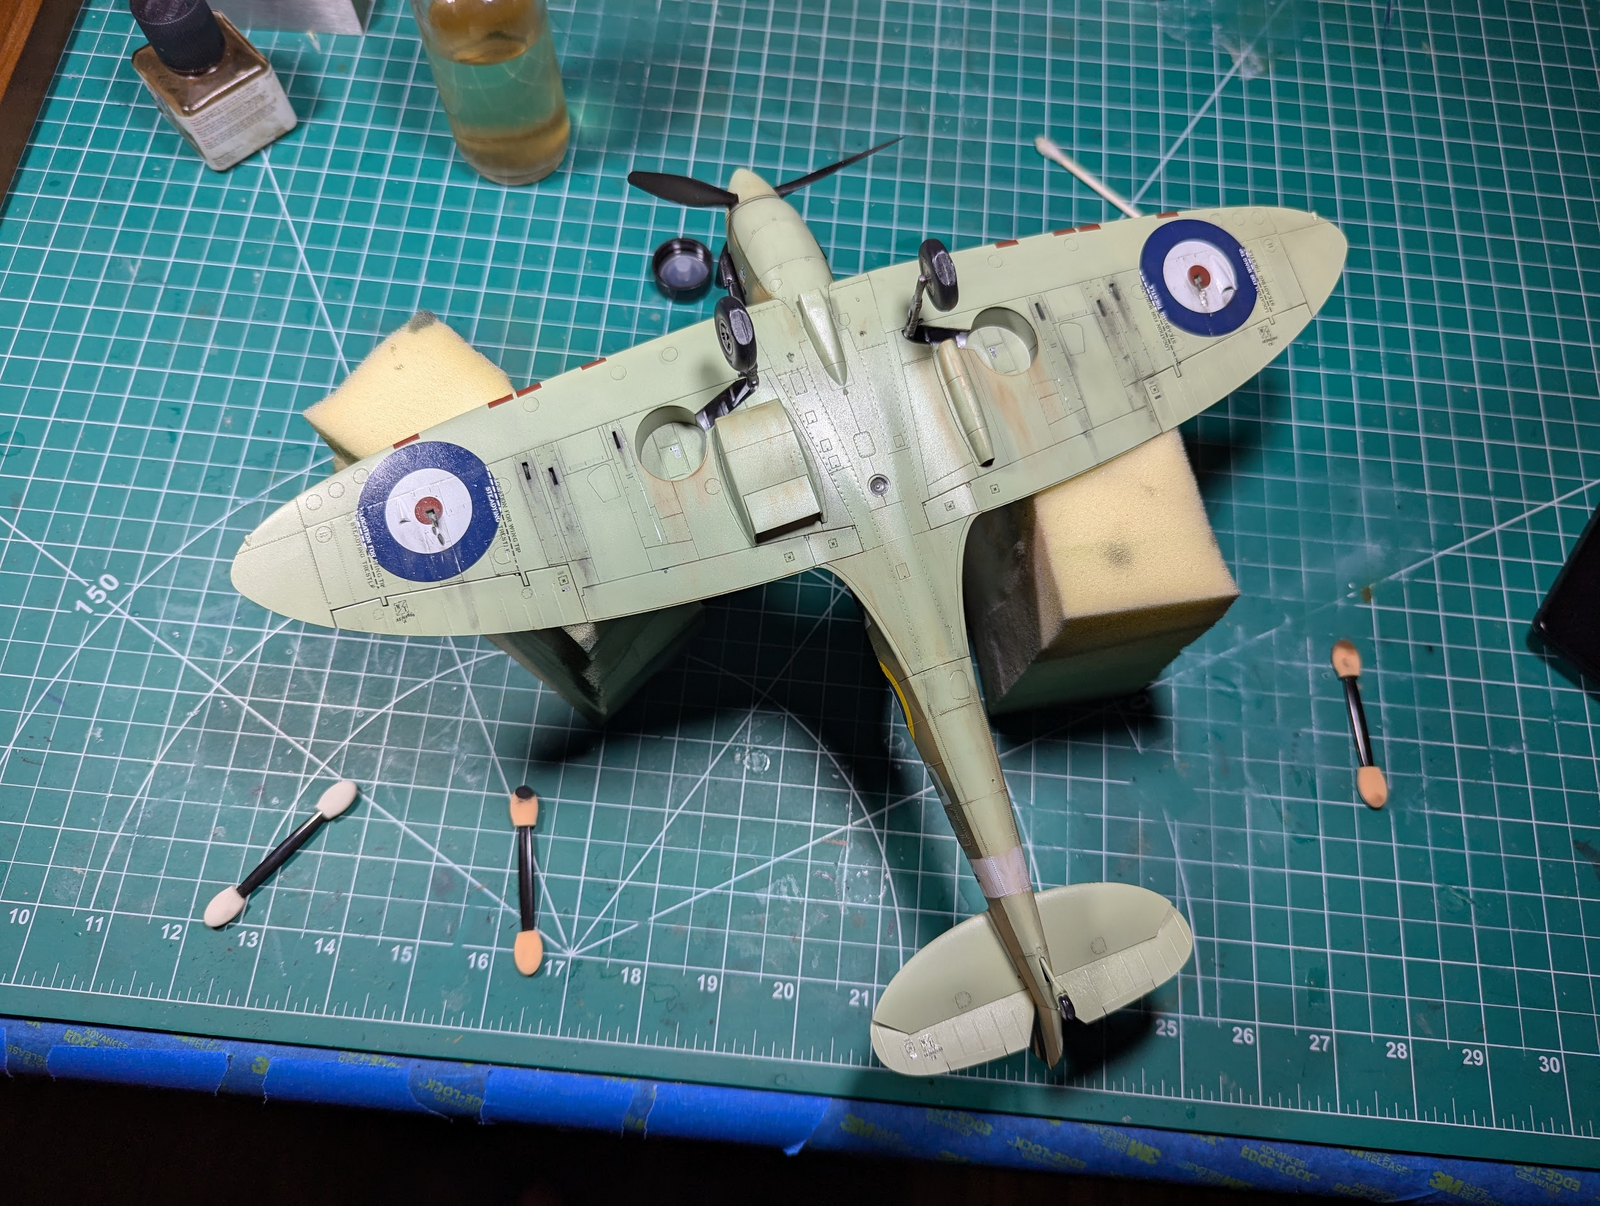
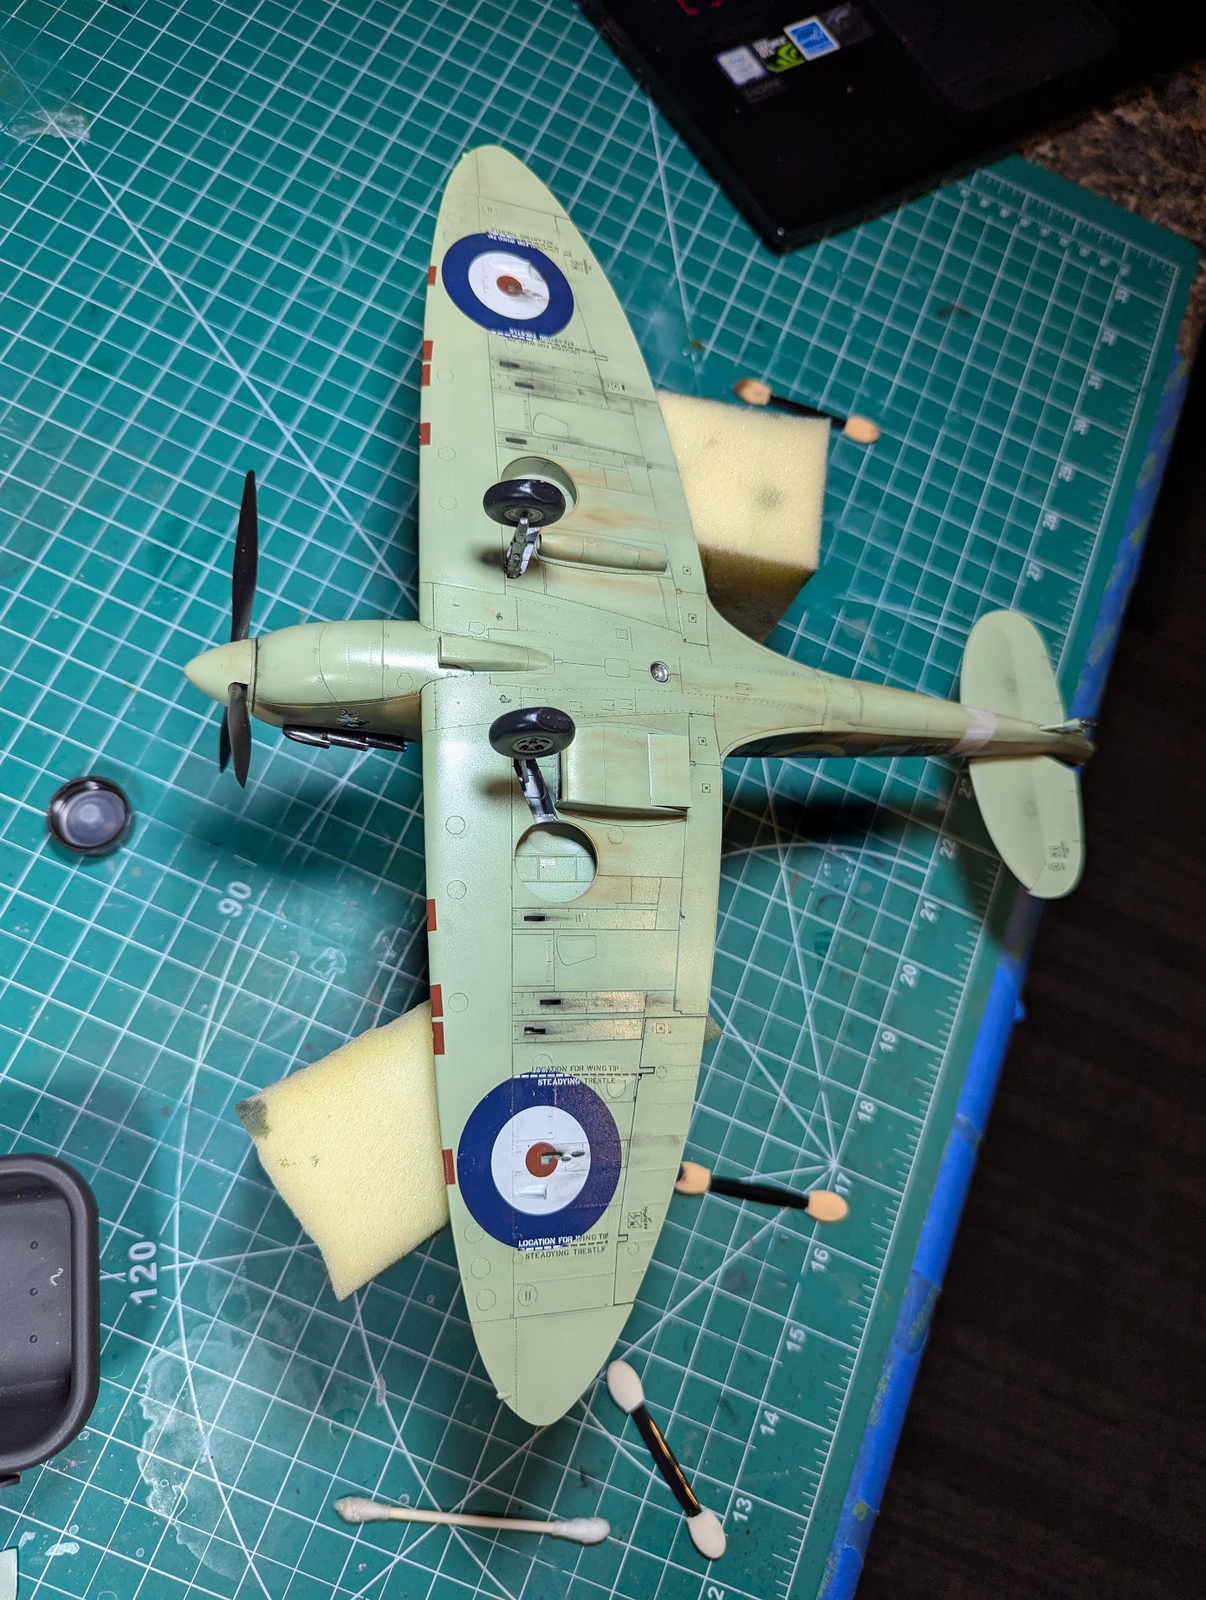
And sometimes even then you wind up having to fix something that didn't quite go as expected. I call it the Infinite Perversity of the Universe. My condolences, Edbert.
 
Took me a while to decide, but the answer I found was to put more weathering on her than originally intended.

1756846833892.png

1756846872824.png

1756846909950.png


Not finished, much more attention needed to little spots, but the path forward and way home is determined. Just a little more work and patience, then I'll matte coat it and replace the canopy to show that beautiful interior I know is in there :cool:
 
I'll have to take your word for it... :rolleyes:
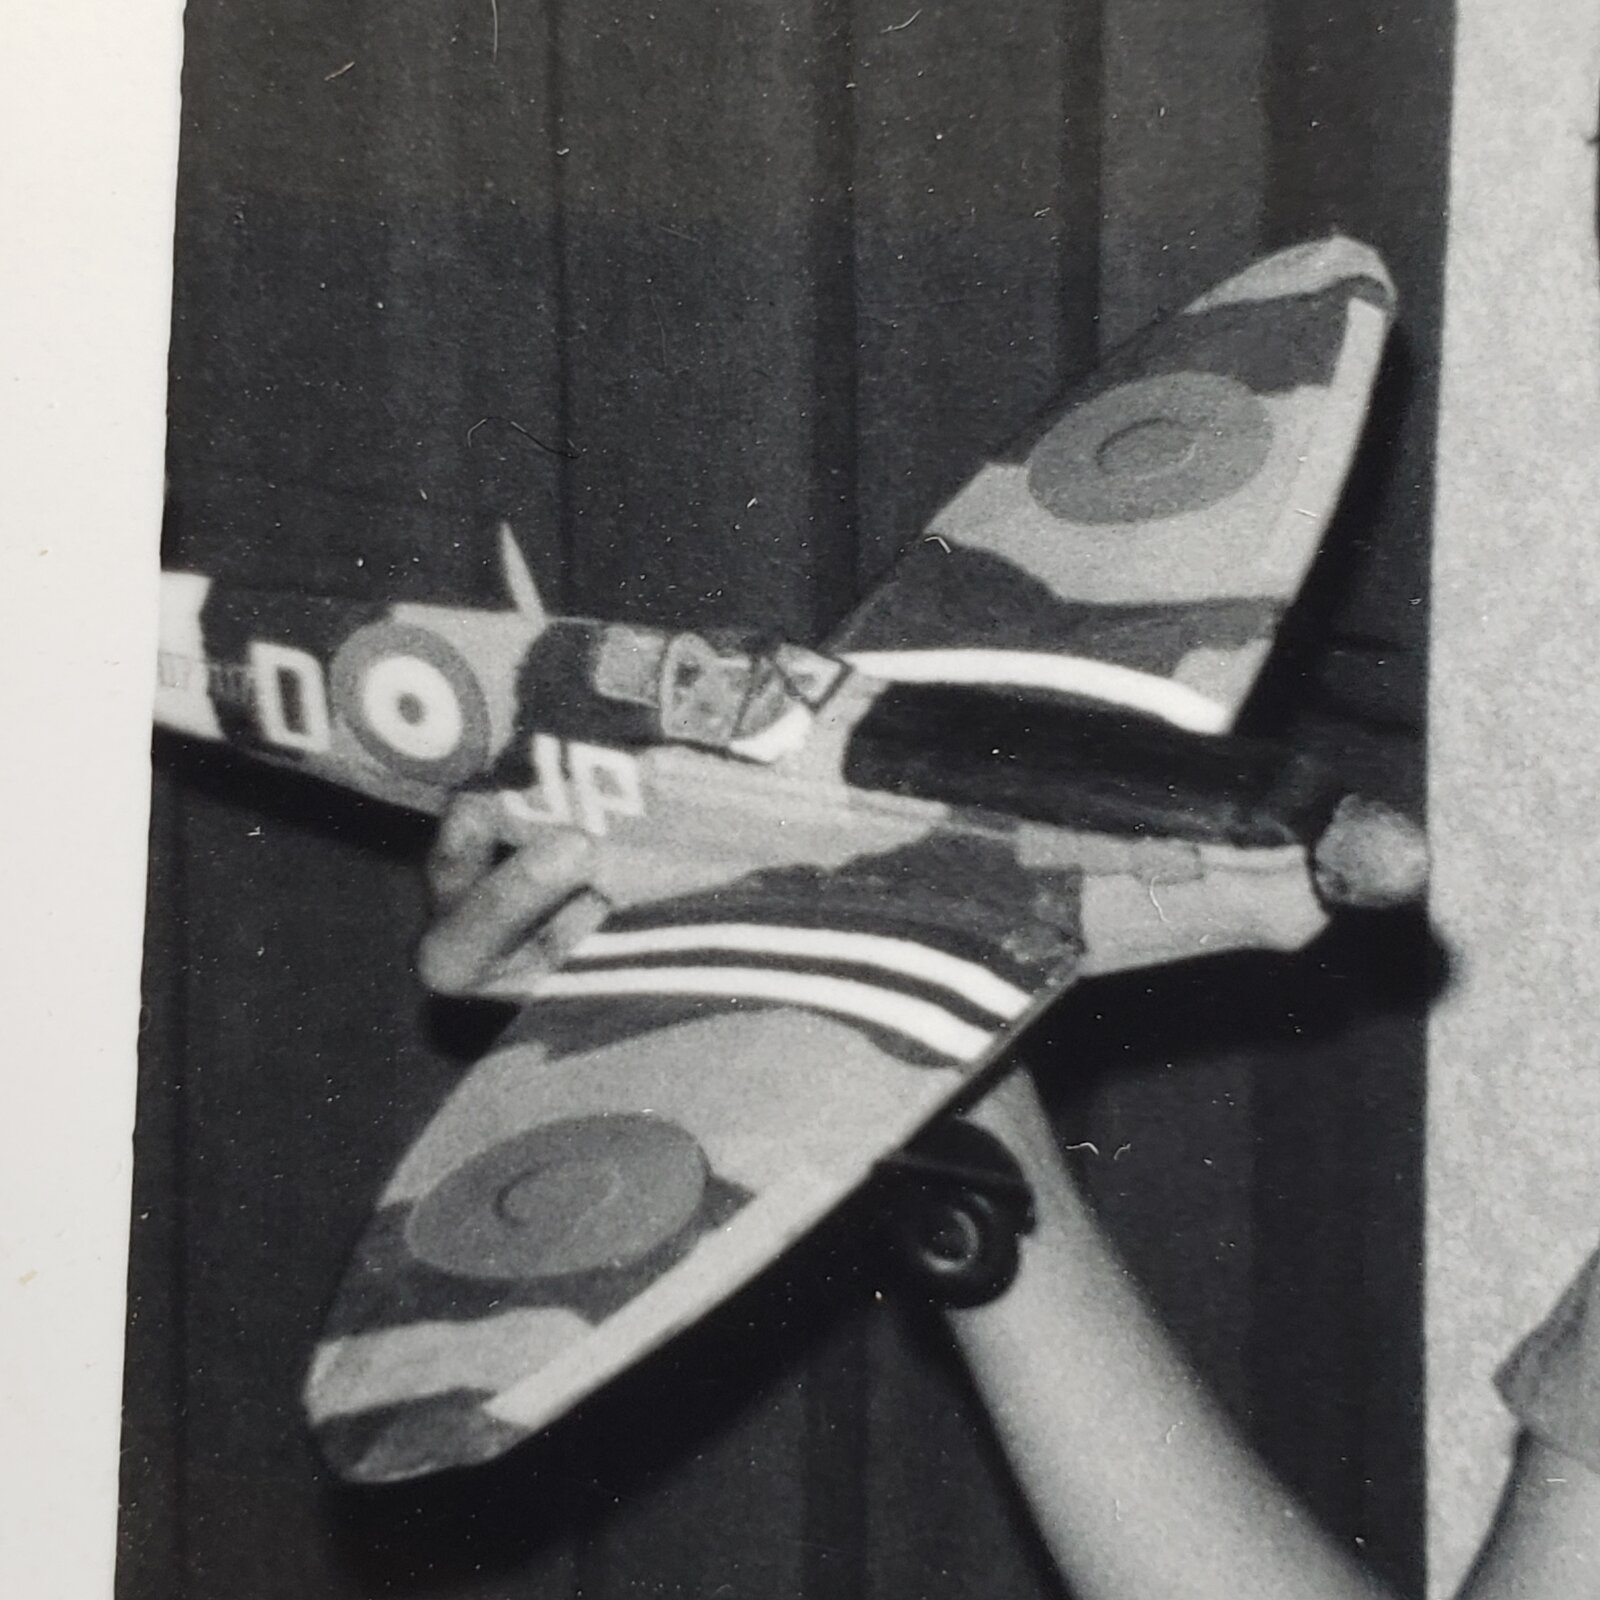
I've only ever built one Spitfire, I was 14 or so, and it was balsa, paper and dope.

The plane builds on these threads are a whole other category of excellent!

17569204971024370559206464681800.jpg

Dug up this photo, it had an elastic band for a motor, and I must have cranked her up for this shot... LOL
Looking at it, I now remember sweating the carving of the conical hub out of a block of balsa!
 
I put this back on the shelf for a bit, had or order stickers :-(

You can see in the last picture that the "walk here" stencils are broken. I have the missing bit, but is has curled up on it self and is trashed.

Looked into One Man Army (1manarmy.com) but their site is impossible, had to email them about poroduct availability and prices, no response yet.

Anyway, I got the arial/antenna done, added the rear-view mirror and latches for the canopy that are missing in the last photo I posted. Getting really close to moving this one to the done categoy. Now I need to finish the Hellcat so I can try to join the dive-bomber group build, just worried everyone will be done by then.
 
Last edited:
View attachment 148803

I only wish it were a 5b, this kit is amazing, I think half the parts are the cockpit and areas immediately on both ends. Unlike the Zoukei Mura kits, there's no linkages to the rudder nor pistons inside the engine. Heck, there's no Merlin included at all, but I think they left room for one. Suspect that will be released later in some sort of platinum edition.
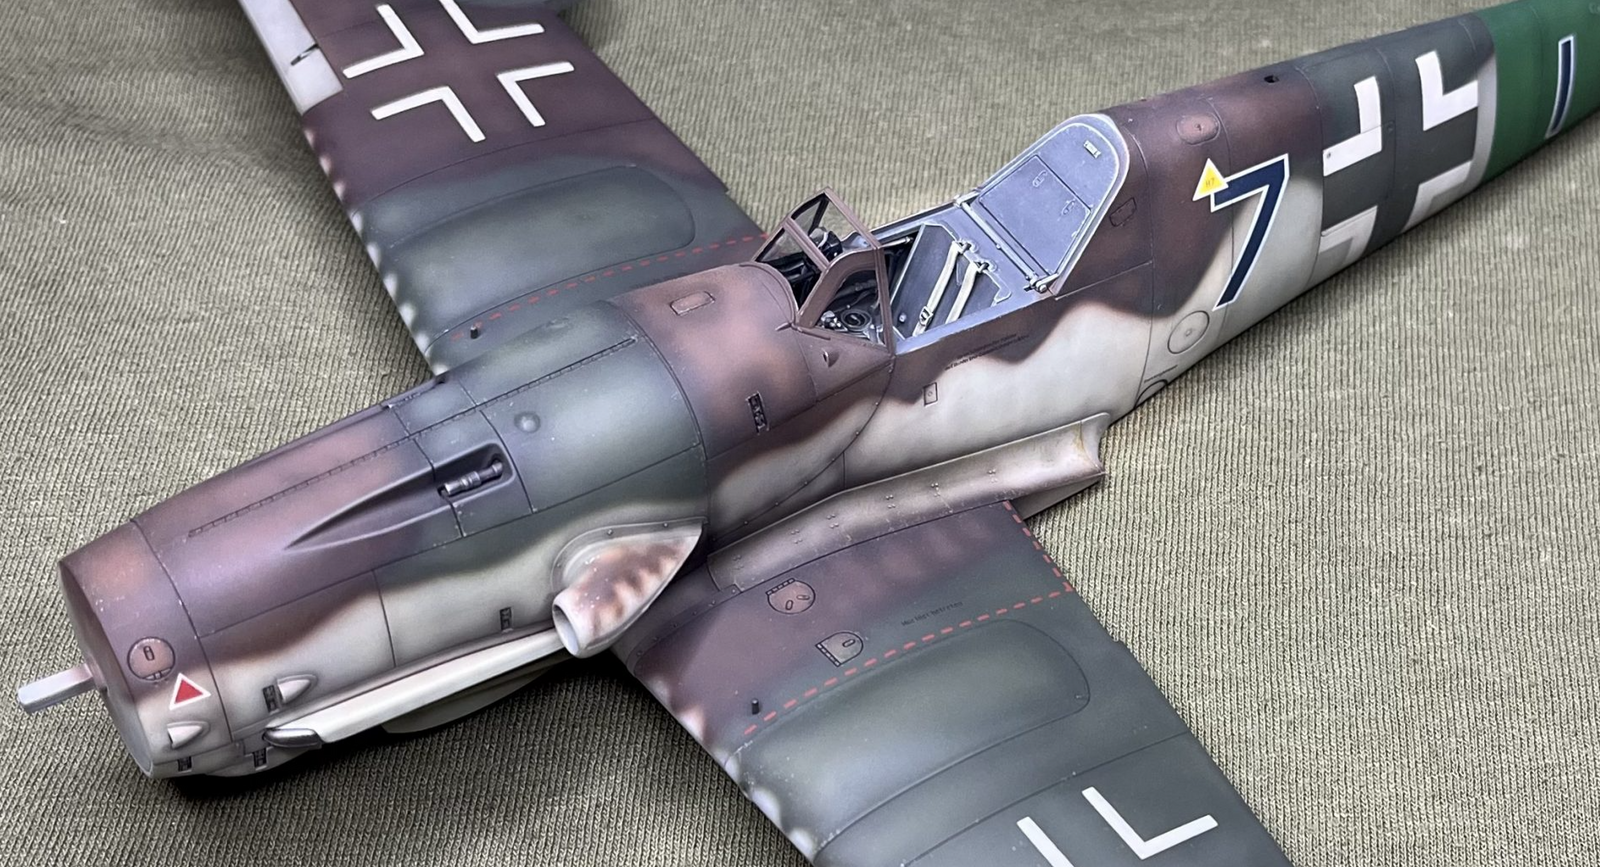
A 5b is being released soon and I will certainly get one. Right now I am building the ZM 109G14 (I will post the competed model in a few weeks) then I will build the Kotare 1a.

You are so right about how amazing this kit is. We are lucky to have two companies producing such high quality 1/32 kits applying two different engineering philosophies. The Kotare 109K is also in the stash and be an interest f contrast to the ZM 109G. Back to Spitfires, I am also tempted by the Kotare reccy Spit as well and I certainly want to build a later Mark with the pink scheme.
 
View attachment 150472
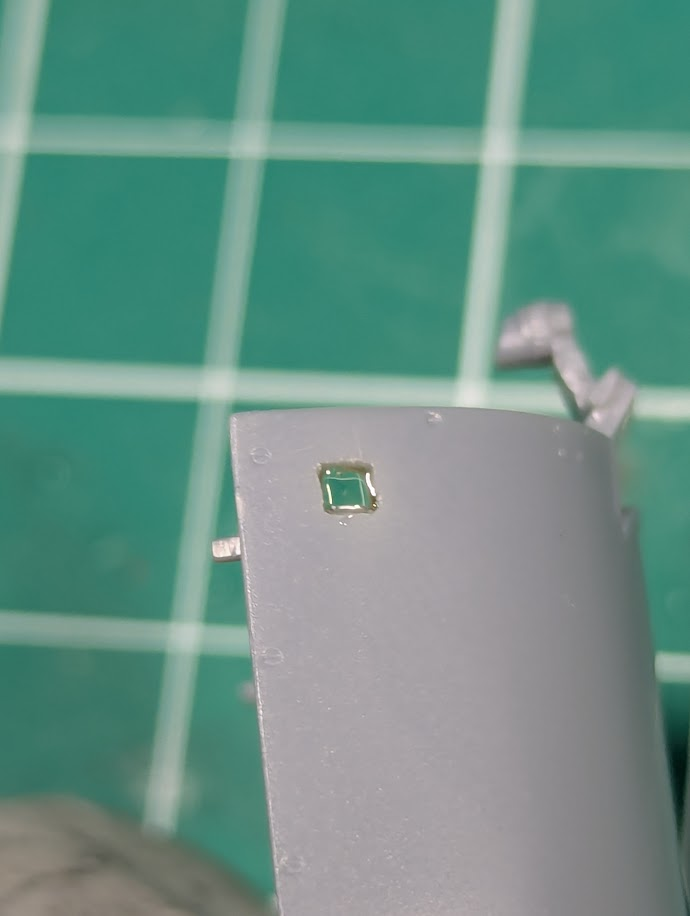
There's a 4th seat not shown in the image above. Initially I used the one with molded-in seatbelts. The missing one is being sanded down and re-painted. Reason for that will be shown later.

View attachment 150476
I read somewhere that 80% of the parts in this kit were cockpit-related. Some really tiny bits in there for sure. But it makes sense when you realize there's no engine parts at all, except exhaust stacks. The wings went together like a work of engineering art.

View attachment 150474
My IP was just not acceptable to me, so I co I cheated :)

(Quinta studios to the rescue)
That's not cheating! That's good judgement. Even the best kits can be boosted with a Quinta set. Great work.
 
I have used 1 Man Army a few times and I recommend them. I am sure they will get back to you. Brilliant build by the way.
 
Sven at 1man army did get back to me. In fact we exchanged several emails back and forth. He's looking for a Canadian distributor, so if anyone (BarleyBop?) lives up north and knows something let me get that info to Sven, he seems super nice!

My replacement stencil sheet comes in soon, I should be able to get this one iunto the "done column" soon.
 
I have used 1 Man Army a few times and I recommend them.
I've ordered the set for the ZM 109, cost was over $50 (yikes), but I consider it worth the money on a kit where the box of plastic is over $100 to begin with. I saw the results Scott "Nemo" Samo (former Navy pilot) got on his 109K and was amazed. Doubt mine will come out as well as his, but I'll keep trying.

1758554392727.png


Part of the back and forth emails was that he wanted a full sheet of what came from Kotare so he could scan in super-high res. He has the earlier Marks, but not the Va, so when you get the Vb give him a hollar, he'll make it worth your time :-)
 

Latest posts

Back
Top