Martay
New Member
- Joined
- Jul 4, 2012
- Messages
- 85
HI all, here is the build thread of one of my recent projects, its one of Italeri's historic upgrade kits, it contained a very nicely detailed cockpit and undercarrige, downside was the raised panel lines but i chose to work round it as i didnt want the hassle of the rescribe, i had scribing :
hope you enjoy
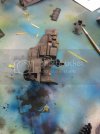
i added some etch belts
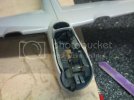
also did some extra wiring
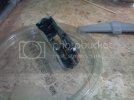
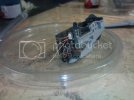
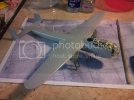
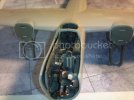
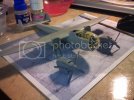
fiddly bit


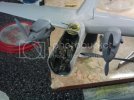
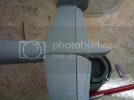
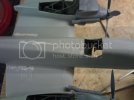
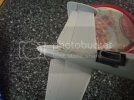
the seams were not that bad, i had a few to fill and sand
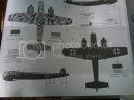
i picked this colour scheme as it looked very interesting
so now to paint
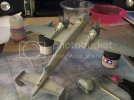
i used humbrol maskol to mask off the bits that the tape was not going to be easy to get with, like the top of the upper turret
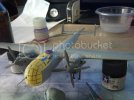
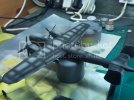
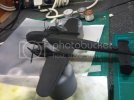
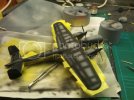
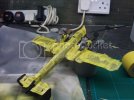
maskol again to fill in the awkward gaps
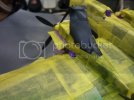

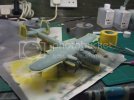

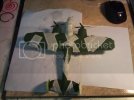
and now the real tricky bit, i cut very thin strips of tape, bout a mill or so thick and used them to mark out the camo pattern, this took a while
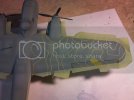

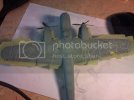
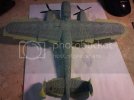
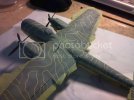
then the handy maskol to blank out the bits not to be painted
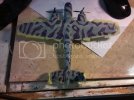
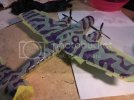
then the first colour goes on
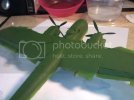
then the splinter camo is masked over that and the second colour is put on
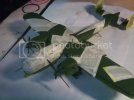

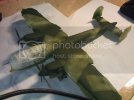
and here it is undressed

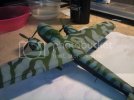
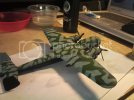
gloss and decals are going on
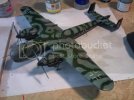
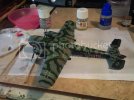
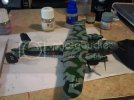
toned down with some matt coat and the masking removed
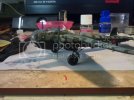
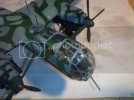
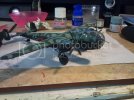
looking at some ref pics i decided that the underside needed a bit of something, reality was the main thing so i decided to dirty it up just a little bit
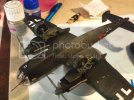
i got a fwe diff shade of grey paint on a old brush and blew it on with the airbrush at high press
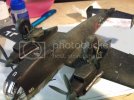
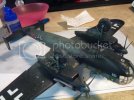
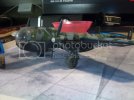
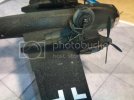
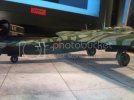
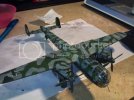
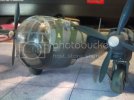
Kinda hard to know exactly when to stop the mud but i think it came out well, spech as id not tried this before, even on a practice kit, the mood just took me and i hit it relying on fate to step in a bit, i did and im quite pleased with the outcome.
Thanks for looking guys
M
hope you enjoy

i added some etch belts

also did some extra wiring


fiddly bit


the seams were not that bad, i had a few to fill and sand


i picked this colour scheme as it looked very interesting

so now to paint

i used humbrol maskol to mask off the bits that the tape was not going to be easy to get with, like the top of the upper turret


maskol again to fill in the awkward gaps


and now the real tricky bit, i cut very thin strips of tape, bout a mill or so thick and used them to mark out the camo pattern, this took a while


then the handy maskol to blank out the bits not to be painted


then the first colour goes on

then the splinter camo is masked over that and the second colour is put on


and here it is undressed


gloss and decals are going on


toned down with some matt coat and the masking removed


looking at some ref pics i decided that the underside needed a bit of something, reality was the main thing so i decided to dirty it up just a little bit

i got a fwe diff shade of grey paint on a old brush and blew it on with the airbrush at high press


Kinda hard to know exactly when to stop the mud but i think it came out well, spech as id not tried this before, even on a practice kit, the mood just took me and i hit it relying on fate to step in a bit, i did and im quite pleased with the outcome.
Thanks for looking guys
M
