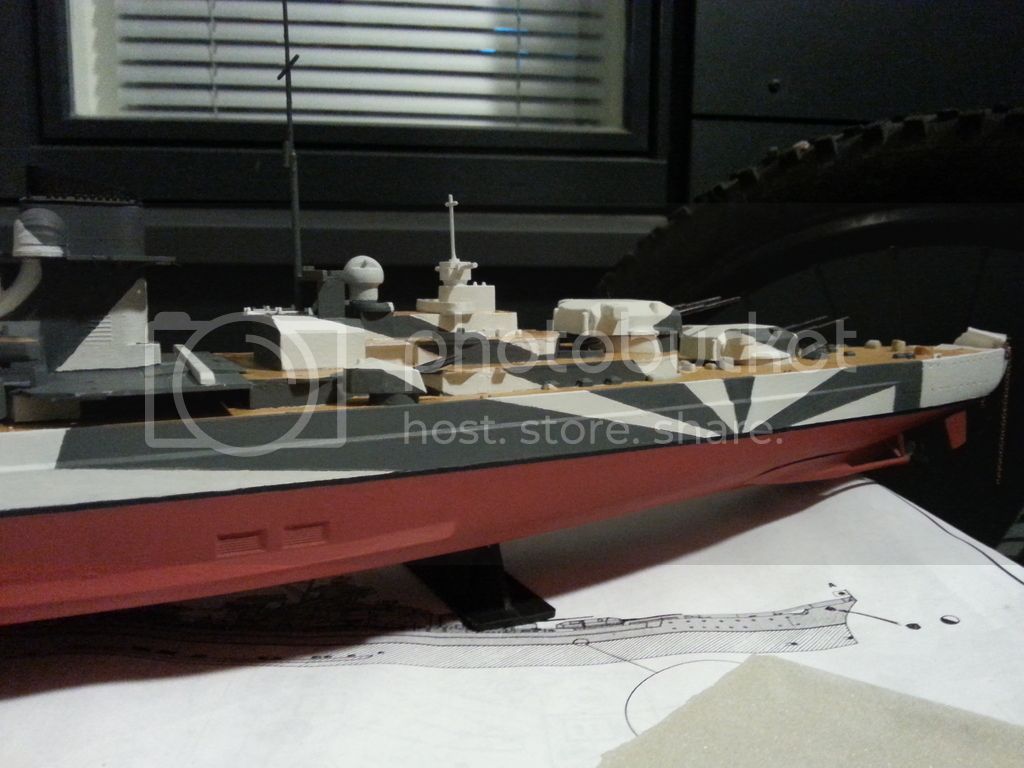
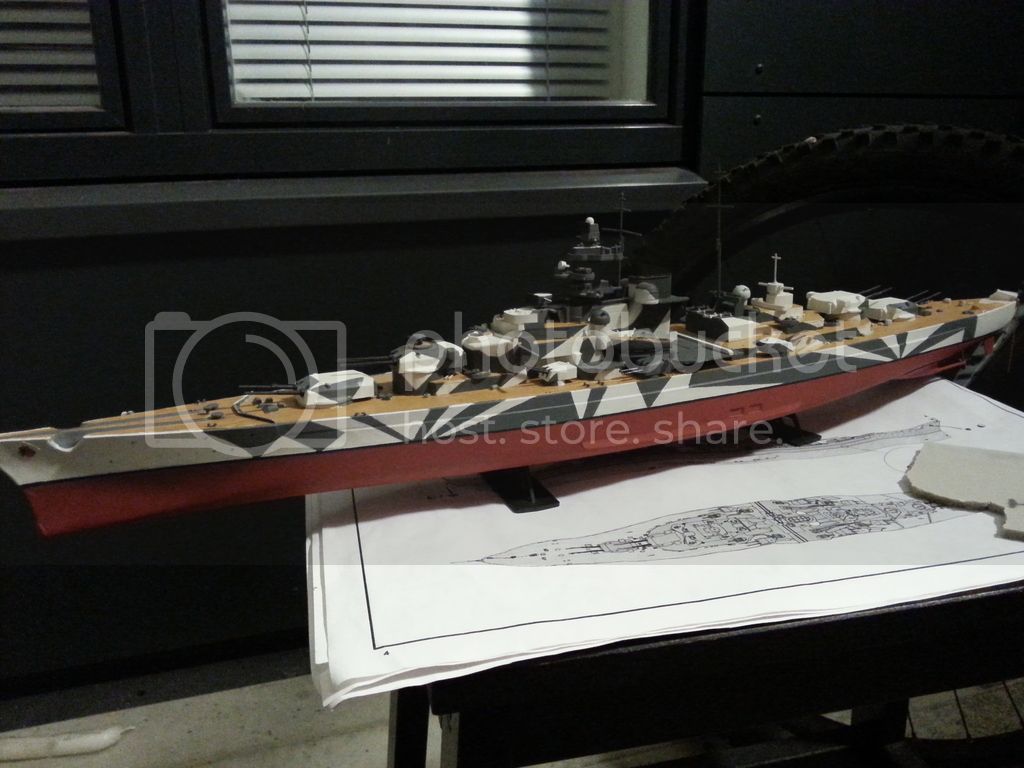
Heller Tirpitz 1/400, First build since I was something like 7

Scale Model Addict - Model Tips, Guides, Tools & Tech, Tutorials, and Community

Help Support Scale Model Addict:

eNax

Active Member
Joined
May 16, 2013
Messages
30
Hello everyone here at SMA! :)

Before Christmas I decided to try modelling, something I haven't done since i was a kid. And considering the models i built back then turned out really bad, my expectations weren't set very high.

If i had stumbled across these forums before i started, I would've went at it in a totally different way. But since I got started before i discovered SMA, I might have made a few mistakes which I'm now furiously trying to rectify. I must confess that the work of everyone here has been a true inspiration, and I've found myself constantly trying to add detail and improve the kit.

So, the work so far. The model is partially painted, since I didn't have a clue what i was doing, NO primer has been used and the surfaces weren't properly cleaned or anything. For the painting I have used enamel paint and brushes.

Sorry for the phone-pics, but I don't have access to a better camera at the moment. After lots of sanding and adding layers I'm starting to ge satisfied with the paint-surface, but there are some horrible gaps in the hull still...
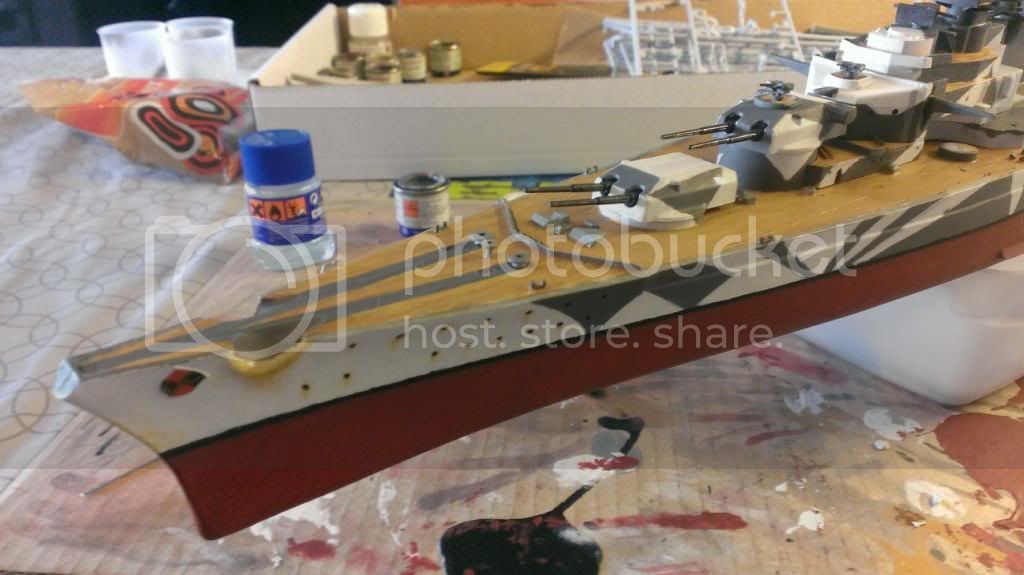
WP_20130517_002_zps2cb5c6d1.jpg


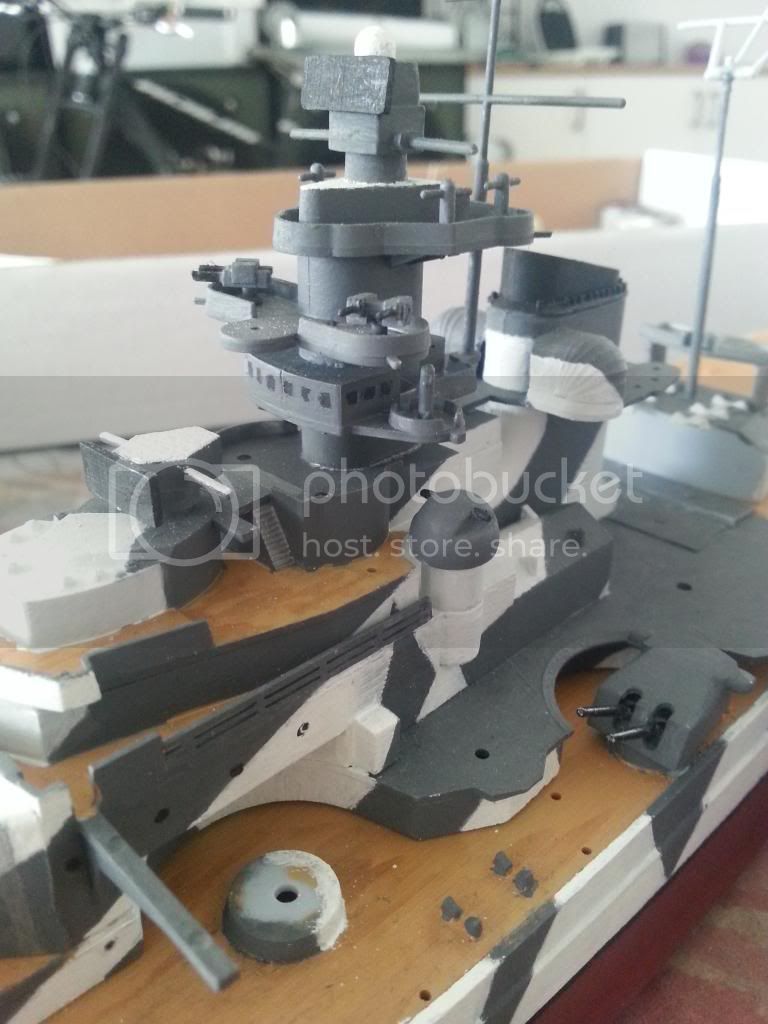
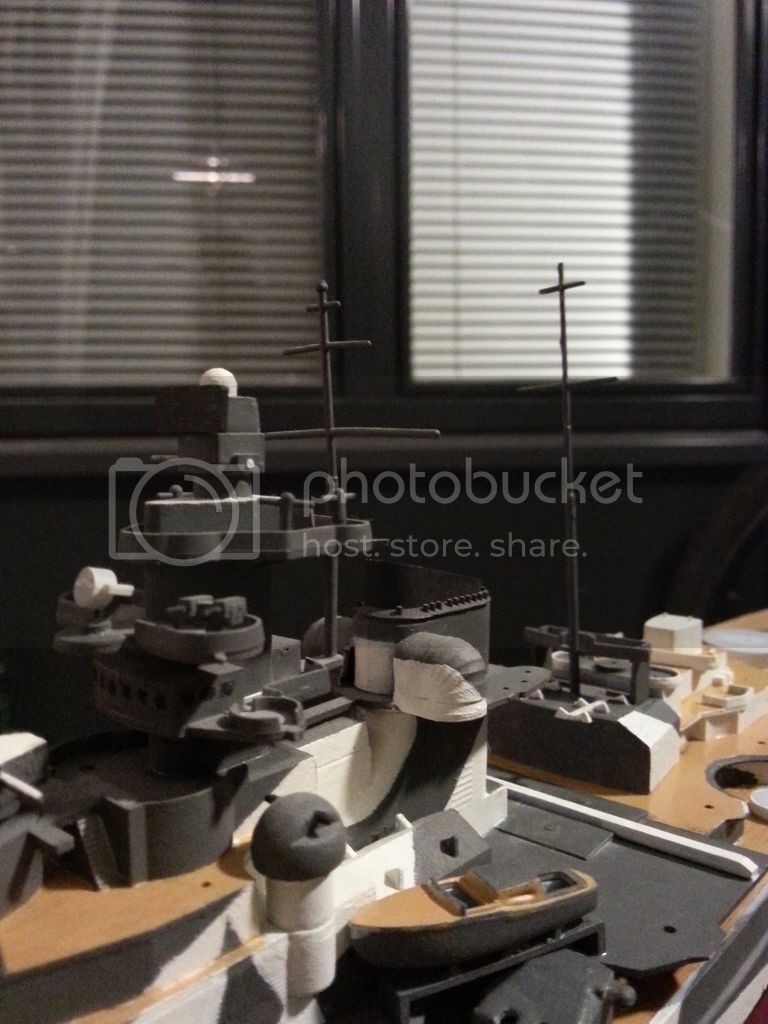
Bridge needs a lot more detail. It will probably be ok with all the parts attached but could be improved (suggestions?)
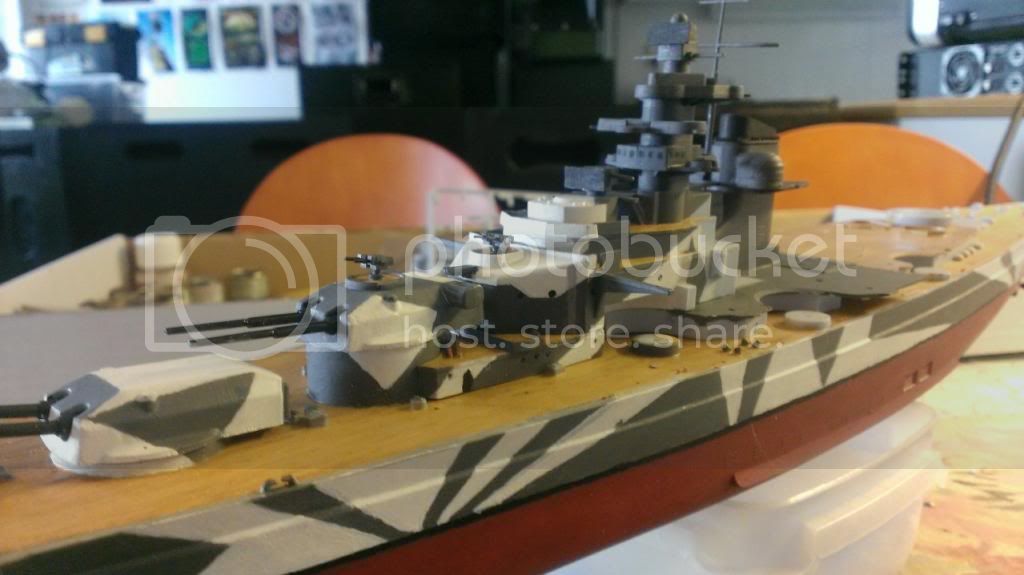
WP_20130517_003_zps6231b76f.jpg


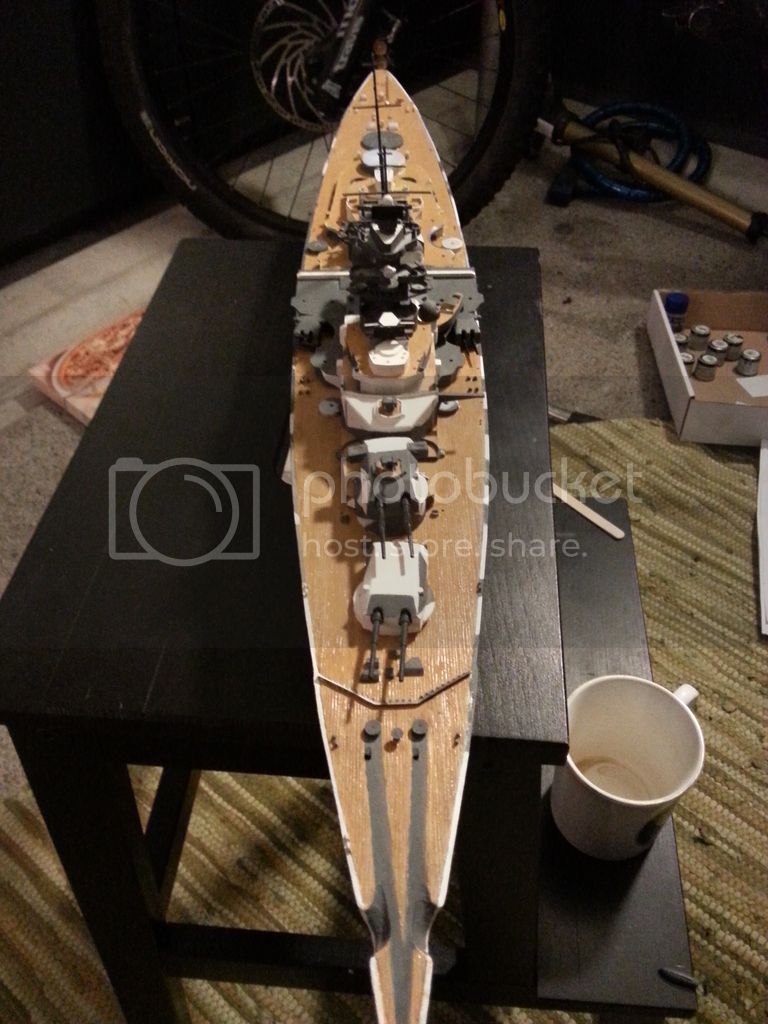
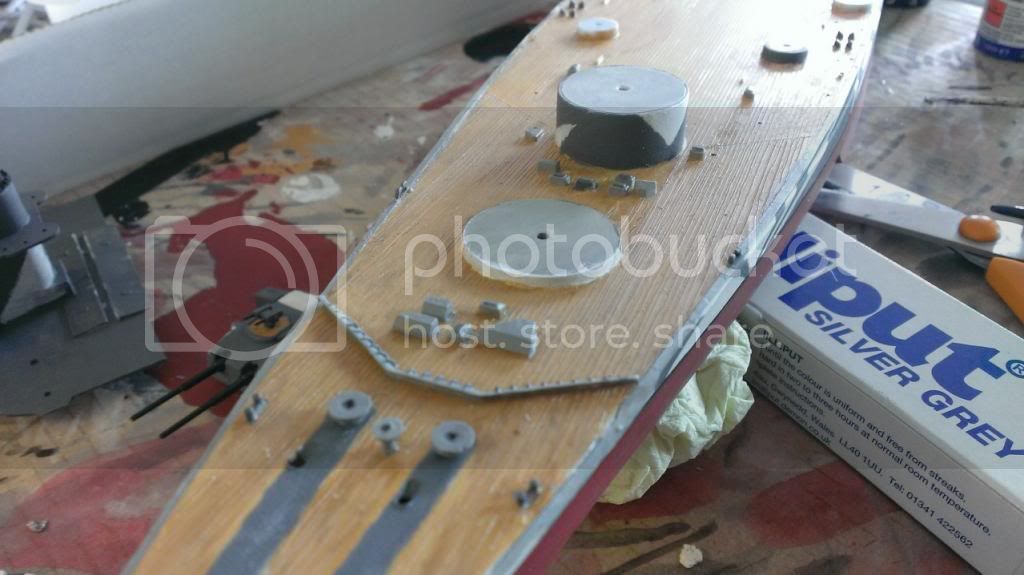
The deck is supposed to resemble wood, but I'm not very happy with it, needs more painting. The decking had a pattern of planks, but i decided to cut the grooves deeper with a small knife, can't really be seen that well in the pic, but definetly improved it IMO.
WP_20130520_003_zps01c59dbd.jpg


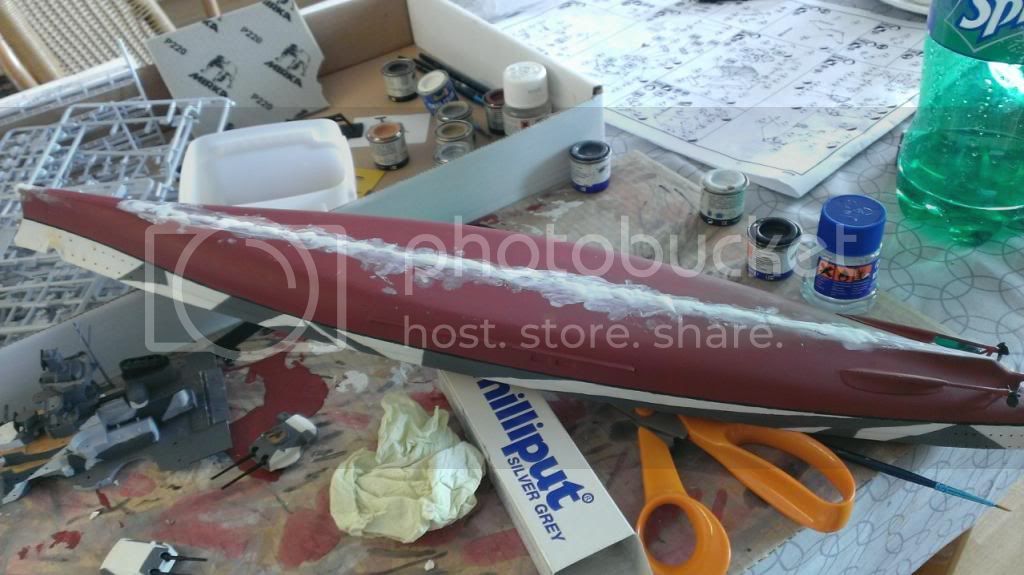
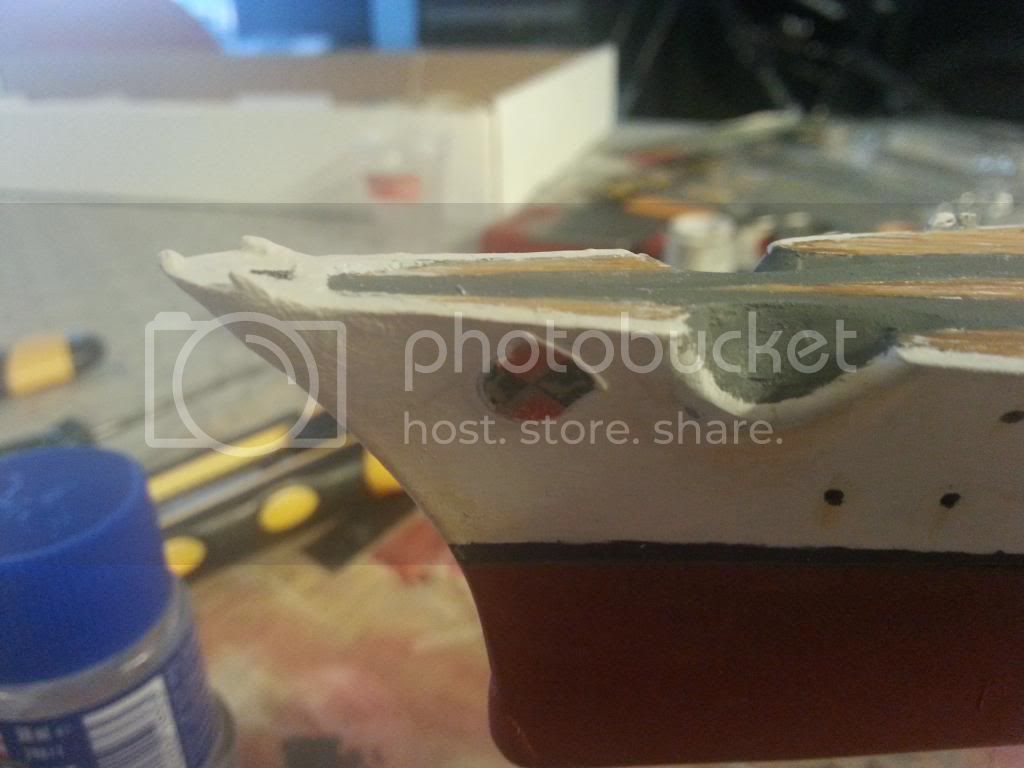
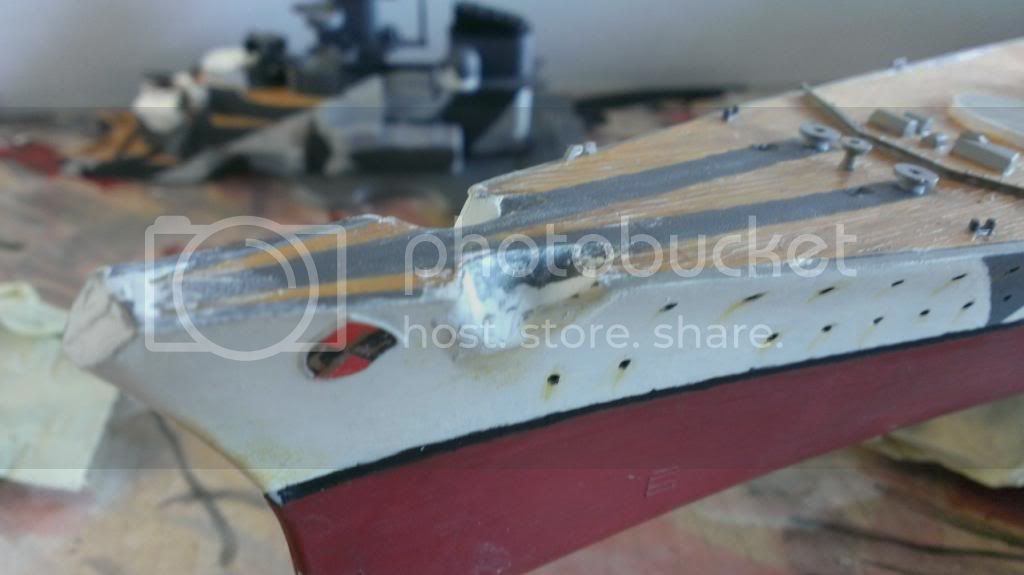
Bought some milliput just a few days ago and decided to mend the BIG gaps in the hull
WP_20130520_002_zps35837cc8.jpg


WP_20130520_001_zps41cd5de5.jpg


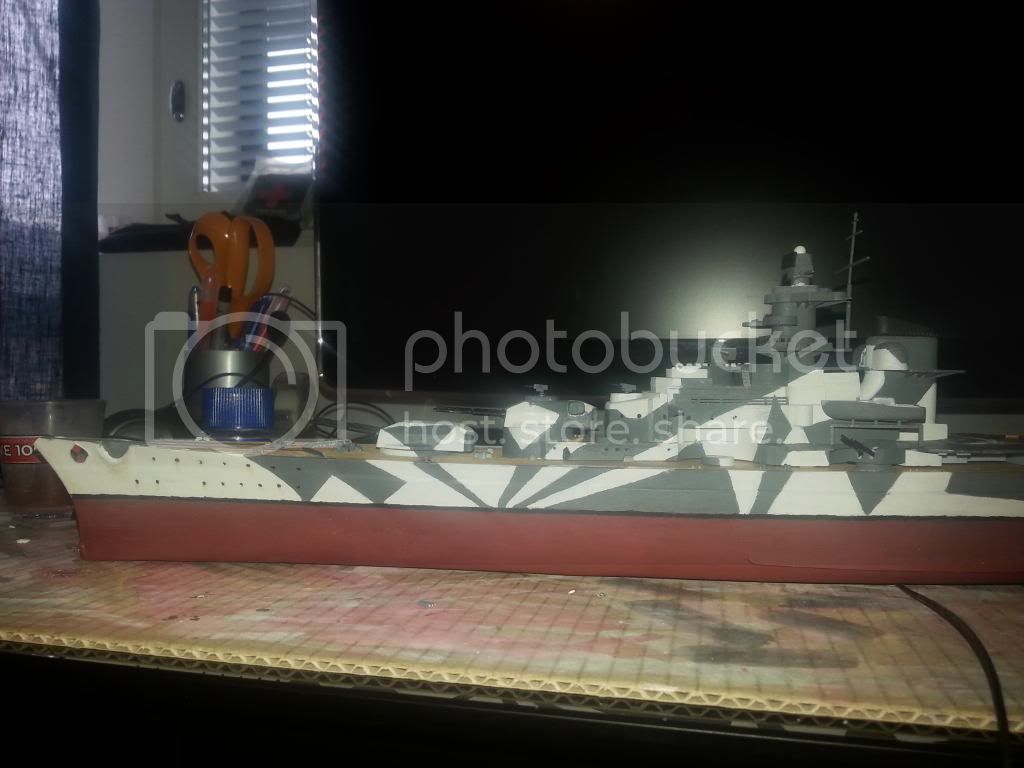
Oh yeah, BTW it's supposed to be in 1944 colors, winter camo :)
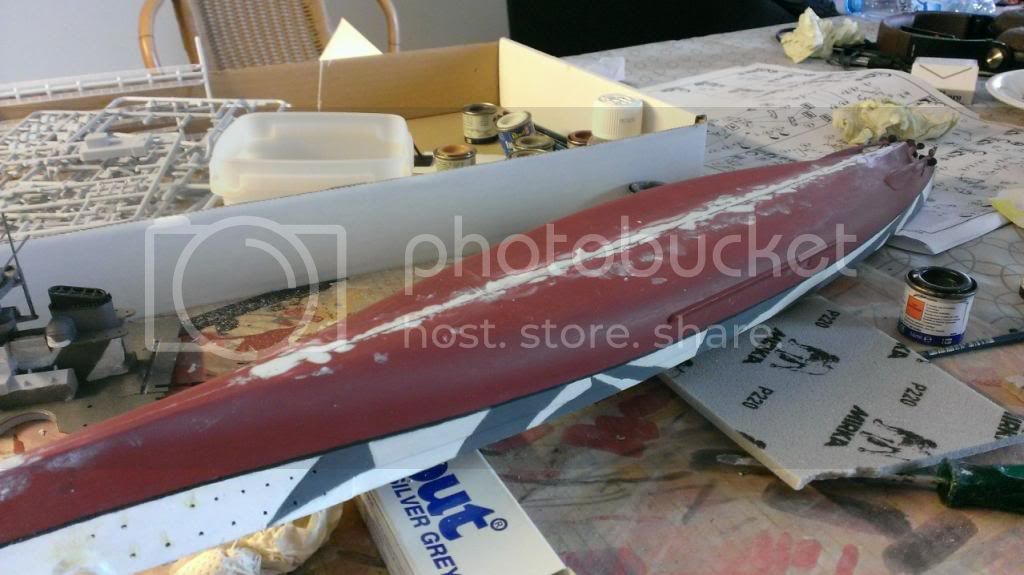
 
Hello, small update on the boat! :) I think i applied way too much milliput, took forever to sand ;D

Here we go, all sanded and ready for paint (or so i thought):

WP_20130521_002_zps6595ef75.jpg


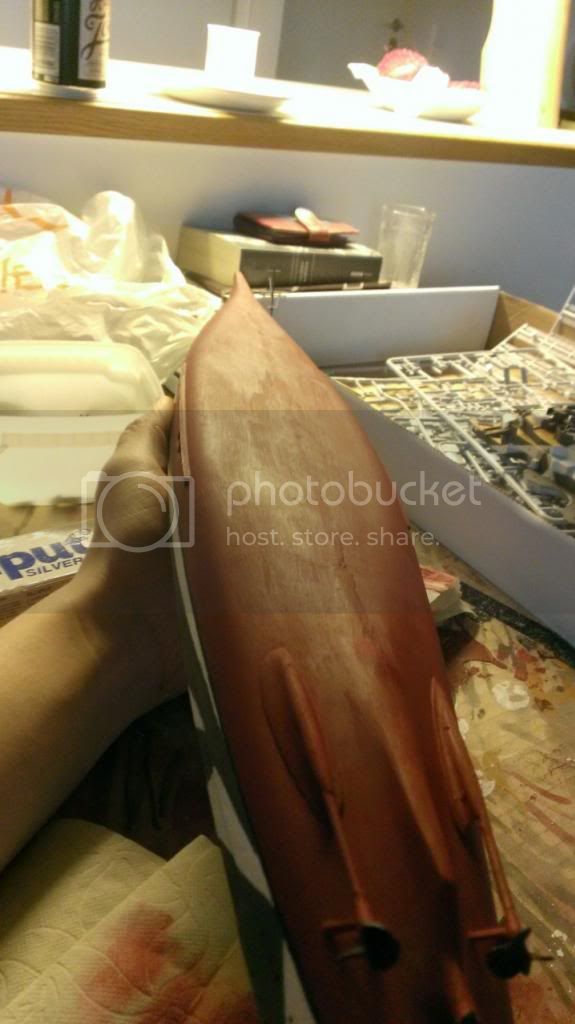
I thought i had sanded the bottom of the hull real good, but after applying a few layers of paint i noticed some rather annoying imperfections. Probably going to sand a few spots and repaint when the current layer has dried. Not sure though, since the bottom is not really going to be that visible in the end...

WP_20130521_003_zps7c1cc854.jpg


I would love some feedback, and advice from you guys since all this is new to me :)
 
H, eNax, and welcome to the Herd!

You've got some good progress there, so don't be too hard on yourself. I like to think I learn something with each build, so look on it that way. Plus, you can read all the online articles you want, or do the old-school thing and talk to other modelers and see builds at a club meeting or at a show, but nothing beats building.

You mentioned priming. I prime my models, too, though I have also painted without primer. There are modelers who leave it off completely, including some guys who don't prime, because they want to avoid building up additional layers of paint. It's a preference, as are many things in what we do. I do make sure my parts are clean, using warm water and a couple drops of a de-greaser (SuperClean), though I've also opened a box and started assembling without that step, too.

For building a ship, one thing I've learned from my USS Pennsylvania build is research, research, research, though with that point, too, it's preference. If you're building the kit out of the box, you might just use what's in the instructions.

Above all, have fun, build what you like, the way you like.

I'm looking forward to seeing your progress on this kit.

Again, welcome to the Herd!
 
Hi enax, welcome to the site,

I have to agree with the Baron dont be too hard on yourself, for such a large model and to be painted with brushes alone is no easy feat, and you should be very pleased with your efforts, about primers its for is the most part down to the modeler though some materials like resins can benefit from a good primer coat, but its not the be all and end all. Sometimes a good base coat of the color your working with can do just the same job.

The only thing to remember, is to enjoy yourself, and always take a positive on every build as we learn more and more with each build.

I think your skills are very good indeed and there's plenty of good folks here on SMA that are happy to help out with tips and adice,


great build, keep it up


Shane
 
Thanks for the feedback guys!

You both have a good point in not being too hard on myself, the model won't probably match my biggest dreams. BUT, I'm having a great time with it and i feel like I'm learning all the time :) .

Yea, I'm building it out of the box. I considered a brass detail-kit they offered me in the store, but decided against it since I was pretty sure I don't have the patience/skill for it yet. Only variation from the kit instructions is the paint-scheme which i stumbled across while doing some (minor) research on the Tirpitz. Although the camo has been a nightmare with only brushes and using a set of high-res pictures as reference.
I will try get more done this week so I have something to show.

Oh! btw Baron, I've been following your Pennsylvania build, love the modifications! Looks great especially for such a tiny model :)
 
As an Amazon Associate we earn from qualifying purchases. Product prices and availability are accurate as of the date/time indicated and are subject to change.
Hi, small update!

I've been very tied up with work and had little time to work on this, but I've got something done. Got the camo pretty much painted back to the smokestack. Still got to do something with the doors and windows... But I think the camo is starting to look pretty badass 8). Fiddled around with one of the lifeboats too, and the kit has once again revealed its unfathomable detail.. The rack/cradle holding the lifeboat doesn't look like anything I've seen in pictures of the ship, or other kits, and the lifeboat sits way too high up ;D Some cutting to do and then paint.

Oh it's phonepics again, and the light is bad:
497_zpse444ded7.jpg


Edit: I will try to get a battery and charger for my camera so maybe better pictures in the future ;D
 
looking good mate, the camo looks great :)


keep up the great work


shane.
 
Camo work is looking pretty good.
And I'll echo what others have said in that nearly every model will end up teaching you something, even if it's only a slightly different approach top what you're tackling
 
Hello! Im actually going to start this exact model soon this week, any suggestions or tips?, yours is looking really great!
 
Looking good. Don't be so hard on yourself. It'll be really satisfying to see the progress you've made after just a few more builds. Just enjoy the ride for what it is.
 
I think you are on a good track. Allow yourself to the mistakes, so you may improve with each new model. Rome wasn't built in a day!
Keep the glue flowing!
Guido
 
Hello Enax, Ive been looking at the Toms Model works etch detail for this model, it looks like a nice set, have you considered purchasing it? Ive personal never done etching and it seems difficult so I'm holding off on it, the set is about $25.00 at Scalehobbyist.com, Ive pulled a lot of the smaller pieces off the and washed them, however I'm waiting for my local hobby shop to call I ordered in a dark red for the lower hull.
 
Hello, I've been real tied up with work and other stuff and haven't made any real progress on the boat. But I'm off from work now and will have time to build :) . Hope to get some work done soon.

Shawnl86 - No major issues with the kit, liking it so far and it was really cheap ;D Some pieces have very poor detail, the guns especially I think. So if you want it really good looking I'm guessing there's work to be done. I've been looking at a few builds of Revell Tirpitz kit and it seems much more accurate. Still good for the money, mine with all the paints, brushes and glue was something like 65â'¬ 8)
 
Hi to all, new bloke here, just inherited my late fathers Model kit collection which I am endeavouring to work my way through (oddly enough, I was 7 for my last kit to!!!!!) and I have the identical kit of the Tirpitz minus instructions, would be massively grateful if I can get a scanned/emailed copy? will say hi properly in the appropriate section!

thanks in advance to all,
 
Hey Ive actually started my Heller Tirpitz , and ive put a few hours into it already, I have almost completed the many turrets and AA guns that this model boast, and the smaller turrets I actually had to super glue the barrels in place since they would just fall off inside the turret case, I was wondering if you ran into the same issues?
 
Shawn: Yea, I had to glue some of the gun barrells in place too. I think it could have been done somehow without glueing, but didn't think it was worth the work.

The project has now been on hold most of the summer, due to nice wather, lack of interest and several issues in my personal life. But don't think I've given up, going to resume building as soon as I can find the motivation and time for it. I've been fiddling around with the boat every now and then, but nothing worth an update.
I thought I was going to be done with it before fall, but seems like it will go on some time still...

Been thinking about starting my Airfix Avro Vulcan that i picked up for just 10â'¬!!! Just to get something different to focus on for a while, so there might be a thread in the aircraft section soon too 8) We'll see, hope to update this thread soon too!
 
Just to prove I haven't given up, here's a small update.

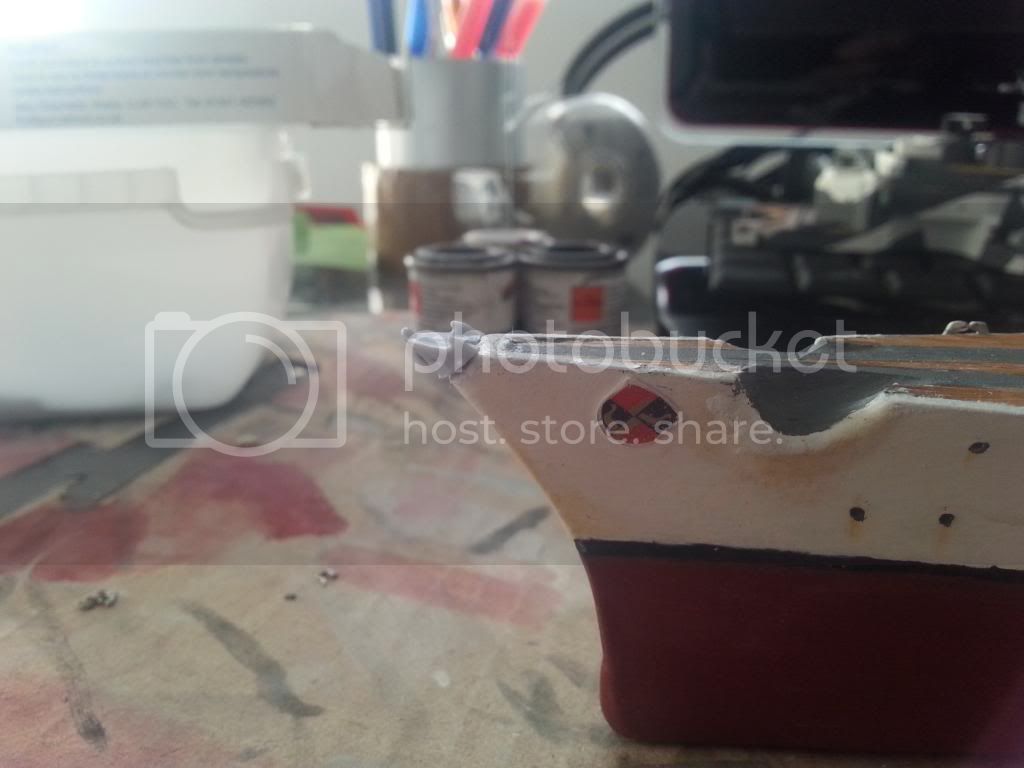
Sooo, I was a bit too eager to get building when I started, and glued the deck to the bottom half of the ship way too early. No big deal... Except I can't rig the front anchor-chains the way they're meant to any more, gotta improvise on that. Also noticed I had completely missed a piece from the front of the ship. It's for the ships third front anchor, aaand I'm guessing it's a separe piece for mounting the anchor chain. Well that ship has sailed now, hasn't it? ::)

The two other front anchors and chains can still be mounted and will look quite allright. The third anchor in the fron I'm planning on just glueing into the hole without an anchor chain.

Here's the piece I'm talking about:

2013-06-02200731_zps414bca26.jpg


Putty + paint:

2013-07-02201052_zps52f28353.jpg


I've done some work on the bridge too, painting & glueing AA-guns. Anyone know what the thingies on the top decks of the bridge are meant to resemble? I really hope they aren't meant to be machine guns ;D I'm guessing telescopes?

2013-07-02174332_zps47ec2603.jpg


The plane was also assembled & painted, but suffered some damage after a feline encounter. darn cat! pics later :)
 
Hey eNax, I know its a little late, but if you ever build another heller kit, I think I found the turret problem, The prongs that hold the turret barrels are too wide for the outer barrels and actually pushes against them when the turrets are raised, I'm going to attempt to sand them back to see if this works, I already have my smaller turrets glued in place, oh well! live and learn, This is also my first kit in many years and I'm using it as a learning experience and honestly I'm not gonna sweat the small stuff as long as I try my best! I like your Winter Camo scheme by the way looks awesome.
 
Hi and apologies for leaving this thread hanging here for 2 years, but since I recently found the motivation to finish the ship I thought I might post the progress here too.

Thing is, like the thread's topic suggests, modelling isn't my nr.1 hobby, and I've had a few setbacks with this project.
In the last two years I've moved twice, and haven't had a place to work on the Tirpitz so the motivation died fast. Last nail in the coffin was my cat trampling all over the bridge/forward tower when I left the ship in a place I thought he couldn't get to. ::)

Now I'm building on the balcony because there's no furniture untill summer ;D

First things first I thought, have to repair all the cat damage to get anywhere with this build. Glued on both masts where they had snapped off (I know they're not perfectly straight ??? ). Still missing one of those larger ack-ack guns above the bridge, have to think of something smart there maybe leave another spot without one.

20151018_193550_zpsdfoeatti.jpg


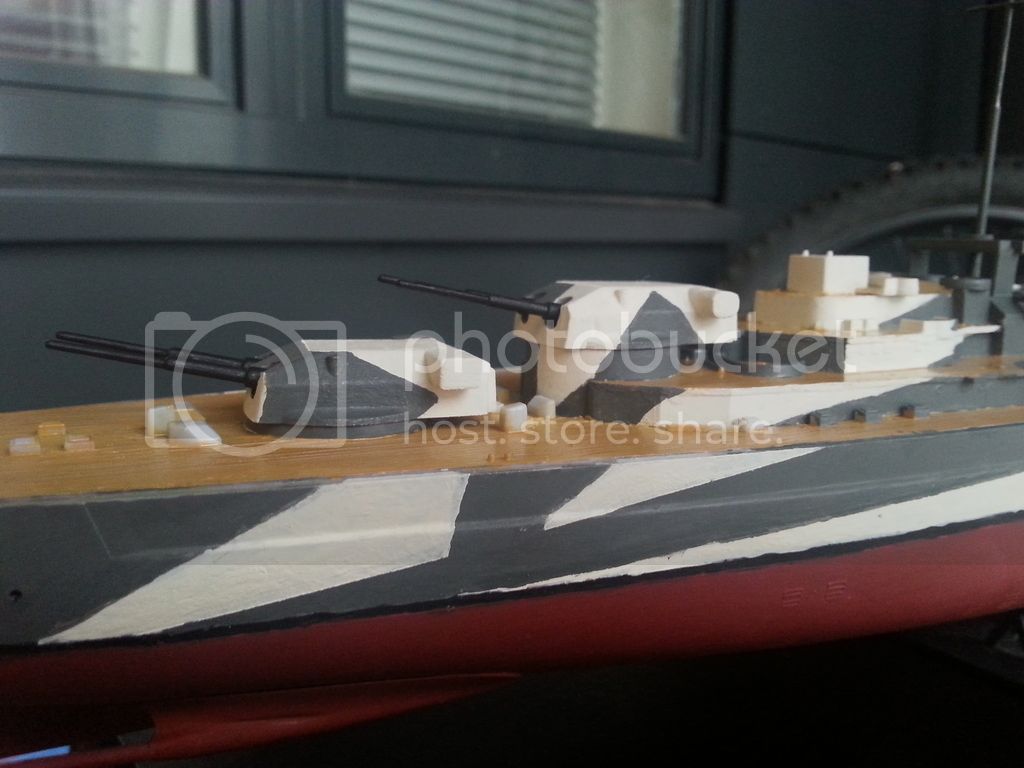
Cut grooves into the whole deck along the already existing lines and painted, still need maybe one coat to finish it off nicely:

20151018_193621_zpsiftbcnu4.jpg


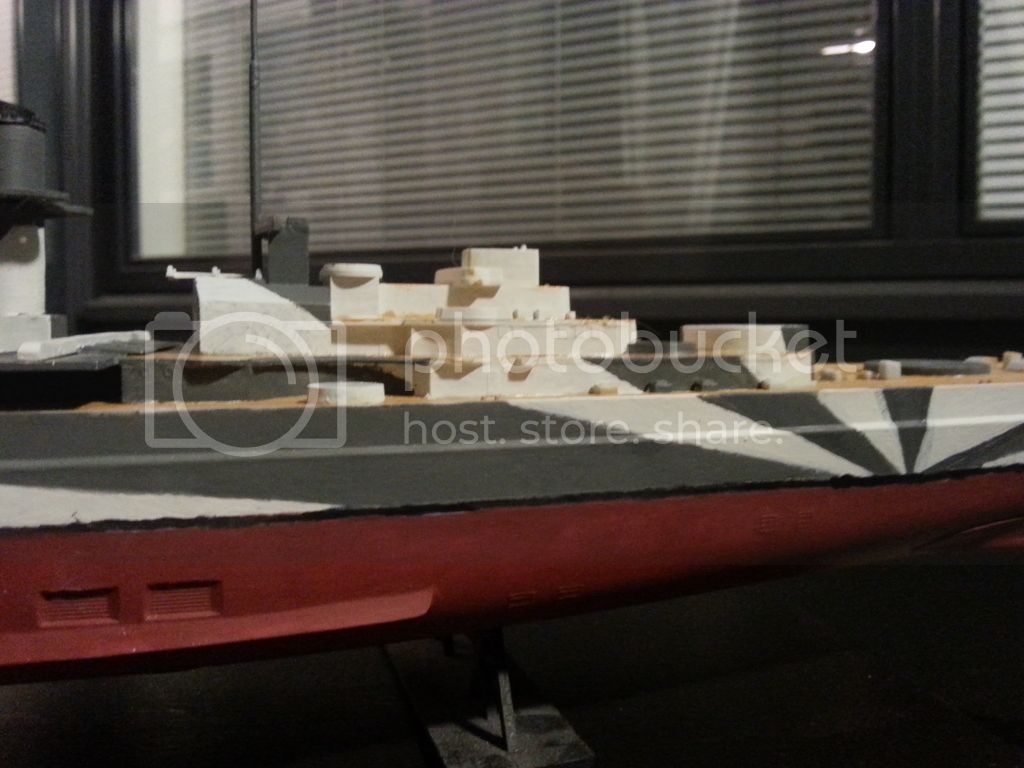
Got also started on the aft superstructure's camo! Very rough still but definetly getting there. Remember, all the paint is applied with a brush and not masking anything, just freehanding the camo. :D
(don't look at the black-stripe along the waterline, that's getting fixed)

20151018_193609_zpsgygljvb1.jpg


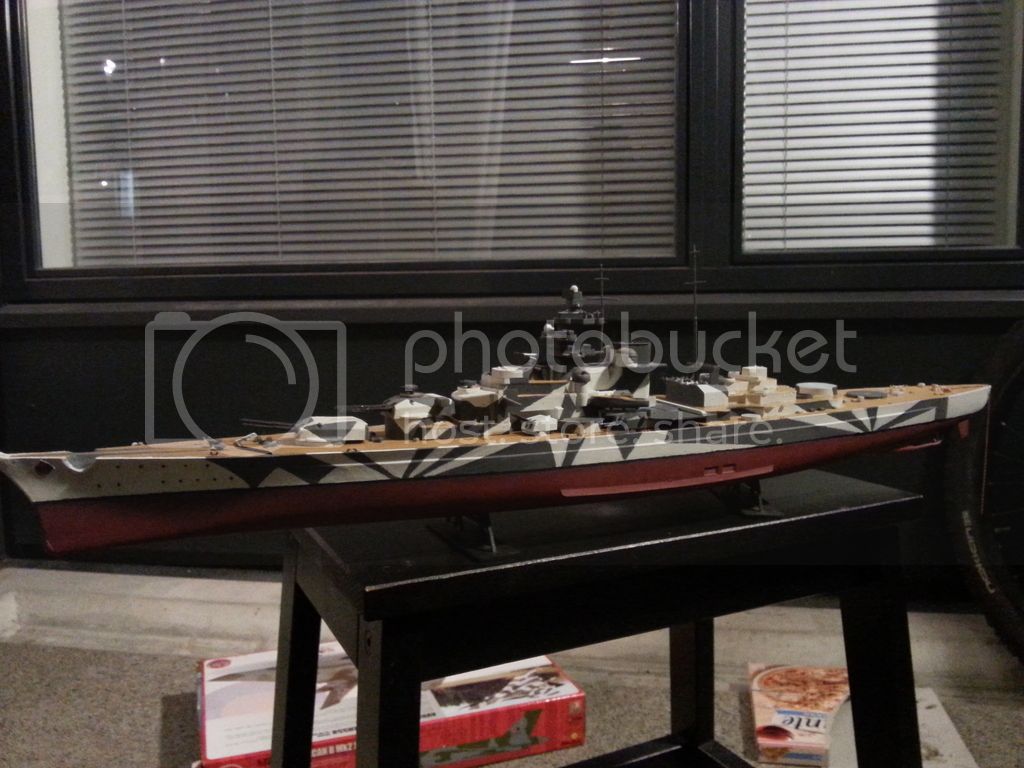
And here's the whole thing as it sits, minus a few guns still drying after paint:

20151018_194117_zps7igqgwcp.jpg
 
Thank you, to be honest it looks fine from a distance but up close its still pretty rugged ;D

Progress is slow, but I try to work on something every day when I'm off work.
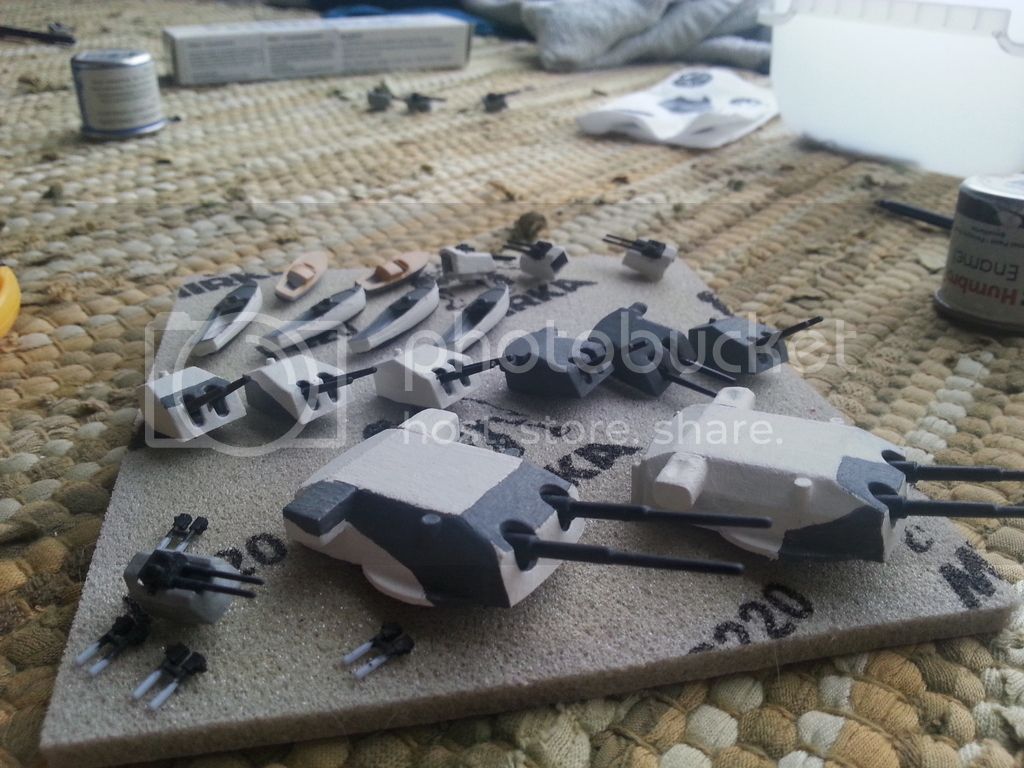
Been painting all kinds of smaller parts during the last few day. Got started on painting some lifeboats, the rear main batteries and all the secondary turrets.

This is 2 coats of white and getting started on the grey disruption patterns:

20151022_162322_zpsztibaq0x.jpg


The camo on the rear supestructure is also slowly taking form, still lots of rough patches and crooked lines. Also tried on the rear main batteries to check alignment on the camo:

20151022_163019_zpsadqf9bc0.jpg
 
Ah, OK, at closer range, I see what you mean. A little bleeding under the masking for example.

I've been experimenting with the technique of spraying a thin layer of clear acrylic over my masking, to seal it, and then applying the color. It's worked pretty well for me, in cases where I needed a crisp line.
 
I found out freehand sucks and masking rocks! ;D
So I masked the sides again, touched up on the white and painted over all darkgrey areas of the camo. Looks hell of a lot better now. Pics incoming when the camo dries, I get to mask and repaint the black stripe along the water line and paint another layer of red on the underbelly.

Plan is I'll salvage what I can of this model (think it will look ok when done anyway), then get either Prinz Eugen or Scharnhorst and try to avoid all the mistakes I made on this one. ;)

Btw. Is the acrylic available in rattlecan? Since I don't own a compressor or airbrush, and I want to keep the costs down on modelling for now.
 
Looking pretty good bro... that's a big beast! I usually go for hand painting over masking myself, but here's a tip for painting light colors over dark ones... get yourself a can of Rustolem Clear Satin (in a rattle can). Spray it over the dark paint you want to paint over. Then paint your light color. Sometimes I've found that the dark color will bleed into the paint if painted directly over the top. One thing too... allow the paint to dry and cure completely... usually overnight... to prevent the color bleed. That helps alot! Keep up the good work thou!
 
eNax said:
...I found out freehand sucks and masking rocks!...

Oh, you painted the camo freehand? OK, that makes sense, then. Yes, I ran into the same kind of issue, with a 1/1200 Pyro Essex-class carrier, of all things. It's a slam build, something I wanted to finish quickly, just to get something done. I finished the kit as the Yorktown (CV-10) and painted her in her dazzle measure. Most of the boundaries look OK, especially since its 1/1200, but I have a couple more in the stash, for a little table-top wargame collection, plus some Iowas, and I will definitely mask and spray them.

As far as paints go, there are commercial acrylics in spray cans, like Krylon, but I don't think I've ever used a rattlecan acrylic. My spray cans are all Tamiya or Model Master. I can say that they work very well, but you do want to have a well-ventilated area, whether you're spraying enamels or acrylics or anything else.
 
OK ok, back with a small update! Let's start with something different, I took inventory of all broken and missing parts:

- Scout plane (broken with some struts missing)
- Smaller caliper AA-guns (2 double barrels missing and one base missing)
- Larger caliper AA-gun (whole gun missing)
- Rear superstructure rigging mast (parts broken off)
- Bridge radar (broken, missing a part)

I was a bit disheartened by all the broken and missing things at first, but I've seen such amazing stuff on this forum so I decided I'll do my best at fixing everything and scratch building what I have to.
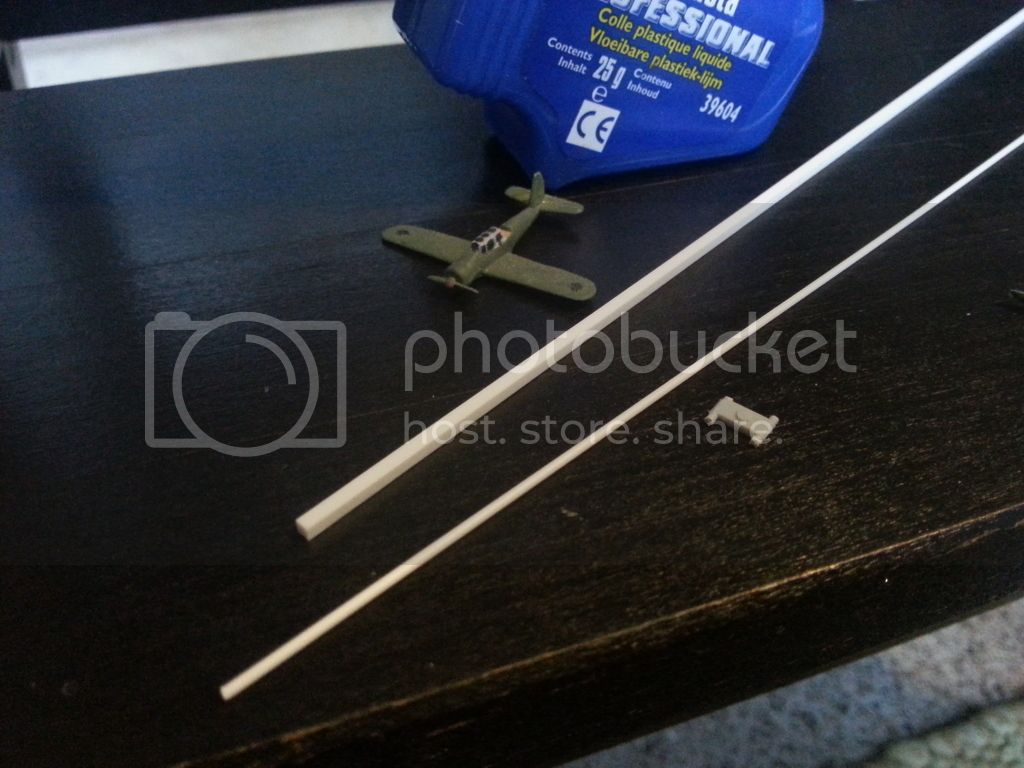
I bought 2 different diameter round plastic profile and 1 square to get started, think I still need smaller diameter round profile for the small caliper AA-guns.

Decided the AA-guns can wait and got started on the scout plane, which looked like this:

20151109_150740_zpspkcbdtsn.jpg


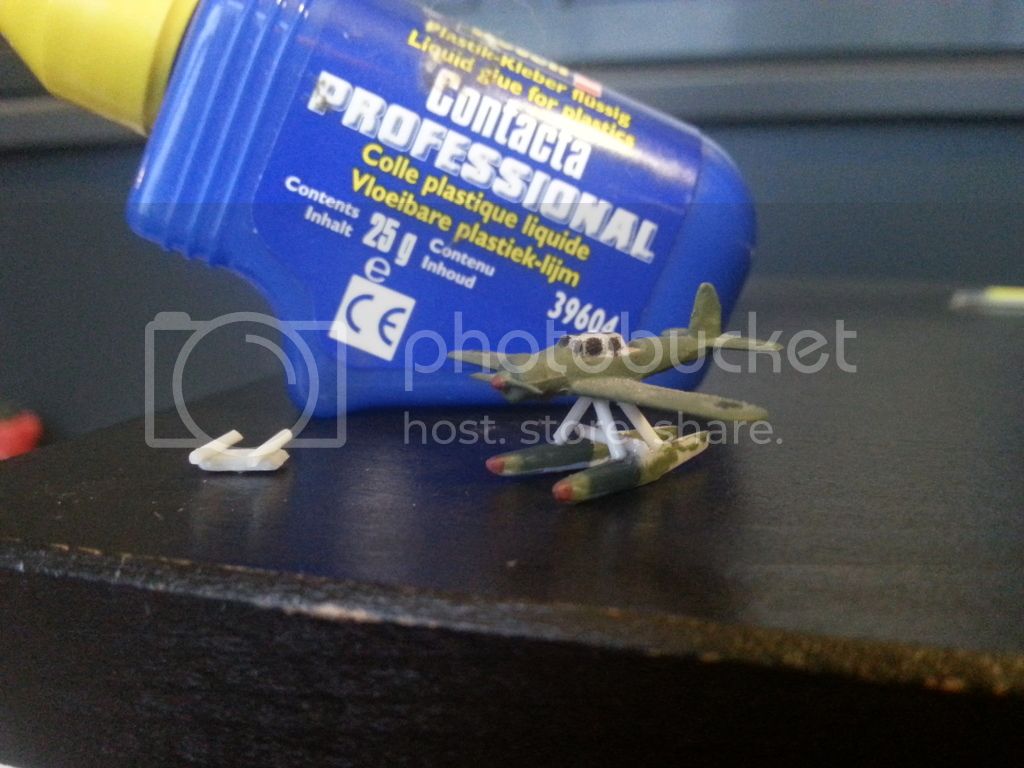
The smallest profile I have turned out too thick but decided I'll roll with it. Went with the simplest supports I could think of for the pontoons :-X

20151109_152921_zpsrqgli0lo.jpg


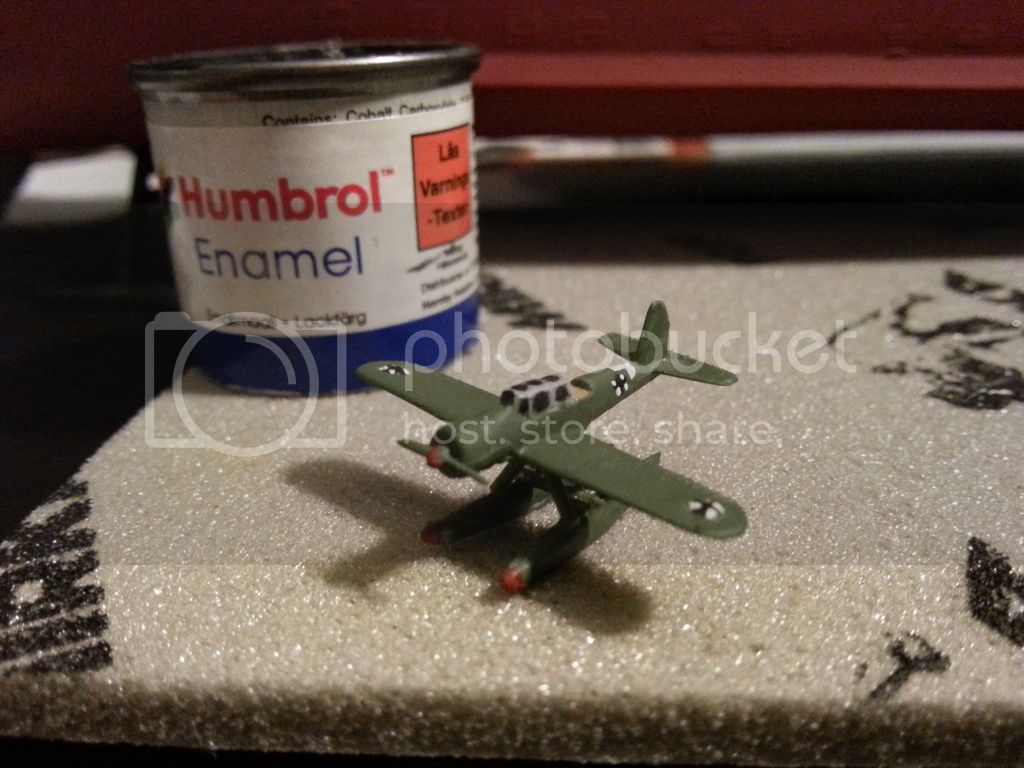
Paint was a PITA, haven't tried painting anything this small and detailed yet. Especially the small Luftwaffe bar crosses turned out to be tricky... I have to say I'm pleased with what I managed to do, and don't think the too thick supports really look that bad :D

20151109_212715_zpsqr5106tb.jpg


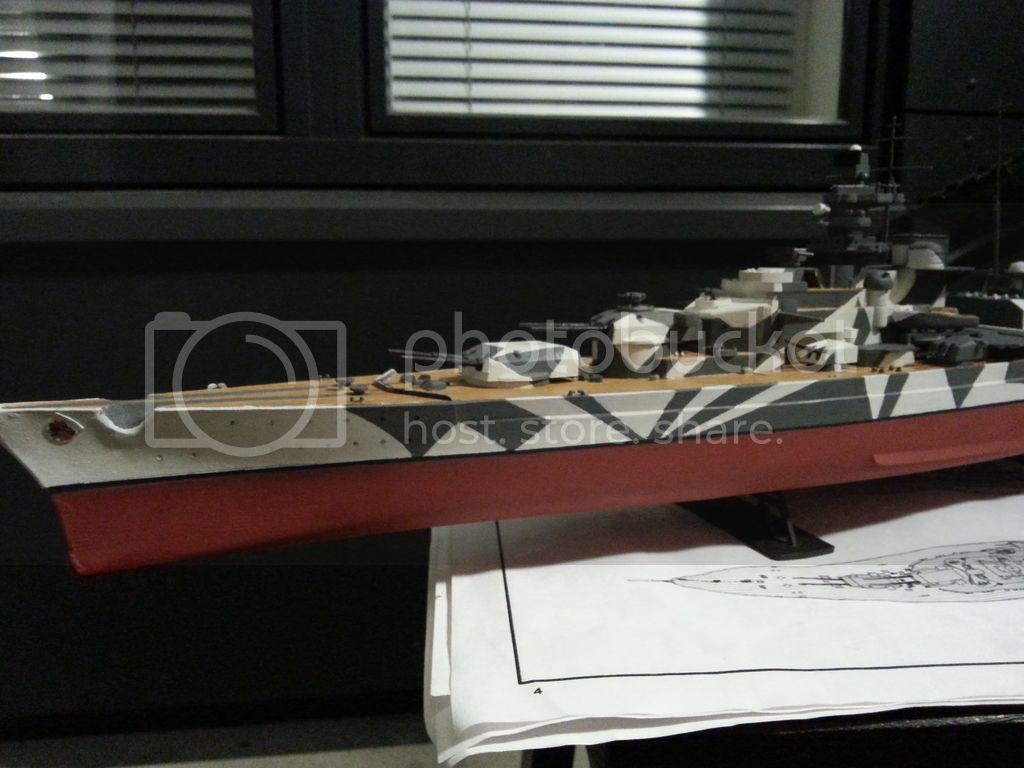
I repainted the lower hull with red, redid the black waterline stripe and touched up on the parts of the camo that bothered me:

20151109_221729_zps0azsghfy.jpg


20151109_221751_zpsgma9viwf.jpg


Here's the whole beast as she sits now:

20151109_221856_zpslnfwrixt.jpg


Feels like I'm finally starting too see the results! After getting those pesky AA-guns built, I still have some search lights and radars to glue in, then I can get started on the railings and anchors and chains.
 
First of all, sorry for a no pictures update but I don't have anything worth posting atm. I've been putting in some hours on it but I'm getting more and more upset by the quality of the kit. In particular the detail on the AA-guns is woeful and the plastic railings are even worse. These things really put me off the model but then again I really want to finish it.
So to get my drive back I've been digging around the internet for aftermarket parts. I easily found some PE railings on ebay and learned that a company called White Ensign Models makes an anti-aircraft gun PE-set for Kriegsmarine ships. I thought what the heck, let's dive in at the deep end and try do this ship some justice and most importantly finish the build! (PE scares me though :'( ).
I still have to order the stuff and fiddle around with it, so don't expect updates just yet! ;D
 

Latest posts

Back
Top