YOULI
That which does not kill us makes us stronger !
- Joined
- Nov 28, 2011
- Messages
- 947
I post it here since I don't think the old group builds are readen anymore... ")
You can find the orginal post here
http://www.scalemodeladdict.com/index.php/topic,6980.0.html
Since I simply really build the kit, it's no big deal actually, but we'll try to resume the build process, shall we ?
Here is a resin kit found on Ebay years ago (those were the days when I bought anything I can that was a bargain... Sometimes with genuine GK, some times with recast... Horrible ones...).
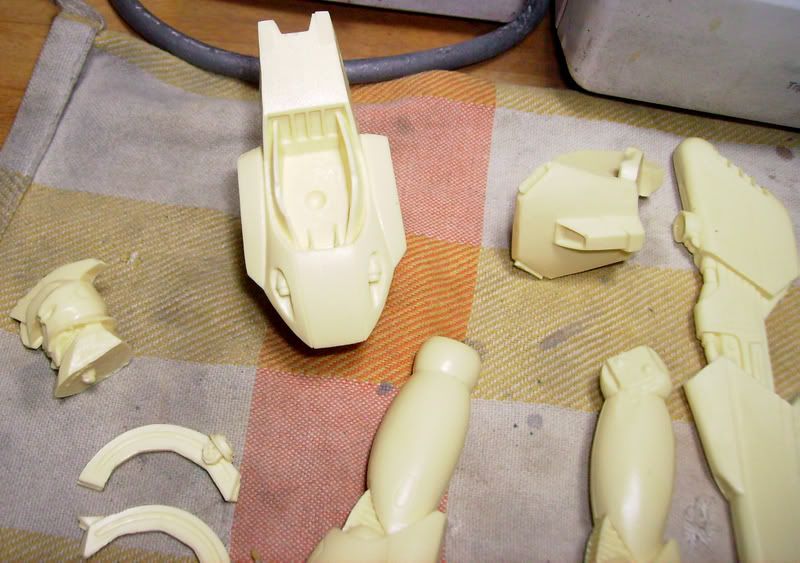
It's obviously a recast, badly done, greasy, with bubles and delicate parts to be reshape.
The kit is static, no articulation at all, there is not a lot of parts, and the color scheme is not that complex.
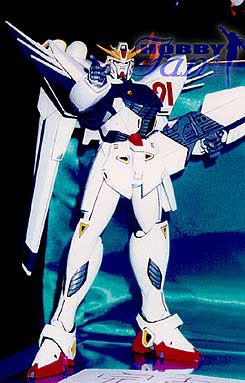
Here is what it's supposed to look like.

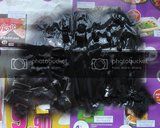
Here are the parts I received, with no pictures (Thought there was no instructions pages but found one in another pile of resin parts). That's a recast all right...

The details are poor, the panels in the shoulders (what's their purpose anyway ?) will certainly need to be done with plastic card, there is no need to waste time with resin parts full of bubbles, fragiles...


But I think I won't go for this color scheme...

More certainly for this kind of colors (I love blue !).


It should be original, and the less I work with white paint, the better !
The kit is with me in the south of France so, I but the parts in soapy water, again, and began the painting phase since most of the preparation was already done (the mold lines were horrible).
After washing the parts again, I give them a good dark coat of Citadel base color. It's shiny when done...
... It's matt when dry.

Then some paint in white... 2 or 3 coats more when needed.

You can find the orginal post here
http://www.scalemodeladdict.com/index.php/topic,6980.0.html
Since I simply really build the kit, it's no big deal actually, but we'll try to resume the build process, shall we ?
Here is a resin kit found on Ebay years ago (those were the days when I bought anything I can that was a bargain... Sometimes with genuine GK, some times with recast... Horrible ones...).
It's obviously a recast, badly done, greasy, with bubles and delicate parts to be reshape.
The kit is static, no articulation at all, there is not a lot of parts, and the color scheme is not that complex.
Here is what it's supposed to look like.
Here are the parts I received, with no pictures (Thought there was no instructions pages but found one in another pile of resin parts). That's a recast all right...

The details are poor, the panels in the shoulders (what's their purpose anyway ?) will certainly need to be done with plastic card, there is no need to waste time with resin parts full of bubbles, fragiles...

But I think I won't go for this color scheme...
More certainly for this kind of colors (I love blue !).
It should be original, and the less I work with white paint, the better !
The kit is with me in the south of France so, I but the parts in soapy water, again, and began the painting phase since most of the preparation was already done (the mold lines were horrible).
After washing the parts again, I give them a good dark coat of Citadel base color. It's shiny when done...

... It's matt when dry.

Then some paint in white... 2 or 3 coats more when needed.


