Edbert
Well-Known Member
- Joined
- May 16, 2024
- Messages
- 3,123
Gauntlet laid, timer started!I have the decal set for that digital F/A-18E. It's on my to do list somewhere down the line.
You cannot back out now bro!

Gauntlet laid, timer started!I have the decal set for that digital F/A-18E. It's on my to do list somewhere down the line.


Do it. You know you want to.Oh no …. I have too many other projects going. I can't start another! Or can I … ?
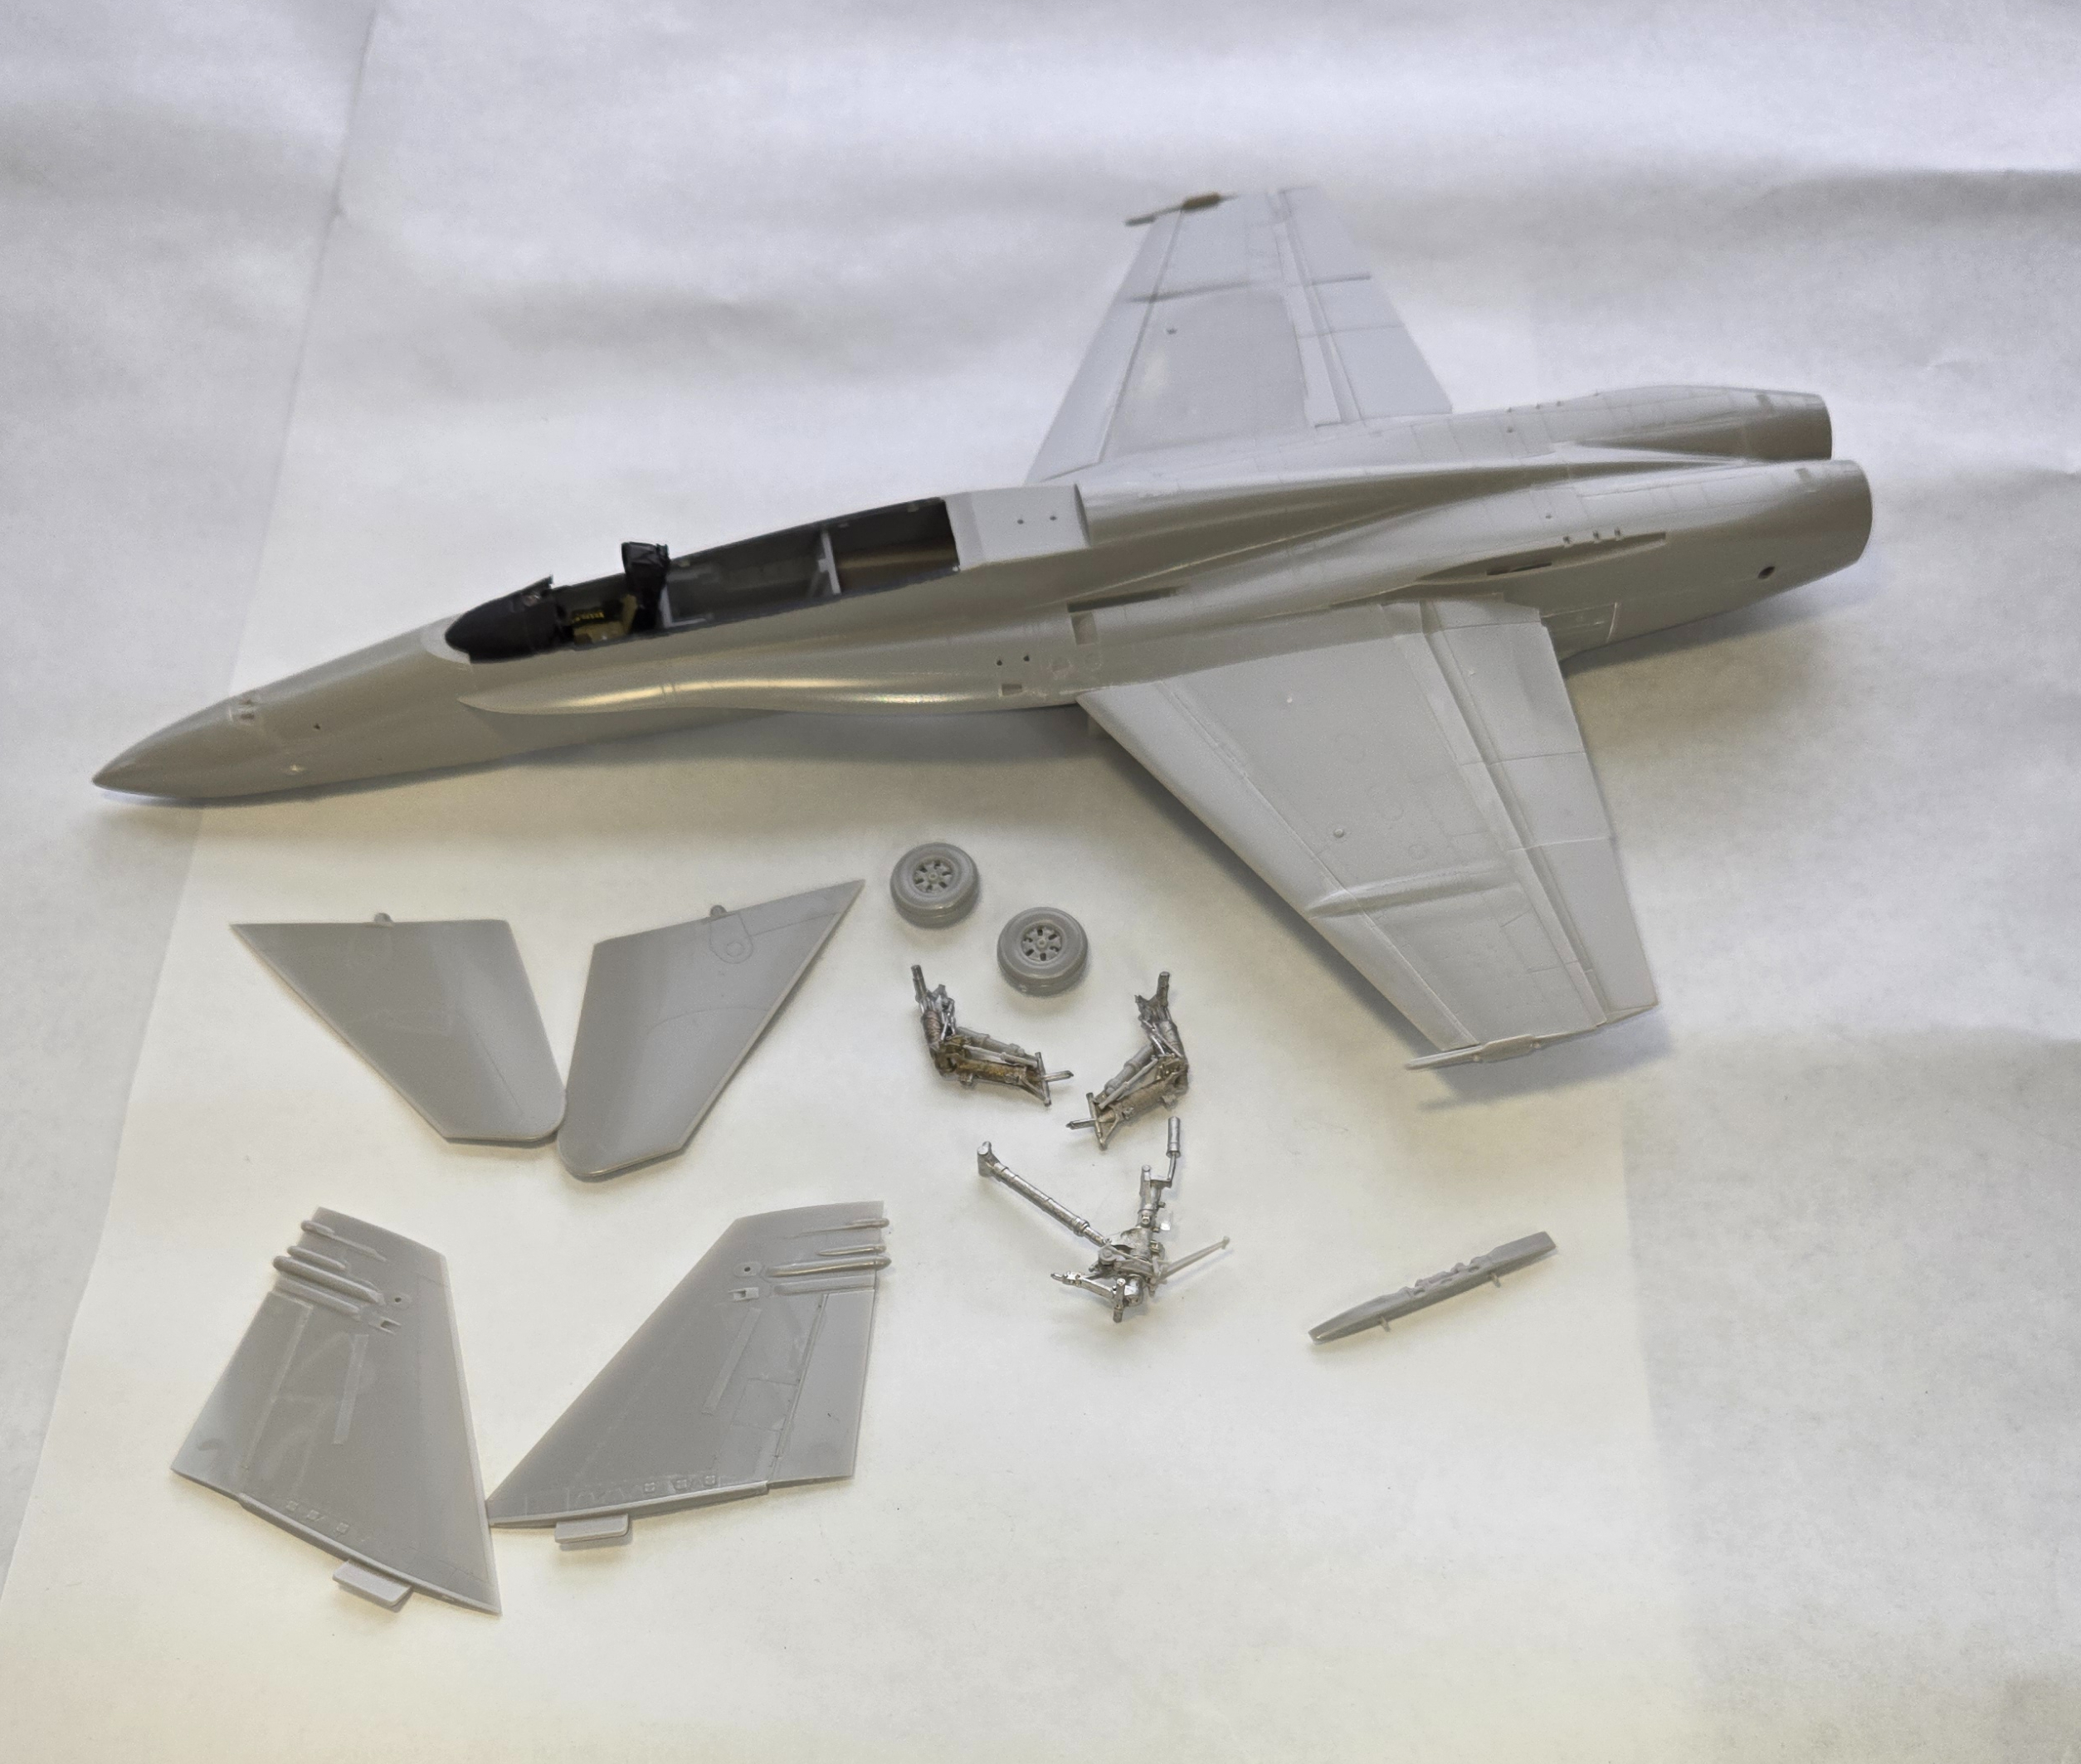
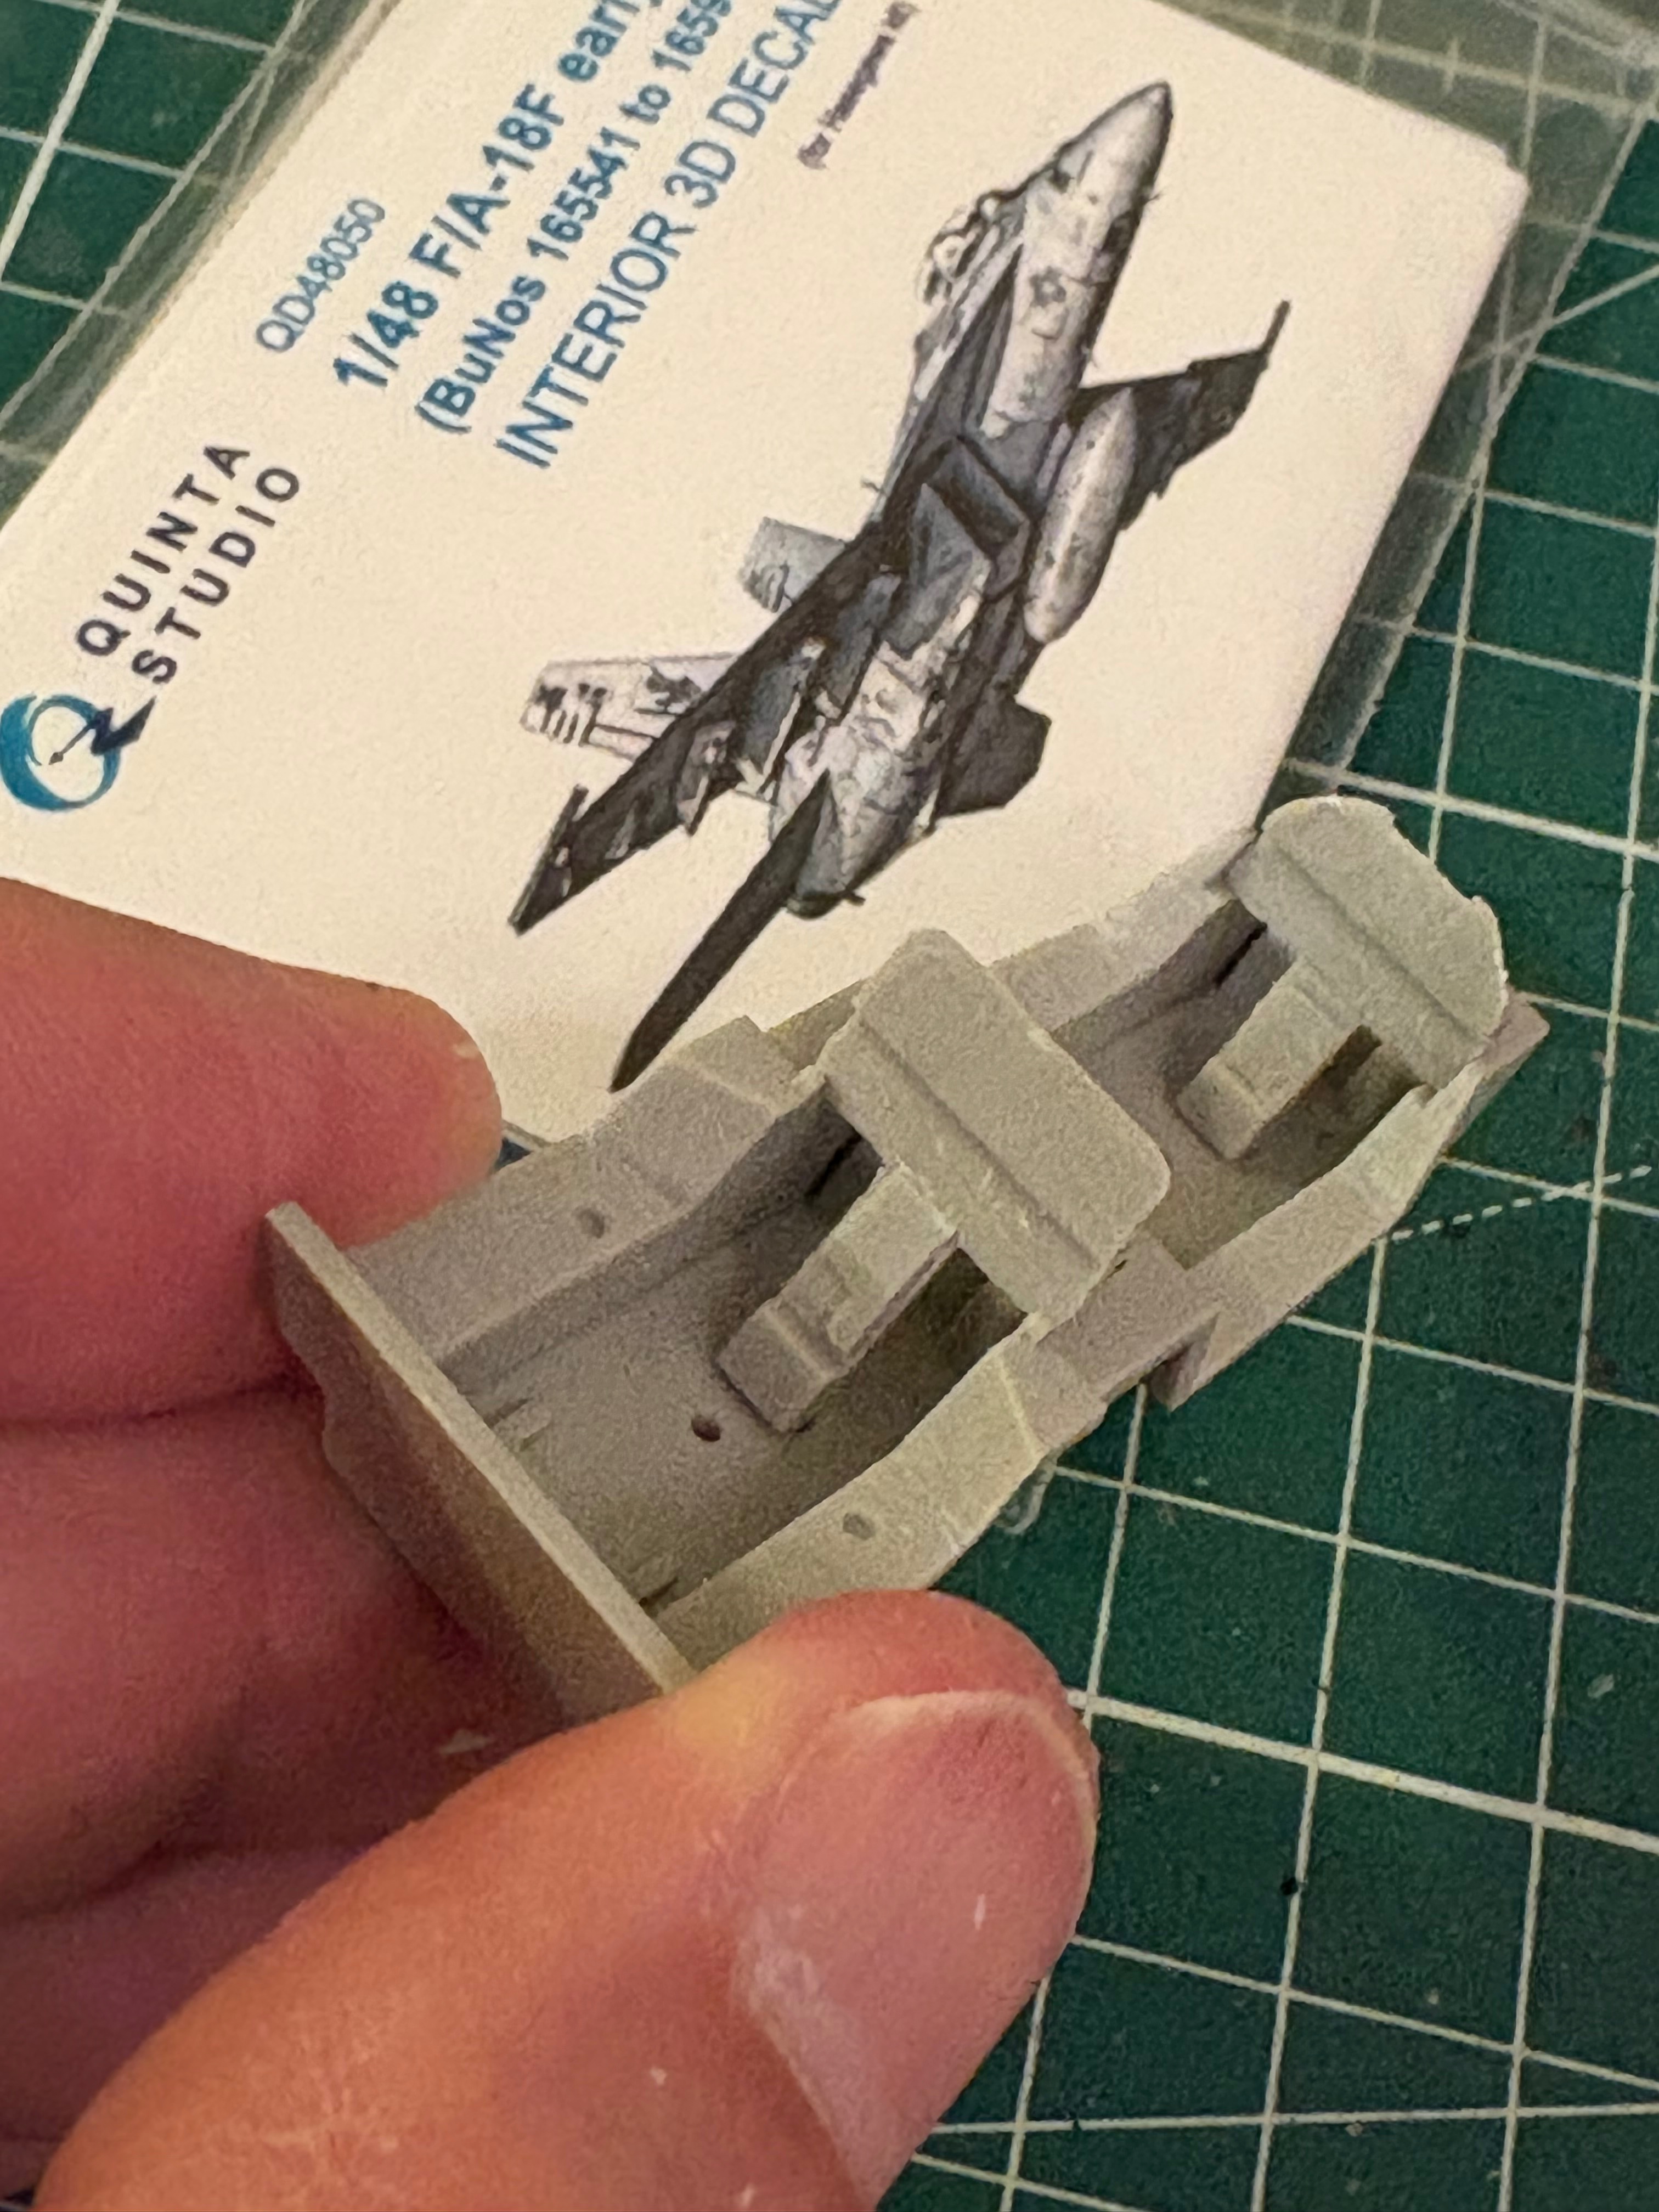
Good choice! I also like similar stuff from "Red Fox".I went with Quinta Studios
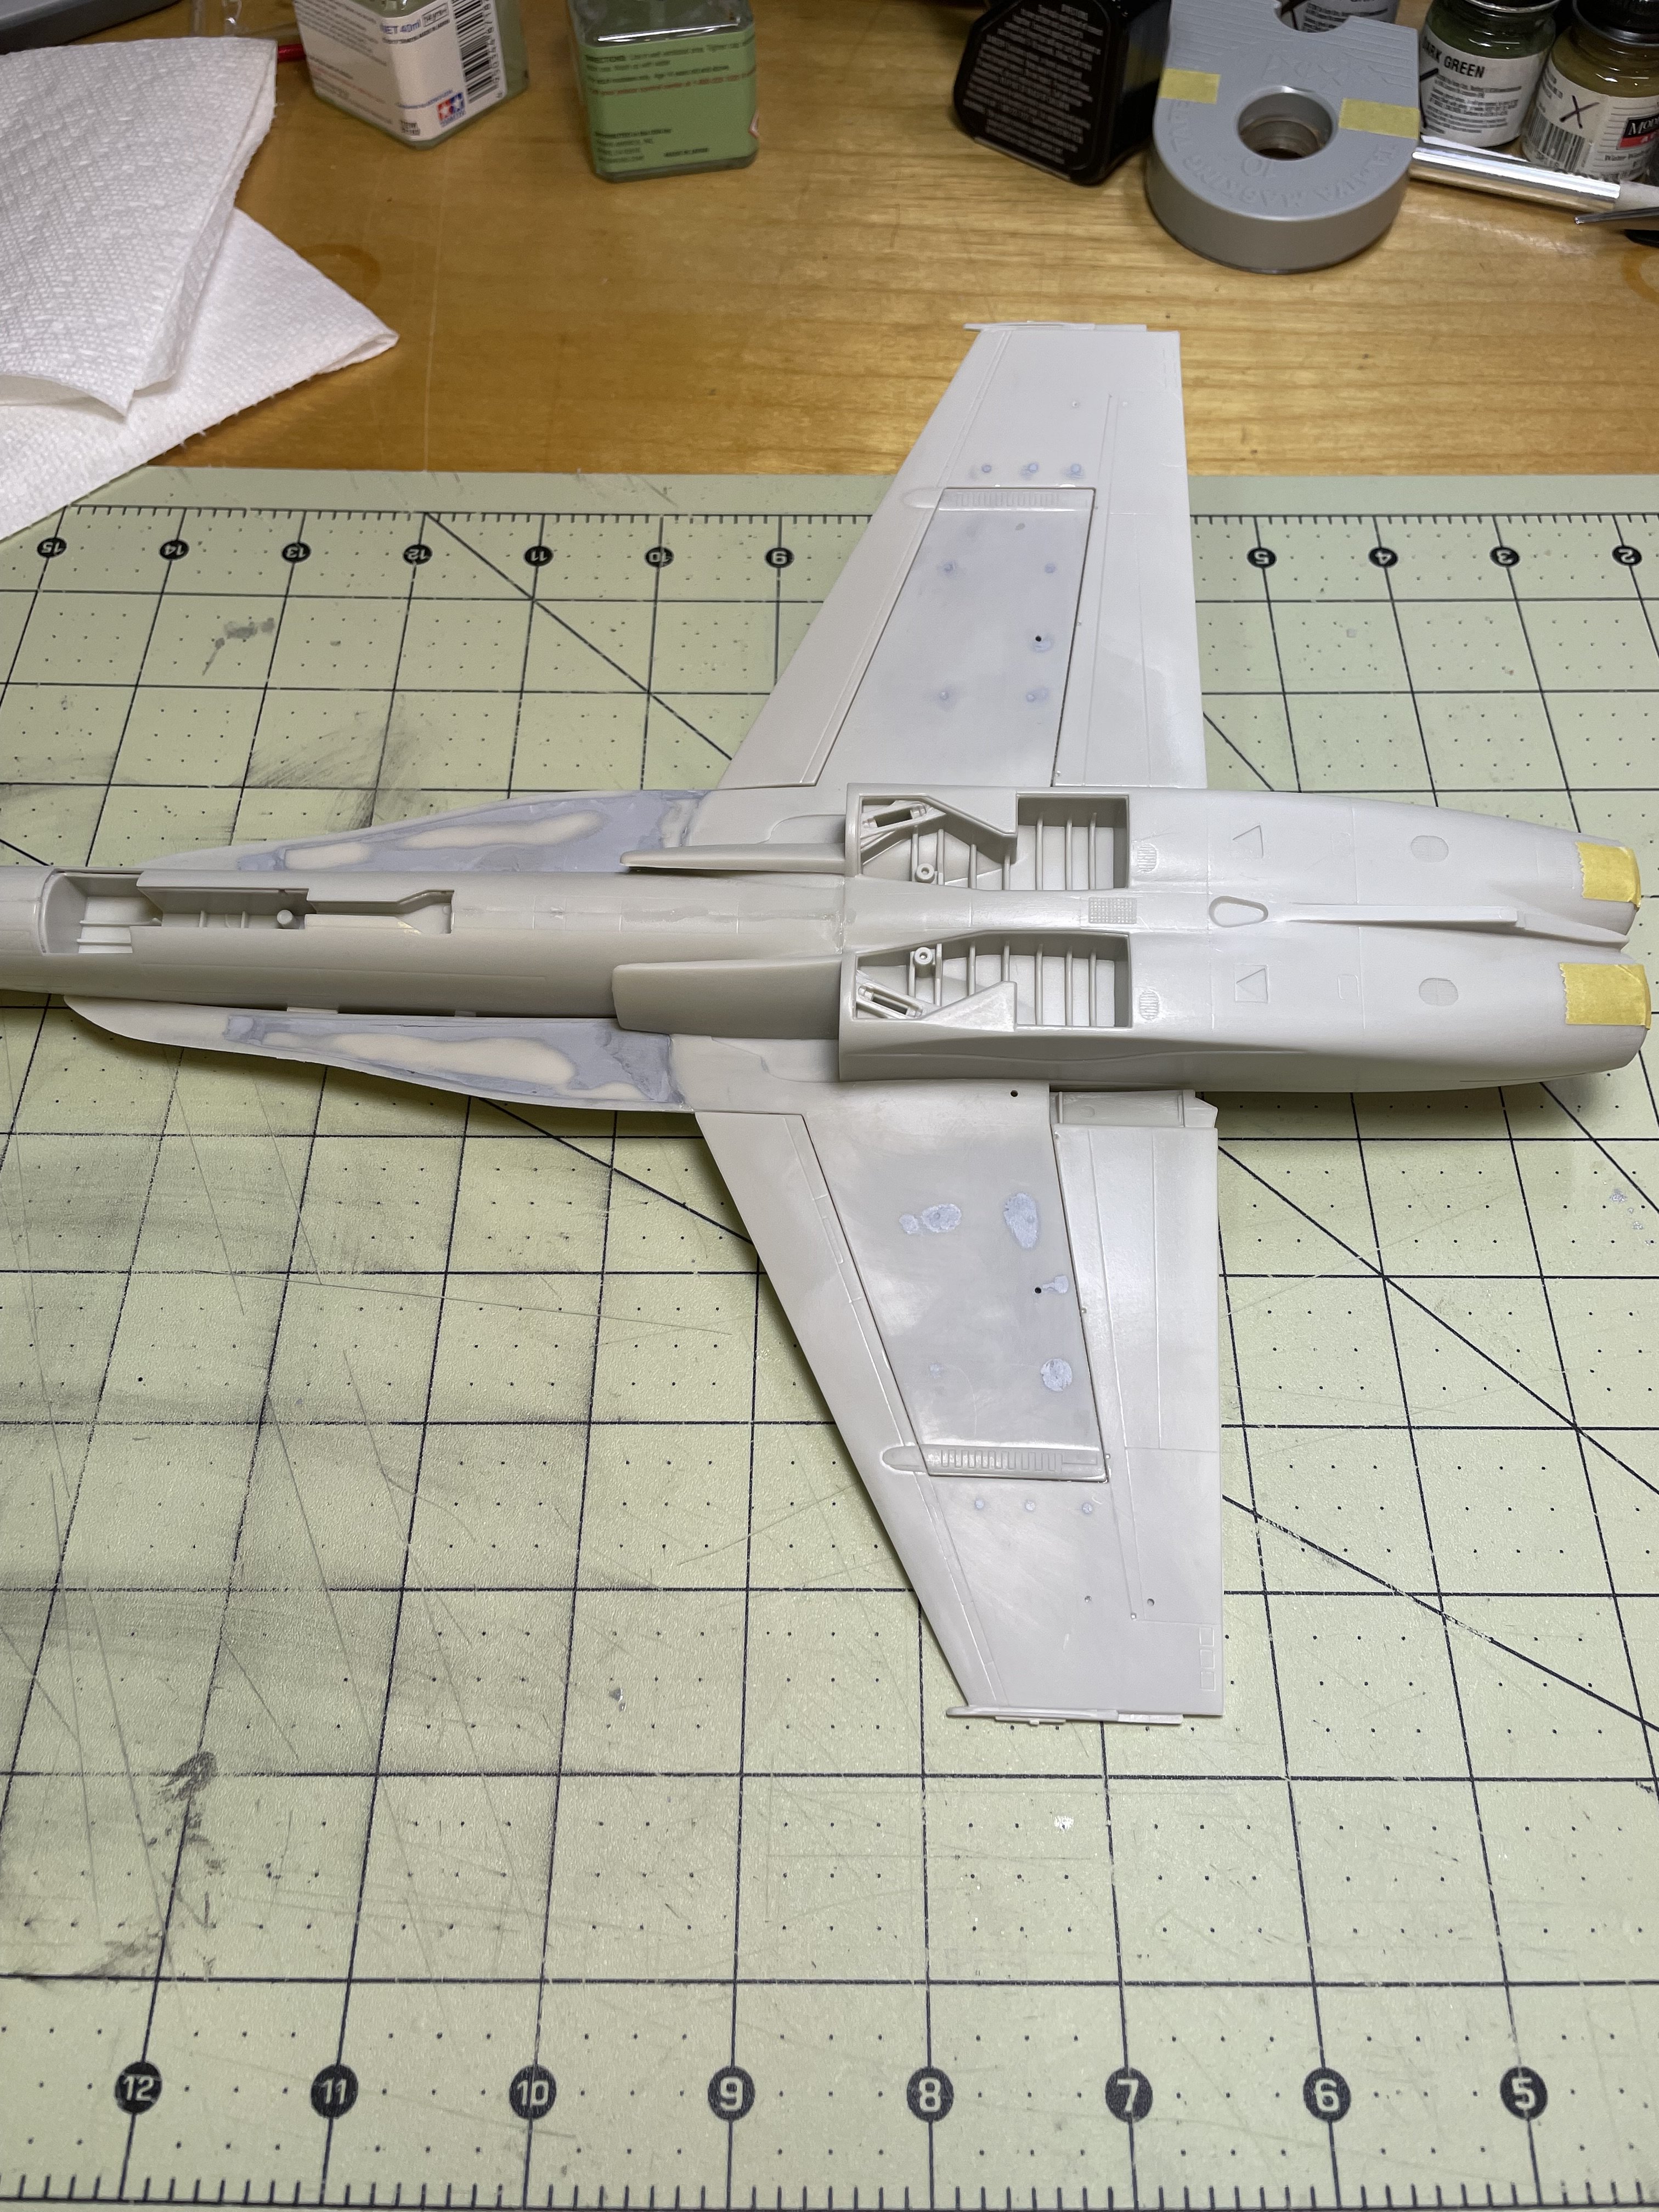
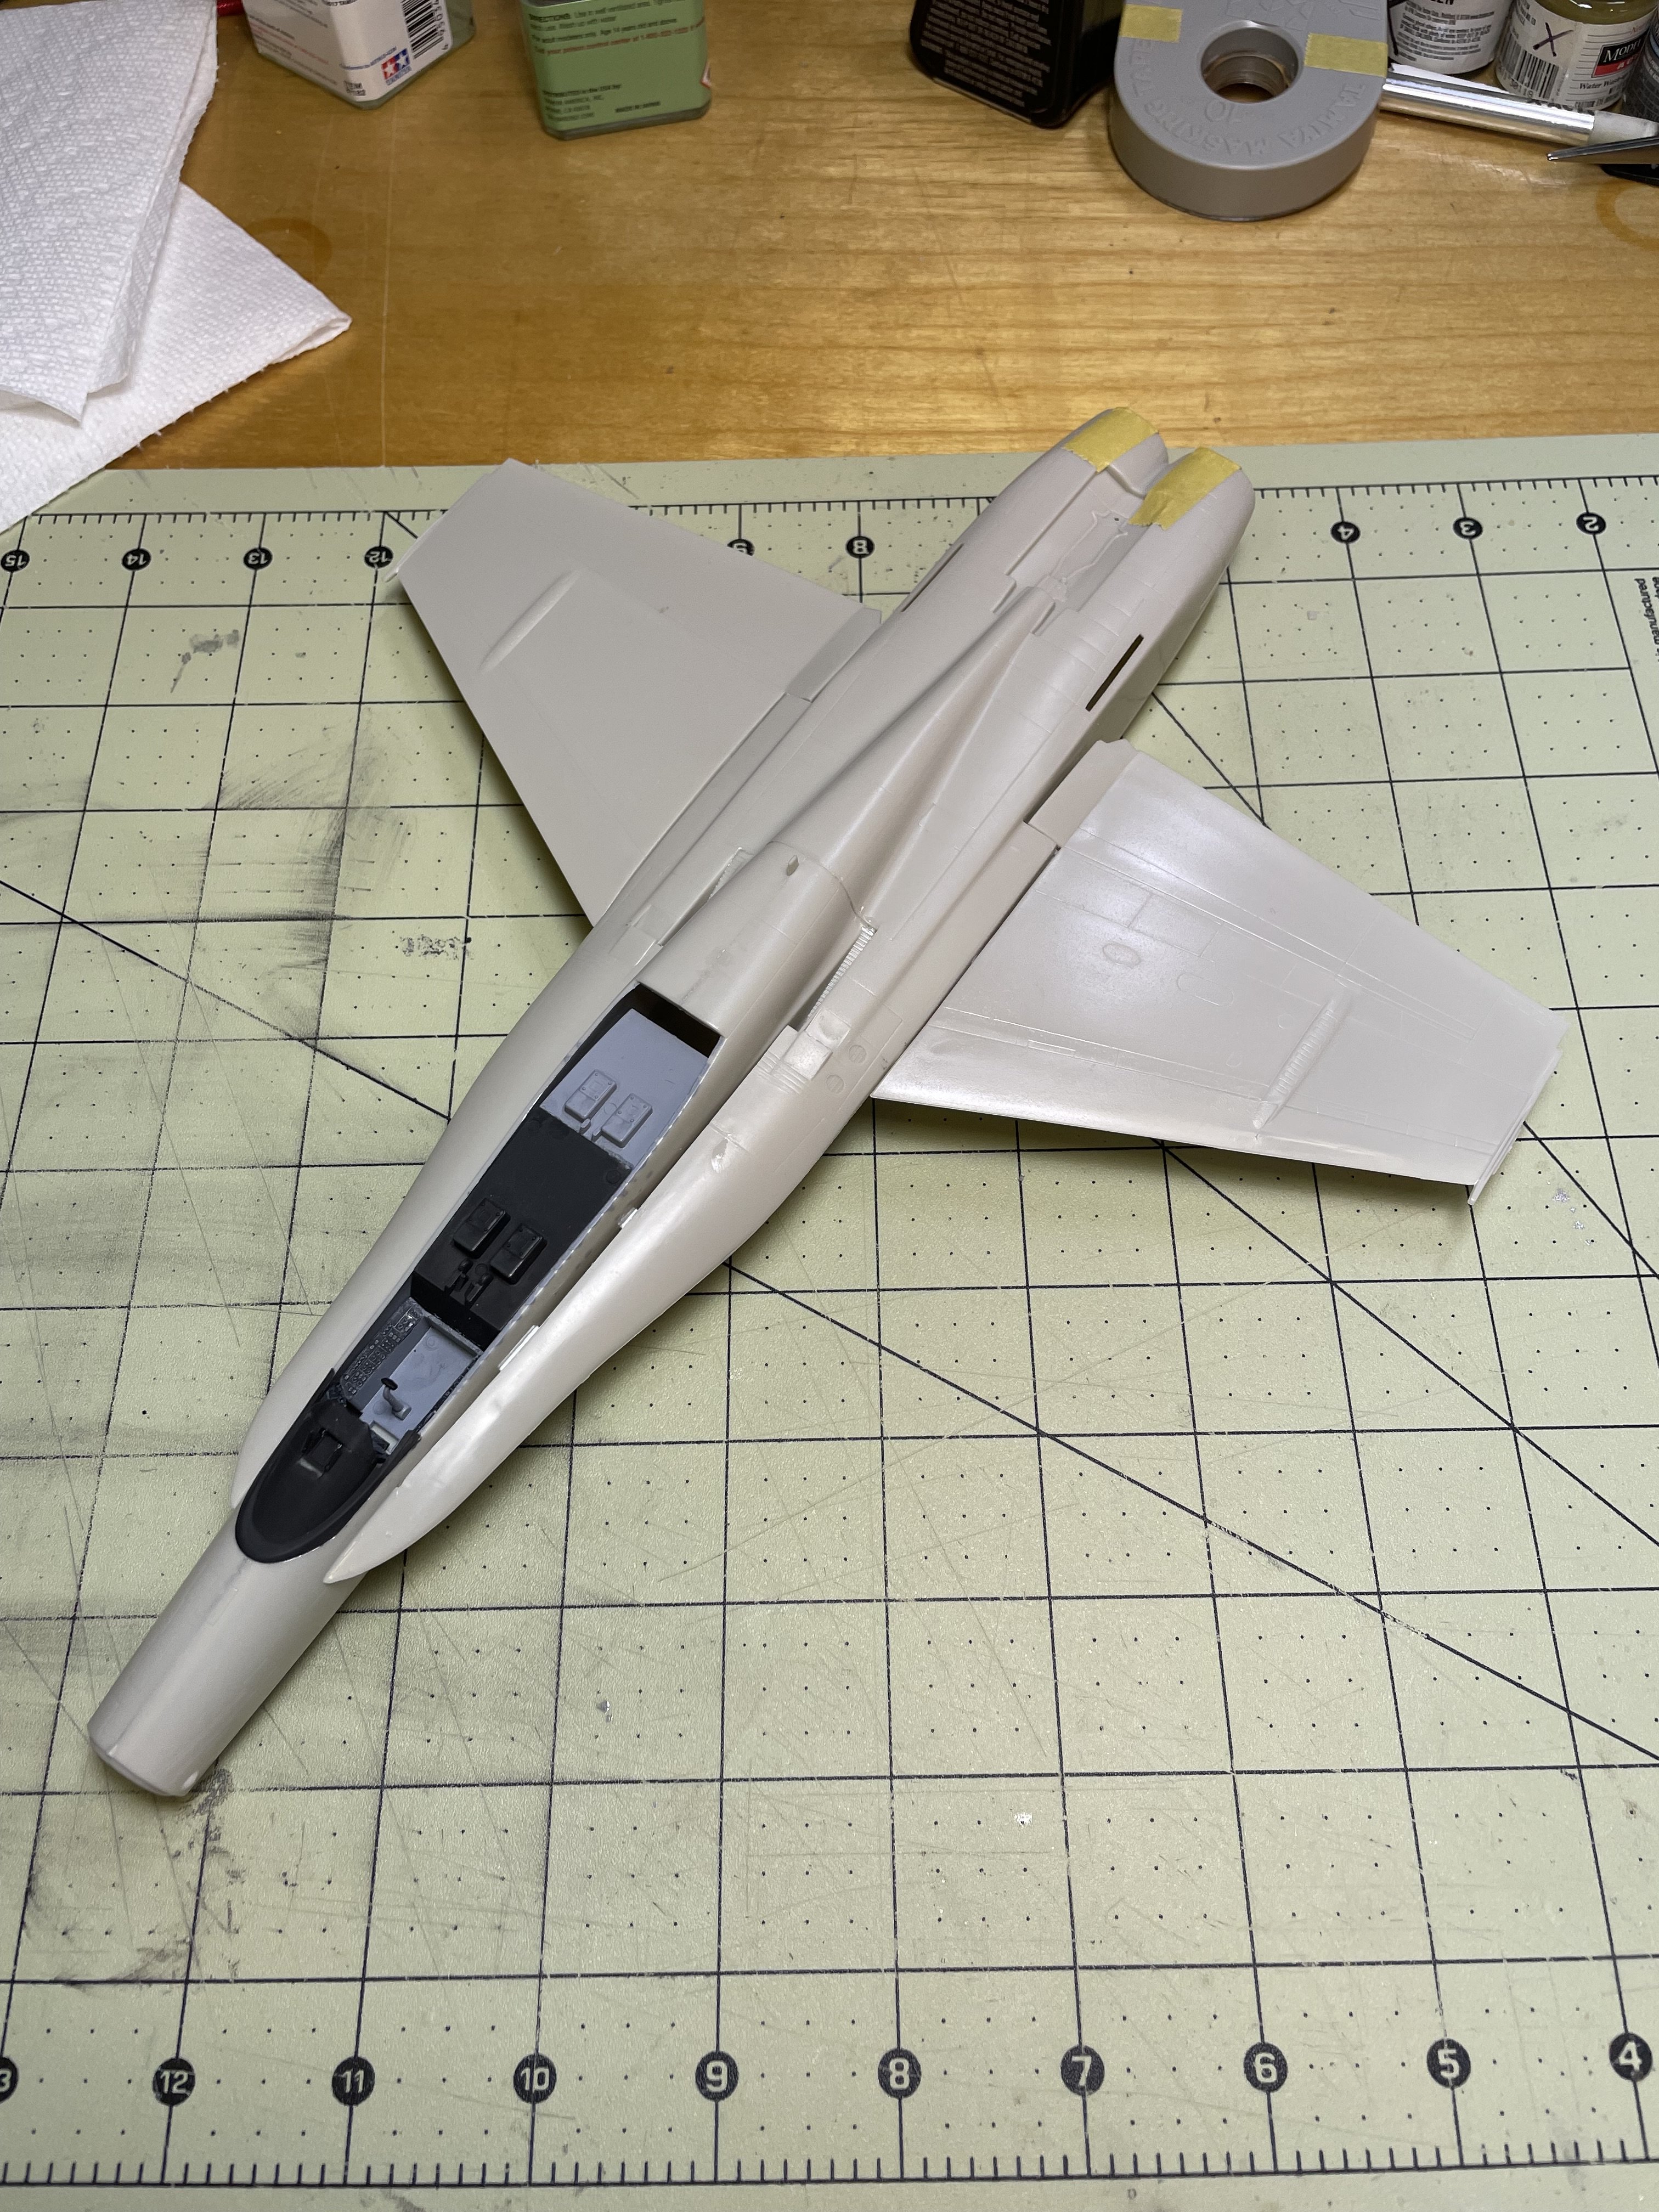
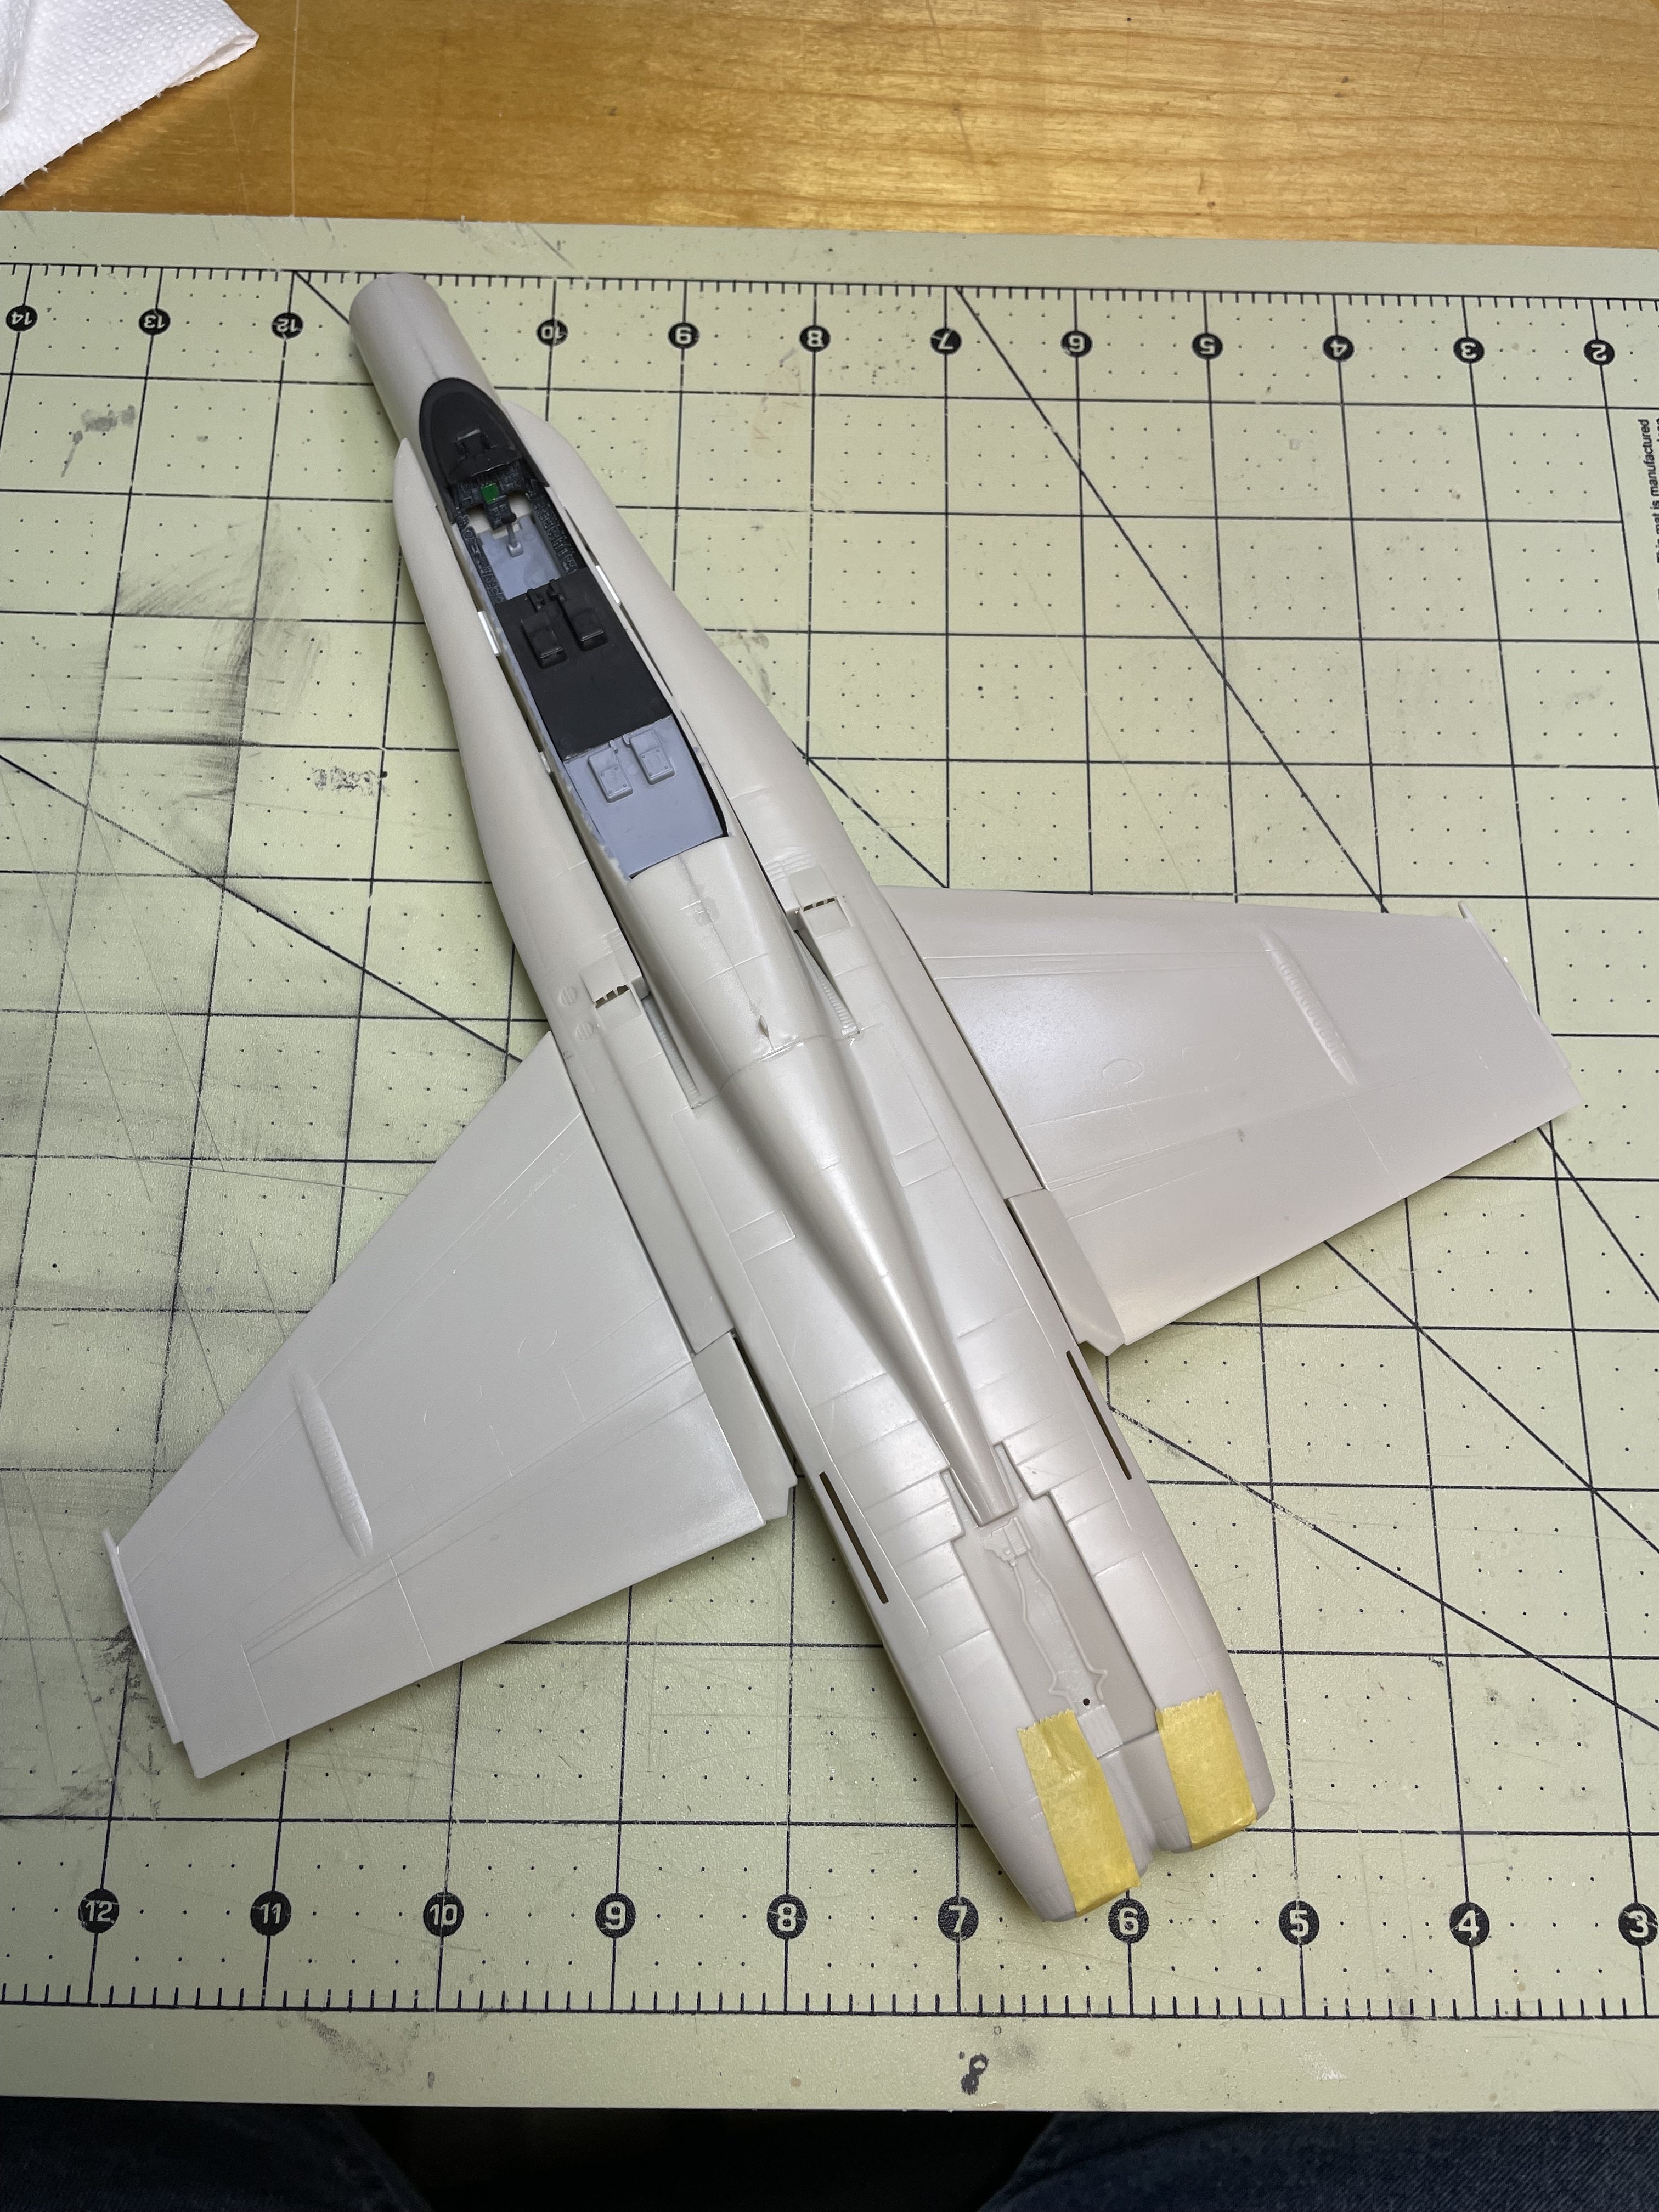

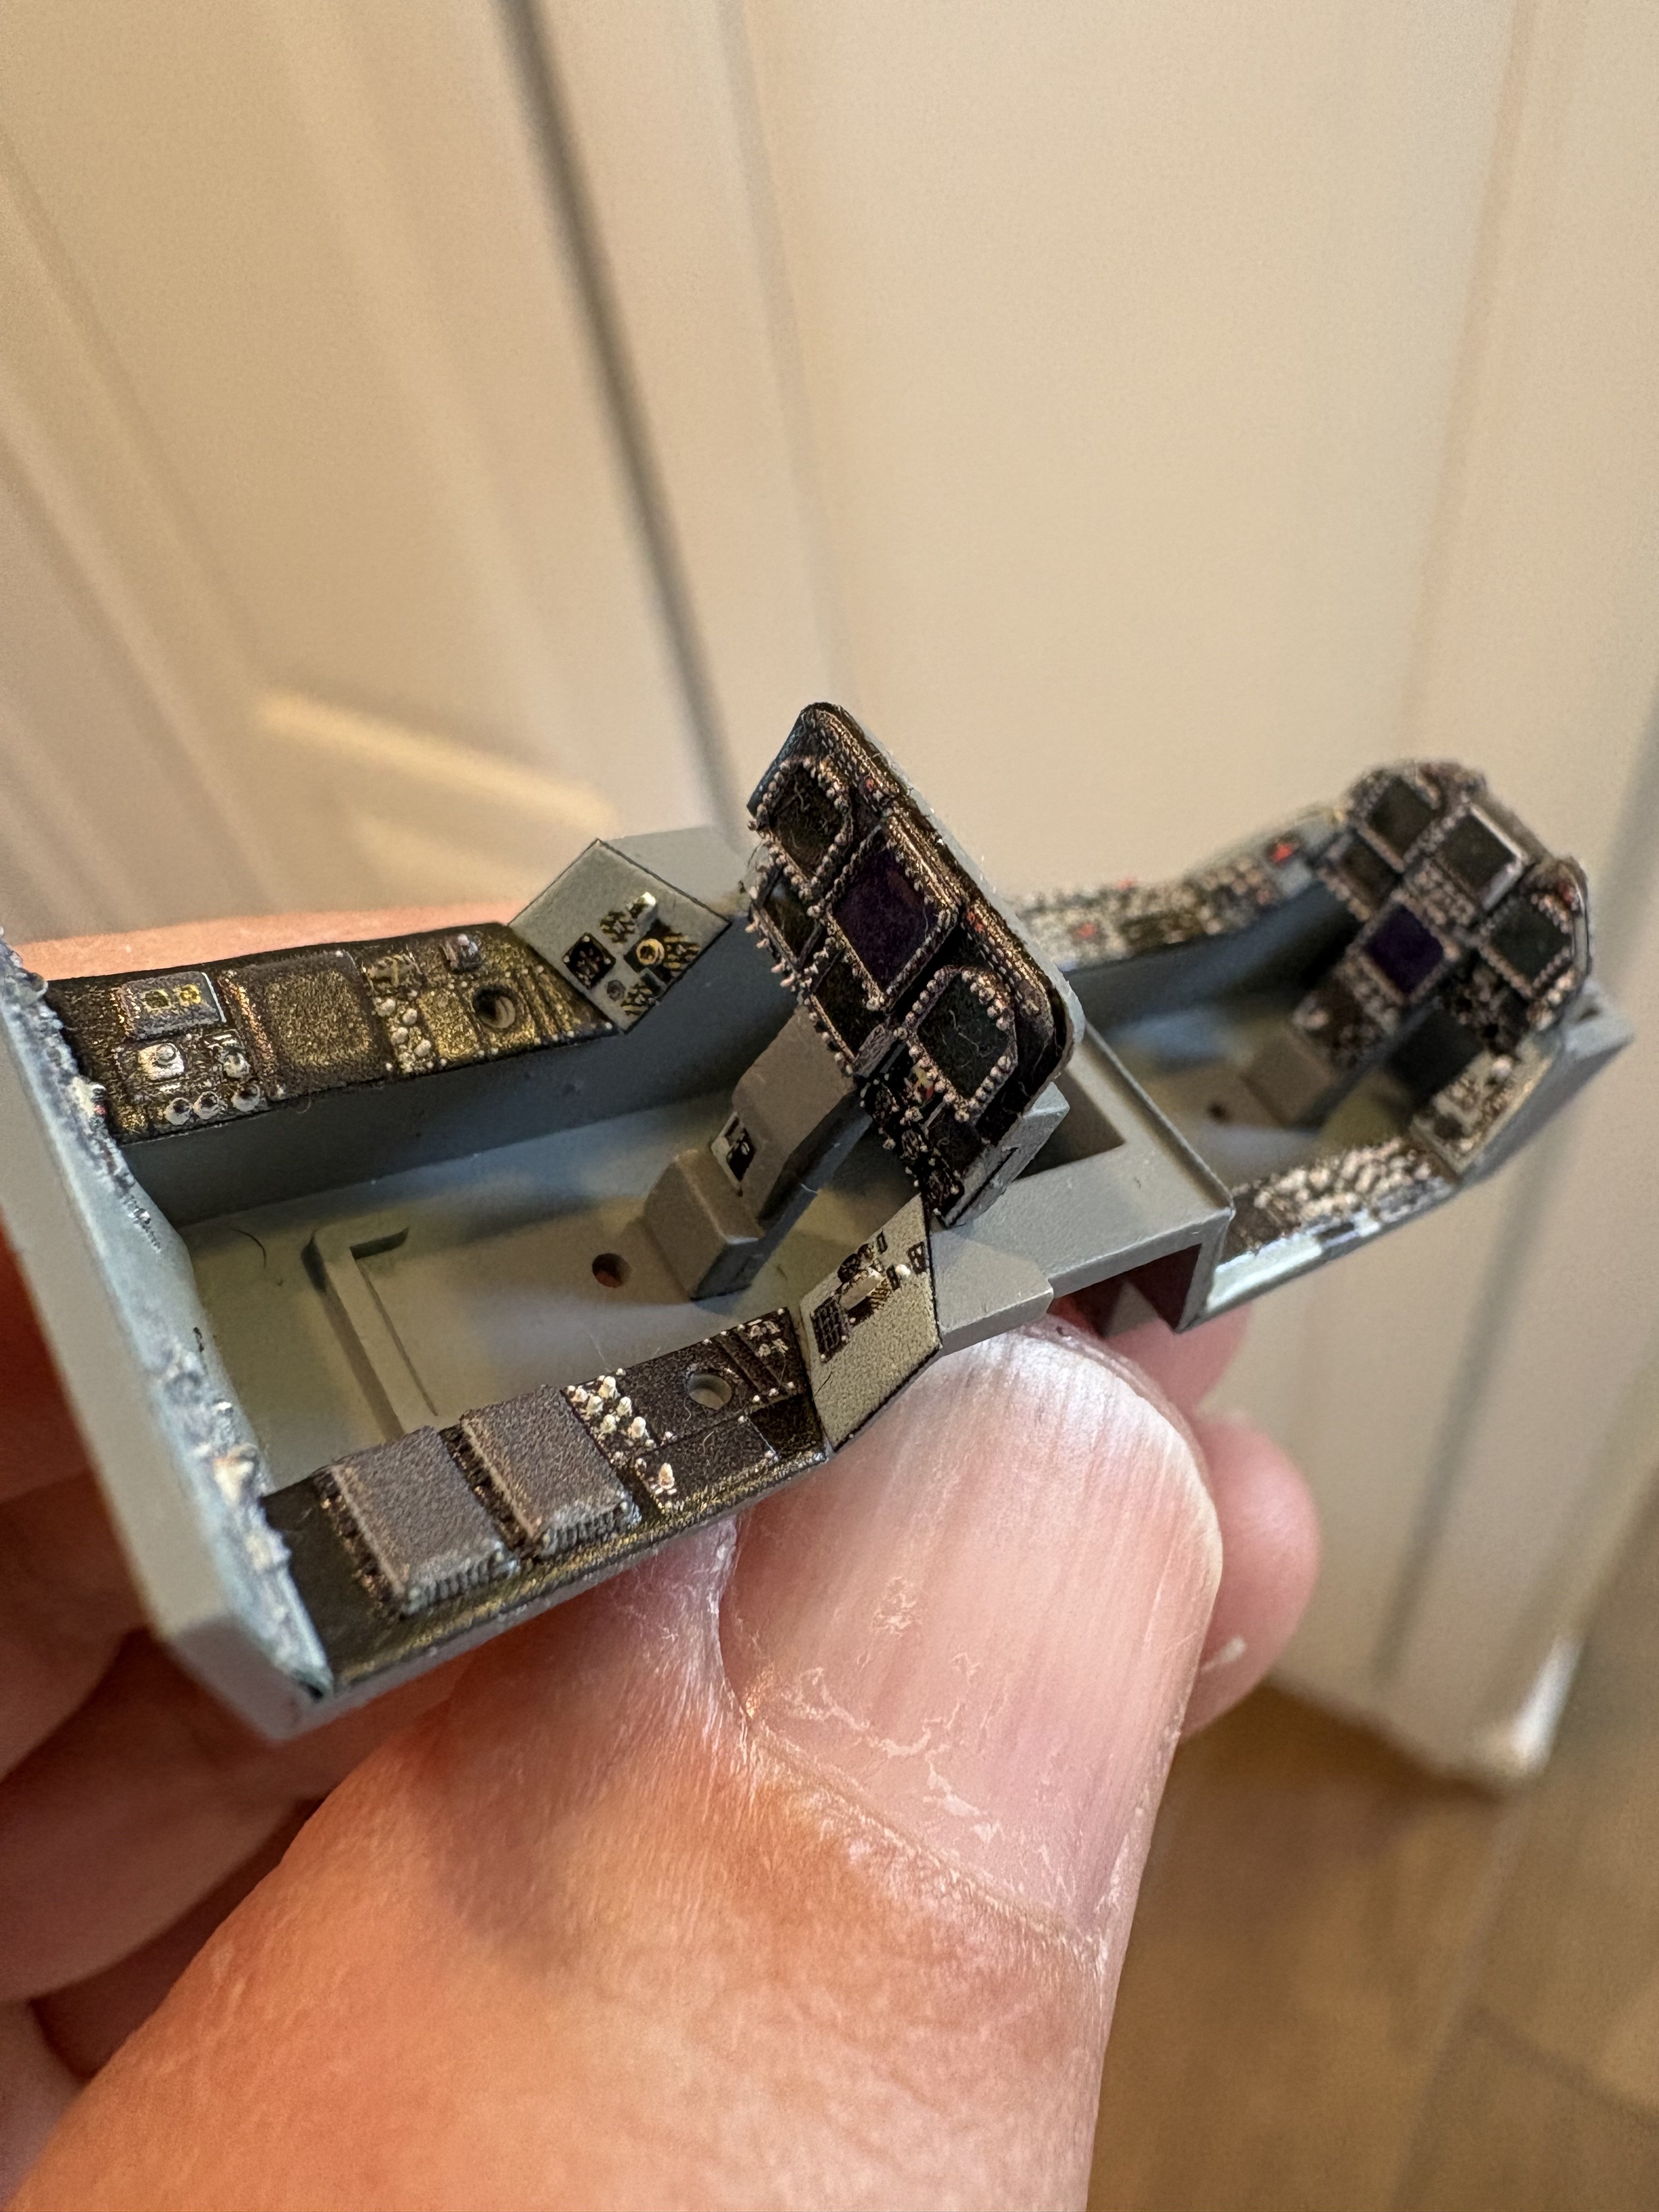
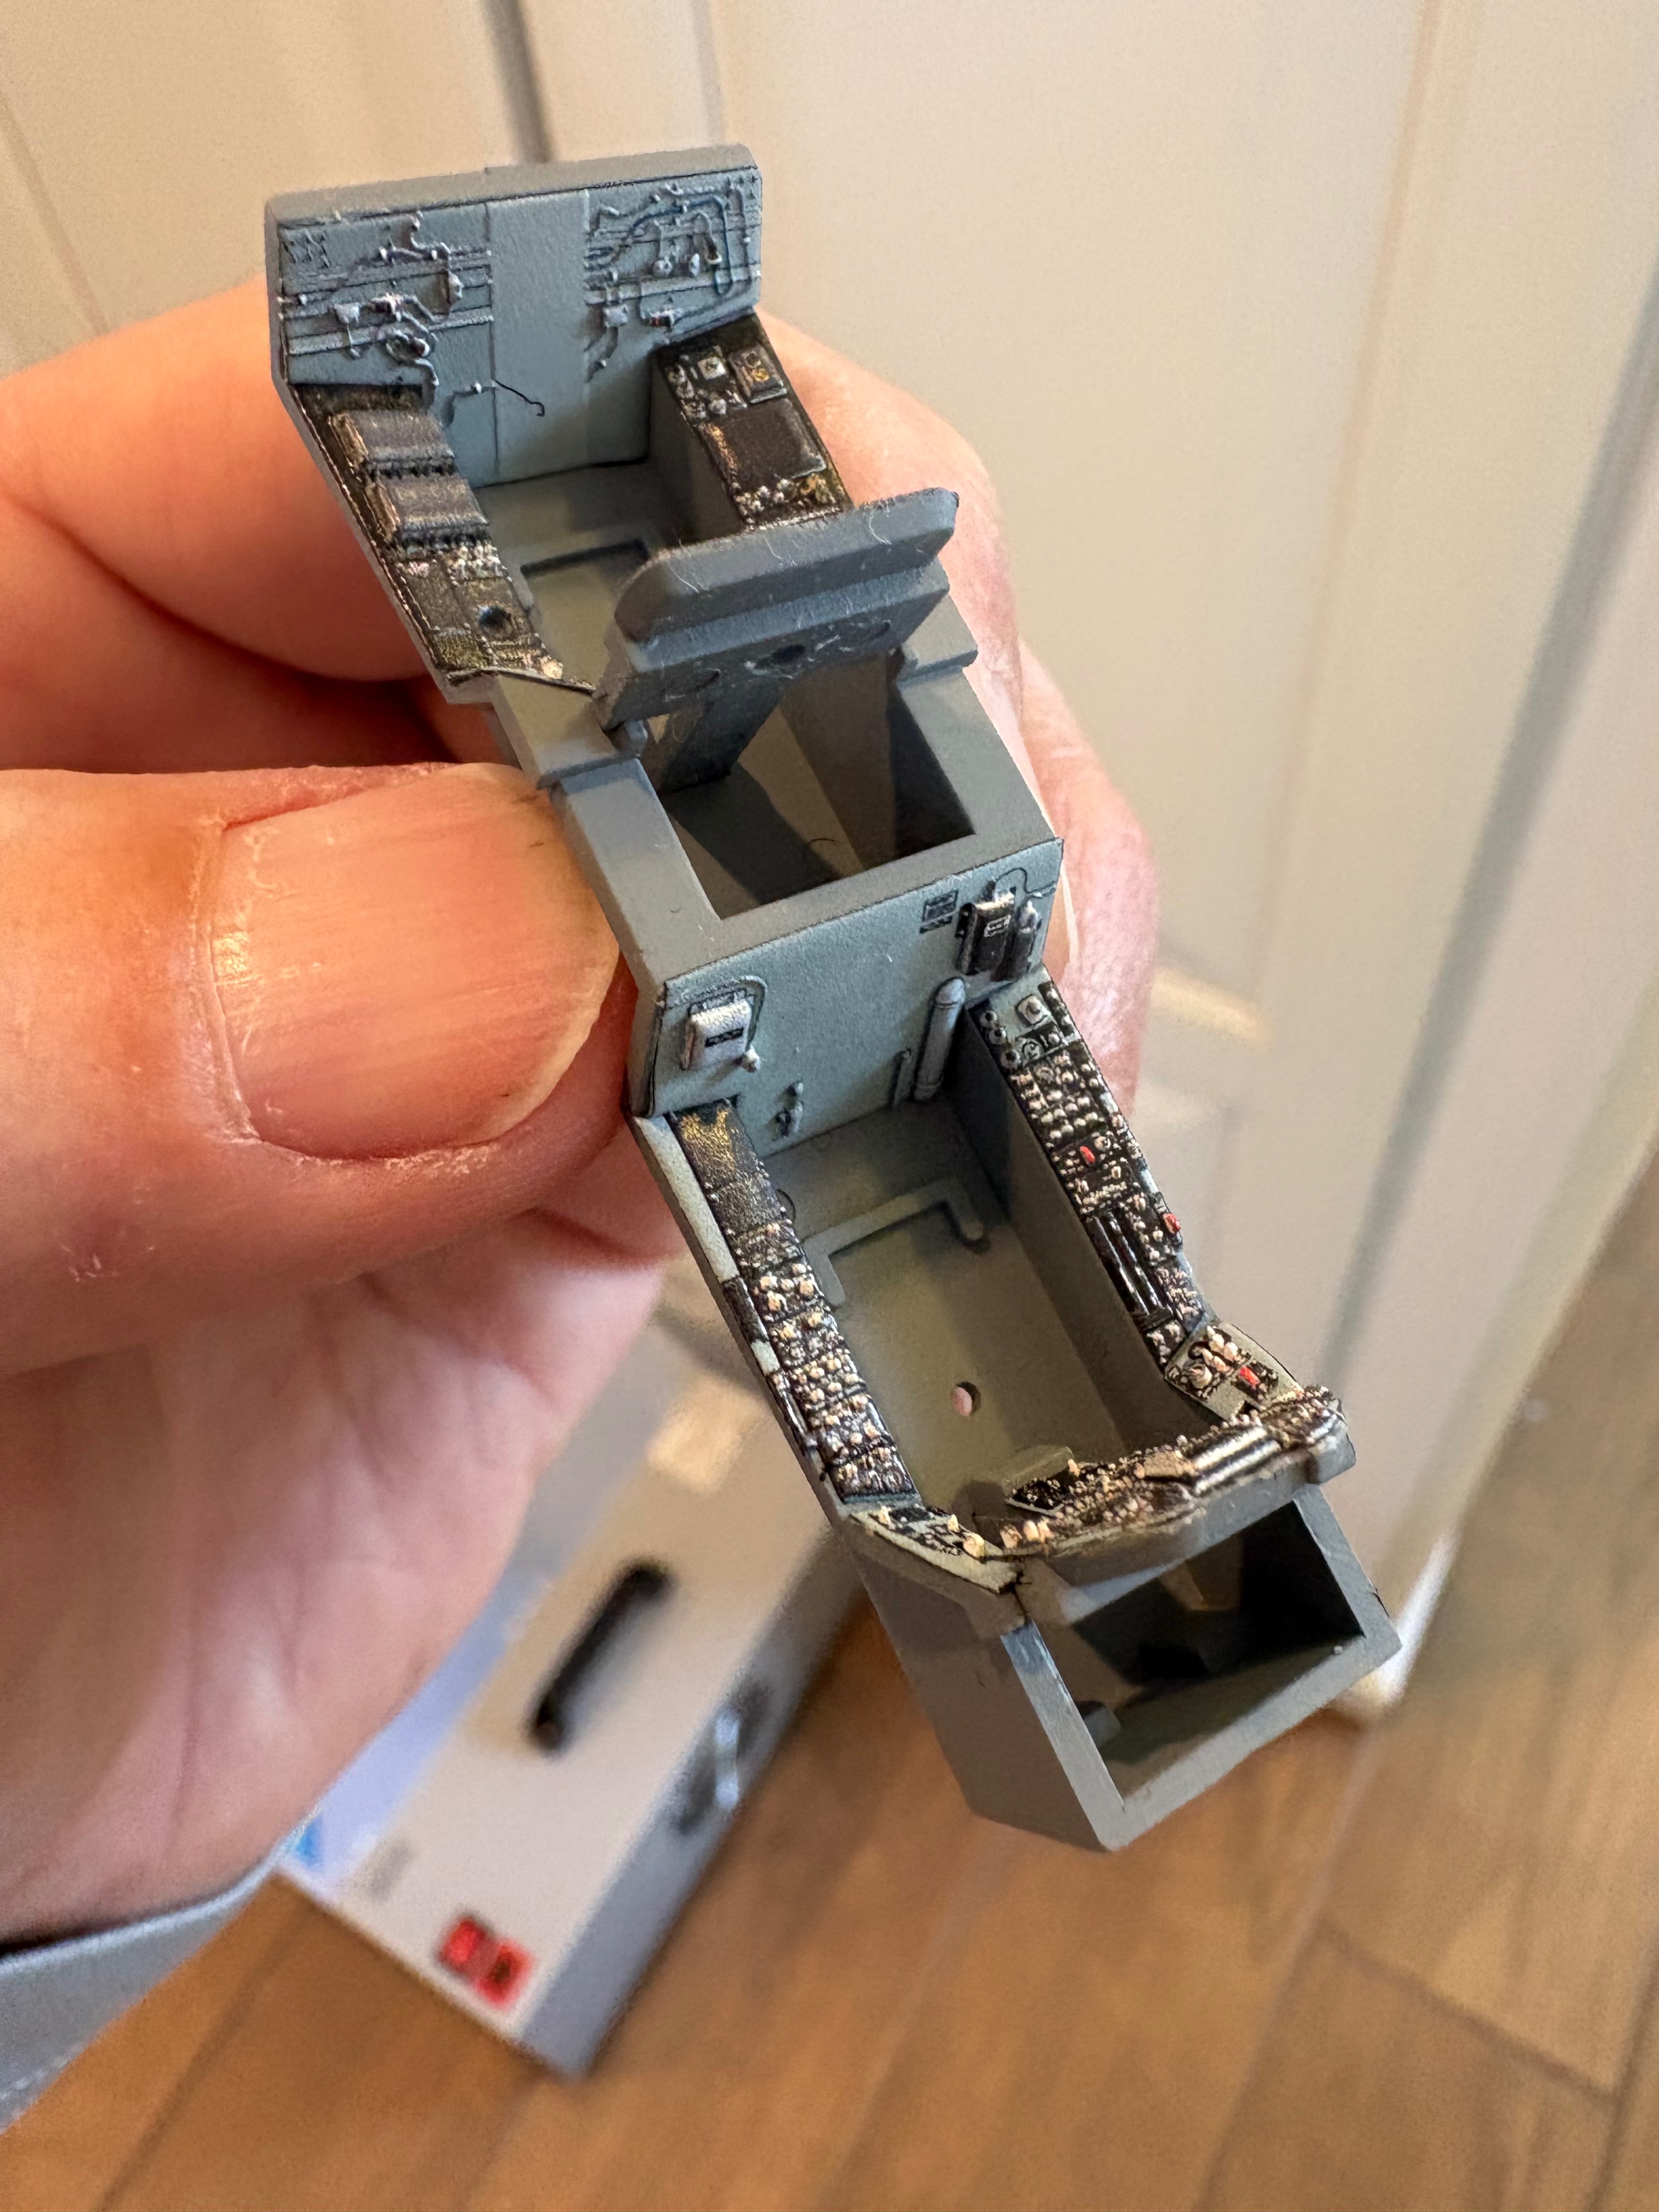
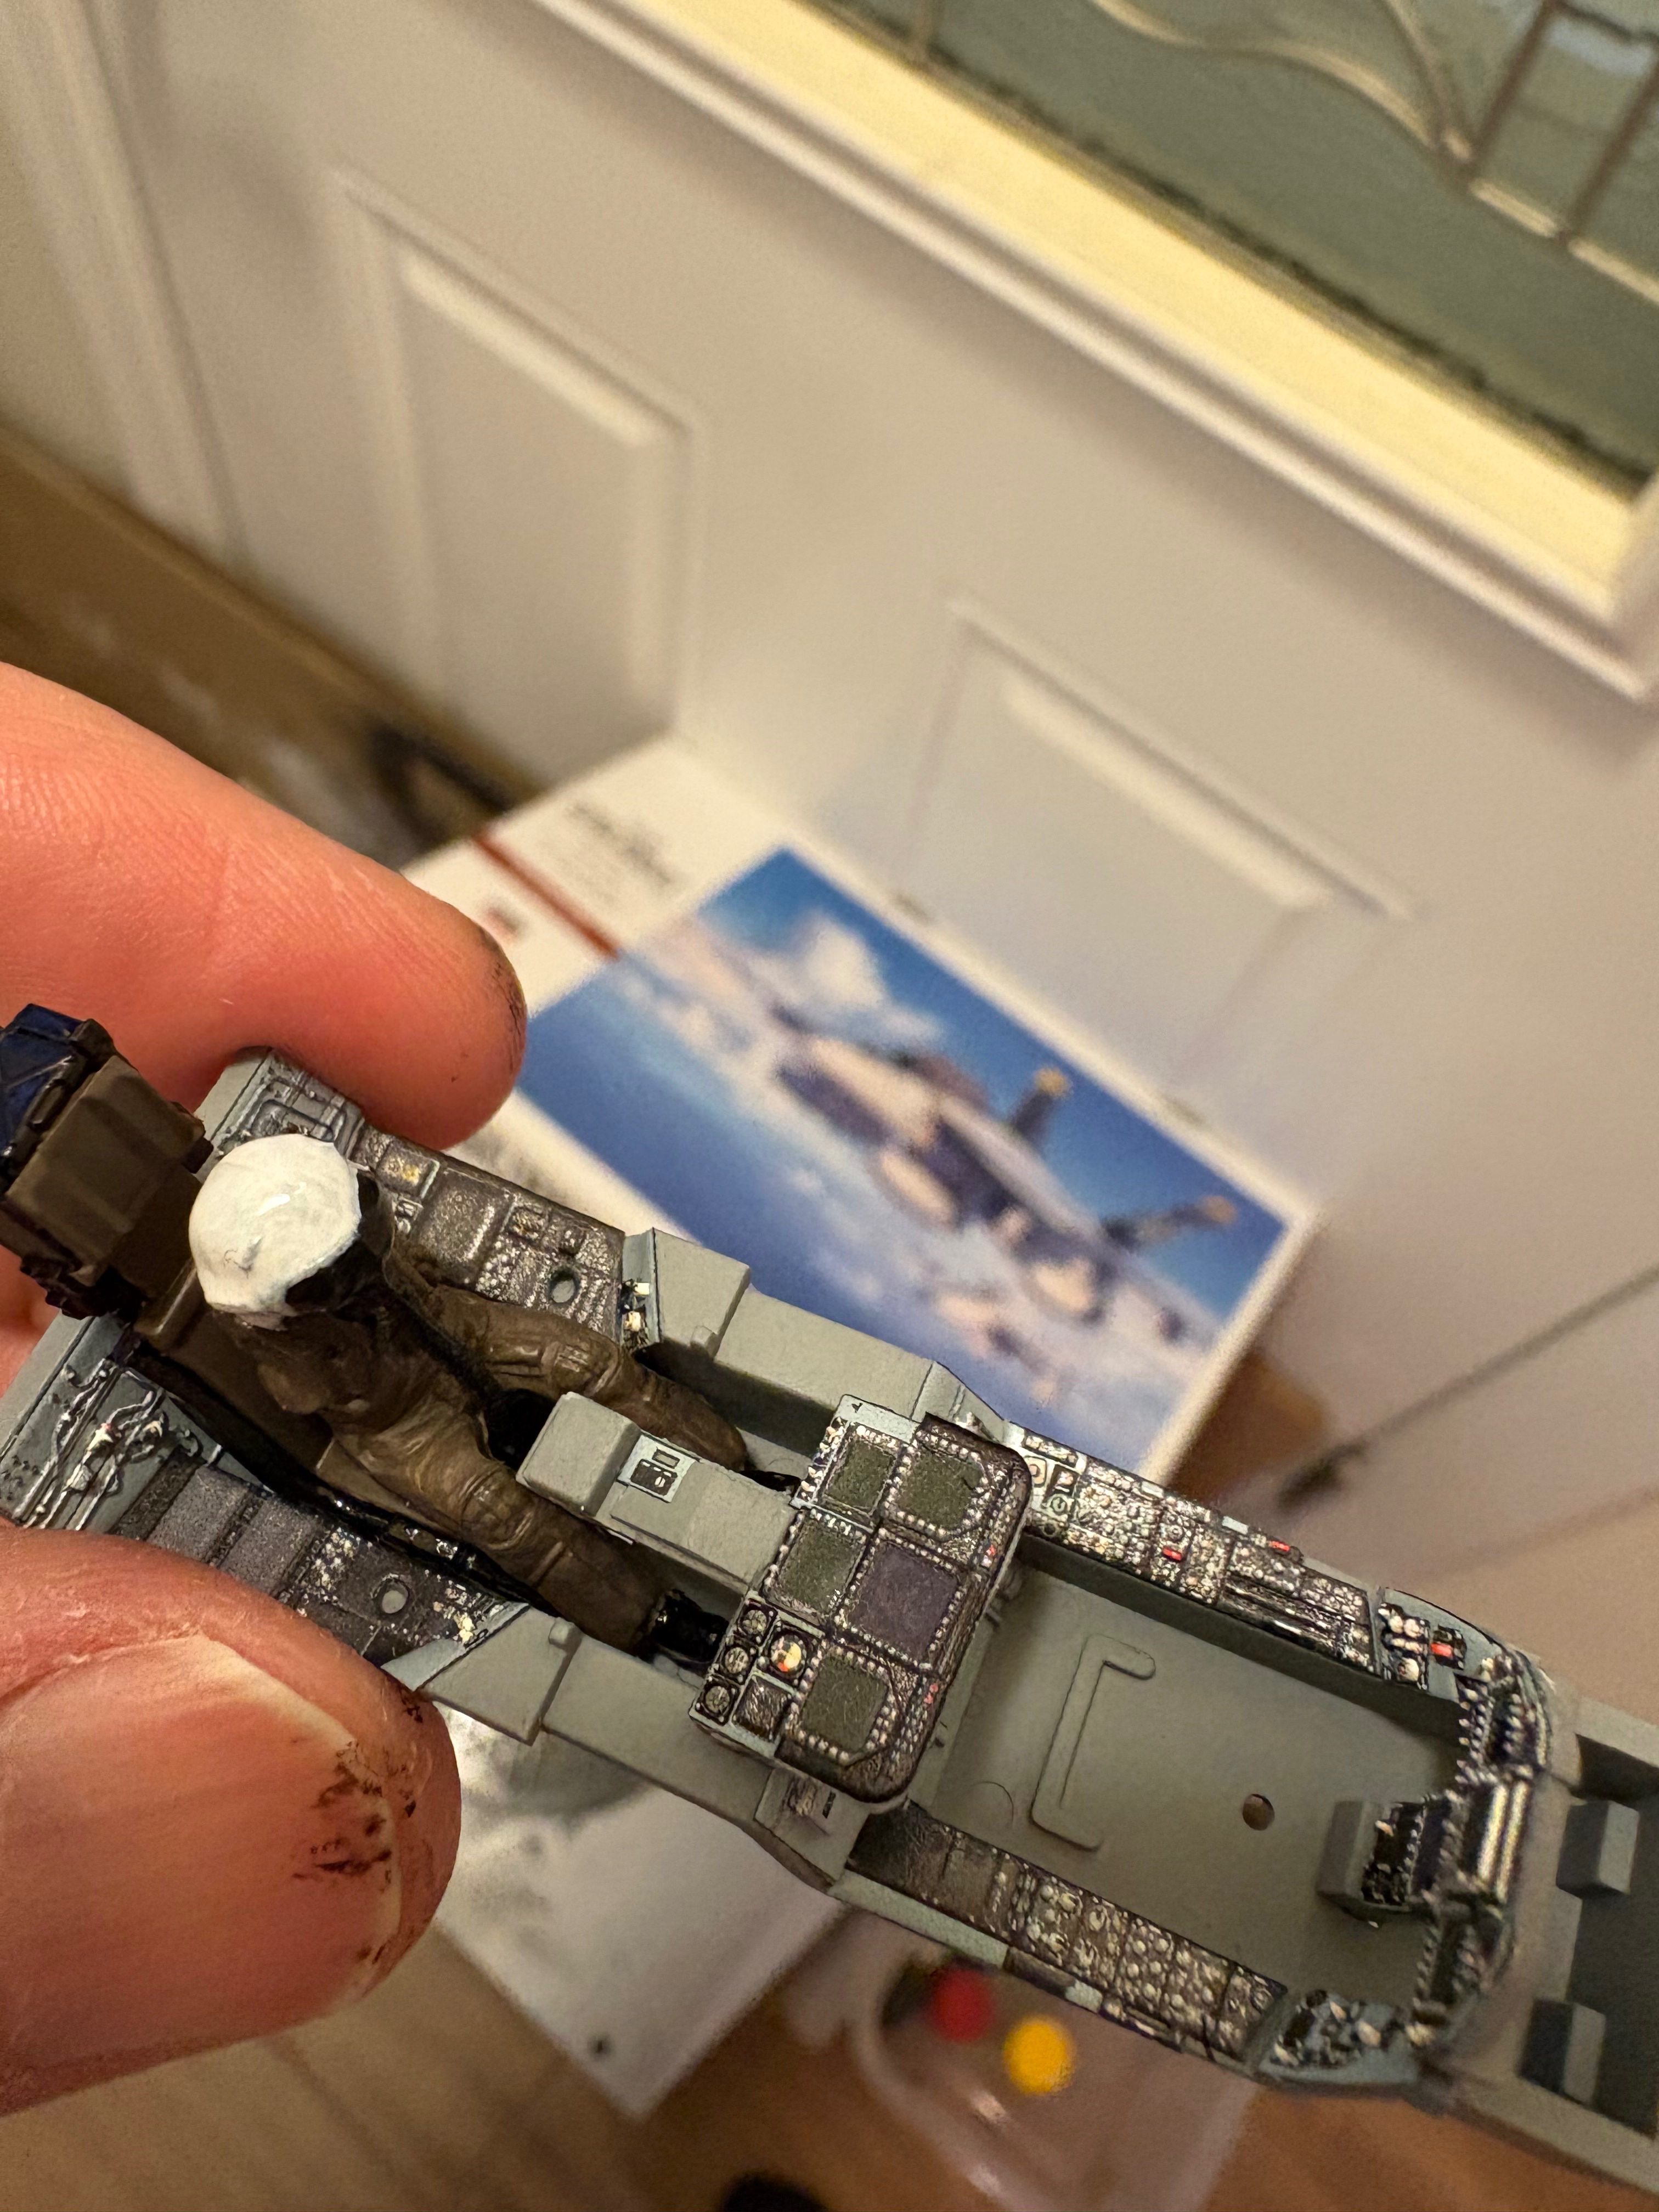

So I was planning on putting in the pilots with this build, but they don't fit. As you can see the console does not fit between their legs. Even with some elbow grease I can't make them fit. I think the only option is either cut their legs off, seriously shave down the sides of the consoles or not put the pilots in. Im not a fan of any of those options. I'm open to suggestions. I hope this isn't a sign of how this Hasegawa kit is going to fit for the whole build.View attachment 184297

I don't know if the figure is too big from a scale perspective, but in these situations with armour and softskin vehicles, I would try filing the inside of the legs to fit the shape of the console... as well as the outside of the pant legs that might be touching. Sanding the butt and/or the back can also help if the seated angle is wrong.options
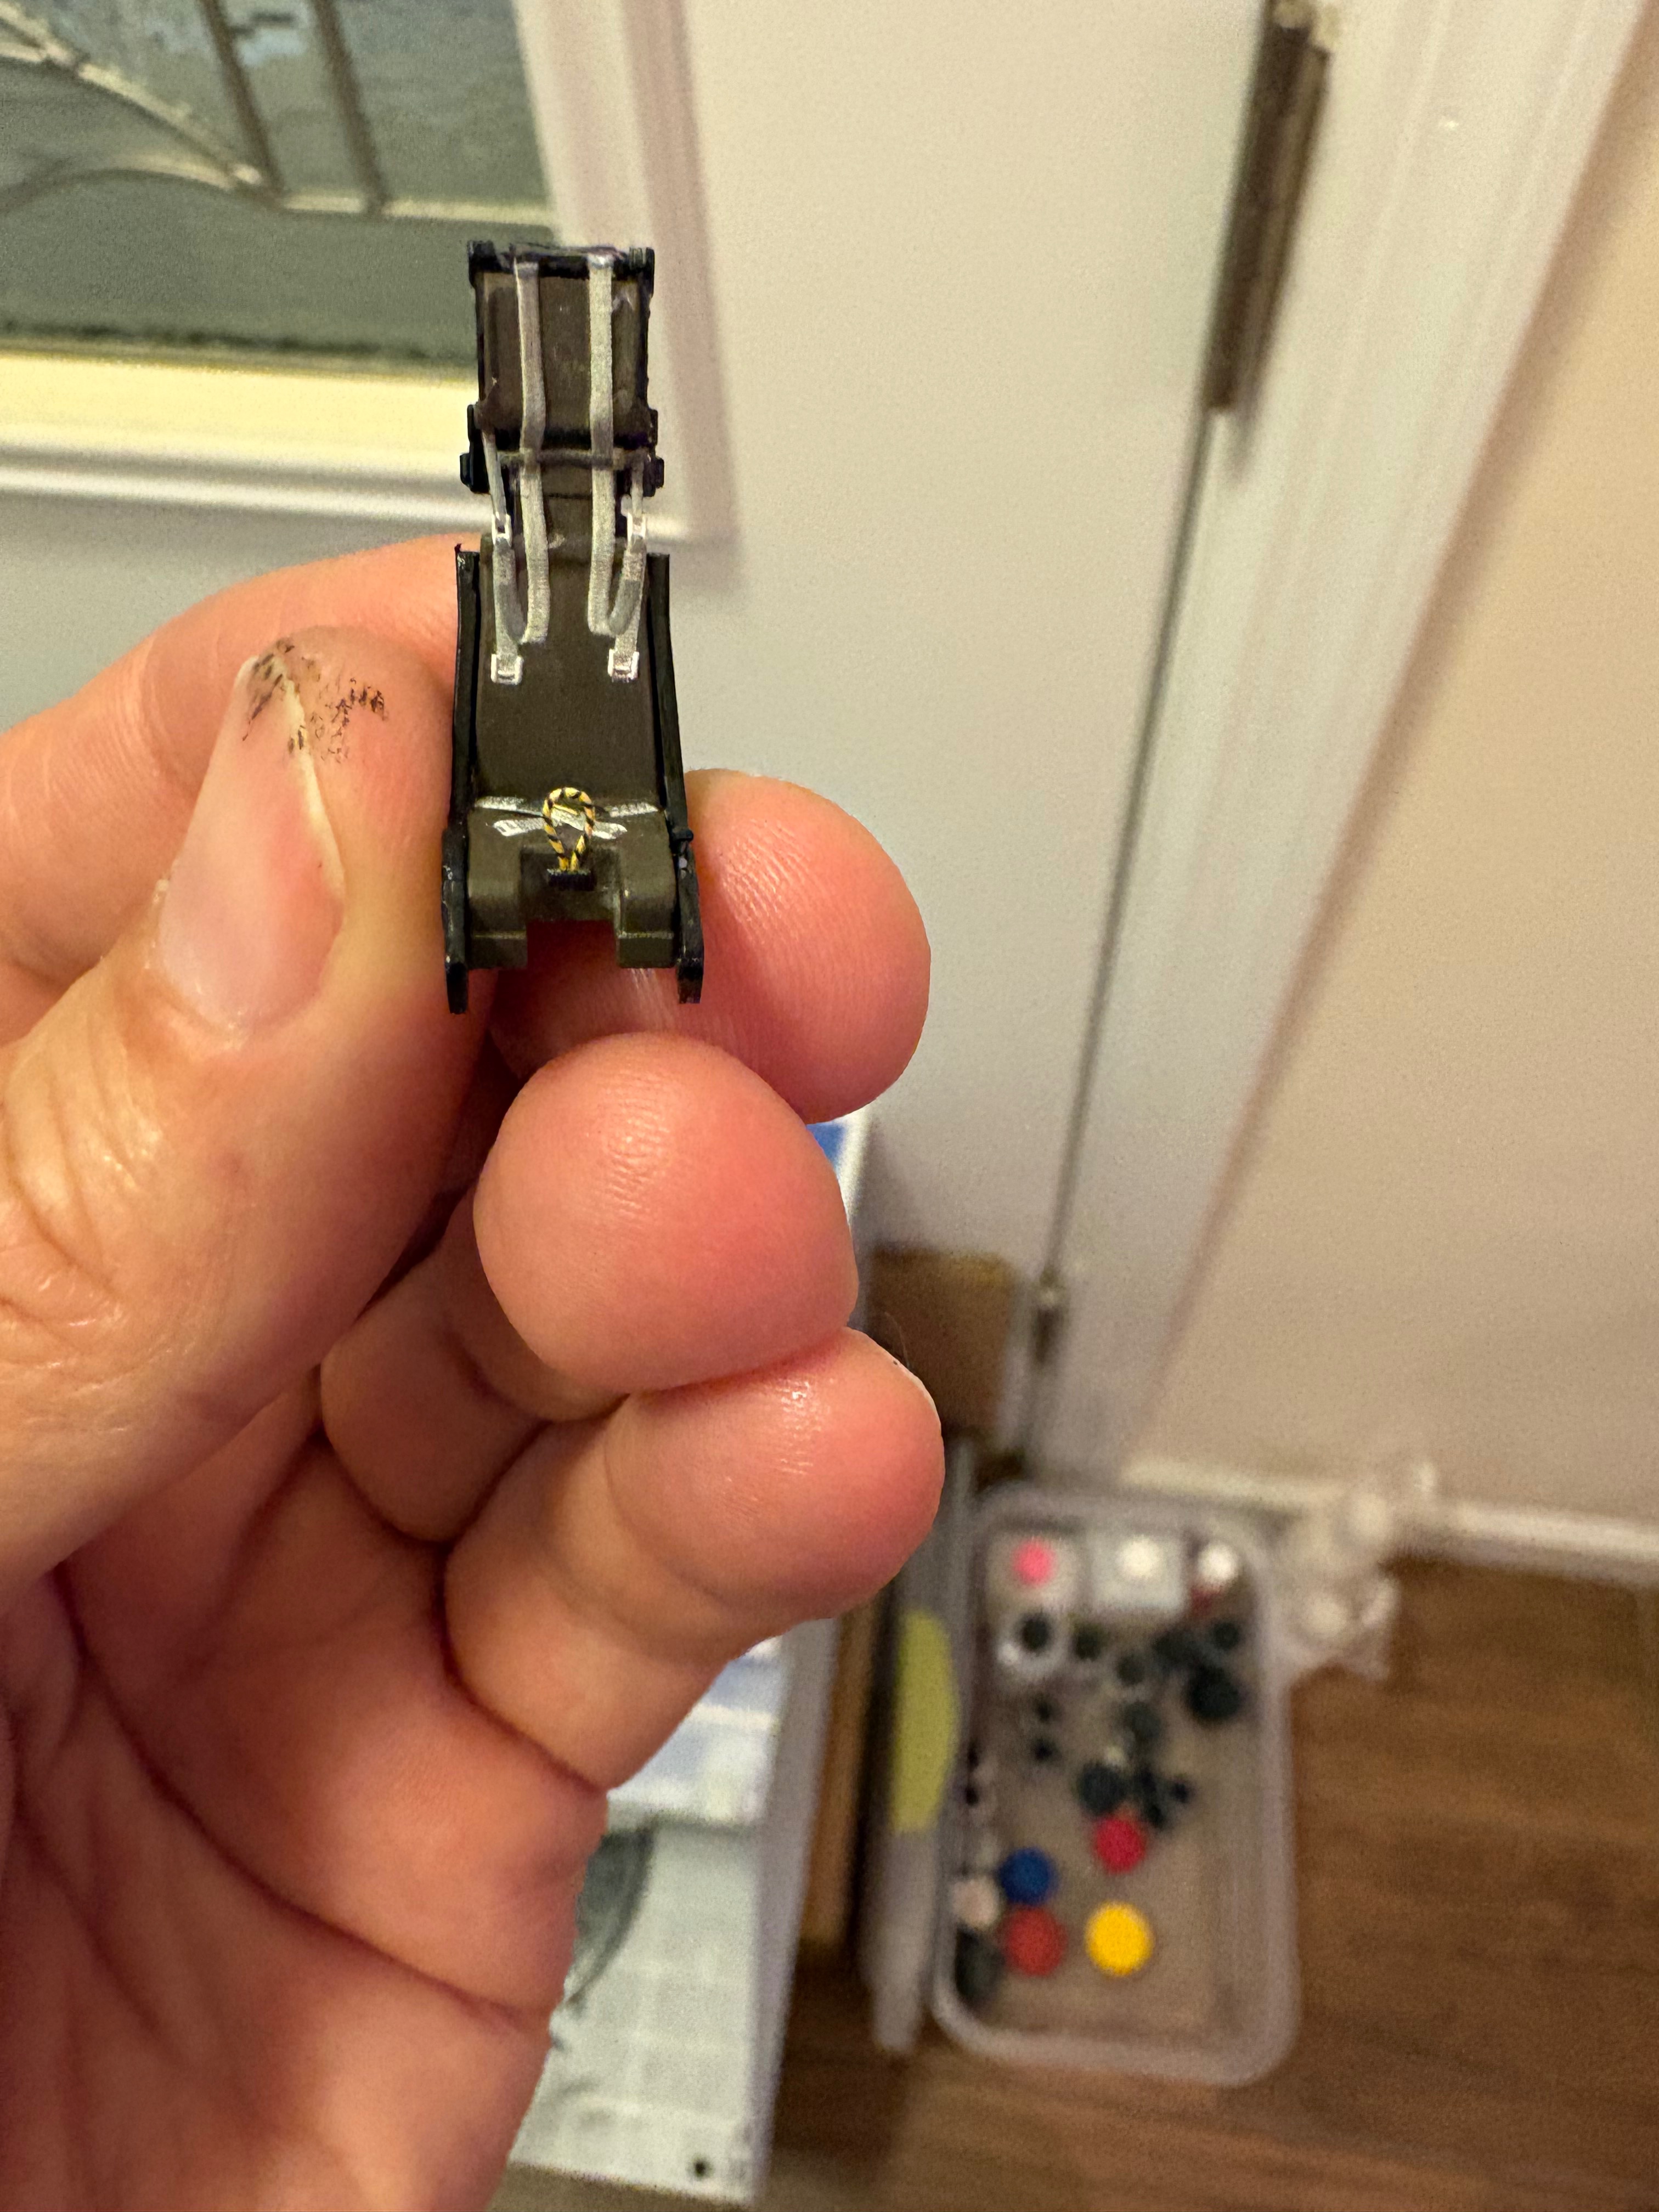
Good call IMO. Unless doing a wheels-up build, I prefer no pilots.But I think I'm going pilotless. I put the decals on the seat and I think it looks very cool.
Nah. Don't feel bad. I have I think two models that are piloted by the most amazing young men with no legs!I made some progress. I cut the legs off and they fit fine. Looks good. Probably couldn't tell unless you were looking for it. But I think I'm going pilotless. I put the decals on the seat and I think it looks very cool.View attachment 184307
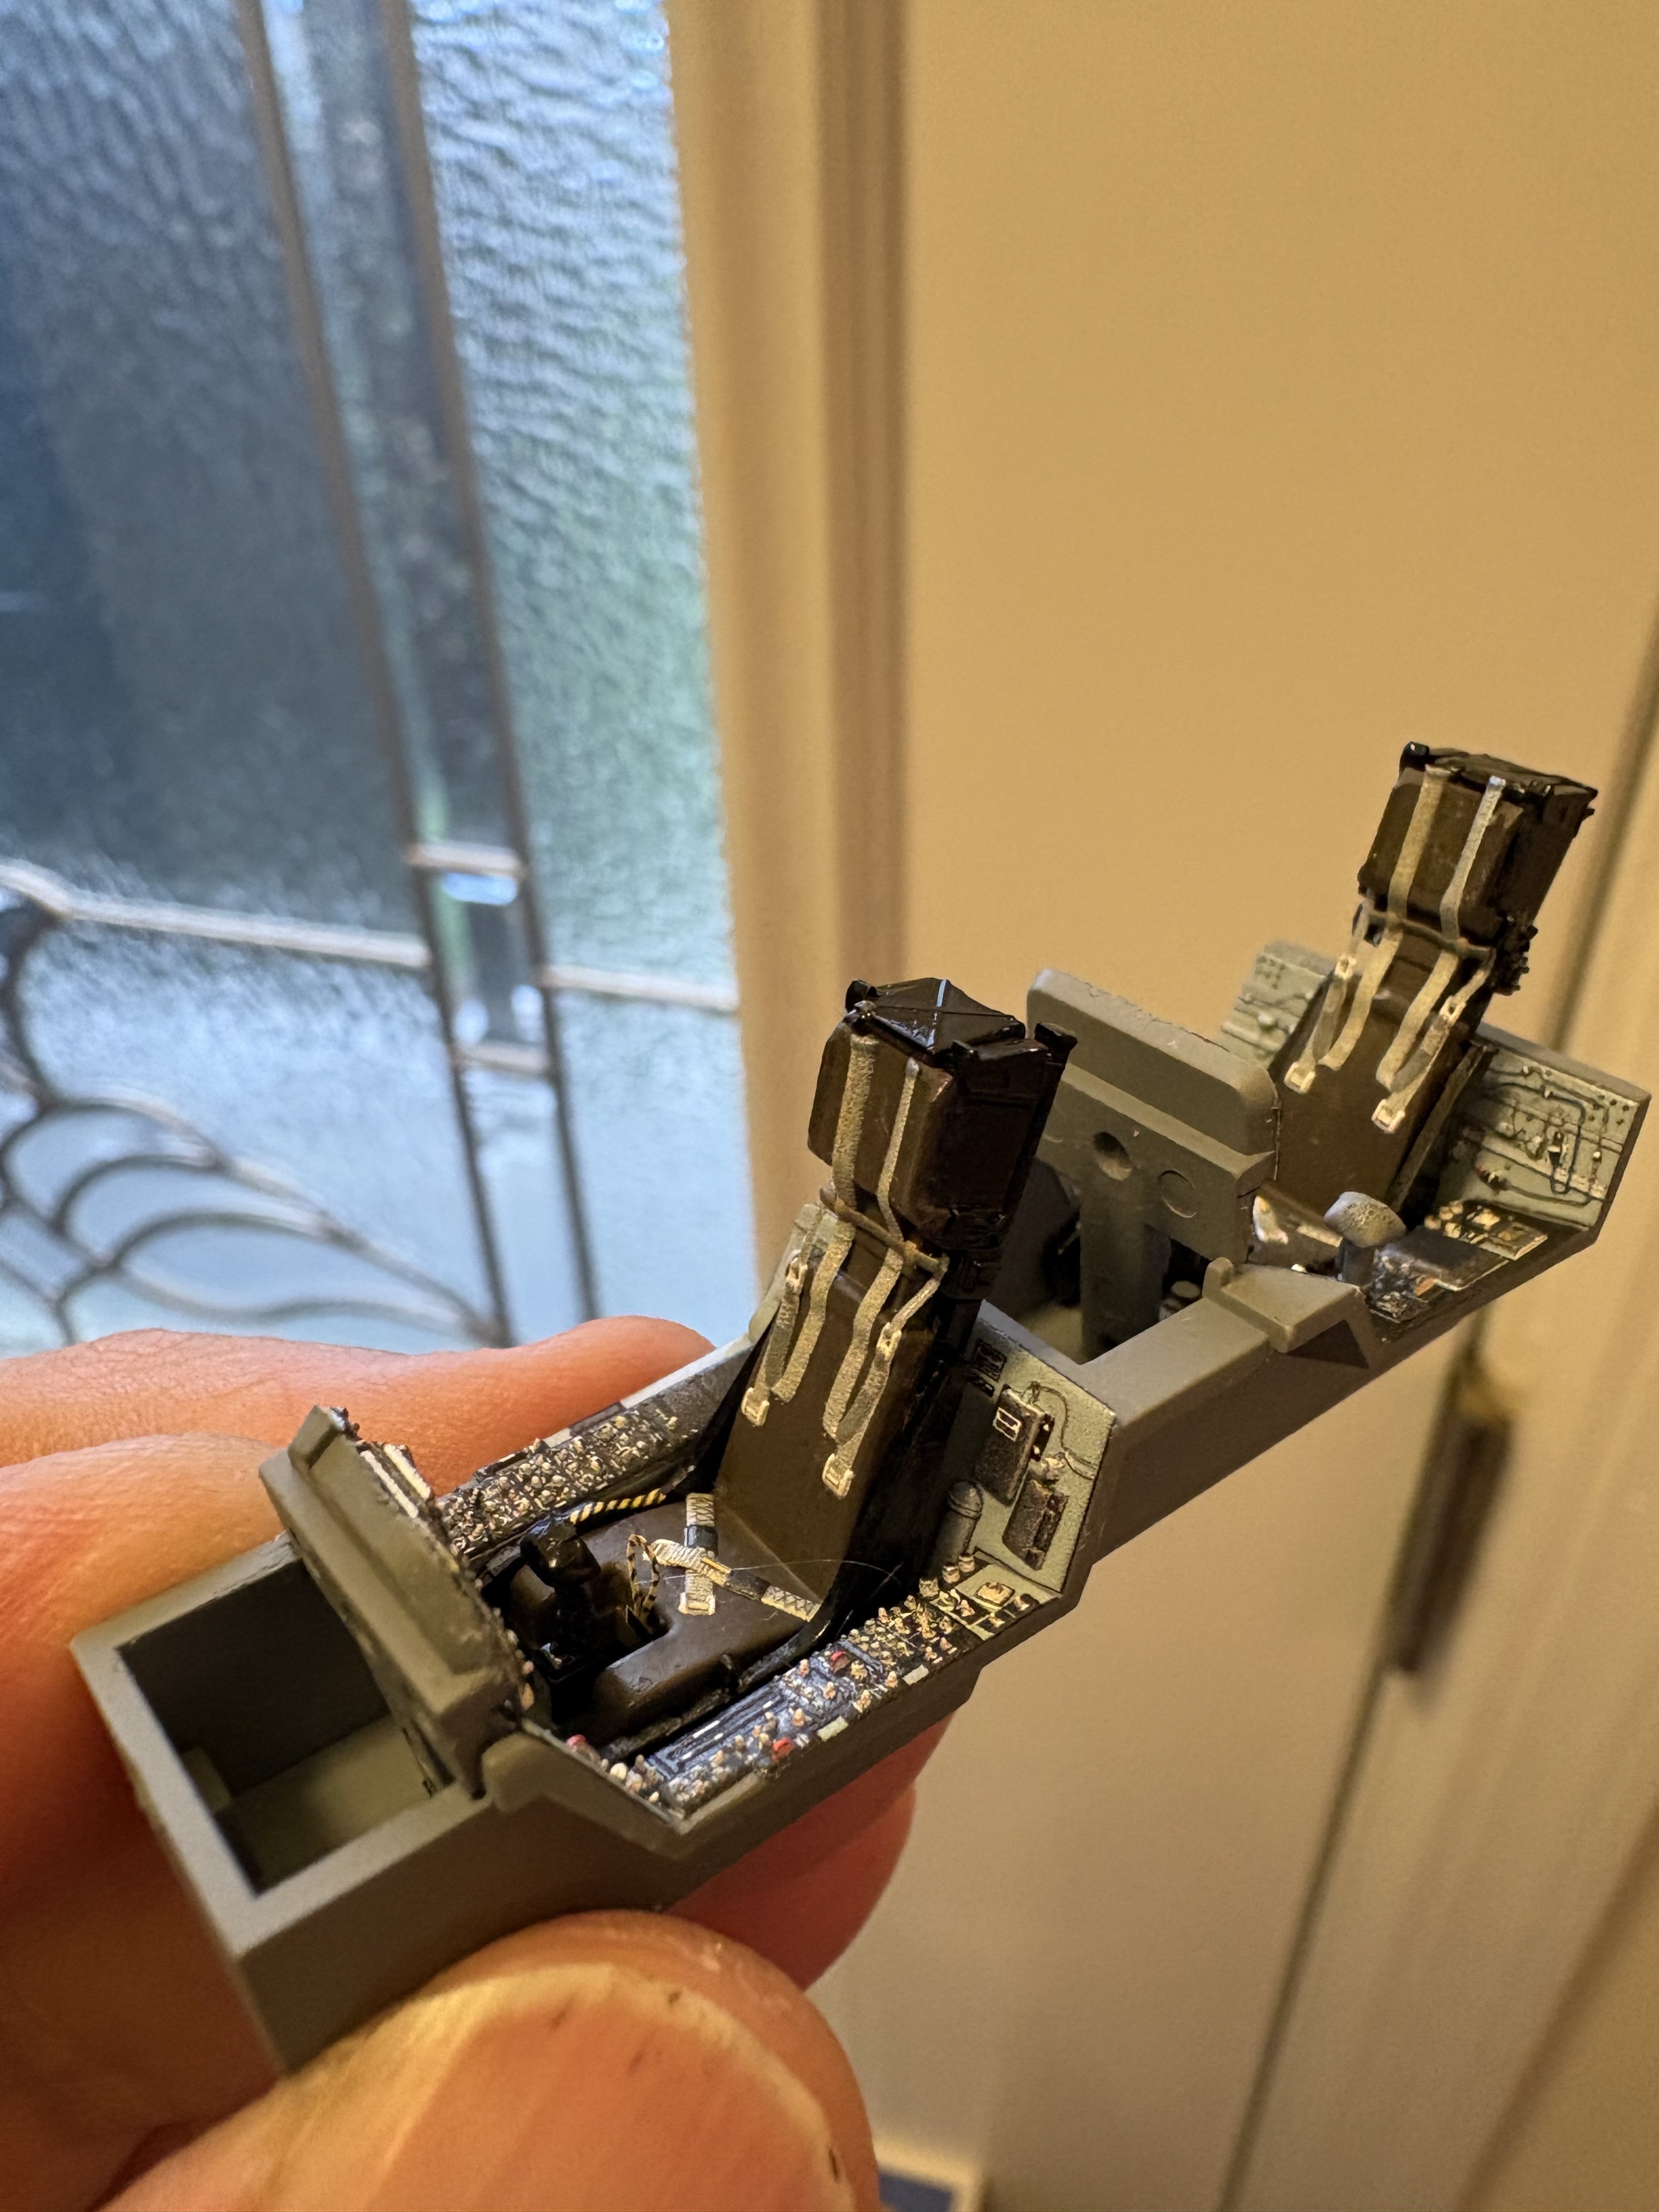
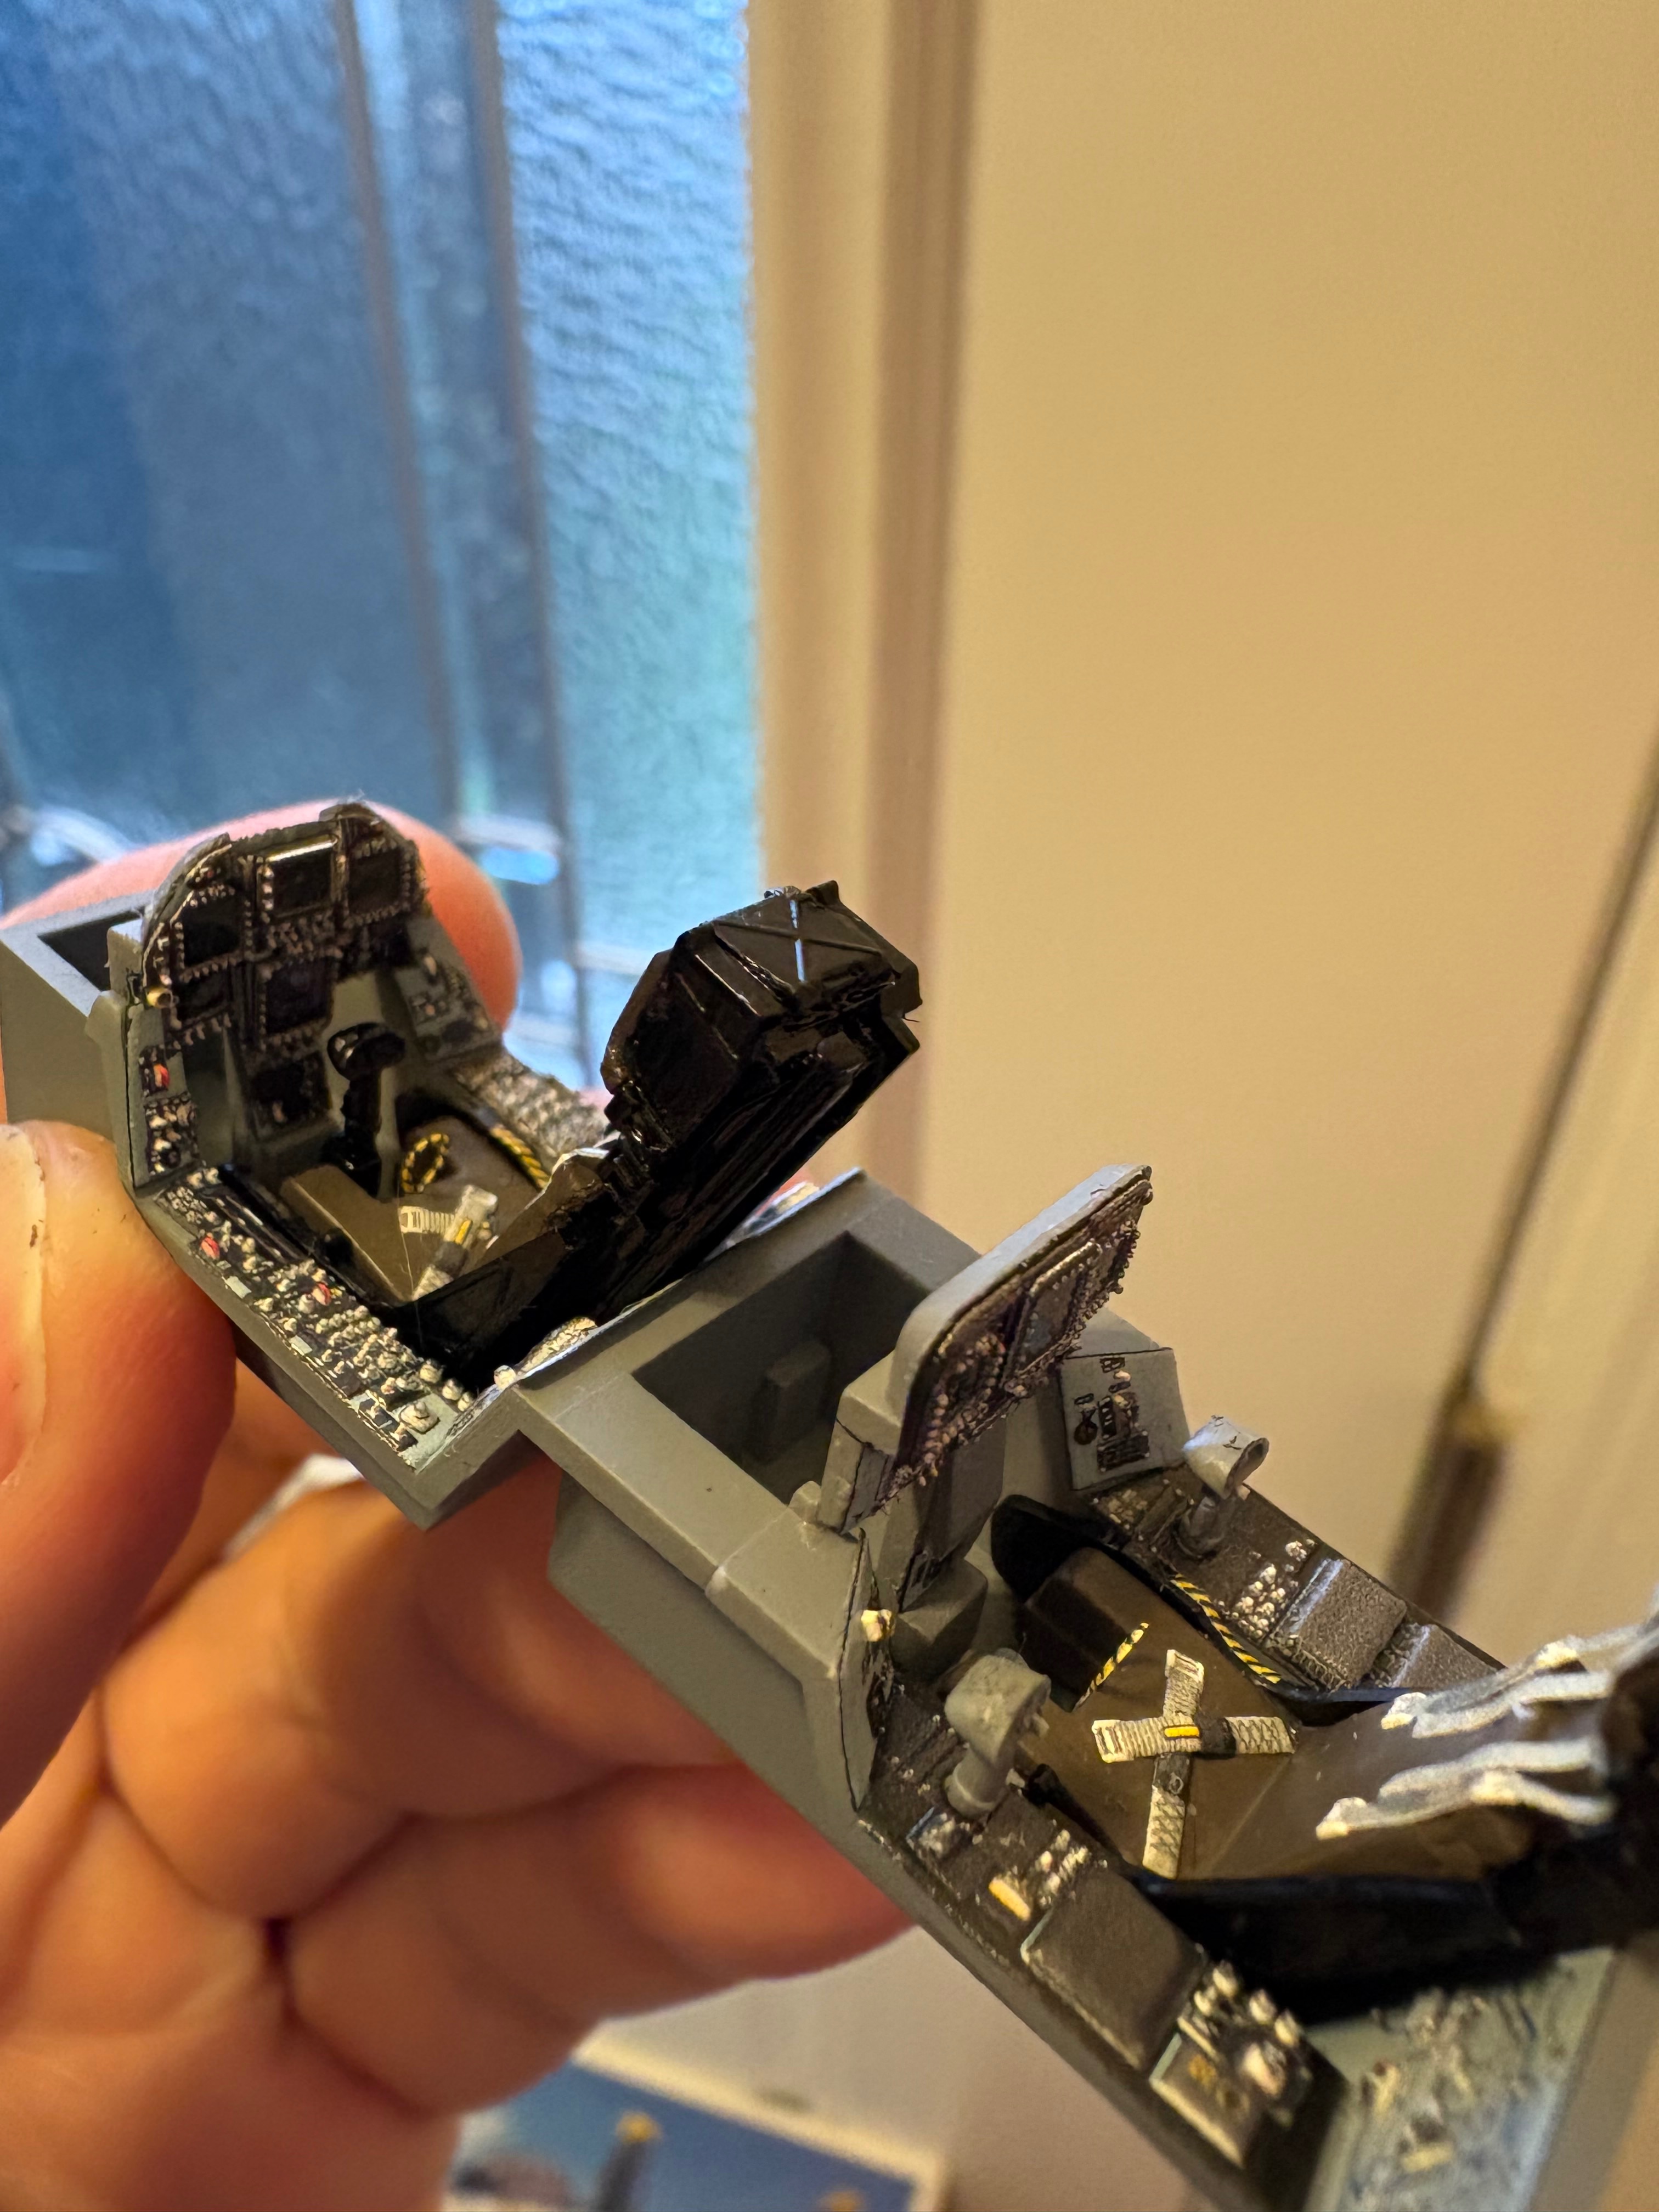
The switches are decals?Working on the cockpit. These Quinta Studio decals really are very cool. I'm considering going open cockpit on this build.View attachment 184244View attachment 184245
Sorry I'm late to the party and it's too late to help with this build but… I had the same issue, I wonder if that was a Hasegawa kit too, what I did was take my dremel to the pilots butt and thighs. Quick glance and he had legs, look at it enough and you would think that man has stick legs! Haha. I've also cut the legs off in the past.So I was planning on putting in the pilots with this build, but they don't fit. As you can see the console does not fit between their legs. Even with some elbow grease I can't make them fit. I think the only option is either cut their legs off, seriously shave down the sides of the consoles or not put the pilots in. Im not a fan of any of those options. I'm open to suggestions. I hope this isn't a sign of how this Hasegawa kit is going to fit for the whole build.View attachment 184297
Yea everything in the cockpit except for the sticks are 3d decals. You can get them on eBay. Pretty easy to put them on.The switches are decals?
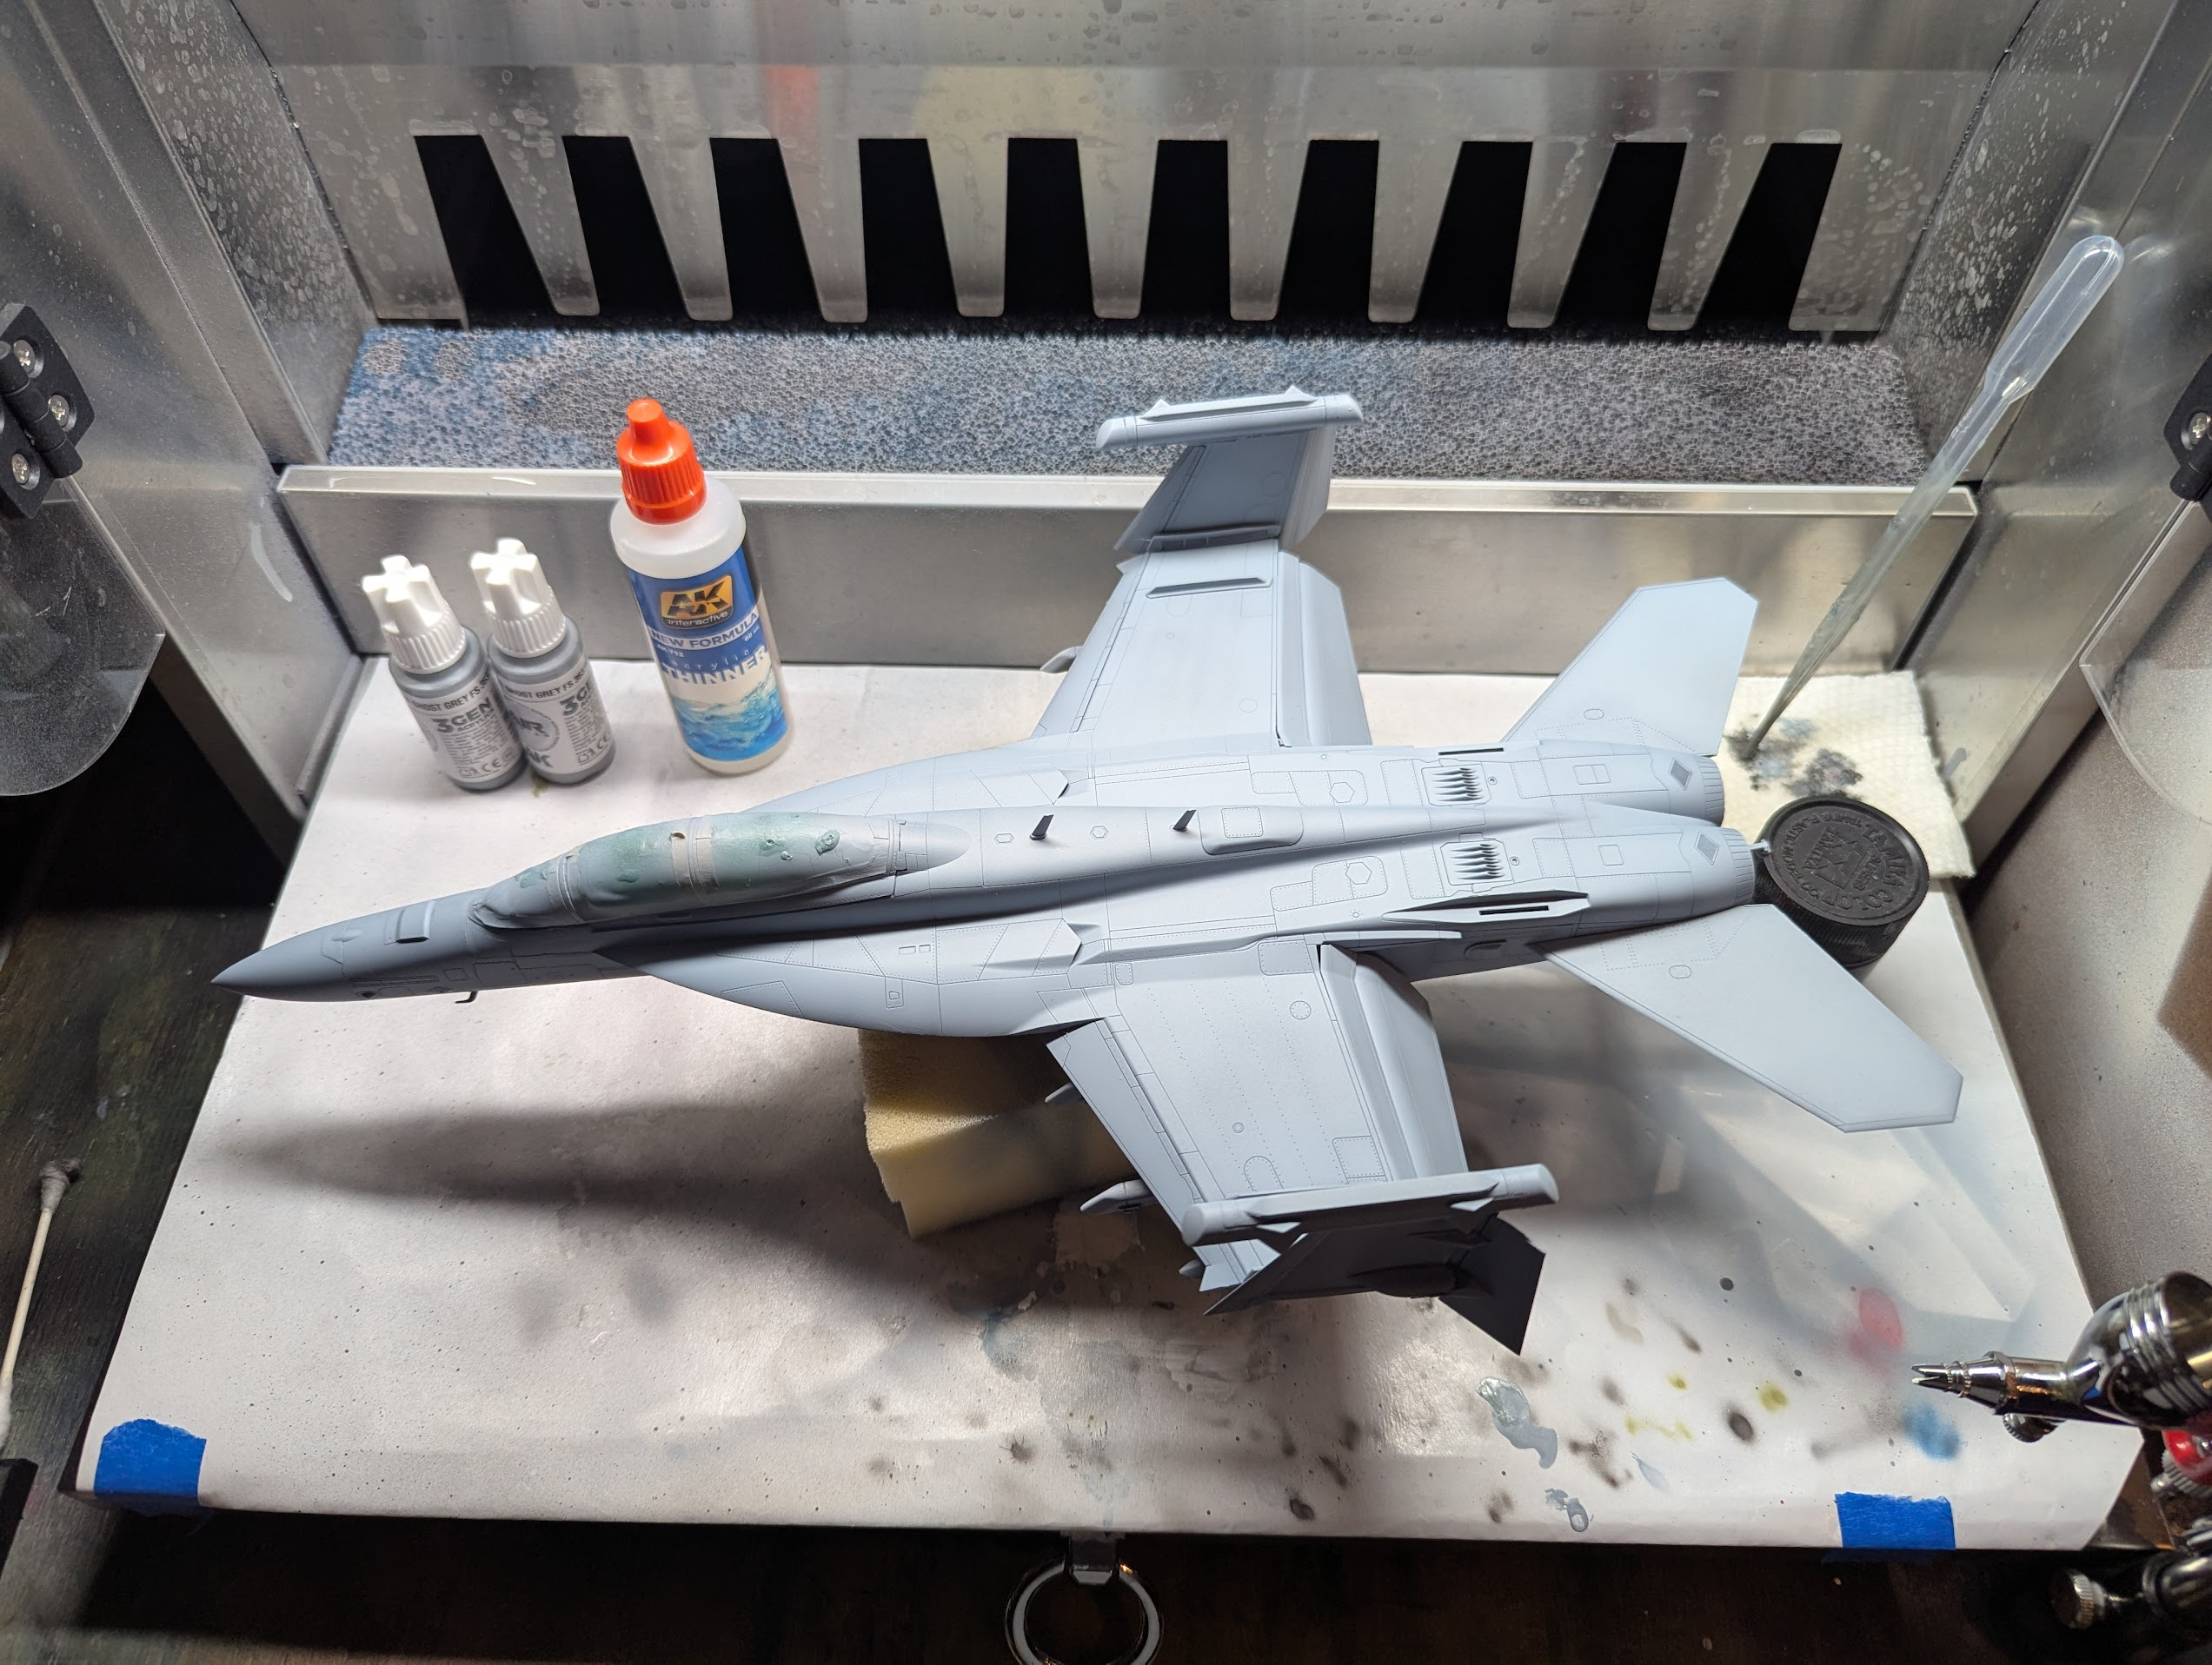
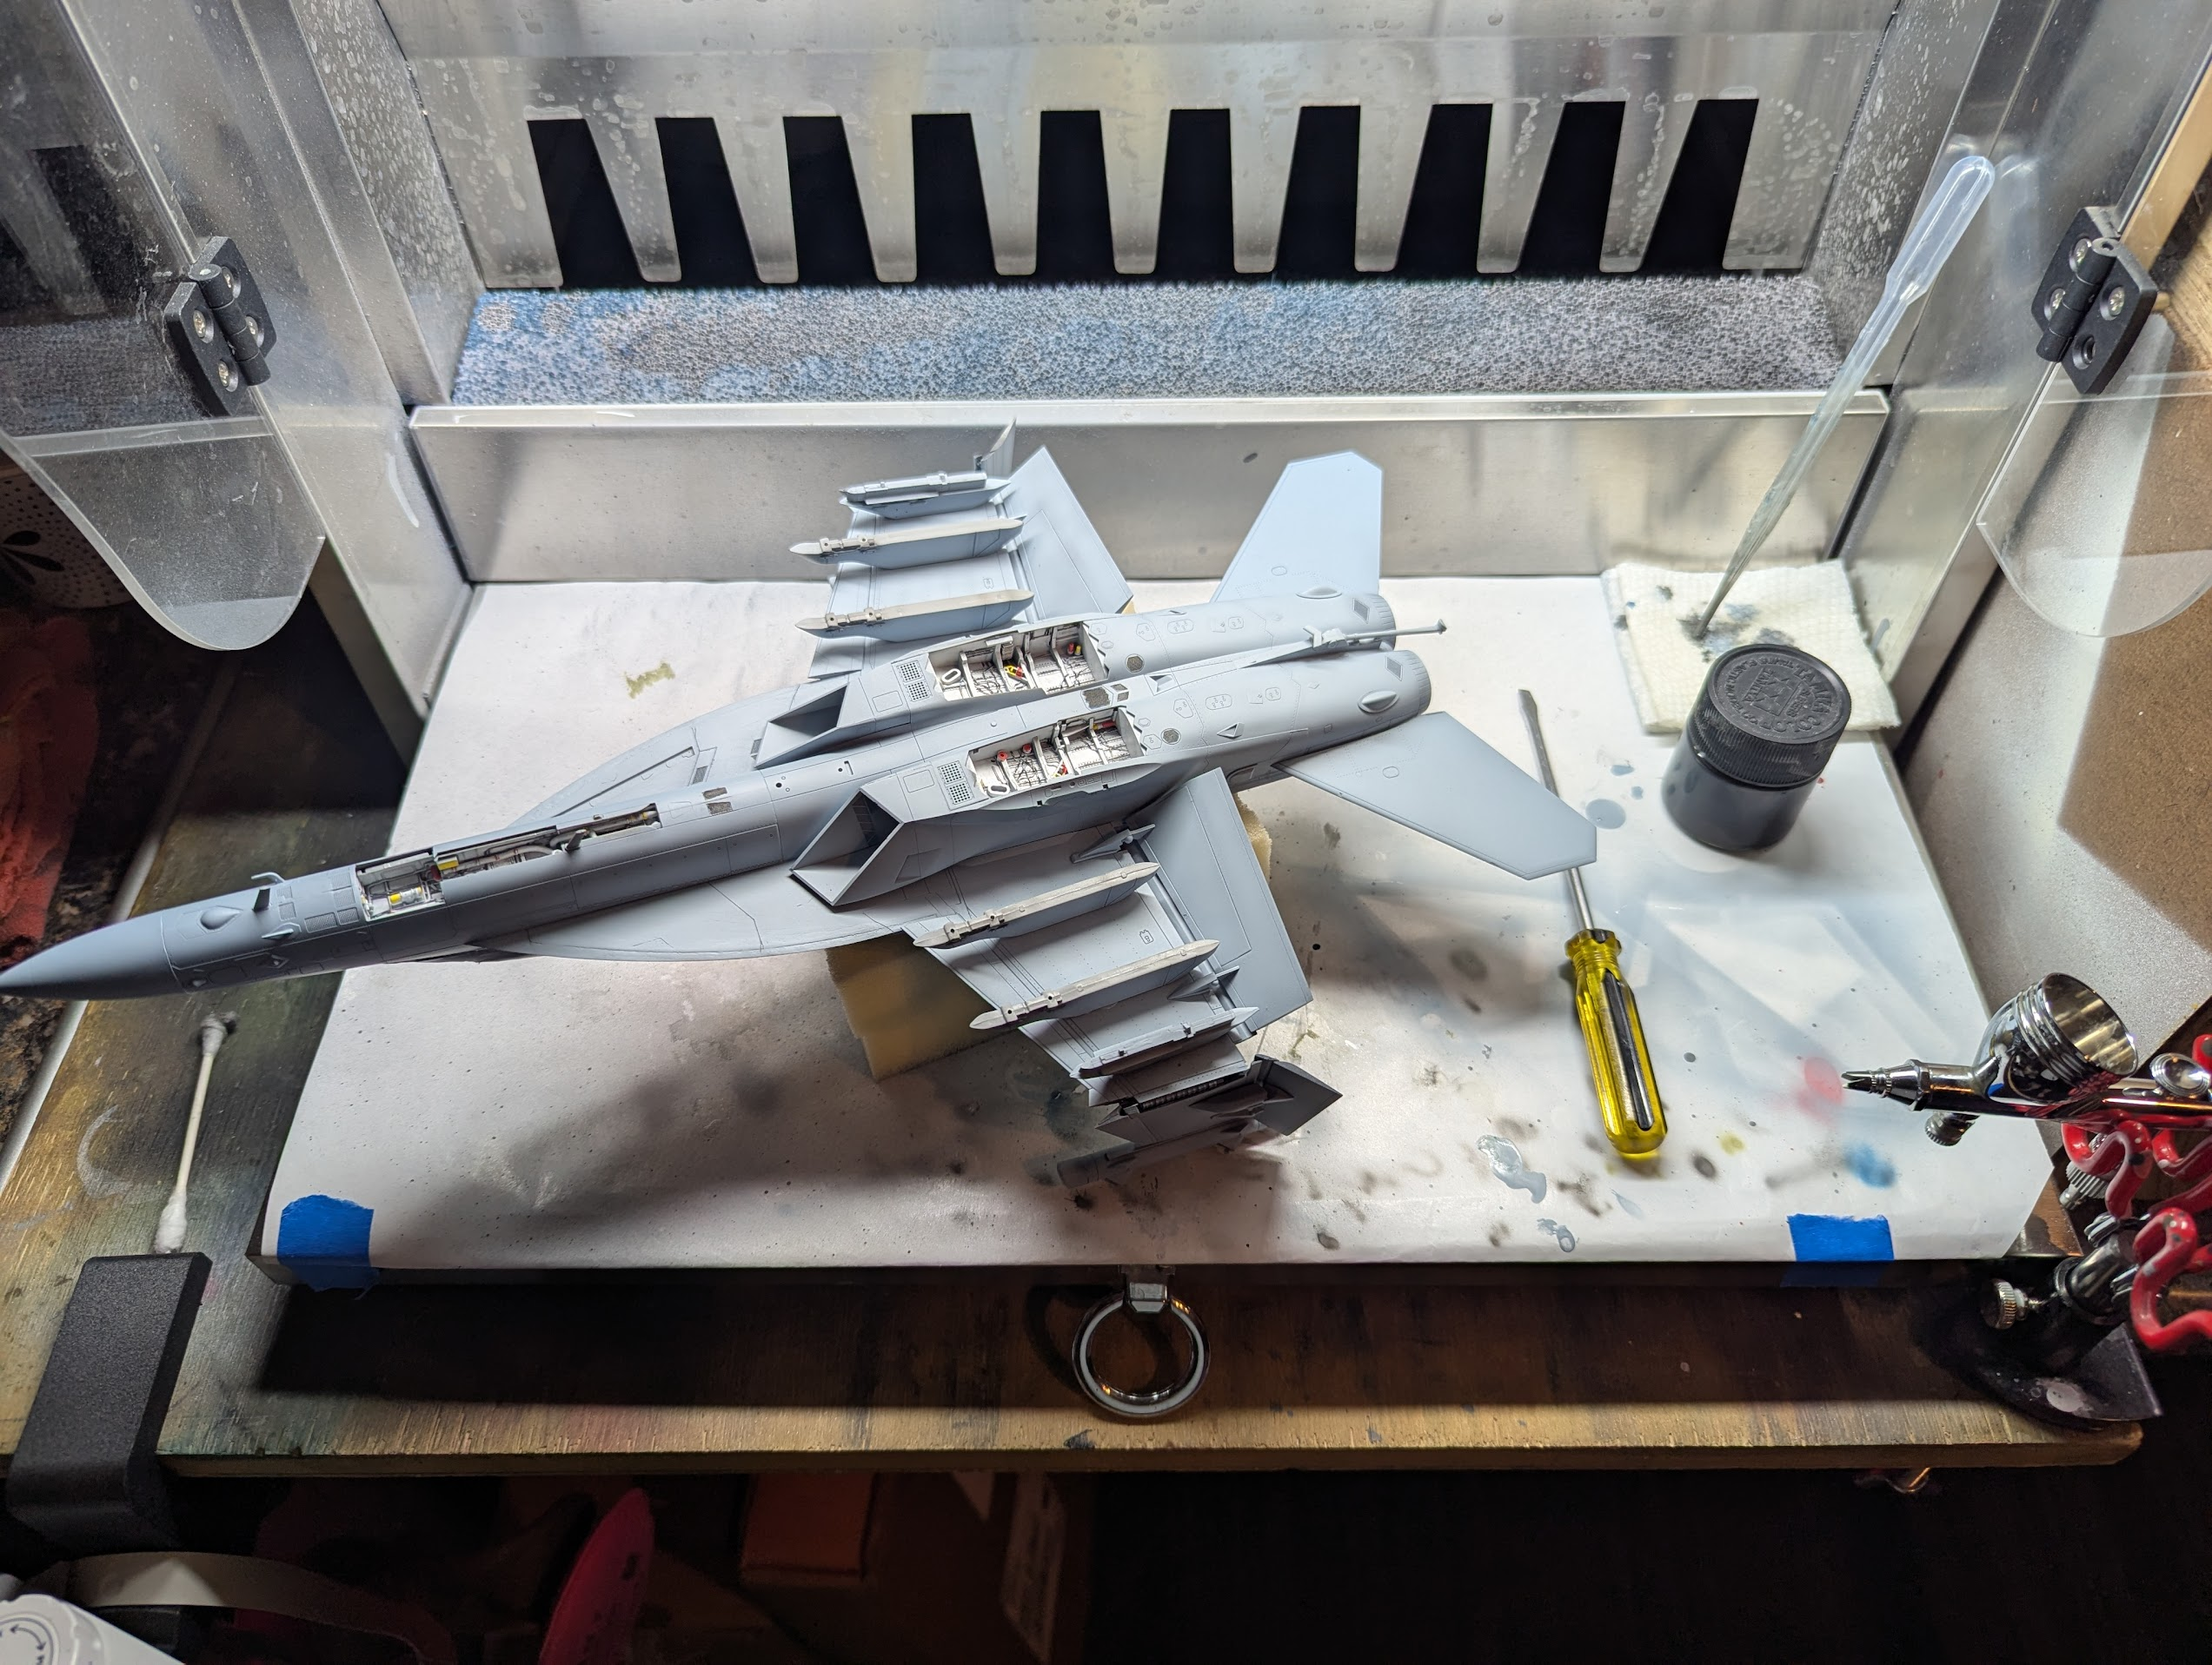
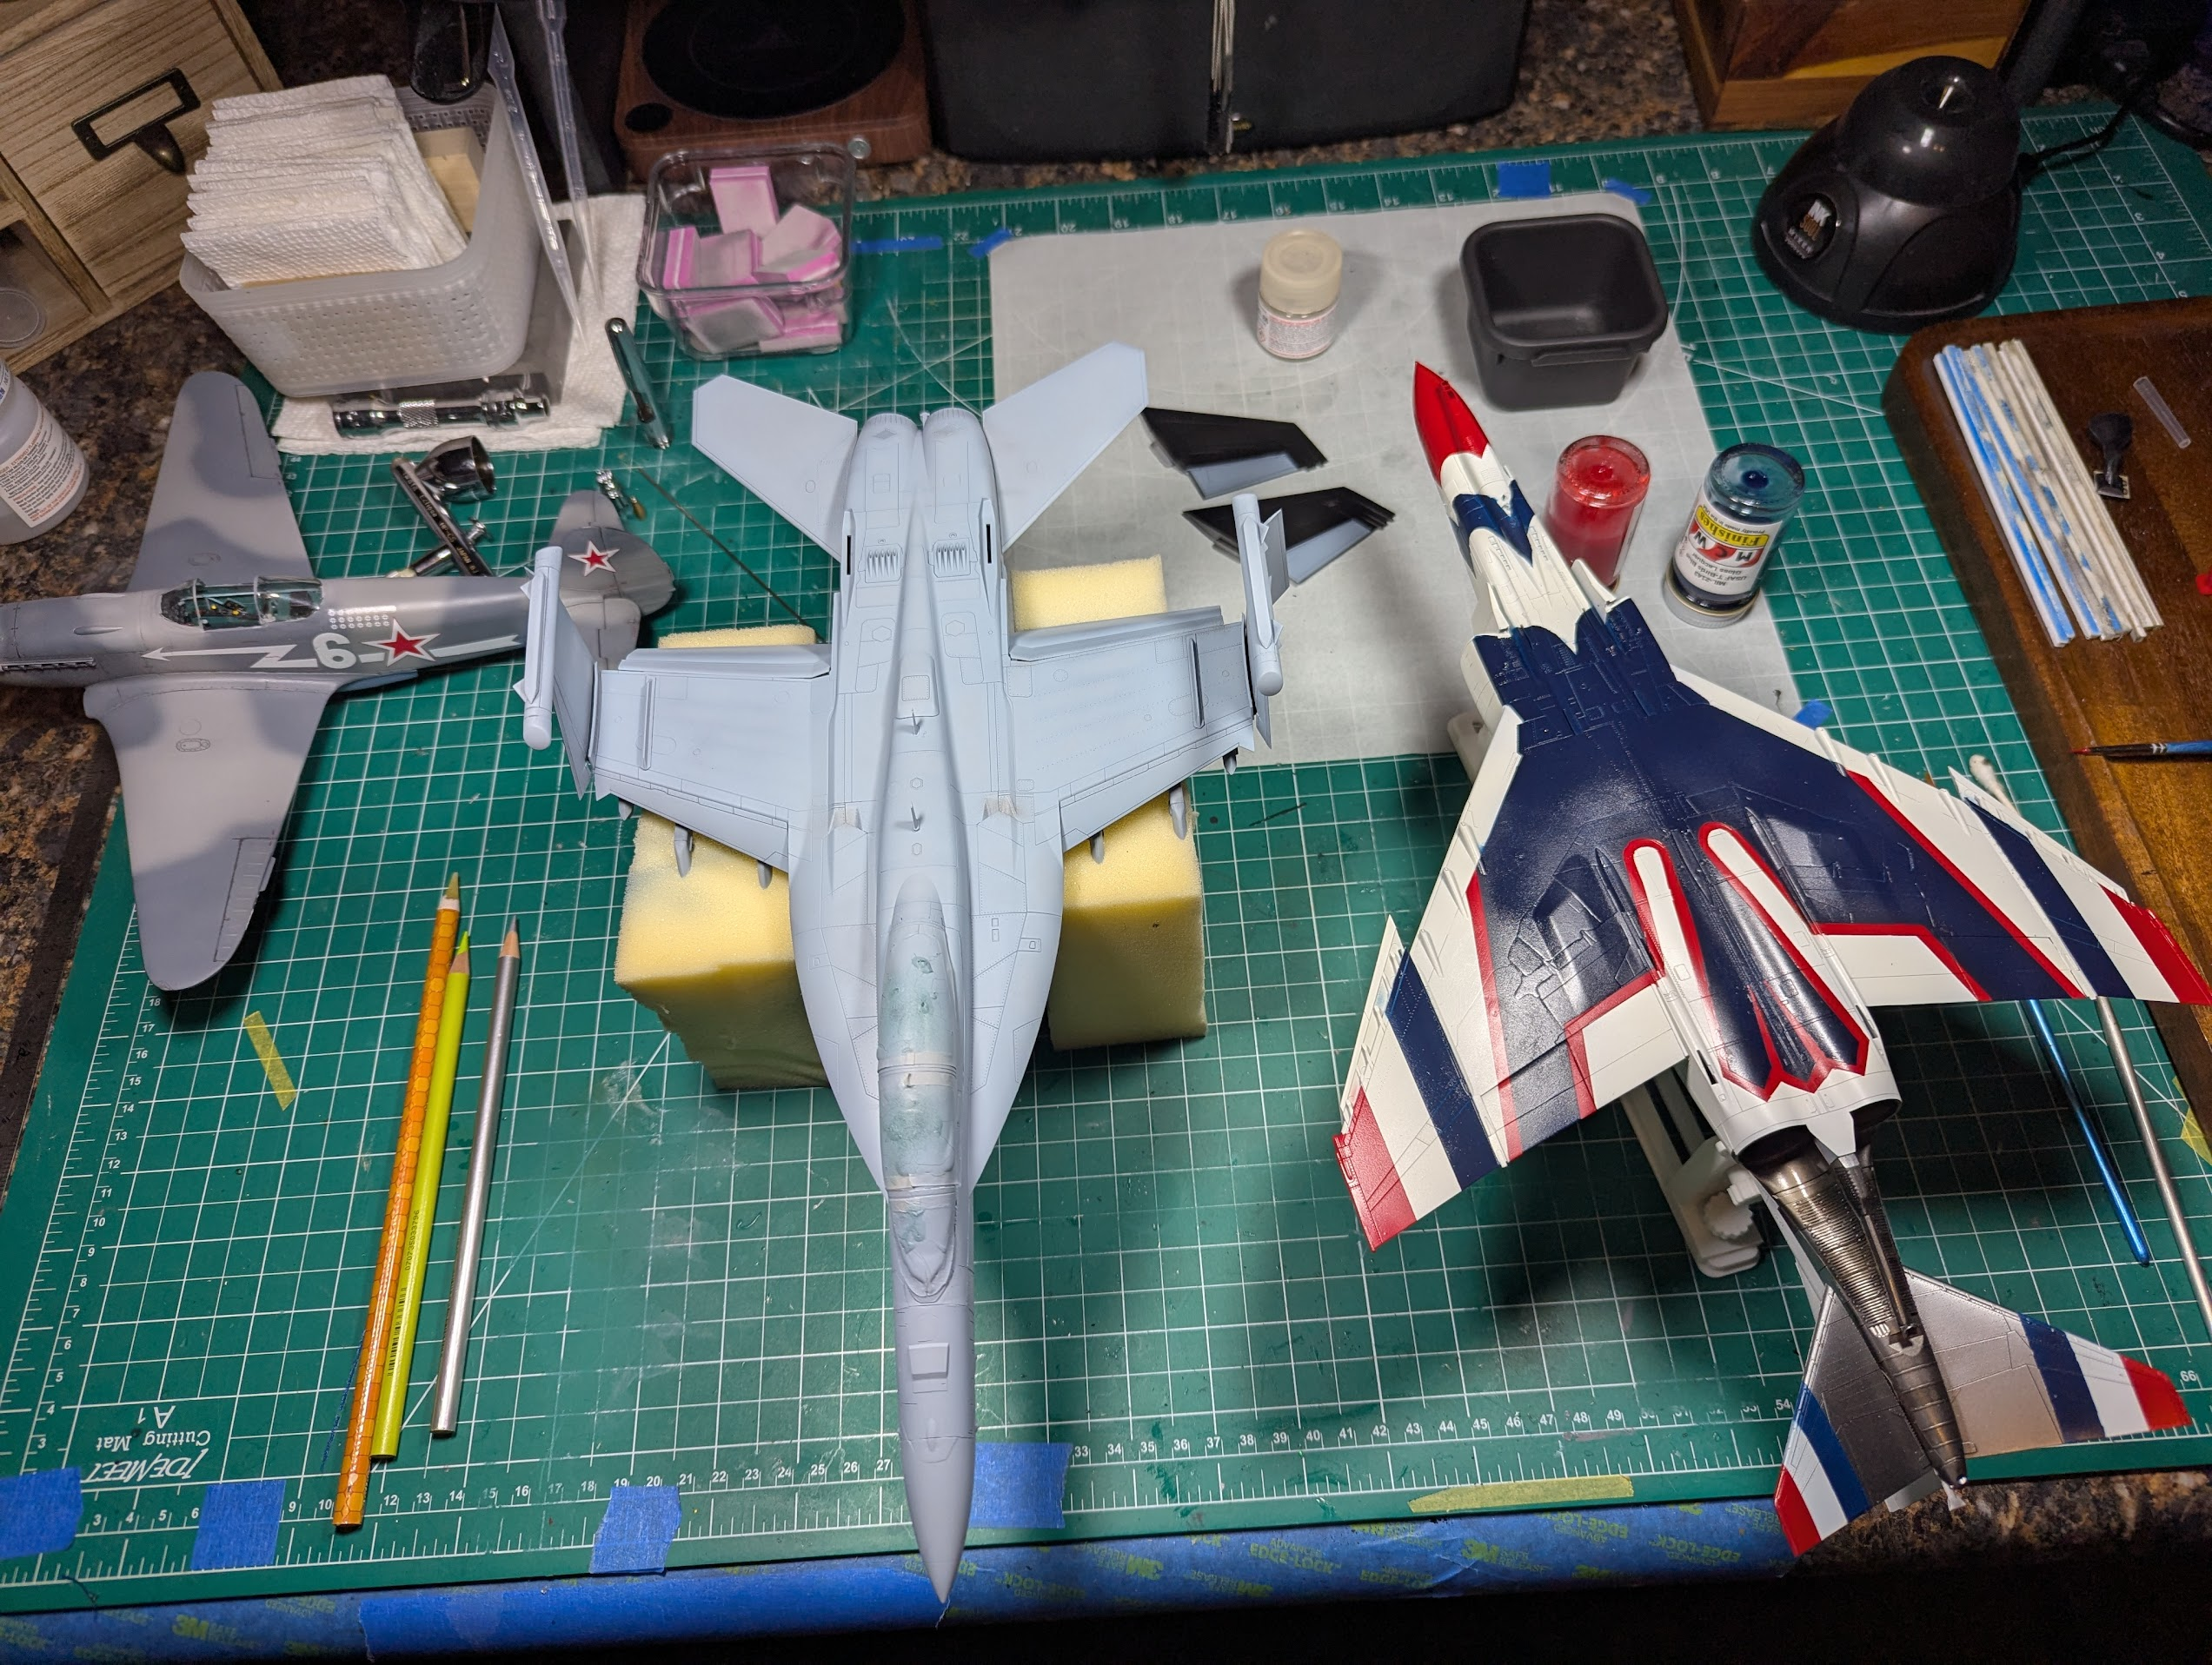
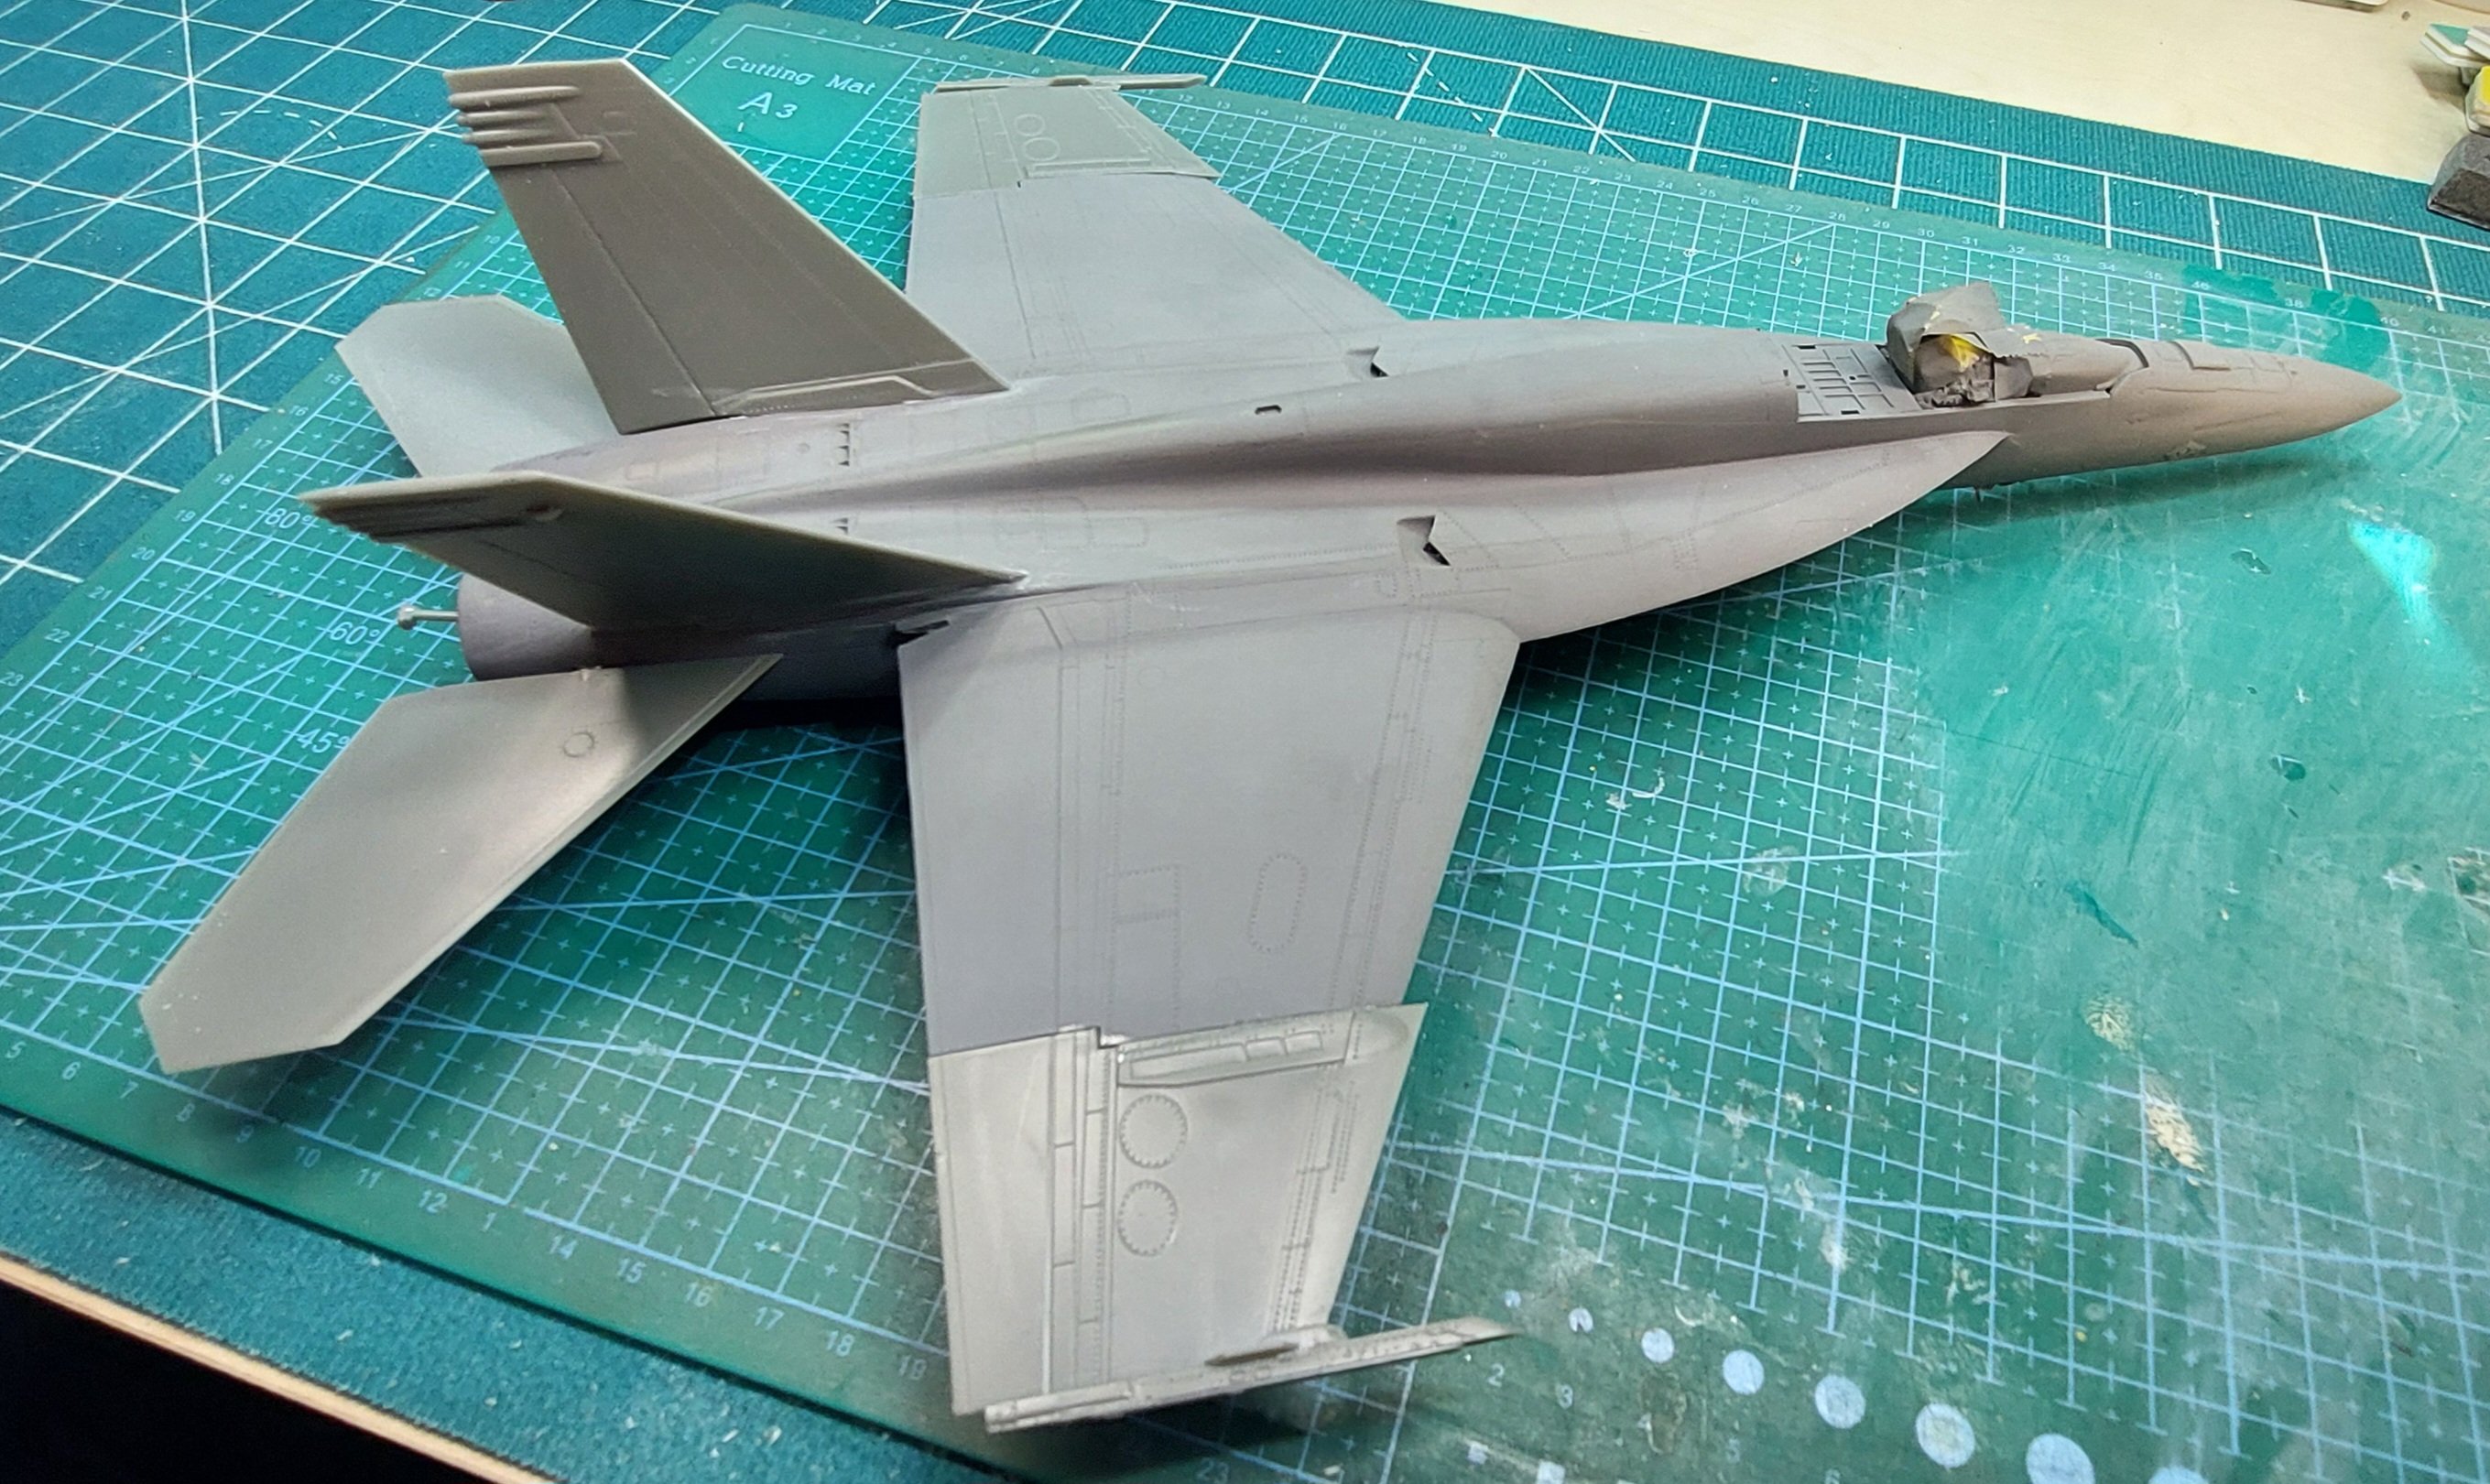
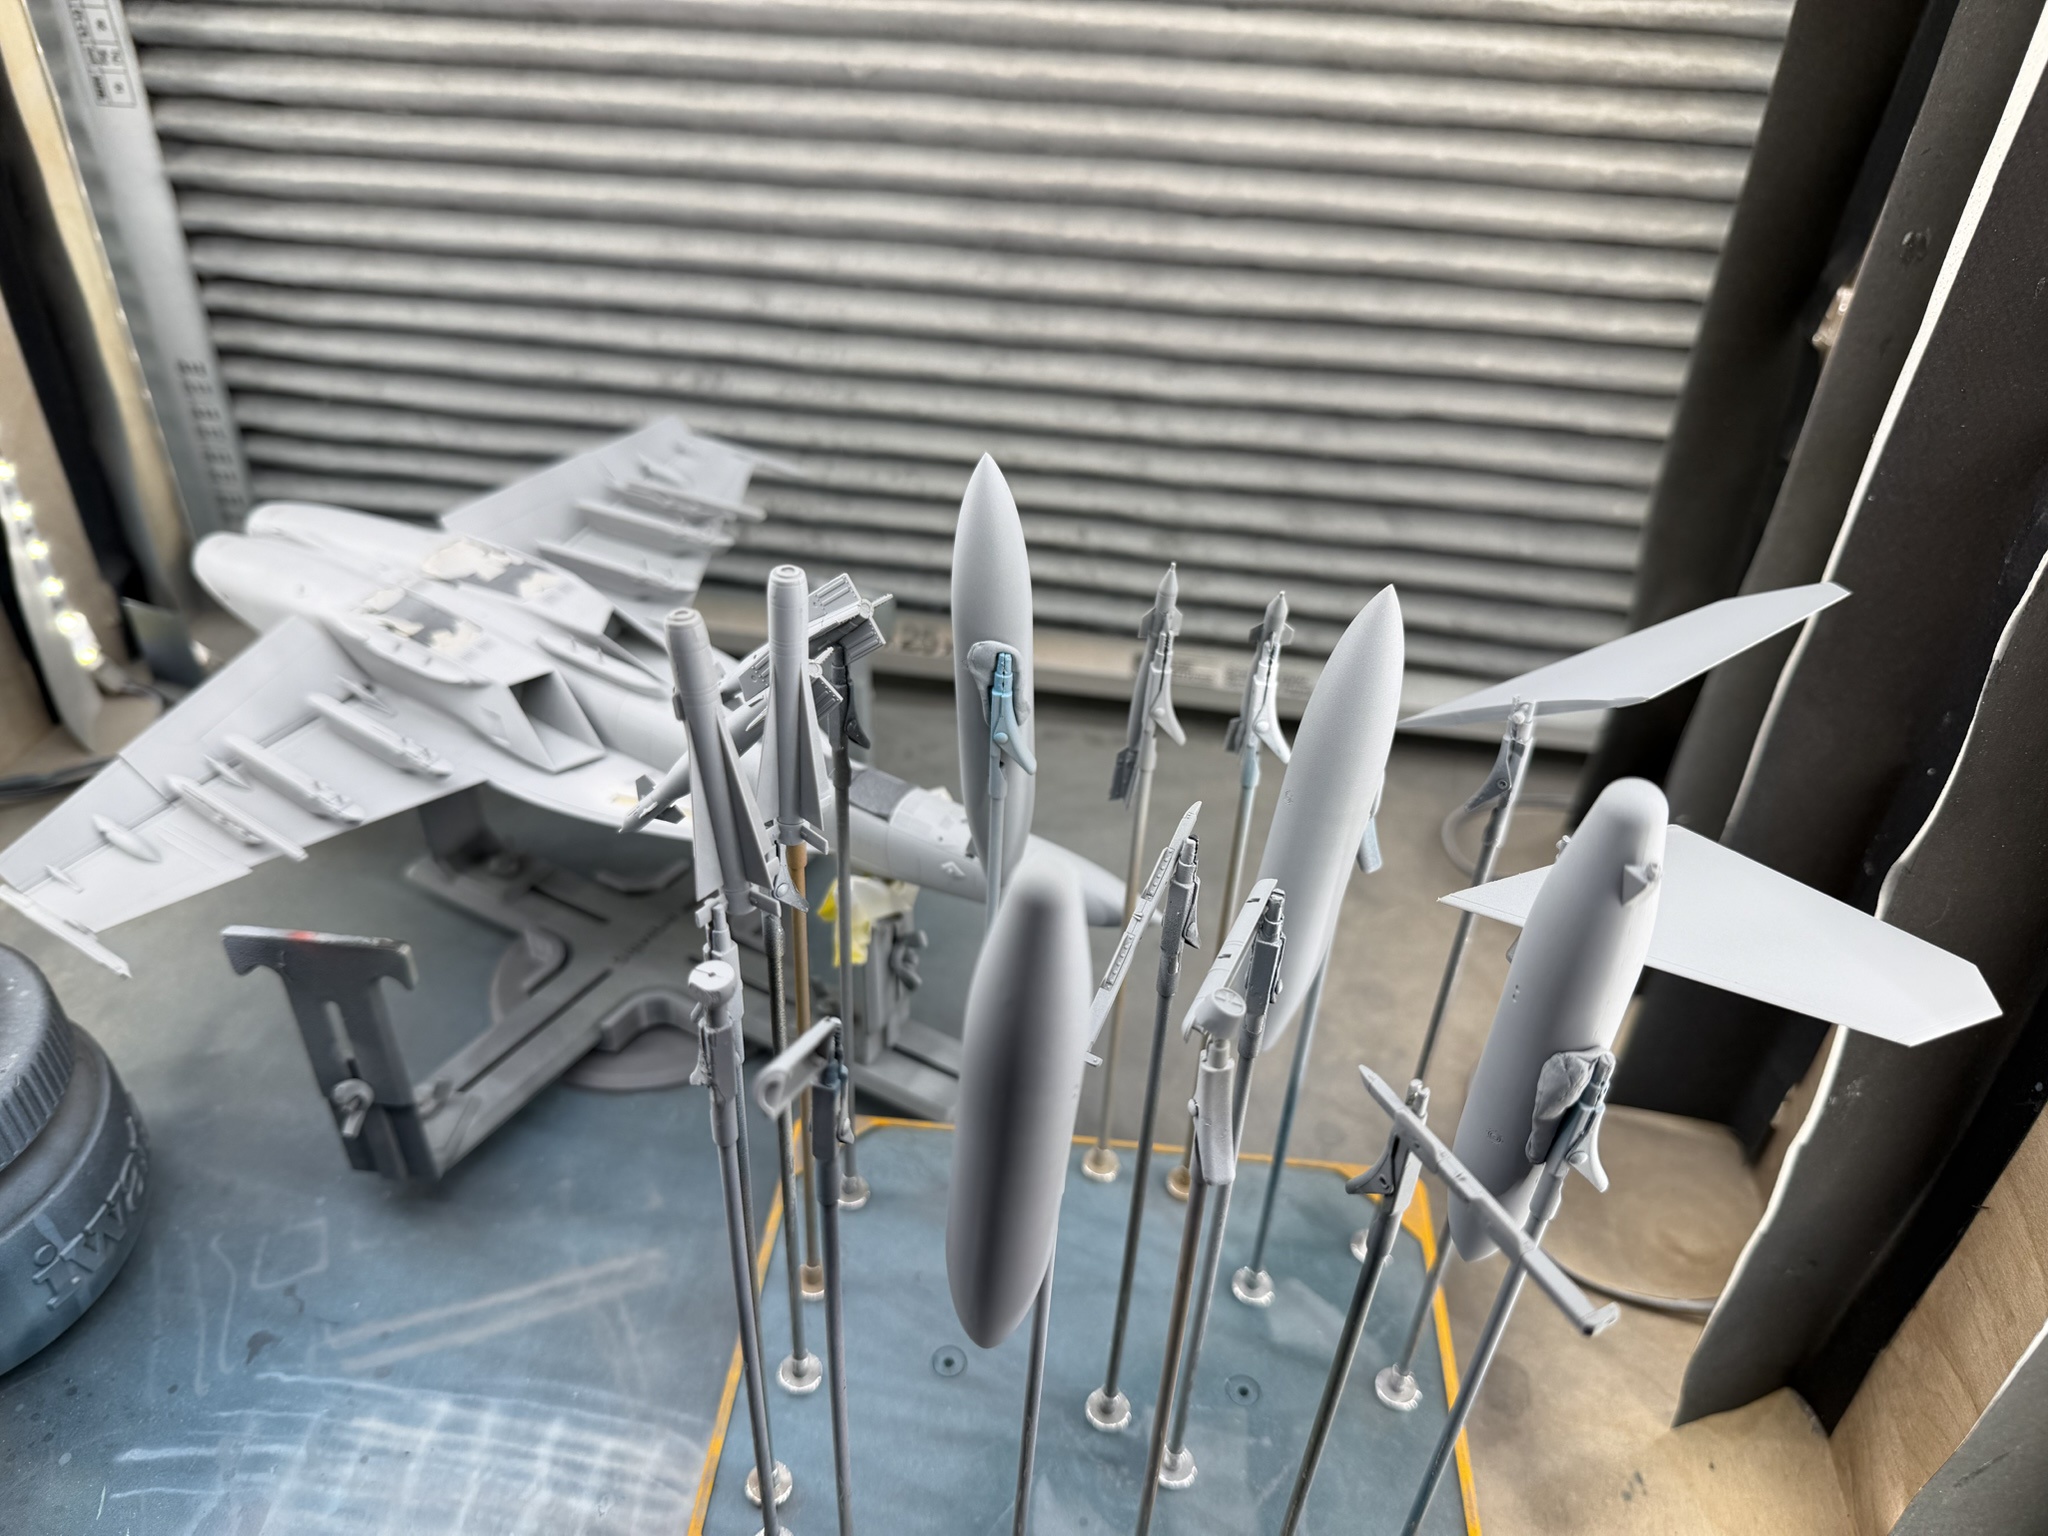
Vacation related delays but back at work now.Slow start due to wrapping up a few other projects but managed to glue a few things and spray some paint and apply some decals.
View attachment 182814
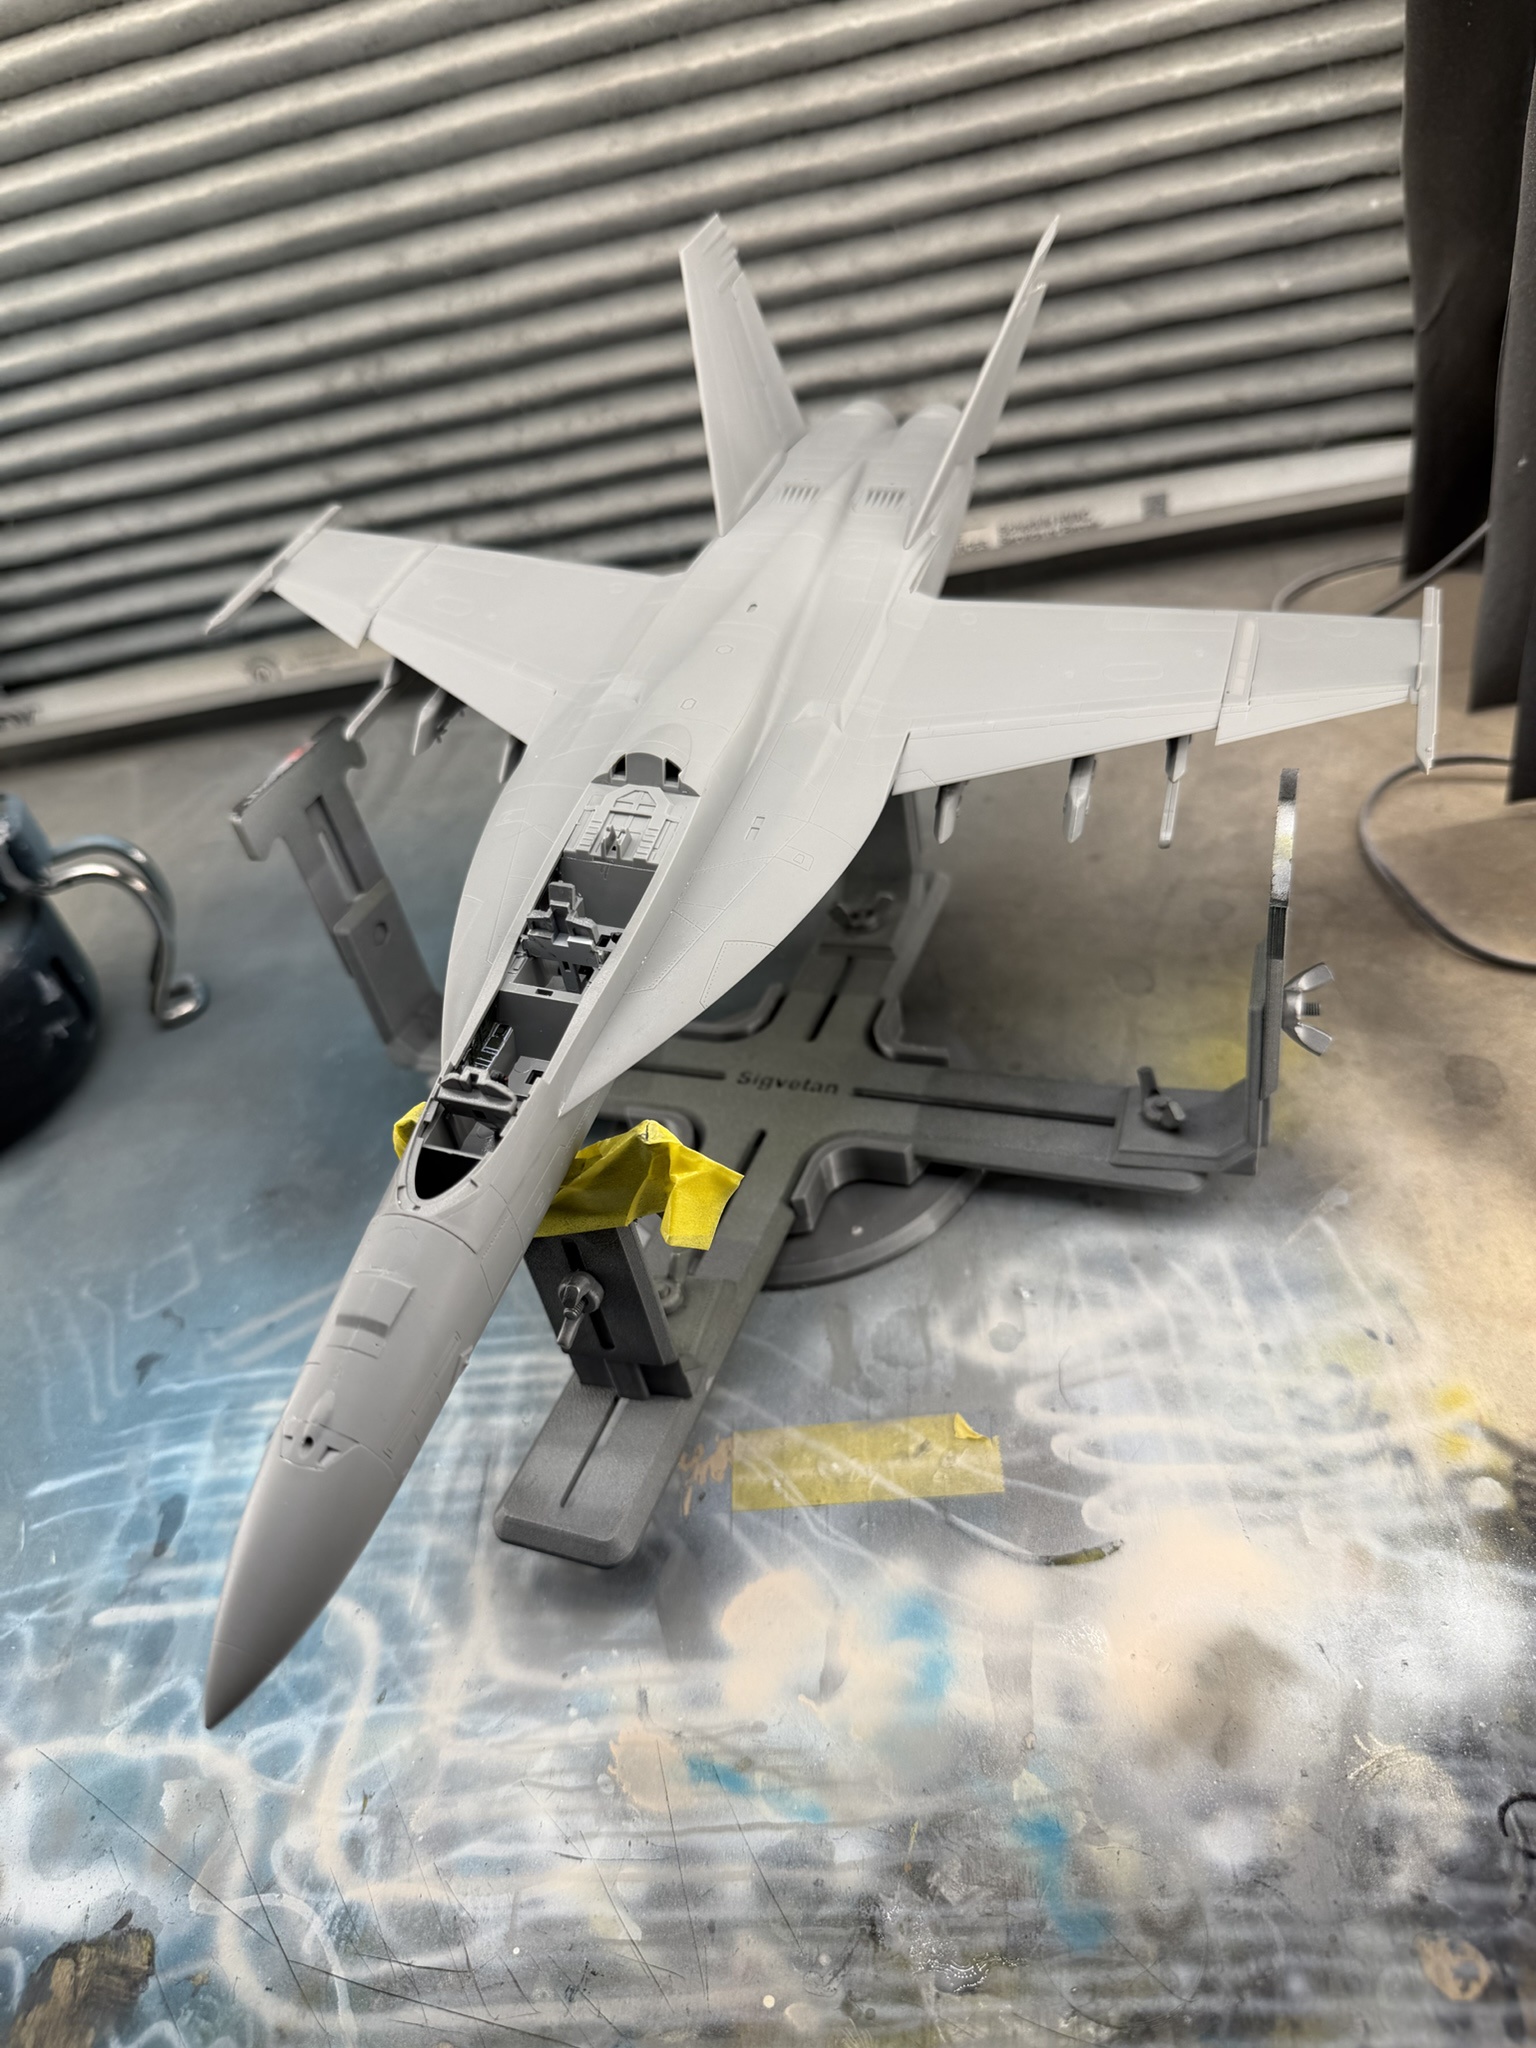
I'm building the Hasegawa F/A-18 and my pilot also would not fit. I usually don't use a pilot, but I wanted the flaps and slats up, so decided to use him. He is also now of the Douglas Bader persuasion.So I was planning on putting in the pilots with this build, but they don't fit.

Impressive resultsCompleted cockpit. No pilotsView attachment 184388View attachment 184389
Alright! I have spent a few hours spraying, hyper-thin, hyper-careful, but am a bit frustrated that it barely shows.
I guess that is sort of the point. Right?
View attachment 184420
On my Meng I've had voids in the sprues but only on the supports, none on the actual parts (so far anyway, should check the rest and make sure). First time I've encountered this.Good news, bad news. Bad news first, started by cleaning up a lot of the aftermarket parts to make sure they are going to work, and so far, so good. However, starting with step 1, missing a few small parts, and the tub seemed to have some voids as if something was off during mold casting. Good news, sent the info to Meng customer service, and just waiting on the new fret to arrive. In the meantime, been collecting paints and decided on an upgraded landing gear set. So fingers crossed, I hope to have some actual building going on in a week.


![Pampers Sensitive Baby Wipes, Clinically Proven, Fragrance Free, Unscented, Water Based, Hypoallergenic, Multi-Use, Hand Wipes 336 Wipes Total (6X Flip-Top Packs) [Packaging May Vary]](https://m.media-amazon.com/images/I/41KLBHu9CAL._SL500_.jpg)