Ecto 1 - I ain't afraid of no rust!

Leighbo

Active Member
Joined
Sep 15, 2011
Messages
1,033
Hi Guys

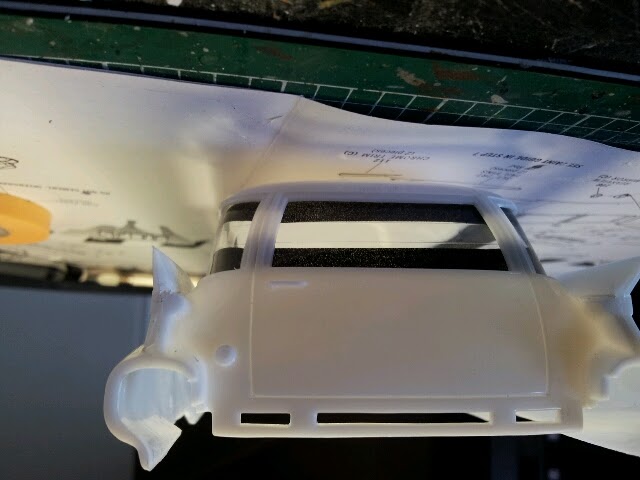
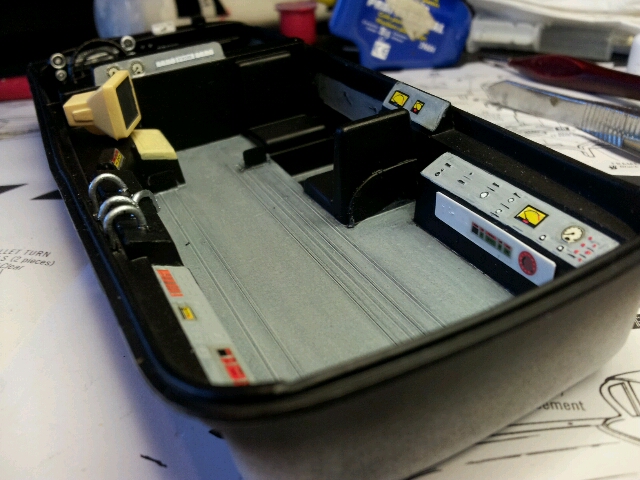
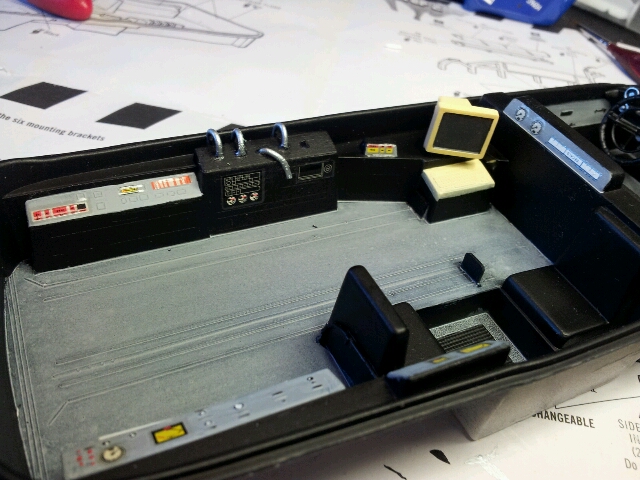
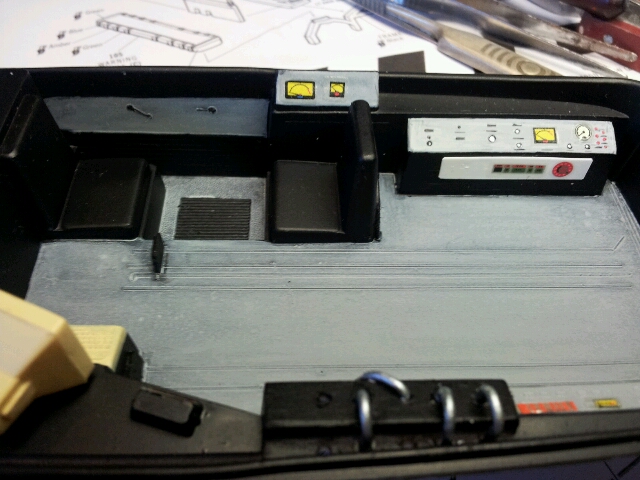
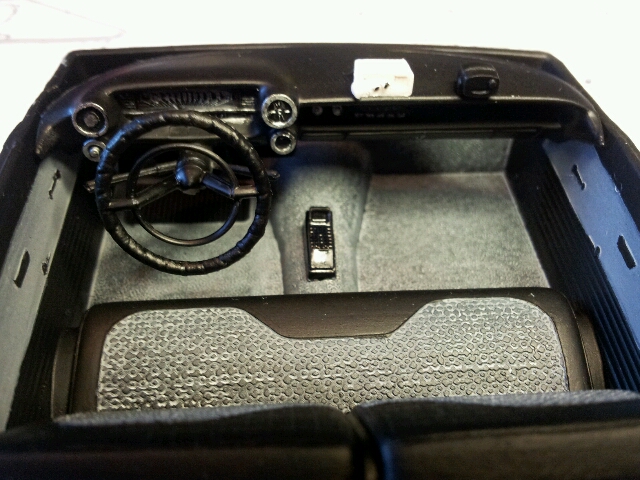
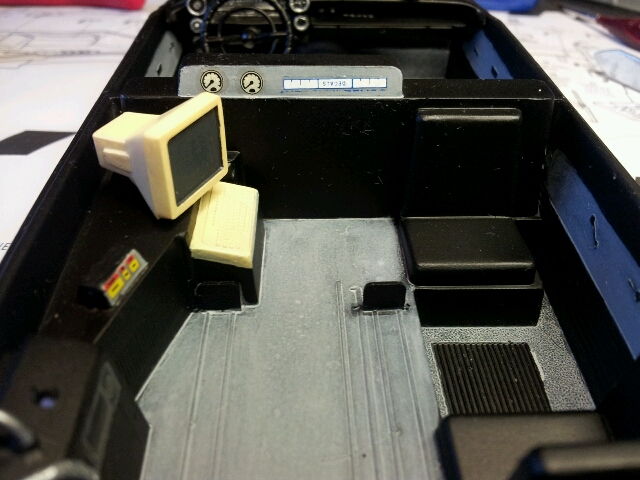
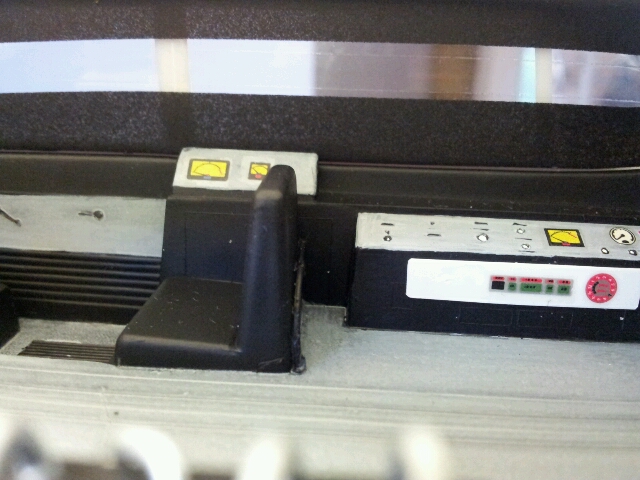
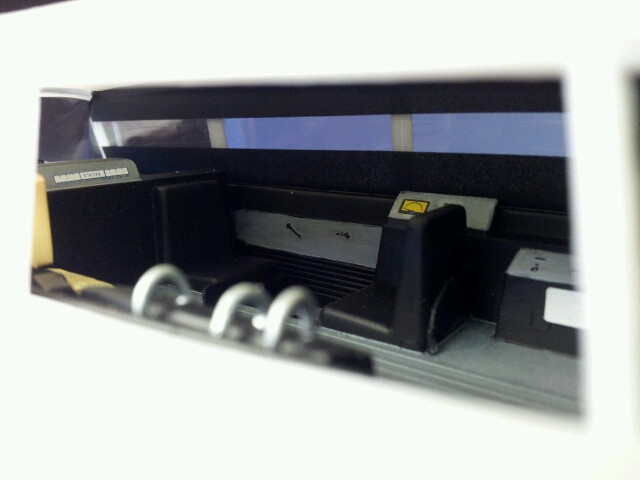
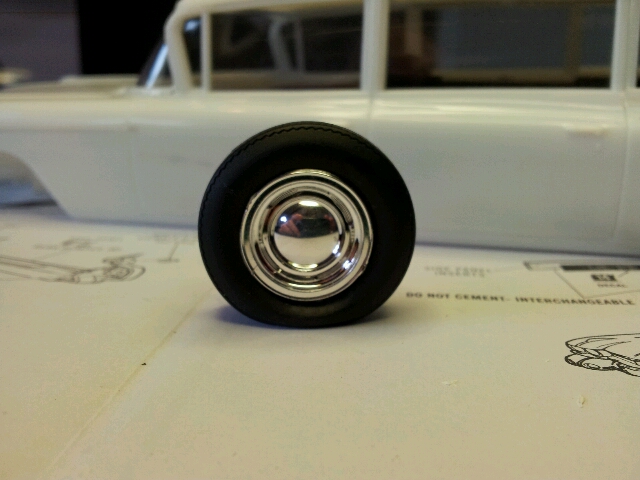
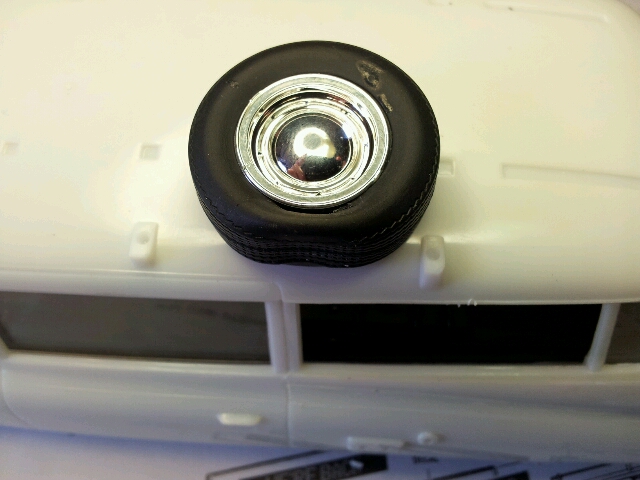
Had to share the latest project with you, the next in my ever growing line of rusted famous cars, Ghostbusters Ecto 1!

20121016_191030.jpg


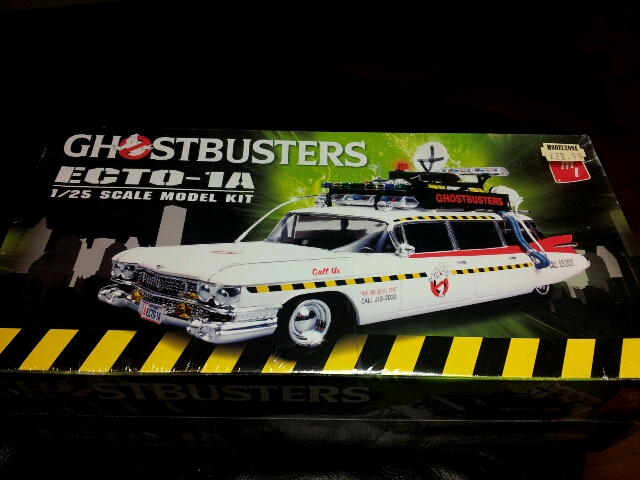
I'm thinking of it sitting in an abandoned corner somewhere in New York, properly rusted and decayed along with its surroundings.

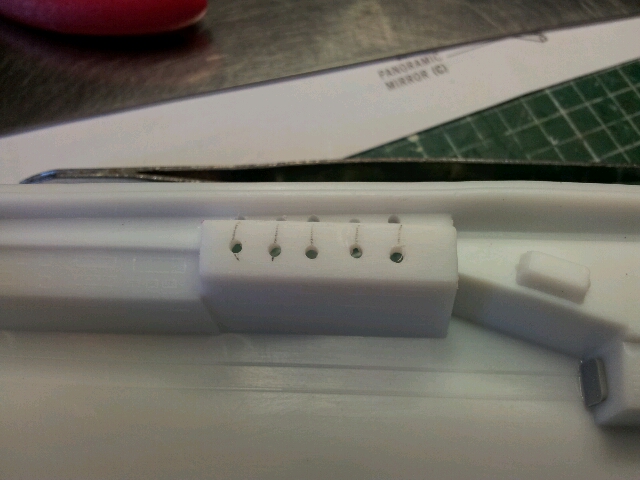
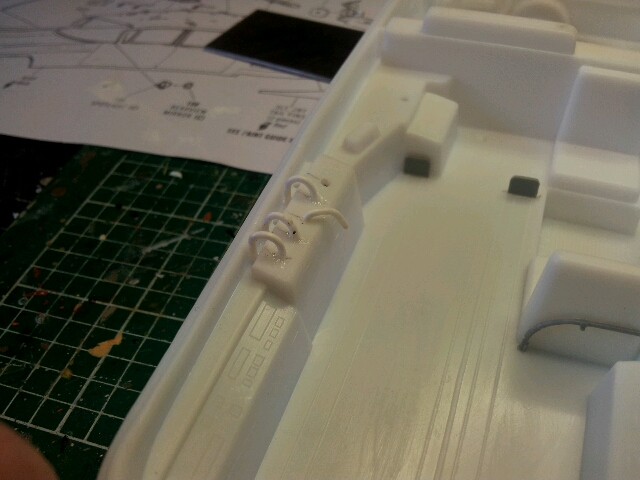
I've still got a build to finish, but I'll be on this shortly!

Watch this space!
 
Sounds like a great project.

Might be cool to have some slime on it too.....
 
LOL...slime!! Nice!! Maybe some of the "Stay-puff Marshmallow Man" !! Great...now I need to pull that movie out again ::)
 
TRM said:
LOL...slime!! Nice!! Maybe some of the "Stay-puff Marshmallow Man" !! Great...now I need to pull that movie out again ::)
You say that like it's a bad thing :p
 
LOL...one of the all time favorites Q!! This thing would look sweet abandoned in the old firehouse HQ!! :eek:
 
Lol looks like you're all as excited about this as I am!

T, I did think about putting this in the firehouse, but if it is in an outside scene then I can fade and grime it up more extremely (and yes I probably have over though it too much!)

Scott again I did consider the slime route, but it would just end up being a dust catcher (overthinking again!)

And as far as watching the movie my missus hates it so I'm a bit stuffed, which is a shame becasue I loved it back in the day.

I'd better get on building this dio to satisfy you all!

Thanks for your comments
 
The slime would be a dust collector...if you used slime. I'm sure there are other ways to model it with out it being a dust trap.

But it's your build man. Have fun! Looking foward to it.
 
Thanks Scott, I appreciate the input and I've just made a start so I'm like a kid at Christmas today!
 
LOL....yuor build is right. Looks to be real fun either way you go. I'm all excited for you over the weathering!! ;D ;D ;D ;D ;D
 
Well, I couldn't resist the temptation and I'm off work this week so I got stuck right in!

I often find the hardest thing when doing rusty wrecks is planning out what will be wrecked. I started by marking out which window I wnated to have been broken and cutting it out
20121018_091815.jpg

Then looking at reference photos I noticed there is a strange window tinting thing going on, where the top and bottom of the side windows are tinted with a clear strip through the middle, except for on the front screen.

I masked off the inside with a strip of Tamiya tape and masked the outside screen too.
20121018_123332.jpg

Then I sprayed with thinned black acrylic
20121018_124732.jpg

20121018_124847.jpg

20121018_125044.jpg

The interior detail left a little too be desired, so I cut off the molded on cables, drilled apertures and replaced them with bent plastic rod, as well as adding a few little extras to liven it up a bit
20121018_103630.jpg

20121018_110002.jpg

Also another disappointing thing with the kit is that there were no decals for the interior, even though on reference pictures there were tons of dials and buttons. I went through the stash of decals and found some to suit.
20121018_170018.jpg

20121018_170027.jpg

20121018_170035.jpg

20121018_170043.jpg

20121018_170057.jpg

And with the top and glass in
20121018_170516.jpg

20121018_170429.jpg

20121018_170402.jpg

Also I wnated to make the tyres flat, so as they are hollow I glued the inside of the sidewall to the bottom of the tyre with CA glue and clamped them till dry:
20121018_115038.jpg

20121018_115052.jpg

I must admit I'm having tons of fun! tTanks for looking
 
Off and running and looking great too!! I like the tire trick!! Those added little interior details will look awesome when your done!! ;)
 
Thanks for all the comments guys

Been busy again on the body.
I went to work with my dremel thinning from behind and then picking rust holes through particularly at the bottoms of the doors and the wheel arches.

Once this was done I airbrushed various browns as a rust layer and then went to work with the salt and water! I find that to avoid blowing the salt off when airbrushing with the salt technique that its best to get the salt on and then leave overnight to fully dry out. When spraying the next day no salt comes off!
Then a blast over with white and a little red for the fins (you do get decals for the fins, but I went with spraying) Once this was dried I washed off the salt
20121020_094725.jpg

20121020_094838.jpg

20121020_094853.jpg

20121020_094911.jpg

20121020_094905.jpg

After this I touched up the paint in various ares, painted in the chrome and did a door line wash. Then a quick seal with gloss and I added all the decals. I will rust over the decals where appropriate later, then another seal with gloss.
20121020_153511.jpg

20121020_153527.jpg

20121020_153535.jpg

20121020_153505.jpg

20121020_153457.jpg

20121020_153445.jpg

Next I started on the base.
I want to show this in a New York alleyway having been left to rot so using some foamboard I made a design with part of the wall being brick with a bricked up doorway and on the other side I used wall filler to create a rendered wall.
20121020_190945.jpg

Thanks for looking!
 
Your just rolling right along there!!!! Getting this all rusted up!! I like the wall a lot!!! Have yet to give the foam board a try at this!!! Carry on Sir!!! ;)
 
Cheers T, I'm having some fun!

Give the foamboard a try, you'll be an addict before long like me!
 

Latest posts

Back
Top