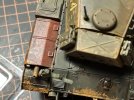
Without getting into a shouting match with other members here I don't use one simple thing or technique. Some swear by oils, chalk, etc. for their weathering but I don't. Oil is only good for simulating the sunken in look on tank treads. But that's the only thing I would use it for. Oil takes forever to dry, it's messy, and it stinks, and it stains your fingers and clothing or anything else it gets on and it's expensive for no more than what you get in a tube. I use water based because it's easy to clean, no mess, and it's easy to fix your mistakes. I would use some watered down colour for the effect. No one is going to see the bottom of this unless it's going to be tipped over. Using a toothbrush would work. Just flick most of the paint off first before doing this over the model. I mean it's your choice even if no one ever sees the bottom of it. You can practice your technique on a piece of paper - even news paper is better than nothing. There are tutorials on YouTube for this very thing. Watch a few of those and decide which one you think is best in your case.
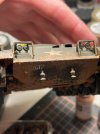
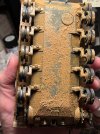

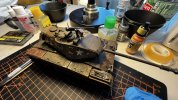
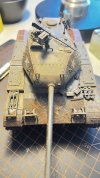
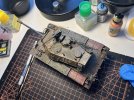
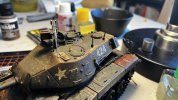
") See the results for yourself - I think I overdid it, chalk it up to beginner over zealousness.
See the results for yourself - I think I overdid it, chalk it up to beginner over zealousness.