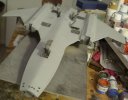
Changewind One-Omega 7 Tau

I understand moving slow. I have done nothing but either work, or stuff for the family since May. I need some rest, so until then. Building is slow.
 
Yeah....Iron Clad took it outta me, and I am not ready (mentally ) to start the next project, although I have a few ideas. :) On the other hand, I inked more than 4 pages on the comic book...in a couple days. :)
I am such a bad procrastinator.
 
Time for another update, while I'm motivated to work on her again.

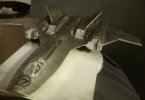
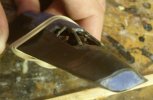
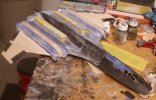
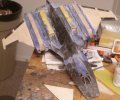
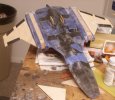
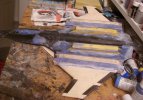
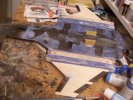
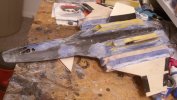
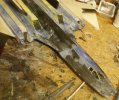
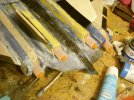
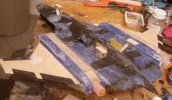
Started by puttying up the major seams with some Aves Apoxie Sculpt.
Worked not only the joins between the wings and the main body, but the ones along the tops of the upper engine bits as well
CW-1-29.jpg

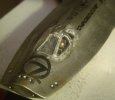
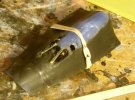
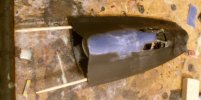
Gave the cockpit a basecoat of dark grey
CW-1-30.jpg
CW-1-31.jpg

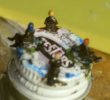
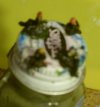
Worked on the tiny N-scale figures I'm using, giving them the look of wearing bodysuits, and giving each a different hair color to help telol them apart.
Gave all four a black wash to help what little detail is present, then glosscoated the suits while giving the heads a matte coat.
CW-1-32.jpg
CW-1-33.jpg

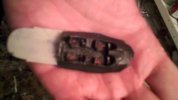
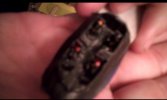
Gave the cockpit a black wash, followed by a drybrush in light grey.
Then I picked out the seats in red and the consoles in black.
I gave the whole assembly a matte finish, then picked out the consoles with Future
CW-1-34.jpg

After I finished that, I glued the four ladies into the seats. This is likely the last time the back seats will be even remotely visible.
CW-1-35.jpg

With that done, I glued the nose section together
CW-1-36.jpg
CW-1-37.jpg

Youtube link:
Omega 7 Tau-Changewind One-Part 6
 
Thanks, John. I've got maybe one more trick to try and give them windows, but it will have to wait until after paint.

Update time, with some serious progress.

Started by gluing a couple of toothpicks into the nose assembly to act kind of like alignment pins for when I glued it to the main body
CW-1-38.jpg

Then, with 5-minute epoxy, I glued the nose section into place
CW-1-39.jpg

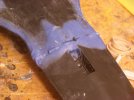
Got a little over-zealous in applying the Aves Apoxie Sculpt to the seam, and wound up breaking it.
Luckily, the Aves was still in place, so it acted like a binder.
Needed some serious cleanup, though.
CW-1-40.jpg

After some sanding, fresh Aves was put into place over the seam repair
CW-1-41.jpg
CW-1-42.jpg

Now, while sanding THAT, I broke the joint yet again by putting too much pressure on it.
Used some superglue to fix the joint and re-sanded it MUCH more gently this time
CW-1-43.jpg
CW-1-44.jpg

And, with that done, I went in and finishe major construction by installing the twin rudder/stabilizers with superglue
CW-1-45.jpg

Youtube link:
Omega 7 Tau-Changewind One-Part 7
 
She's looking good,and really starting to take proper shape!
Too bad about the snapping, but you have it handled. :) :D
 
The next time you go to put something together like that try putting pieces of plastic card under the seams. The bambo skewers are a good idea but you need something to support the seam.

I don't know if I would have used plastic card for this one, I probably would have stuffed the seam with aves......

She is looking good and is a fine design. You got the problem with the seam fixed up good!
 
Thanks for the comments, guys.
My main problem was putting way too much pressure on a seam that didn't have a whole lot of mating area originally.

Thank the good Lord for Aves Apoxie Sculpt, though. I'd be about nowhere on this without that wonderful stuff
 
Given that, according to the backstory, "Changewind One" was originally a spacecraft before coming into service as "Omega 7 Tau," I went in with my Dremel and ground out RCS thrusters on the nose and on the main engine pods.
Using sanding screen, I also went in and covered the "intakes" on the upper housings and in the wing pods.
CW-1-47.jpg

I also installed the engine exhaust thrusters.
These were made from old syringe caps and glued into place with epoxy
CW-1-46.jpg

The final assembly step was to install the landing gear and boarding ramp.
The ramp will likely get some rods to stand in for the extension mechanism.
The landing gear themselves came from the MK7 Viper landing gear, cut to the correct lengths
CW-1-48.jpg

Youtube link:
Omega 7 Tau-Changewind One-Part 8
 
Those RCS thrusters are a nice touch Q! Really cool build. Looking forward to seeing her with paint. 8)
 
As promised in my last video, WE HAVE PAINT!

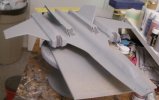
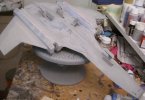
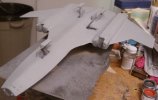
Started with a base of grey primer.
And, while it gave the ship a more "whole" look, it also pointed out a few areas needing fixing.
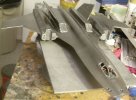
The biggest one was the grillwork on the intakes.
As my son pointed out, they looked "tacked on"
CW-1-49.jpg
CW-1-50.jpg

So, I took some more of the sanding grid and worked on the rougher spots.
Also built "frames" of Aves to make the grill sections look more believable
CW-1-51.jpg
CW-1-52.jpg
 
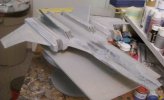
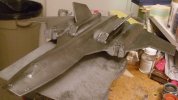
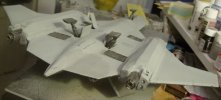
That done, I reprimered the whole ship in grey
CW-1-53.jpg

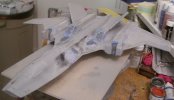
Then, I gave the upper part of the ship a coat of Testors' Graphite Dust for contrast.
CW-1-54.jpg

Took the masking off the cockpit framing, and painted it in by hand.
Painted in the RCS thrusters with a metallic dark blue
CW-1-55.jpg

Main engines, and Landing gear were finished in Graphite Dust as well.
I used a black wash to detail the VLS vents
CW-1-56.jpg
CW-1-57.jpg

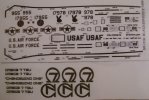
Lastly, I scanned in the SR-71 kit decals and recolored them in a dark grey.
I also made the custom markings I would need for "Changewind One" and "Omega Seven Tau"
CW-1-58.jpg

Youtube link:
Omega 7 Tau-Changewind One-Part 9
 
Yip, definately some awesome work here Q. I love how you build such unique models. Can't wait for the next update! 8)
 
Thanks, Iain.
Ask, and ye shall recieve.

All right then.
Time for what's going to be the final update on the build until I decide what I want to do with it diorama-wise.
Got the markings on her now, using a combination of my custom markings, and the ones I scanned in from the kit sheet..
On the bottom, I decided that the markings were too dark, so I went over them with a 50-50 mix of primer and thinner to dull them a bit.
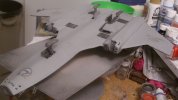
CW-1-59.jpg

The decals for the upper side worked just like I wanted them to.
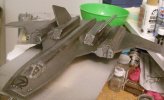
CW-1-60.jpg

Now, for the really tricky bit.
I always wanted the windows on this ship to actually be filled. I failed with clear resin, and even tried packing tape to no avail.
Badgrendels, or Grendels as we know him at SMA, suggested a different idea to another modeler facing a similar problem on a different model.
Three little words that solve my issue completely.
Clear. Decal. Film.
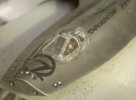
CW-1-61.jpg

With that all done, I did some minimal weathering.
Mostly I drybrushed the various exhaust sources with Vallejo Smoke, including a little bit on the aft deck from the upper engines.
In the end, there are things that I could have smoothed out better, but I'm happy with how she turned out.

Finished build pics
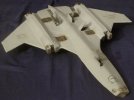
CW-1-62.jpg

CW-1-63.jpg

CW-1-64.jpg

CW-1-65.jpg
CW-1-66.jpg

CW-1-67.jpg

CW-1-68.jpg

CW-1-69.jpg

CW-1-70.jpg

CW-1-71.jpg
CW-1-72.jpg

Youtube link:
Omega 7 Tau-Changewind One-Part 10-Finale
 

Latest posts

Back
Top