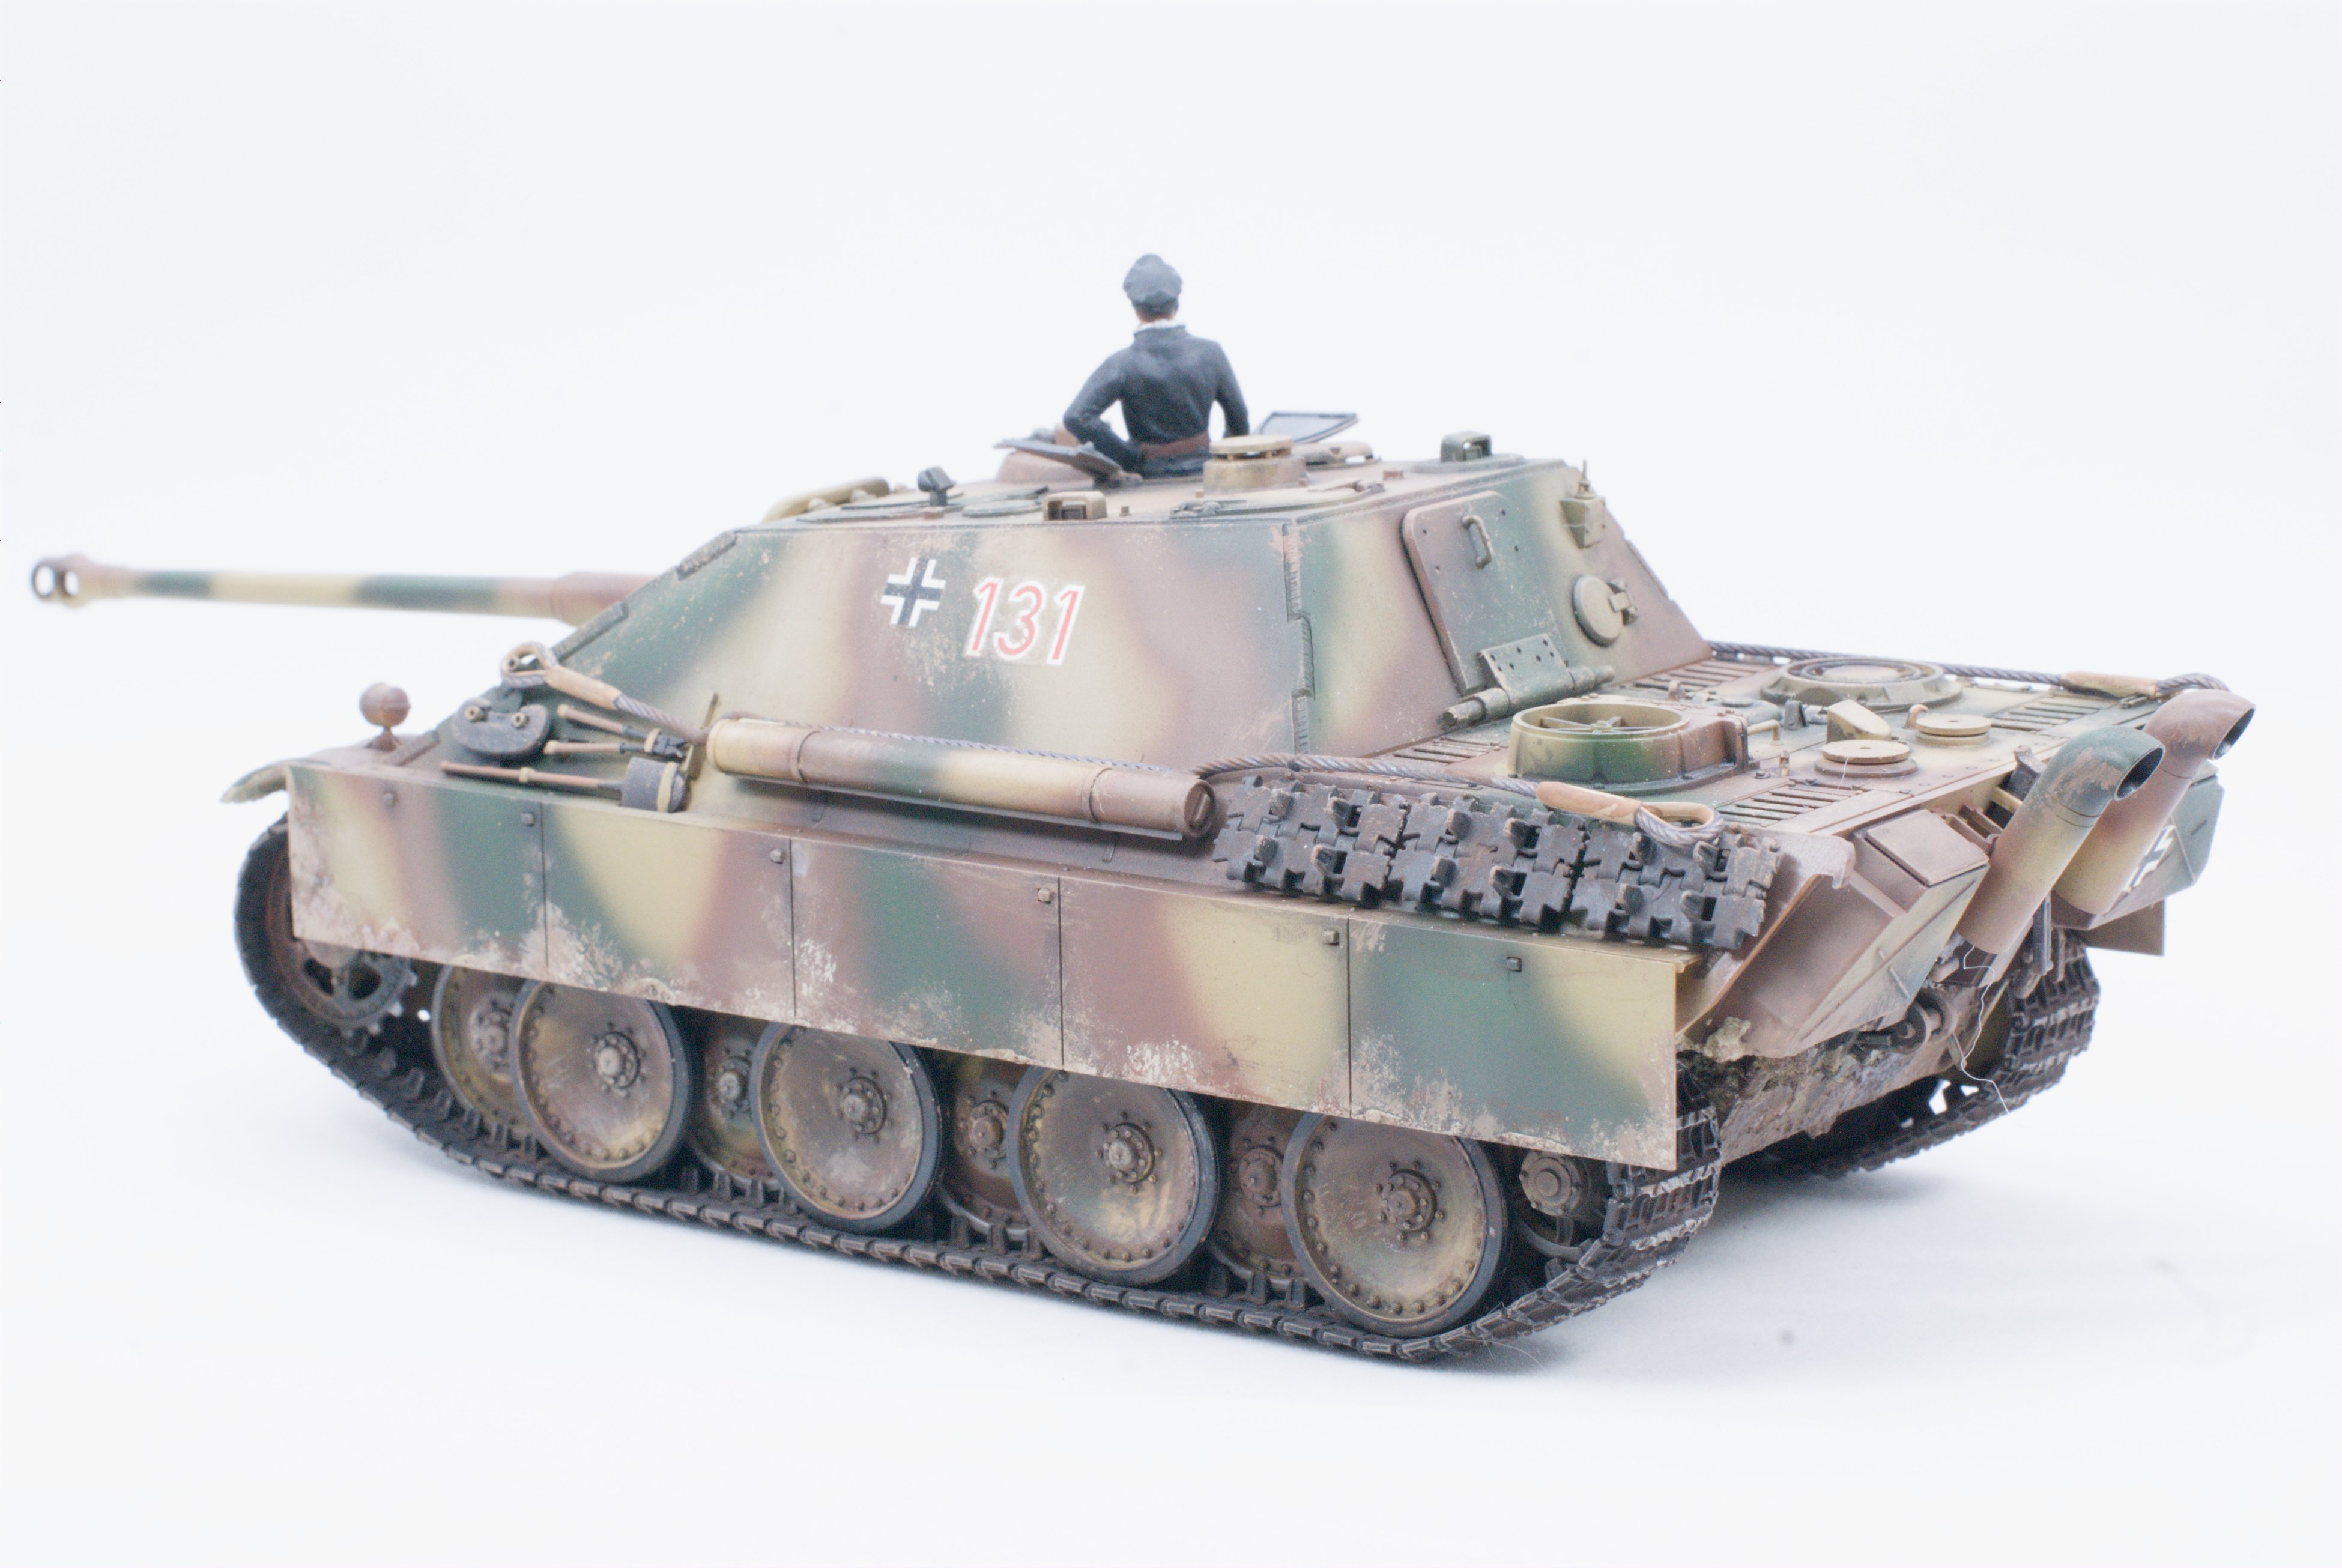
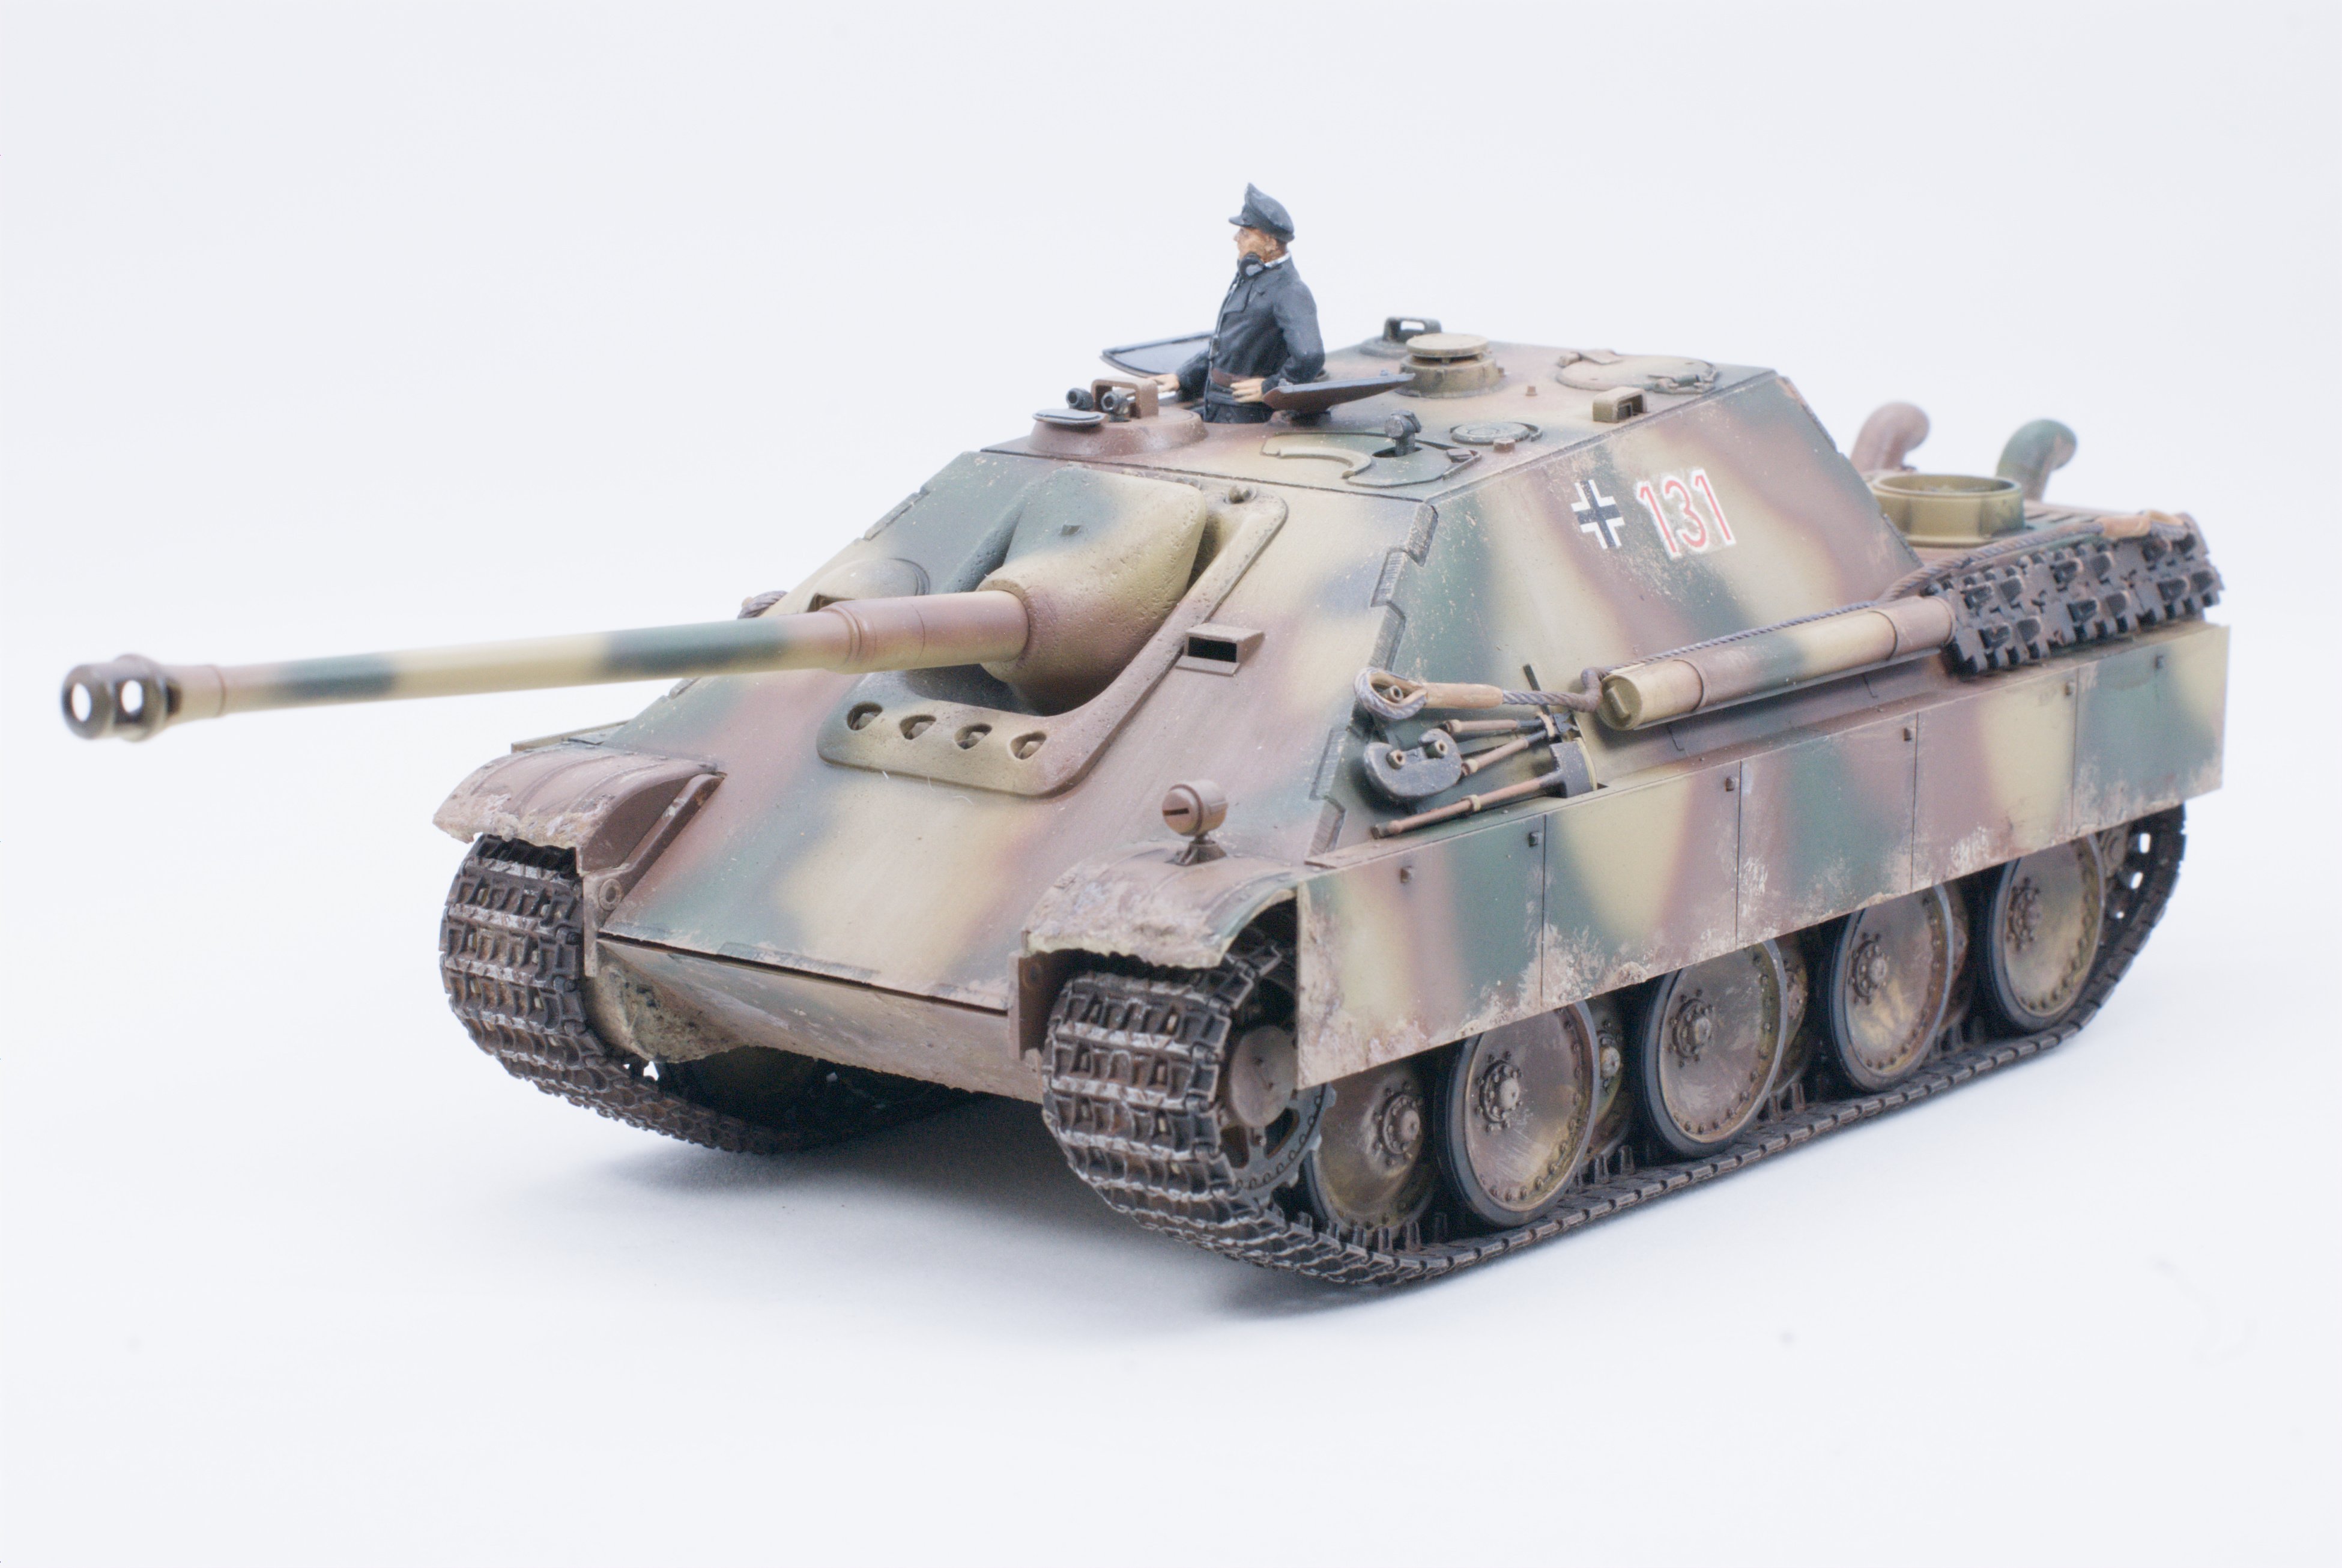
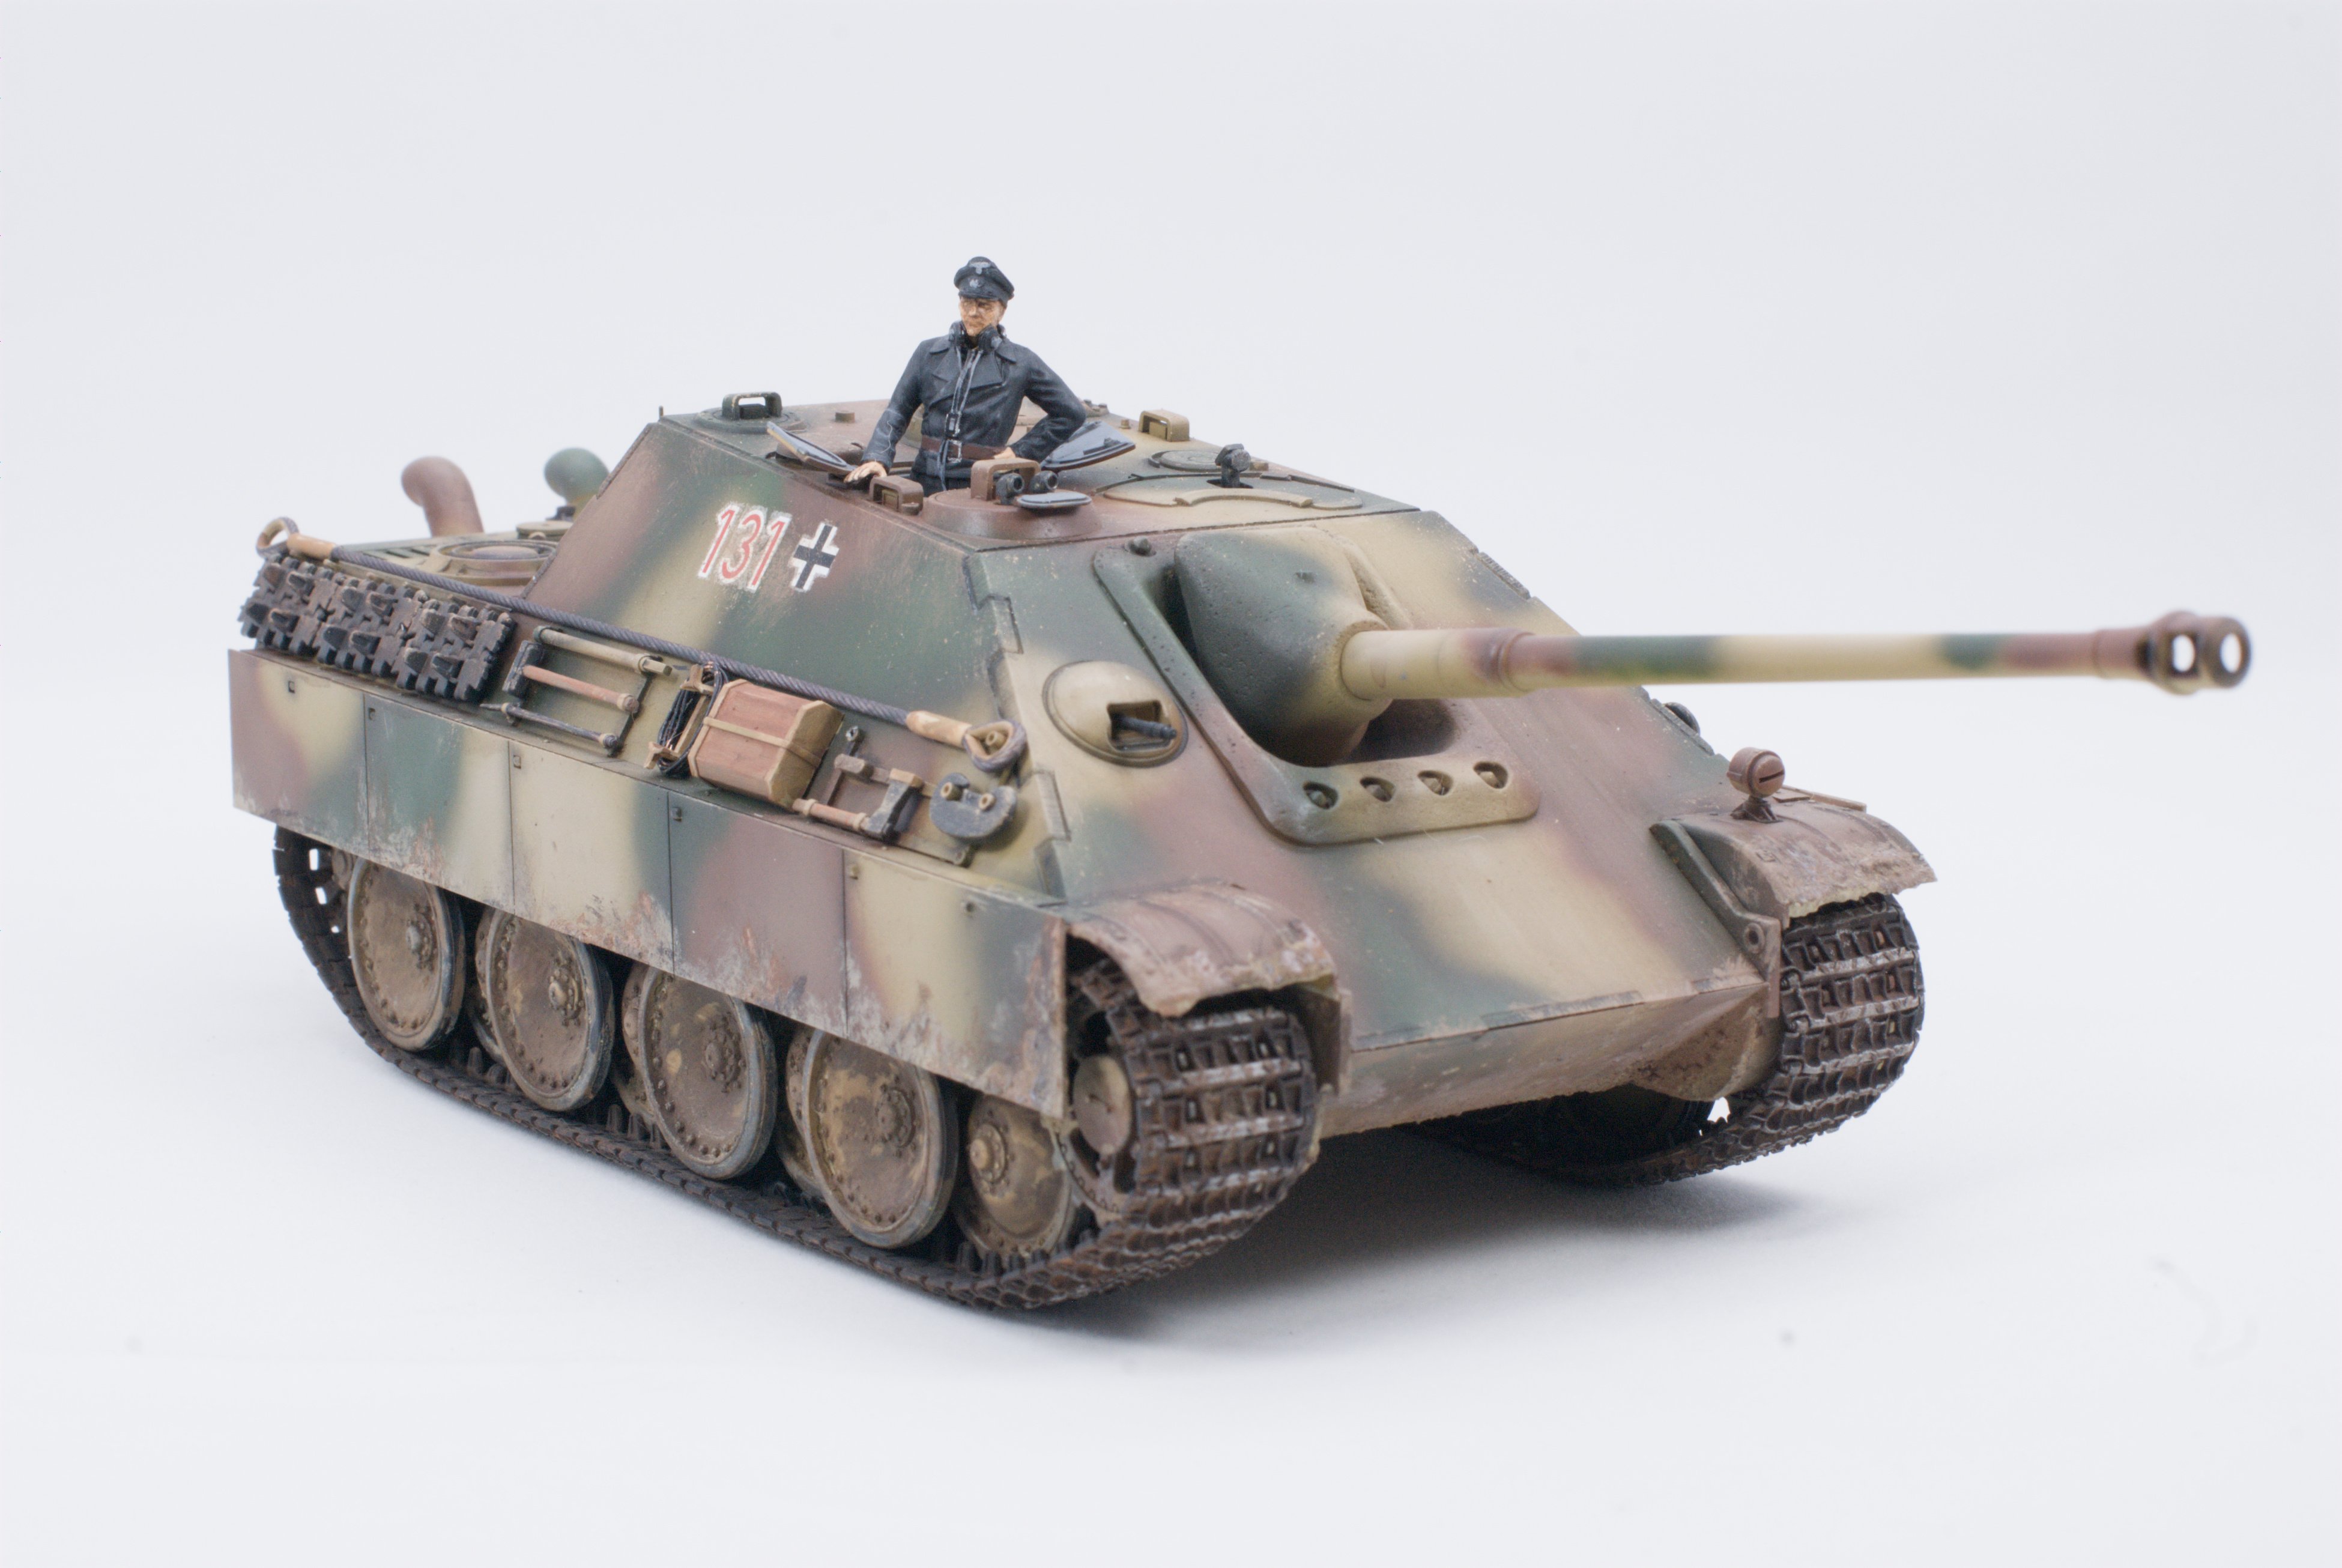
Airborne01!
Well-Known Member
- Joined
- Apr 22, 2025
- Messages
- 205
Love the job and definitely recognise the (inner) expression!
Steve
Steve


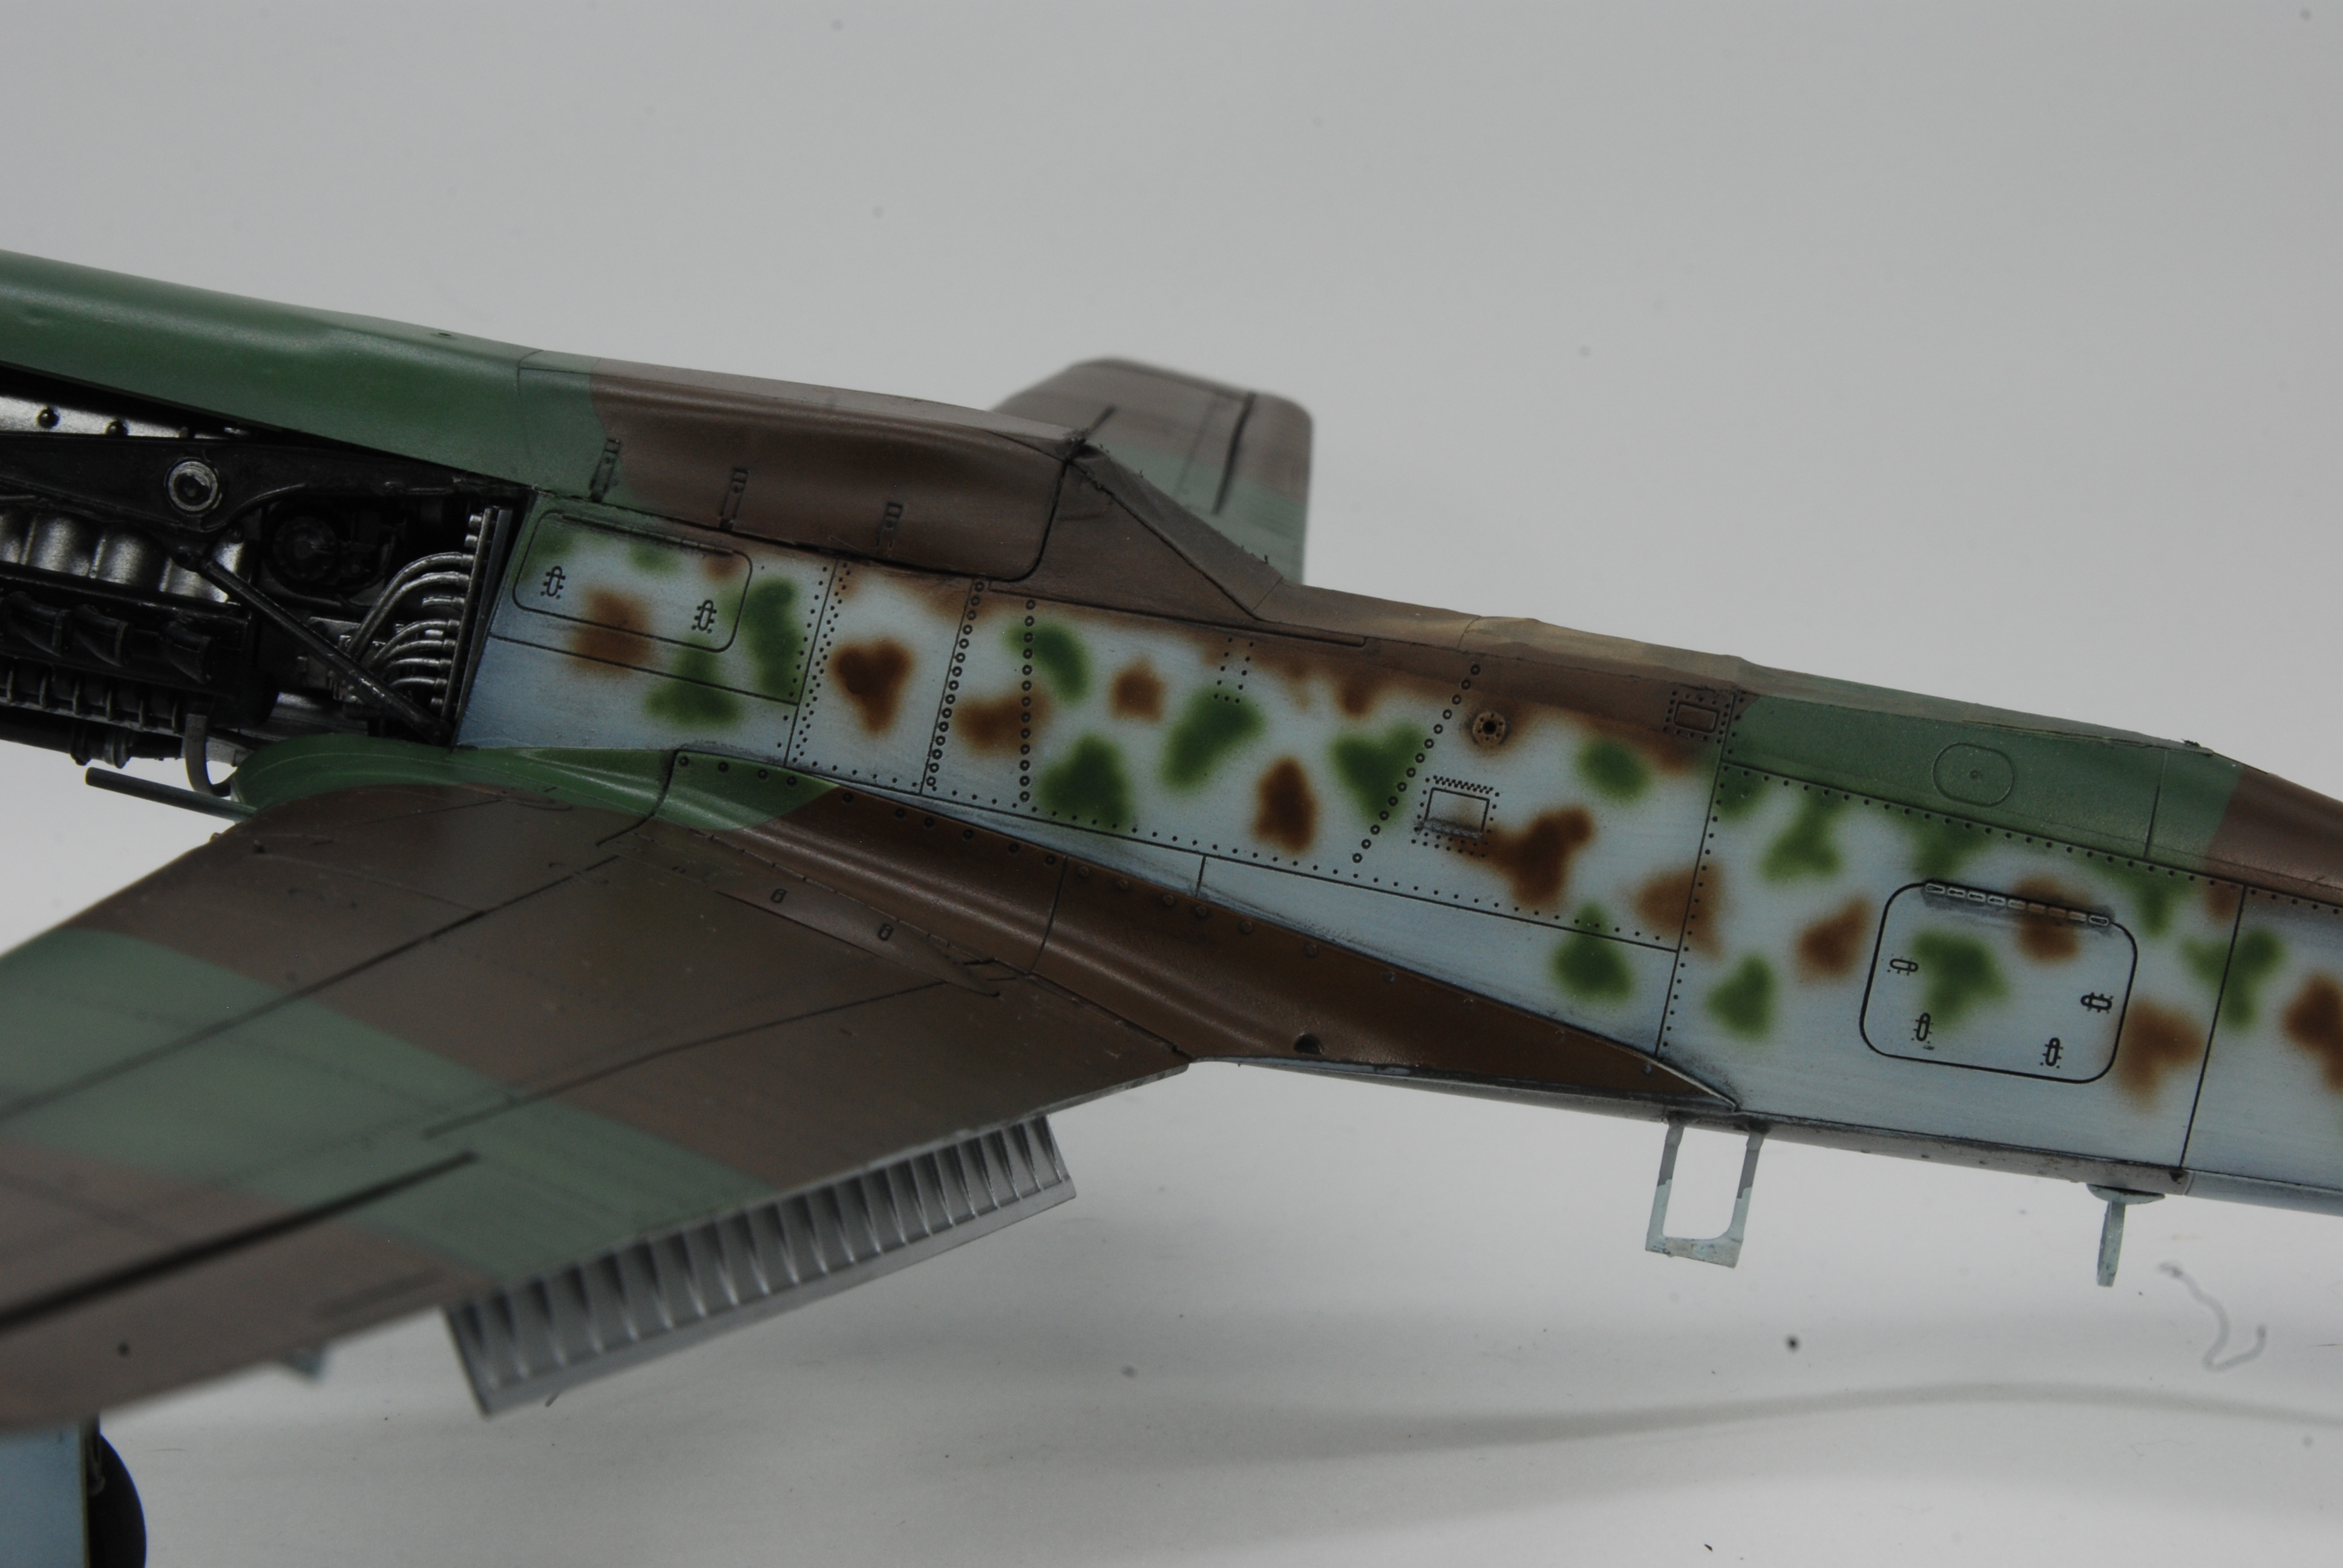
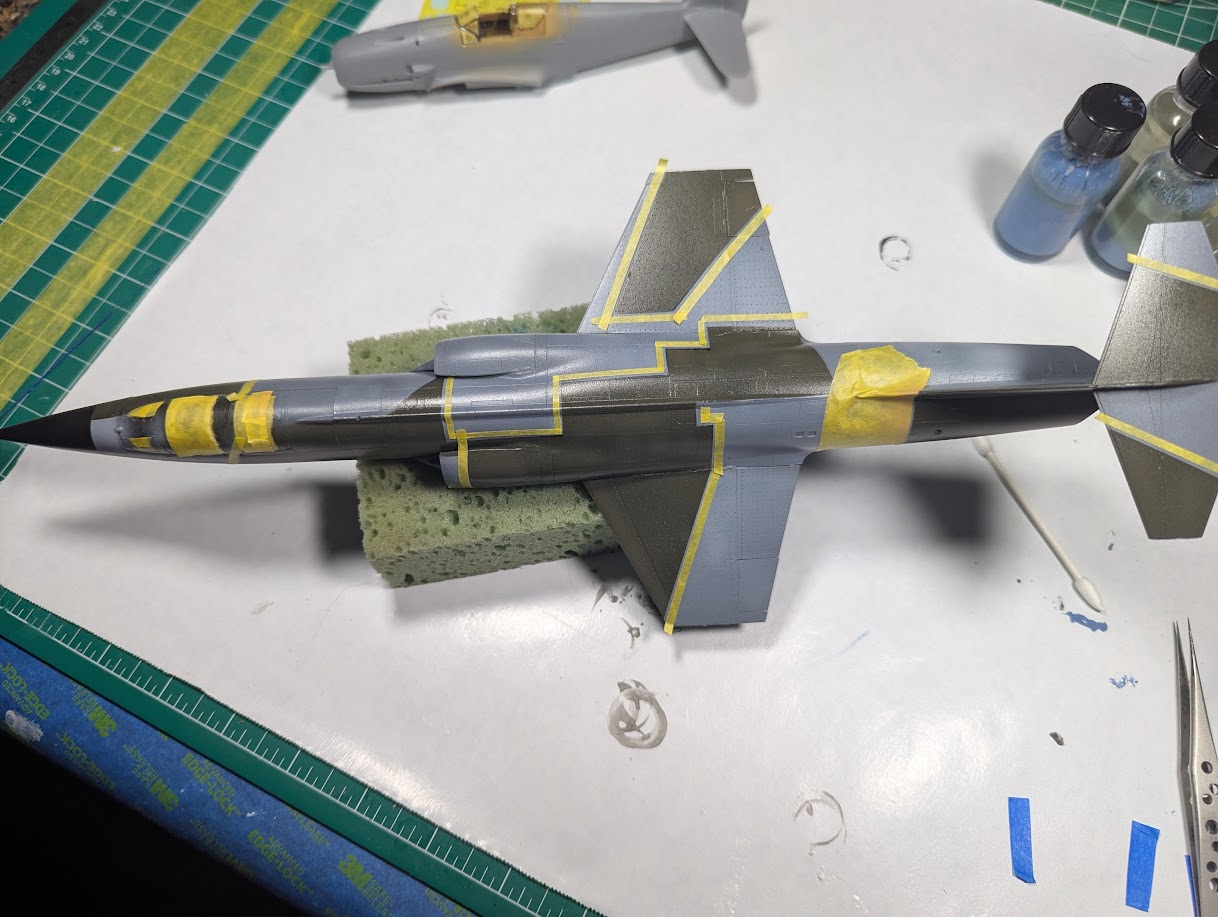
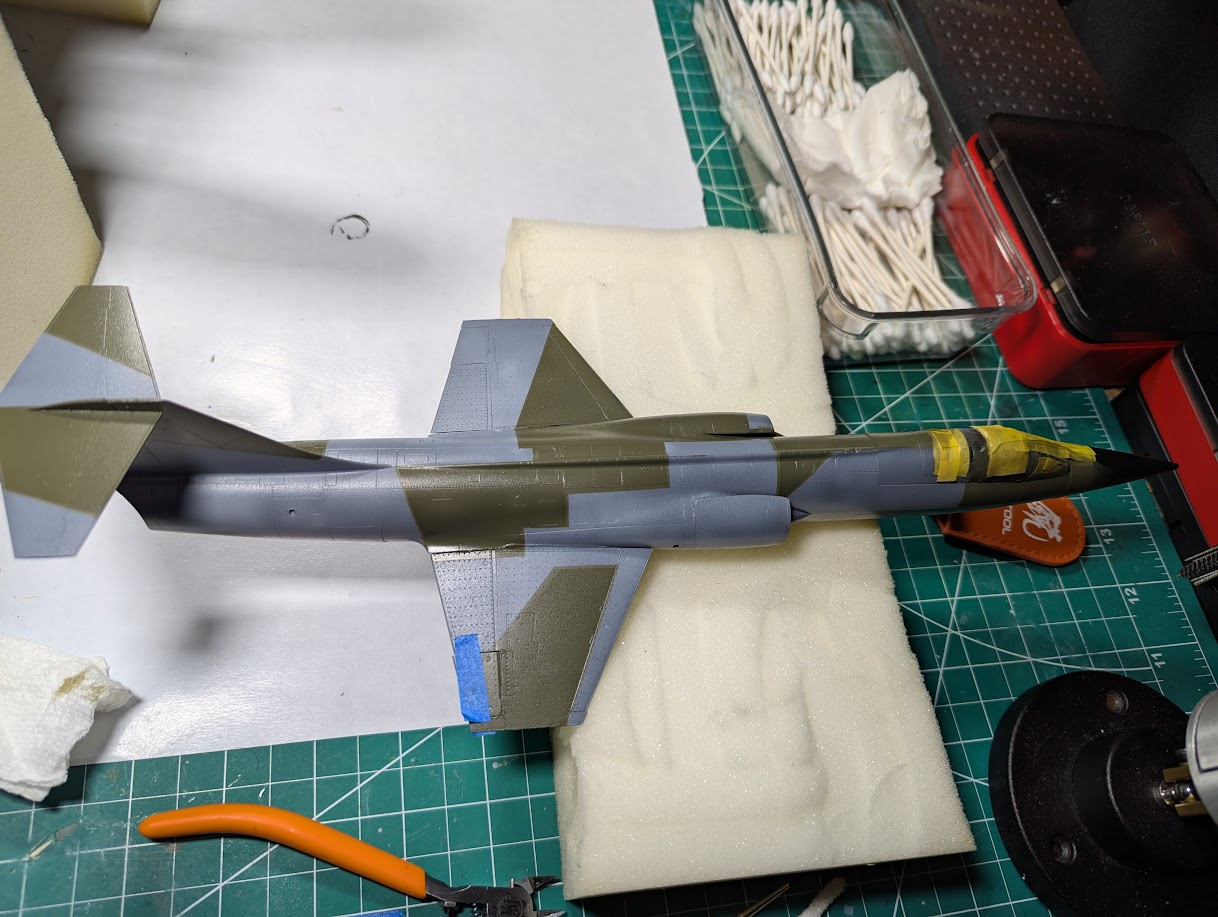
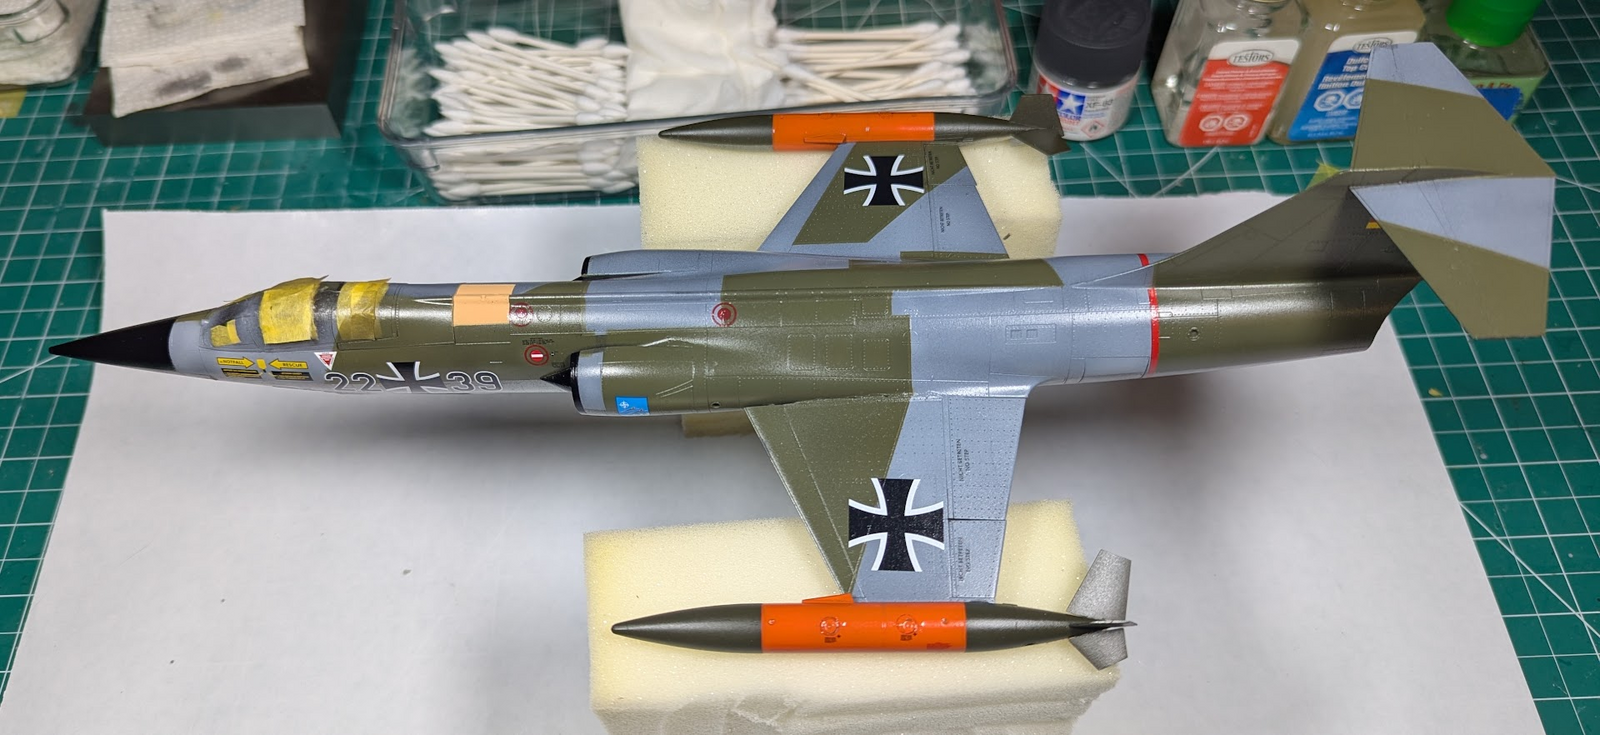
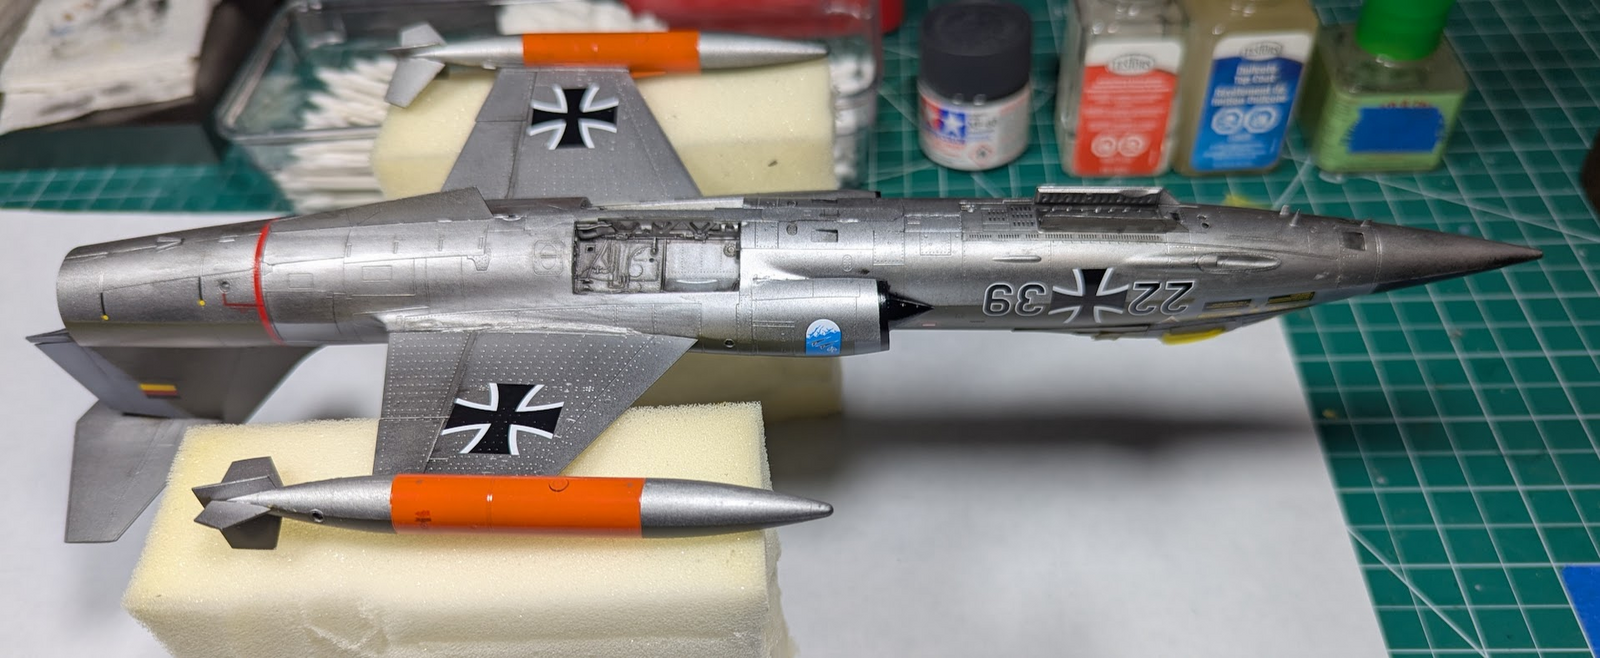
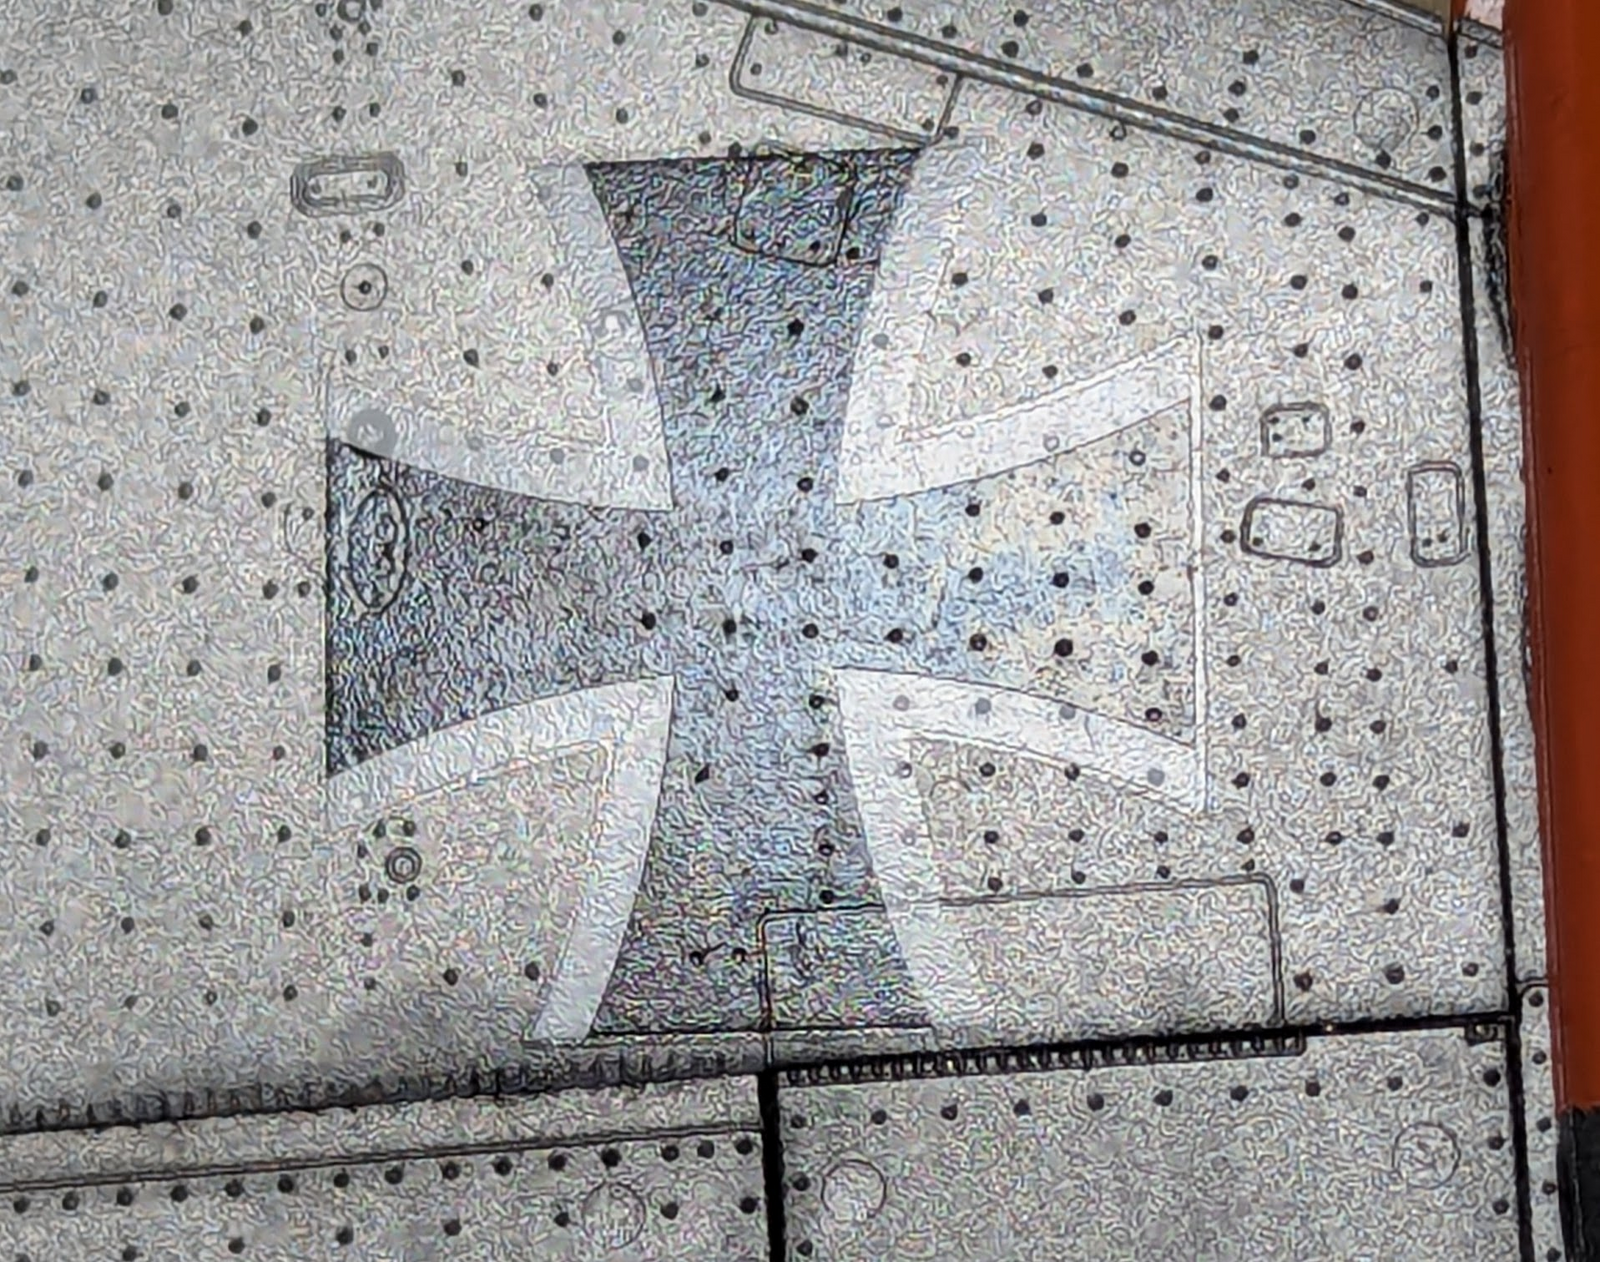
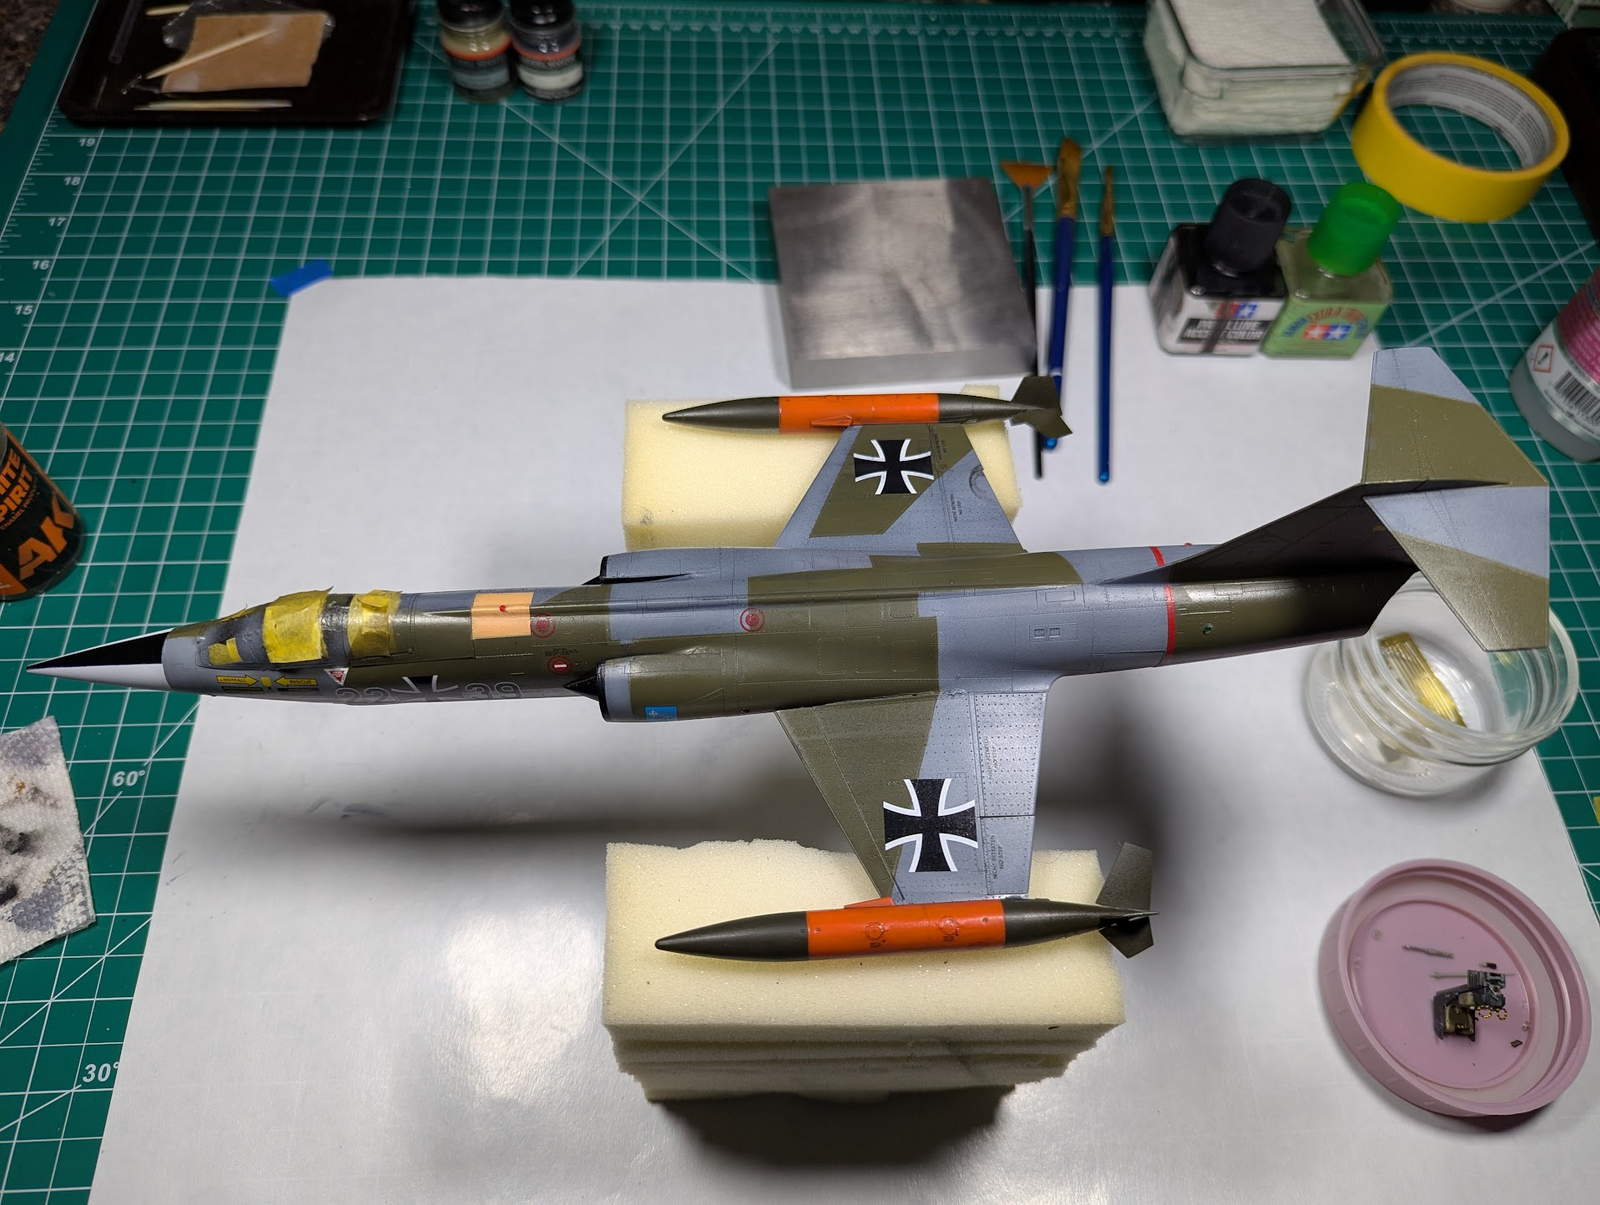
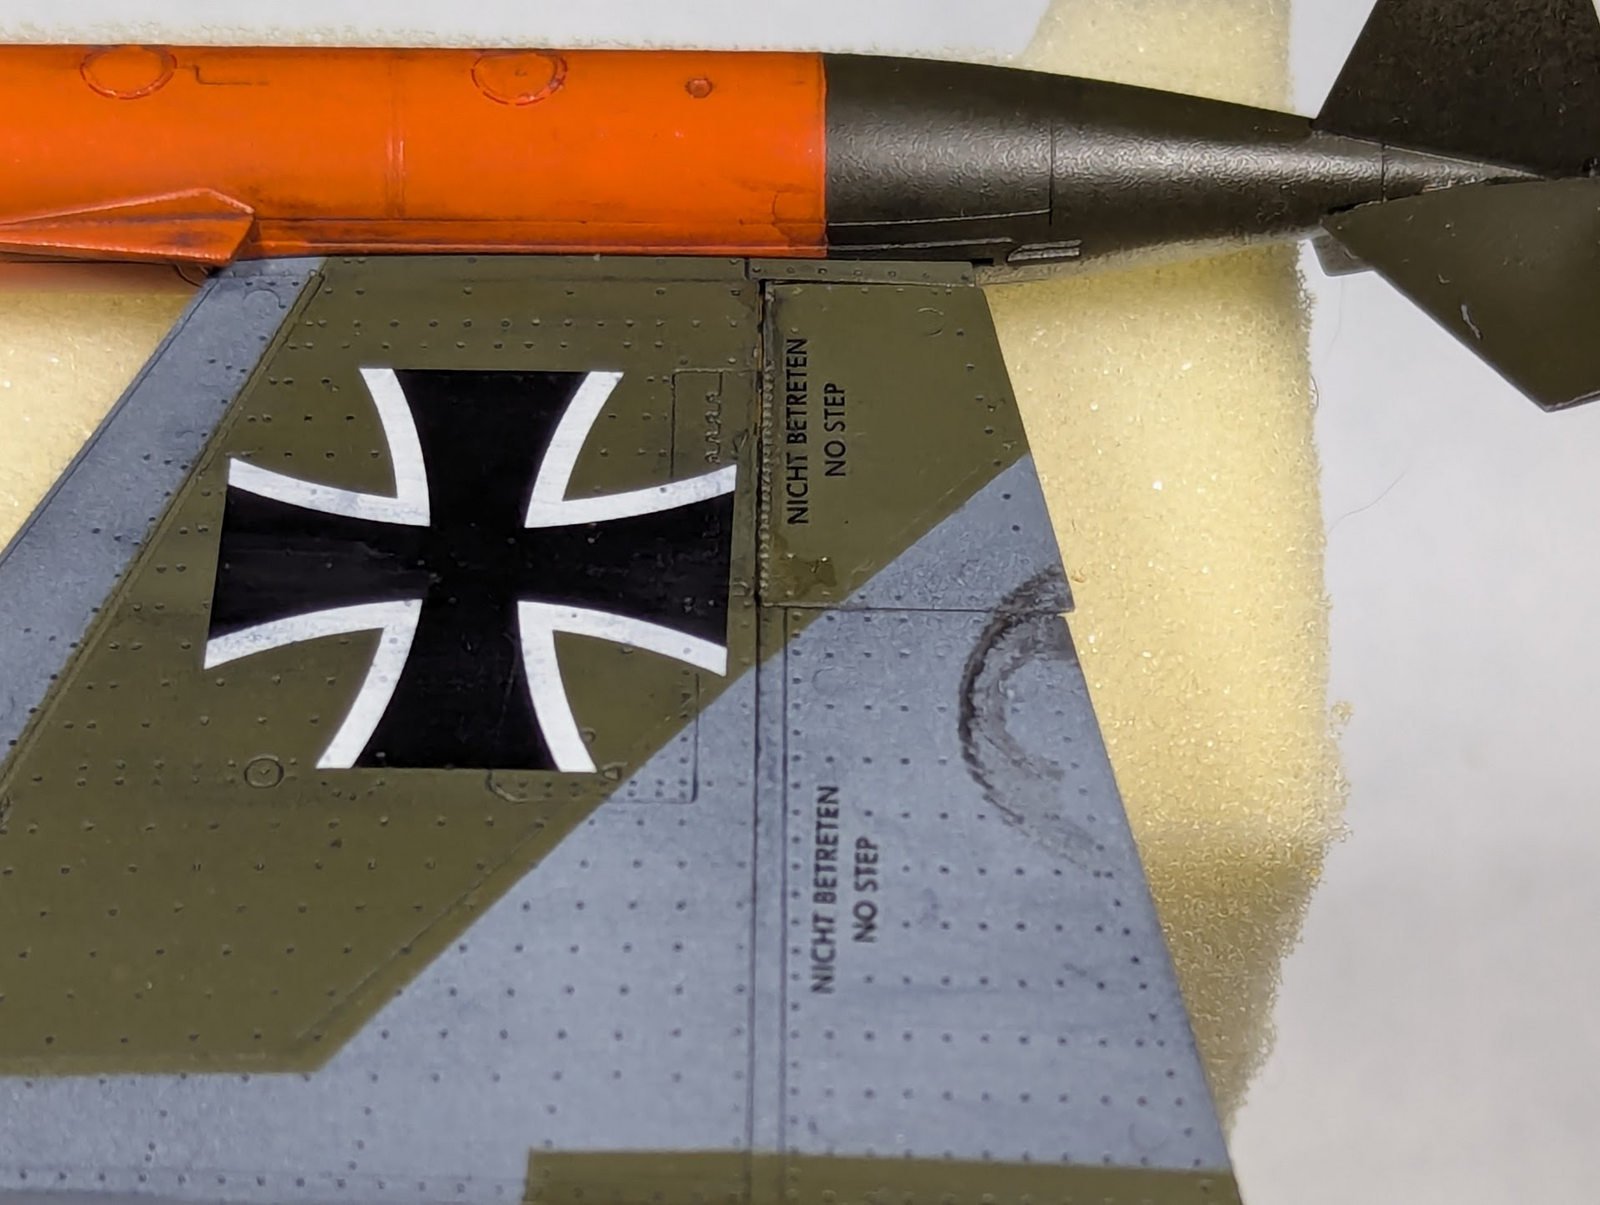
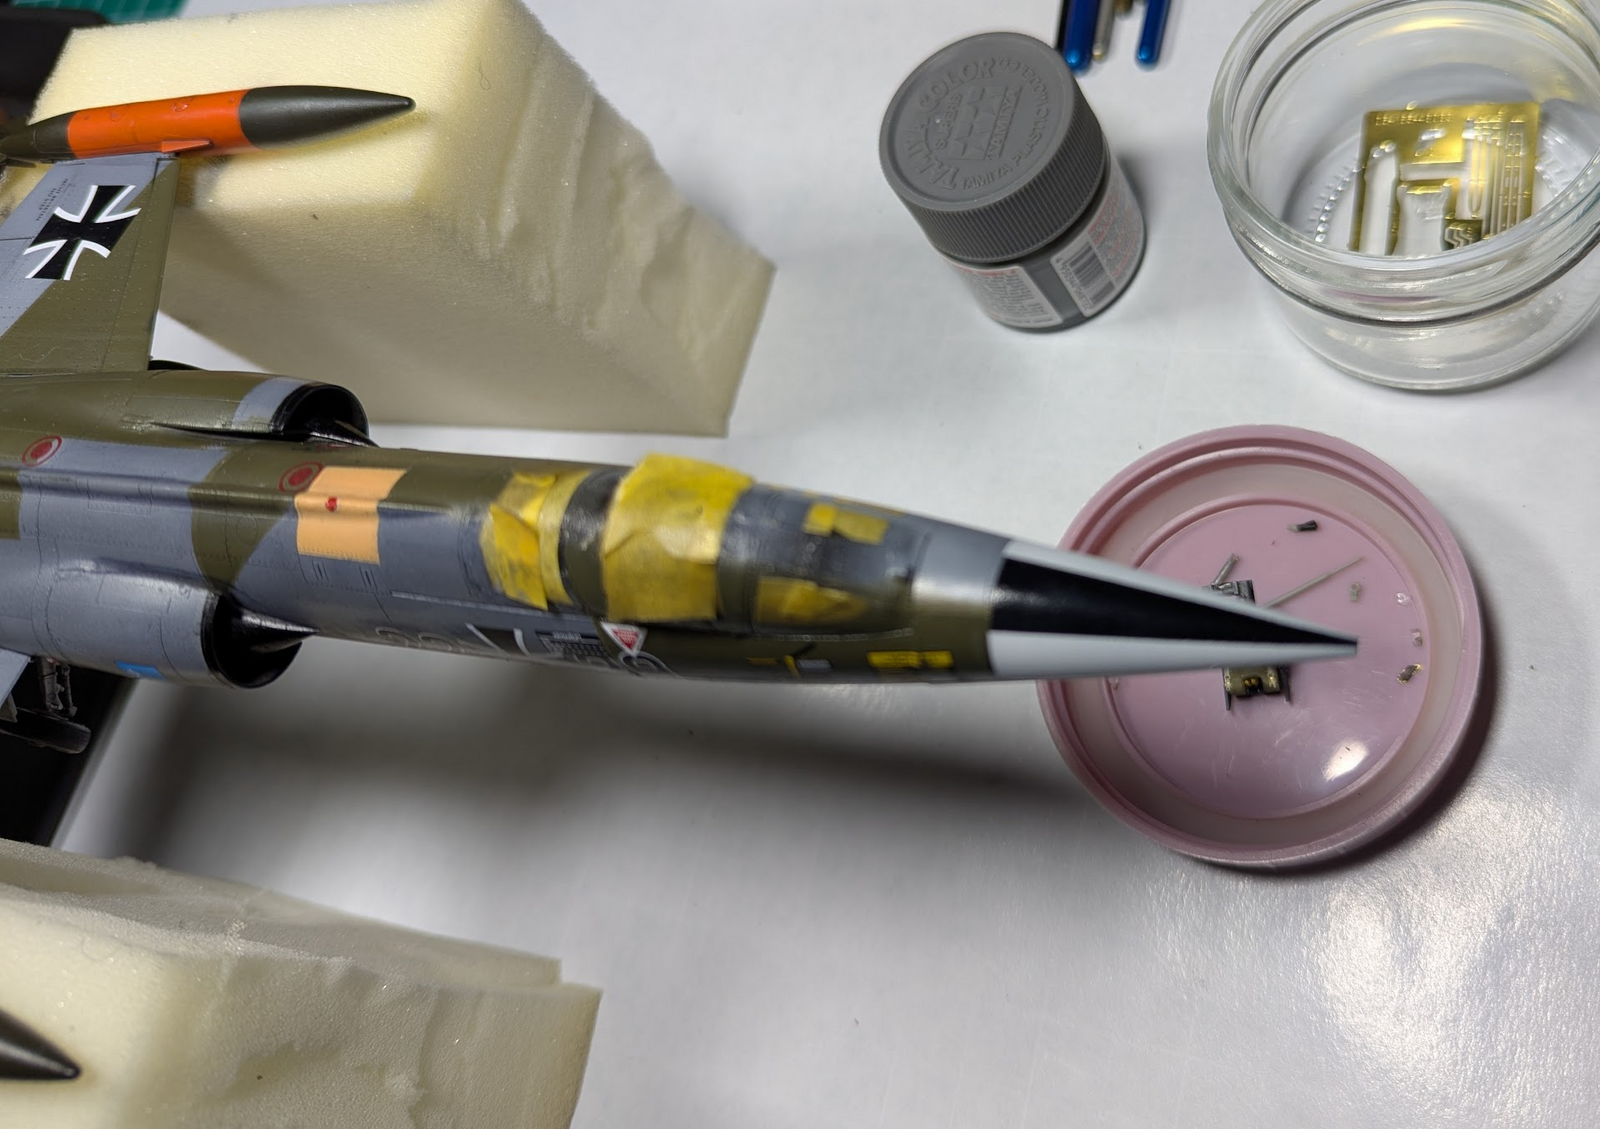
Paint the lightest color first, no masking, just make sure it covers the complete area that is to be that color. Cure it thoroughly. Mask for the next darkest color so that it overlaps the first color by a very small amount, like 1/32 inch or less. When that is fully cured, mask the same way for the next darkest color, again leaving a very small overlap. Because you are applying darker paint each time, the overlaps should not show.When doing the splinter camo on WWII birds I typically painted the entire aircraft in the lighter color then oversprayed the pattern with the darker one. Looking back I do not remember why I decided to not do that here, guess I'd say I'm just trying all sorts of new things. But...I can see some black MLT showing through small gaps between the two colors.
I'll do what I always do, put it aside for a day/week/month while I decide on a direction. I usually come up with solutions at 2-4AM lying in bed awake after one of my frequent nighttime trips to the john
You can see what I mean in the pictures above, so if you have suggestions, I'm listening.

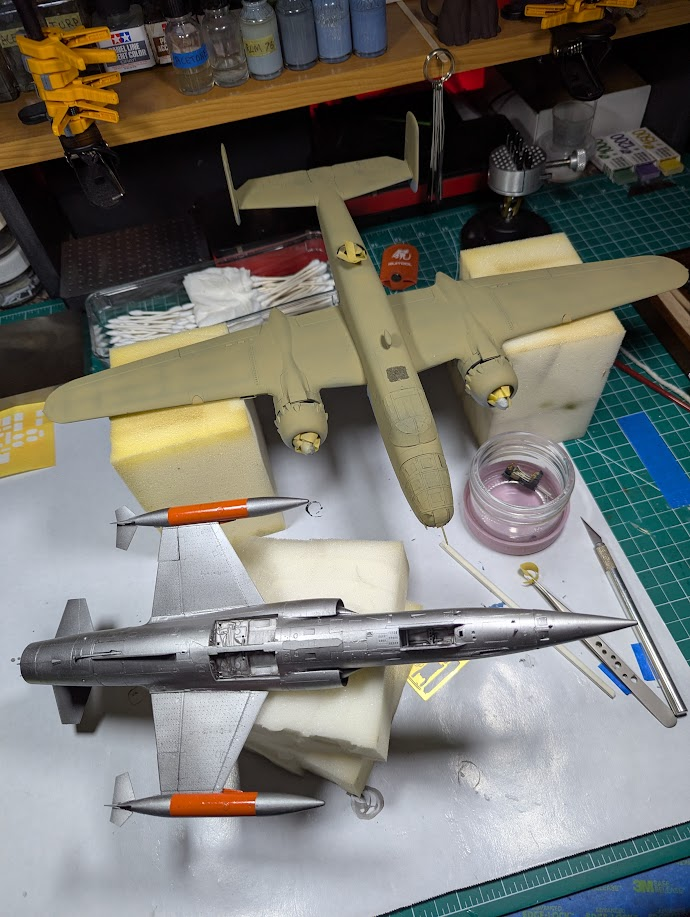
The Mitchell has been a love-hate thing for me. Kit is from the '90s, made by Accurate Miniatures, I bought it for like $15 at our local IPMS show. I do not think I've posted much of anything here because of the problems I've had. Many of the issues were my fault, but the kit has the worst fit on major components I've seen in a long time. I'm gonna put a dullcoat on it (and the Starfighter) today to seal the stickers.Looking good! I'm also interested in that B-25!
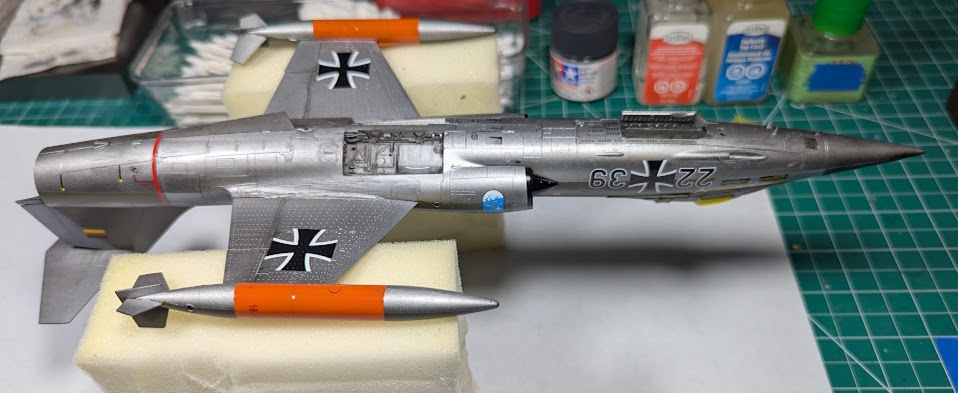
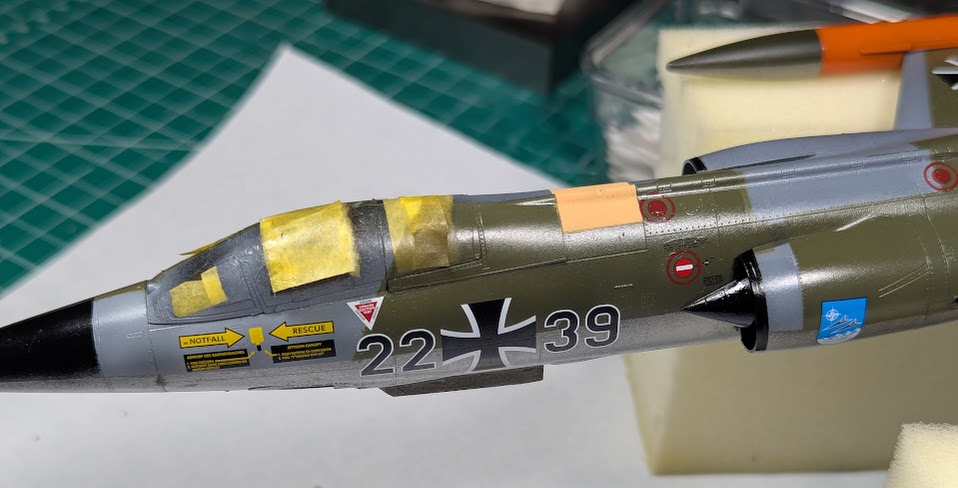
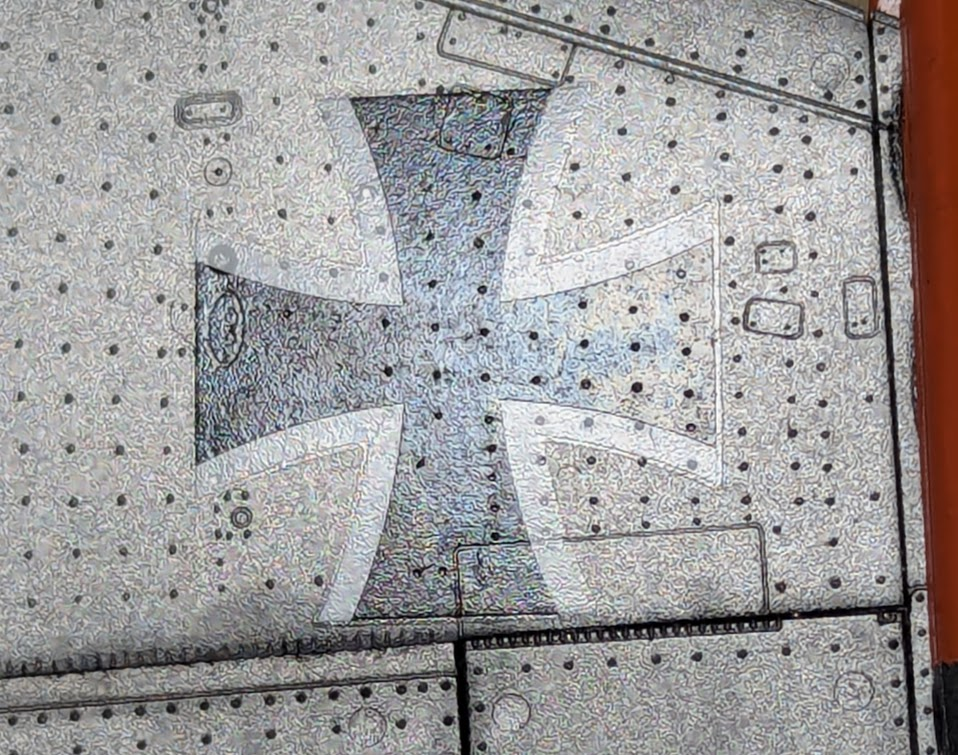

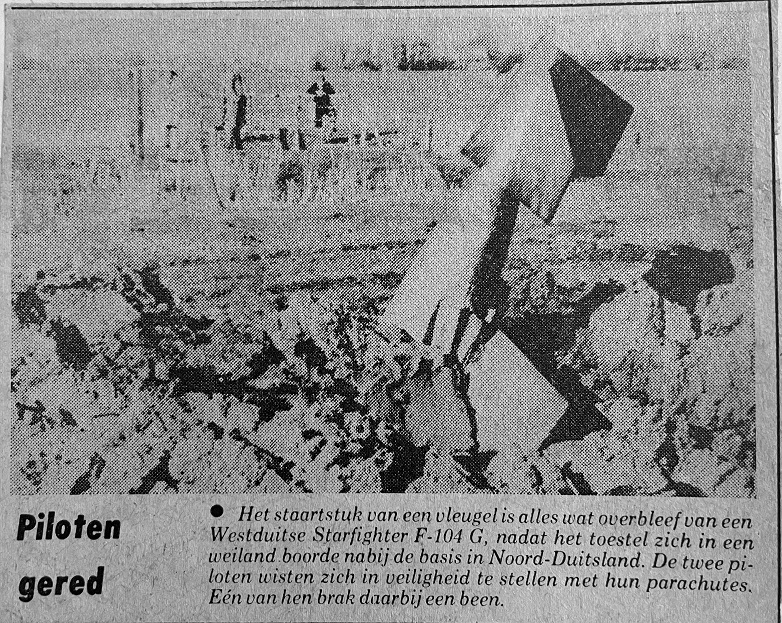
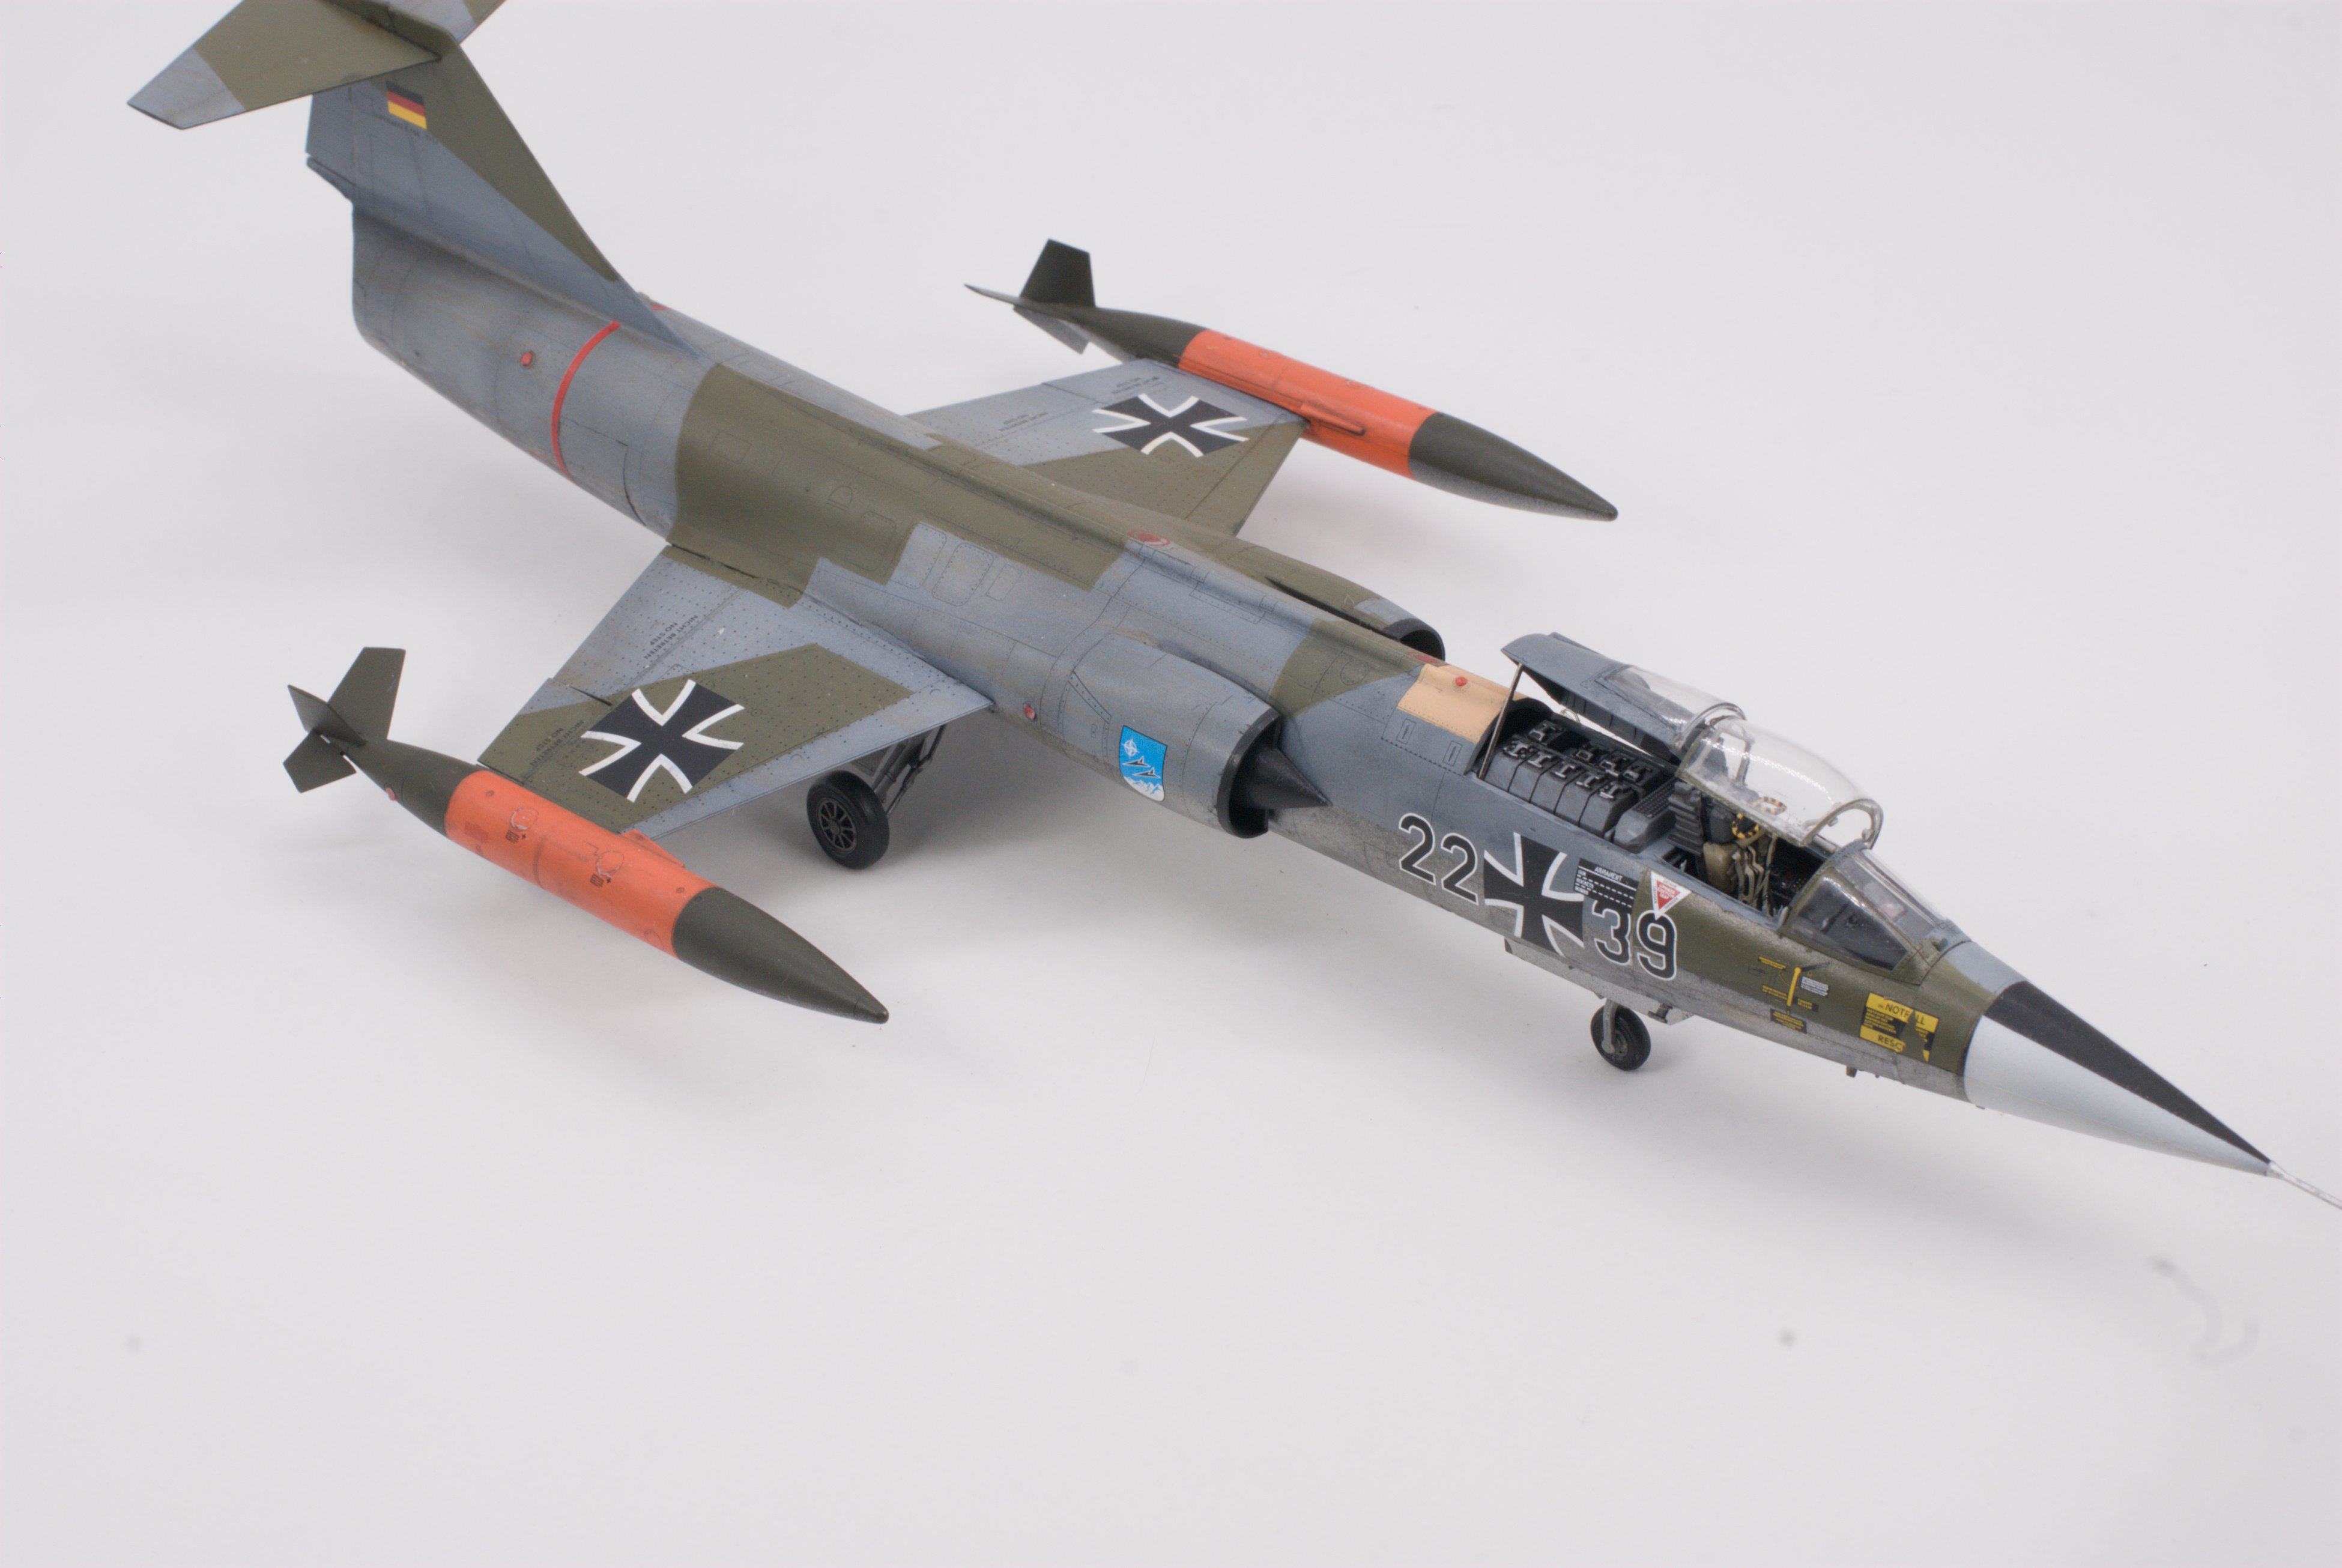
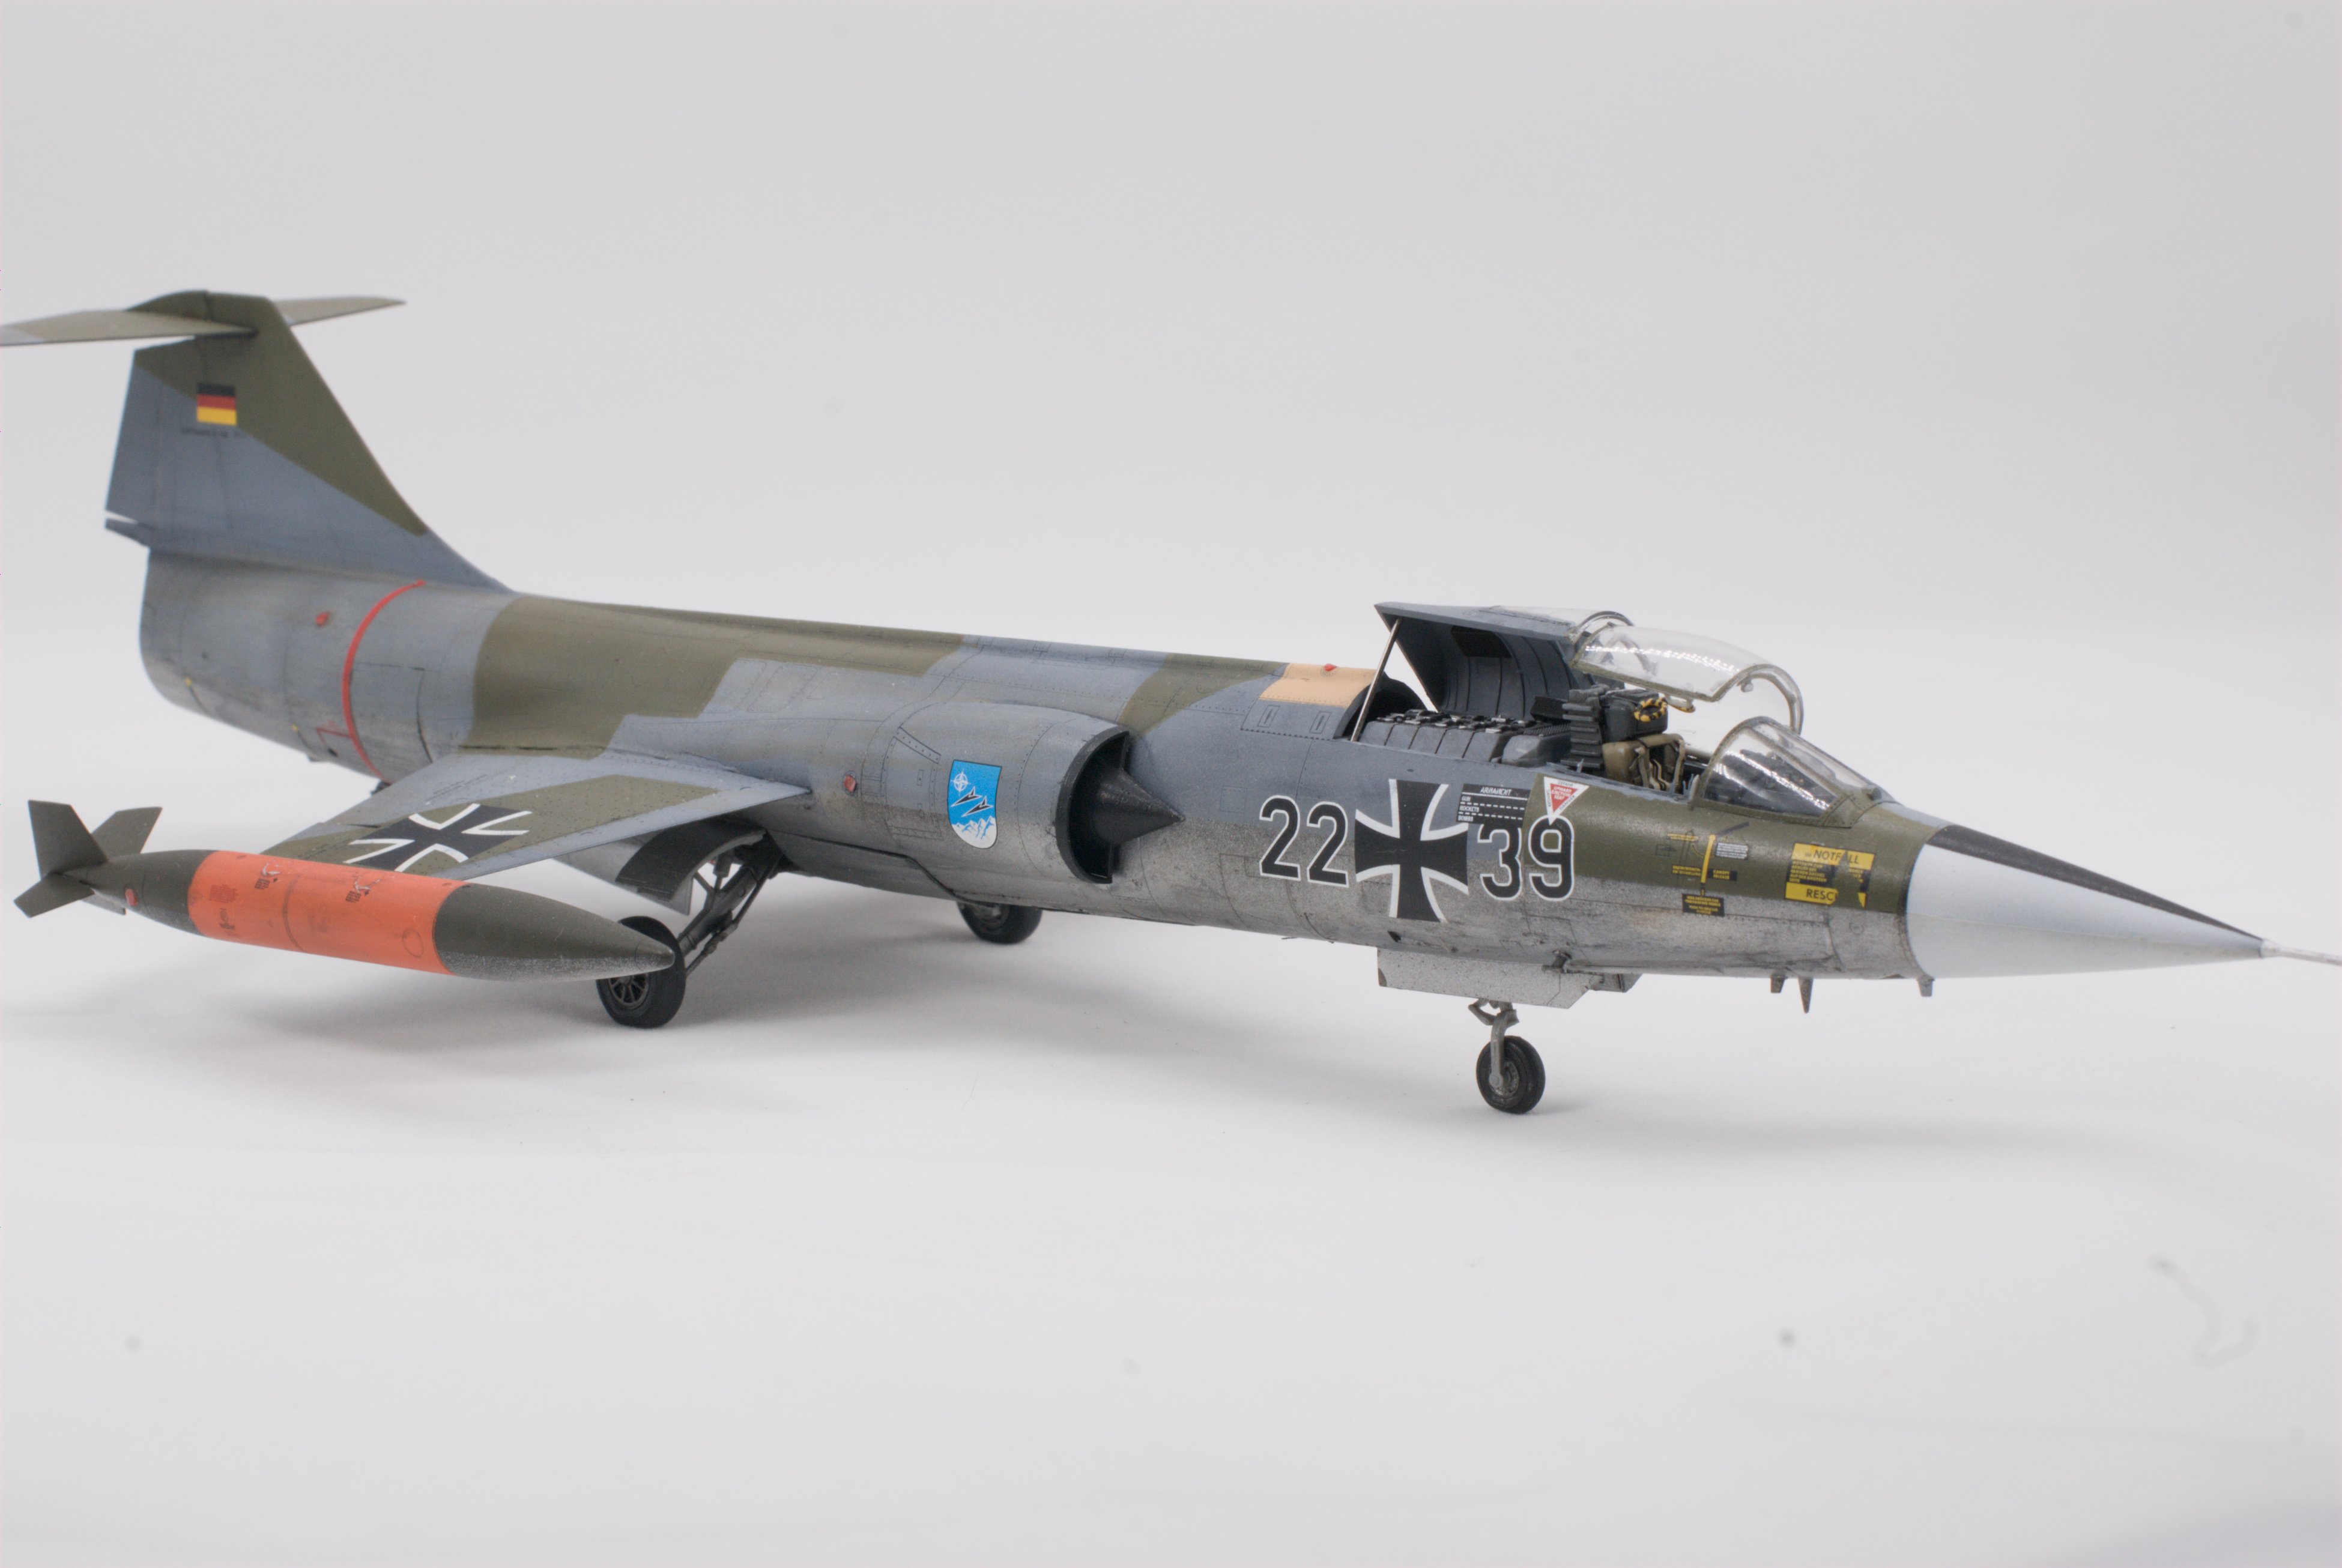
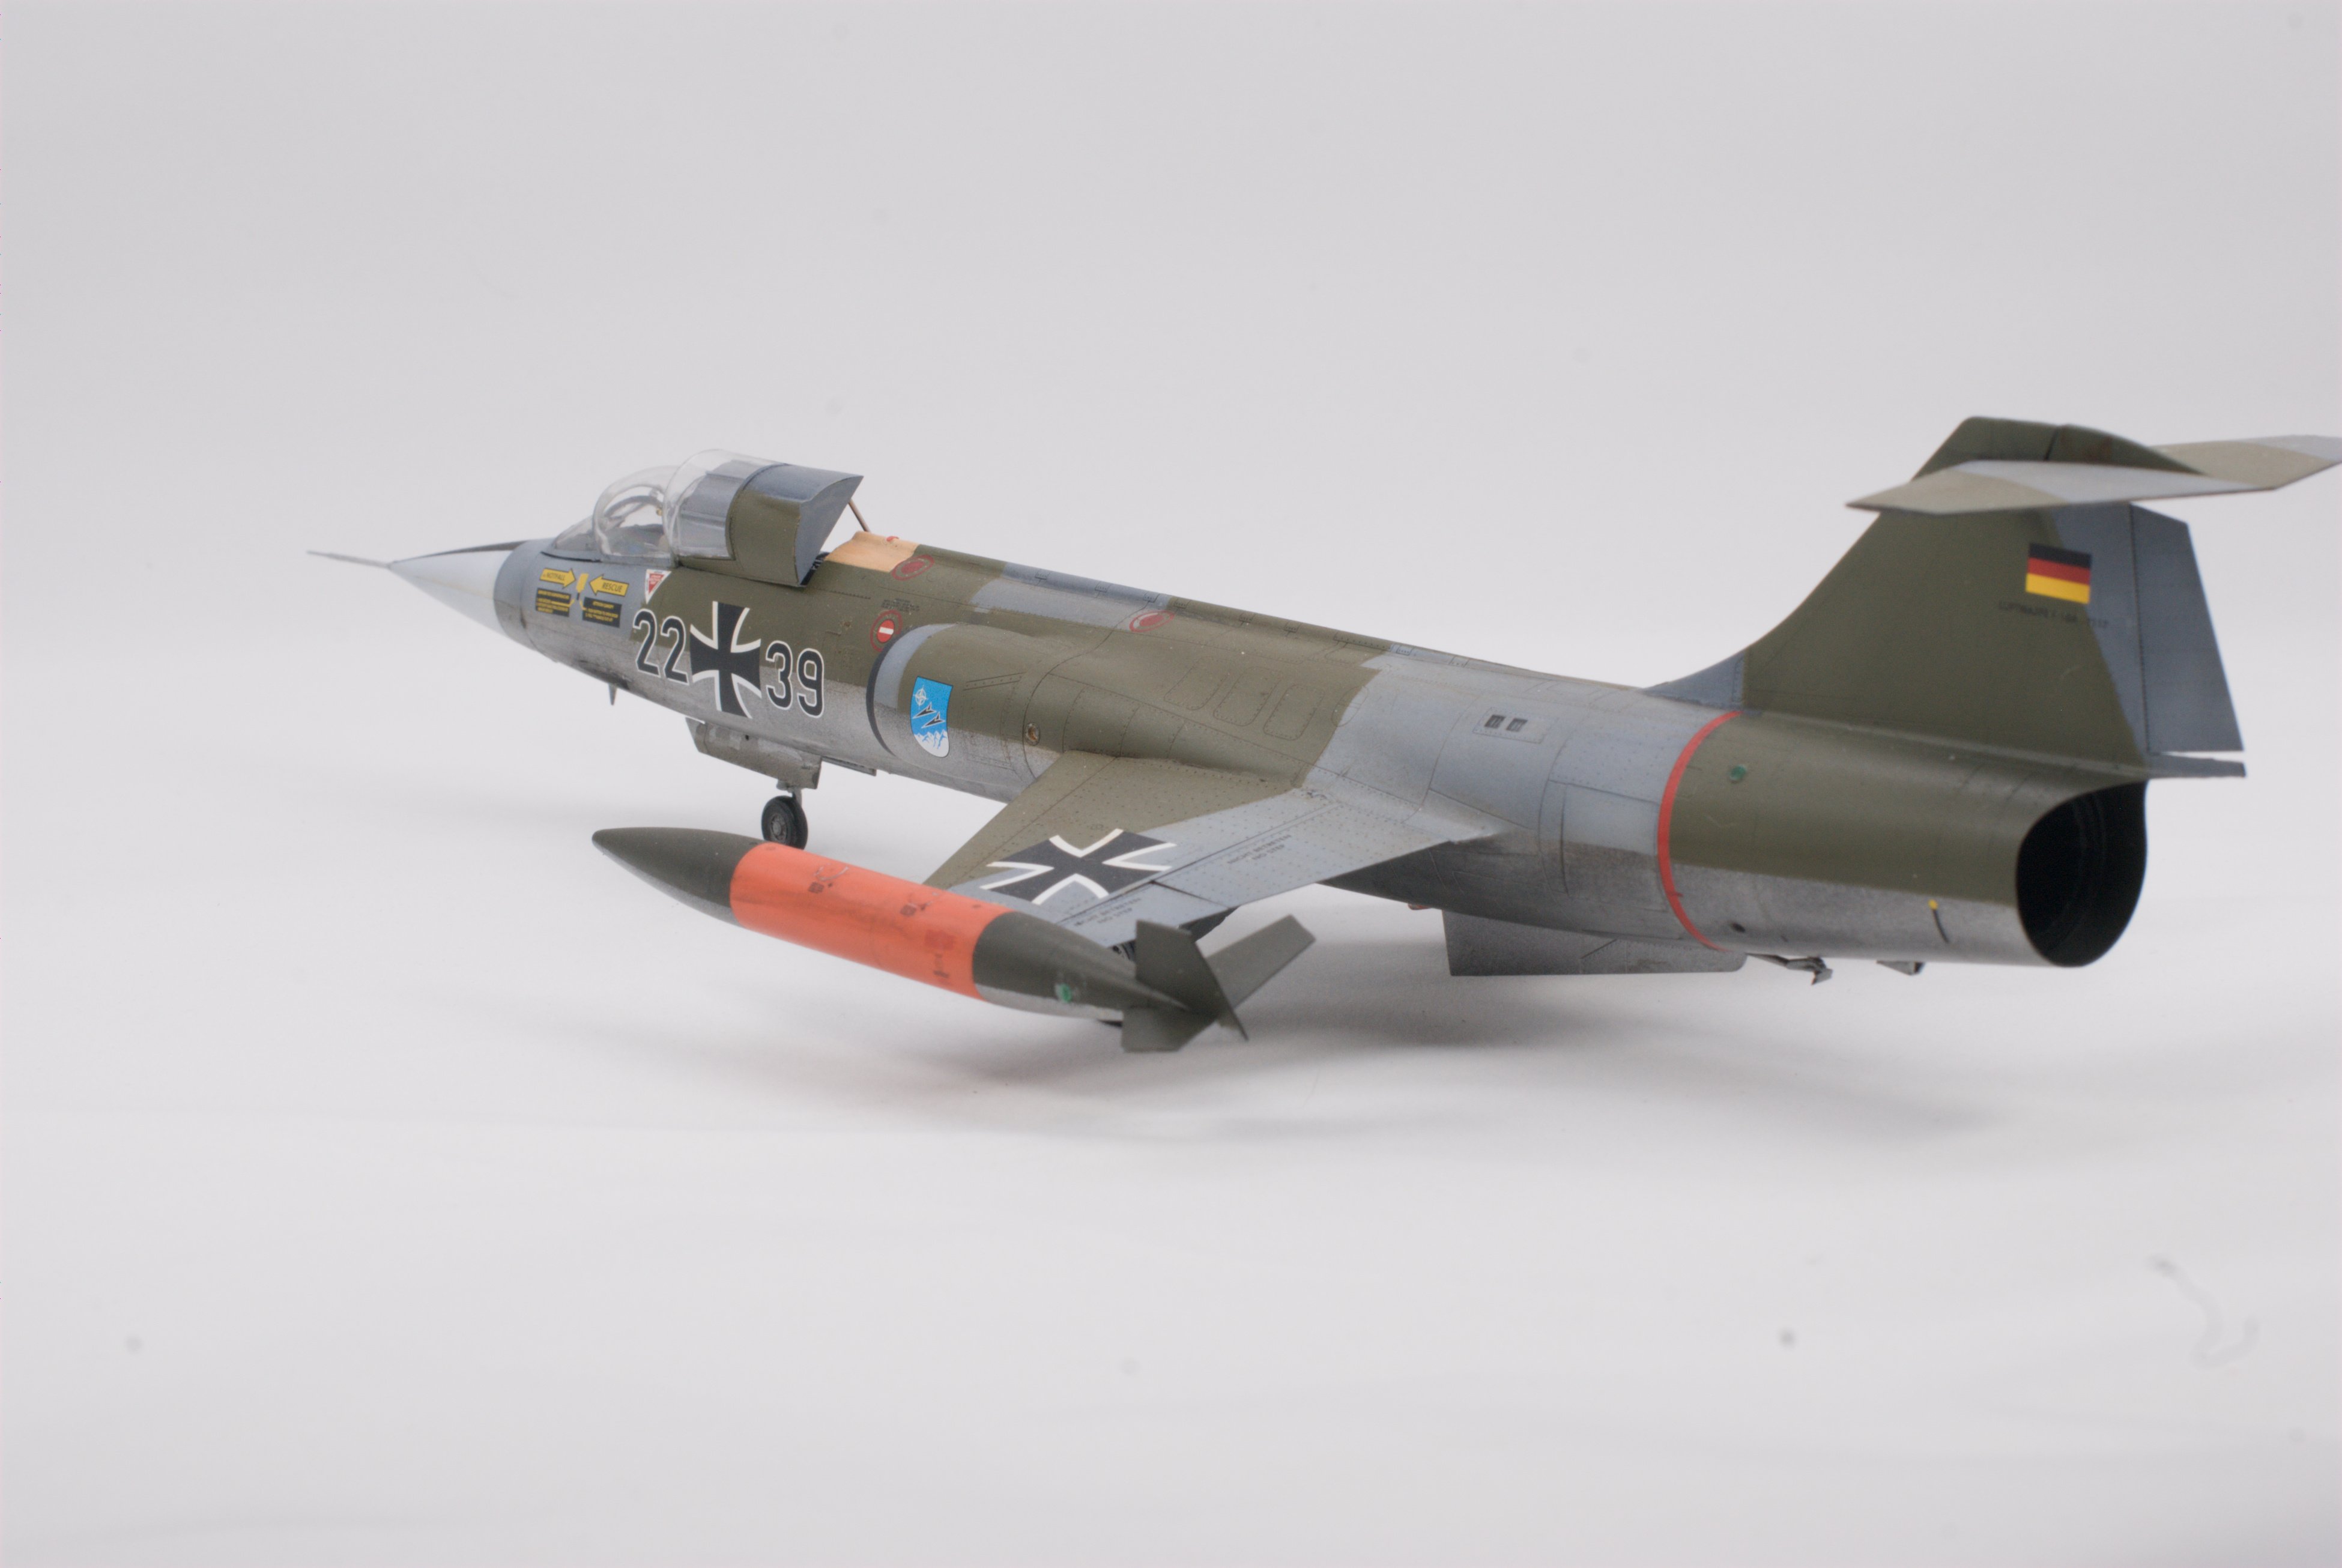
(source)Pilots saved • The tail section of a wing [sic] is all that remained of a West-German Starfighter F-104 G, after the plane buried itself in a field near the base in northern Germany. The two pilots managed to save themselves using their parachutes. One of them broke a leg in the process.
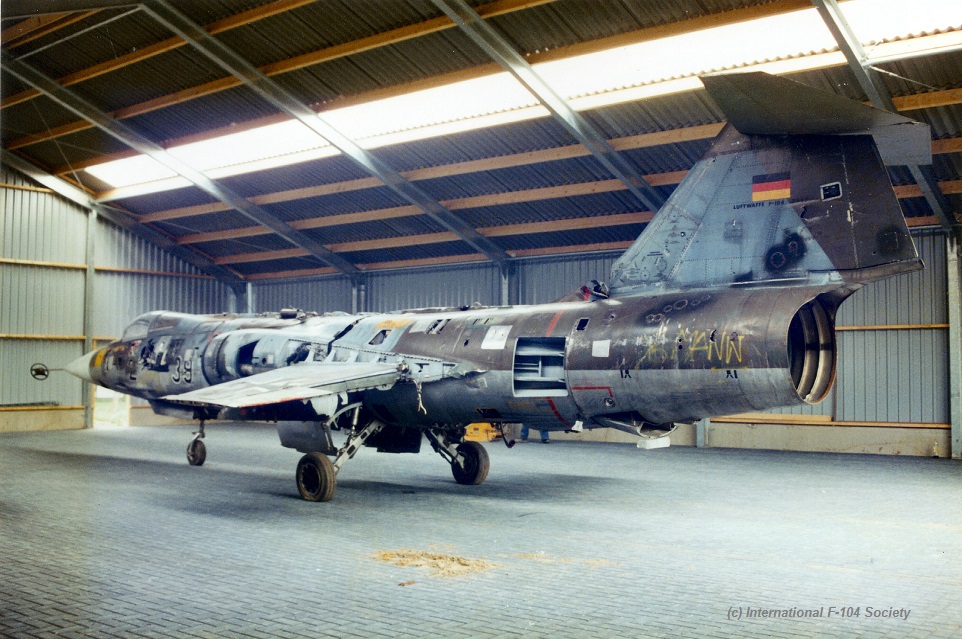
14 August 1986 F-104G 22+39 JBG34 GAF written off pilot ok
This Starfighter encountered an engine failure (compressor stall) South of Hopsten and managed to reach Hopsten Air Base where it made an emergency landing using his arrestor-hook. The pilot requested to land on "01" but the runway was open on "19" so he had to move to that direction to approach for landing. It landed high speed (BLC not working) and took the barrier after his brake chute failed with 200 kts. The pilot could step out of the aircraft unhurt. Afterwards it was declared damaged beyond economical repair on 8 October 1986 mainly because the end of the F-104 operations within JBG34 was near. The aircraft stayed at Hopsten where it was used as BDRT or fire-practise airframe. In 1995 it was cut in three parts and damaged heavily due to CFE agreements and sold in parts. In October 1995 it arrived with PS Aero at Baarlo where they tried to weld it all together again, but the challenge was too big and lots of good F-104 fuselages were obtained via VEBEG soon after so they decided to have the 22+39 being scrapped by a local scrap dealer in May 2003. Beneath a photo taken in a bit shed at the PSAero location after the remains had been welded together.
That may be true, but Cartographic is supposed to be one of the best (or was). Yes, I know the kit is made in the PRC, but they probably know better than some in the US, what a US insignia looks like. I wonder if it's worth the time to try to contact them.I don't think the decal manufacturer has anything to do with that — they just print what the kit manufacturer gives them.


HI Ltttlemarten what is this HYPO tubein ? as i will have a long pivot tube on my B/58 HUSTLER an that may be just what i need sir an where to buy it ?"Mastery of scale modeling does not consist of not making mistakes, but in knowing how to fix them as if they had never been."
And you can quote me on that.
I use hypo tubing for pitot tubes, because it doesn't break or bend too easily—and it's still the last thing to go on!
This is going to be one impressive build!
Hypodermic tubing is what goes on the end of a medical syringe. It comes in many sizes: This is where I get mine, though there are other sources.HI Ltttlemarten what is this HYPO tubein ? as i will have a long pivot tube on my B/58 HUSTLER an that may be just what i need sir an where to buy it ?
chrisb

Haha, showing a 20_something how to use an older DSLR last weekend... The incredulous look in their eyes was just:right quick


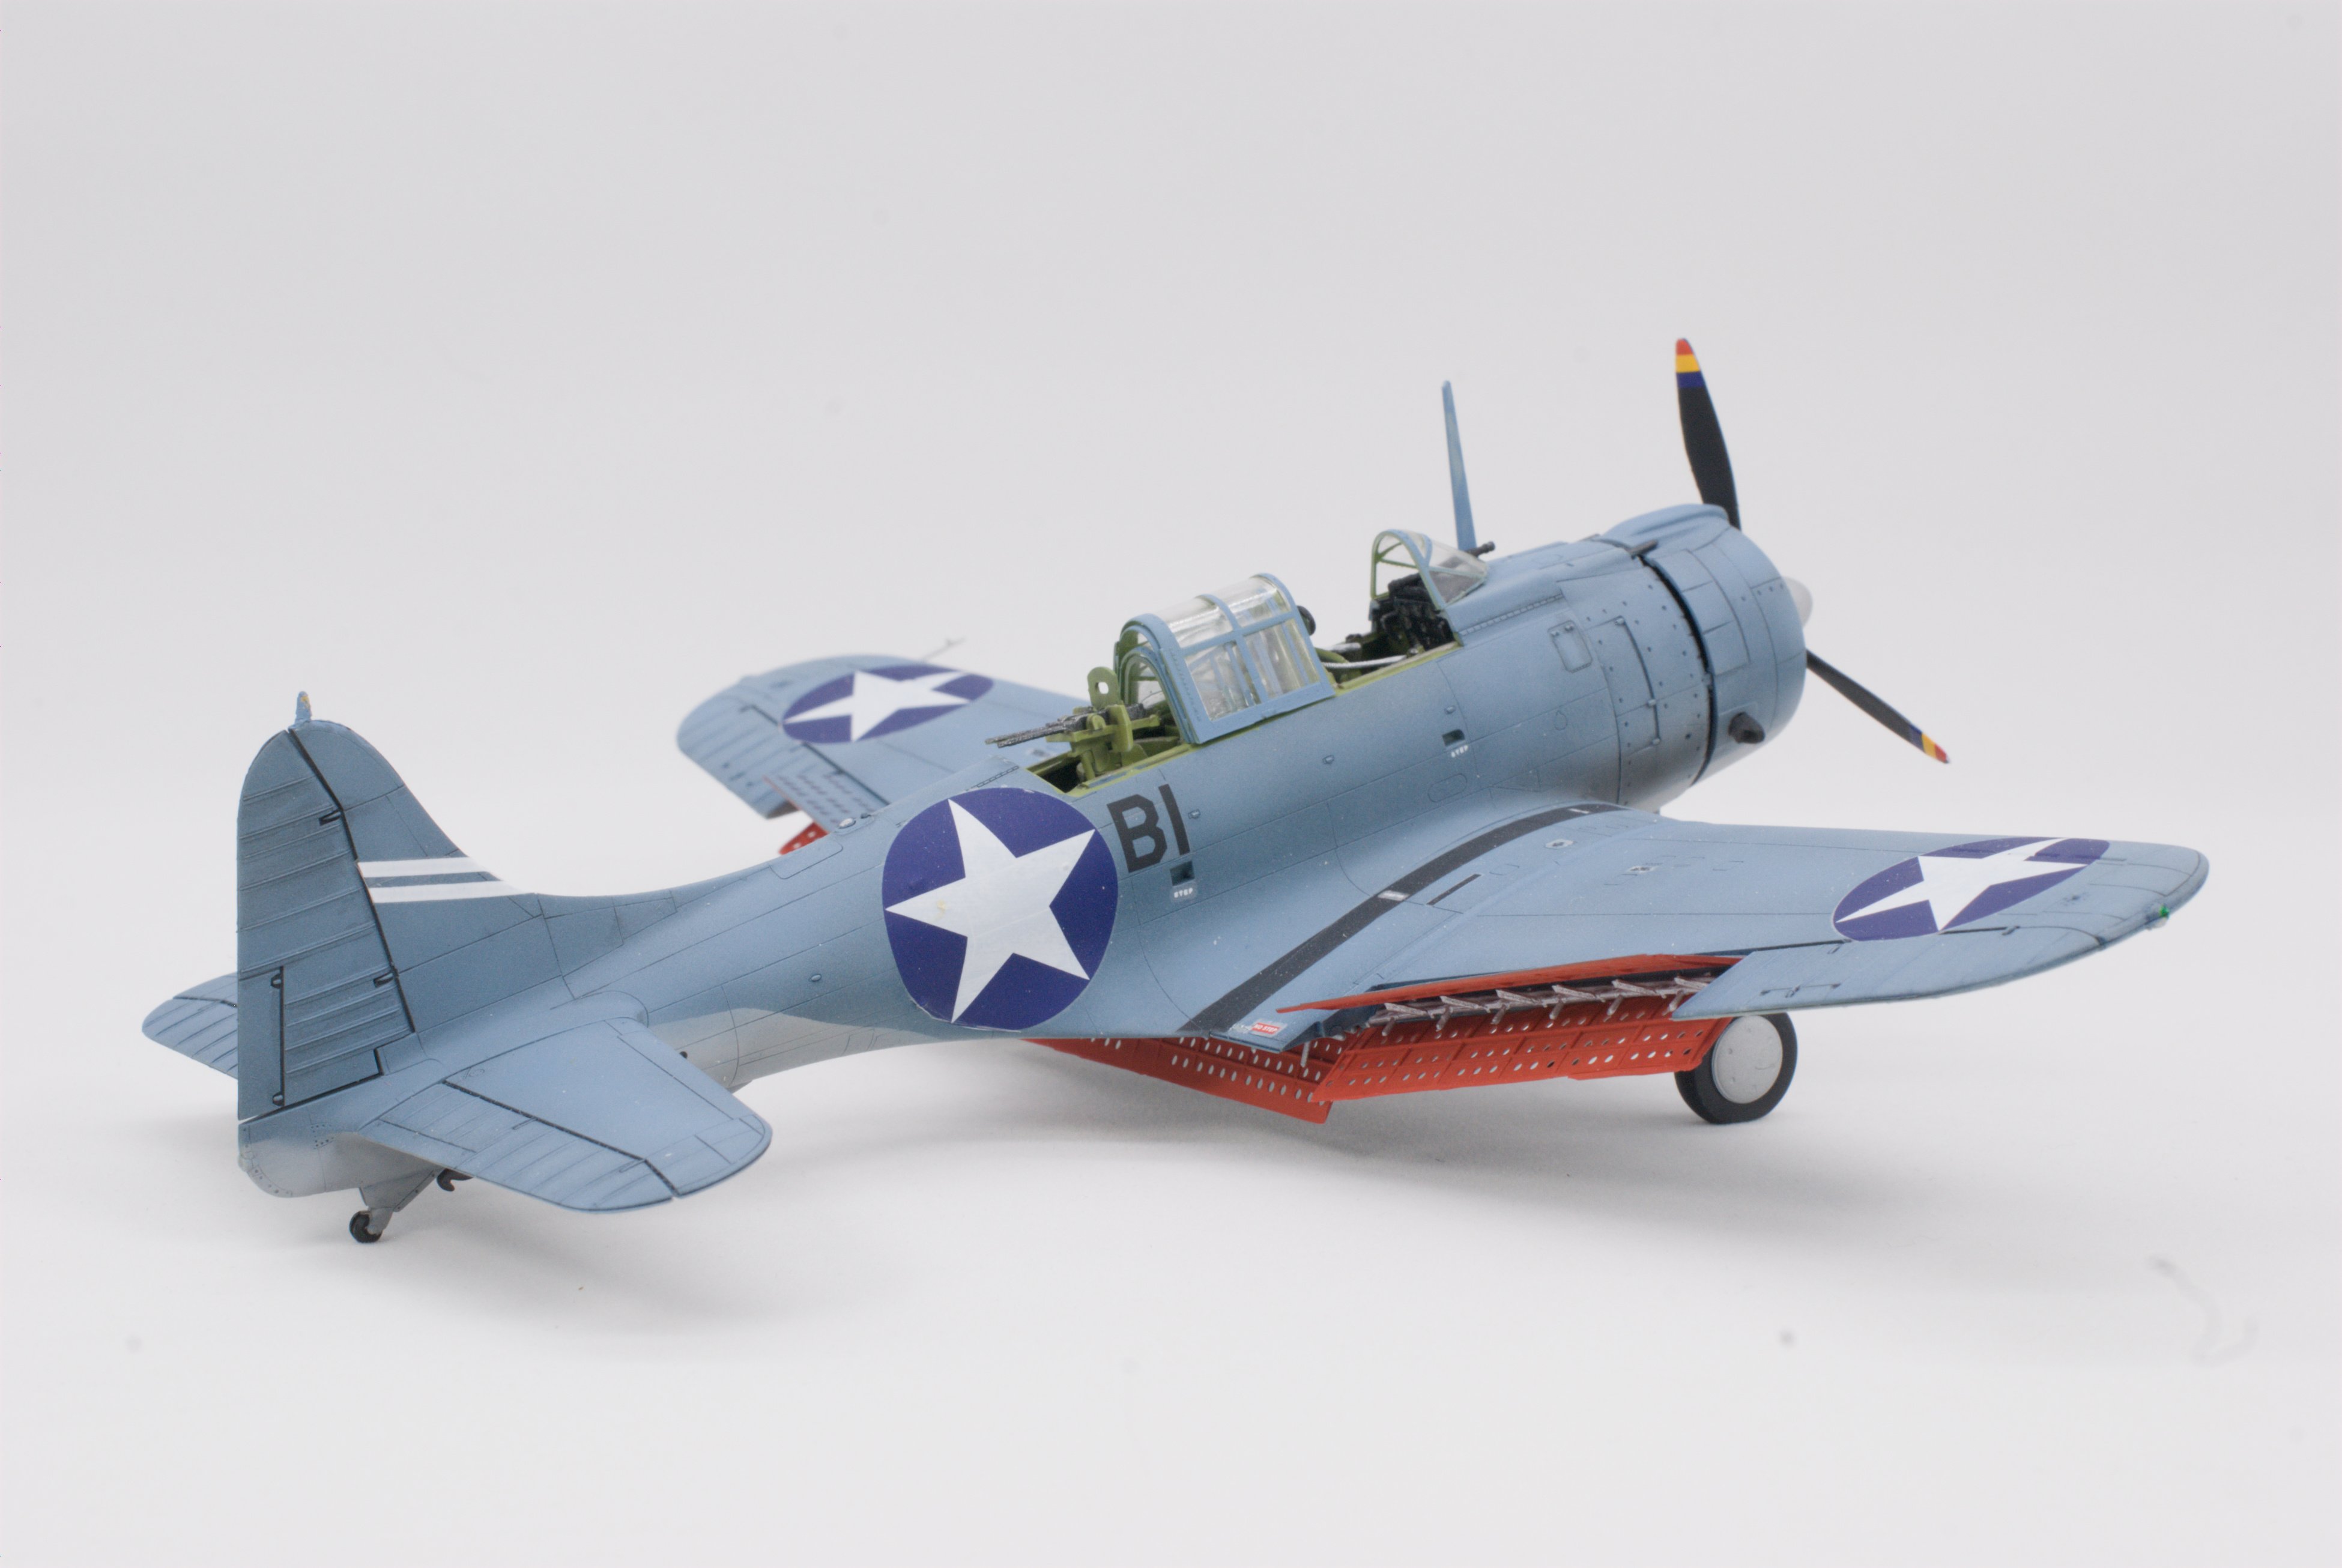
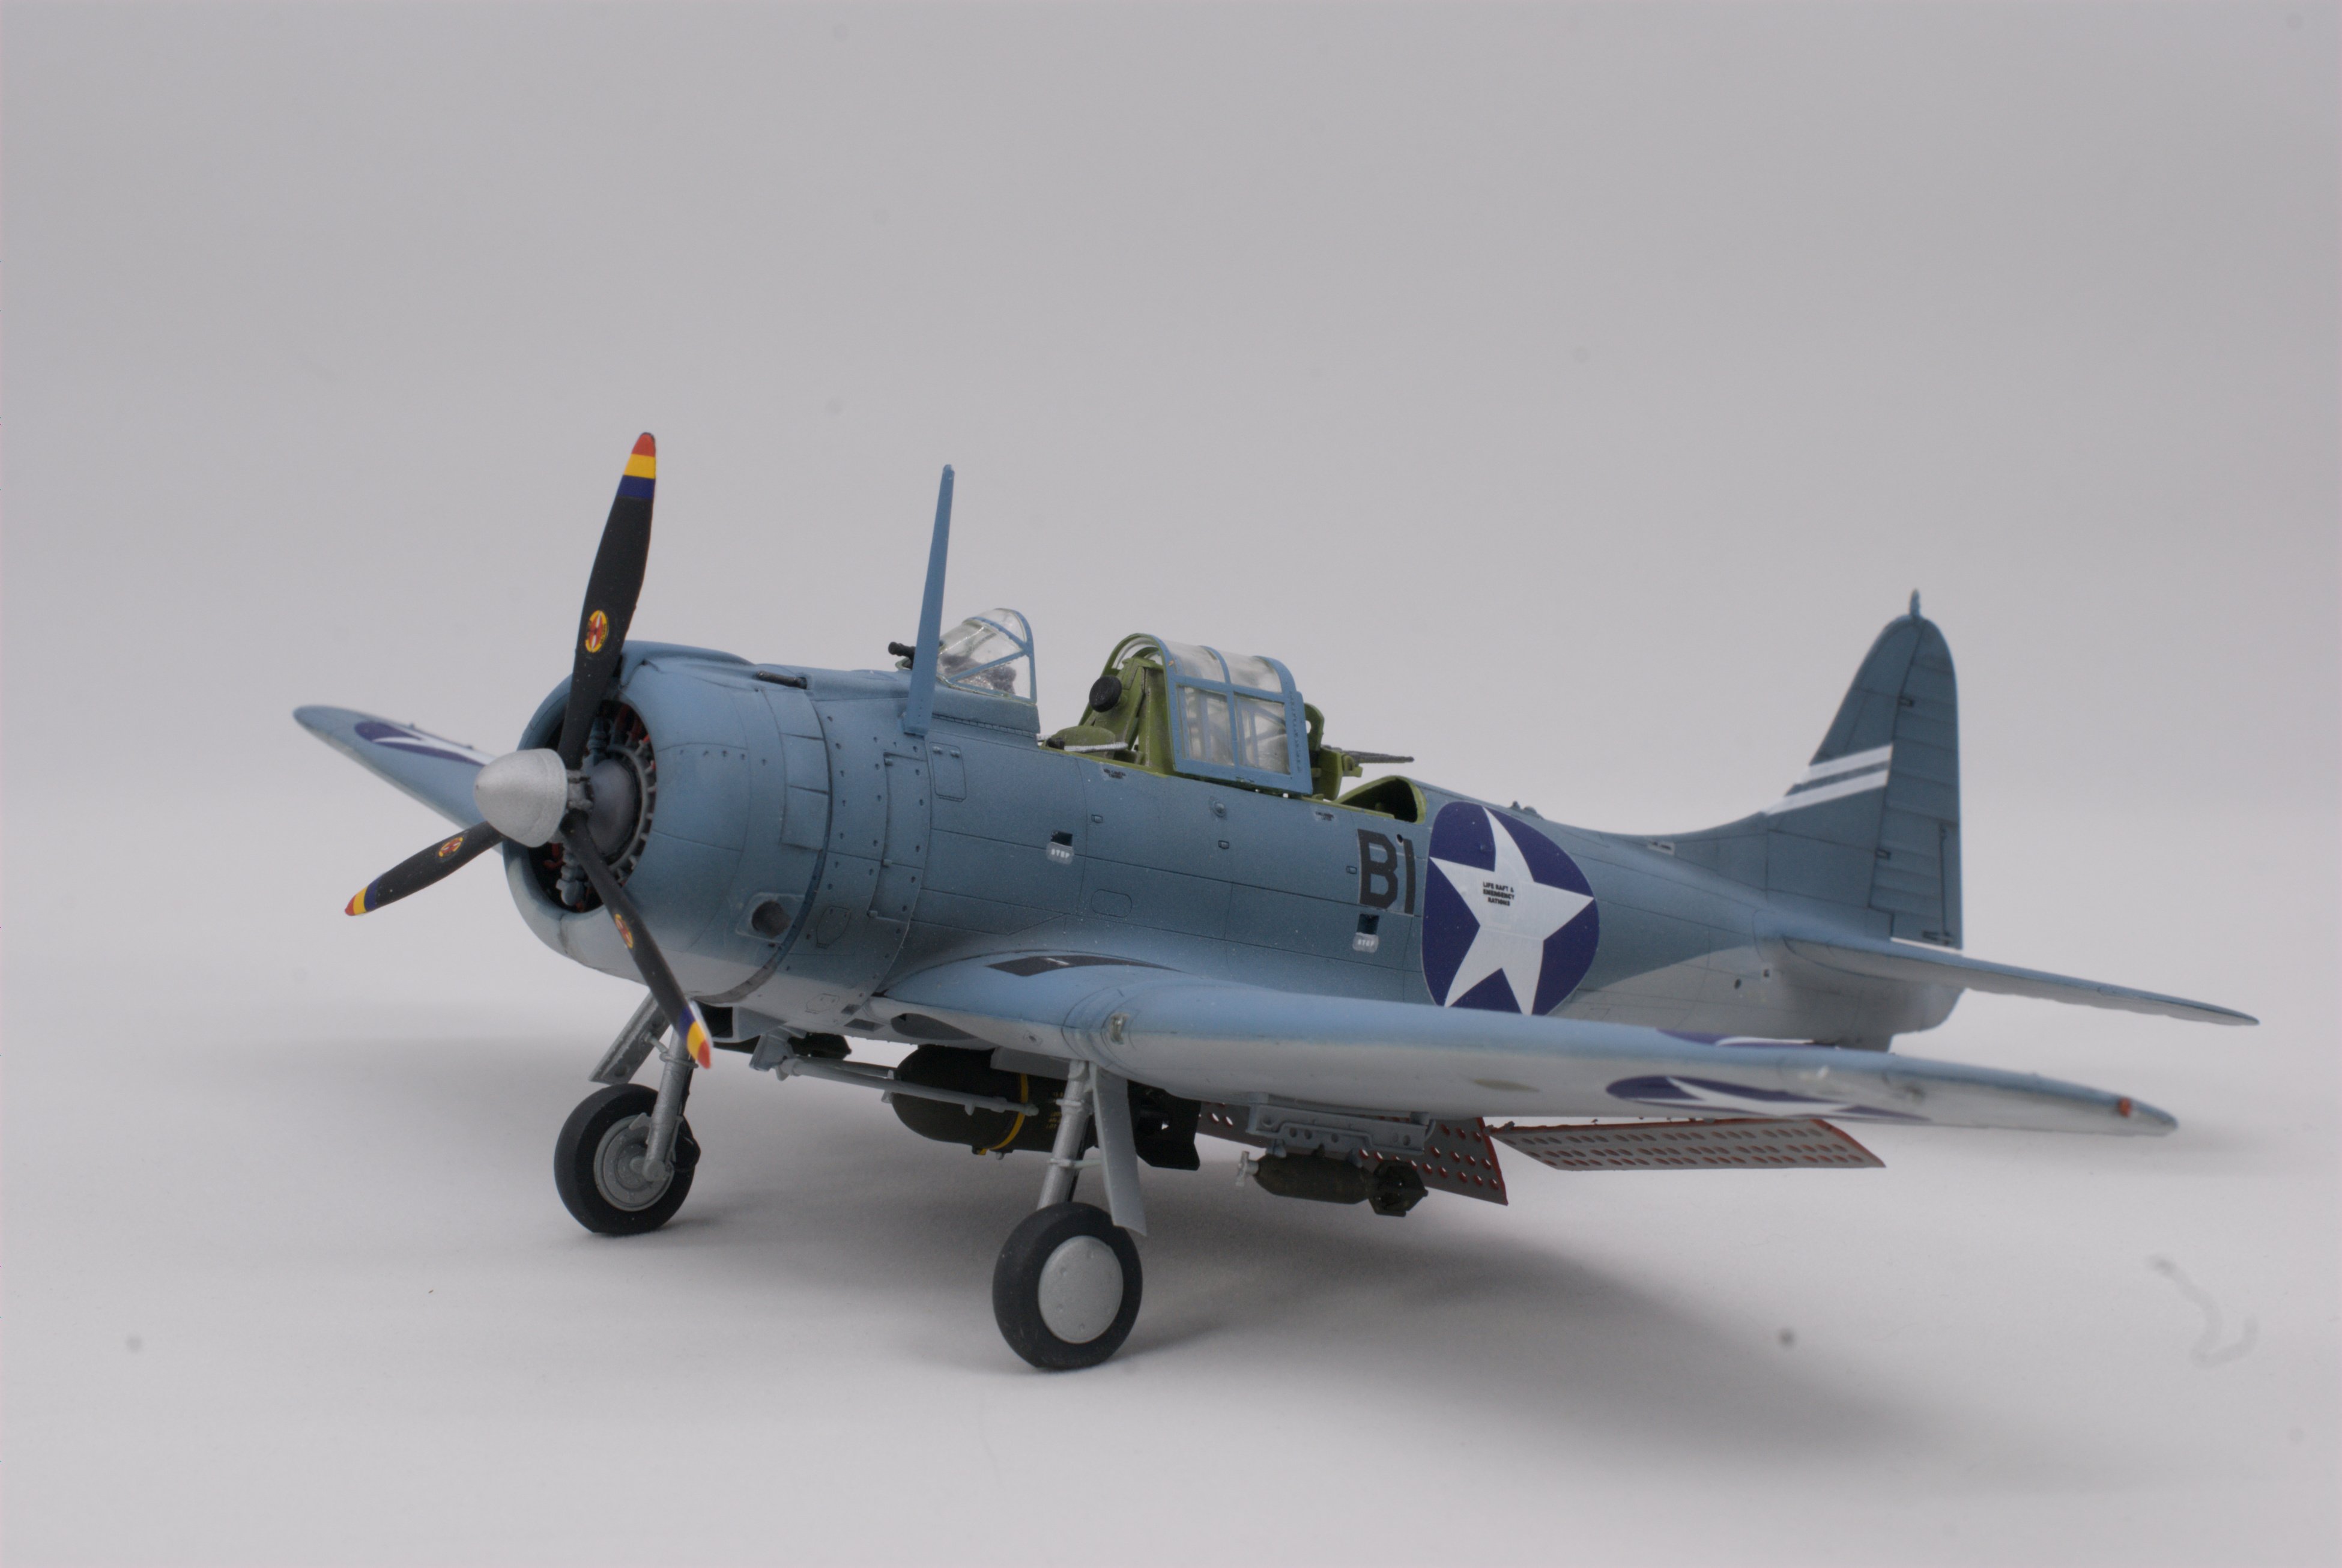
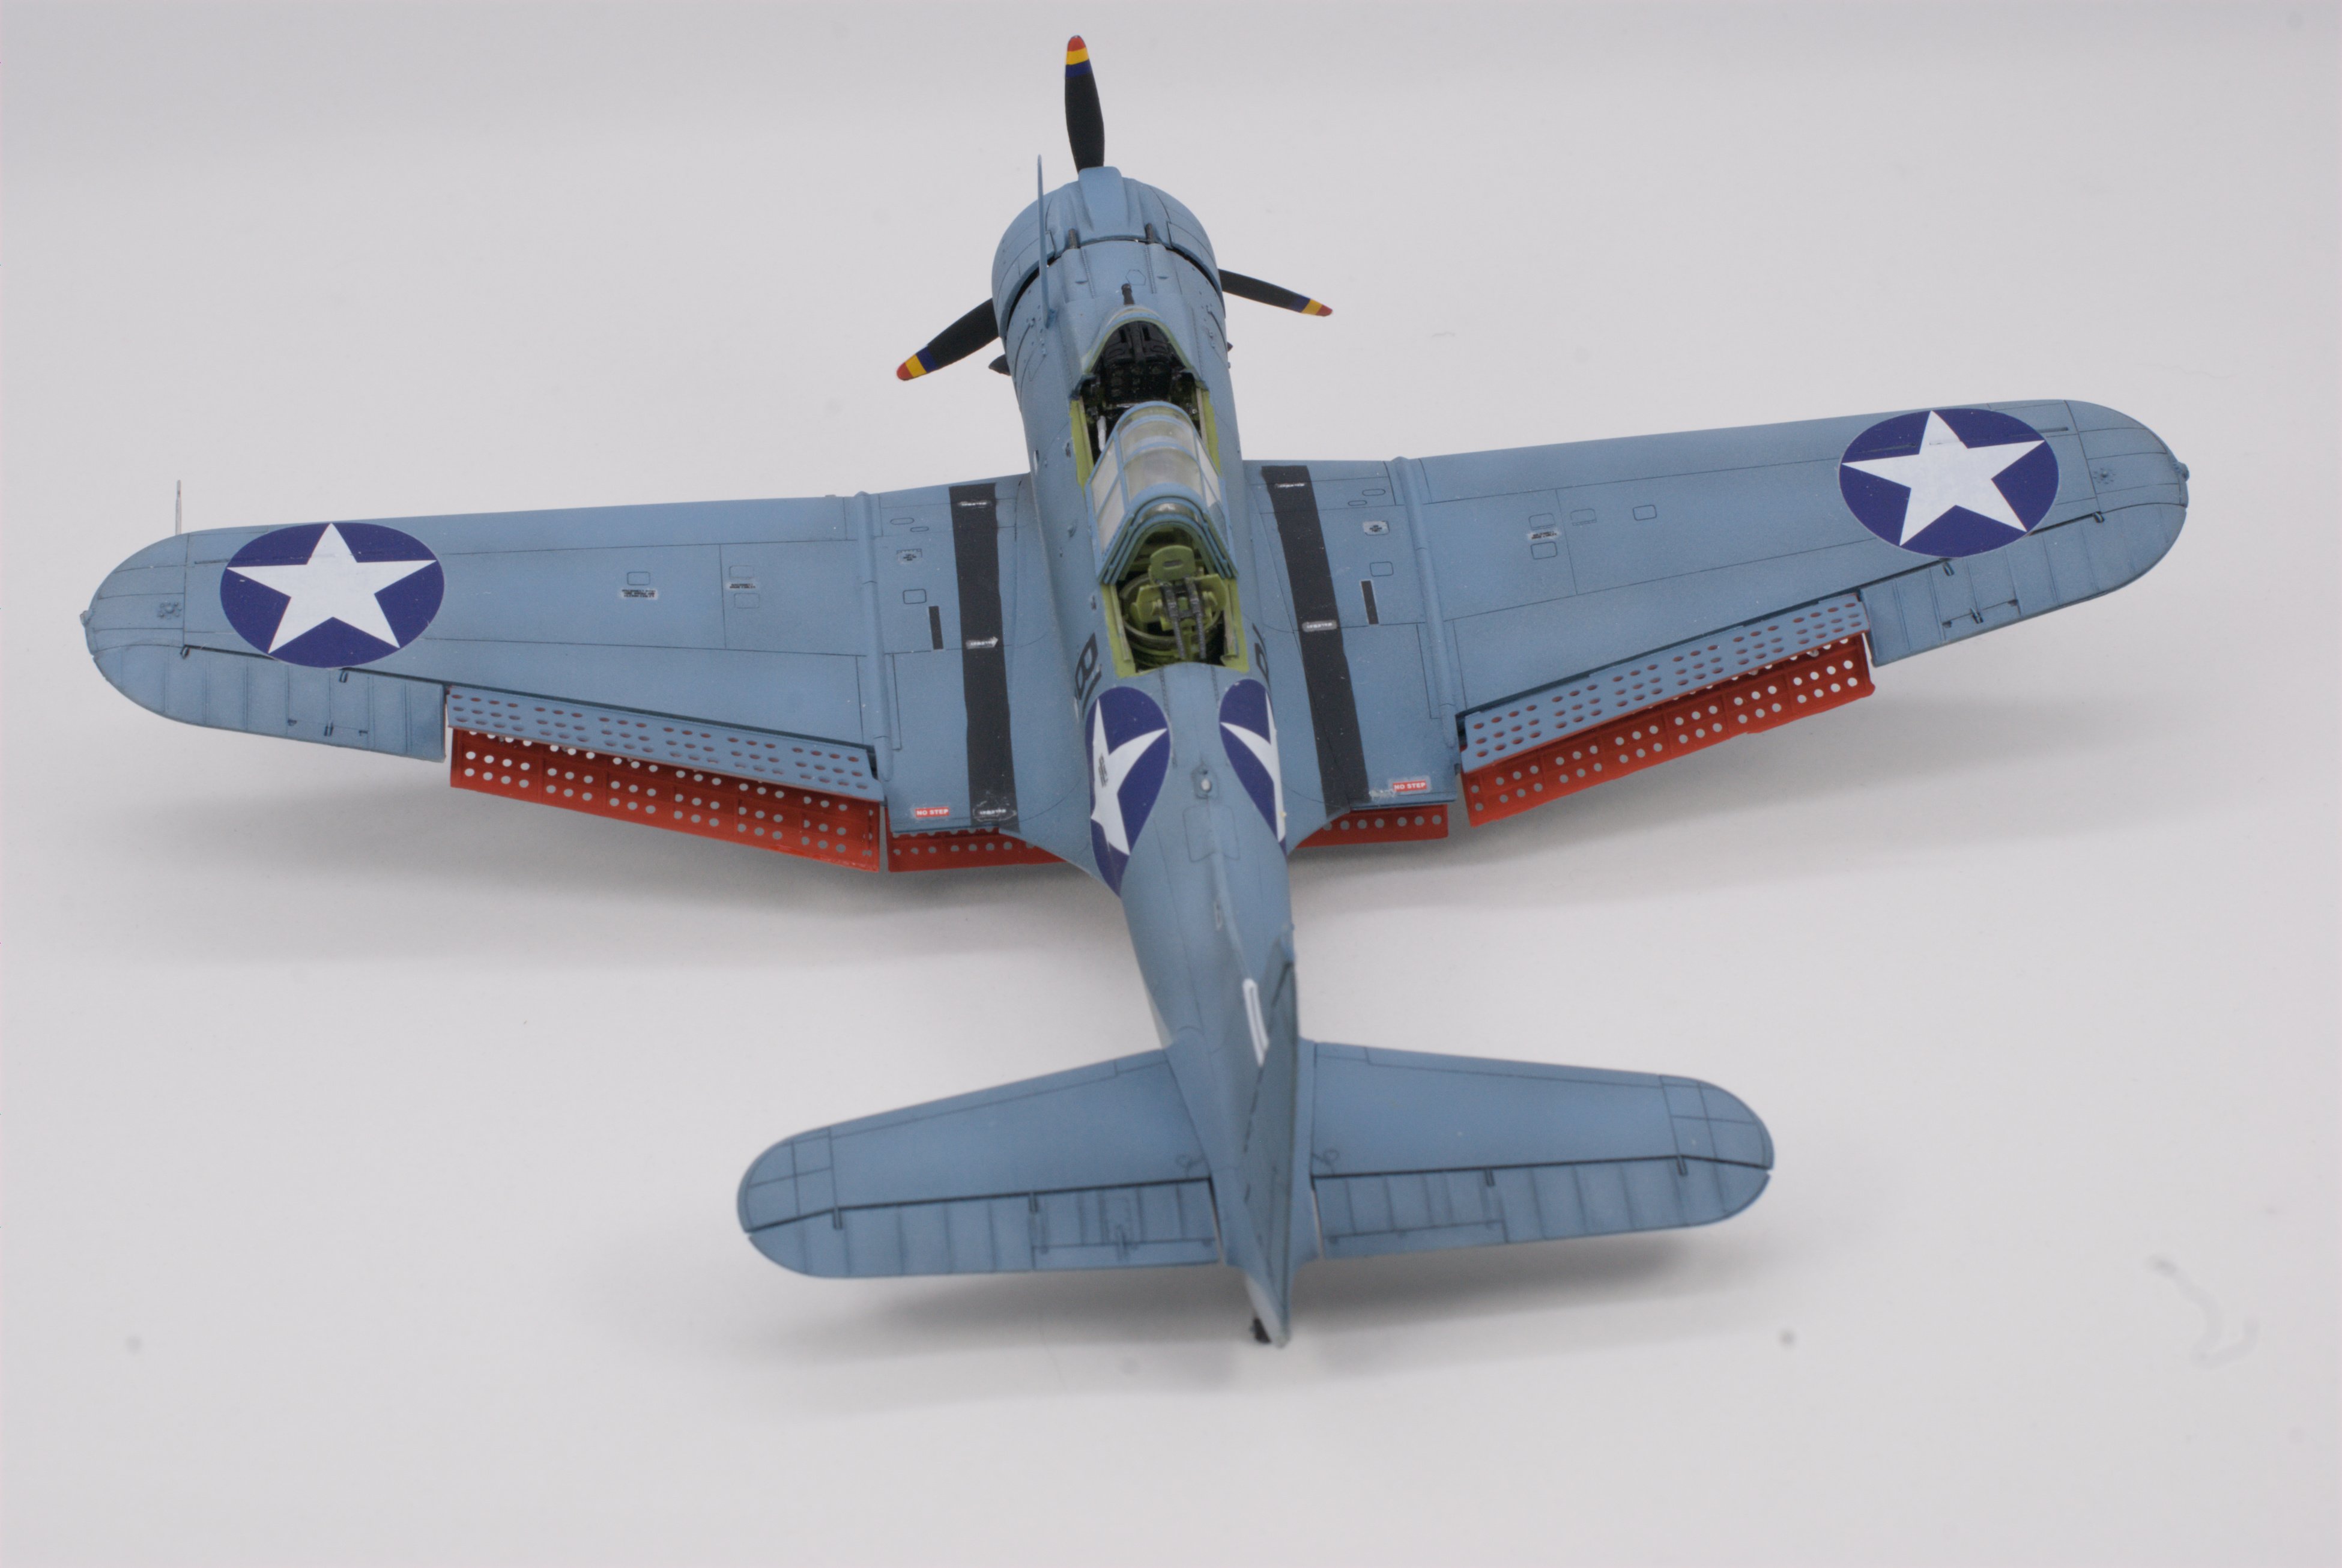
Spend $599 on a MacBook Neo instead?been working on converting RAW to JPG without spending $1k USD ( I hate Adobe with a passion!).
The Preview app that's on it from the factory will probably open your files.
I used GIMP before, may get it again. I used "Darktable:" which is a smaller footprint open source tool.Nice!
You might want to look into GIMP. Free, open source, capable, and not as well documented as I'd like, but adequate.

I have a stash of approaching 100, already more than I expect to be able to build, and unfortunately, a son who has no interest or as he comments " I don't have the patience" to spend the 8 months (up till now) necessary for me to build a 1/48 Bf 109Yes, a styrene addiction. There is no known cure. Consider buying the house next door.
My stash comprises over 400 kits. One build on the bench, one on hold. One display case. No shelf of shame. I won't live long enough to build them all, but one of my sons is also a styrene junkie, and he will inherit.
Styrene—it's not just for breakfast, anymore.
Can I ask what paints you used? Can't decide on whether to use Lacquer or the AK 3rd Gen I already haveAnother revival of an old build...
(I typically have at least 5 kits in progress at some point, sometimes more)
After a long delay I have pulled this guy outta the closet of delay.
View attachment 144458
View attachment 144459
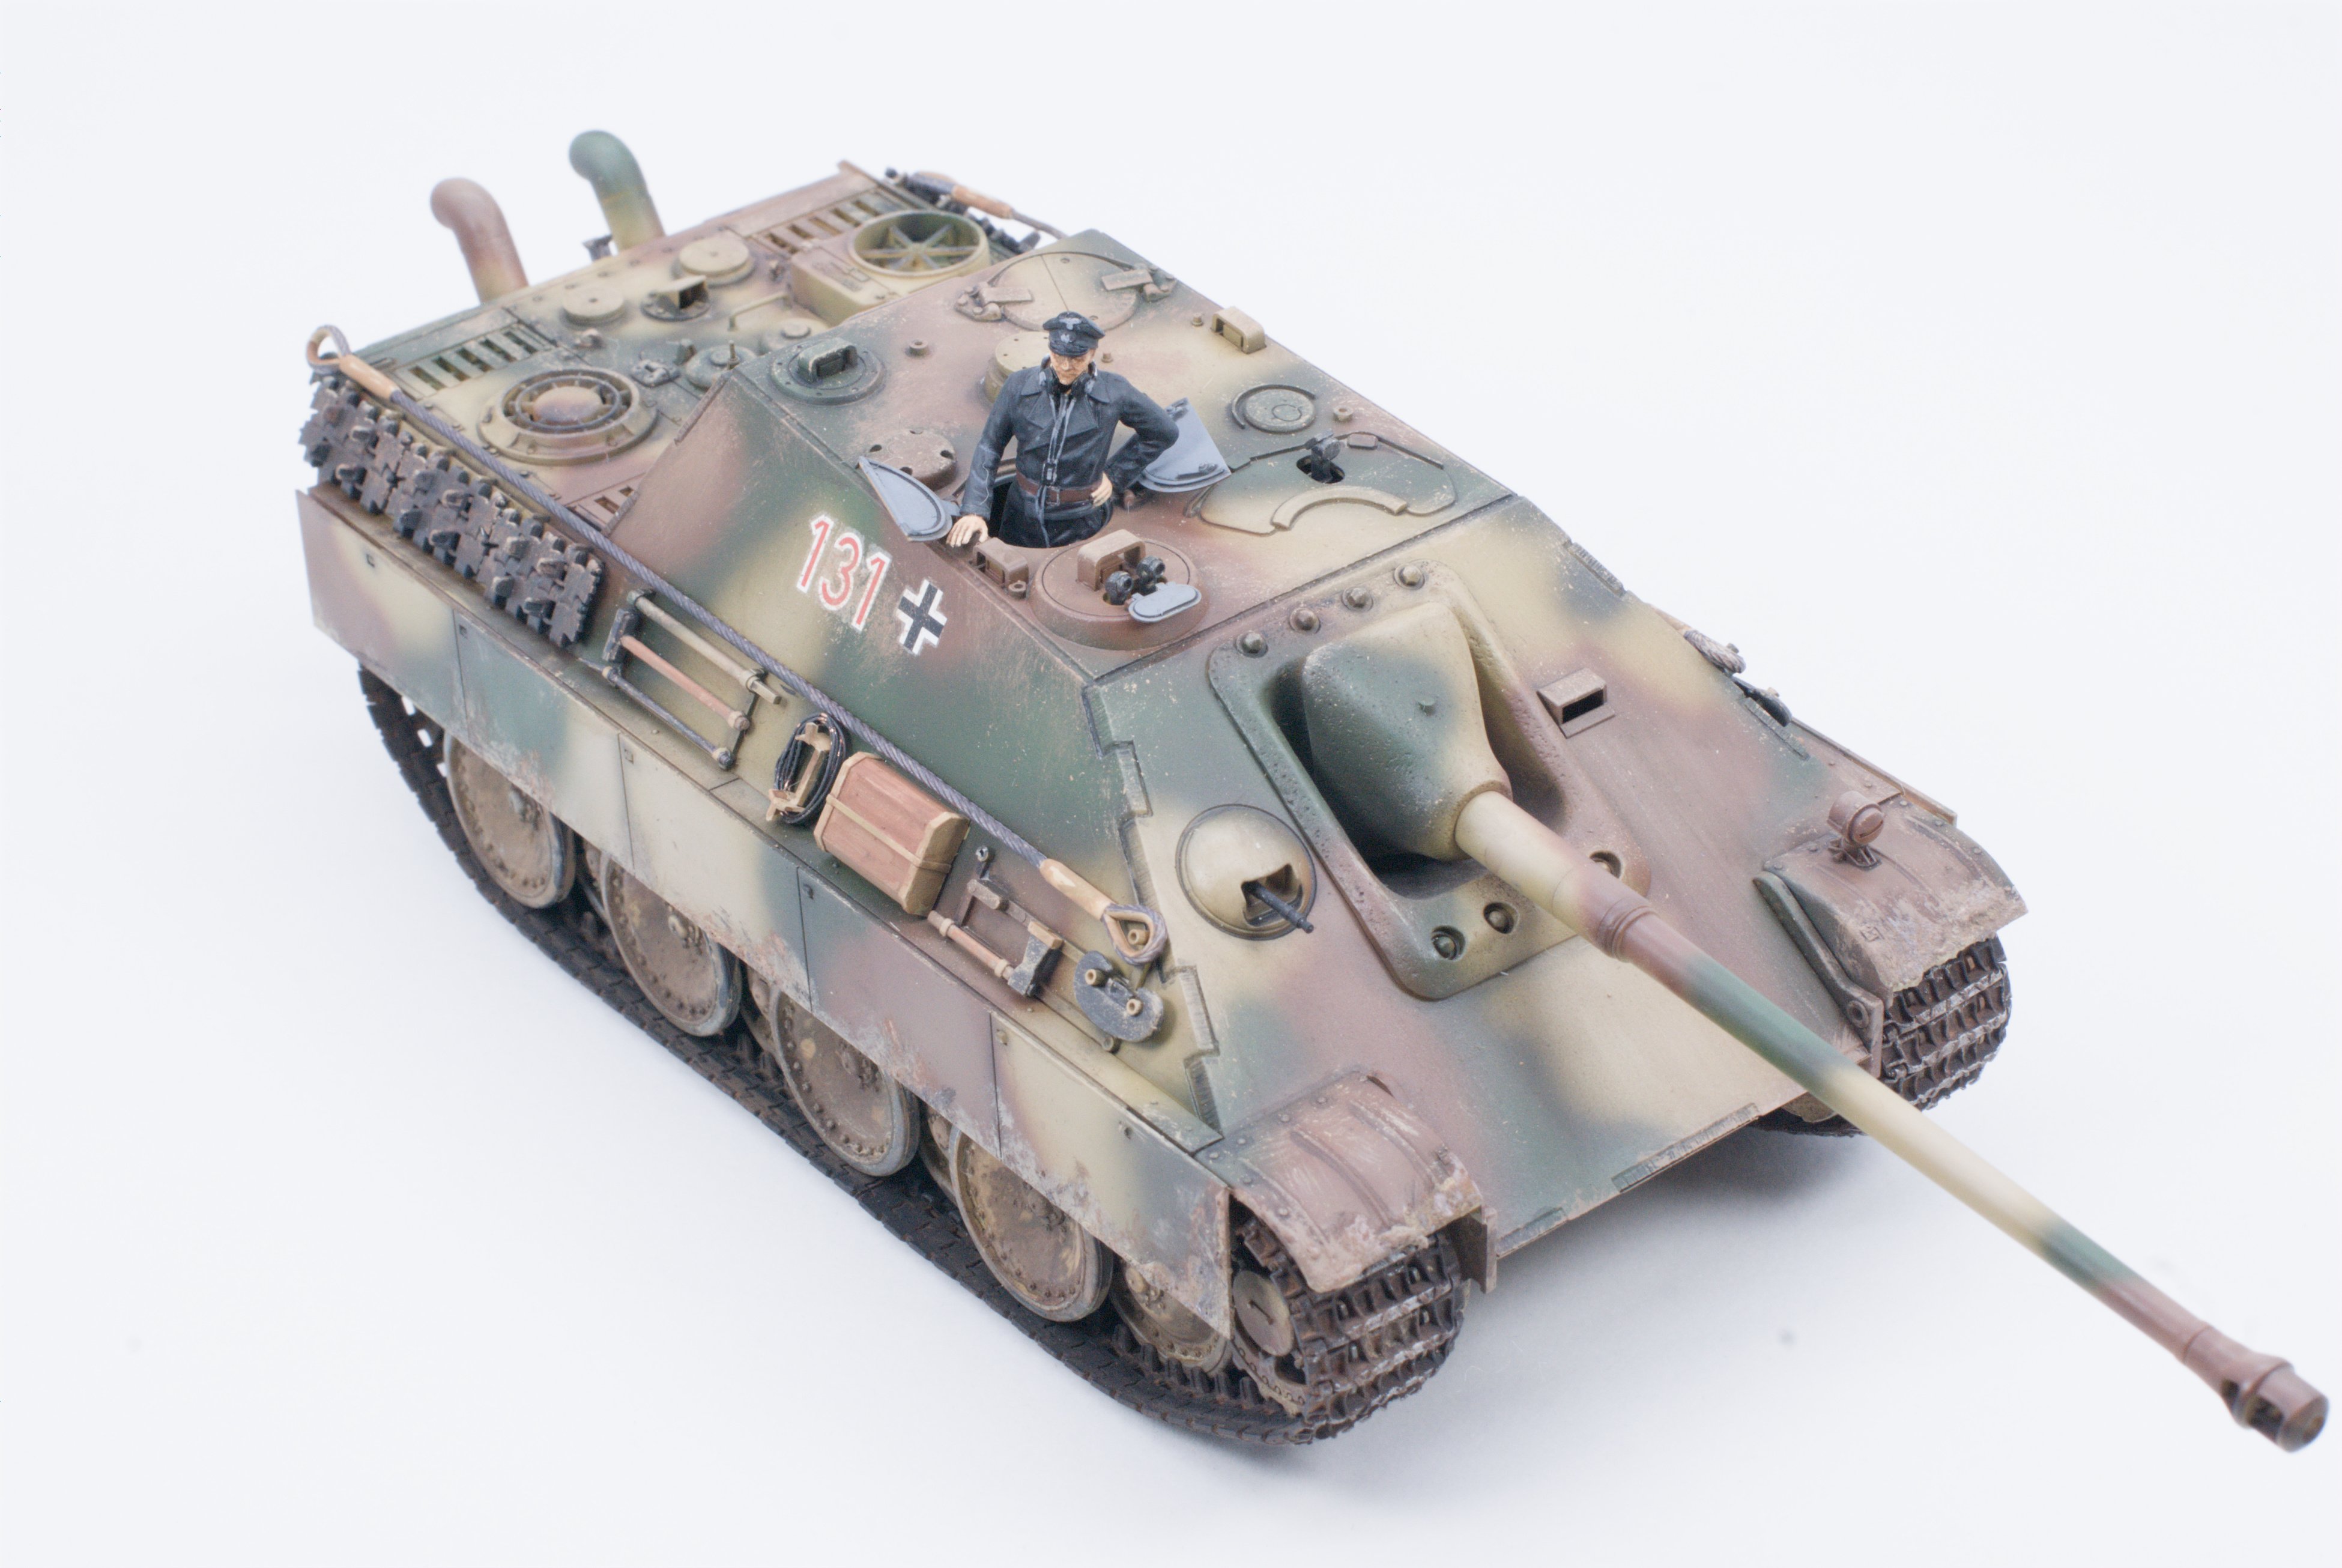
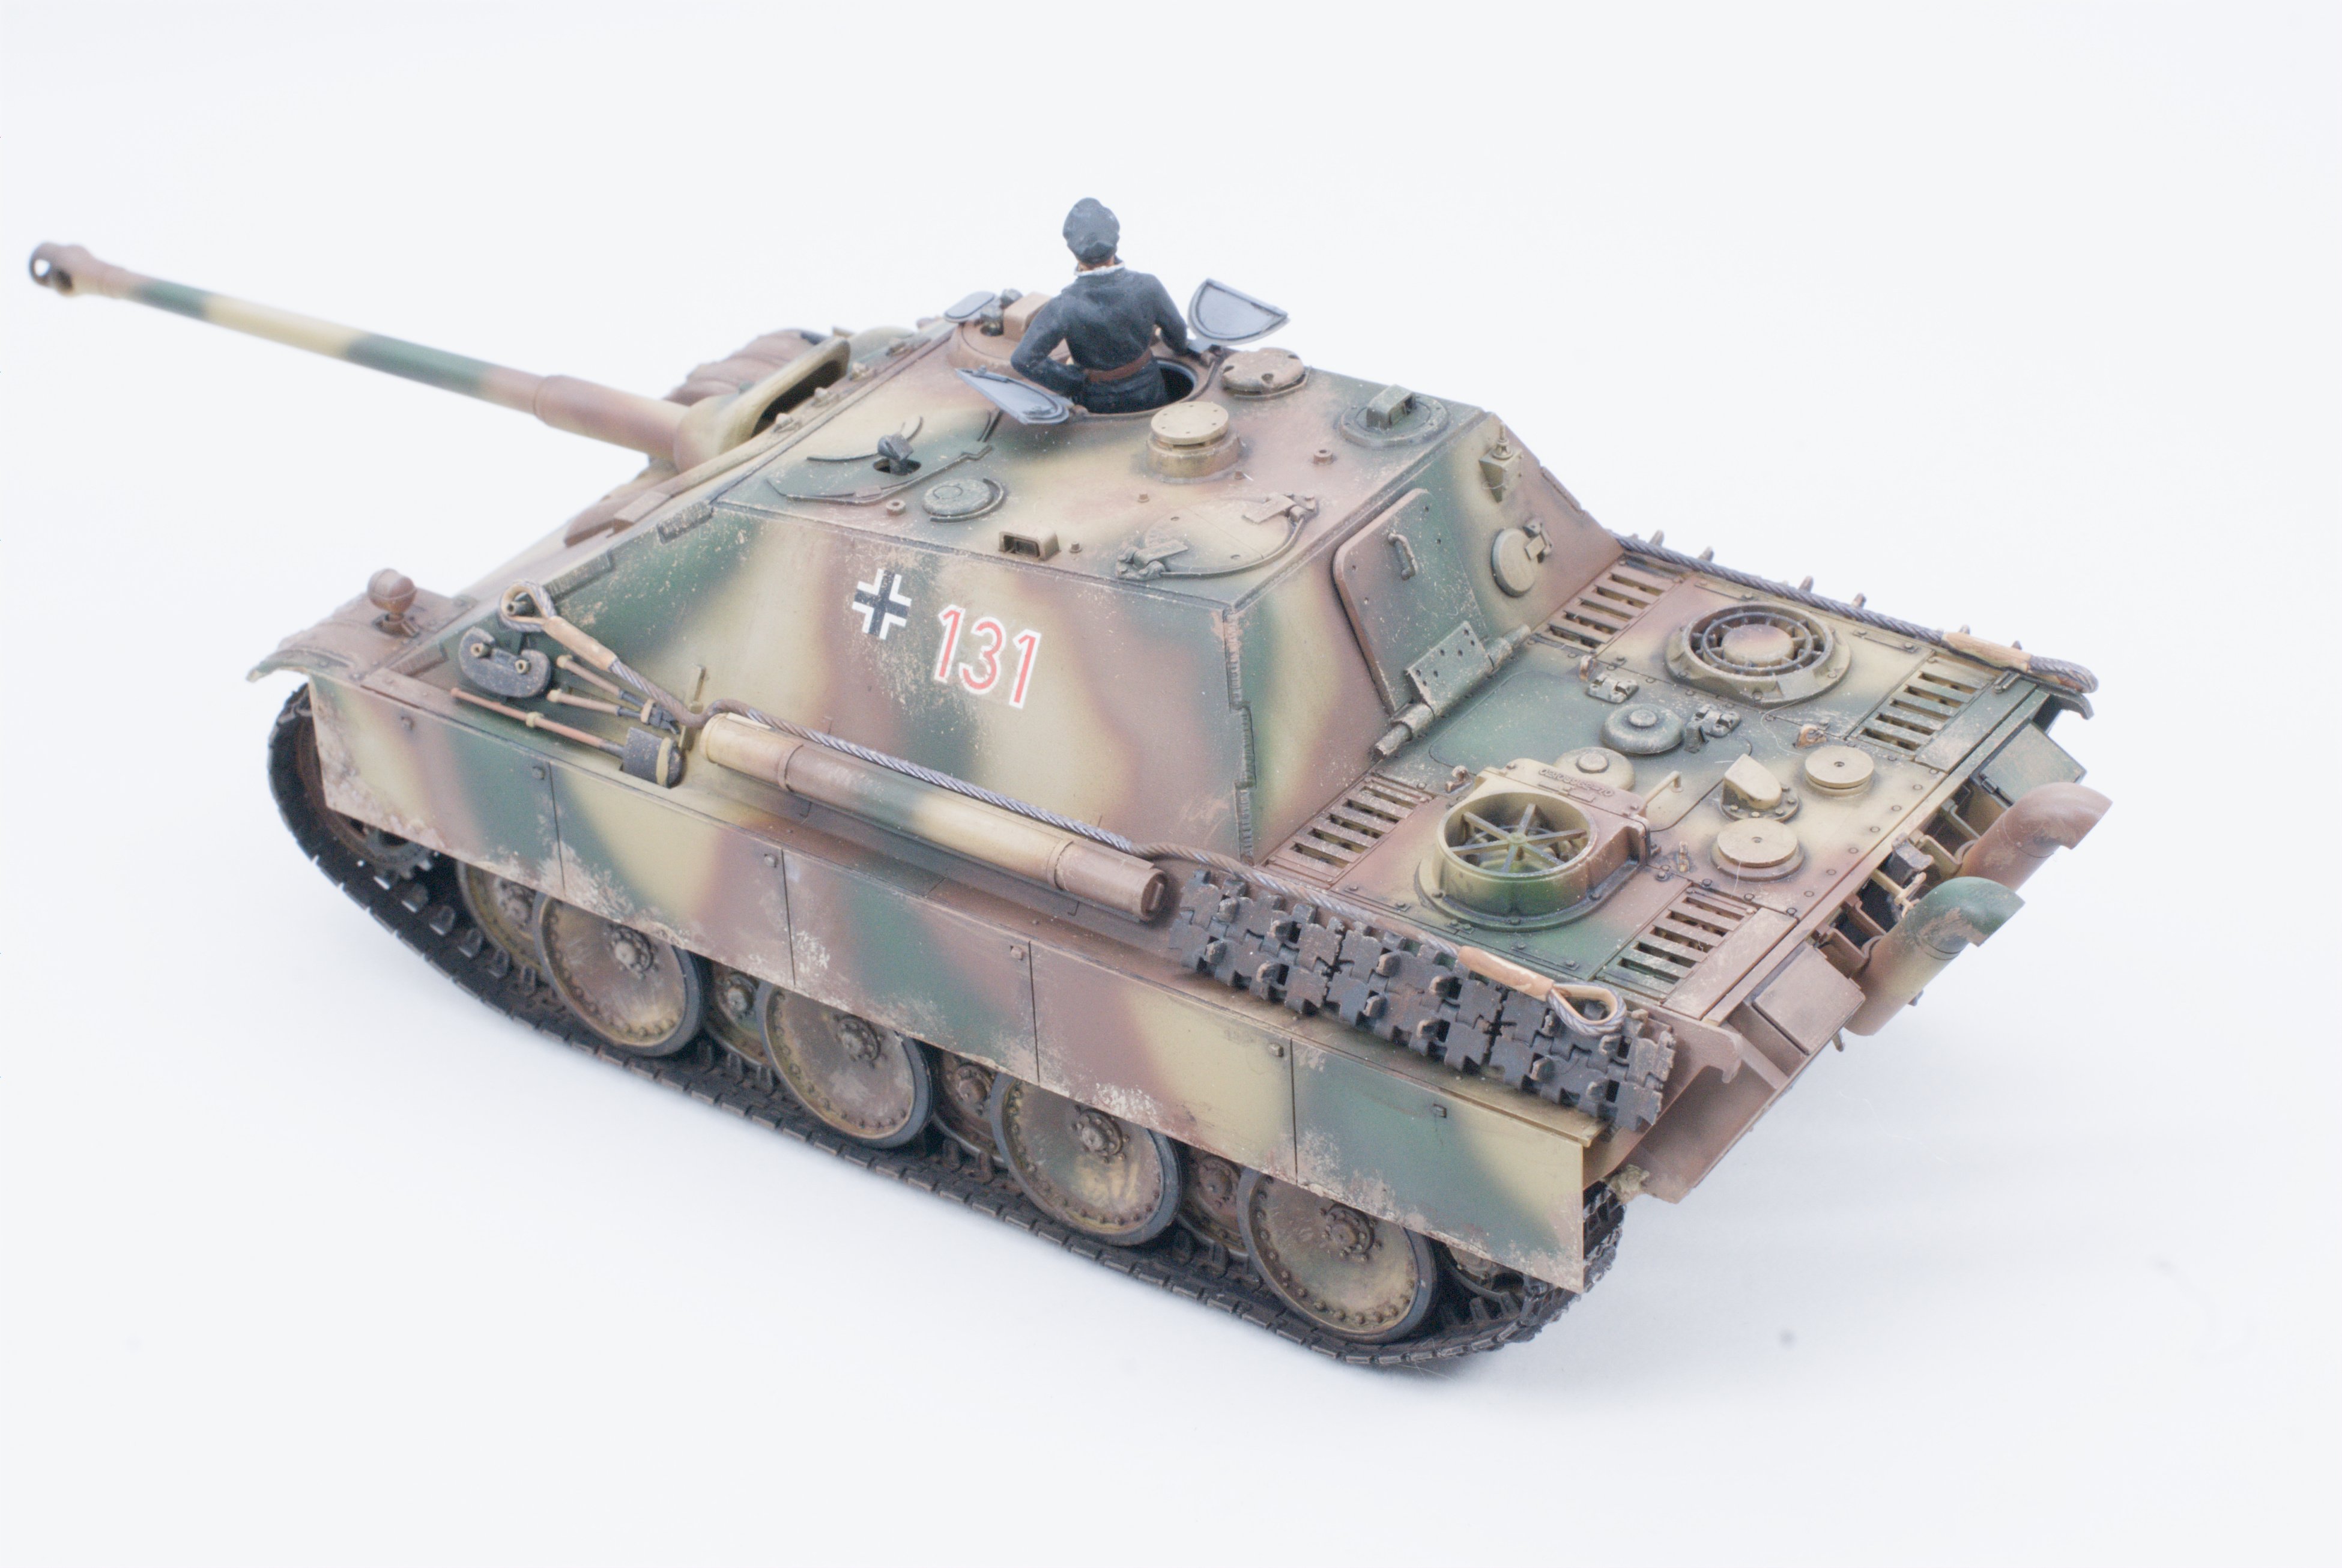
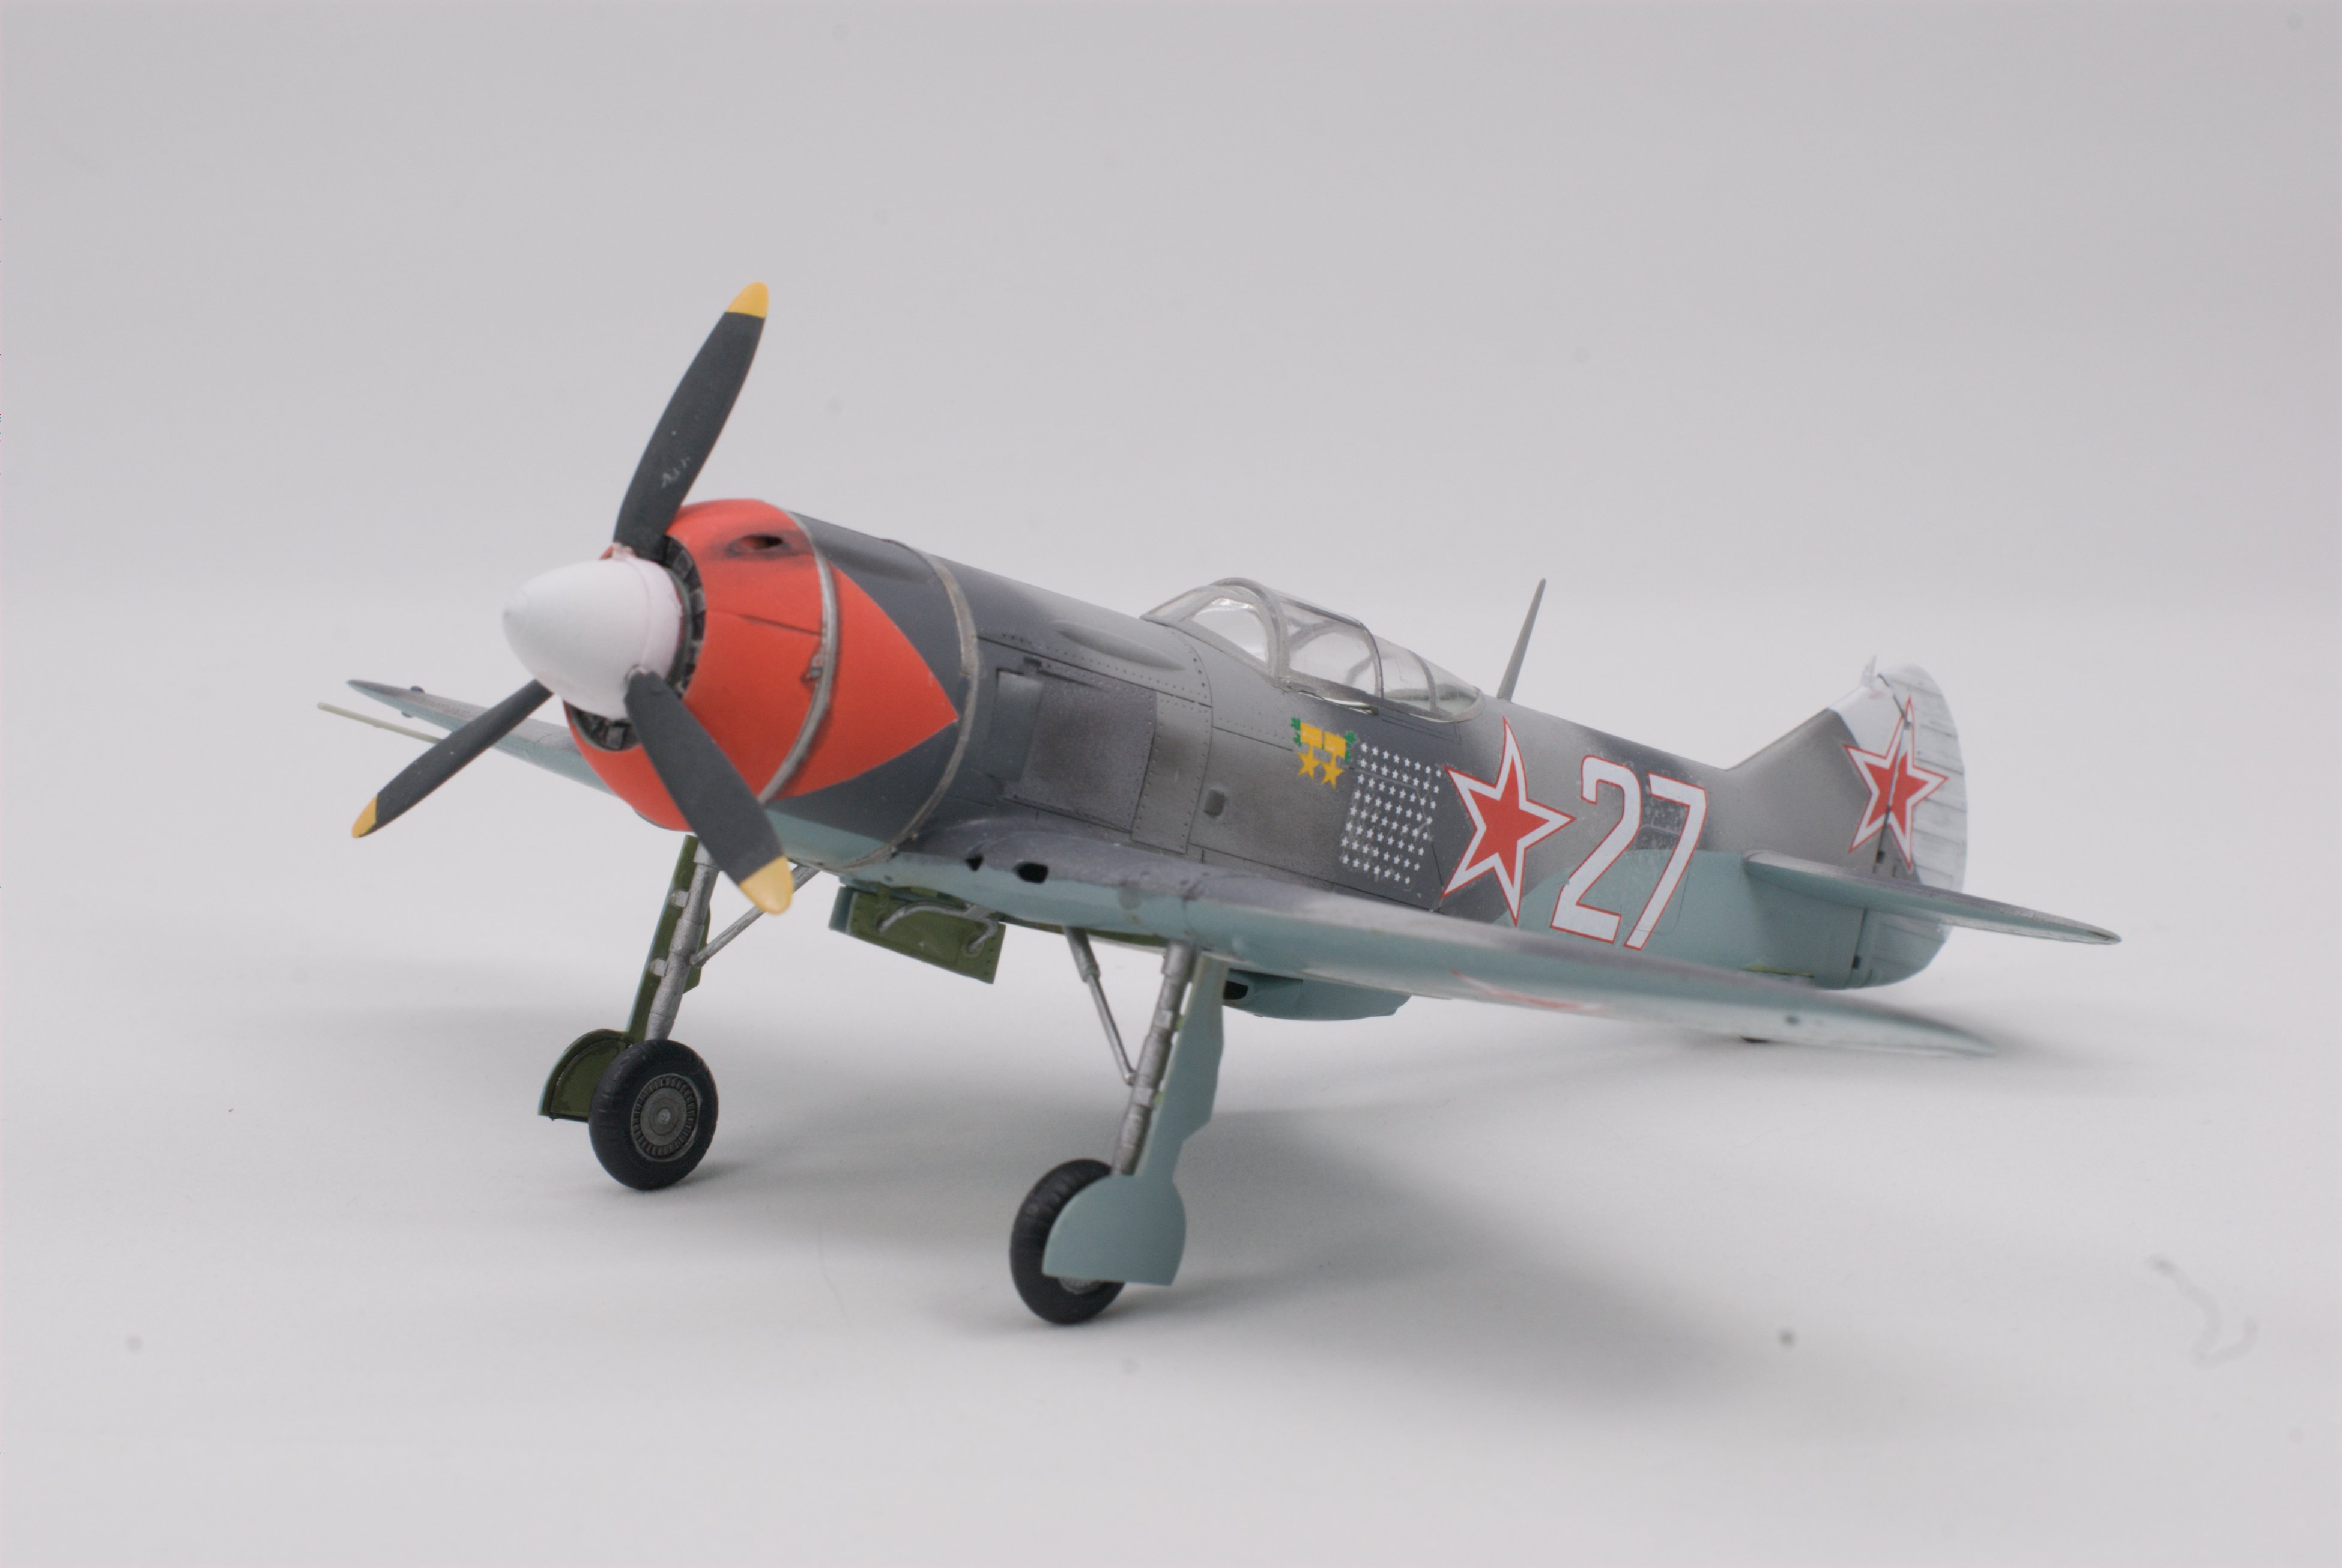
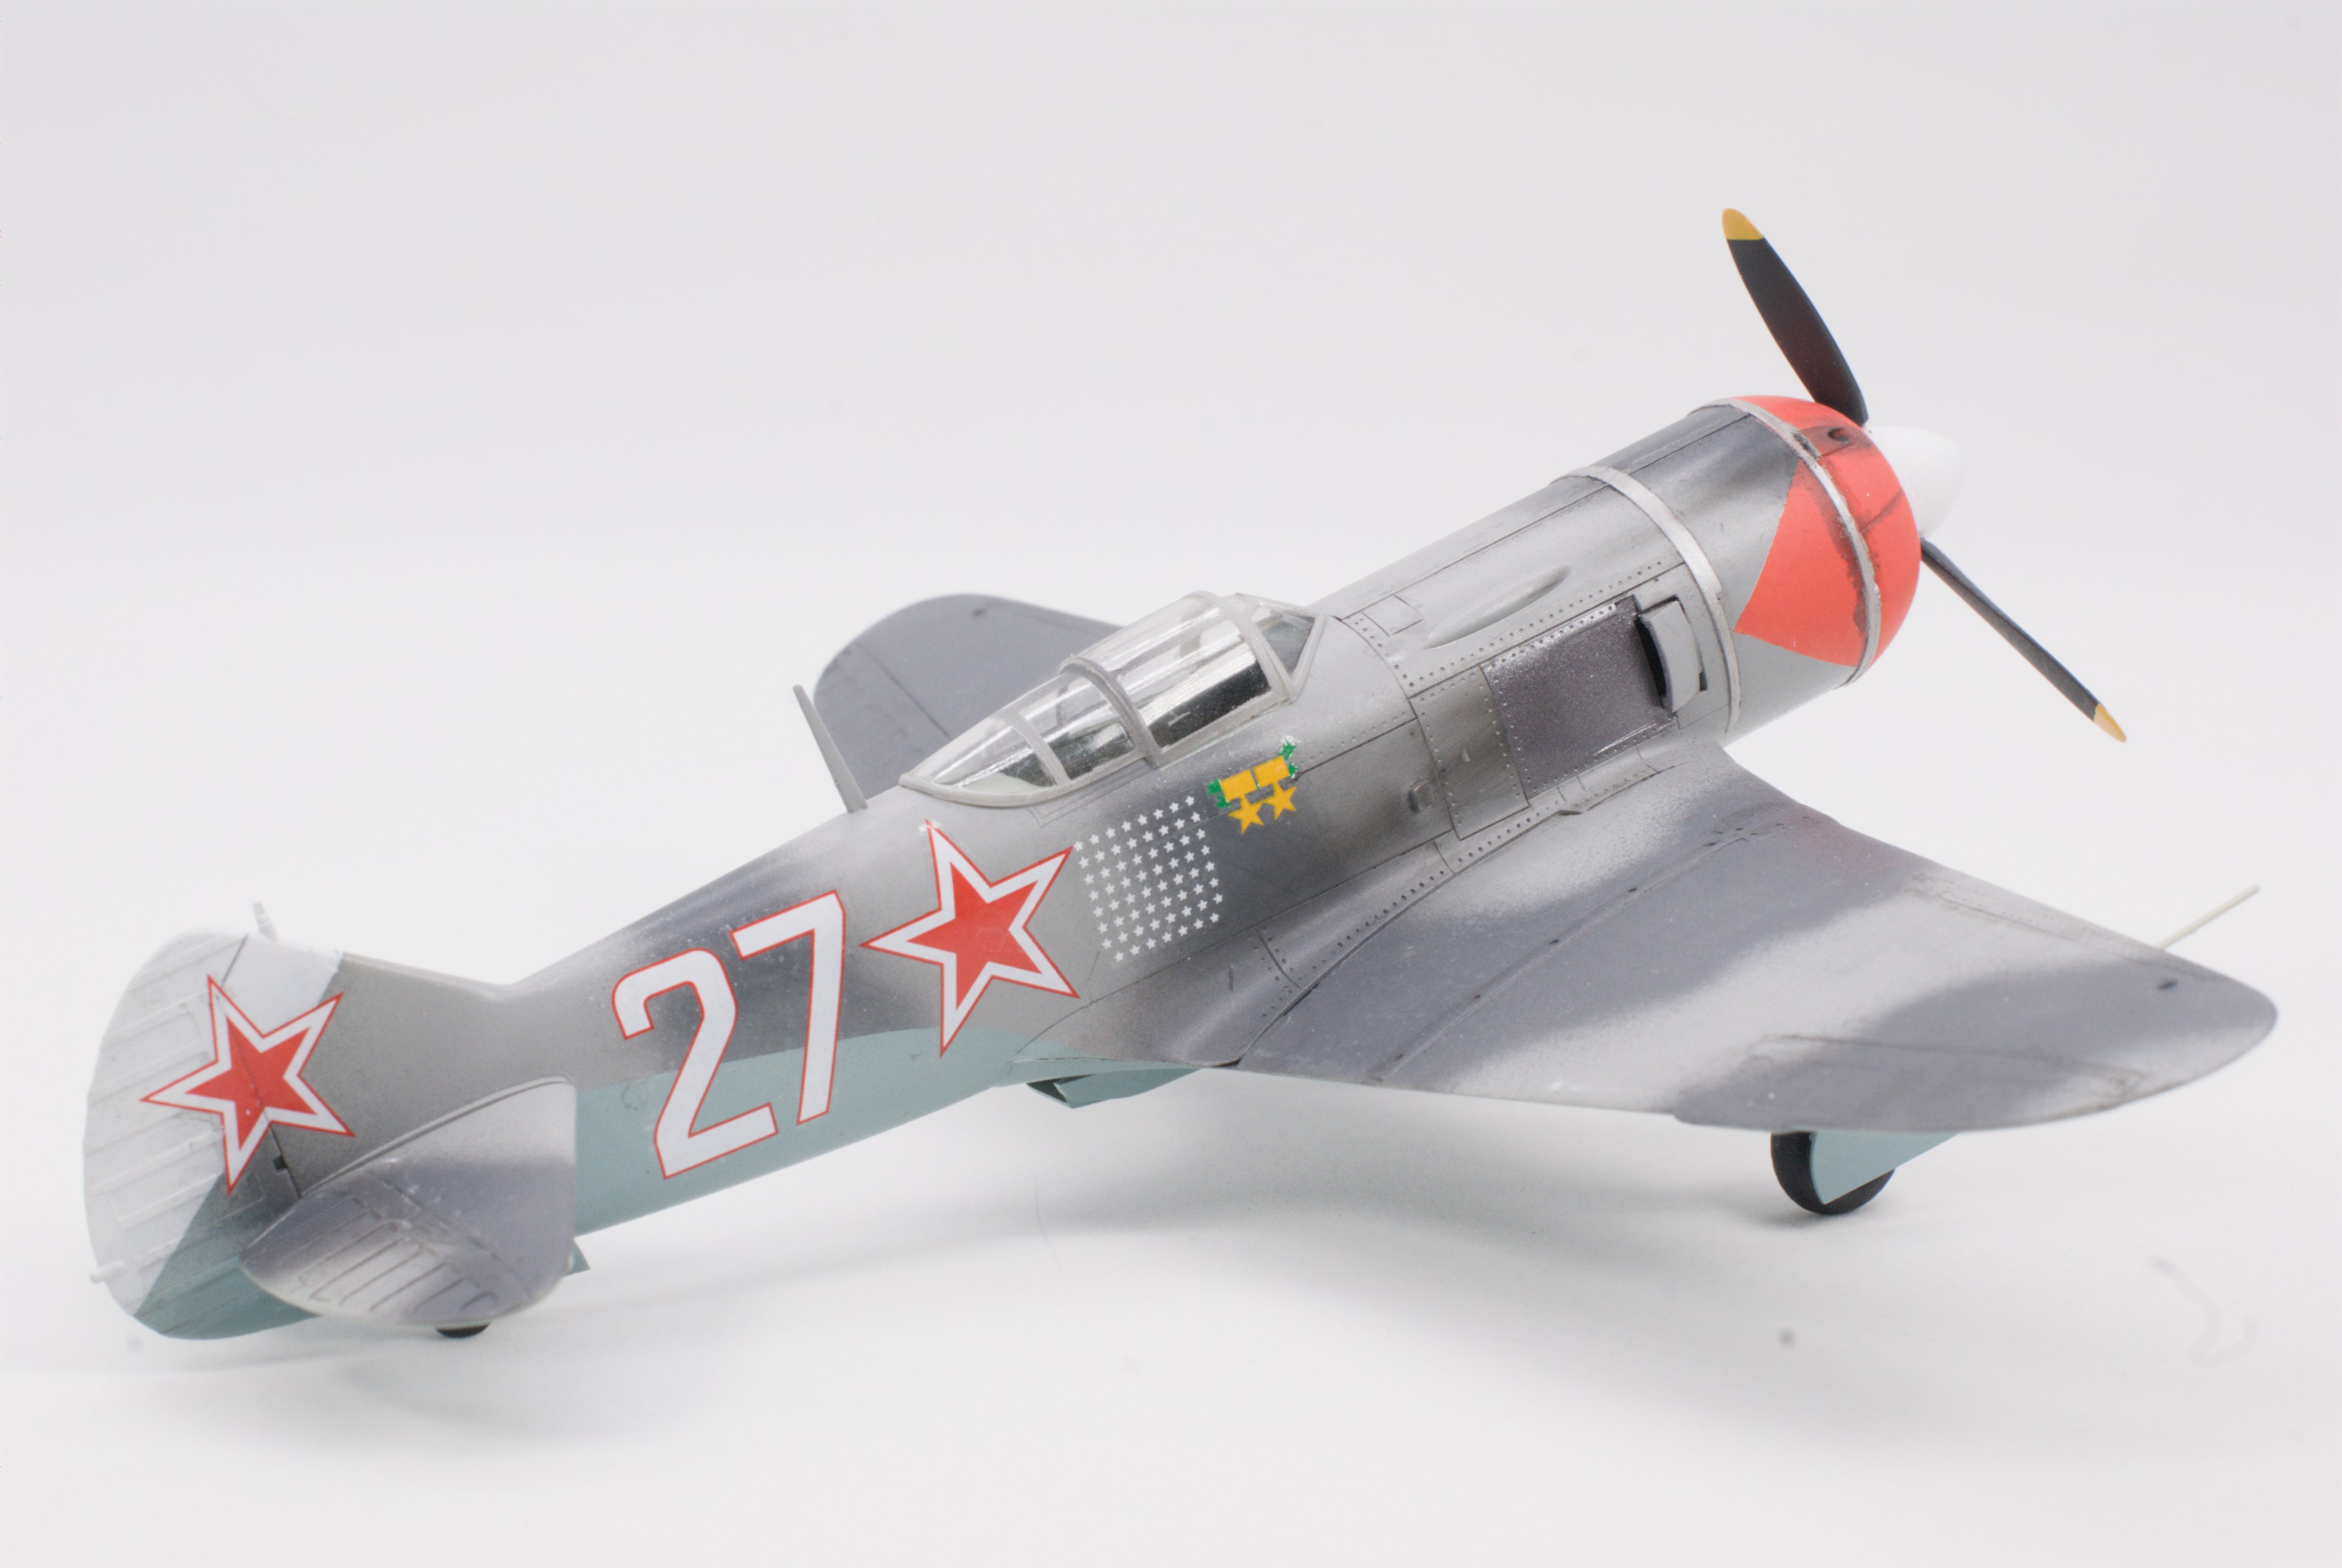
The Starfighter, Lavochkin, Dauntless and Jagdpanther shown above are all Tamiya acrylics.Can I ask what paints you used? Can't decide on whether to use Lacquer or the AK 3rd Gen I already have