Quaralane
Well-Known Member
- Joined
- May 22, 2009
- Messages
- 11,263
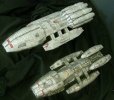
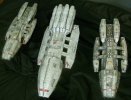
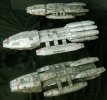
All right, next up on the bench is something of a request from my YouTube viewer.
Each time I do a BSG related build, someone asks when I'll be doing the Pegasus
Well....
The answer is...now
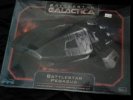
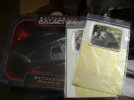
To deal with a couple of the more major flaws with the kit, I'll be using both of the photoetch sets from ParaGrafix.
Namely the detail set, and the landing bay set.
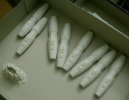
Construction started with building up the 8 engine nacelles and the back plate/FTL assembly.
So far, no major seam worries, for which I am very glad
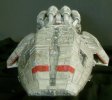
Closeup of the FTL plate with the conduits in place
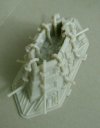
Now, one thing I decided to fill for certain was at the back of the ship where these two areas were open and hollow.
They would be visible in final assembly, so I filled them with Aves Apoxie Sculpt and then smoothed that over.
Added the etch detail for the windows that normally line the head trenck, and put the detail pieces into place.
Now, watch these detail pieces as they have to be inserted from the INSIDE of the head.
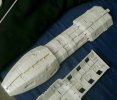
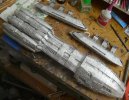
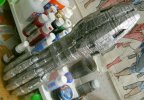
Main body construction is complete with the engine nacelles glued into place as well as the front "ducts"
Breaking from the instructions, I glued the nacelles to the body first, and then glued the ducts into position.
I have also glued all of the 'head' guns into place.
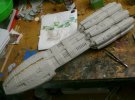
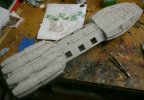
And now comes the largest bit of modification to the kit.
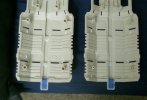
As supplied, the flight pods have the ends blocked. Fixing this required moving all of the inner bulkheads from the kit parts, followed by the removal of the locator pins in the pod pieces.
This was done with a combination of snipping out the bulkheads, and a lot of Dremel work to remove the rest.
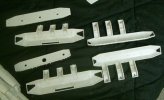
It also required the filling of the locator pin marks and rather large holes that were put in the flight decks themselves.
I filled these with Squadron putty.
To help ease the filling, I also installed the front and rear guns at this time.
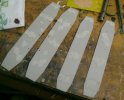
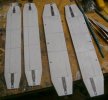
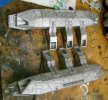
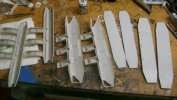
The flight decks with the sanding completed
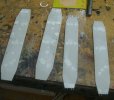
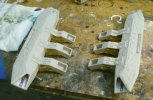
I installed the photoetch detail to the mid-deck pieces
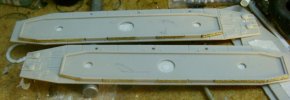
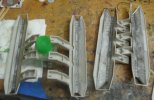
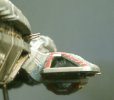
The folded hangar etch shown glued into place
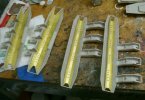
I primered the insides of the hangar pods as well as the flight decks using Vallejo grey primer in my airbrush.
It took a couple of light coats to get an even finish over the etch
Youtube link:
[youtube]http://www.youtube.com/watch?v=ZASp3MRQ1E8[/youtube]
Each time I do a BSG related build, someone asks when I'll be doing the Pegasus
Well....
The answer is...now

To deal with a couple of the more major flaws with the kit, I'll be using both of the photoetch sets from ParaGrafix.
Namely the detail set, and the landing bay set.

Construction started with building up the 8 engine nacelles and the back plate/FTL assembly.
So far, no major seam worries, for which I am very glad

Closeup of the FTL plate with the conduits in place

Now, one thing I decided to fill for certain was at the back of the ship where these two areas were open and hollow.
They would be visible in final assembly, so I filled them with Aves Apoxie Sculpt and then smoothed that over.

Added the etch detail for the windows that normally line the head trenck, and put the detail pieces into place.
Now, watch these detail pieces as they have to be inserted from the INSIDE of the head.

Main body construction is complete with the engine nacelles glued into place as well as the front "ducts"
Breaking from the instructions, I glued the nacelles to the body first, and then glued the ducts into position.
I have also glued all of the 'head' guns into place.


And now comes the largest bit of modification to the kit.
As supplied, the flight pods have the ends blocked. Fixing this required moving all of the inner bulkheads from the kit parts, followed by the removal of the locator pins in the pod pieces.
This was done with a combination of snipping out the bulkheads, and a lot of Dremel work to remove the rest.

It also required the filling of the locator pin marks and rather large holes that were put in the flight decks themselves.
I filled these with Squadron putty.
To help ease the filling, I also installed the front and rear guns at this time.

The flight decks with the sanding completed

I installed the photoetch detail to the mid-deck pieces

The folded hangar etch shown glued into place

I primered the insides of the hangar pods as well as the flight decks using Vallejo grey primer in my airbrush.
It took a couple of light coats to get an even finish over the etch

Youtube link:
[youtube]http://www.youtube.com/watch?v=ZASp3MRQ1E8[/youtube]

