TRM
New Member
- Joined
- Mar 18, 2011
- Messages
- 5,024
Hello All,
In an effort to simplify some techniques, I am putting together a small SBS on rusting, chipping and weathering.
There is many techniques to attack painting, chipping and finally weathering different models to get the realistic feel we are looking for. We all learn these different techniques either from trial and error, reading articles and following builds online or if we are lucky enough, to have one or more of the so called "experts" show us some of the tricks.
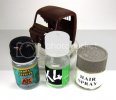
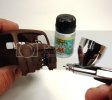
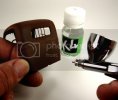
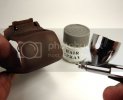
Here is a "small" SBS on Painting, rusting, Hair Spray/Chipping Fluids, weathering in layers to help understand the use of some products and the applications of layers to help bring depth to a project. I am no expert by any means. I have only picked up some tricks here and there and want to help some who wants to learn the basics to rusting and weathering. So, if you wanted to try and rust an old model or tried and failed or just want to learn one more tool to help you get there, I hope this will help some understand some processes in making, painting and finally weathering.
First we need to build something quick...............
With that, here we go!!
The Kit:
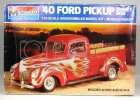
First thing that needs to be understood, and not everyone will agree with this, is that you do not always need the expensive kit that is loaded with parts and tons of PE to have fun and finally create something you can be happy with. This kit was given to me by a friend and I think he paid $5 USD. Worth it all day long!!
The Inspiration:
For Discussion Purposes Only
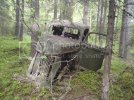
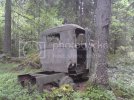
I found 5 outstanding shots of this truck online. With the old kit, some inspiration and some time, anything is possible. Time to dig in and have at it.
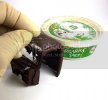
Starting points. Digging through this old kit is the first thing you will need to do. Getting familiar with what is there...or not and planning your attack.
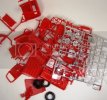
A couple of key features that stand out to me in these picture are the cab, chopped chassis and the motor.
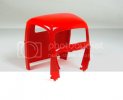
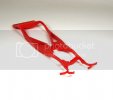
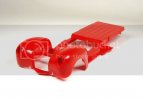

At this point the hardest part for most will occur....the cut!!!
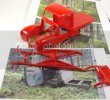
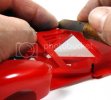
Committing to actually cutting a perfectly good model is the hardest obstacle any modeler will encounter when building. Only advise is that first, anything can be fixed with enough plastic and glue and second is to just DO IT!! It gets easier. Before you know it you will want to cut apart that $70 Dragon Kit and wreck something!!
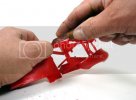
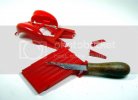
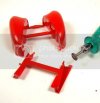
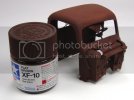
After separating a few parts the building is soon to begin. We will need to add some damage to show rusting later on in the painting stages. I took my cordless Dremel and an engraving tip ground various areas that would be damaged on the truck from being abandoned in the woods.
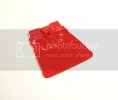
The floor boards would be rotted out from sitting close to the ground and using the picture as references for some other damages I proceeded.
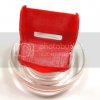
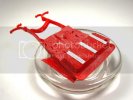
Actually attaching some parts instead of breaking. I added the section of the Chassis to the floorboards
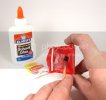
I wanted to create the torn headliner that can be seen in one of the pictures. I cut apart a teabag and with a little PVA Glue, began gluing the headliner in place.
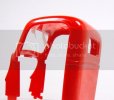
The Donkey...Lump...Motor, was next on the chopping block.
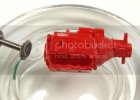
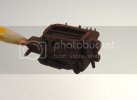
In an effort to speed this up, I cut out the intake manifold section, drilled out the cylinders added some small bobbles and the motor was ready.
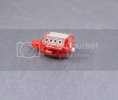
In the pictures there are a couple of distinct features I will try and duplicate somewhat. The open driver's side door with the hanging panel and the bars on the rear window.
For Discussion Purposes Only
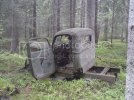
For Discussion Purposes Only
The rear window bars.
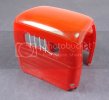
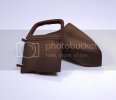
and then chopping away at the doors.
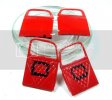
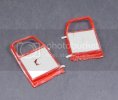
Finally, for the moment, the homemade steel framework that was added and then someone attached the rear axle to it. A little scratch work and I am pretty much ready for some primer.
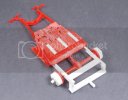
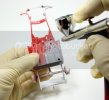
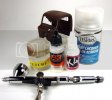
This is one of my favorite stages...Priming!! Something clean about it. Great feeling to start slinging some paint.
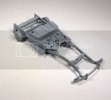
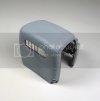
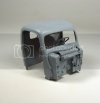
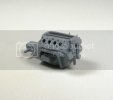
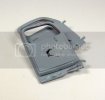
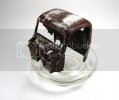
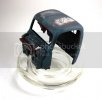
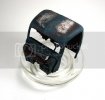
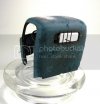
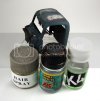
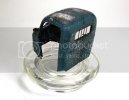
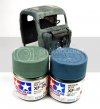
Next up after the primer dries is laying down some base coat of rusting color. Any questions along the way on this, please feel free to ask. I will do my best to give, lol, or get the answer
As always, thank you for stopping by.
In an effort to simplify some techniques, I am putting together a small SBS on rusting, chipping and weathering.
There is many techniques to attack painting, chipping and finally weathering different models to get the realistic feel we are looking for. We all learn these different techniques either from trial and error, reading articles and following builds online or if we are lucky enough, to have one or more of the so called "experts" show us some of the tricks.
Here is a "small" SBS on Painting, rusting, Hair Spray/Chipping Fluids, weathering in layers to help understand the use of some products and the applications of layers to help bring depth to a project. I am no expert by any means. I have only picked up some tricks here and there and want to help some who wants to learn the basics to rusting and weathering. So, if you wanted to try and rust an old model or tried and failed or just want to learn one more tool to help you get there, I hope this will help some understand some processes in making, painting and finally weathering.
First we need to build something quick...............
With that, here we go!!
The Kit:

First thing that needs to be understood, and not everyone will agree with this, is that you do not always need the expensive kit that is loaded with parts and tons of PE to have fun and finally create something you can be happy with. This kit was given to me by a friend and I think he paid $5 USD. Worth it all day long!!
The Inspiration:
For Discussion Purposes Only

I found 5 outstanding shots of this truck online. With the old kit, some inspiration and some time, anything is possible. Time to dig in and have at it.
Starting points. Digging through this old kit is the first thing you will need to do. Getting familiar with what is there...or not and planning your attack.

A couple of key features that stand out to me in these picture are the cab, chopped chassis and the motor.


At this point the hardest part for most will occur....the cut!!!


Committing to actually cutting a perfectly good model is the hardest obstacle any modeler will encounter when building. Only advise is that first, anything can be fixed with enough plastic and glue and second is to just DO IT!! It gets easier. Before you know it you will want to cut apart that $70 Dragon Kit and wreck something!!


After separating a few parts the building is soon to begin. We will need to add some damage to show rusting later on in the painting stages. I took my cordless Dremel and an engraving tip ground various areas that would be damaged on the truck from being abandoned in the woods.

The floor boards would be rotted out from sitting close to the ground and using the picture as references for some other damages I proceeded.

Actually attaching some parts instead of breaking. I added the section of the Chassis to the floorboards

I wanted to create the torn headliner that can be seen in one of the pictures. I cut apart a teabag and with a little PVA Glue, began gluing the headliner in place.


The Donkey...Lump...Motor, was next on the chopping block.

In an effort to speed this up, I cut out the intake manifold section, drilled out the cylinders added some small bobbles and the motor was ready.

In the pictures there are a couple of distinct features I will try and duplicate somewhat. The open driver's side door with the hanging panel and the bars on the rear window.
For Discussion Purposes Only

For Discussion Purposes Only

The rear window bars.

and then chopping away at the doors.


Finally, for the moment, the homemade steel framework that was added and then someone attached the rear axle to it. A little scratch work and I am pretty much ready for some primer.


This is one of my favorite stages...Priming!! Something clean about it. Great feeling to start slinging some paint.


Next up after the primer dries is laying down some base coat of rusting color. Any questions along the way on this, please feel free to ask. I will do my best to give, lol, or get the answer
As always, thank you for stopping by.

