Autocarretta OM35 2025-09

Scale Model Addict - Model Tips, Guides, Tools & Tech, Tutorials, and Community

Help Support Scale Model Addict:

BarleyBop

Well-Known Member
Glue Member
Joined
Sep 4, 2022
Messages
5,417
City & State/Province
Ottawa, Canada
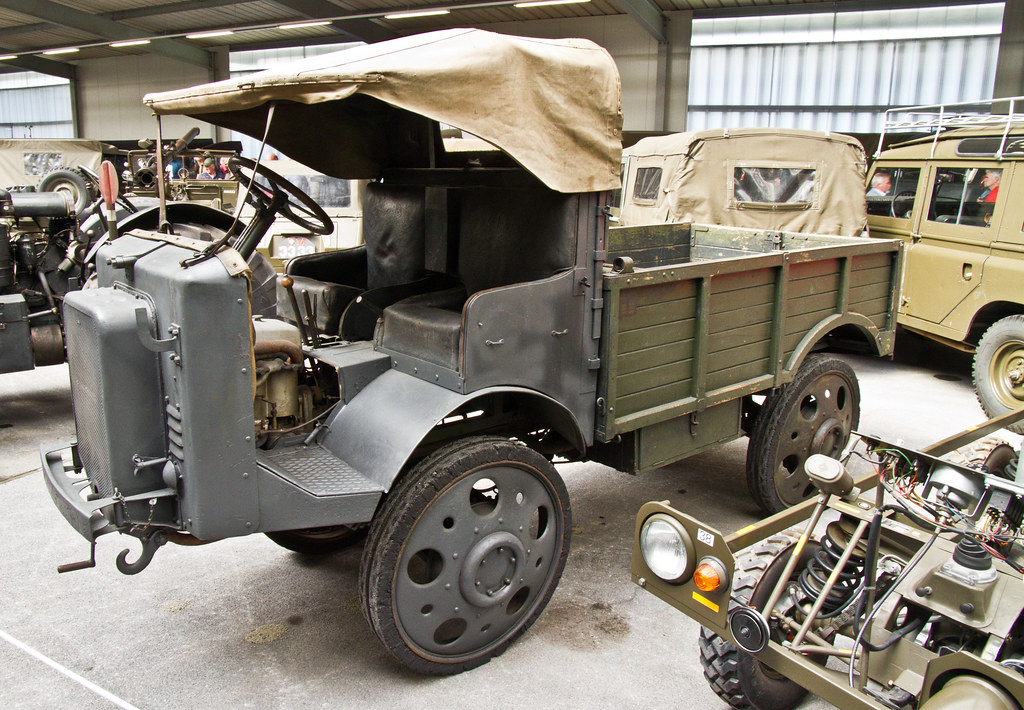
A small but interesting Italian vehicle, built for mountain terrain, many of which found their way to North and East Africa.
I'll be aiming to show it in action, attacking British held Sudan with Italian Colonial troops from Eritrea, 1940.
Another 3D printed kit, to work on 'in my spare time'... or distract from frustrations of upcoming Dive Bomber GB.
17579016040616890252296807760760.jpg
 
Last edited:
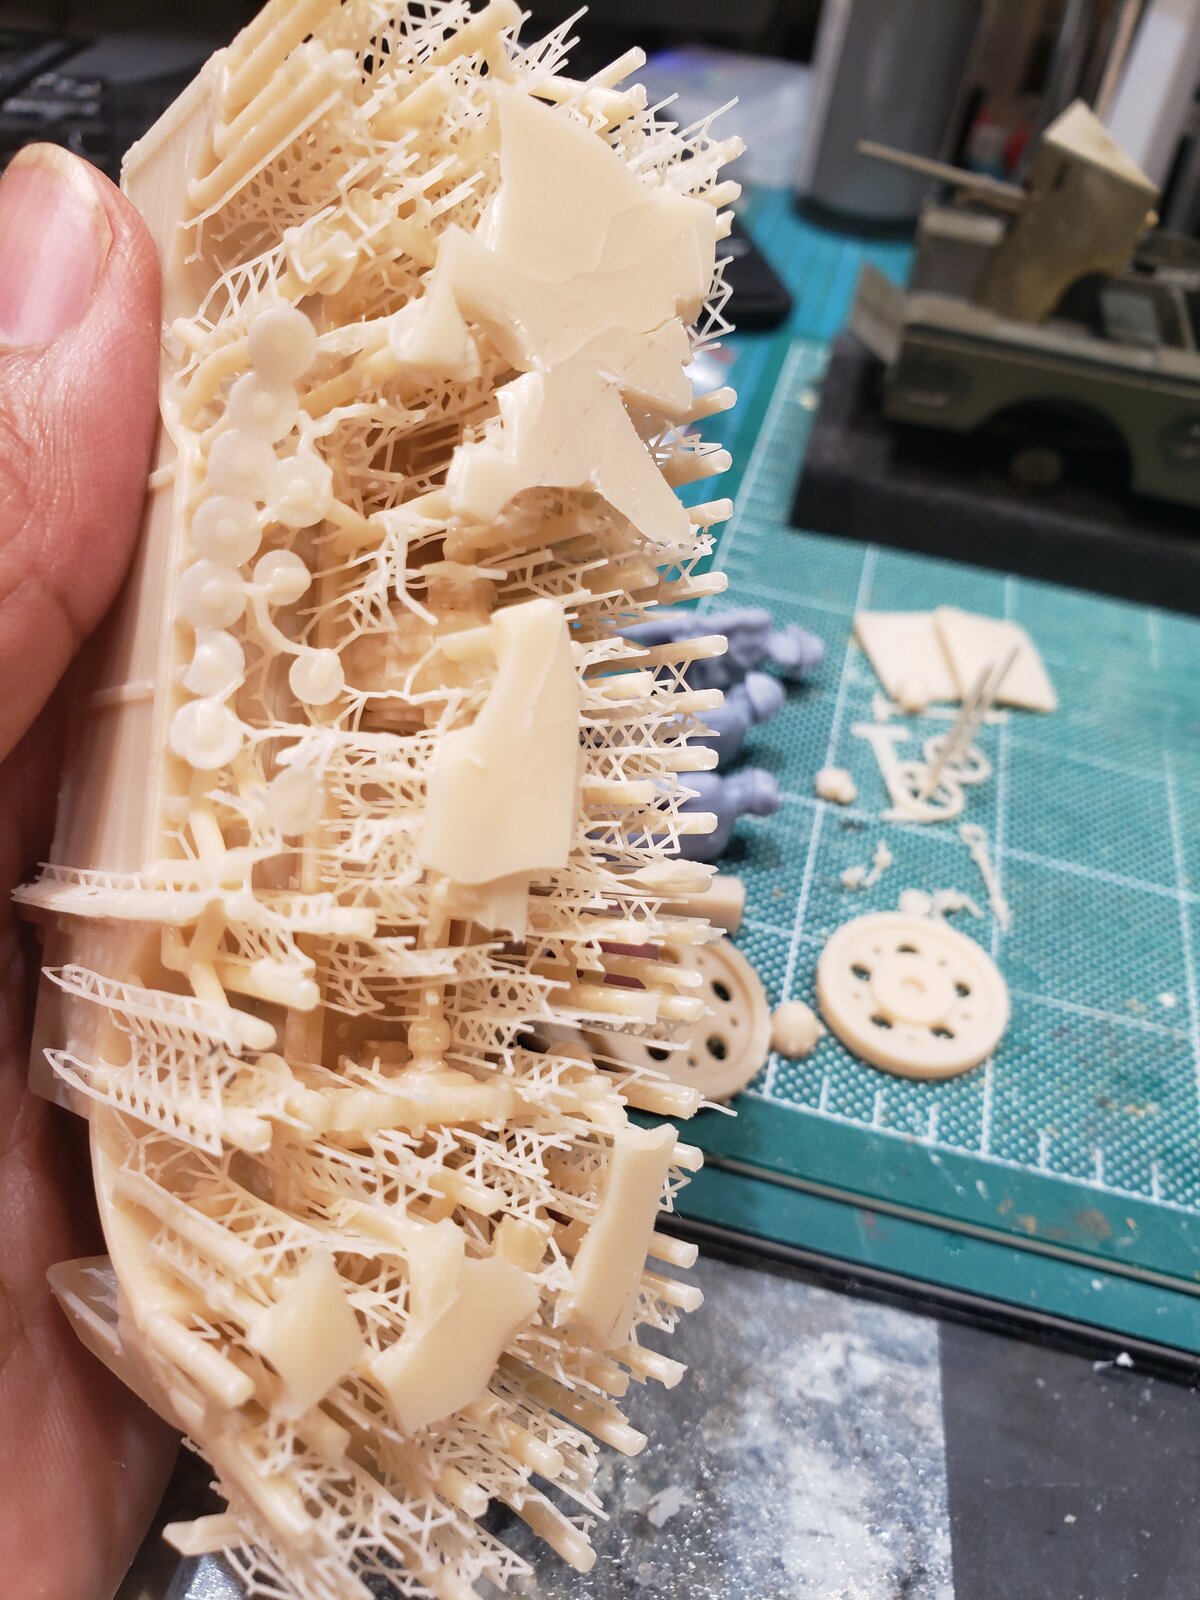
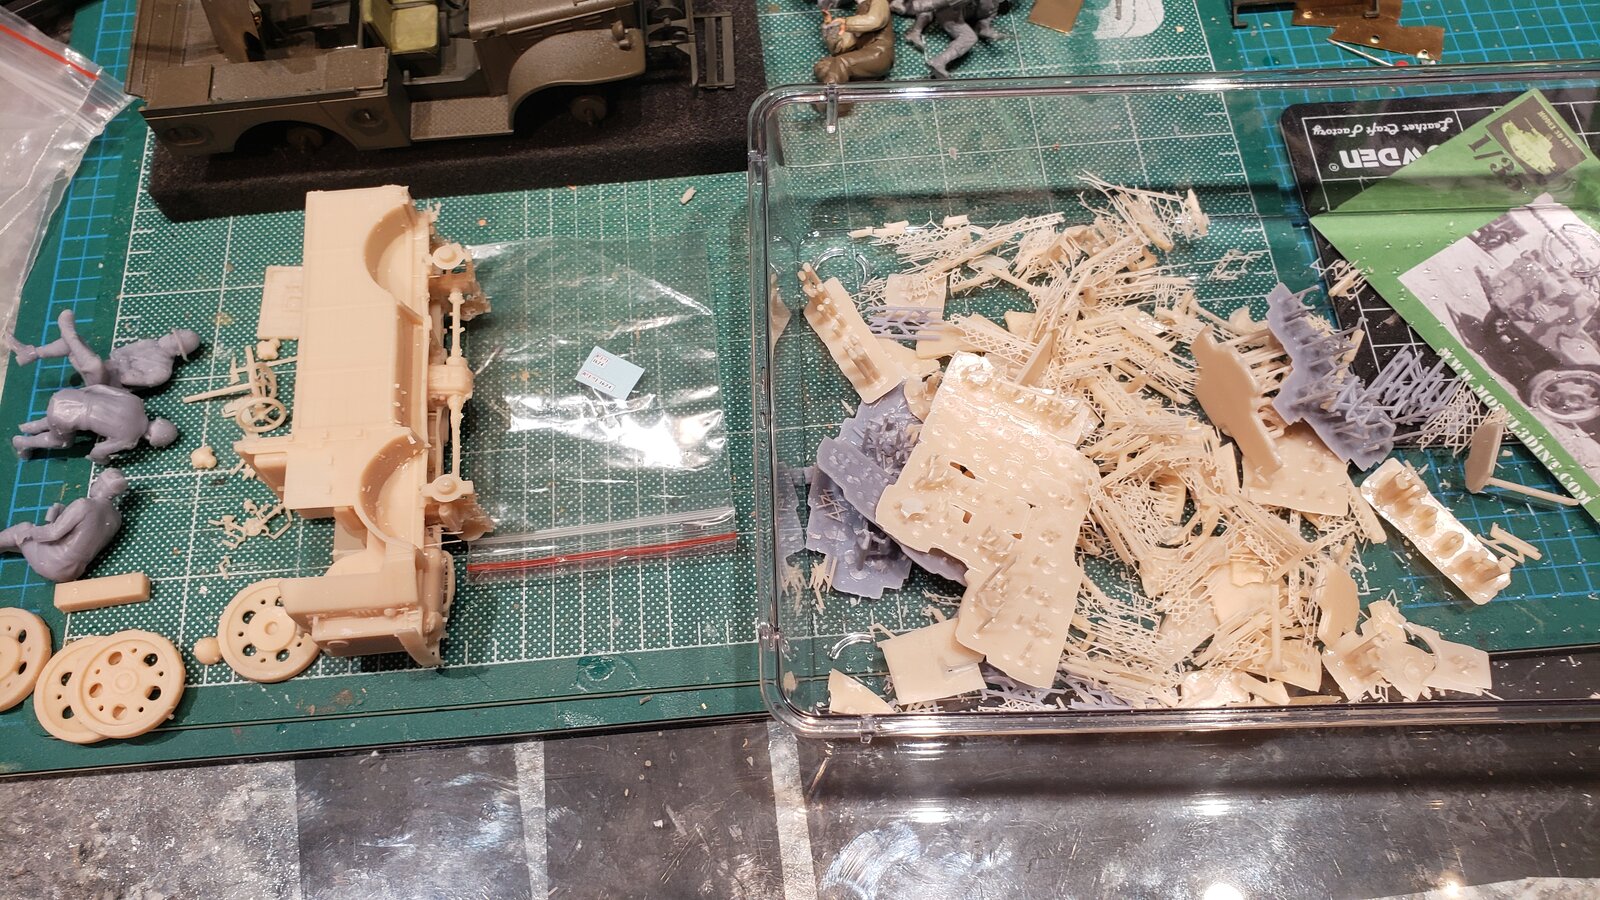
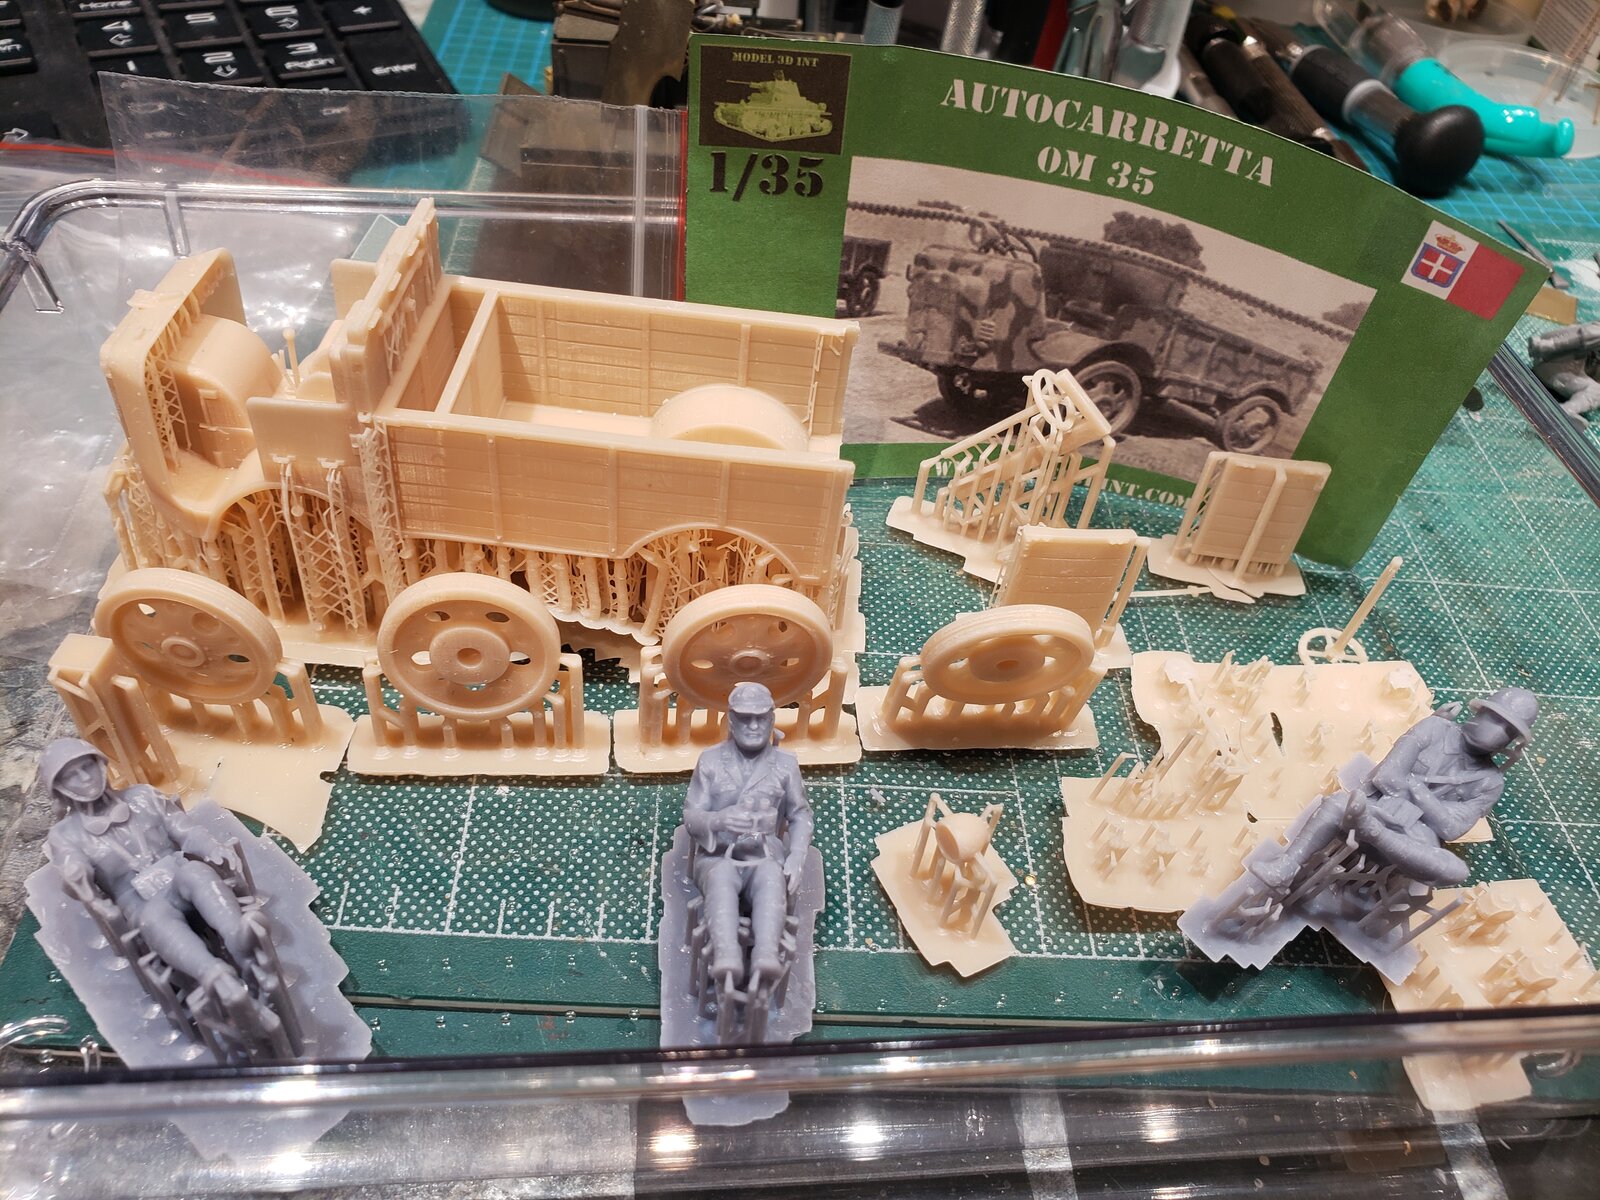
Parts on the left, supports (waste) on the right. Much less than the Pavesi tractor.

Cleanup of parts when I'm rested... brittle and thin, don't want to break them.

The process is akin to shucking corn and snapping peanut brittle! As a styrene and resin modeler, the snap crackle pop still makes my hair stand on end! :eek:

20250915_212406.jpg
I'll keep all the waste in a bag until I'm done, don't want to throw out something by accident!
 
Started some clean up, and inventory of parts I'll need/want to fabricate. Some as replacements, some as additions. There are some warped pieces, as well as craters that will need to be filled.
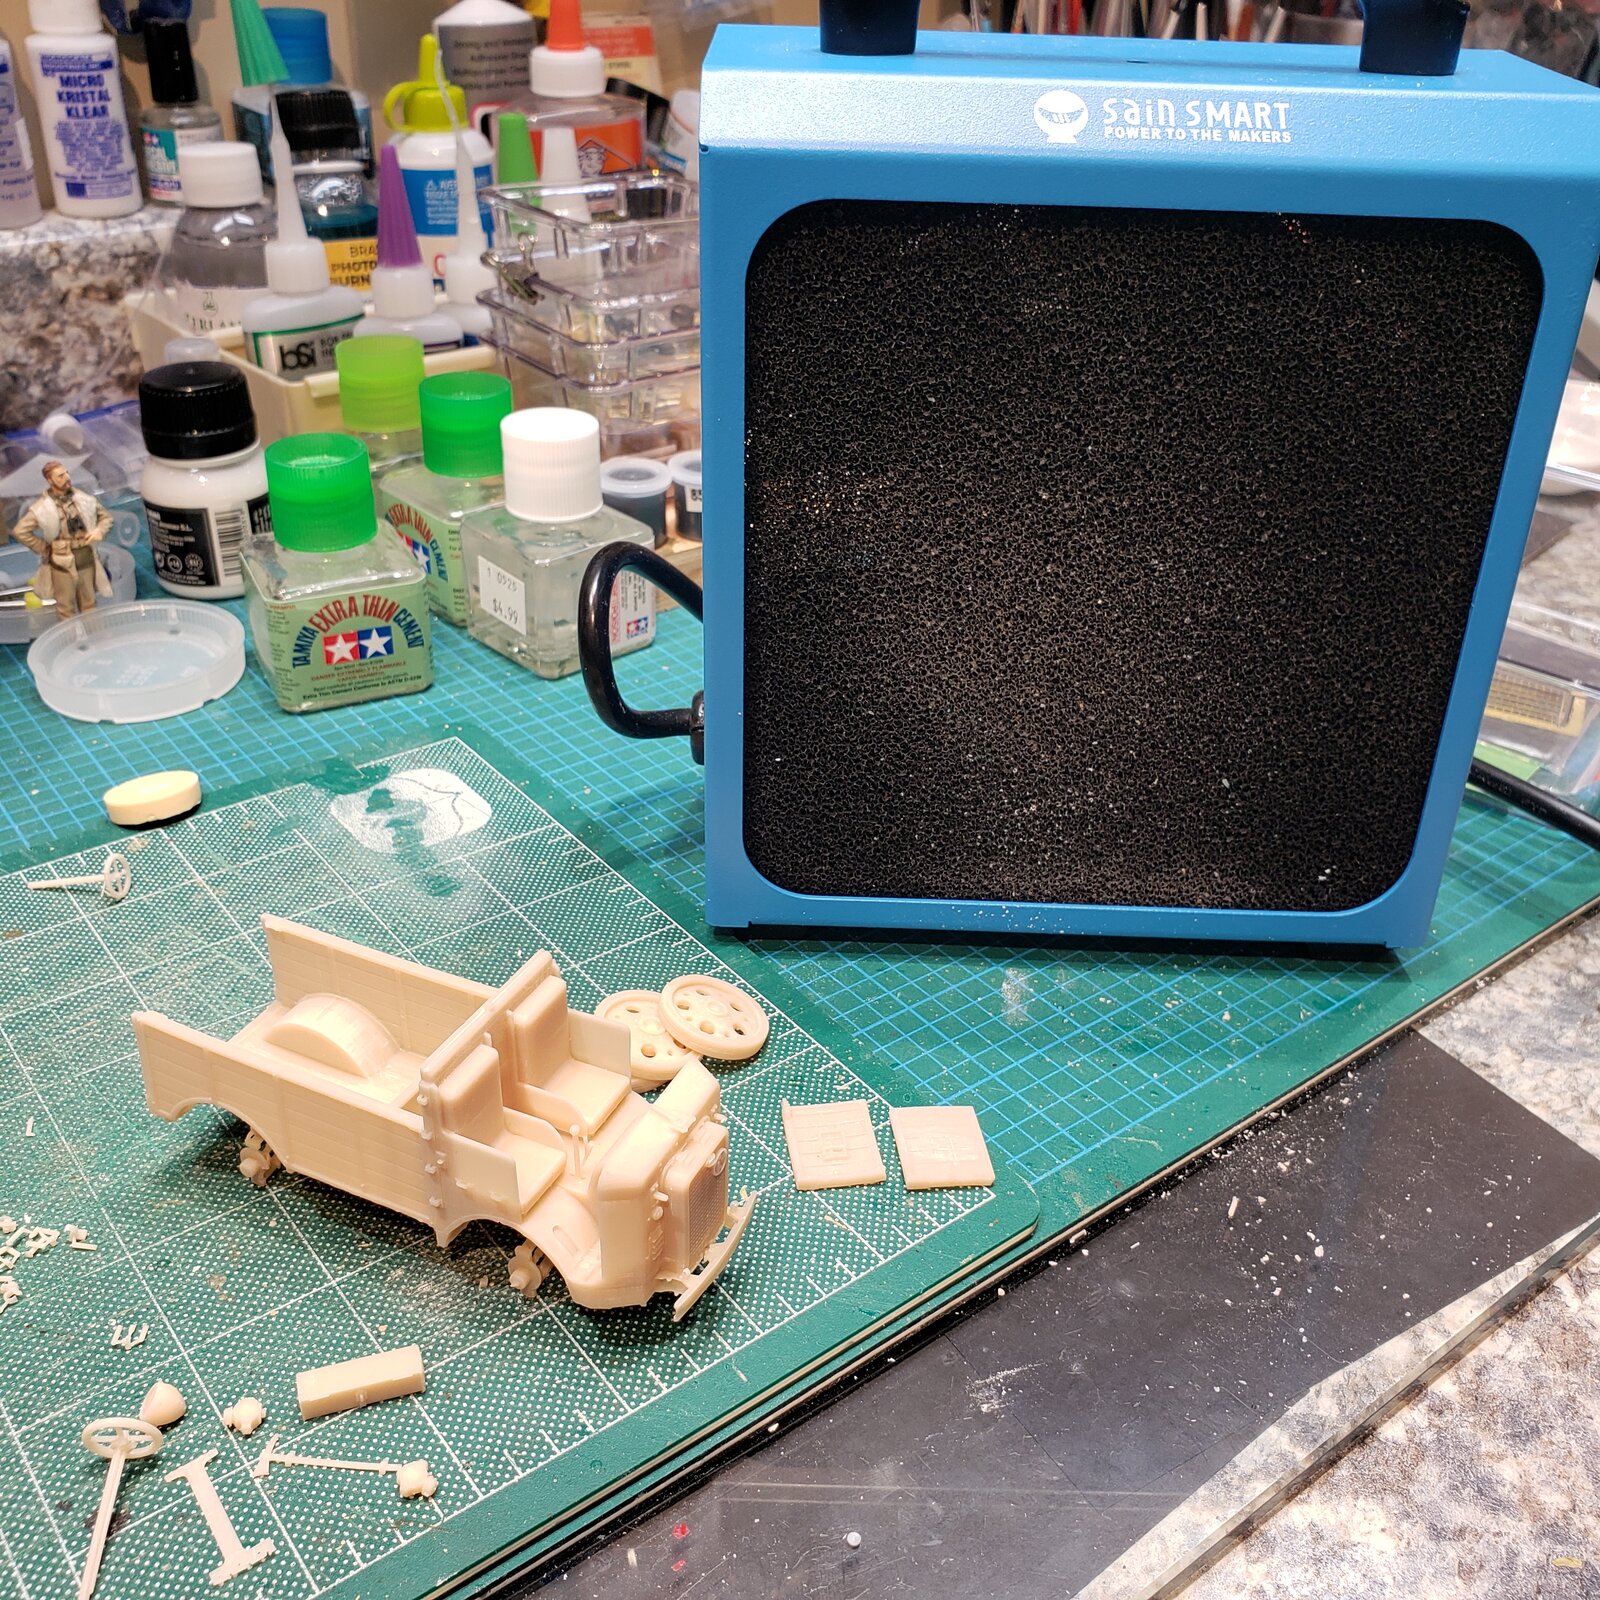
Snipping, sanding and smoothing, I run my filter fan to suck up particulate...
The fan is good for dust and designed to even suck up/filter fumes from soldering.

17623104101107965529583486881688.jpg
 
As an Amazon Associate we earn from qualifying purchases. Product prices and availability are accurate as of the date/time indicated and are subject to change.
3D printed kit
For a real laugh, check out my first, a Pavesi tractor!

I understand not all 3D kits are created equal, so "mileage may differ" !
This is a small kit, and from a maker that does lots of Italian vehicles, many used in North Africa/Mediterranean, the particular flavour of my addiction!

I have discovered that I get a kick out of scratch built detailing, so I think of these as 'platforms' to be expanded upon if I feel so inclined.
 
For a real laugh, check out my first, a Pavesi tractor!

I understand not all 3D kits are created equal, so "mileage may differ" !
This is a small kit, and from a maker that does lots of Italian vehicles, many used in North Africa/Mediterranean, the particular flavour of my addiction!

I have discovered that I get a kick out of scratch built detailing, so I think of these as 'platforms' to be expanded upon if I feel so inclined.
All the little spots left over from the supports on the pavesi tractor almost gave me a case of tryptophobia haha!
 
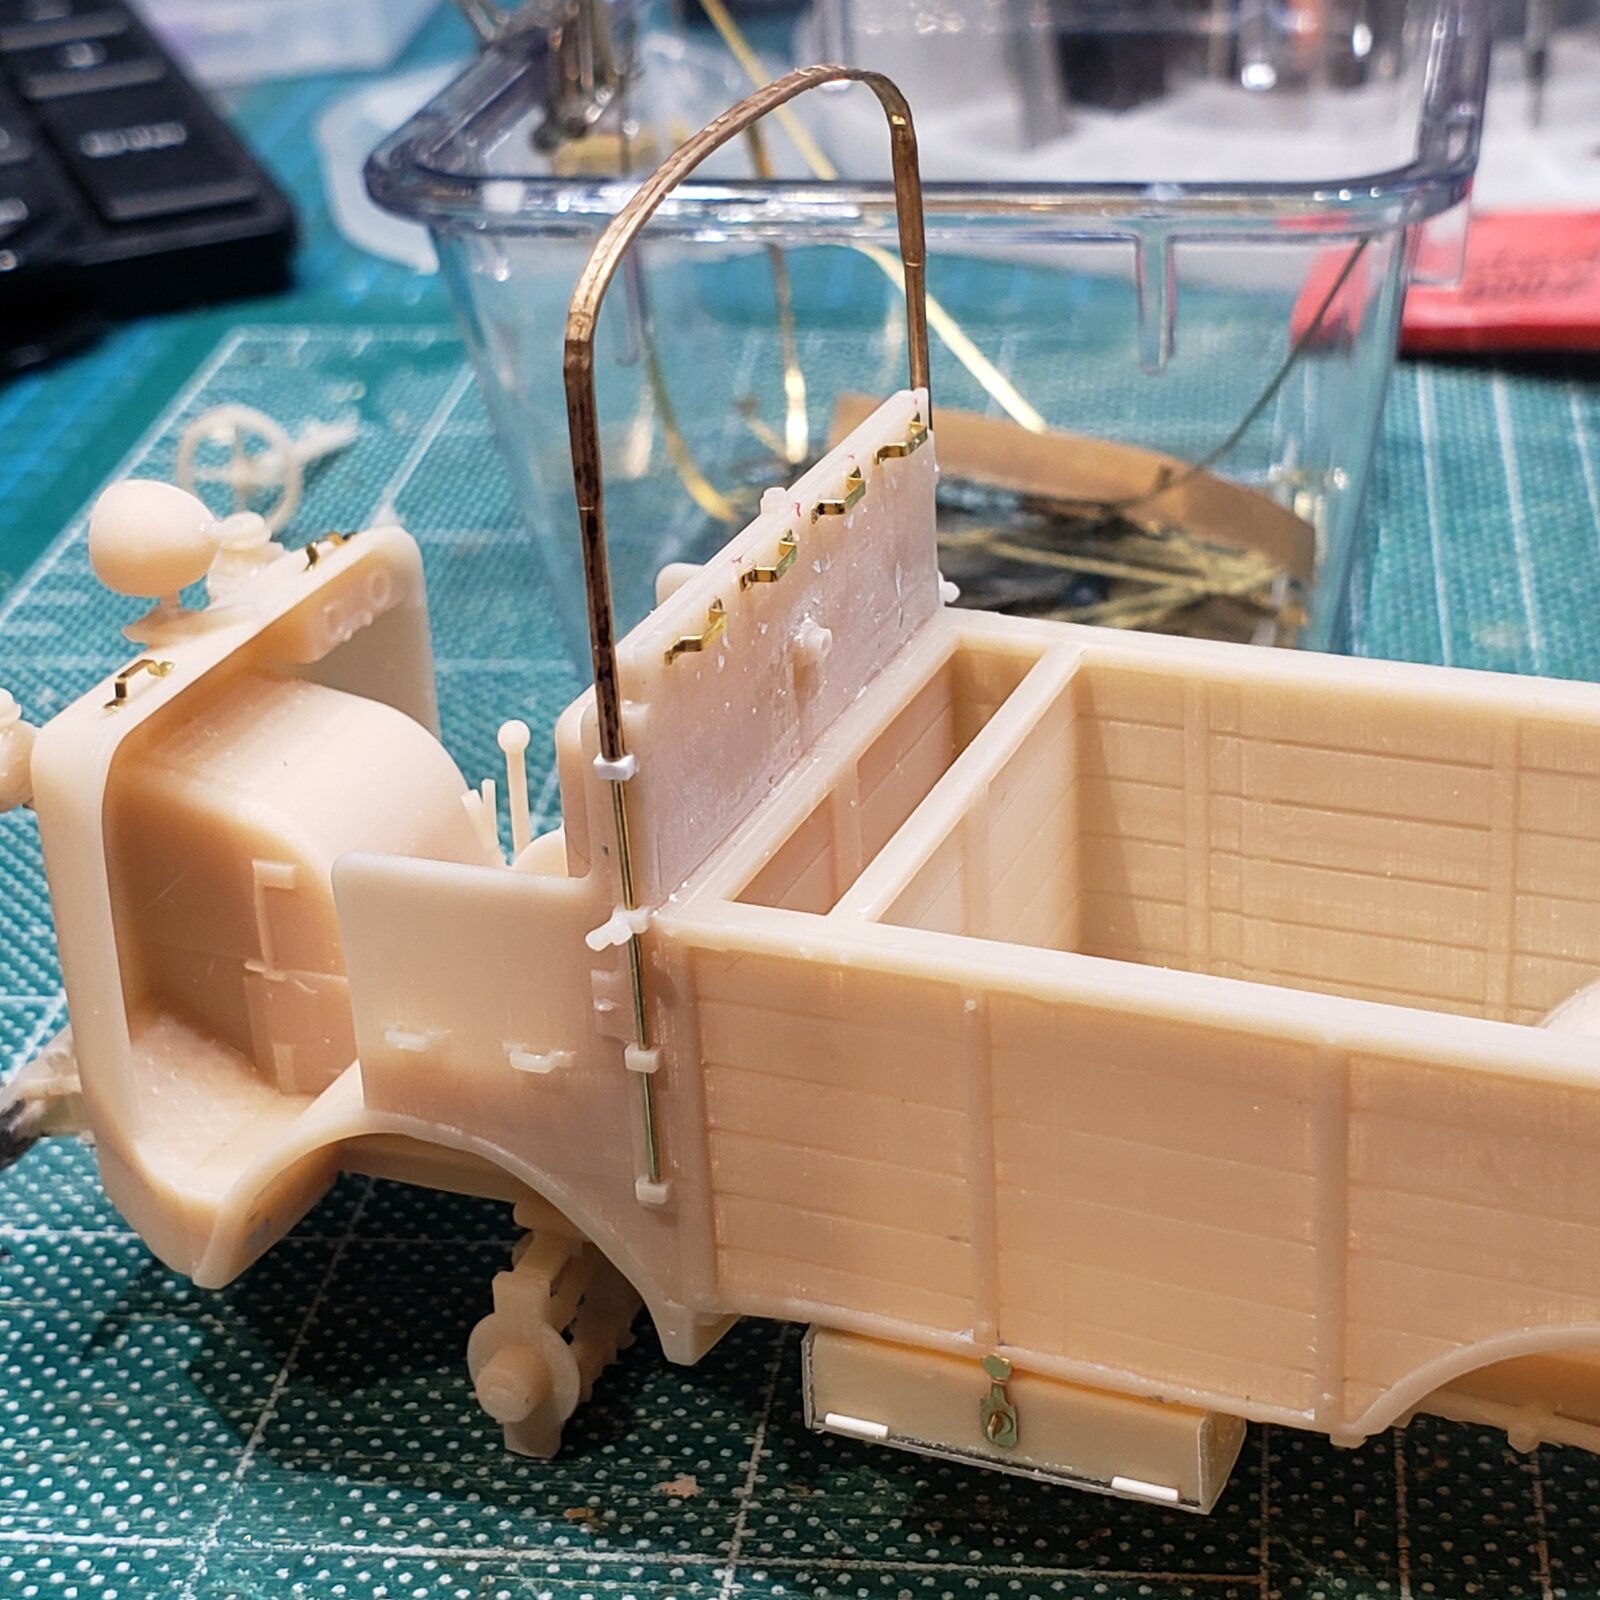
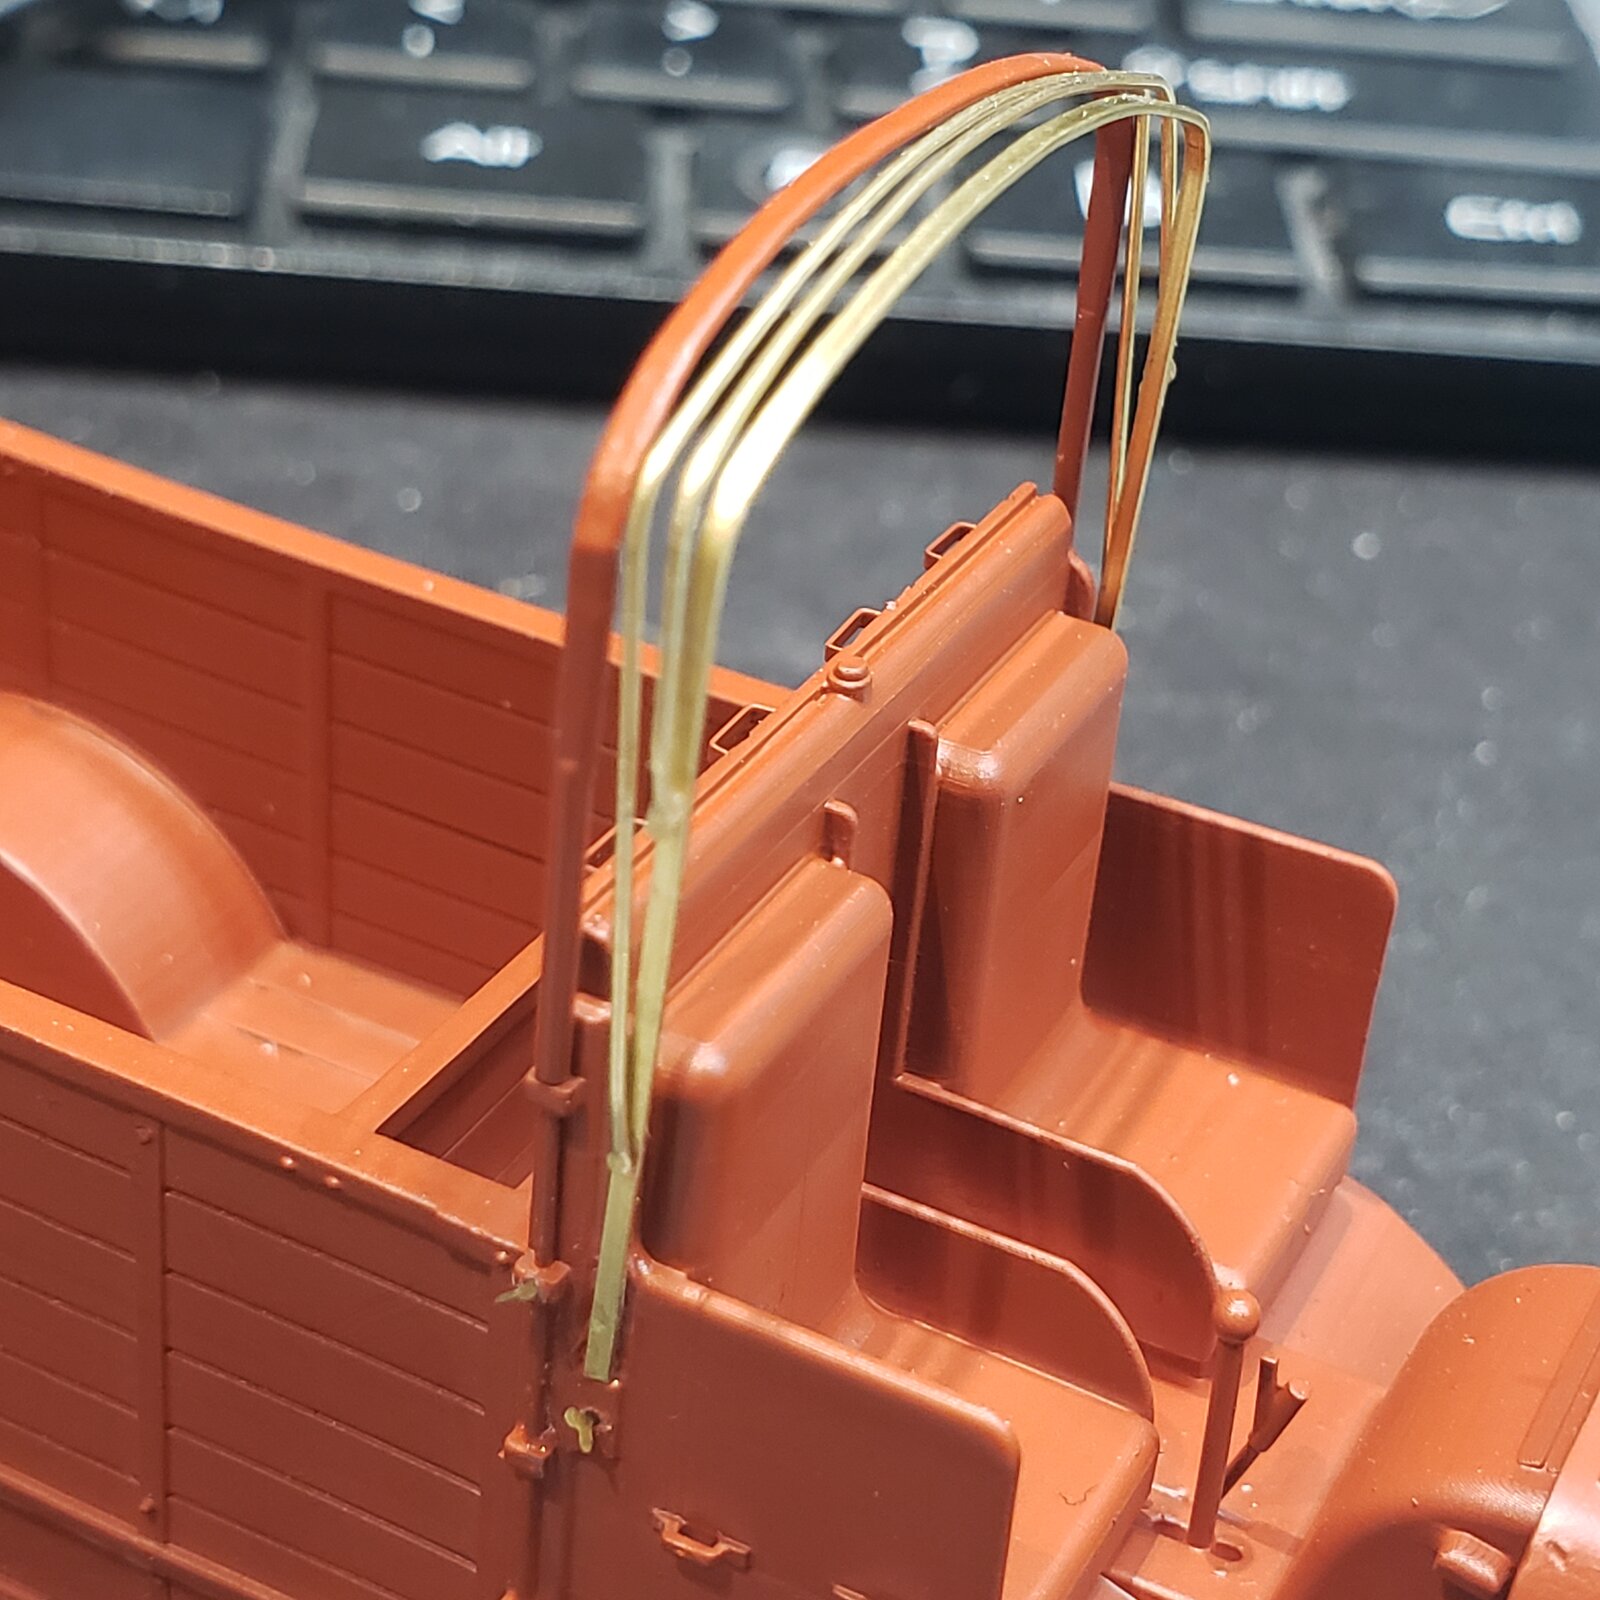
... so looking at reference materials, I see what the brackets up the sides behind the driver compartment were for: securing the frame for a canvas collapsible roof.
This kit has no such thing, nor did it have two under body storage. Since I'd taken out my brass anyways to fashion some extra hand holds, why not keep going?

20251108_222333.jpg


The panel at the front of the box will also have a pickaxe and shovel mounted below the handhold.
 
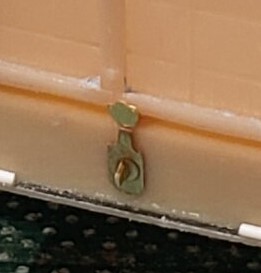
Is that how it goes ,
or should that upper disc section be bent horizontal and attached on top ? to create the hinge for that hasp ? :

20251108_222333.jpg
 
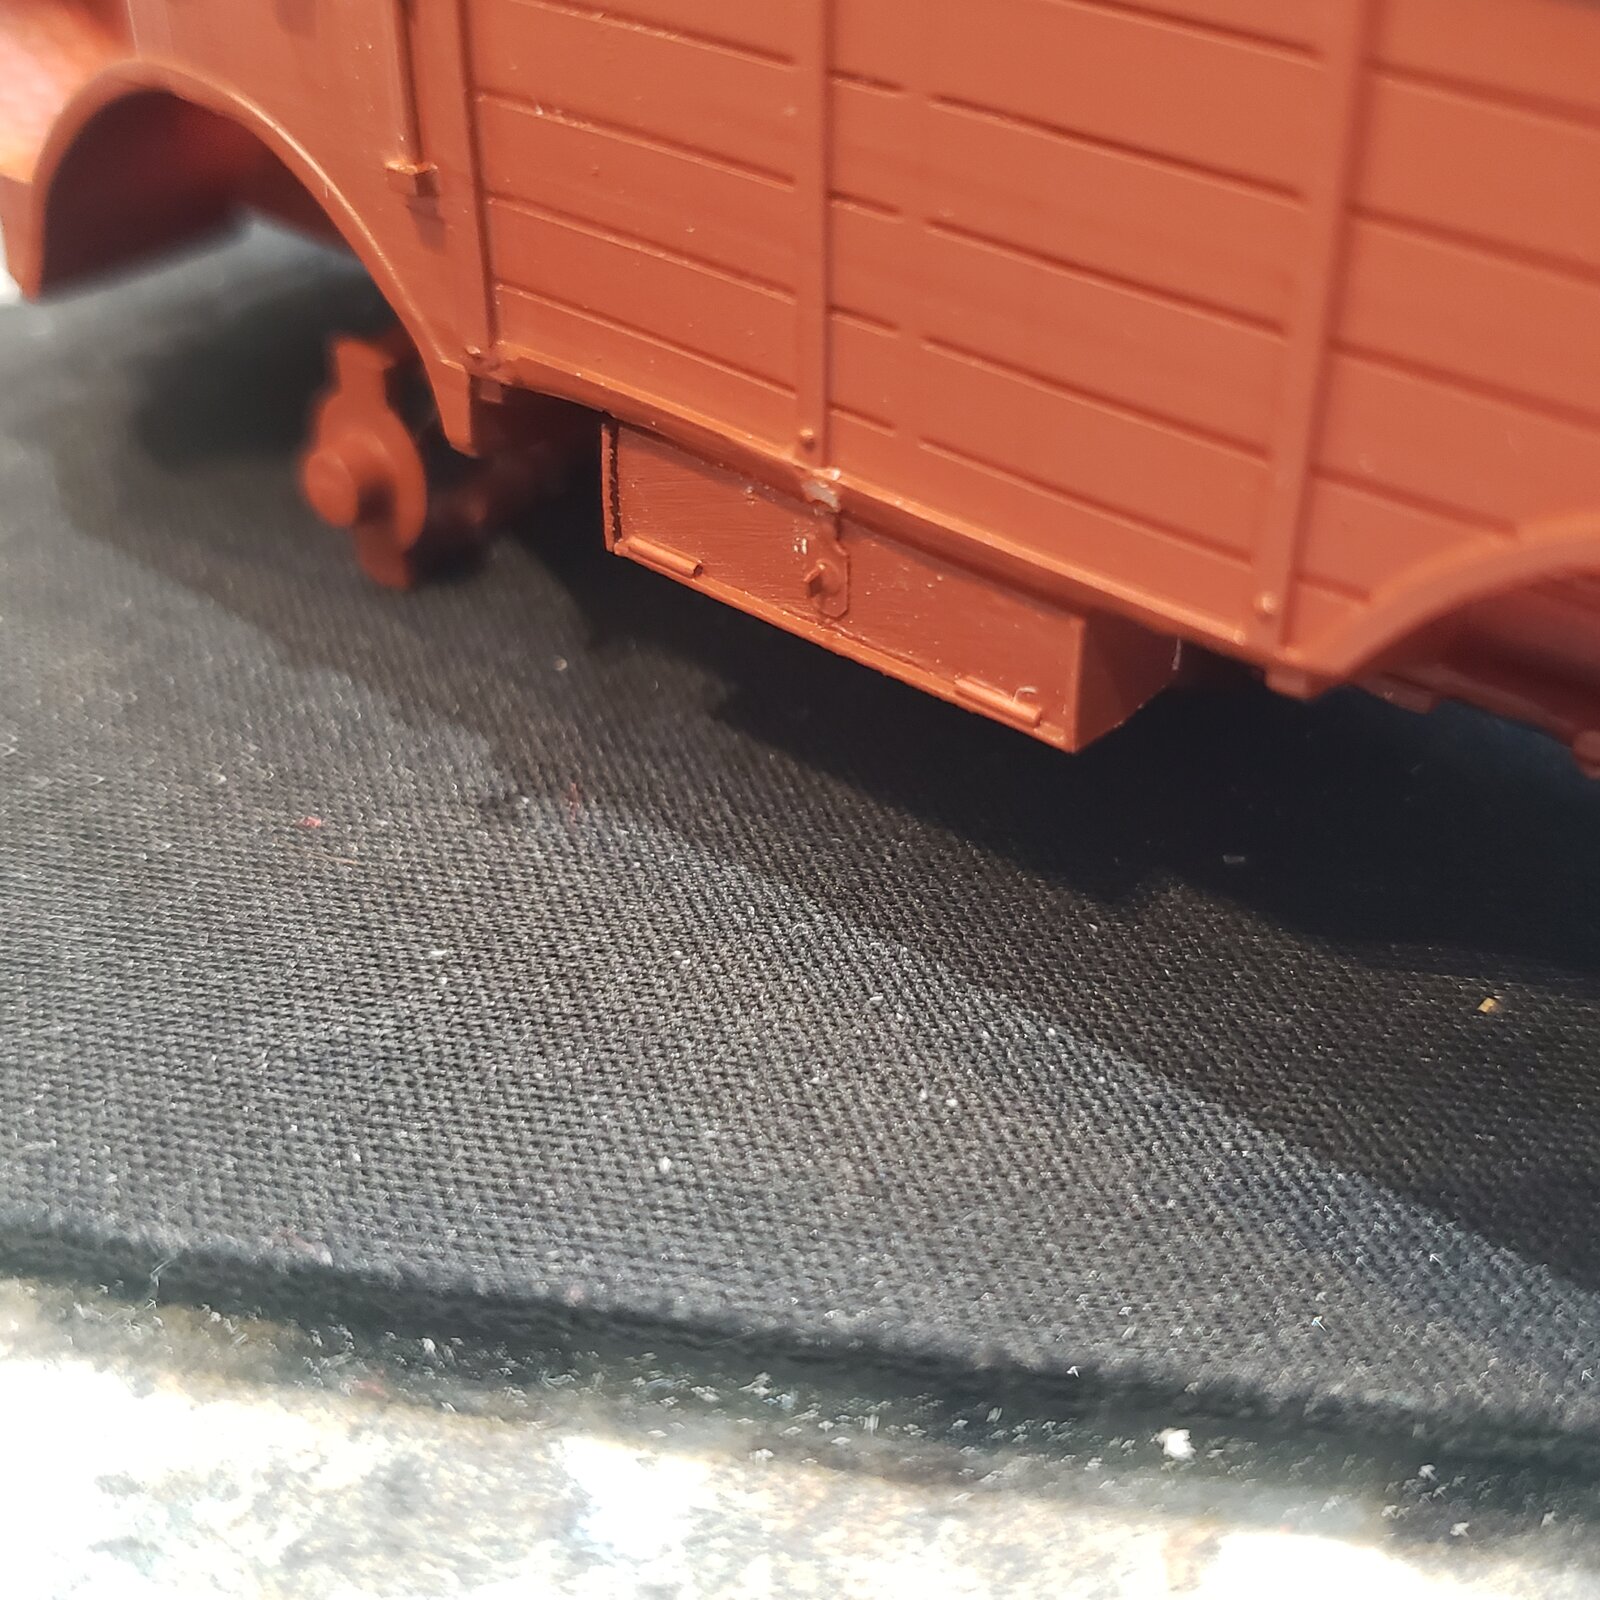
Kind of an odd setup on the original ... and a scratch approximation, from the photos, looks like the storage hinges are below, and the 'disk' was flush mounted to the side of the box, with a hinged hasp hanging down to lie over the staple.
The bottom of the bed was out of square, so I fudged it, leaving a bigger gap between the storage and the truck bed. I'll look at it when I'm more awake and see how it looks, maybe add that hinge between the plate and the hasp. I may have to adjust the height of the plate so that it looks like the storage access door can clear it and swing down to open when the hasp is released and lifted up. :rolleyes:
Worst case, fill the gap as well.
 
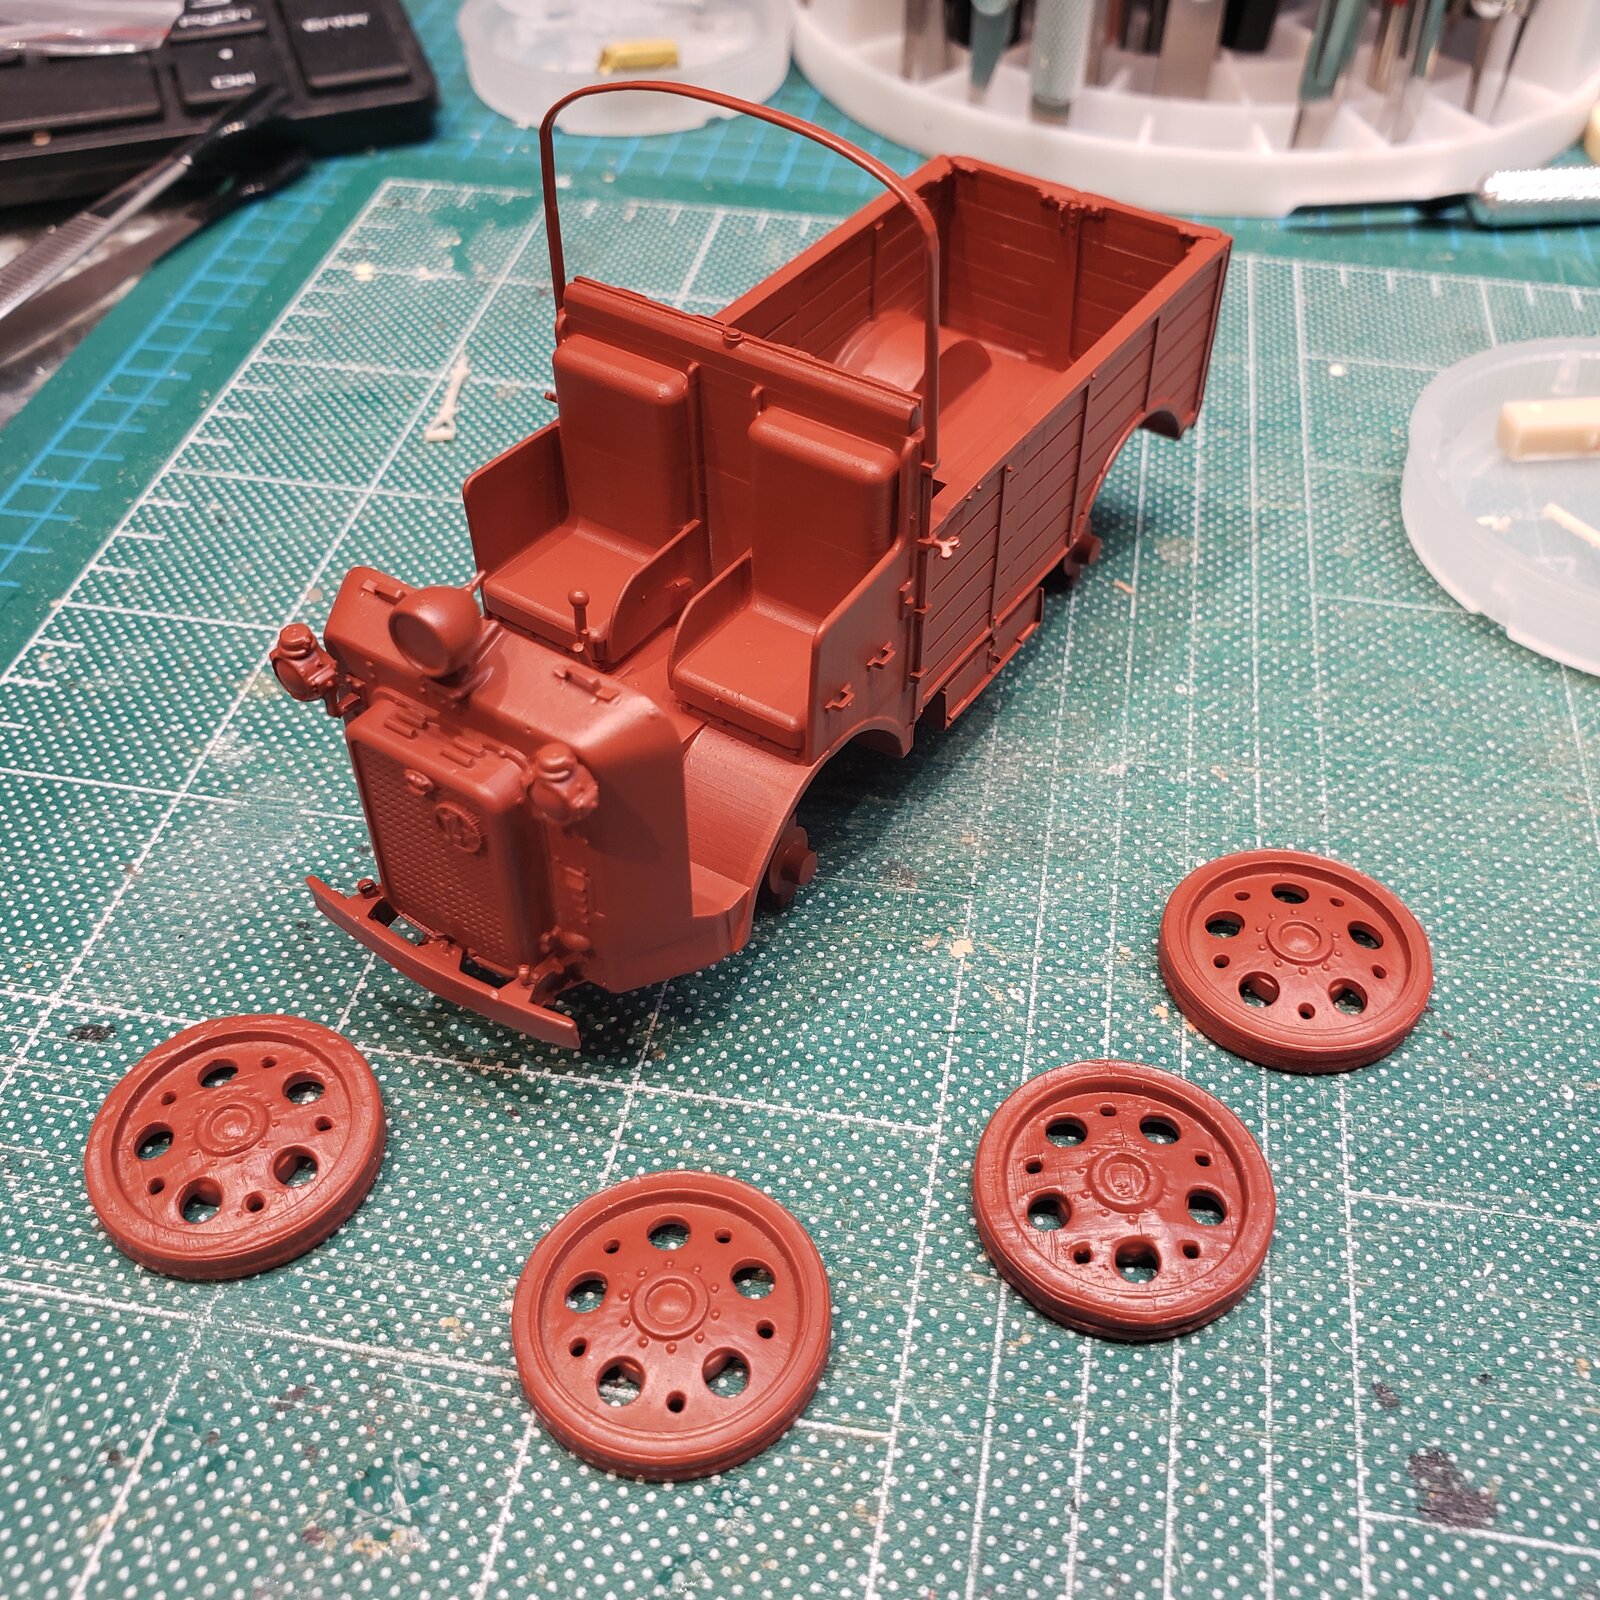
Well, amazing what a little primer ca do!
...the hasps don't seem as problematic, though I will add some wire for the hinges.

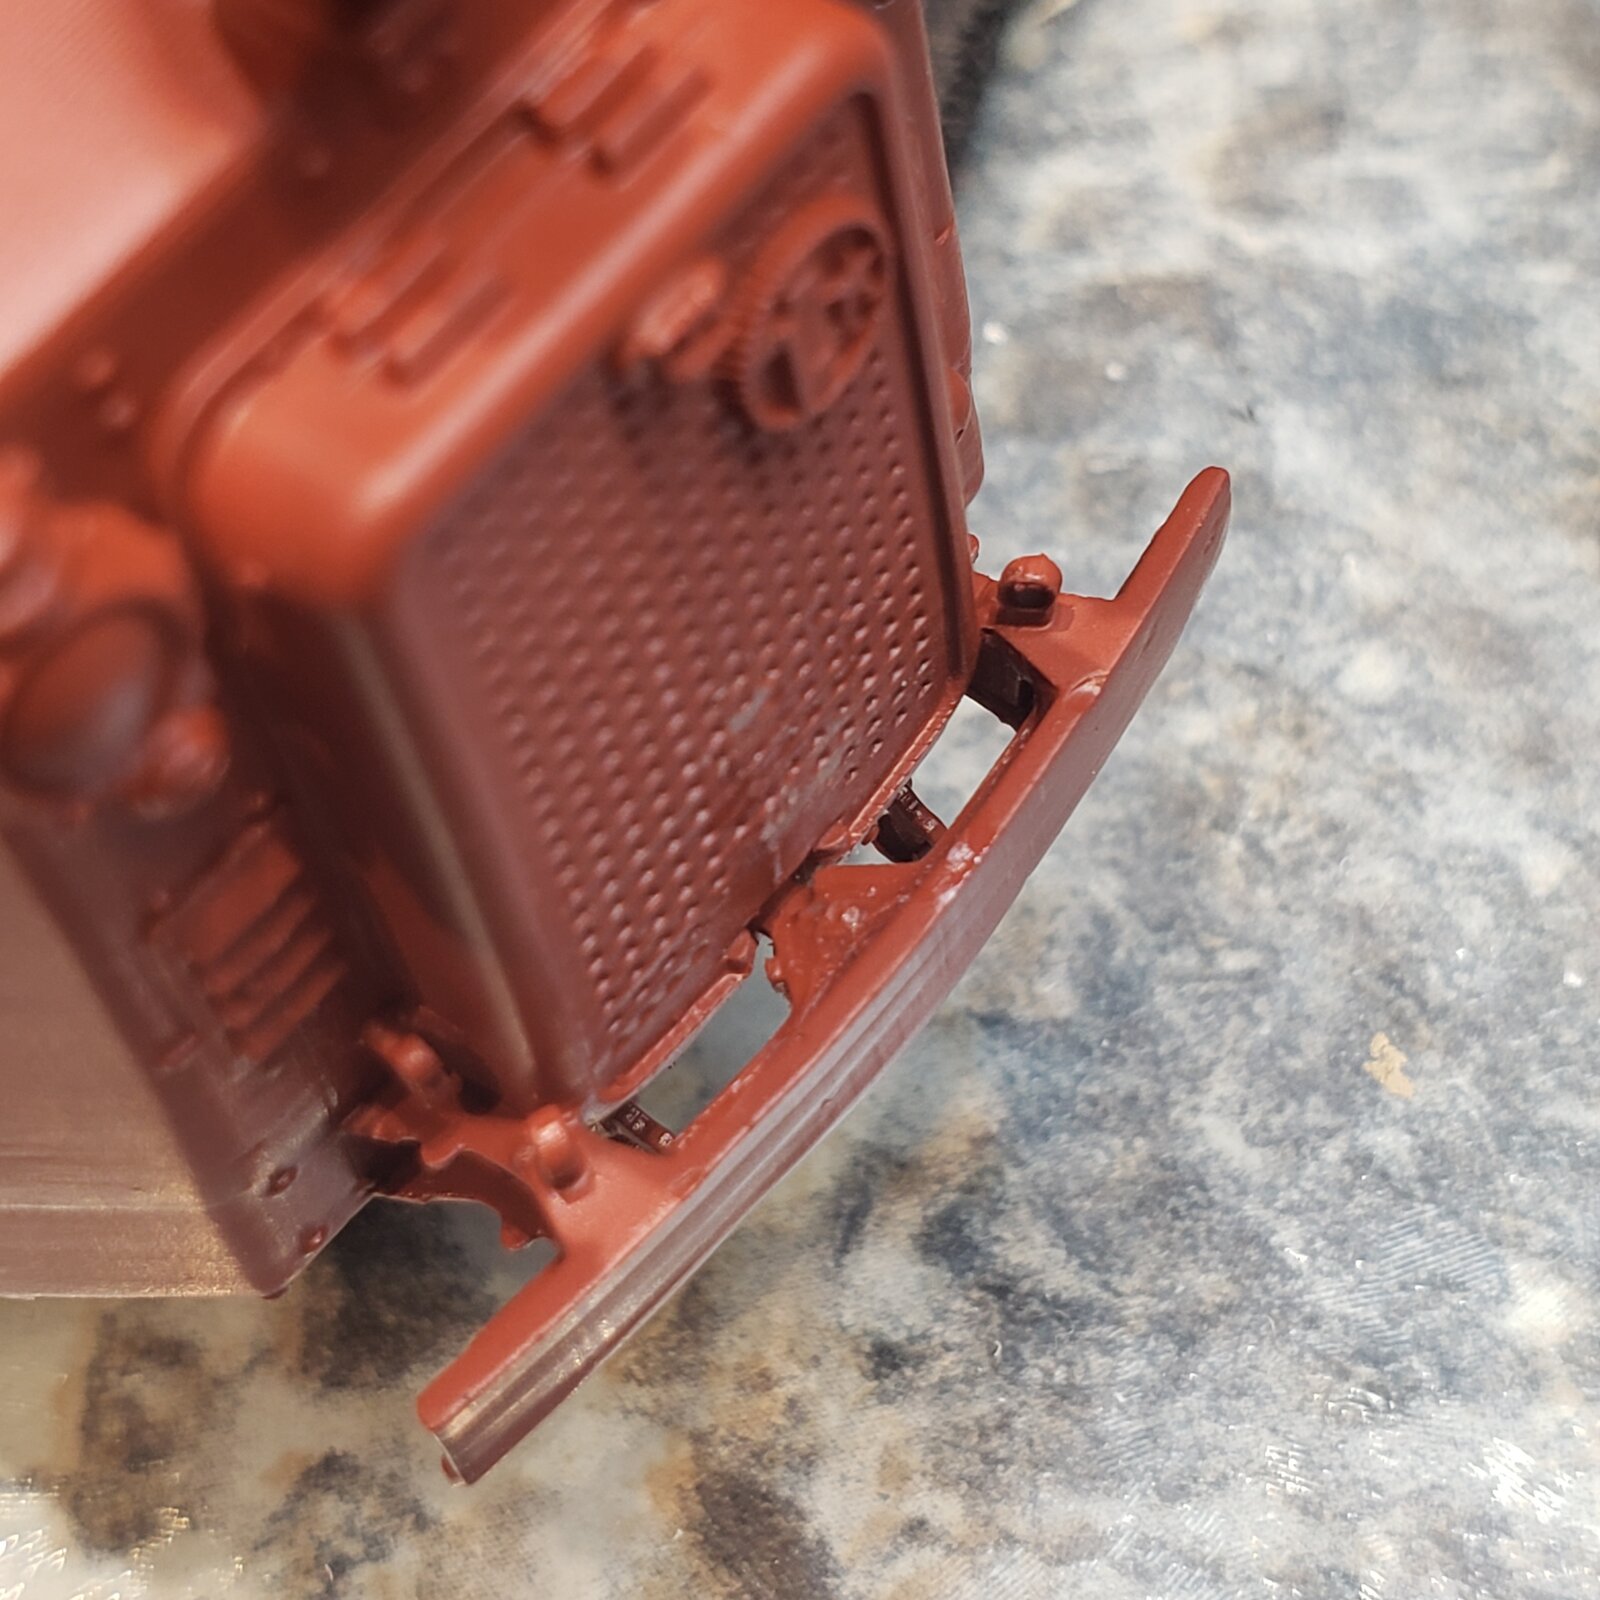
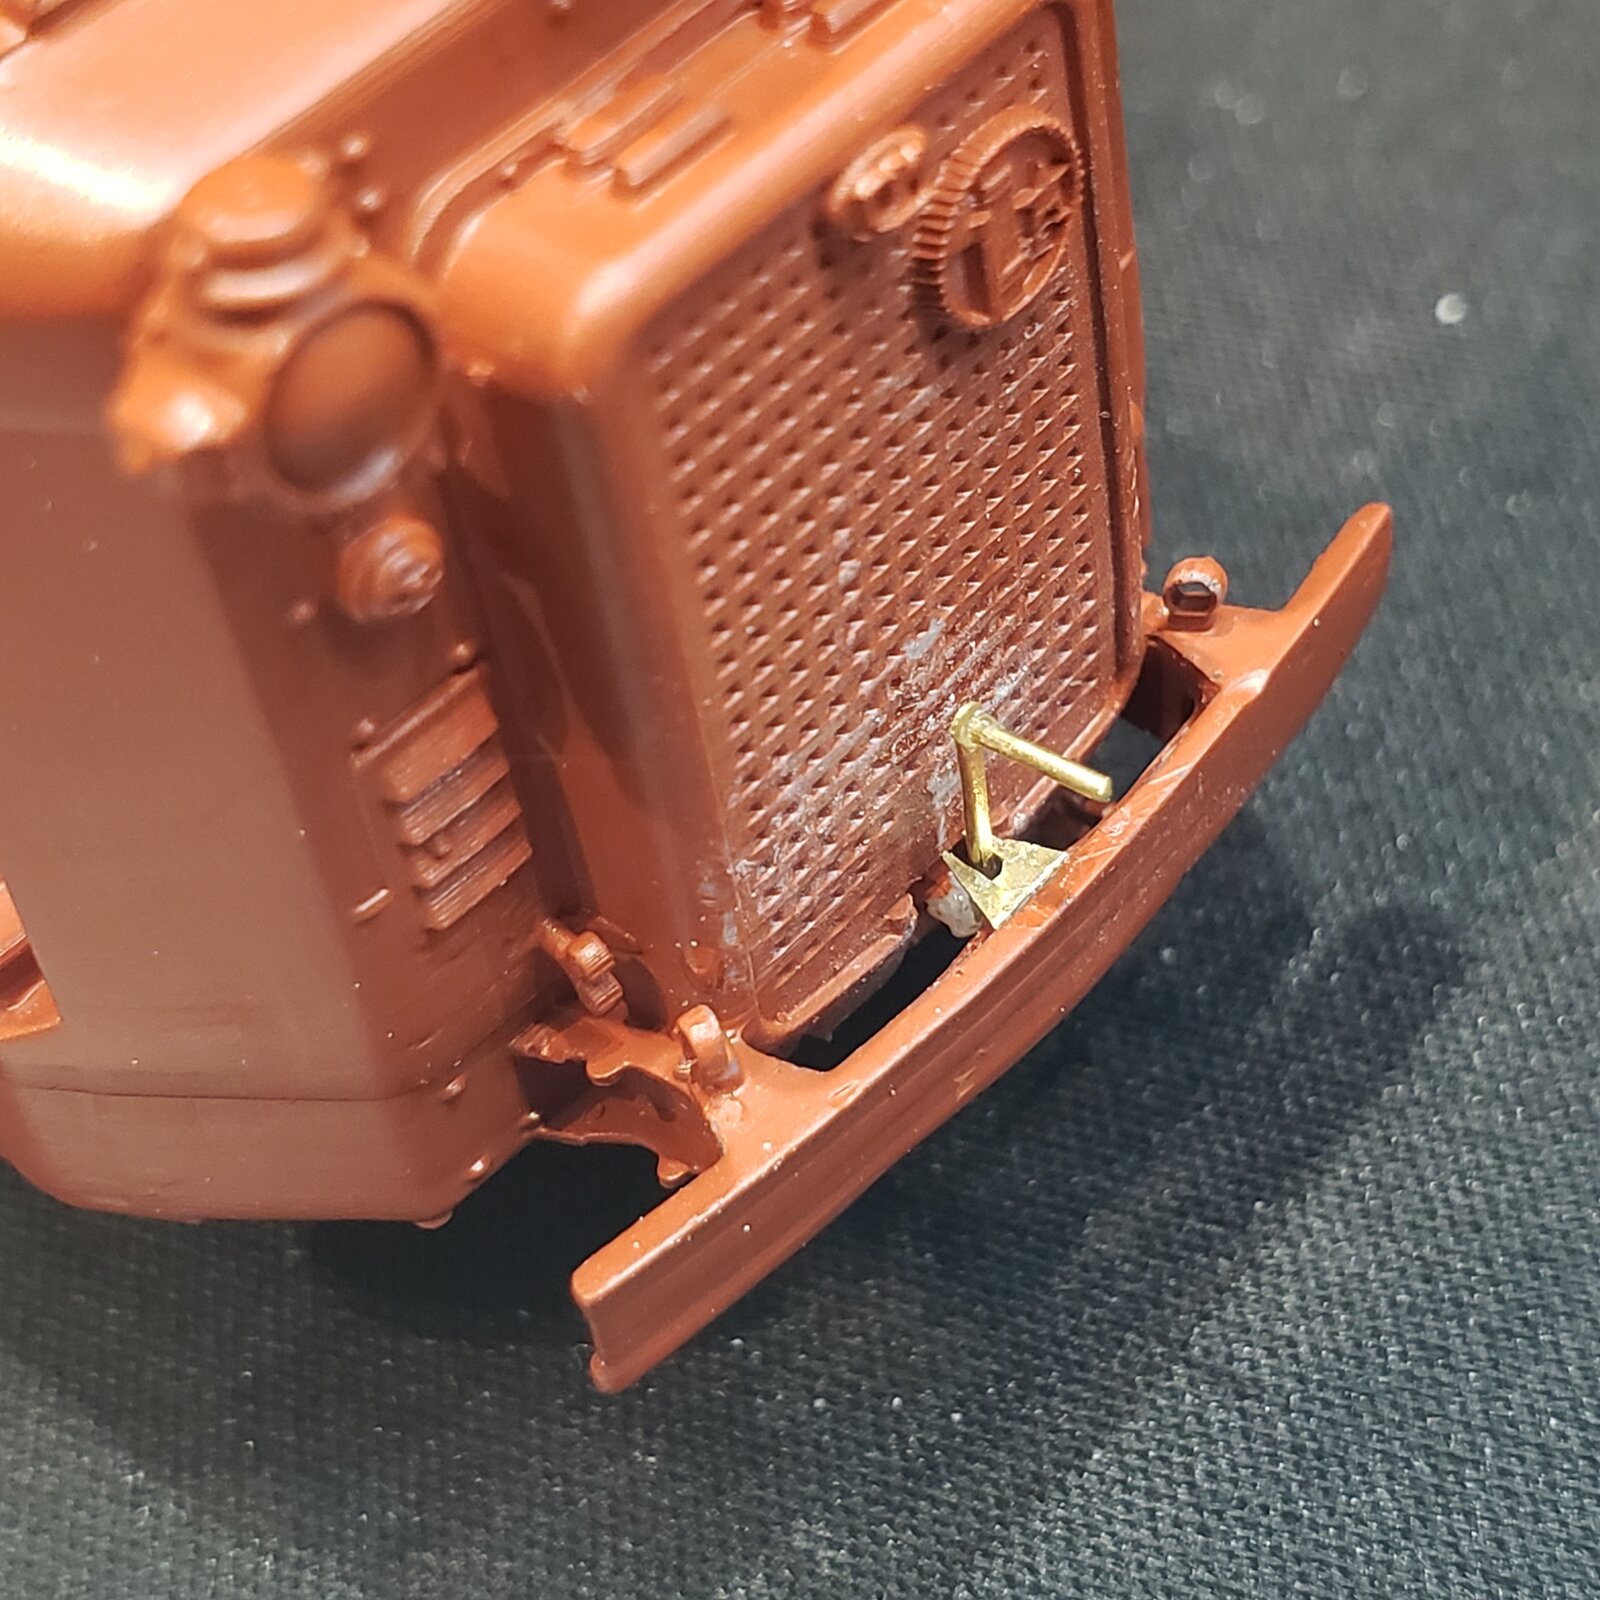
Most photos show a crank in the front, so will add that too:
17627092649181418188586156750716.jpg


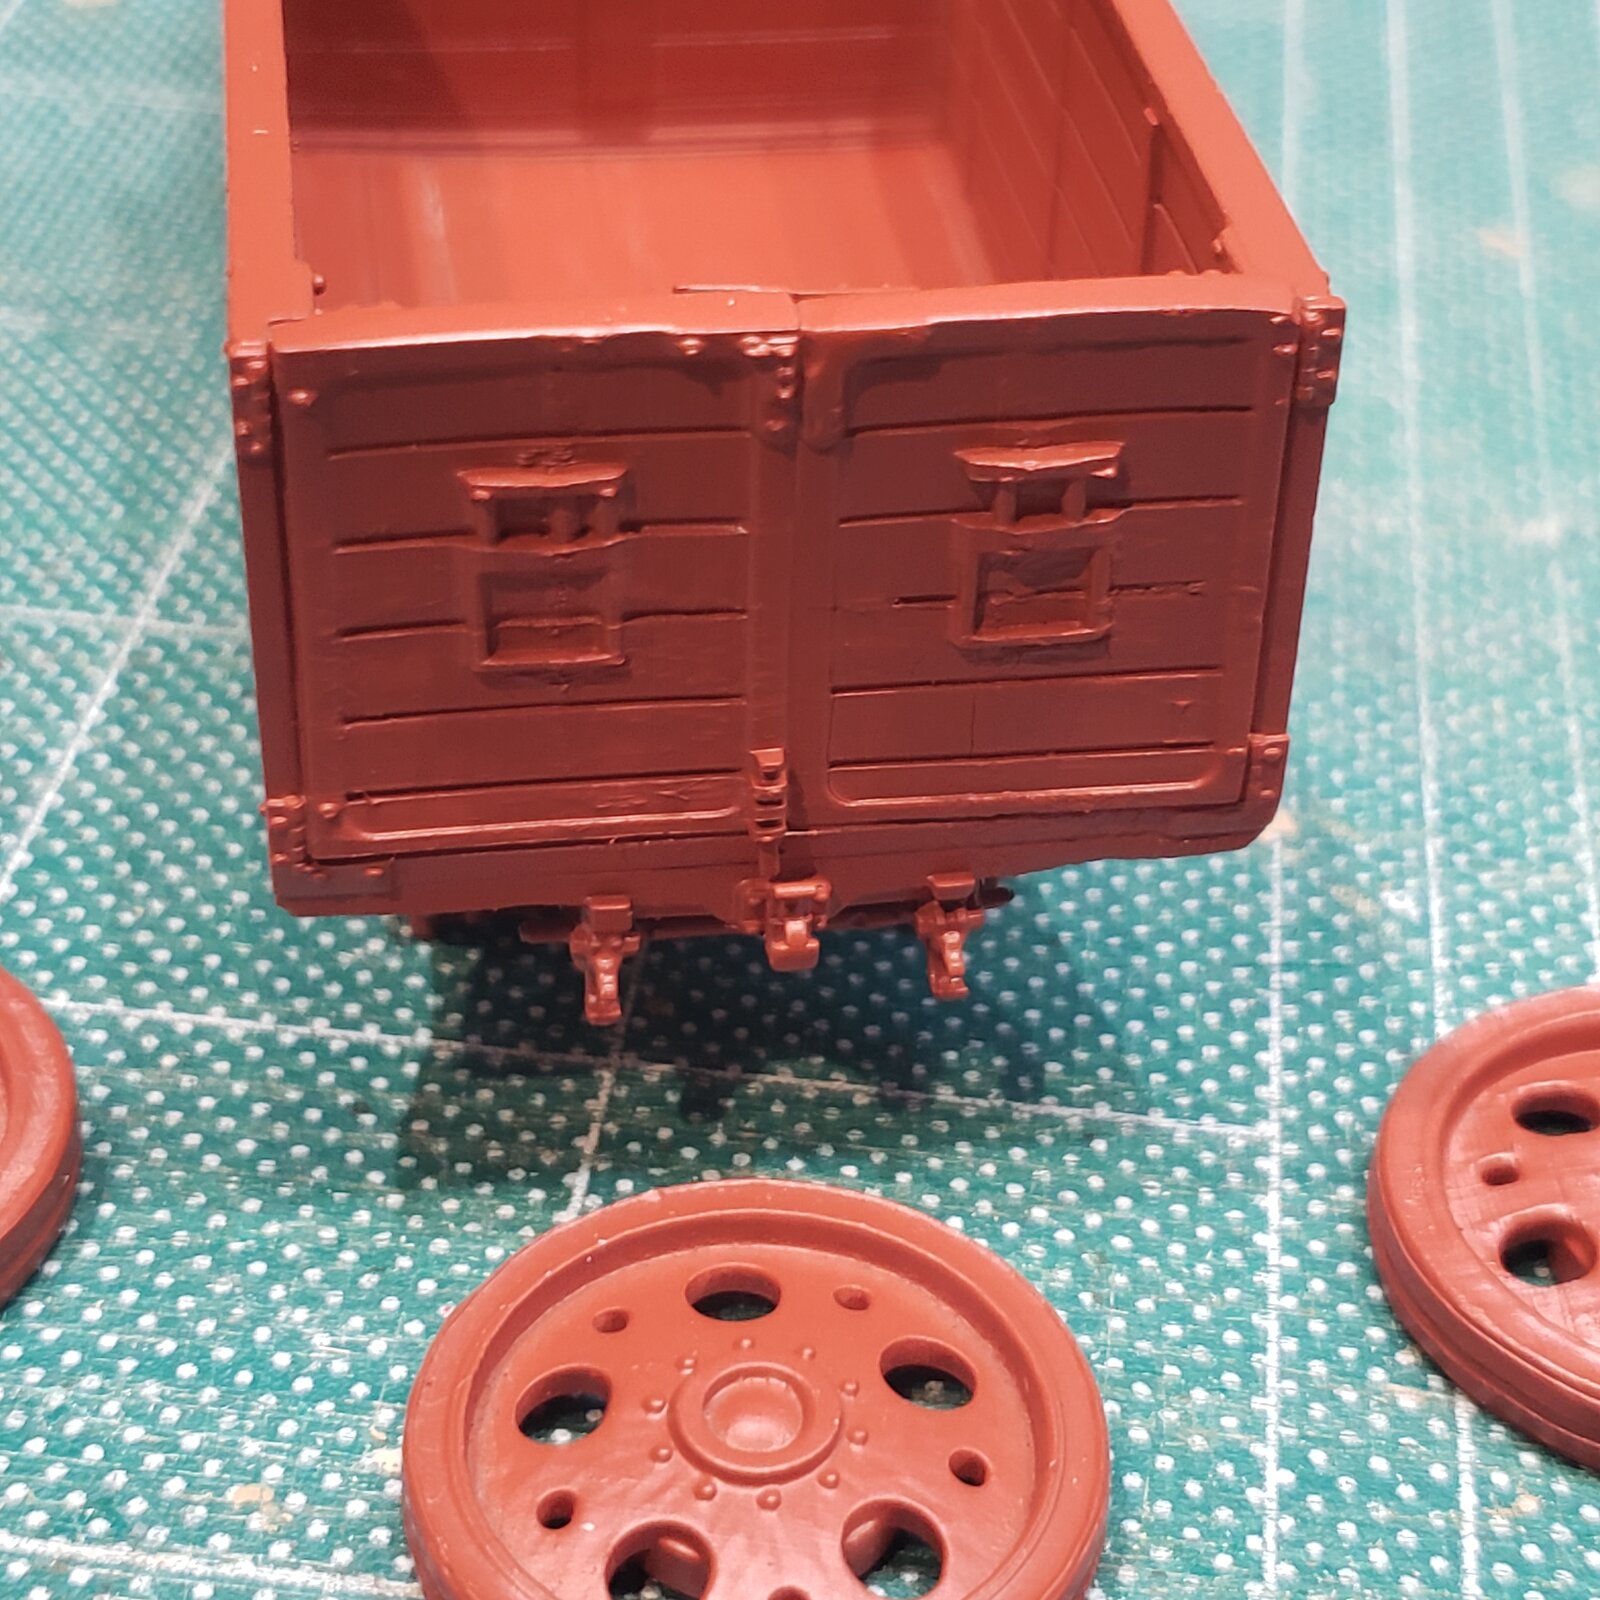
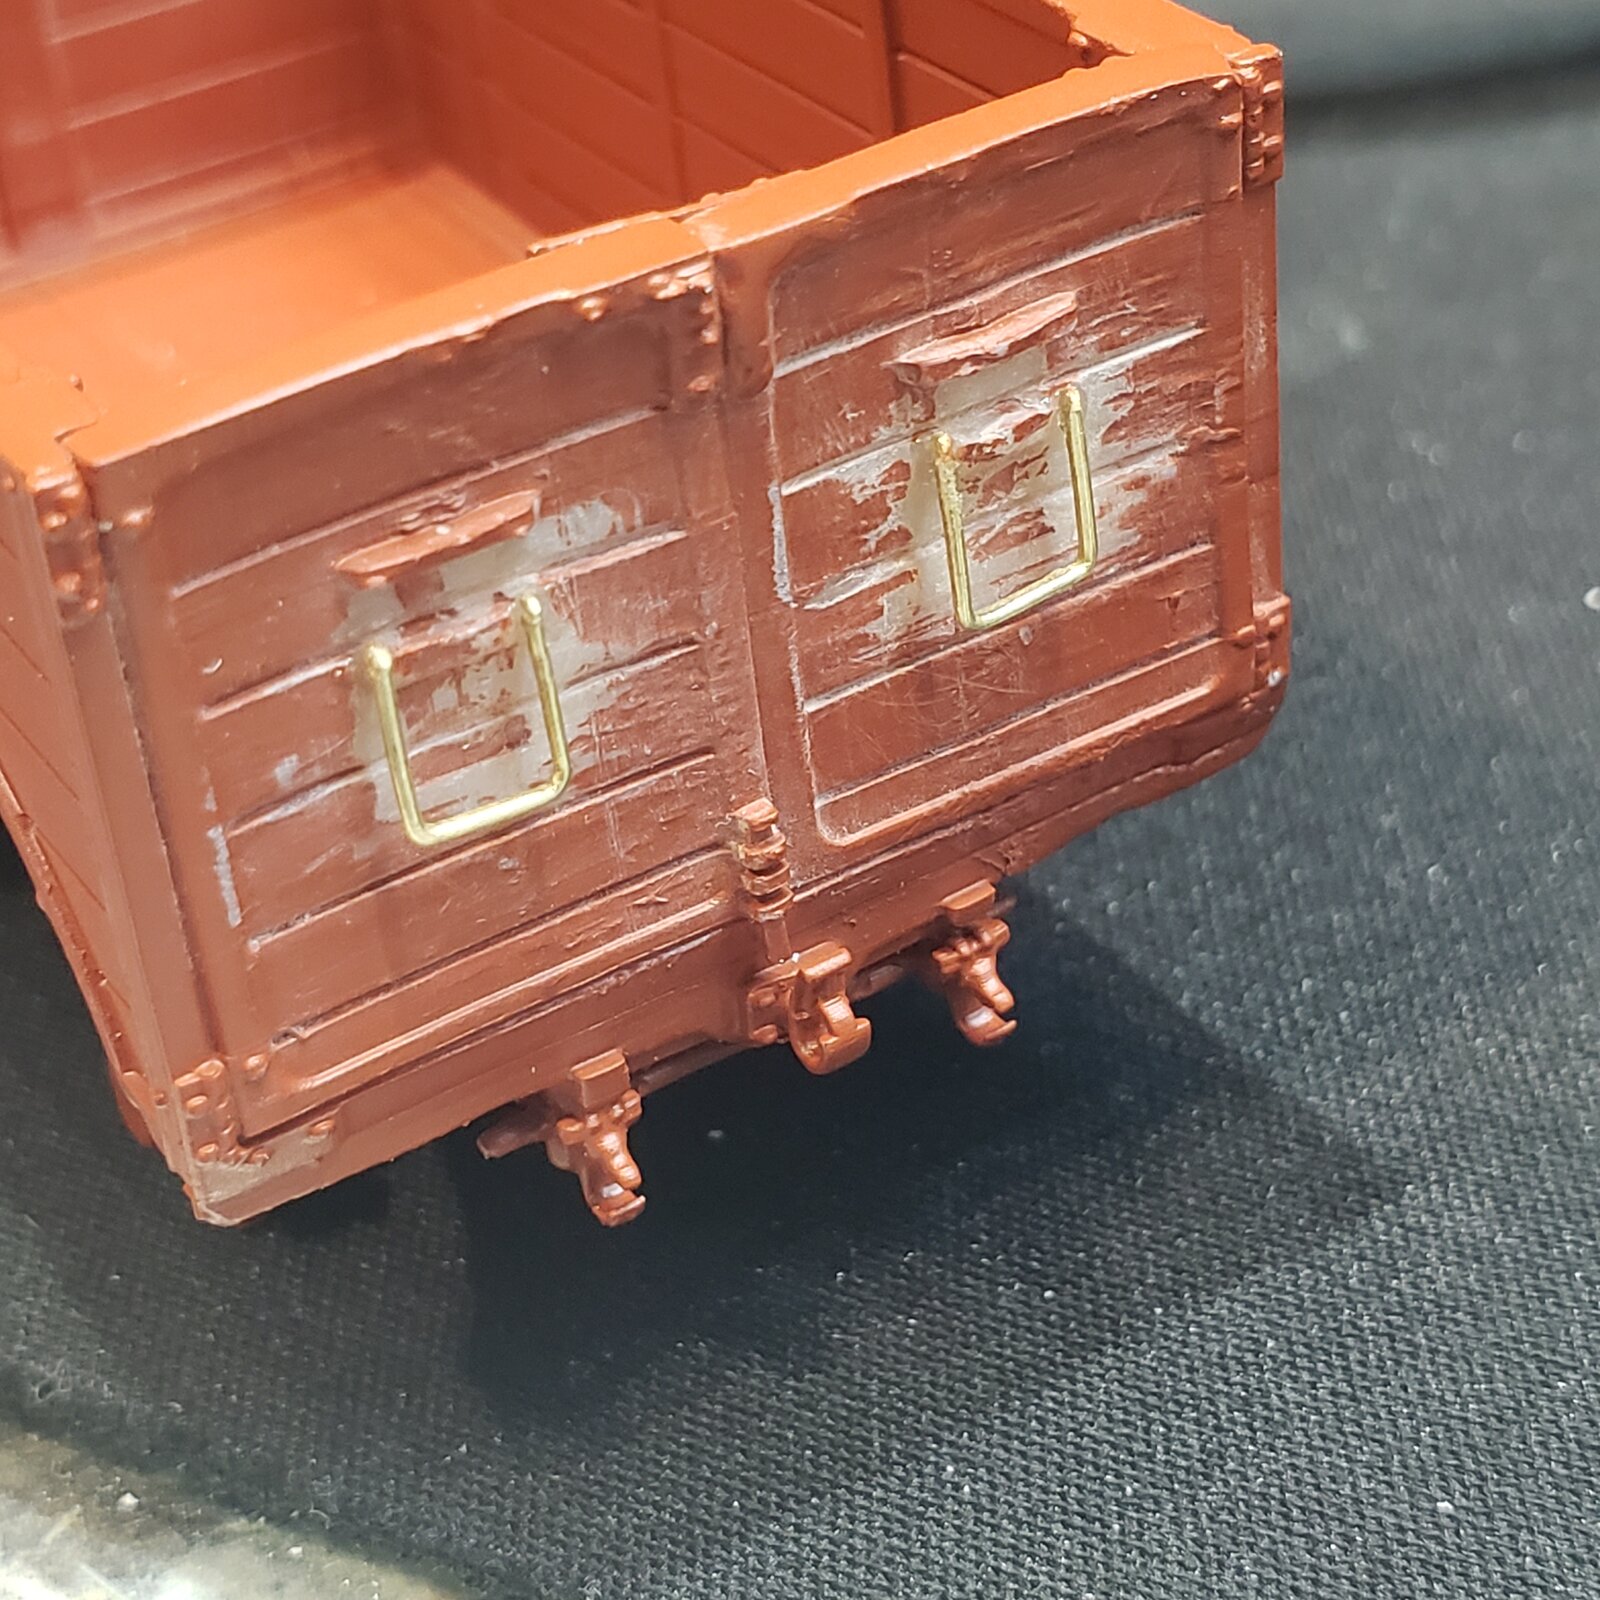
I just noticed that the back gate details need cleaning up.
Without good photo references, I wouldn't have been able to distinguish detail from 3D print supports and artifacts:
17627094228024854319807943458018.jpg


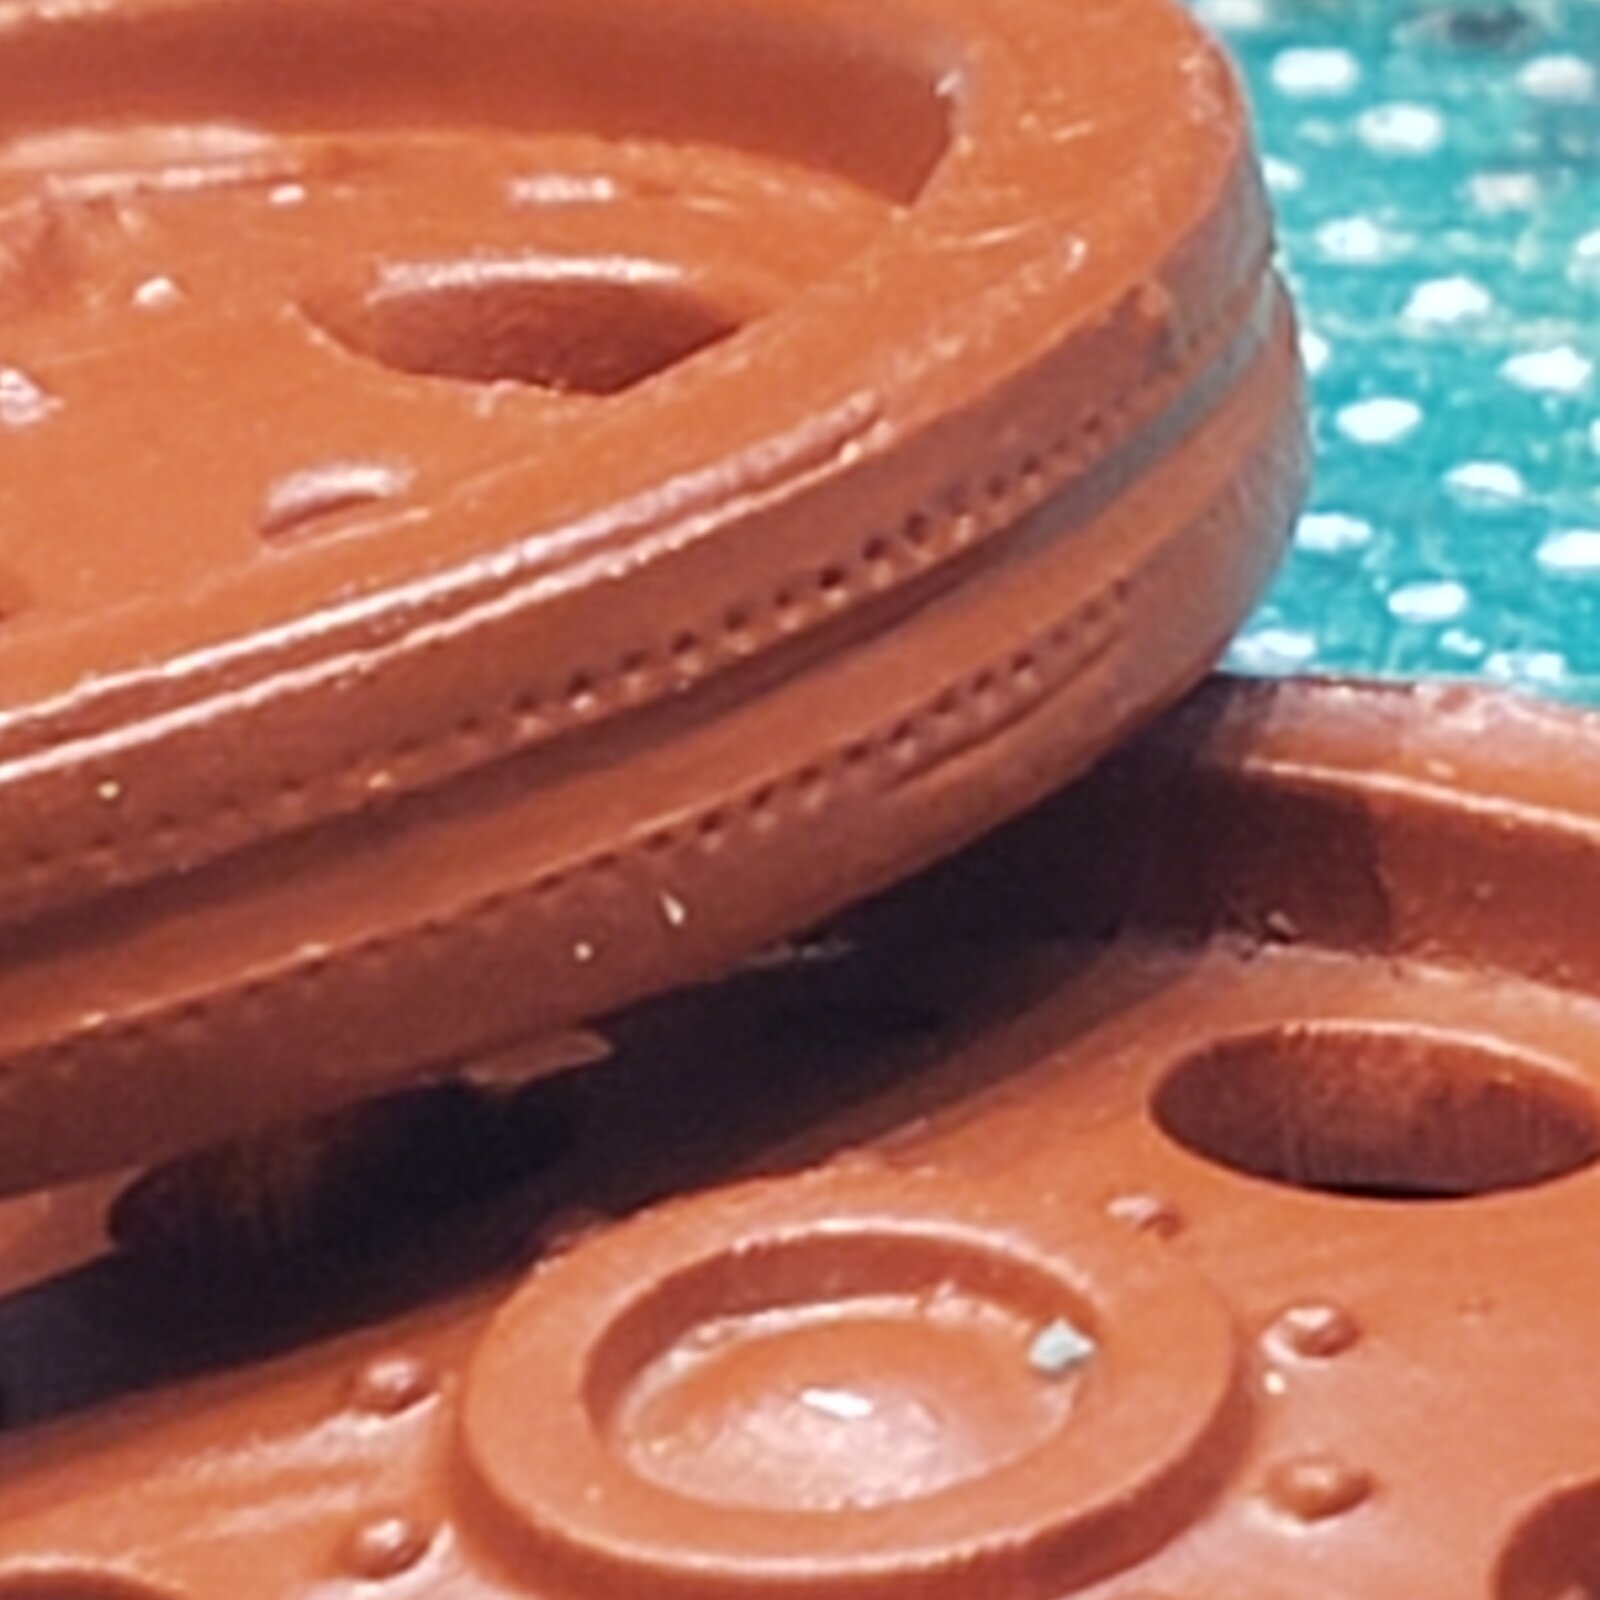
Before priming, I ran two 1mm strips of mask tape to add a bit more dimension to the wheel twin rubber treads:
17627099047112381306068897652446.jpg
 
Hmmm, more recessed than the refs I was using... perhaps old photos not as clear...
Certainly looks better. I'd have to make the bins less deep.
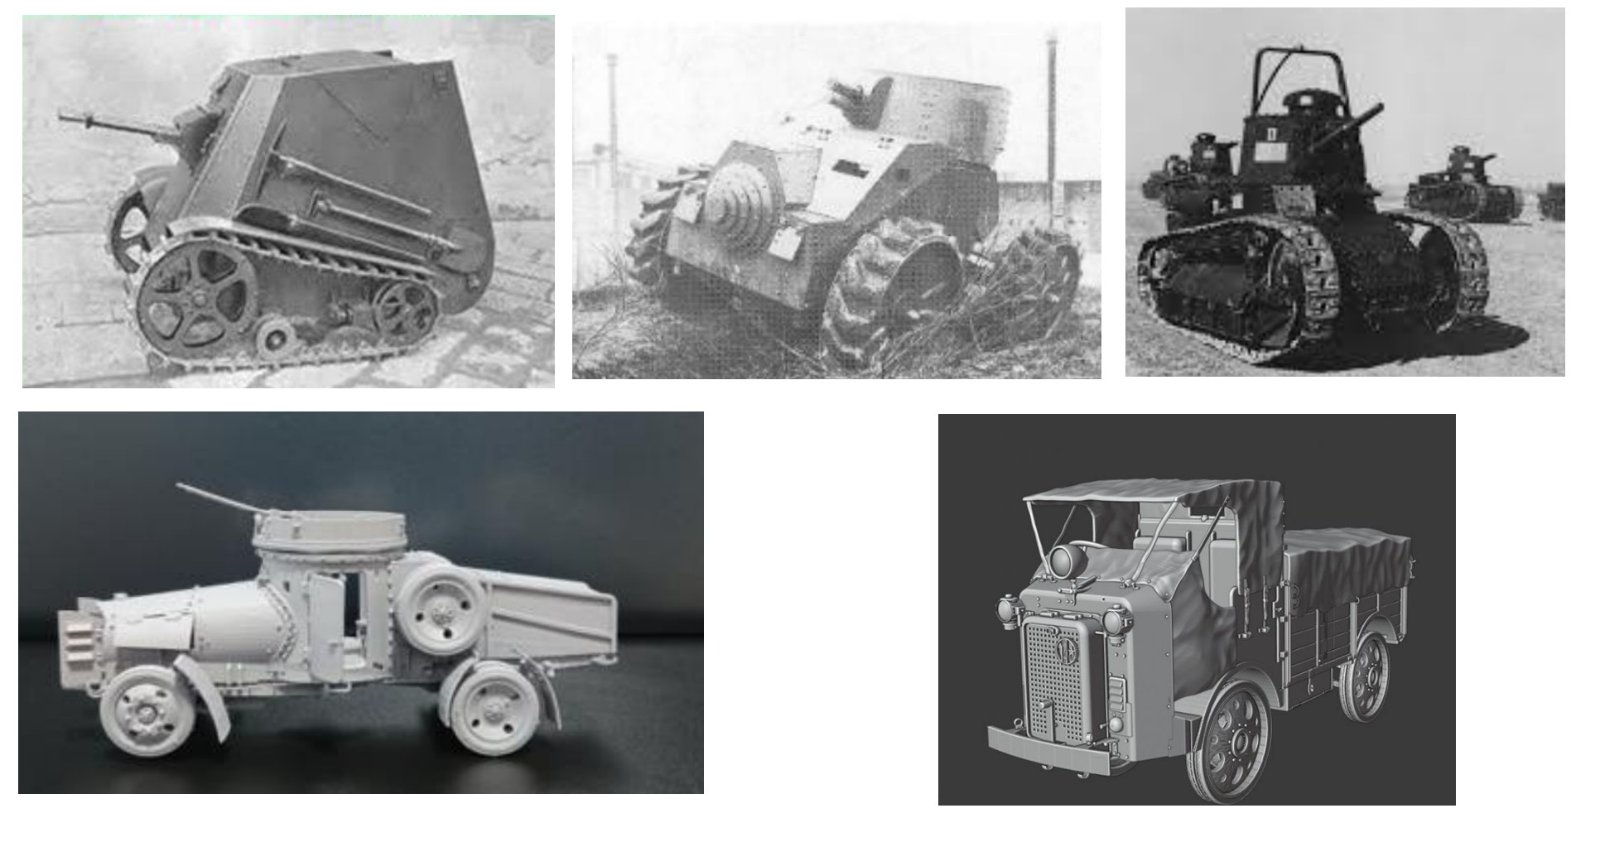
If I saw that photo, I didn't file it, as I often consult that site... been mostly going by my Riccio et al books.
Now I can see how the crank actually fits! I couldn't figure out how the crank could be turned as presented in my kit: the bumper is actually hinged to get it outta the way!
Thanks!
 
Last edited:
Railway scratchbuilders are apparently a very special lot. On another forum I used to be on, there's someone who did that too before turning mostly to plastic kits, and he mentioned more than once that the real die-hards would not just scratchbuild whole carriages from brass stock, but take into account the paint thickness that would go over them … Which IMHO is taking things into ridiculous territory. Who's going to notice a difference of a few tens of micrometres? How are you going to even measure that difference when building the model?
 

Latest posts

Back
Top