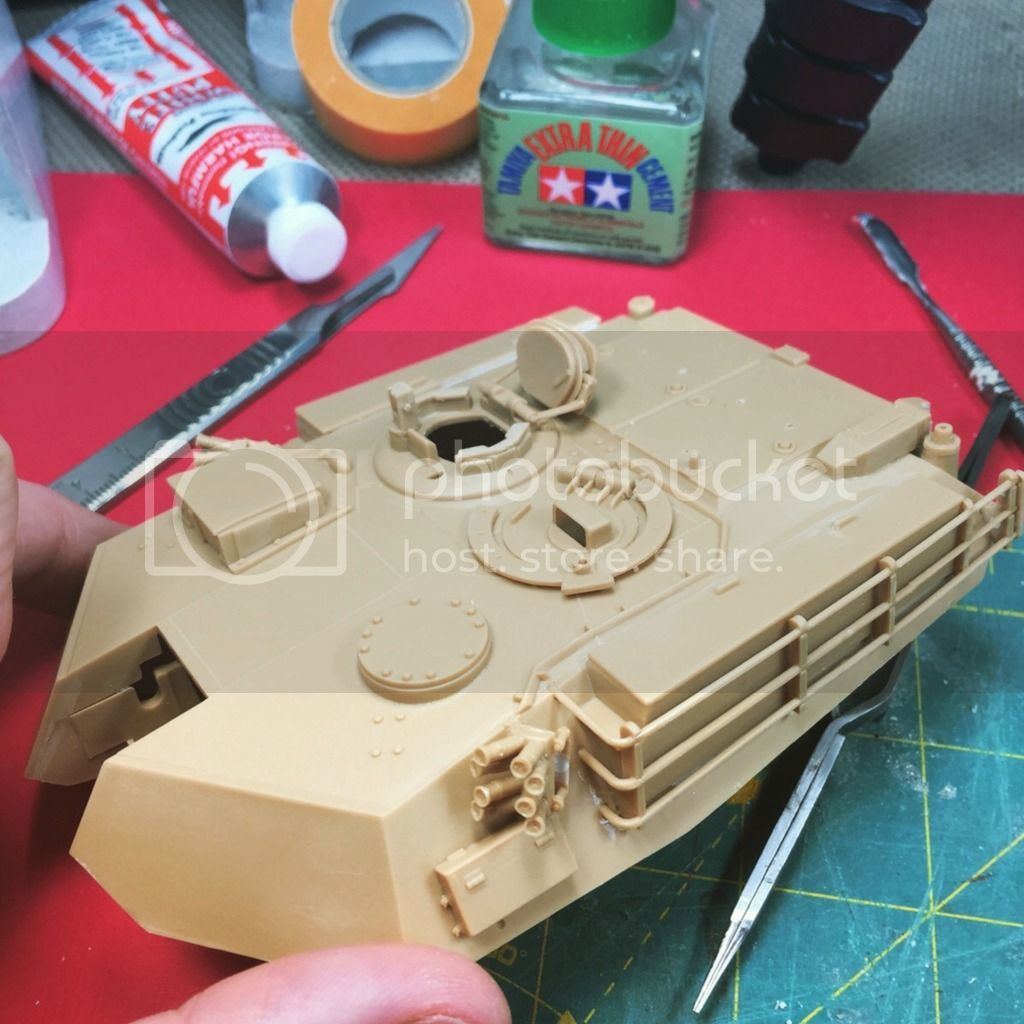
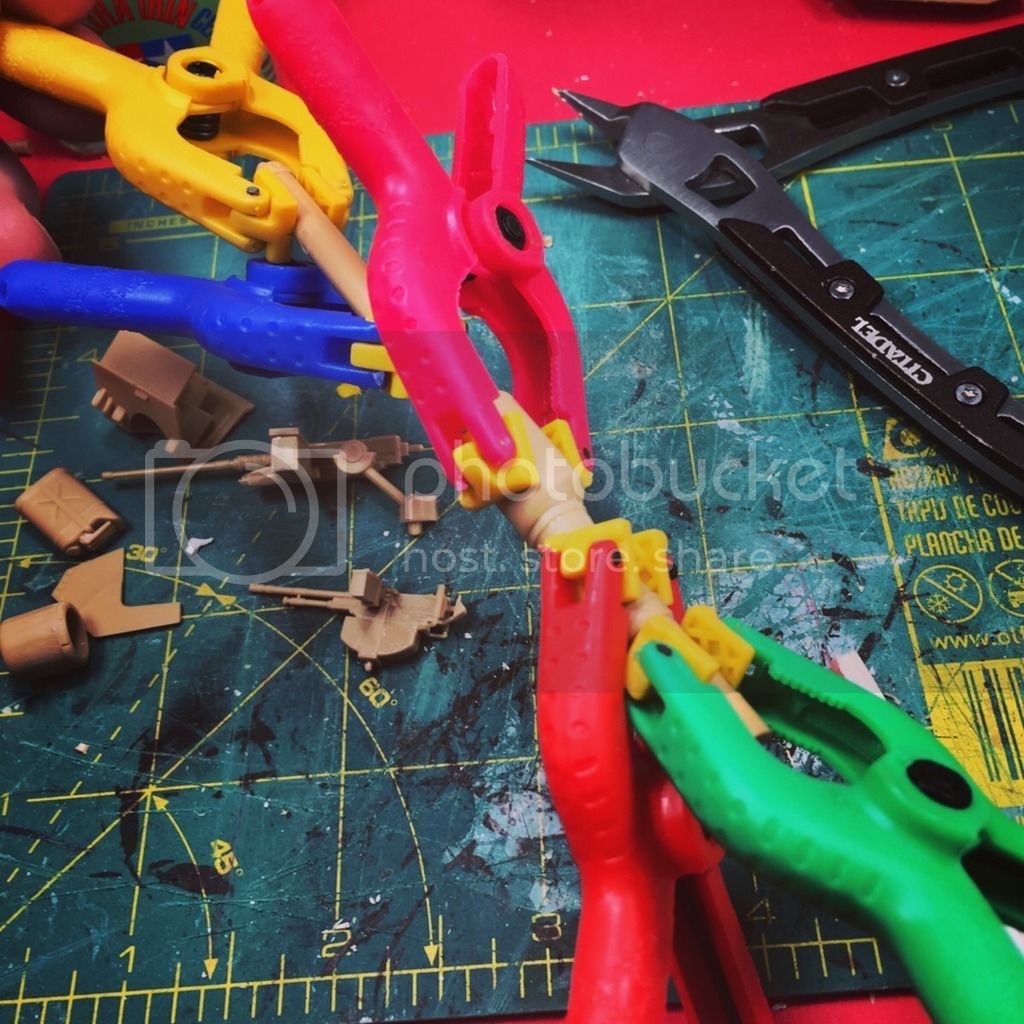
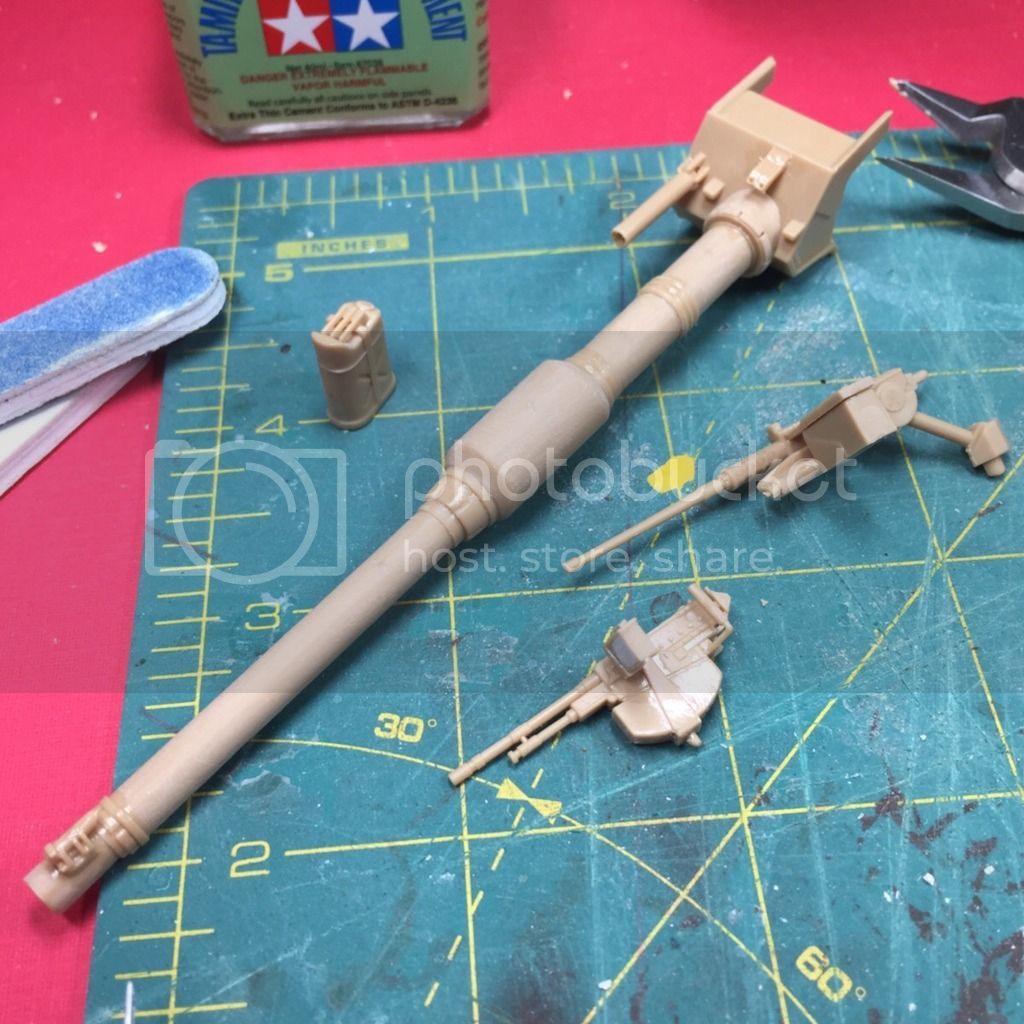
Ok... I considered everyone's advice (thanks for that), and I decided to go ahead and fix it. Spent about 45 minutes knocking it out tonight. Here's the process:
Great fix on the light dude! It's fixing these little mistakes like this that always make me feel a little better about my own builds. One thing you can try to fix that detail that came off the top of the light.. Stretch some sprue very very thin. Glue it where the detail was, then once the glue has dried trim to length.
Generally I would guess the tape indicators are a hint to help hold the parts together as the glue dries... But since I'm not sure what the next steps of the build are, don't hold me to that.
I'm constantly dry fitting my builds together with blue painters tape to check for fit and what not; also, blue tack (a 'silly' putty type substance) comes in very handy for the same type of situation.
Hmm. Hadn't even thought of that, but it makes sense. I'll check ahead on the instructions and see what I can tell. And I'm familiar with blue tack from my wargaming miniature painting experience! I have some on hand, even. Thanks, Scrach!
A little bit of progress tonight after a couple weeks off. Half way through Step 7 and closing in on the end of the building part (minus those tracks).