Ravhin
New Member
- Joined
- Aug 21, 2012
- Messages
- 332
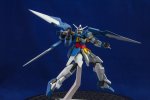
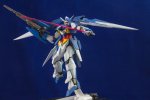
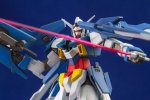
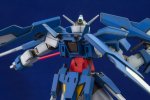
Warm-up for the Gundam group build. When I recently came back to the hobby I wanted to try a cheap, small but recent kit to see how they are nowadays and picked the High Grade (yeah right) Age-2 Normal at 1/144 scale. I also wanted to try my hand at post shading and see what I could do with that.
It's pretty small and doesn't have loads of detail but it's still better served than some of the older ungraded 1/100's that I built, specially in the exposed frame parts.
First as usual I just snapped it to see where the problems are.
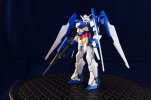
There are a some seams in the wings, shoulders, forearms and rifle that need to be fixed and the alignment is not perfect either so there will be more sanding than I expected. Also they added annoying "safety" pegs to the head fin and wings that need to be removed.
The rifle was somewhat of a challenge since the half's where not aligned correctly. It was only a fraction of a millimetre but after priming it was painfully obvious. But nothing a bit of sanding and glue can't fix.
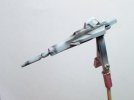
With that out of the way it was time to get the airbrush out. The white parts where painted with a base coat of a light bluish grey and highlighted with pure white; the yellows where base coated orange and highlighted with a light yellow; and finally the reds where painted red ( : ) and highlighted with a lighter orangish red, though you can hardly see it, maybe I should have made it more orange.
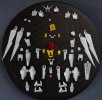
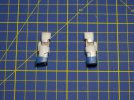
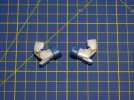
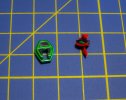
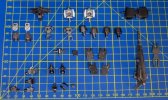
After this some more seams got fixed, and painted the sensors and the metallic pieces. Lots of masking of minute pieces involved which was quite annoying. (each of those squares has 1cm of side)
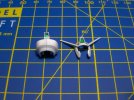
The final seams could now the fixed, but unfortunately these could not be 100% closed without some major reworking of the wings, since it would impact the hinge where they connect to the shoulders and would loose it's mobility. Still what was left is barely visible since it's on the inside.
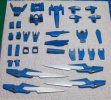
The colours here where made with a base coat of blue and midnight blue (around 5:1) and highlighted with lighter blue.
This could mean that all the airbrushing was done, but alas when I was doing some detailing on the helmet I wrecked the sensors so I have to repaint those, and when I was testing some assemblies I noticed the fit between the arms armour and frame is too tight and scrapped some paint off, so I had to repaint the shoulders and sand some plastic of the inside of the arms to make sure this doesn't happen again.
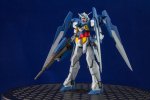
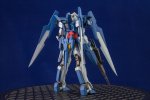
These are just curing up, after that I'm done, with just some minor detailing needed, as well as a couple of decals and top coat. If I don't screw up again.
Thanks for watching.
It's pretty small and doesn't have loads of detail but it's still better served than some of the older ungraded 1/100's that I built, specially in the exposed frame parts.
First as usual I just snapped it to see where the problems are.

There are a some seams in the wings, shoulders, forearms and rifle that need to be fixed and the alignment is not perfect either so there will be more sanding than I expected. Also they added annoying "safety" pegs to the head fin and wings that need to be removed.
The rifle was somewhat of a challenge since the half's where not aligned correctly. It was only a fraction of a millimetre but after priming it was painfully obvious. But nothing a bit of sanding and glue can't fix.

With that out of the way it was time to get the airbrush out. The white parts where painted with a base coat of a light bluish grey and highlighted with pure white; the yellows where base coated orange and highlighted with a light yellow; and finally the reds where painted red ( :

After this some more seams got fixed, and painted the sensors and the metallic pieces. Lots of masking of minute pieces involved which was quite annoying. (each of those squares has 1cm of side)


The final seams could now the fixed, but unfortunately these could not be 100% closed without some major reworking of the wings, since it would impact the hinge where they connect to the shoulders and would loose it's mobility. Still what was left is barely visible since it's on the inside.
The colours here where made with a base coat of blue and midnight blue (around 5:1) and highlighted with lighter blue.

This could mean that all the airbrushing was done, but alas when I was doing some detailing on the helmet I wrecked the sensors so I have to repaint those, and when I was testing some assemblies I noticed the fit between the arms armour and frame is too tight and scrapped some paint off, so I had to repaint the shoulders and sand some plastic of the inside of the arms to make sure this doesn't happen again.
These are just curing up, after that I'm done, with just some minor detailing needed, as well as a couple of decals and top coat. If I don't screw up again.
Thanks for watching.

