Jeeves
Member
- Joined
- Apr 25, 2011
- Messages
- 619
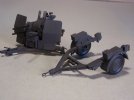
OK-- so even though this is mostly about a comparison build of the newer Airfix and older Tamiya 109E4's, I am planning on putting this on a base with the Luftwaffe at Rest figure set and the Tamiya flak gun that I finished here:
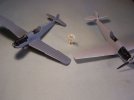
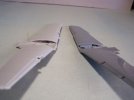
Now onto the comparing...the Airfix kit has been revamped and looks pretty good overall...a few things are out-shined by the older Tamiya kit-- but as you will see, they are pretty similar. The attachment points for the Tamiya sprues are smaller and easier to clean up...and as you'll see in the pics...the Airfix sprues are a light grey in color while the Tamiya sprues are dark grey...first off-- the wing assembly...the only real difference is Airfix gives you the option of two different cannon ports (left side)...since the kit actually covers through the -7 Emils as well...might be good or bad...I'll let you know when I see what gaps are present when I attach the port
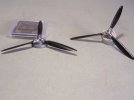
The prop assembly is pretty similar-- but the edge goes to Tamiya (left) for the detail on the hub...
Now onto the cockpit area...the Airfix side panels have more ejection marks...but the detail is nice...I added the yellow wiring to both Emils...
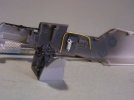
The Airfix kit also has the trim wheels attach as separate pieces to the seat...very delicate...
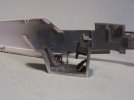
The Tamiya kit is very similar...except one trim wheel is molded onto the sidewall already...more tricky to paint-- but less likely to damage when removing...
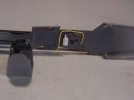
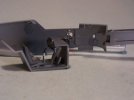
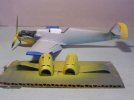
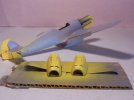
The real difference so far-- the engine area. Tamiya on the left shows virtually nothing there-- giving you no option to show it off. the Airfix features a rather nice engine with loads to detail...I added a decal for the serial number from some spare decals...
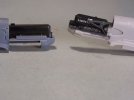
So-- which instrument panel is more detailed...even Dolpho can't tell!!
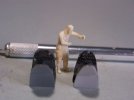
Normally I break out my punches and slap in some dial faces...but the molding on both of these was nice enough to just highlight with a Prismacolor pencil...once it is inside, it will be difficult to see all my work

Now onto the comparing...the Airfix kit has been revamped and looks pretty good overall...a few things are out-shined by the older Tamiya kit-- but as you will see, they are pretty similar. The attachment points for the Tamiya sprues are smaller and easier to clean up...and as you'll see in the pics...the Airfix sprues are a light grey in color while the Tamiya sprues are dark grey...first off-- the wing assembly...the only real difference is Airfix gives you the option of two different cannon ports (left side)...since the kit actually covers through the -7 Emils as well...might be good or bad...I'll let you know when I see what gaps are present when I attach the port

The prop assembly is pretty similar-- but the edge goes to Tamiya (left) for the detail on the hub...

Now onto the cockpit area...the Airfix side panels have more ejection marks...but the detail is nice...I added the yellow wiring to both Emils...

The Airfix kit also has the trim wheels attach as separate pieces to the seat...very delicate...

The Tamiya kit is very similar...except one trim wheel is molded onto the sidewall already...more tricky to paint-- but less likely to damage when removing...


The real difference so far-- the engine area. Tamiya on the left shows virtually nothing there-- giving you no option to show it off. the Airfix features a rather nice engine with loads to detail...I added a decal for the serial number from some spare decals...

So-- which instrument panel is more detailed...even Dolpho can't tell!!

Normally I break out my punches and slap in some dial faces...but the molding on both of these was nice enough to just highlight with a Prismacolor pencil...once it is inside, it will be difficult to see all my work

