ThanksYours is looking so good!

ThanksYours is looking so good!

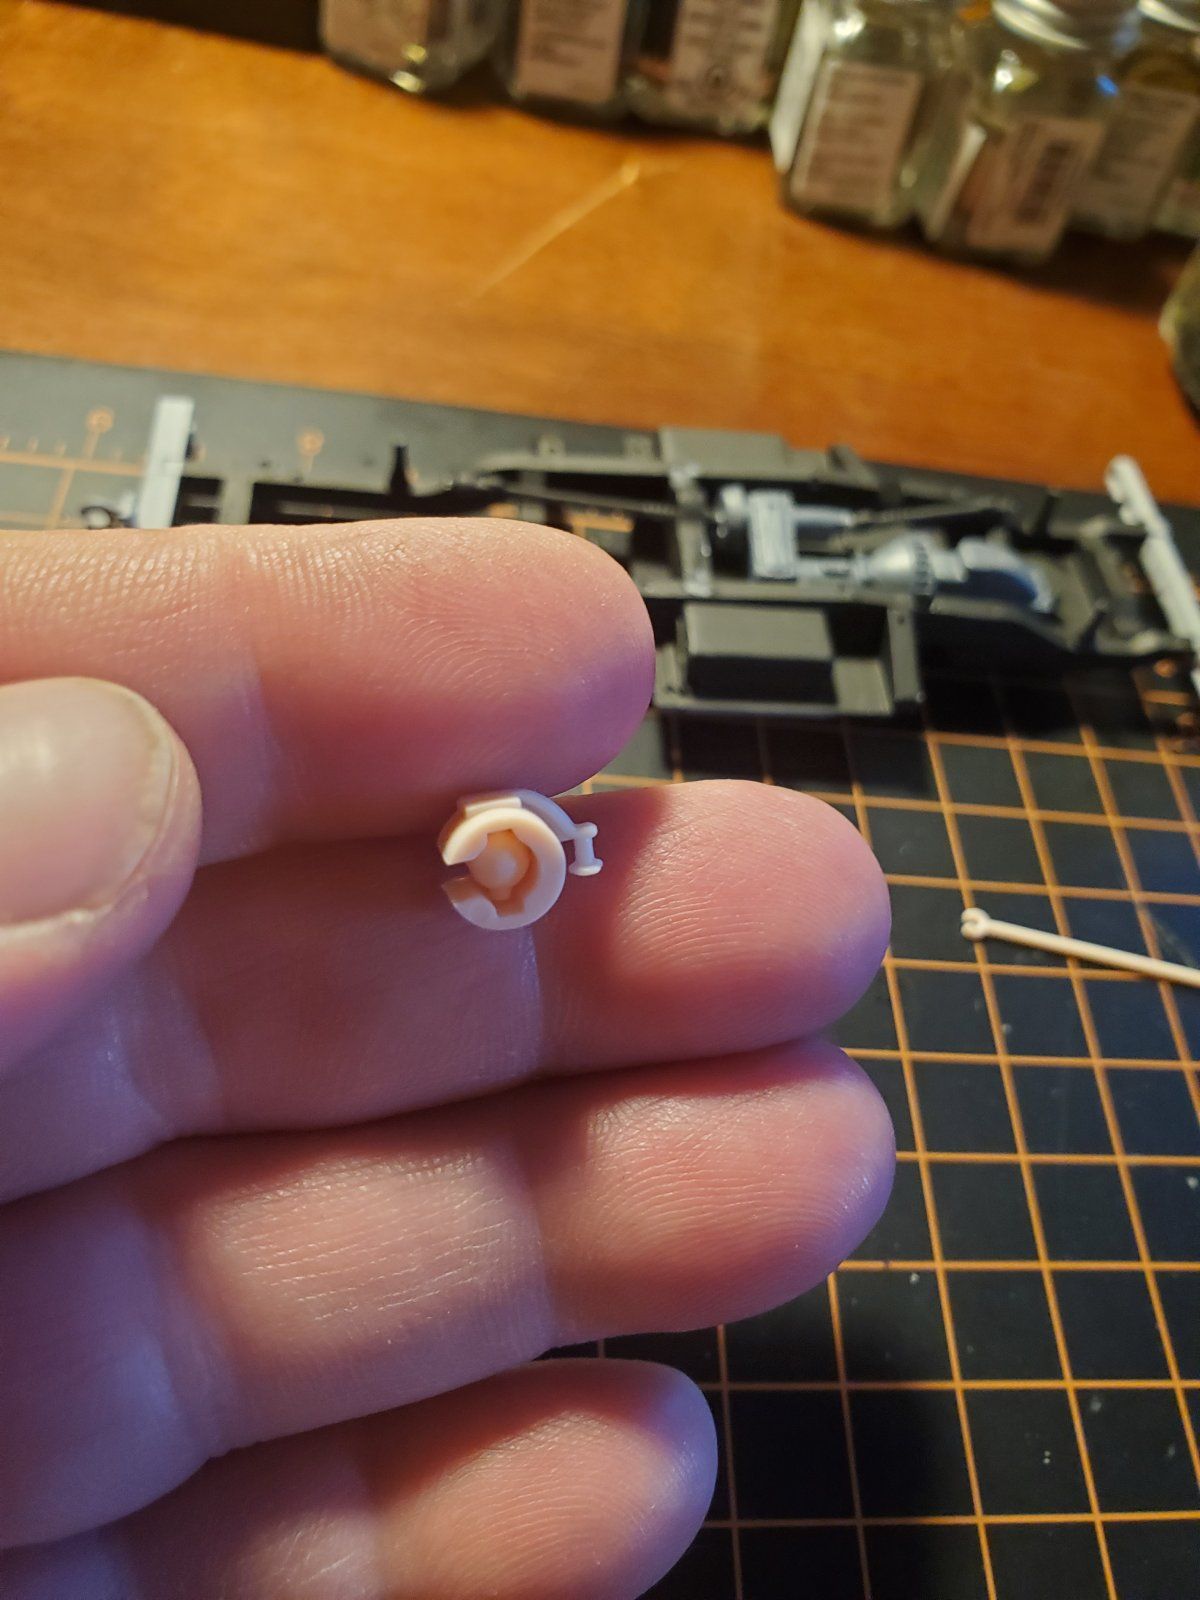
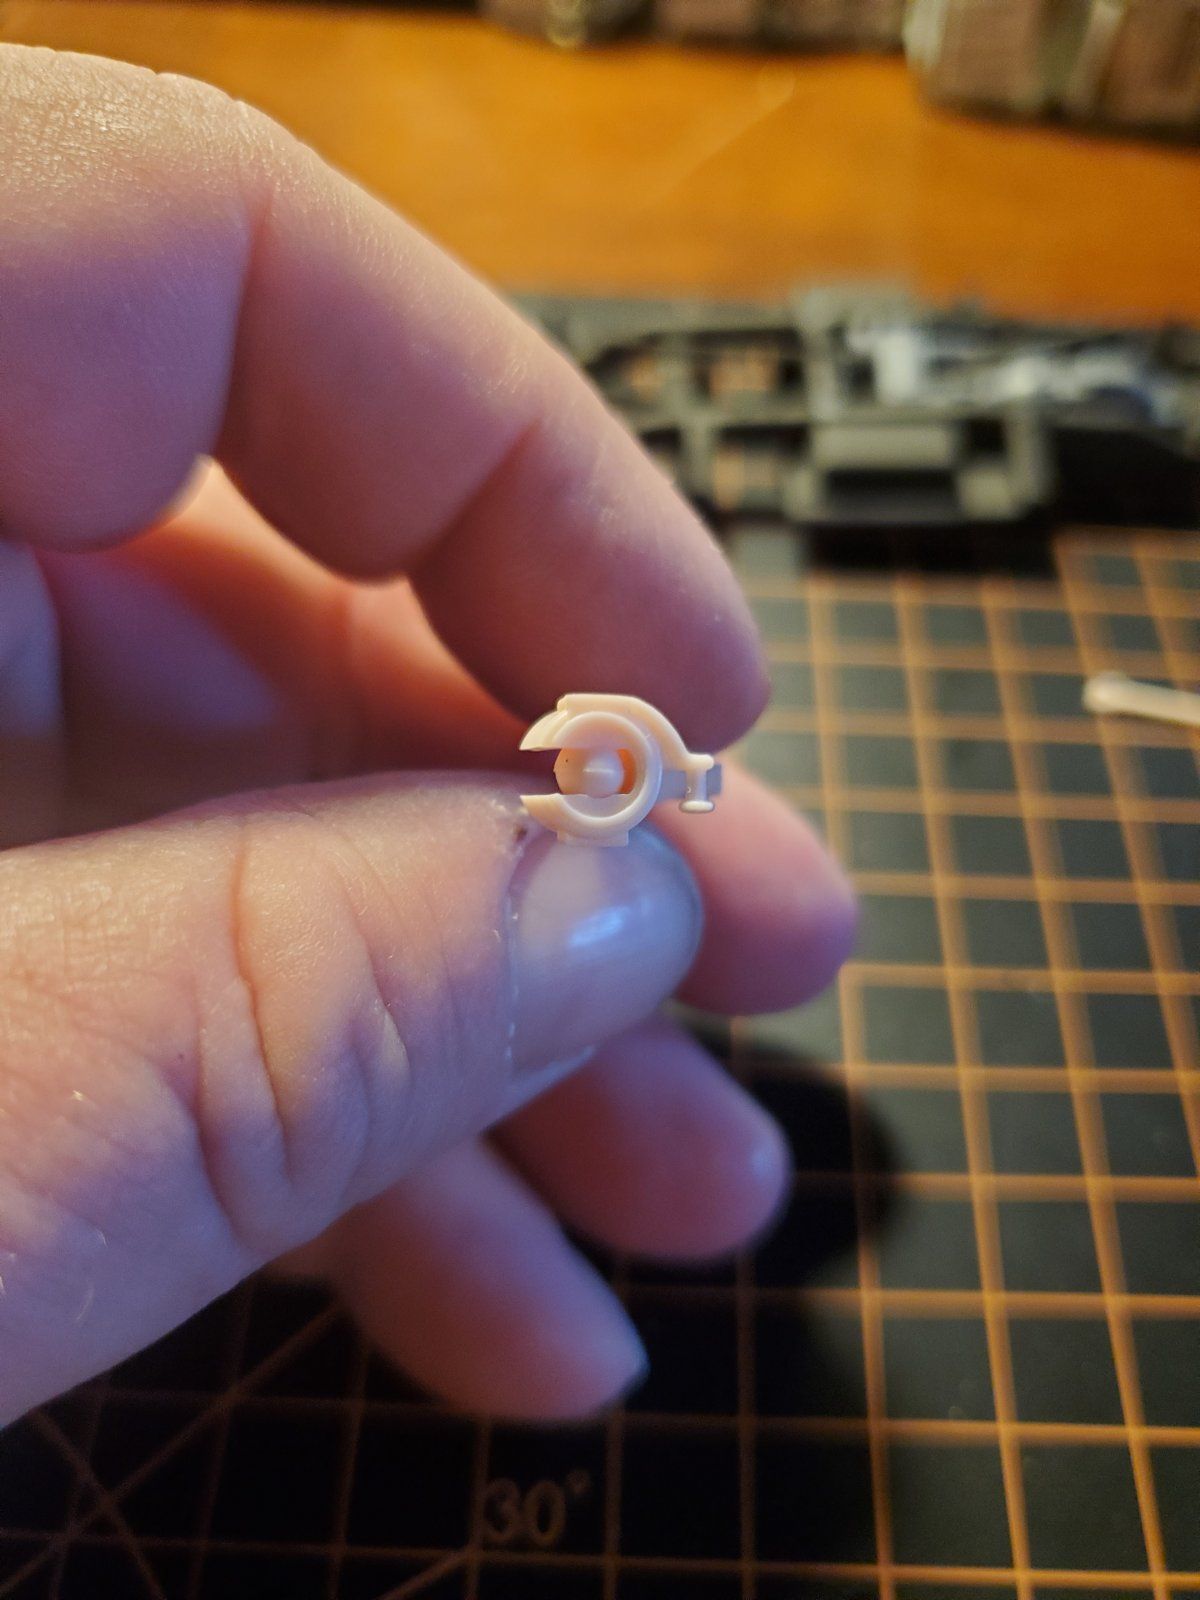
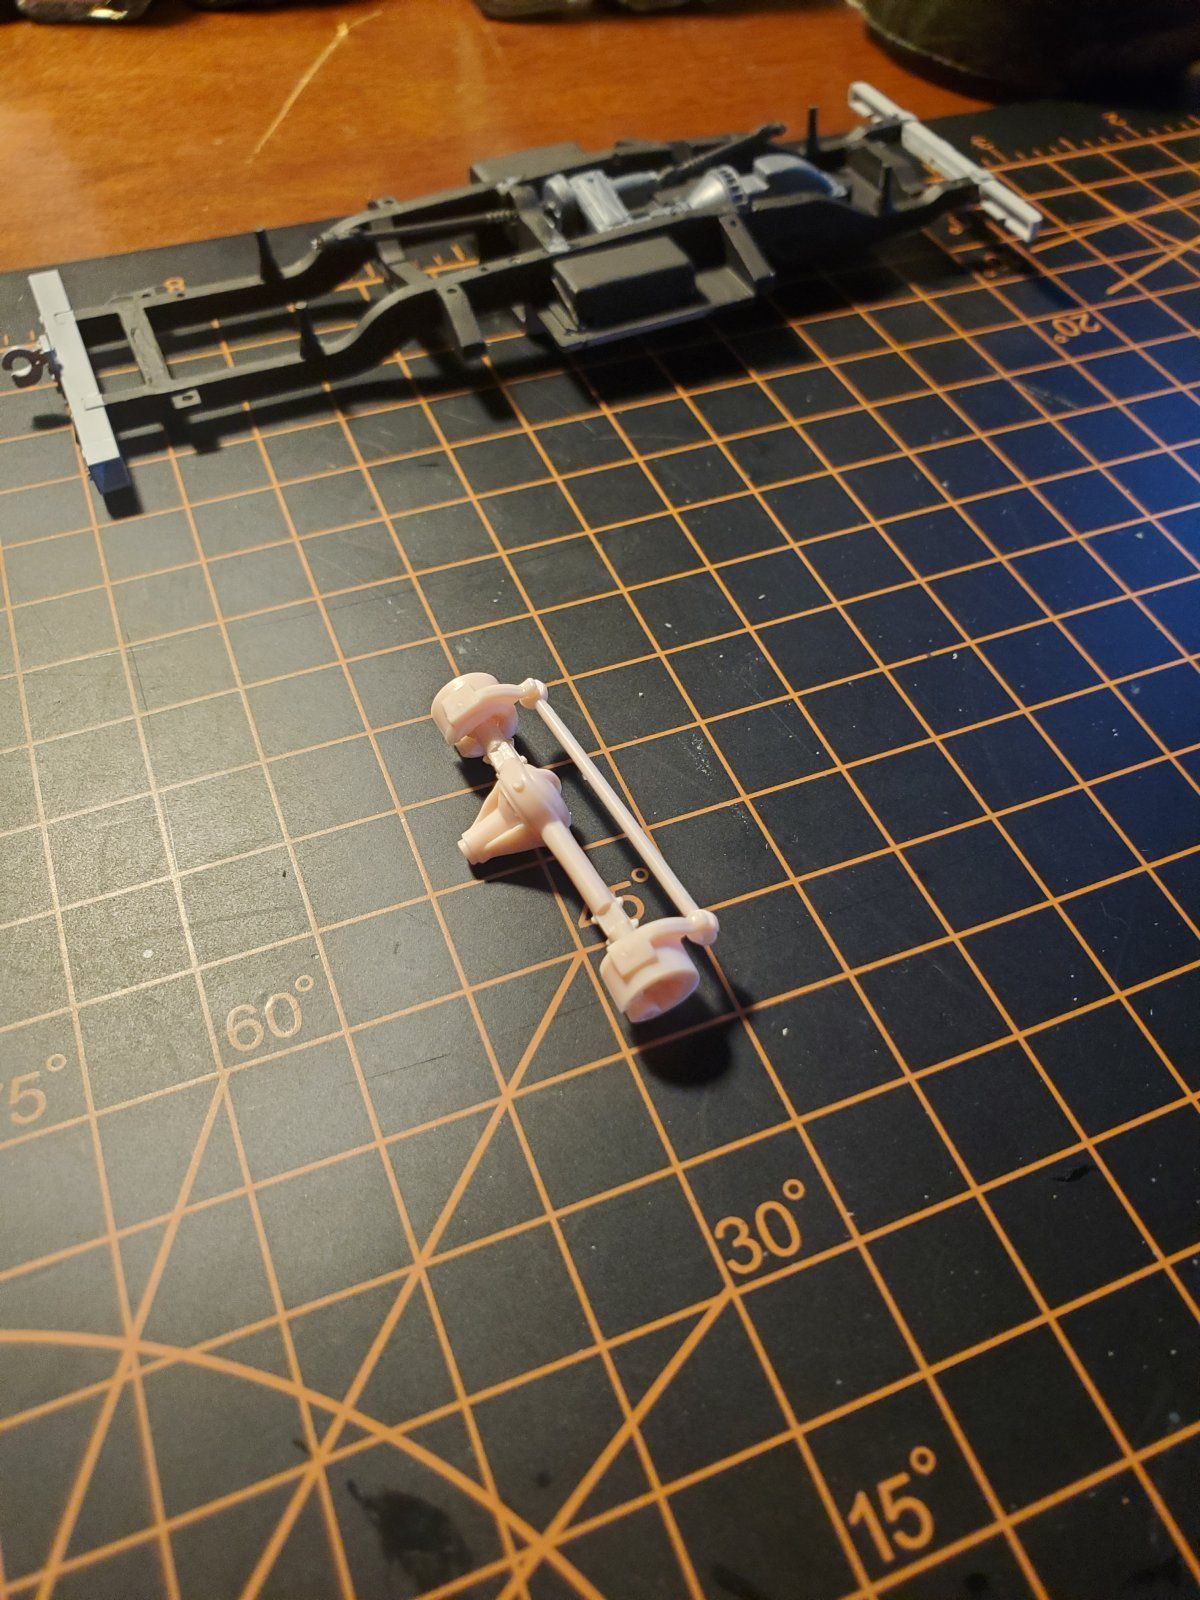
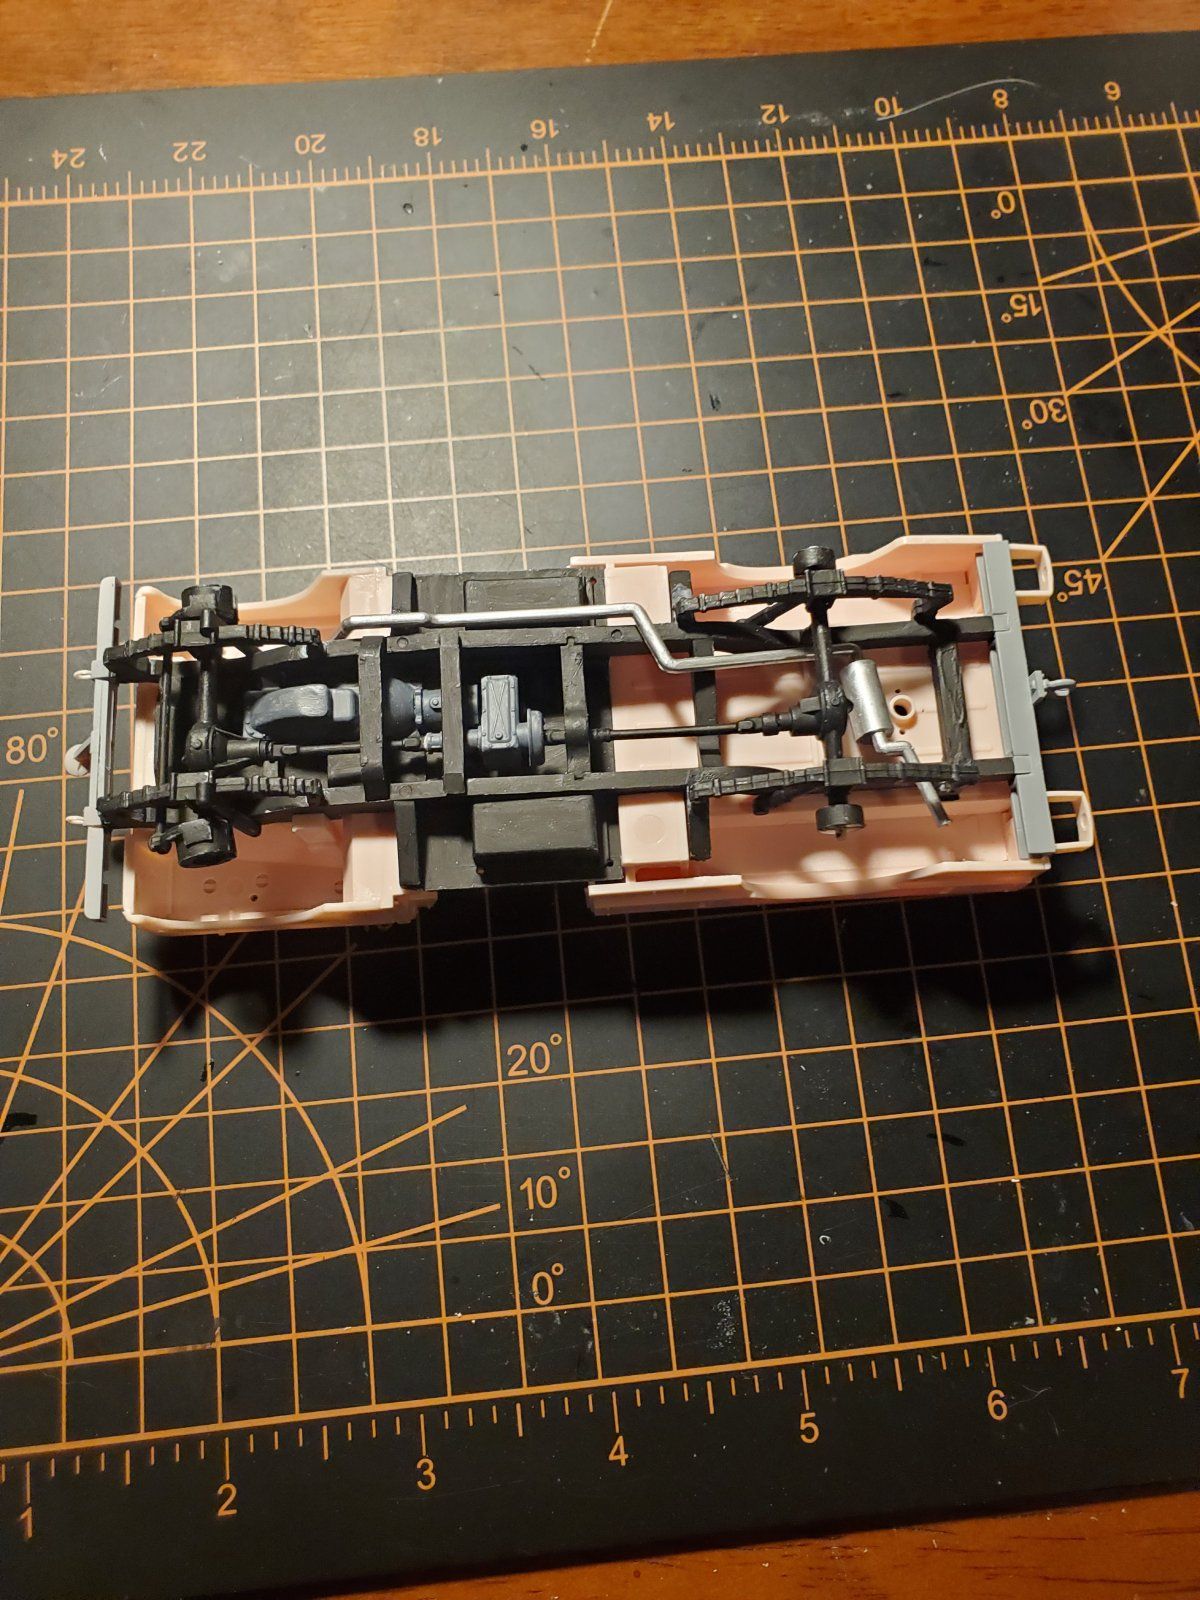
I'm having the same issue.On the front differential I am having issues getting the hubs on far enough for the tie rod to reach both sides.
Photo please. PanthermanOn the front differential I am having issues getting the hubs on far enough for the tie rod to reach both sides.
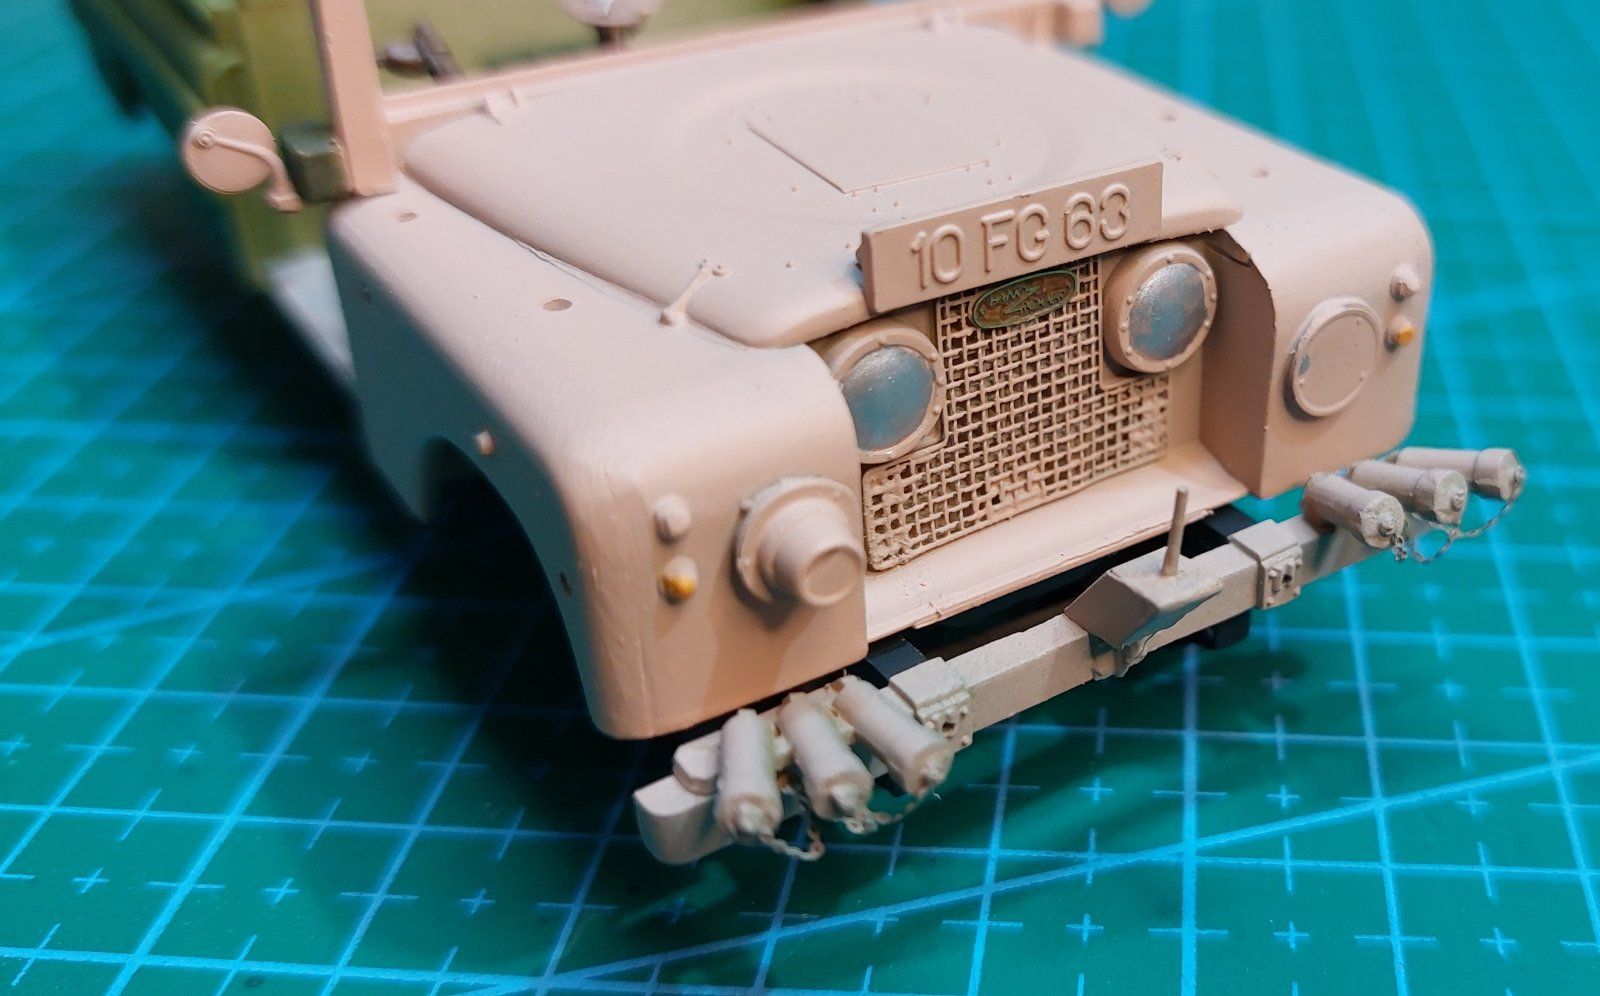
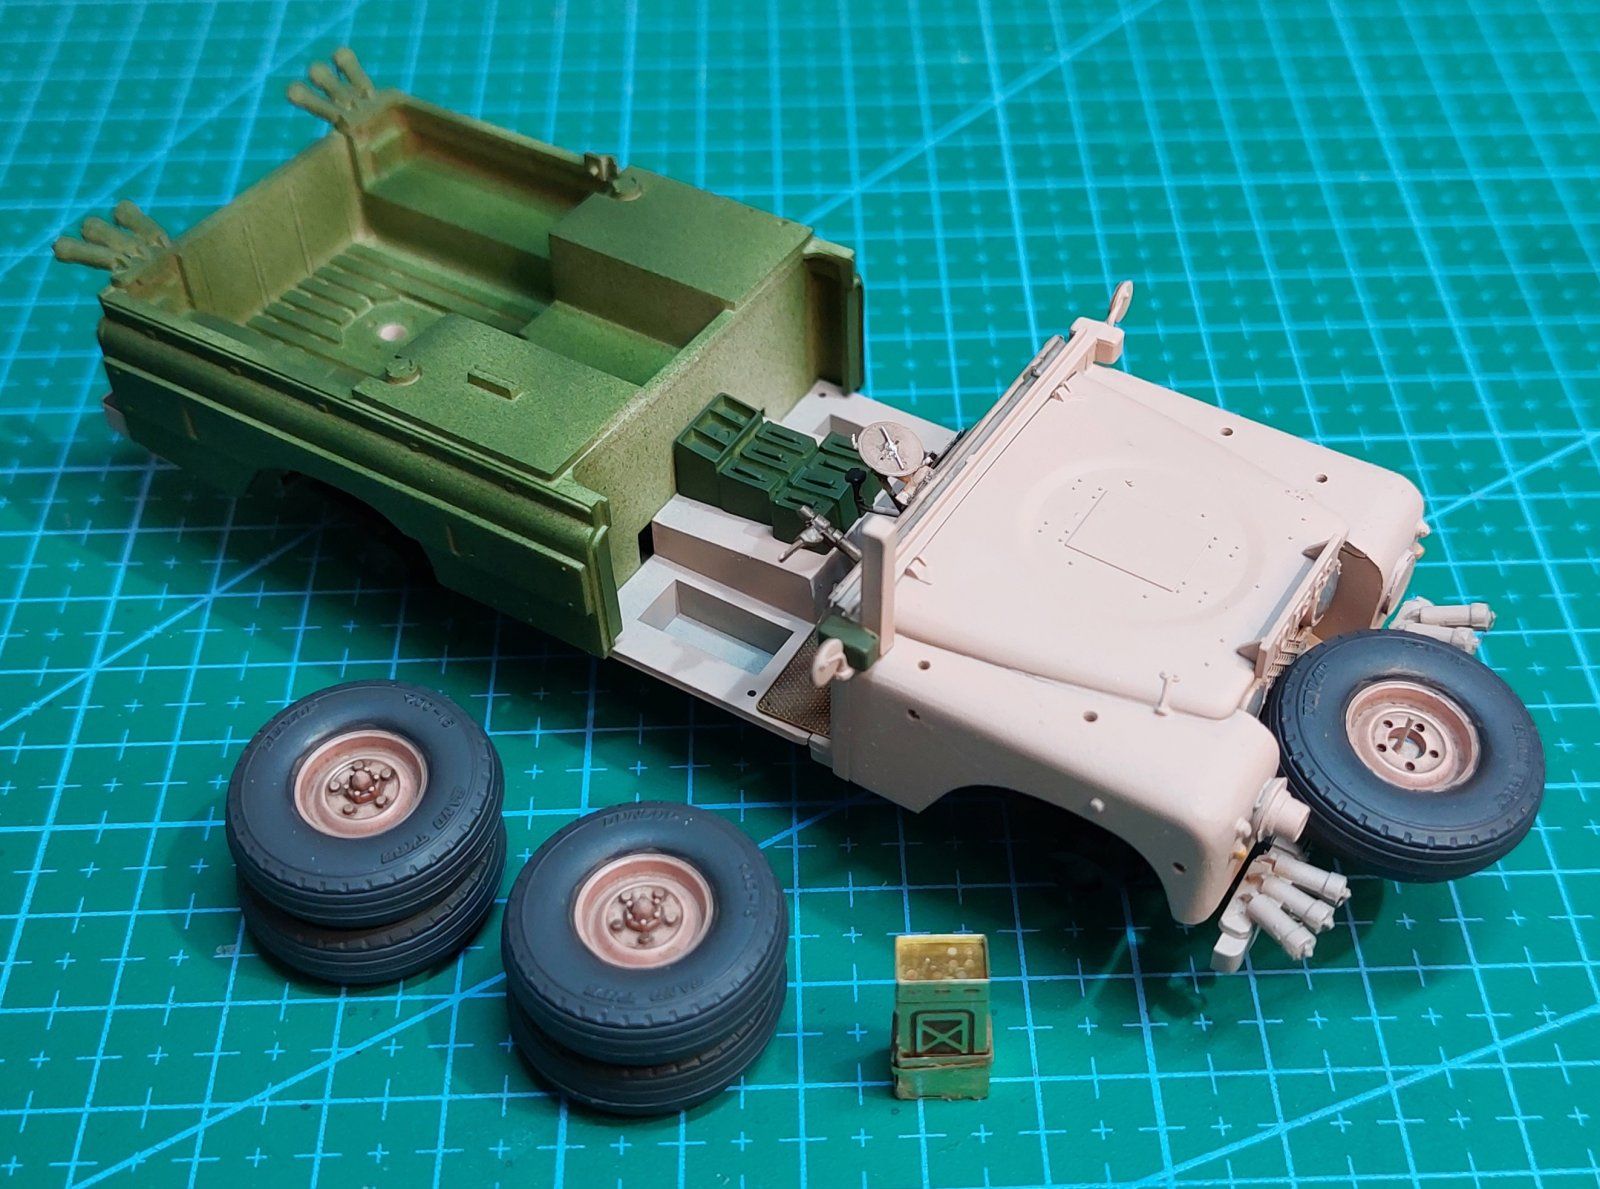
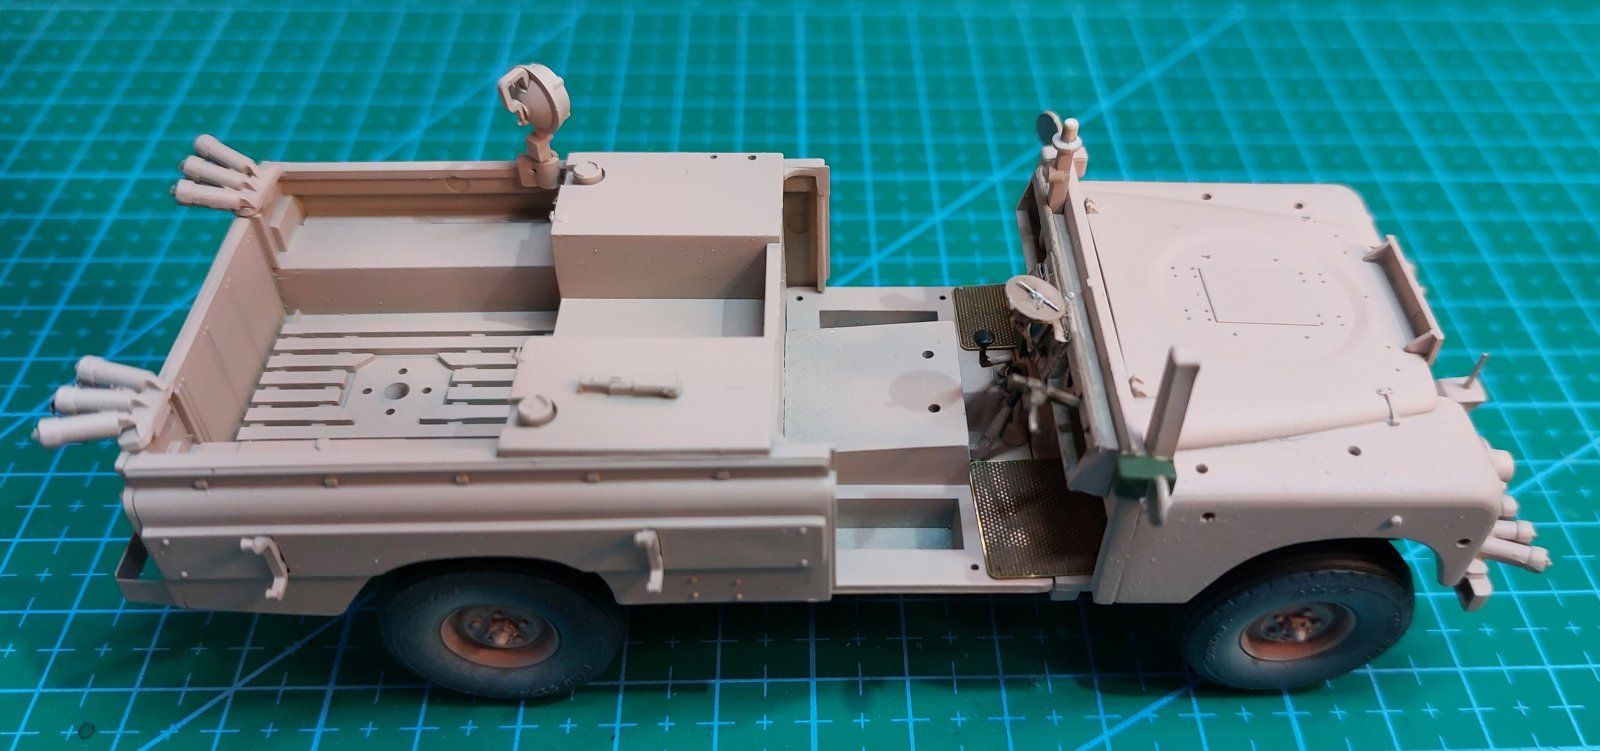
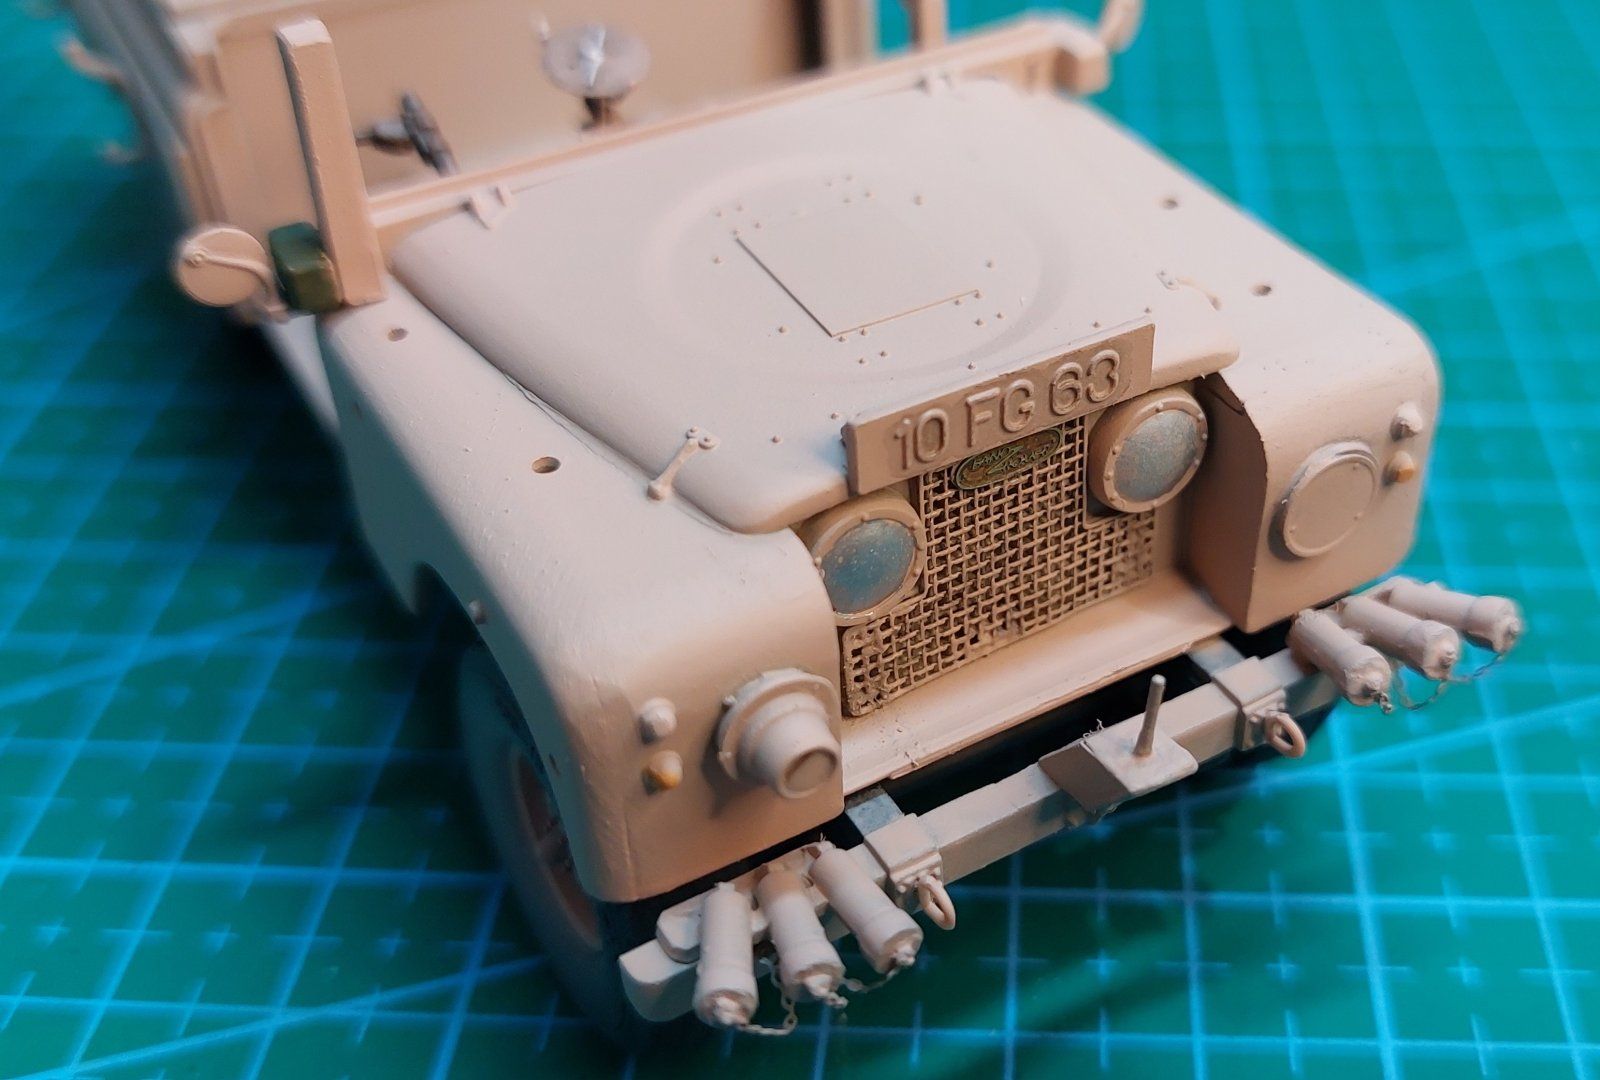
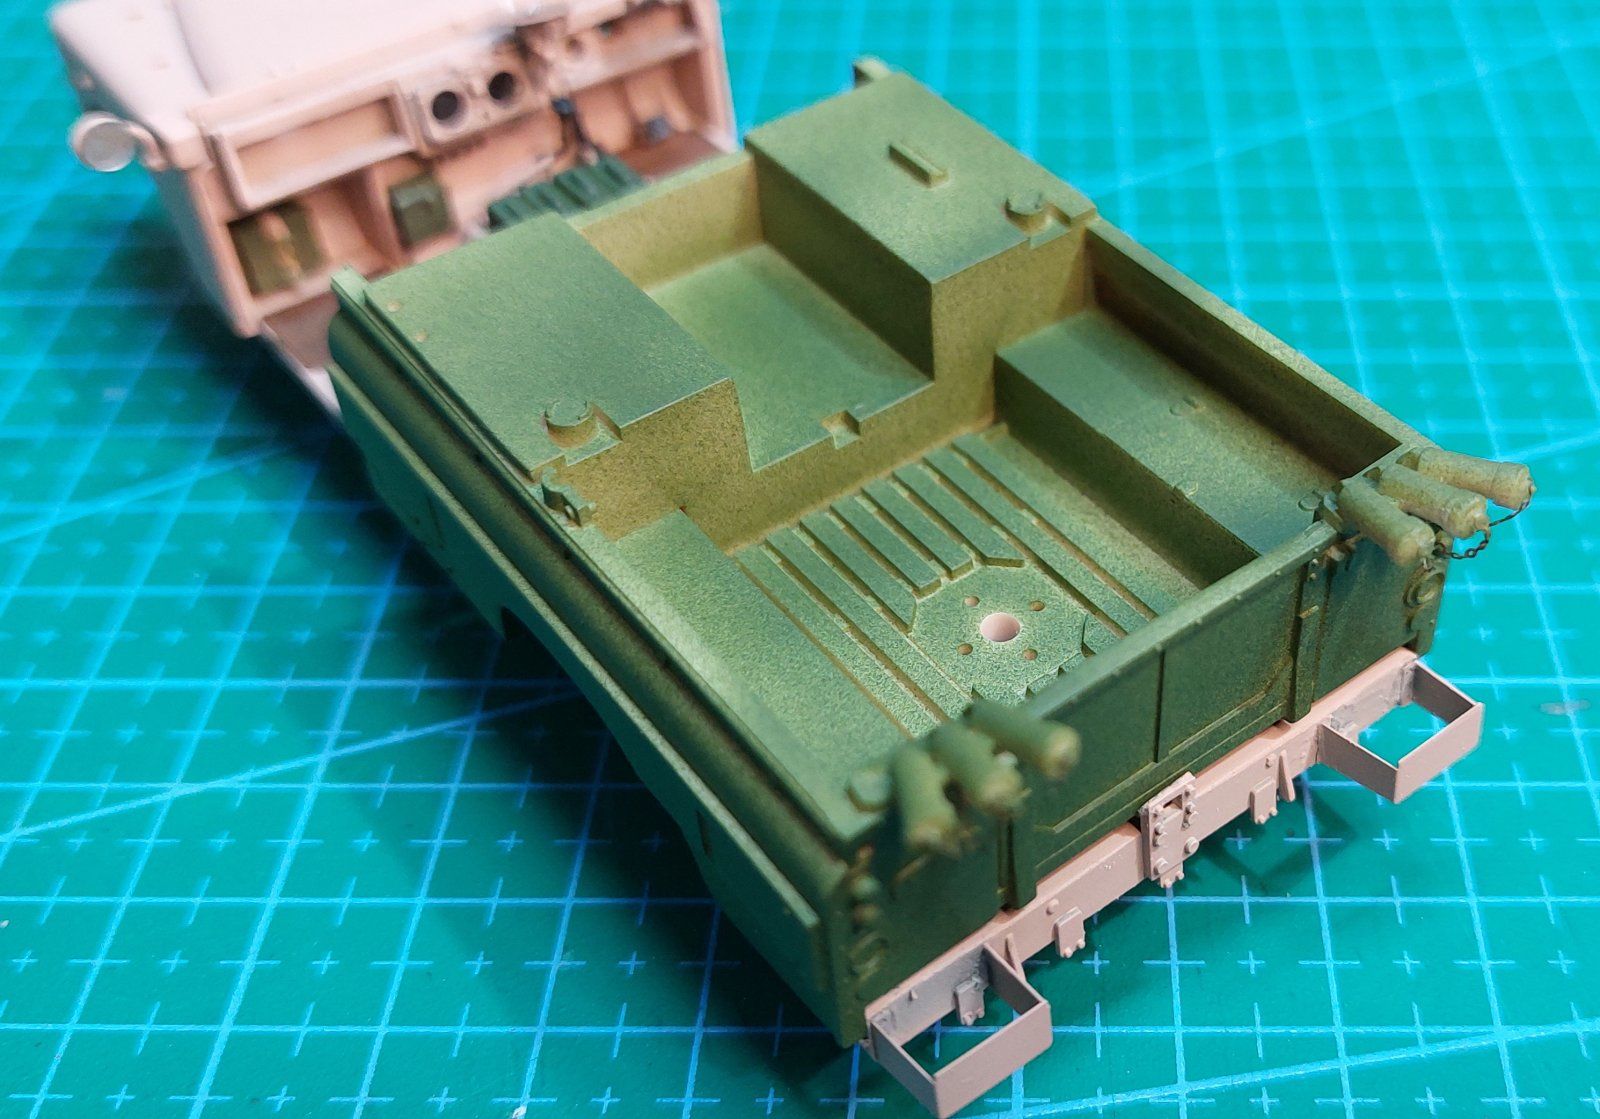
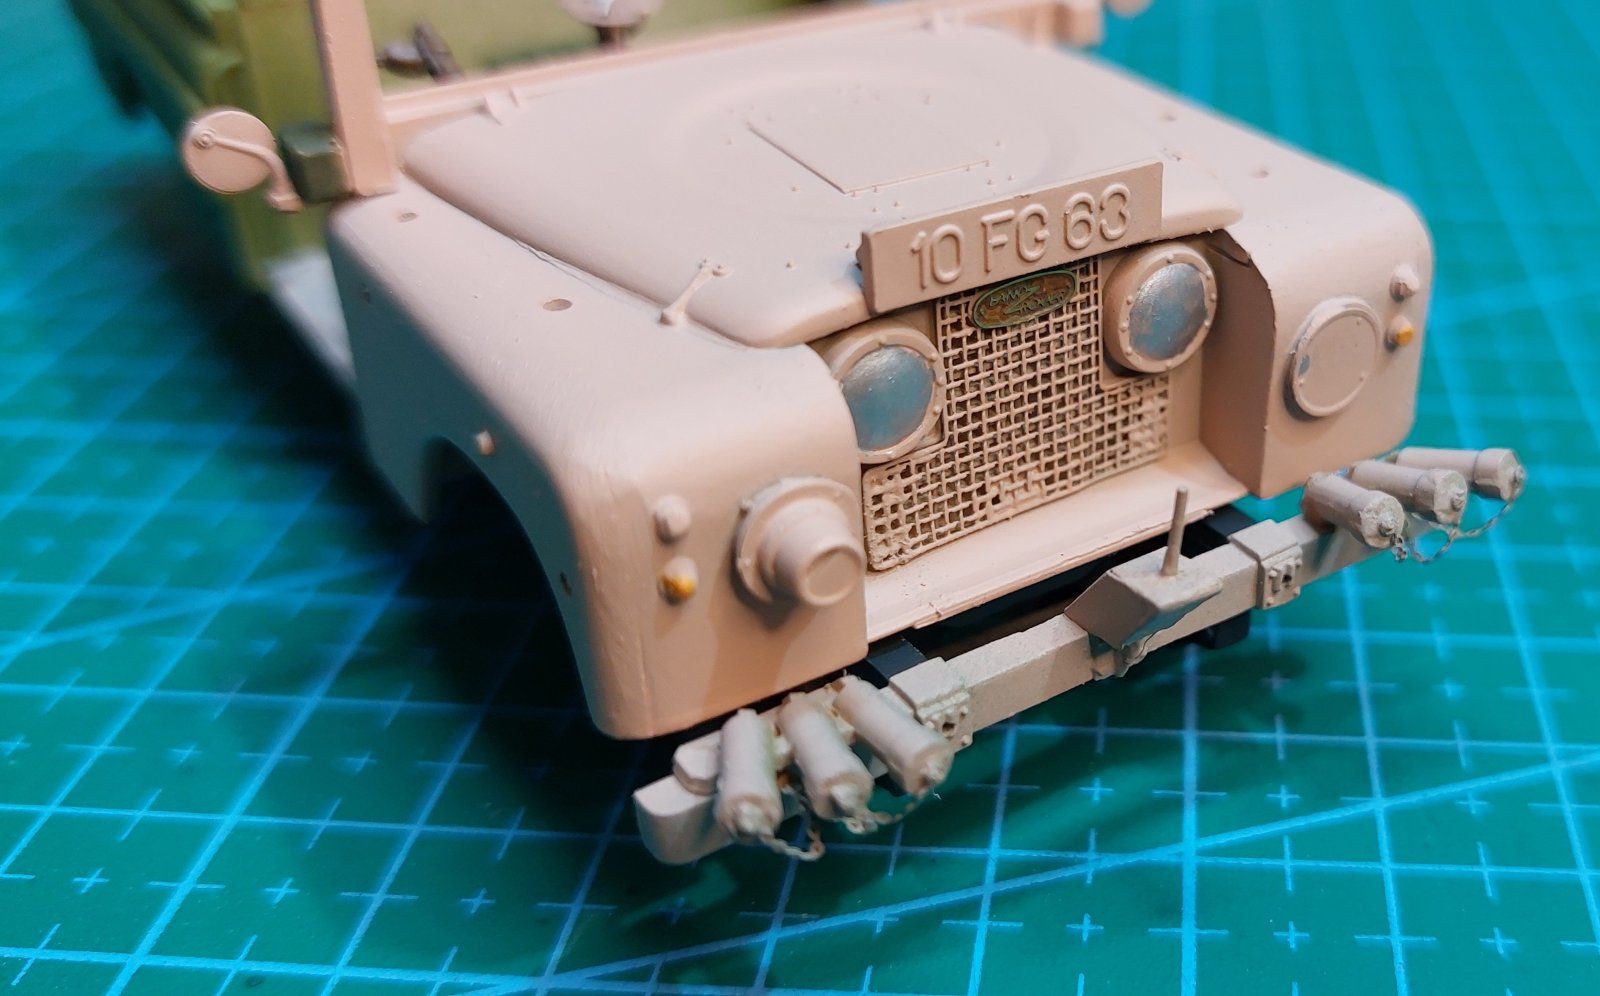
A little more progress made. Now working on the rear body and messing around with some more PE. PanthermanChassis redone and I have added the front although not glued in place yet until I have done some touching in as it's easier to paint in smaller sections. Pantherman
Very nice!A little more progress made. Now working on the rear body and messing around with some more PE. Pantherman

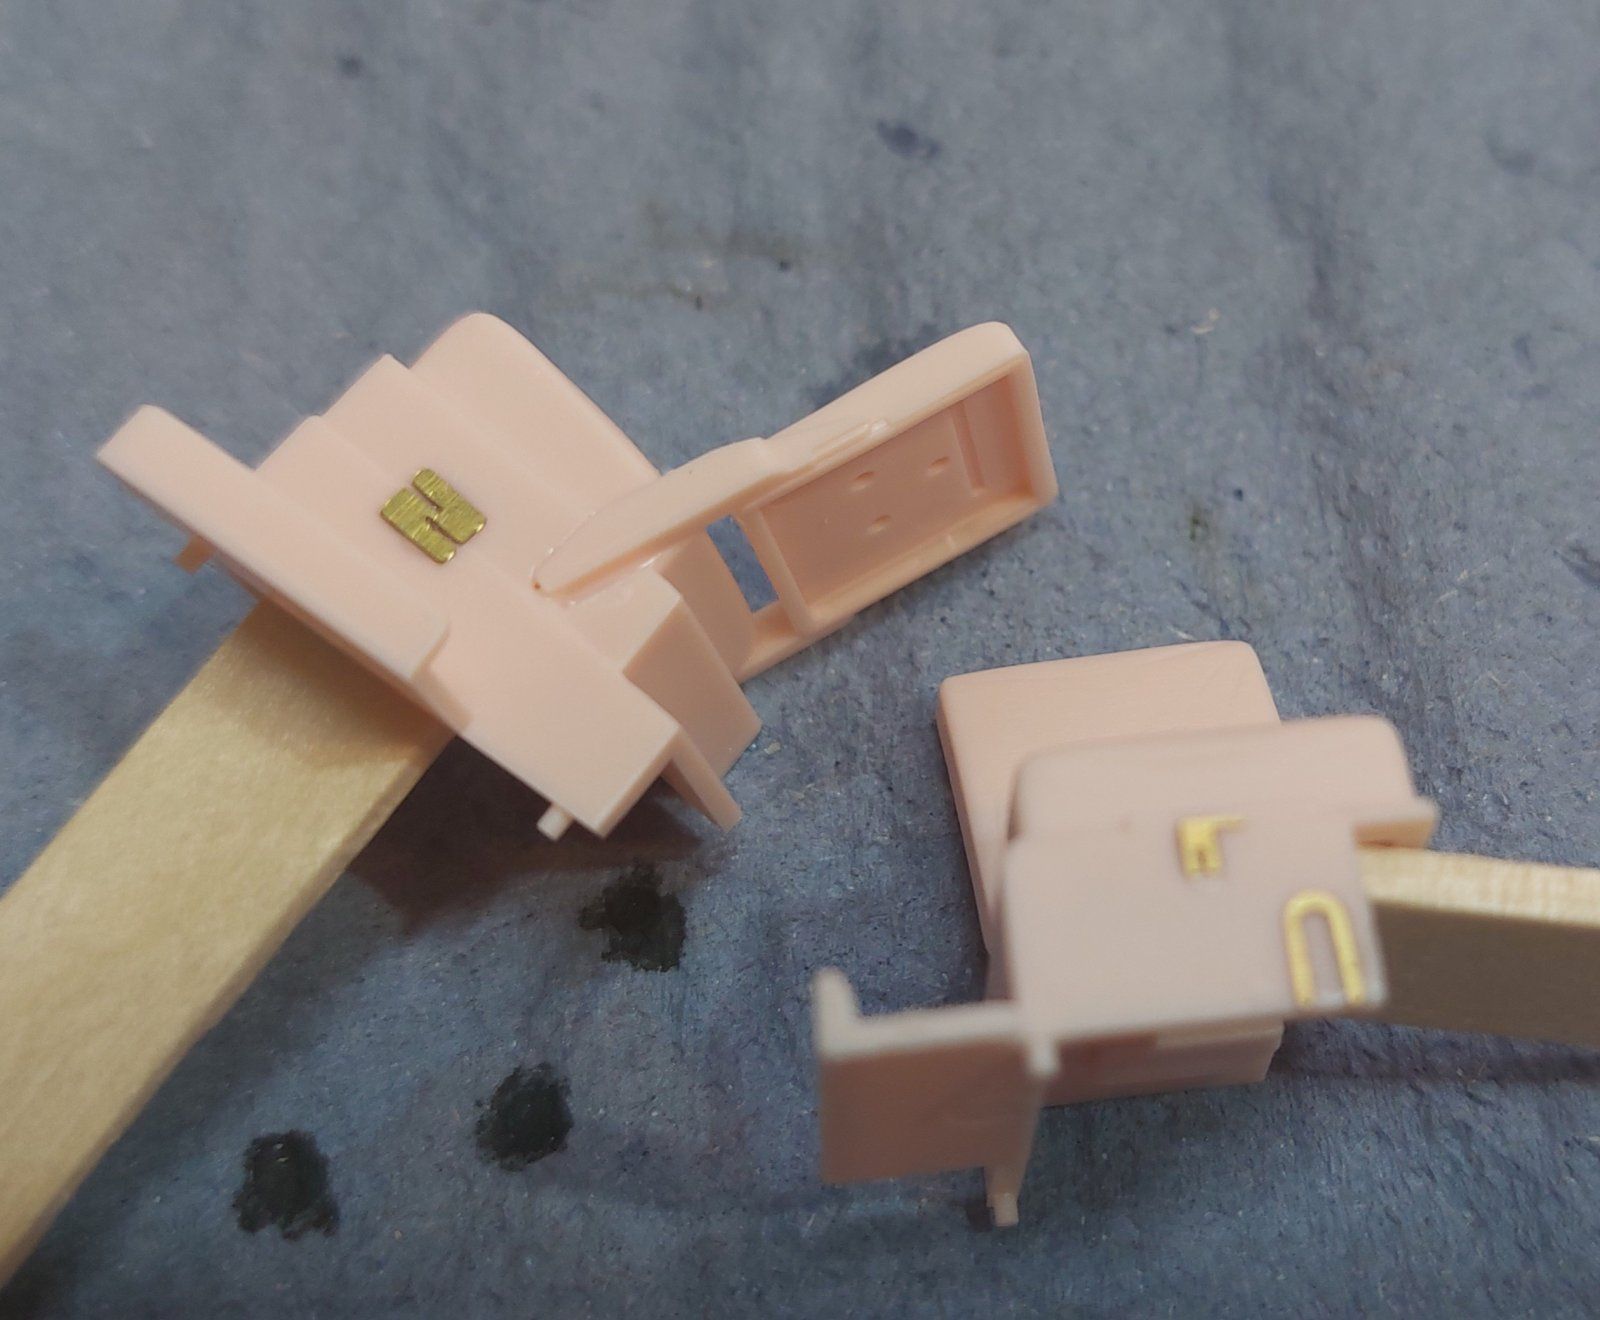
I am finding the same with the PE on the Dauntless. Small bits in cockpit probably won't be seen so I am leaving them out and just painting the plastic.So I have been up alot of last night and have a fair bit done. I'm not rushing it's just that suddenly I have alot of time on my hands.
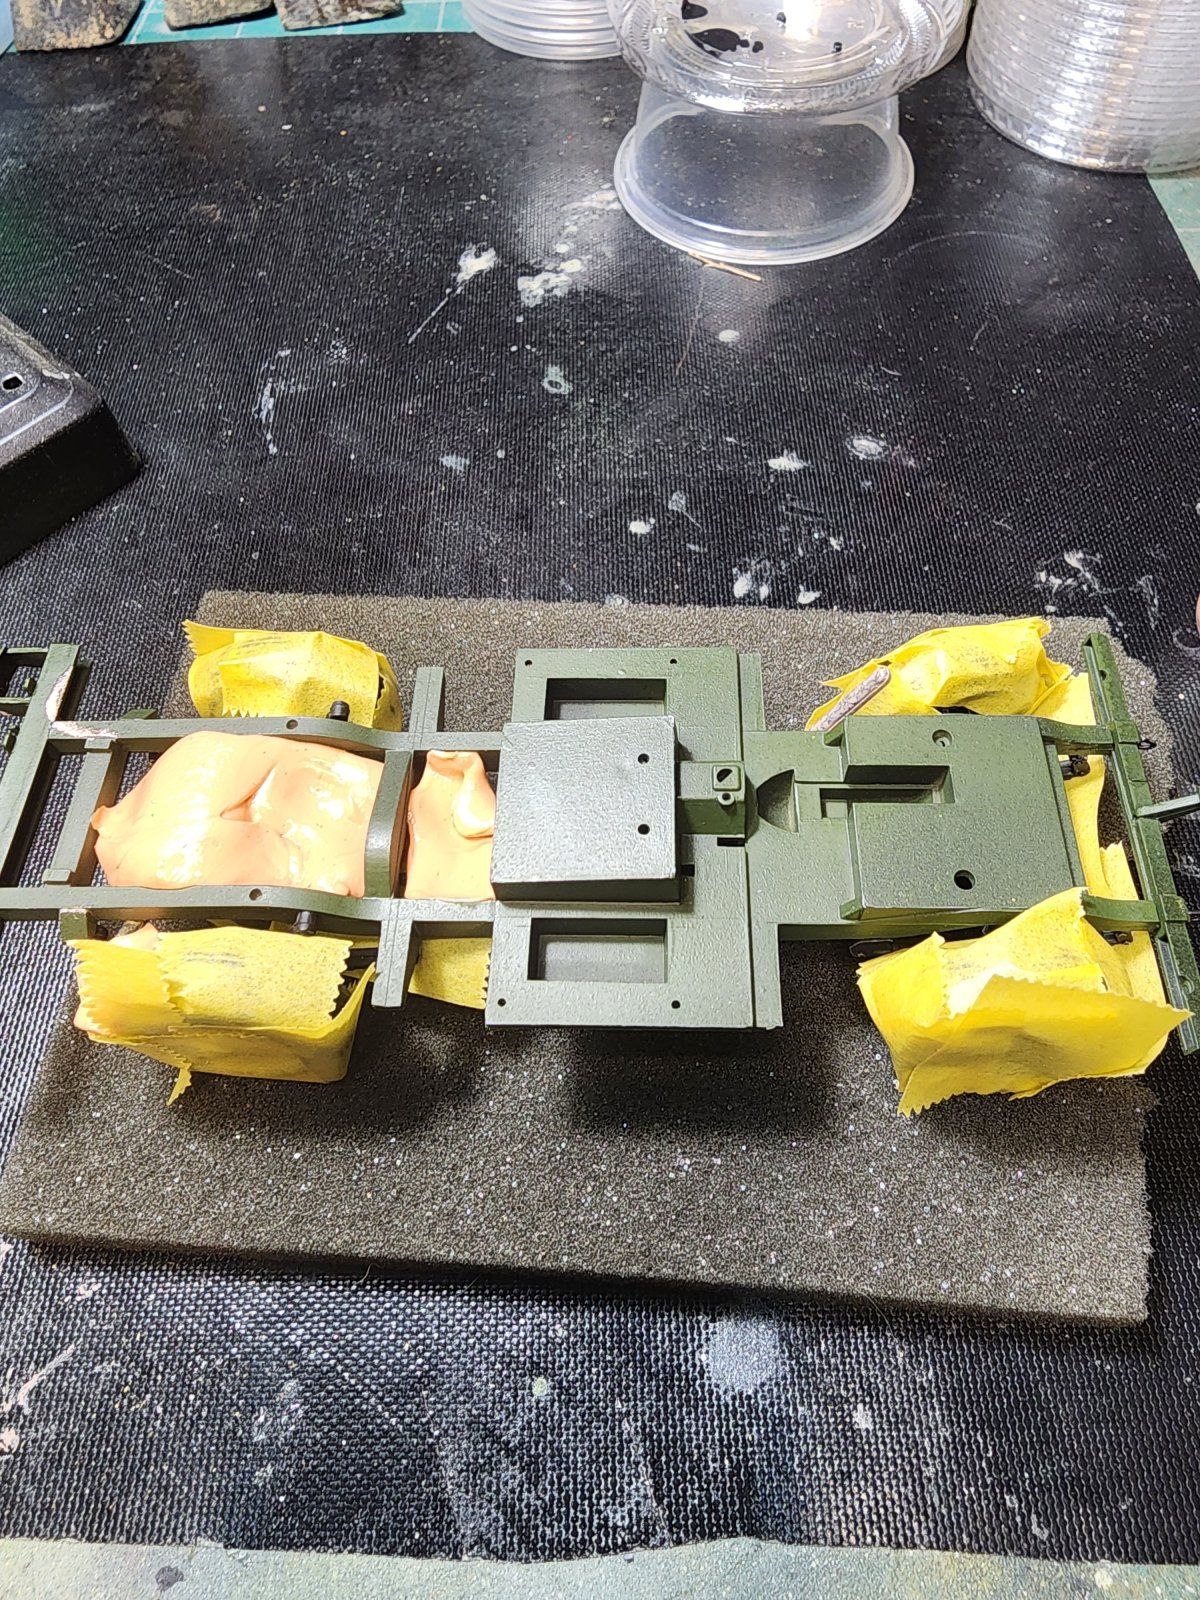
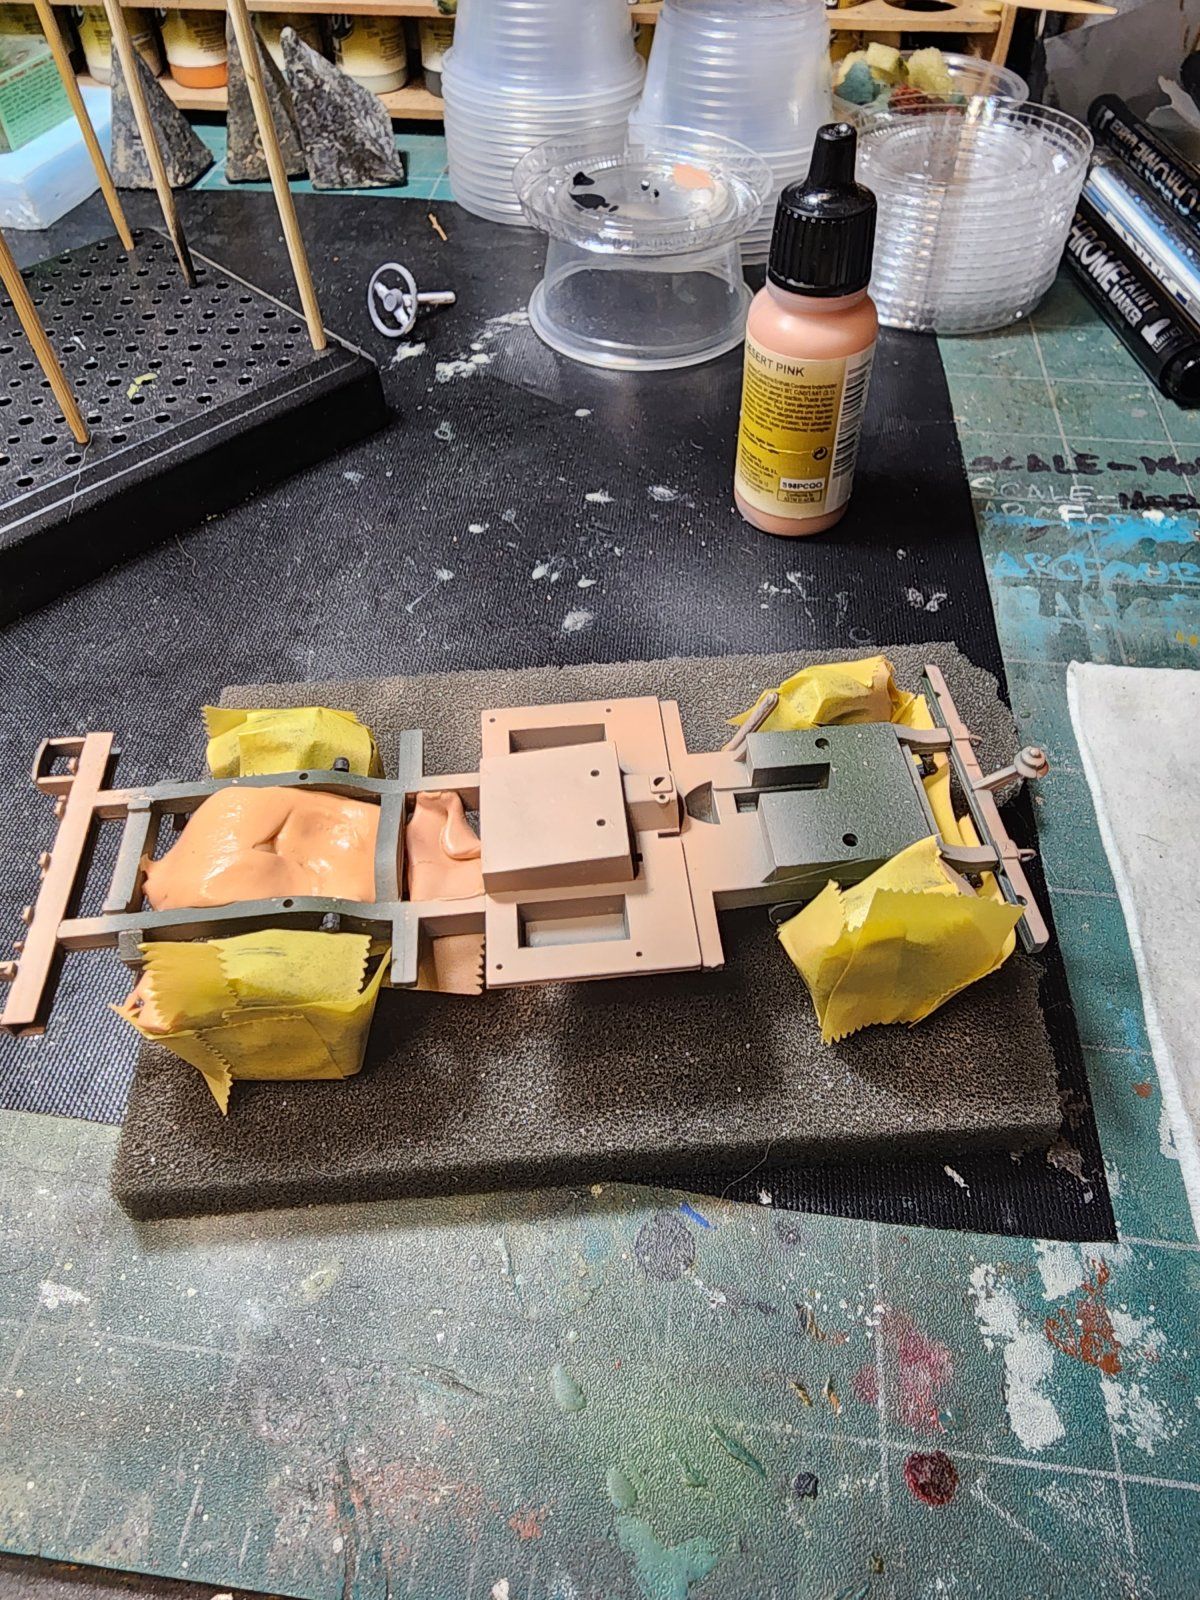
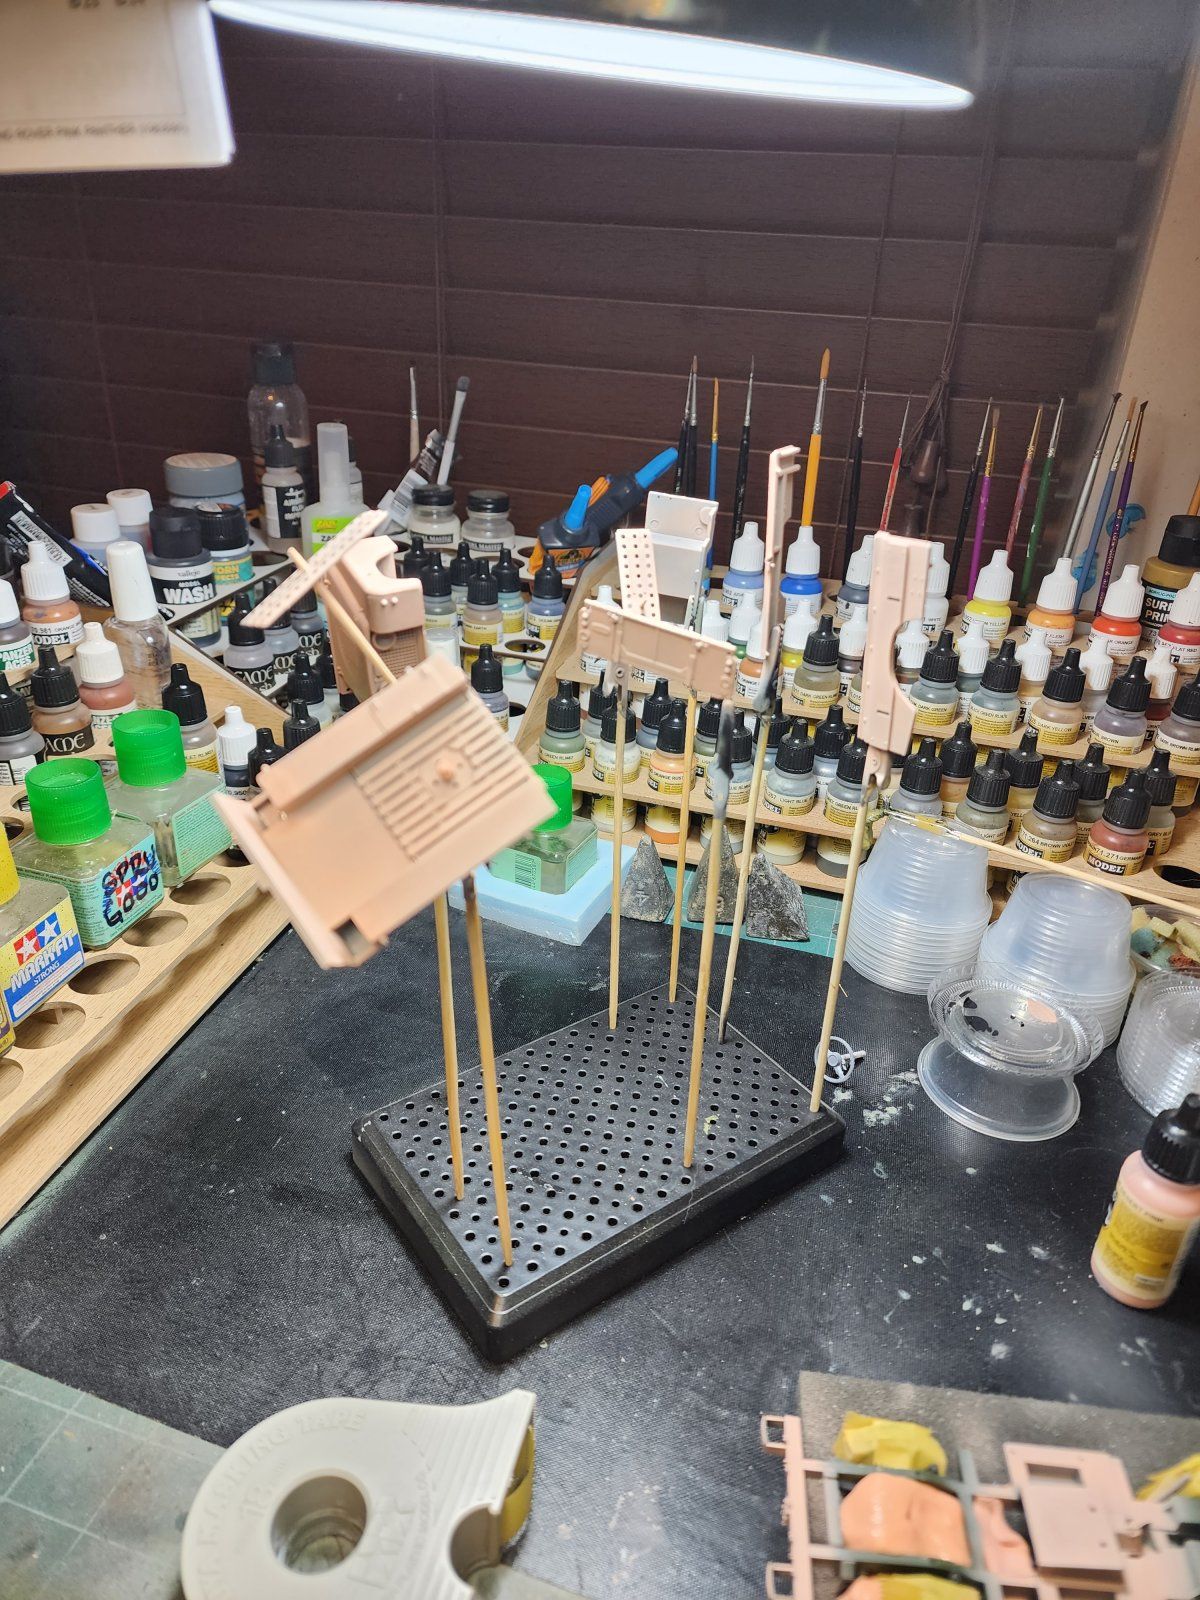
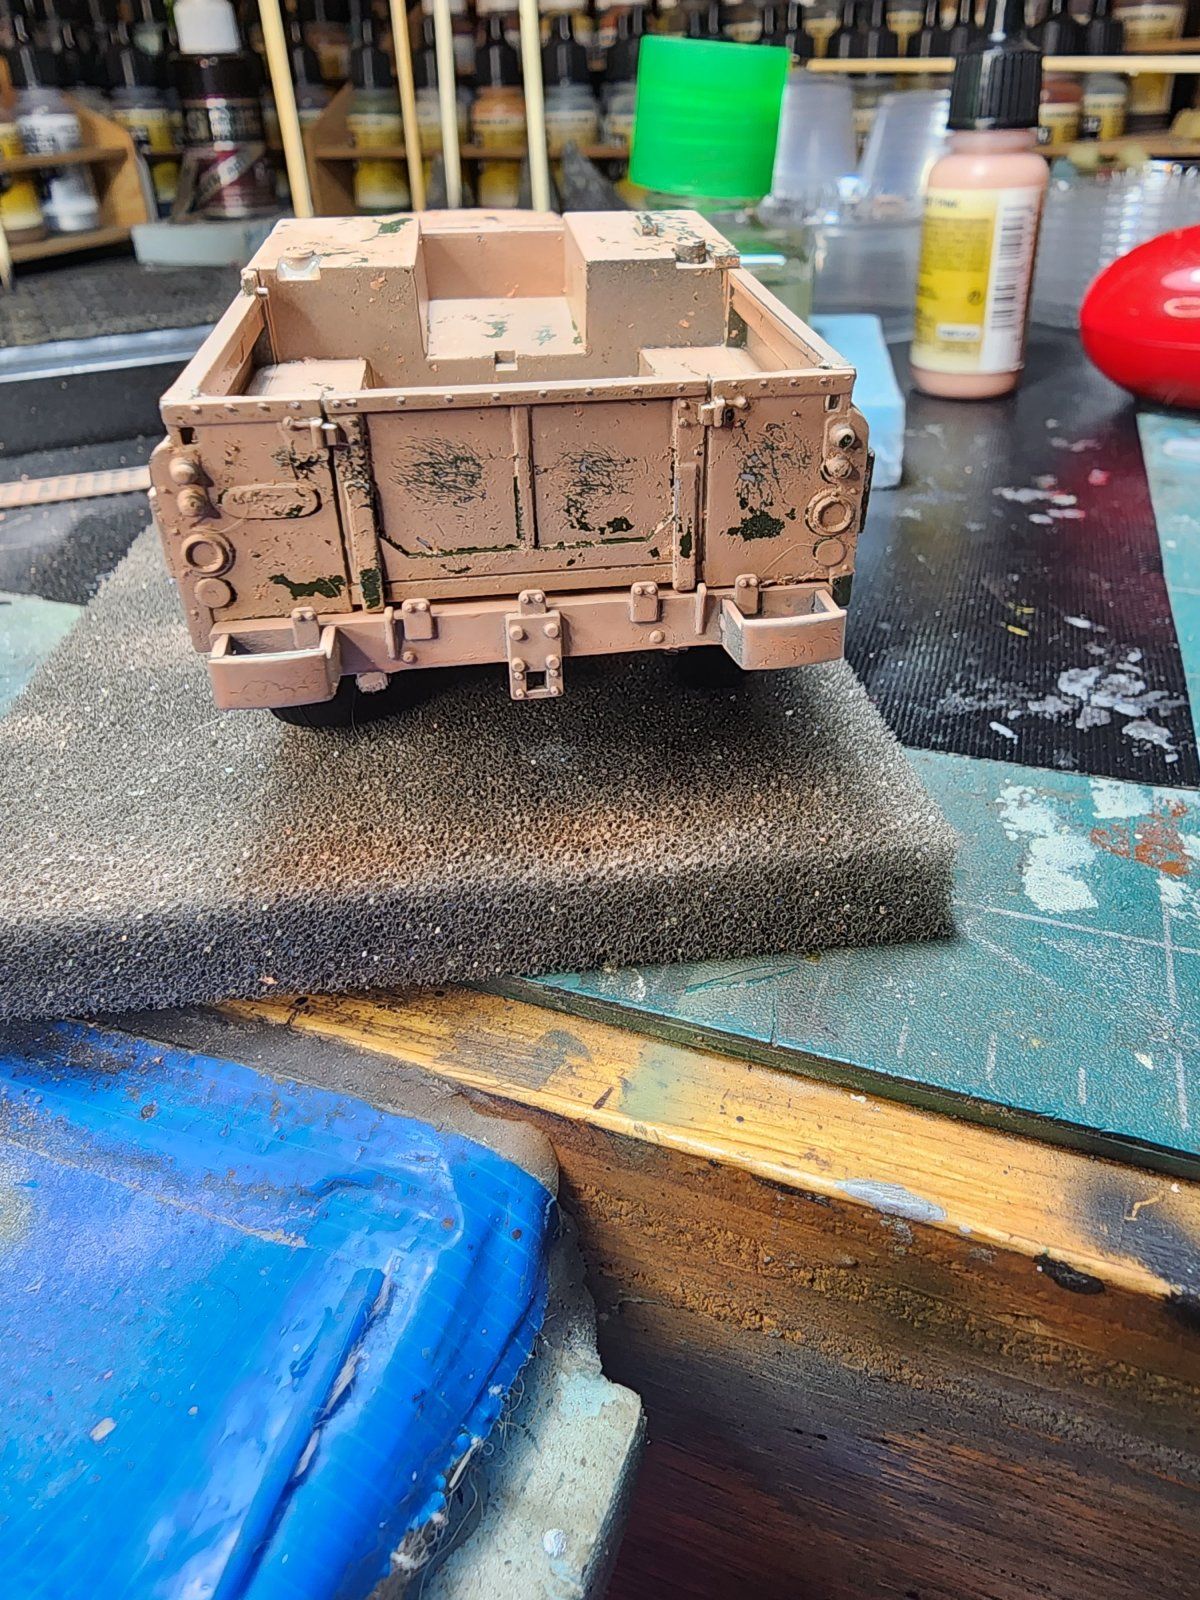
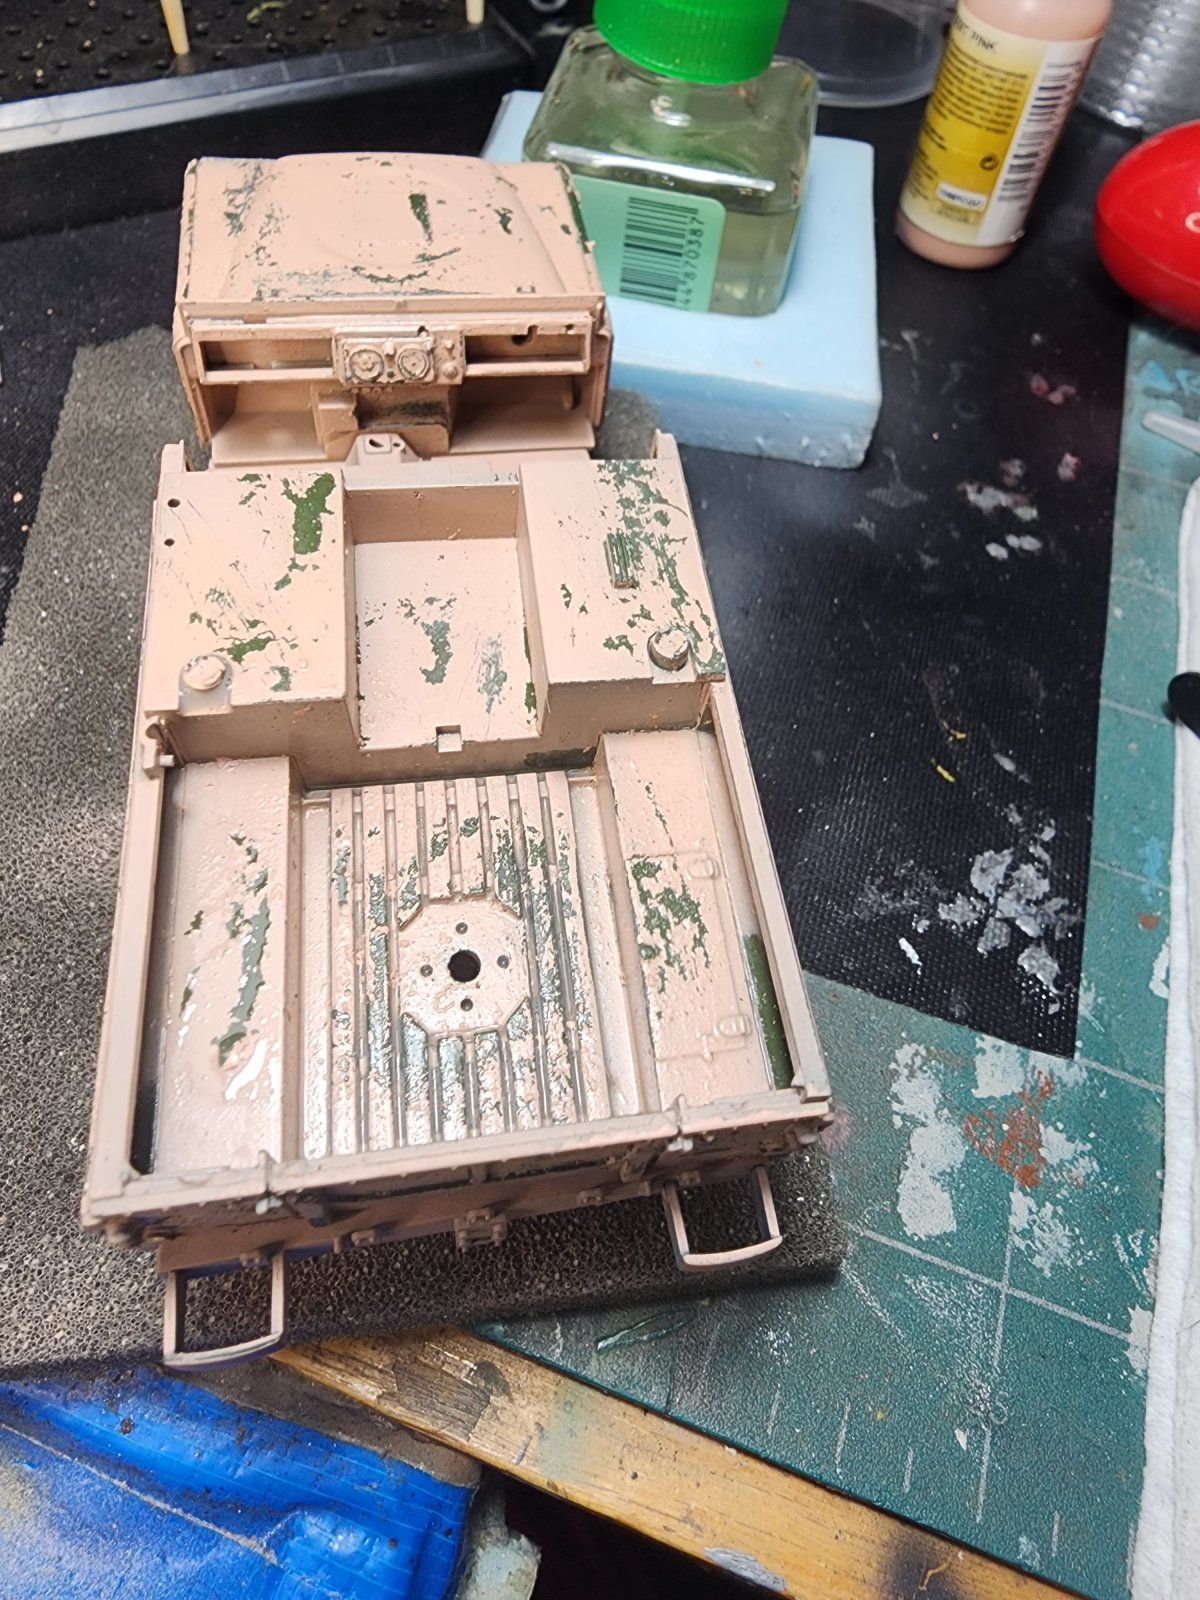
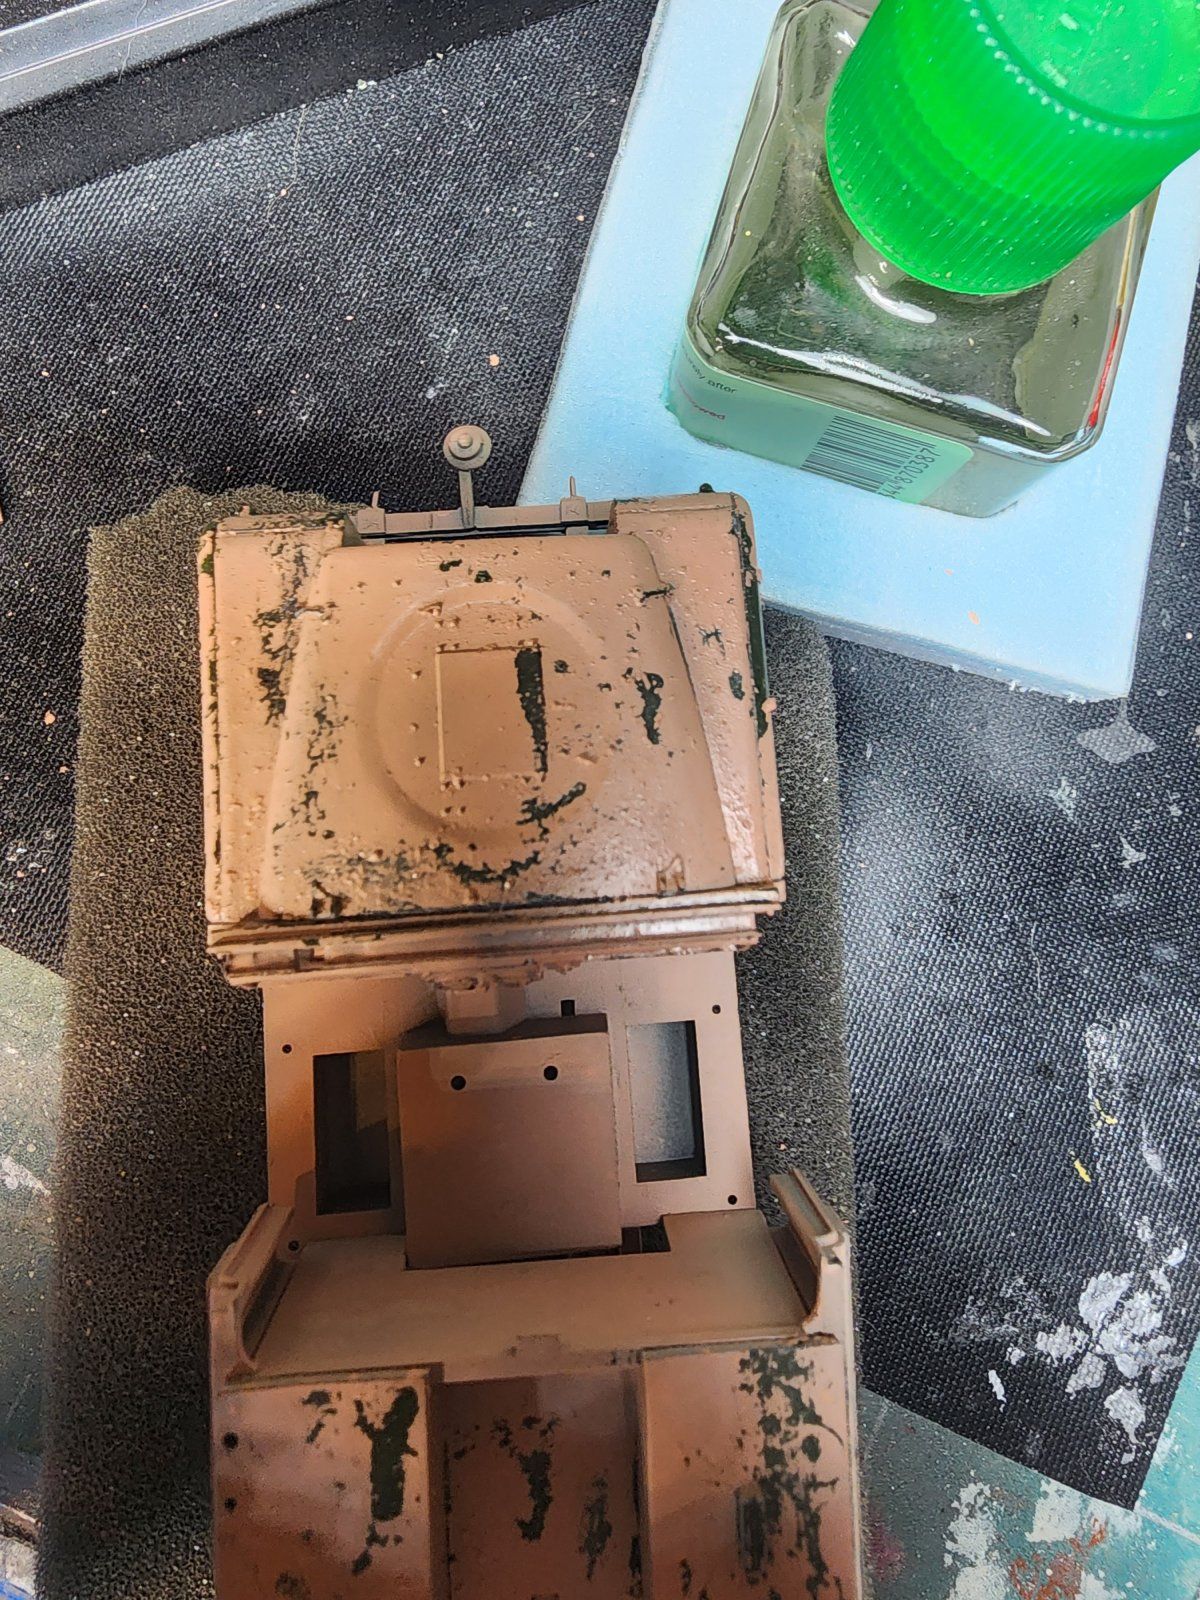
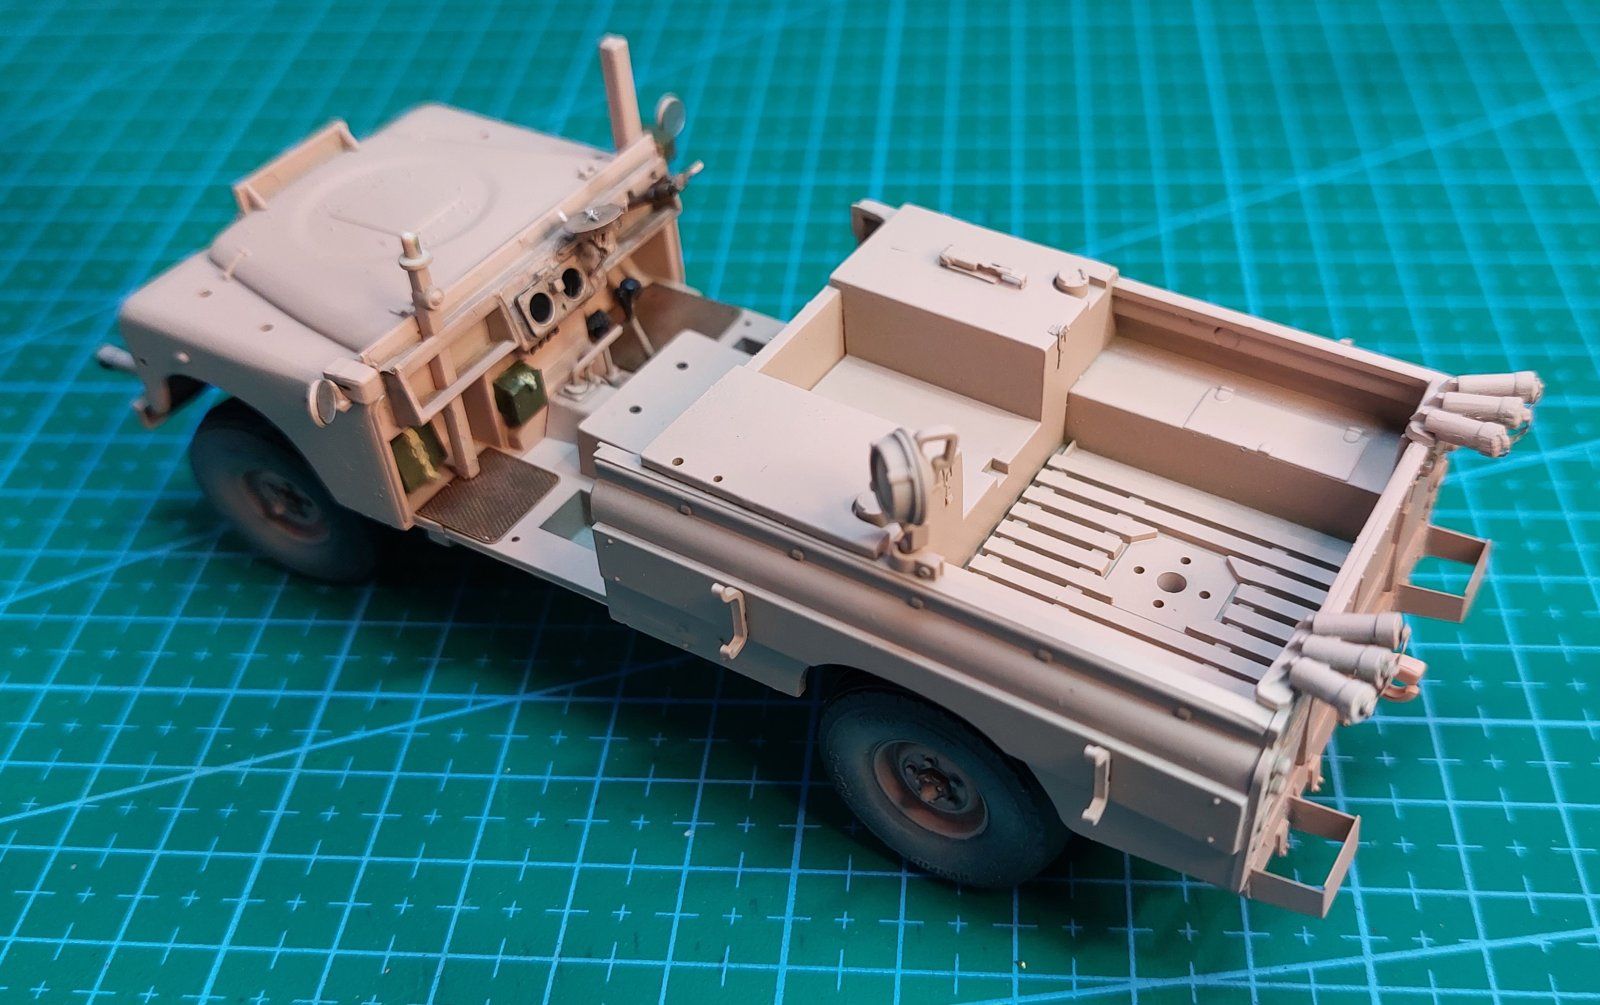
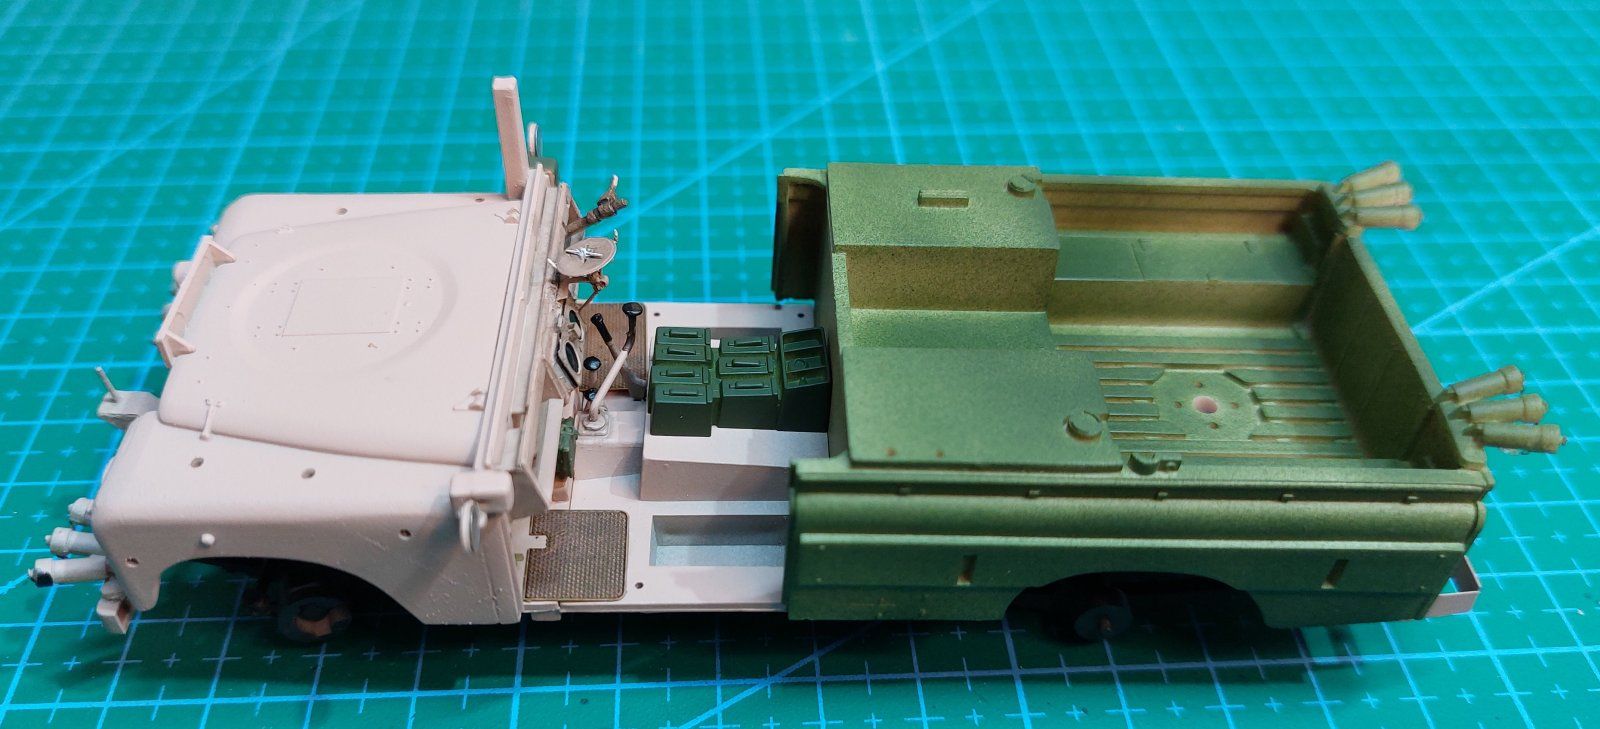
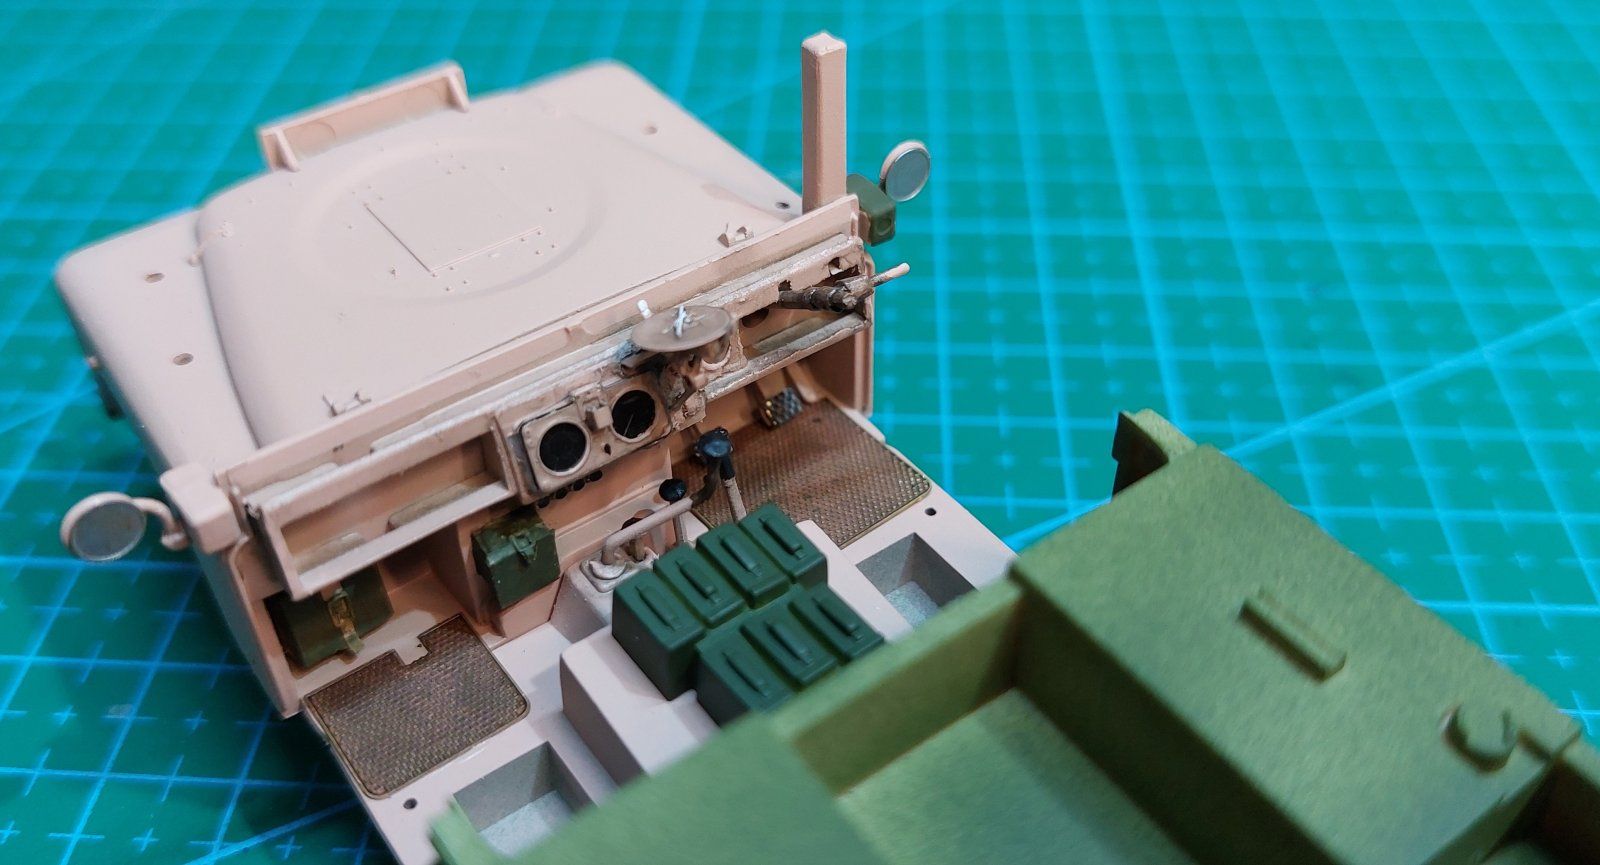
Primed in black for the chassis and grey for the rest then a coat of olive drab as most were originally that colour before the SAS resprayed them I believe. Next some hairspray in areas of wear then the pink top coat.
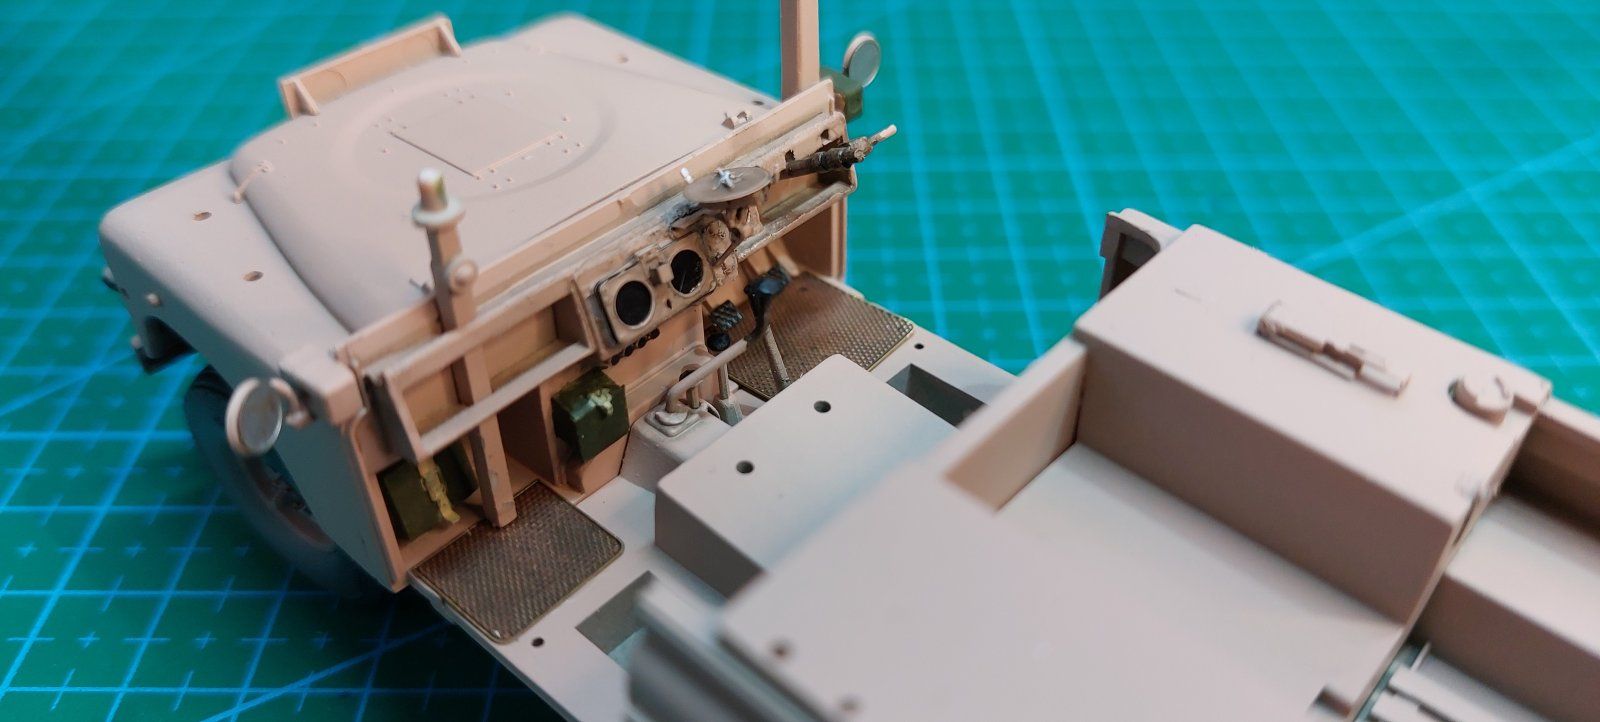
I'm not over impressed with some of the PE as it seems to be over complicated and the tamiya part's are just as good in area's where you can't really see much when the build is completed. I think that both of your builds will look probably better without it.
Pantherman
Looking really goodA little more progress made. Now working on the rear body and messing around with some more PE. Pantherman
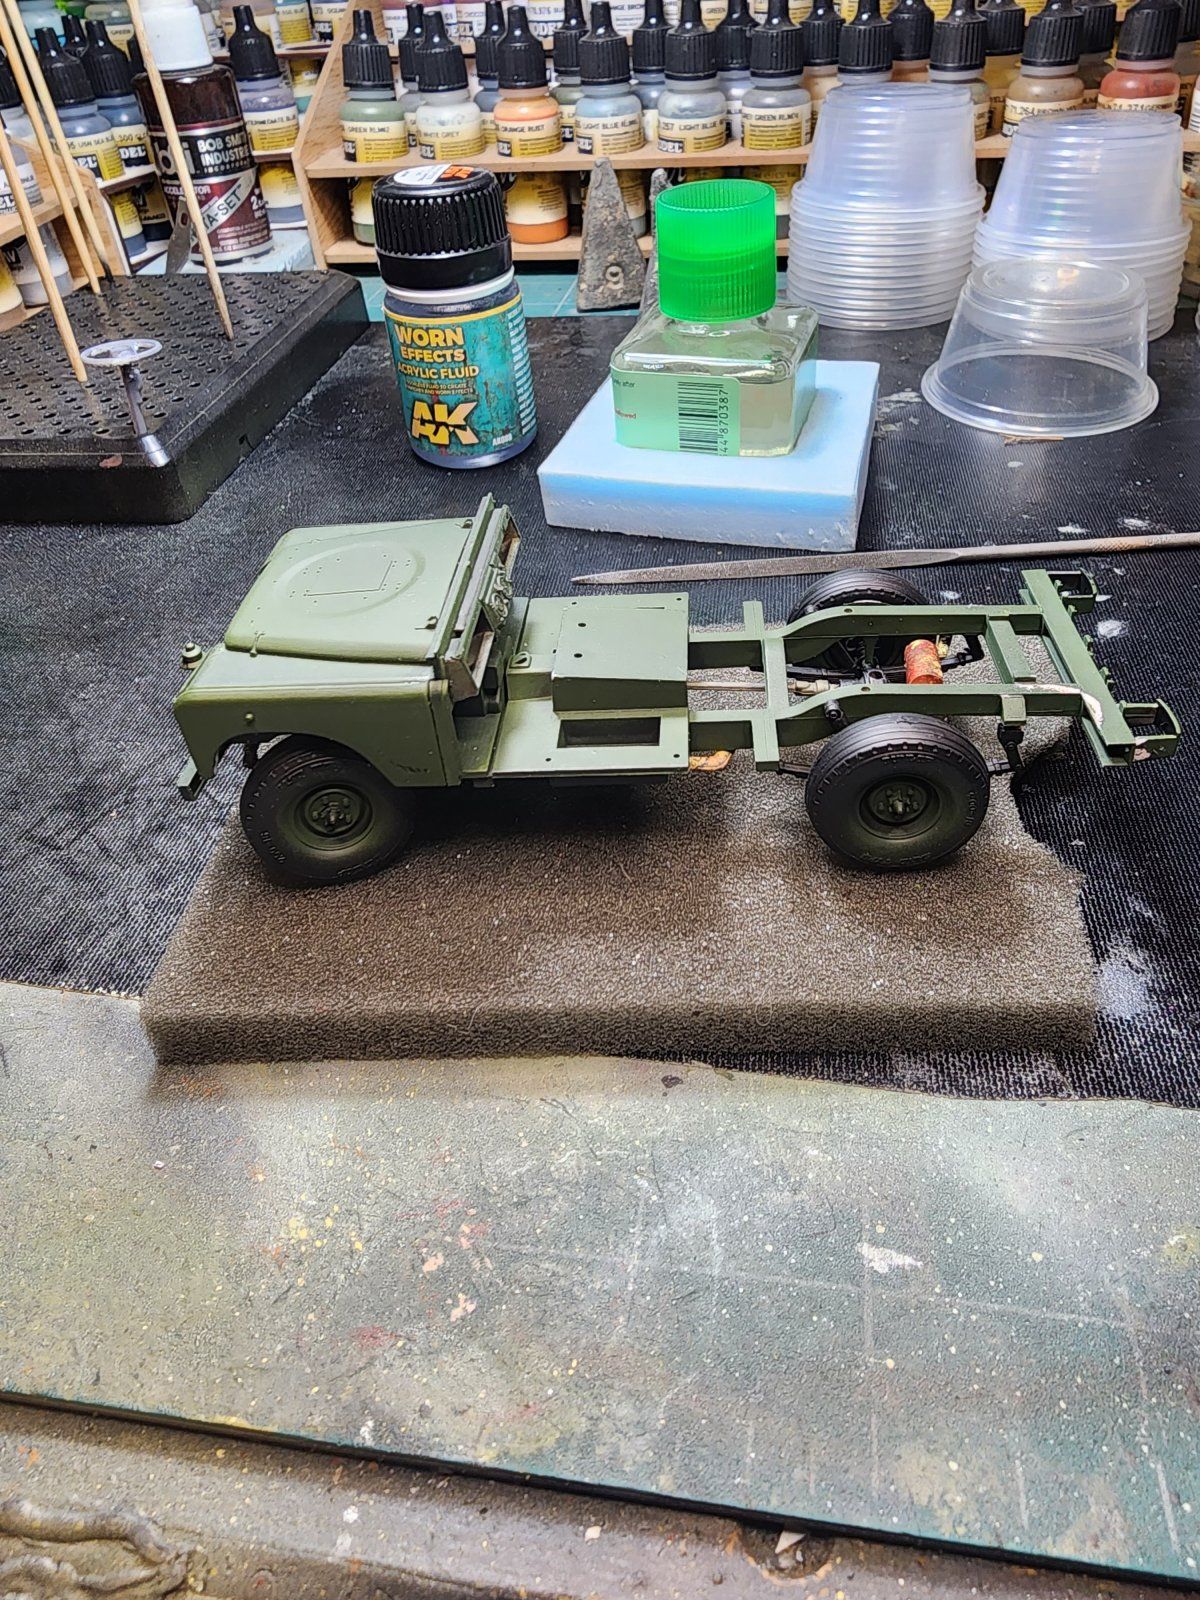
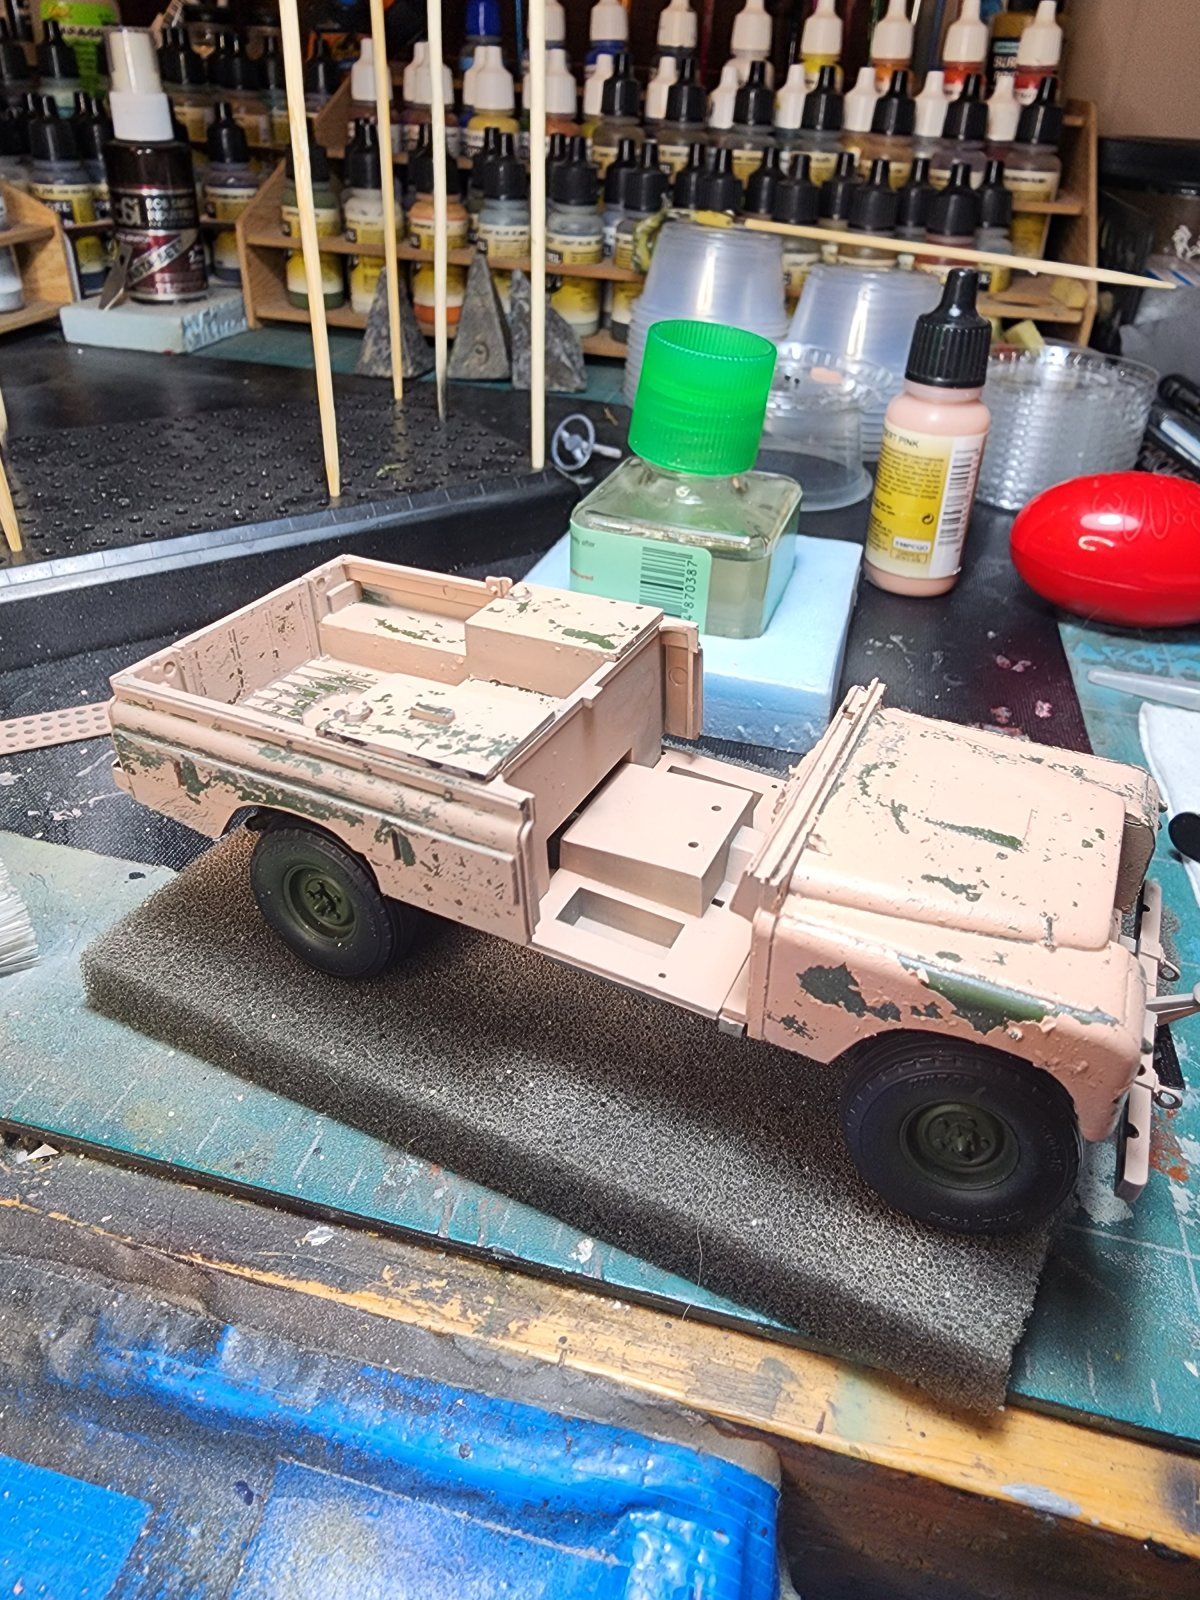
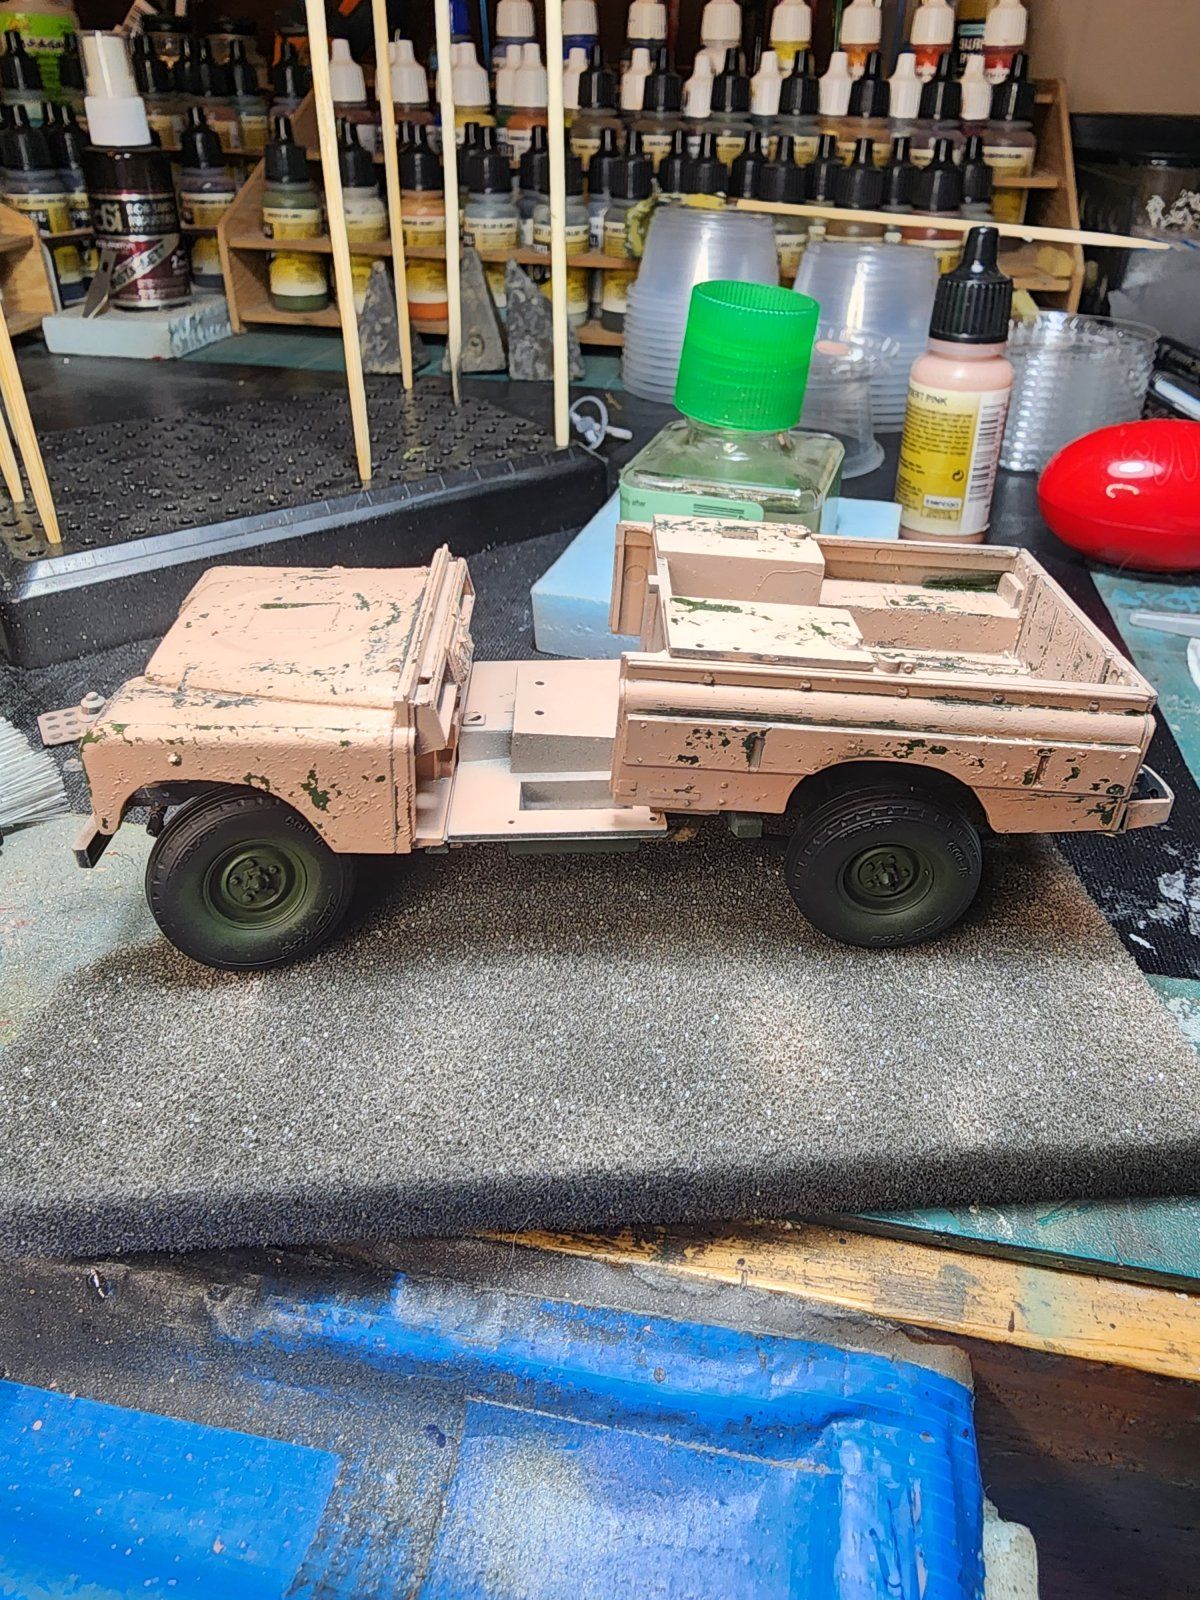
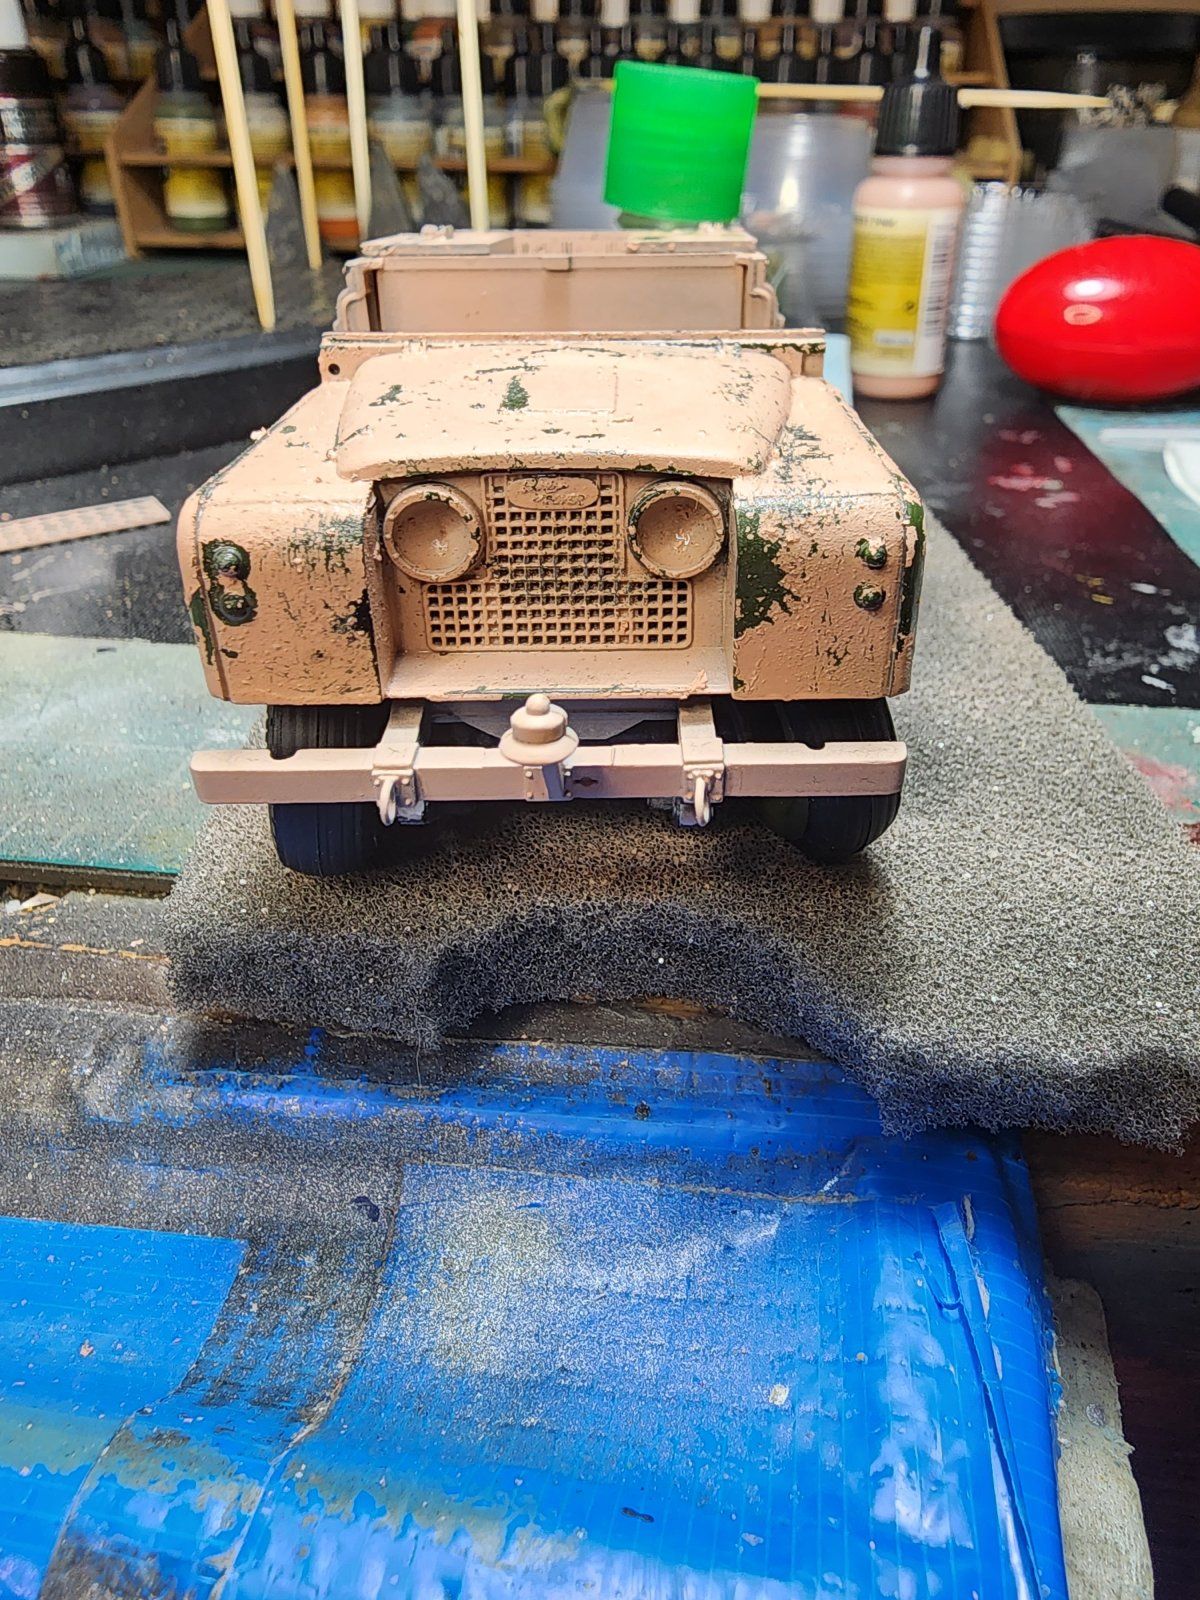
Really coming along nicely. PanthermanGot some paint chipped. I used AK Worn Effects.
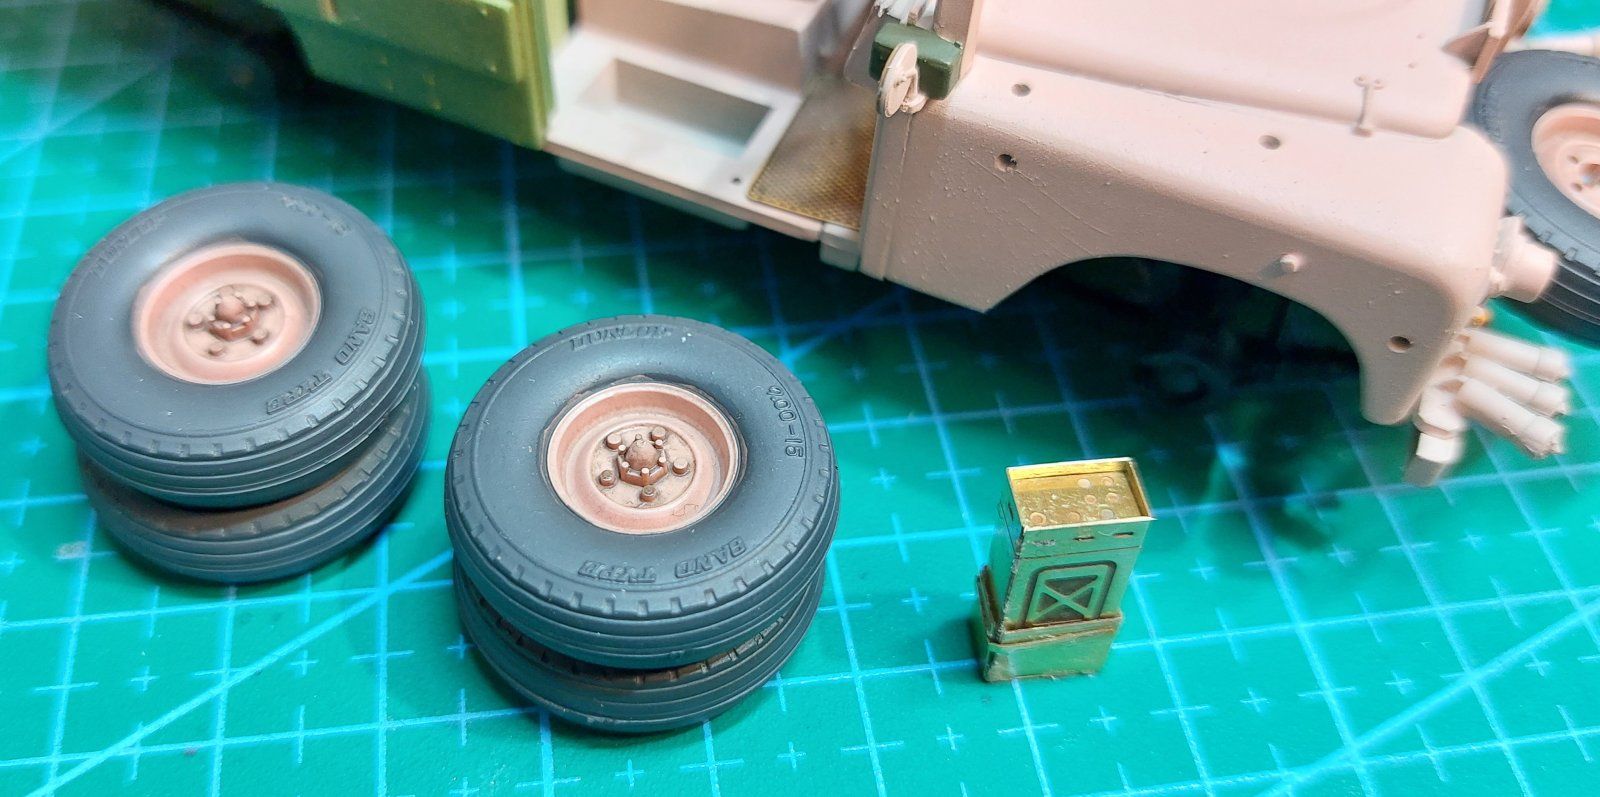
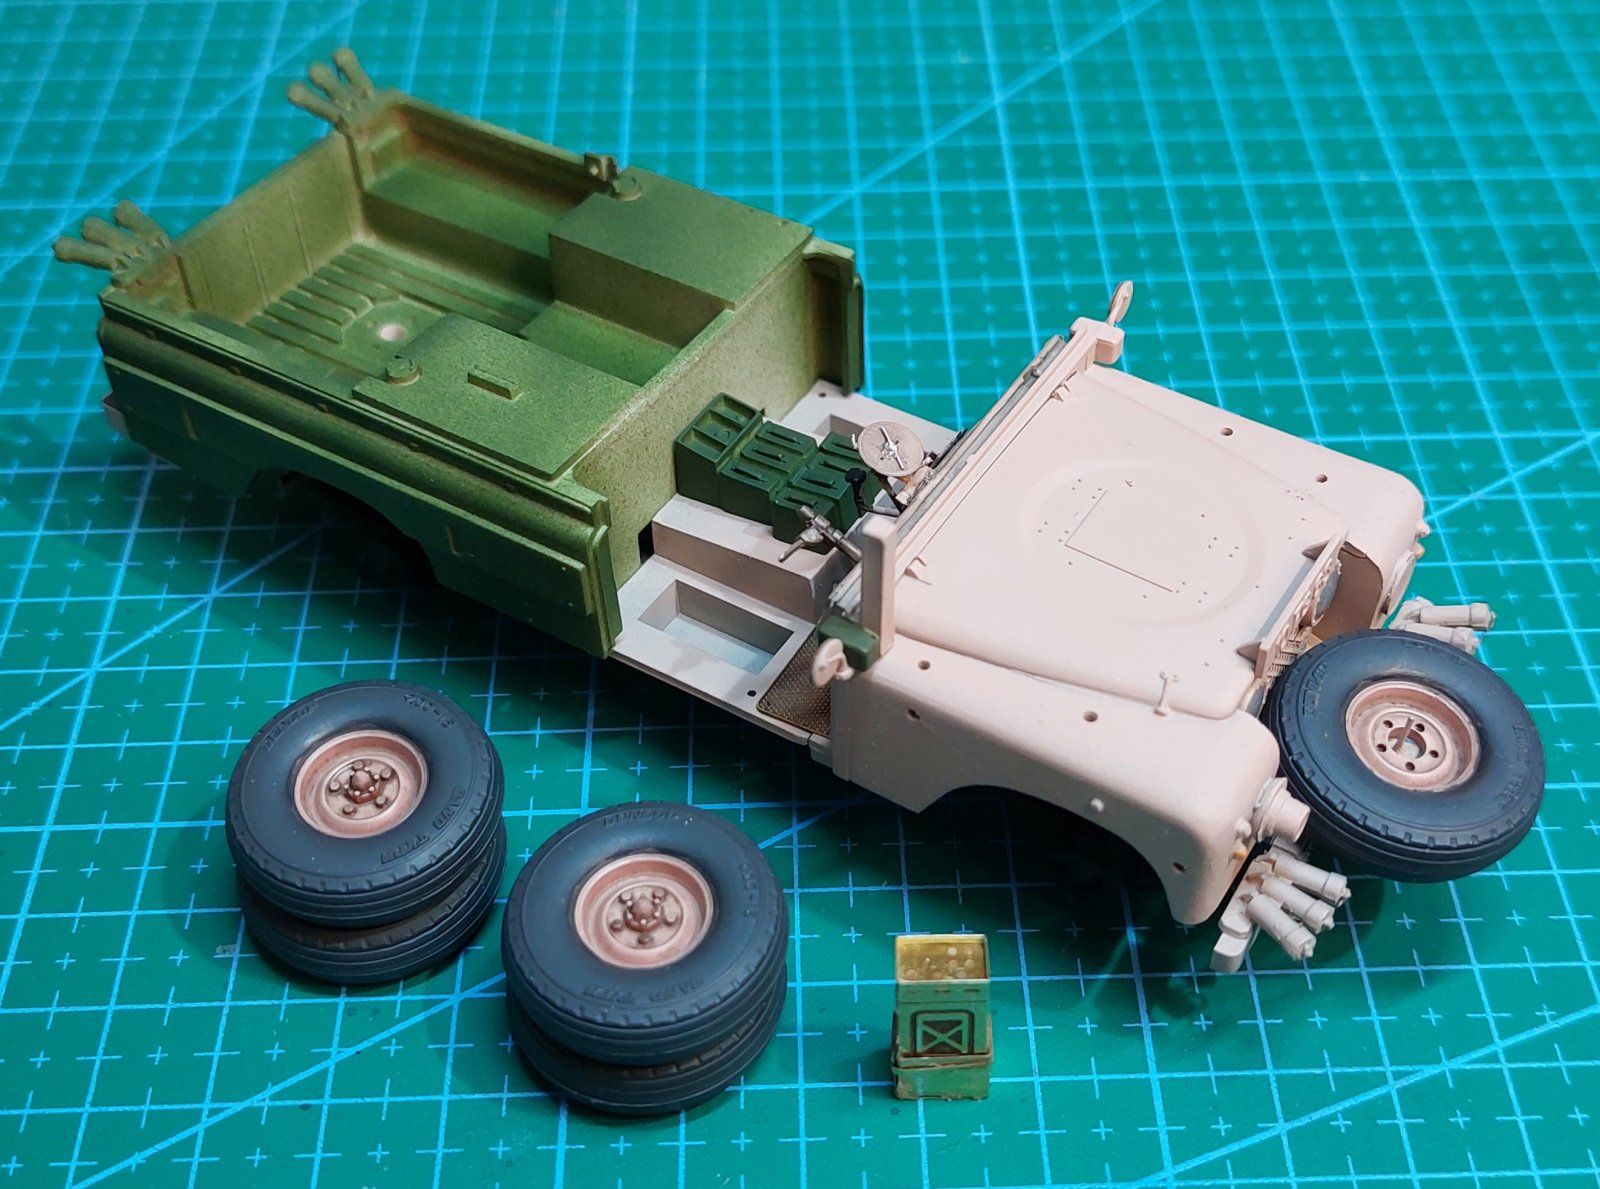
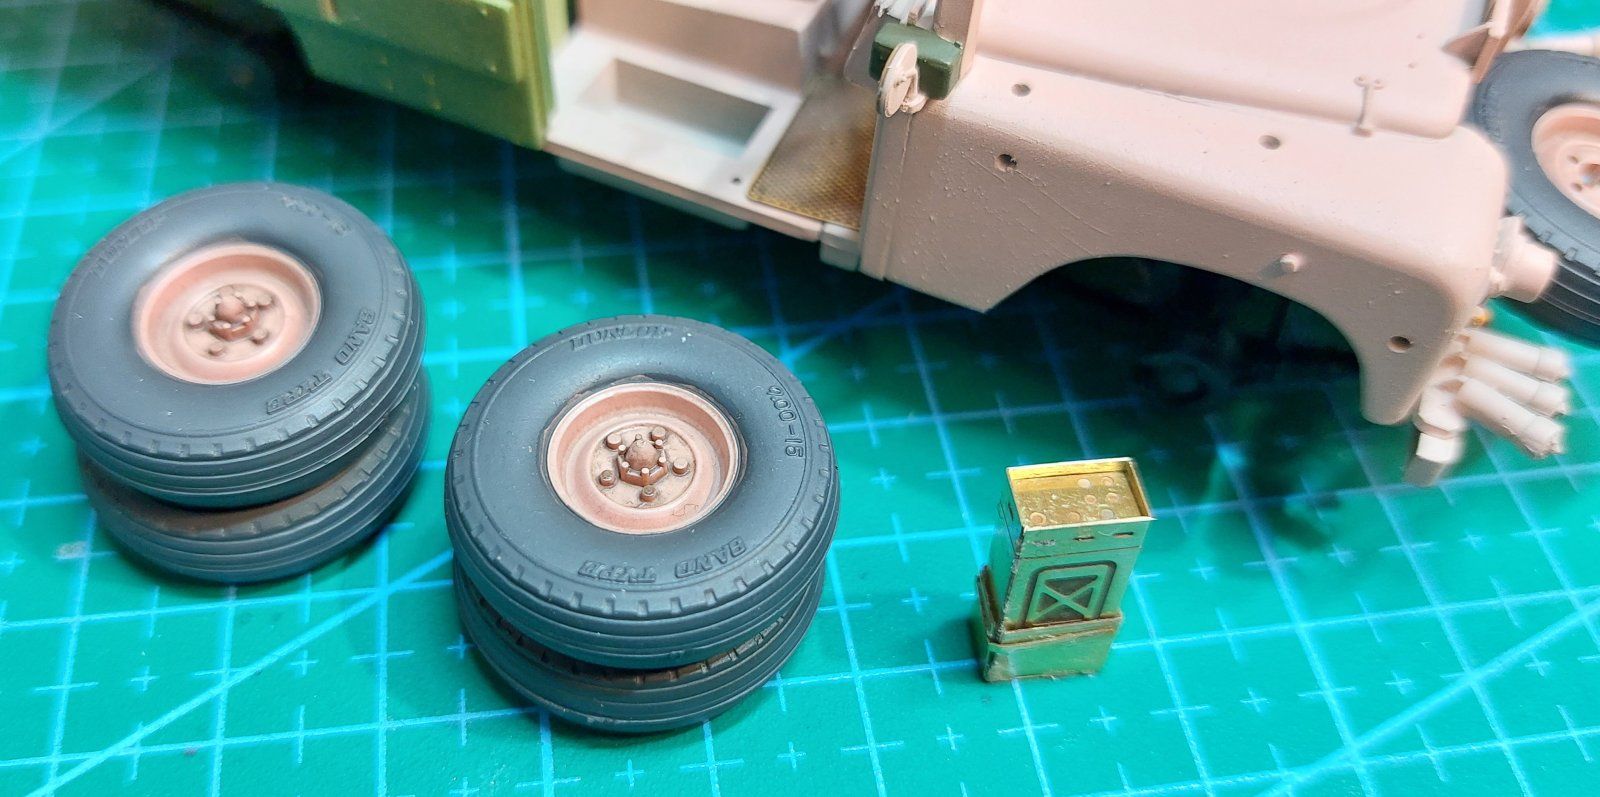
I migh have gone a little overboard with the chipping. I need to wait a few hours to wipe off some of the paint debris. Next I'll hand paint the wheels and weather the tires and the standard weathering and such.
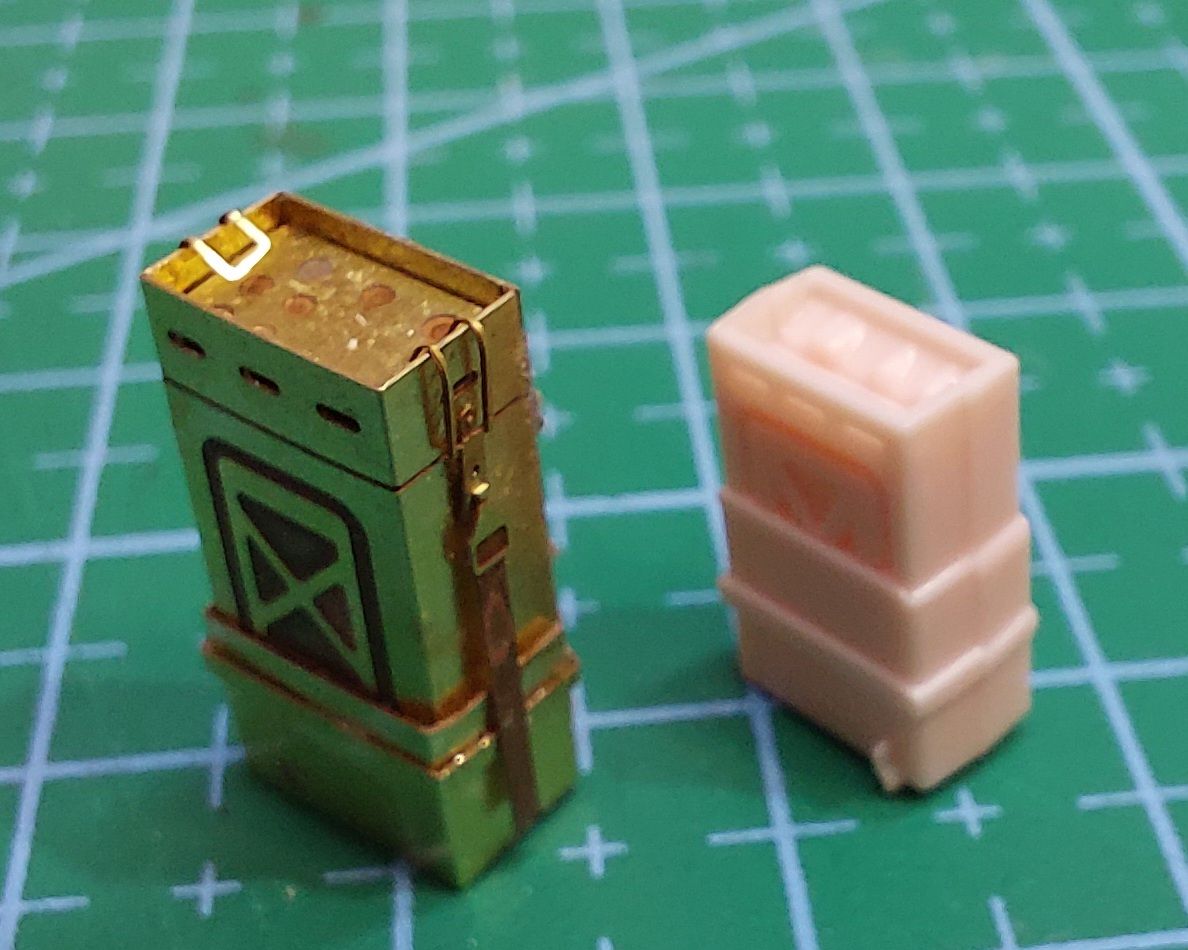
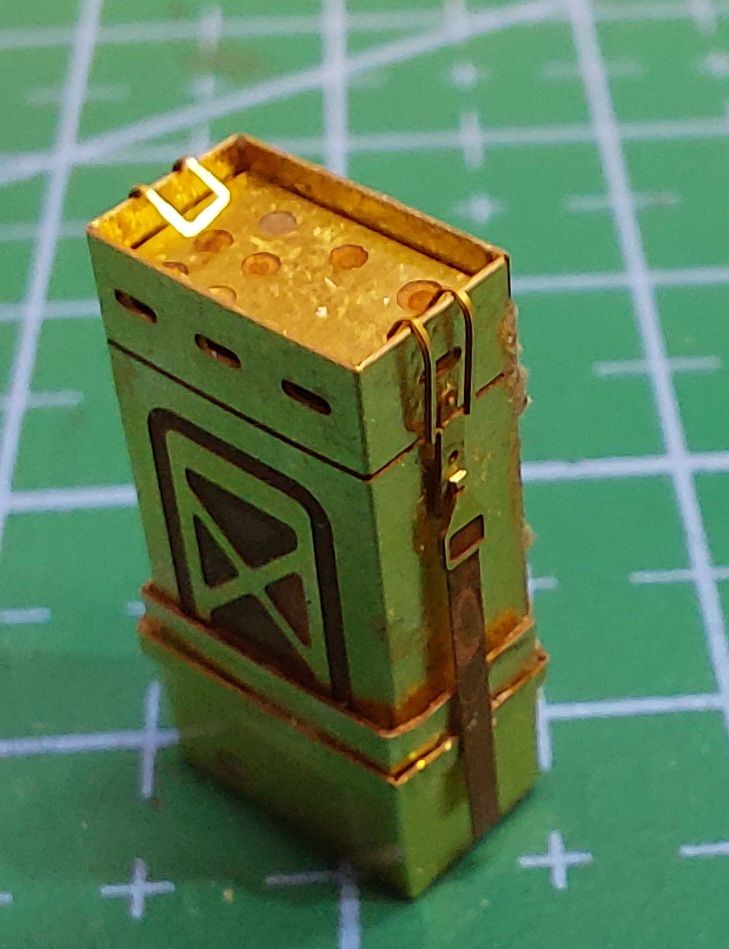
Radio done. Plastic version 2min, PE version 2hrs. Serious eye strain. PanthermanA little more progress made. Now working on the rear body and messing around with some more PE. Pantherman
2 hrs.?Radio done. Plastic version 2min, PE version 2hrs. Serious eye strain. Pantherman

Thank you.Really coming along nicely. Pantherman
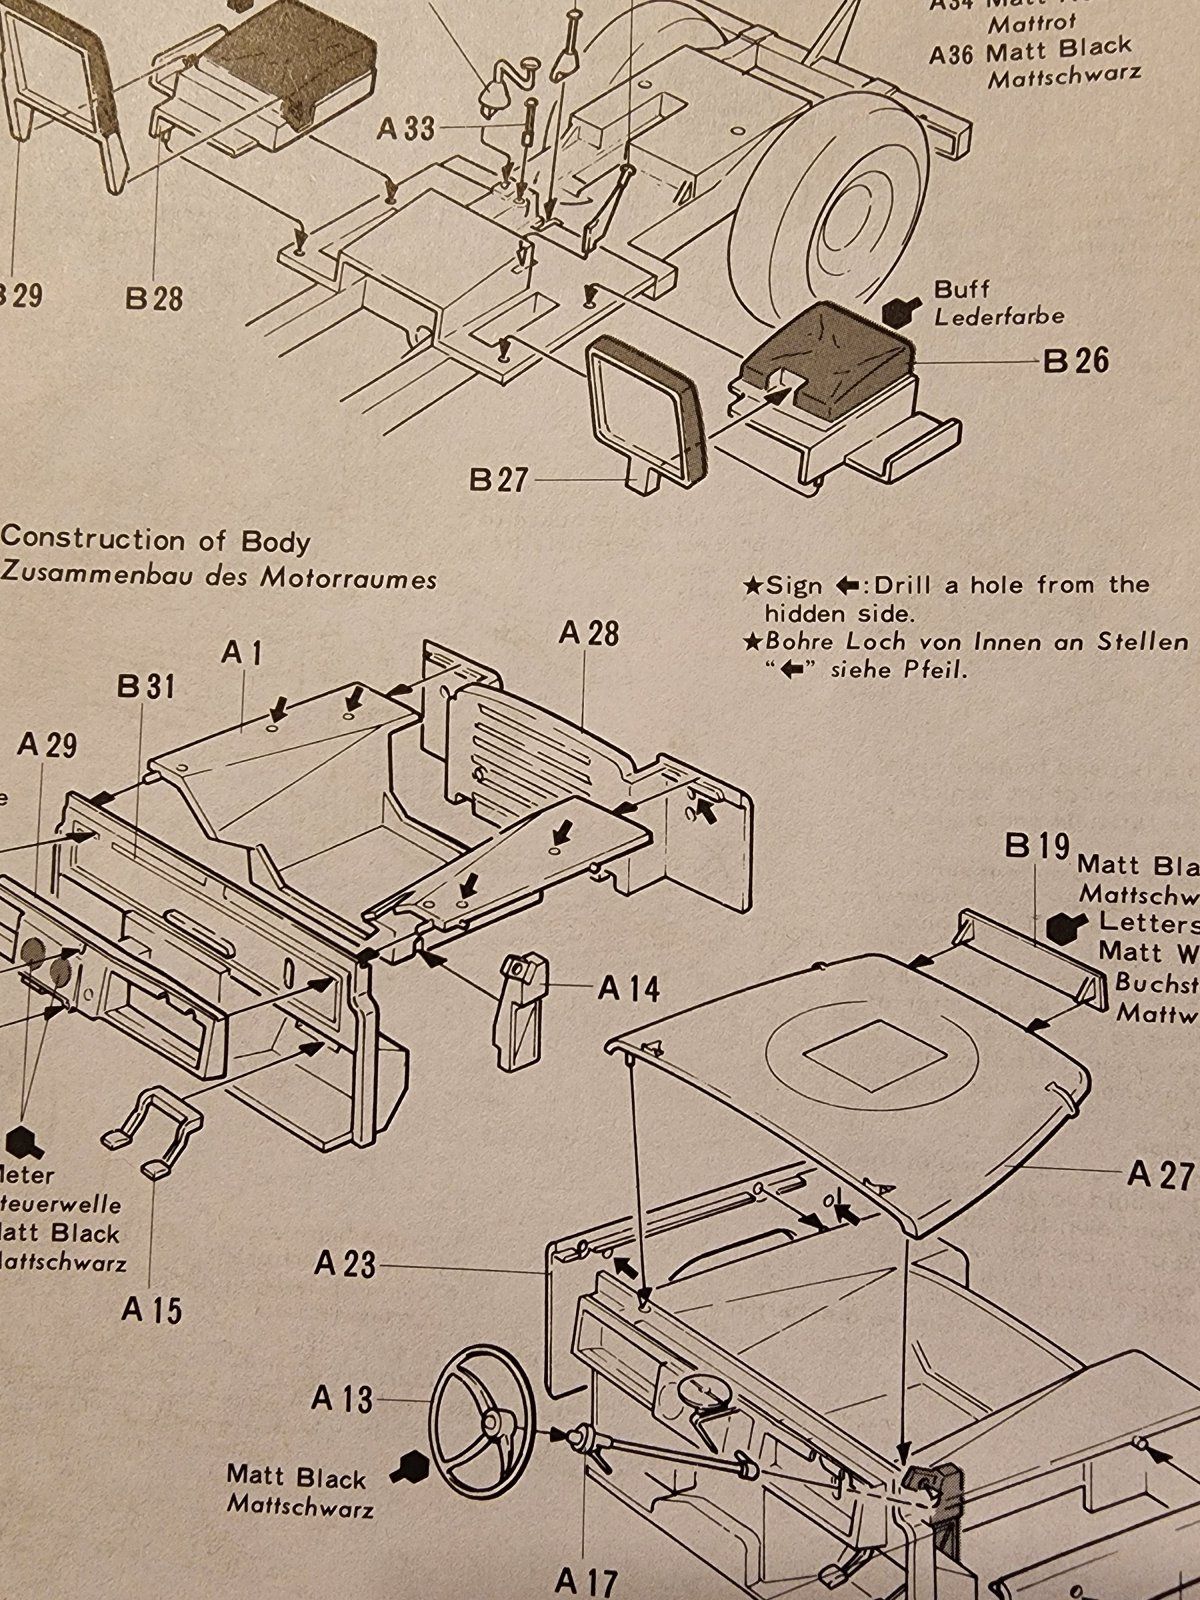
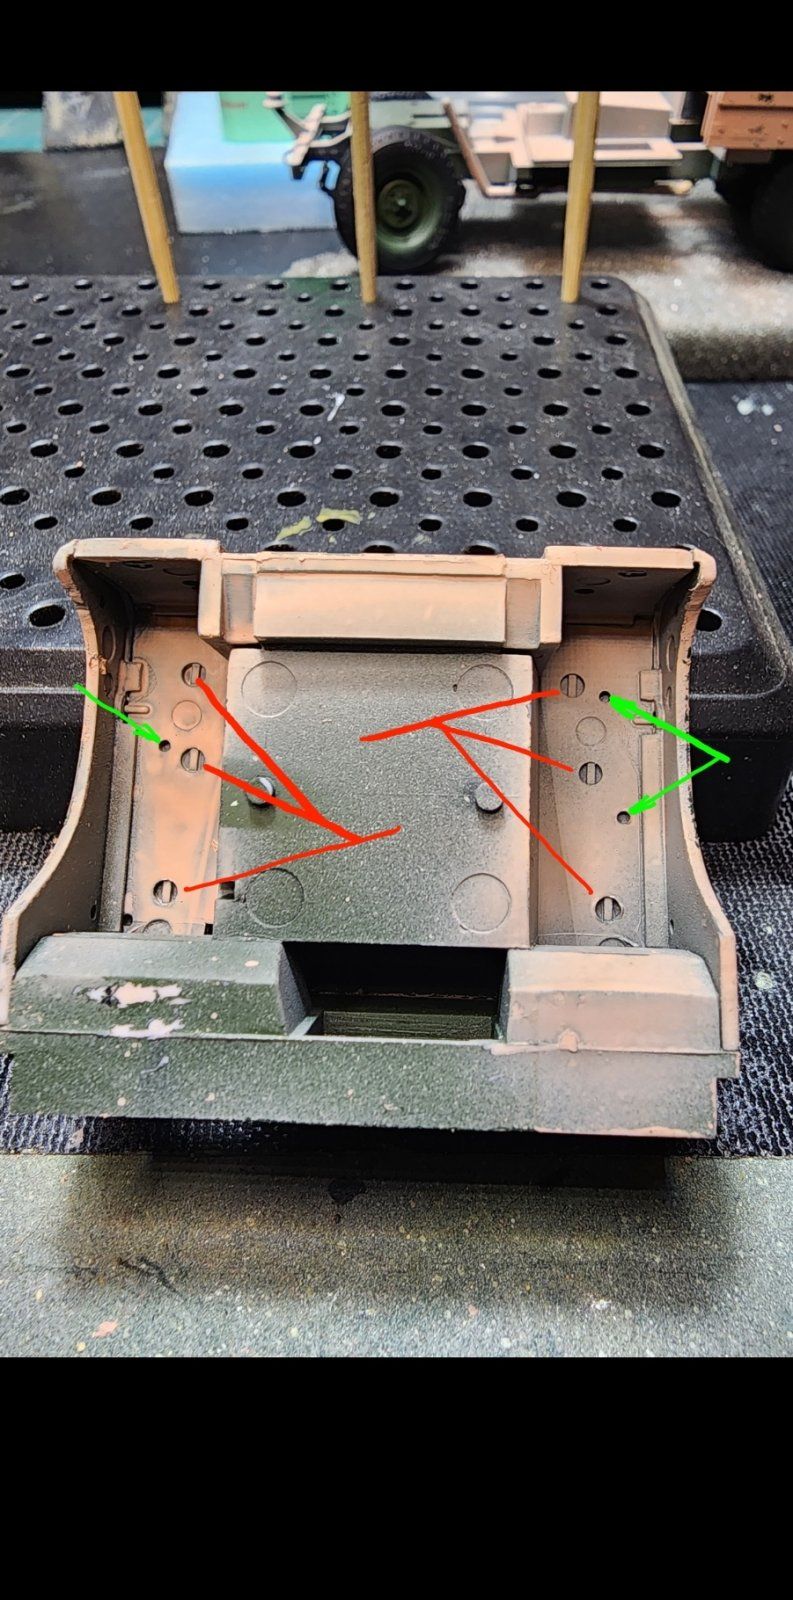
It's the green one's and there is another one that you missed on the left hand side very close to the dash. Just a small drill hole as these are positioning for the bonnet (hood) tools. PanthermanI have question. On the instructions, step #7 I notice several areas to drill holes as stated for 7
Which holes and what size bit? My largest size is .70mm.
The holes to be drilled, are they the green arrows and/or the red arrows?
Don't forget the 2 holes to be drilled in the front for the light and badge. PanthermanI have question. On the instructions, step #7 I notice several areas to drill holes as stated for 7
Which holes and what size bit? My largest size is .70mm.
The holes to be drilled, are they the green arrows and/or the red arrows?
Bonnet and bootIt's the green one's and there is another one that you missed on the left hand side very close to the dash. Just a small drill hole as these are positioning for the bonnet (hood) tools. Pantherman

Thank you.Don't forget the 2 holes to be drilled in the front for the light and badge. Pantherman
Thanks. Leg's are getting better slowly but doc won't let me back to work until next Thursday. Lot's of man cave time !!Thank you.
Your Panther is looking really nice!
How's your legs? Are you feeling any better?
Got the rear together and made a start on the seats. PanthermanDon't forget the 2 holes to be drilled in the front for the light and badge. Pantherman
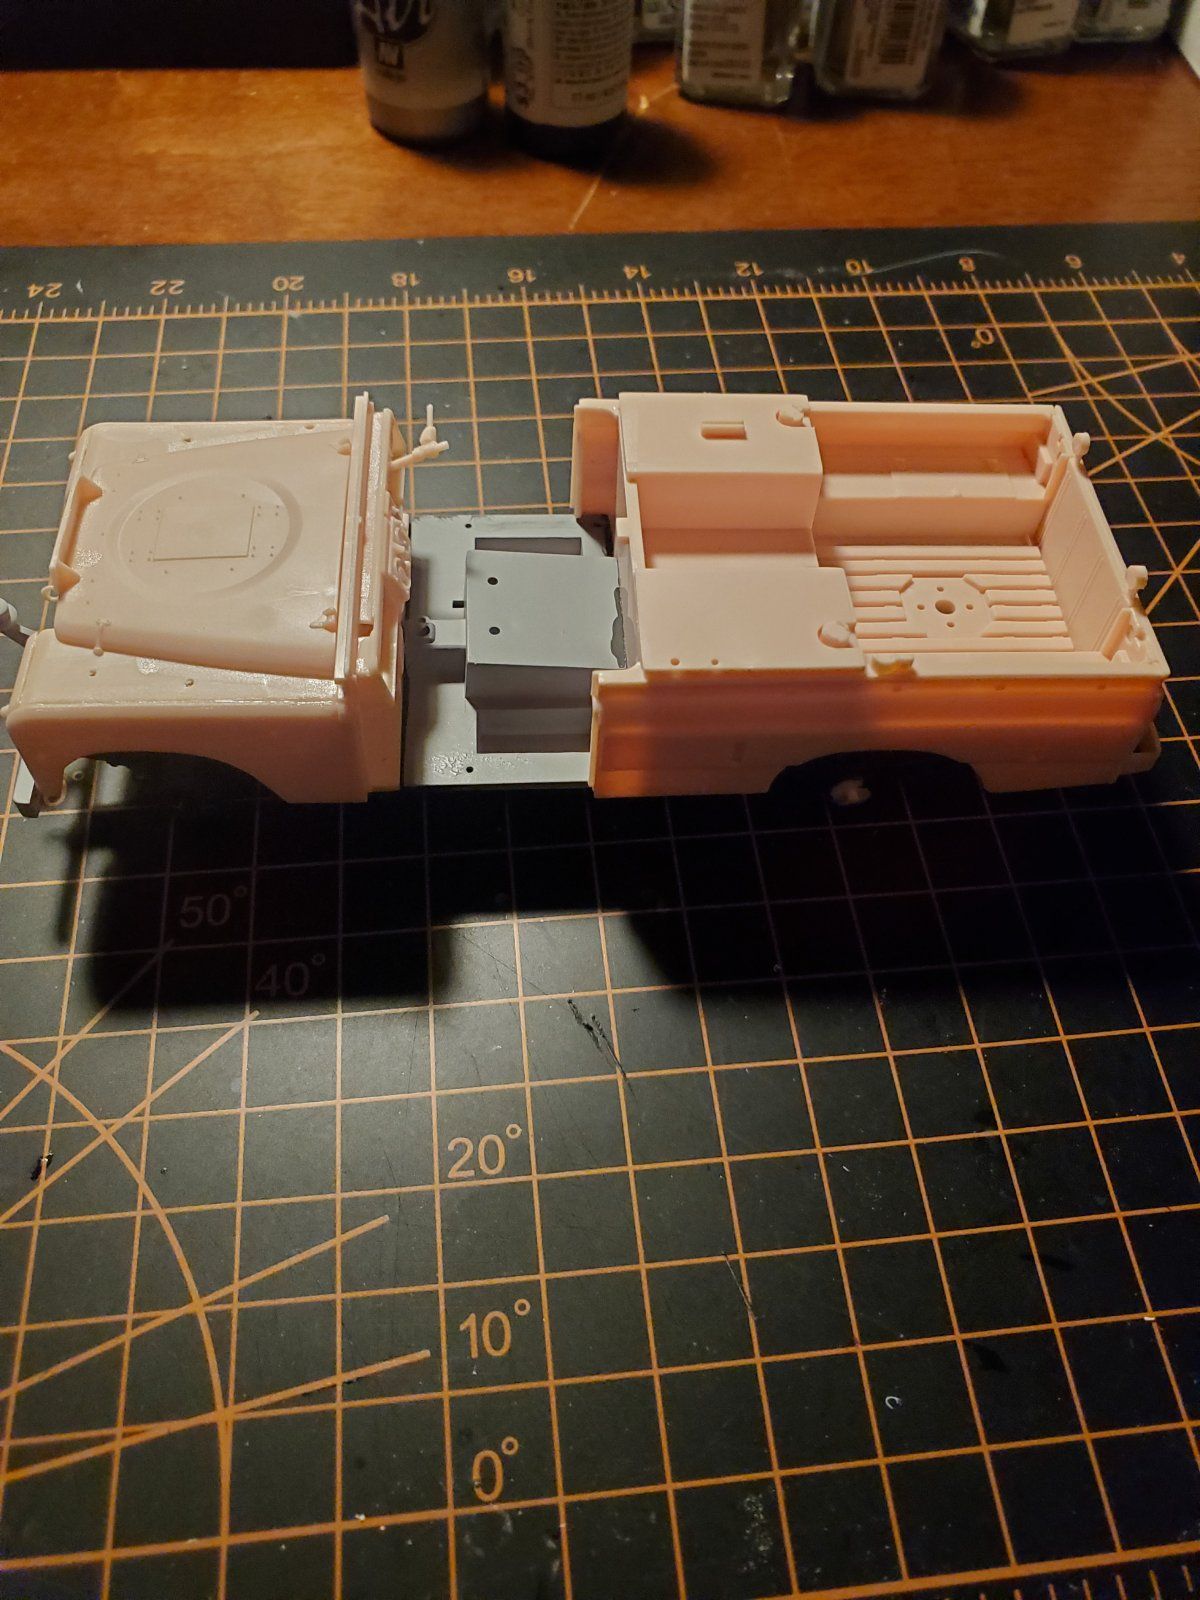
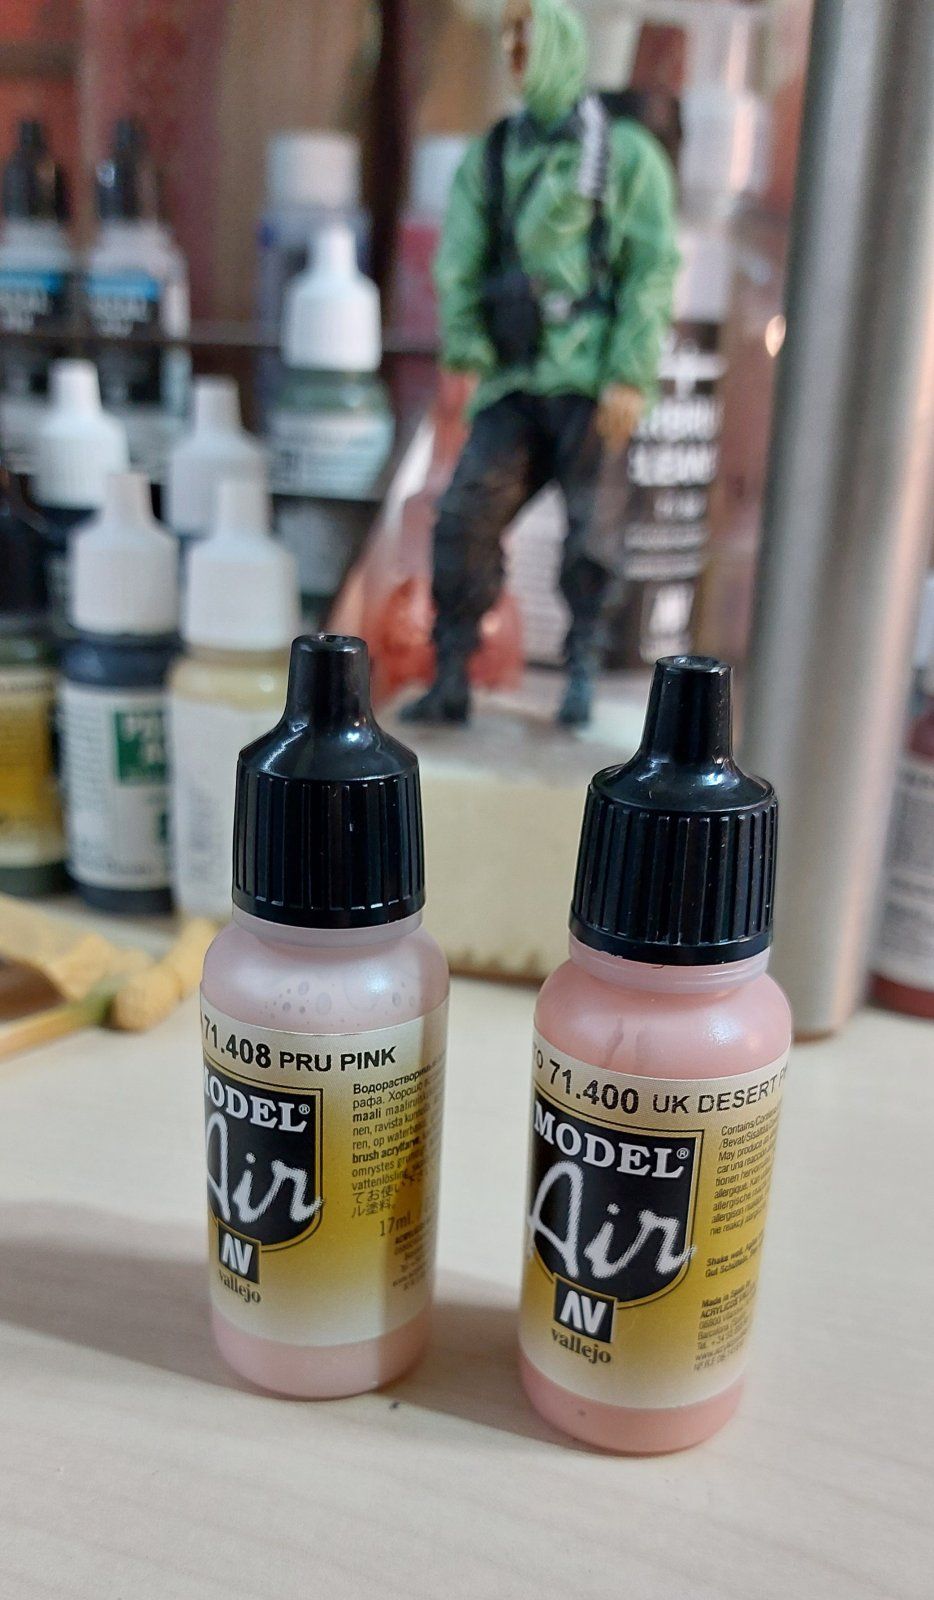
Nice work. I have just realised that I ordered the wrong pink so now have to wait for the UK desert pink to arrive. PanthermanThat is looking really good, Panther. Here is where I'm at. Test fitting the body.
Take it slow and easy. You and I both will heal up just fine!Thanks. Leg's are getting better slowly but doc won't let me back to work until next Thursday. Lot's of man cave time !!
Pantherman

Coming along quite nicely. I like the floor mats, too.Got the rear together and made a start on the seats. Pantherman



![Pampers Sensitive Baby Wipes, Clinically Proven, Fragrance Free, Unscented, Water Based, Hypoallergenic, Multi-Use, Hand Wipes 336 Wipes Total (6X Flip-Top Packs) [Packaging May Vary]](https://m.media-amazon.com/images/I/41KLBHu9CAL._SL500_.jpg)