1/100 U-VII C U-Boat

Scale Model Addict - Model Tips, Guides, Tools & Tech, Tutorials, and Community

Help Support Scale Model Addict:

Thank you Glorfindel.
I always like how you start with virtually nothing an along the way it starts to pop out at you.

Jim
 
Thank you TRM.

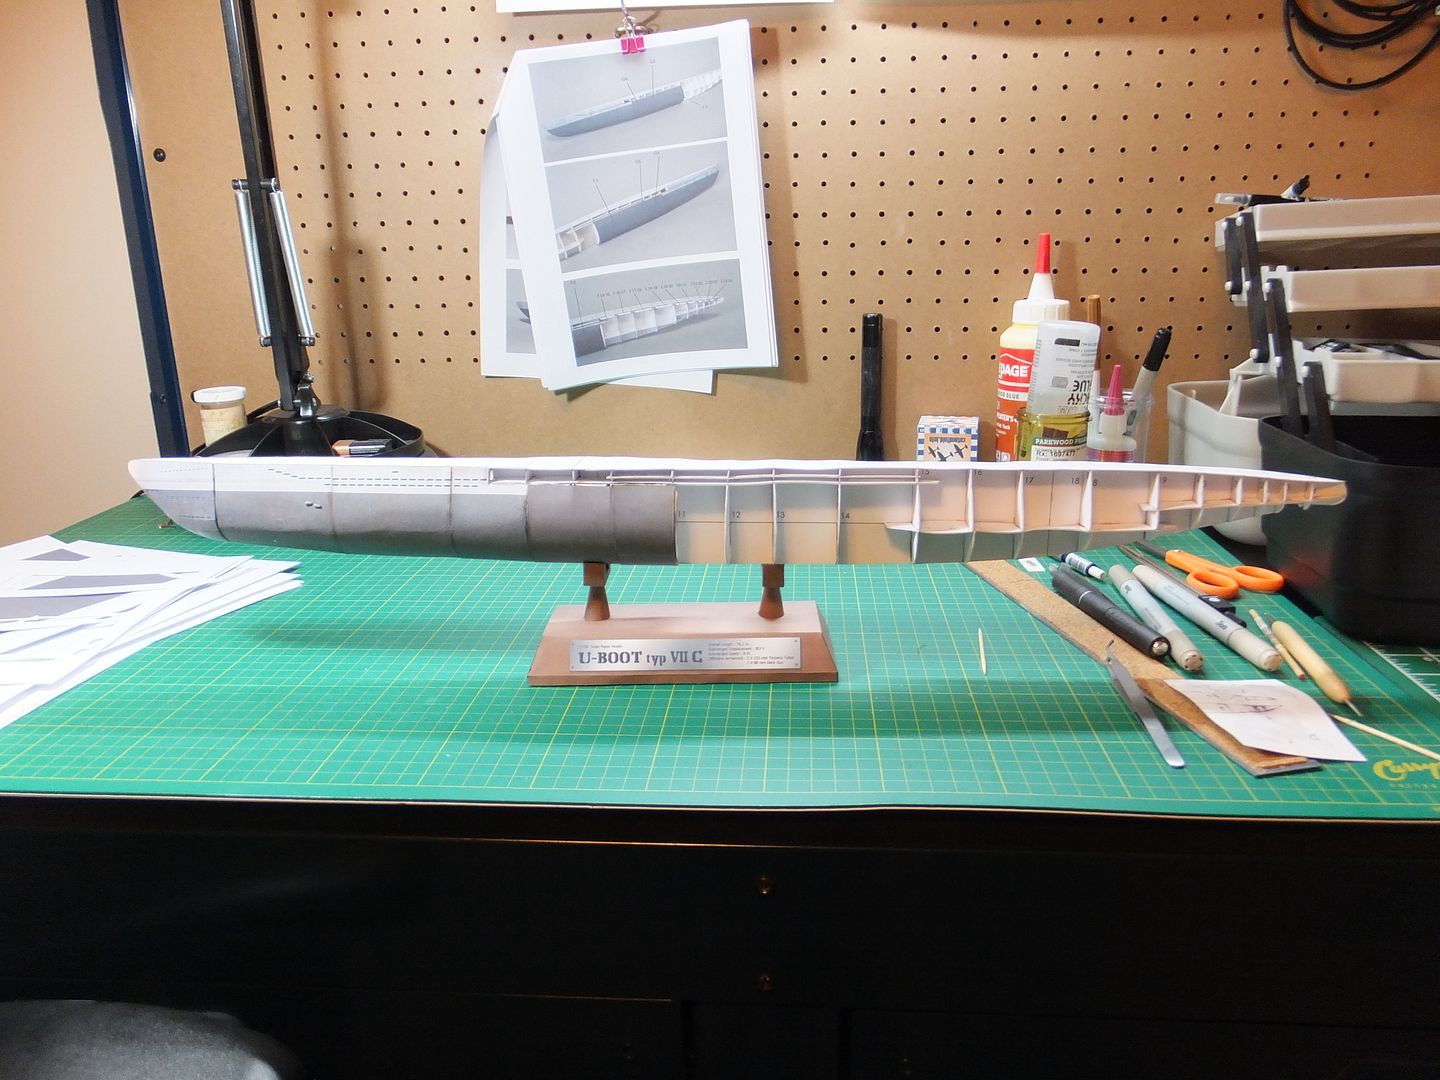
Today was able to apply some more plating to the hull superstructure. Slowly working down the frames.
Every piece adds a little more to it`s character.

Hull5_zpsb7fbfd6f.jpg


Hull6_zps66149c1e.jpg


With the weathering that is already on the hull and the oil-canning from the bulkheads. This ship is looking more and more like a blooded warrior.

I am always open for comments and questions.

Jim
 
Thank you Grendels.

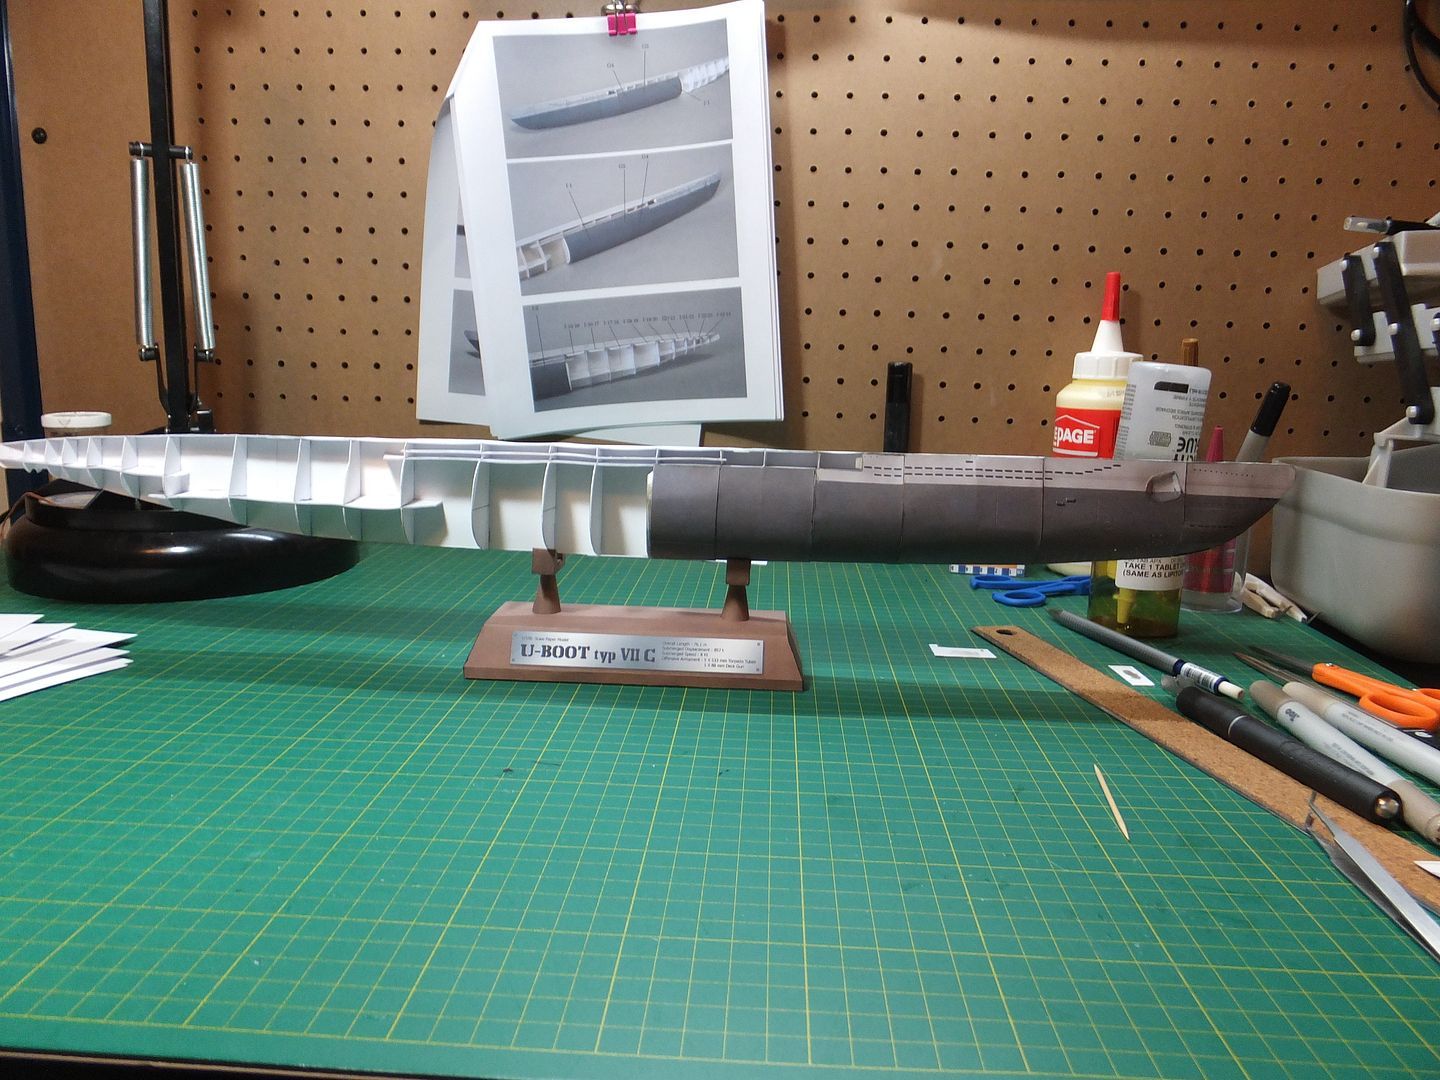
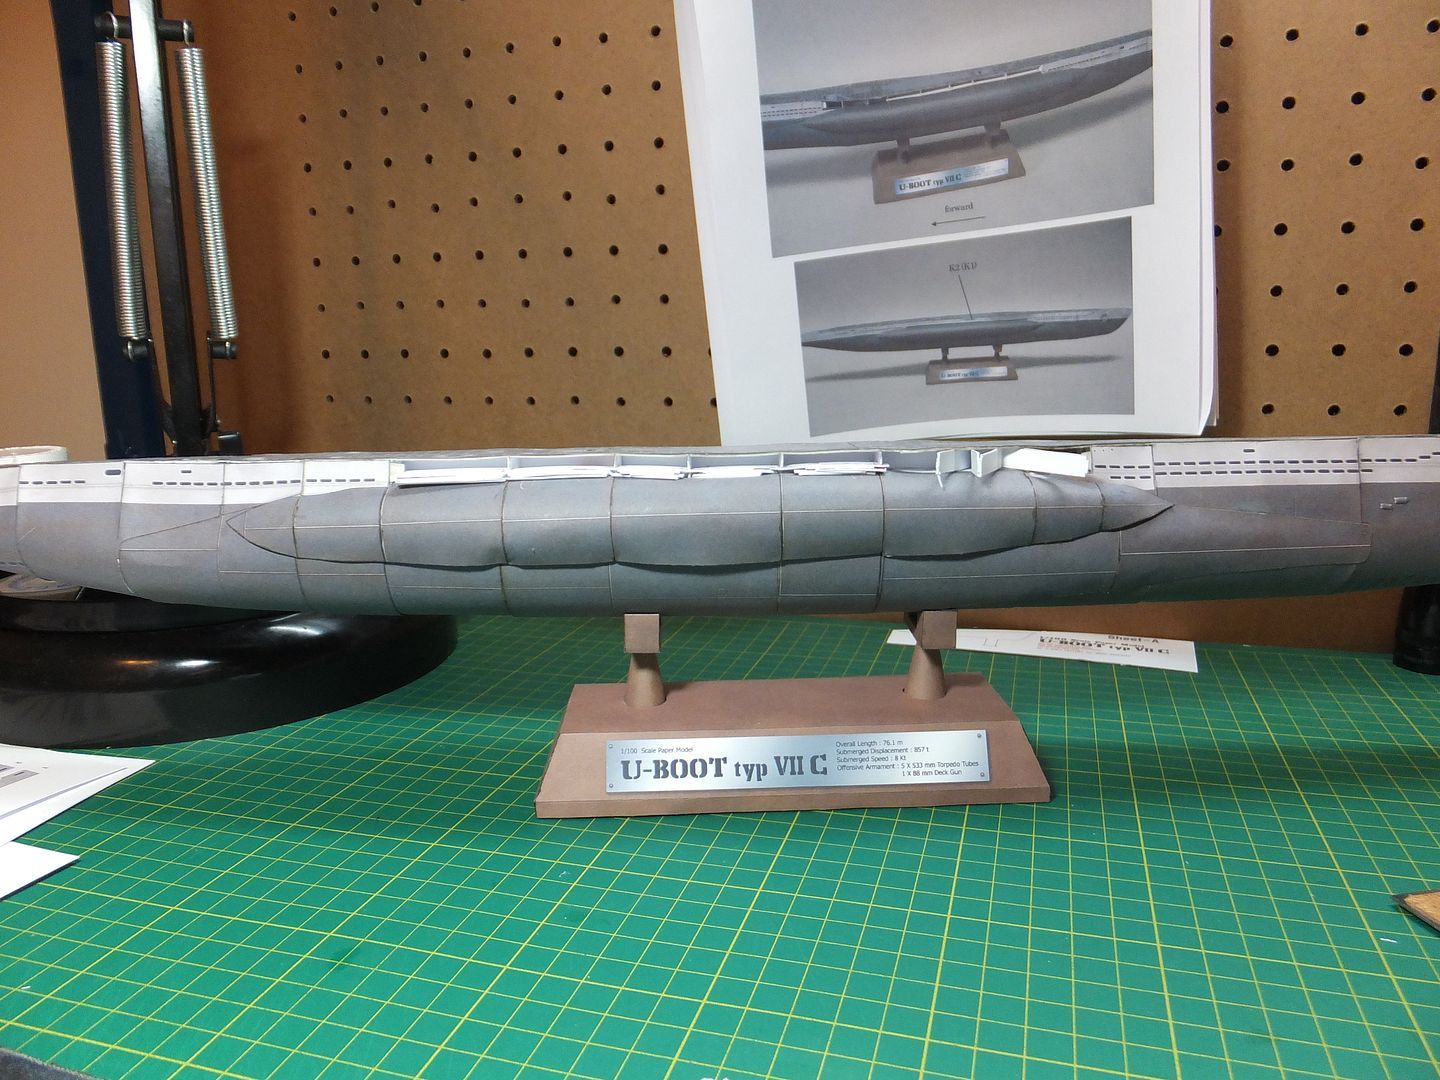
Added some more hull plates. I had a problem with plate 4 and 5 being a little short on the left side, approx. 1mm.
Using scrap stock that was the same colouring, cut filler pieces to fill the gap. It now looks even.
I have a couple of shaped hull panels that now have their formers in and will install tomorrow when they are fully dry.

So this is where we stand.

Hull9_zpsc313cf8e.jpg


Now have hull to support it self on the stand. ;D

Questions and comments are always welcome.

Jim
 
Thanks TRM.
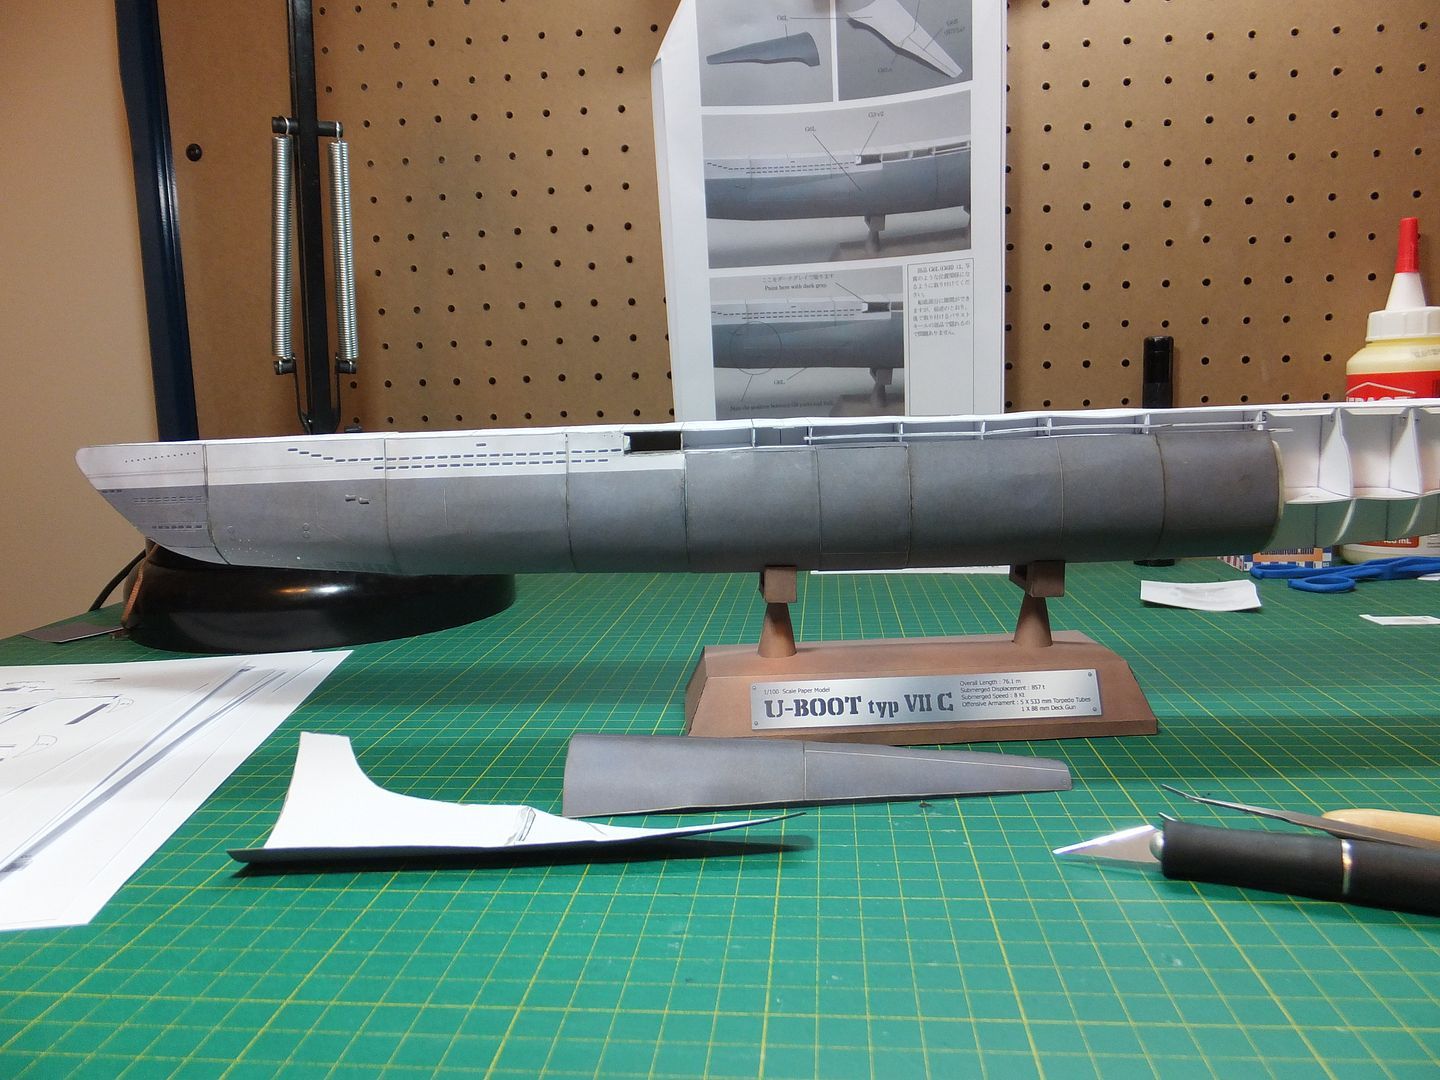
As I'm moving aft the plates are becoming more complex and have to spend more time on the logistics and fit before proceeding.

Jim
 
I know what you mean on the moving aft. I have a 1/72 U ...caugh caugh, ummm.. ::) Waiting for me to finish and had to put the photo etch vents near the prop shafts' inlet. Everything doesn't fair out like the front at all! Looks like you will have it all under control though!! ;)
 
There's always a way. One just has to figure out all the possibilities.
To me modeling has to be a challenge, or there is no pride and satisfaction at the end of the build.

Jim
 
Hello.

Short update tonight.
The closer one gets to the stern, the harder the pieces are to fit. It will be nice when I can move on to more detailed work.

This is where she stands tonight.

Hull10_zpsade2adbb.jpg


Questions and comments welcome.

Jim
 
This is coming along quite quickly. I am glad that - as a plstic modeller - I don't have to shape the parts. That would be the end of me!
Bravo Zulu!
 
Thank you Tailor and TBadger.
To me that is the fun part. One takes a flat piece of paper or card and by cutting, rolling, folding and formers you end up with a 3D part that looks like something. No different than taking some scavenged bits and styrene stock, shape, glue, to achieve the same thing. ;)

Jim
 
Hey there Jim, it's great to see another papermodeler here!

She's looking very nice, I'm surprised you didn't die while cutting out those formers, getting them
square and fitting drives me insane :P But it looks like you've made short work of them!
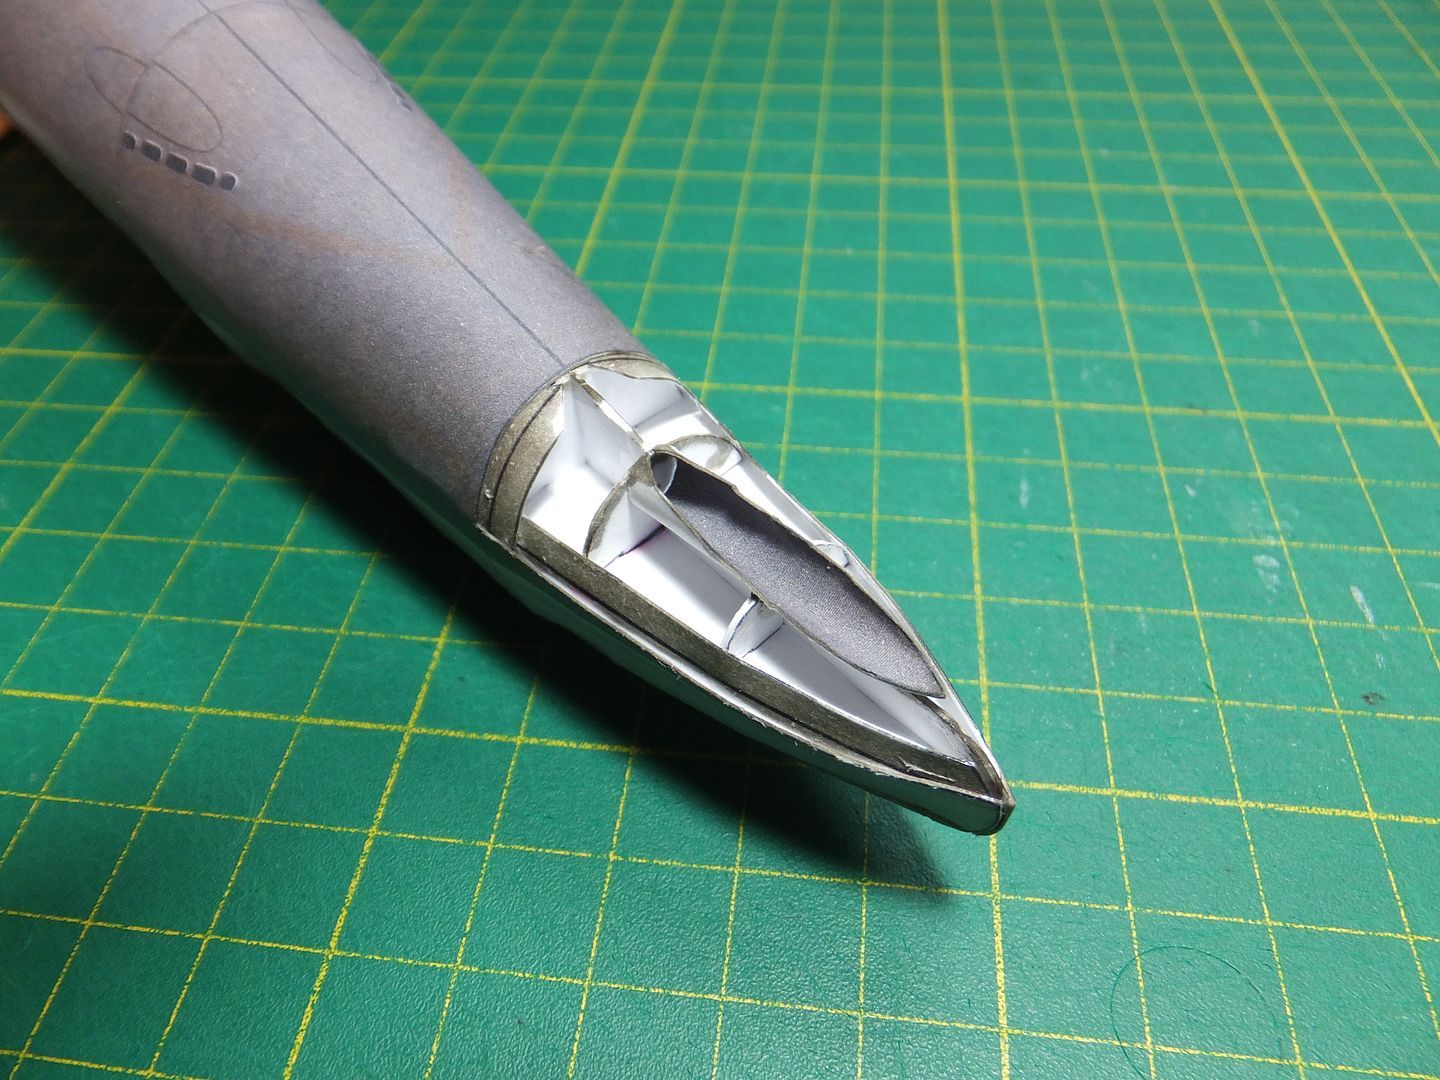
Keep it up!
 
Thanks Fruit.
I find the secret is to either fasten the keel to a board or build on a grid and don't rush it.
As you can see my cutting mat has a nice cm grid that is nice for this job.

Jim
 
This is tonight's update so far.
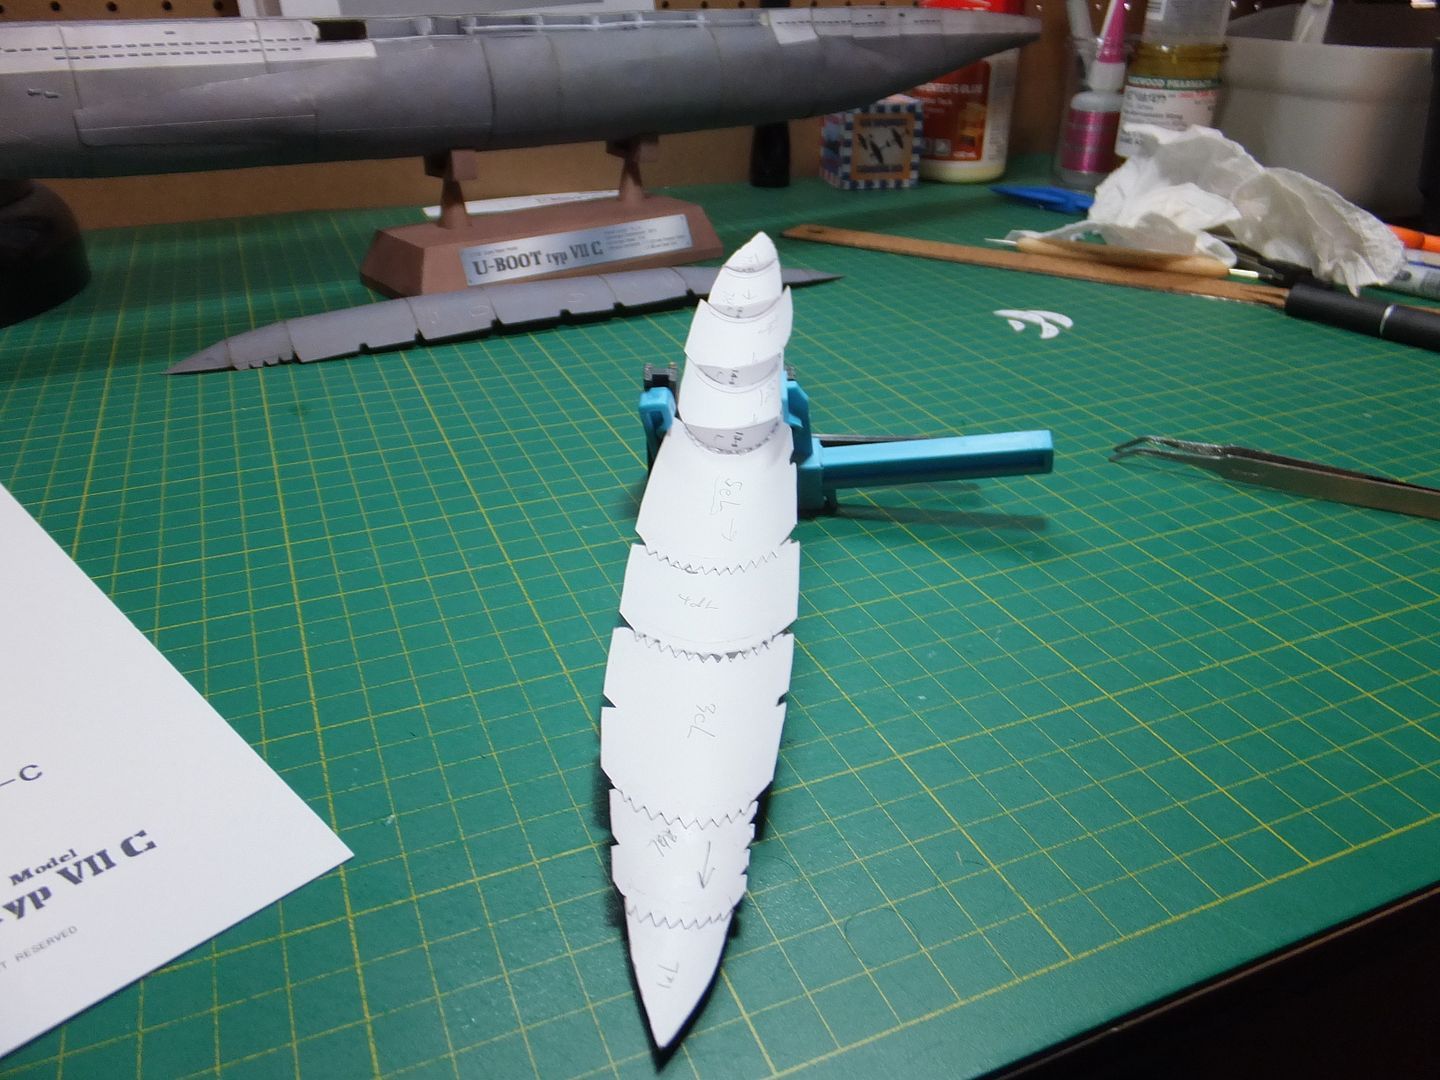
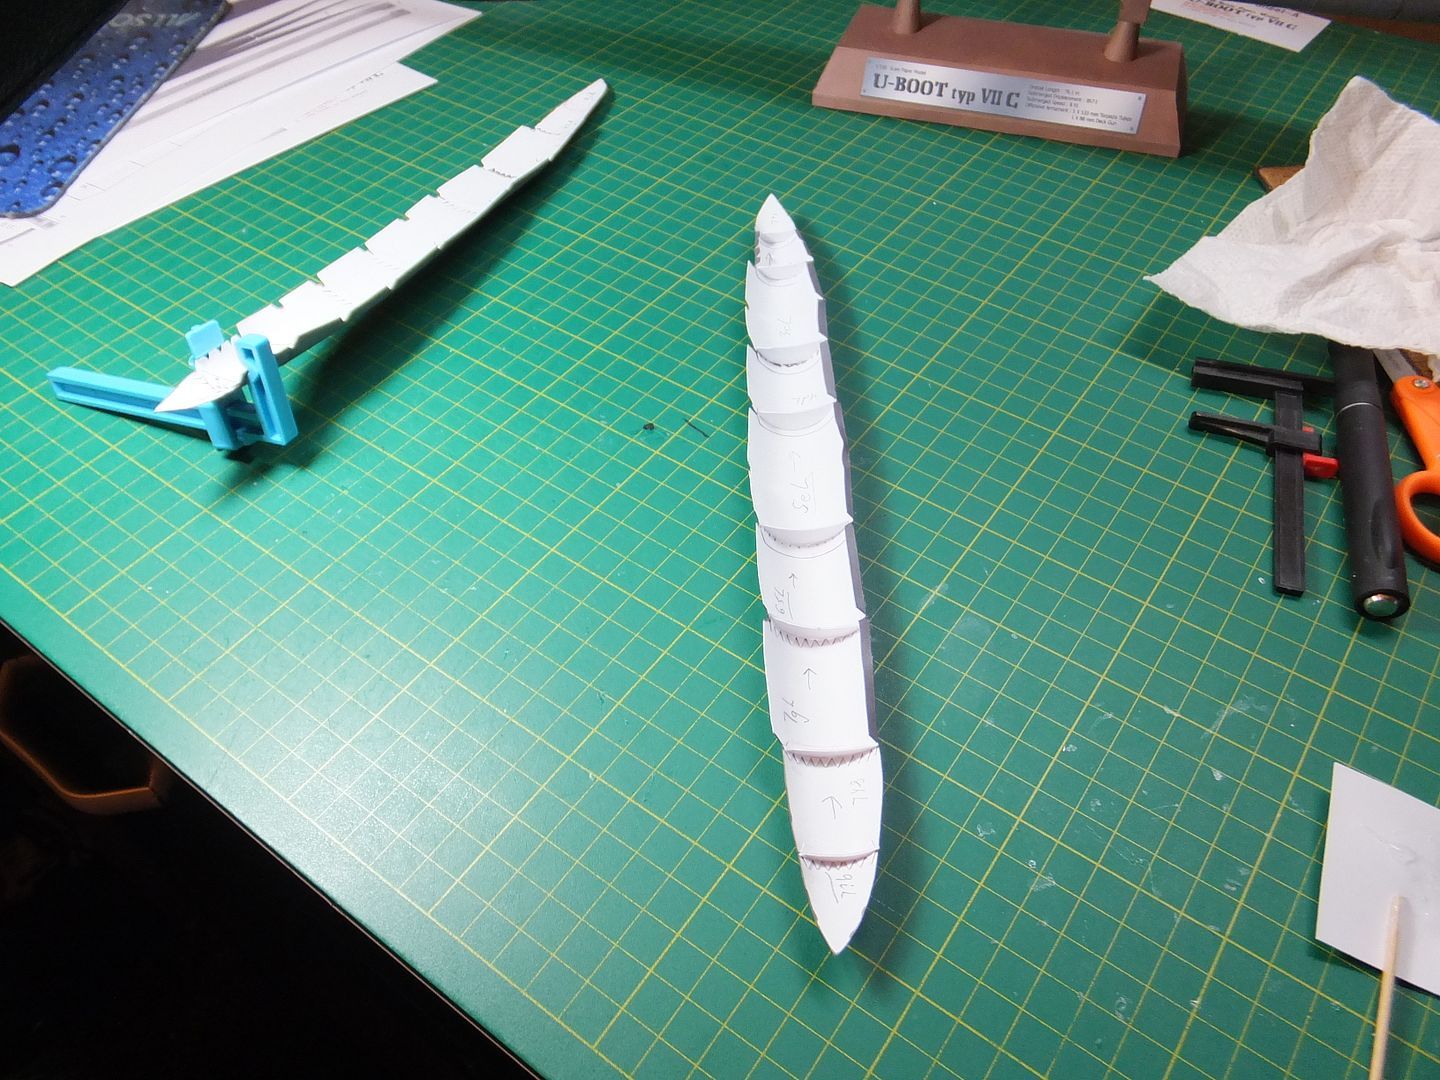
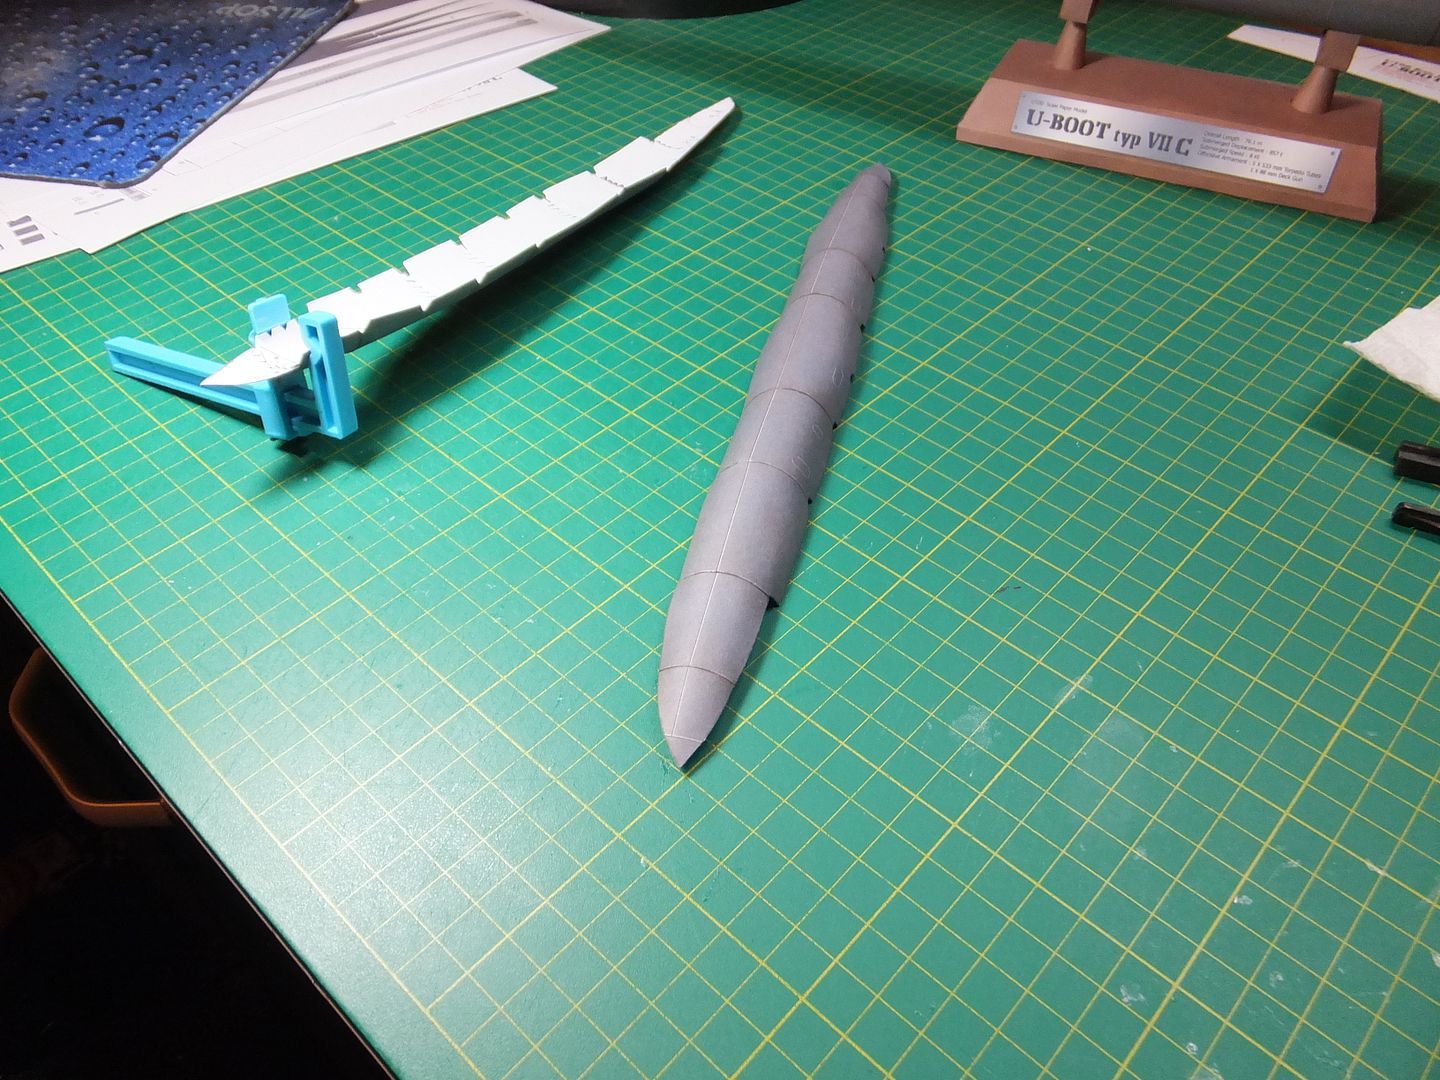
Finished the main part of the hull today. These last few pieces took a little bit of figuring to get the assembly.
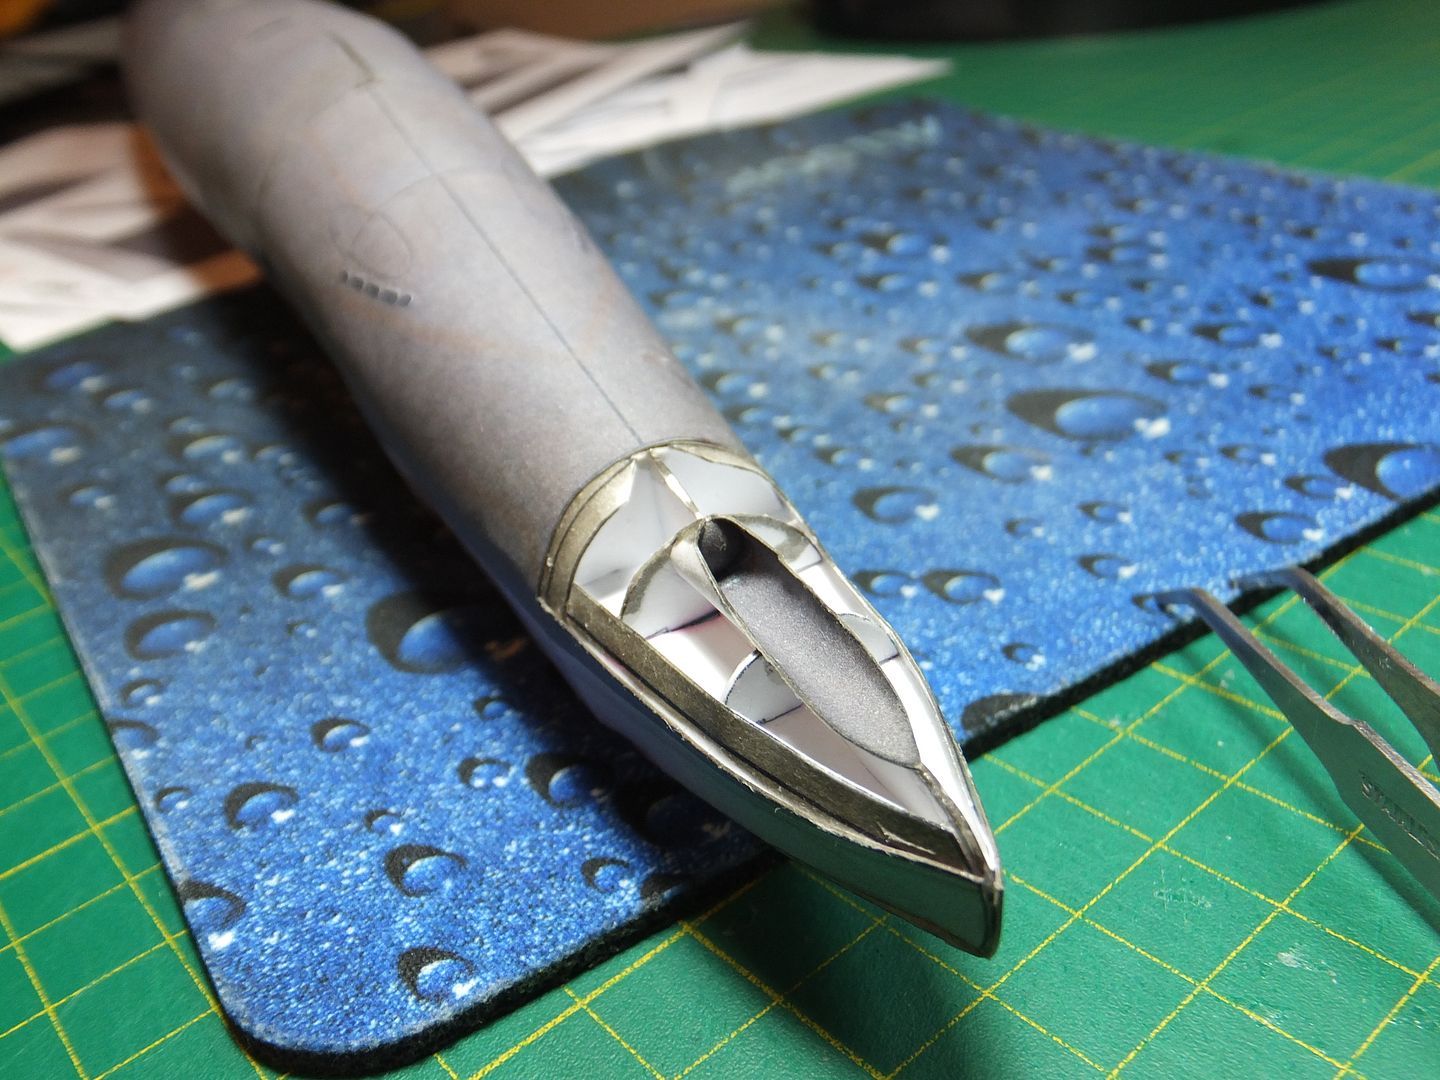
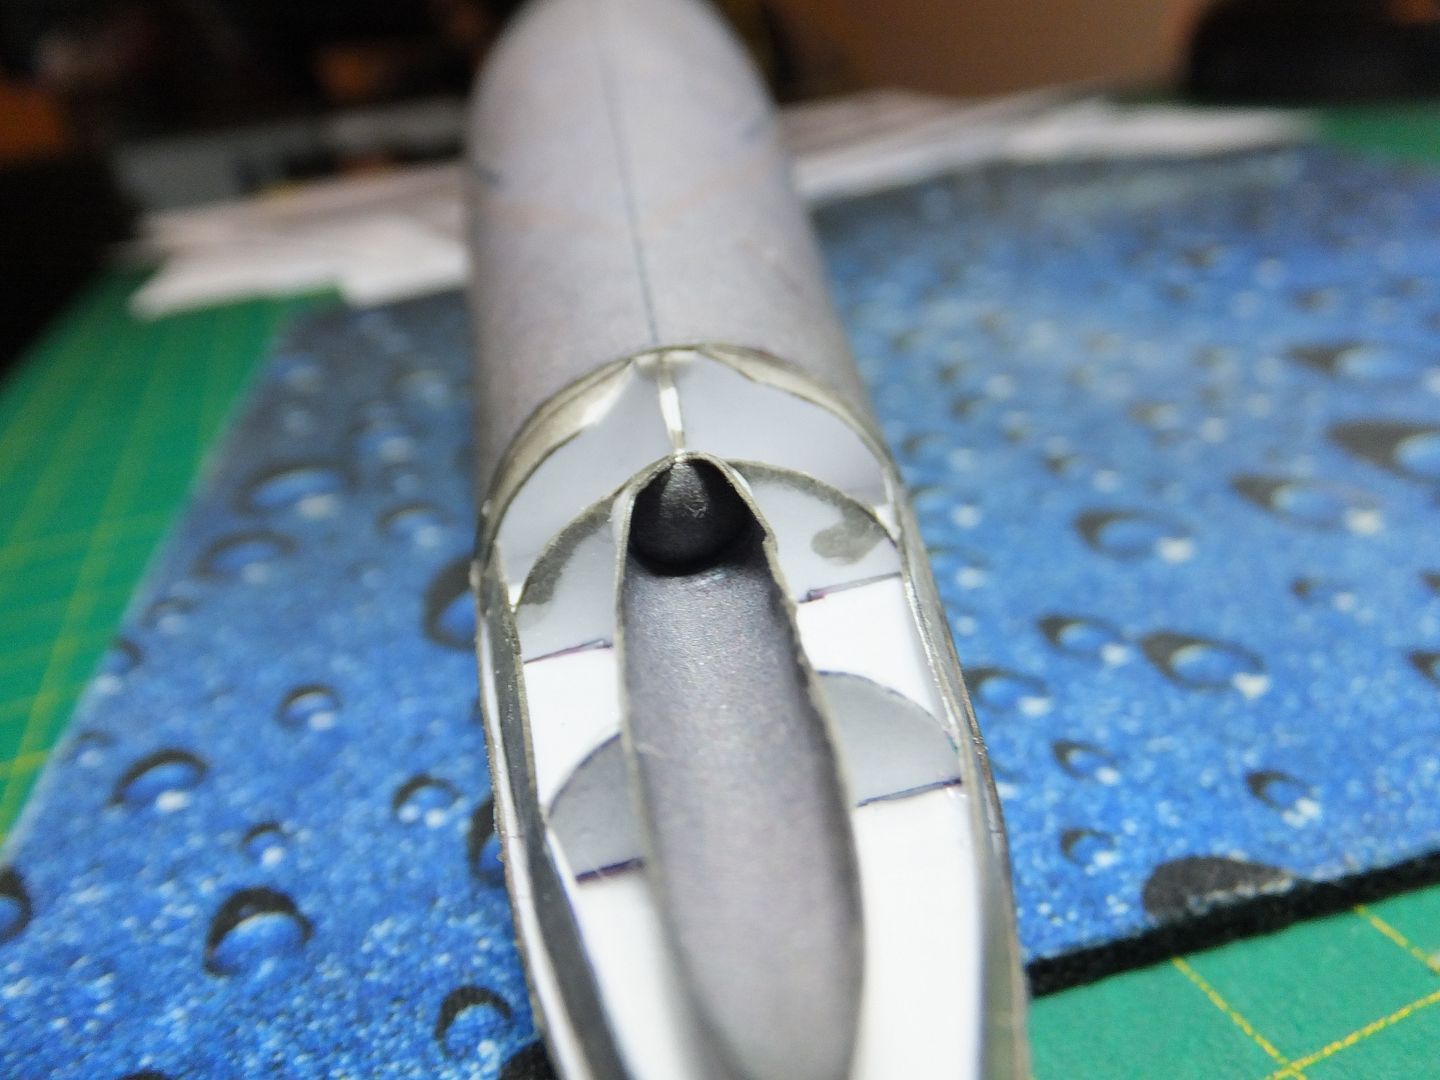
The procedure in the manual, when trying to fit the parts was just not going to work. I had to change the order in-order to have the pieces all mesh. Instead of the last panel first, it was better to install the stern torpedo tube first and that last panel last. This gave me the ability to trim and fit that last piece better.

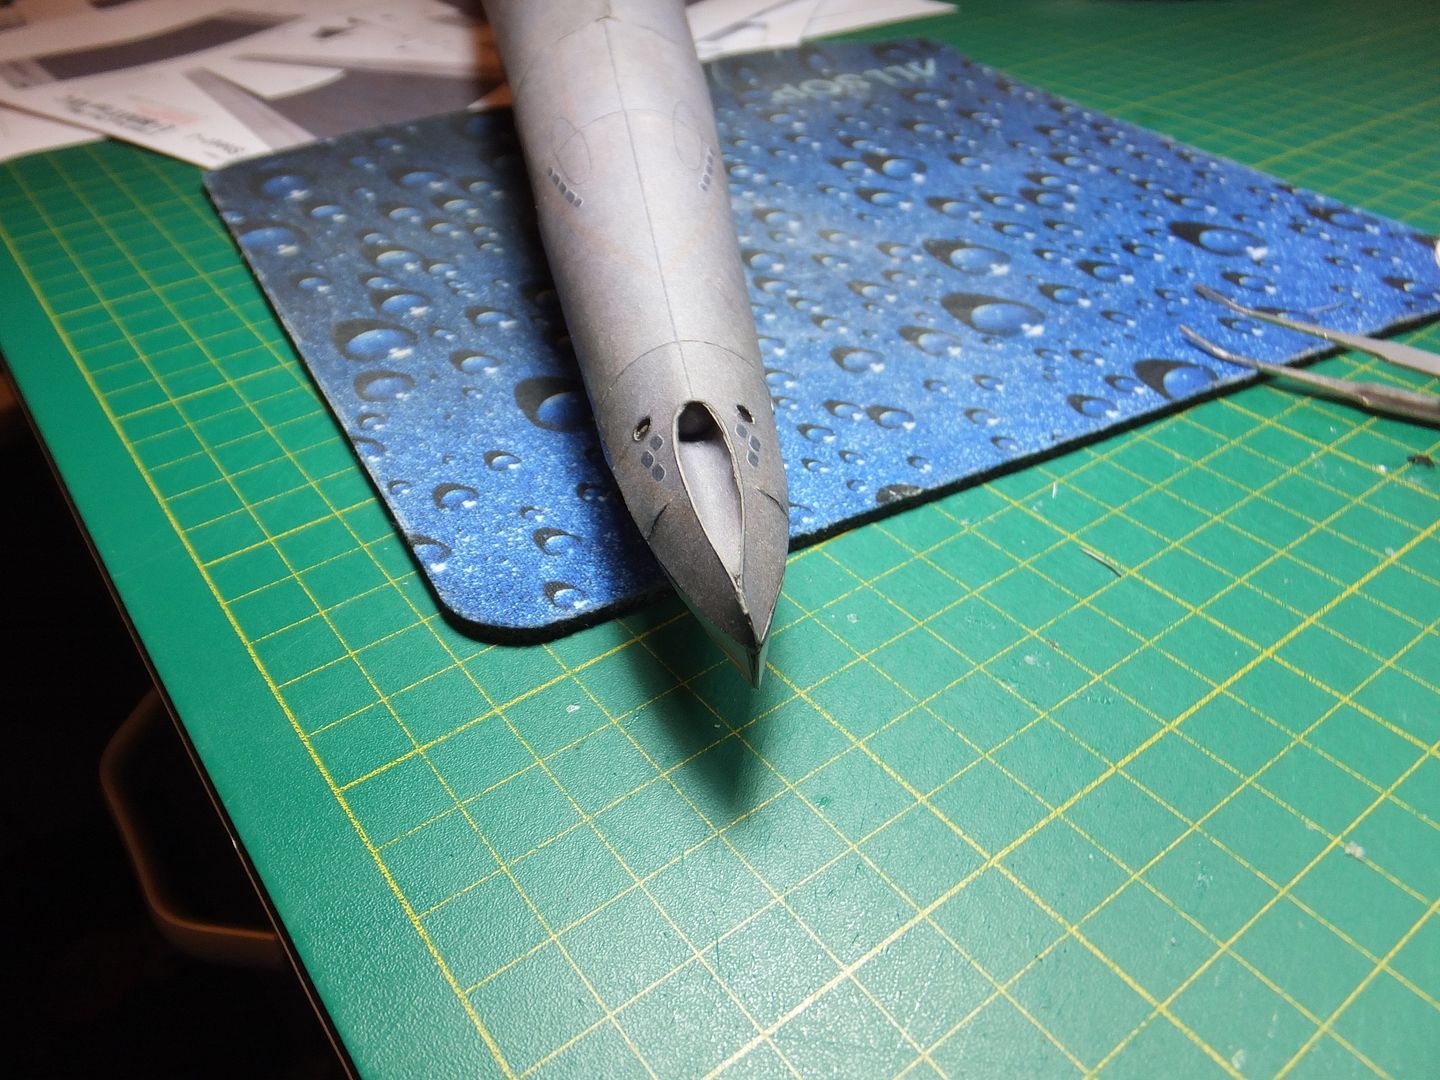
Here the stern torpedo tube is cut and shaped, but just placed in position.

SternTorpedoTube1_zpsc8c016d0.jpg


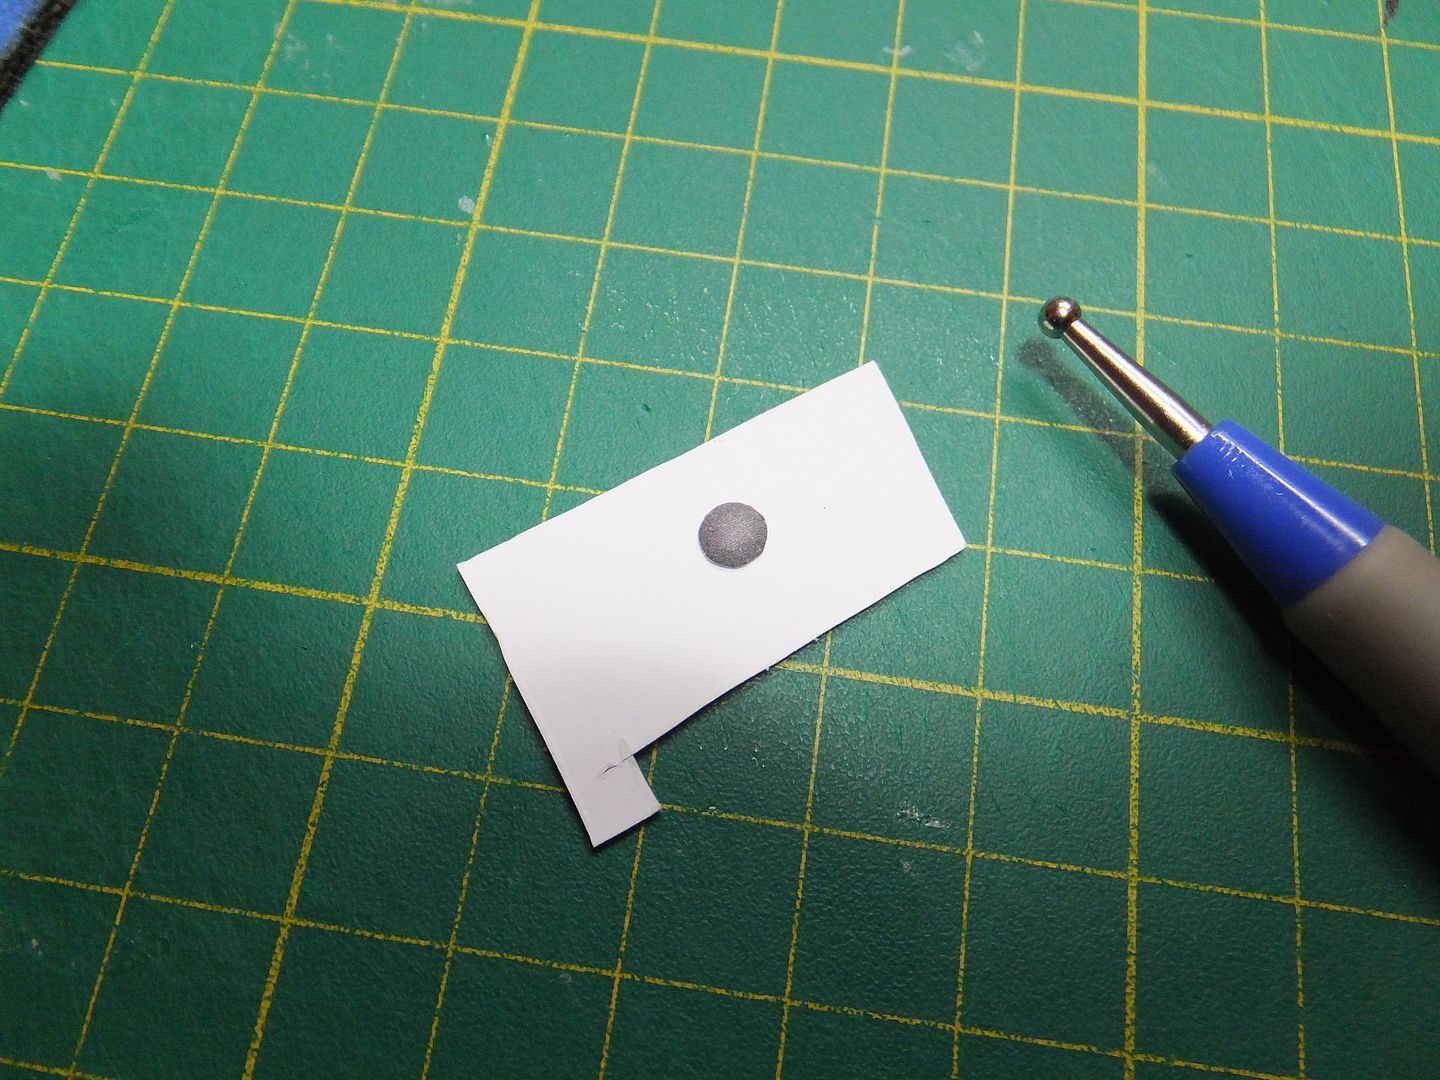
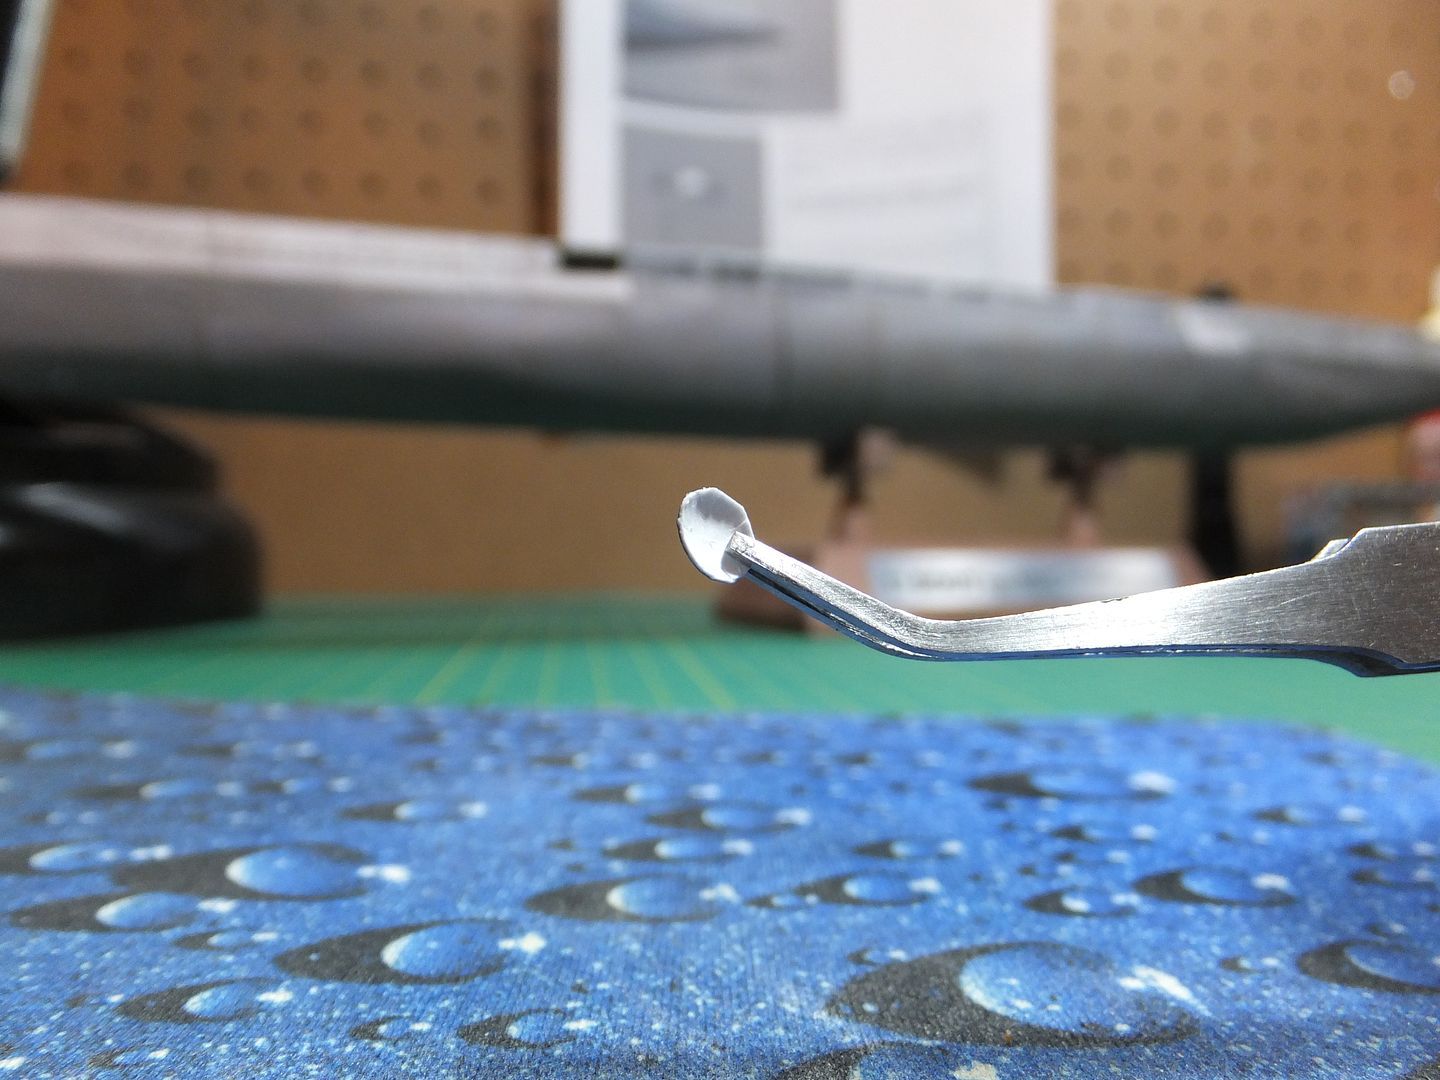
The next 2 frames are the water tight door for the stern tube cut and shaped, with my burnishing tool beside it.

SternTorpedoTubeDoor1_zps1314cfe1.jpg


SternTorpedoTubeDoor2_zpscfc7679c.jpg


These 2 frames show the stern tube and the water tight door installed.

SternTorpedoTube2_zps211cecd5.jpg


SternTorpedoTube3_zps235f646b.jpg


This shows the final stern panel installed over the stern torpedo tube.

SternTorpedoTube4_zps447f80ff.jpg


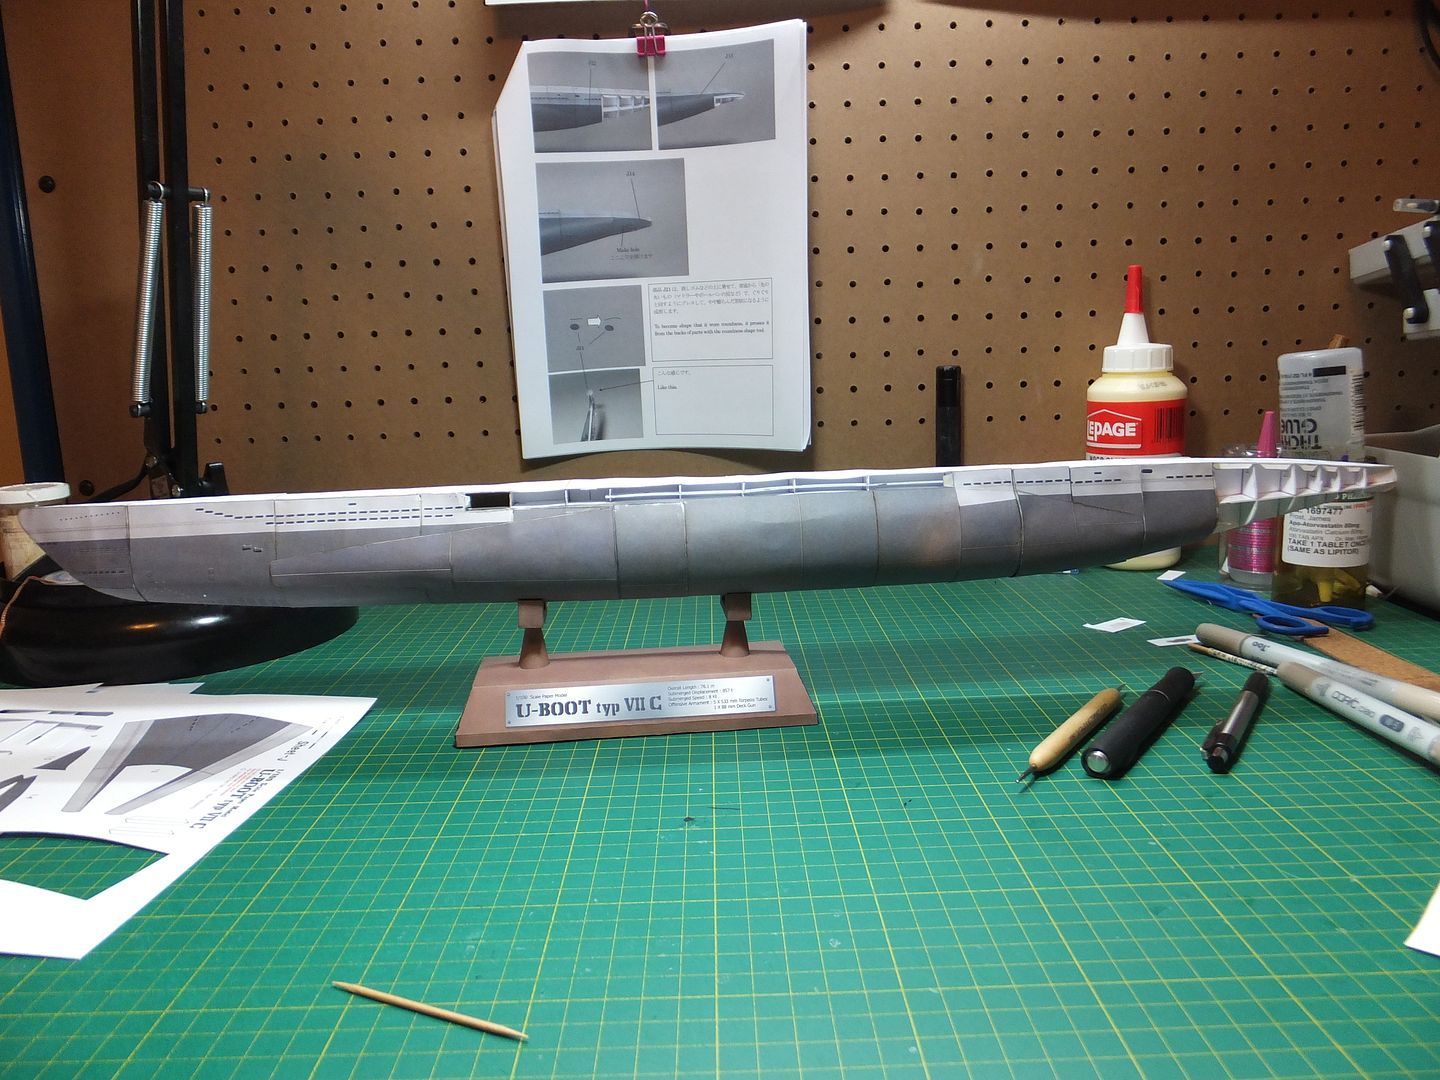
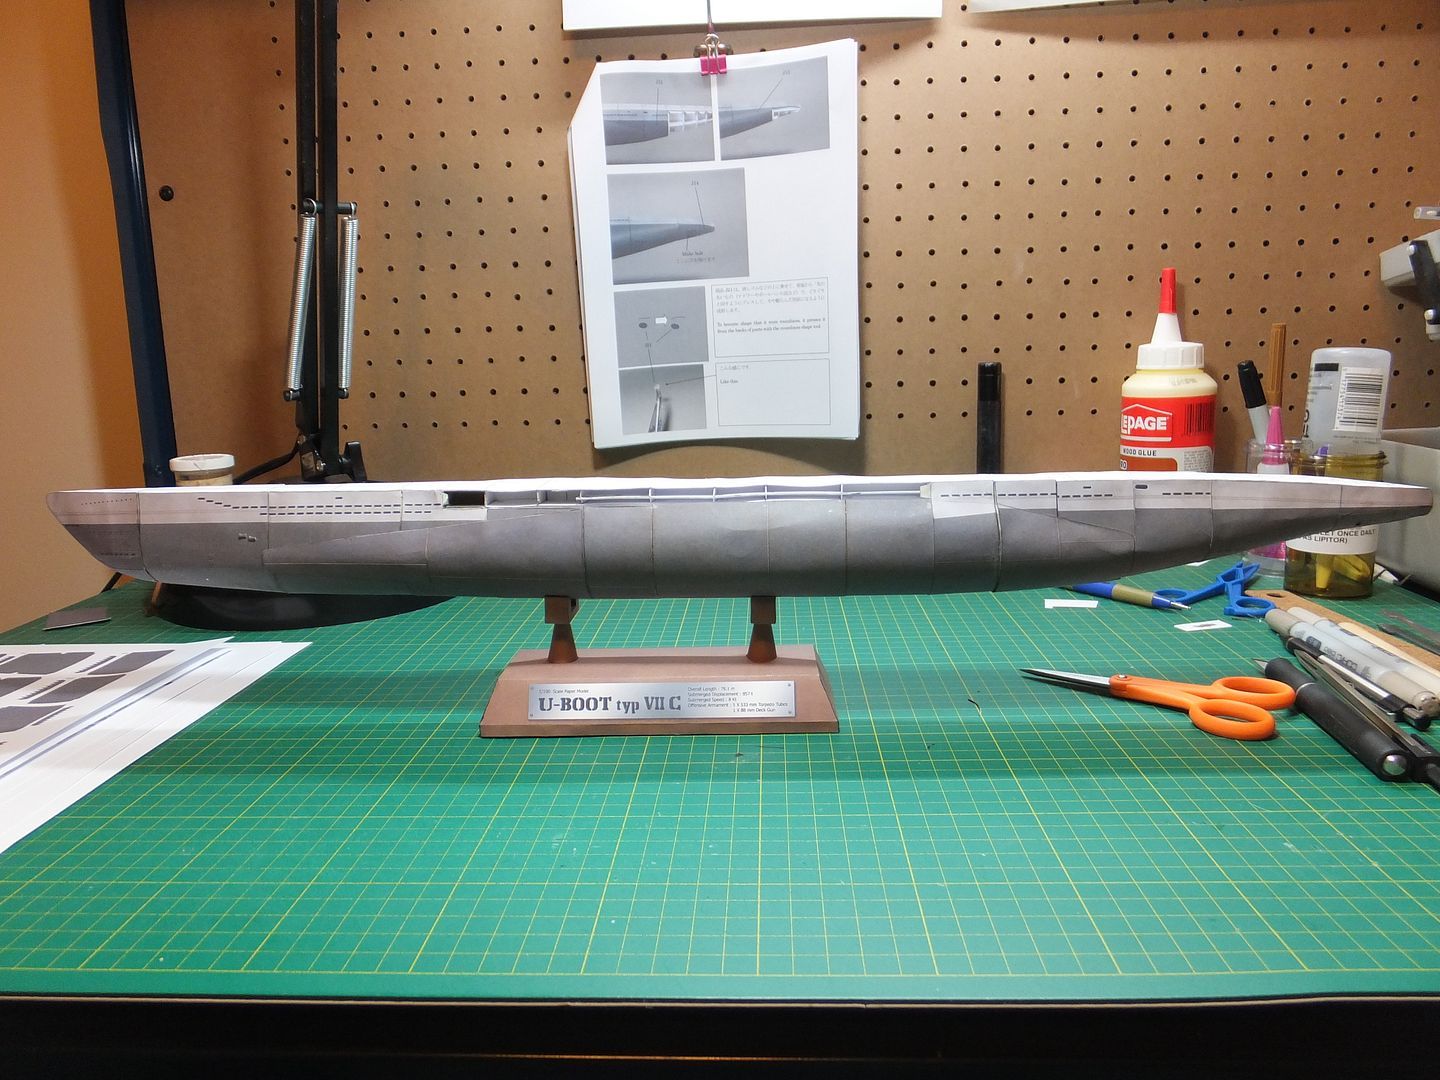
How the ship stands at this time.

Hull11_zpseb6e0feb.jpg


Nice to get this part of the hull complete and most of the frame work buried.
I think the main deck is next.

Comments and questions are always welcome. I hope you have enjoyed the build so far along with me.

Jim
 
Update time.

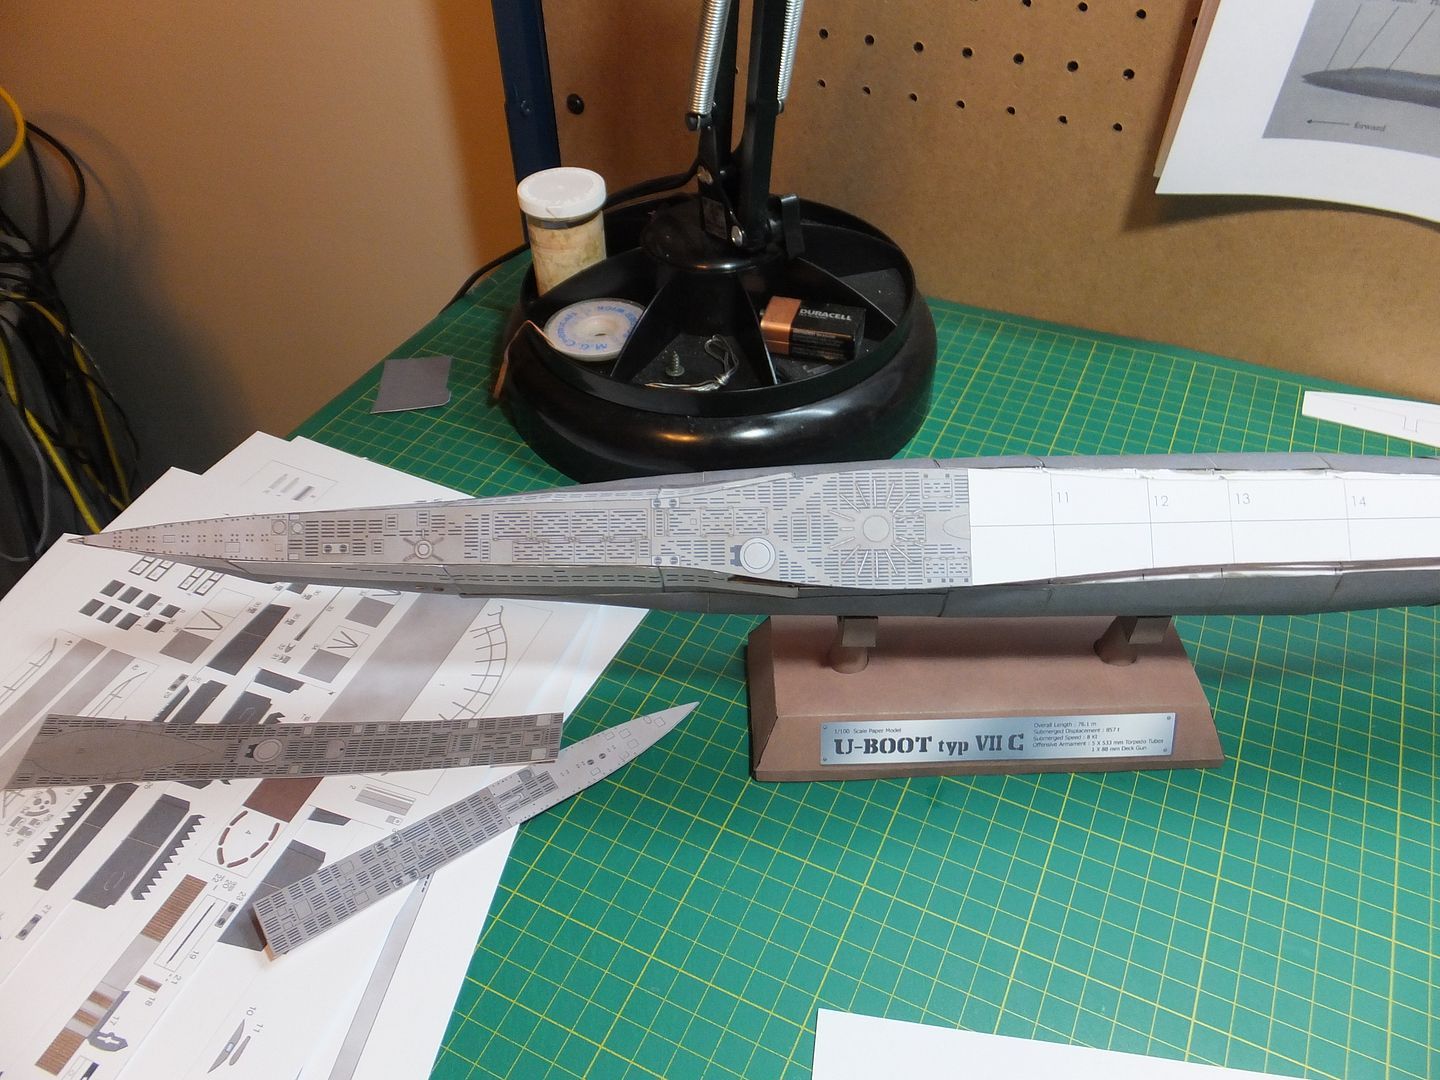
I was able to install the main decking.
Ran into 1 problem, the last piece was 1/8" too short. Ended up cutting & fitting a small section of decking before the stern piece to make up the difference. She now has a full set of decking.

This is the first section installed.

Deck1_zps89e45795.jpg


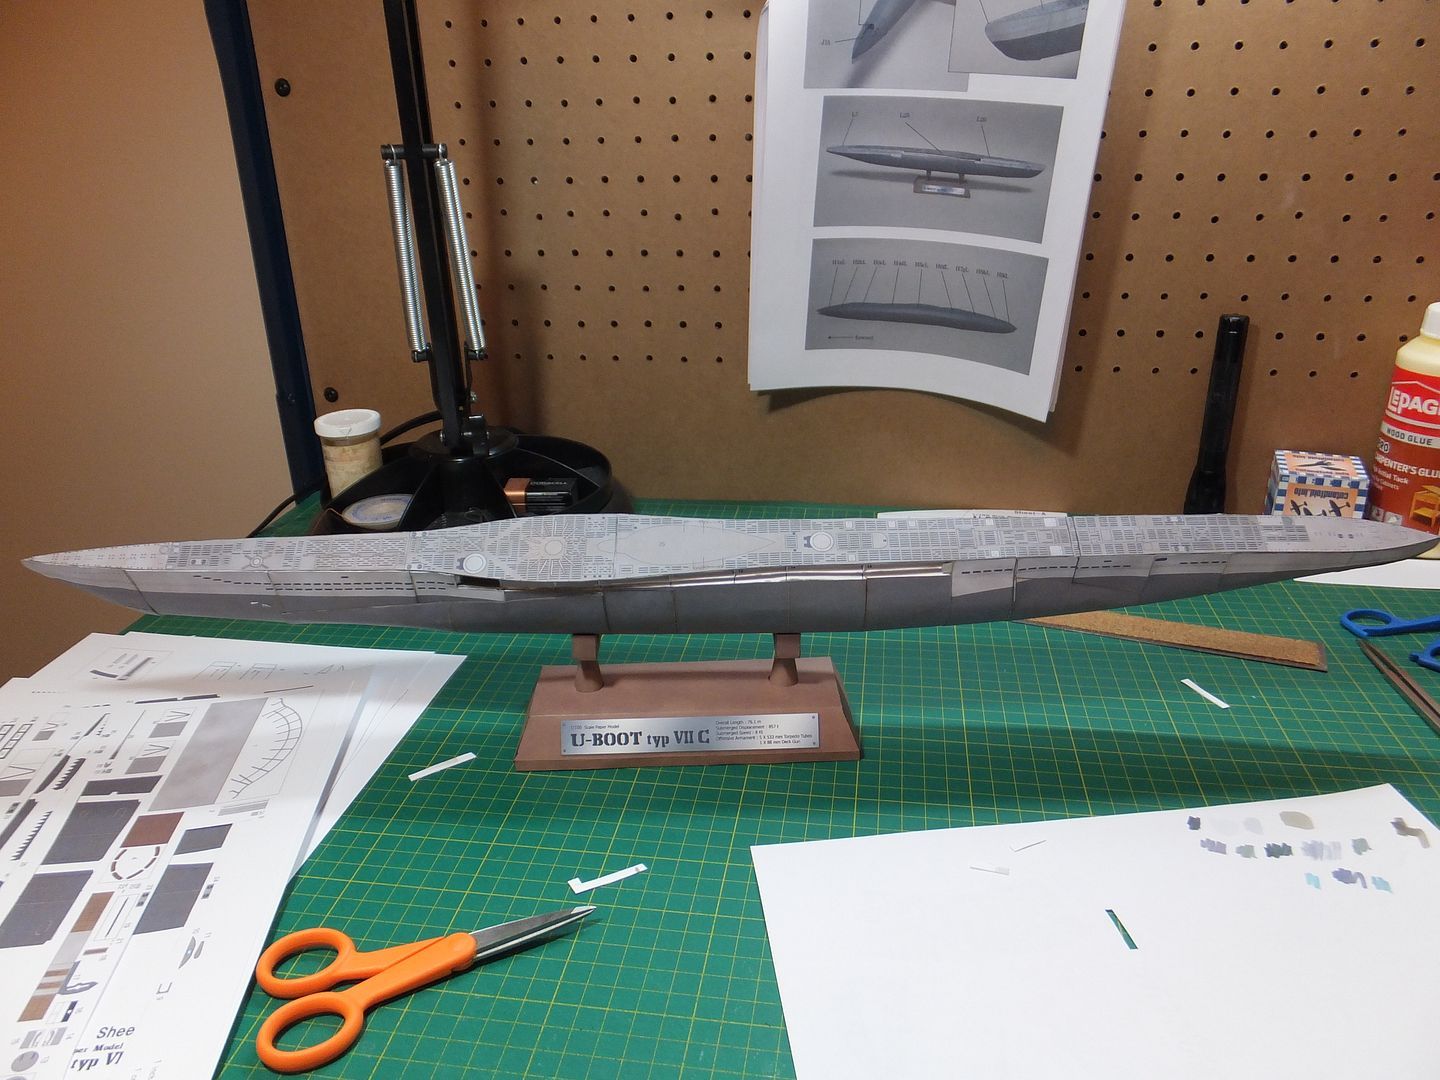
A view of the whole deck.

Deck2_zpsdd691fe0.jpg


Nice to see the ship with deck.
May have more latter.

Jim
 
This is looking great Jim! :o

I am really impressed with your build threads; I was unaware that card stock could be used in such shapes. The printed details are very nice as well. She is coming together nicely isn't she?
 
You are welcome Les.
As it moves along I think she looks better all the time.
No kit is perfect, they all have their issues, whether they're in the kit or self induced. It's how you handle them and move forward. That's modeling. :P

Jim
 
WOW... amazing bro... I've thought about getting into papercraft myself many times but just couldn't bring myself to do it. You've got me reconsidering it! :)
 
Hi LrdSatyr8.Thank you.

You could give it a try anytime. You have most of the required tools, just down load a free model to try. Lots out there of every genre.

Jim
 
Tonight's update.
Hi everyone. The last couple of days I have been working on the ballast tanks for the sub.
These are constructed of several pieces joined together because of their complex shape. they were roll formed then glued together. Today I have been installing the internal formers to give them their final shape. Can only do 1 former at a time as well as dealing with seams that keep wanting to separate, but I have been battling it into submission.
Working on the right tank at the moment. I hope to start to install these sometime tomorrow.

This is the left tank with all the skins assembled and working on the formers, with a clamp holding the shape while the glue dries.

Balast1_zpsbbcb9750.jpg


Here we have the left tank finished and starting on the right, with only one former installed at this time.

Balast2_zps5b643d61.jpg


This is the outward side view of the left tank.

Balast3_zpsb745fac2.jpg


Once these are installed, instruction set 2a will be complete and can move on to the next section.
I hope you are enjoying this build.

Jim
 
Hi LrdSatyr8, Thanks.

Actually I hardly ever use scissors. :P
Mostly my trusty X-acto knife and #11 blades. As well as a couple of other precision knives in my kit. But man do I go through a lot of blades, on my 2nd 15 pack since January. Have a nice rubberized handle that allows better precision and no cramping. ;D

Jim
 
Hi.
Did not get much done today, was out most of the day.
Started installing the saddle tanks tonight. This is not an easy job. I think the pieces are too large for a single build and install. It would have been easier if they were in 2 pieces. Anyway I have the left tank installed but needs some clean up. And am working on the right tank. The top is glued in place and waiting for it to dry before securing the bottom, Finicky. ::)

Here is the right side. There are temp. spacers in-place along the top to hold the tabs down while they dry. Most of the bottom tabs are not yet secure.

Ballast4_zpseba1da13.jpg


Hope to get this stage cleaned up tomorrow.

Comments and questions are always welcome.

Jim
 
Hi contest viewers.
Tonight's update.
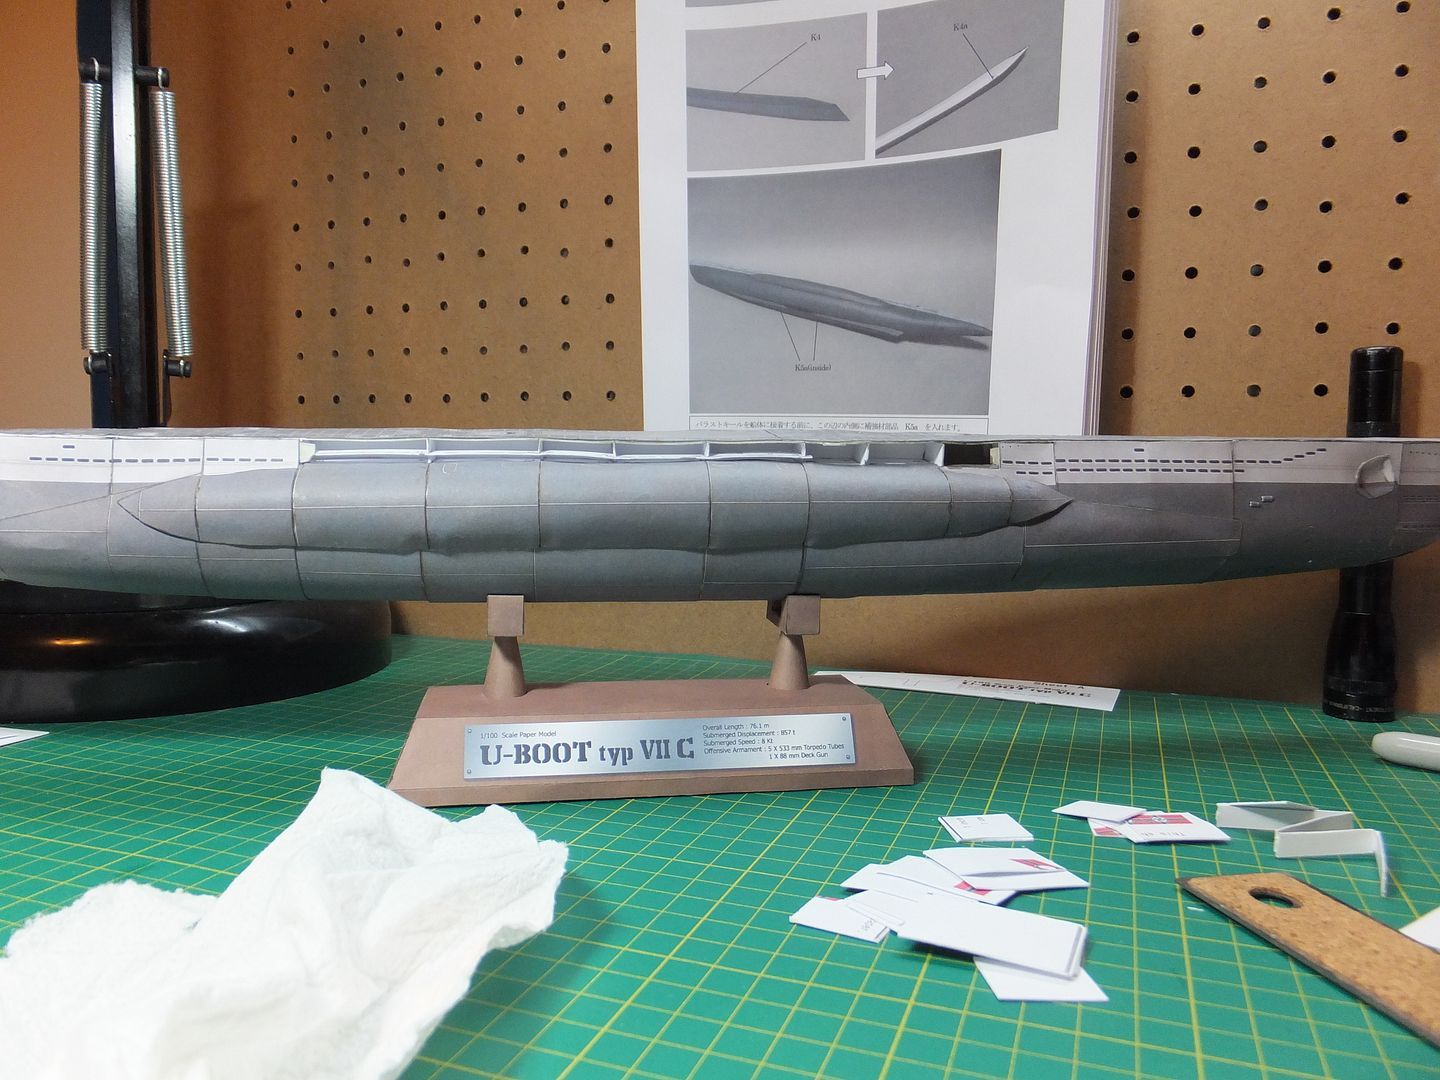
Worked more on installing the saddle tanks. These were not the easiest things to install and gave me a bit of trouble. For a first time on a sub, these are about as good as these ones are going to be.
Today have been working on the keel of this sub. This went together pretty straight forword and remained true.
It easily installed on to the bottom of the hull. The keel is actually wide enough to support the sub on the table quite sturdily. I'm not sure why the opening in the centre of the keel, something I will have to research.

Here I am starting to tack down the bottom of the saddle tanks. More work to do.

Ballast5_zps4af1d2ae.jpg


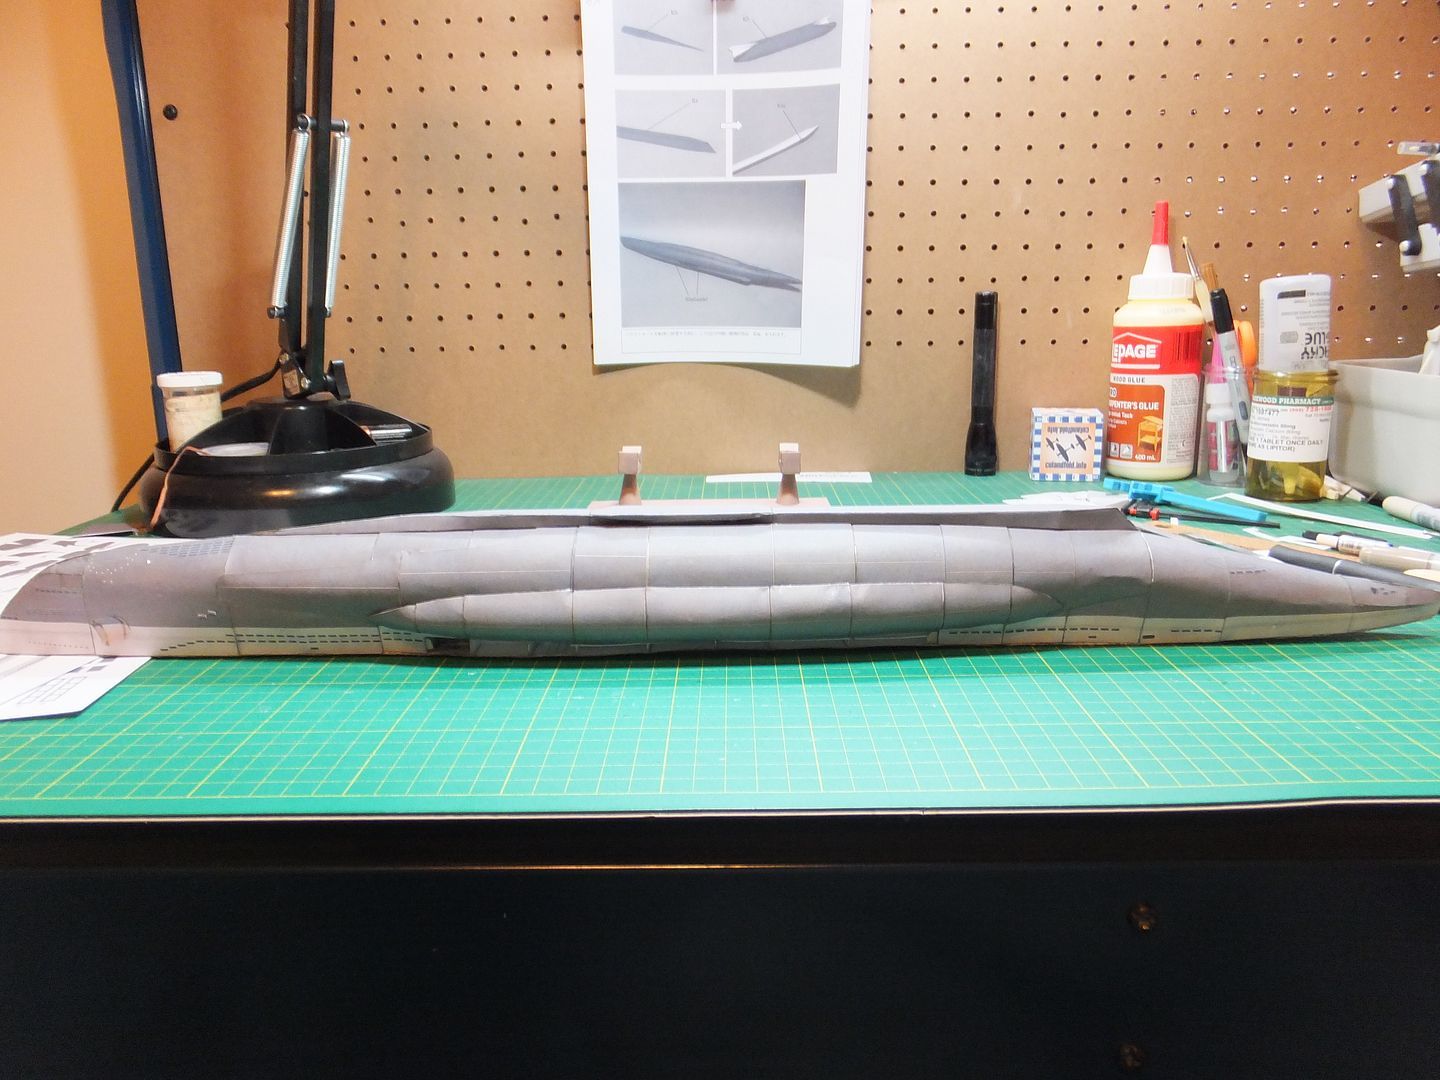
The keel is now glued to the hull.

Keel1_zpsbdfc2ee2.jpg


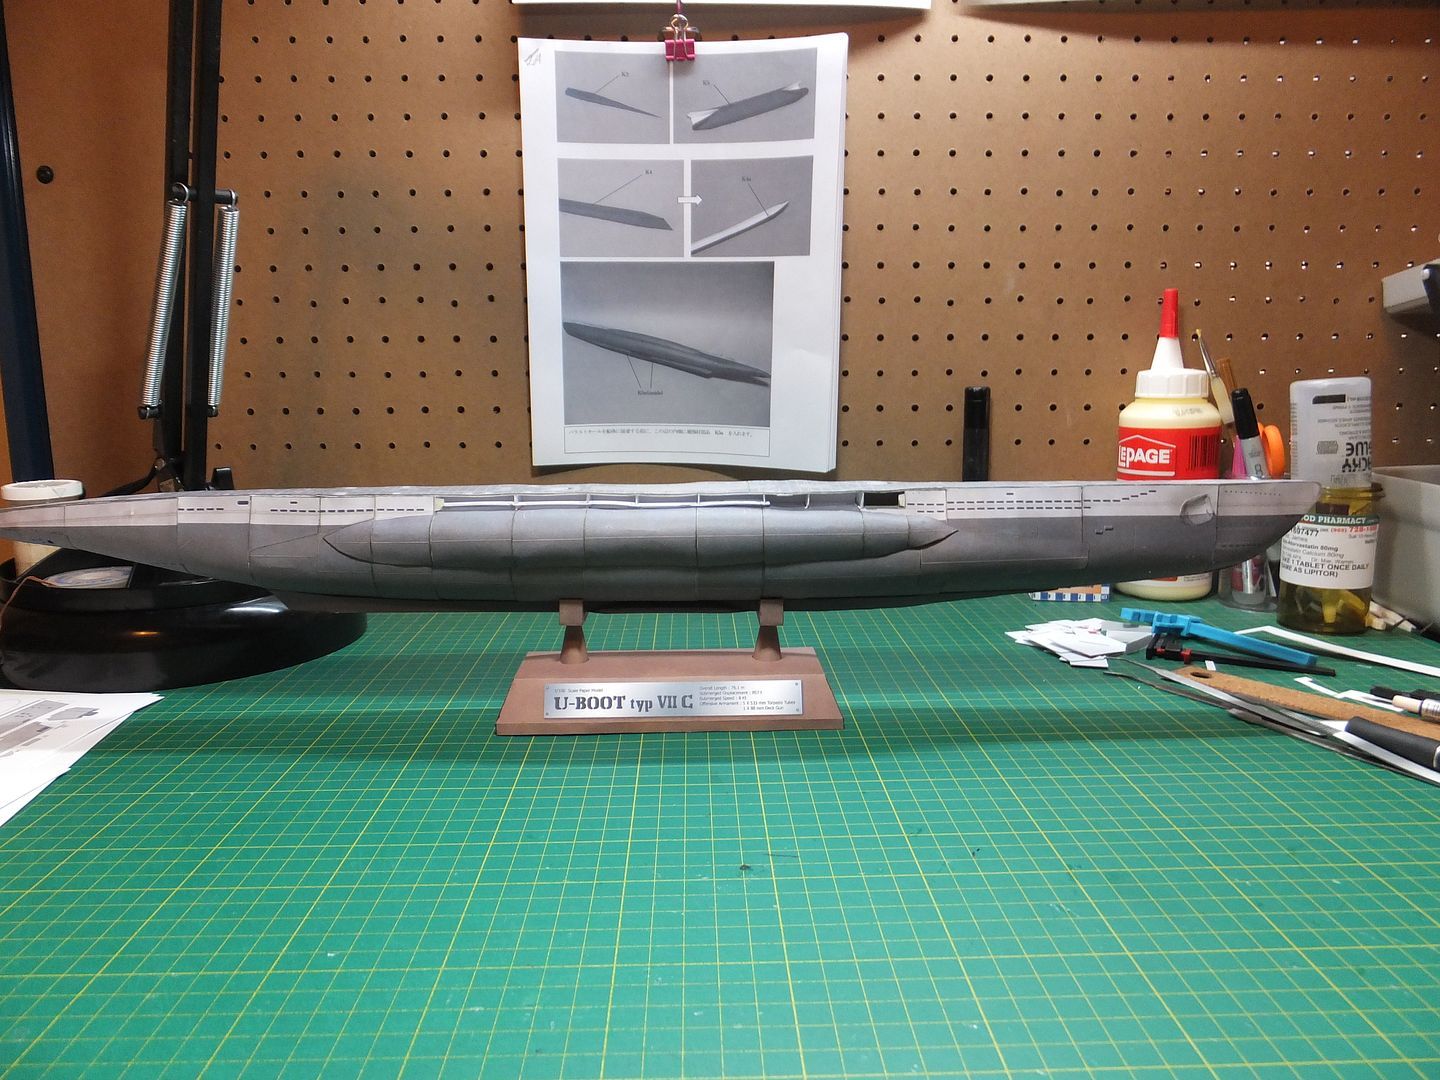
Side view of the full keel on the stand.

Keel2_zpsf3ab1a04.jpg


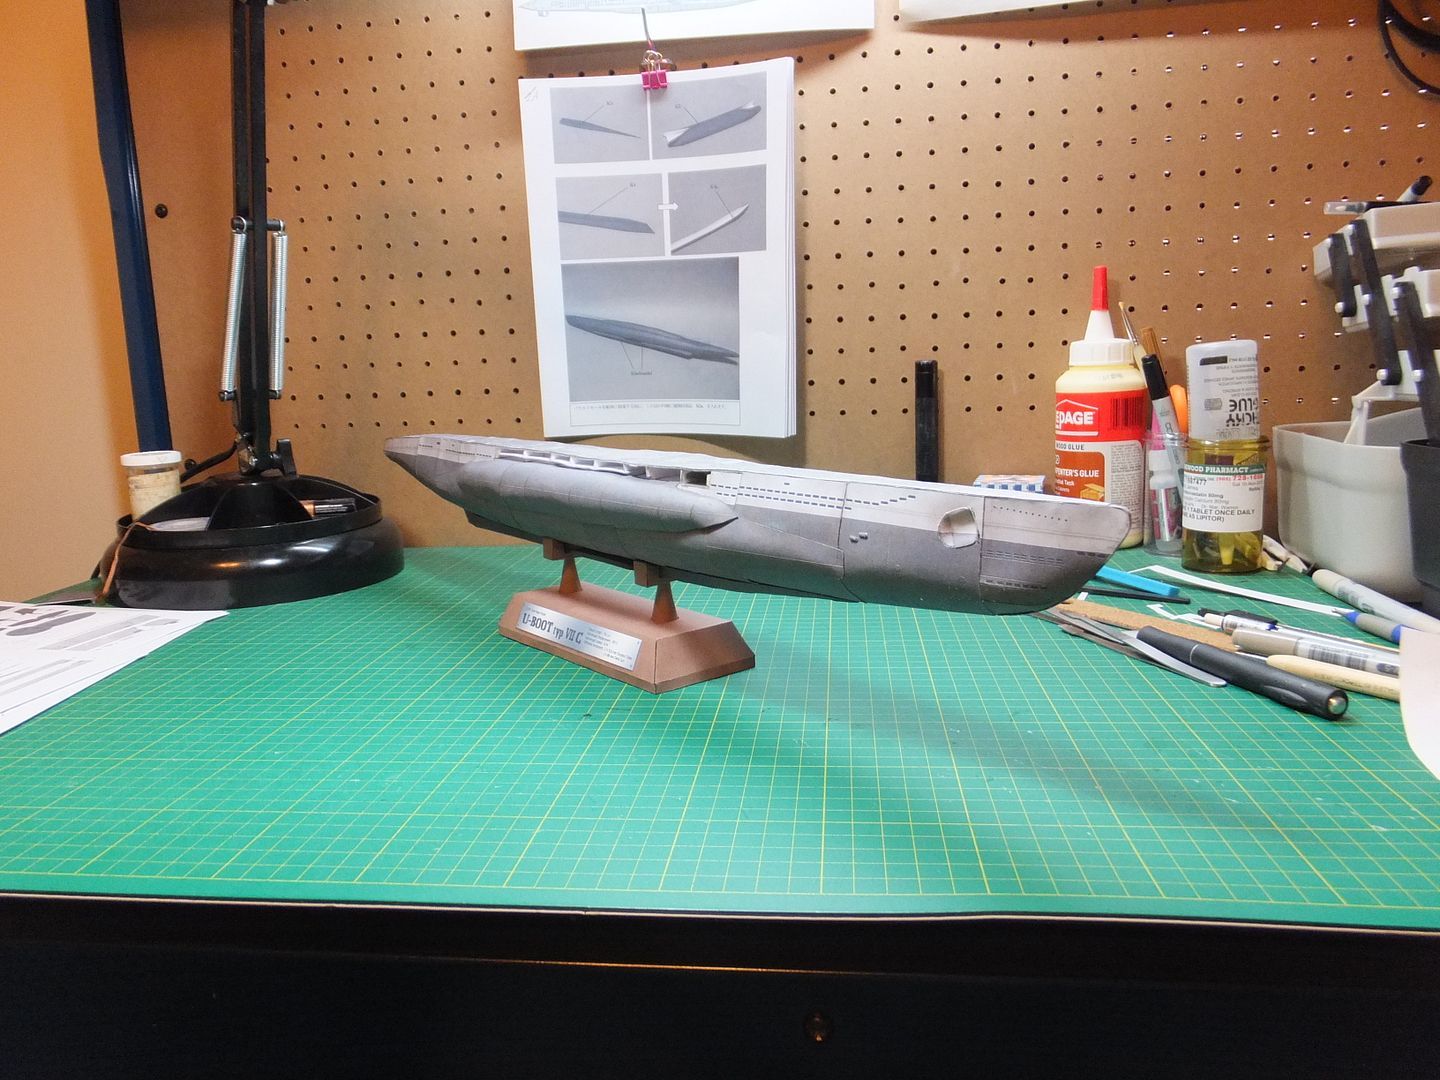
Forward side view of the sub as she stands.

Keel3_zpsa6b47fac.jpg


Whats next, the prop shafts, rudder and rear dive planes.

This is a different medium than most here are familiar with. The fit may not be the same as on a plastic model, but the sense of achievement as it tests your skills is great and very satisfying. So if you have any comments or questions do not be afraid to ask.

Jim
 

Latest posts

Back
Top